


PrusaSlicer is an open-source and free 3D slicing software initially explicitly designed for Prusa 3D printers, but it now includes profiles for other models, including many of the best 3D printers. Even though it can be used with other machines, those using Prusa 3D printers have more advantages as they can access more than 180 tested profiles for popular resins and filaments.
In addition to slicing tools, the software has other tools like G-code viewer that you can use to preview G-code files from other slicers. Below, we break down this slicer's interface and key features.
Installing PrusaSlicer
To begin, visit the official PrusaSlicer website and download the software compatible with your operating system. There is a version for Windows, Mac, and Linux. After downloading, Install and launch it. The next step will be to set up your printer profile by selecting the appropriate printer model and firmware version. To do this, choose Select all standard printers.

You will see several options listed there. After the welcome option, there is Prusa FFF, where you can get the various Prusa printers that use FDM 3D printing technology. Prusa MSLA lists the Prusa machines that utilize stereolithography technology, and they are two: Original Prusa SL1 and Original Prusa SL1 SPEED.
To add custom printer profiles and firmware, head over to the Custom Printer section, and you will then choose your specific firmware in the Firmware Type section.

You can then specify the bed size, nozzle diameter, and the temperature required to extrude the filament by setting Bed Shape, Print Diameters, and Temperatures, respectively. You can also choose the filament or SLA Materials you will use, and everything will be set. You can then click Finish to see an interface consisting of various sections and tabs. The primary sections include the 3D view where your design will appear after importing. On the top menu, you will find the settings for your 3D printer, filament, and general print settings.
Importing and Positioning Models
To import a 3D model, go to File, then click Import, and you will see several options for importing your designs.

PrusaSlicer supports various file formats such as STL, 3MF, OBJ, AMF, and more. Once imported, you can position, scale, and rotate the model using the manipulation tools found on the left middle section of the workspace. For example, when you click the top option, which is the move tool, you will see points appearing on the design that you can use to move the model around.

You can do the same with other tools like the scale and rotate. Instead of the points on the design, you can also use the Object manipulation section to change your 3D model by adjusting the X, Y, and Z settings, as shown below.

The software also has three modes that you can use to view your design: Simple, Advanced, and Expert, and you can switch between them by going to Configuration and then Mode.

In the simple mode, the interface is straightforward and user-friendly, and it presents a simplified set of options and settings that makes it easier for beginners or users who prefer a more streamlined approach to get started. In advanced mode, the range of settings and options available to users are expanded, and you can have settings for fine-tuning your prints, like adding support structures, infill, and brim. On the other hand, the expert mode has the features for advanced mode, but there are additional ones. It is meant for advanced users who want the highest control and customization level.
Understanding Print Settings in PrusaSlicer
The print settings contain the parameters that define how the design will be sliced and 3D printed. In this section, you can adjust settings like print quality, speed, infill, layer height, etc.

Each of the settings is described below.
- Layers and perimeters: When you click this option, This setting determines the thickness of each printed layer. A smaller layer height results in finer details but increases printing time. You can adjust the layer height, vertical and horizontal shells, and advanced and fuzzy skin settings.
- Print speed: This setting controls the printer's speed during printing. It affects the overall print time and can influence print quality and accuracy.
- Infill: This is where you can control the amount and structure of the material used to fill the internal structure of the print. You can adjust the infill density, pattern, and top and bottom fill patterns in this section.
- Skirt and brim: These settings control the addition of a skirt, which is a thin outline around the model, and a brim, a broader outline for better adhesion to improve bed adhesion and stability.
- Support material: PrusaSlicer offers two options for support options. That is, an option to add supports when necessary, or you can auto-generate the support materials based on the overhang threshold value.
Filament Settings in PrusaSlicer

When you select this option, a window will launch that you can use to set the following:
- Filament settings: PrusaSlicer allows you to define specific settings for different filaments like color, diameter, density, cost, and spool weight.
- Temperature: You can adjust the nozzle and bed temperature for 3D printing your design. It is specific to the type of filament being used and affects print quality and adhesion.
- Cooling: Just below the filament settings, there are cooling settings that regulate the fan speed and airflow during printing. You can choose to keep the fan always on and also have an option to always enable auto cooling.
- Filament overrides: In this option, you can specify the retraction settings of your filament, like the retraction distance.
After the filament settings, you will see Printer settings, where you can adjust the extruder settings.
3D Slicing in PrusaSlicer
Go to File > (Re)Slice Now to slice your designs.

You can then wait a few minutes, and the print settings will open on the right-hand where you can choose the filament to print your designs and even apply the various settings like supports, infill settings, and brim. There is also an option to adjust the position and scale of your 3D model. When you finish, click Export G-code on the bottom-right section of the workspace.

You can then choose where to save your file and save it.
Repairing STL Files
Even though PrusaSlicer is primarily used for 3D slicing, you can also use it to repair STL files. To do this, go to File > Repair STL file.

You can then go to where your corrupted file is stored and click on it. If the issue isn’t severe, you will see a pop-up window showing the file has been repaired.

Previewing G-code Files in PrusaSlicer
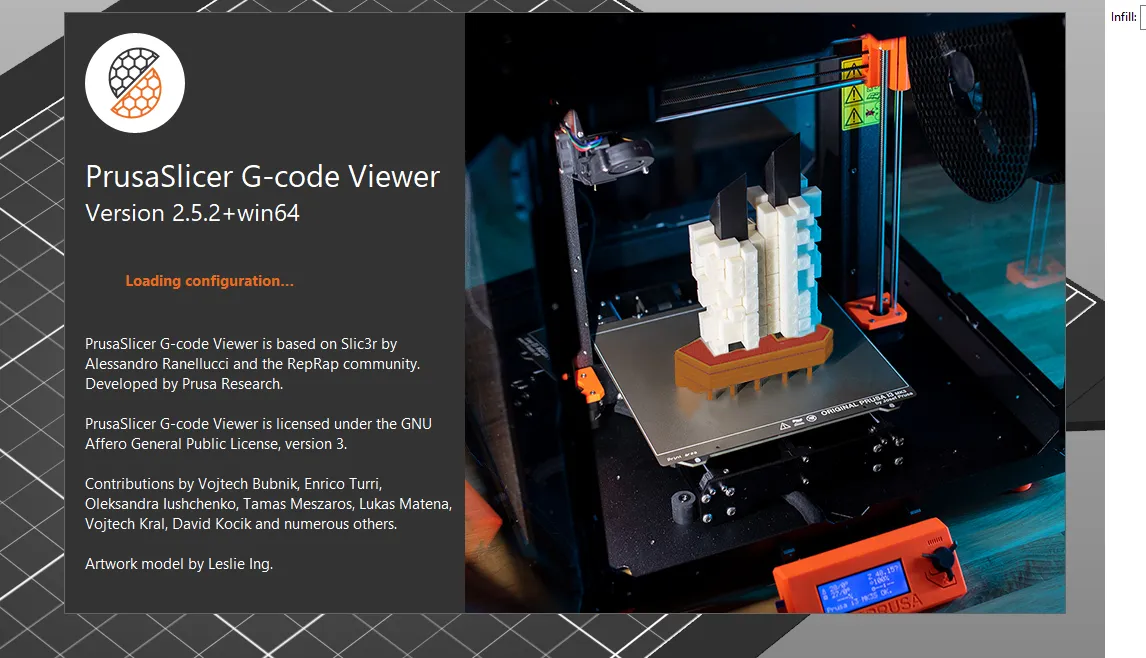
PrusaSlicer allows you to import and preview G-code files to visualize and see how the design looks and how it will be 3D printed. To do this, go to File > G-code Preview.

You will see the G-code viewer launching.
You will see your design appearing on the workspace when it finishes launching.

You can use the sliders on the right-hand side and the bottom section to preview the model by moving it up and down.
As we have seen, with PrusaSlicer, you can not only slice your designs and generate the G-code file to send to your 3D printer, but you can also use it to repair corrupted STL files and even preview G-code files and see how they will be 3D printed in real-time. The interface is user-friendly, and you can get started quickly.
MORE: Best 3D Printers
MORE: Best Budget 3D Printers
MORE: Best Resin 3D Printers