6 Best Models for Testing Your 3D Printer
See how your printer and filament performs.
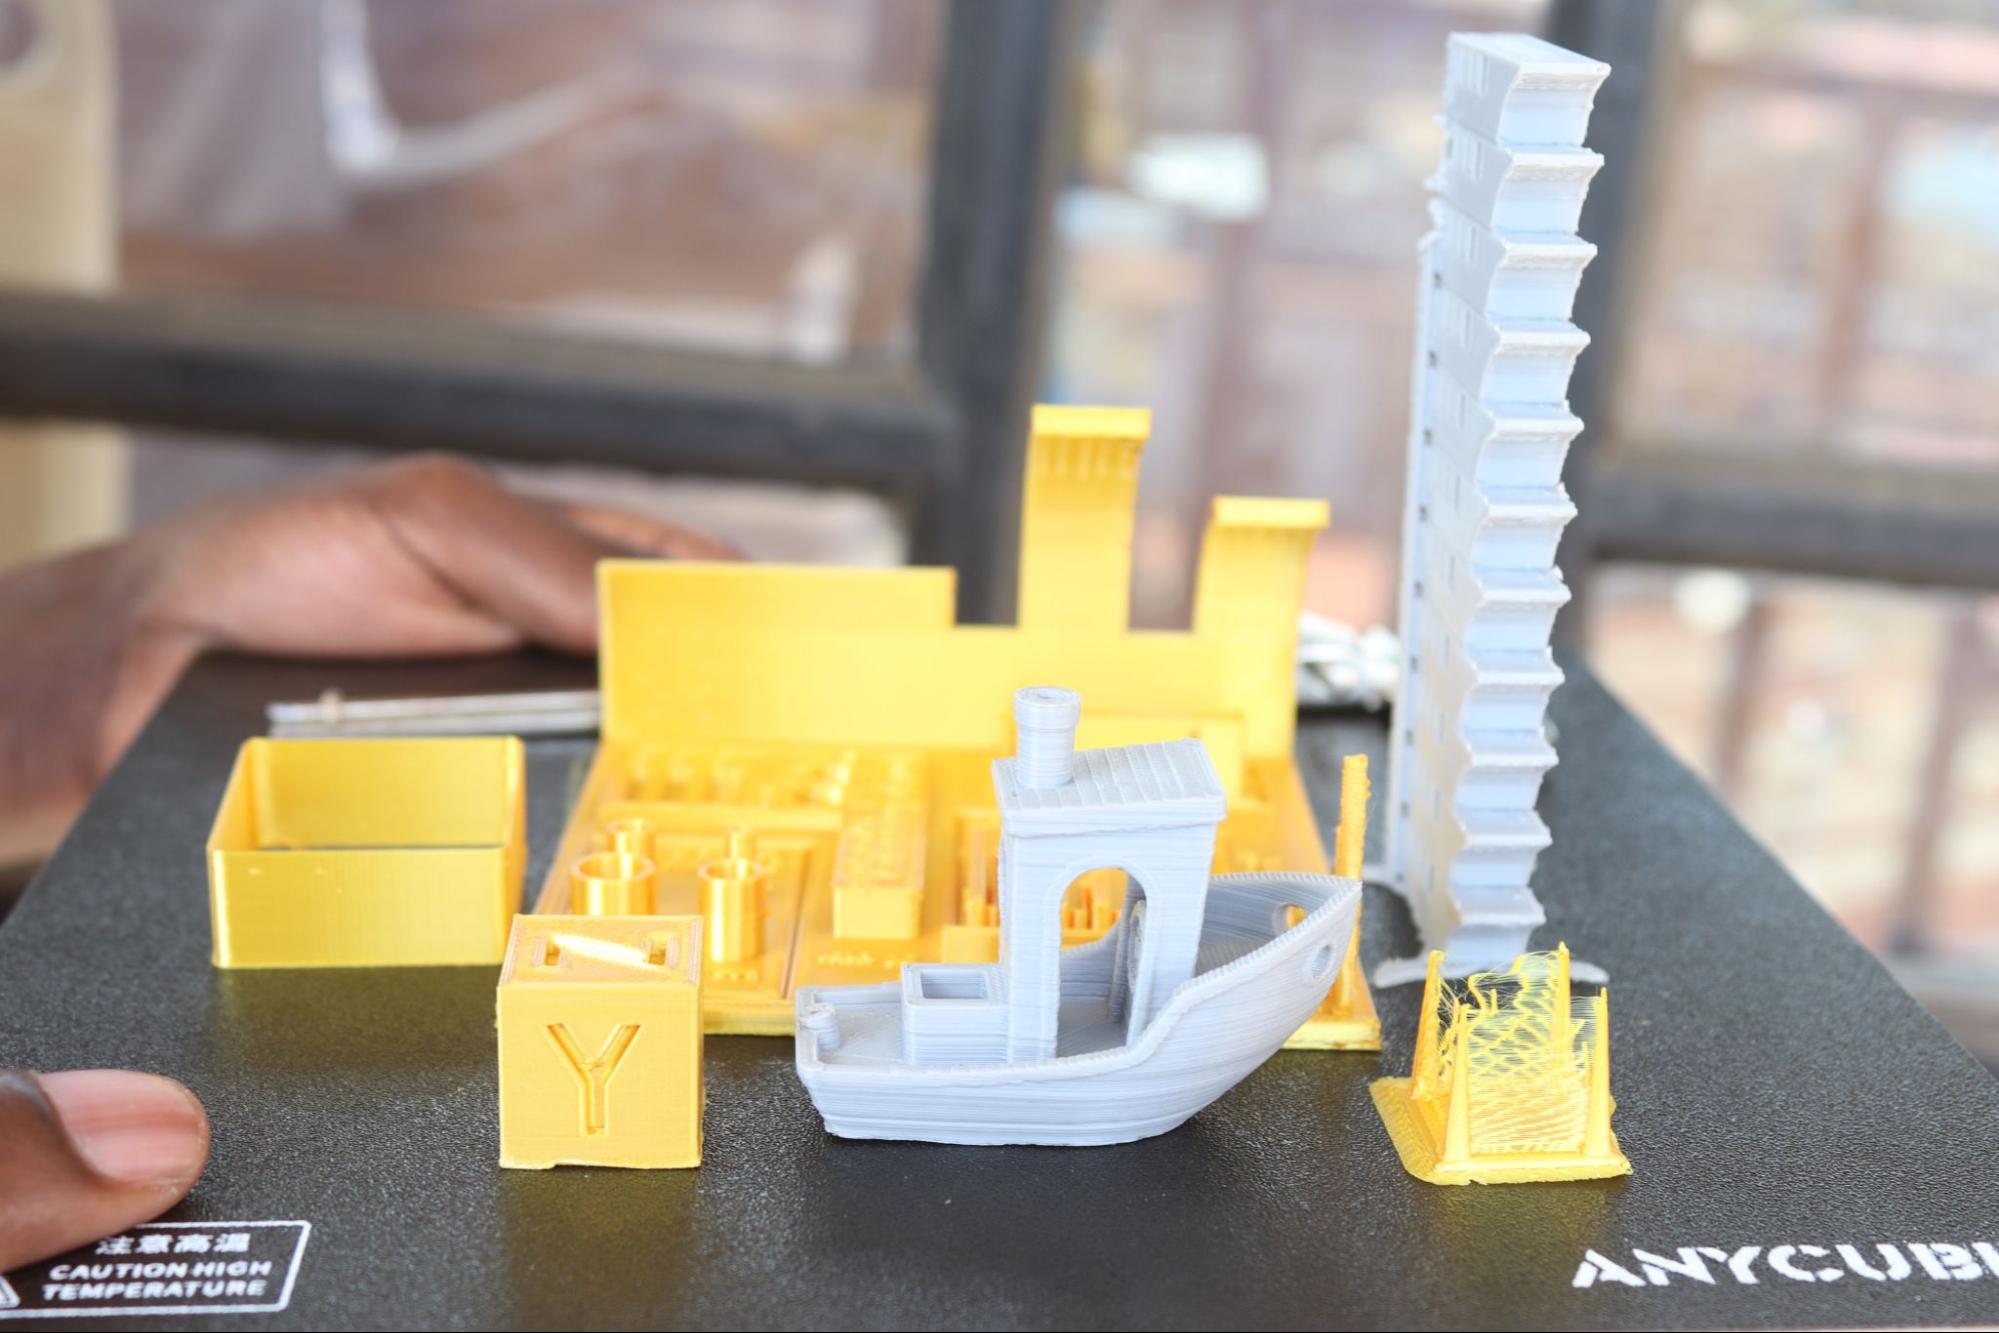
If you’ve just received your 3D printer or are looking forward to 3D printing a complex design, starting with a test print is essential. Doing so will allow you to see what your printer, whether it’s one of the best 3D printers or not, is capable of and ensure that you won’t waste your time and materials on a project that won’t work.
Test prints will allow you to analyze how the printer handles overhangs, holes, and supports and know which settings like temperature, speed, layer height, and retraction work best for your 3D printer or filament. You can even use test prints to see how fast your high-speed printer can go. While you can use any model to test out your printer, there are several which are designed specifically for that purpose. Below we’ve chosen the six best test models for 3D printing.
1. 3D Benchy
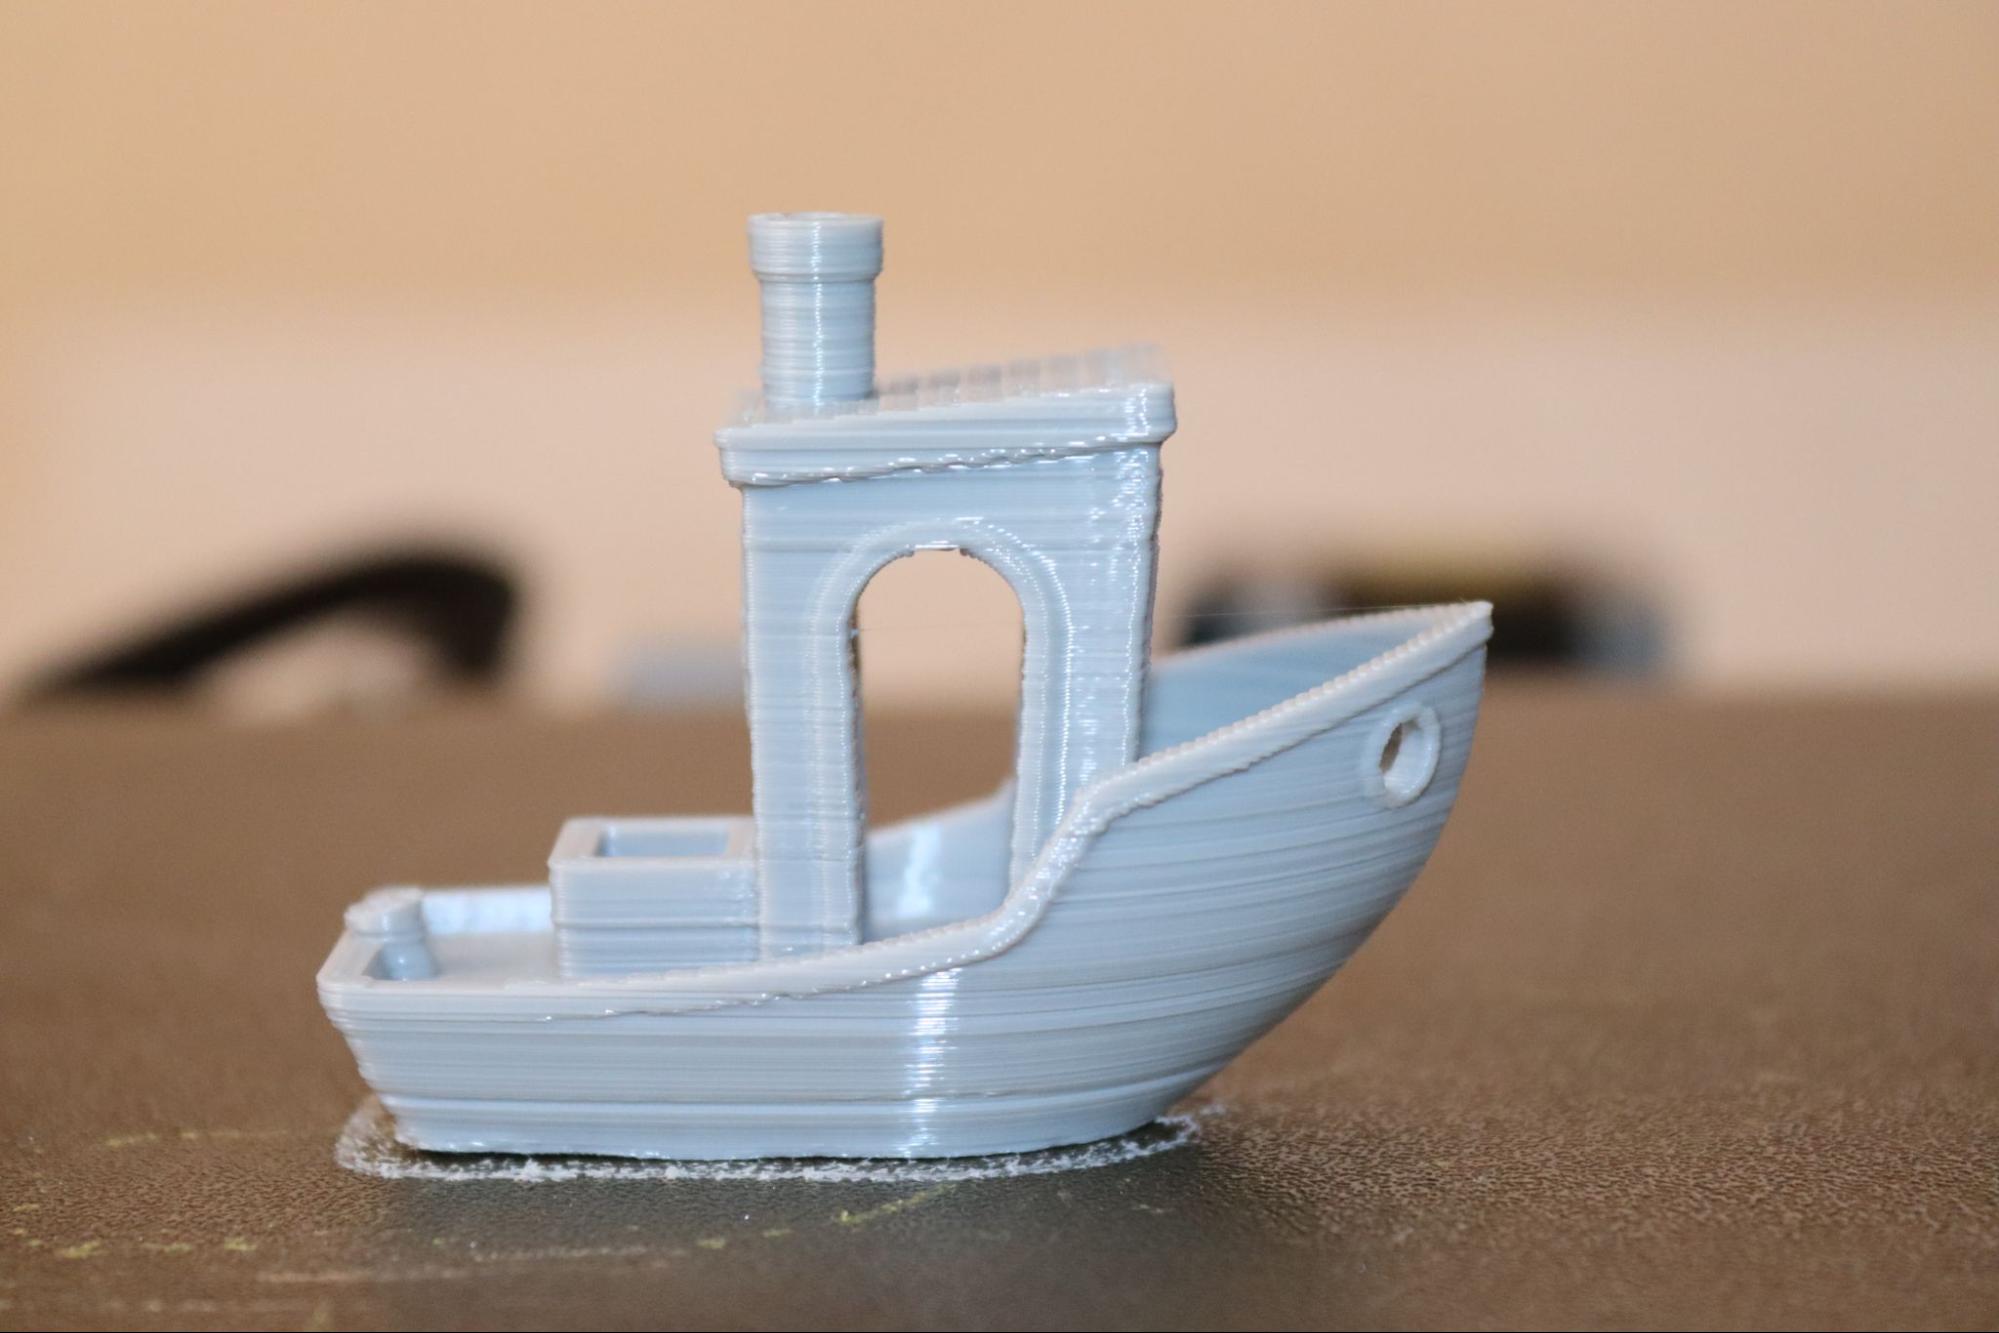
3D Benchy is one of the most popular benchmark designs you can use to test the capability of your 3D printer. Creative Tools initially created it, and you can get it from 3D Benchy's official website, where different STL file-sharing websites are listed, like Thingiverse, Printables, Cults3D, and many others and you can click any of those websites, and you will access it.
When you download the file from the official website, you need to print it as it is (at a scale of 1:1) without adjusting any settings. The complex nature of the design makes it the perfect print to troubleshoot and tune your machine. In addition to being small in size, it has overhangs with varying angles to test how the 3D printer handles bridges.
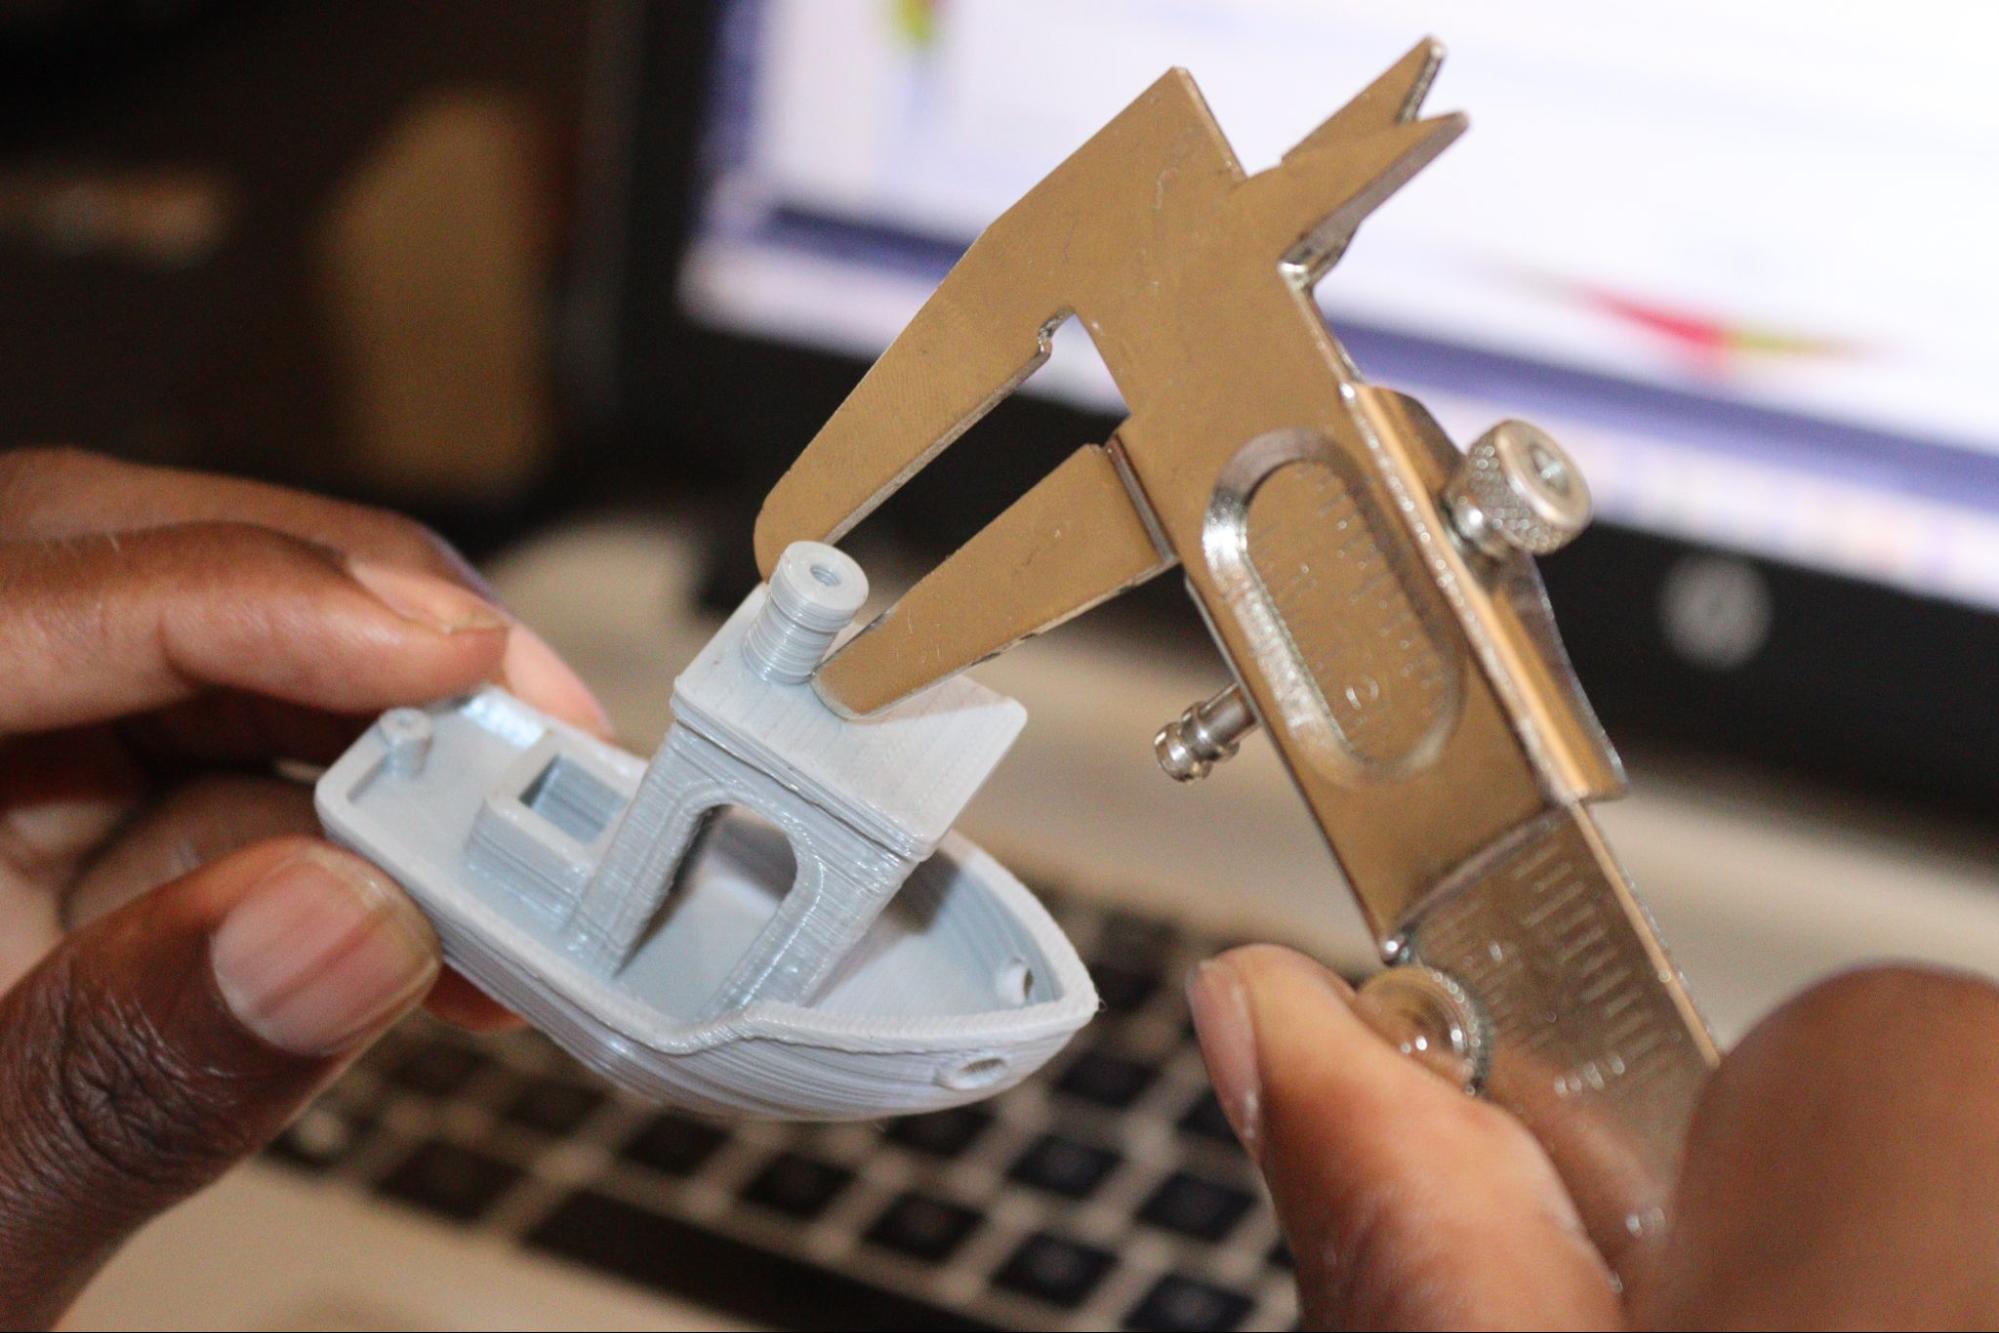
Additionally, the circular holes on the model, rectangular windows, and each section of the design have a specific size (as seen in the brochure), and you need to measure the model after 3D printing and see how accurate your 3D printer is.
You can also test how your 3D printer controls temperature and cooling by checking the overall quality of the print, like if the surfaces are smooth or have rough surfaces or blots, and you need to adjust the settings on your slicer to fix the issue.
The small holes that protrude from inside to the top and the wheel-like shape are essential in testing how your machine handles fine details and intricate designs. If your 3D printer is set correctly, it will print these sections well, but the holes can be smaller than expected if there are issues.
Get Tom's Hardware's best news and in-depth reviews, straight to your inbox.
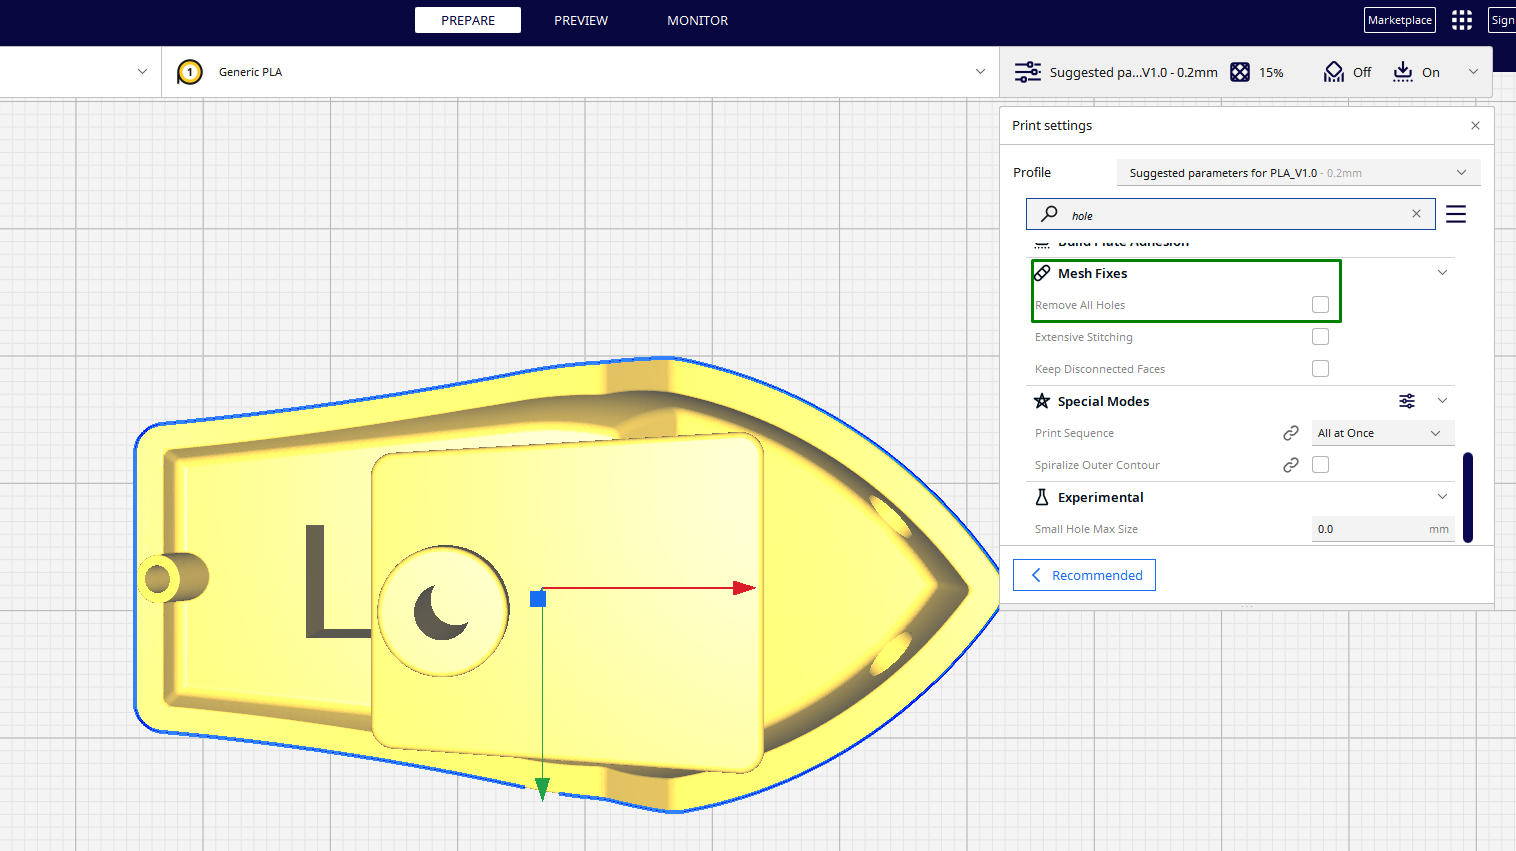
You should check the holes settings in your 3D slicer to see if they are covered or not well visible. For example, you can uncheck the Remove All Holes option in Cura so that the holes are not removed.
2. Calibration Cube
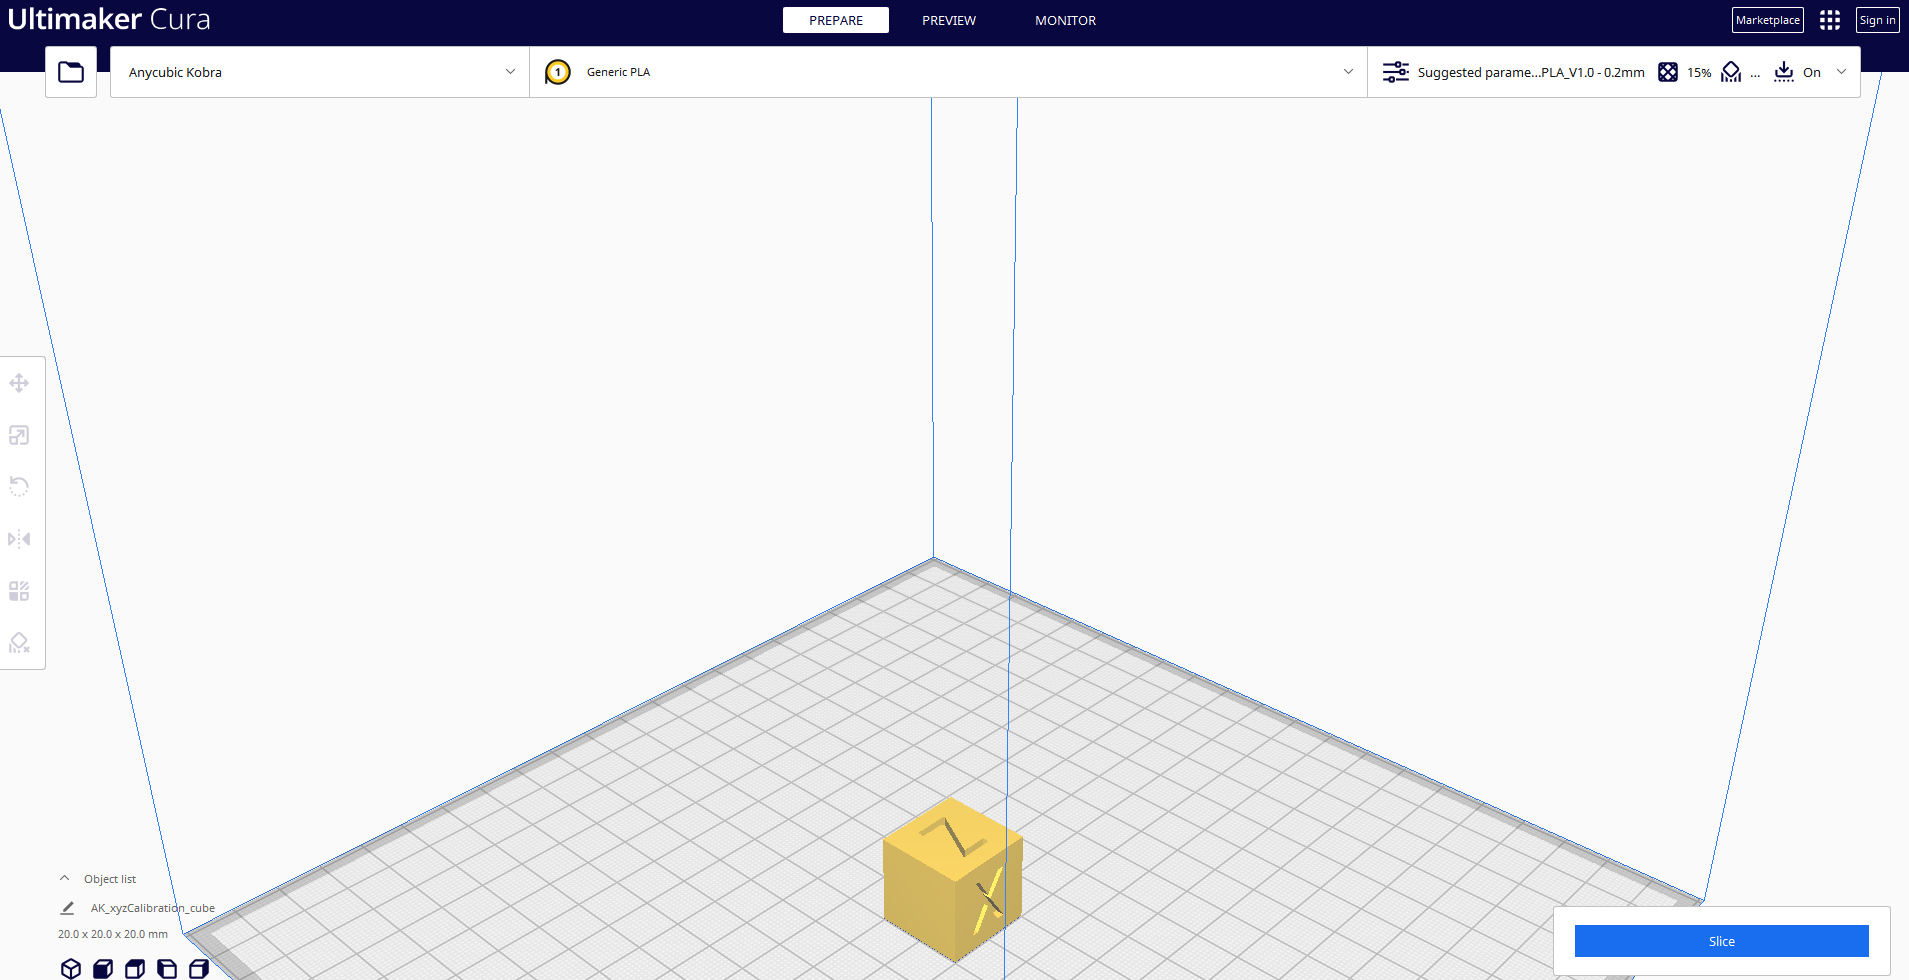
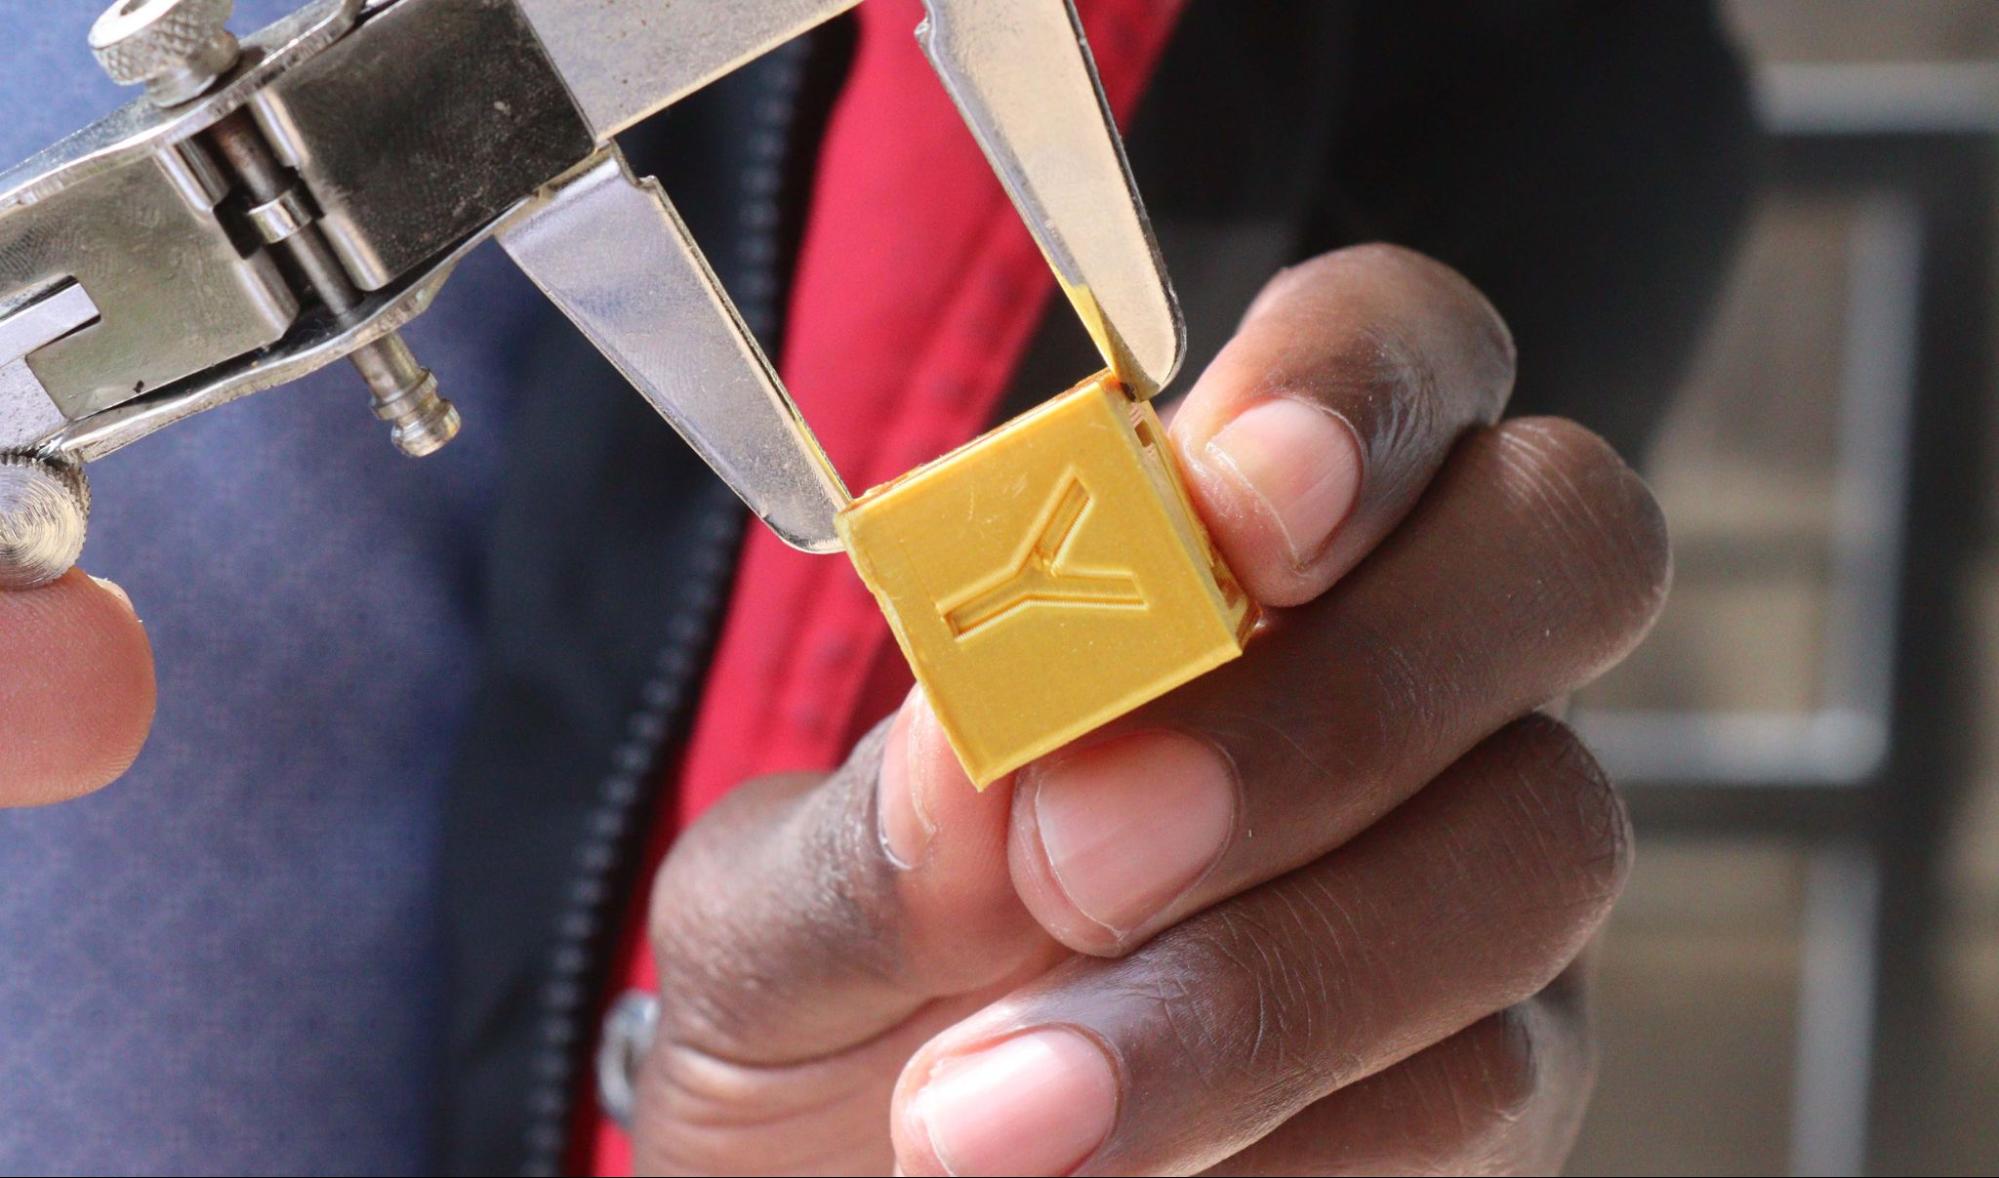
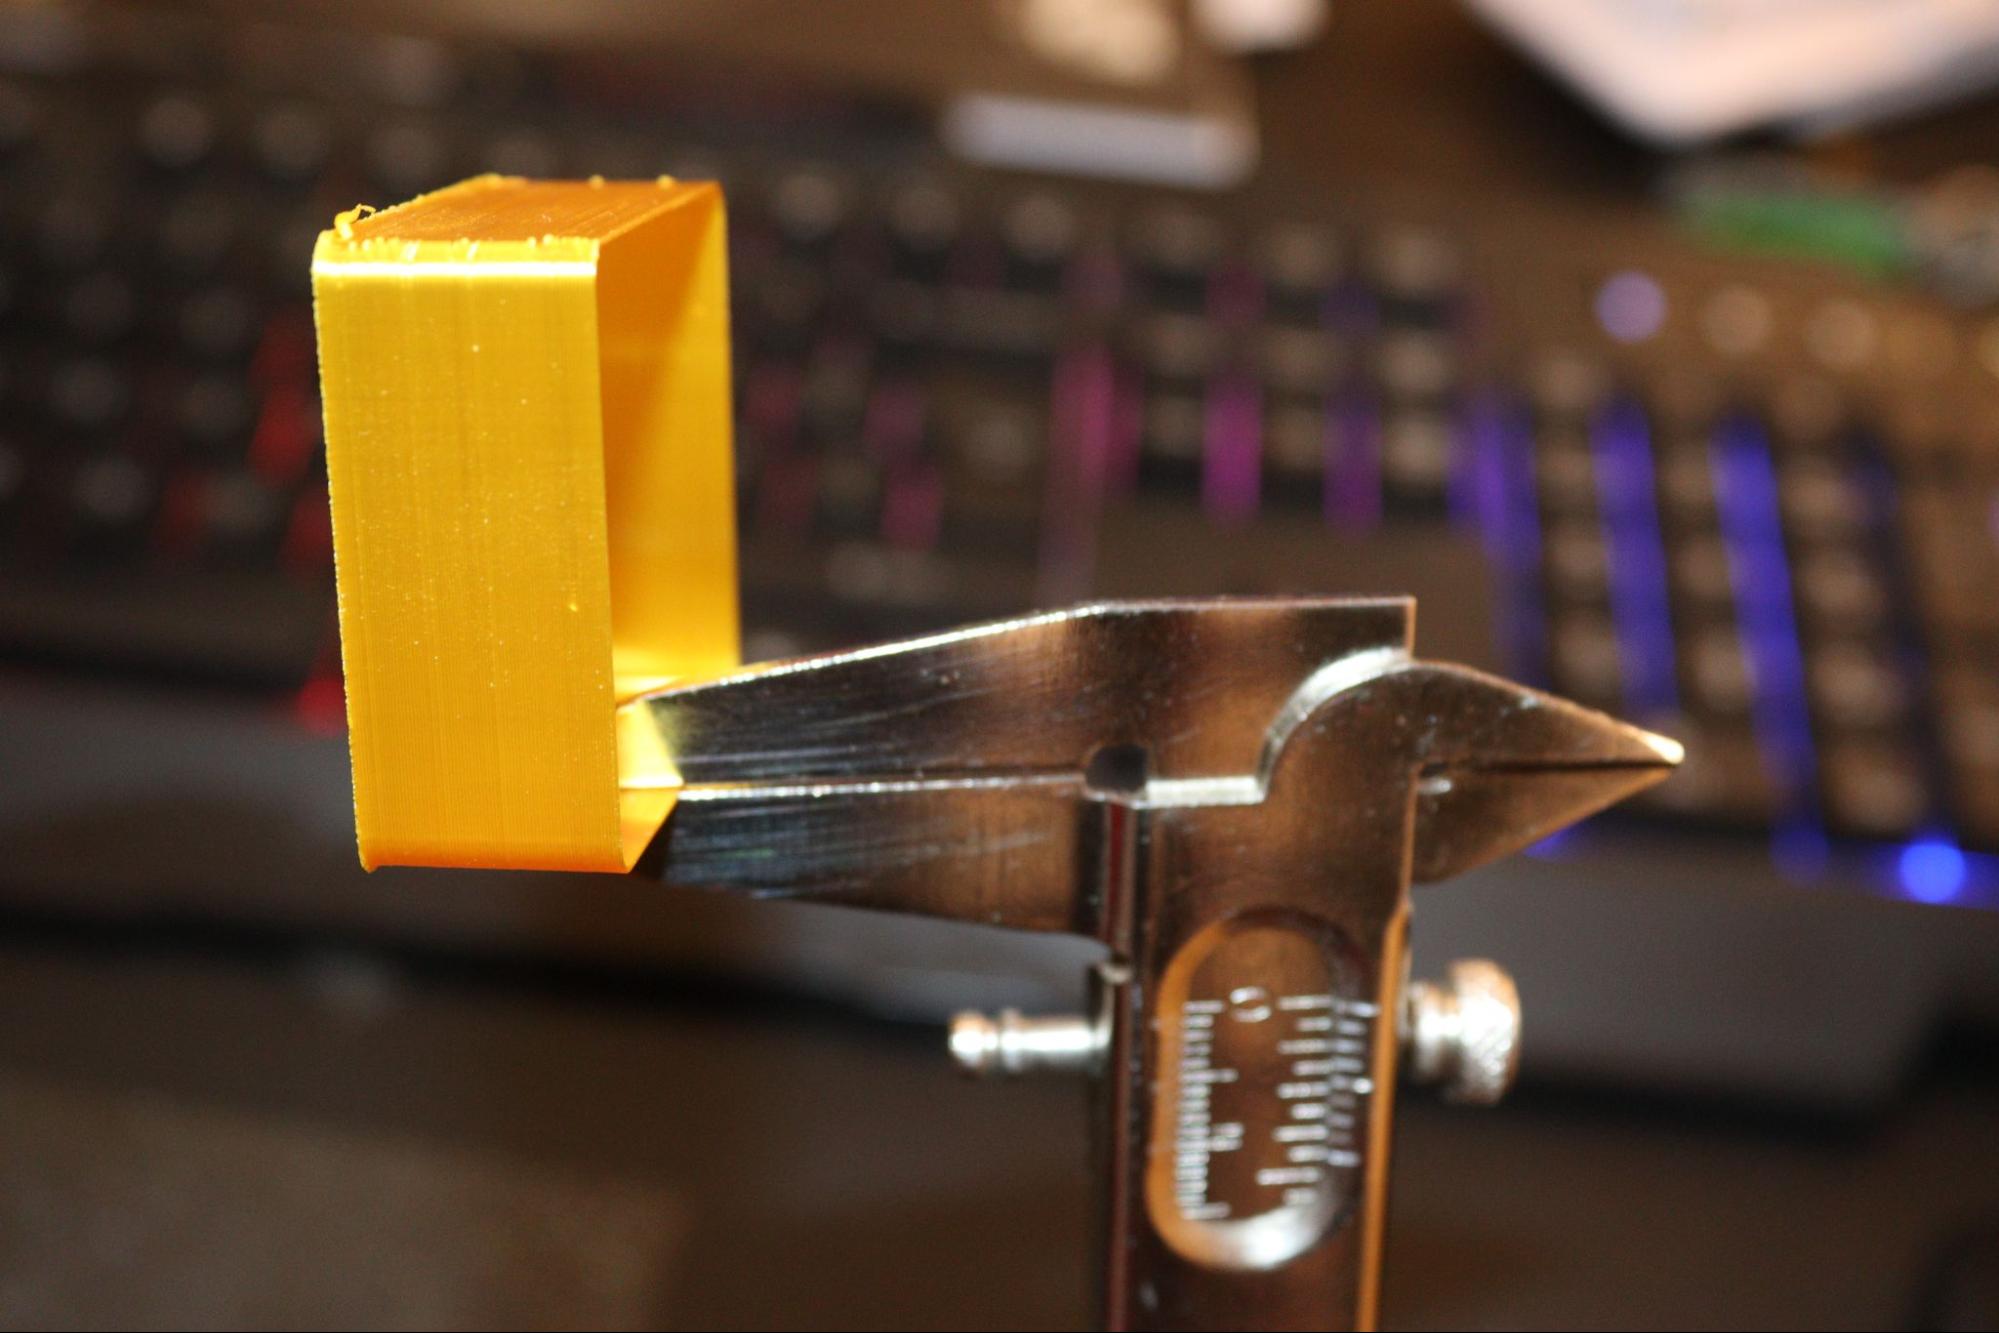
The XYZ calibration cube helps tune the dimensional accuracy of your 3D printer. It has precise dimensions, such as 20mm on each side. After printing, you need to measure its dimensions with a caliper or other measurement tools to see if it is the intended size. Through this, you will know how precise are your stepper motors when moving. If the size of your prints is far from the size in the digital file, this is an important test print you need to use to troubleshoot the issue.
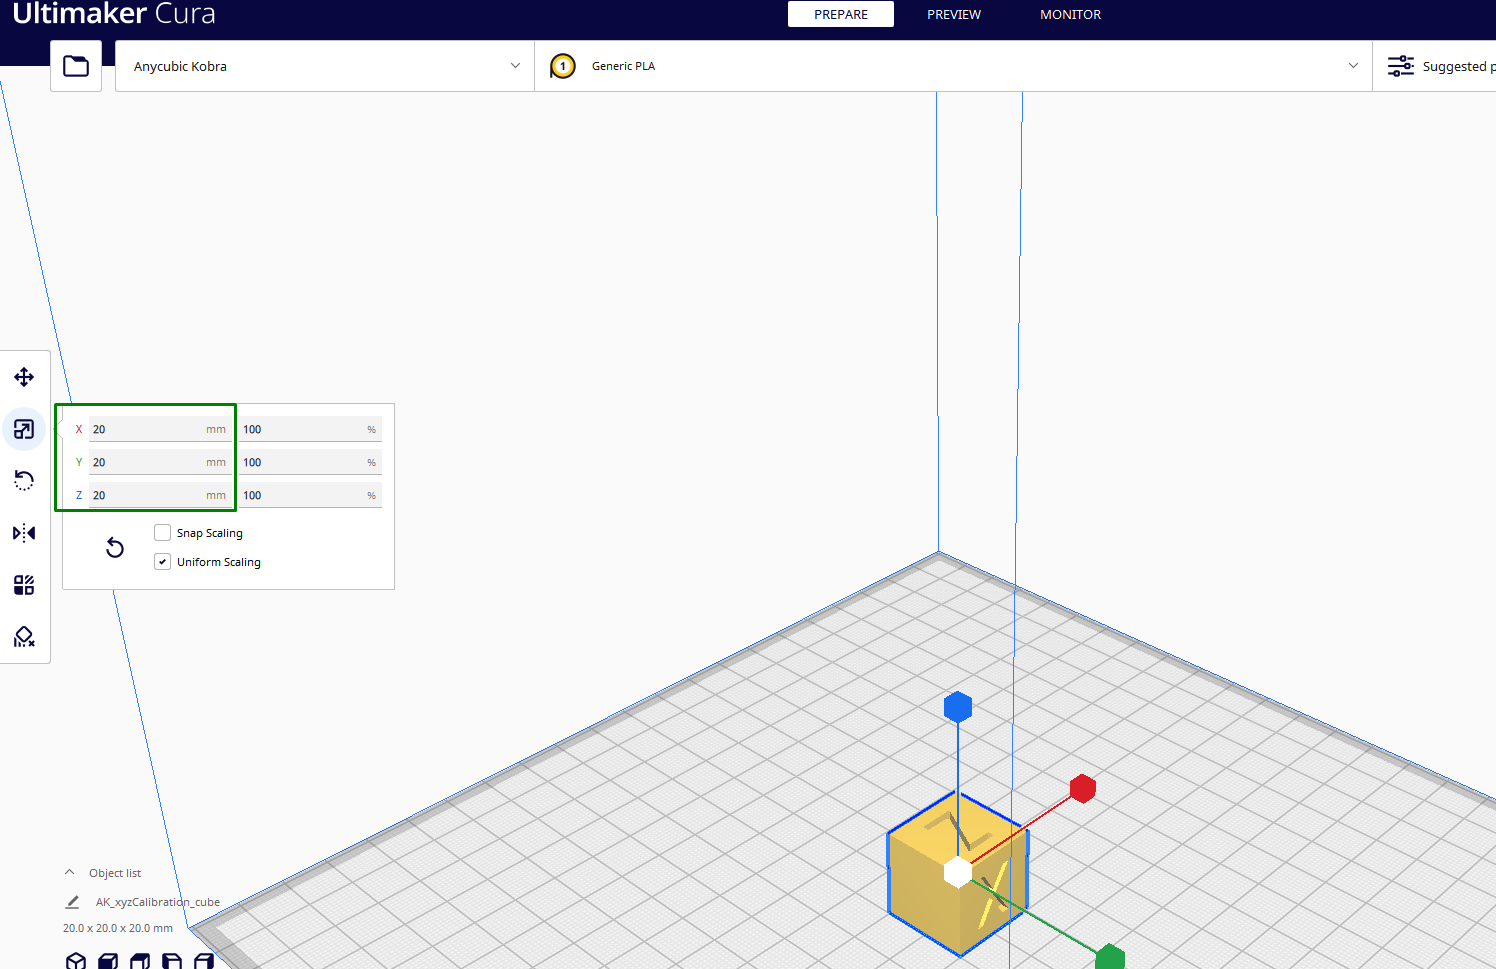
To print this model, you must orient it properly in the slicer and ensure the letters are parallel to the axis you are measuring, as shown below.
In most cases, the model will be imported facing the right direction. After 3D printing, measure the three sides and note the values.
You can then compare with the length, width, and height values in the slicer and see if they are within the same range.
If the sizes are much different, you will need to fine-tune your machine until you achieve almost that range. In addition to helping you know if your machine is well calibrated, it can also help identify issues related to under or over-extrusion and even steps per millimeter.
3. All-in-One 3D Printer Test
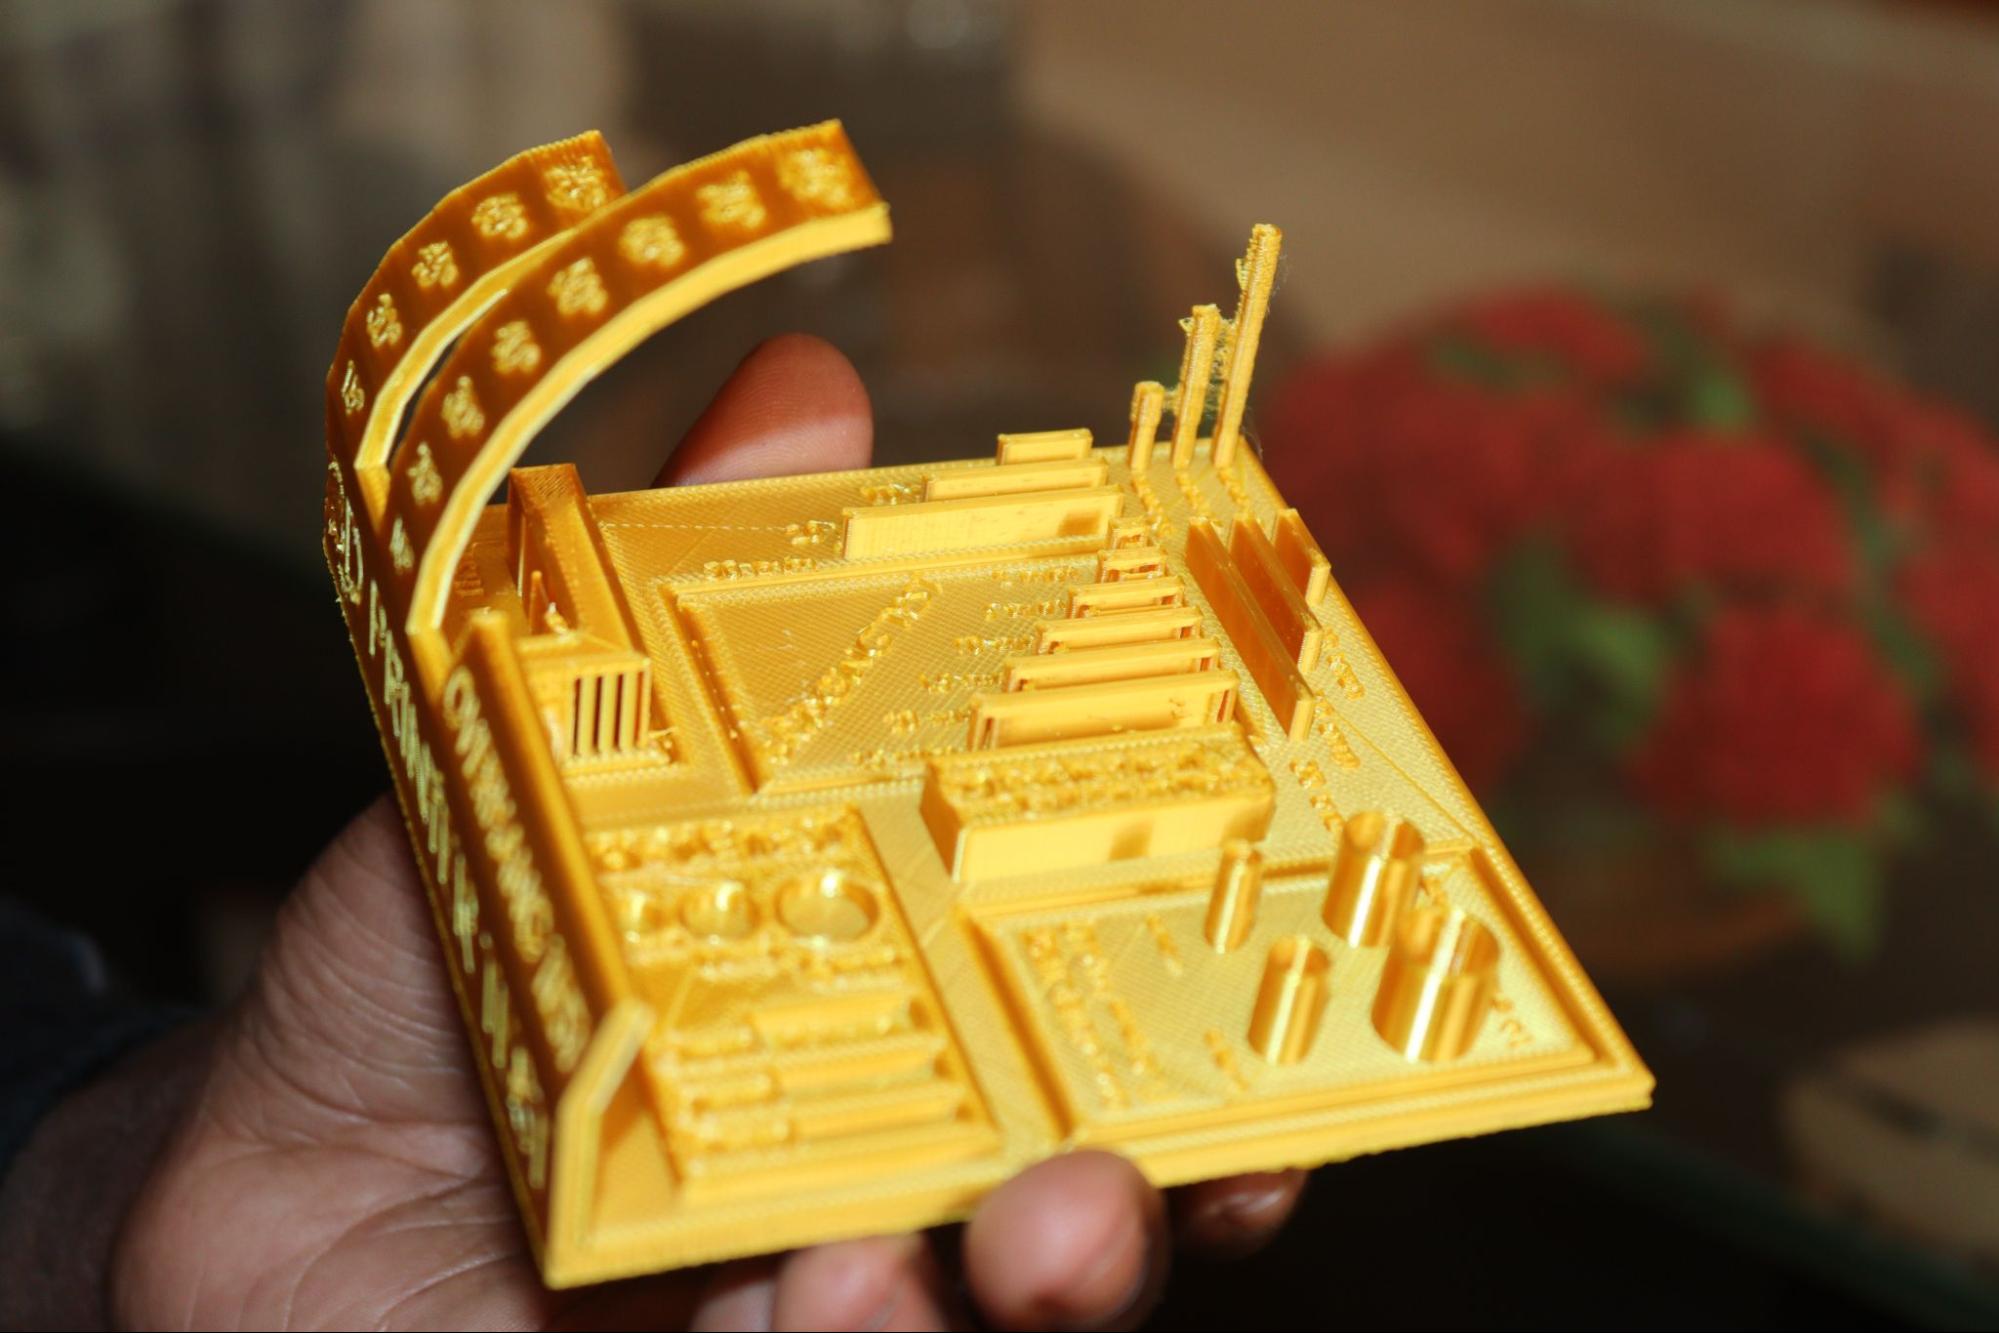
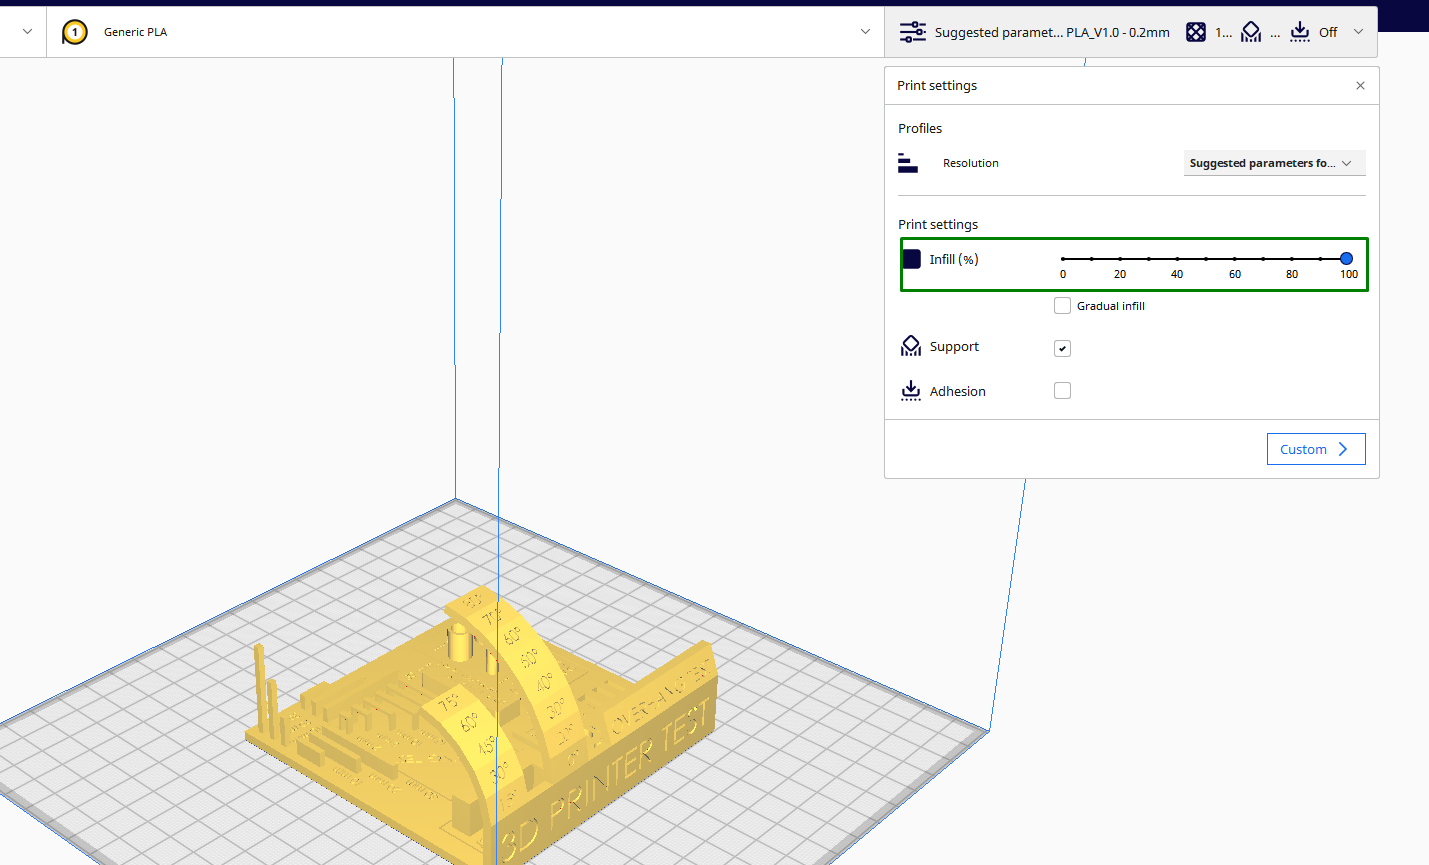
As the name suggests, the all-in-one 3D printer test tests how your 3D printer handles various designs, from overhangs, supports, hole tests, temperature, and even bridging. After downloading and slicing the files, the designer suggests using 100% infill with no supports.
After 3D printing, you should examine every part of the model and see how your machine handles them. You will be able to identify if there are issues in any part and see which course of action to take.
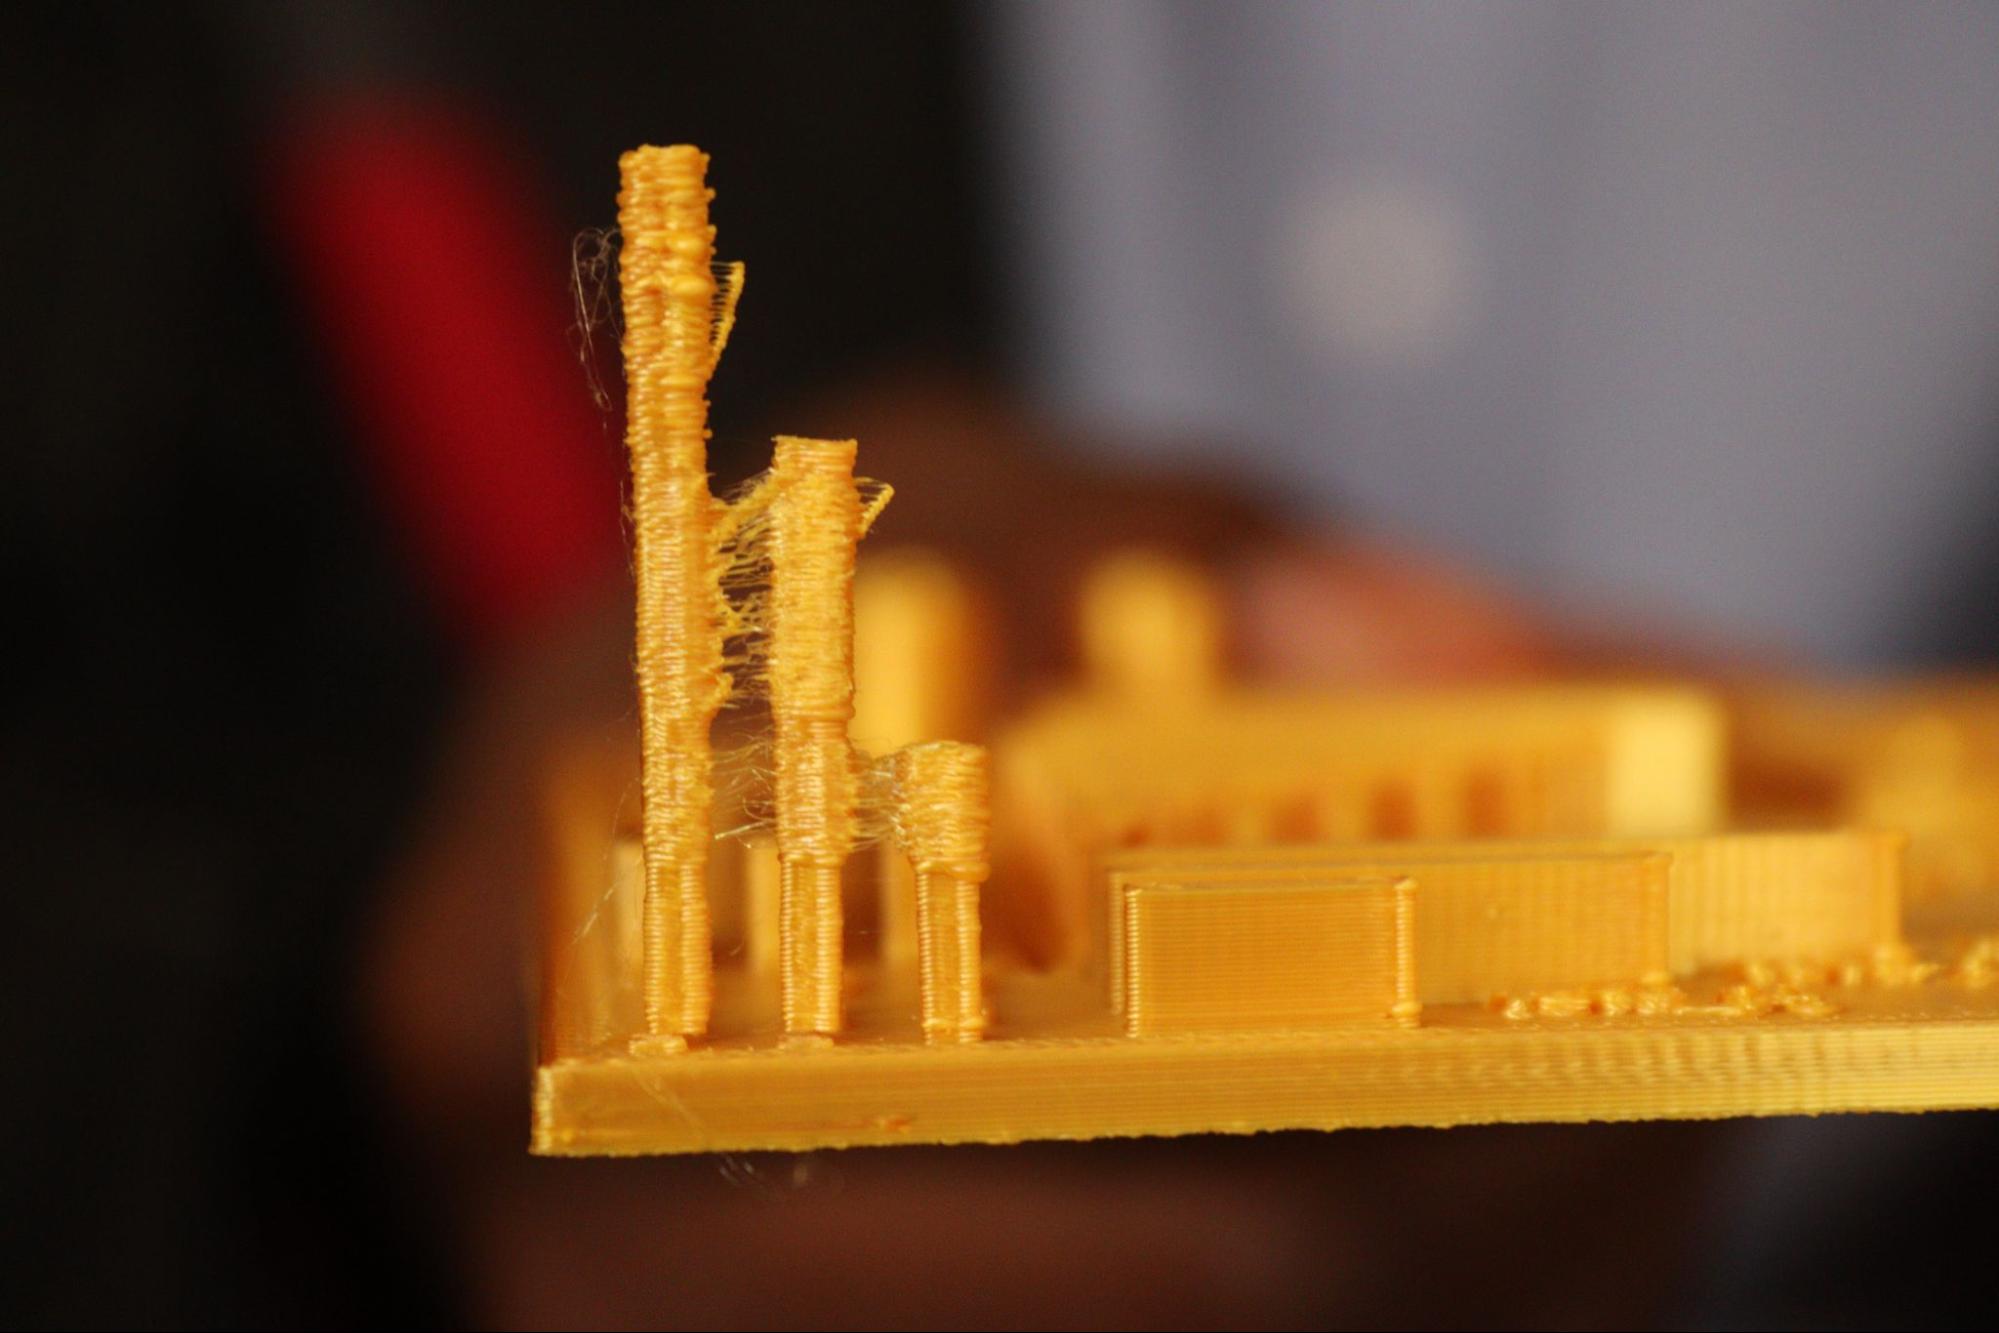
For example, in my case, I saw stringing around in some sections of the design, and this meant that I needed to adjust the retraction and temperature settings to fix the issue.
The print will also help you understand how holes and walls of your designs will be 3D printed, and you can change the speed, temperature, and other settings to ensure that it is printed accurately.
4. Retraction Test
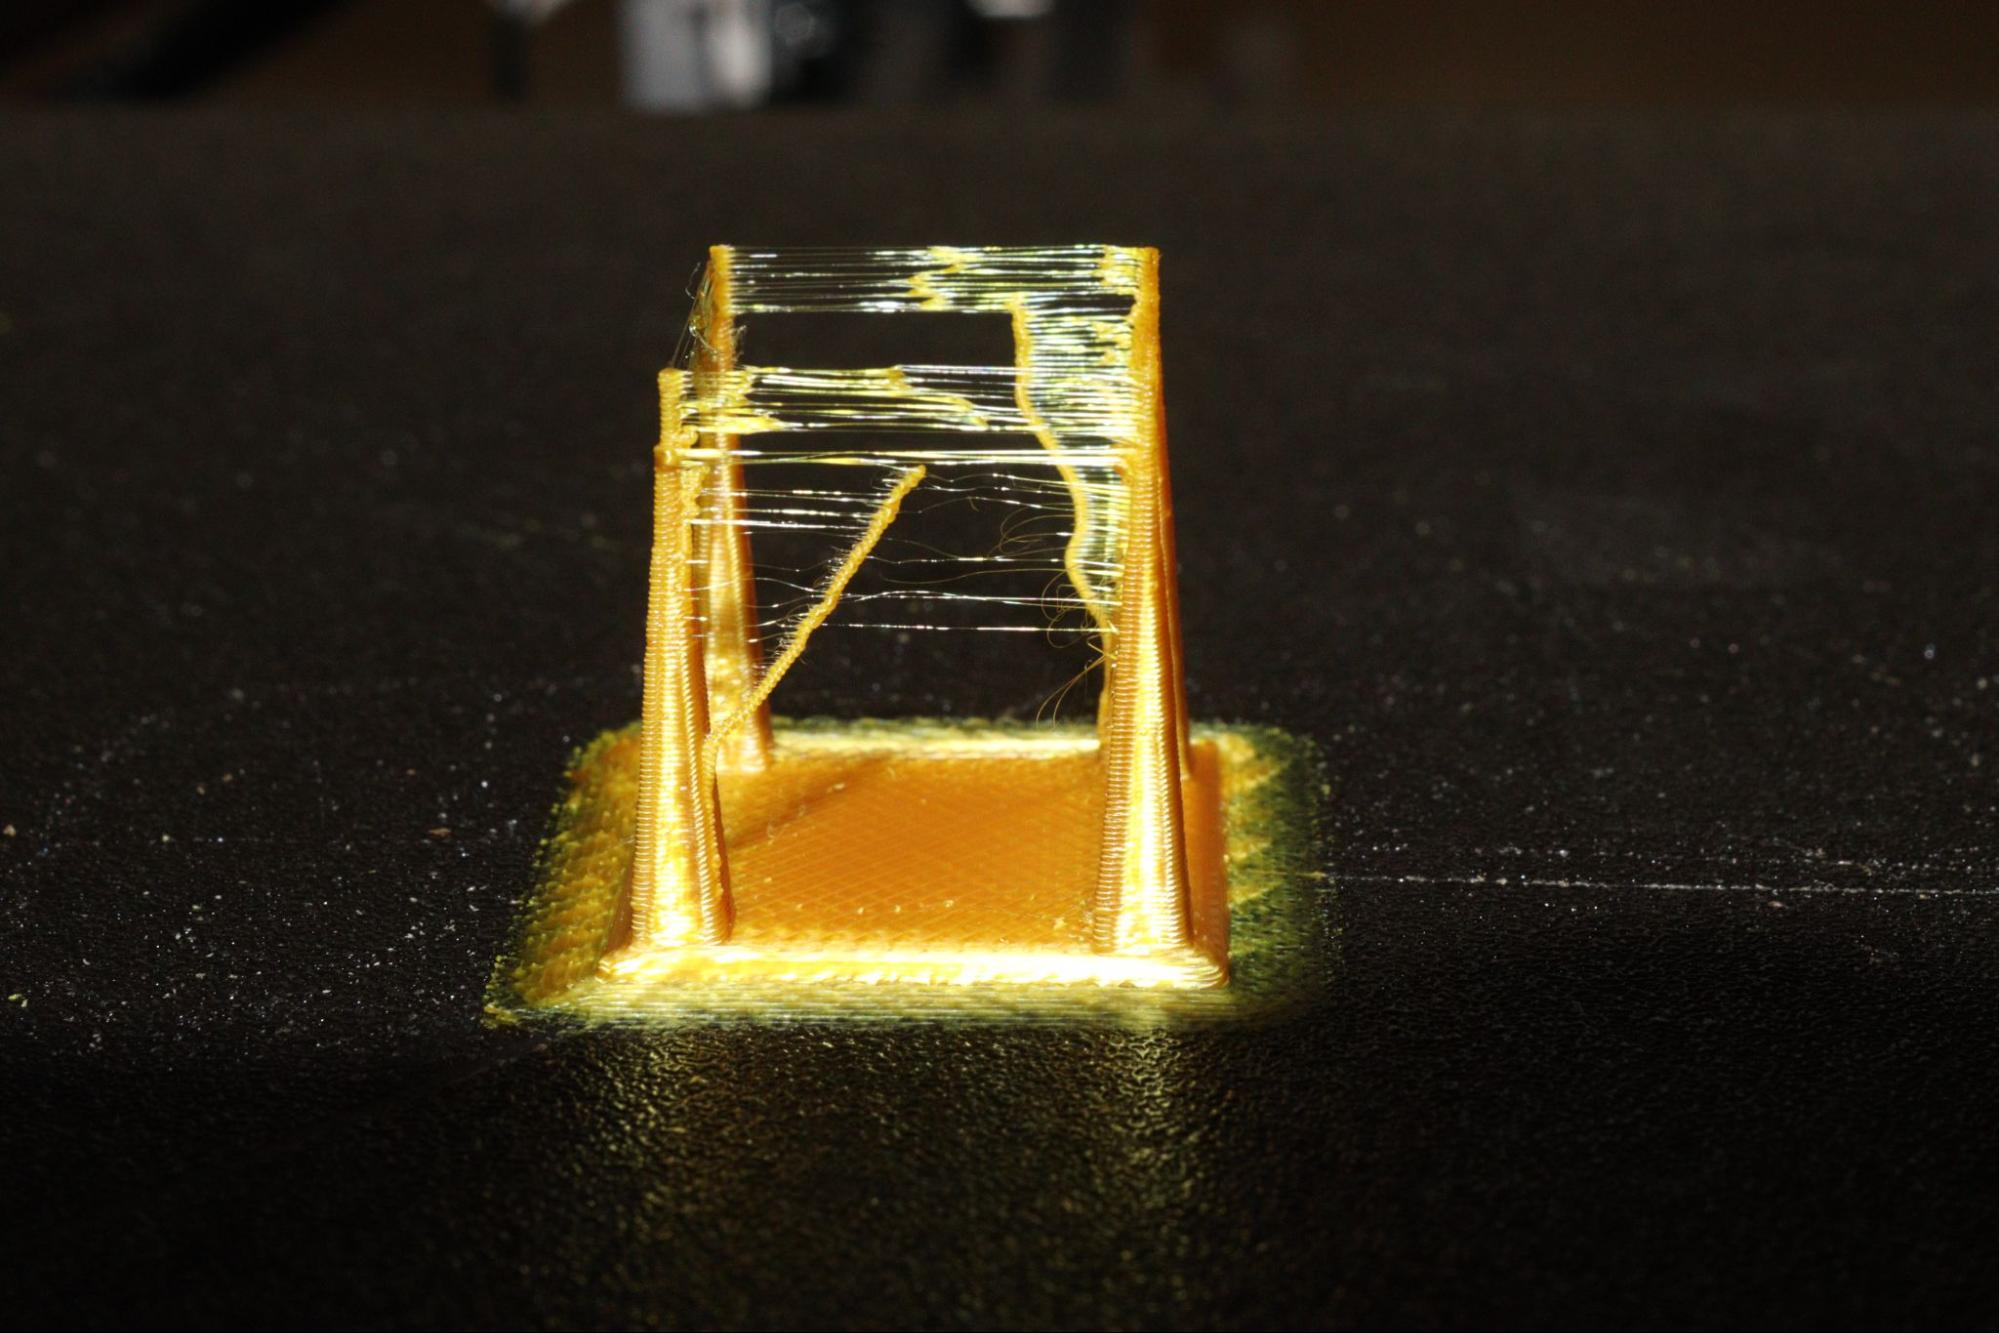
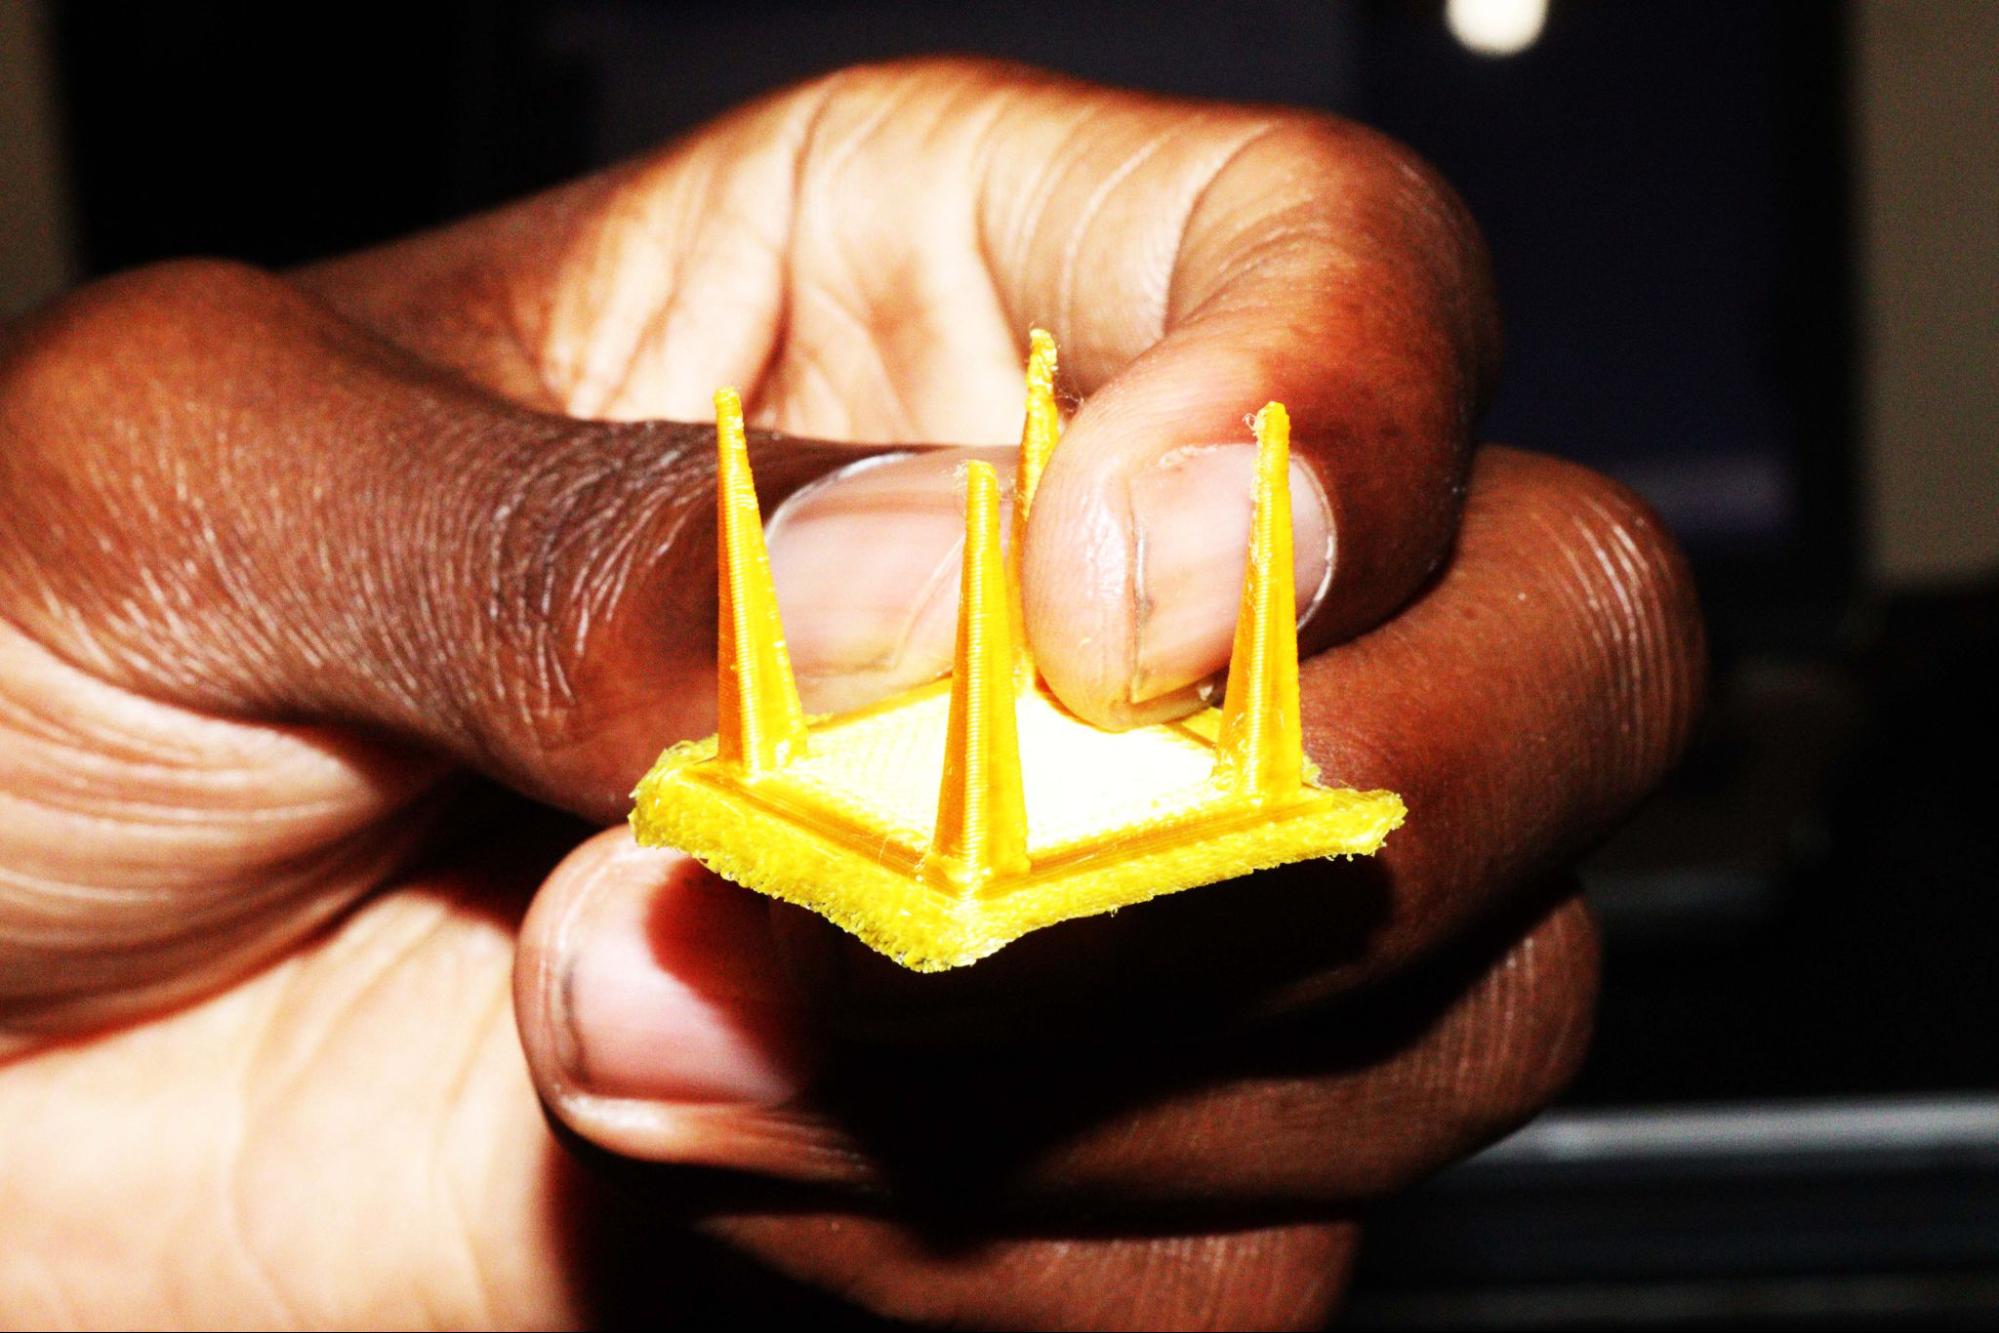
The retraction test model helps test how your 3D printer retracts or pulls the filament back to the nozzle as it moves from one end to the other. If your retraction settings are not correctly set, you will experience stringing. Stringing is where thin filament strands accumulate on your design, as shown below.
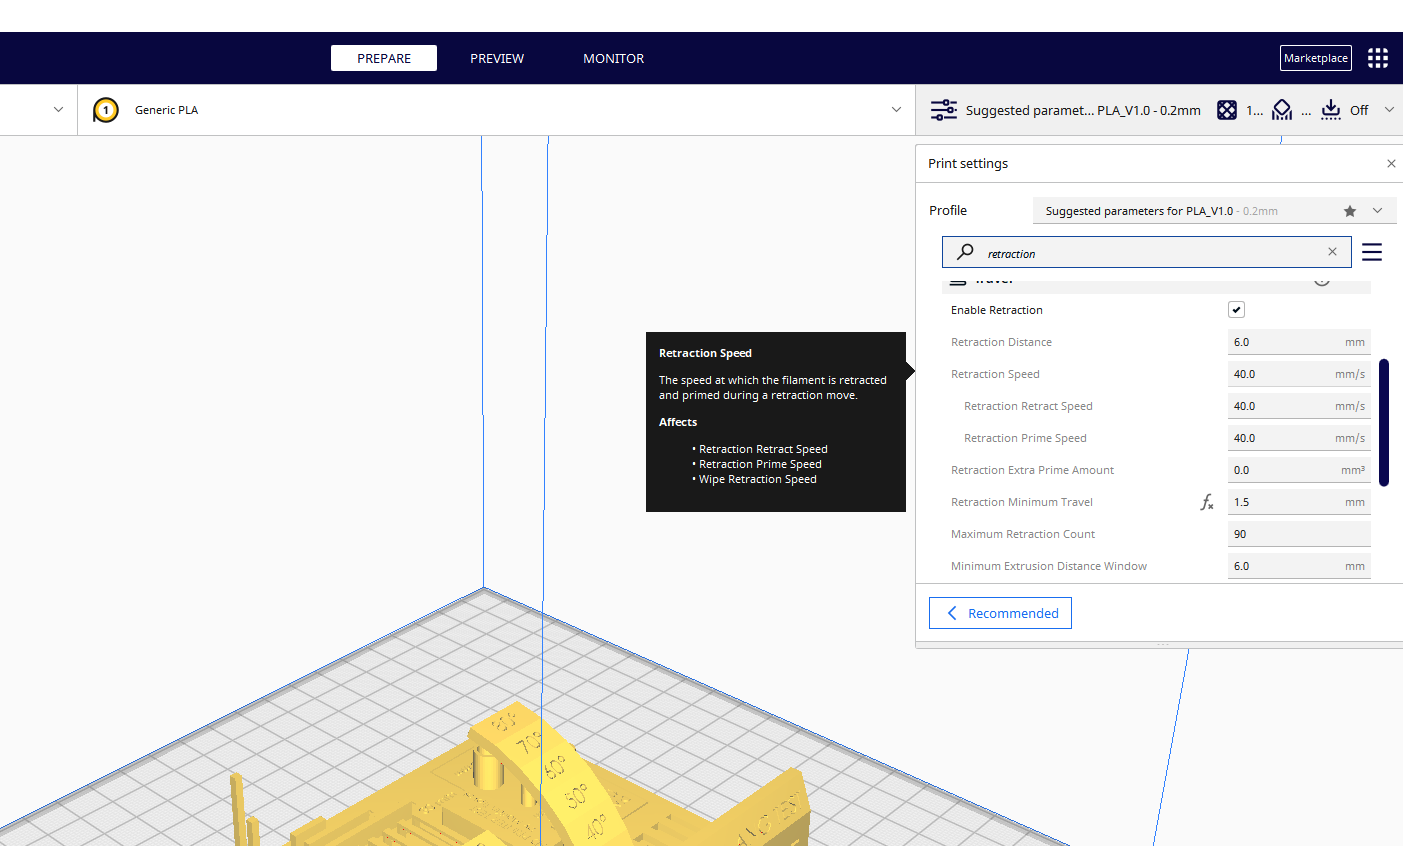
If you experience stringing, you need to adjust the retraction speed in your slicer; in most cases, you need to increase it a little so that the filament retracts quickly and does not have the time to ooze out as the print head moves.
If the strings appear even after Increasing the retraction speed, you can increase the retraction distance too. In my case, I only increased the speed, and it came out without many issues, even though the tip of the towers were a little affected.
5. Smart Compact Temperature Calibration Tower
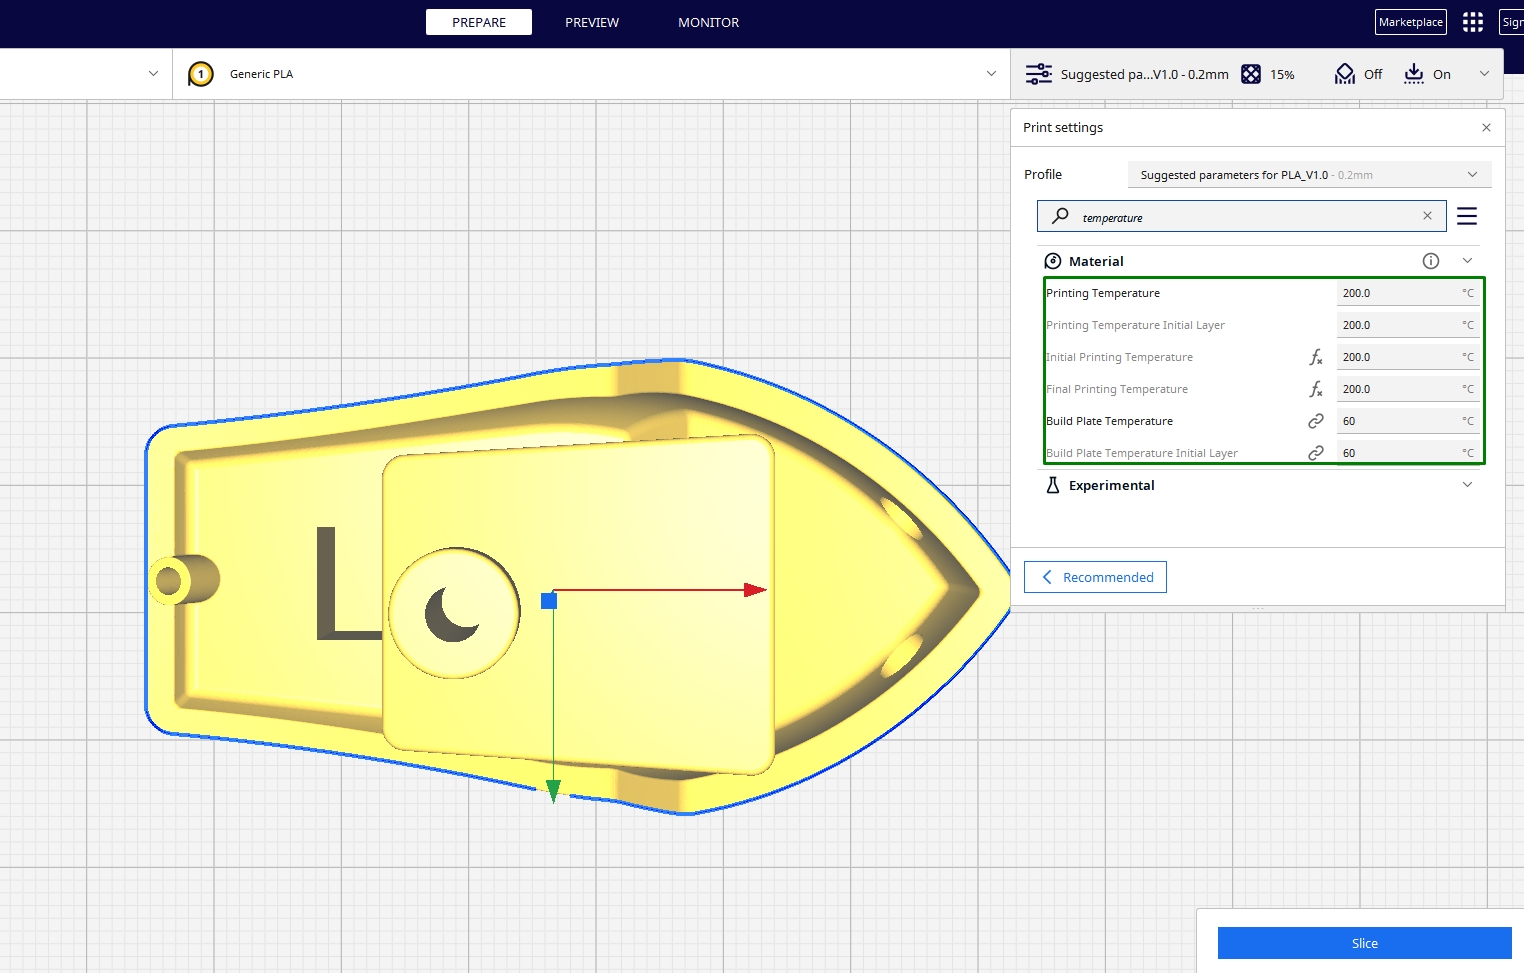
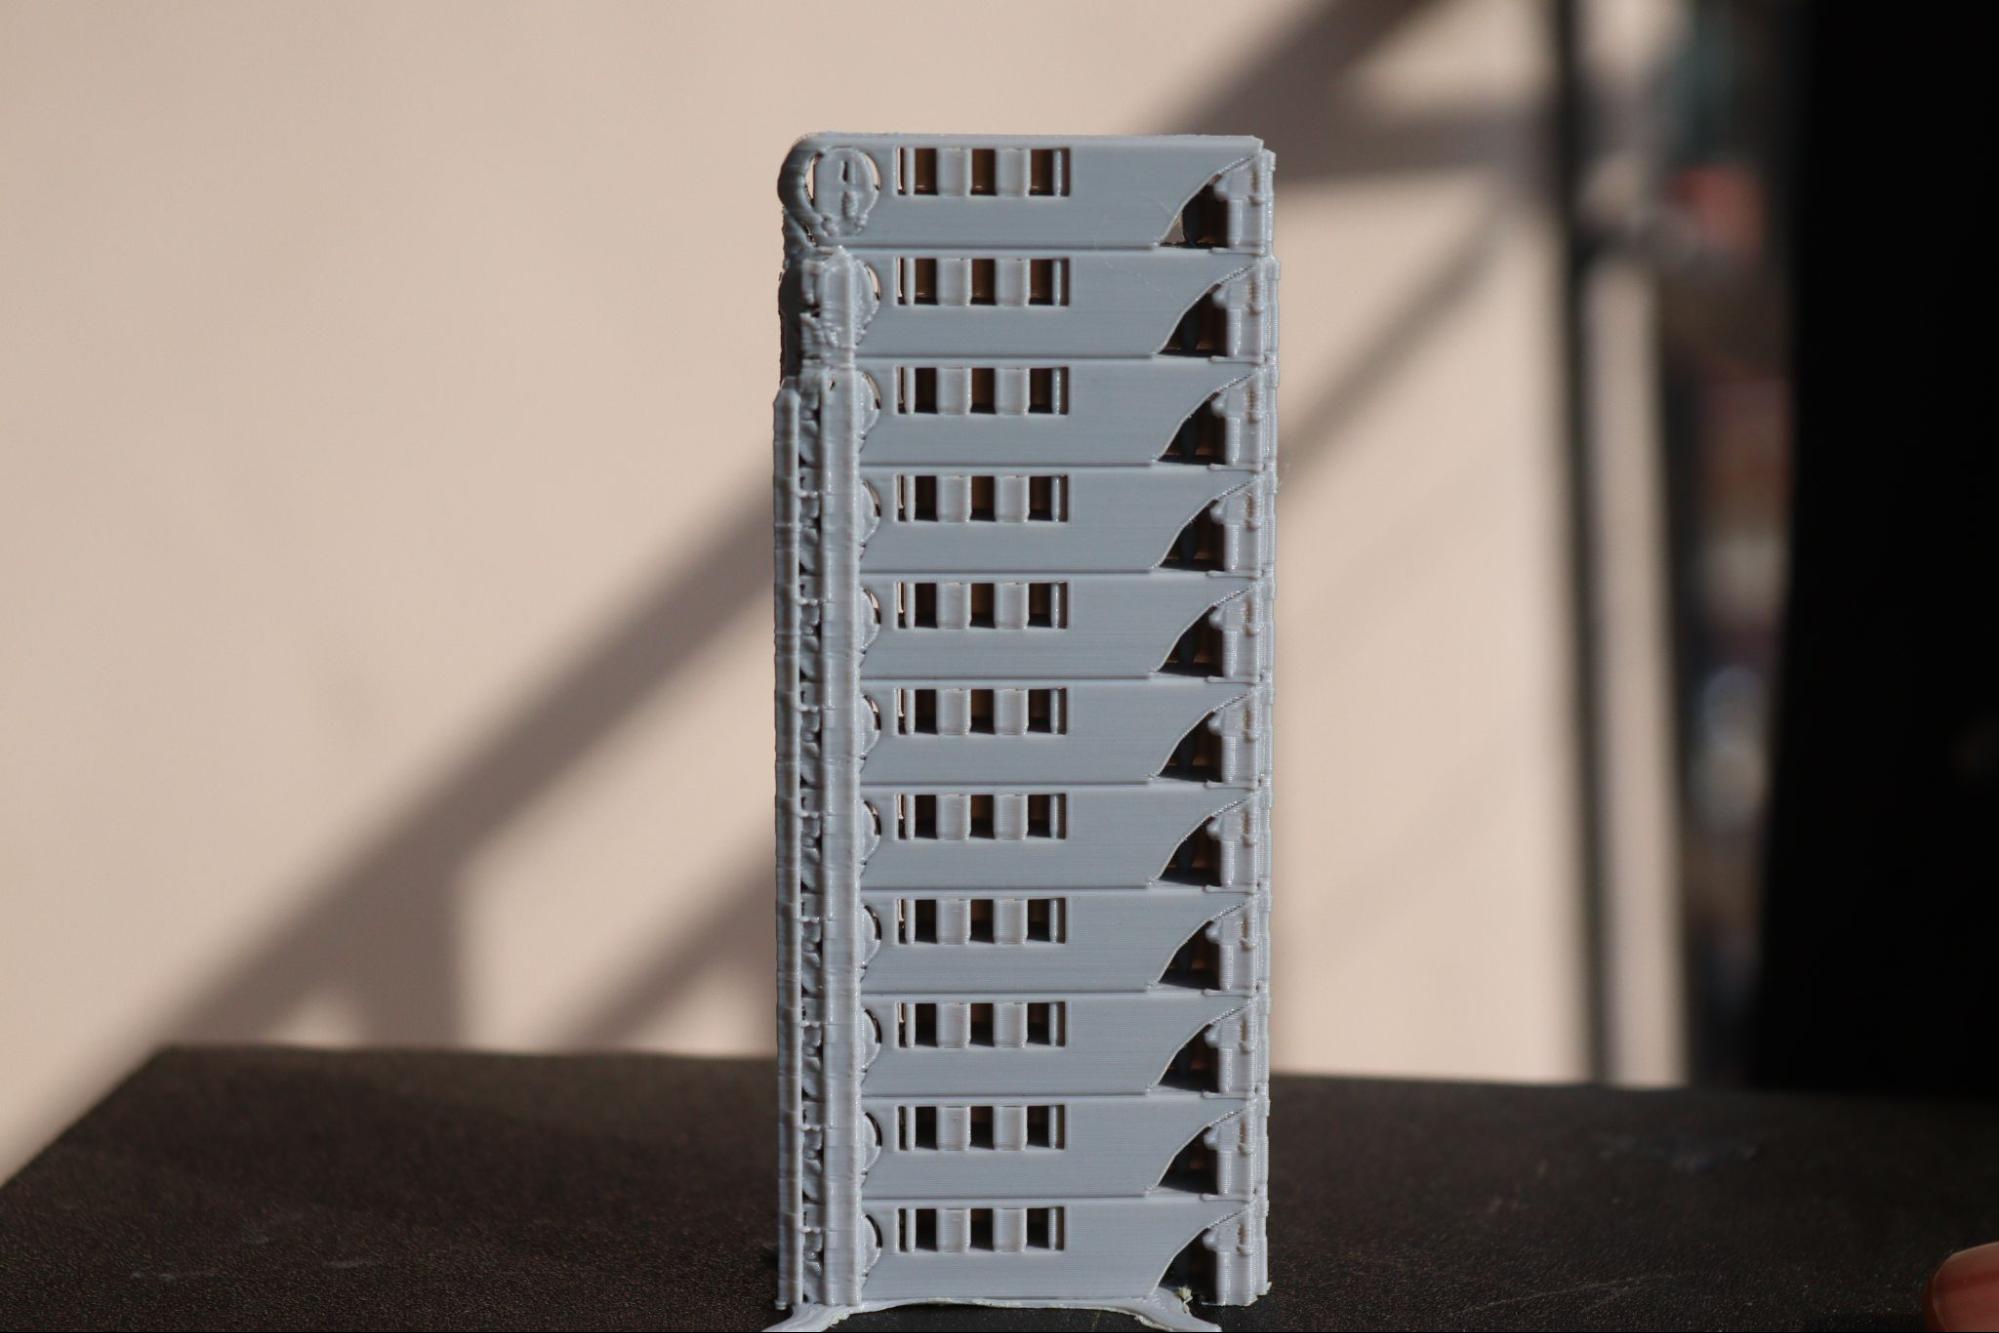
Smart compact temperature calibration tower helps calibrate your 3D printer and filament. It allows you to evaluate the print quality at different temperatures and determine the ideal temperature range for your filament. The temperature segments in the design increase gradually, and it’s easier to know how each section has been 3D printed.
The designer suggests printing at an infill of 15% and 0.2mm resolution, and you should not use supports. You can analyze the design after 3D printing and adjust your temperature settings accordingly.
6. Flowrate Calibration Print
Flowrate calibration print is another test print that helps calibrate the flow rate of your 3D printer. The flow rate is the rate at which the extruder extrudes the filament from the nozzle and is measured in millimeters per second. It affects the quality of prints and printing speed. A lower flow rate reduces the speed and produces prints with finer details. A higher rate, on the other hand, reduces the 3D printing time, though if it’s too high, it can result in issues like over-extrusion.
If you experience issues like oozing, over-extrusion, and poor-quality prints, it’s essential to 3D print this test model and use it to troubleshoot the problem.
The above are just but a few of the many available test prints. If you know the issue you want to troubleshoot, you can pick the appropriate design and use it for testing. But if you're going to know the various aspects of your machine generally, you can begin with the simple cube, then go to complex designs like the 3D Benchy before moving to an all-in-one 3D printer test that covers everything. Most of these just take a few minutes or hours to print, so you can be sure they won’t waste your time or material.
MORE: Best 3D Printers
MORE: Best Budget 3D Printers
MORE: Best Resin 3D Printers
Sammy Ekaran is a freelancer writer for Tom's Hardware. He specializes in writing about 3D printing tutorials and guides. You can find more of his work on various publications, including Makeuseof, All3dp, and 3Dsourced.
