Tested: Three Rocket Lake Z590 Overclocking Motherboards Face Off
Overclocking-focused Z590 boards from ASRock, Asus and Aourus contend for clock speed supremacy.
Get Tom's Hardware's best news and in-depth reviews, straight to your inbox.
You are now subscribed
Your newsletter sign-up was successful
The $599 Asus ROG Maximus Apex is $20 more expensive than the OC Formula and $50 more than the Gigabyte Aorus Tachyon, the two competing boards that fill out this roundup. To determine if this Asus is worth the extra money, we’ll have to dig deep into the features. First, here’s the complete list of specs for the ROG board, direct from Asus.
Specifications - Asus ROG Maximus XIII Apex
| Socket | LGA 1200 |
| Chipset | Z590 |
| Form Factor | E-ATX |
| Voltage Regulator | 18 Phase (18+2, 90A MOSFETs) |
| Video Ports | ✗ |
| USB Ports | (1) USB 3.2 Gen 2x2, Type-C (20 Gbps) |
| (5) USB 3.2 Gen 2, Type-A (10 Gbps) | |
| (4) USB 3.2 Gen 1, Type-A (5 Gbps) | |
| Network Jacks | (1) 2.5 GbE |
| Audio Jacks | (5) Analog + SPDIF |
| Legacy Ports/Jacks | (2) PS/2 |
| Other Ports/Jack | ✗ |
| PCIe x16 | (2) v4.0 x16 |
| PCIe x8 | ✗ |
| PCIe x4 | (1) v3.0 x4 |
| PCIe x1 | ✗ |
| CrossFire/SLI | 2-Way Nvidia SLI |
| DIMM slots | (2) DDR4 5333(OC), 64GB Capacity |
| M.2 slots | (1) PCIe 4.0 x4 / PCIe (up to 80mm) |
| (1) PCIe 4.0 x4 / PCIe (up to 80mm) | |
| (2) PCIe 3.0 x4 / PCIe/SATA (up to 110mm) | |
| U.2 Ports | ✗ |
| SATA Ports | (8) SATA3 6 Gbps |
| *Supports RAID 0, 1, 5 and 10 | |
| USB Headers | (1) USB v3.2 Gen 2x2 (Front Panel Type-C) |
| (1) USB v3.2 Gen 1 | |
| (3) USB v2.0 | |
| Fan/Pump Headers | (8) 4-Pin |
| RGB Headers | (3) ARGB (3-pin) |
| (1) RGB (4-pin) | |
| Legacy Interfaces | ✗ |
| Other Interfaces | FP-Audio |
| Diagnostics Panel | 2-character debug display |
| Internal Button/Switch | Start/Flex/Retry/Bios buttons, Vlatch/Slow Mode/Pause/FS Mode switches |
| SATA Controllers | ASMedia ASM1061 |
| Ethernet Controller(s) | (1) Intel I225-V (2.5 GbE) |
| Wi-Fi / Bluetooth | (1) Intel Wi-Fi 6E AX210 (WiFi-6E, 2x2 160 Hz/6 GHz, MU-MIMO, OFDMA, BT 5.2) |
| USB Controllers | ✗ |
| HD Audio Codec | Realtek ALC4080 |
| DDL/DTS Connect | ✗ / Yes, DTS Sound Unbound |
| Warranty | 3 Years |
Along with the ROG Maximus Apex, Asus includes several accessories in the box. These range from stickers and keychains to extension cables, the DIMM.2 expander module and more. Overall it’s an robust set of accessories to get you started. Below is a complete list of all the included parts that come in the box with the board.
- ARGB/RGB extension cables
- (8) SATA cables
- (1) 3x1 thermistor cables
- ROG DIMM.2 / pads / screw package
- Wi-Fi Antenna
- M.2 screw package
- Q-connector
- ROG Key chain/stickers/thank you card
- ROG graphics card holder
- Support DVD
- User Manual
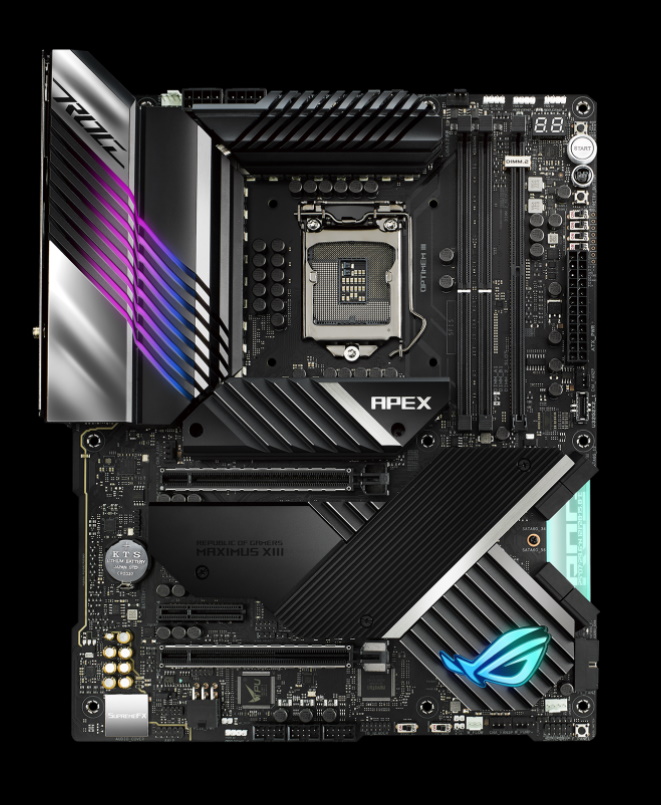
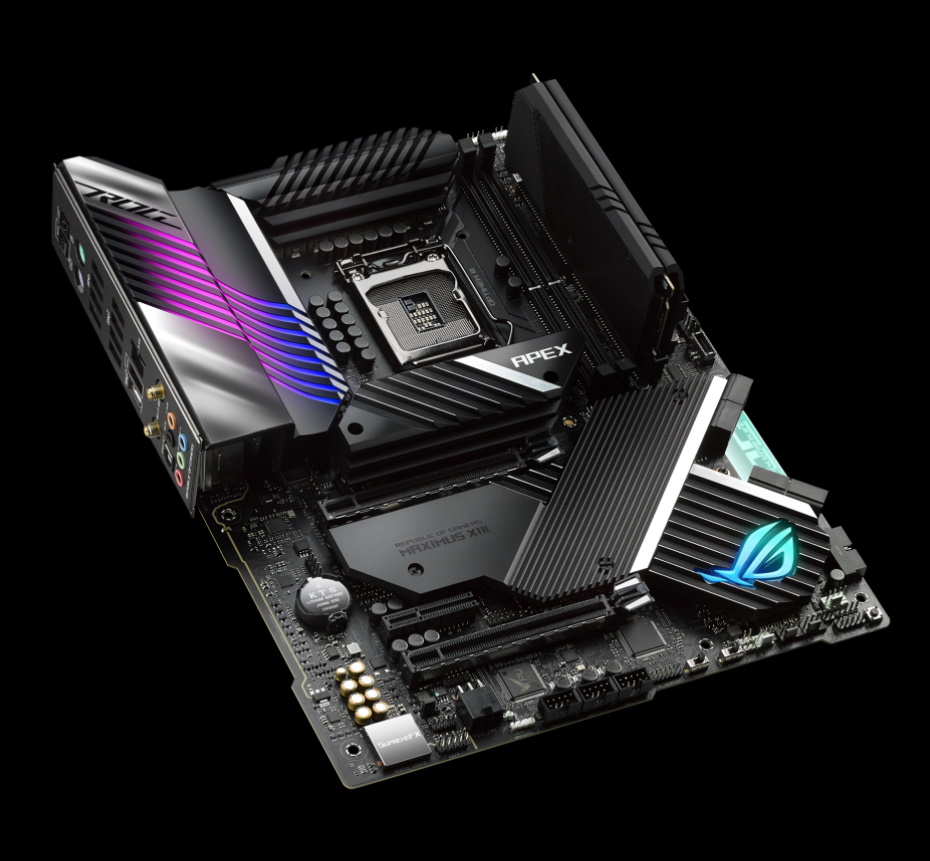
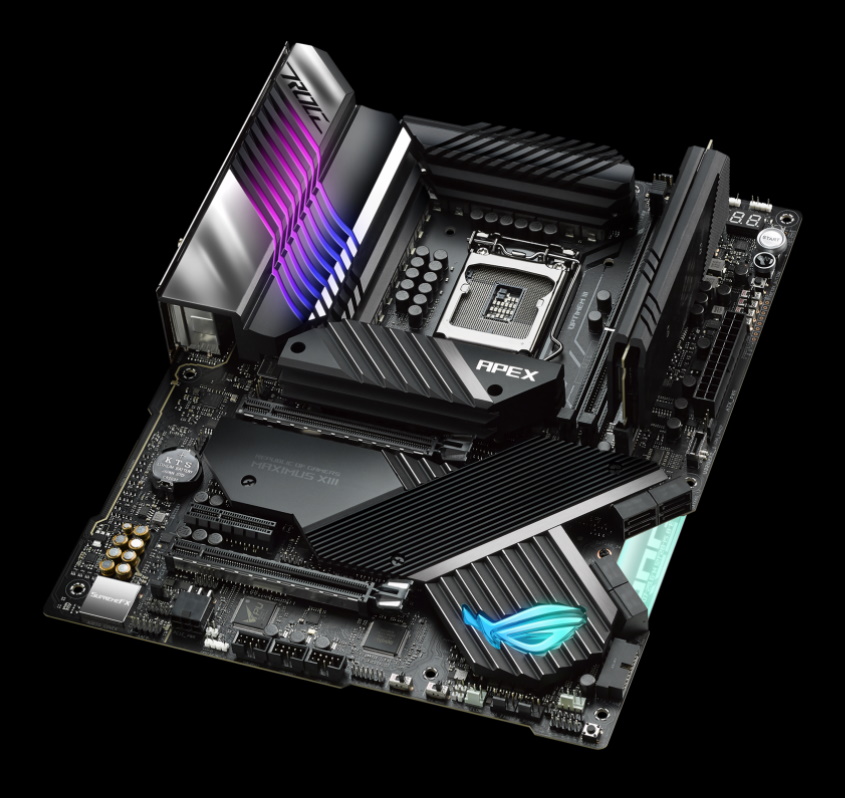
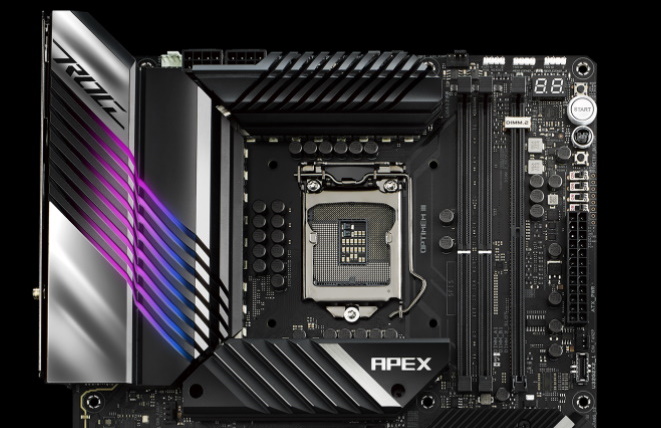
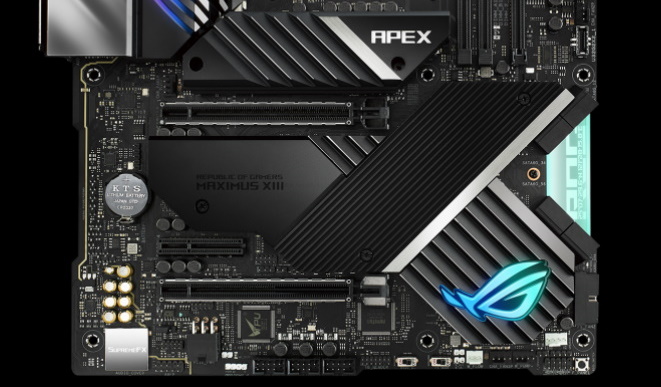
At first glance, the Maximus XIII Apex looks like most other boards. It has a matte-black PCB and large heatsinks covering the power delivery area, top M.2 socket and most of the board’s bottom. The heatsinks have large grooves to increase airflow and surface area. A U-shaped heatpipe connects the heatsink to distribute the heat across the entire array efficiently. The black and white styling gives way to RGB LEDs under the IO heatsink, the ROG symbol above the chipset and an acrylic piece with ROG letters stenciled in white. There’s also some coordinates (Longitude and Latitude) written in this space. When entered into Google Maps, it takes you to an Asus/Pegatron building just northwest of Taipei City.
Overall, I like the look of the Apex. It leaves those who want to use this in a chassis or open bench a lot of freedom to pick your theme, as there are no other accent colors outside of the minimal RGB lighting above the rear IO area and chipset. That said, for the extreme overclocker who plans to use a pot for dry ice or LN2, there’s not a lot of room around the socket area, and several capacitors to get in the way. But for a daily driver, this won’t matter and provides ample cooling for the VRMs.
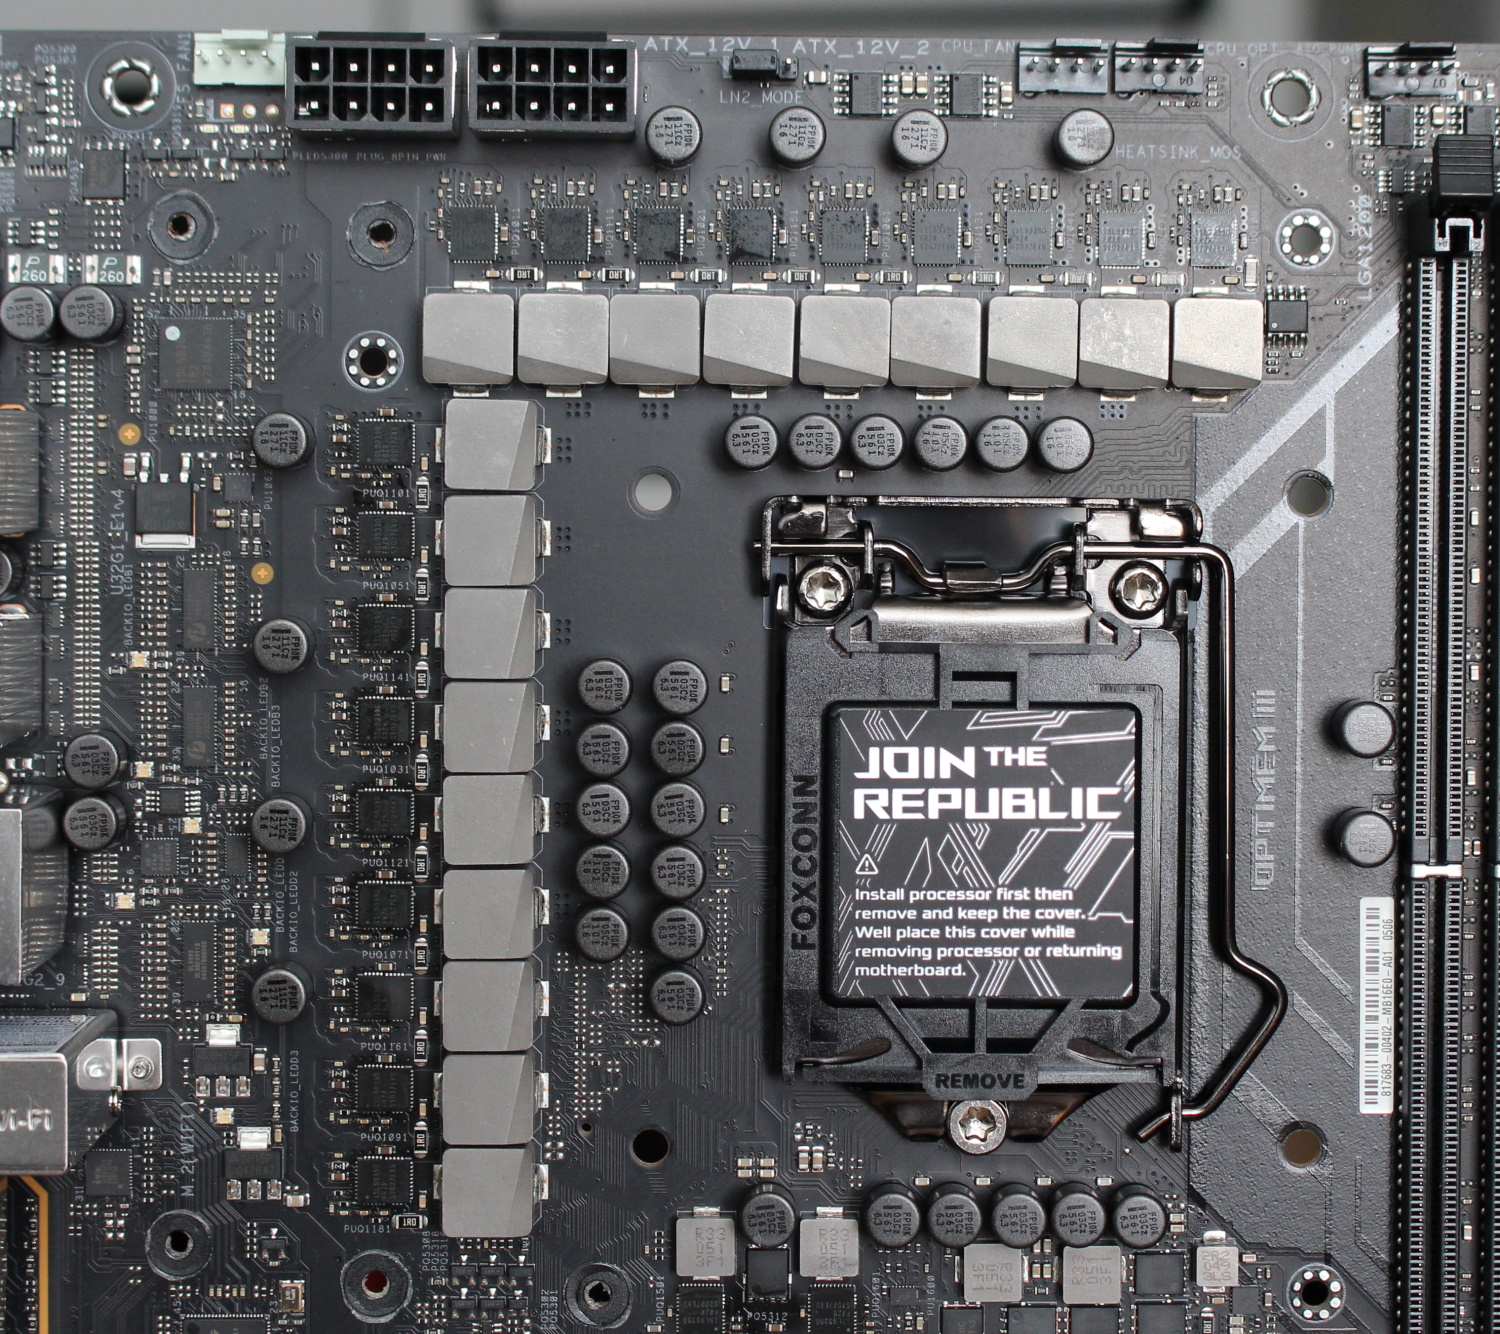
As we look closely at the top half of the board, you can see through part of the VRM heatsink that houses the RGB lighting. This configuration yields a cool effect if you’re not looking straight on, with the light shining through the cutouts. The silver accent piece also sports ROG branding, while the Apex name graces the top of the M.2 cover. We spy the first of four 4-pin fan headers here (eight total) on the top edge. All fans output 1A/12W, except for the W_PUMP+ header capable of 3A/36W. All chassis and CPU headers are Q-Fan controlled, while the FS and PUMP headers are all full speed. Above the left VRM bank are two 8-pin EPS connectors (one required) to send power to the CPU. Between these and some fan headers is an LN2 mode jumper that expands the voltage range you’re able to use.
To the right of the socket area are two DRAM slots and the DIMM.2 slot. The Apex supports up to 64GB of DDR4 at speeds up to 5333+(OC). This is less than the OC Formula but still in the “YMMV” category, where you need a CPU with a great IMC and the right memory kit to reach those speeds (and more). The DIMM.2 socket to the right adds two M.2 sockets via a separate board, capable of running in SATA or PCIe modes. Just above are the three RGB headers (2 ARGB, 1 RGB).
Along the right edge, a lot is going on, especially for the overclocker. Working our way down from the top, we see the debug LED and the safe boot button. Below that are three more buttons, Start, Flex Key and Retry. The four switches here are enable/disable, V Latch, Slow Mode, Pause and one that is labeled RSRVD. Next to that is a set of holes used for voltage read points covering Vcore, VccSA, VDIMM, and other essential voltages -- a must for the extreme overclocker (and great for any enthusiast). Below that is the 24-pin ATX power connector for the motherboard, another fan header and finally, a front-panel USB 3.2 Gen2x2 Type-C header.
Get Tom's Hardware's best news and in-depth reviews, straight to your inbox.
Designed for overclocking, the Apex (like all the boards in this roundup) has a beefy VRM capable of handling any compatible CPU and taking it to ambient and sub-ambient limits. Power comes from the 8-pin EPS connectors (one required) and is fed to a Renesas ISL69269 12-channel controller, then on to 18 ISL99390 90A Smart Power Stage MOSFETs setup in a teamed (no doublers) configuration. This yields 1620A available for the CPU, which is one of the higher values we’ve seen overall, and the highest in this bunch.
Moving on to the bottom half of the board, we find the audio section on the left exposed for all to see. Hidden under the shiny faraday cage is the Supreme FX (Realtek) ALC 4080 codec and several small Nichicon audio capacitors. In addition to the board and channel separation is a Savitech SV3H712 amplifier said to improve THD+N performance for improved audio quality. The 4080 codec is the current flagship from Realtek and provides more than adequate sound for most users. This is the only board in this roundup that uses the latest and greatest for integrated audio codecs.
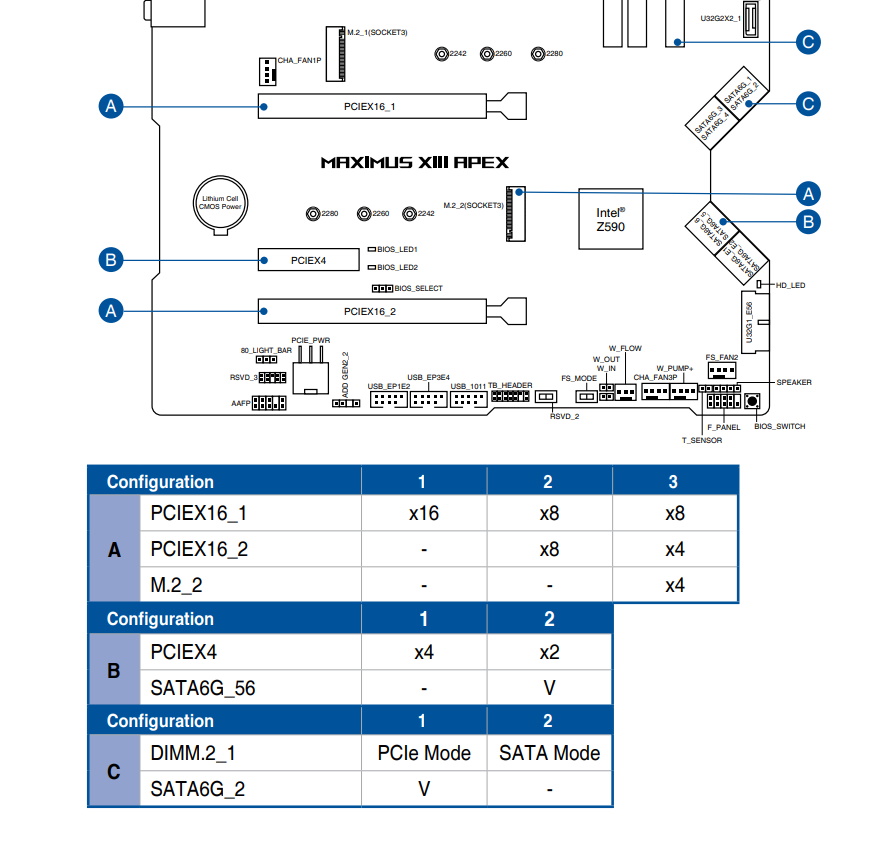
Sliding to the middle of the board, you’ll find two M.2 sockets, as well as two full-length PCIe slots and a single x4 size slot. The M.2 sockets are connected through the CPU and offer up to PCIe 4.0 x4 bandwidth using a Rocket Lake-based processor. Both support up to 80mm modules. Note, though, that there is plenty of bandwidth sharing and bifurcation going on. Instead of typing it all out, we’ll let the image below from the user manual show you.
The two reinforced full-length PCIe slots both use the CPU lanes. The top socket is wired for a maximum of PCIe 4.0 x16, while the second is up to x8 speeds. With an M.2 module installed in the bottom socket, the second slot breaks down to PCIe 4.0 x4. At the same time, the primary GPU slot goes to PCIe 4.0 x8 speeds. This isn’t a big deal on the graphics performance front, and it yields additional flexibility for storage. The x4 slot connects to the chipset, sharing lanes with SATA ports 4/5. In total, you can run up to four M.2 modules and four SATA-based drives simultaneously here.
Moving right, we jump over the chipset heatsink sporting the ROG branding, to the right edge where there’s a notch cut out of the board. Here you find the eight SATA ports (six connected to the chipset, two from the ASMedia controller). Below that is a front panel USB 3.2 Gen1 port.
Across the bottom of the board are a slew of headers and buttons from USB to temperature headers; a lot is going on here. Below we’ve listed everything here, from left to right.
- Front panel audio
- Auxiliary 6-pin PCIe connector
- ARGB header
- (3) USB 2.0 headers
- TPM header
- RSVD and FS Switches
- Water flow and temperature headers
- (3) fan headers
- Thermal sensor
- Front panel headers
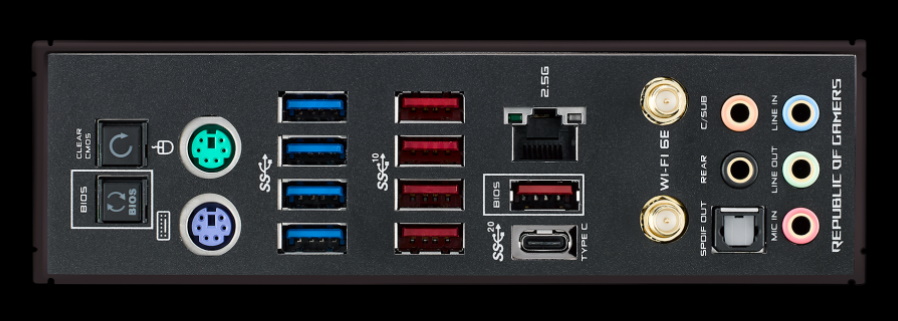
Swinging around to the rear IO, we’re presented with a pre-installed IO plate that matches the Apex’s black color scheme. Out back, there’s a total of 10 USB ports (3.2 Gen2x2 Type-C, 5x 3.2 Gen2, 4x 3.2 Gen1) and the single 2.5 GbE above them. On the left are clear CMOS and BIOS Flashback buttons, while just to the right are two legacy PS/2 ports for a mouse and keyboard. Finally, on the right side is the Wi-Fi 6E antenna and the audio stack (5-plug plus SPDIF).
Firmware
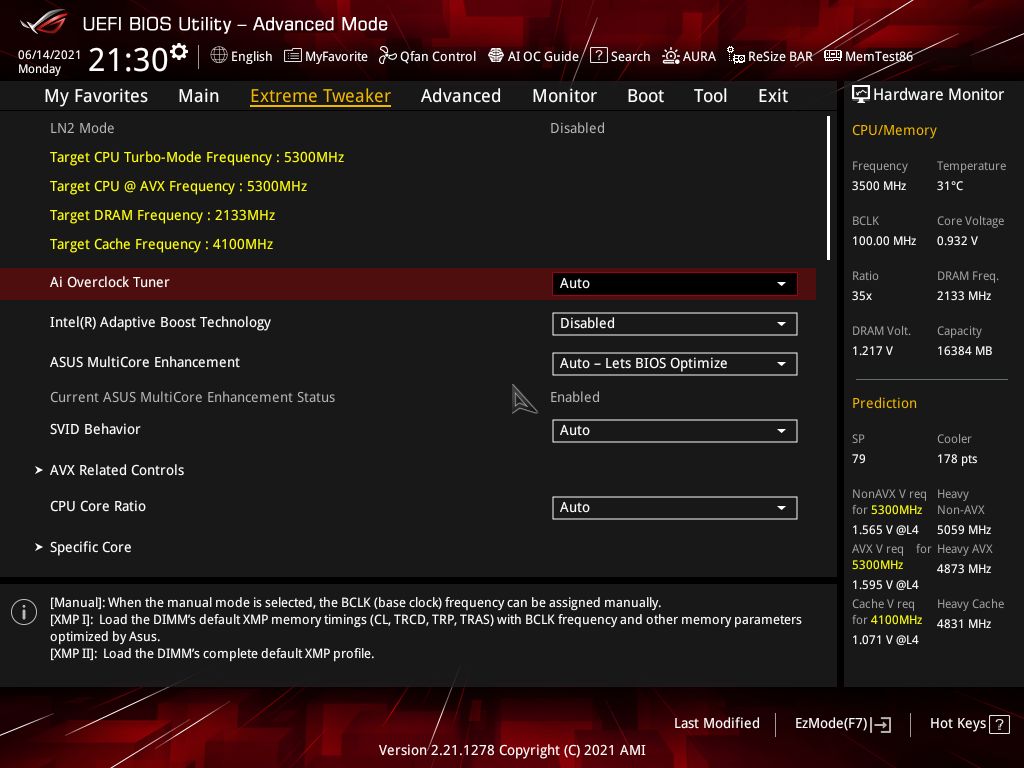
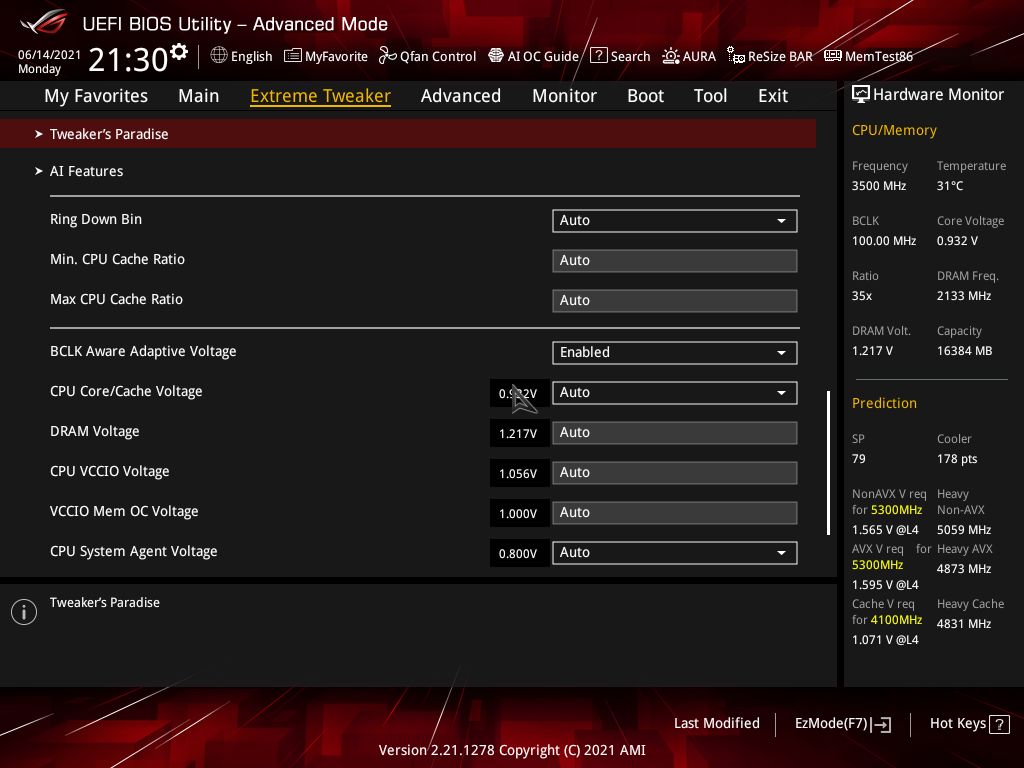
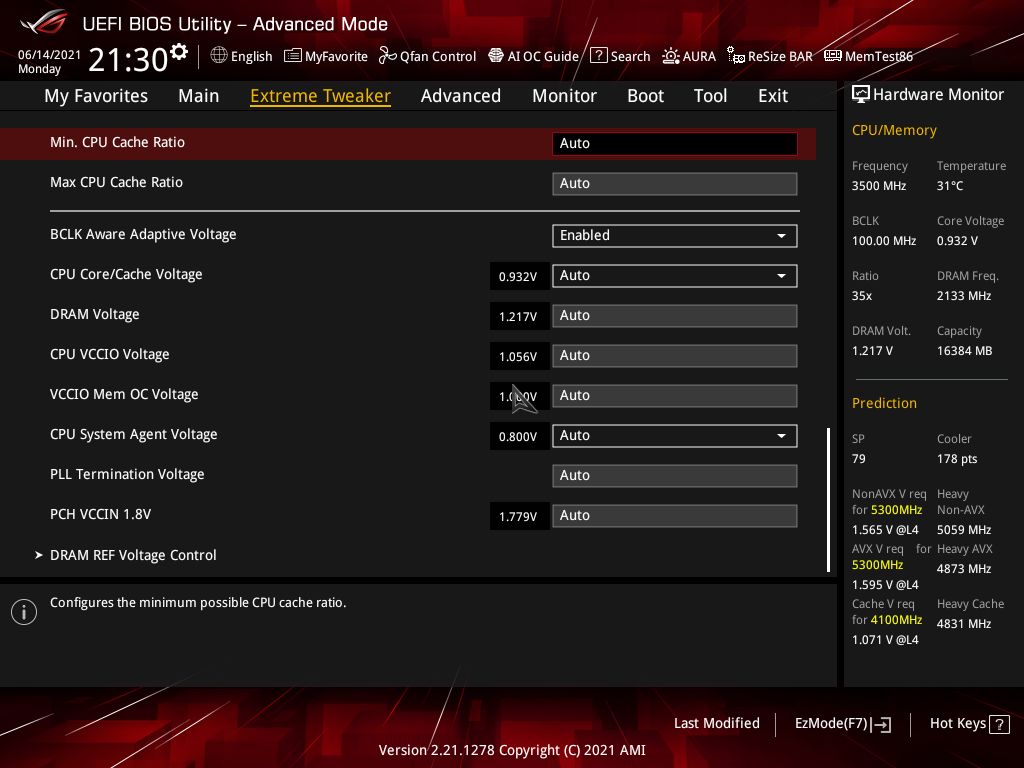
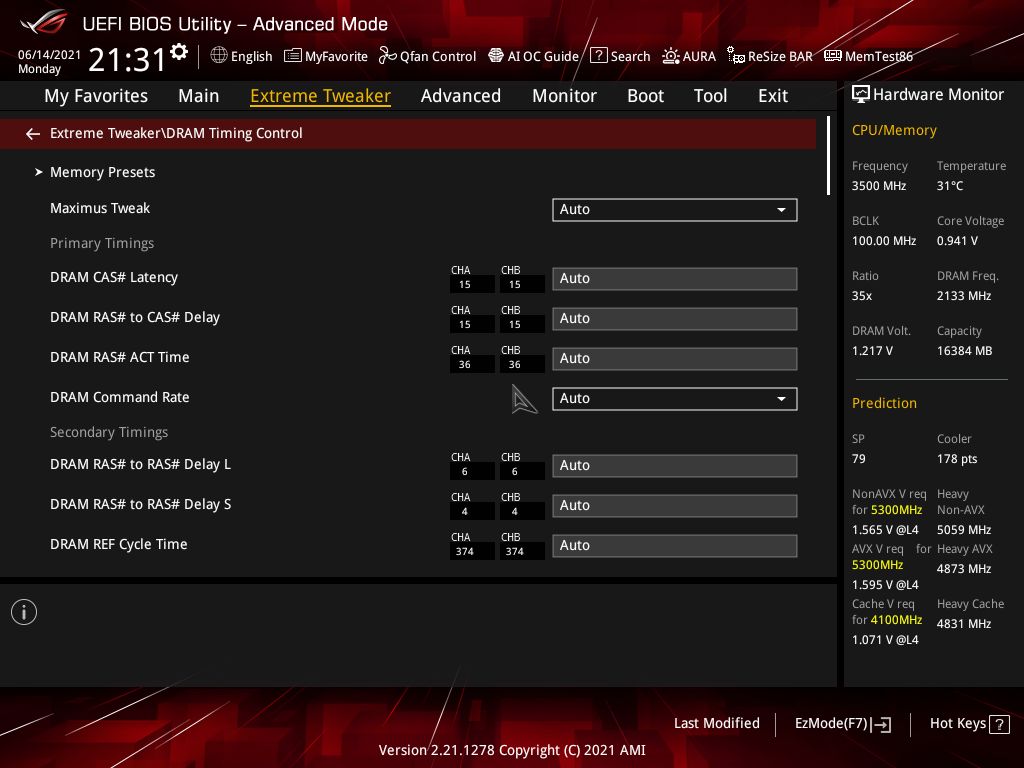
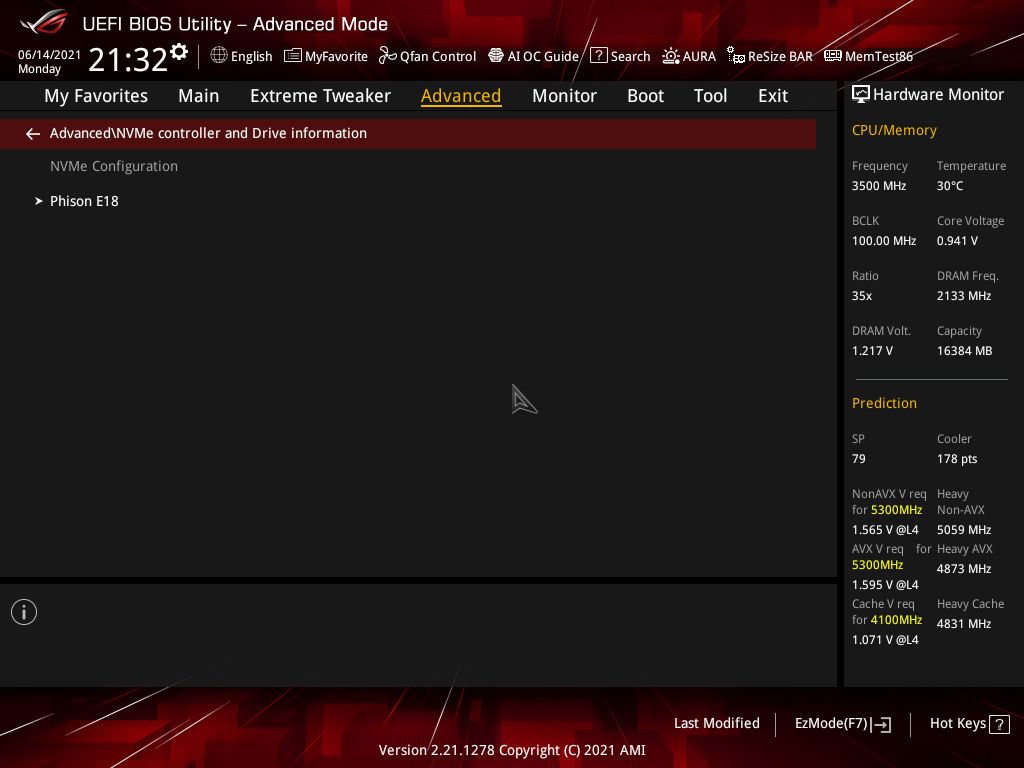
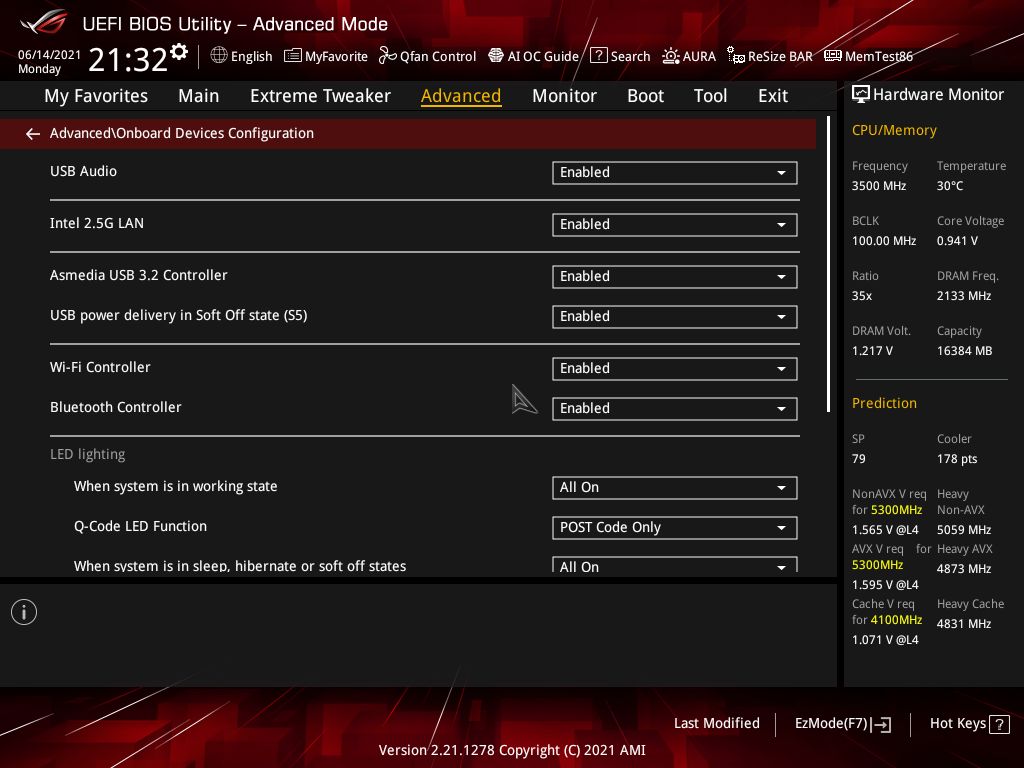
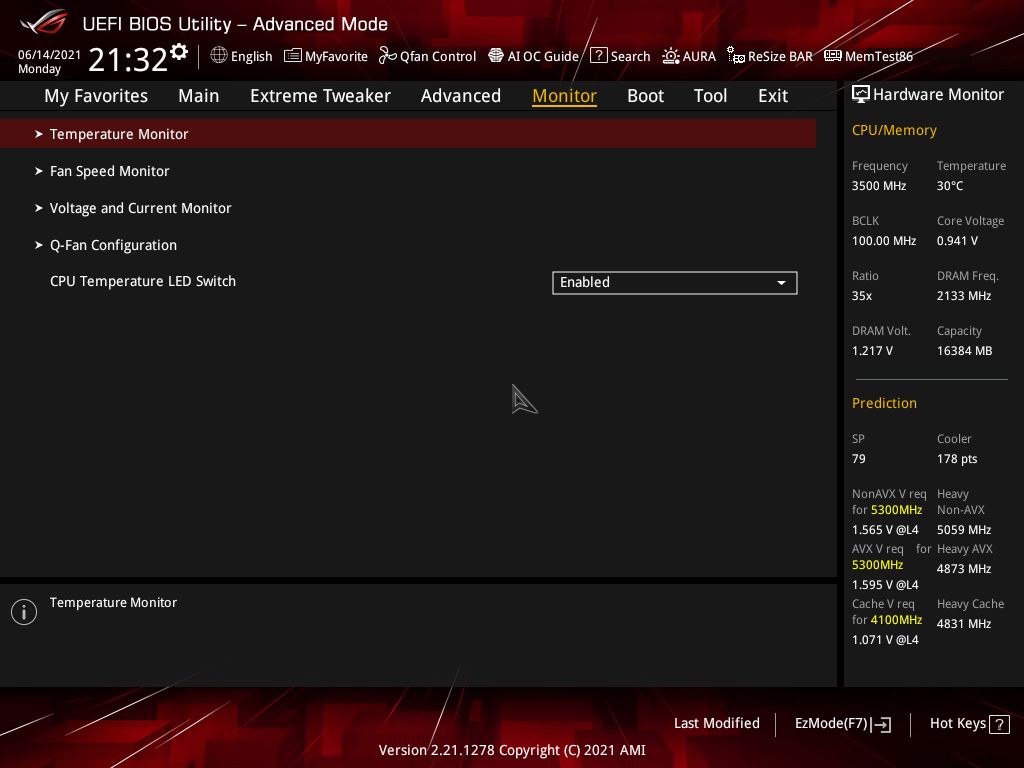
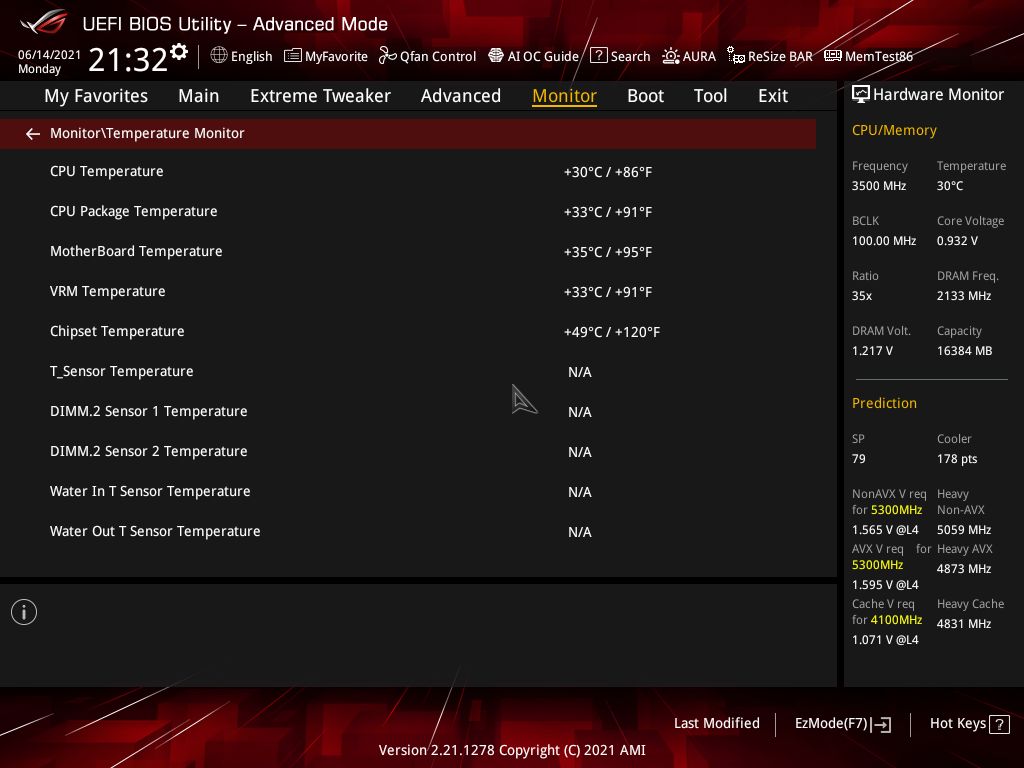
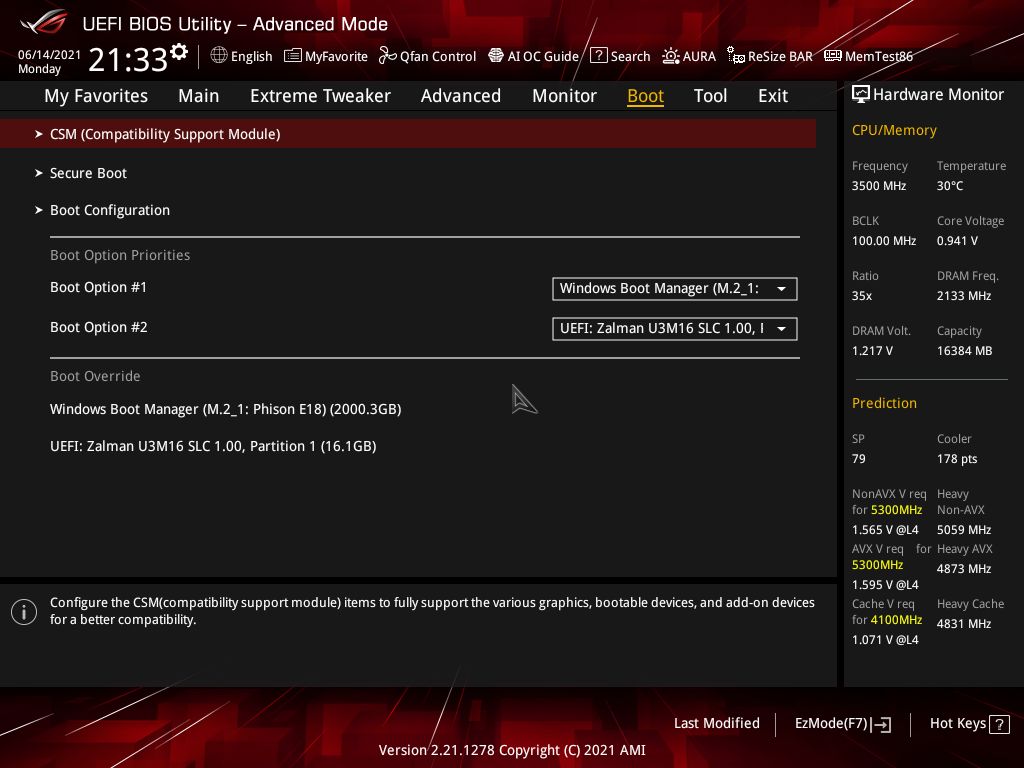
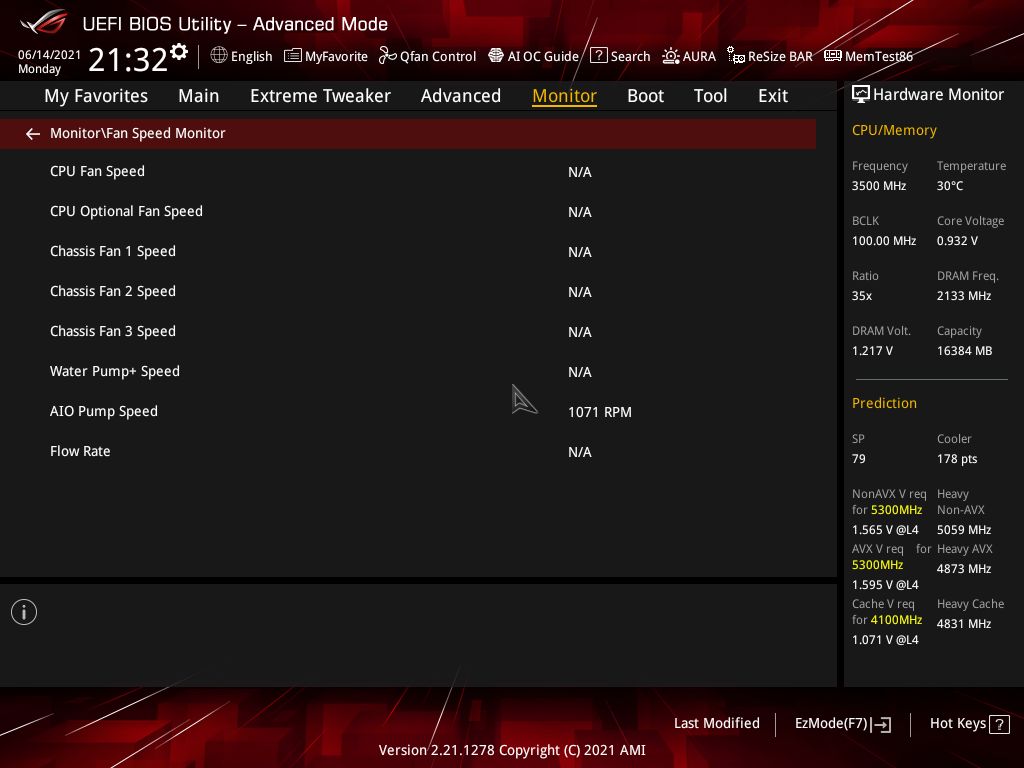
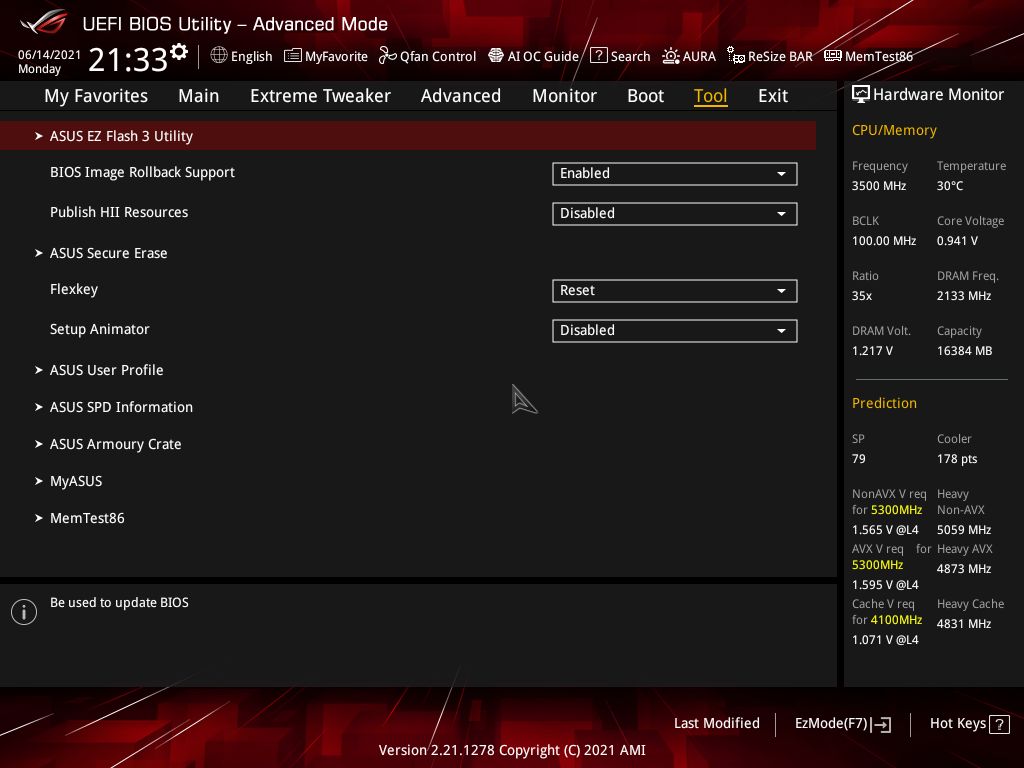
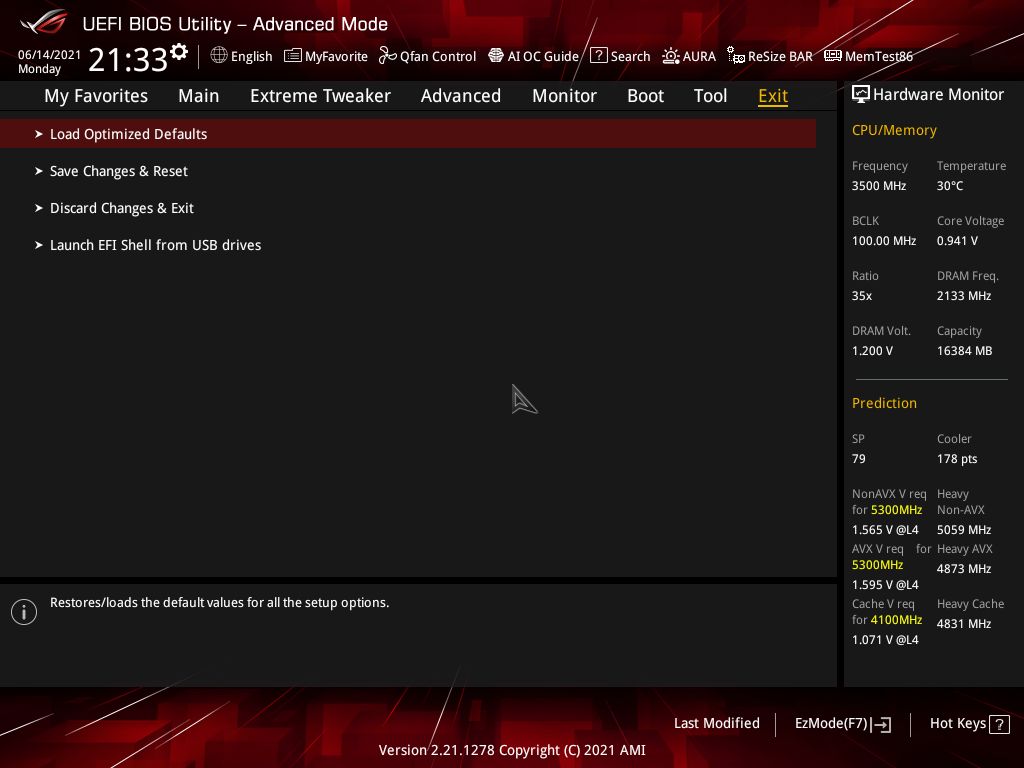
Asus’s BIOS for Maximus XIII Apex looks the same as is found on the previous generation Apex. Asus uses a red background with white writing on these ROG boards -- a theme we’re familiar with. Asus starts in “EZ” mode, where it presents some high-level information and a couple of adjustable options such as enabling XMP and Boot priority. Advanced Mode has a slew of BIOS options, many of which most users will not touch (although if you aren’t going to dig deep here, you should probably choose another board). Asus organizes the BIOS well, and many of the common functions are easily accessible without drilling deep into the pages. Overall, Asus offers a user-friendly BIOS with enough options to keep the most advanced user busy.
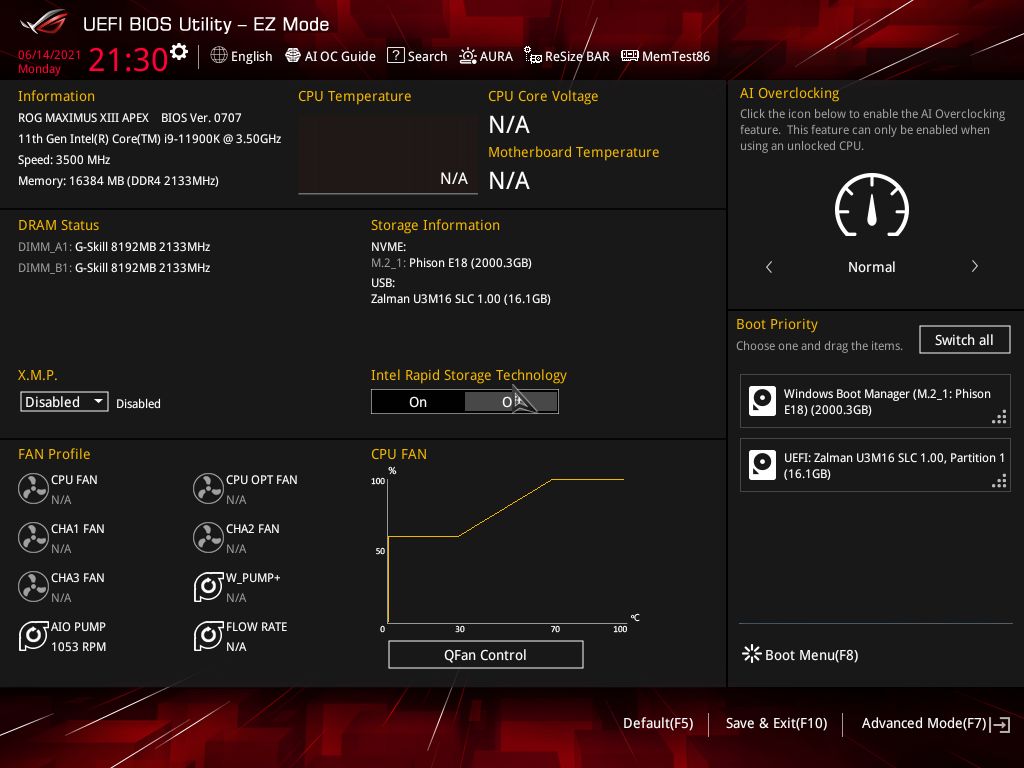
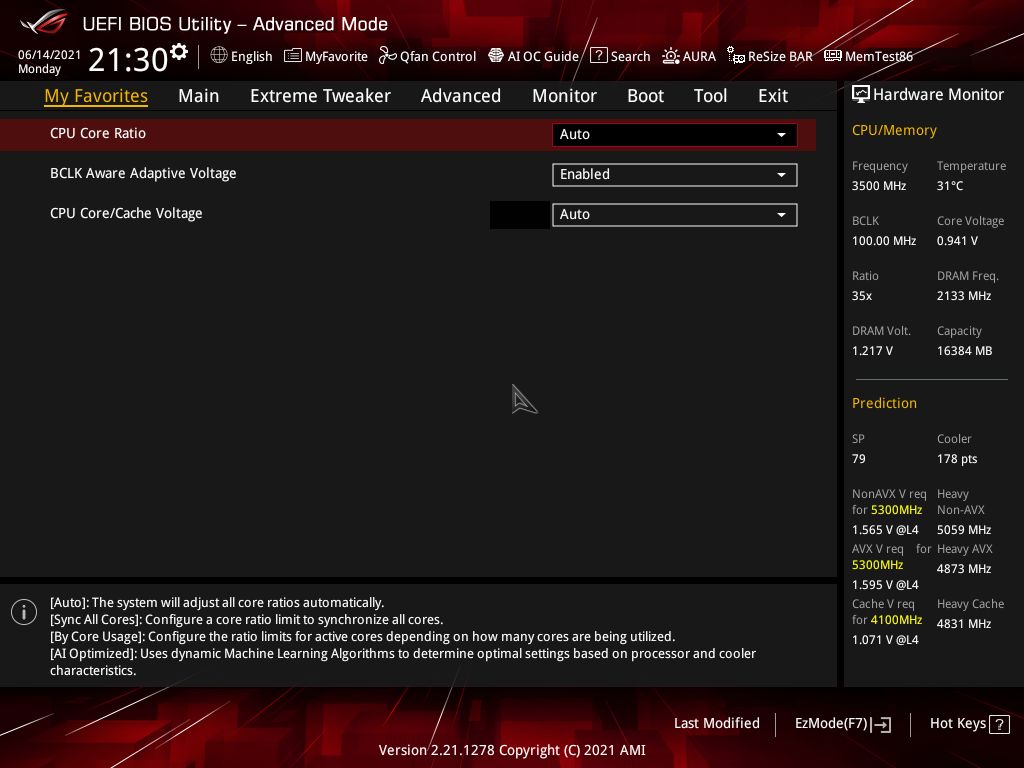
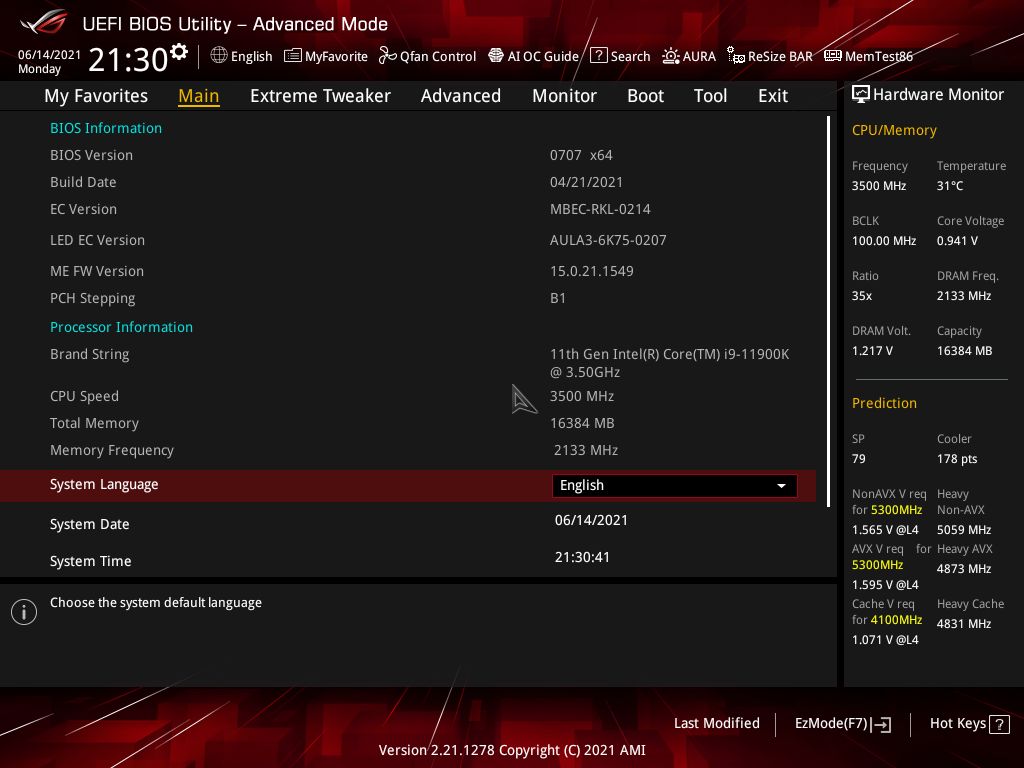
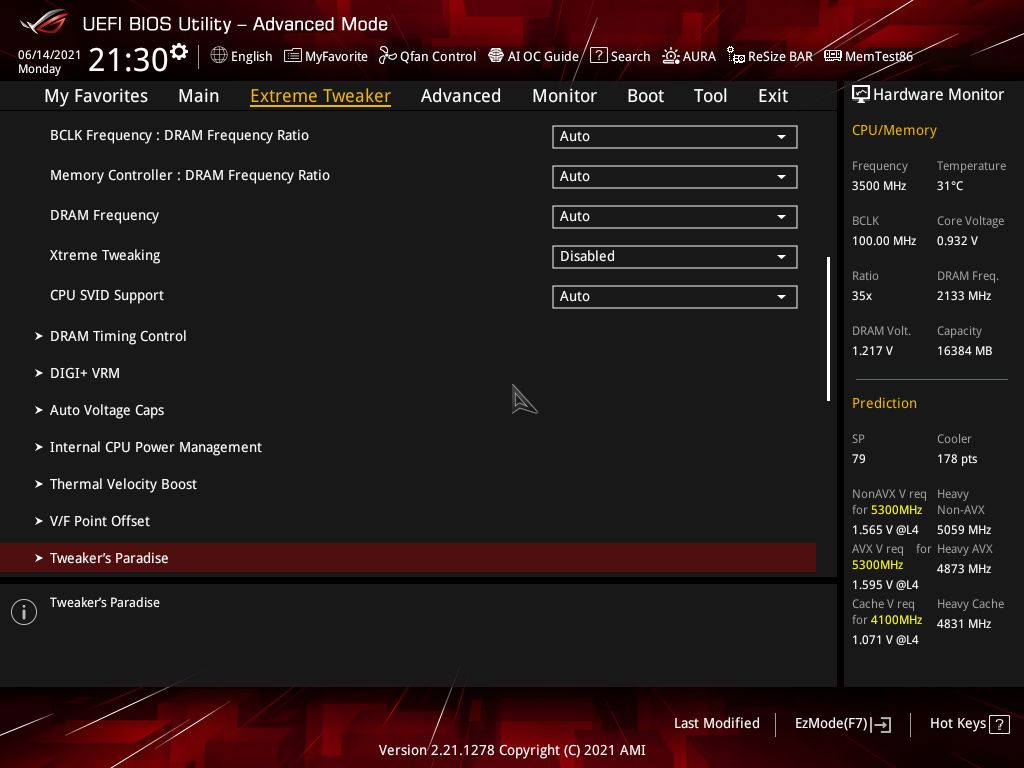
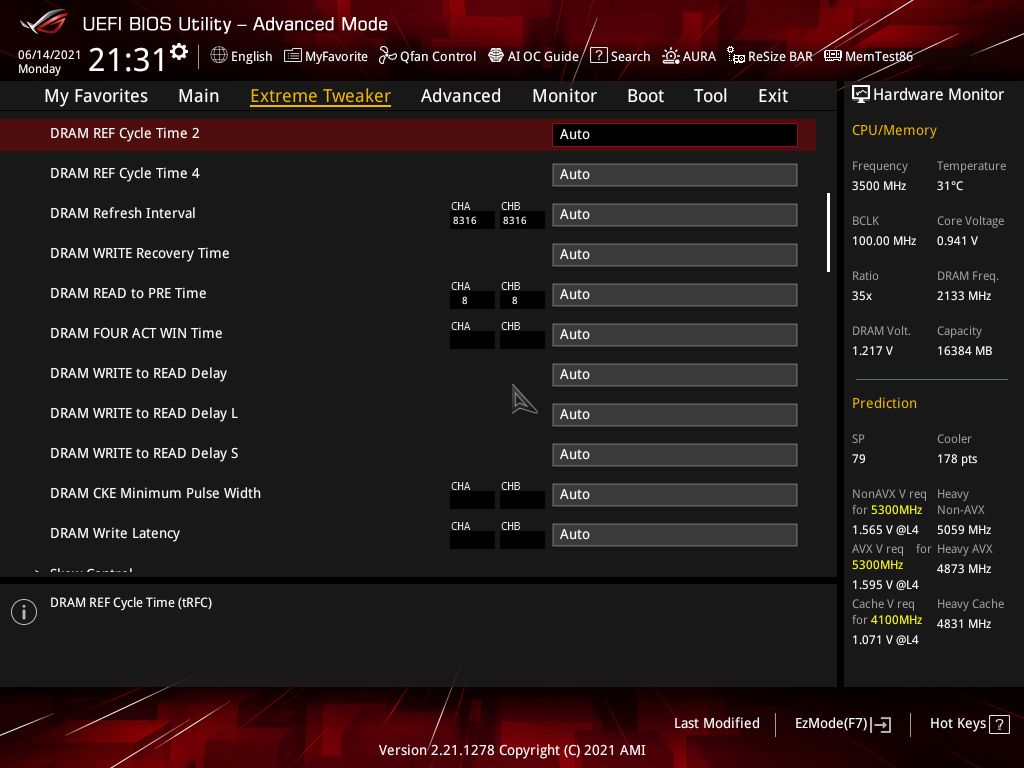
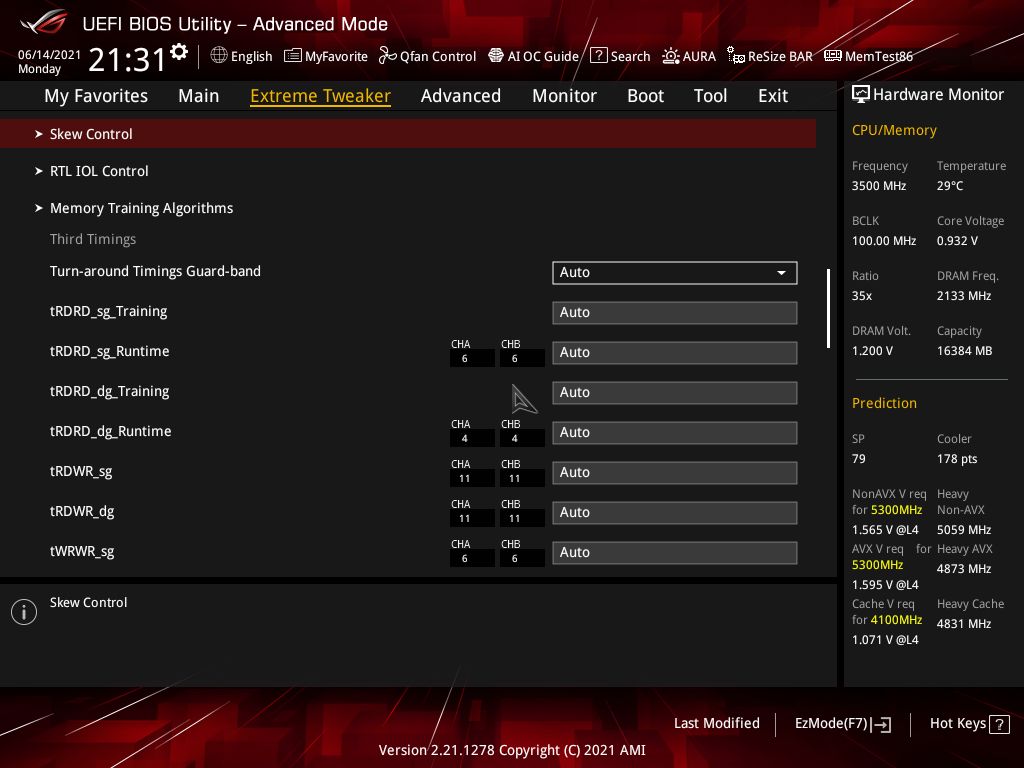
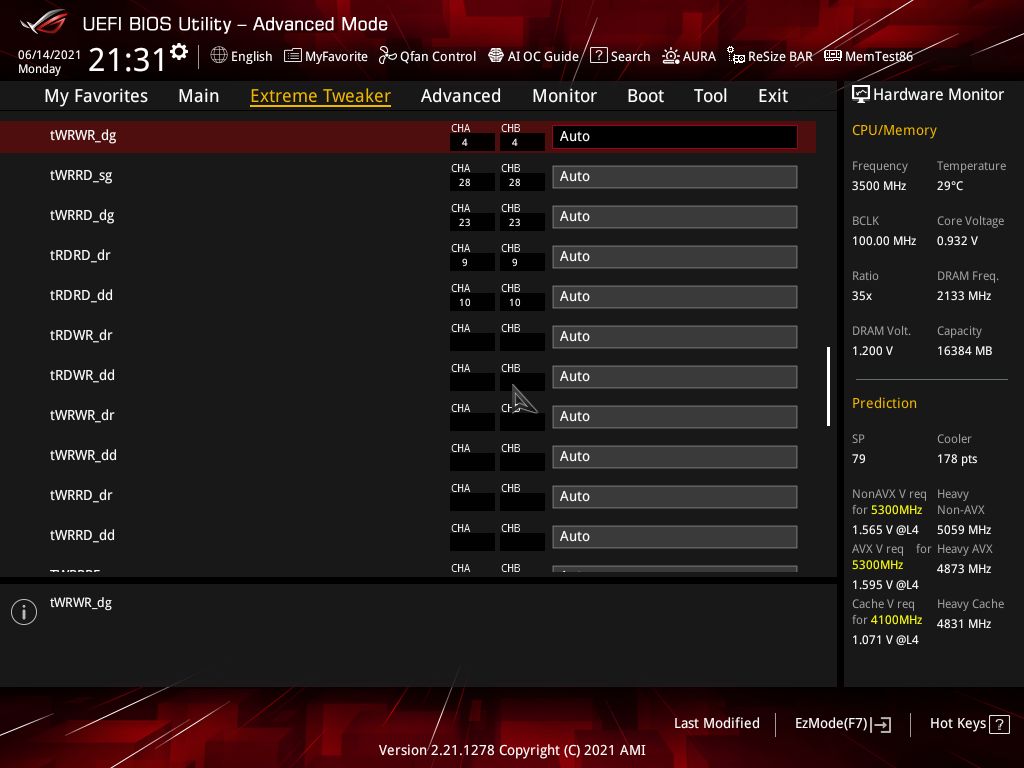
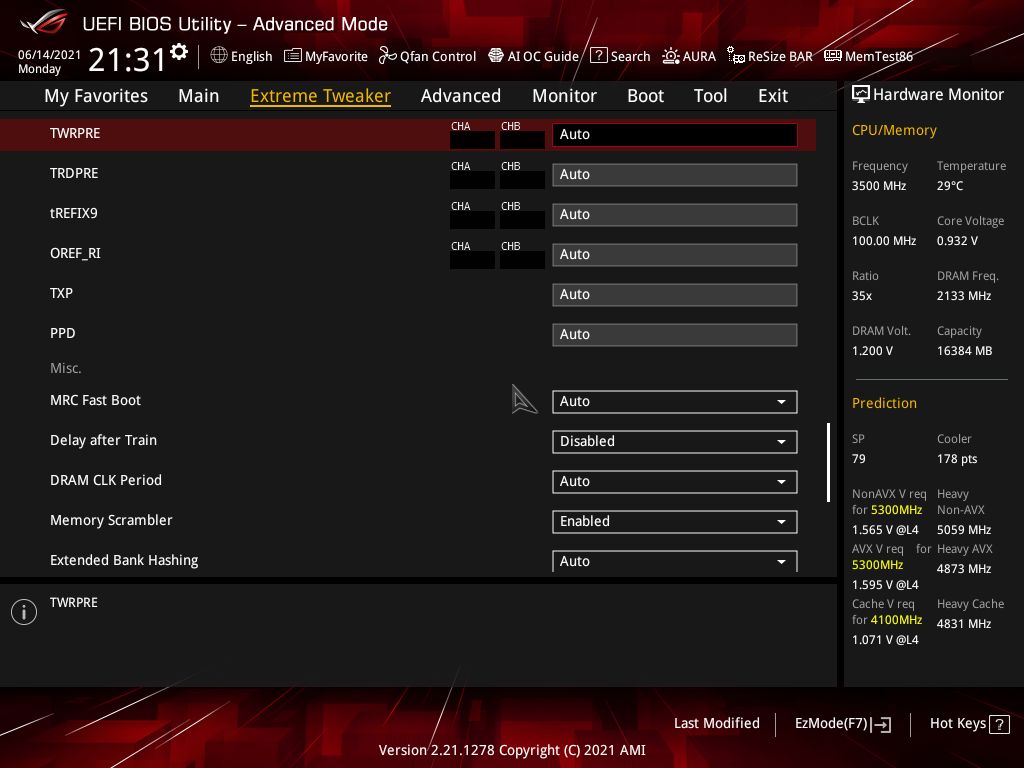
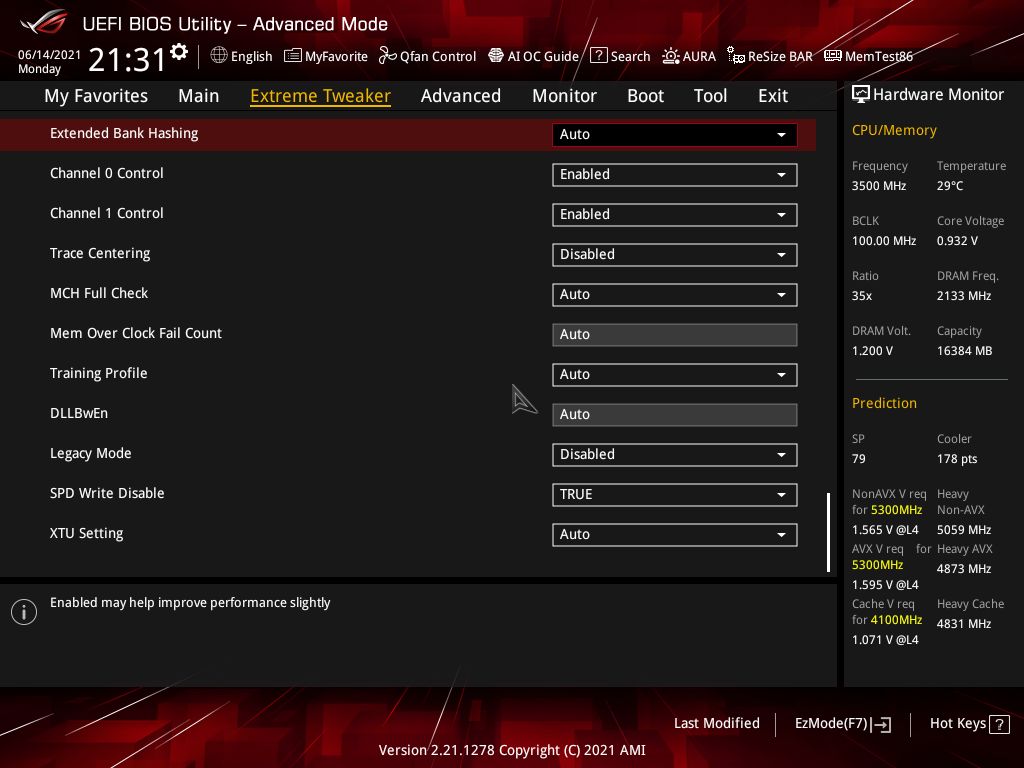
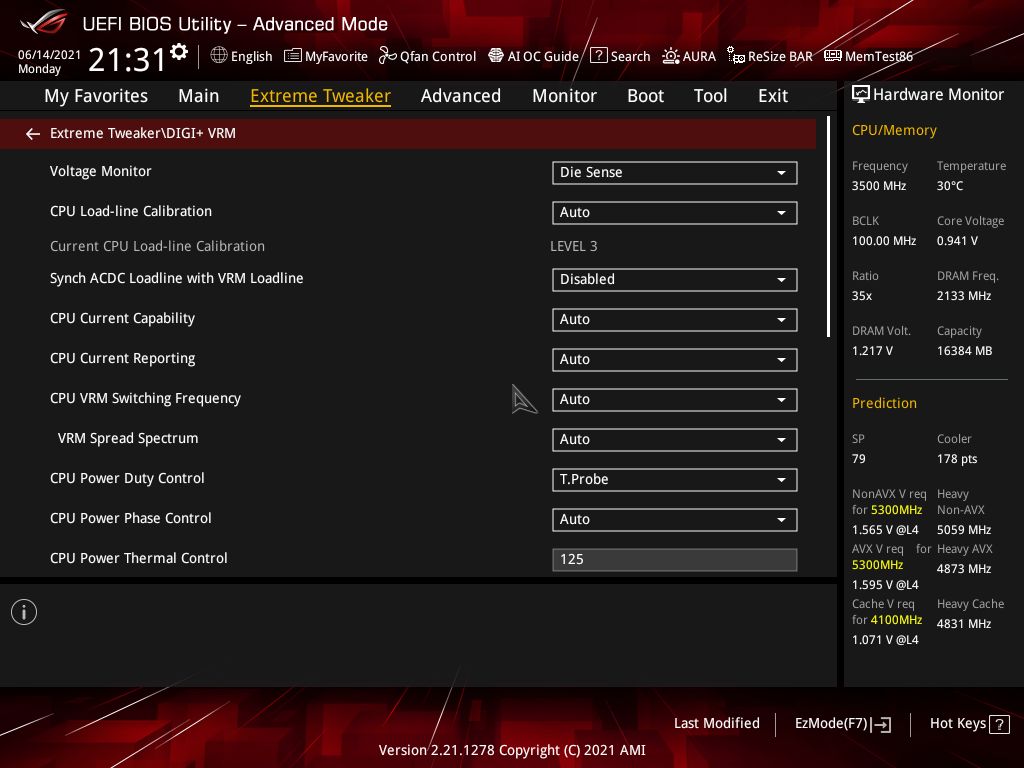
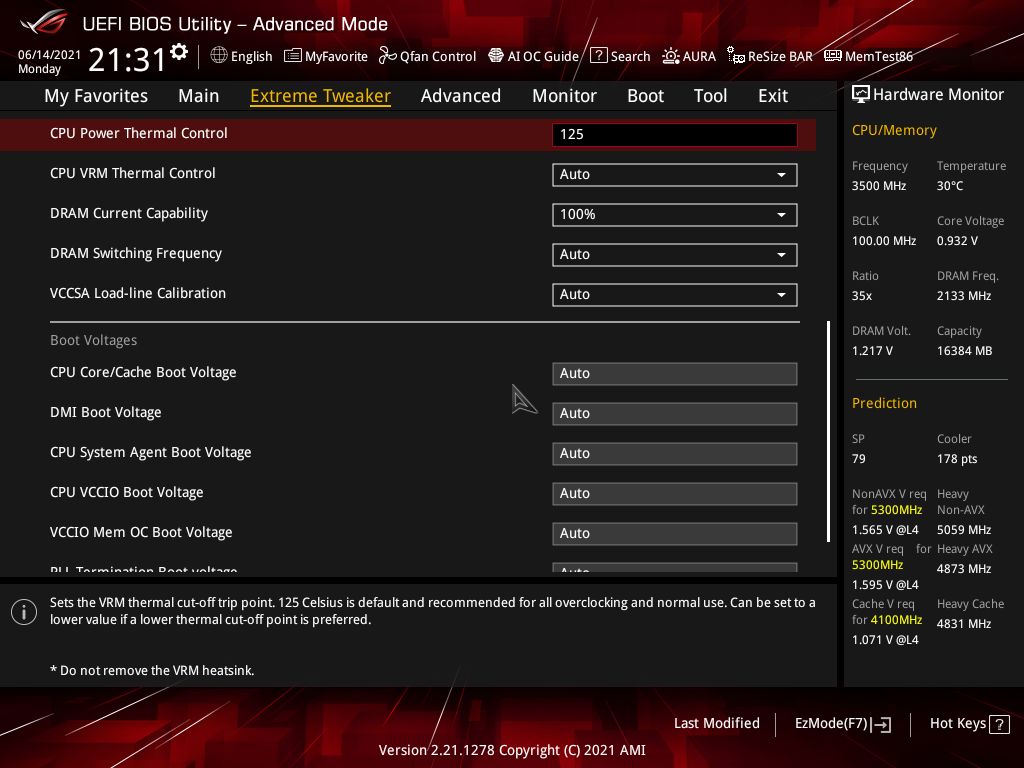
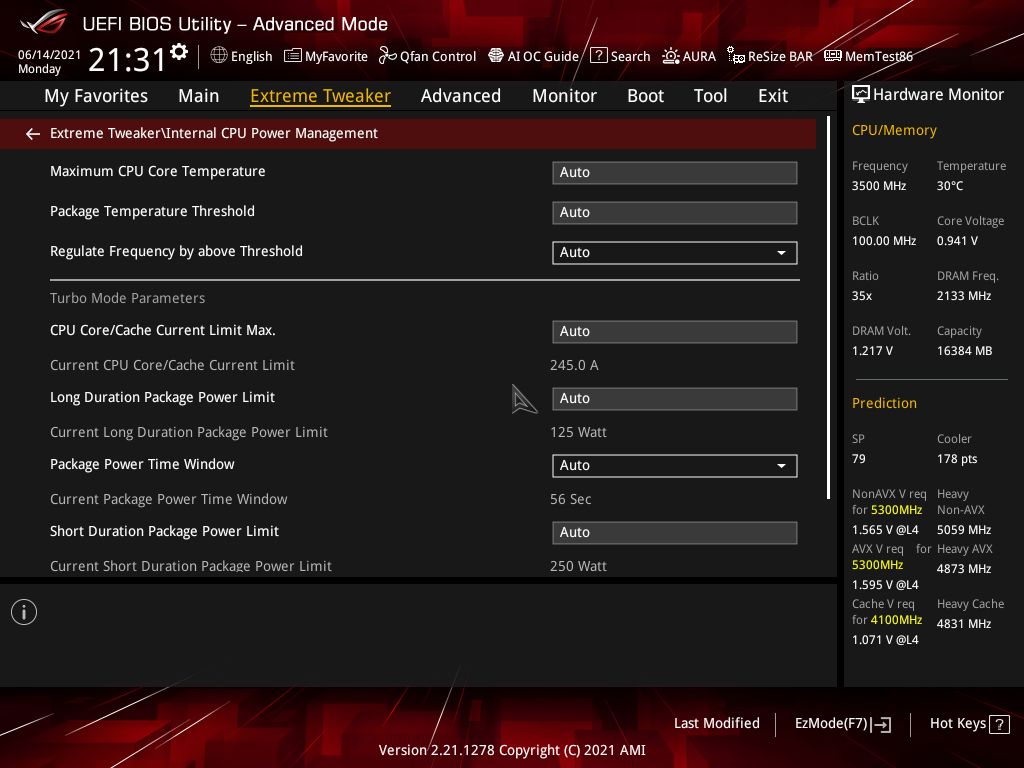
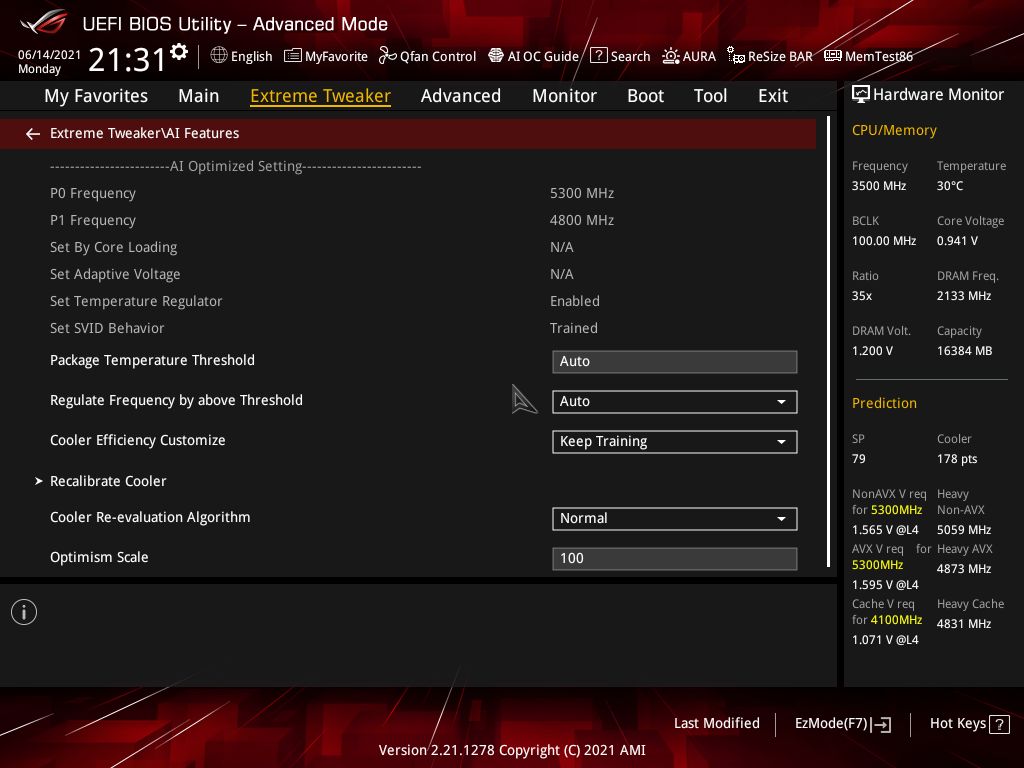
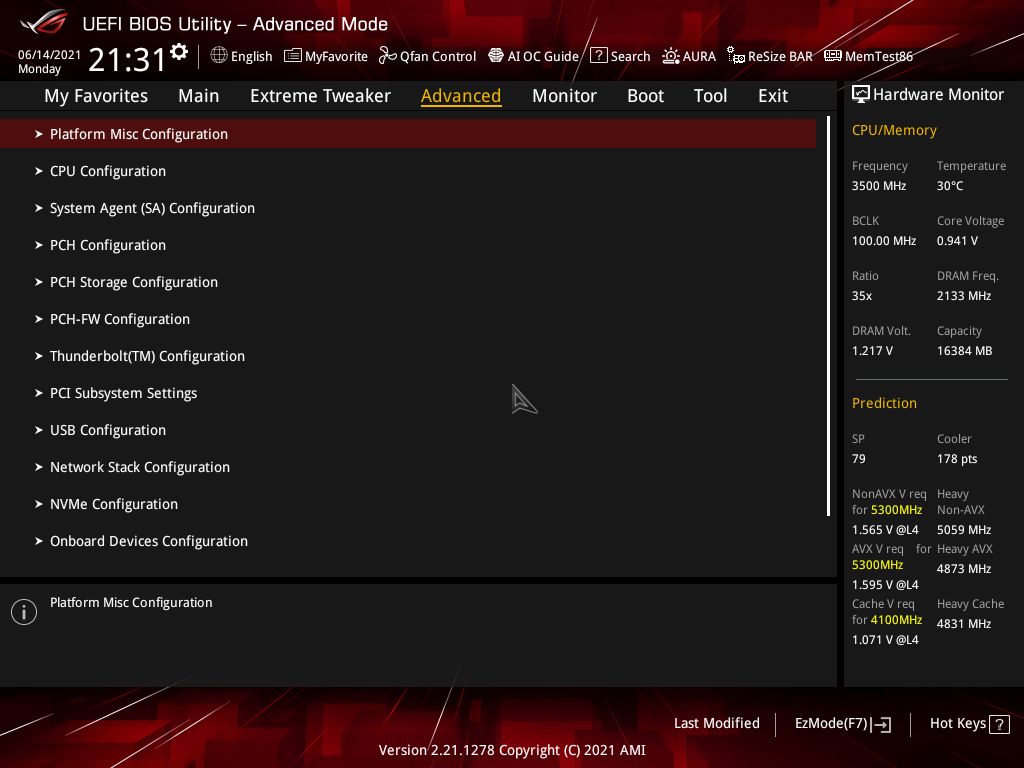
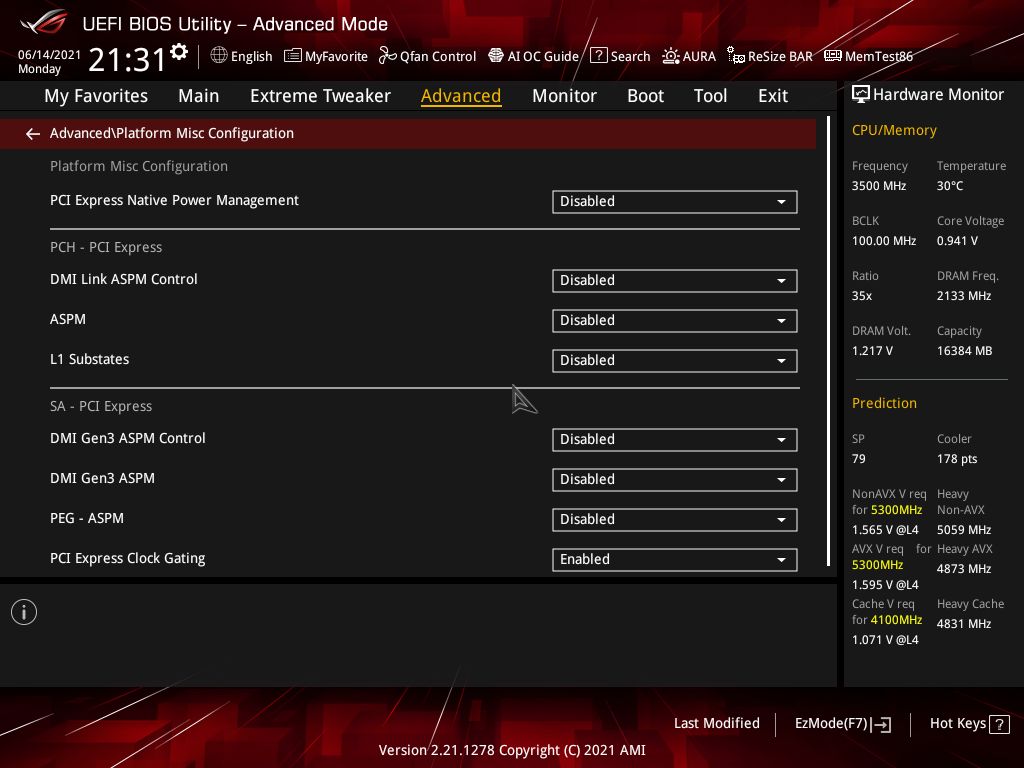
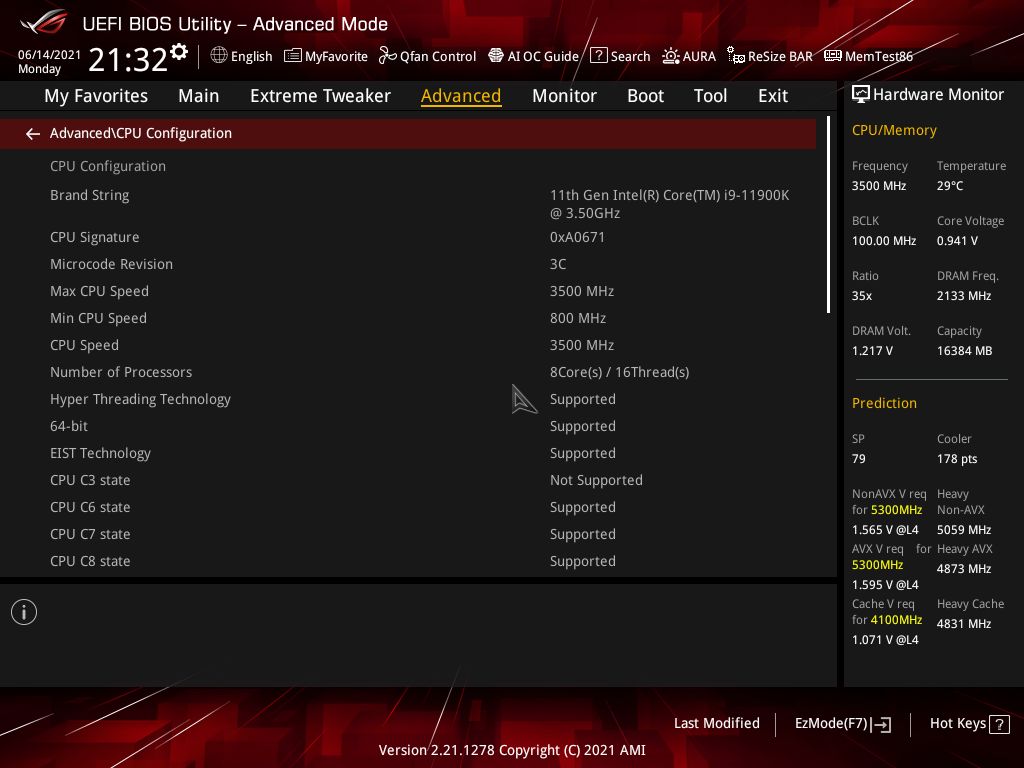
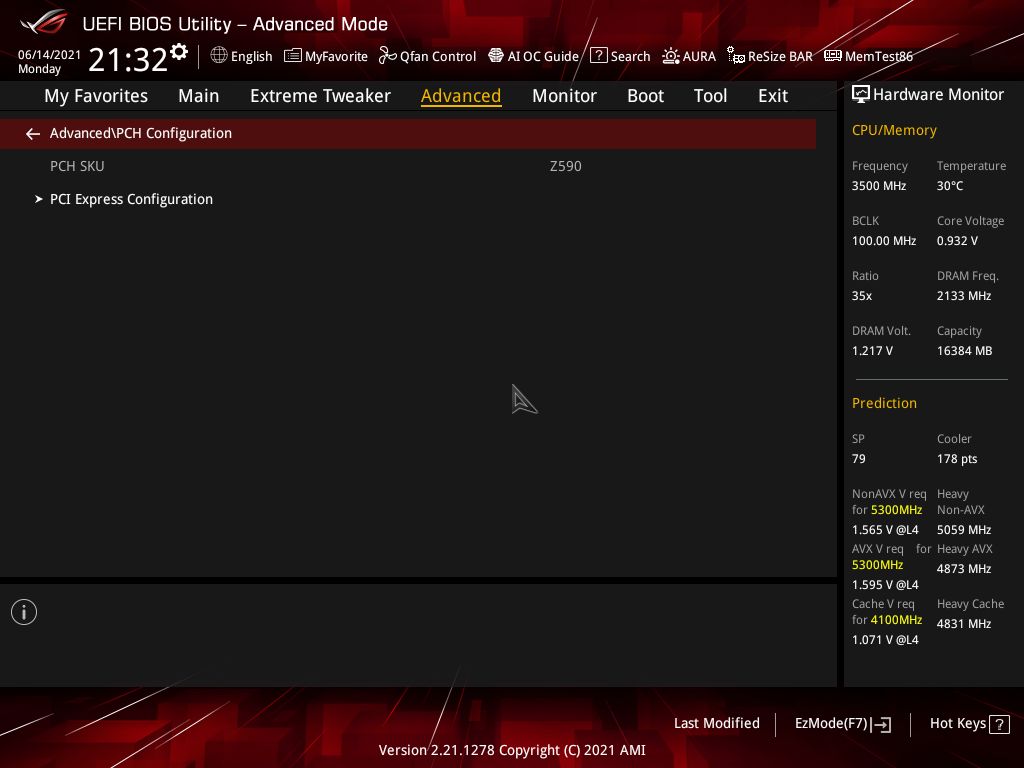
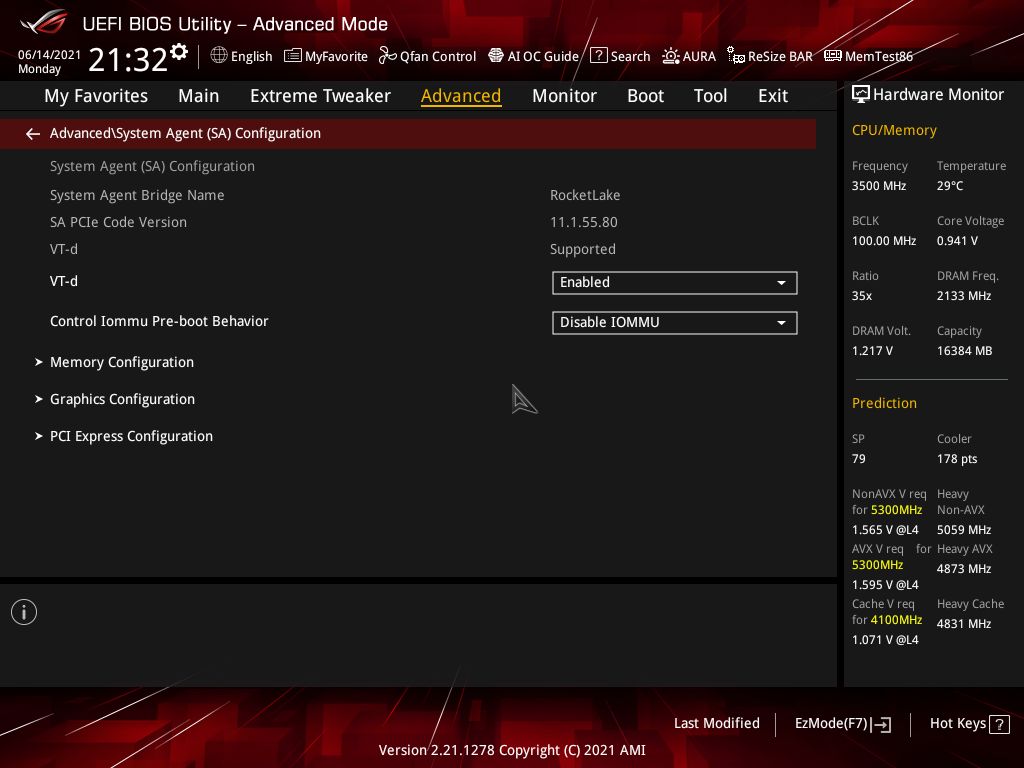
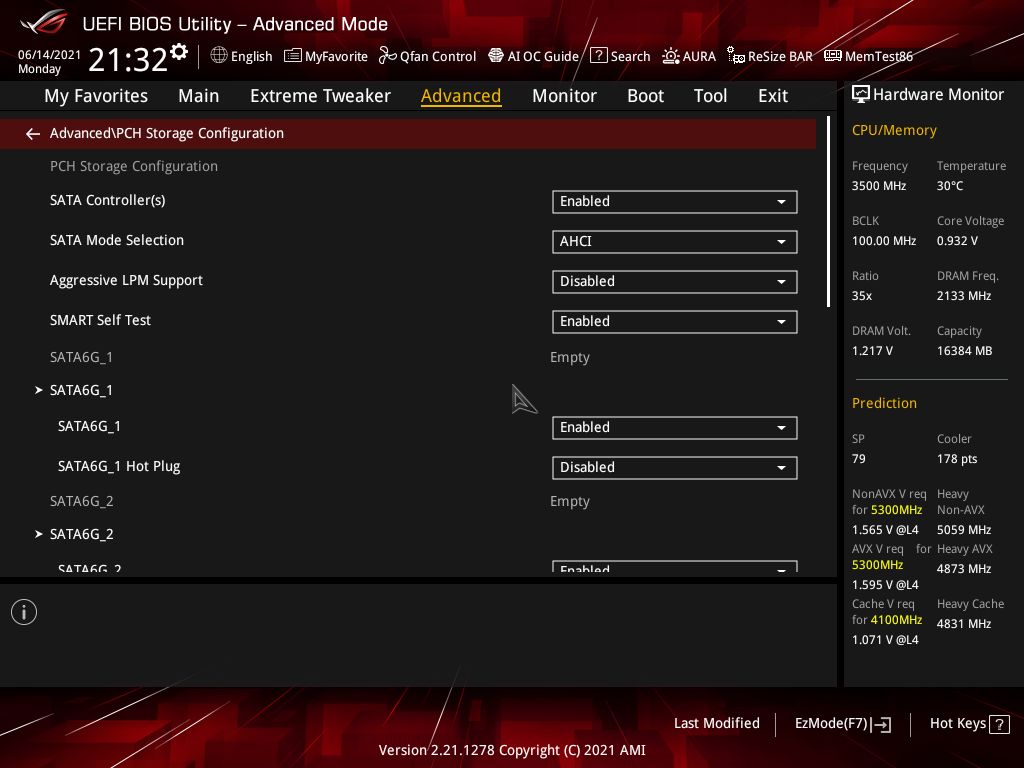
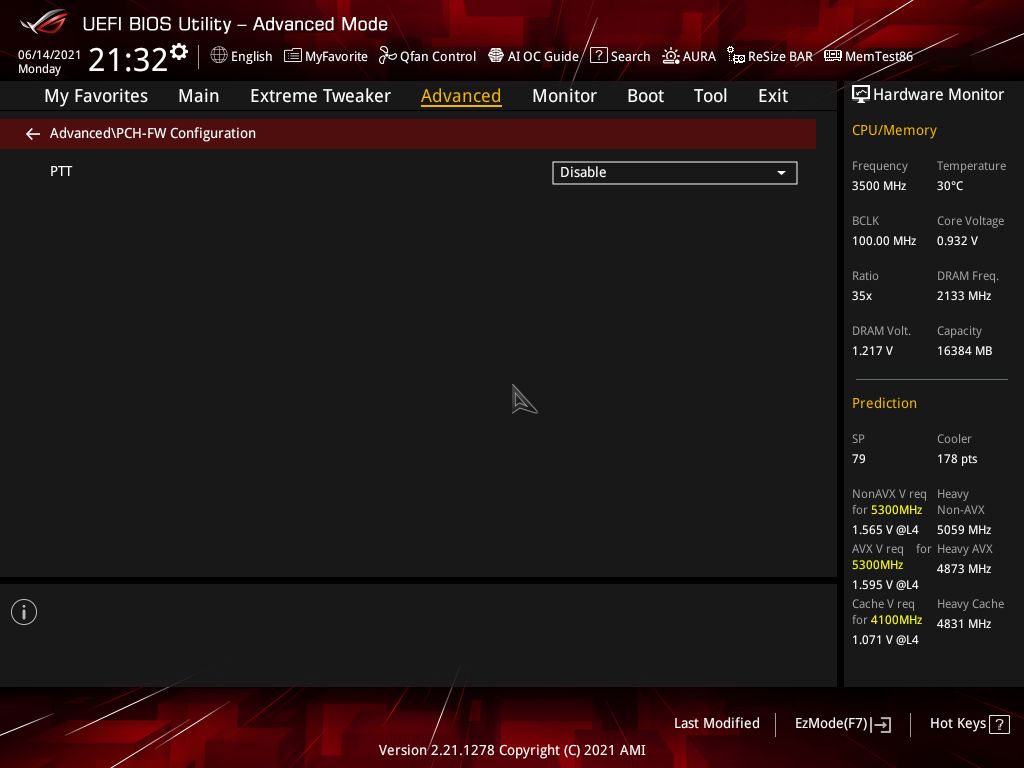
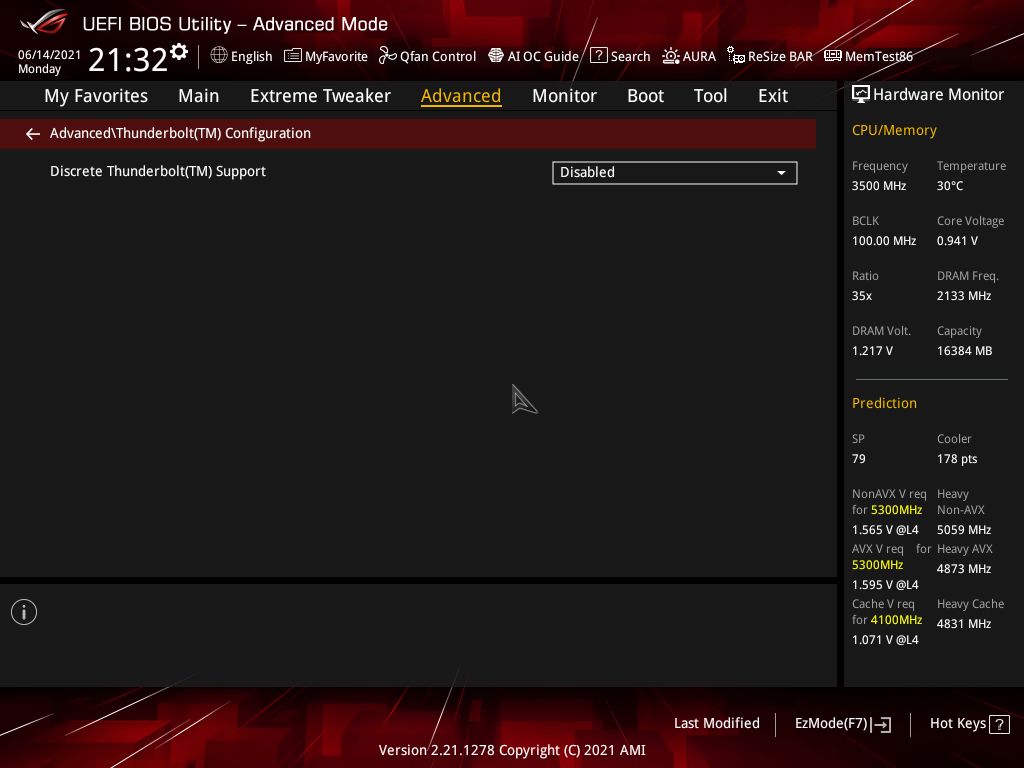
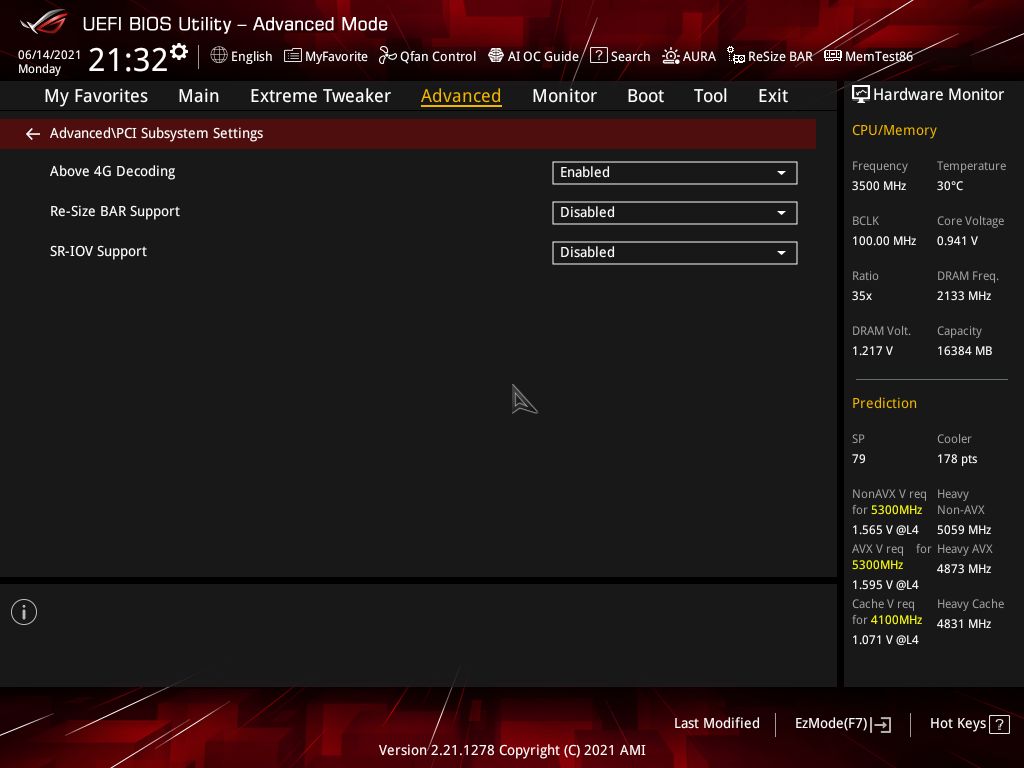
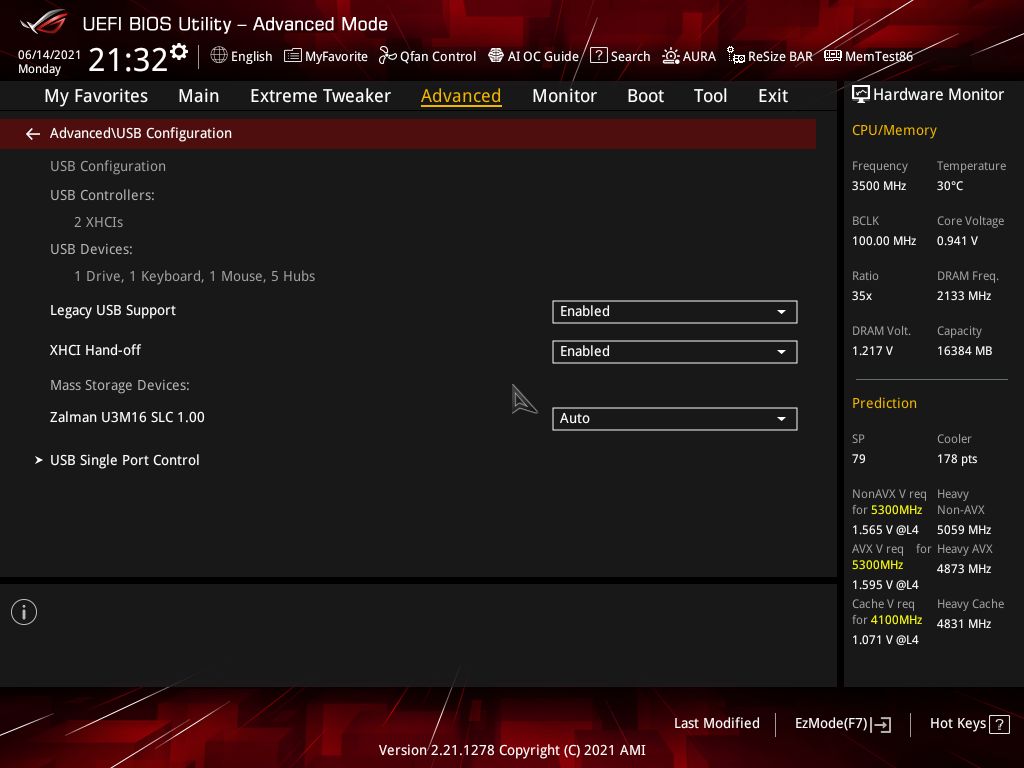
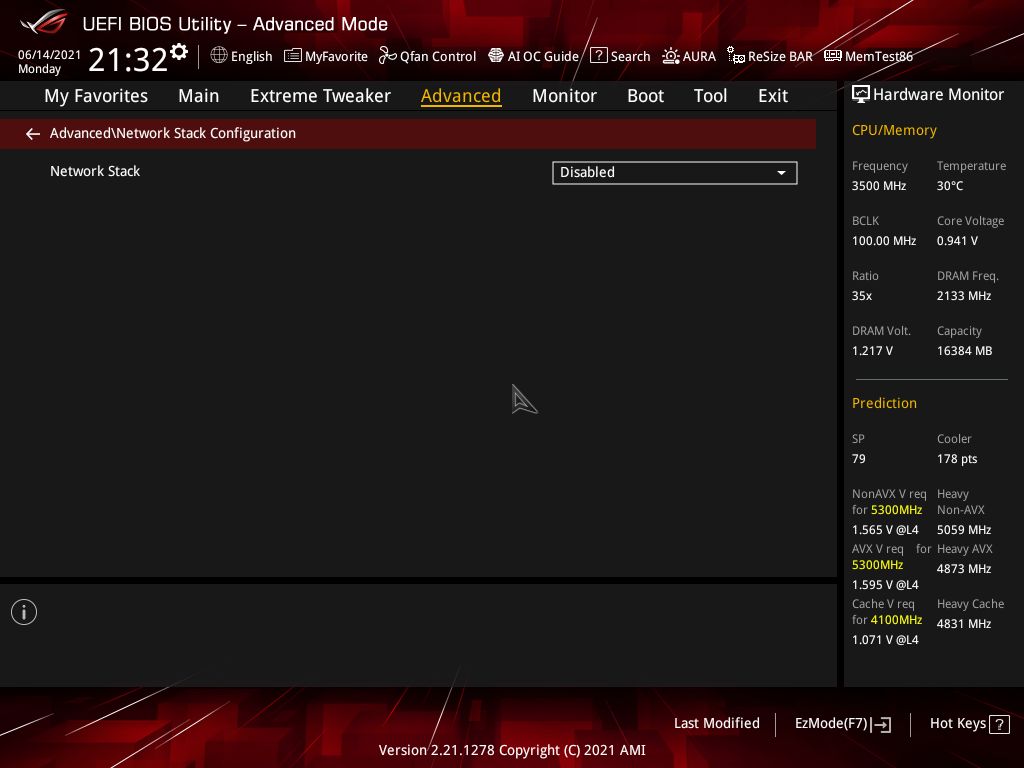
Firmware
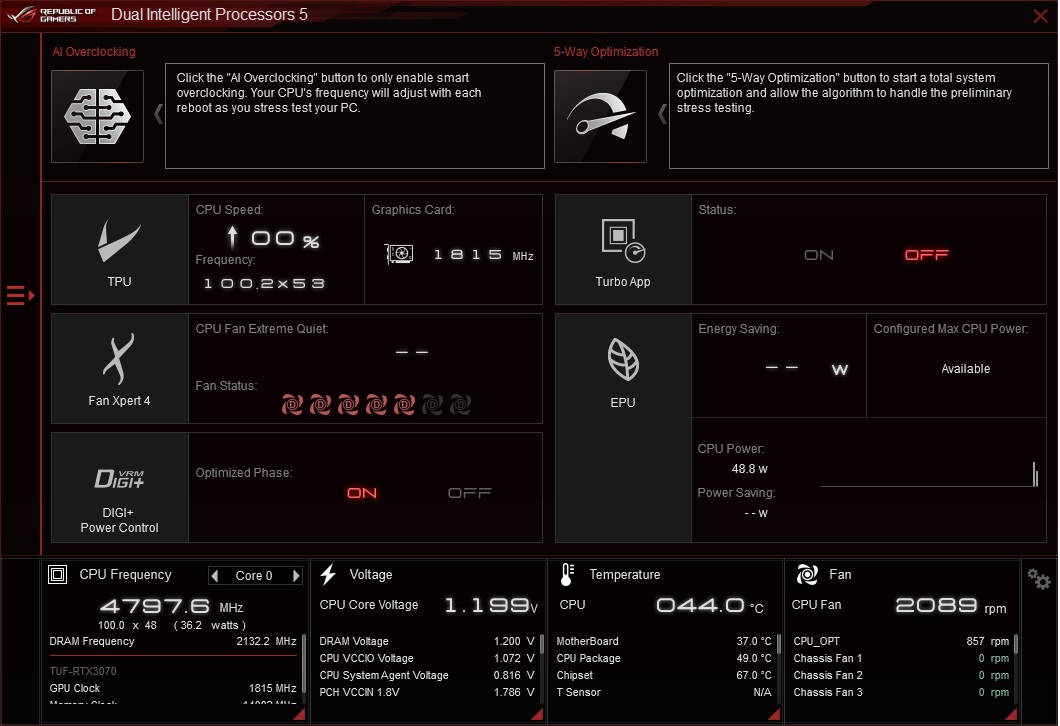
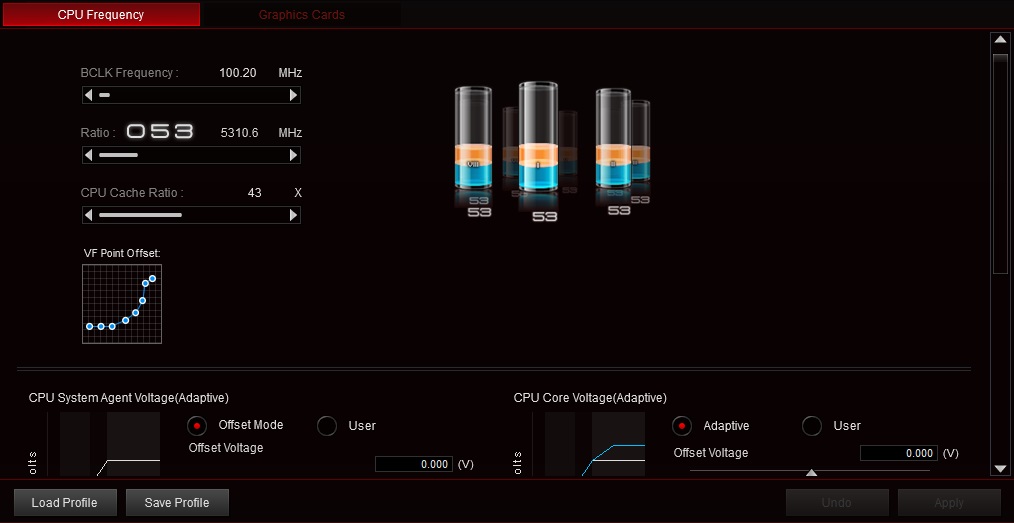
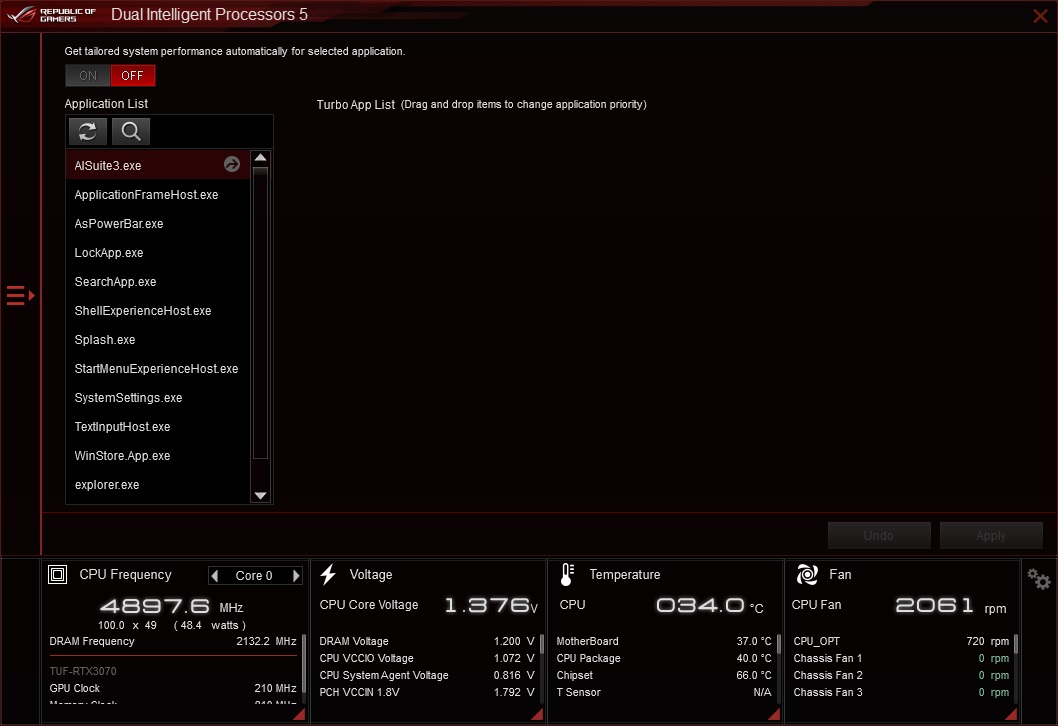
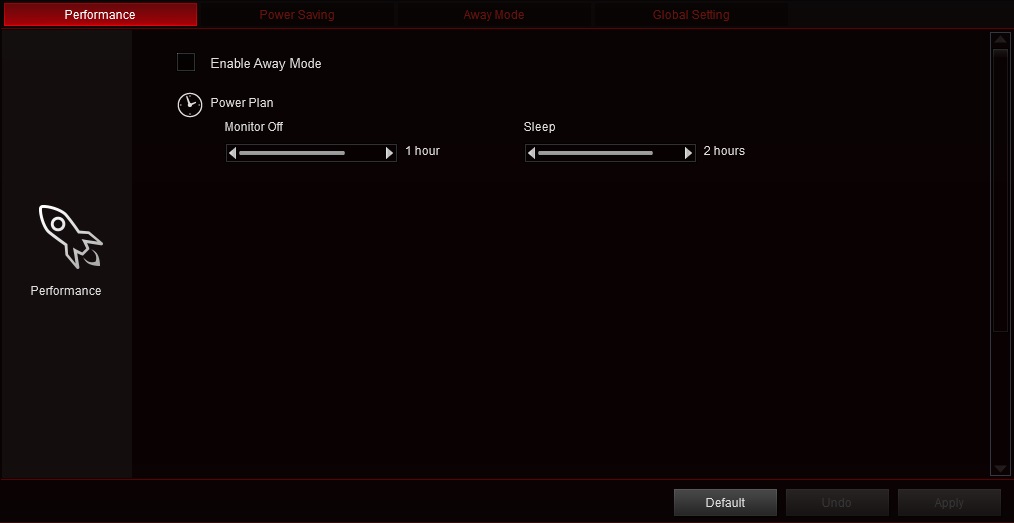
On the software side, Asus includes a few applications designed for several functions. This includes RGB lighting control, system monitoring and overclocking, audio and more. Below we’ve captured a few screenshots of Ai Suite, the Armoury Crate and Aura Creator.
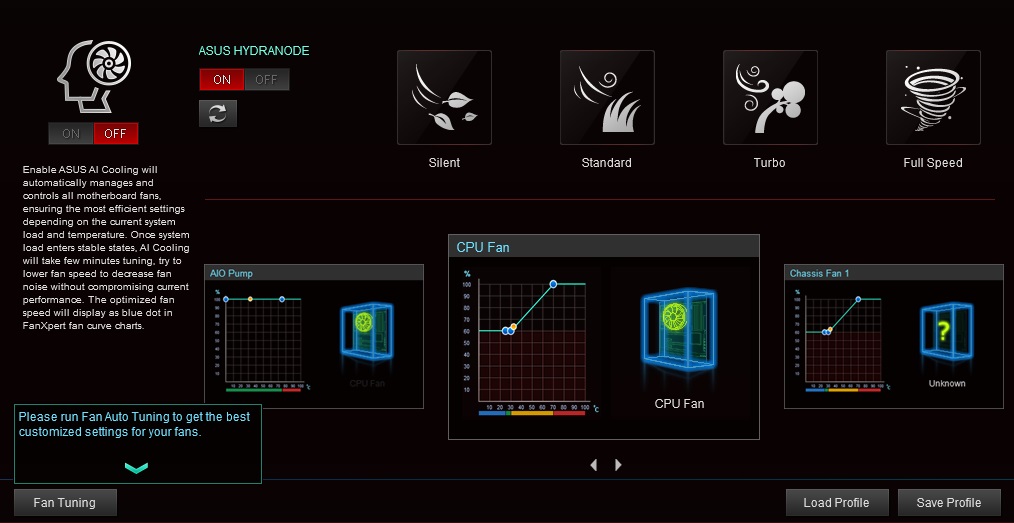
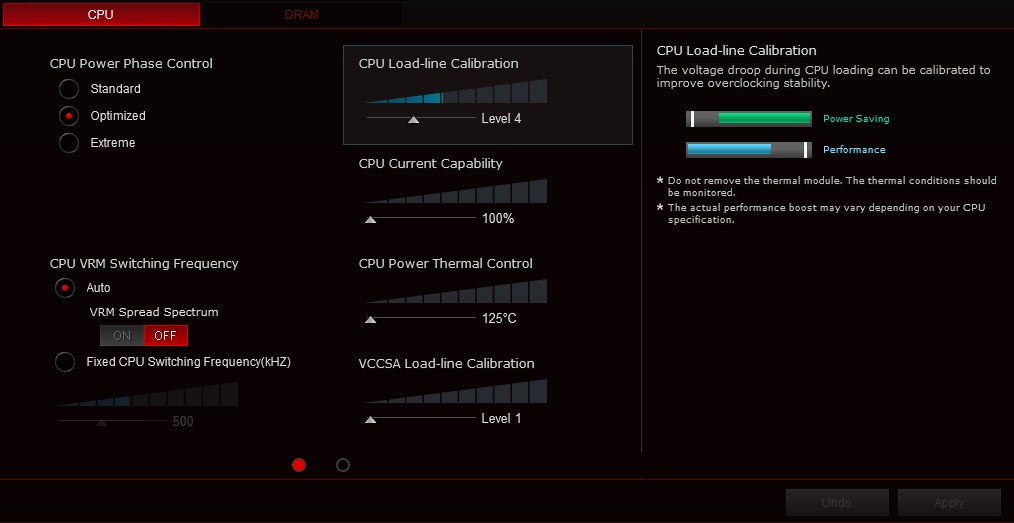
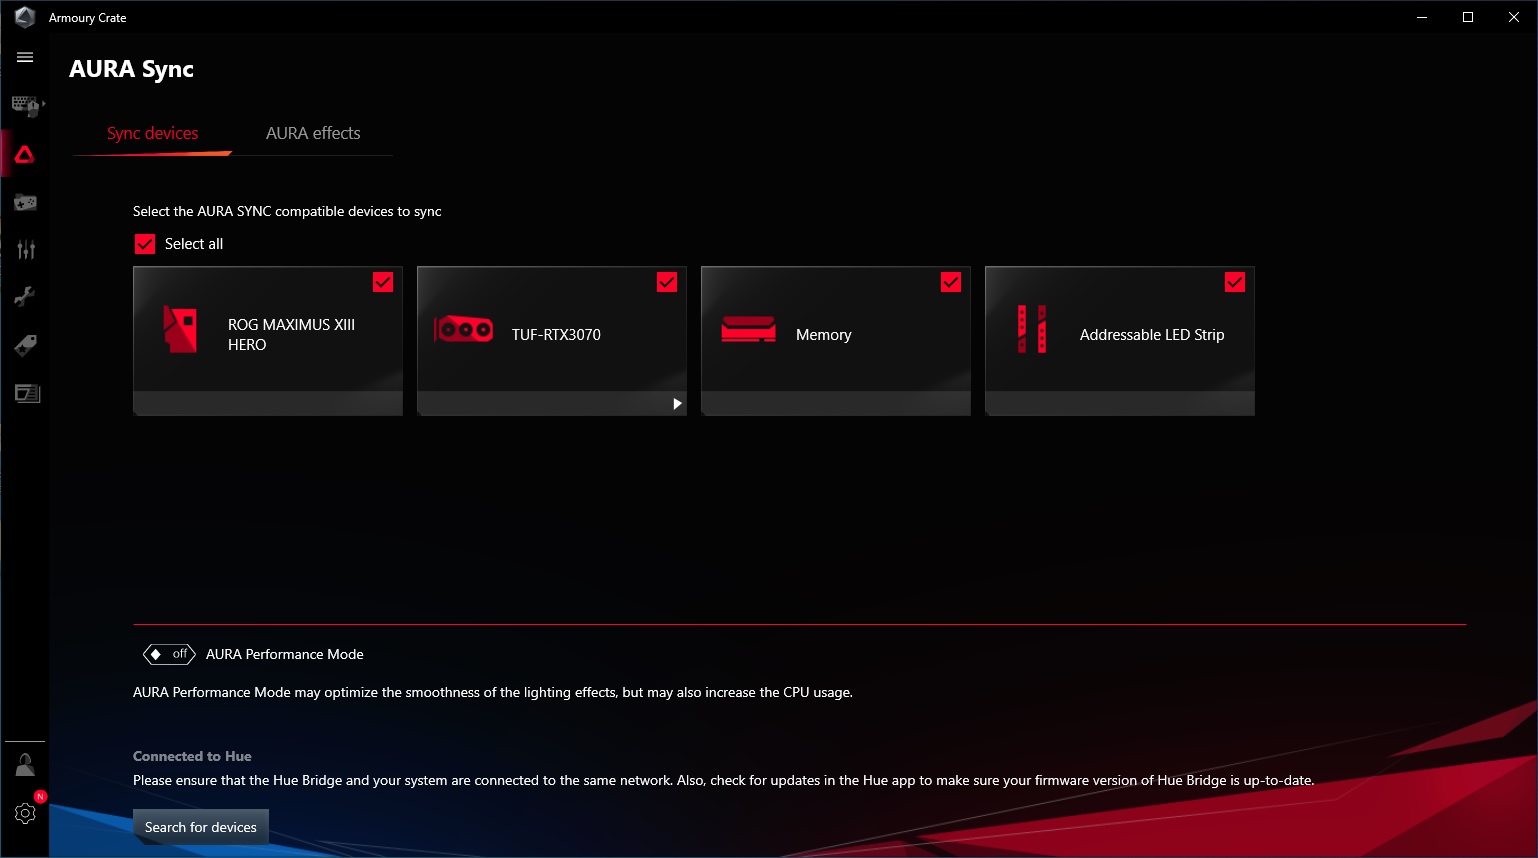
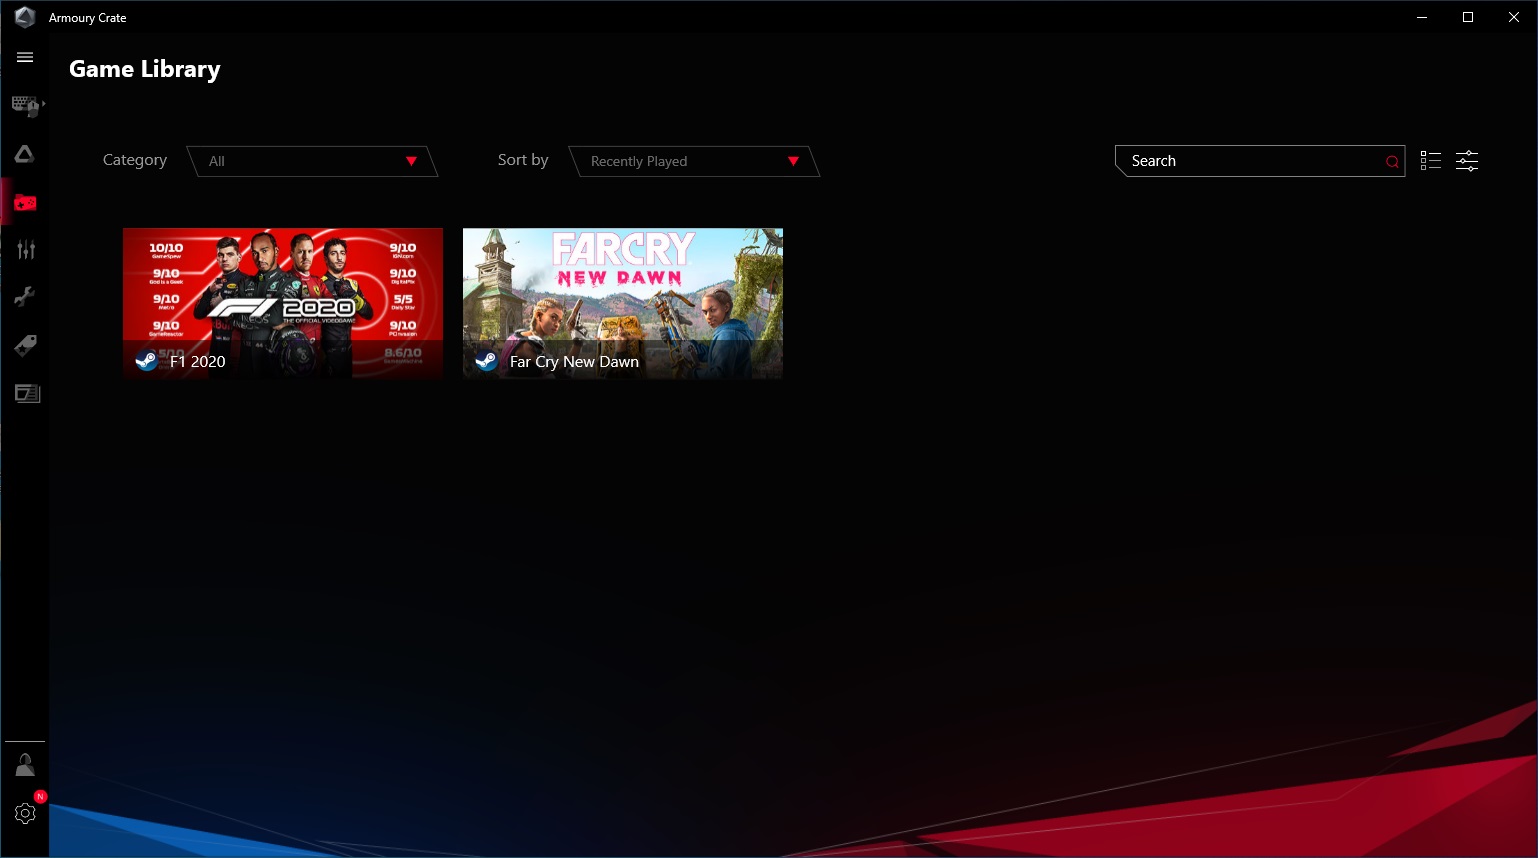
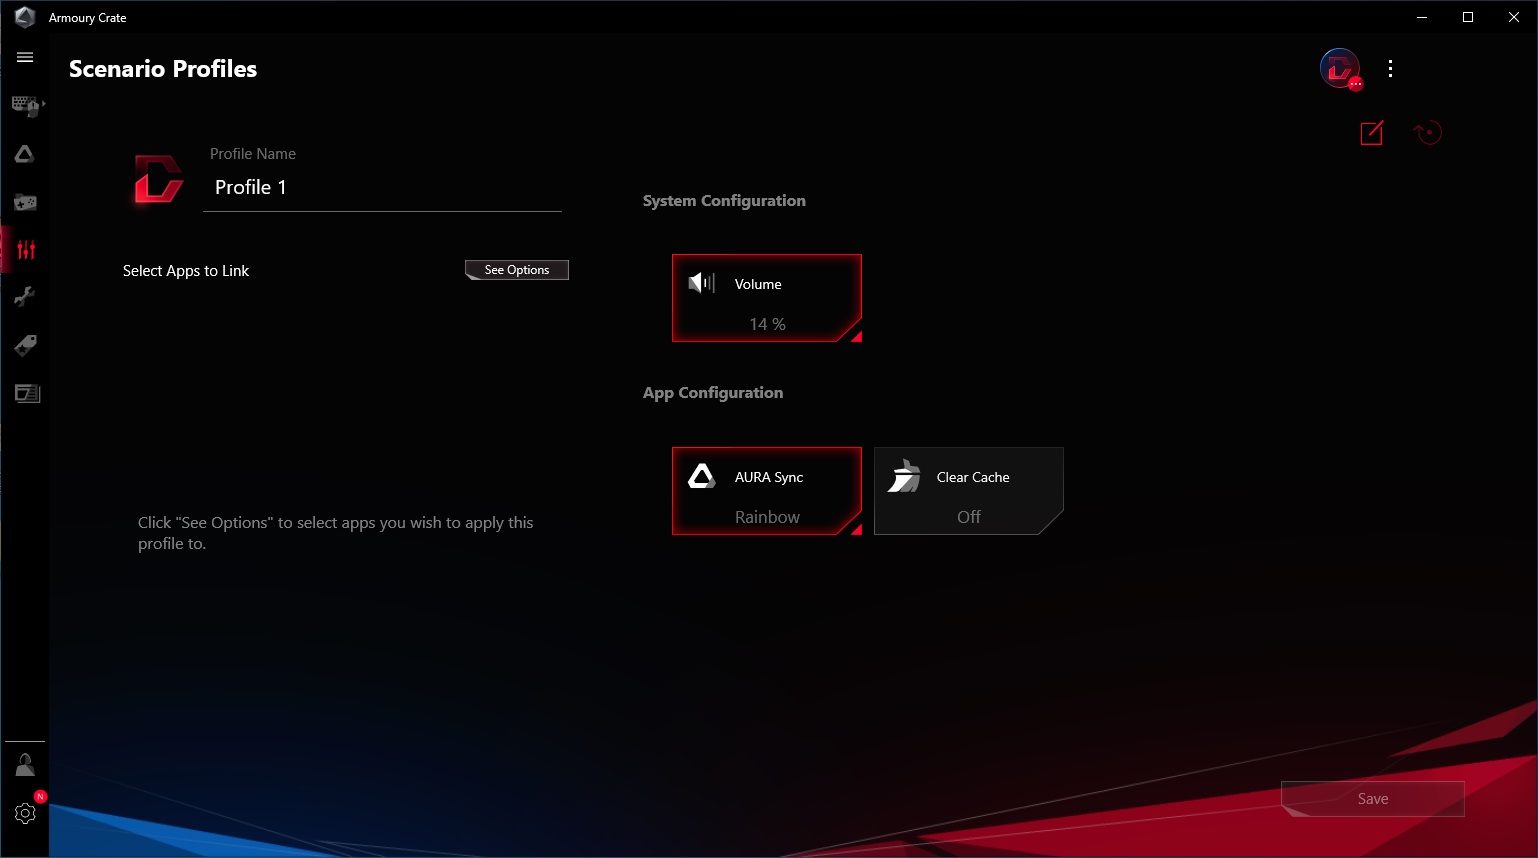
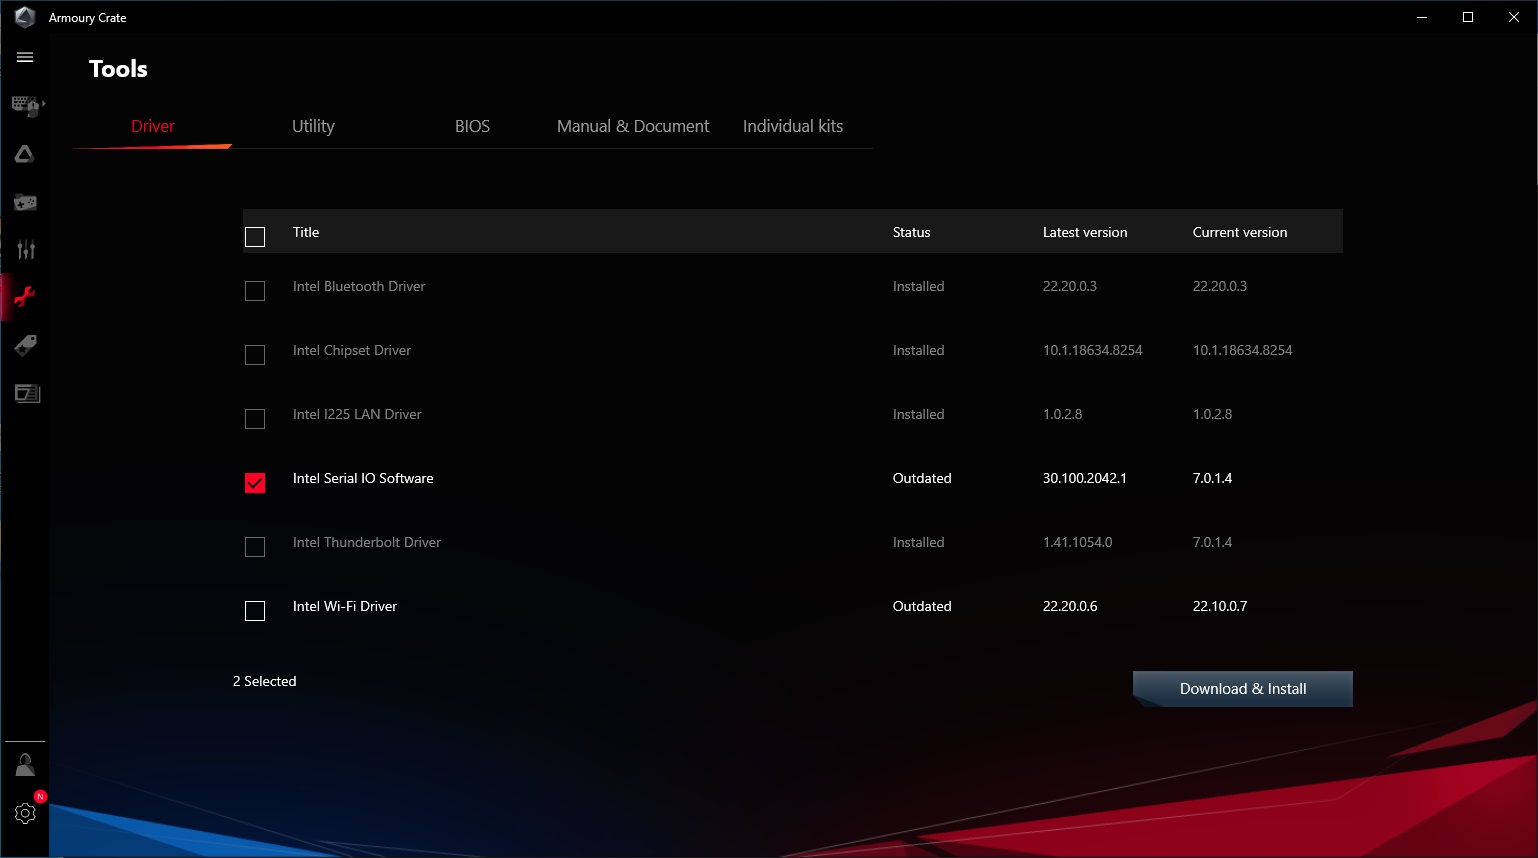
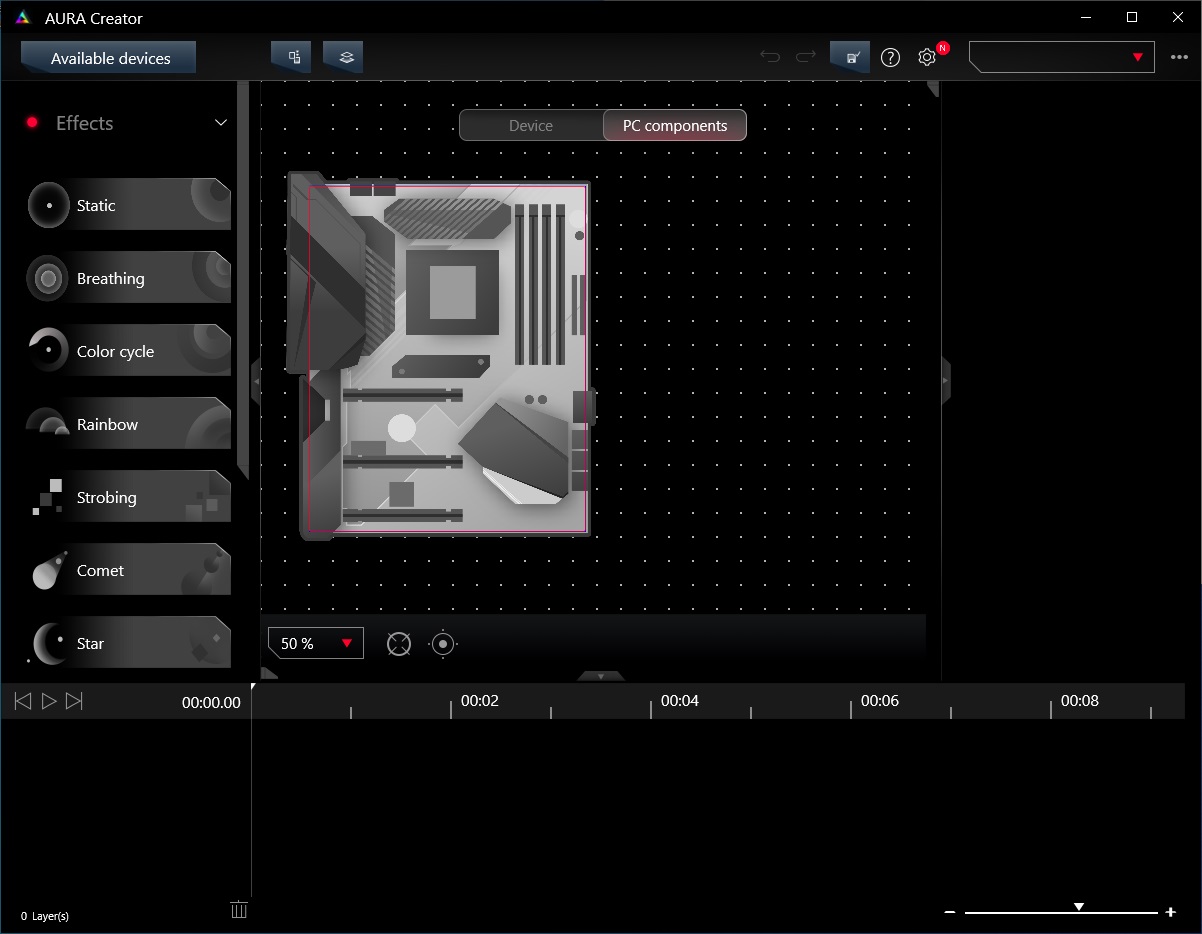
Before we get to testing, we have one last board to detail: Gigabyte’s Z590 Aorus Tachyon, which we’ll tackle on the next page.
MORE: Best Motherboards
MORE: How To Choose A Motherboard
MORE: All Motherboard Content
Current page: Asus ROG Maximus XIII Apex
Prev Page ASRock Z590 OC Formula Next Page Gigabyte Z590 Aorus Tachyon
Joe Shields is a staff writer at Tom’s Hardware. He reviews motherboards and PC components.
-
g-unit1111 Man normally I use Gigabyte boards, but what were they thinking with this design? Only two DIMM slots and those weirdly placed power connectors? No thanks. I'd get the Asrock or Asus boards over that.Reply -
NightHawkRMX Even if I too think 2 ram slots on a board that expensive is silly, there is actually a reason for it.Reply
The Z590 Aorus Tachyon and the ASRock Z590 OC Formula are overclocking oriented. For memory overclocking, boards with 2 ram slots actually perform better than boards with four. That's the same reason why EVGA's Z590 dark has 2 ram slots.
The right angled power connectors are odd too, but also not uncommon on high end boards at this point. My guess is this is due to cleaner cable runs.
https://images.evga.com/articles/01470/E590-dark.png -
Co BIY I wonder if there is some way to have the standard 4 memory slots with the option to only run two for speed when playing mad scientist but enable all four when you use later use the board for your working system.Reply
In my opinion the Apex is the best looking mother board I have seen yet.
In general I don't think looks matter much and would probably buy one with green PCB if it met my price to performance marks but that is a sharp looker.
A brown Noctua cooler on that ASrock Lizard Alien green board would be amazing. -
SIMPSam Two RAM slots is ideal for RAM overclocking. These being overclocking centric boards, it makes sense. The premium is due to the build quality. I'd bet all of these boards are 8pcb layers and above where a normal board is 4-6 layers.Reply
On another note; The GB board is uglier than the Asrock board and that is saying something.
