Raspberry Pi Pico vs Arduino: Which Board Is Better?
We put the two microcontrollers into a five-round face-off.
Update 1/2/2021 07:09 ET: We have updated the power consumption tests to address a discrepancy in the test methodology. The results of the test have not changed the winner for that round.
Original Article
Before the Raspberry Pi Pico arrived, there was a sharp distinction between the Raspberry Pi and Arduino ecosystems. The Pi is a Linux computer that boots up into a full operating system and the Arduino is a microcontroller that just runs one program at a time. With the arrival of the Raspberry Pi Pico, which is itself a microcontroller, and the new RP2040 SoC, the distinction has blurred. Raspberry Pi Foundation now makes its own silicon, and is enabling partners to use ‘Pi Silicon’ in their boards including Arduino which is working on its own RP2040-based board with Wi-Fi and Bluetooth.
Both the Arduino and the Raspberry Pi Pico are great for physical computing projects where the main goal is to activate lights, motors and sensors reliably, without all the overhead of running a full-operating system. You can even use either one in combination with a regular Raspberry Pi, and use one for higher-level tasks like A.I. and the other for interfacing with electronic components.
The first Arduino board was introduced in 2005 and, since then, millions have been sold and a huge ecosystem has arisen. Meanwhile, the Raspberry Pi Pico just launched recently, but already we’re seeing a ton of support for it. So which is better and which should you use in your next project? To help you decide, we’ll compare the two platforms based on functionality, value, power consumption and more.
Functionality and GPIO of Raspberry Pi Pico vs Arduino
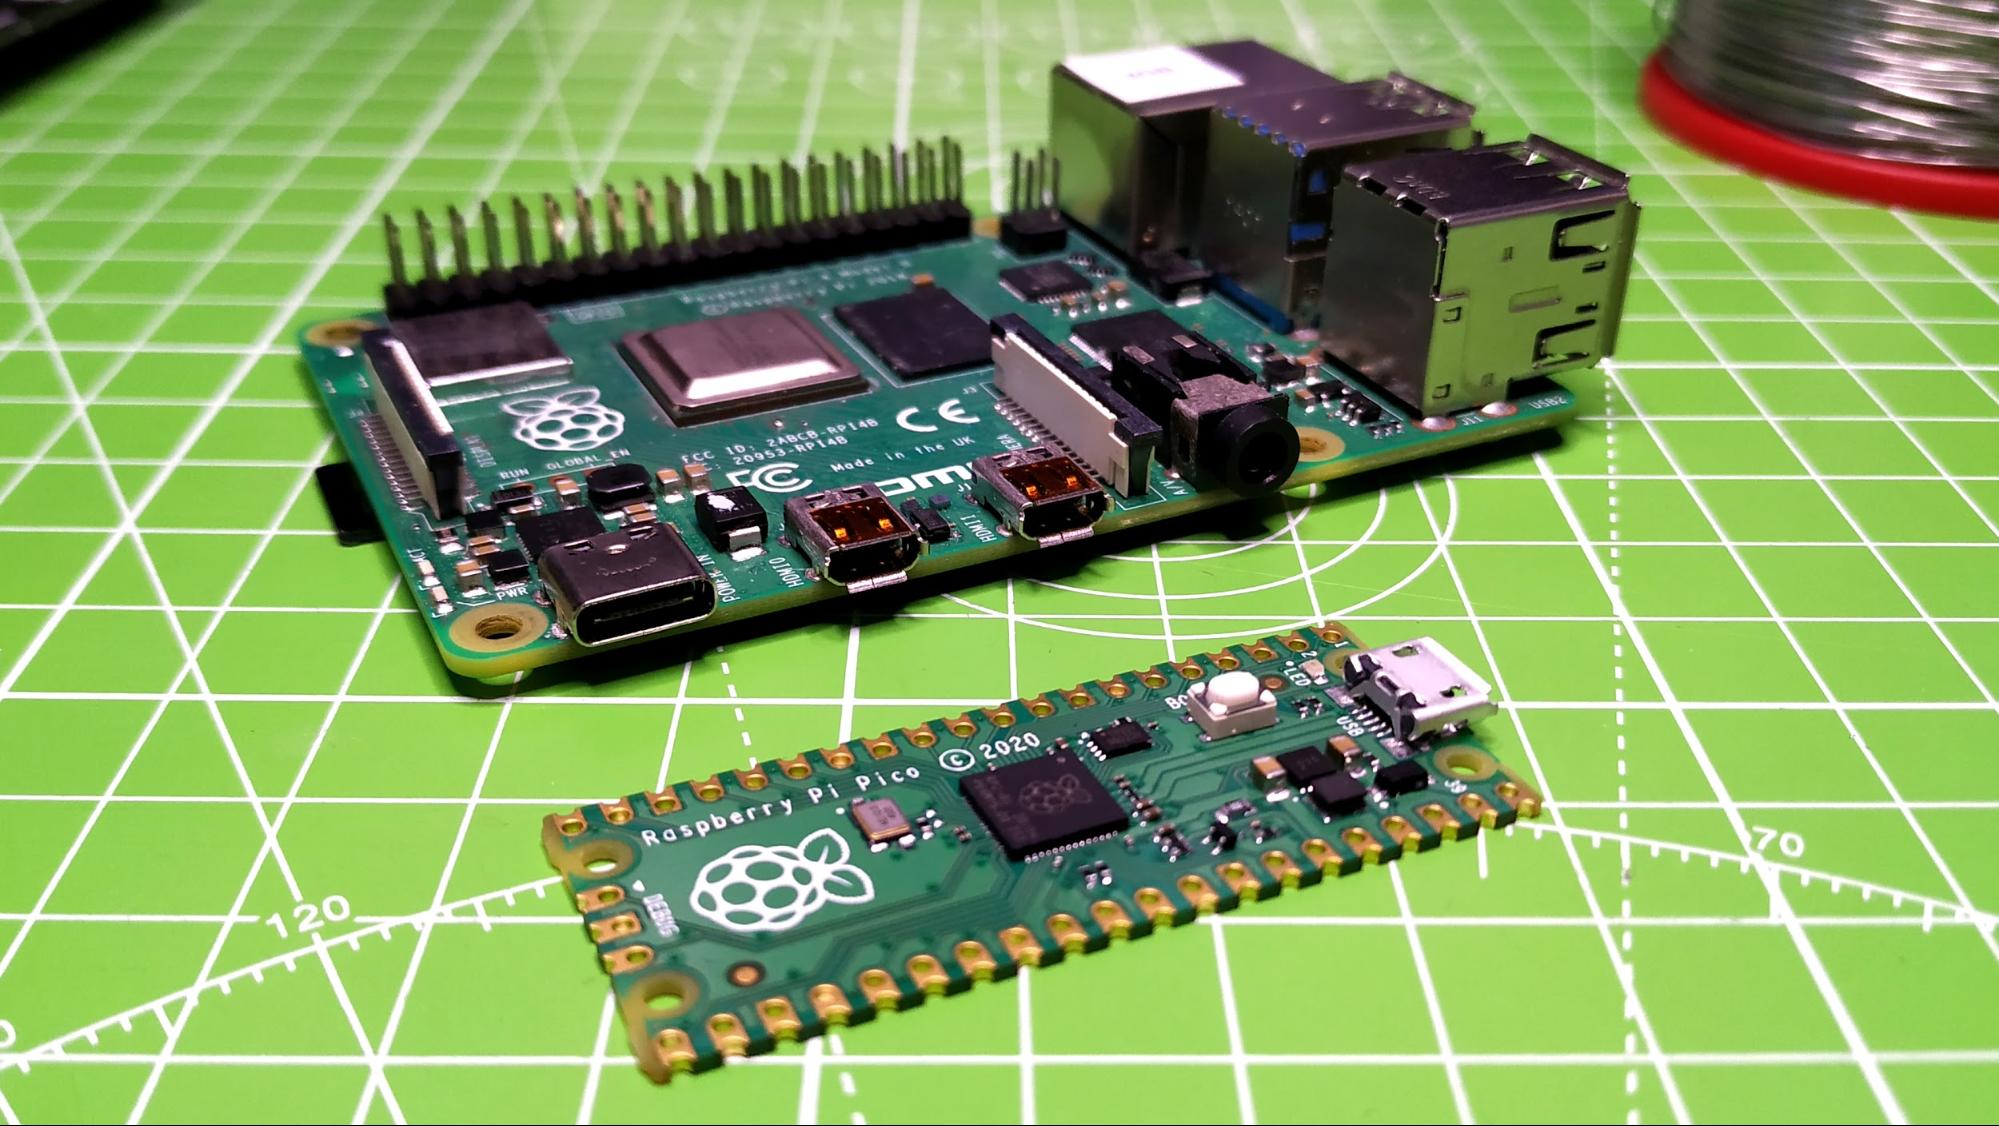
The Raspberry Pi Pico introduces a new form factor to the Raspberry Pi ecosystem, a 40 pin ‘DIP’ style PCB. All 40 pins are broken out to standard pads and, around the perimeter, there are castellations which can be used to solder the Pico to a carrier board in a similar fashion to surface mount electronics. If you need a soldering iron, we have a great list of the best soldering irons for you to choose from.
The DIP package is nothing new, Arduino boards such as the Micro have been using it for years. The DIP package can be soldered into a carrier board, placed into a breadboard or stacked atop compatible addons. It is a more convenient package compared to the Raspberry Pi and Arduino Uno style layouts which favour a larger layout. Adopting the DIP layout, the Raspberry Pi Pico provides us with an easy to use form factor which is easy to embed into a project.
Get Tom's Hardware's best news and in-depth reviews, straight to your inbox.
The Raspberry Pi Pico GPIO offers plenty of digital IO, three analog inputs and multiple I2C, SPI and UART connections. But what the Pico also offers are a series of programmable IO (PIO) pins which can be configured to simulate other interfaces / protocols such as WS2812 “NeoPixels”, they can also be used to offload complex tasks to a background process. All of this from a $4 board means the Raspberry Pi Pico is a low cost “Swiss Army knife” of GPIO pins.
Winner: Raspberry Pi Pico
SoC of Raspberry Pi Pico vs Arduino
The older and more popular Arduino boards are powered by Atmel chips such as the ATMega328P but the later boards now feature Arm CPUs. For example Arduino’s Portenta H7 has a dual core Arm Cortex M7+M4 CPU. While the ATMega328 is never going to compete with an Arm processor, it is a reliable chip for projects, proven by the countless number of Arduino projects on offer.
Arm chips are becoming more common with microcontrollers, Adafruit, Seeed and SparkFun have all developed boards with Arm chips. Microcontrollers do not necessarily need multiple cores and fast speeds as they are typically used for a single part of a process.
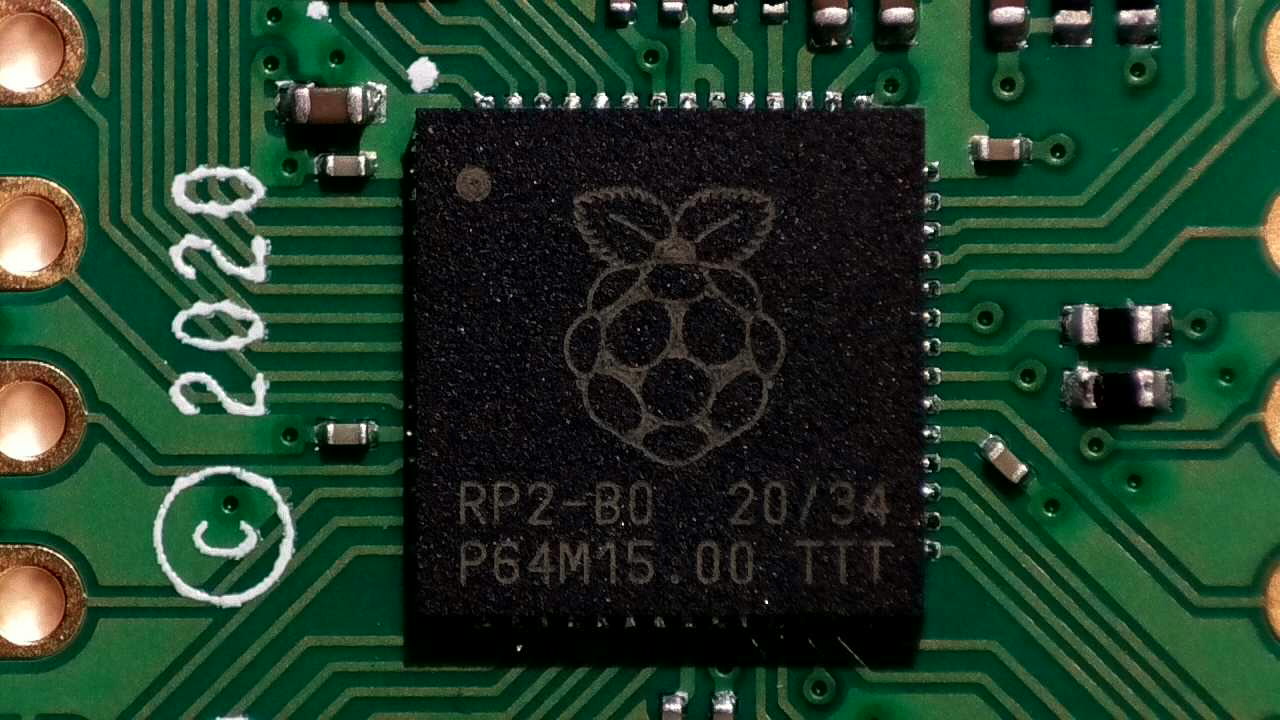
The RP2040 used in the Raspberry Pi Pico is a level above a typical microcontroller. First of all, we have a dual core Arm Cortex M0+ running at up to 133 MHz, much faster than an UNO’s 16 MHz 328P. SRAM on the RP2040 is 264KB, again much more than the Uno’s 2KB. With only 32KB of flash storage the Uno again falls short of the 2MB found on the Pico.
But how does the Pico shape up against Arduino’s flagship board the Portenta H7? Well the Portenta H7 features a dual core Arm Cortex M7 + M4 that can run up to 480 MHz and have up to 2MB of flash storage and 1MB of RAM. The Portenta H7 also comes with WiFi, Bluetooth, camera interface and a GPU. The Portenta H7 blows the Raspberry Pi Pico out of the water in every way, except the price. Retailing for €89.90 (excluding taxes) which is approximately $109, the Portenta H7 has a high price for the level of tech squeezed within it. To put it into perspective, $109 would buy 27 Raspberry Pi Pico boards.
Winner: Raspberry Pi Pico
Coding Raspberry Pi Pico vs Arduino
The Arduino IDE is the go to editor for Arduino projects, but there are alternatives in the form of PlatformIO and Arduino Create, a cloud IDE from Arduino. But the Arduino IDE is still what many use and think of when they see “Arduino.”
The Arduino IDE has improved over the years and now we see built in features such as multiple board management and a means to search and install libraries of packages for add-ons and accessories. Arduino Create is a cloud version of the Arduino IDE. It is designed for IoT projects, but it can still be used to tinker with even the most basic Arduino code. PlatformIO comes in three versions, a command line tool, a dedicated IDE, or it can integrate with your existing IDE for example Microsoft’s Visual Studio Code.
As we noted in our Raspberry Pi Pico review, the new platform has two officially supported languages, C and MicroPython. Currently C/C++ on the Raspberry Pi Pico is a workflow best left for advanced users. In fact, Raspberry Pi officially suggests using MicroPython with the Pico especially for new users.
If you would like to write C code on your Raspberry Pi Pico, then you have two main choices. Write the code in an editor (Vi / Vim. nano etc) and then build the code using terminal tools, or set up Microsoft’s Visual Studio Code and use a number of extensions to create a workflow to build and flash code to the Pico. Both of these approaches are possible but they are not the most user friendly. However, help may soon be at hand via an update to the Arduino IDE with support for the RP2040 chip.
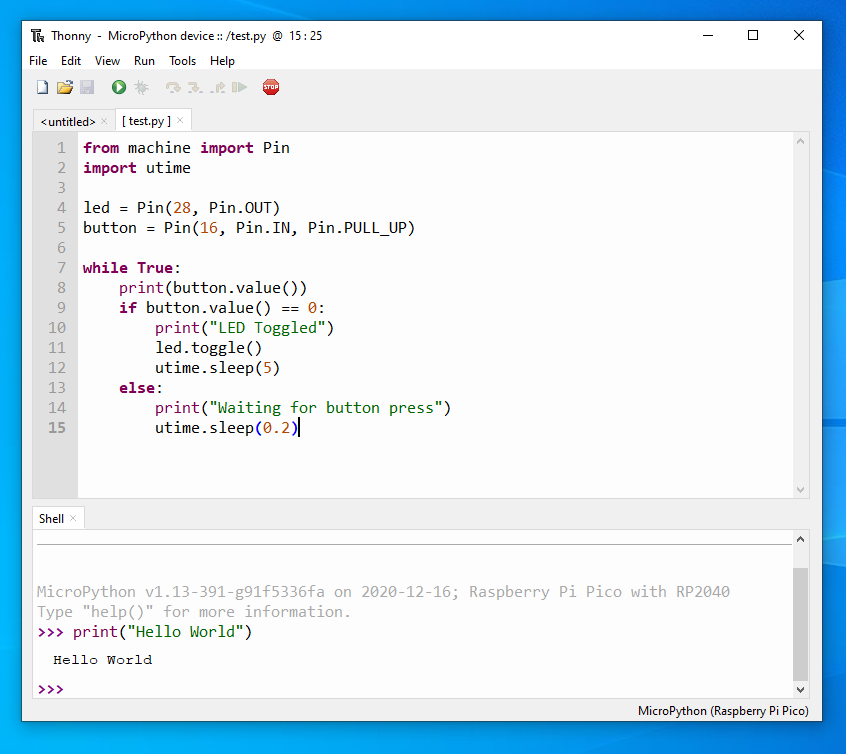
If Python is your preferred language, then you are in luck as the Raspberry Pi Pico supports MicroPython, a version of Python 3 for microcontrollers. At launch, MicroPython can be written in two ways, directly into the Python Shell, known as the REPL (Read, Eval, Print, Loop) or we can use an IDE such as Thonny which has support baked in from version 3.3.0 onwards. The path of least resistance is via MicroPython: we can quickly write and deploy our code from the fantastic Thonny editor and we’re using a standard language that’s very popular and used across a variety of platforms.
Winner: Raspberry Pi Pico
Ease of Use on Raspberry Pi Pico vs Arduino
Other Raspberry Pi boards are computers. Once we have our OS on the SD card, we use them in the same manner as any computer. But with the Raspberry Pi Pico we see a change of workflow.
No matter our language choice, we need to flash the Pico with an image for that language. This then enables us to write and save code directly to the board. The format of choice for images is UF2, a USB flashing format from Microsoft which has been championed by Adafruit for their CircuitPython range of boards. We just need to press the BOOTSEL button as we plug in the micro USB cable, drop the UF2 file onto the RPI-R2 drive and, in a few seconds, we can start writing code. This ease of use is evident in the MicroPython workflow. Once we have the MicroPython UF2 file on the Pico, we can simply connect using Thonny and start writing code.
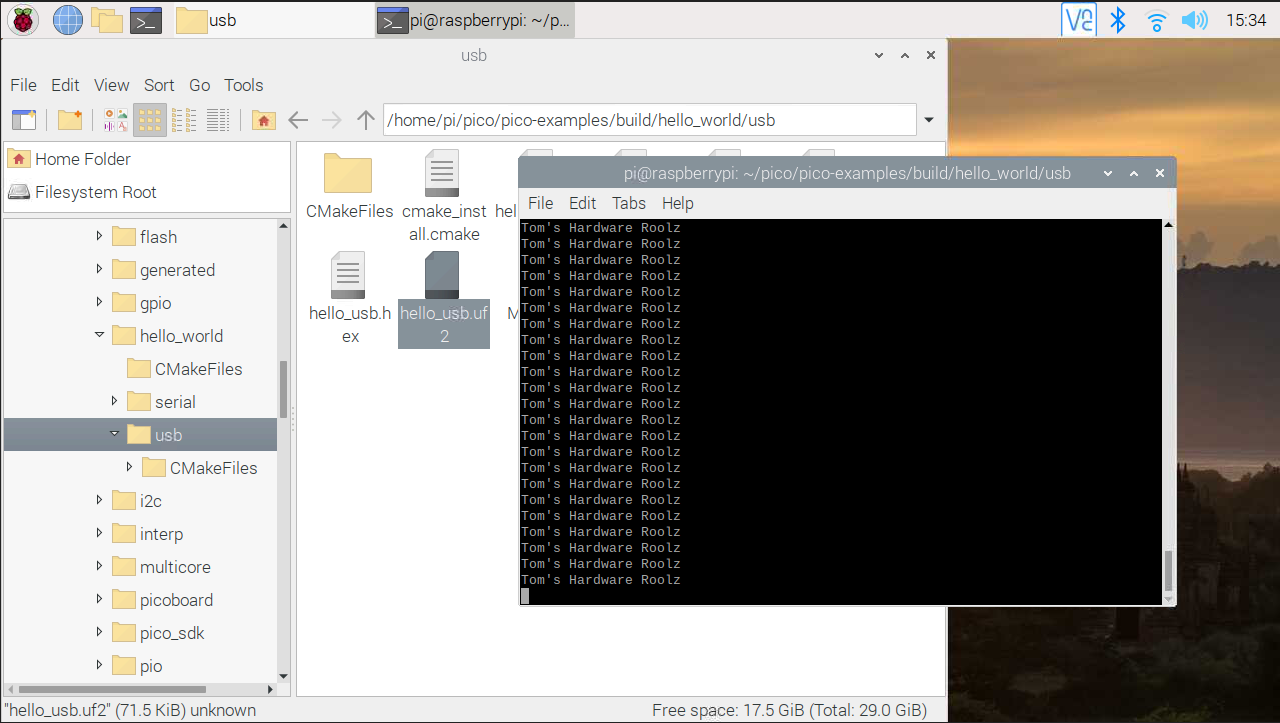
The C/C++ workflow is a little more advanced and something that would put off those new to the scene as it requires significant “hoop jumping” in which to create a final product. From a terminal, we need to write the project code in a text editor, then after downloading extra applications and dependencies, we can “build” the project into a UF2 file which is then manually copied to the Pico.
A slightly more automated process is available via Microsoft’s Visual Studio Code, in which we can write the project code and build via just a few clicks. That’s not the most user friendly process for newbies, but this is set to change and it is thanks to Arduino. The Arduino team announced that they are working on an Arduino core for the RP2040. What does this mean? Well it offers the chance to use the Arduino IDE with the Raspberry Pi Pico and other RP2040 based boards
The Arduino IDE workflow has been influenced by years of improvements and feedback; the entire process happens in app with very limited interaction from the user. ore advanced users can change the board, ports and libraries used in a project, features which have seen great improvement in recent Arduino IDE releases.
There are alternatives to the Arduino IDE, including Arduino Create, a cloud version of the IDE which is free for limited use, but to do anything “serious” we need to sign up for a paid plan. The Arduino Create IoT Cloud is a means to create applications based around the Arduino ecosystem and it works exceptionally well, but you will need to invest a little time to learn the process.
How easy to physically use are the Pico and Arduino boards? The first big difference is that the Raspberry Pi Pico comes unsoldered. This is no great issue as it is easy to solder your own pins, provided that you have a soldering iron. Typically Arduino boards comes pre-soldered, with the exception of DIP based board such as the Arduino Nano Every and Nano 33 IoT. With presoldered Arduinos we can start hacking straight out of the box.
Winner: Raspberry Pi Pico
Power Consumption on Raspberry Pi Pico vs Arduino
The Raspberry Pi Pico is an efficient board for embedded projects. Compared to a typical Raspberry Pi, the Pico consumes much less current, because it is a microcontroller with none of the overheads that a computer brings.
In our review test we powered a Raspberry Pi Pico running 12 Neopixel LEDS, white color, at full brightness from a 5.21V power supply . We recorded 600mA current draw, so 3.1W for the Neopixels and to power the board! This is lower that a Raspberry Pi 4, which when running idle with nothing connected would run at 4-5W. So compared to Raspberry Pi, the Pico sips power but how does it compare to an Arduino Uno running the same test?
From the same 5.21V supply we recorded 5.18V at 290mA, 1.5W for the Arduino Uno and the Neopixels! So the Arduino Uno consumes the least amount of power but then that was to be expected given that it has the slowest processor. If we were to repeat the test with another board, say the Portenta H7, then we would see a much higher power use as the Arm CPU used on the Portenta is more powerful than even the RP2040.
Winner: Arduino
Which is Better: Raspberry Pi Pico or Arduino?
At $4 and with an impressive selection of GPIO pins, ease of use and great documentation, the Raspberry Pi Pico is the best board for microcontroller projects. For such a small amount of money you get official hardware and know that it will work as expected, unlike other clone boards.
Don’t get us wrong; we have many clone boards in our workshop, but each of those boards has its own quirks that we must work around. Right now MicroPython is your best bet to quickly get up and running with your Pico, but once the Arduino IDE is updated to support the Pico, this will greatly improve the C/C++ workflow to a point where even Arduino fans may just be tempted to try out the Raspberry Pi Pico over their previous favorite.
| Round | Raspberry Pi Pico | Arduino |
|---|---|---|
| Functionality and GPIO | ✗ | |
| SoC | ✗ | |
| Coding | ✗ | |
| Ease of Use | ✗ | |
| Power Consumption | ✗ | |
| Total | 4 | 1 |

Les Pounder is an associate editor at Tom's Hardware. He is a creative technologist and for seven years has created projects to educate and inspire minds both young and old. He has worked with the Raspberry Pi Foundation to write and deliver their teacher training program "Picademy".
-
gr4p3fruit Is the Raspberry Pico still affected by the I2C-BUS issues of the other raspberry models?Reply -
CooliPi I wonder what temperature it reaches with 0.45W power consumption. Here're charts of various RPI models' power consumption figures for reference.Reply
http://www.pidramble.com/wiki/benchmarks/power-consumption
https://www.raspberrypi-spy.co.uk/2018/11/raspberry-pi-power-consumption-data/
I hope it has some sleep modes. -
CooliPi Replygr4p3fruit said:Is the Raspberry Pico still affected by the I2C-BUS issues of the other raspberry models?
From what I've read it seems it has some programmable hard/soft-IO bitbanging subsystem, I speculate it can do bitbanging of various protocols efficiently. I greatly appreciate this attitude. It makes any protocol "driver" repairable. Including I2C. -
stancilmor 0.4 watts is not low power.Reply
I’ve worked with lots of Microcontrollers that run on less than 0.001 watts. Some as low as 0.00009 watts. -
jasonkaler If you want to make something with more than 3 analogue inputs (for example a joystick) then the arduino wins.Reply
I personally use STM32 as it has a large amount of power, is cheaper than both the boards in the article and has many IO pins.
If you do have a couple of extra bucks, I'd strongly recommend the teensy -
jasonkaler Reply
Exactly. Low power is when the units drop to micro and nano, not millistancilmor said:0.4 watts is not low power.
I’ve worked with lots of Microcontrollers that run on less than 0.001 watts. Some as low as 0.00009 watts. -
cleavet Replystancilmor said:0.4 watts is not low power.
I’ve worked with lots of Microcontrollers that run on less than 0.001 watts. Some as low as 0.00009 watts.
It's not clear if they measured total power demand or if they separated out MCU power demand from that required by 12 NeoPixels. Further, "full brightness" for a single NeoPixel means around 60 mA or 300 mW at 5V, so there's no way that their numbers are valid if they include the NeoPixels in the total.
It would be interesting to minimize power demand on both platforms and then do the comparison. Here's an article about minimizing Arduino power draw (SparkFun): https://learn.sparkfun.com/tutorials/reducing-arduino-power-consumption/all. I'm sure there are similar guides for the Pico. -
bwana which has lower latency as a controller for a usb joystick? I would. think the arduino wins here.Reply


