How to Pause Windows 10 Updates
Stop Windows from slowing you down.
Get Tom's Hardware's best news and in-depth reviews, straight to your inbox.
You are now subscribed
Your newsletter sign-up was successful
Microsoft has a knack for deciding to update your computer at the most inopportune time. We have all experienced the dreaded dance of having our PCs restart and update while we sit twiddling our thumbs and our productivity dwindles to nothing. And with increasing consumer complaints about some of those updates wreaking havoc, now is a good time to take control of when, and how, you update your Windows 10 PC.
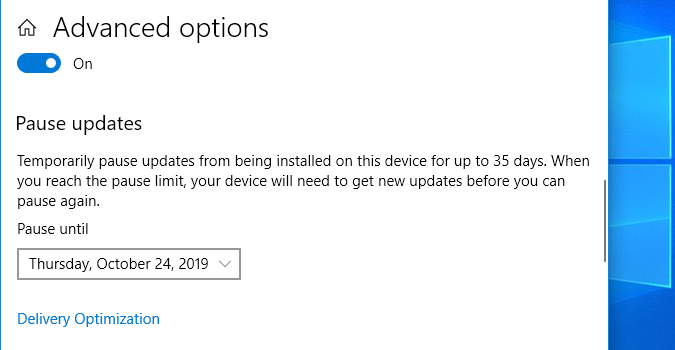
Here’s how to pause Windows 10 updates.
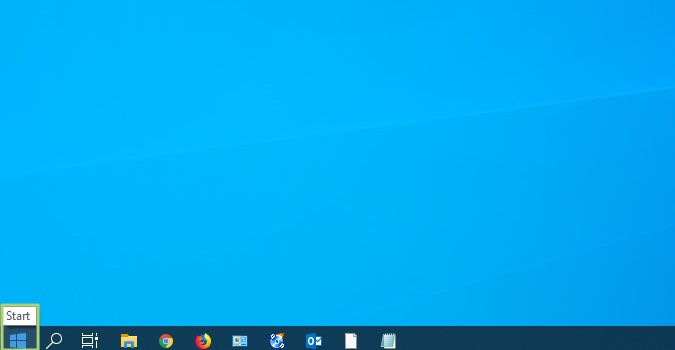
1. Click the Start menu from your taskbar.
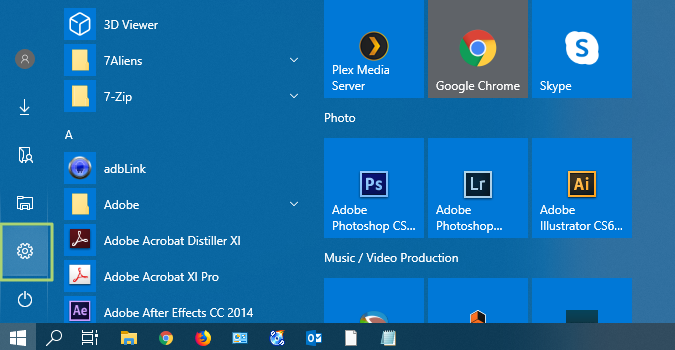
2. Click the Settings icon from the Start menu.
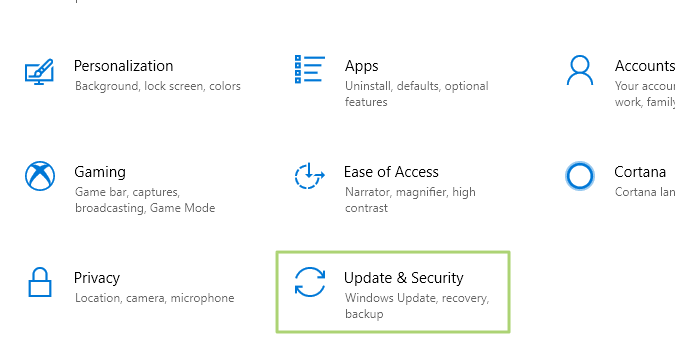
3. Select “Update & Security” In the Windows Settings window,
4. Choose Advanced Options under Windows Update.
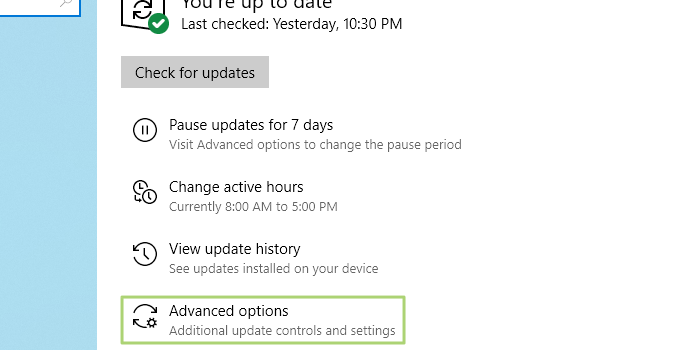
5. Click the “Select date” drop-down under Pause updates,
Get Tom's Hardware's best news and in-depth reviews, straight to your inbox.
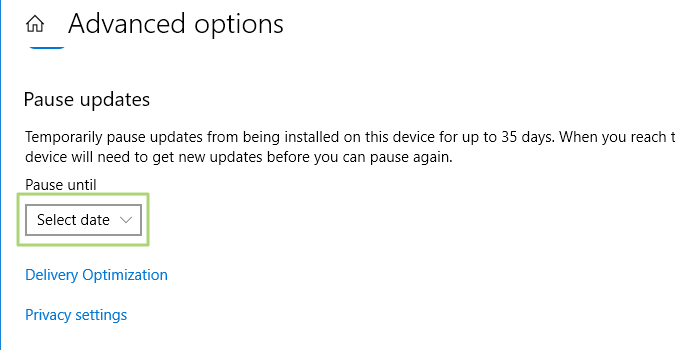
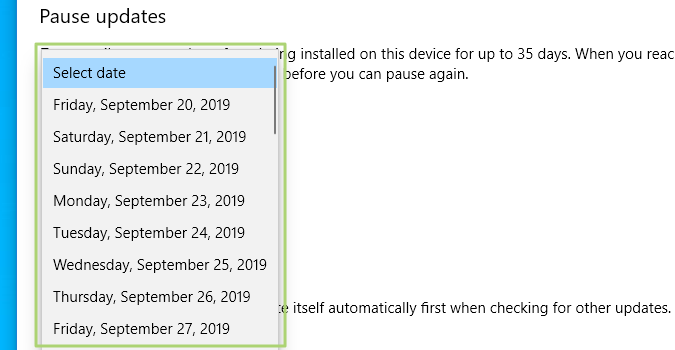
6. Specify the date you want your updates paused until. (Please note, currently, the maximum amount of time you can pause Windows Updates is 35 days)
-
thisisaname This does not pause updates it just not check of updates for a period of time.Reply
If I told it to "pause" updates for 35 days but an update way released on days 34 it would have to be installed on day 35, that is not what I want.
What I want is an update has to be out so many days before I install it so any problems will have come up and hopefully fixed before I have to install it. This does not do that.
What I would like is it to inform me of updates then allow me to delay installing them, or even hide it if I want (like you can with windows 7)