How To Wirelessly Transfer Files With a QR Code
Send and receive files via QR codes
Get Tom's Hardware's best news and in-depth reviews, straight to your inbox.
You are now subscribed
Your newsletter sign-up was successful
There are a number of different options available to move files between your desktop and mobile devices. The most common method is to use a USB cable, but this only works if you have access to the correct cable. What if we could send files between devices on the same network using nothing more than a QR code? For that we need qrcp.
Available for Linux, Windows or macOS, Qrcp works by binding a web server to the machine's IP address along with a random port number. It then generates a unique QR code that provides the relevant information. You can then read the QR code on your mobile device, which will automatically take you to the decoded URL. The web server automatically stops once the download is completed.
How to Install qrcp
Qrcp is available for Windows, Mac and Linux machines including the Raspberry Pi. Our tutorial is centered on Linux and Qrcp produces deb and rpm package files for 32- and 64-bit machines as well as ARM, should you wish to install qrcp on a Raspberry Pi. But it’s quite easy to install from the source tarball.
1. Download the latest source release for your machine. At the time of writing, this was version 0.8.4.
2. Extract the downloaded file into a new directory called qrcp in your Downloads directory.
3. Open a terminal / command prompt and navigate to the newly created qrcp directory.
$ cd ~/Downloads/qrcp
4. Move the extracted qrcp script into the /usr/local/bin directory. This enables the command to be used from any location. Windows users can copy the qrcp file to their Windows directory, enabling the command to be used from any location.
Get Tom's Hardware's best news and in-depth reviews, straight to your inbox.
$ sudo mv qrcp /usr/local/bin/
Transferring Files to Mobile Devices
The default qrcp configuration should suffice for most users. As soon as you specify the file you wish to transfer, qrcp will create a unique URL from which the file can be downloaded. Not only that, but the utility generates a QR code which you can scan from your mobile device. When you then navigate to the decoded URL, the file will be automatically downloaded to your mobile device.
We’ll be using Google Lens as the QR code scanner, but you can use an alternate app if you so prefer. The commands to use qrcp are identical between Windows, Mac and Linux.
1. From the terminal / command prompt, navigate to the directory which contains the file you wish to share. In our case we have a PDF on our desktop that we wish to send to our mobile device.
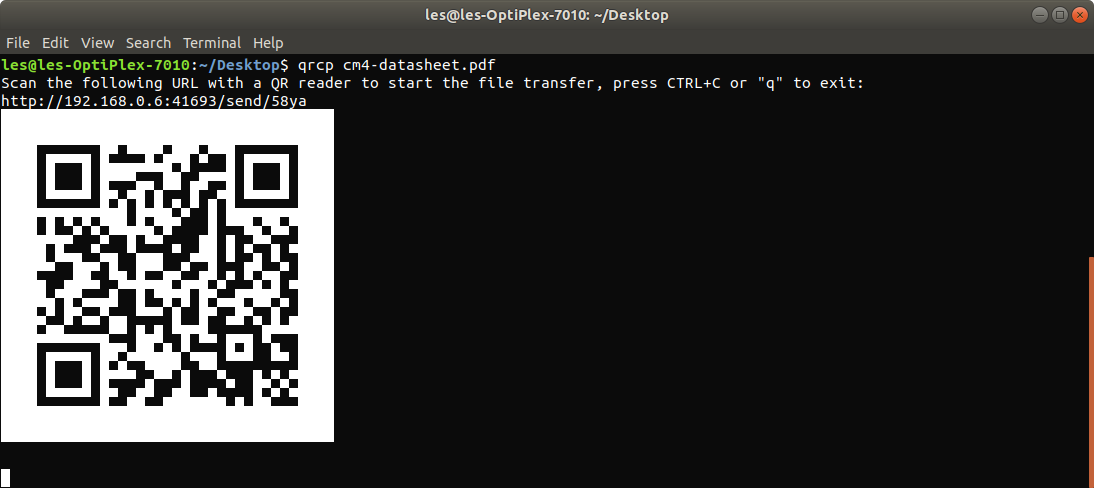
$ cd ~/Desktop2. Use qrcp to prepare the file for transfer. Qrcp has generated a QR code, as well as a URL.
$ qrcp Technical-Specs.pdf
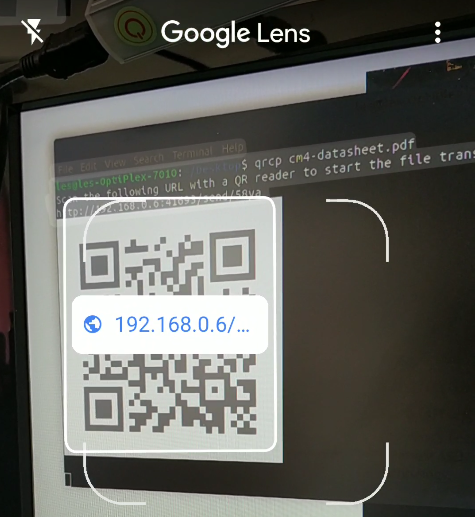
3. On your mobile device, open a QR code scanner, such as Google Lens and scan the QR code on the screen.
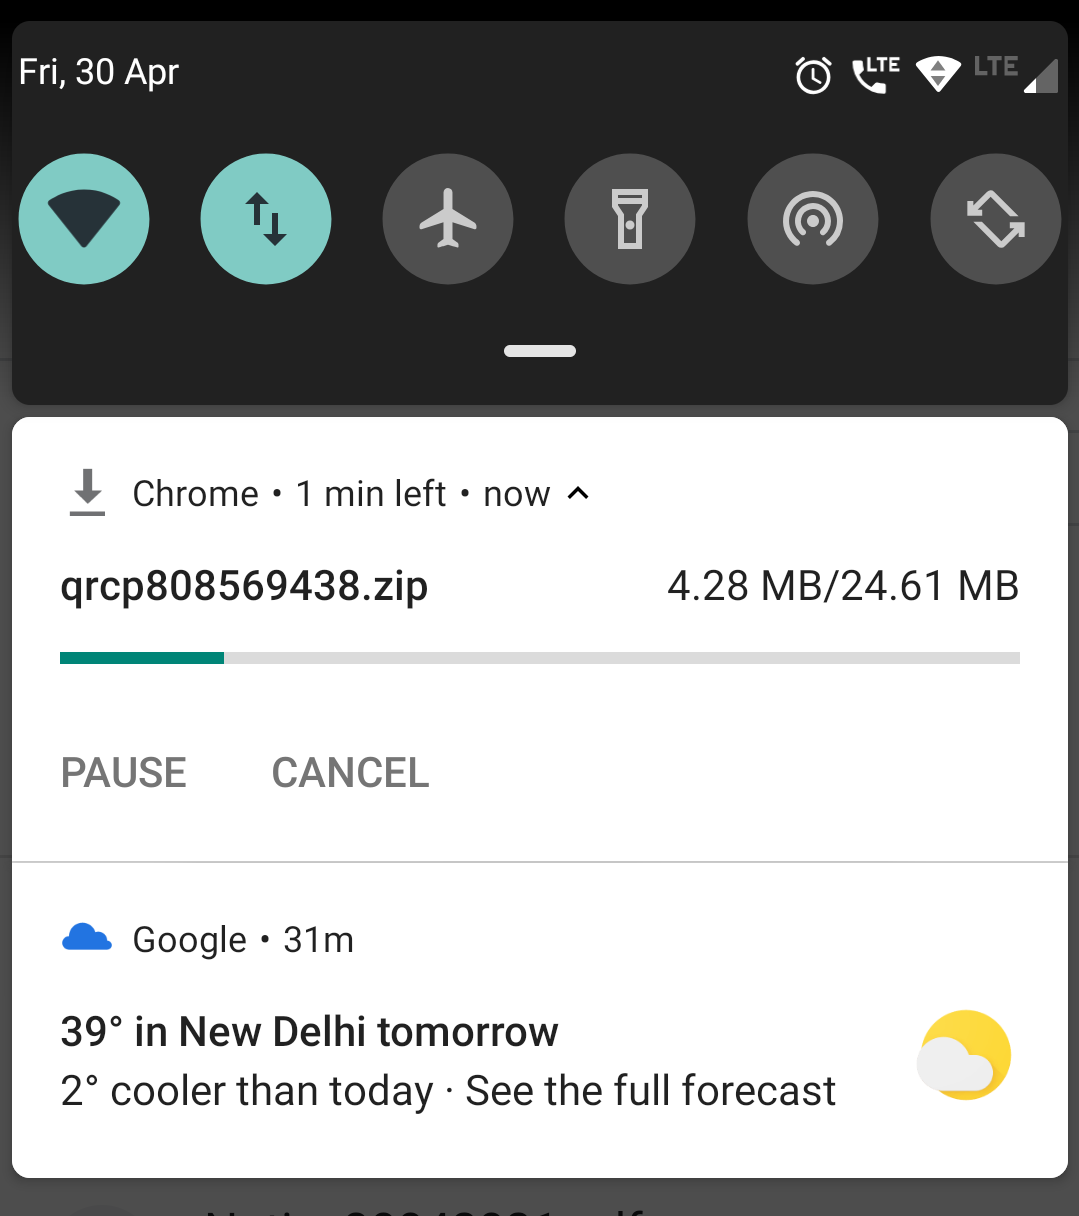
4. Tap on the decoded URL, the file transfer will automatically begin and the connection will close once the transfer is complete.
Transferring Multiple Files With qrcp
You can similarly use qrcp to transfer multiple files, via a zip file comprising all of the specified files.
$ qrcp filename1 filename2 filename3Transferring files from mobile device to desktop
You can just as easily use qrcp to transfer files to the desktop.
1. On your computer open a terminal and set qrcp to receive a file.
qrcp receive
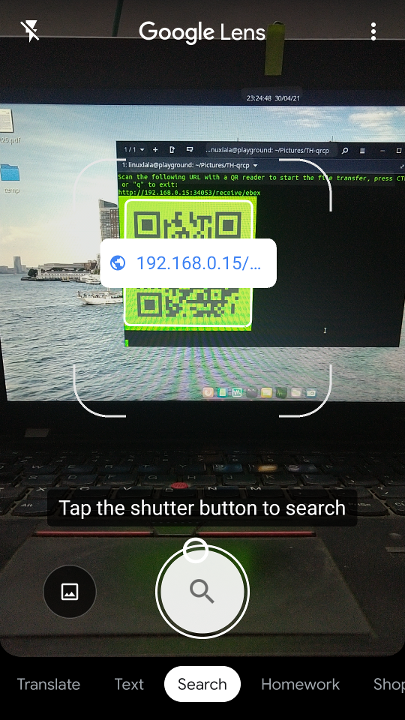
2. Using your mobile device, scan the generated QR code and tap the decoded URL.
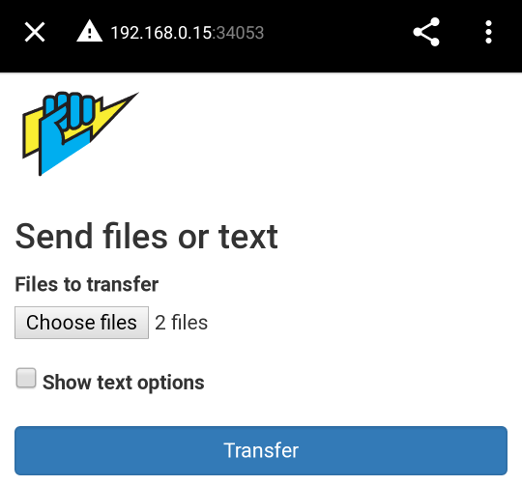
You’re taken to a page where you are asked to choose the files that you wish to transfer.
3. Select the files you want to send, tap the Transfer button at the bottom of the page, and the specified files will immediately be downloaded.
By default qrcp receive will download files to the current directory but you can also specify the directory you wish to receive the files in.
qrcp receive --output=/path/to/directory
Configuring qrcp
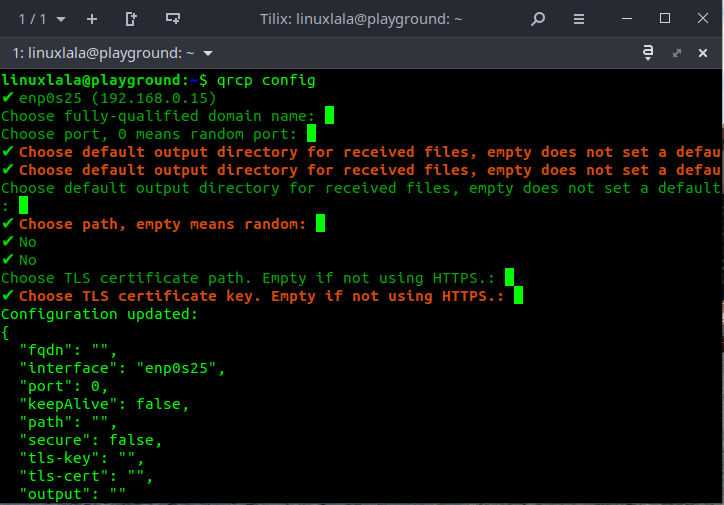
Although qrcp’s default configuration should suffice for most users, you can run the qrcp config command to set some useful defaults. The command will ask a series of questions, such as the default network interface to use, the default port, the default directory for received files, whether to use HTTPS for transfers, etc. The process is fairly straightforward and easy to follow. When done, the configuration is written in the config.json file under the ~/.config/qrcp directory (Linux version location).
More Linux Tutorials:

Shashank Sharma is a freelance writer for Tom’s Hardware US, where he writes about his triumphs and joys of working with the Linux CLI.

