How to Update Nvidia Drivers
Keep your Nvidia GPU as up to date as possible.
Get Tom's Hardware's best news and in-depth reviews, straight to your inbox.
You are now subscribed
Your newsletter sign-up was successful
If you own an Nvidia graphics card, whether it's one of the best graphics cards today or an older model, you'll want to make sure you keep it up to date. To do that, you'll need to check for new drivers periodically and update to the latest.
Nvidia frequently issues new drivers, which can introduce new functionality, optimize for existing and newly released games and keep the GPU running as smoothly as possible. Having the latest Nvidia driver can make the difference between your favorite game running very well and running its best.
There are two main ways to update your Nvidia drivers: using Nvidia's GeForce Experience software, or going to Nvidia's driver download page. We'll go over both in this how-to. Those who like to decide when to update solely on their own and don't care about Nvidia's overlays, Ansel photo features or optimized game settings may want to update on their own.
If you're installing Nvidia's drivers for the first time, you should first uninstall old GPU drivers from AMD or Intel. You can use software like Display Driver Uninstaller to make sure you get rid of anything leftover from previous builds.
Here's how to update your Nvidia GPU drivers:
Updating Nvidia Drivers with GeForce Experience
This is the method I typically use. Nvidia's GeForce Experience is the easiest way to keep your Nvidia GPU drivers up to date.
1. Download and Install Nvidia GeForce Experience
To do this, you'll need to install the GeForce Experience software, which you can get directly from Nvidia here. Follow the prompts and install the software. You'll also need to create an account, which is one of the biggest downsides to GeForce Experience — AMD doesn't require this in its Radeon software.
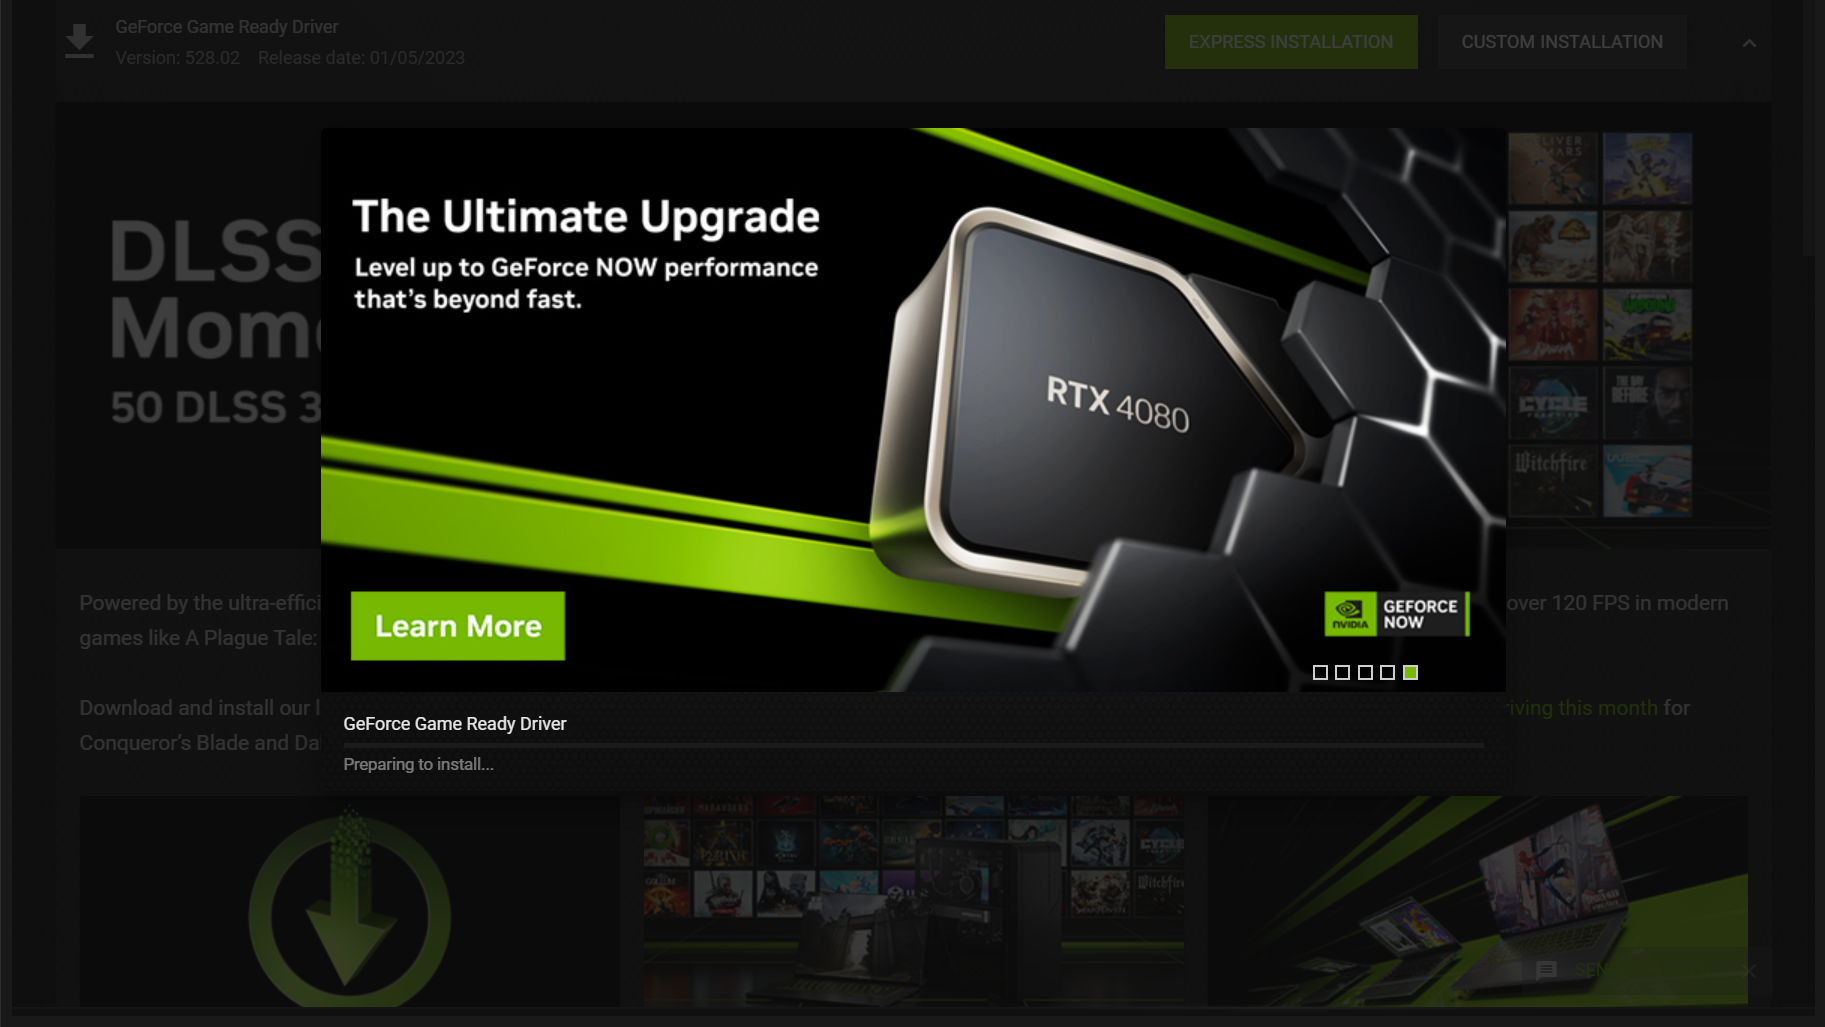
Sometimes, GeForce Experience may give you a notification that new drivers are ready, which will bring you straight to the download page. It looks like this:
But if you want to check manually, continue on.
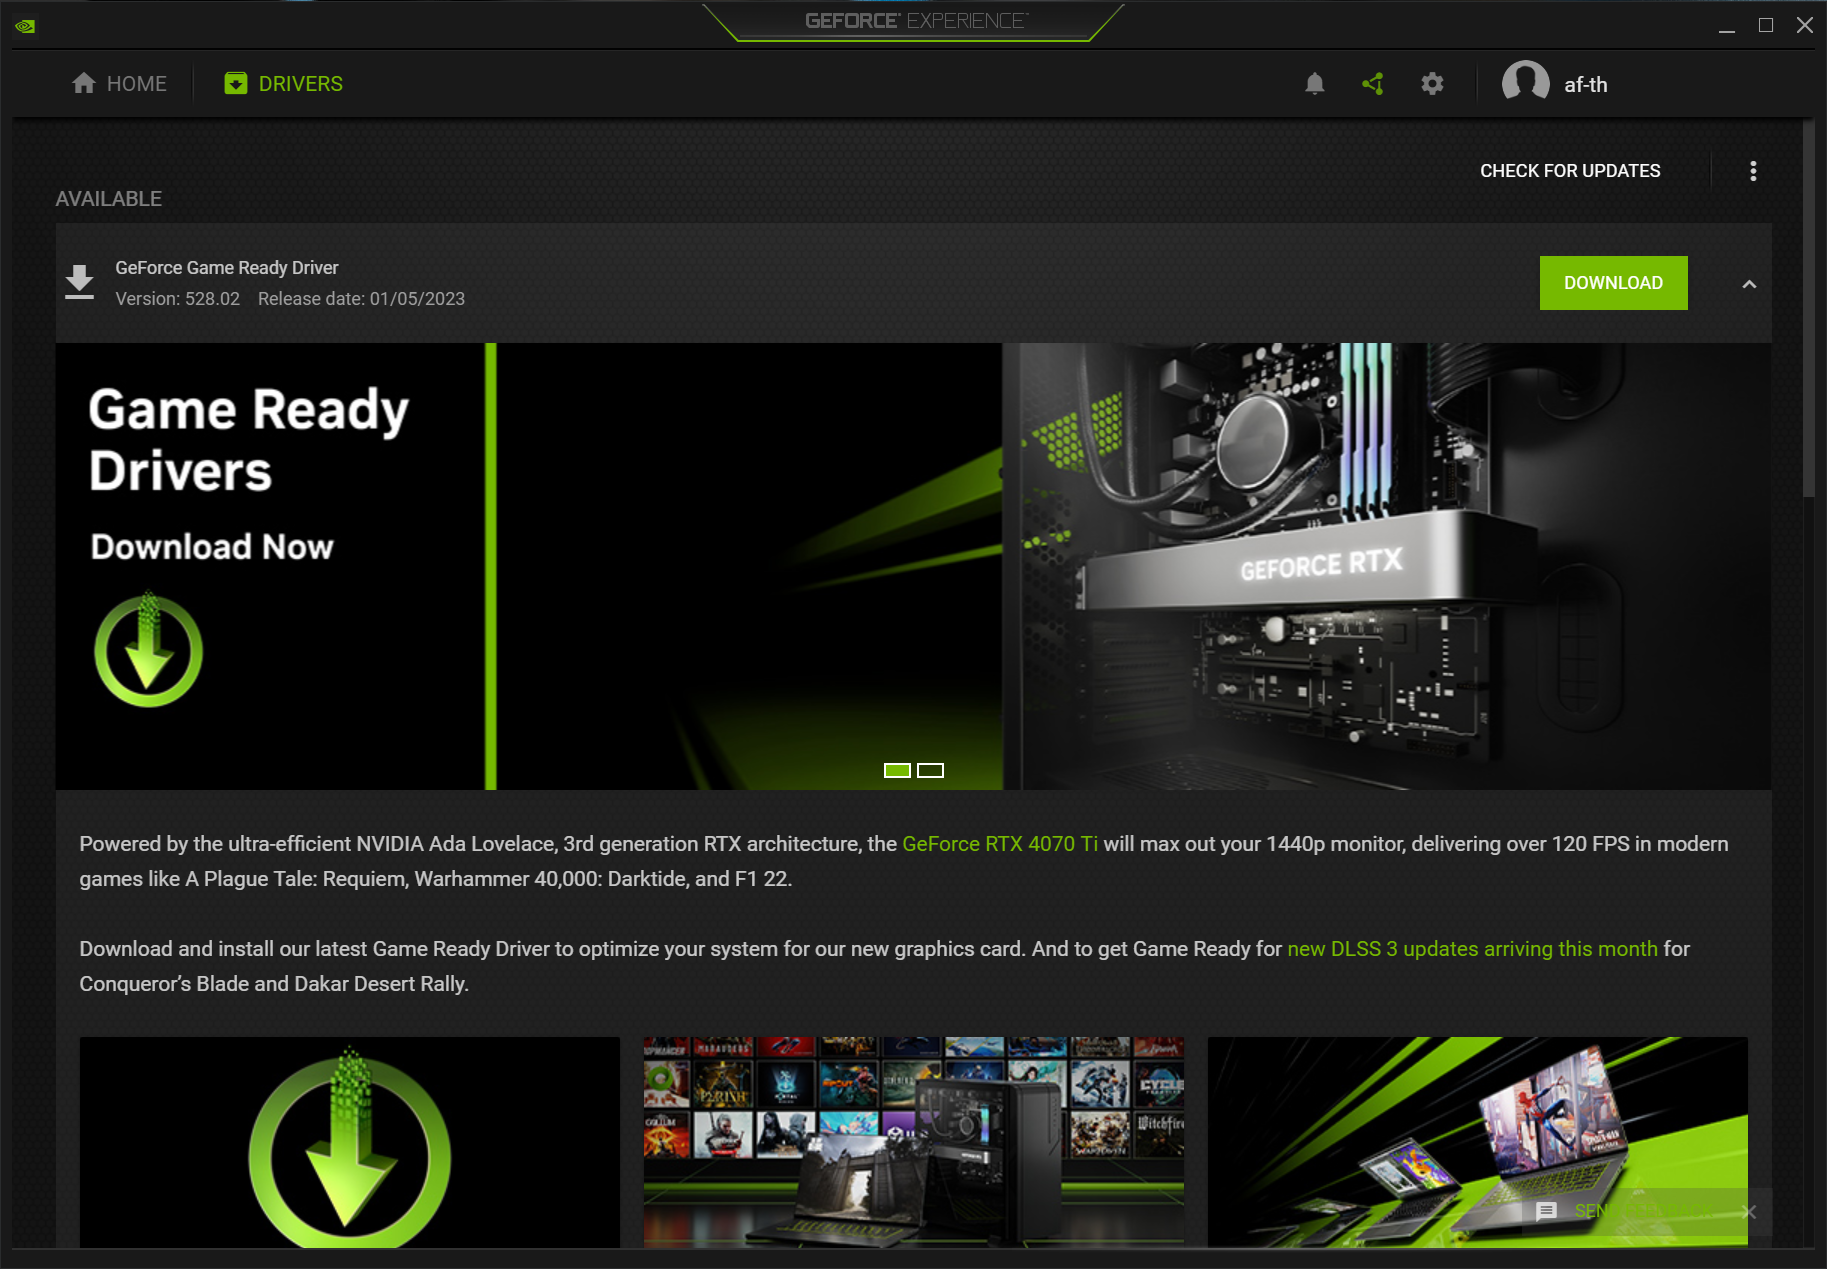
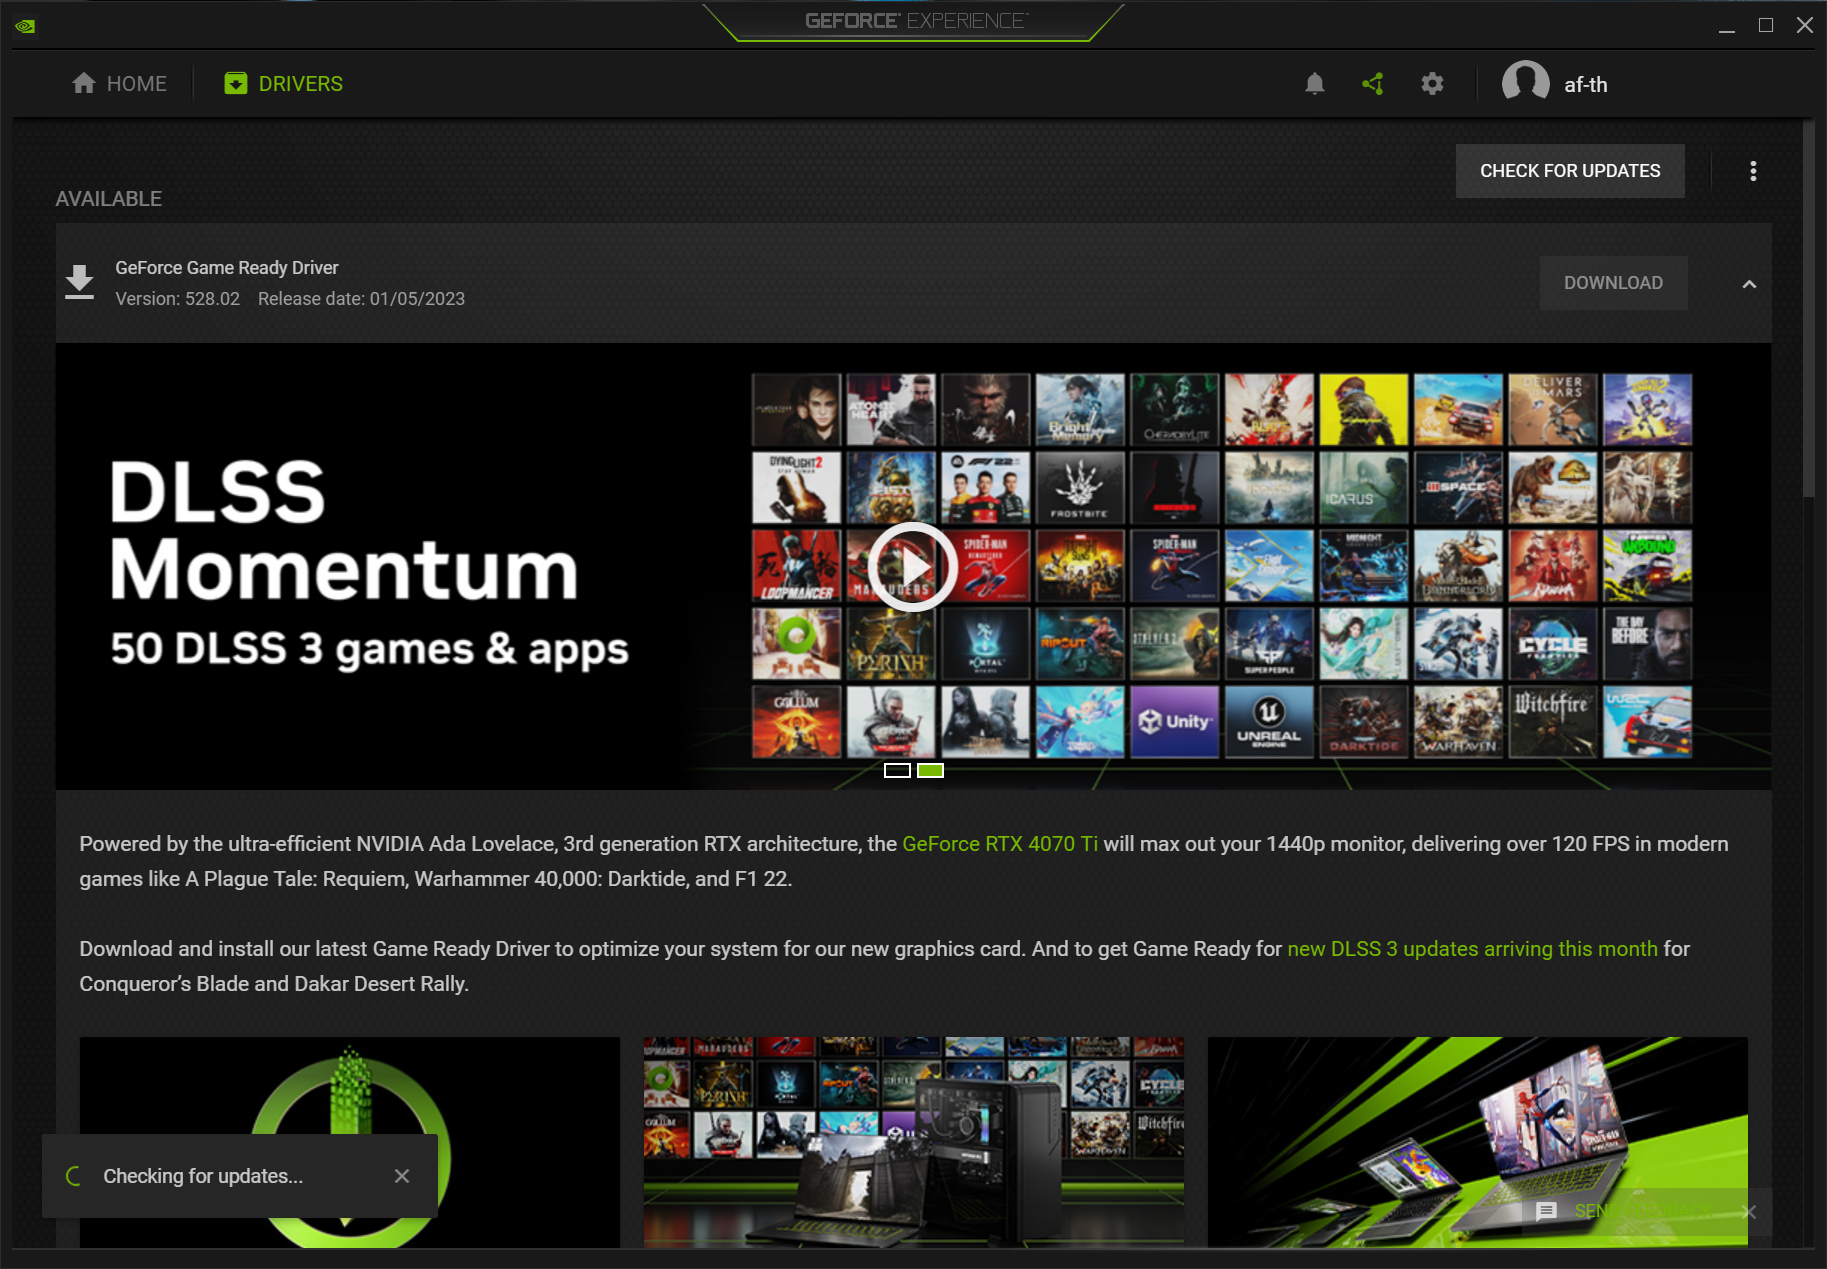
2. Go to the Drivers tab in the top right corner of the app.
3. Click "Check for Updates." If an update is already queued up, skip this step.
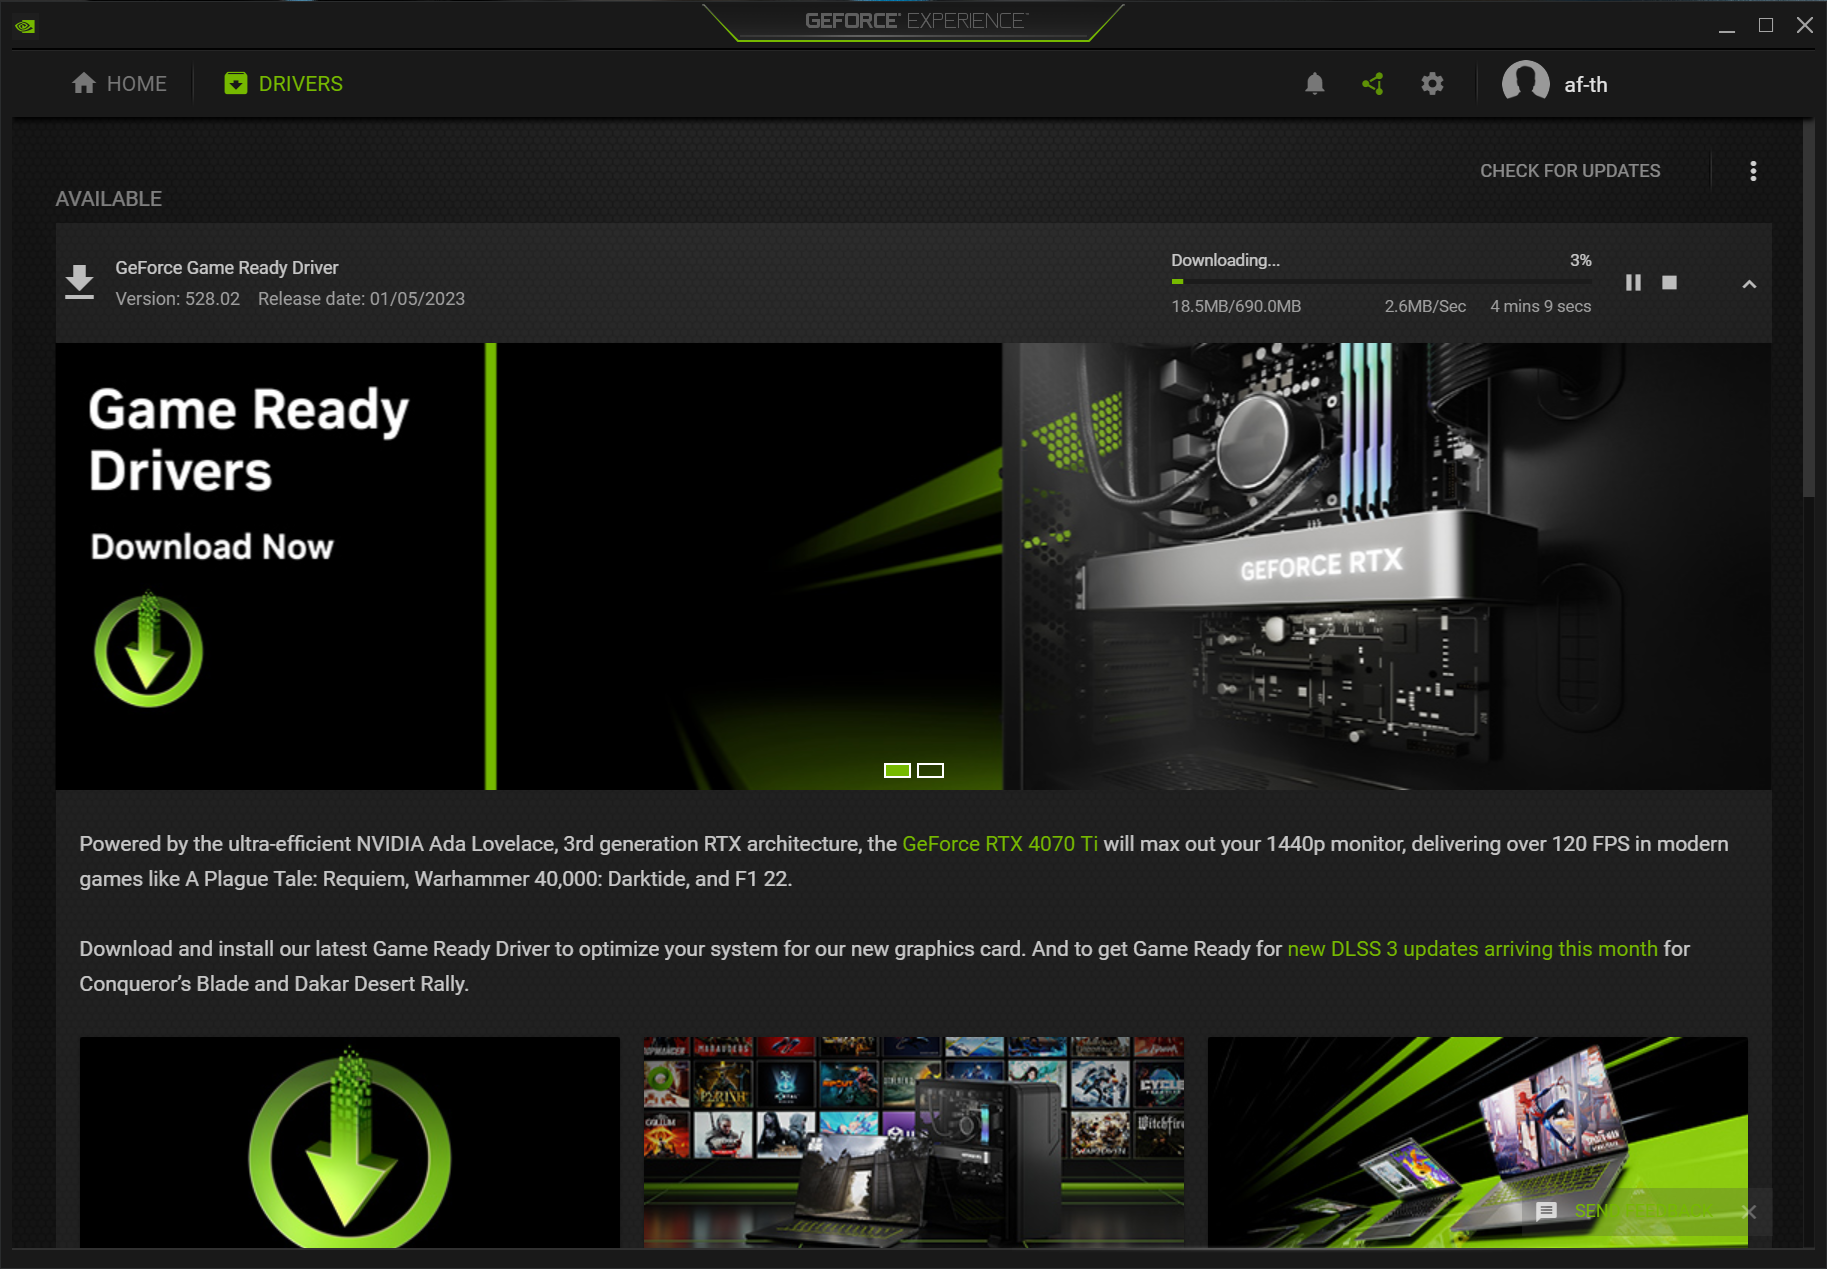
4. Click "Download" next to the update.
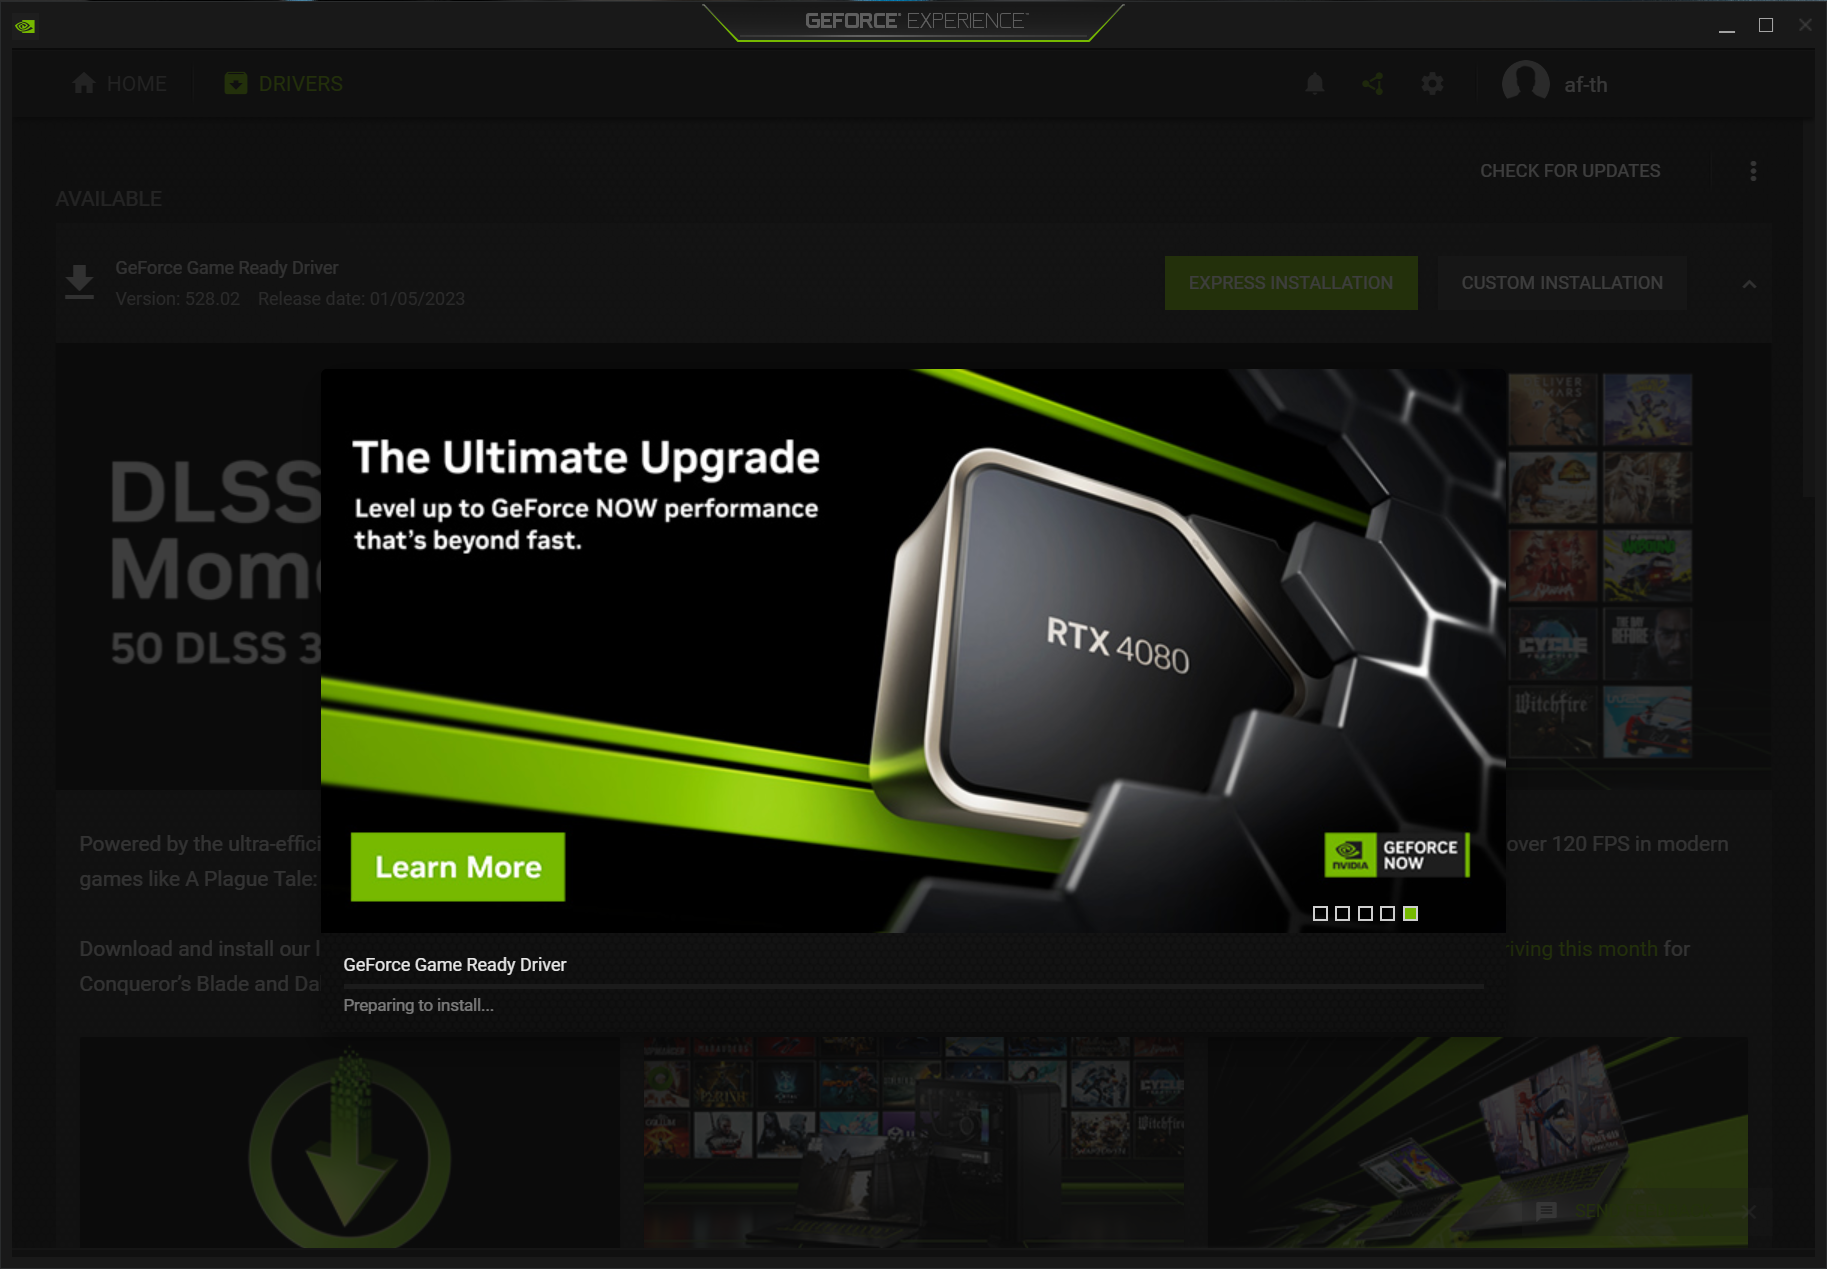
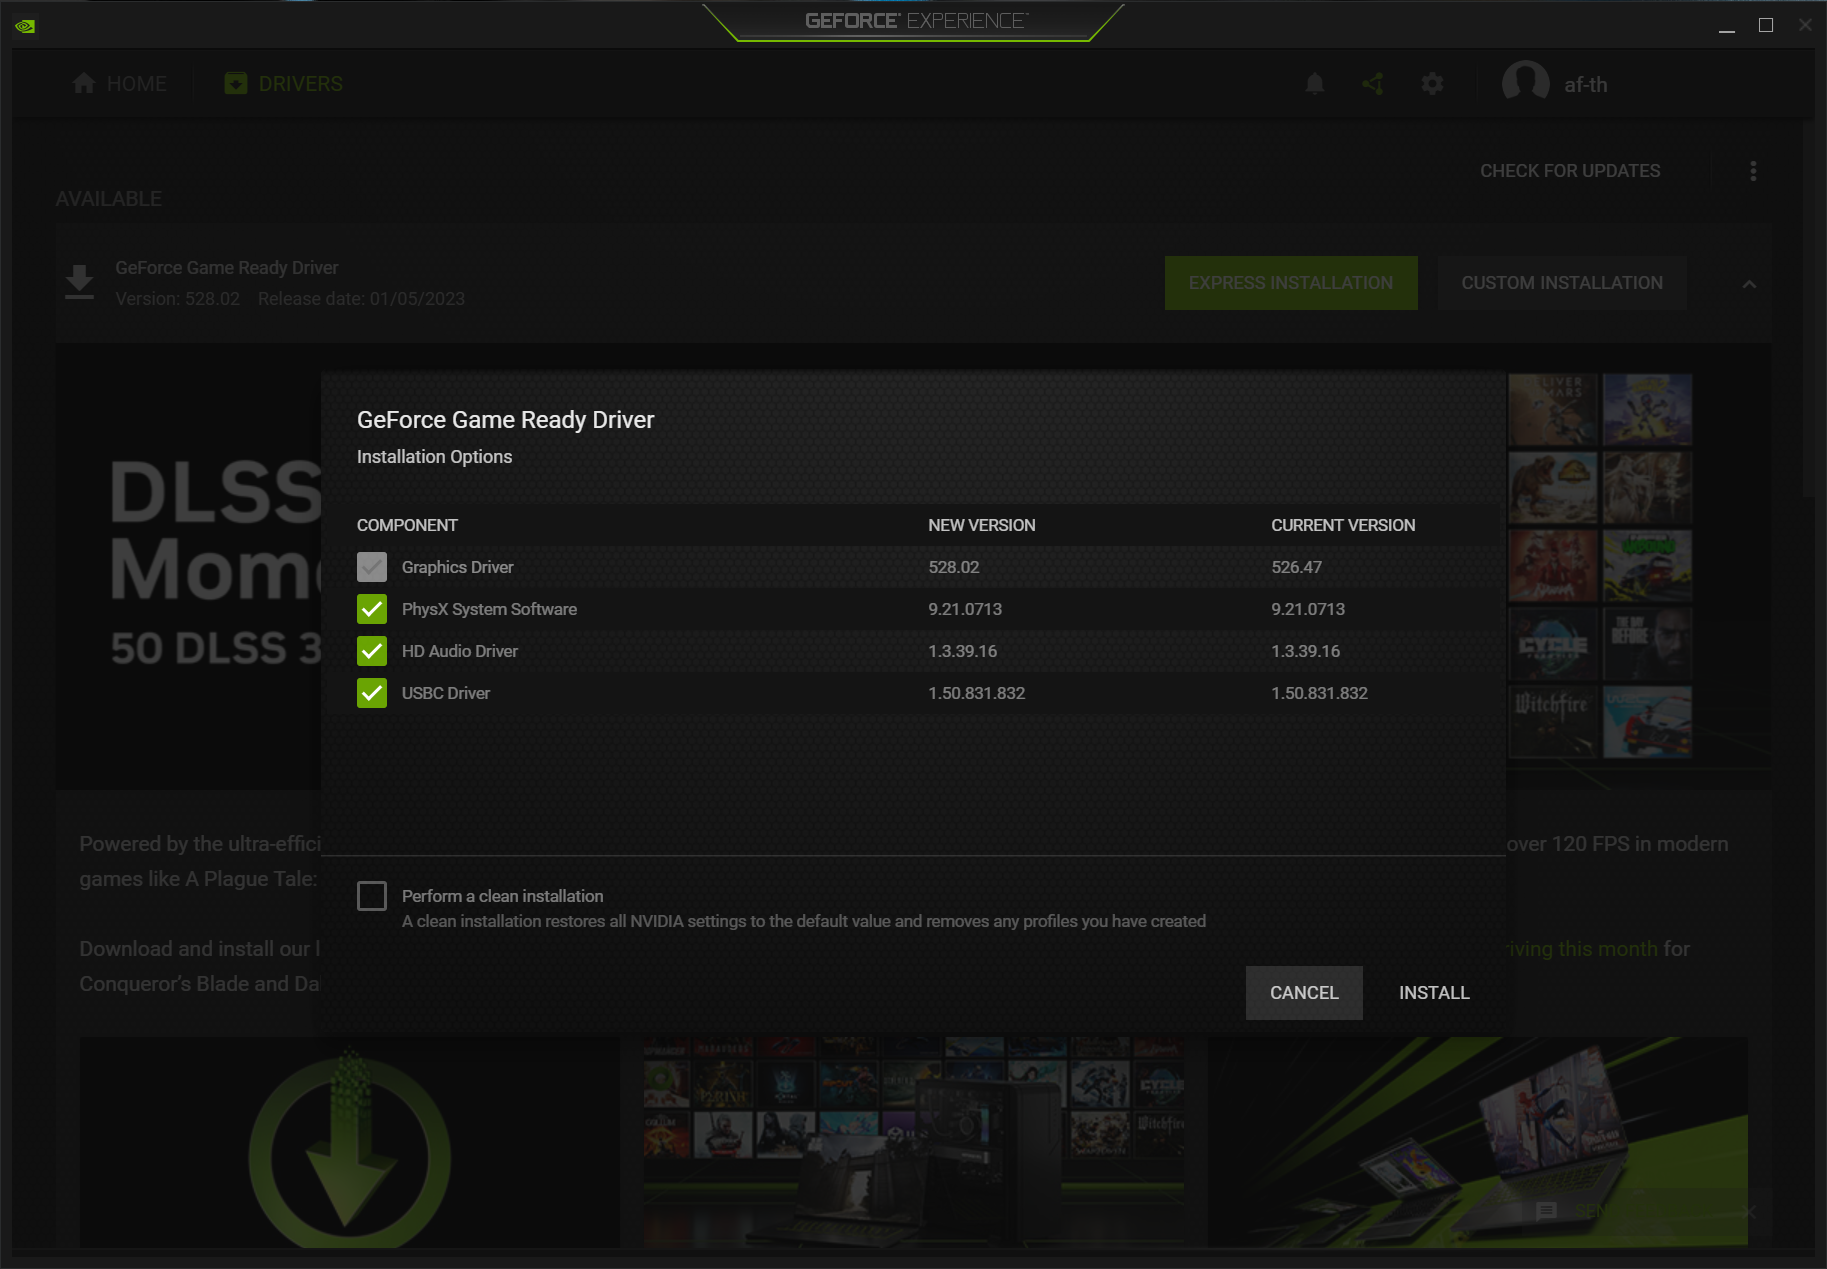
5. Choose your installation type. For most people, "Express Installation" is the way to go. Custom installation will let you choose to remove certain components, like the audio driver, USB-C driver or PhysX System Software, as well as clean install.
Get Tom's Hardware's best news and in-depth reviews, straight to your inbox.
The driver will install. Just wait out. This only takes a few minutes.
When you're done, you'll get a confirmation. You can safely click close. You should restart your PC.
Updating Nvidia GPU Drivers Manually
If you don't want the other features that come with GeForce Experience, or perhaps you just don't want to make a login, you can still update your Nvidia GPU's drivers. The other primary way to do this is by going straight to Nvidia's Download Drivers site.
1. Go to Nvidia's driver download page here.
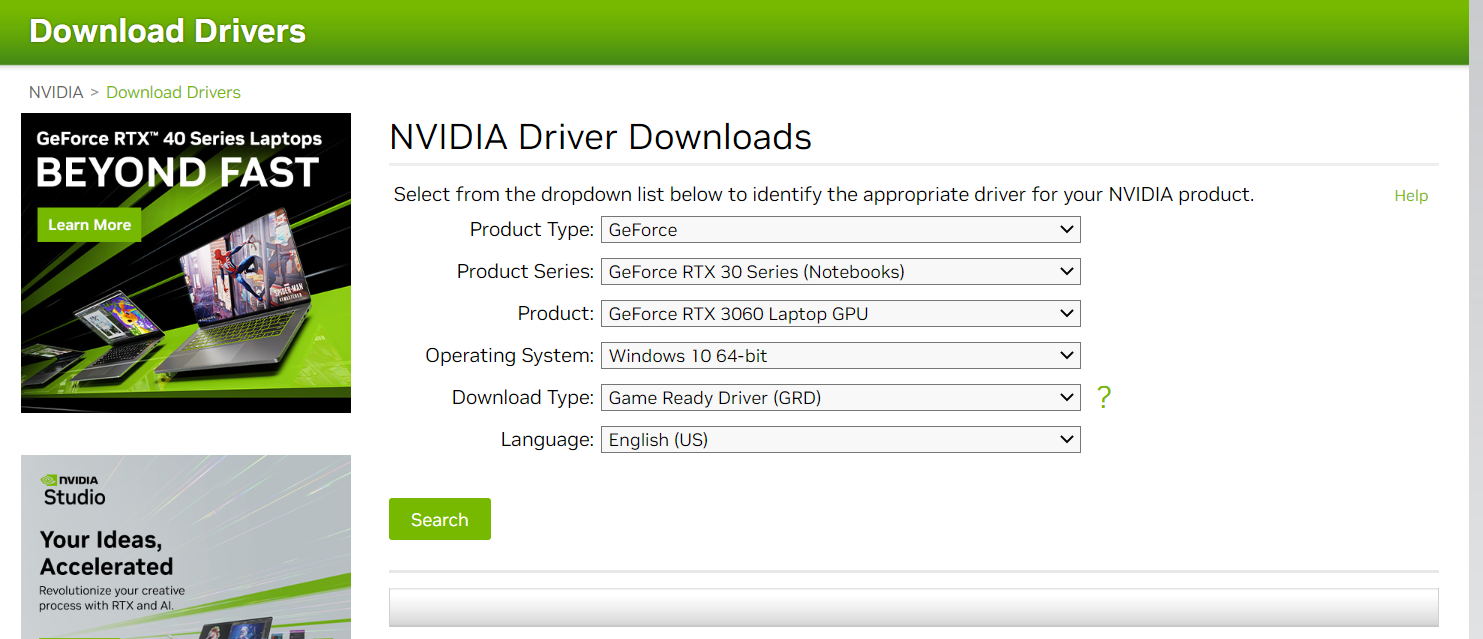
2. Fill out the dropdowns to match your graphics card. Note that you'll want to specify if you're using a desktop or notebook GPU in the "Product Series" section.
Under "Download Type," gamers will want to use the Game Ready Driver, while artists, photographers and other creatives may want to opt for Studio Drivers.
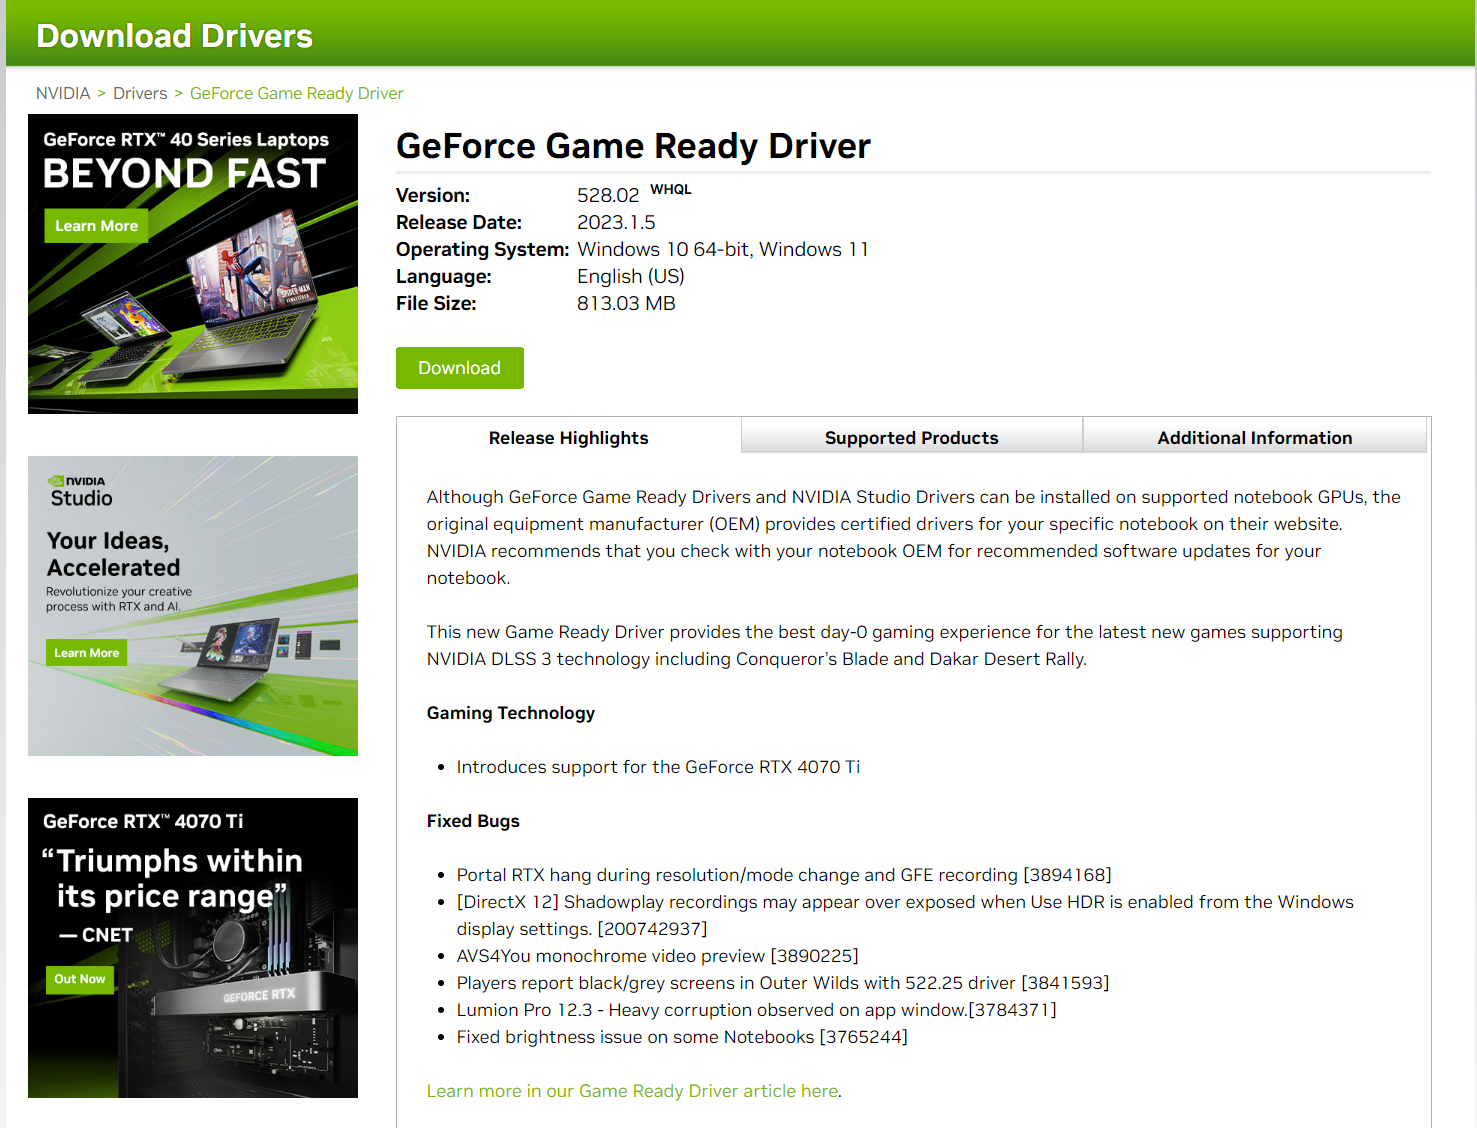
3. Click "Search." The website will bring up the latest available driver.
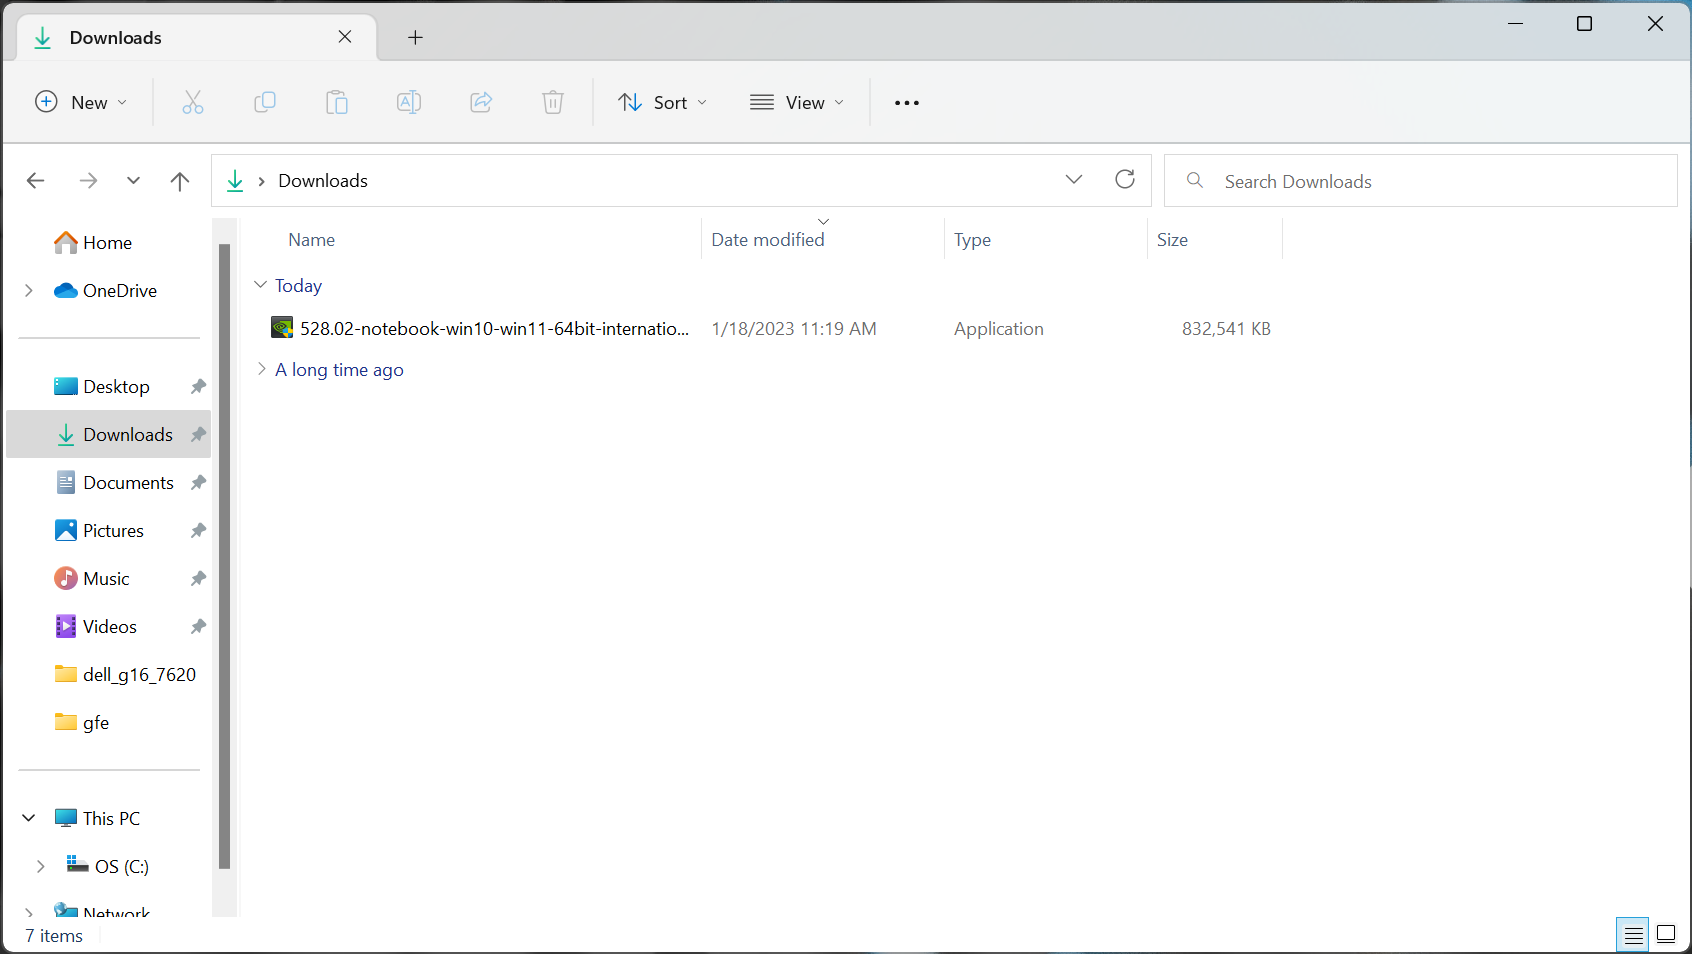
4. Click "Download." The driver will go to your downloads folder.
5. Open the launcher in your downloads folder.
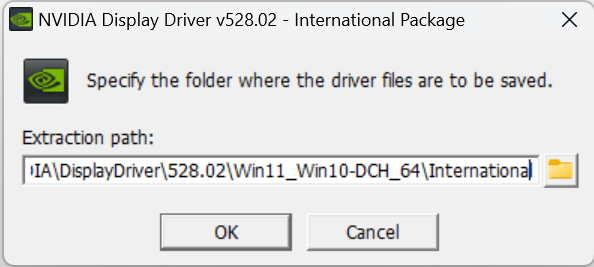
6. Click OK to pick the extraction path.
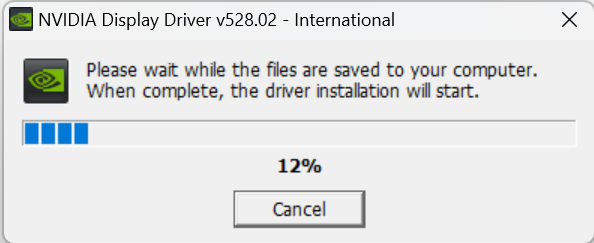
7. Wait while the driver is extracted.
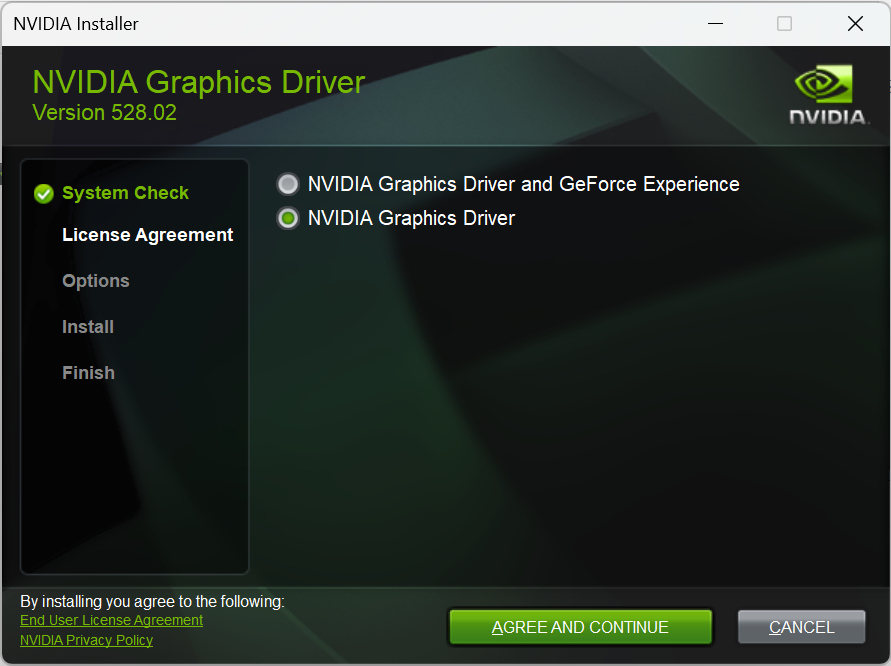
8. Pick if you want the driver or both the driver and GeForce Experience. Click "Agree and Continue."
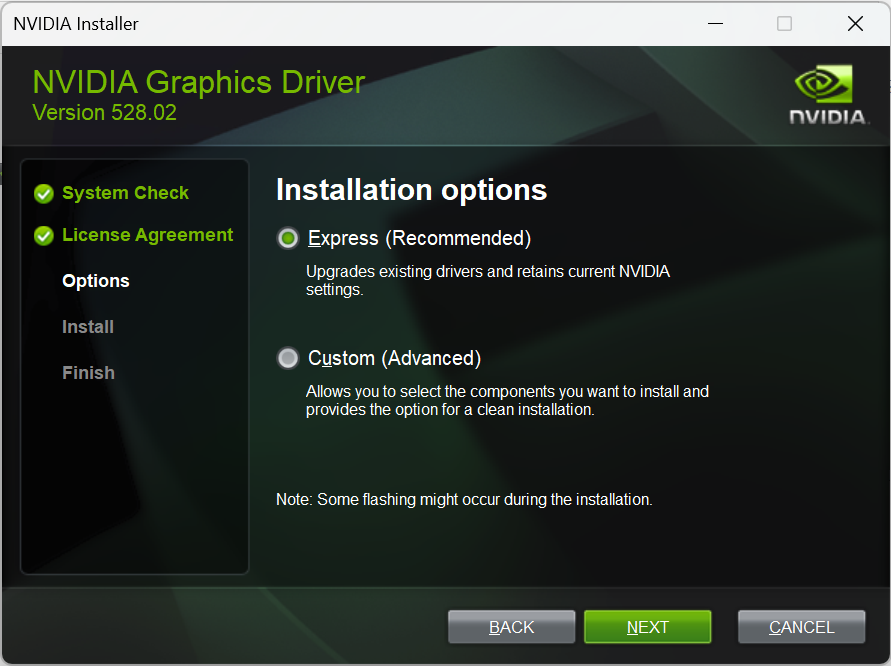
9. Choose the installation type you want. Express it the recommended choice, while Custom lets you choose which components you want. Click "Next."
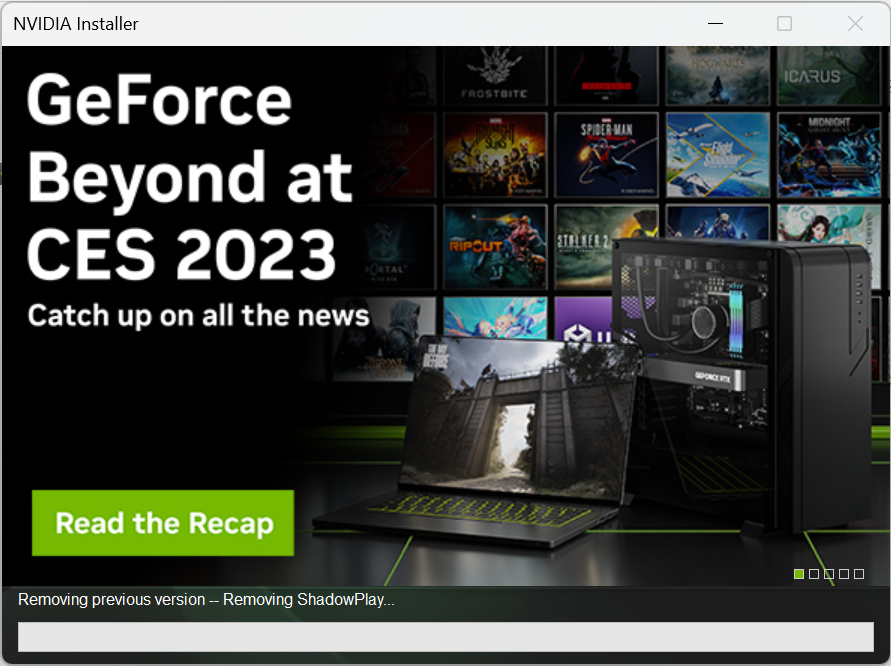
10. Wait for the install to complete.
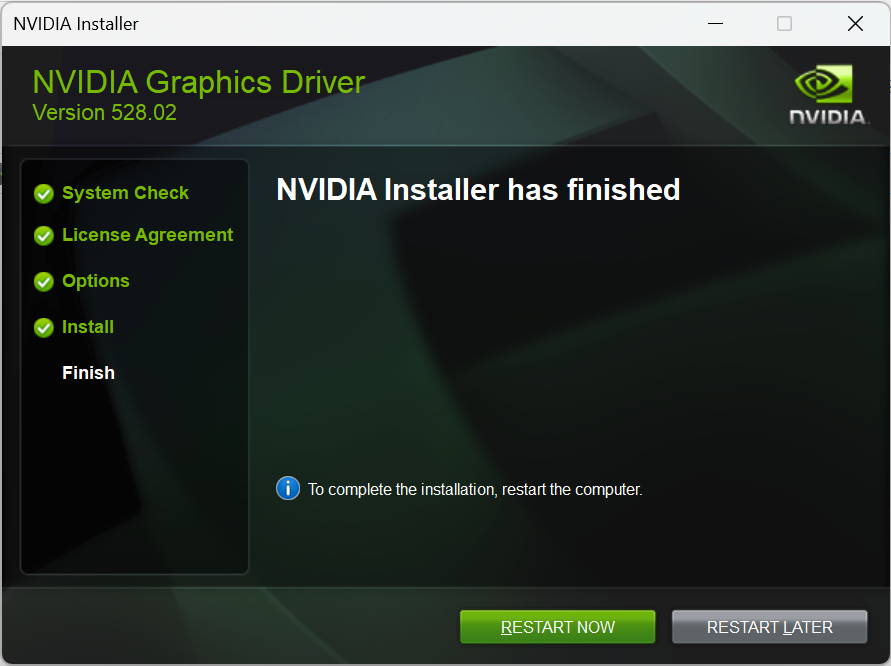
11. Restart your PC to finish the installation.

Andrew E. Freedman is a senior editor at Tom's Hardware focusing on laptops, desktops and gaming. He also keeps up with the latest news. A lover of all things gaming and tech, his previous work has shown up in Tom's Guide, Laptop Mag, Kotaku, PCMag and Complex, among others. Follow him on Threads @FreedmanAE and BlueSky @andrewfreedman.net. You can send him tips on Signal: andrewfreedman.01

