Joining The Masses: Building My First Gaming PC, Part 2
Get Tom's Hardware's best news and in-depth reviews, straight to your inbox.
You are now subscribed
Your newsletter sign-up was successful
Whether you're a PC-building veteran or a rookie builder like me, there's no better feeling than finally getting all your parts together and finally getting to build your new system. Three months ago, I selected the components for my first gaming PC build in part one of my story. Part two is where the fun begins – actually building the PC.
Changes In The Plan
Instead of ordering most of the parts through Newegg, I decided to see if my local Micro Center had most of the parts I needed. As it turns out it did, and the store even had a few sales, specifically for storage.
Instead of the Seagate Barracuda 1 TB HDD (7200 RPM) and the Corsair Force LS 120 GB SSD, I bought a WD Blue 1 TB HDD (7200 RPM) and the new Samsung 850 EVO 120 GB SSD. The HDD cost the same as the Seagate Barracuda HDD, and the Samsung 850 EVO was on sale, making it $1 cheaper than the Corsair Force LS.
The only things I couldn't buy at the store were the graphics card and RAM, so I ordered those through Newegg. A few days later, the parts came in and I was ready to start the build.
System POST
Many of the PC builds I've watched started with making sure that the system POSTs before I place the components inside the case. I was really nervous that the parts I bought wouldn't work and I would have to wait even longer to build my PC. With a POST, I could check if all the crucial parts were fully functioning before I went ahead and placed them inside the the case. I used the motherboard's box as the staging area for the POST and started putting the parts together.
The first step was to place my CPU, the Intel Core i3-4160, into its socket on the motherboard. This seemed like an easy step, but I was actually very nervous. This small chip powered the entire system, and one wrong move could damage the pins on the socket. Fortunately, it went well in the end, and my fears were assuaged.
Just like picking the RAM when selecting components, installing it was probably one of the easiest parts of installation. After reading the motherboard manual to figure out which two lanes I would use for the RAM, I pulled the tabs and made sure the notches on the RAM stick matched the notches on the lane, and then pushed it down with the tabs automatically locking it into place with a very satisfying click.
Get Tom's Hardware's best news and in-depth reviews, straight to your inbox.
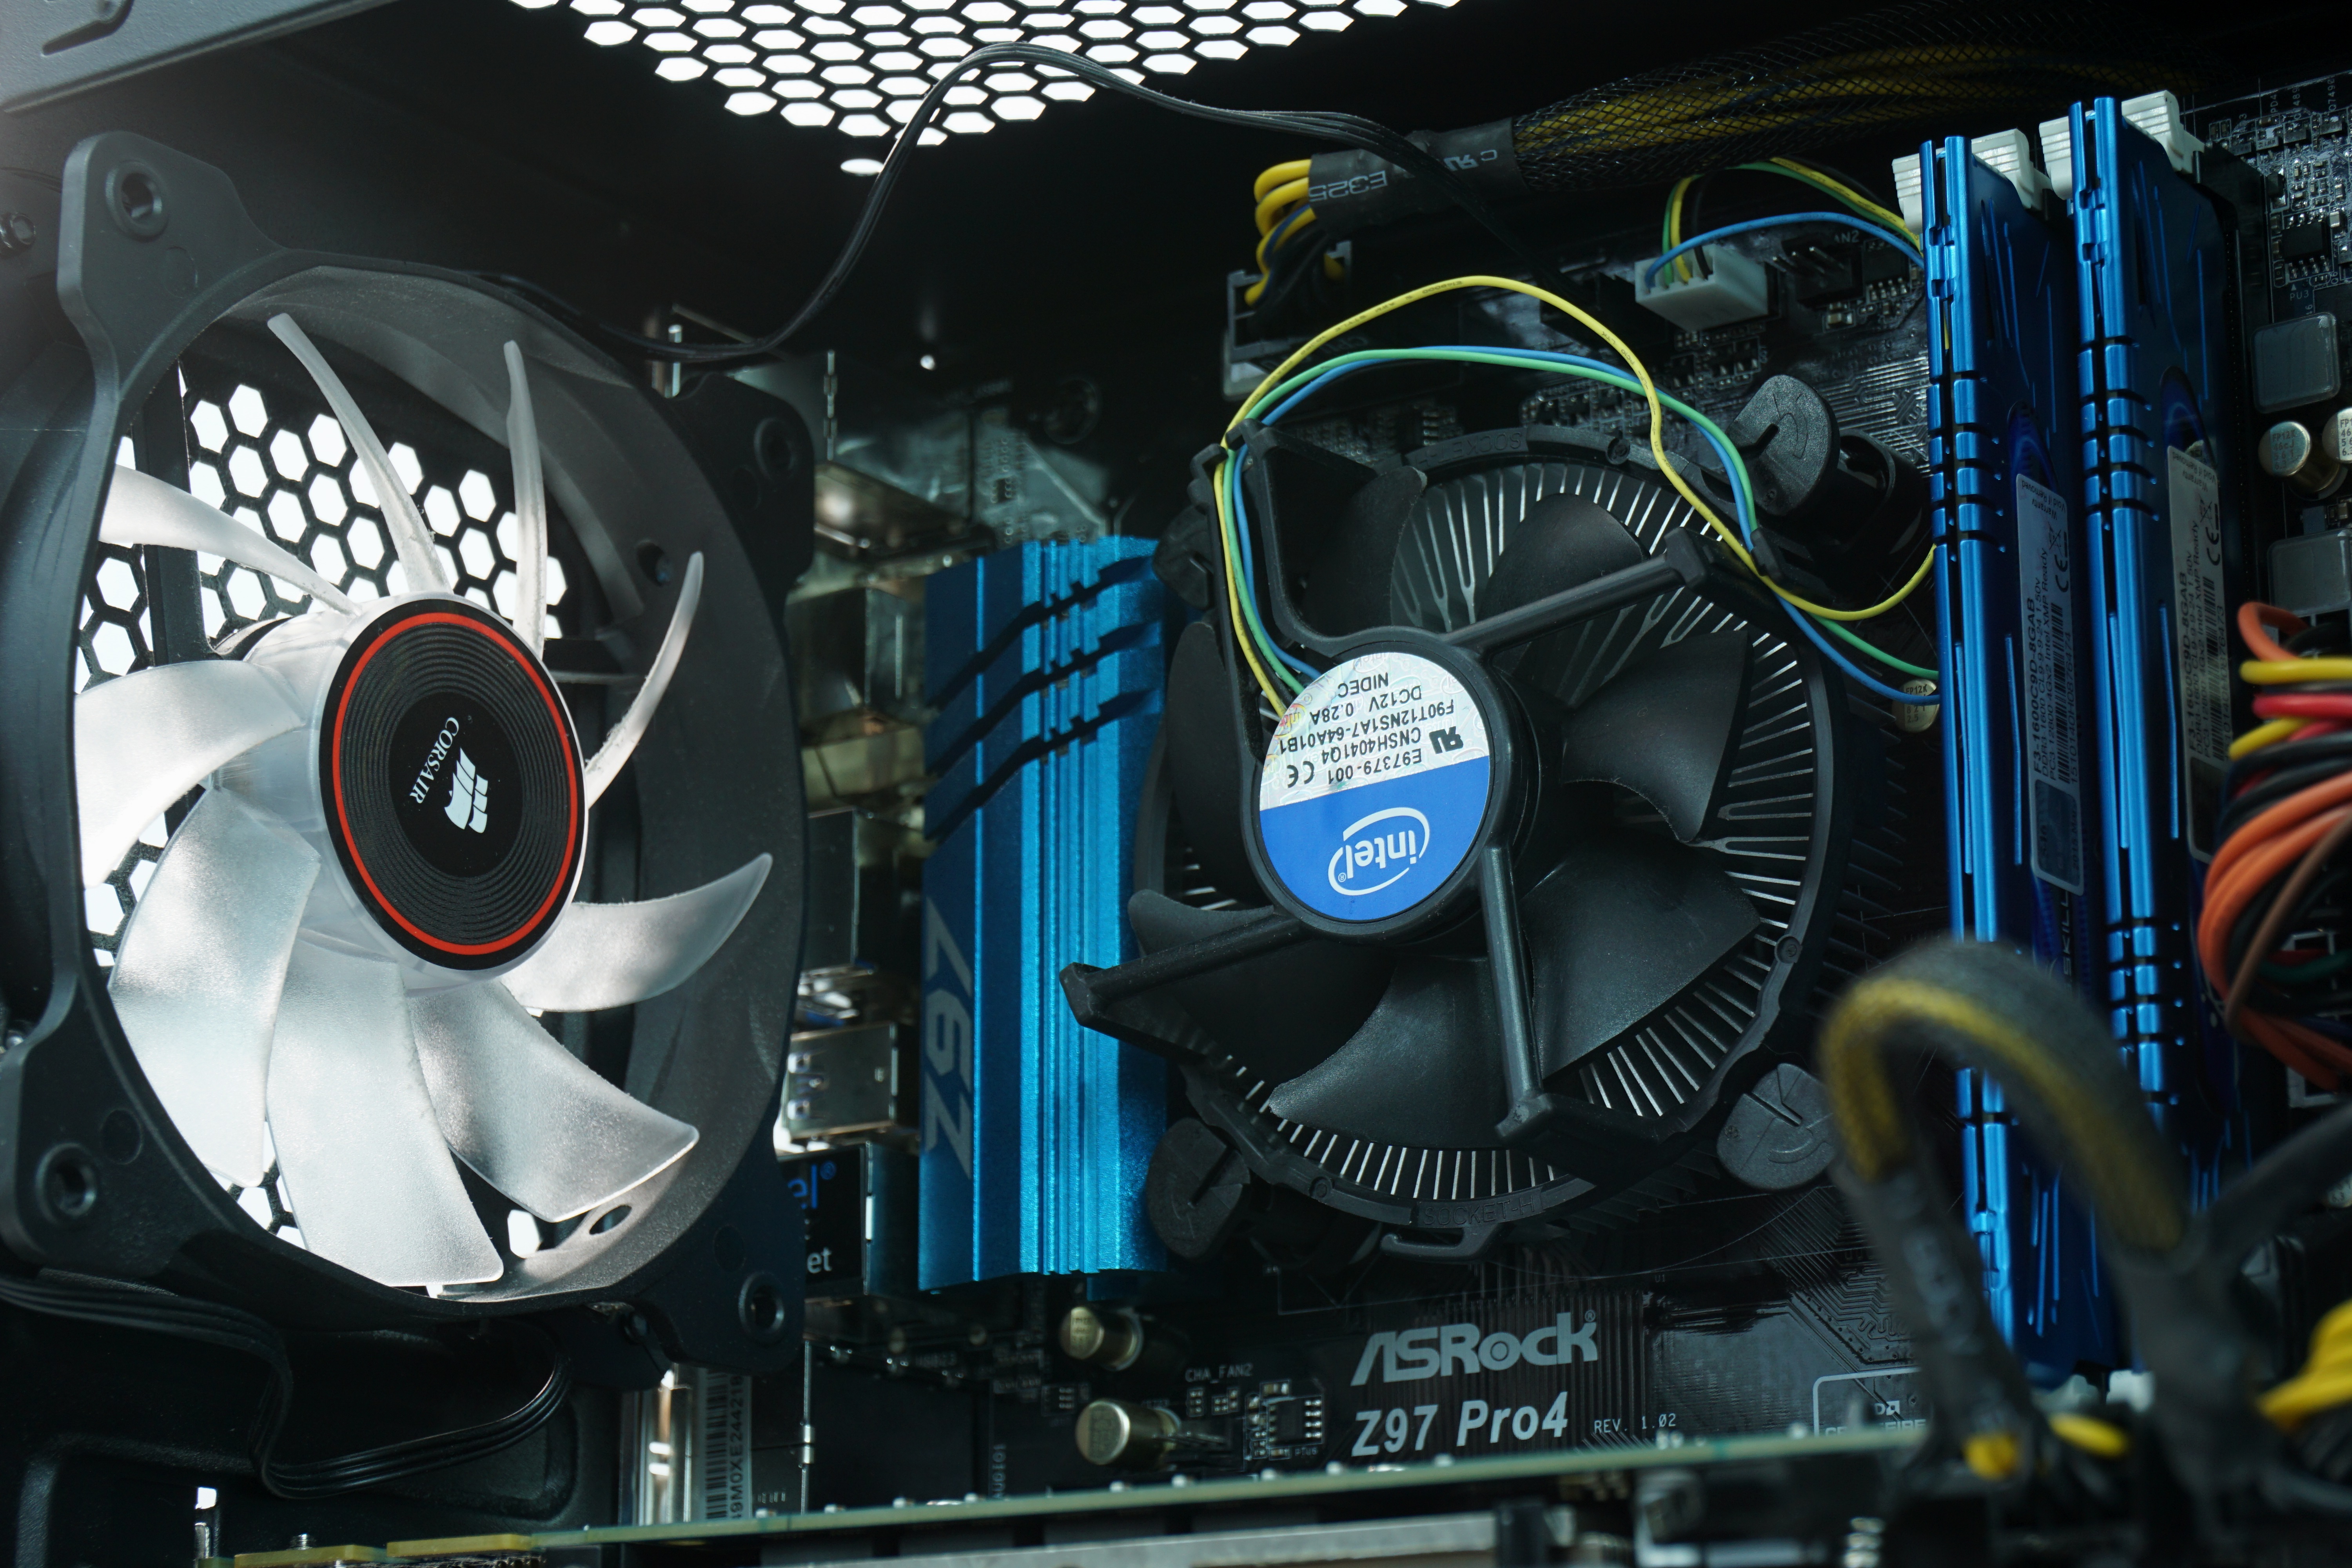
I then went back to the CPU and installed the stock cooling fan. The cooler comes with its power wire wrapped around the edges. I didn't want it to unravel too much to where it would get in the way of other plugs at the top of the motherboard. I placed the cooler in a way that some of the wire was still wrapped around the cooler, with enough left over to reach the CPU fan plug. I then pushed down on opposite ends of the cooler to lock the pins in place.
Another easy installation was the GPU. After the POST test, I popped the GPU out again so I could better see the motherboard's mounting holes when I placed it in the case. Putting the GPU back should have been just as easy as the first time, but as I found out when the motherboard was in the case, the Spec-01 has a few design flaws. More on that later.
The final piece was the power supply. I attached the 24-pin ATX connector and the 8-pin EPS connector to the motherboard, and the two 6-pin connectors to the GPU. The 24-pin ATX connector is actually a 20+4 pin, so it took a couple of attempts to align both parts together before plugging it in. Other than that, the rest of the connectors were easy. When I came across the confusing web that was cable management, I found out that removing the 24-pin and 8-pin connectors from the motherboard required a little more wiggle and effort.
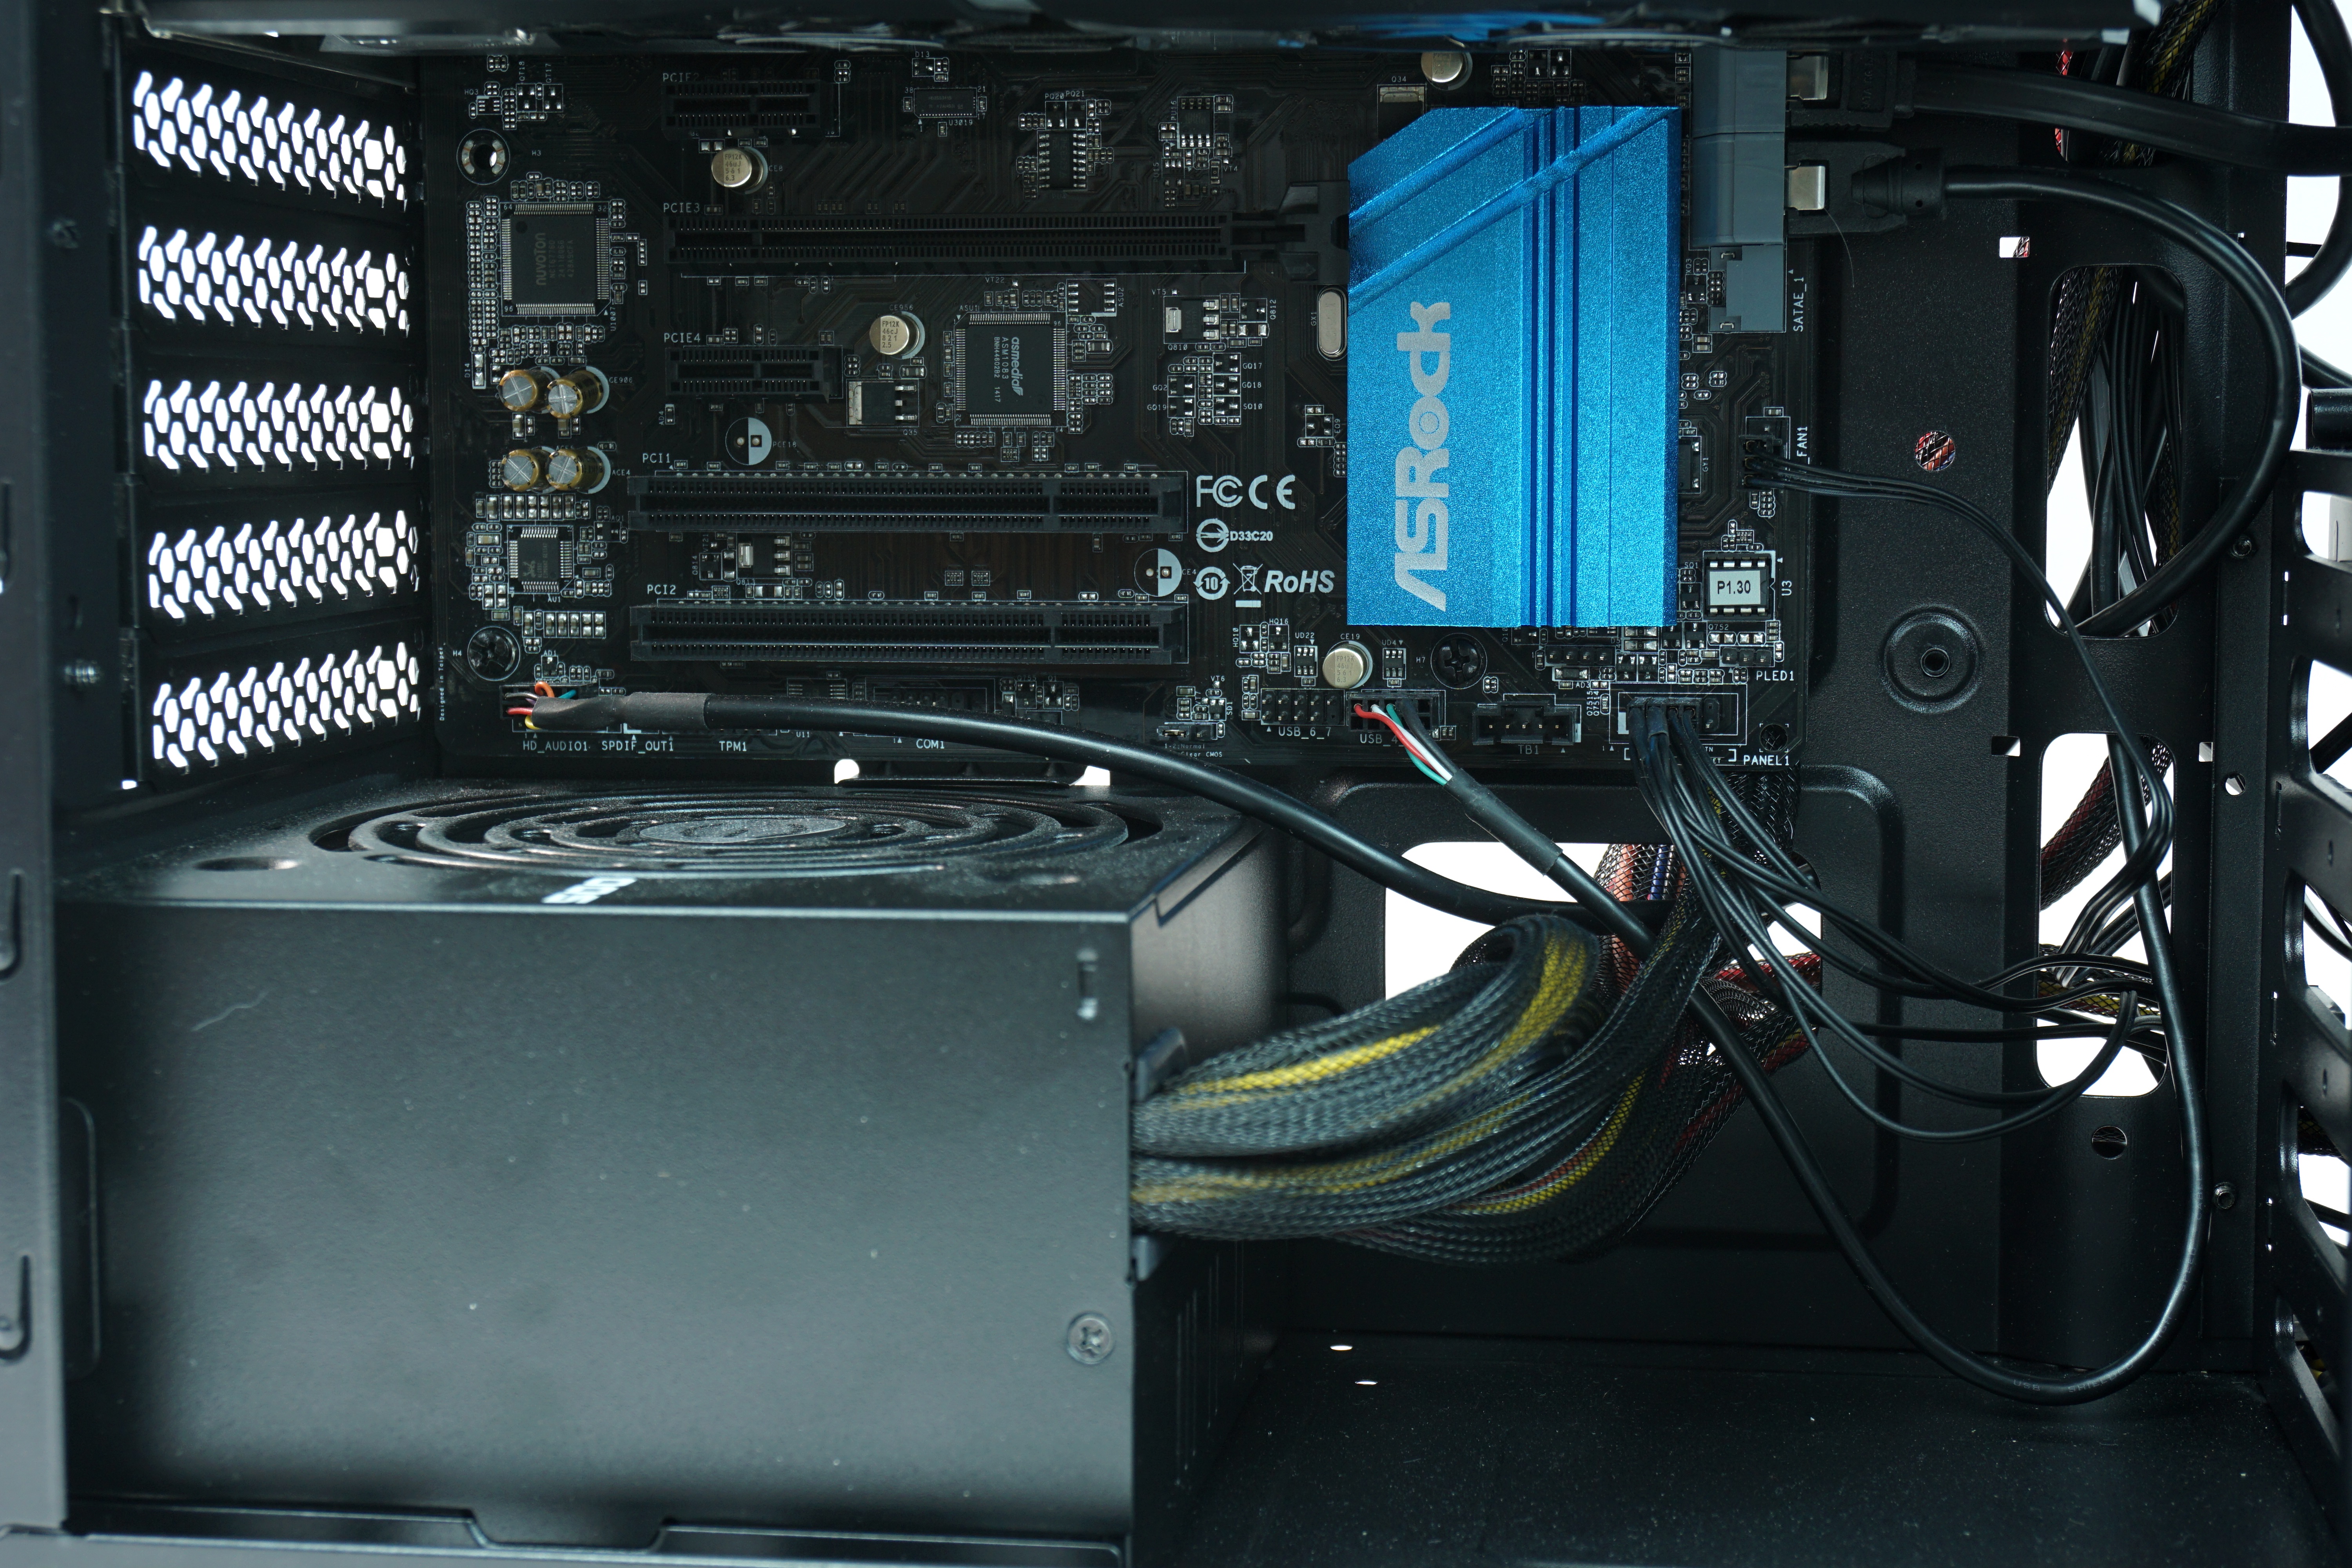
Unlike higher-end motherboards, my ASRock Z97 Pro4 did not have an onboard power button, so in order to turn on the system before all the headers were connected, I had to short the power pins with a screwdriver. A quick read of the motherboard manual as well as a look at the panel diagram on the bottom right corner of the motherboard showed the exact location of the two power pins. With my fingers crossed hoping that none of the components were dead, I shorted the pins and watched the monitor. A few seconds later, the motherboard logo showed up followed by the BIOS screen. Success.
Some readers must think I'm crazy to put some of the parts together out of the case, disassemble them, and then reinstall the entire thing again inside. I could have just as easily put everything together inside the case and saved some time and hassle.
But as you can see in the last few paragraphs, I was being cautious. I didn't want to have any dead parts, and checking it all in the POST build was easier than the actual case build. I could better see all the parts without having to wade through cables or shine a light at a strange angle. I wasn't exactly sure if I was defying tradition or joining a small group of people who still use an external POST check during their build, but for me, it seemed like the natural thing to do.
Building Within
Before I screwed the motherboard to the case, I disconnected all the wires and took out the GPU, just to make things easier. I found some of the holes a bit difficult to get to, specifically the ones that were located at the edge of the motherboard and right next to one of the walls of the case. Part of the problem was I used a large screwdriver, and the handle was always hitting the case. Still, the screw locations are very close to the side of the case, and placing the screws, especially if you have big hands like me, can be tricky. I almost dropped the screws a few times, and it took multiple attempts to get it perfectly aligned to the mount.
With the motherboard secured, the next step was to install the PSU. Even though the bottom of the case features a dust cover that helps if you want to install the PSU fan-side down, I placed it with the fan facing up to aid cooling. With the fan facing upwards, I can have it take some of the warm air out of the case and push it out through the rear.
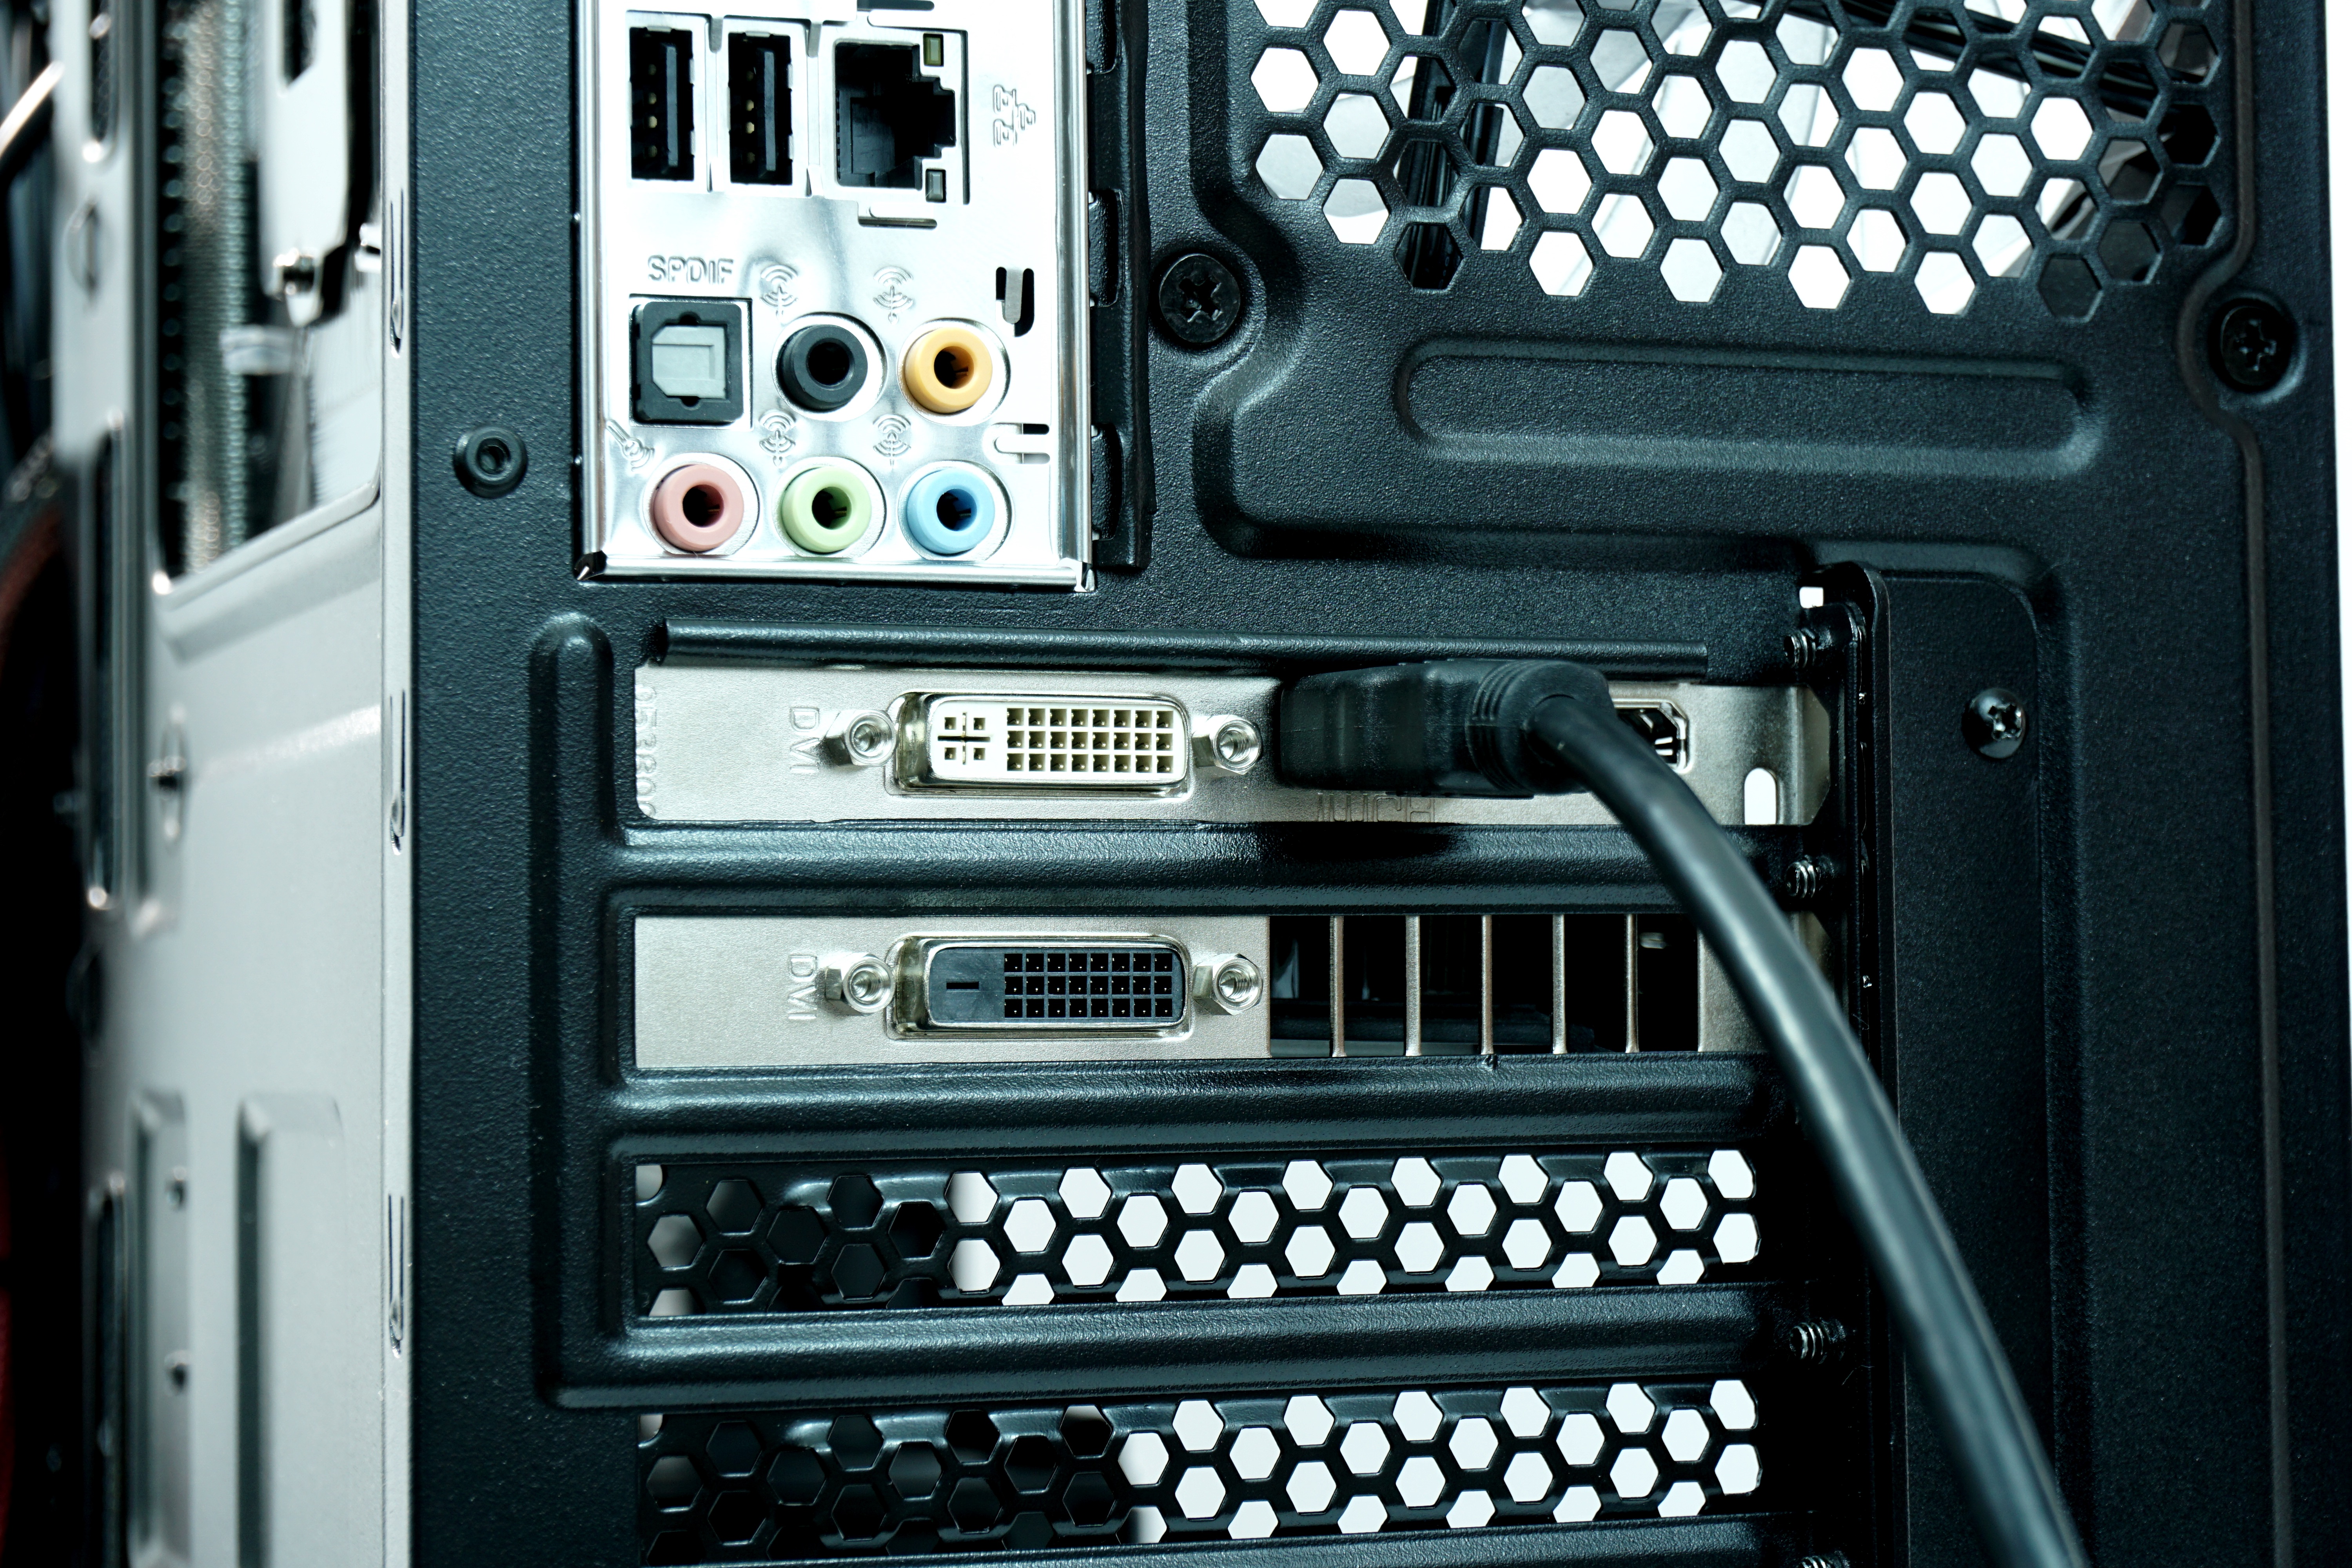
Now was a good time to reinstall the GPU. Prior to placing it on the motherboard, I had to remove the grills blocking the GPU ports in the back of the case. In order to remove the grills, I first had to remove a small plate that supposedly keeps them in place, as if the screws holding it weren't enough. I'm still not sure why that back plating was included. Corsair could have just as easily sealed it without adding an additional component to remove.
Again, this was supposed to be an easy installation, but it wasn't until after I finished the entire build that I discovered another design flaw with the case. After plugging the computer to my display via HDMI, I noticed that the connection to the case was strangely loose. This is because there's a small tab above the top grill slot that sticks out slightly and blocked the top portion of the HDMI cable.
Aside from spending countless hours of using sandpaper to file away at the tab in order to remove it, there weren't many other options to fix the problem. I didn't want to bend the GPU awkwardly. I eventually discovered that gravity would solve the problem. I initially placed the GPU on the motherboard while the case was on its side and tightened it in place before putting the case back to an upright position. But if I kept the case upright and then inserted the GPU, there would be enough gravitational force on the GPU that I could plug in my HDMI cable without any issues.
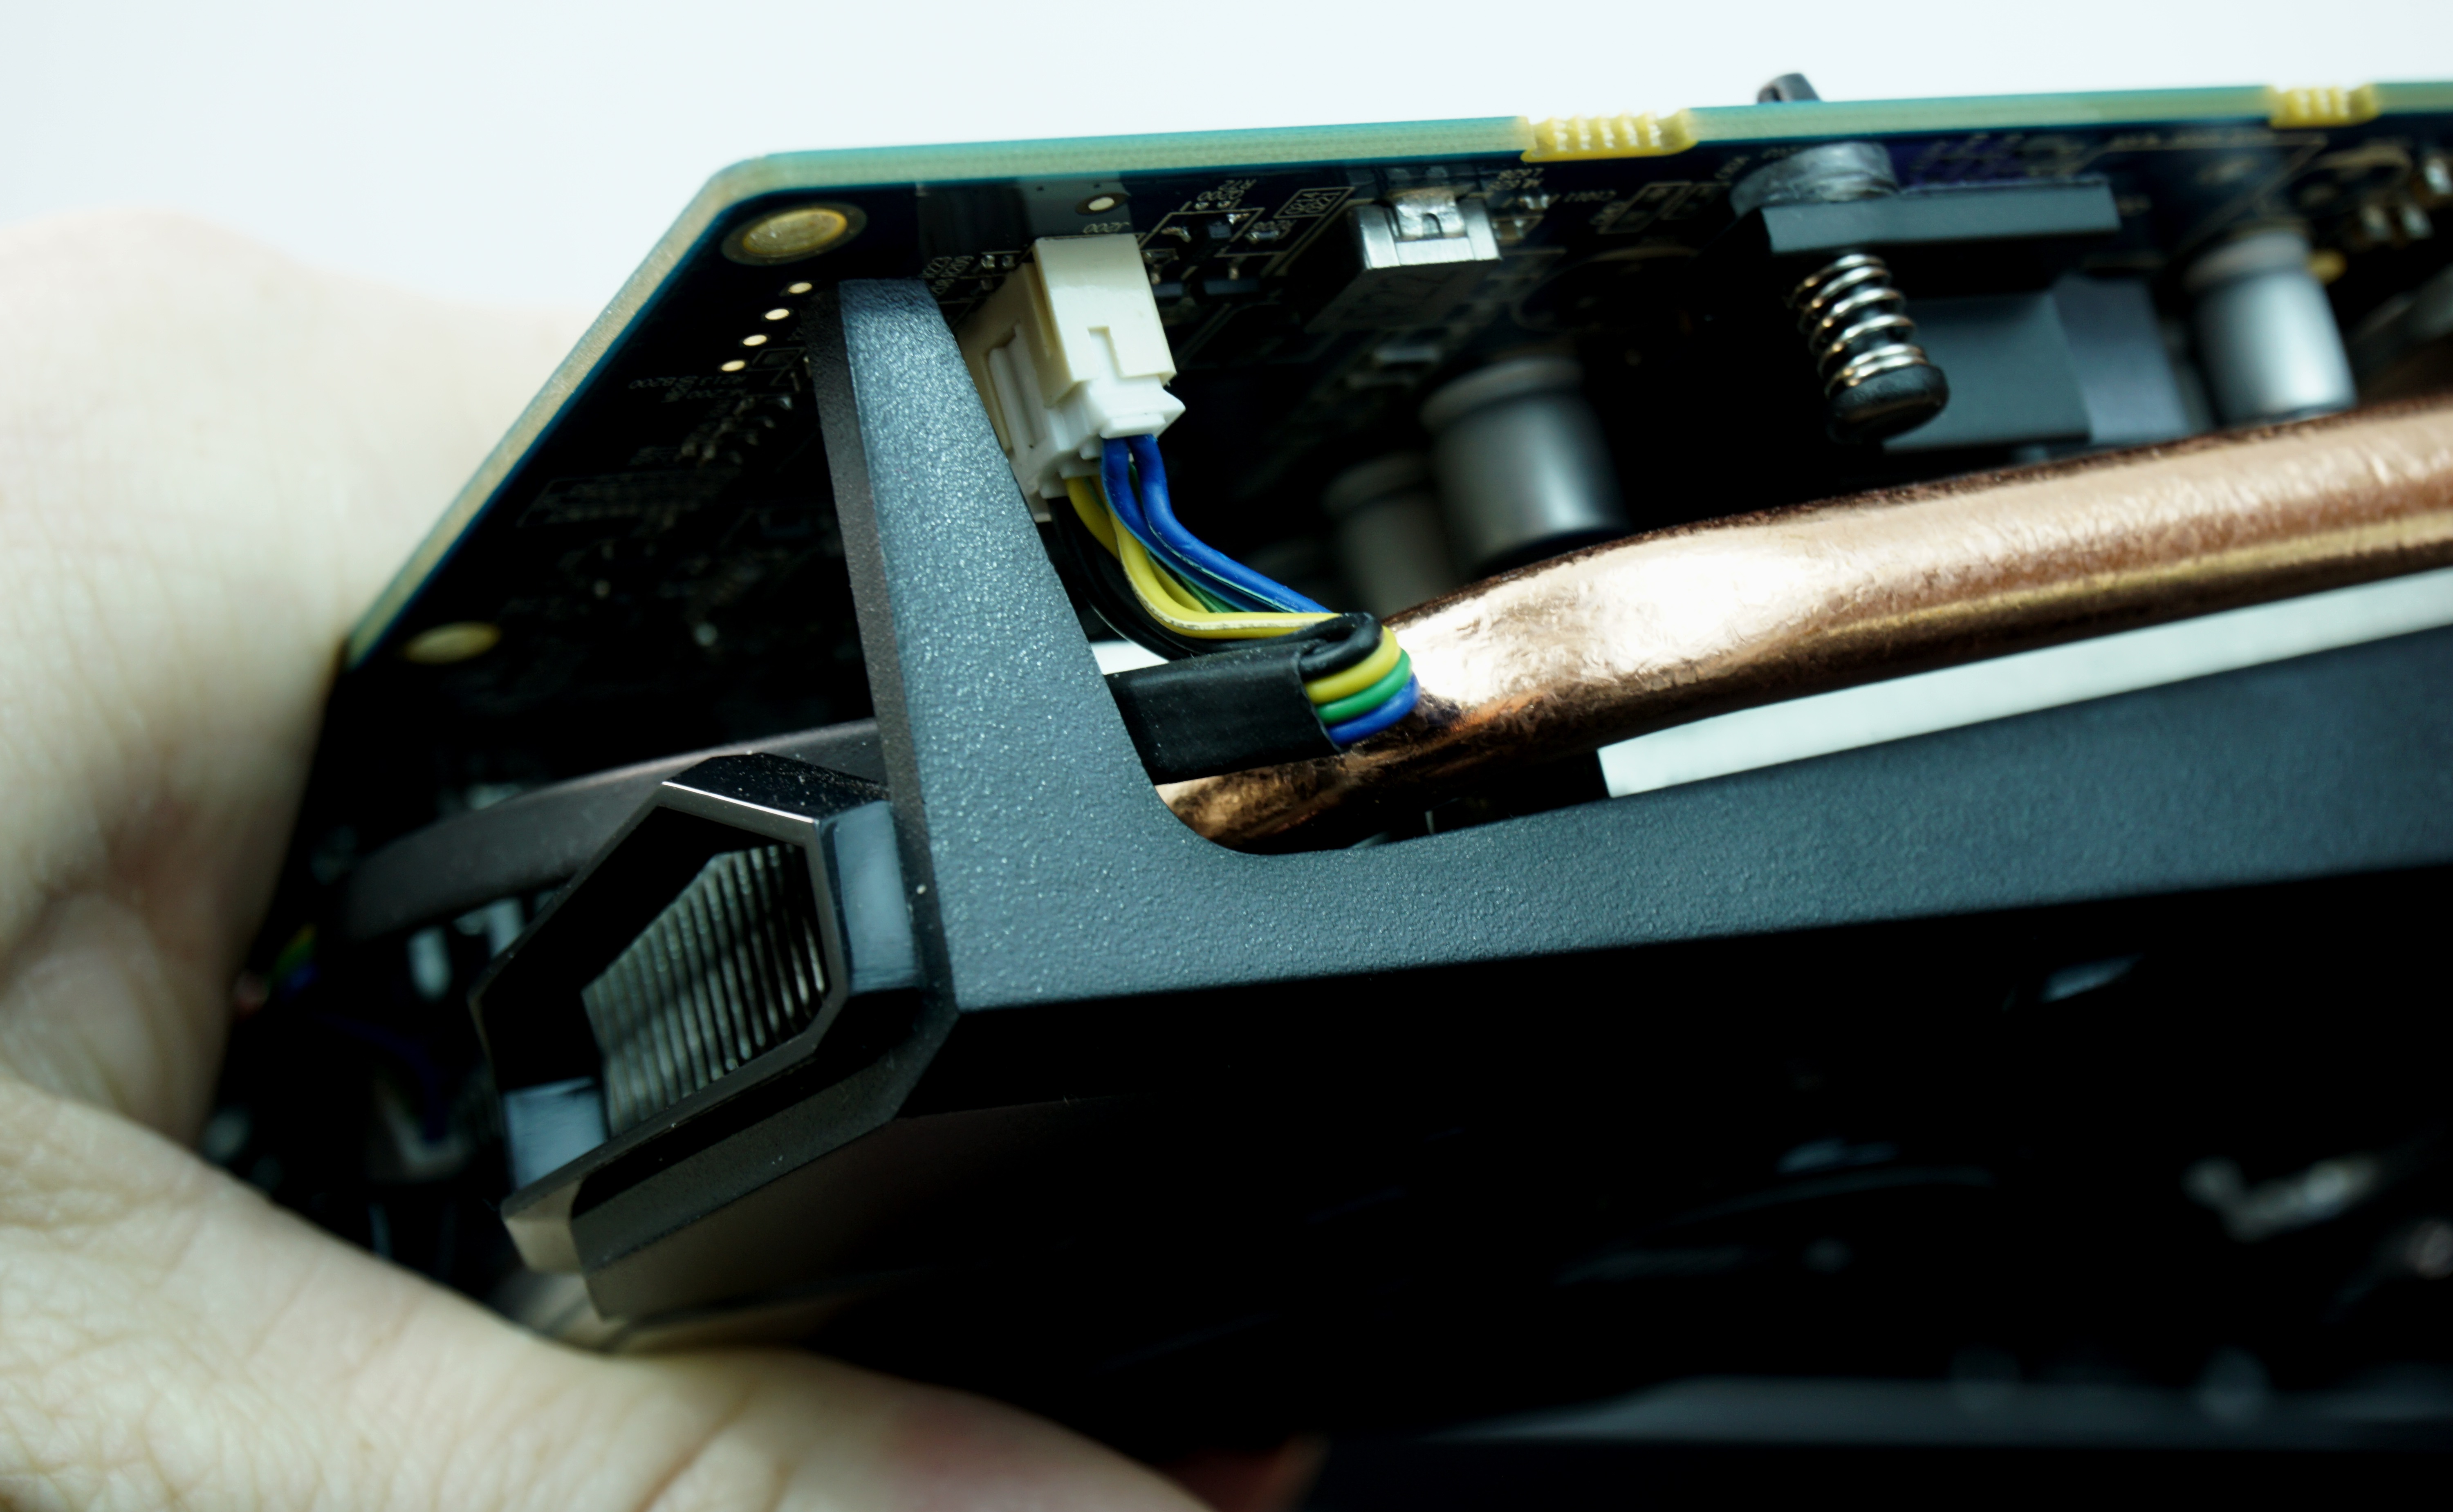
I also found another issue with the graphics card, specifically its dual cooling fans. After testing a few games, I experienced multiple instances of screen tearing and games unexpectedly shutting down. When I ran the FurMark benchmark, I saw that my GPU heated up very quickly, which told me that the fans weren't functioning.
In fact, they weren't moving at all, because the GPU fan connector wasn't fully plugged in. It took a few tries, especially with my big fingers, to finally get it in. Problem solved.
The case's two 5.25-inch optical drive bays don't require screws. Instead, they have a simple latch to lock the ODDs in place. All I had to do was remove the front plate blocking the interior and then slide the drive in, and the latch would automatically lock. But there were issues, as the lock wouldn't snap all the way into place without a bit of force.
Unfortunately, that little bit of force was enough to take some of the skin off one of my fingers. Considering that this was my first time building a PC, and I have been playing games primarily on a console for more than a decade, I felt like this was meant to happen. After some demonic chanting and rubbing my bleeding finger on the top of the case as a sacrifice, I moved on to installing storage.
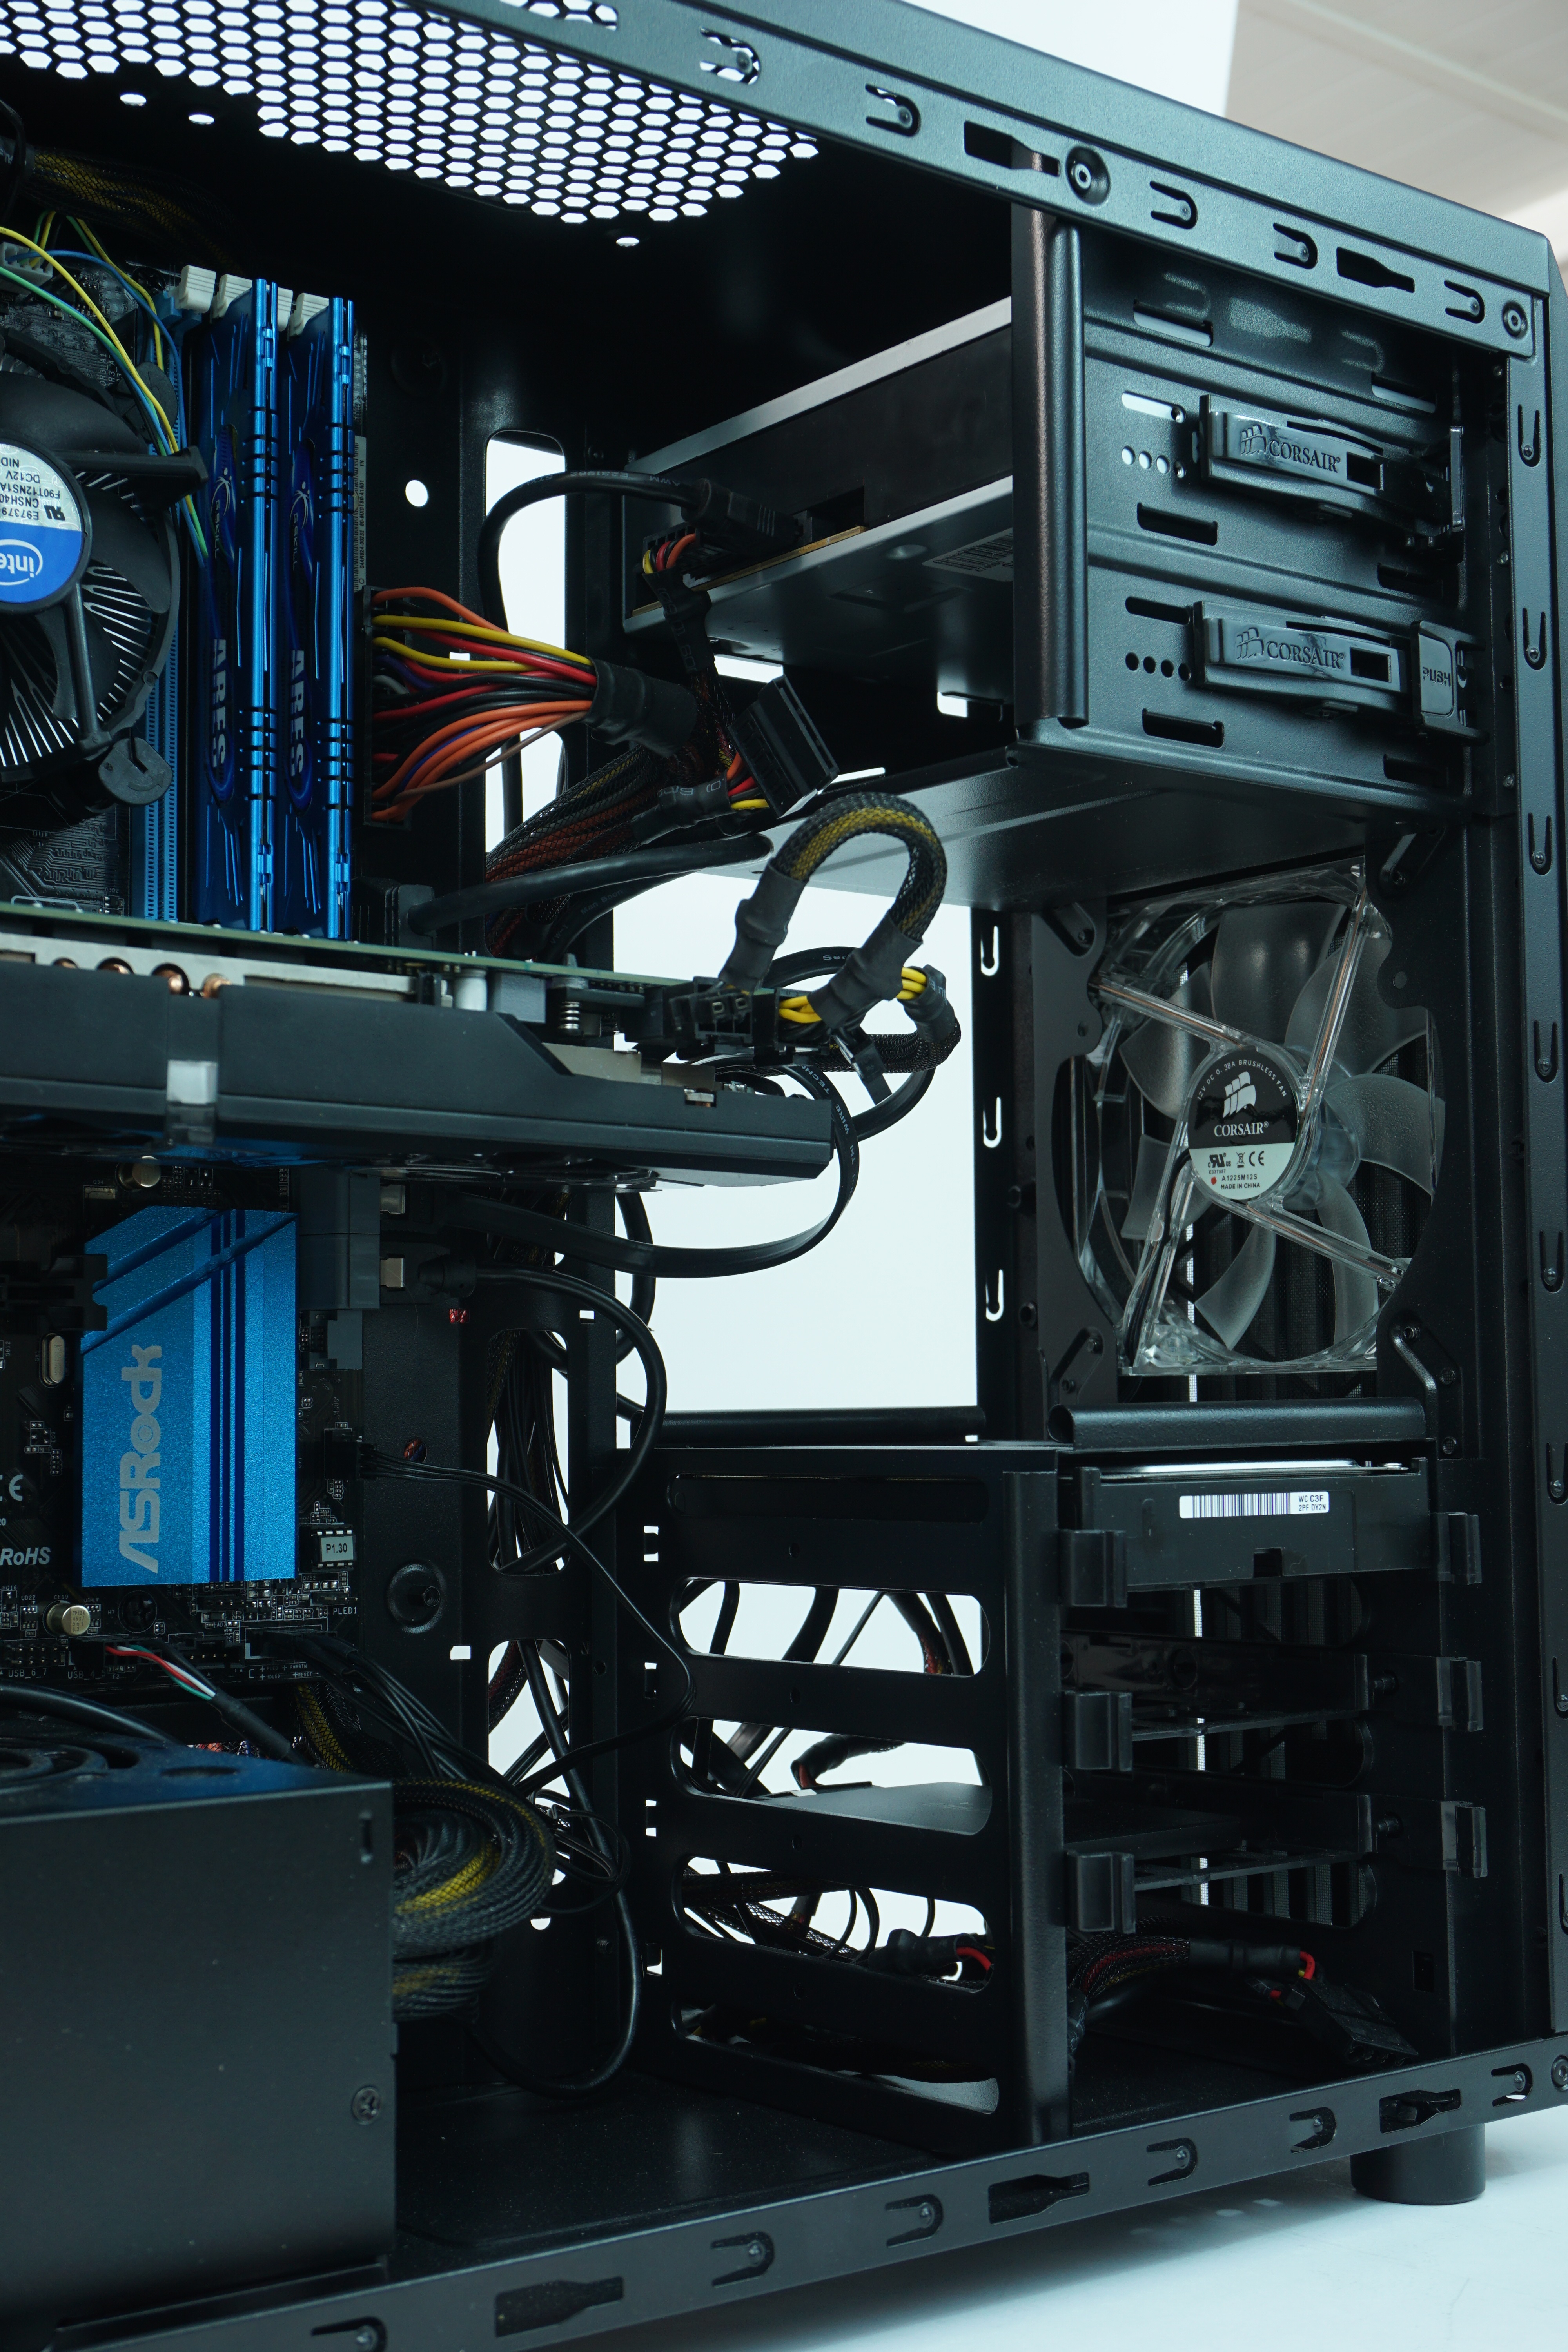
Because the HDD puts out more heat than the SSD, I placed it in the top slot, closest to the front fan. All of the storage slots had pre-installed pins for 3.5-inch drives, so I didn't even have to use any tools to place the HDD. For the SSD, I had to use the provided screws to mount it. I gave the SSD some room to breathe by placing it in the third slot instead of the second. The case has room for four storage drives, but I took out the bottom drive bay to make some room for extra cable storage.
The last piece of the puzzle was the rear fan. In part one, I mentioned that I would just get a third-party fan for the rear, but I actually went with a Corsair AF-120 fan for two reasons: so the brand matches with the case and the stock fan, and because it shines with a red LED to match the front fan.
Cable Management
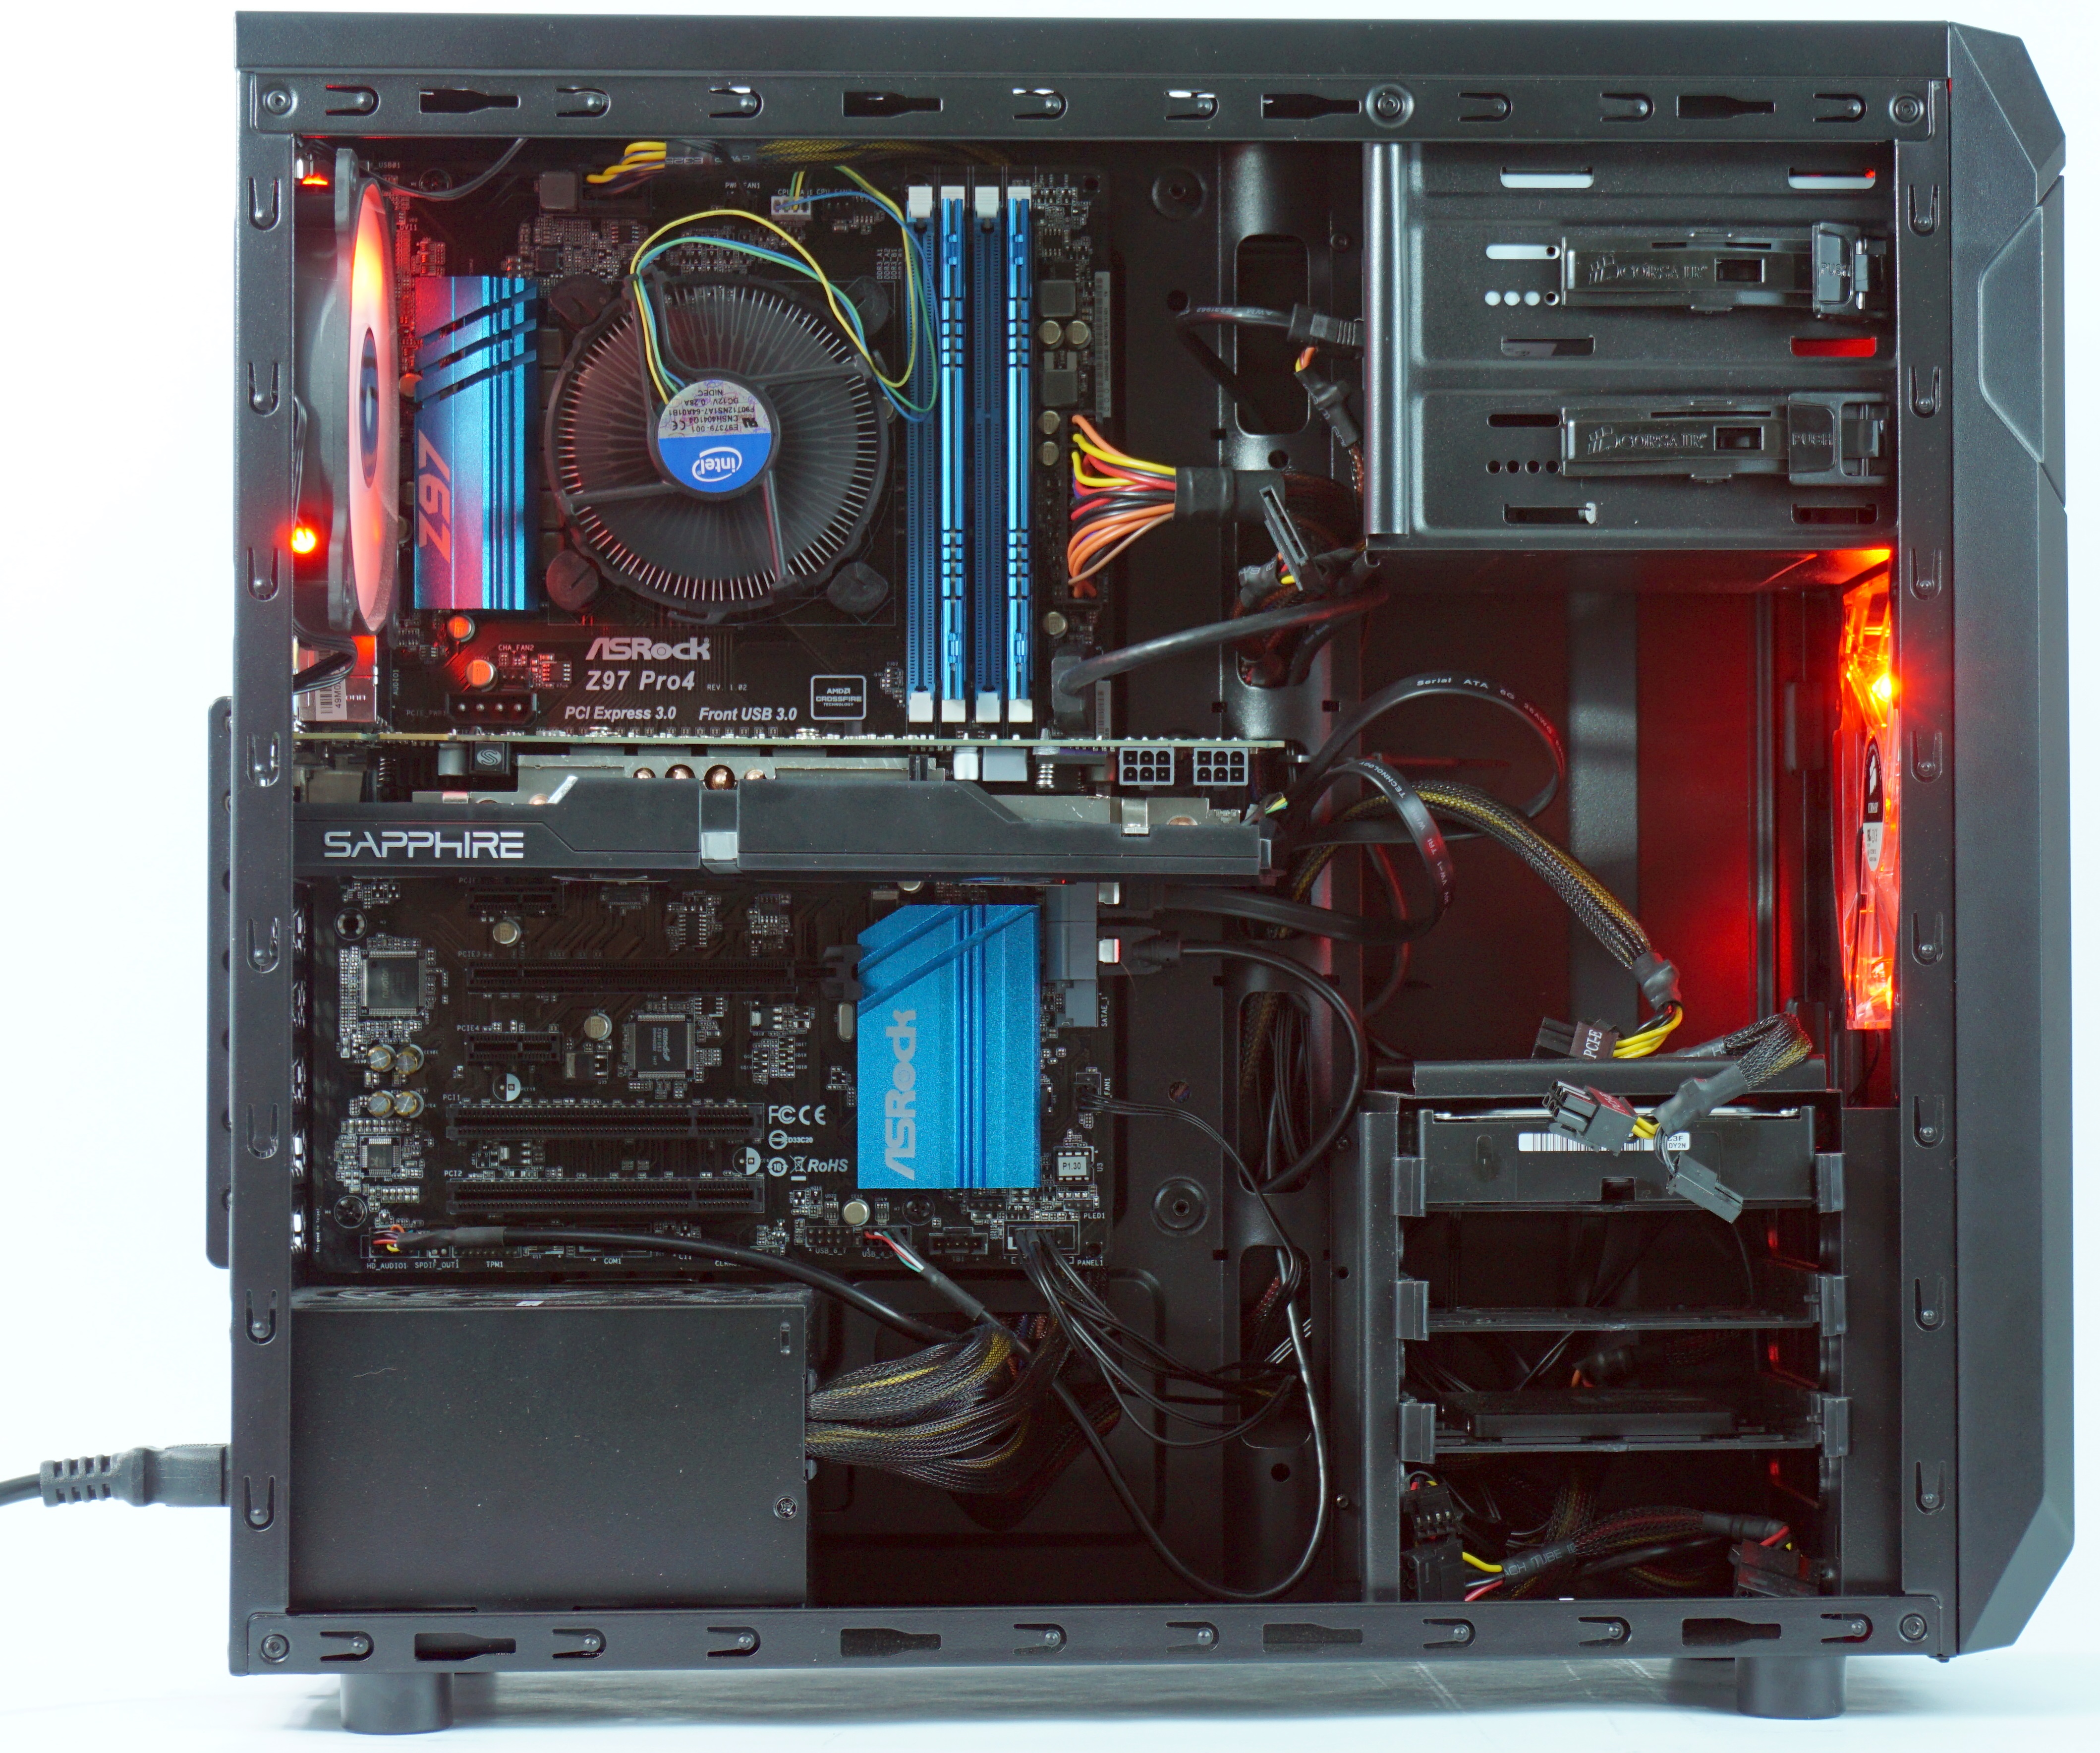
I've seen more than enough pictures to know that PC builders love cable management. The straight, non-tangling lines of power lines, SATA cables, and fan connectors show that the builder put in some extra time and effort to ensure the interior looked as neat as possible and provide better airflow throughout the entire PC. Throughout the process above, I installed the necessary wires as best as I could. To put it plainly, it still looks like a mess.
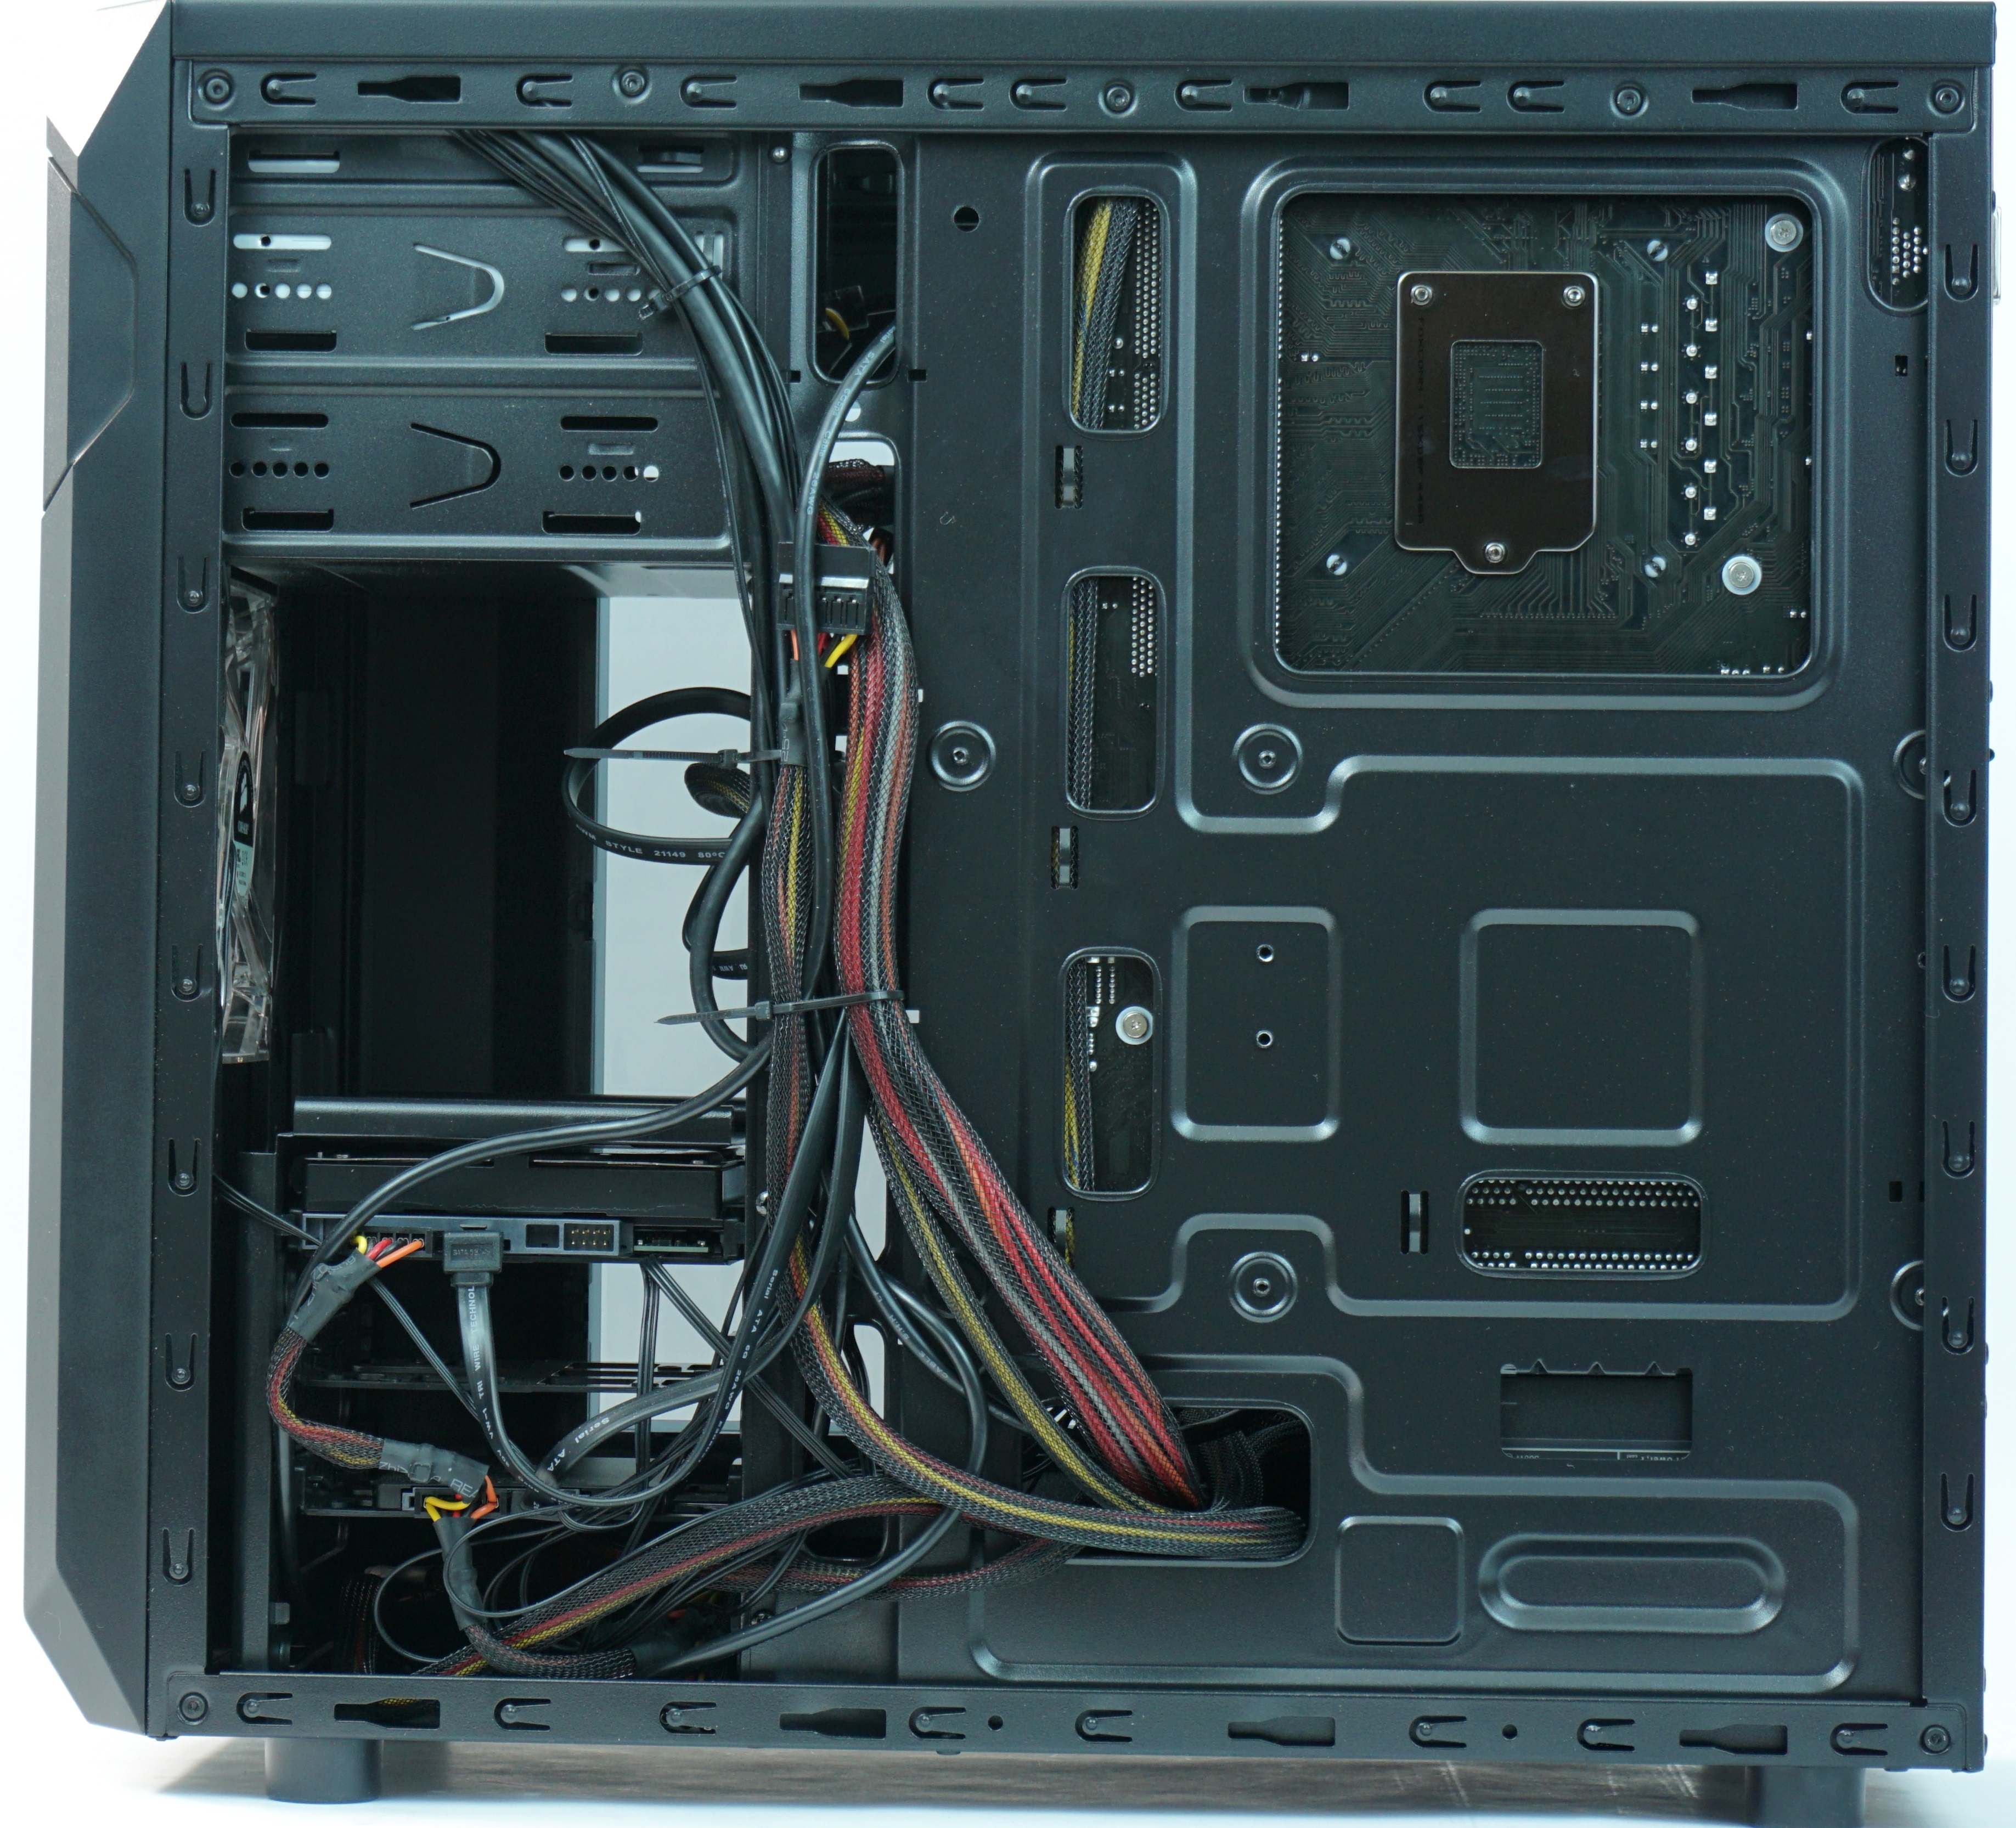
The 8-pin EPS connector was the biggest challenge. The problem was length, and I didn't have an extender. Even though the connector could reach the pins on top of the motherboard, I would have had to lay it across the motherboard, right on top of the RAM and CPU cooler. In the end, my only option was to route it behind the motherboard. I was able to reach the pin while keeping the cable out of the way of any crucial parts.
The other side of the case also didn't provide as much wiring real estate as I had hoped. The one saving grace was that the panel cover was designed with a bulge that slightly sticks out so even thick cables would have some breathing room.
The case also features six different holes for wires, one next to the PSU, and five stacked on top of each other between the motherboard and the optical and storage drives. Depending on the location of the pin on the motherboard, I fed the wiring through one of the five holes. Any cables from the power supply were put through the sixth hole closest to the PSU. Unused cables from the PSU were stored at the bottom of the storage bays. The result was a cluster of cables near the bottom. To prevent the wires from going all over the place, I put most of them in a bundle and tied it all up with a cable tie.
Ready To Rock
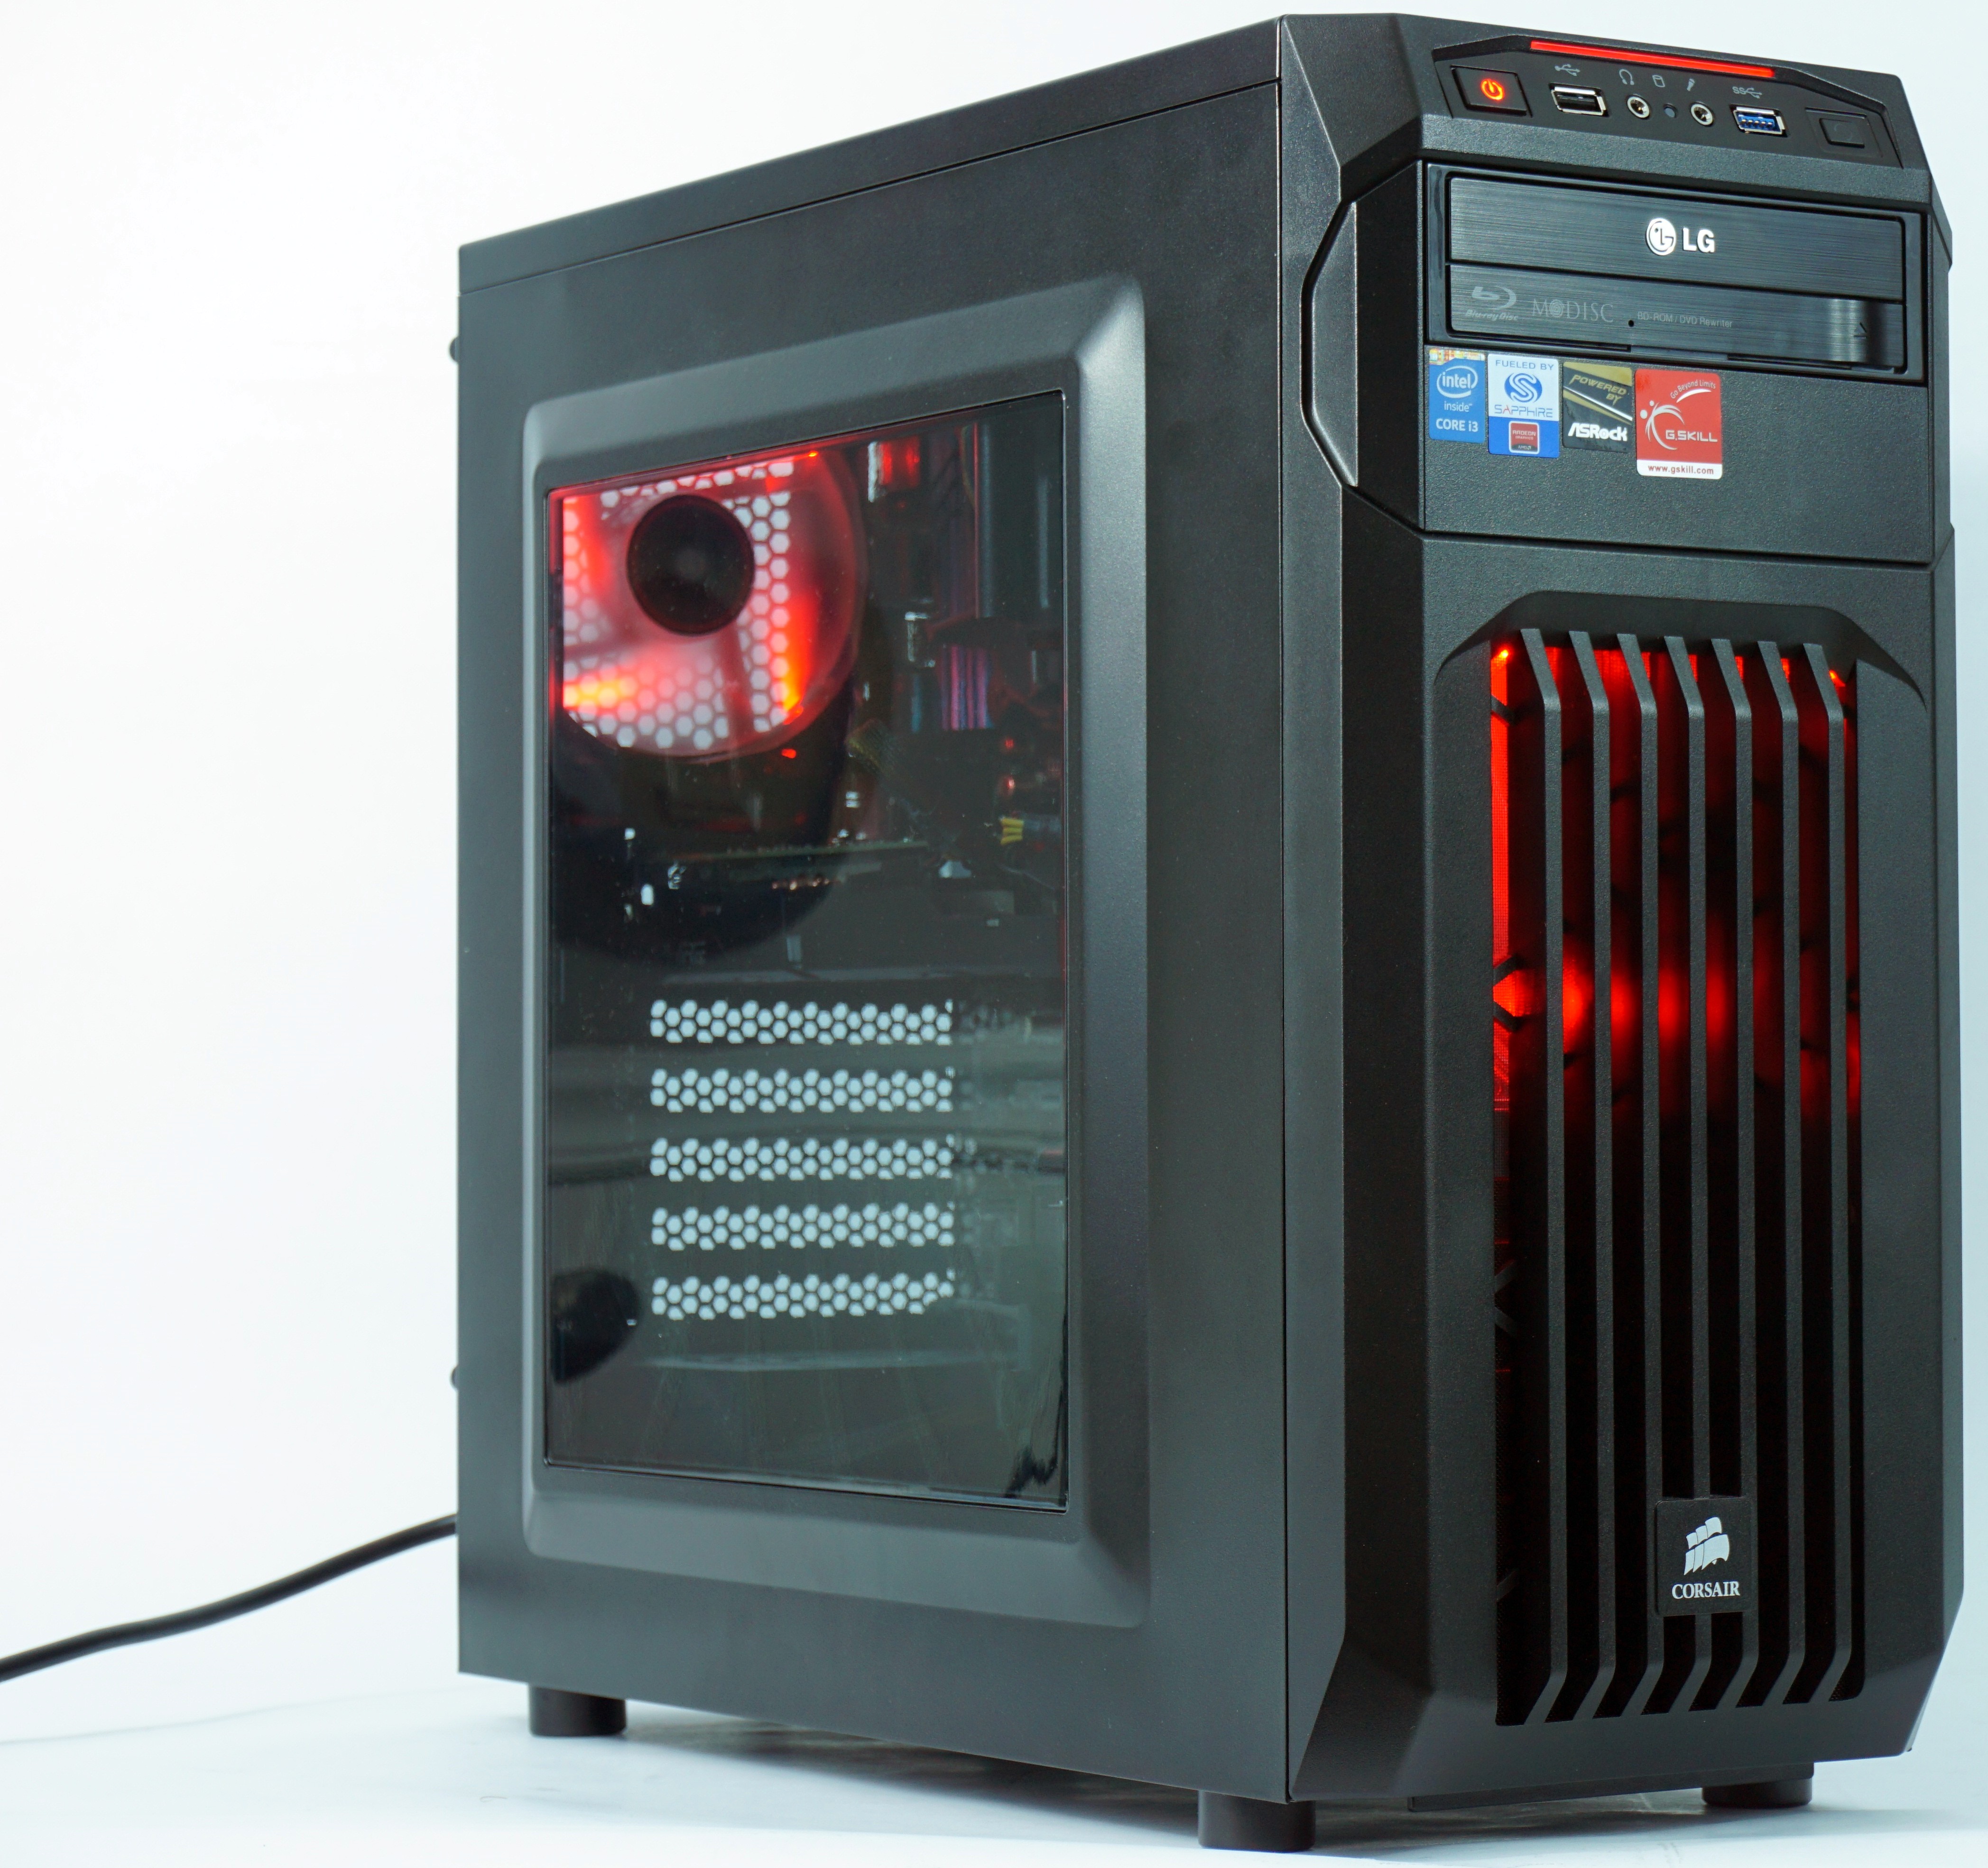
The process of actually putting the PC together took a bit of time, somewhere between two and three hours. Placing the parts was easy, but a few things, such as cable management and constantly referring back to manuals, did take some time. Once I had the components in place, all I had to do was install the operating system and drivers, and I was ready to go. With a little help from my girlfriend, I decided to name the computer "Scarlet" because of its red LEDs lighting the front and interior of the case (and the blood I gave building the thing).
In the end, I was satisfied with the entire process and enjoyed building Scarlet from start to finish. I learn best with visuals, and it's even better if there's some hands-on involved. This build definitely had both, and it was an amazing learning experience. With the build done and the computer ready to go, I installed more than enough Steam games to keep me happy for quite a while.
Follow Rexly Peñaflorida II @Heirdeux. Follow us @tomshardware, on Facebook and on Google+.
Rexly Peñaflorida is a freelance writer for Tom's Hardware covering topics such as computer hardware, video games, and general technology news.
-
SylentVyper Forgive me if it was said in Part 1, but why they Z97 board with an i3? Could've saved a bunch of money on an H81/H97 board.Reply -
NivenFres First off: Gratz on the build!Reply
Also: I can hardly remember a build that didn't involve a little bleeding. -
gggplaya You only need to build the system and post outside the case if you have a small case or microatx or itx etc.... Where everything is crammed in tight.Reply
In your case and in many gaming PC rigs, it's not necessary. People like myself purposely buy larger than necessary cases for futureproof expension and ease of accessibility and upgradability. If you install your components in a large case, all the components are easy to take out, the motherboard being the most time consuming but not difficult. Even then, takes me 5 minutes to take a motherboard out. Just unscrew your cards, unplug the wires, and take out the 6-8 screws holding it in, easy peasy. -
NivenFres ReplyYou only need to build the system and post outside the case if you have a small case or microatx or itx etc.... Where everything is crammed in tight.
In your case and in many gaming PC rigs, it's not necessary. People like myself purposely buy larger than necessary cases for futureproof expension and ease of accessibility and upgradability. If you install your components in a large case, all the components are easy to take out, the motherboard being the most time consuming but not difficult. Even then, takes me 5 minutes to take a motherboard out. Just unscrew your cards, unplug the wires, and take out the 6-8 screws holding it in, easy peasy.
I don't disagree with this, but it was his first build and probably a little paranoid. Unfortunately I've seen a few cases (not recently) where everything got in and wouldn't start, and it was because something was making contact with the case (usually a rogue screw) and causing the board to short and not POST. Plus if it is a big enough case, most stuff will slip in with only removing the expansion cards (ah the days where it tended to be more than just a video card....) -
tical2399 ReplyWhy not? Solid foundation for a future upgrade.
Ian.
Why do people keep on with this future upgrade stuff. Unless you're upgrading one generation (which is stupid for small performance gains) there is no reason to get a board with an upgrade in mind. A h87 board takes i5s and i7s so there is no issue there. Skylake will use a new socket so there's no upgrade there. Unless the person is goinna be a big overclocker there is NO reason not to get an h87 board -
Storm-cooled72 great build! My eyes were going crazy over those case badges. I am one of the few that likes 'em so much, I order the silver ones off of e-bay, so they match. One thing you might consider is some cable management. It would look much better! :)Reply -
Shin-san I actually did phased upgrades, where I replaced the CPU later. However, it turns out that it put me in the minority. I was poor at the time. Now that I have money, it's better for me to do a mobo, CPU, and RAM at onceReply
