Joining The Masses: Building My First Gaming PC, Part 1
Four years ago, I was contemplating building a gaming PC of my own. Until that point, my PC gaming experience was limited partially because I mostly played console games, and the only PC games that really caught my attention for long periods of time were the Civilization titles. Further, the PCs I had access to weren't exactly the best for games.
I started with my father's laptop in 2001, a Dell Inspiron running Windows ME, and I later upgraded to a Dell Dimension 2400 desktop in 2004. In college, I would switch over to Apple, using a 2010 15-inch MacBook Pro for projects, essays and games.
Nevertheless, I wanted to create my own PC, but I lacked not only the knowledge to tell which would be the best parts for what I wanted to play, but also budget, because I was pretty much a broke college freshman. A friend of mine referred me to Tom's Hardware's quarterly System Builder Marathon articles, which provided an idea of what parts to look out for depending on budget level.
Fast forward a few years, and I'm finally in a position to make this build happen. I revisited the System Builder Marathon articles, and even though it would be very easy to just blindly follow those budgets and components, I wanted to take this opportunity to learn more about each component and and pick exactly the parts I wanted to fit my budget.
To be honest, I'm fairly new to hardware, and while I haven't exactly become an expert, I've certainly gained a lot of knowledge from researching every part, from the motherboard to the power supply. I've documented my process, from selecting parts to putting the whole thing together. This is part one: selecting and buying the components.
References
A lot of my initial research started here at Tom's Hardware. For the most part, I followed the steps listed in an article written by Thomas Soderstrom last year on "How To Build A PC." From there I looked to Don Woligroski's "Best Gaming CPUs" and "Best Graphics Cards For The Money" articles for an idea of what I could get for my budget.
Soderstrom also wrote a great piece on motherboards, which I found to be one of the more complicated parts of the PC build. I also poked around various forum threads, specifically on topics such as CPU and motherboard to get an idea of what the community had to say on a few pieces of hardware.
Get Tom's Hardware's best news and in-depth reviews, straight to your inbox.
I also did some research on YouTube, specifically for the visual aids. Having someone on a video point out various parts on a PC was extremely helpful and gave me a better idea of what to look for in certain parts of the process.
Planning
Considering that the System Builder Marathon consistently has the low-budget build around the $500 mark, I decided that would be a good place to start. However, I could be a bit more flexible with the budget, so I decided to give myself a budget between $500 - $650.
I also had to consider what I wanted to do with my PC. Even though I play many of my games on a console, I've always wanted to have a PC dedicated primarily for games. As much as my MacBook Pro allowed me to play Civilization V and Kerbal Space Program for hours on end, its Intel i5-520M CPU (2.53 GHz), 4 GB of memory, and NVIDIA GeForce GT 330M weren't exactly cutting it, so it was high time I finally joined the so-called "PC master race."
A big help with tallying up costs and wattage needs was PCPartPicker. By following the steps in the How To Build A PC article, PCPartPicker narrowed down the selections for each component, saving me a lot of time by manually filtering some of the criteria before I made my choice. After the parts were picked, I was also able to tell how much it would cost me if I bought the parts from a particular store, or if I used different stores for the lowest price.
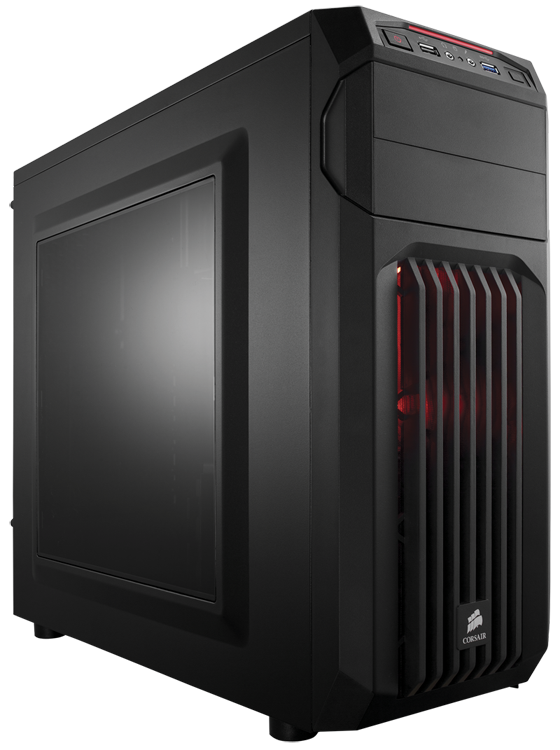
Case: Corsair SPEC-01 RED ATX (Mid Tower)
I didn't want to spend too much on a case, but I did have two specific criteria: I wanted it to have a windowed side panel and room for expansion. Corsair's SPEC-01 met the standard without requiring me to fork over too much money.
It comes with four 3.5-inch/2.5-inch drive bays and two 5.25-inch external bays, so there's room to expand if I need more storage or ODDs in the future. Fortunately, implementing SLI or Crossfire isn't necessary on a budget build, but there is room in the case to accommodate multiple graphics cards.
Although it can hold up to five fans at once, I decided to roll with the one stock LED-lit fan and a second third-party fan for exhaust.
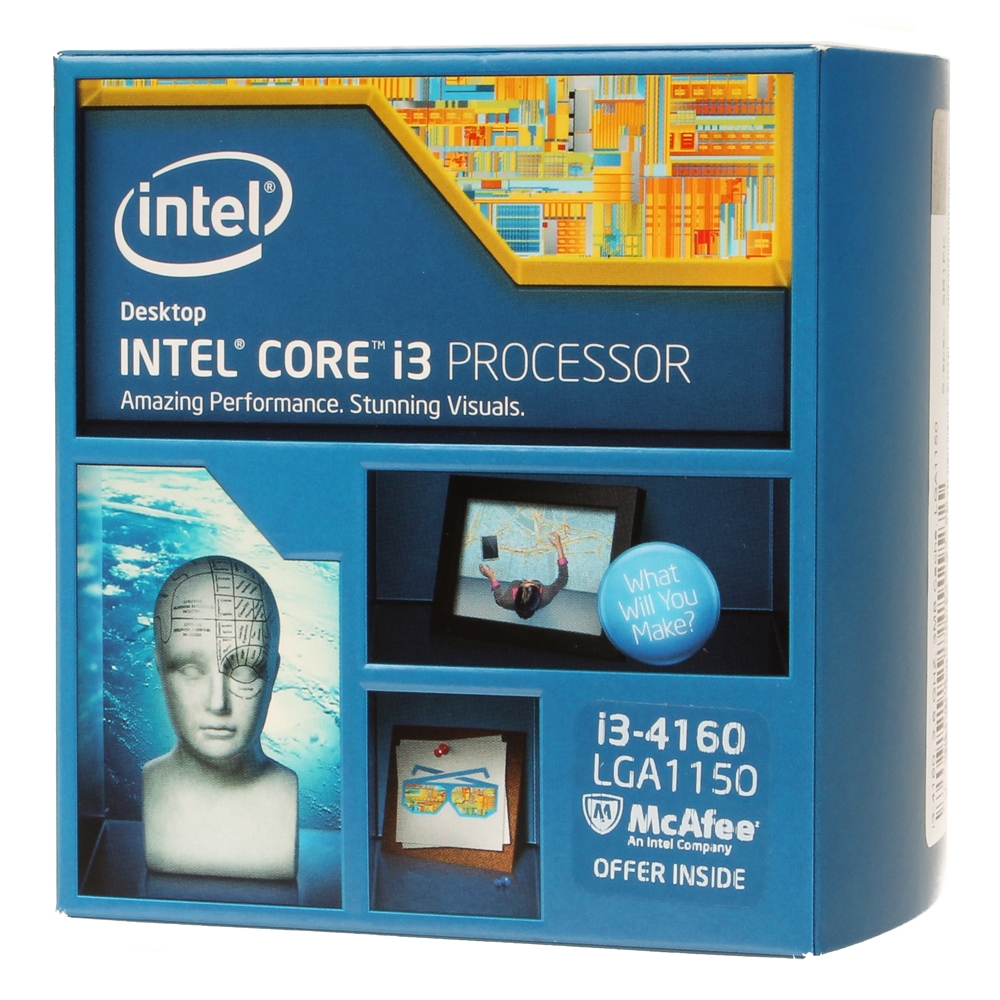
CPU: Intel Core i3-4160 (3.6 GHz)
From the very beginning, I set my eyes on an Intel quad-core CPU, so naturally I leaned towards a Haswell Core i5 or i7. Like so many other first-time builders, it's discouraging that these two selections immediately ate up a sizable portion of the budget.
At this point, our "Best Gaming CPUs for the Money" article came into play, and that, combined with speaking with TH's Don Woligroski, swayed my CPU choice to the i3-4160. While it has only two physical cores, the i3-4160 does have Intel Hyper-Threading, so I'll get up to four threads for more efficient performance. The real test will be on current and future games that require a quad-core CPU. But as Woligroski mentioned again and again, it's better to invest more money into the GPU because it's the bigger bottleneck issue in terms of performance.
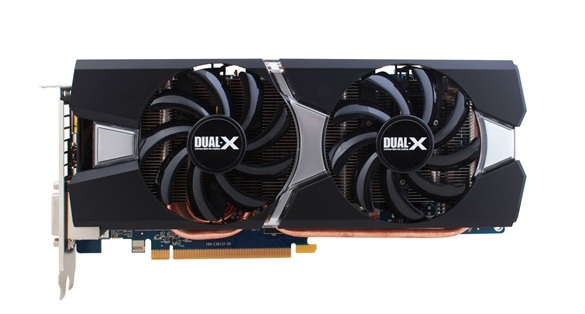
Graphics: Sapphire Radeon R9 280 (850 MHz)
For the graphics budget, I set out to get something in the $150 - $200 range. This narrowed down the search, but there's still a wide variety of options to choose from in this area, so I turned to the "Best Graphics Cards for the Money" article for some guidance.
The Radeon R9 280 seemed like a no-brainer choice. Its price fits perfectly in my range, and it gives me the graphics power I need on the games I want to play. It carries 3 GB of VRAM, which will come in handy in the future, as games are using more and more of the GPU's VRAM on higher settings.
I did consider switching to the new NVIDIA GTX 960 at one point due to its lower power usage and the ShadowPlay software for easier game recording, but once again, price was the ultimate factor here. With the brand new 960 going for $200, I could pay about $20 - $30 less for an R9 280 which leaves a little more room for other components.
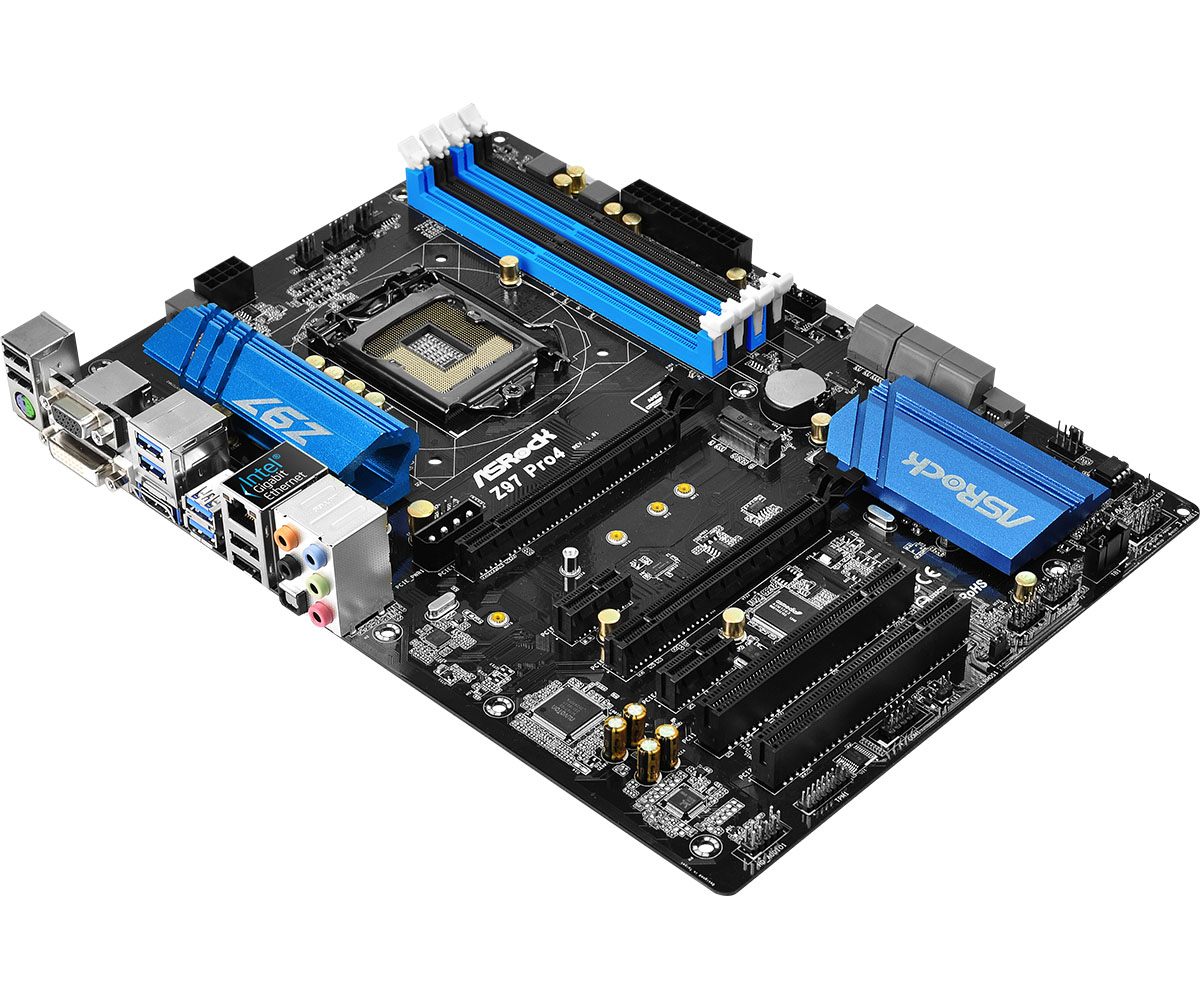
Motherboard: ASRock Z97 PRO4 ATX LGA1150
For the motherboard, it took me a while to determine which chipset I wanted to go with. This is where PCPartPicker was a big help; because I already knew that I would need socket LGA1150, it narrowed down my selections quite a bit.
Thankfully, Thomas Soderstrom wrote a great article on "How To Choose A Motherboard," which provided the features of each of the eight LGA1150 chipsets. What I wanted was a board that could hold my current components but could still support future upgrades. Additionally, I wanted the right amount of I/O ports in the back, including plenty of USB 3.0 ports and an optical port for a sound system.
The Z97 chipset is the best option because it fits all my requirements. For I/O, the Z97 supports more than enough of the ports I'll need. There are two PCIe x16 slots if I choose to go to SLI or Crossfire in the future, and it will support the upcoming Broadwell CPUs, so that means I don't have to buy another motherboard when I upgrade the CPU.
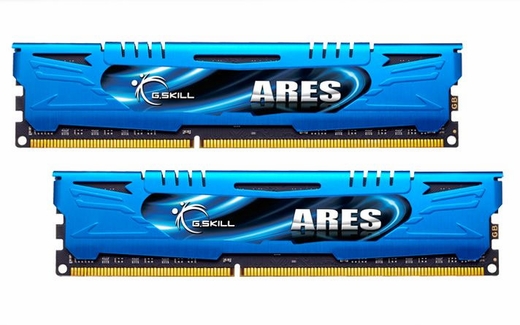
Memory: G.Skill Ares Series 8 GB (2 x 4 GB)
Memory was pretty much the easiest component to pick. I've been stuck with 4 GB for the last four years, and it's been a crippling factor, especially when playing games. Our guide to building a PC made it easy to select the speed I wanted (DDR3-1600), leaving me to figure out the capacity of the memory.
From various articles and talking to friends and colleagues, the clear way to go is 8 GB of memory. Most of the people I talked to have 8 GB of RAM, with a rare few upgrading to 16 GB. The performance gain from 8 GB to 16 GB seems to be minimal. I'll be sticking with 8 GB for a while, unless there's something labor-intensive other than games that I need to run on the PC that requires more memory.
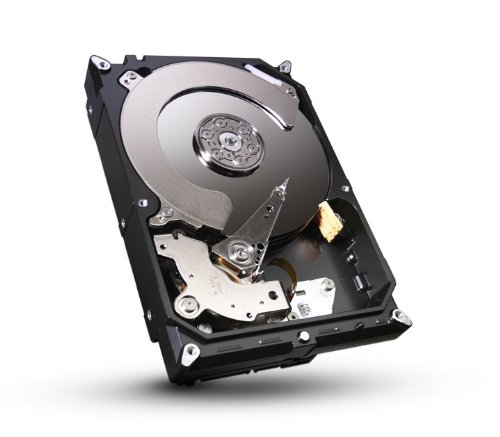
Storage: Seagate Barracuda 1 TB HDD (7200 RPM), Corsair Force LS 120 GB SSD
Over the years I've seen more of my friends who build their PCs buy the storage combination of a large-capacity HDD coupled with a small-capacity SSD, which stores the OS and enables a quick system launch. I decided to go the same route and get both.
Considering my Steam downloads and an ever-growing movie collection, the 1 TB HDD seemed like a good starting point for storage needs. Over time, I might make the switch to exclusively using SSDs, but considering the price of larger storage SSDs, it will be a while until I make that change.
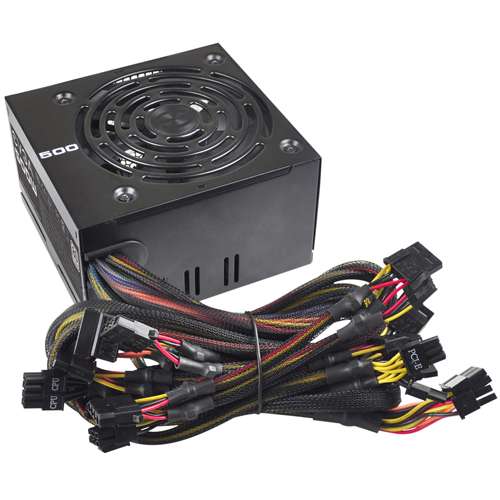
Power Supply: EVGA 500W (80+)
Picking a power supply was another difficult hurdle mainly because I wasn't sure how much wattage I needed for the power supply. According to PCPartPicker, my overall build has an estimated wattage of 358W. I wasn't really sure about the site's accuracy, but decided to go with it. With that in mind, I decided to go for a 500W unit. Further research through the 80 Plus website showed that my build would use about 70 percent of the load, giving the power supply an efficiency rating of somewhere around 83 percent.
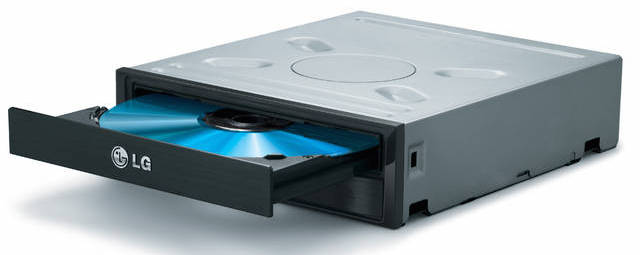
Optical Drive: LG UH12NS30 Blu-Ray Reader, DVD/CD Writer
We are reaching a point where many PCs do not include an optical drive, and most of the games I own are already part of my Steam or Humble Bundle library. Nevertheless, I decided to get one for the sole purpose of importing my DVDs and Blu-ray movies onto the PC. There might come a time when I no longer have to use discs at all, but seeing as there are still programs, movies and even games that use a disc, it never hurts to have an optical drive just in case.
Extras and Cost
Obviously, this list of parts is missing a few items such as mouse, keyboard, operating system, monitor and a headset. This is because I focused my budget only on the physical, internal components of a PC. Besides, I already own a monitor (Dell ST2220L), a mouse (Logitech G700) and headphones (Sennheiser HD 439). I plan to buy a copy of Windows 7 for the PC, and as far as keyboards are concerned, I'm looking at Corsair's K70 RGB Keyboard with Cherry MX Brown switches.
So does my build meet my budget? Yes and no. At press time, PCPartPicker put the total cost of the listed components at $672.27 if I buy each part from the cheapest online retailer. A week ago, the same build totaled around $639. Obviously, the difference in price is due to rebates and discounts.
However, this isn't the end of my exploration into building a PC. I will also document my first time building a PC when all the parts are ordered and arrive. I'm looking forward to the challenge. The adventure will continue in part 2. Stay tuned.
Follow Rexly Peñaflorida II @Heirdeux. Follow us @tomshardware, on Facebook and on Google+.
Rexly Peñaflorida is a freelance writer for Tom's Hardware covering topics such as computer hardware, video games, and general technology news.
-
Blueberries I don't know when you're ever going to use a deprecated blu-ray player, or why you'd cheap out on the video card if it's a gaming PC, I think the case is ugly, that picture of the PSU isn't modular and I hope the one you bought is, and there's better RAM for the same price. Samsung 850 Pros are 3D VNAND, better in every way, and cheaper than corsair force (at least from the websites I surveyed).Reply
Also if your PC is going to average 350W ideally you want a 700W PSU for peak efficiency.
The motherboard choice was great though, that's a very good motherboard! Some things to think about next time. -
Morbus My suggestion as a veteran of five (yeah baby!!!) self-built rigs, is that you ditch the Z97 mobo and go for a H97 and get yourself an i5 instead of the i3. The reason for that is that the Z97 is for overclocking and that i3 CPU doesn't support overclocking.Reply
All in all, a pretty great rig for the money. I like it! -
azathoth Personally, I would have scrapped the SSD for thr time being, and used the money to invest in a Quad-Core processor.Reply
The SSD whilst being an excellent way if improving system response, would not benefit you as much as a Quad-Core processor would. As well, you could have always added a SSD at a later point in time without any waste.
That being said, I am really enjoying this article and can't wait for part two. -
jimmysmitty ReplyI don't know when you're ever going to use a deprecated blu-ray player, or why you'd cheap out on the video card if it's a gaming PC, I think the case is ugly, that picture of the PSU isn't modular and I hope the one you bought is, and there's better RAM for the same price. Samsung 850 Pros are 3D VNAND, better in every way, and cheaper than corsair force (at least from the websites I surveyed).
Also if your PC is going to average 350W ideally you want a 700W PSU for peak efficiency.
The motherboard choice was great though, that's a very good motherboard! Some things to think about next time.
The Blu-ray makes sense. I still buy some things on BR as I like to own a few things physically just in case the internets goes down.
Doubling the PSU wattage is smart if you want to also make the PSU last longer. I needed about 400W with one of my builds and had a 850W Corsair that lasted 5 years and is still in perfect condition.
I can agree with the RAM and SSD. I only use Intel or Samsung SSDs. I do still love Corsair PSUs, cases, RAM and AiO liquid coolers. Oh and their keyboards but Samsung and Intel make the best SSDs. -
Blueberries ReplyMy suggestion as a veteran of five (yeah baby!!!) self-built rigs, is that you ditch the Z97 mobo and go for a H97 and get yourself an i5 instead of the i3. The reason for that is that the Z97 is for overclocking and that i3 CPU doesn't support overclocking.
All in all, a pretty great rig for the money. I like it!
The z97 is worth keeping if it means keeping thick alloy chokes, capacitors, and better mosfets/voltage regulators.
Also there's no way you should spend an extra $100 on an i5 when the SMALL increase in multi-core performance would go almost unnoticed in a percentage of video games and never used otherwise.
You should have waited until you had at least $800 saved up, bought a GTX 970, and researched your parts more if your goal was GAMING. $600 is hardly budget for a gaming PC, they're supposed to be expensive.
-
thundervore I find this hilarious that a tech site posts a "building my gaming rig" article and went for a setup that's outdated before the parts even shipped.Reply
This rig will be outaded in one year and sold off as parts soon.
You should have waited until you had $1000 and build a better system that would last you for the next 5 - 7 years not 1-3 -
afroman340 First of I want to say, that for a first time build I think this is a great start with much dependability down the road...Reply
I agree though with blueberries, for gaming pc i would of upped the budget because your probably going to want to replace your card in just a year or two (a 970 or even a 290 would of been a good choice). Other then that I think that's a great gaming starter system you came up with. I3 will get you by for a while, and then you can save more for an i7 eventually.
I think the blu ray player is a good touch. I know people say they really dont have much use, but i think if possible an optical drive in the tower is a good utility (as long you have no other priority components for the 5.25 and you can even take it out and use it as an external if you need the room). You already have a use for it now but it may still be valuable down the line.
Don't comment much, but I thought you deserve props for making the jump. -
PraxGTI Nice write up! Its nice to see some first timers taking a crack at it. I think you made good overall choices. A good rule is that when it comes to hardware there are no right or wrong answers. Everyone has their own preferences or opinions and as such I can see a lot of flak in the comments.Reply
I really enjoyed how your write up highlights what a great resource Toms Hardware is for everyone that uses it. I have been using Toms Hardware for probably nearing 10+ years now. Unfortunately I also haven't had the budget to do a build in 7 years.
Good Article! I hope you find yourself trying more new things in the PC arena. -
2Be_or_Not2Be I do agree with the other suggestions about going with an i5 processor. The extra horsepower can pay off if you do any video rendering or with some heavy games. However, you can always upgrade later (as I thought a while back when I bought the i3-3225).Reply
Ignore the comment about getting a 700W PSU; it obviously isn't the most efficient when you only have a small load of ~368W. That 500W hits the sweet spot of efficiency.
I would, however, get a different case than the one selected. If you're not going to use hardly any of that large capacity, why not just go with a more space-efficient mini-ITX case, like the Silverstone SUGO or ThermalTake Core V1? You can take the money saved & invest into a 256GB SSD, like the value-oriented Crucial MX100 256GB. If you have more funds available, then the more-expensive Samsung 850 Pro could be a performance boost.
