Using HumanEyes Studio, The Vuze VR Camera's Software
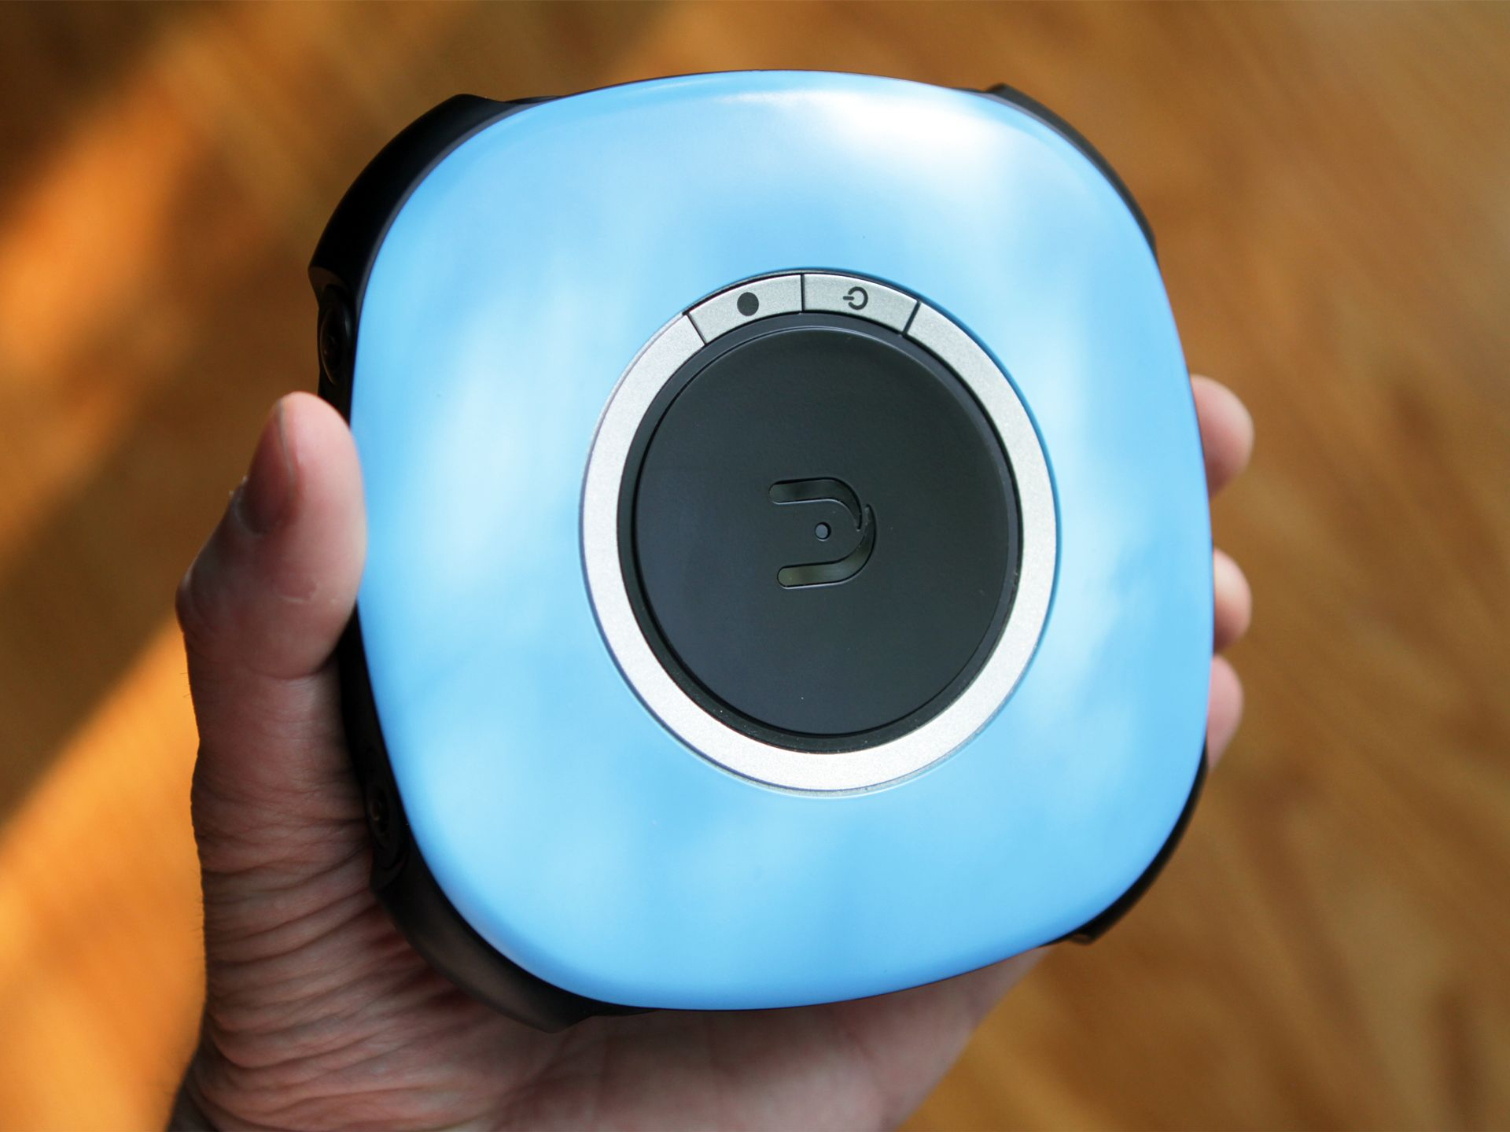
The Vuze VR camera is exceptionally intriguing for those interested in immersive video because it shoots not just in 360 degrees, but in stereoscopic 3D. That makes it a true “VR” camera. However, those remarkable capabilities create a new set of issues in terms of editing and sharing the content, not the least of which involves using software to tidy up the clips you shoot. To that end, the company that makes the Vuze, HumanEyes, built companion software for the camera called HumanEyes Studio.
We went into detail about the ins and outs of shooting, editing, and uploading VR content with the Vuze VR camera here.
Typically, proprietary software that’s tacked onto a hardware product is a liability, but in this case, HumanEyes can poured resources into the project, such that the software is surprisingly powerful and easy to use--and they keep adding features and capabilities.
We should also note that, out of convenience, we ran the software on an Ultrabook (Intel Core i5-5200U [2.2GHz] CPU, 8GB of RAM), and we were frankly a little shocked that it worked as well as it did. Also, the software is free when you buy the Vuze VR camera.
Let’s dig into the features of HumanEyes Studio.
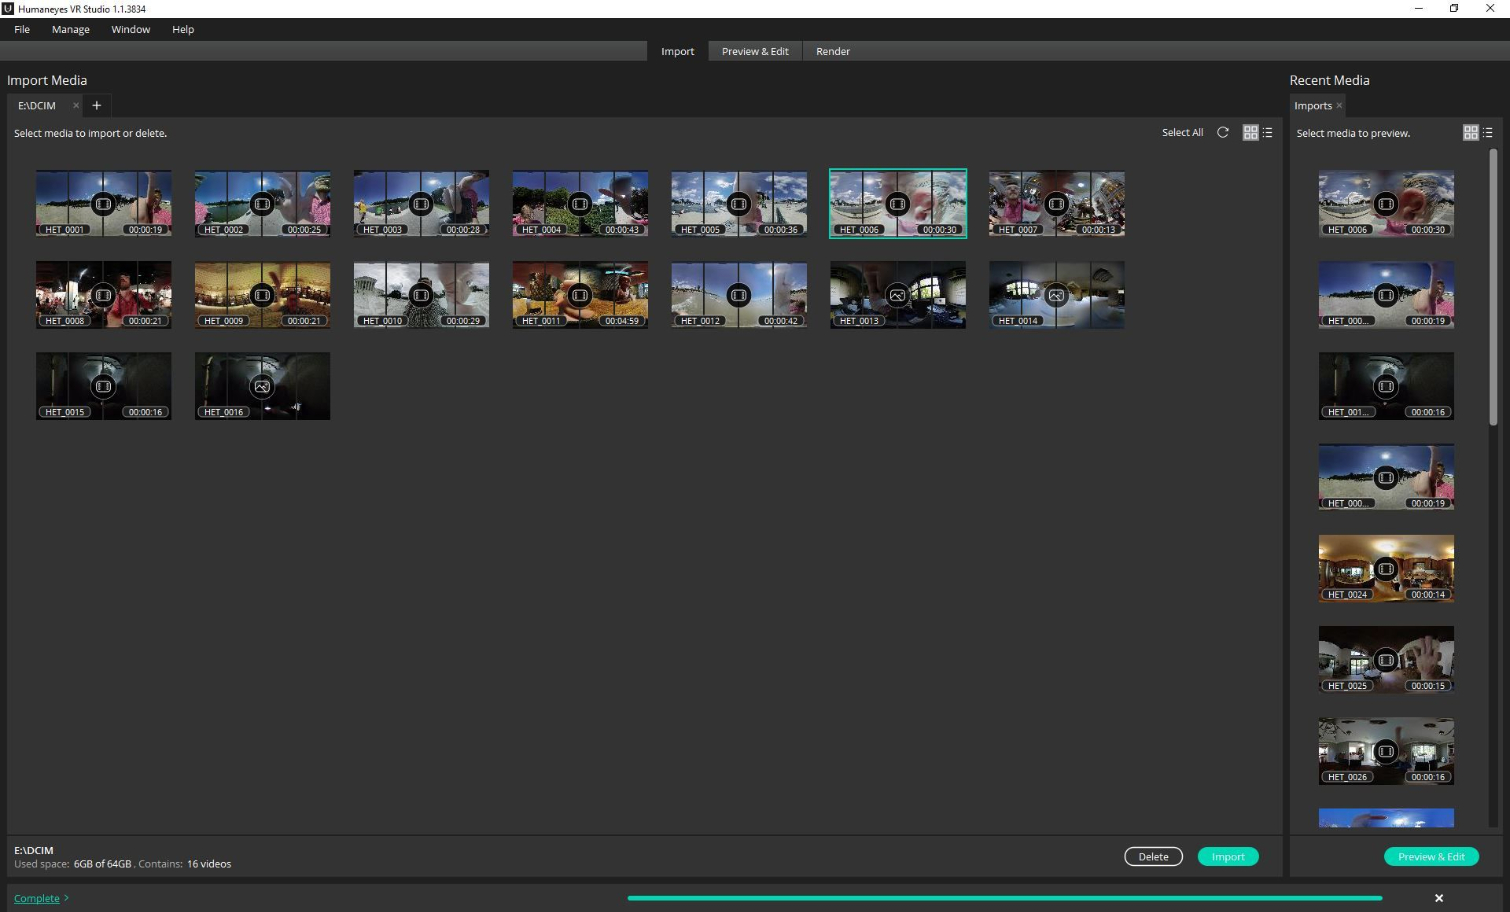
Importing
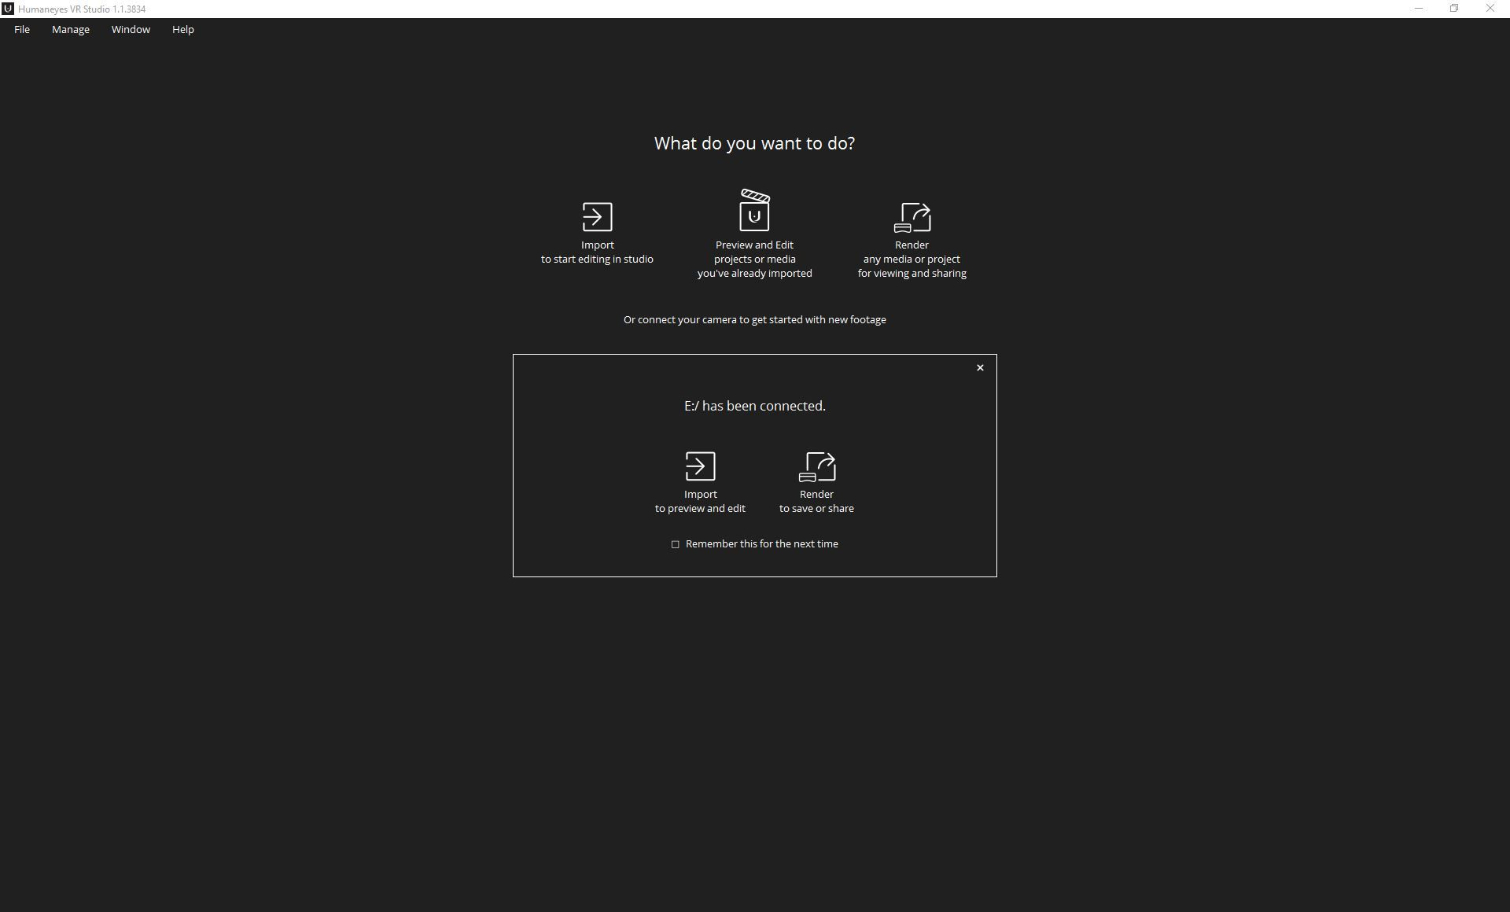
Your clips live on the microSD card that’s inserted into the camera. You can also pop the card into a card reader and connect it to your PC, but it’s just as easy to connect the camera to the PC via a USB cable, and then import the clips from there.
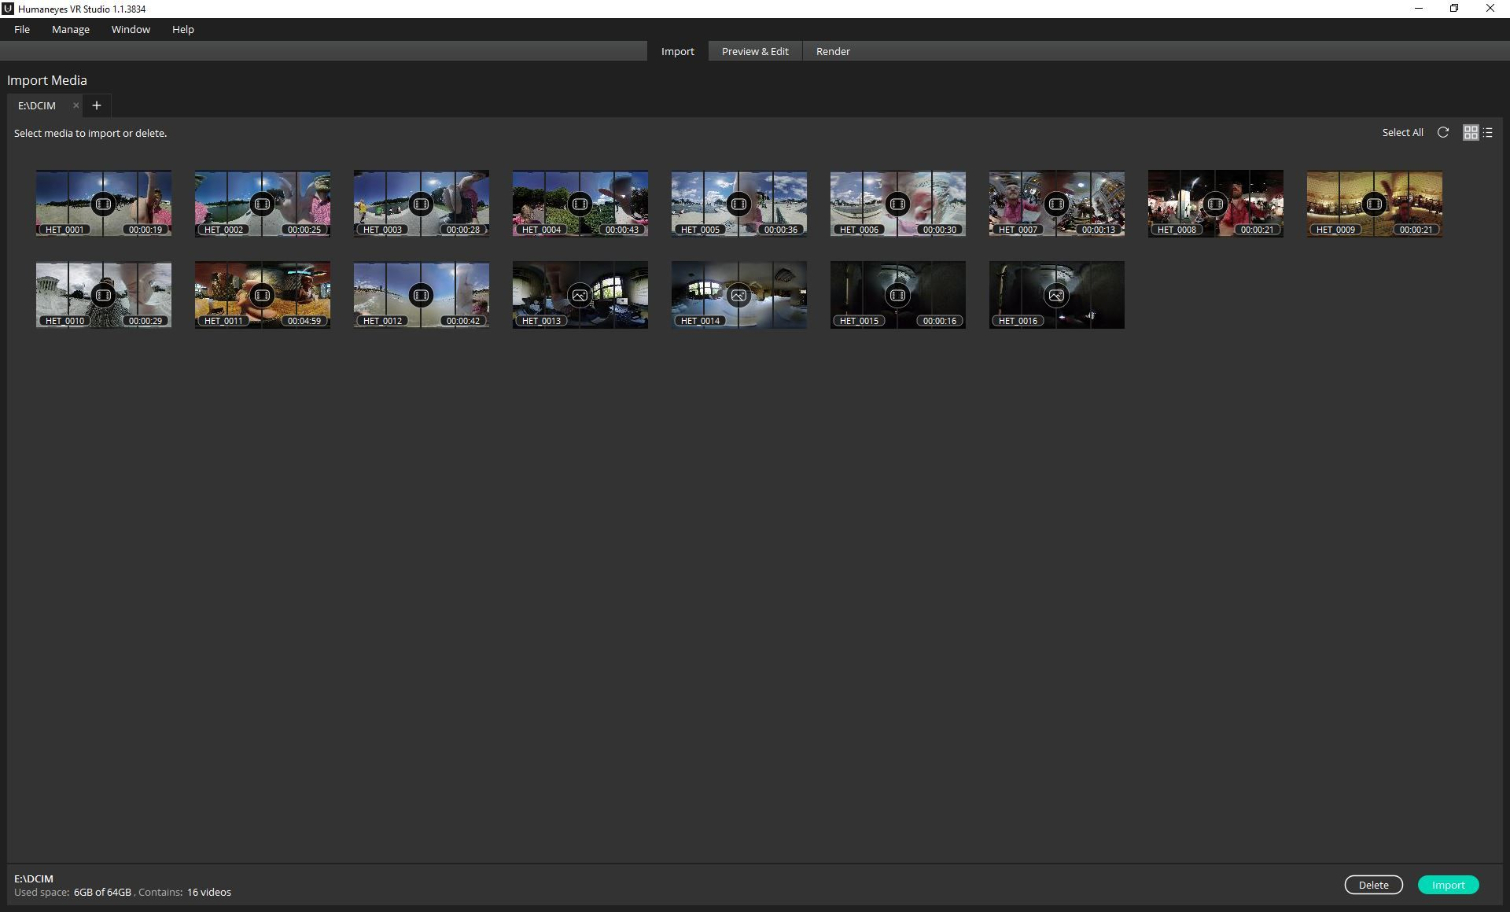
Once the card is connected in some way to your PC (or Mac), open HumanEyes Studio and choose to import from the camera (or connected card). Click the thumbnail of a clip, and then click Import. When prompted, you choose a location to save to and click Import (again). (Performance is purely anecdotal, but note that it regularly took about 15 seconds to import a ~30 second clip.)
Get Tom's Hardware's best news and in-depth reviews, straight to your inbox.
Next, select a clip from the right side of the window and click Preview & Edit.
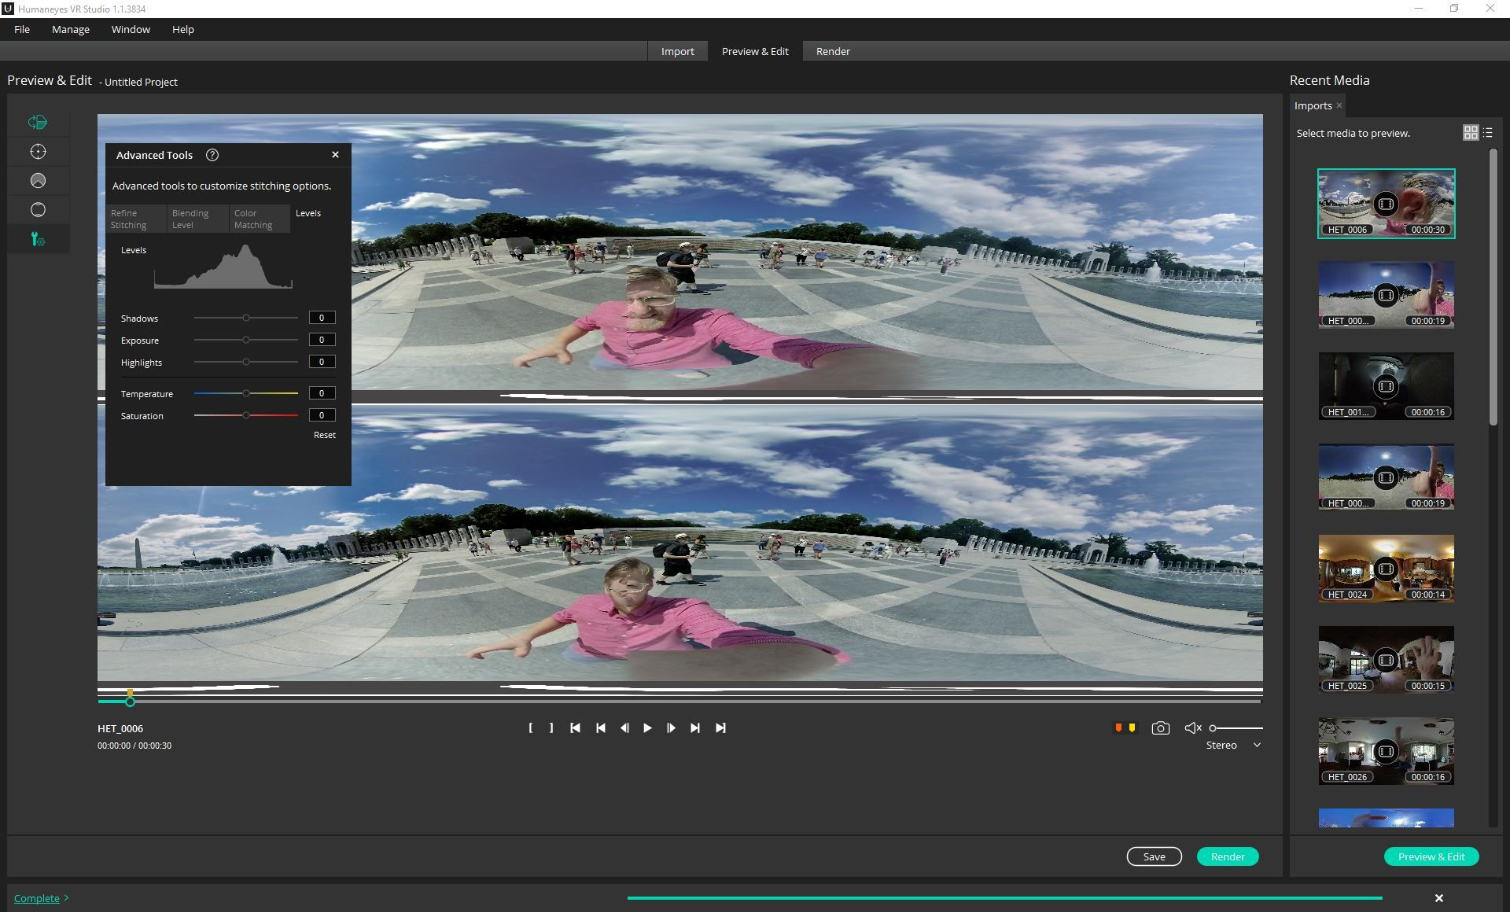
In the editing window, you can do plenty. You can flip the video 180 degrees (which is handy if you shot with the camera upside down), choose a “center” for the video (that is, the starting center point when someone watches the clip), shrink the field of view from 360 to 0 degrees (which is ideal if you need to frame your shots), replace the top or bottom “patch” image (to cover up the shooter or the default Vuze logo), and more. By “more” we mean the Advanced Tools, which includes the ability to refine the stitching; adjust the blending level; performing color matching between the cameras; and balancing shadows, exposure, highlights, color temp, and color saturation.
Cropping And Centering
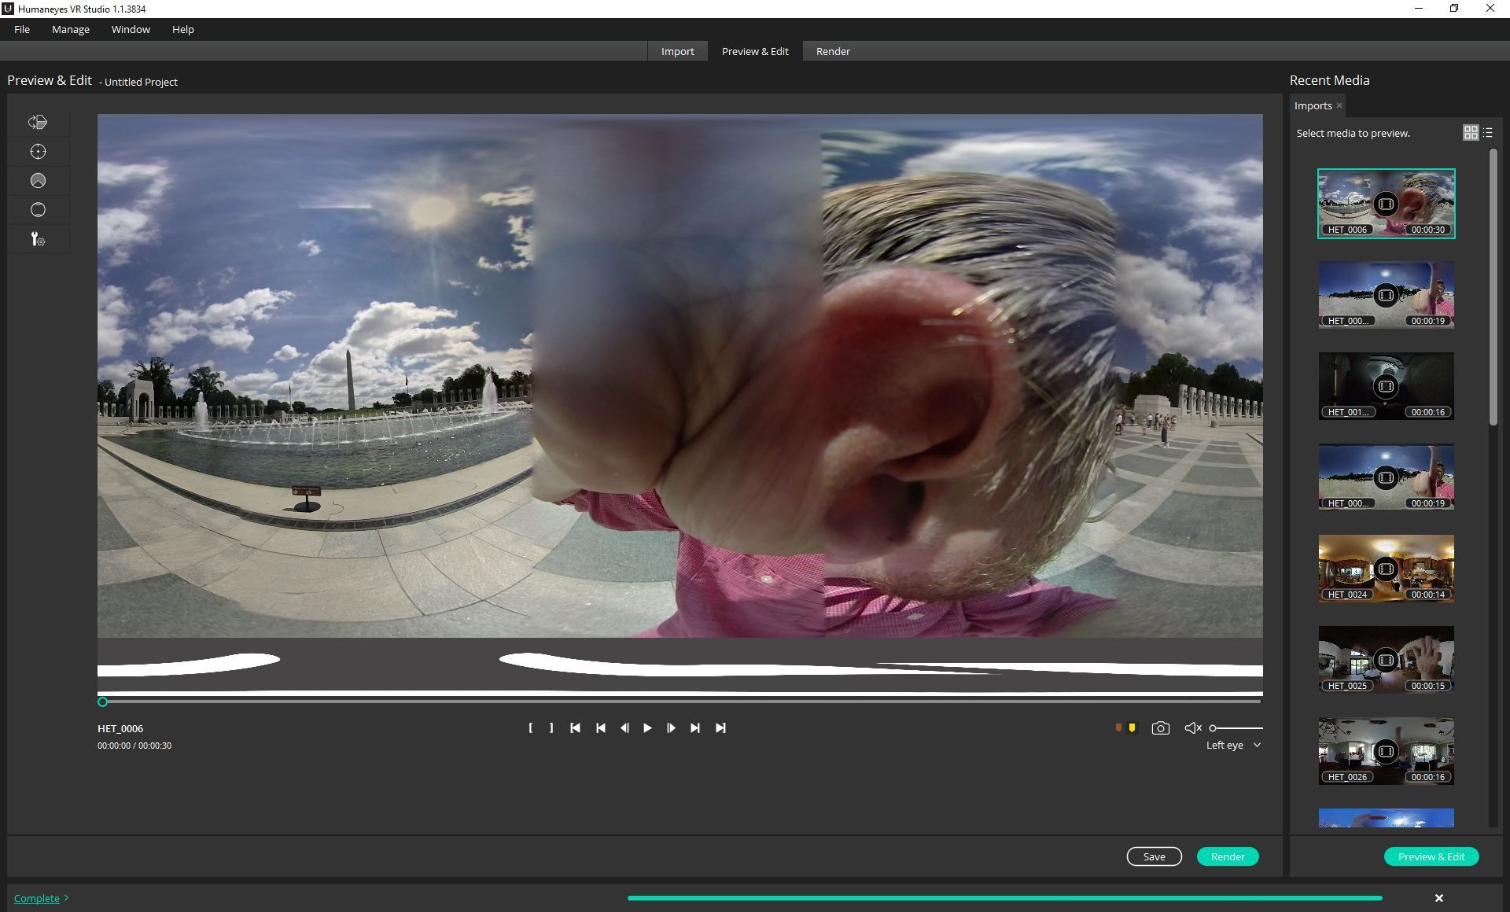
In our example, you can see right away that editing is a necessity:
The horror!
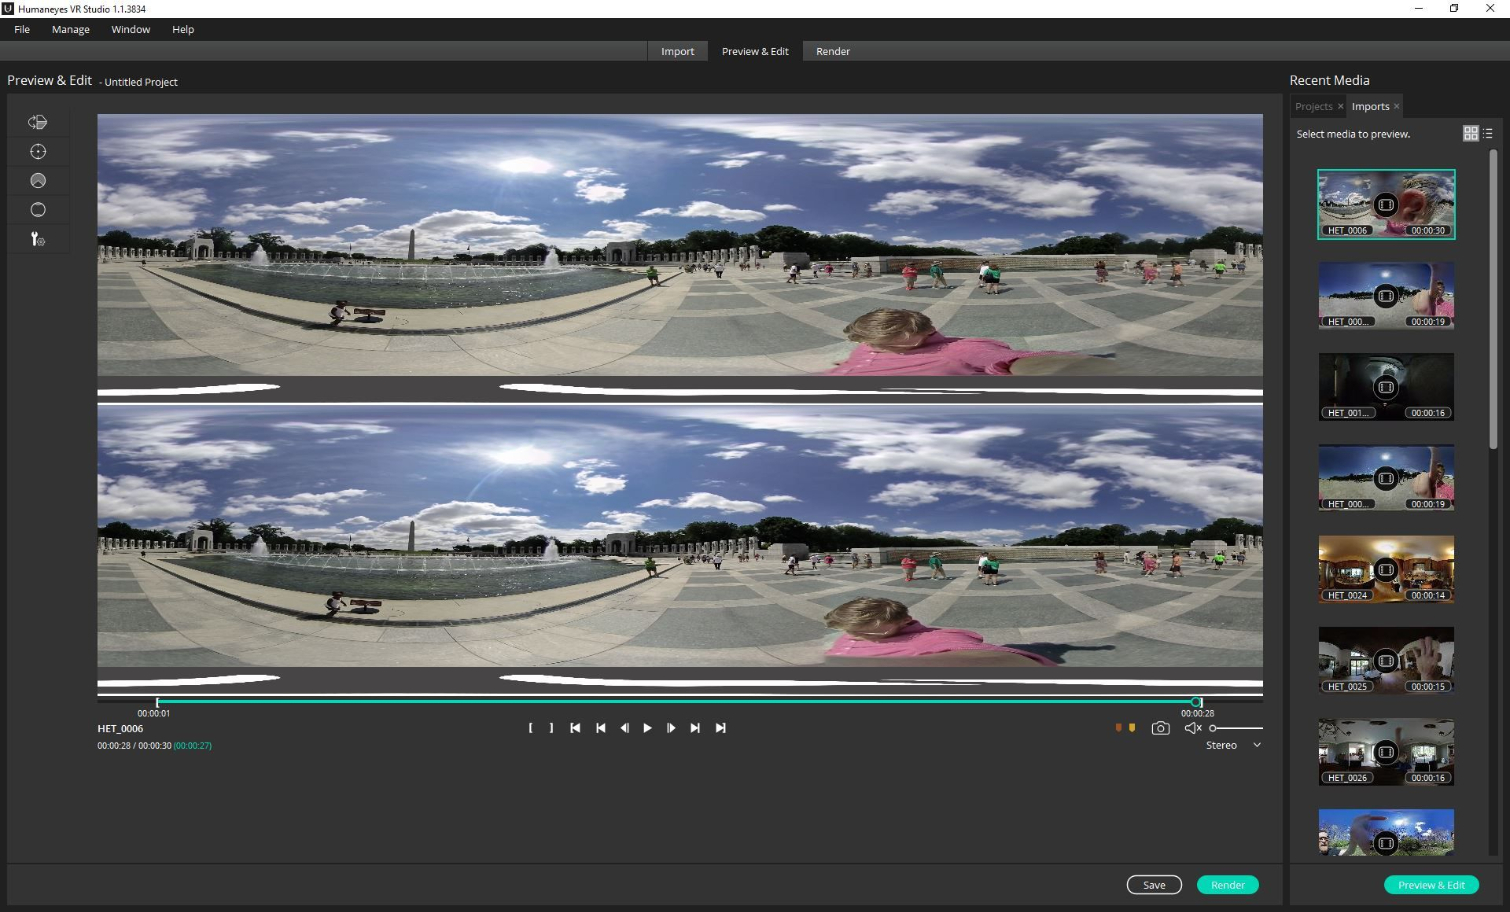
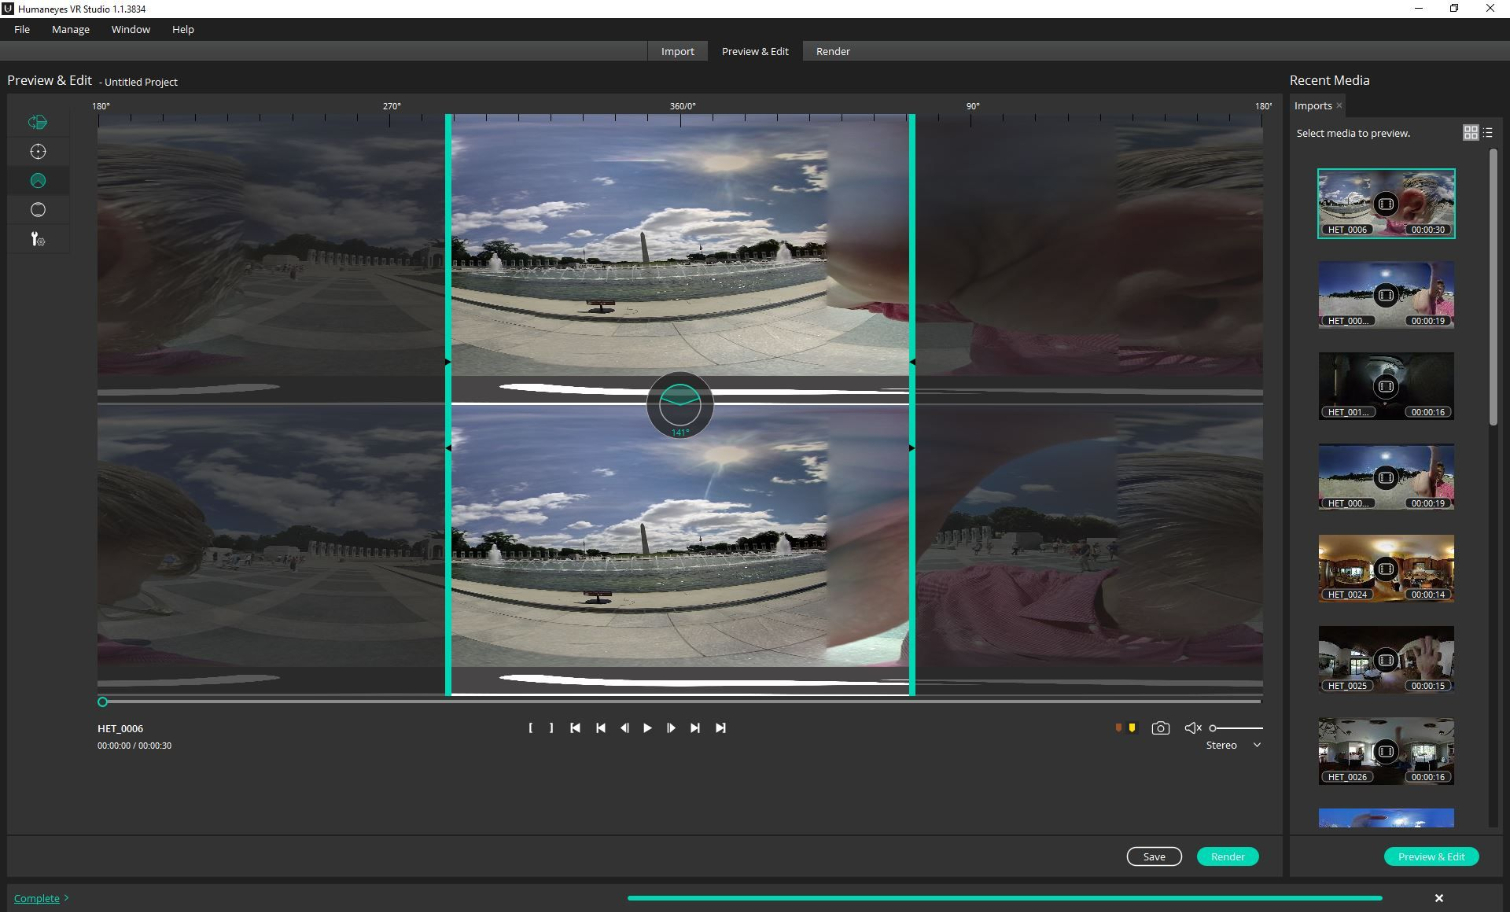
With a clip like this one, the first thing to do is crop it. Cropping a clip is easy, which is good, because if, like us, you shoot by pressing the record button and running away or holding the Vuze aloft, you have to crop every clip. To do so, simply Click one of the brackets in the media controls (under the main preview image). Then, you can click and drag from the left and right edges of the clip to crop the beginning and end that you want. We found that it helps to use the Play slider to mark the spot you want, then click and drag the brackets to there.
You don’t even have to click anything once you do that; when you export the clip, it will save your crop. The downside is that there’s no Undo function. You just have to redo the above couple of steps if you aren’t happy with your crop.
Although remembering to shoot right-side up is not difficult, certainly there are occasions when you might accidentally place the Vuze upside-down. When that happens, there’s a button in the software that flips the image 180 degrees. Problem solved. With literally one click.
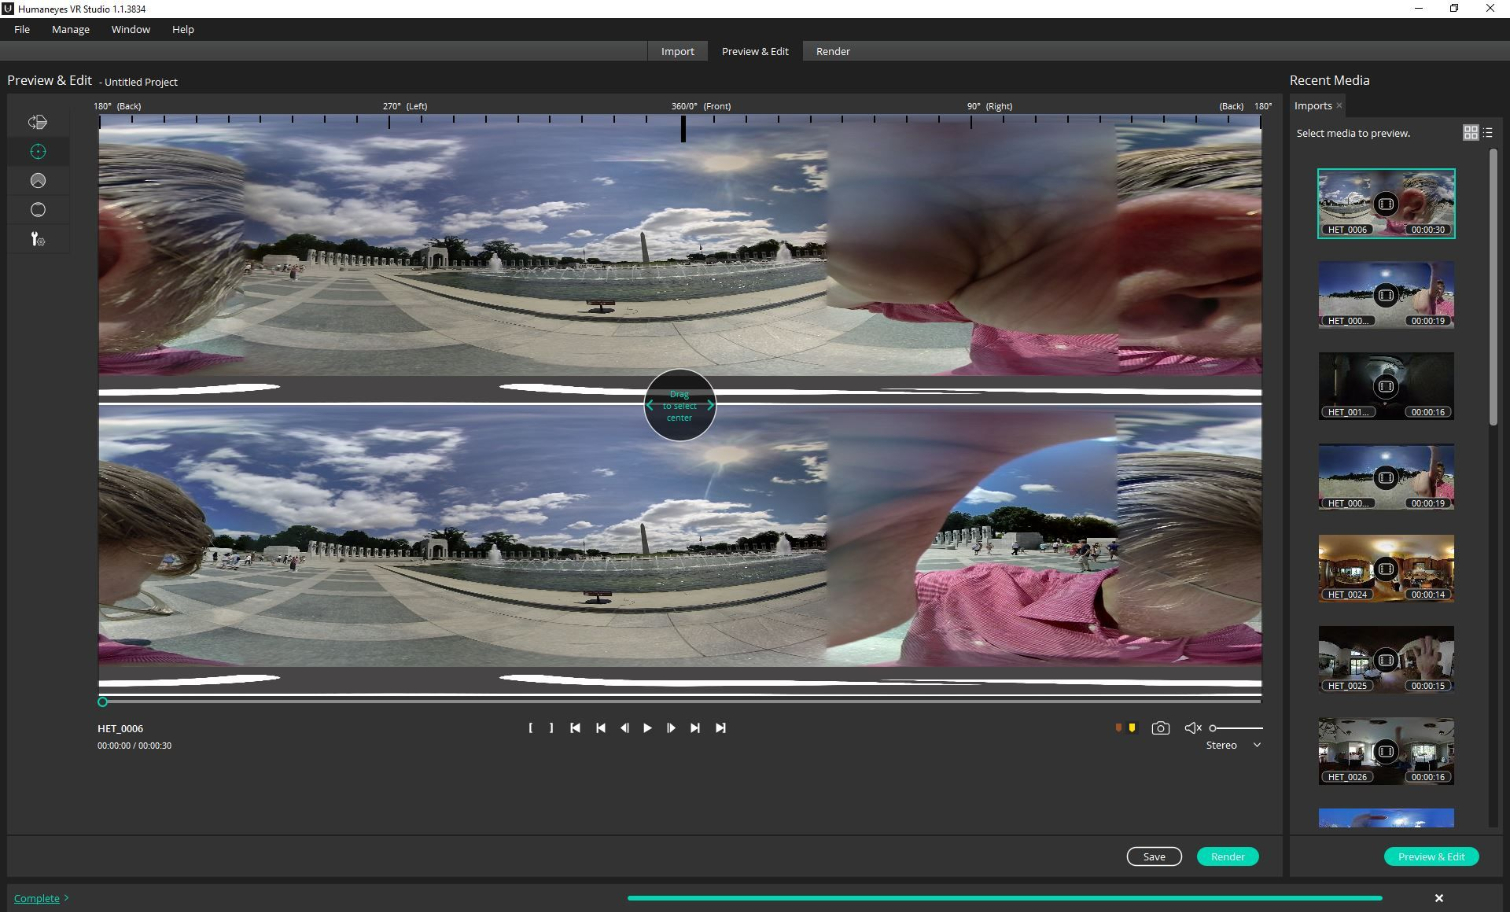
Because every side of the Vuze is the same, and it shoots in 360 degrees, there’s no real “center” per se. As with any 360-degree camera, you lose the ability to frame your shots in-camera. Even so, when a viewer dons a headset and fires up a video, there’s usually a subject or angle you want them to focus on. In HumanEyes Studio, though, you can click and drag to find the “center” of your image.
Then, you can reduce the field of view (FoV) of the clip from 360 degrees all the way to 0 degrees. This will come in handy for the many inevitable instances wherein you may prefer to cut your video to 180 degrees, for example. Just click to drag one of the outside edges, and you can see the FoV shrink with a handy little preview animation.
As you deal with the above, note that you can change the view from Left Eye to Right Eye to Stereo. The advantage of Stereo is that you won’t misjudge your footage--using Left Eye or Right Eye doesn’t give you both angles on each side of the camera--but you do end up with two images, one on top and one on bottom.
Whereas you’ll need to do some cropping and centering on probably every clip, there are other basic edits you can perform only if and when necessary.
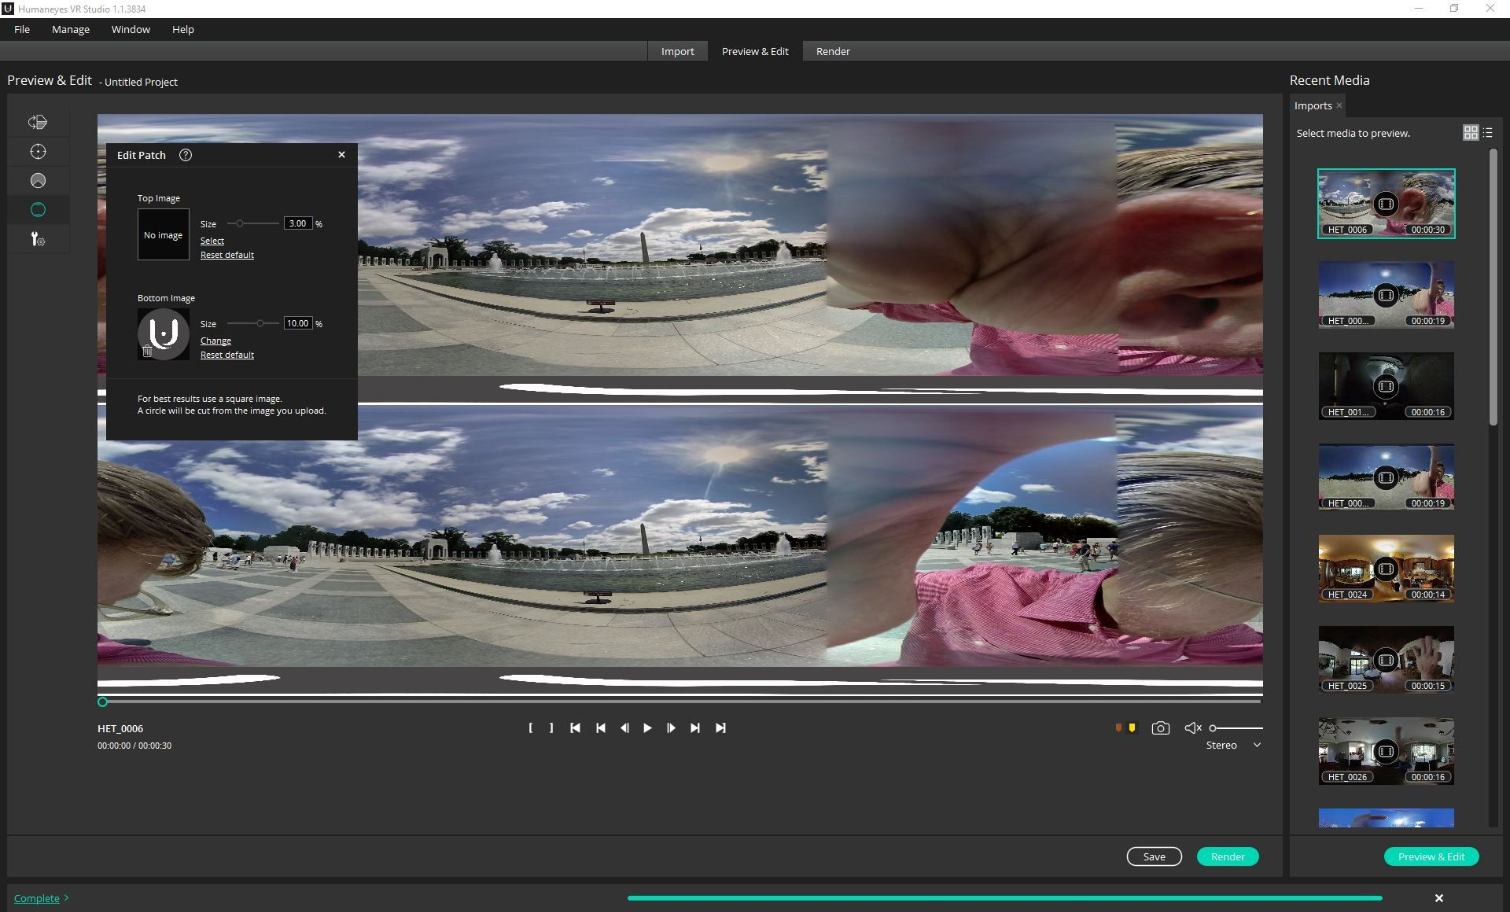
For example, the very top and very bottom of your clips are a mess. This is just an artifact of this type of camera; they’re basically blind spots. To cover them up, you can add a patch image. By default, there’s a gray and white HumanEyes logo for the bottom. You can make that larger or smaller with a slider that adjusts the size from 0-15%, or just punch in the percentage in the little box.
You can also upload your own image and stick it at the bottom or top. Once you have that uploaded, you can adjust its size, too.
Advanced And Experimental
It’s hard to overstate just how easy and quick all of the above is. The UX is a just a bit clunky at times, but by and large it’s quite intuitive, and the features you need are easy to find--nothing is buried under multiple menu layers.
There are some additional features, though, that are more advanced--some of them are still in beta, too--and require a great deal more time and experimentation. These are located, appropriately enough, in the Advanced section.
There are eight cameras in total on the Vuze, and the parts where they overlap are called stitching lines. Dealing with stitching is one of the chief problems facing immersive video makers. Obviously, a particularly ugly stitch can destroy a viewer’s immersion as fast and definitively as anything.
Refining Stitching
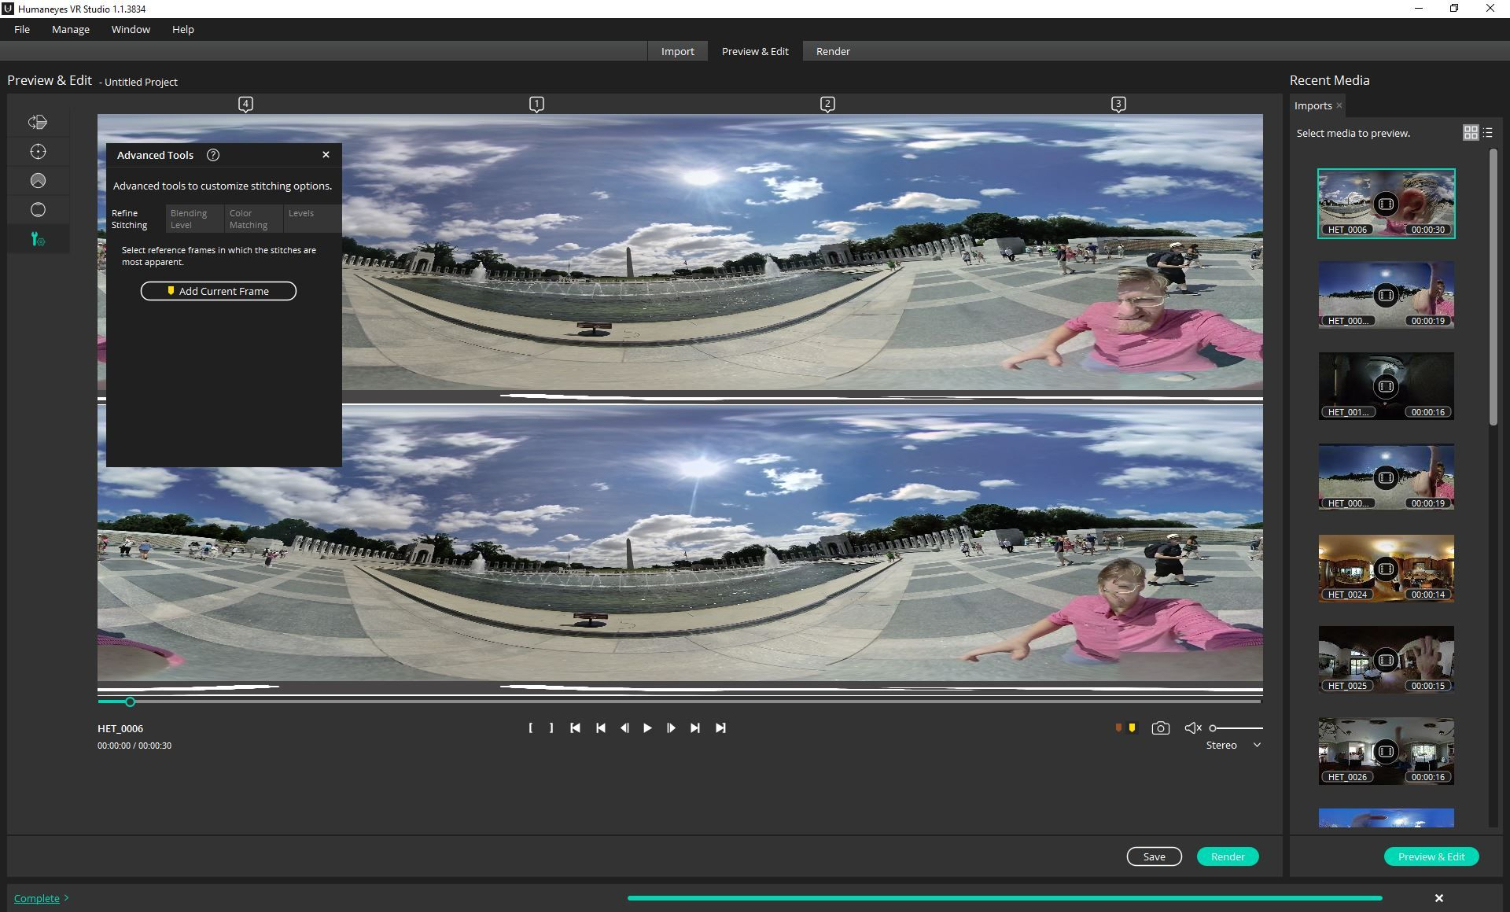
Let’s start with Refine Stitching. See how my face is chopped in half because of the terrible stitching? This is the kind of thing you’ll obviously want to try to fix in your clips.
It, is, however, rather tricky to do. (And in some case, it may be impossible to do much to fix it.) Even though you can see a preview of your work, and you can adjust all of it with sliders, you don’t see the result of the sliding until you let go of the button. Thus, the process involves a lot of guessing and trial and error. It is helpful, though, that the number of the camera(s) that corresponds to the number in the menu is above the preview pane. You can also remove a given frame or add it back in.
In the end, though, we were unable to do much to fix my face in this clip with Refine Stitching. (We know, we know, the jokes write themselves…)
Blending
Blending can increase the overlap of cameras. You can use this technique to add density to your shots. It may make the lighting a little darker, but the trade-off is that you can also get nicer gradations. By default, it’s set to Medium, but you can choose between None, Low, Medium, and High.
This is a potentially powerful feature, especially as you try and get subjects within your shots is better focus--the greater density can help you achieve that, to an extent.
The changes in this sample were minimal, though. You can see the difference between the None setting (left) and High setting (right).
Color Matching
Color Matching is pretty much what you think it is, and it’s necessary in many cases given the fact that, again, there are eight cameras on board the Vuze, and the shots they capture need to match.
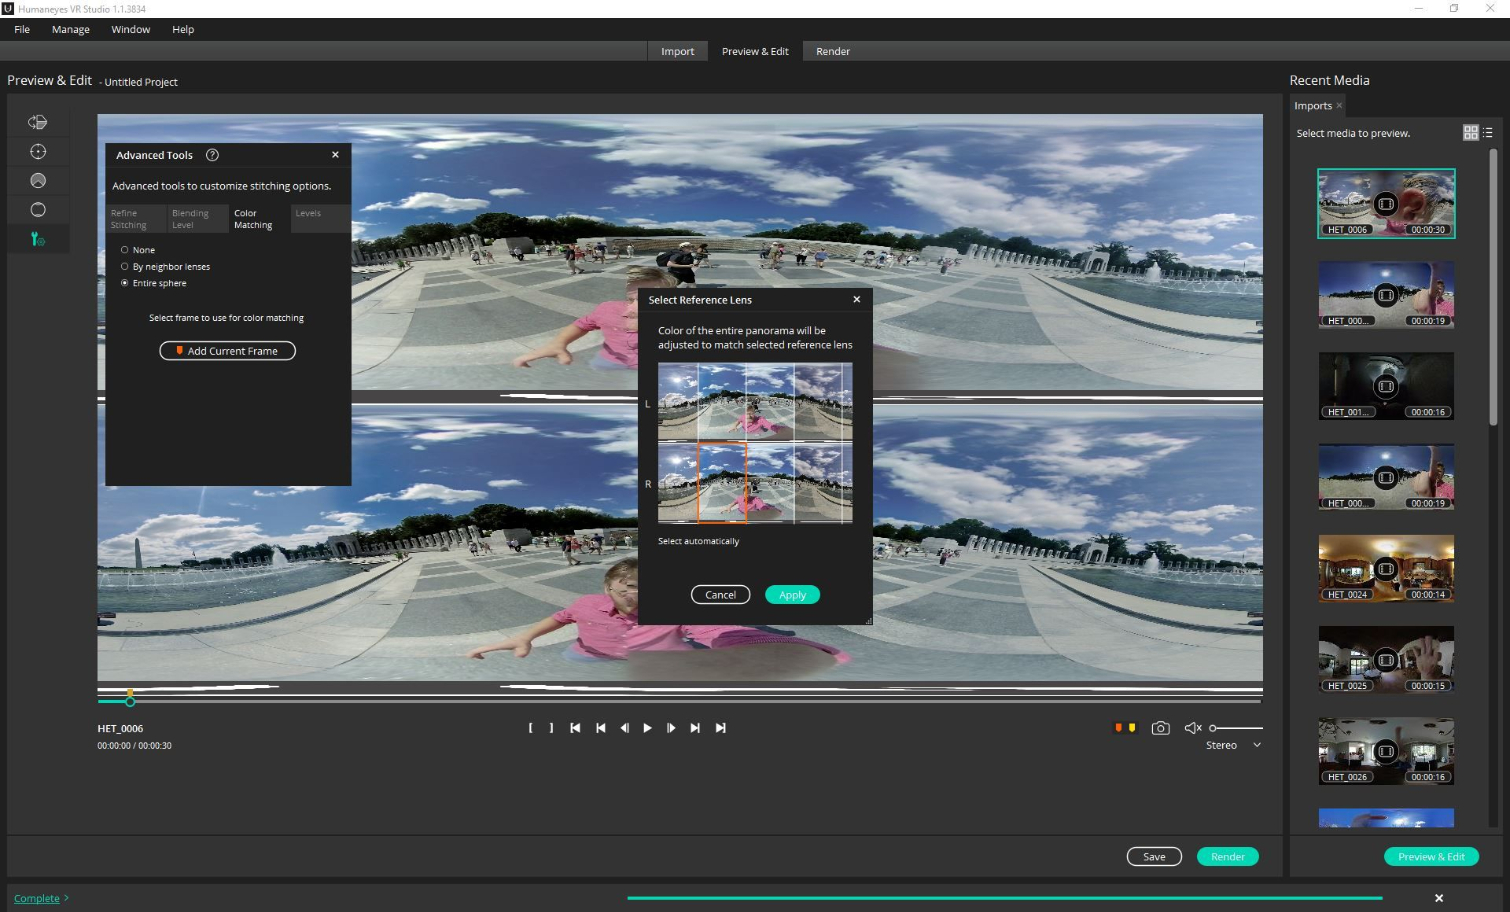
There are multiple ways you can get the colors of the various cameras to match up. You can choose None, By Neighbor Lenses, or by Entire Sphere. The “By Neighbor Lenses” is the default. You can see the three different options compared in the images below:
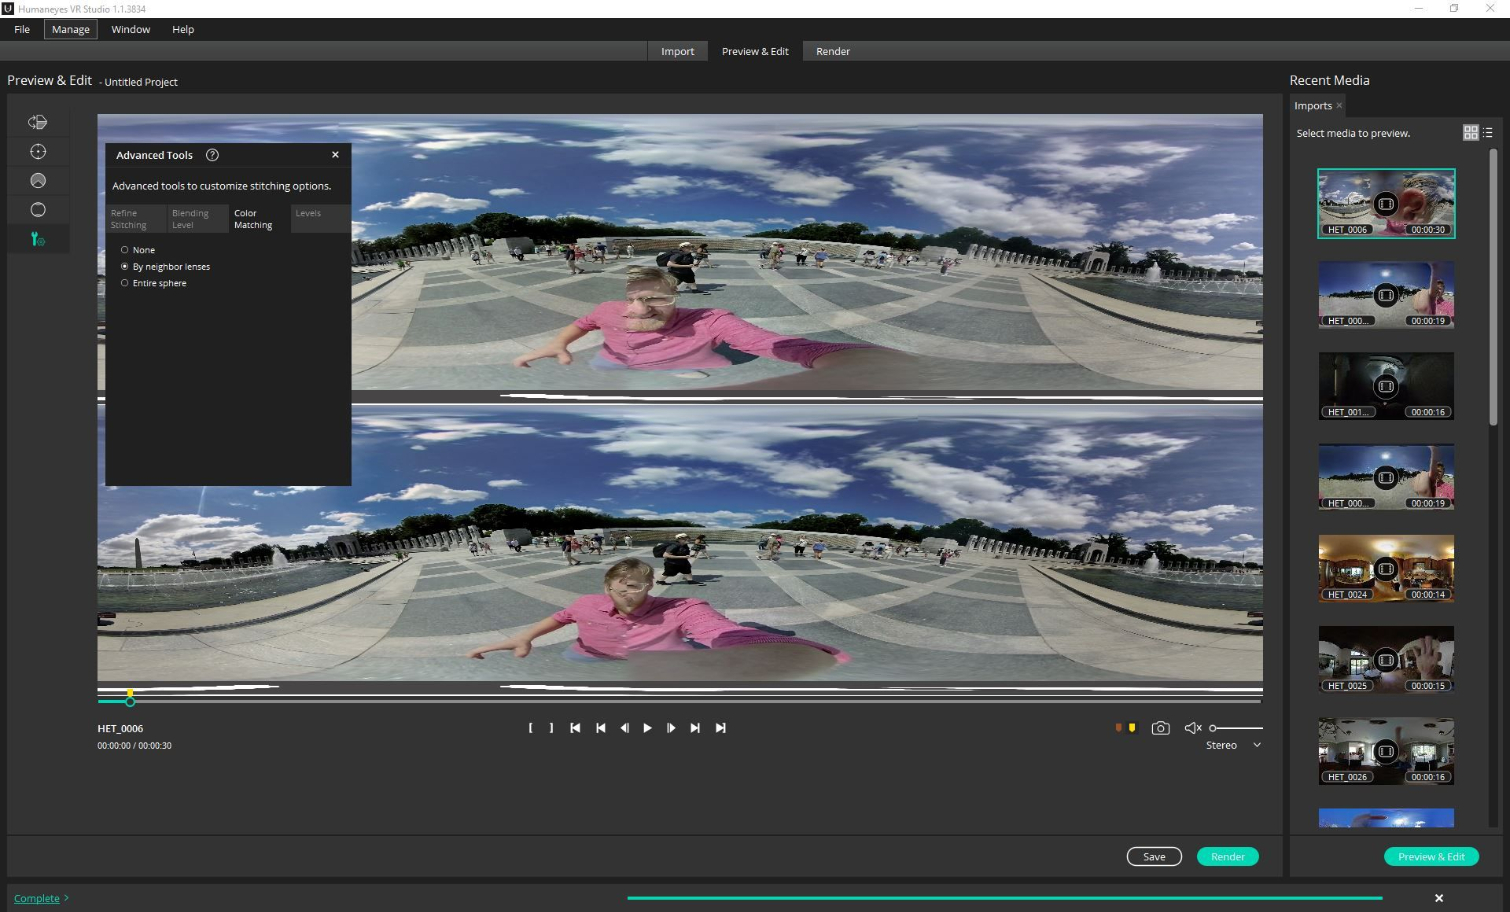
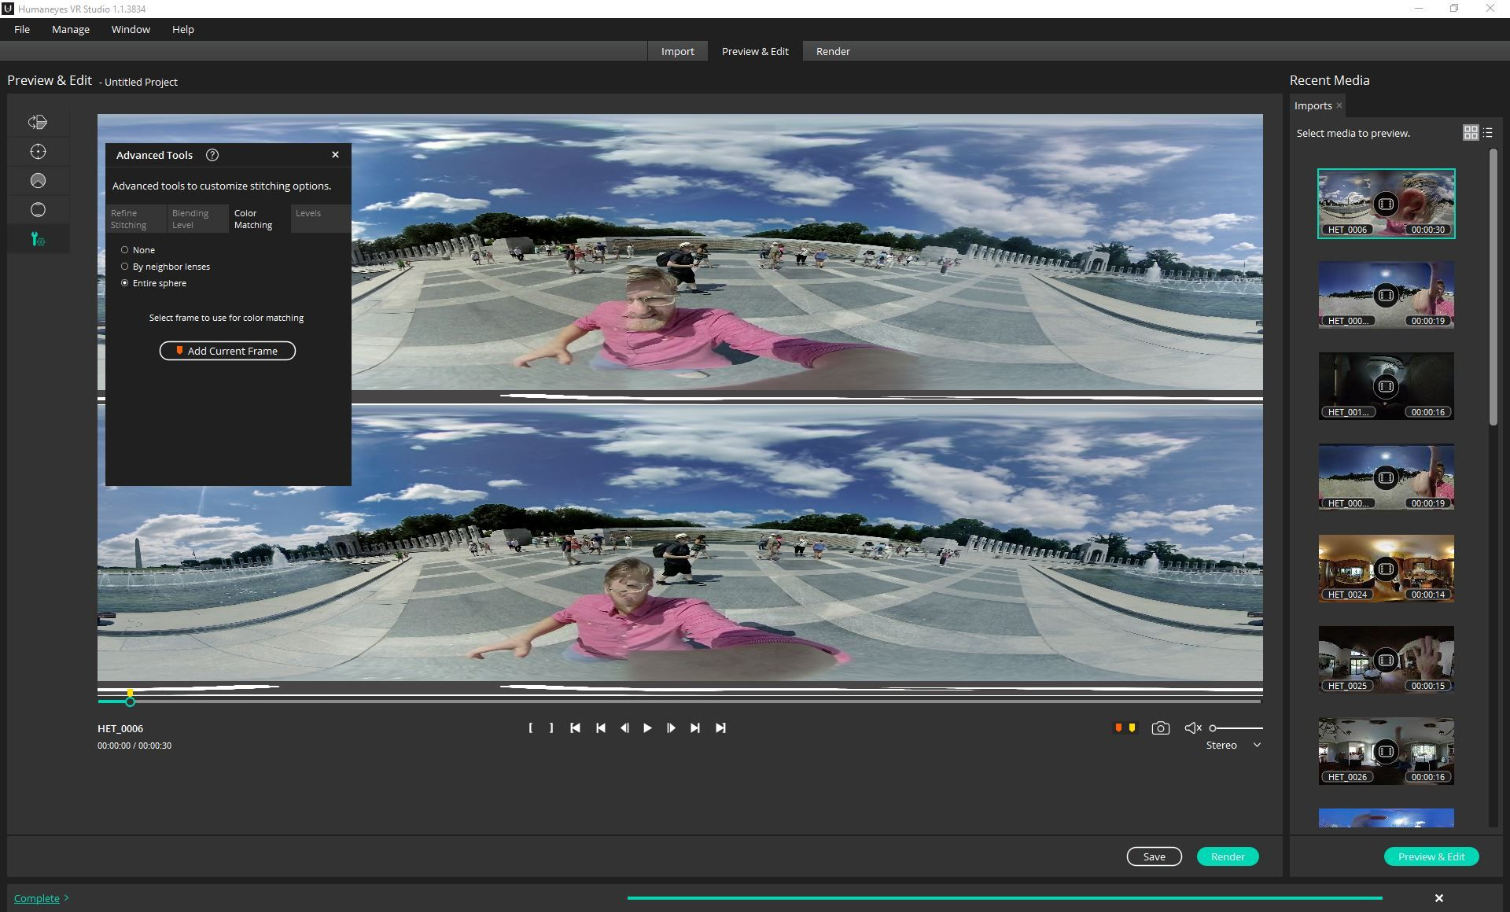
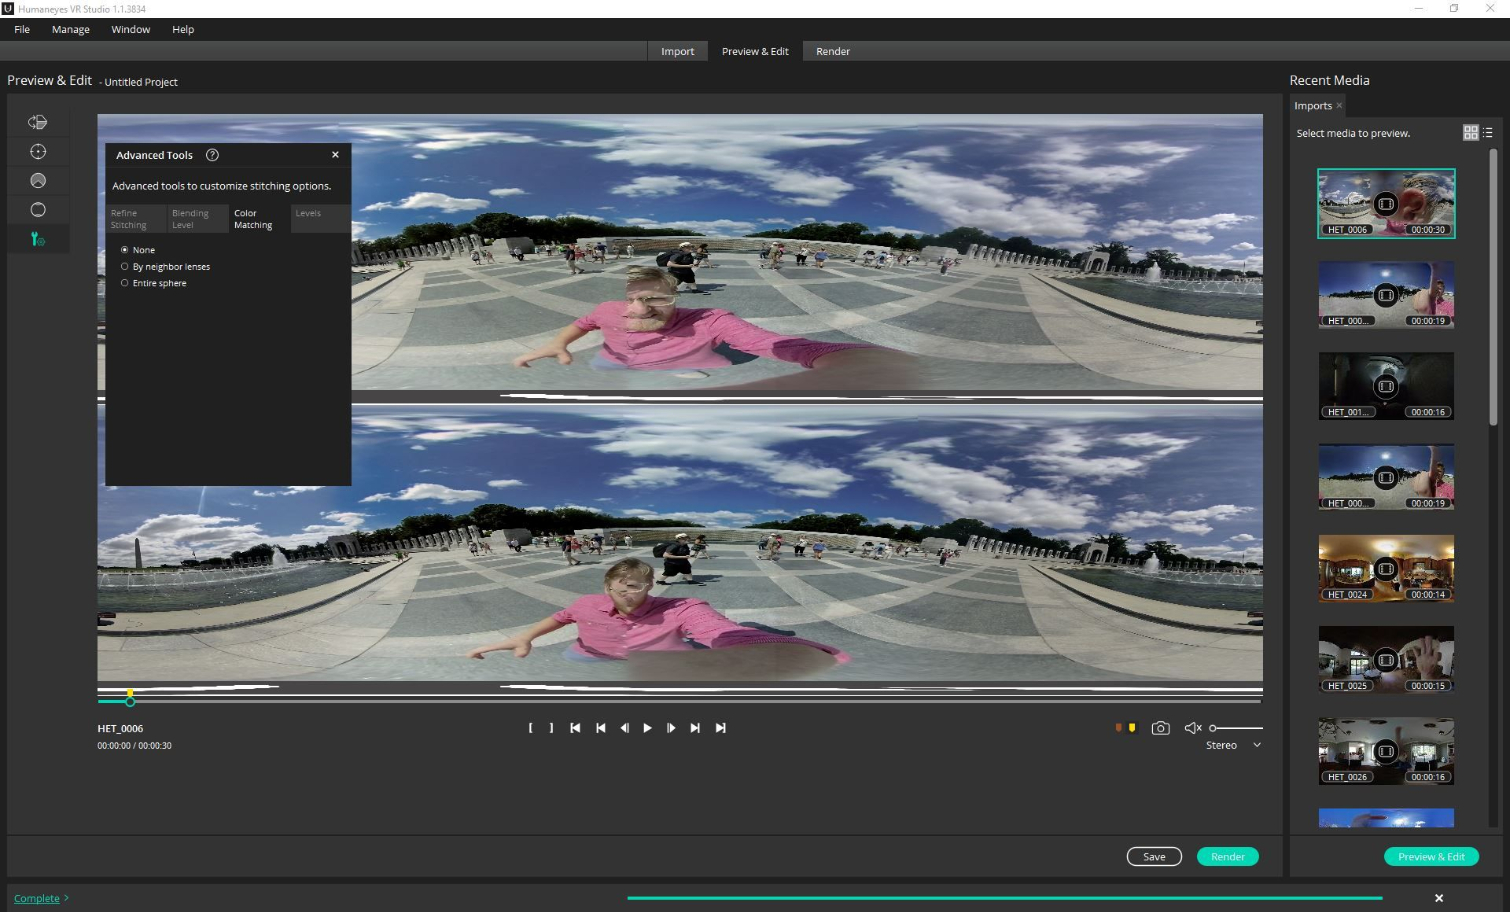
Note that when you perform color matching by Entire Sphere, you click Add Current Frame, and then you get a little pop up that lets you choose a reference lens. In other words, the software lets you choose which of the eight cameras to use as a reference, and then it will match all of the colors accordingly.
Levels
The Levels tool is for adjusting shadows, exposure, highlights, temperature, and saturation.
You can use the sliders to adjust the levels, or you can just punch a number into the little boxes. Below you can see examples of some extremes, side by side. First is the extremes of shadows, exposure, and highlights:
And here, you can see the extremes of saturation and temperature:
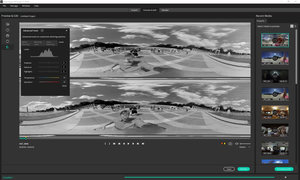
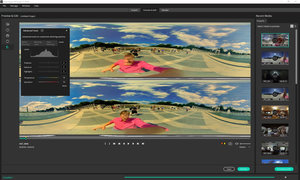
Like some of the other Advanced tools, you’ll have to tinker with the Levels feature to nail down your preferred results. Fortunately, if you get into trouble, you can just click Reset.
Rendering
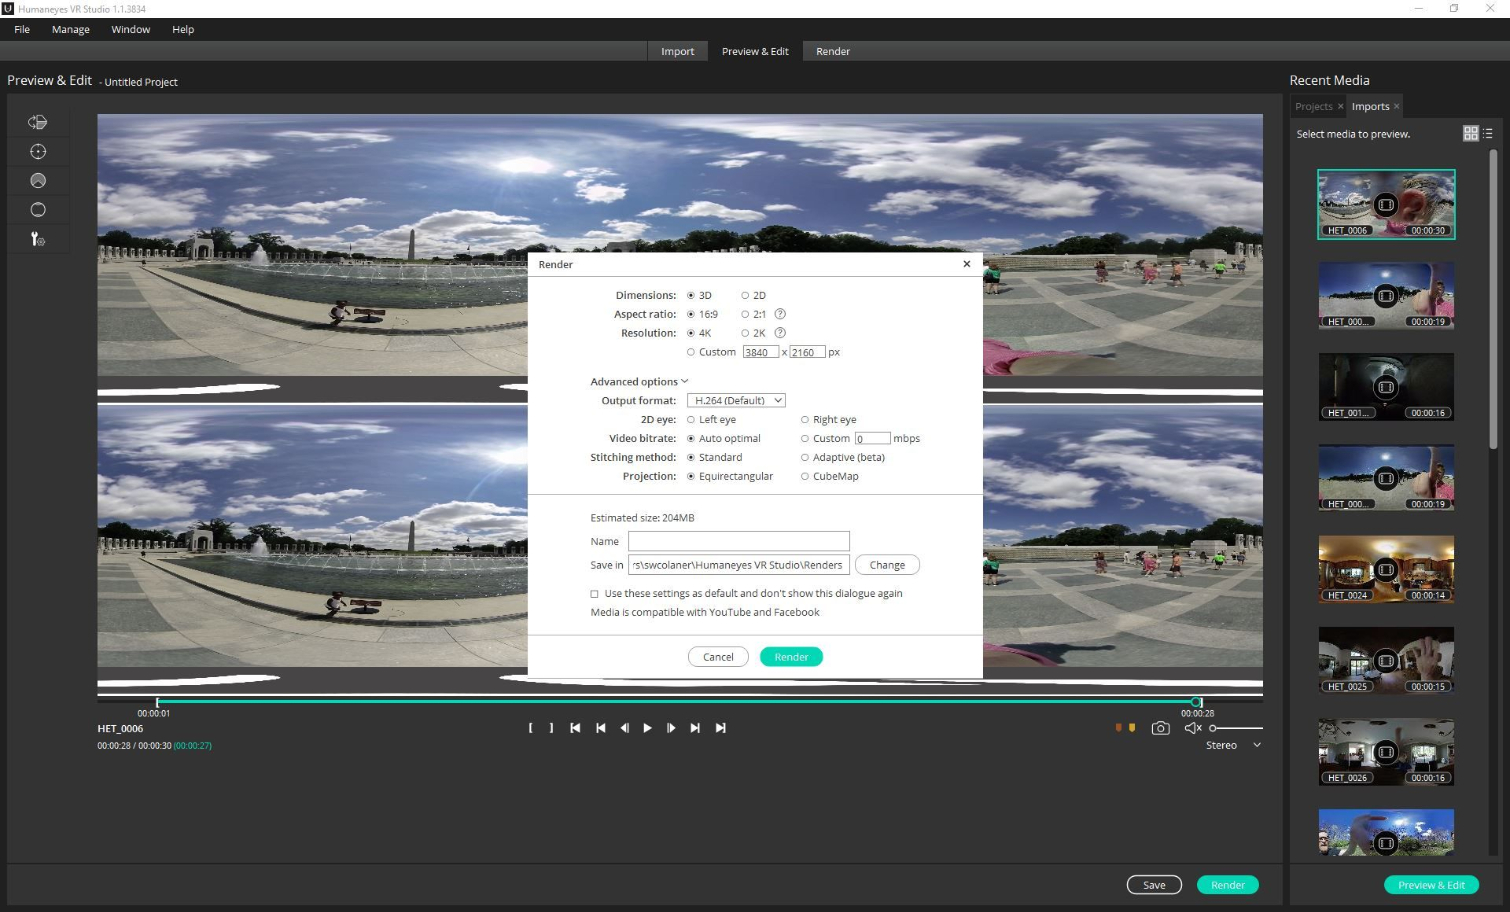
When you have a clip edited to your liking, click Render (located on the lower right of the window). You’ll see a pop-up window wherein you name the file and determine where to save it, and you can also choose a bunch of settings, including 3D or 2D, aspect ratio, and resolution.
To see more settings, click Advanced Options. Here, you can choose the output format (it’s currently limited to H.264); which “eye” (if you select 2D); and video bitrate, stitching method, and projection.
When you’re happy with your choices, click Render and wait. There’s a progress bar at the bottom of the screen (pic #23) that tells you how things are progressing.
You may also want to Save the project so you can do more editing later. To do so, click Save and then choose a name and location.
Miscellany
As we noted in a separate article about using the Vuze VR camera, for as powerful yet easy to use as HumanEyes Studio is, it does lack a few key features. For example, you can’t stitch multiple clips together, and you can’t add titles. These are enormous omissions (although you can do some of that work in other software like Adobe Premiere Pro after you edit in HumanEyes Studio).
However, HumanEyes is constantly updating its software and firmware. For as important as the hardware is, the company has been clear that the software is probably more important. Given how rapidly it’s updating HumanEyes Studio, it’s clear that this isn’t just lip service. If you have a Vuze, know that there will be more updates that unlock additional capabilities soon.
For more on shooting with the Vuze VR camera, and for a primer on how to share your content, head here.
Seth Colaner previously served as News Director at Tom's Hardware. He covered technology news, focusing on keyboards, virtual reality, and wearables.
