Do It Yourself: Upgrade A Notebook's Hard Drive
Install Windows, Or Secure Your Old Installation
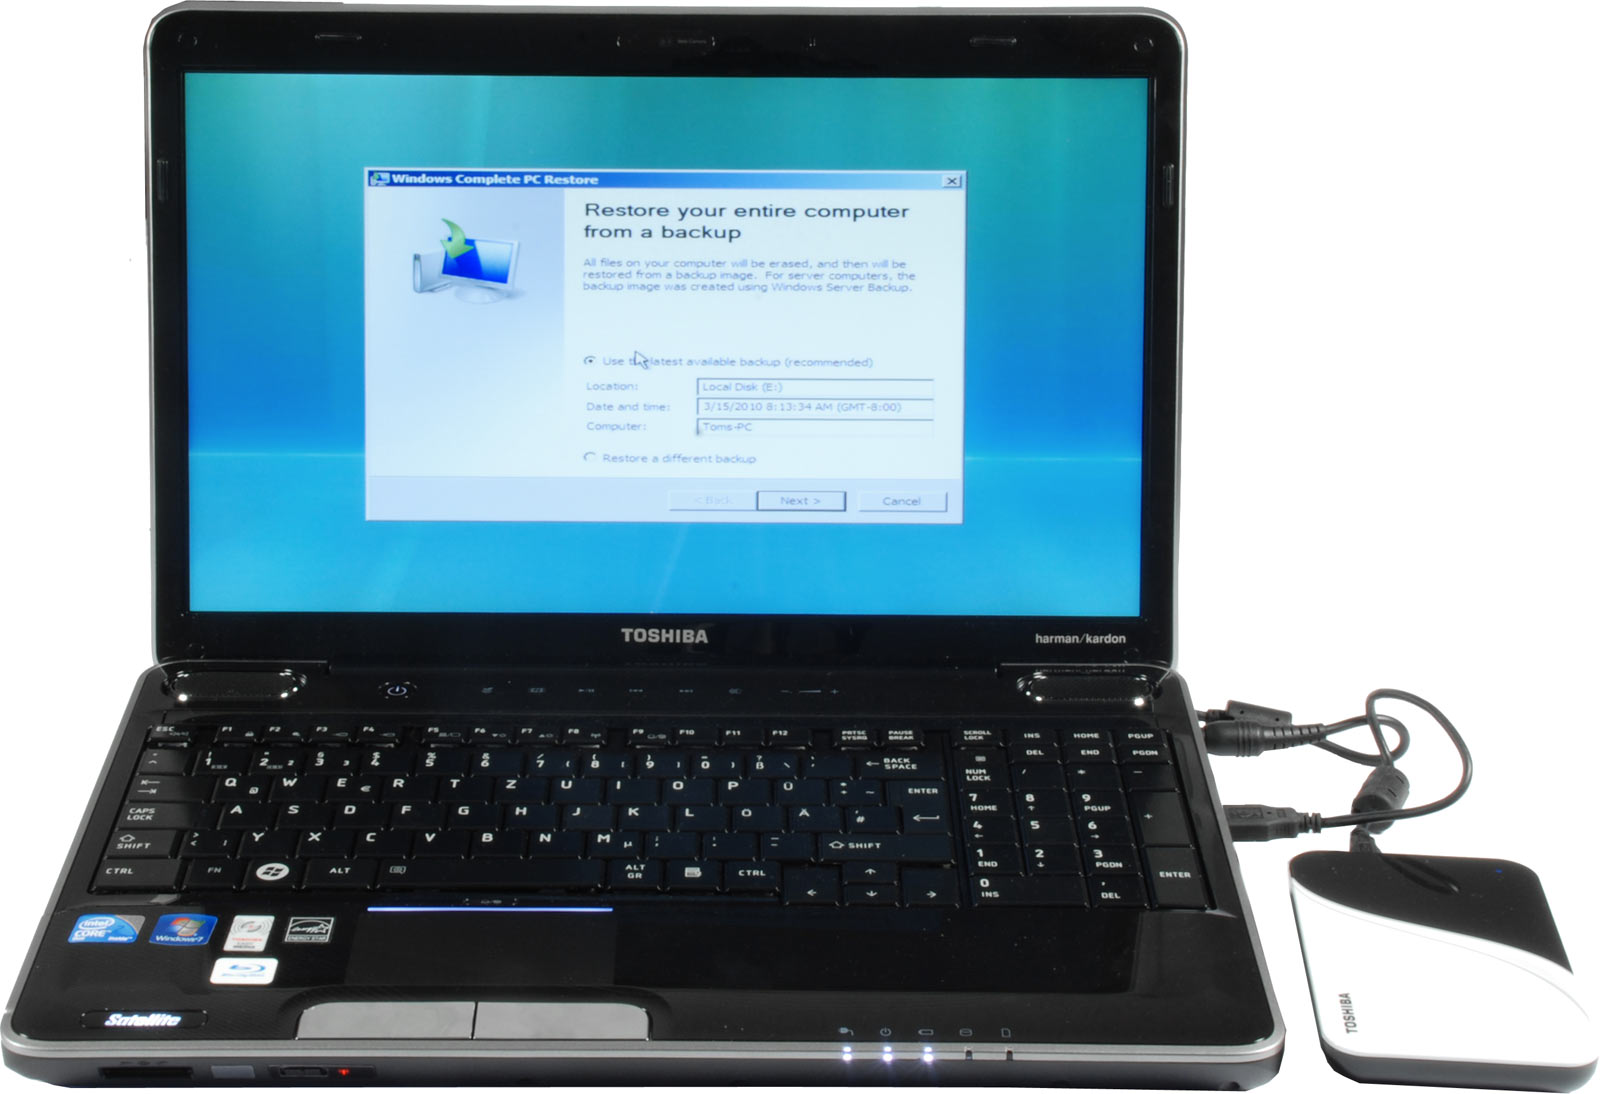
Wait! If you want to retain your existing Windows installation, you’ll need an additional hard drive. In our case, we used a portable USB 2.0 drive.
If you followed all of the preceding steps, then your laptop should be ready to boot with its new hard drive. Usually, there's no need to change any BIOS settings. Most laptops will automatically detect the hard drive. As a general rule, we recommend a fresh installation of Windows, if only to clean out the inevitable, system-clogging accumulation of background apps and registry junk. Be sure your BIOS is set to let you boot from your optical drive, and have your Windows installation disc handy. After installing the OS, don’t forget to install all necessary drivers and software.
Now, we know that a clean install entails a lot more work than most folks anticipate. The installation itself is easy. It's the drivers and app reinstallation and tweaking settings back to where you like them that takes hours—OK, who are we kidding? It often takes days. If the work seems impractical, it might make sense to retain your old Windows installation. So we decided to document how to create a full system backup that you can restore onto your newly installed hard drive.
You need to pay attention to the following:
- You need Windows Vista or Windows 7 to use Windows Backup and Restore.
- Run the backup before you replace your hard drive.
- You will need an additional, external hard drive with sufficient capacity to hold your entire system installation. Any USB 2.0 hard drive with sufficient storage capacity will work.
Get Tom's Hardware's best news and in-depth reviews, straight to your inbox.
Start Windows Backup And Restore
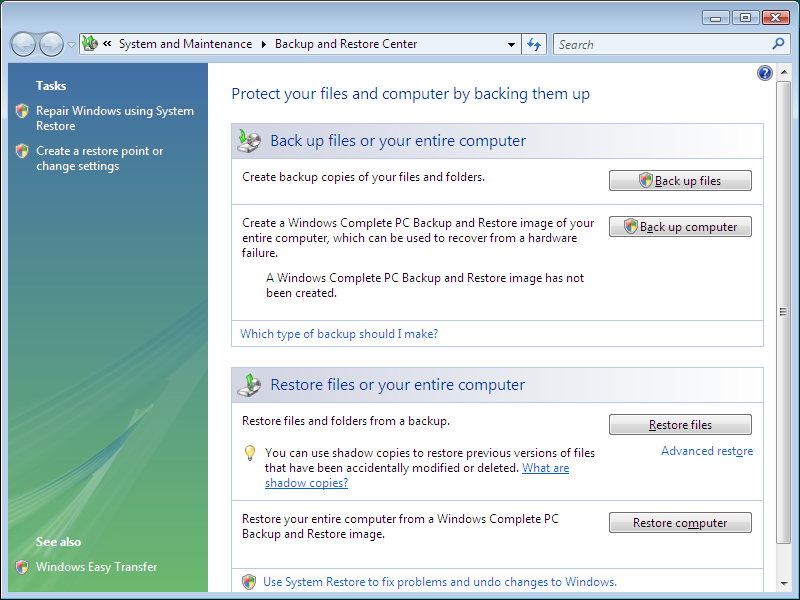
Go to the Windows Control Center, navigate to System and Security, and launch Backup and Restore (Windows 7). In Windows Vista, this is called the Backup and Restore Center. Select the “Back up computer” option.
Select Backup Target Drive
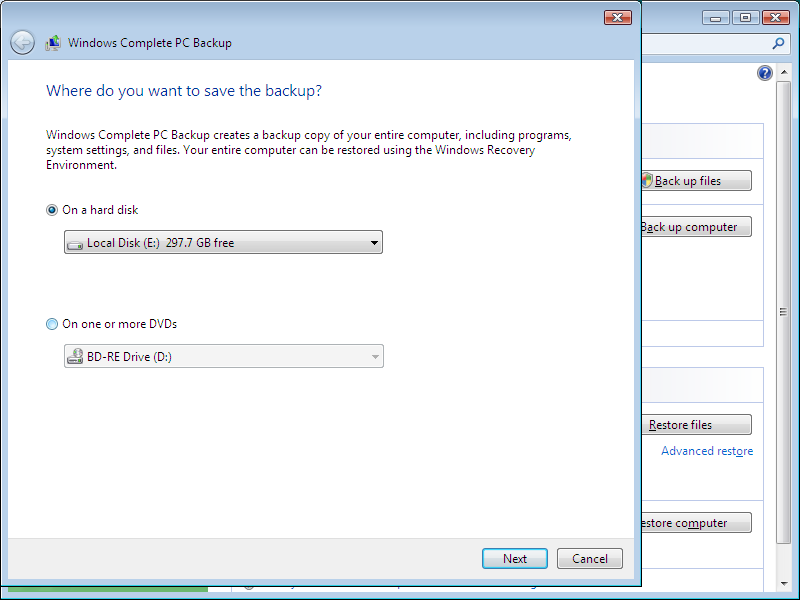
After launching the backup, you have to select a target hard drive. Be sure a suitable additional hard drive is attached to the system, partitioned, and formatted. Any internal or external interface should fine, but USB 2.0 is probably the most universal and convenient. The drive must provide enough capacity to store your entire system image, which can easily be 20GB and more, depending on how many and which applications you have installed.
In our case, we connected a portable 320GB hard drive, which easily can store our 18GB system installation. Click "Next" to continue.
Confirm Settings
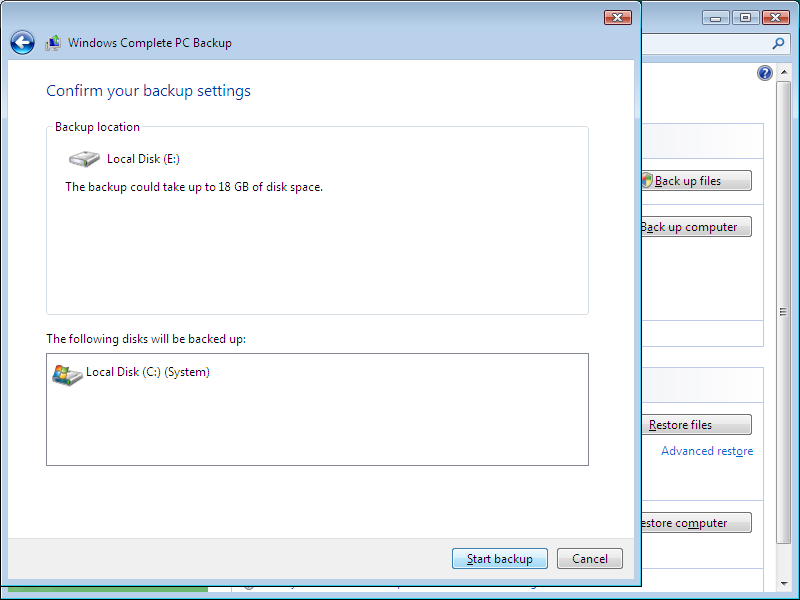
So, that's all there is to it? Yes, indeed. The beauty of Windows' integrated backup feature is that it’s simple to use. You’re ready to create a full system backup now.
The Backup Process
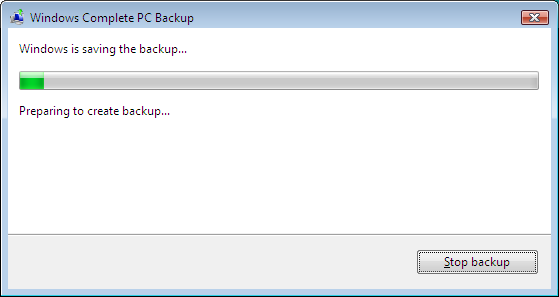
Although most USB 2.0 hard drives deliver similar performance, aware that a full system backup might take quite a while. Large system images can easily take several hours. You could use the time to locate your Windows disc, which you will need to boot and to initiate the system restore.
Initiate Restore
At this point, we'll assume that the full system backup has completed successfully, and that you have gone through the process of replacing your old hard drive with the new one.
If you want to continue with the Windows system restore process, you'll have to insert your Windows disc and make sure your system can boot from it. Many laptops have this ability as the default setting. Some systems will prompt you to verify that you actually want to boot from an optical disc. And on other systems, you might have to change a BIOS setting. This can be done at boot by pressing DEL, F2, or another key that is usually announced. You want to change the order in which the system tries to boot from various, available drives. Consult your system or motherboard manual if necessary.
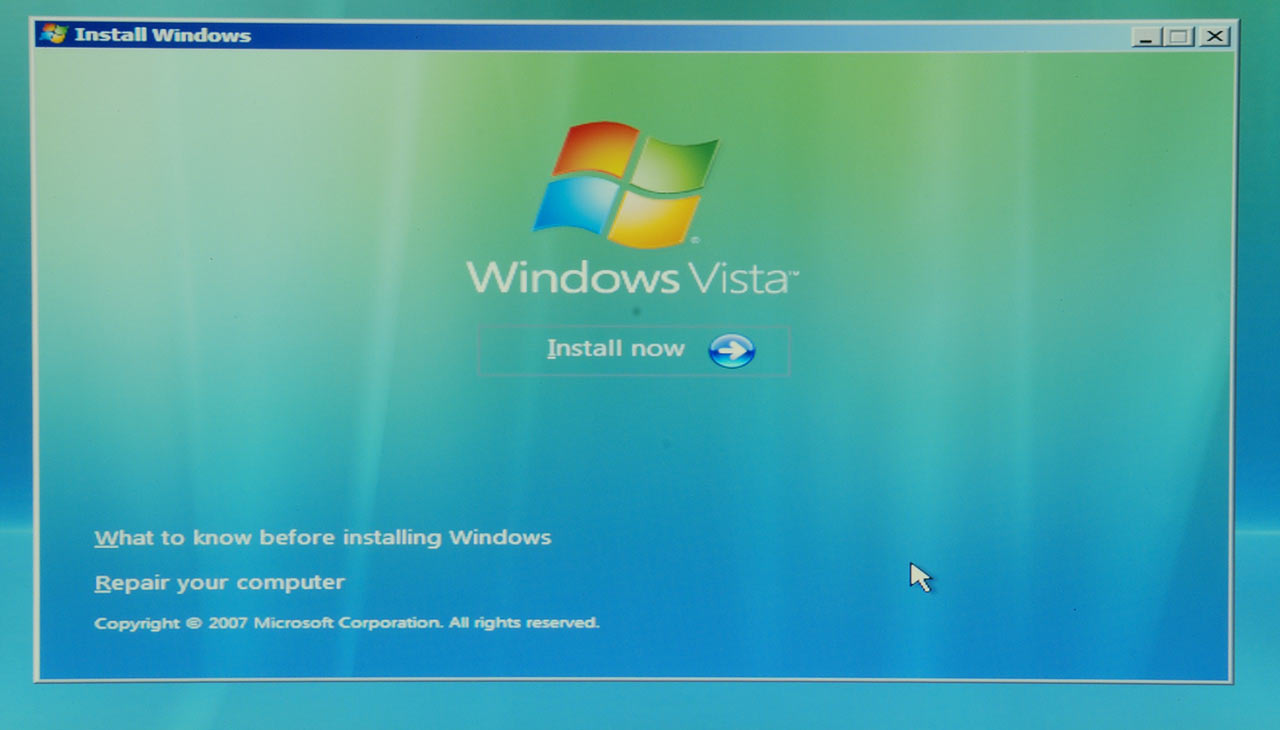
Once you've successfully booted off the Windows installation disc, you’ll see the welcome screen. Continue by clicking on "Repair your computer."
Select The Recovery Drive
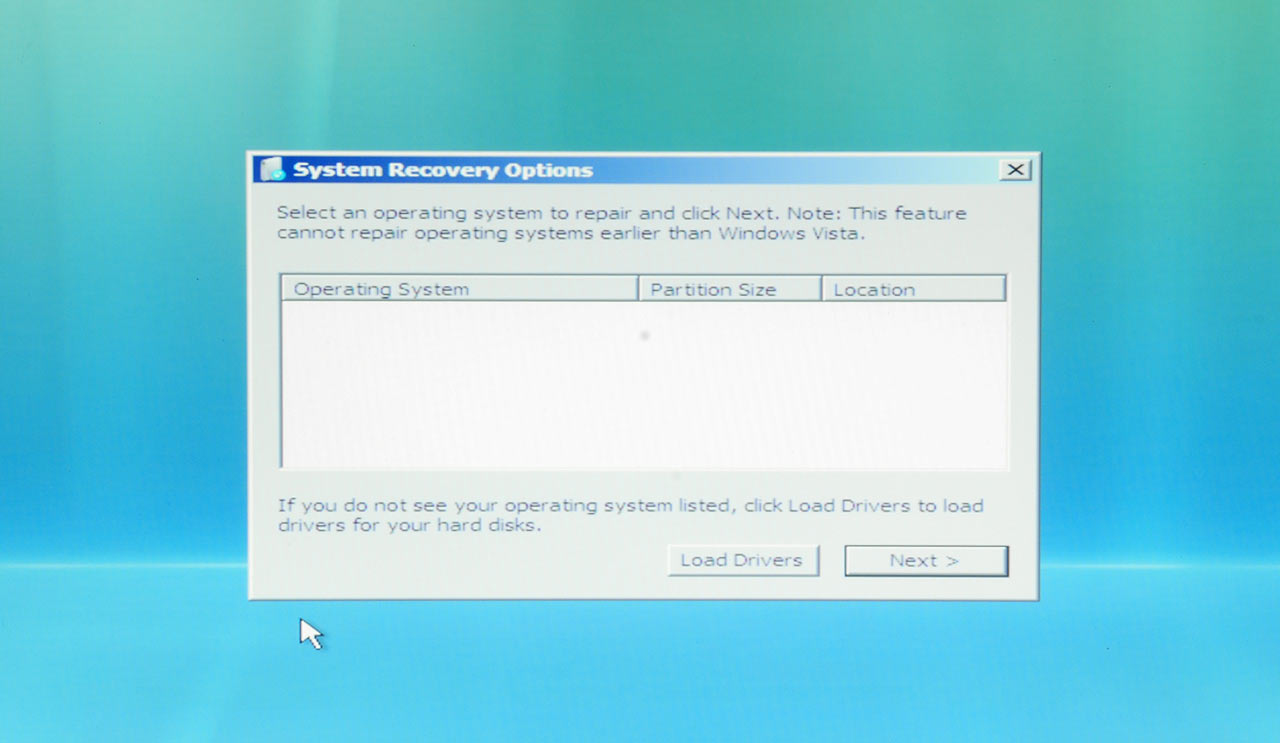
Selecting "Repair" will have Windows setup enter the recovery mode. Since there is no Windows installation on the new hard drive, click "Next" to continue.
Initiate Windows Complete PC Restore
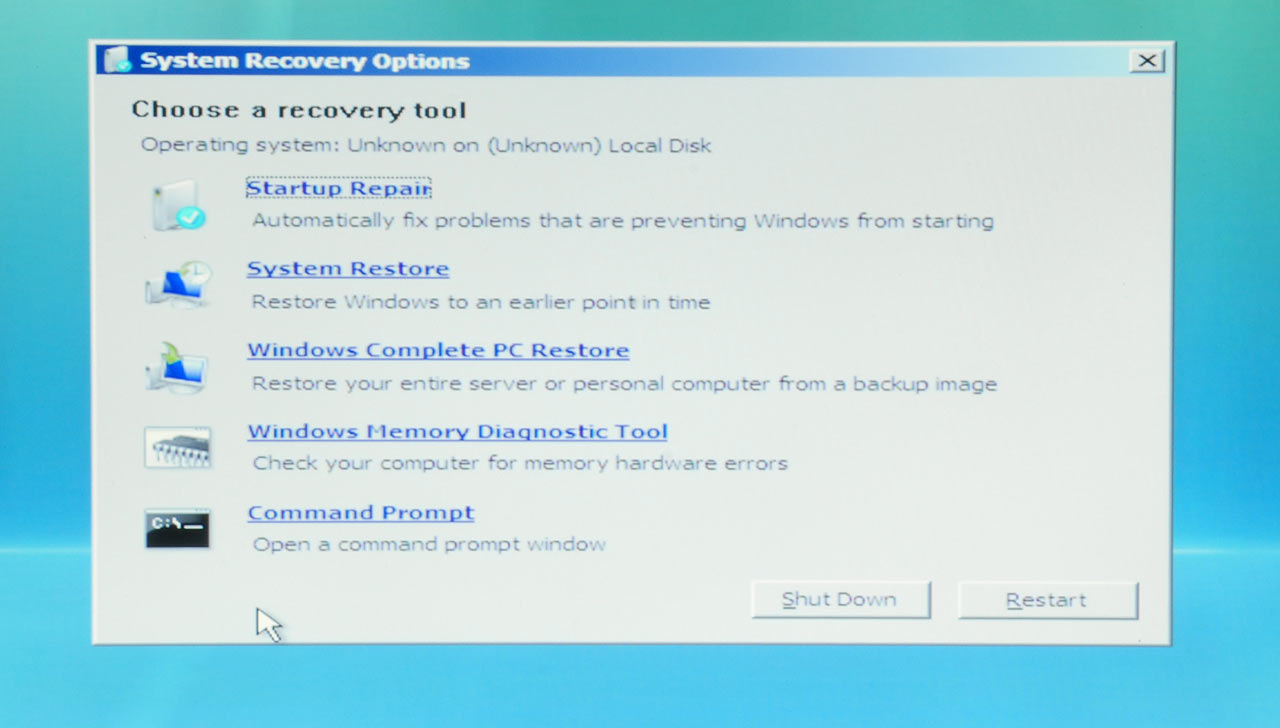
The Windows Complete System Restore function recreates an entire installation from a backup. This is exactly what we want to do now.
Select Restore Set
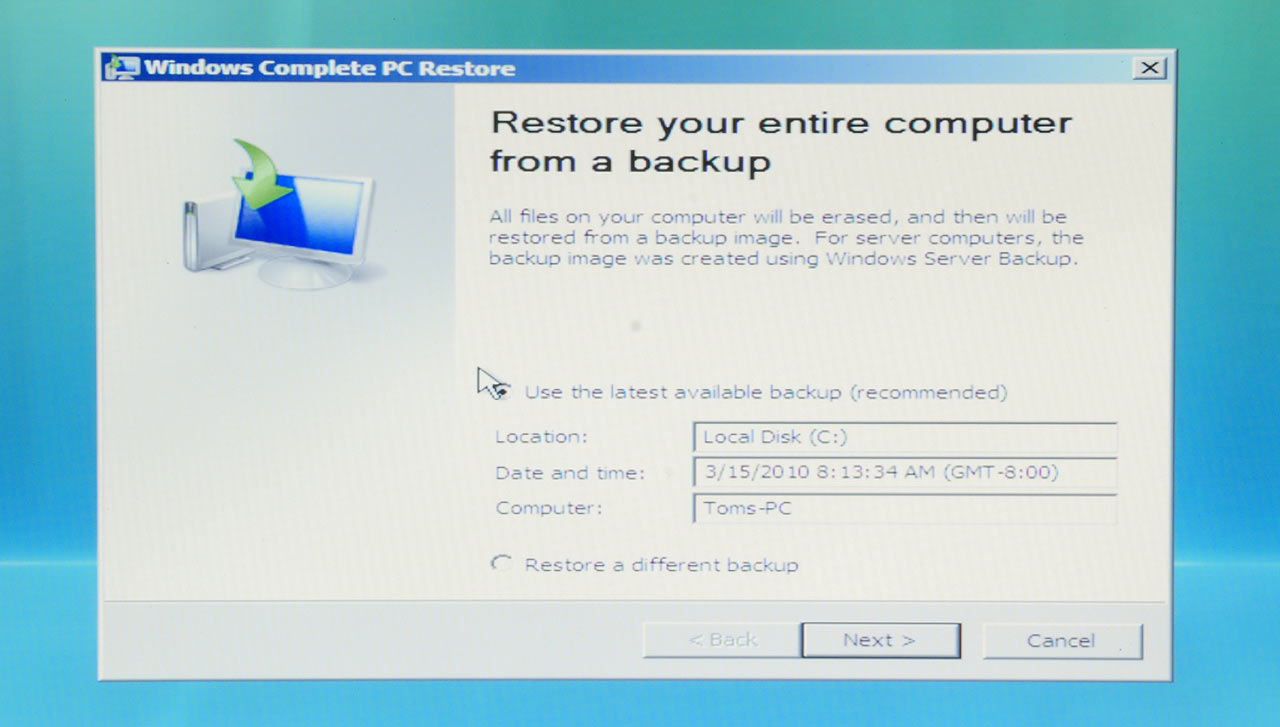
If your external hard drive containing the backup set has been attached throughout this process, it will automatically be listed as the recovery option in the latest available backup. You can also select other backup locations.
Define Restore Parameters
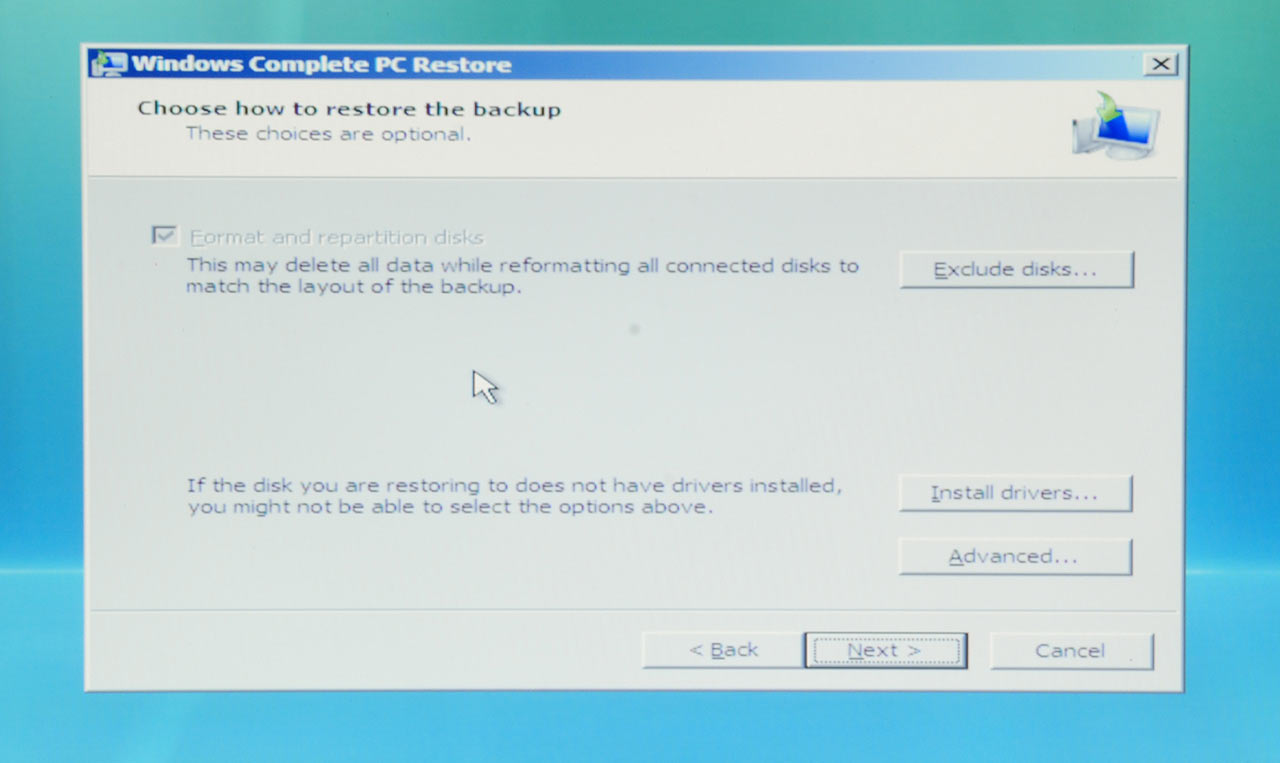
Formatting and repartitioning cannot be changed. This is necessary for the restore process.
