In Pictures: Getting Connected To Next-Gen Home Security
Life-Saving Technology
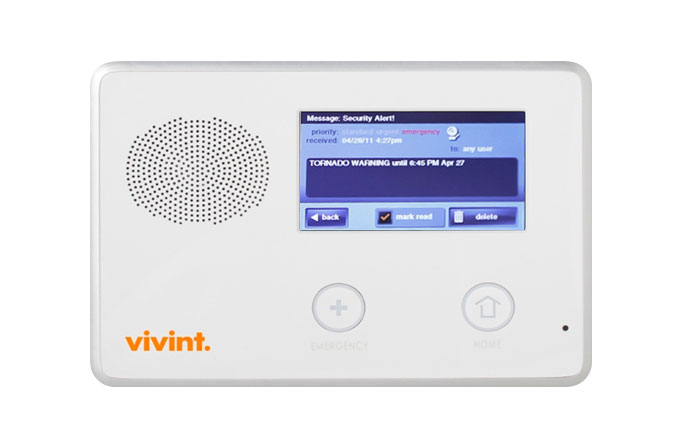
On the afternoon of May 22nd, 2011, Edith Lawellin was startled by an alarm from her hall: “Tornado warning. Evacuate immediately.” Like many residents of Joplin, Missouri, she had a storm closet (a reinforced room under the stairs). She ran for the closet, locked the door, and only minutes later, an airborne car tore through her house. Finally, only the closet was left standing. If not for her security system’s just-in-time warning, Edith is convinced she would have died that night.
Next-Gen Home Security
Many Tom’s Hardware readers are rightfully concerned about securing their homes, staying safe, and dabbing in home automation. Some of you have already set up IP cameras for remote surveillance and alerting, but such installations miss a lot of functionality and convenience. If you’re curious about how the pros do IP security and automation, check out this step-by-step walk-through with Vivint. You might learn a few things or, like Edith Lawellin, it could save your life.
What We Installed
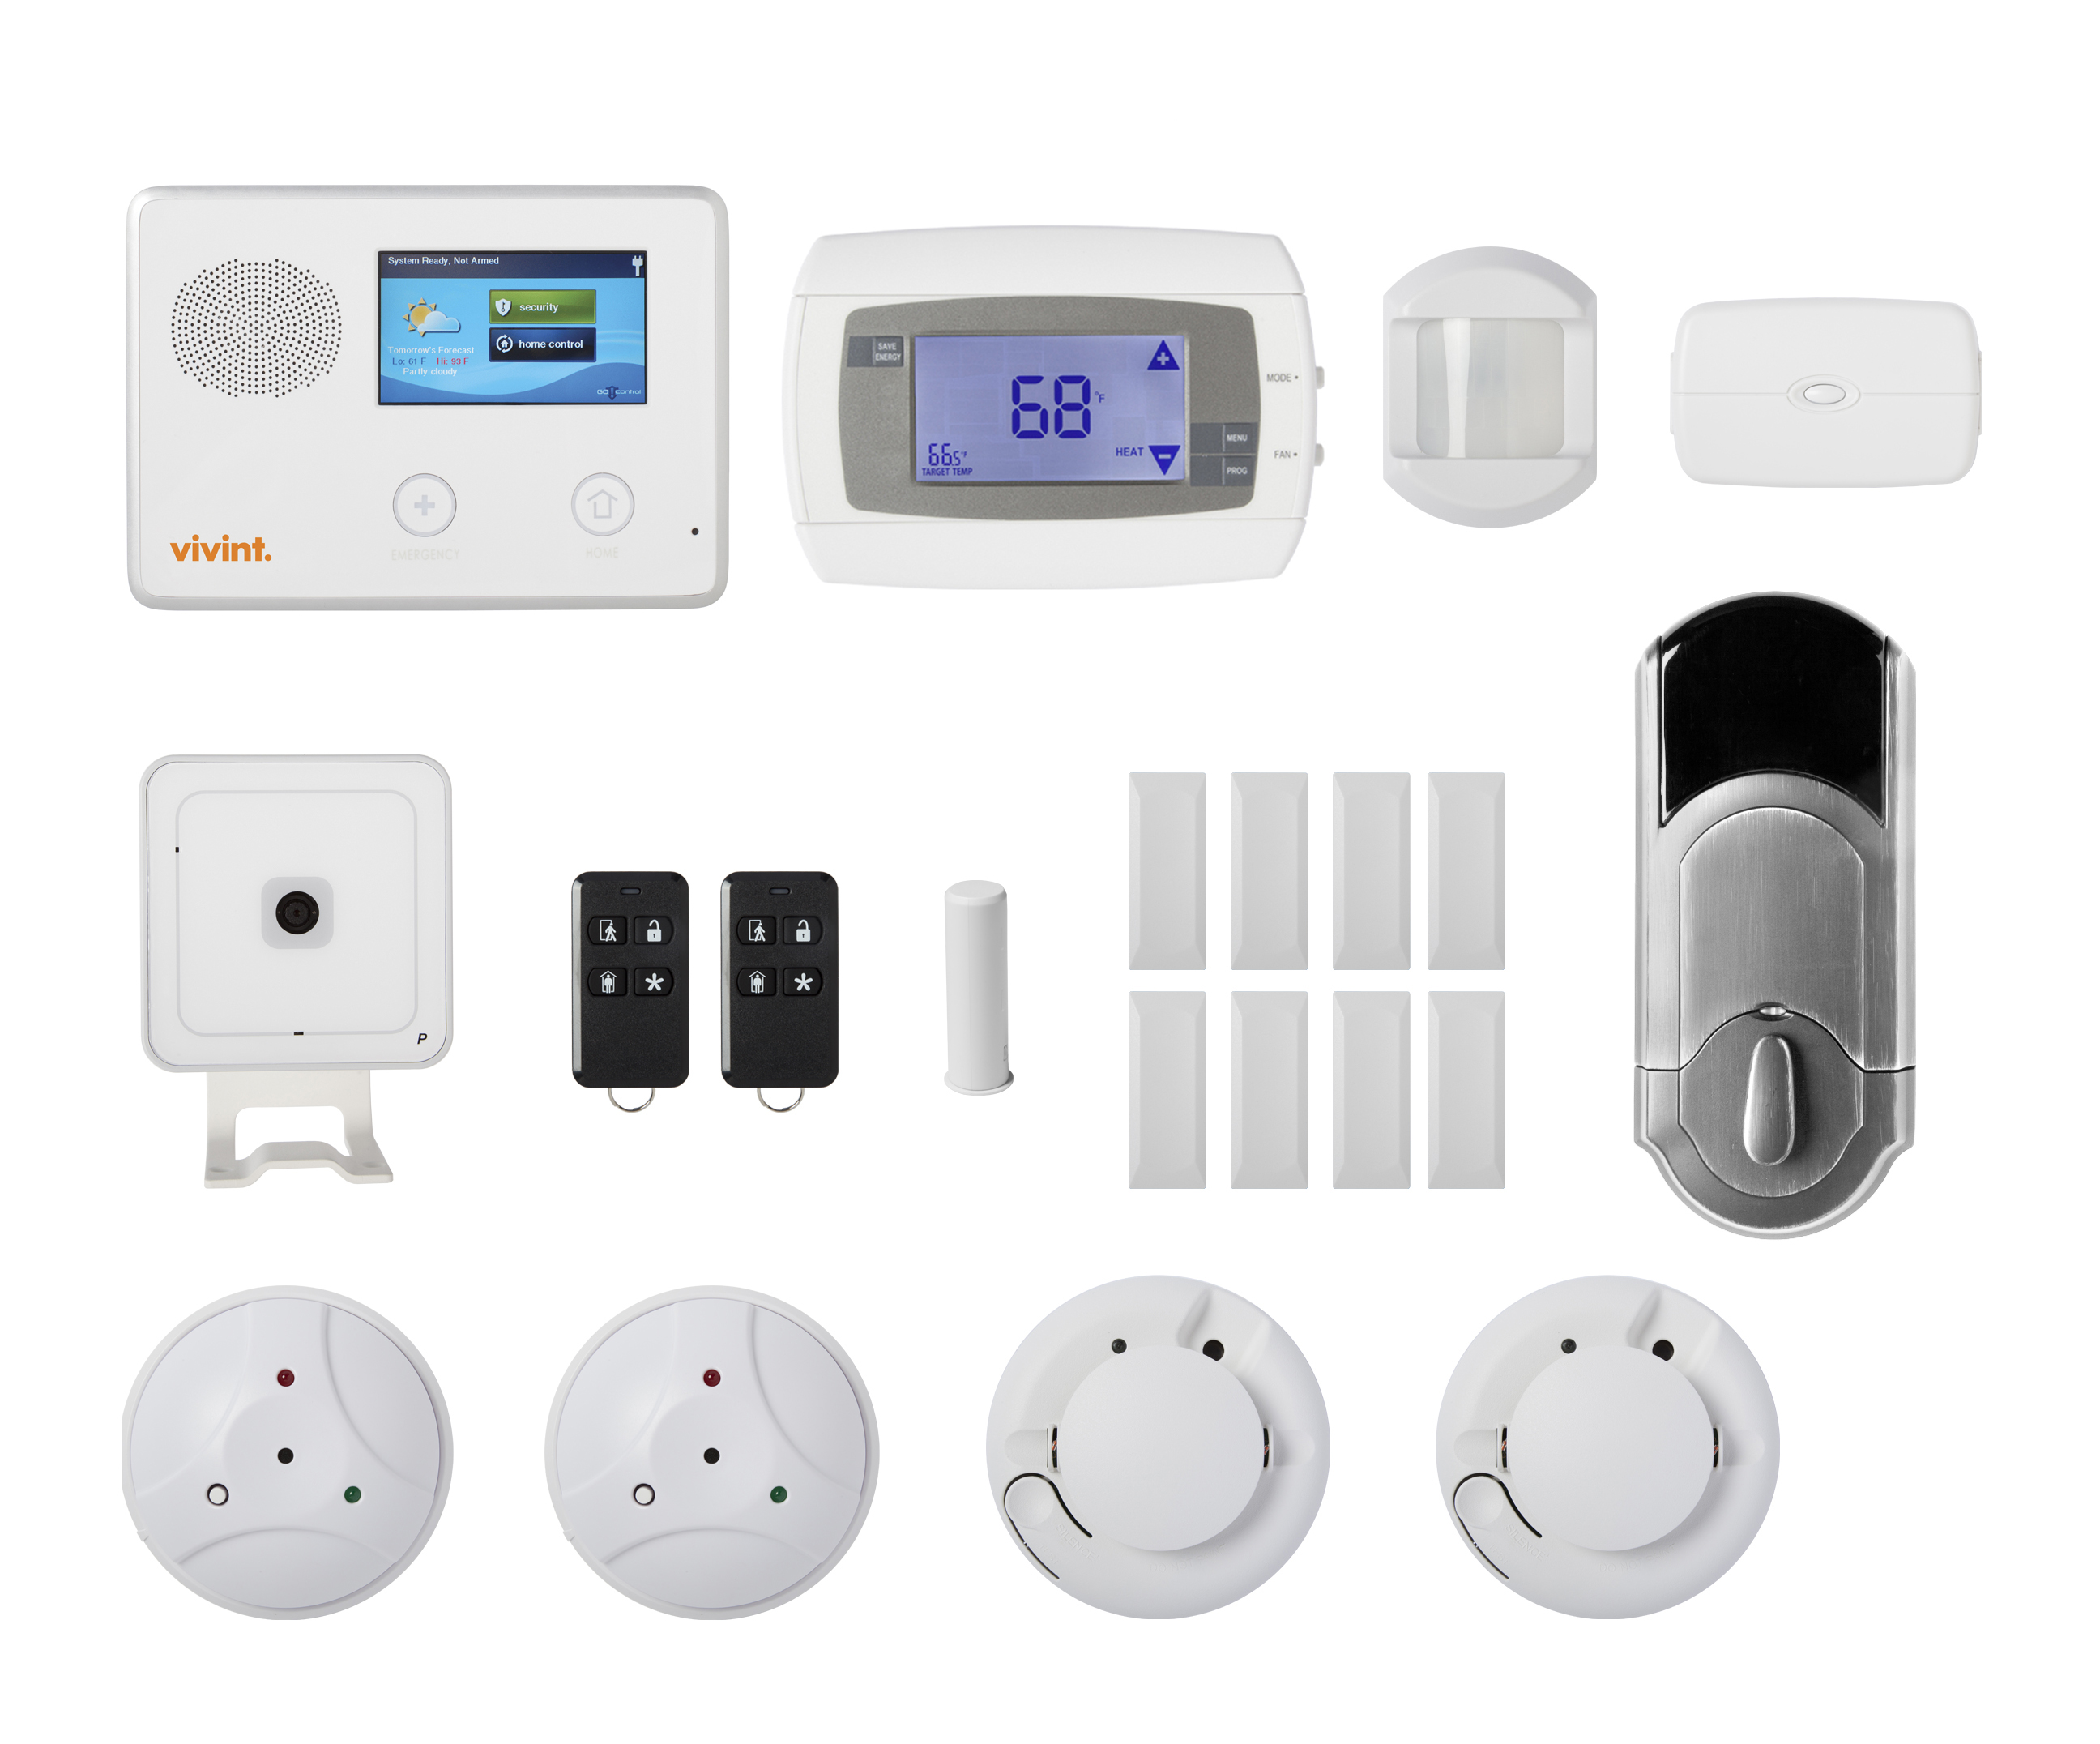
Add one pan/tilt IP camera and swap the light/appliance switch shown here (top-right) with two newer model switches, and this is what Vivint installed in my home. The heart of the system is Vivint’s Go!Control panel (top-left), which retails for $700 bucks. From left to right and top-down, we have an HVAC control panel, motion detector for the home office, Z-Wave light switch, IP camera, key fobs, door and window sensors, Kwikset Z-Wave door lock, glass breaks, and smoke detectors.
Panel Upgrade
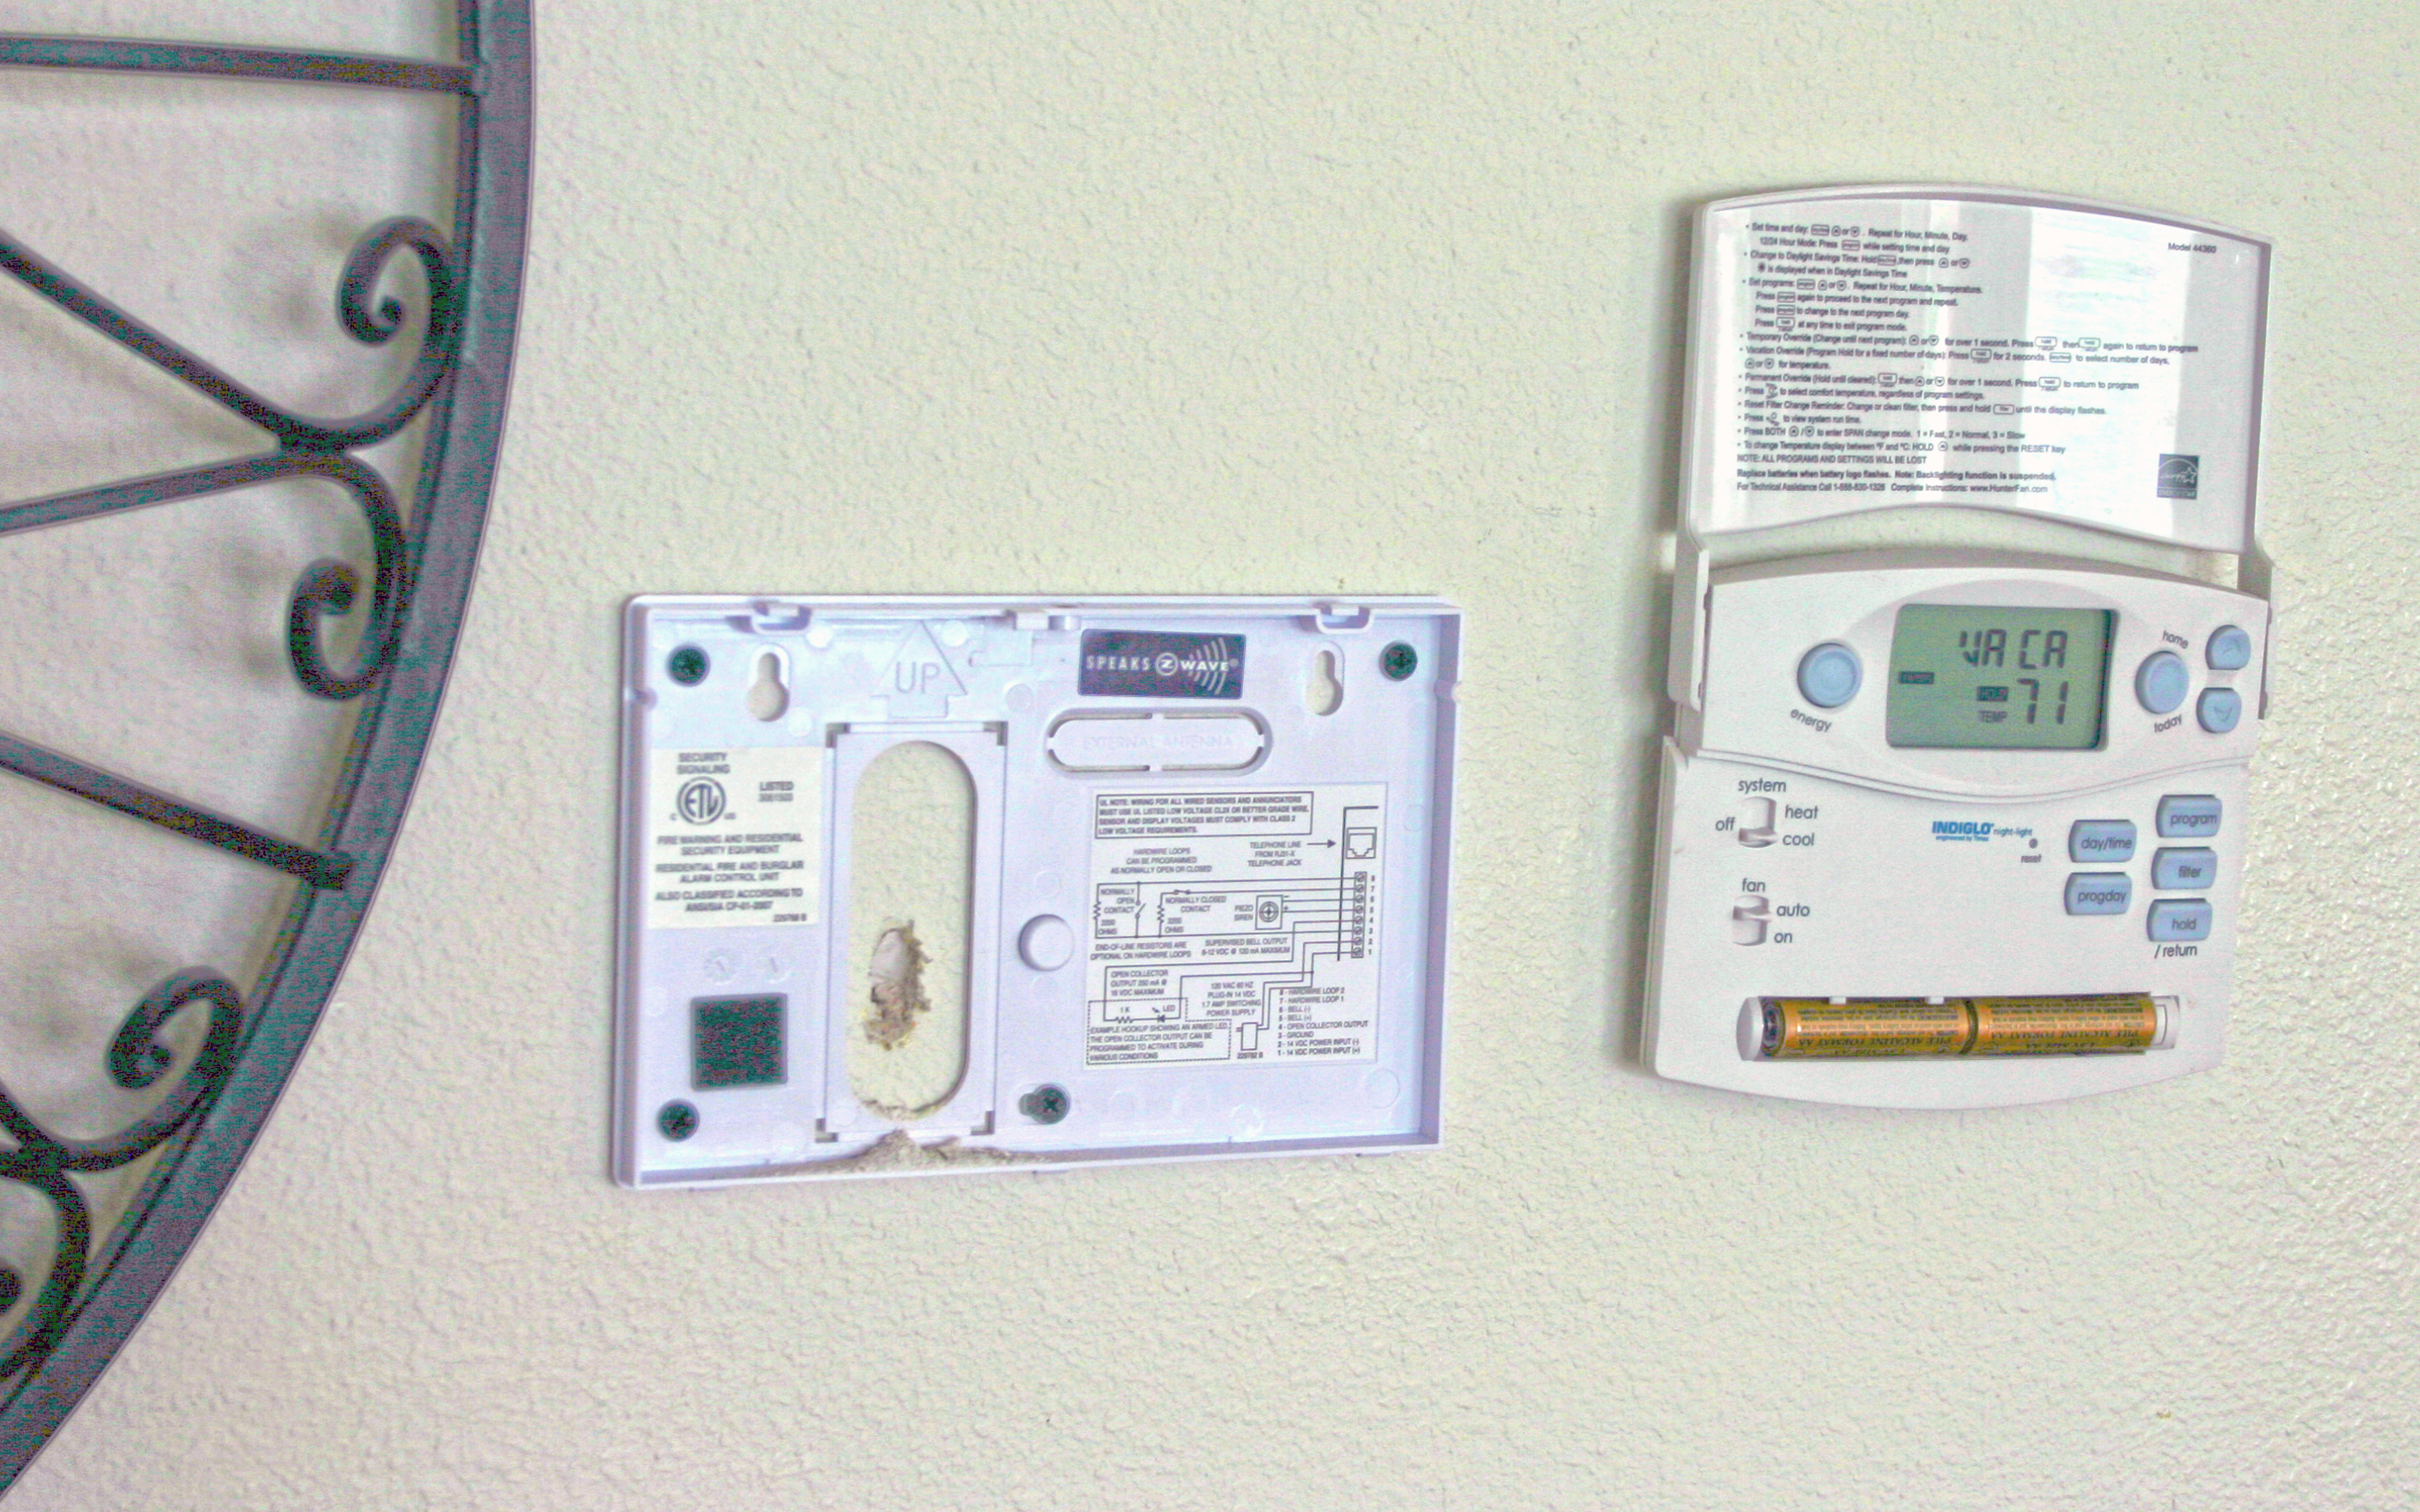
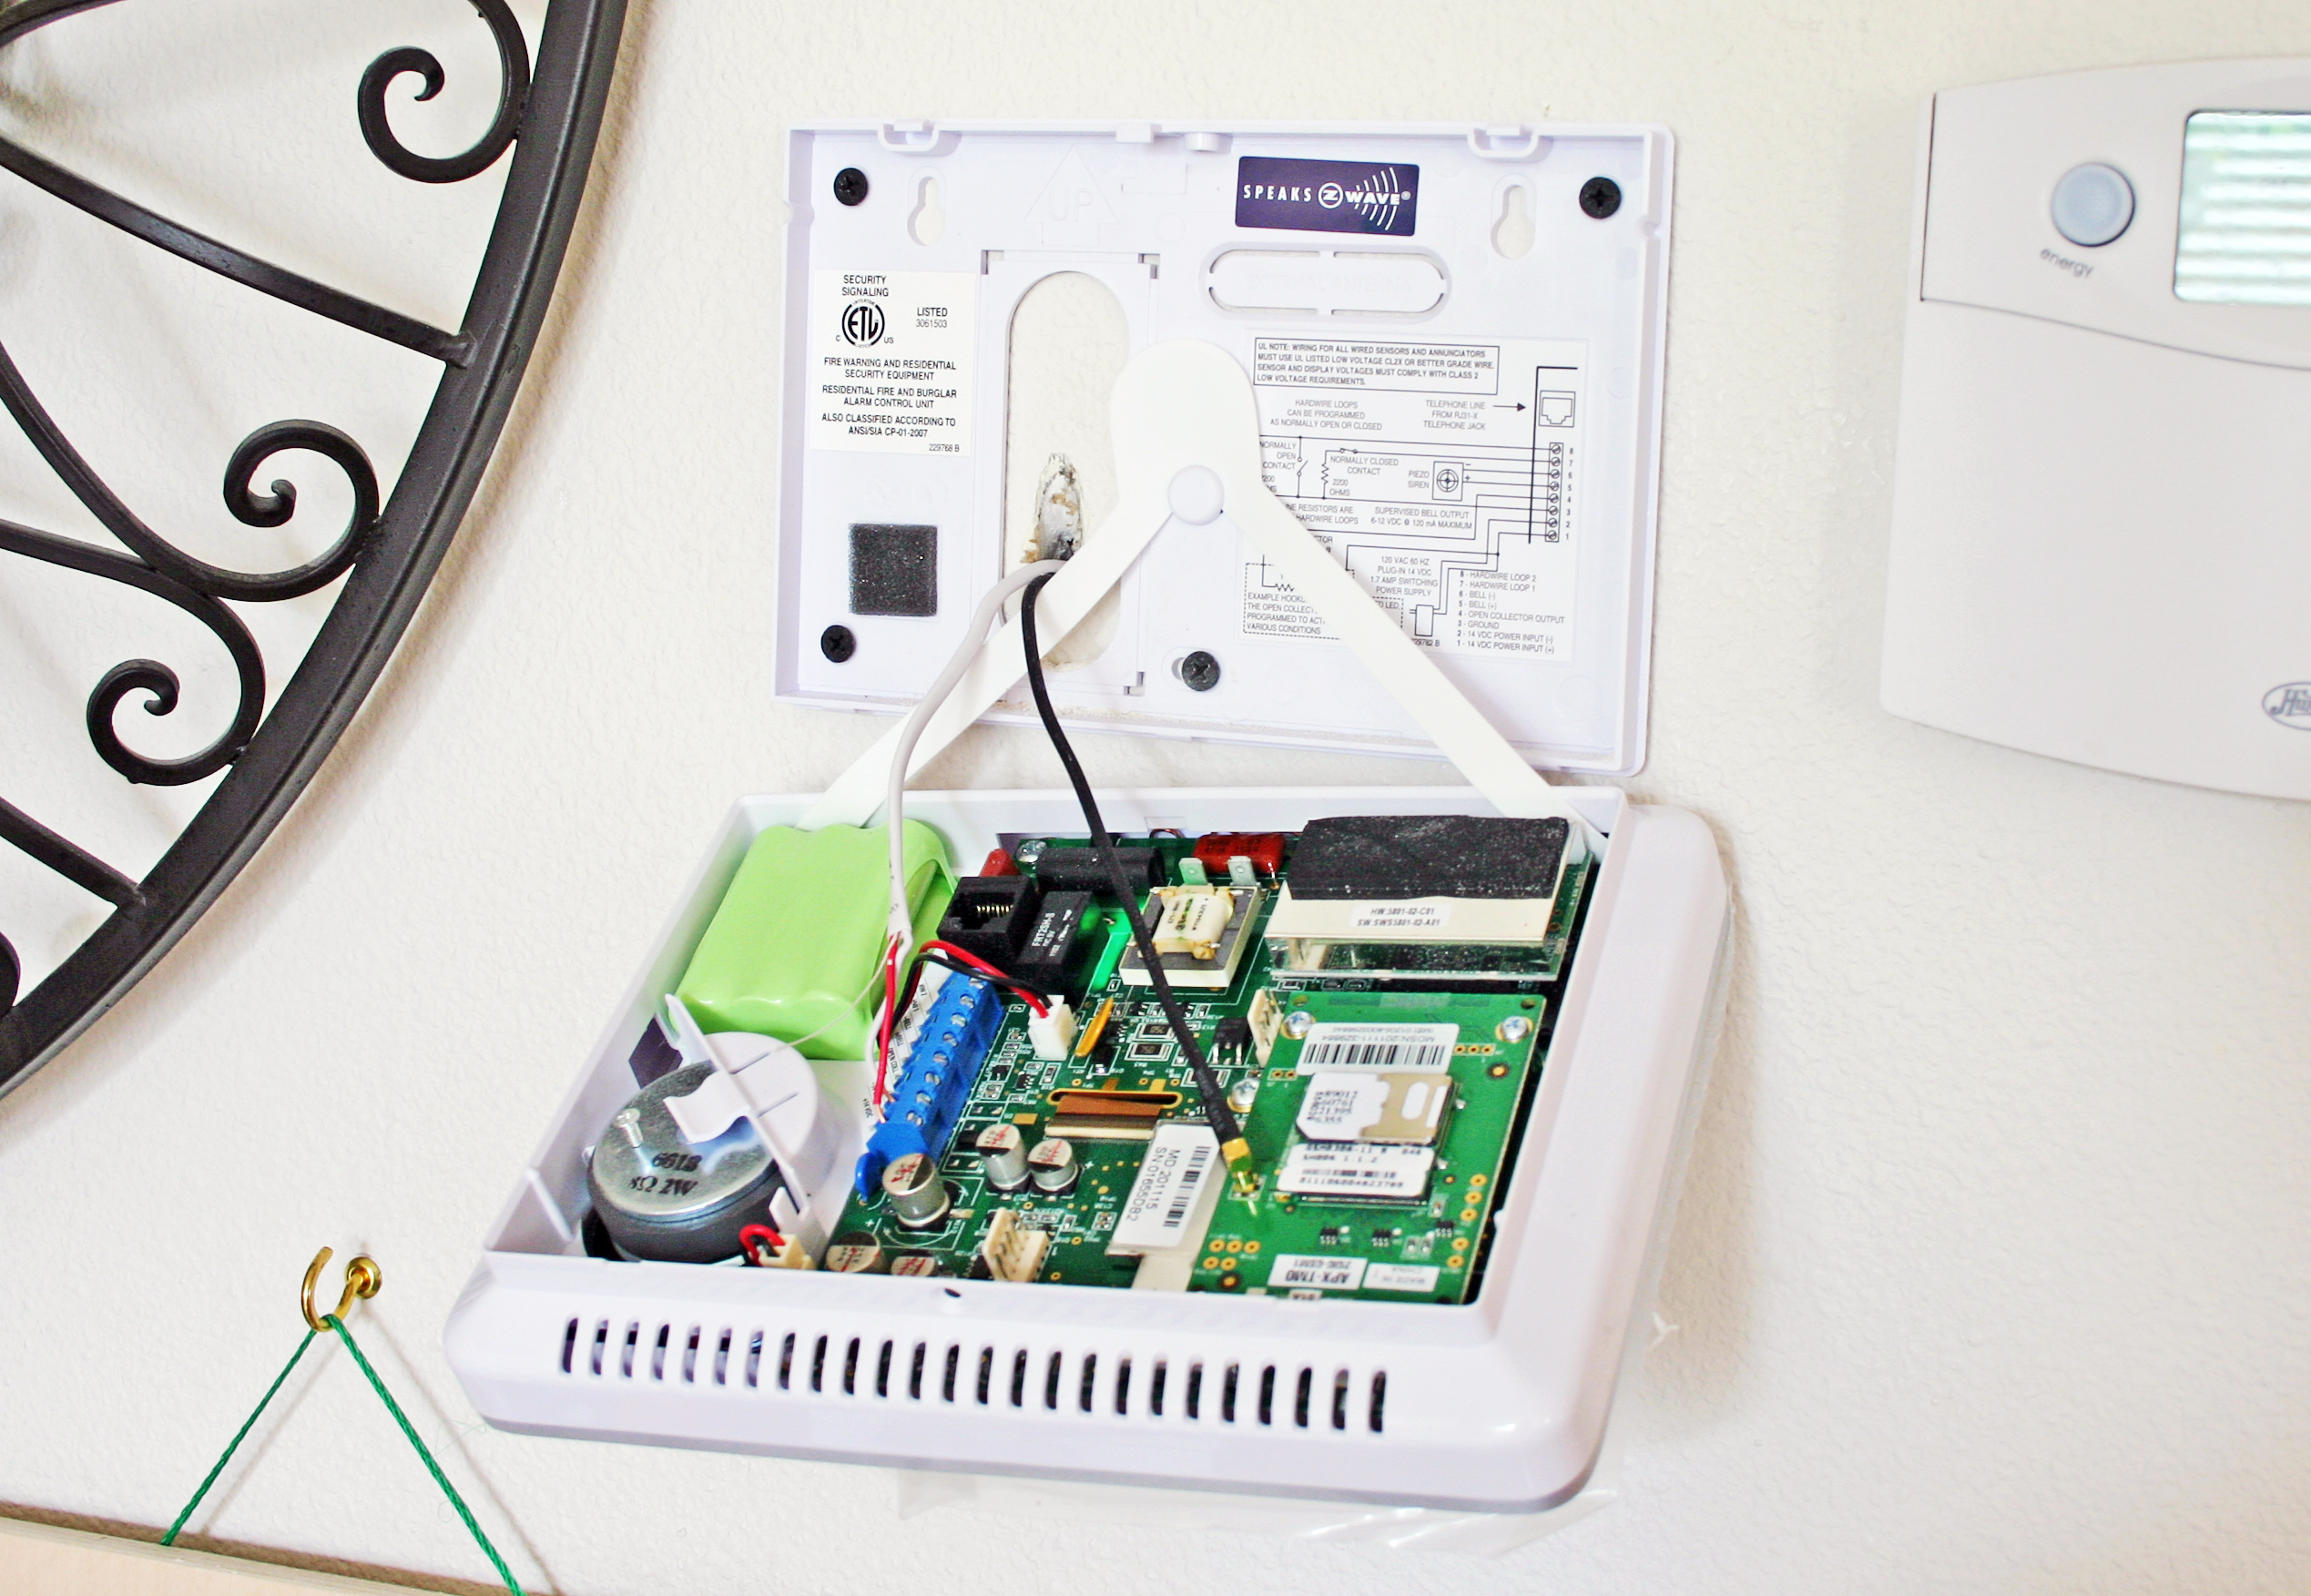
On the right, you can see the home’s preinstalled heating, ventilation, and air conditioning (HVAC) controller. Like a VCR, this device was so poorly designed that we never once (in six years) had it fully programmed. It would have been nice if Vivint had a two-in-one security panel/HVAC controller, but this isn’t in the product line-up yet. Only three screws are needed to mount the new control panel. Note the hole drilled through the sheet rock behind the panel’s mounting plate.
The Hardest Part
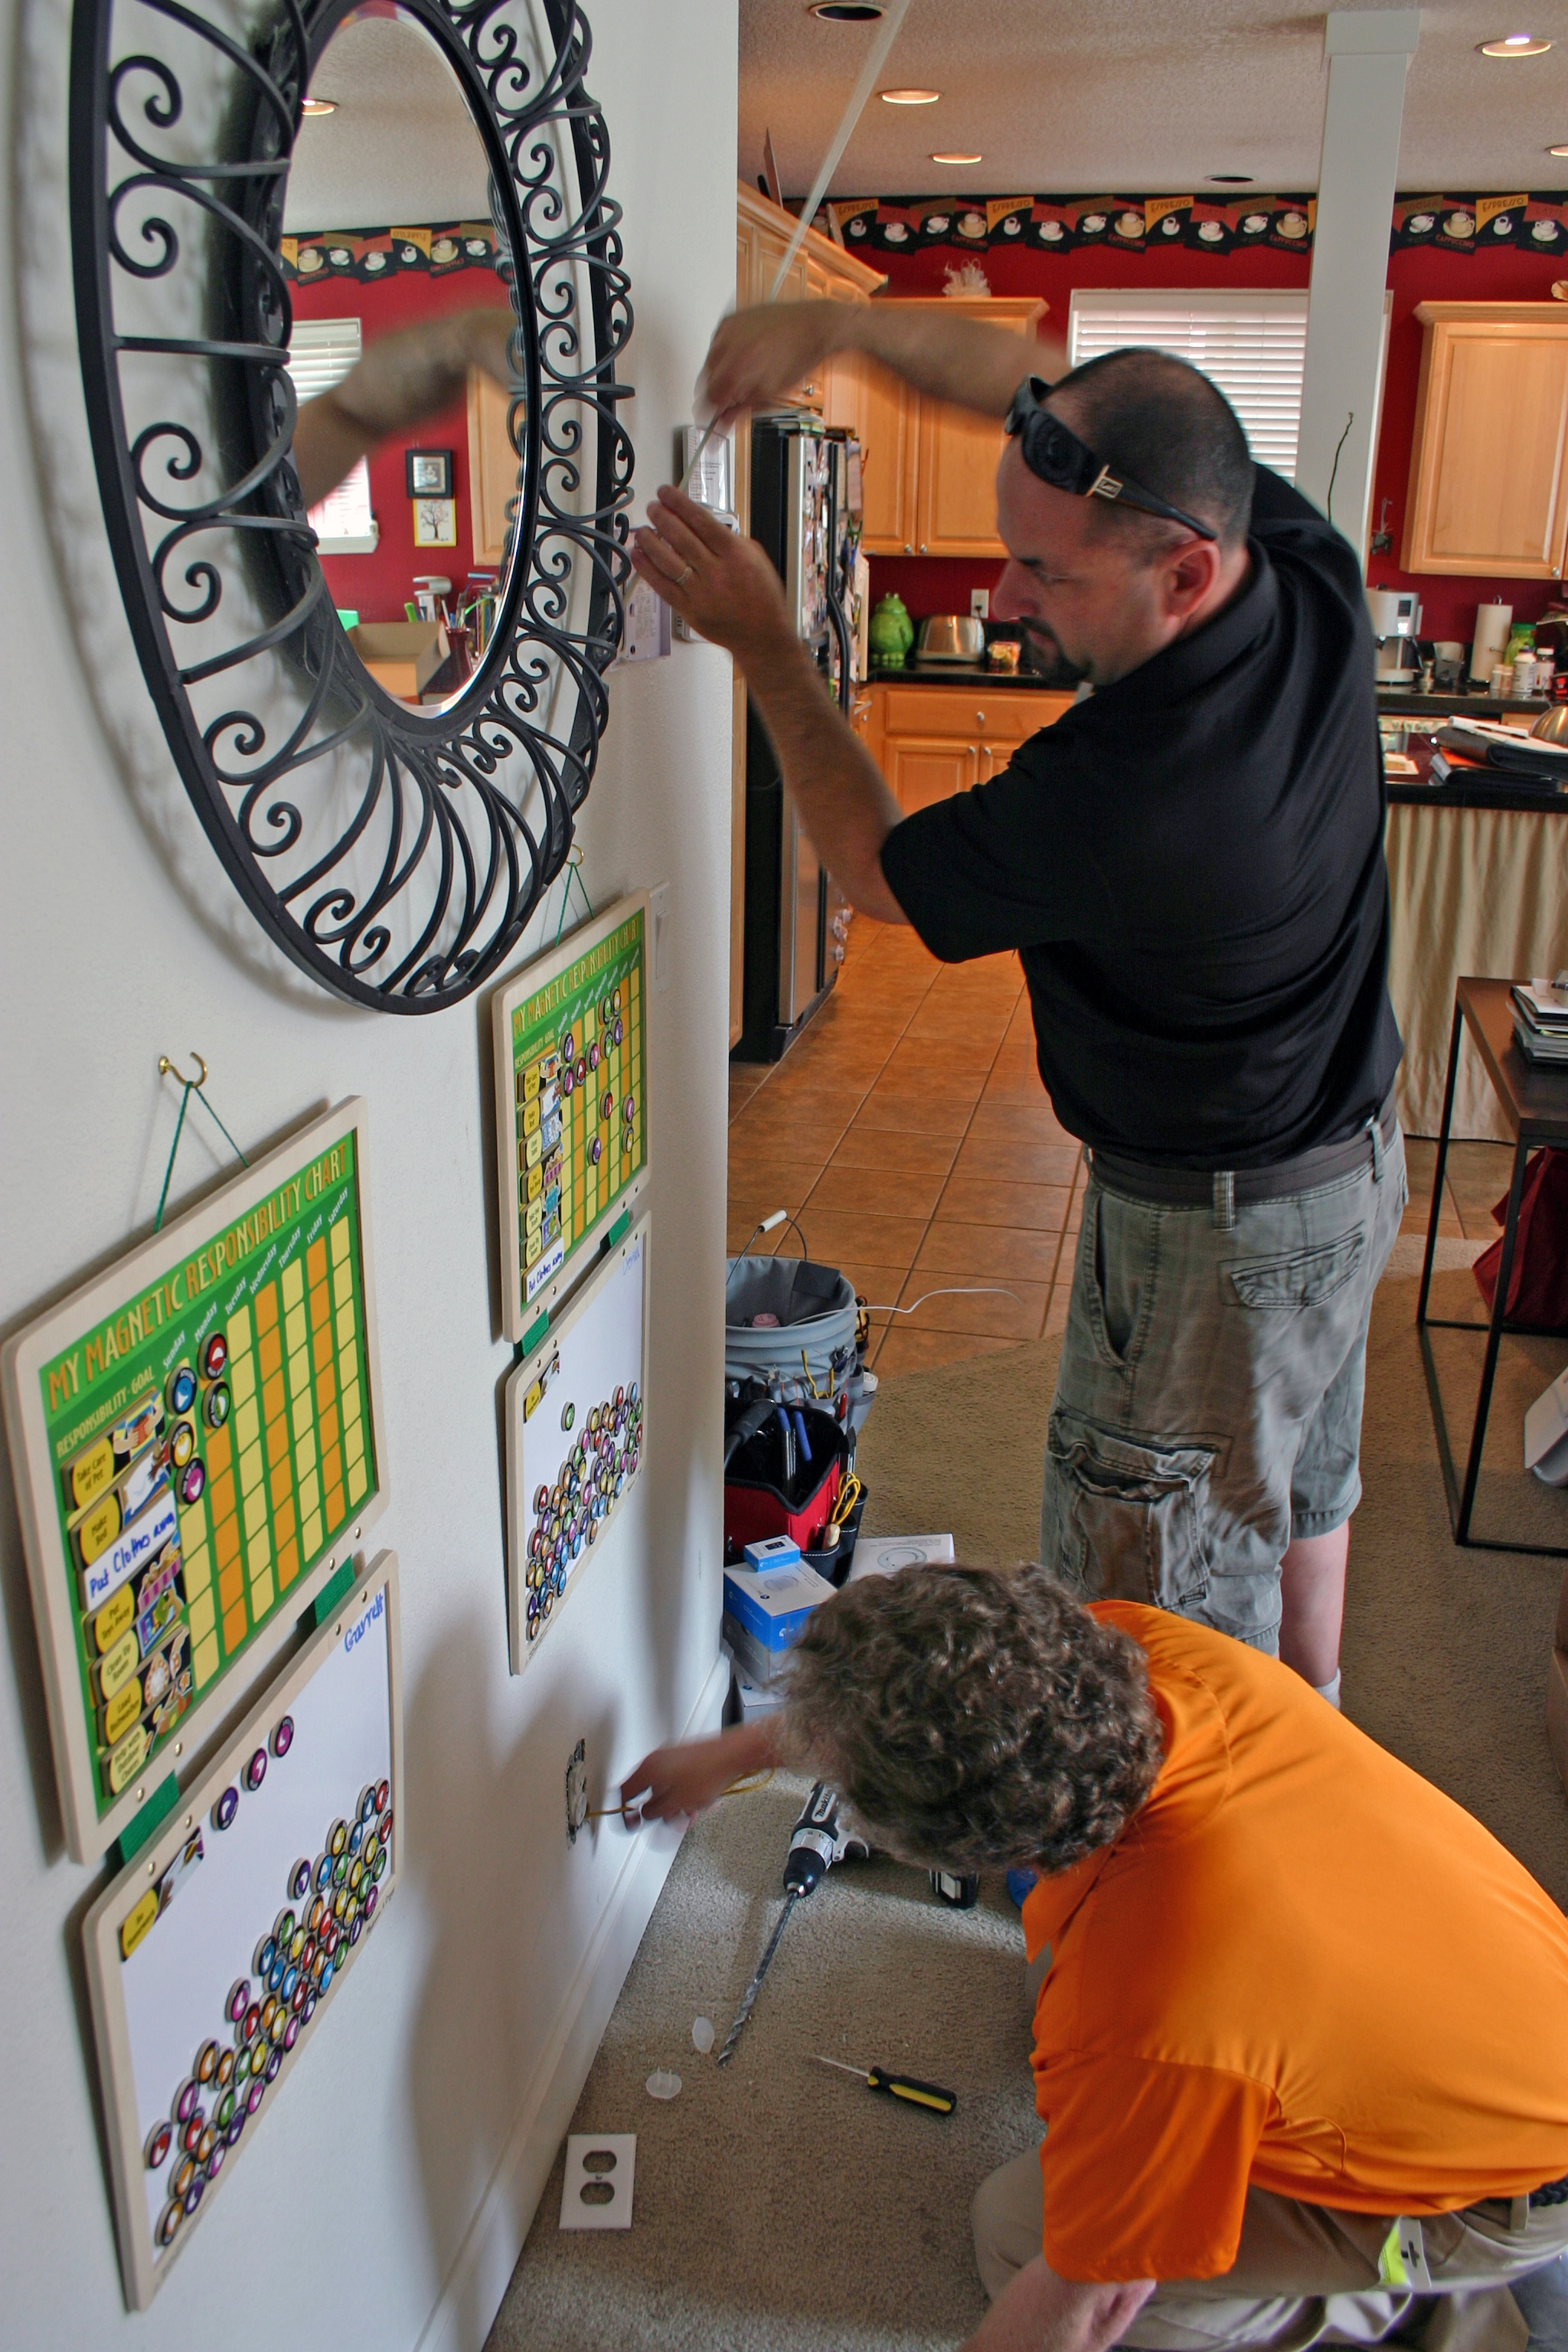
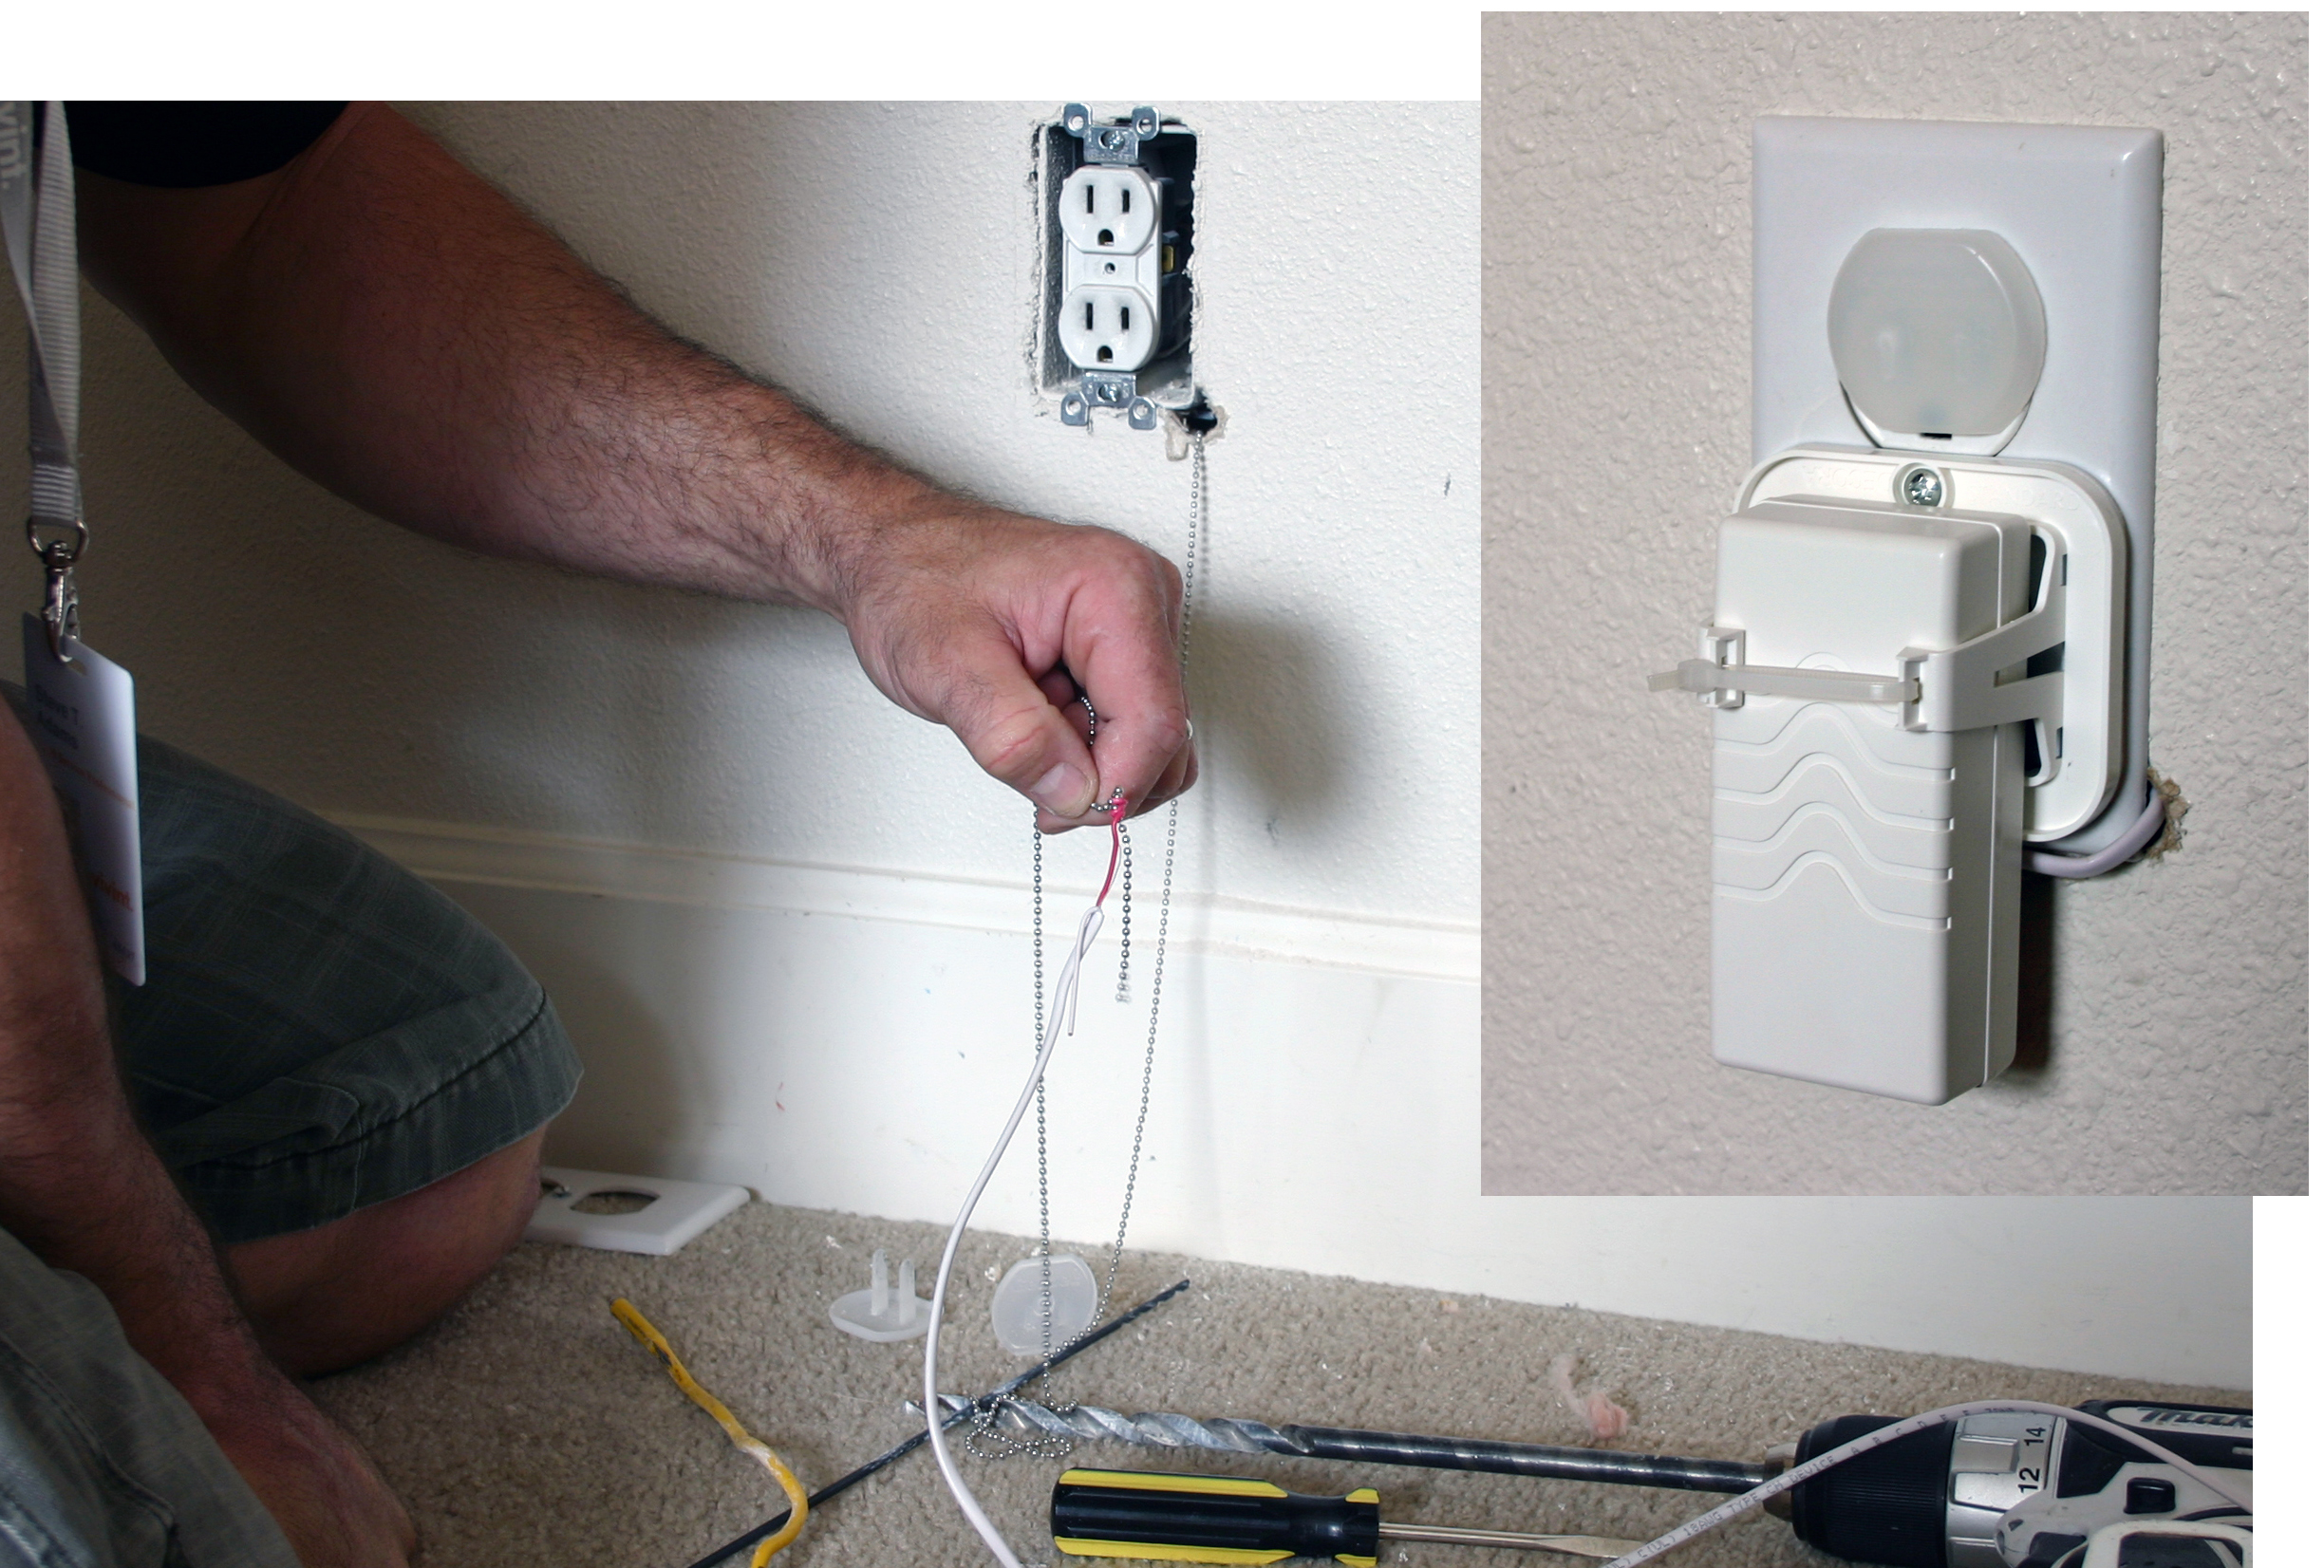
Strangely, the most difficult part of this process was getting power to the control panel. The installers used a device called a glow stick, which actually does glow a bit, and jammed it through the panel hole, down through the wall’s insulation, and to the power outlet located roughly four feet below it.
Pull My Chain
With a string from the panel snagged down at the outlet, installers tied a power wire to the end of it and pulled the wire back up through the wall and out to the panel plate. In this way, using a sort of strapped-down wall wart, power was drawn up through the wall to the panel. During a power outage, the panel fails over to six AA batteries. Interestingly, the 18 V Makita drill you see here died during installation. Kudos to Vivint for carrying spares of everything.
Panel Details
The black wire coming off the circuit board is an external antenna for the panel’s GSM cellular radio. Installers coordinate with a local GSM provider, eliminating the risk of being cut off from authorities by a snipped phone line. Vivint can hook into a land line, but it prefers wireless. The panel consumes roughly 12 W when it's active and almost nothing in standby. It takes about an hour to fully program a panel, and the speaker outputs 85 dB at 10 feet on an alarm.
Get Tom's Hardware's best news and in-depth reviews, straight to your inbox.
Ring The Alarm
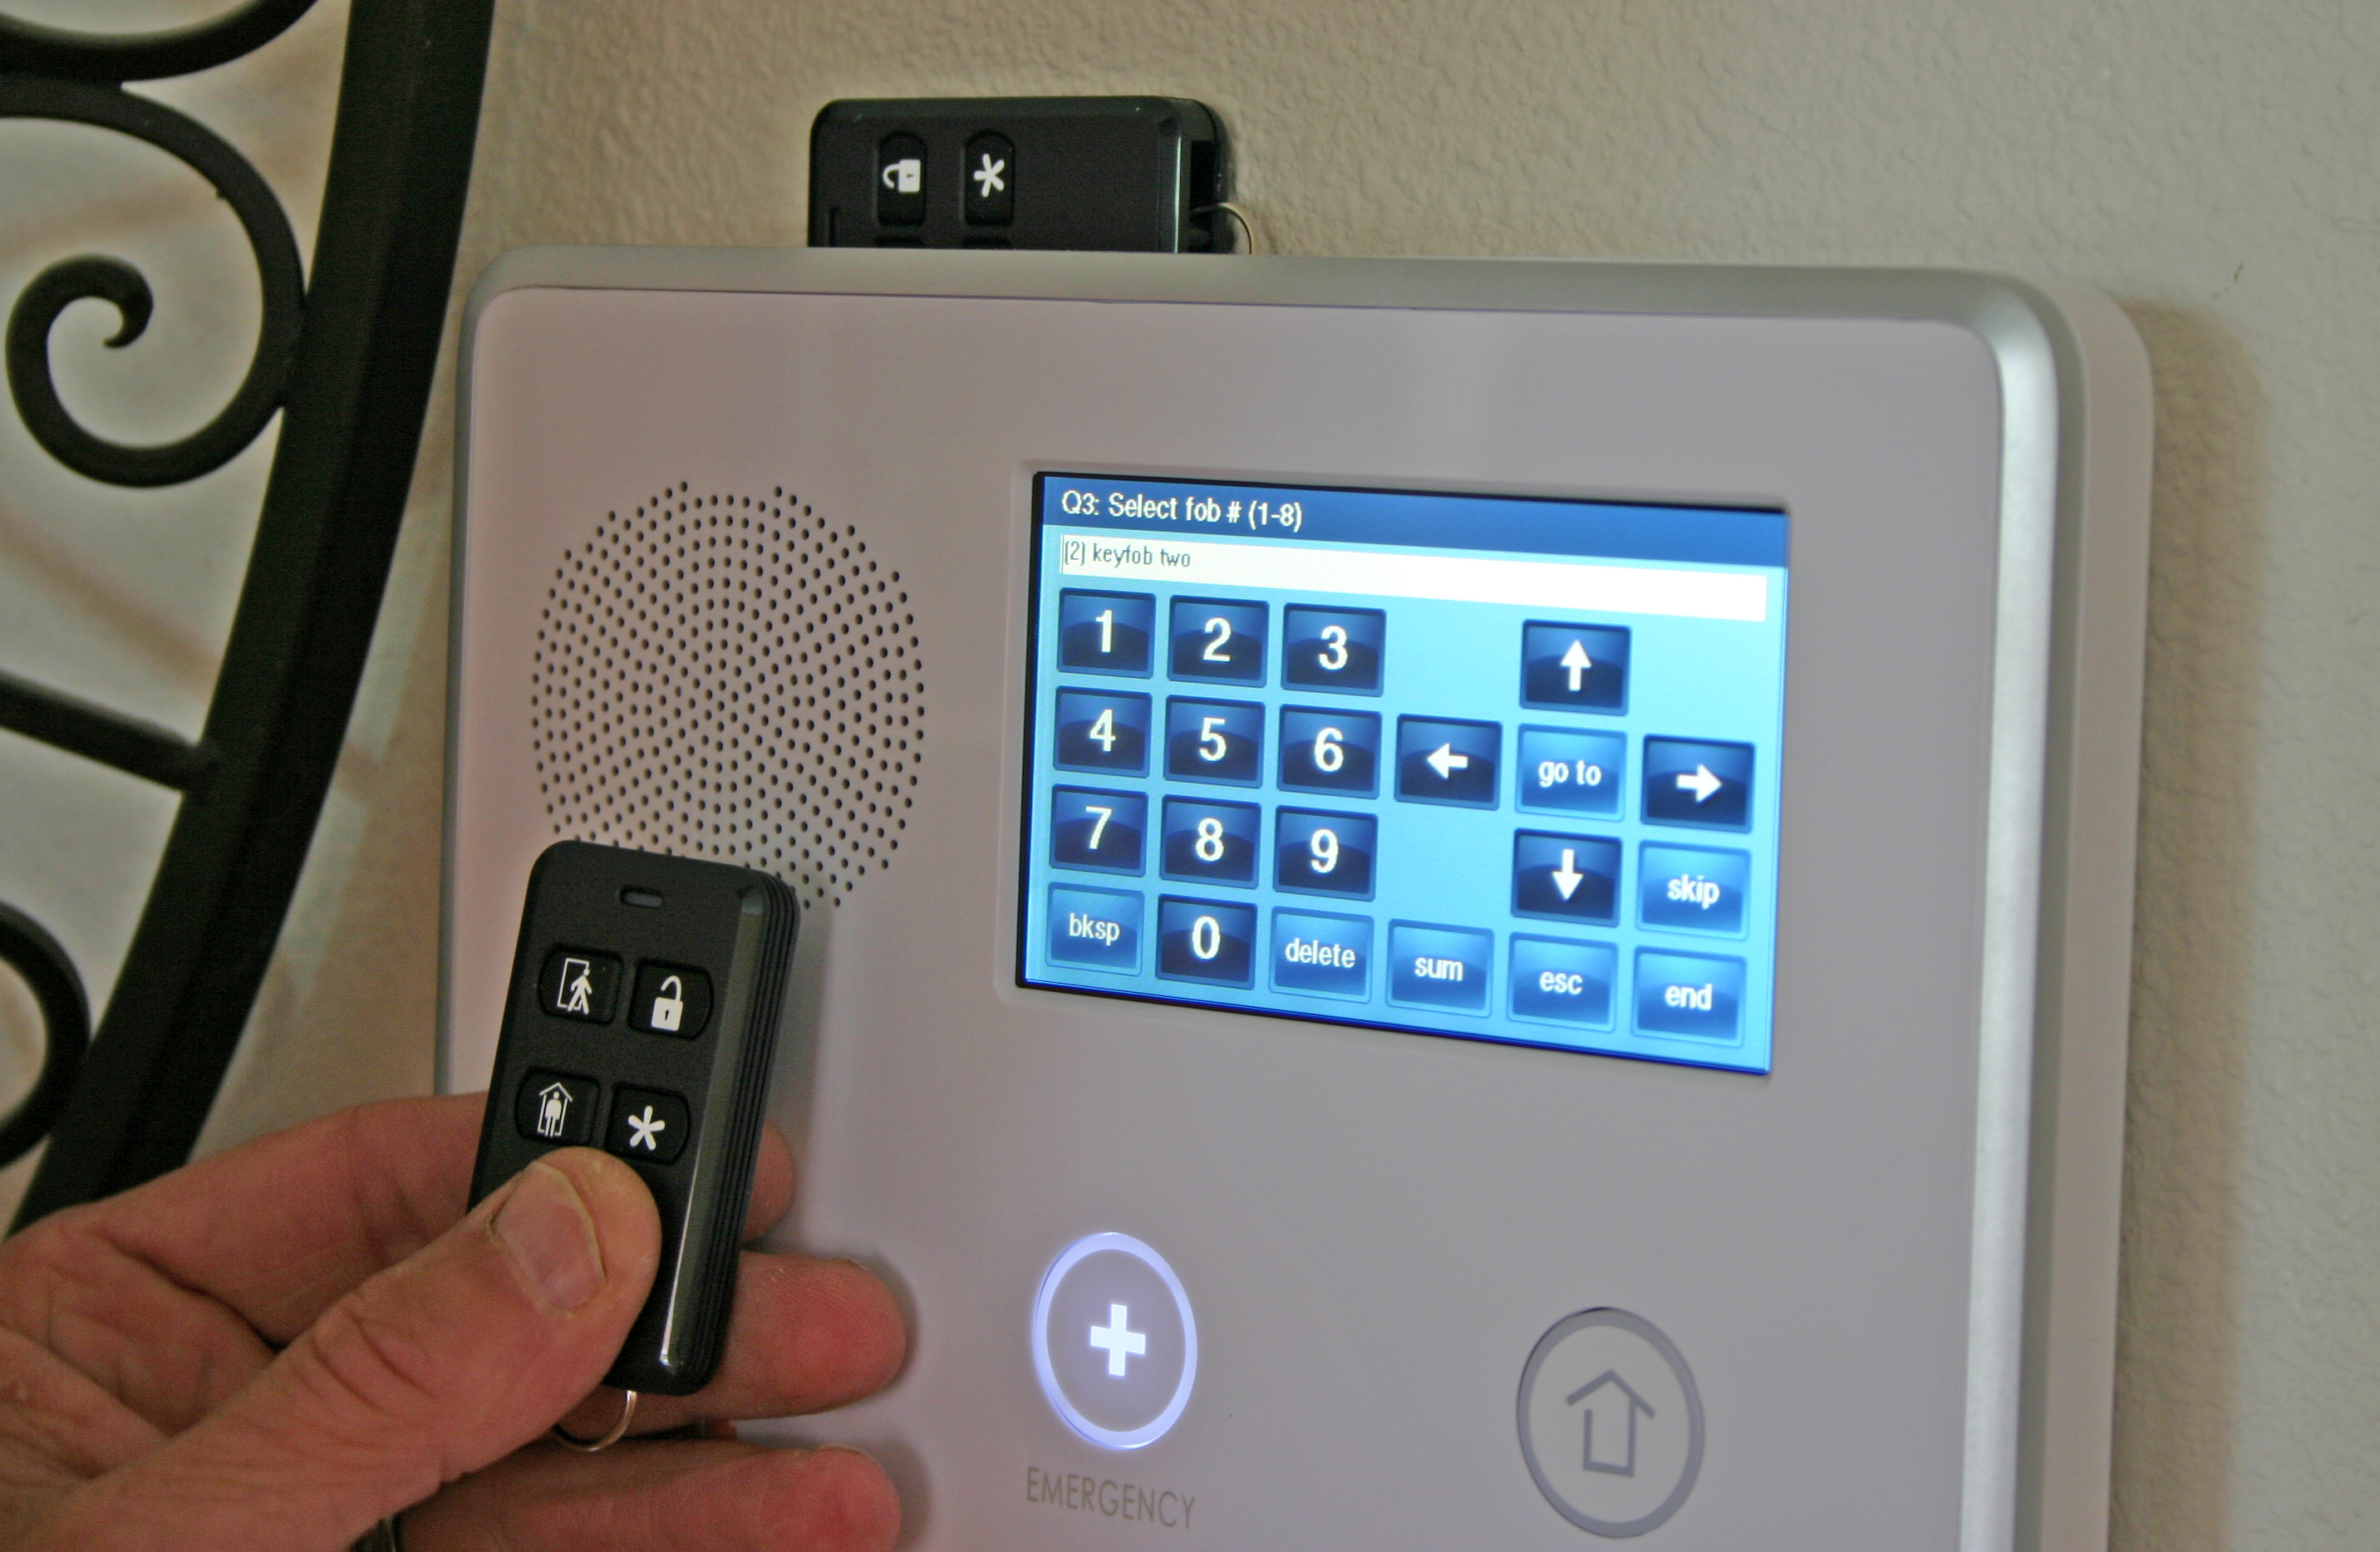
Much like Bluetooth, Vivint’s panel wirelessly pairs with various compatible devices, including sensors and a couple of remote control key fobs. Holding down the top two fob buttons sends a panic signal. This skips the 30-second delay triggered by a normal alarm and immediately connects you with an operator able to call for emergency services. You communicate through the panel and are prompted for your password. One panel code disarms the system, but also sends a silent alarm to the police in case it's coerced.
The Programming Process
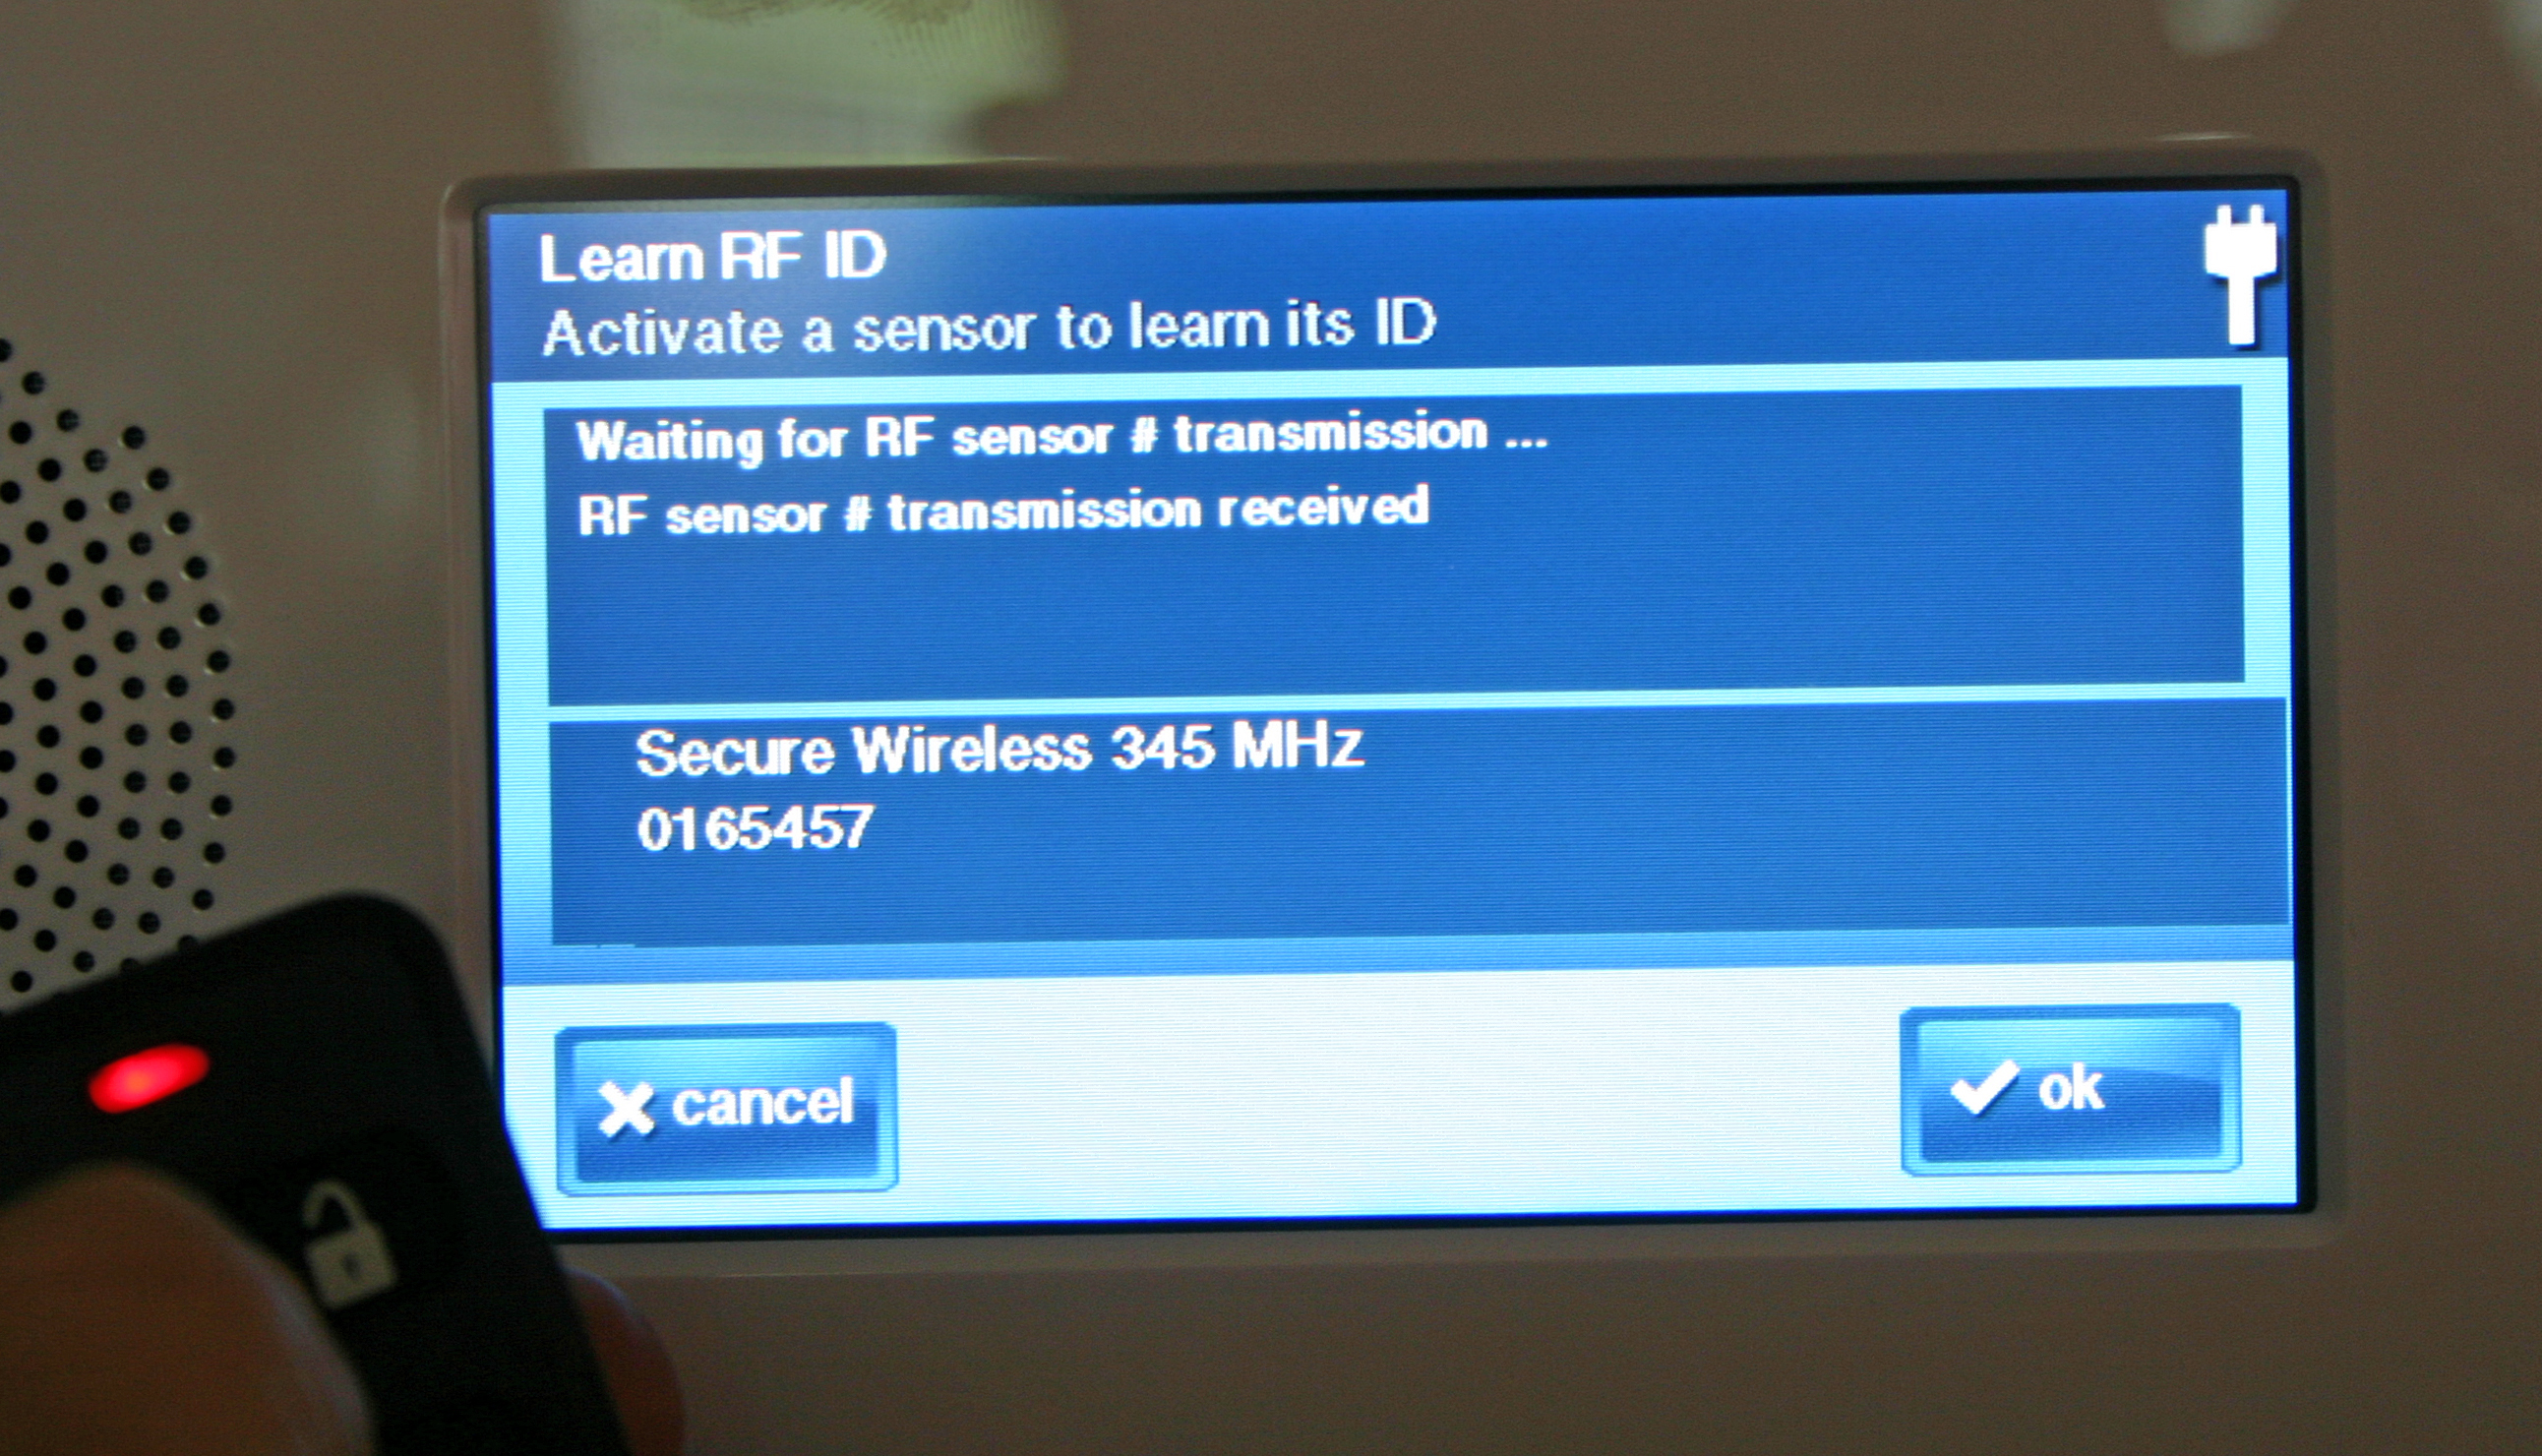
Programming is fairly straightforward. You select the desired device type and indicate its device number. For example, we have two fobs, so we’d select either 0 or 1. After entering the a serial number, the panel waits to “hear” the device and learn its sensor ID. Our fob paired and registered a 345 MHz wireless connection. We then assigned the button that'd trigger an emergency, and reviewed the finally configuration summary.
Sticky Business
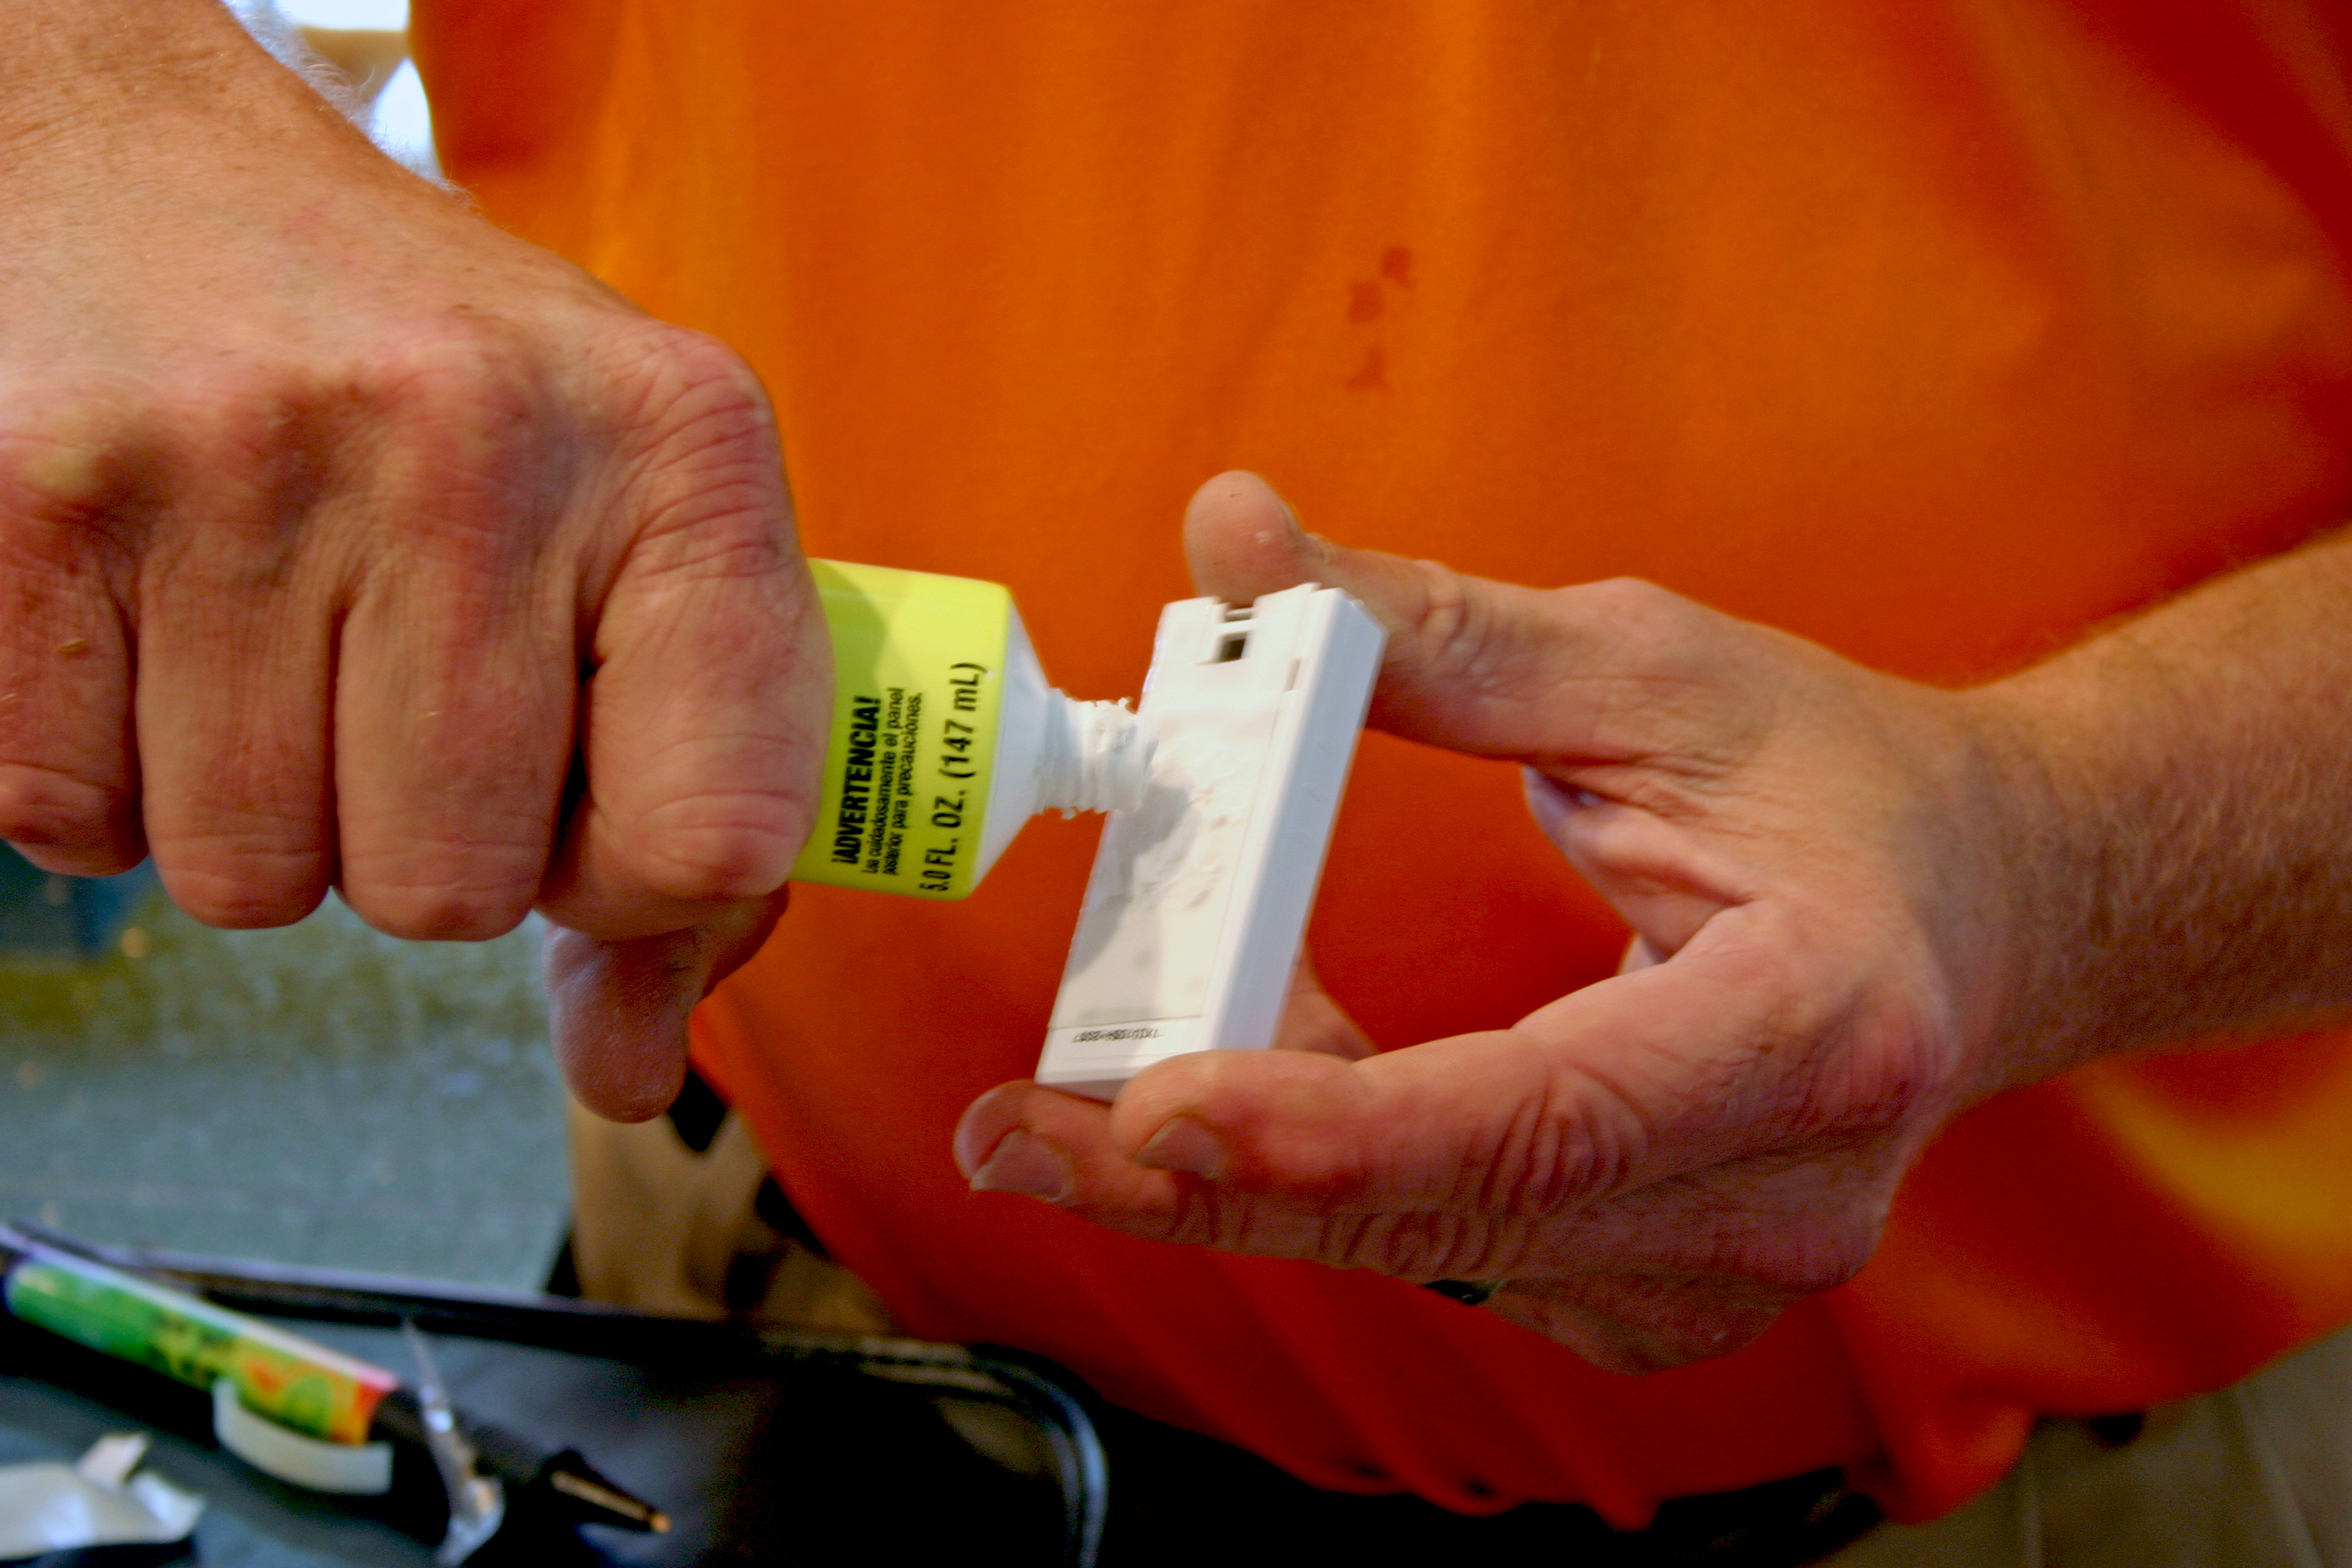
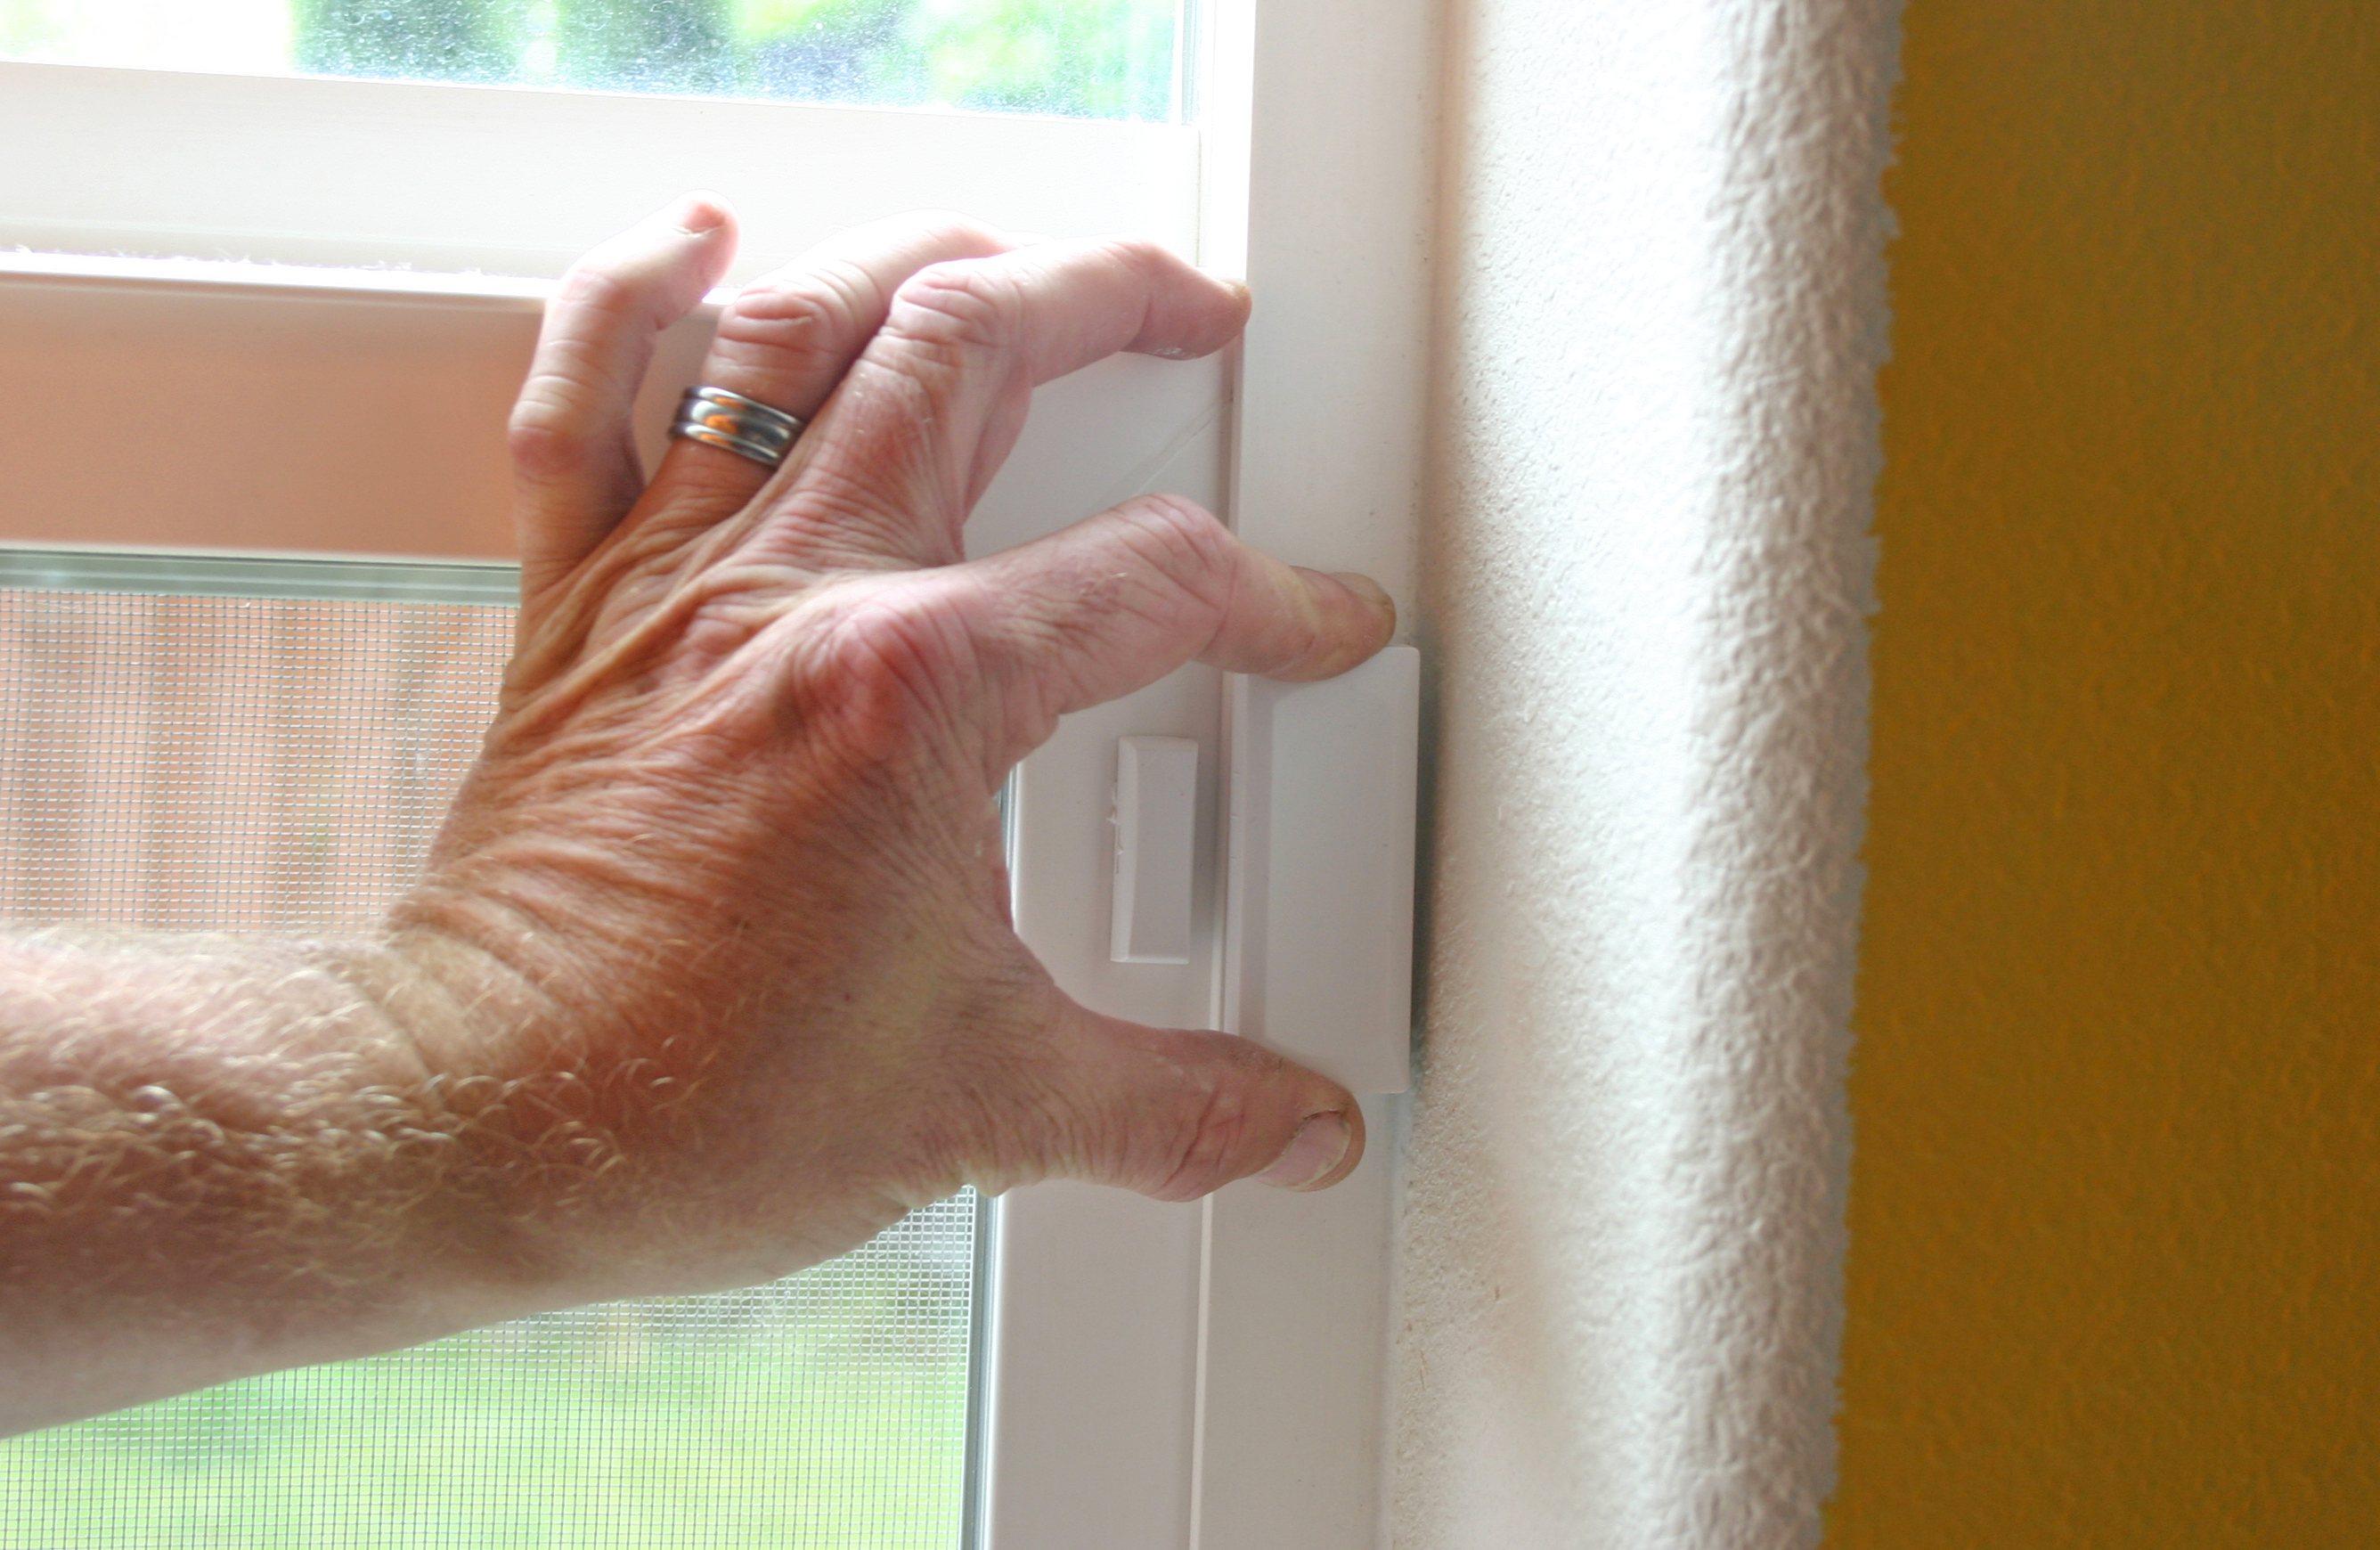
As you might expect, different sensors attach in different ways, and there can be multiple sensor types for a given task. For example, here, the installer is applying adhesive to the main sensor/transmitter unit in a sliding glass door sensor. The smaller piece of the sensor, which is just a magnet, uses a peel-back adhesive strip. When the two pieces become separated, the transmitter sends a signal to the panel which, in our case, reports a bell tone followed by a loud “Back door.”
Sensors Attached
In homes with little kids (or in cases where people may not be able to move around well), the audio cues are quite helpful. The panel can be programmed to emit different alert responses or none at all. If the panel is armed, an opened door generates a 30-second alarm (windows trigger instantly). As with most alarms, there are two arming modes. “Away” triggers based on an alert from any sensor. “Stay” onlys trigger from an external sensor, like a door or window.
-
QEFX richboyliangI wonder how necessary a security system is in an affluent neighborhoodReply
Burglar alarm ... probably not necessary. Well other than for specific high cost items and any home safes.
Weather (as in this instance), Water (as in water tank failed), Gas (as in gas line failed), Fire (many systems have integrated fire detection), CO Detection, Nanny/Family Cam (to make sure the kids aren't having a party while your out) and maybe Line Disruption Warning (phone/power not working - network/wifi ?) ... could be useful. -
Pyree I learn that there is a company called Vivint that sell and install security system after reading this article.Reply -
cangelini richboyliangI wonder how necessary a security system is in an affluent neighborhoodReply
Frankly, very. I have friends who live on golf courses in a neighborhood patrolled by two security trucks who've been broken into. The fact that it's affluent paints an even larger target on it. The challenge is overcoming the security, so you end up with a more skilled thief. -
ikyung richboyliangI wonder how necessary a security system is in an affluent neighborhoodThats where the money is at. Who is going to rob the ghettos?Reply -
CaedenV where there is valuable stuff, crooks will try to find a way to get at said stuff. The #1 best protection anyone can have is window blinds to keep people from seeing the more valuable stuff. Most thieves know exactly what they are going for before they break in because they know they have at least 5 minutes before anyone will be there to stop them no matter how good the security system is. Sure, you want it to be a pain in the ass for a thief to get into your house (it is soooo easy to take a whole window out, completely bypassing most magnetic alarms mounted to the housing of the window instead of the window and the sil/wall), but if they know what they want and have a plan there is no alarm on earth that is going to keep them away.Reply
The #2 best protection anyone can have is good relationships with their neighbors who know you, know what your friends look like, and are not crooks themselves.
#3, if someone really wants your stuff, they will get your stuff. Prevention is largely based on intimidation. The real trick is catching someone's face and/or actions on camera. Not having night vision on a $4000 system would have been a dealbreaker for me. That is just really dumb. Your average $20 piece of crap pinhole camera has night vision, there is no excuse to not have it in a $150 camera.
#4 where prevention fails, recovery is most important. Everything of value that you own of value should have a marking on it that you can prove to be yours. Back in high school and college it was as simple as putting some nail polish in an obscure place that you document, but nobody else knows about. Then when your bike/laptop/whatever is stolen you can show the cops a picture and easily identify the item as yours. As you get older there are more advanced ways of doing this, but the general rule applies. I recovered my bike 3 times back in college with this method. Thankfully that was all that was ever stolen.
Anywho, I think my point is that for the average person living in an apartment or 3 bedroom house in a suburb, the bulk of your security money should be in documentation and recovery, with just a little bit invested in prevention and active protection because the monthly premium that comes with that $4000 system will likely add up to more than would ever be stolen in the first place for most of us. -
alidan CaedenVwhere there is valuable stuff, crooks will try to find a way to get at said stuff. The #1 best protection anyone can have is window blinds to keep people from seeing the more valuable stuff. Most thieves know exactly what they are going for before they break in because they know they have at least 5 minutes before anyone will be there to stop them no matter how good the security system is. Sure, you want it to be a pain in the ass for a thief to get into your house (it is soooo easy to take a whole window out, completely bypassing most magnetic alarms mounted to the housing of the window instead of the window and the sil/wall), but if they know what they want and have a plan there is no alarm on earth that is going to keep them away.The #2 best protection anyone can have is good relationships with their neighbors who know you, know what your friends look like, and are not crooks themselves.#3, if someone really wants your stuff, they will get your stuff. Prevention is largely based on intimidation. The real trick is catching someone's face and/or actions on camera. Not having night vision on a $4000 system would have been a dealbreaker for me. That is just really dumb. Your average $20 piece of crap pinhole camera has night vision, there is no excuse to not have it in a $150 camera.#4 where prevention fails, recovery is most important. Everything of value that you own of value should have a marking on it that you can prove to be yours. Back in high school and college it was as simple as putting some nail polish in an obscure place that you document, but nobody else knows about. Then when your bike/laptop/whatever is stolen you can show the cops a picture and easily identify the item as yours. As you get older there are more advanced ways of doing this, but the general rule applies. I recovered my bike 3 times back in college with this method. Thankfully that was all that was ever stolen.Anywho, I think my point is that for the average person living in an apartment or 3 bedroom house in a suburb, the bulk of your security money should be in documentation and recovery, with just a little bit invested in prevention and active protection because the monthly premium that comes with that $4000 system will likely add up to more than would ever be stolen in the first place for most of us.Reply
#1 document everything
most people are lazy as hell in this regard, everything of mine of reasonable value that wont degrade (as in lose value fast or naturally be used up) i have the serial numbers, and photos, and a safty deposit box with a usb duplicate.
#2 insure everything for more than its worth
make damn sure everything you own is documented and insured for more than its worth. my speakers arent great, they cost me about 250$, but if they were stolen, it would cost me 1000$ to get an exact replacement.
#3 have a list of small items.
i'm in the process of finding software to record the bar codes of all my games, dvds, and other valuable coded items, dvds and games are easy to get rid of because no one really thinks twice that this may be stolen
#4 prepare for the worst
no mater the lock, no matter the security system, it can be broken in seconds by someone skilled.
no current lock that i know of is bump proof, most being broken into in less than 5 seconds.
#5 who wants your crap
the average theif who is an opertunist, or the master thief who spent time planing? a loud alarm may scare off the opertunist, but the master knows what they want, and will get it. do you want them gone, or do you want them to stay a while thinking they beat the alarm. silent alarm, or loud noise... its a tough choice.
#6 the one and only camera you need
a camera on the door, that activates the moment it sees more than 15% movement, and records sound, with a hq mic. this way you get the face, and the voice of who went in your home -
mortsmi7 alidan#4 prepare for the worstReply
no matter the lock, no matter the security system, it can be broken in seconds by someone skilled. no current lock that i know of is bump proof, most being broken into in less than 5 seconds.You didn't visit the link on bump keying. -
wiyosaya In my opinion, marketing departments at security firms sell their product by promoting insecurity. Unless you are in a notoriously high crime area, odds are that you will never need the "service" that these devices provide. The benefit from these is quicker response should anything happen.Reply
There are means to make your home more secure that the monthly fee for these would pay for in no time:
1. Buy steel doors as they are very difficult to knock down.
2. Ensure that those doors have deadbolts.
3. Ensure you have smoke and CO2 detectors.
Over and above those three things, a security system only buys you faster response time - IF - you have the system armed. If you disarm the system while you are home, then even if someone breaks in or you have a fire, if I am not mistaken, then you lose the advantage of the response time.
Making money on these systems means making potential customers feel insecure, or exploiting feelings of insecurity that already exist. They are, essentially, "insurance policies," where the provider of the insurance bets that you will never need the services.
In my opinion, the question becomes what is it worth to you? Is it worth paying for services that may never be needed for that "sense" of security even if the sense garnered from these systems is false?

