Setting Up Your PSVR: A Step-By-Step Guide
PlayStation VR Setup
The PlayStation VR is currently the most affordable premium VR system. It’s also designed to work with your PlayStation 4 console, so it should be easy to setup. Right? Well, not quite.
The PlayStation VR is indeed the easiest of the three major VR systems to setup, but it's not just as simple as plugging in a console. Follow along as we walk you through the process.
MORE: May 2017 Virtual Reality Games Preview
MORE: Best Virtual Reality HMDs
Do You Have Enough Room?
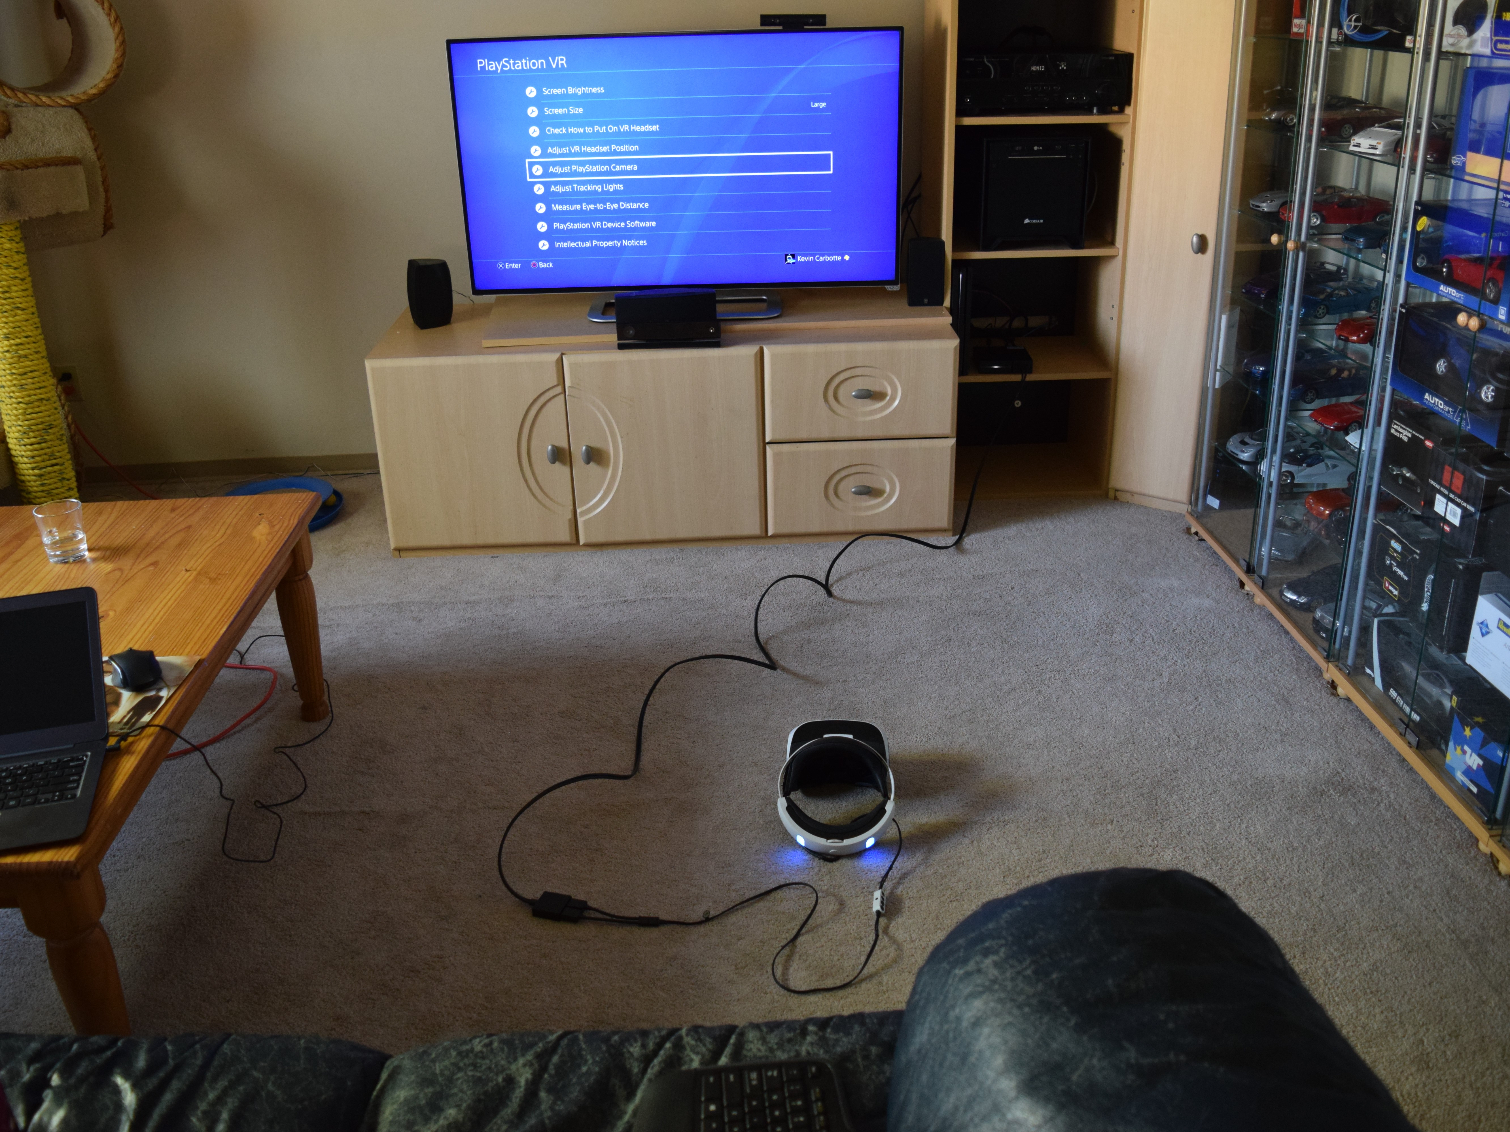
The first thing you should do is make sure you have enough space to setup a PSVR unit. You should probably do this before you decide to purchase the system, actually.
The PlayStation 4 camera can "see" up to 9.4 x 6.2 feet. It’s important to note that the first two feet of the camera’s view is blind space, and the range between 2-4 feet from the camera is narrower than the rest of the play area. You must be at least 2 feet away from the camera at all times, but your primary place space will be at least 4 feet from the camera.
Many PSVR games are seated experiences, so you’ll want a place to sit within your range, but you also need enough clear area to stand up and move around. A movable chair is preferable to a couch, but either option will work.
Get Tom's Hardware's best news and in-depth reviews, straight to your inbox.
MORE: May 2017 Virtual Reality Games Preview
MORE: Best Virtual Reality HMDs
Verify That You Have All The Components
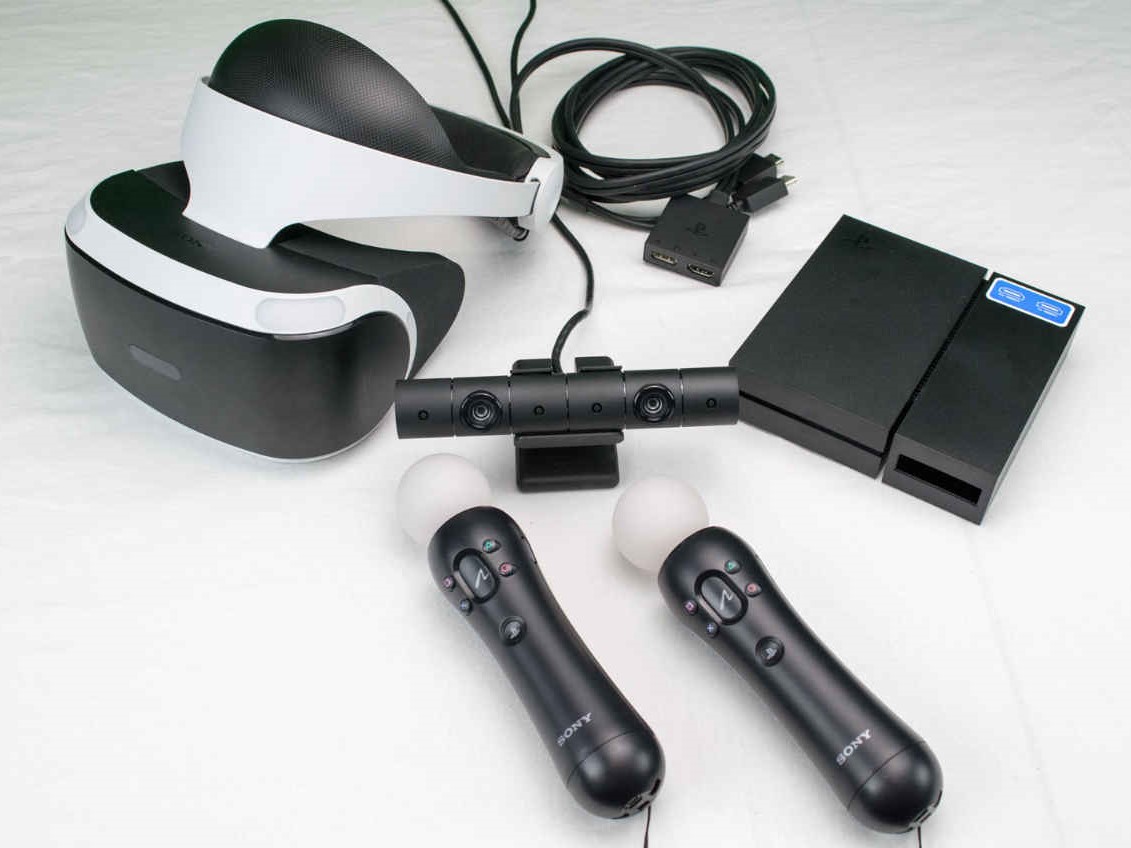
The PlayStation VR system is available in two different bundles. The core bundle includes the PSVR HMD, the PSVR Processor Unit, and the cables to hook up the components. The core bundle does not include the PlayStation 4 camera, but you do need one to use the PSVR. If you don’t have a camera already, you’ll have to buy one separately.
Sony also offers a PSVR bundle that includes the camera in the box. That bundle also includes a pair of PlayStation Move controllers, which introduce motion control into the situation.
Before plugging in the PSVR processor unit, ensure that you have all the cables. You should find a Micro USB cable, a power adapter, an HDMI cable, and an extension cable for the HMD. If you have Move controllers, you should have two Mini USB cables, as well.
MORE: May 2017 Virtual Reality Games Preview
MORE: Best Virtual Reality HMDs
Move HDMI From PS4 To Processor Unit
Once you have an appropriate play space available, and you’ve verified that you have all the necessary cables and components, you can proceed with the hardware setup.
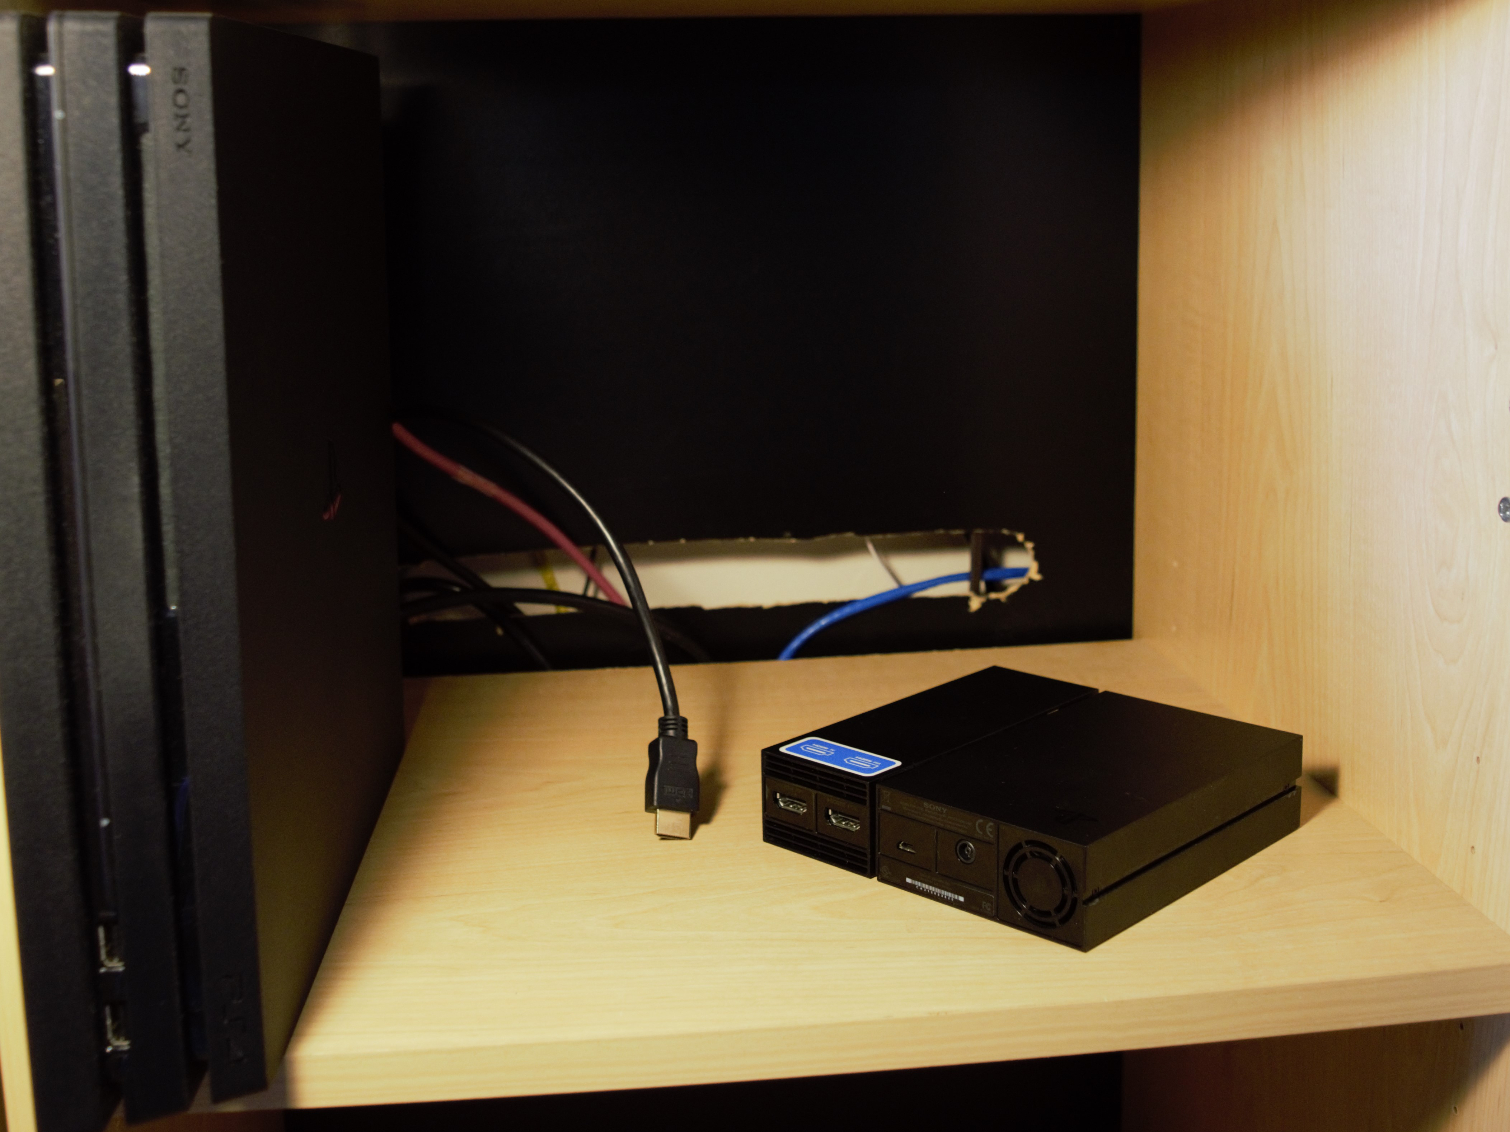
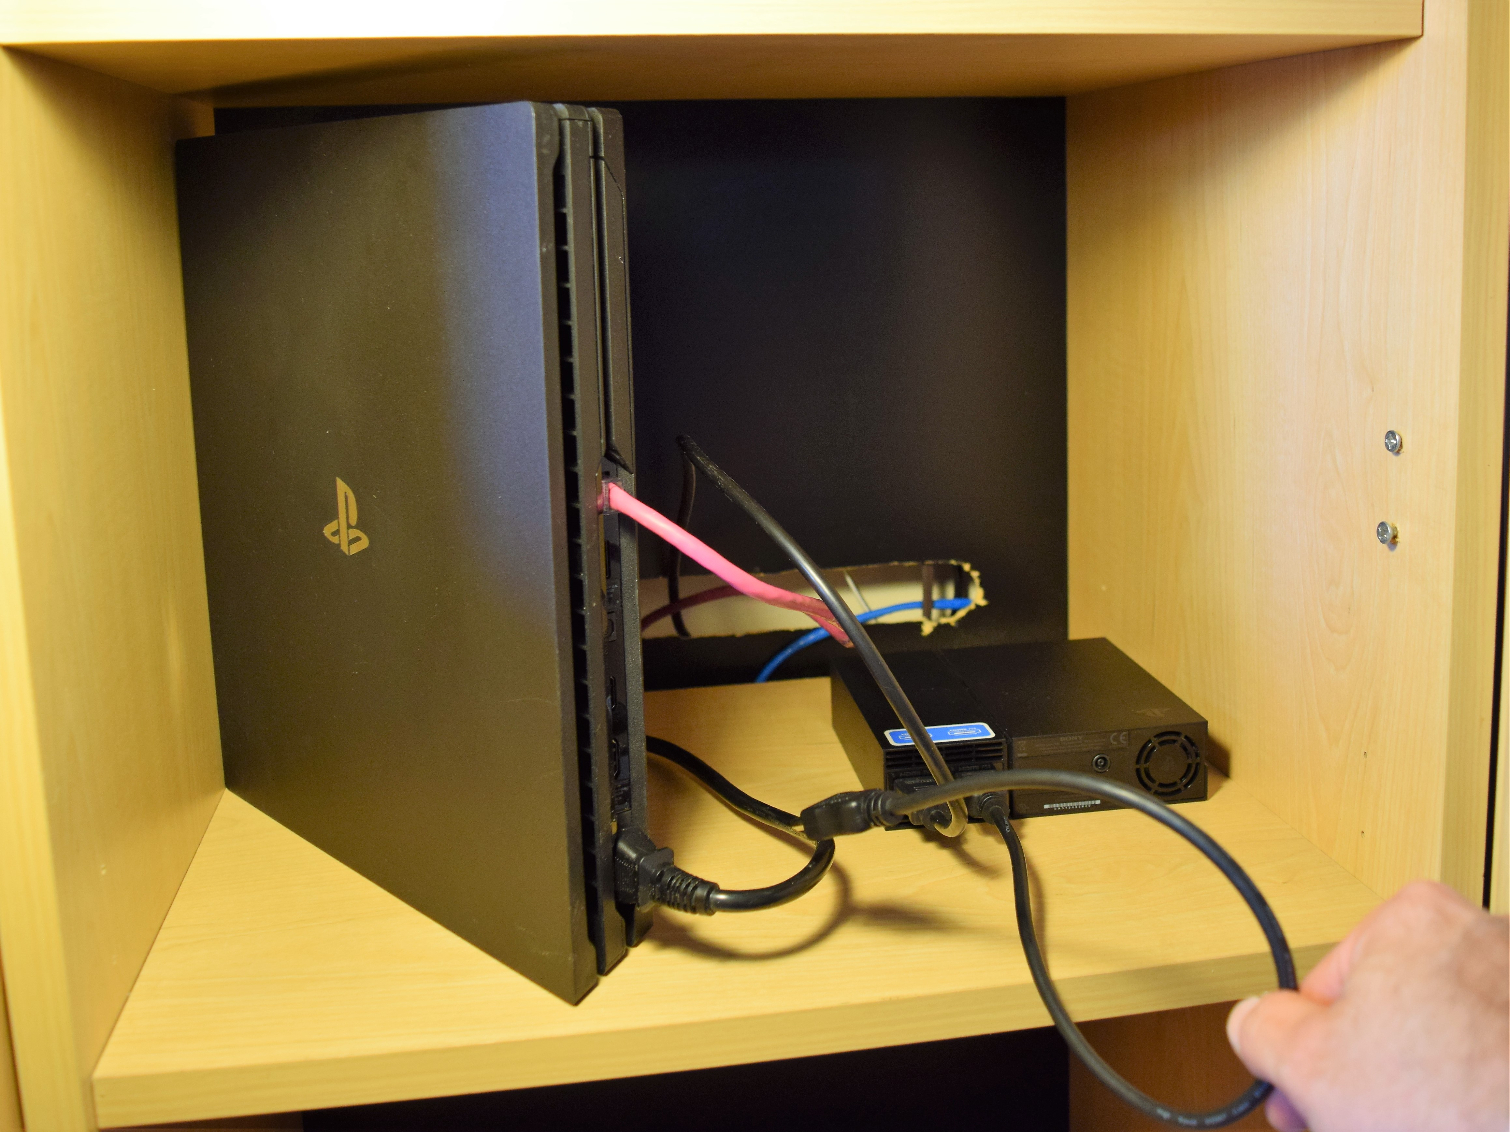
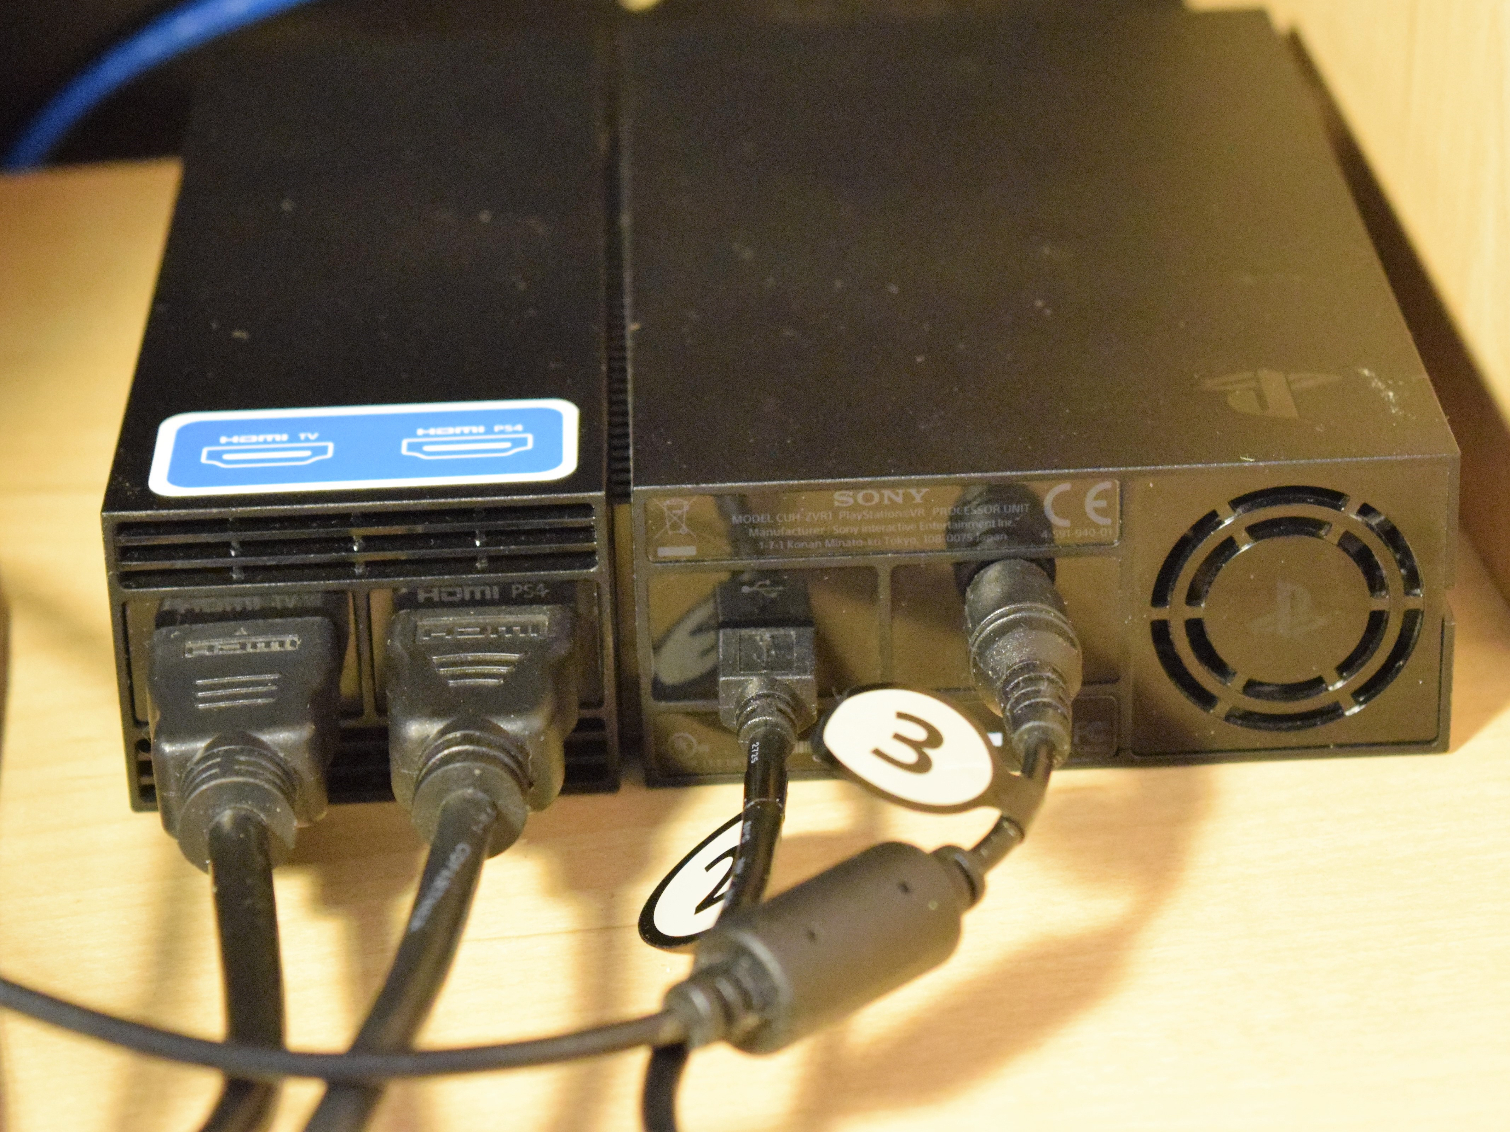
First, locate and remove the HDMI cable from the back of the PlayStation 4 console. Next, plug the HDMI cable into the HDMI port labelled “HDMI TV” on the Processor Unit.
MORE: May 2017 Virtual Reality Games Preview
MORE: Best Virtual Reality HMDs
Connect Processor Unit To PS4 With HDMI Cable
The PSVR system includes an HDMI cable to connect the PSVR Processor Unit to the PlayStation 4 console. Plug the HDMI cable into the back of the PS4 console. The other end should plug into the “HDMI PS4” port on the Processor Unit.
MORE: May 2017 Virtual Reality Games Preview
MORE: Best Virtual Reality HMDs
Plug In The USB Cable
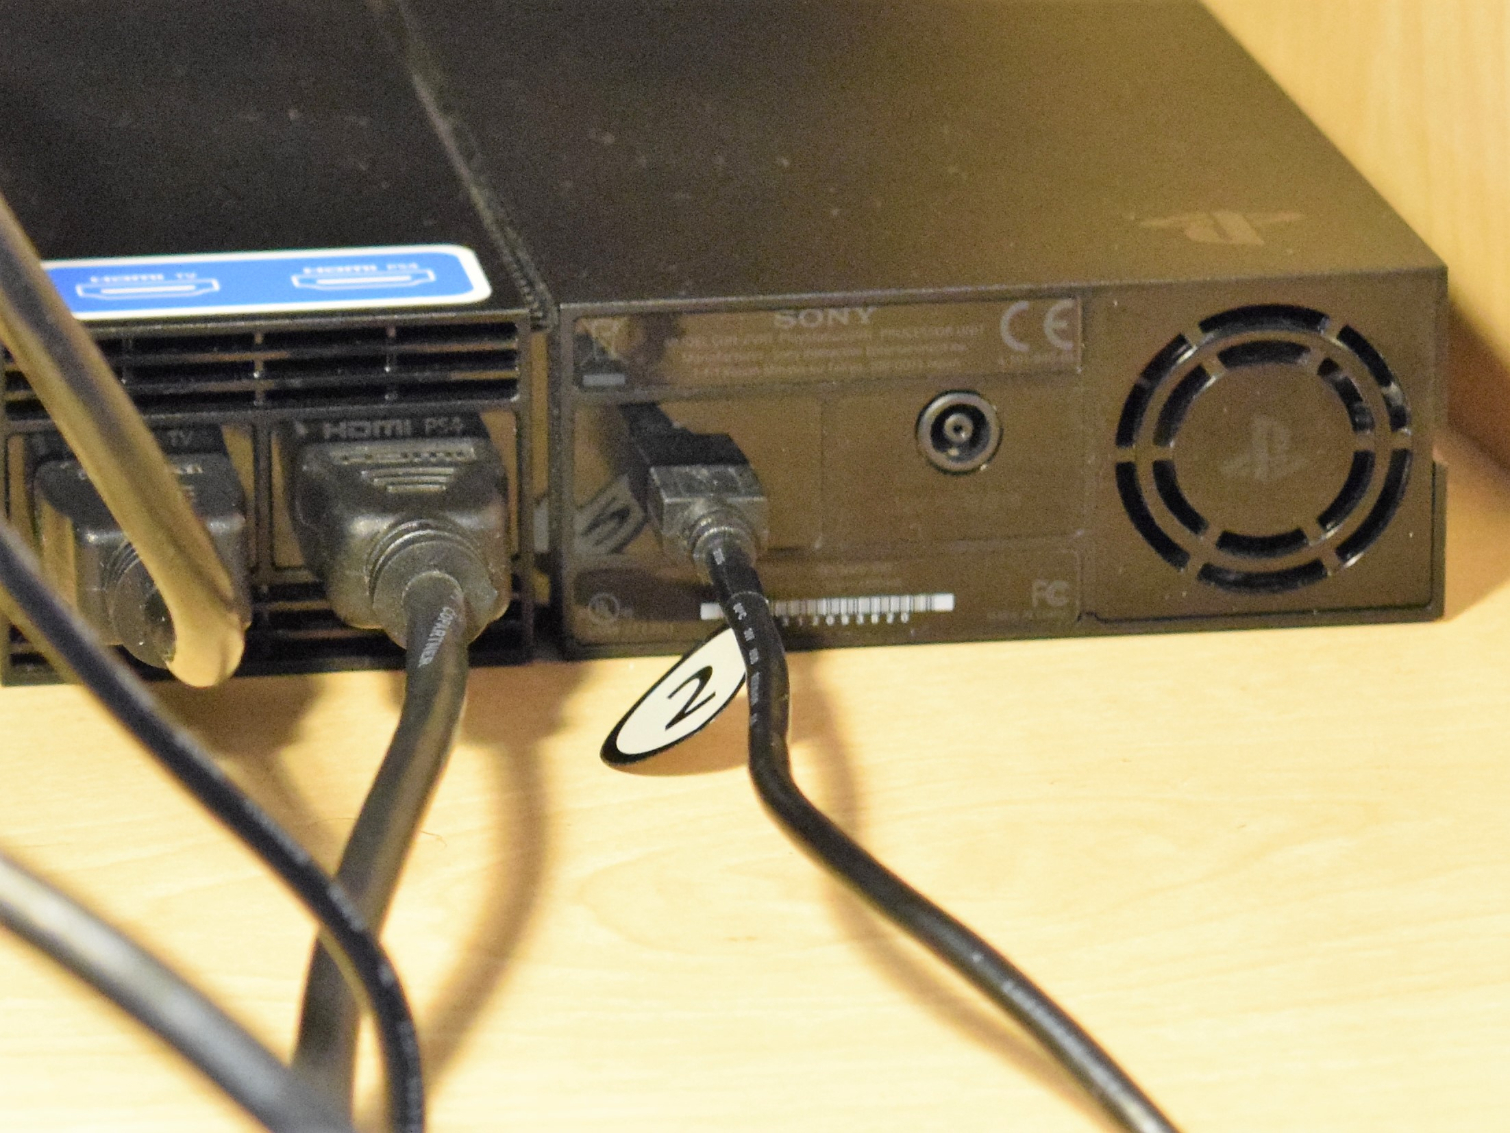
On the back of the PSVR Processor Unit, you’ll find a Micro USB port. This port allows the PS4 to control the function of the Processor Unit. Without the USB connection, the Processor Unit treats the PSVR as a digital display, not a VR HMD.
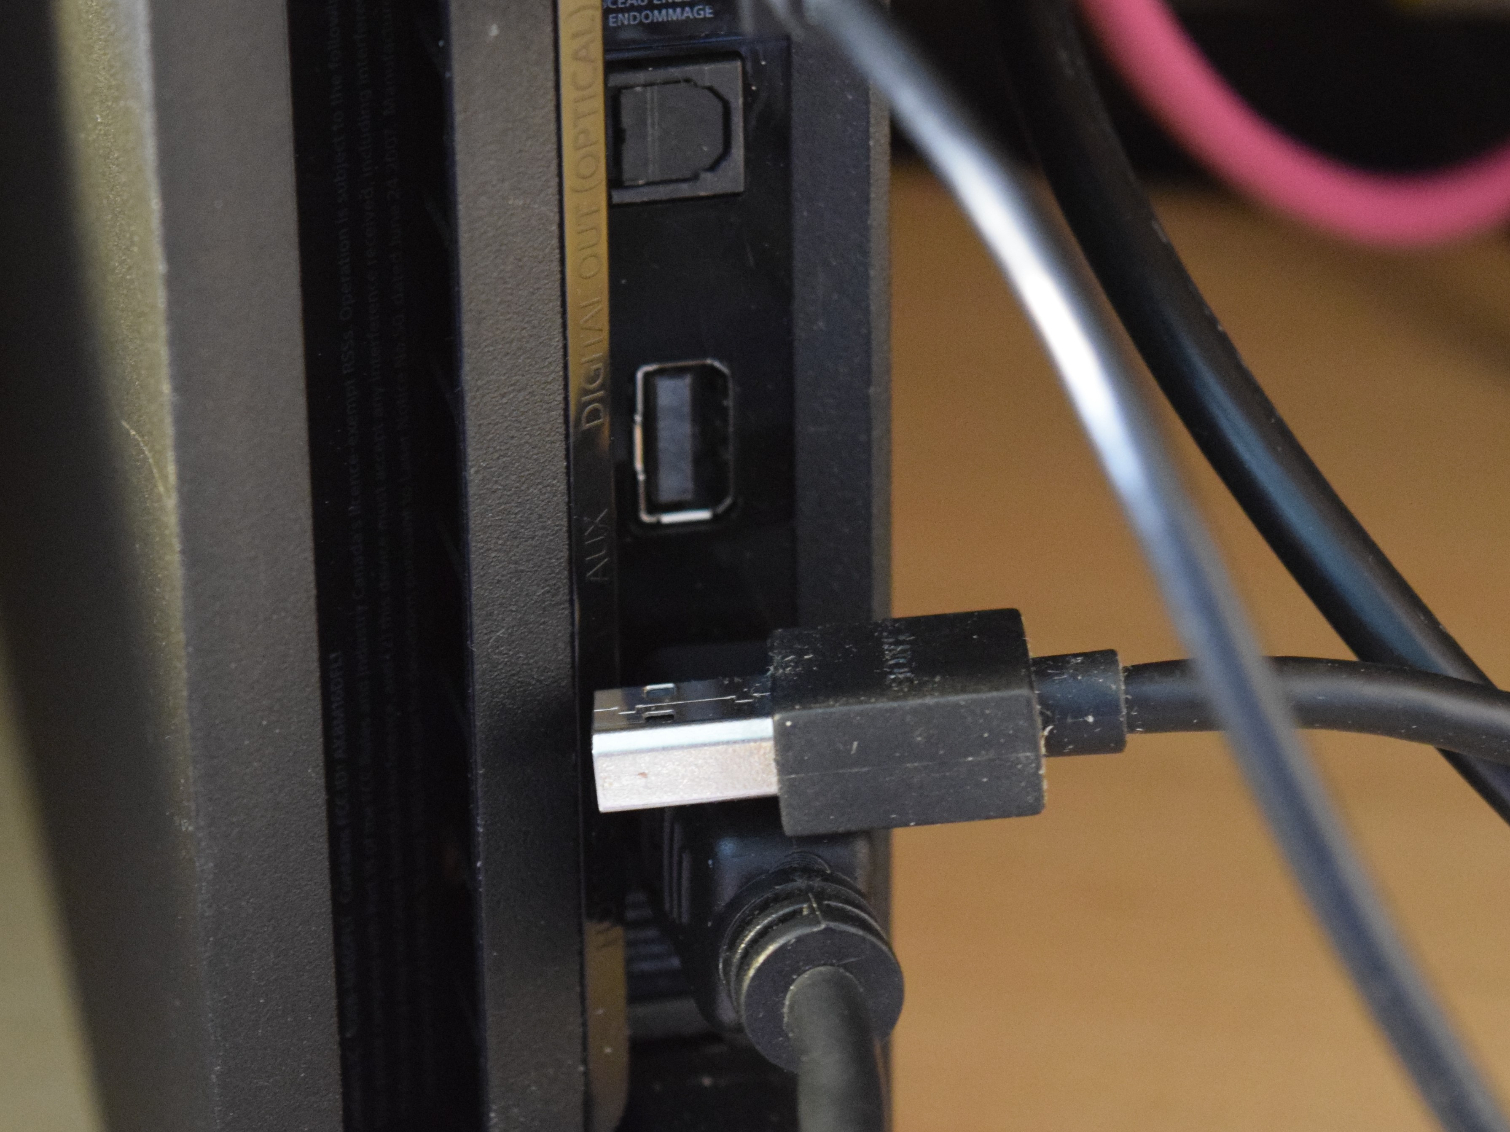
The USB cable must be connected to your PS4 console. If you have a PS4 Pro, you can plug the cable in at the rear of the console. If you have a standard PS4 console, you’ll be forced to plug the Processor Box into one of the front USB ports.
MORE: May 2017 Virtual Reality Games Preview
MORE: Best Virtual Reality HMDs
The Processor Box Needs Power
Once you have the HDMI in, HDMI out, and the USB cable plugged into the Processor Box, locate the power cord and power brick. The 12V power supply plugs into a round port on the back of the Processor Box. Without the power cord, the Processor Box is nothing but a fancy paper weight.
MORE: May 2017 Virtual Reality Games Preview
MORE: Best Virtual Reality HMDs
Plug In PlayStation Camera
Before you turn on your PS4, you must ensure that your camera is plugged in. If you already have a PlayStation camera, skip this step. If you purchased a camera with your PSVR headset, now’s the time to plug it in.
On the rear of the PlayStation 4 console, you’ll find a proprietary port that looks like a USB port with a weight problem. The plug on the end of the PlayStation Camera's cord fits into this port. No other component will fit in the camera port.
MORE: May 2017 Virtual Reality Games Preview
MORE: Best Virtual Reality HMDs
Placing Your Camera
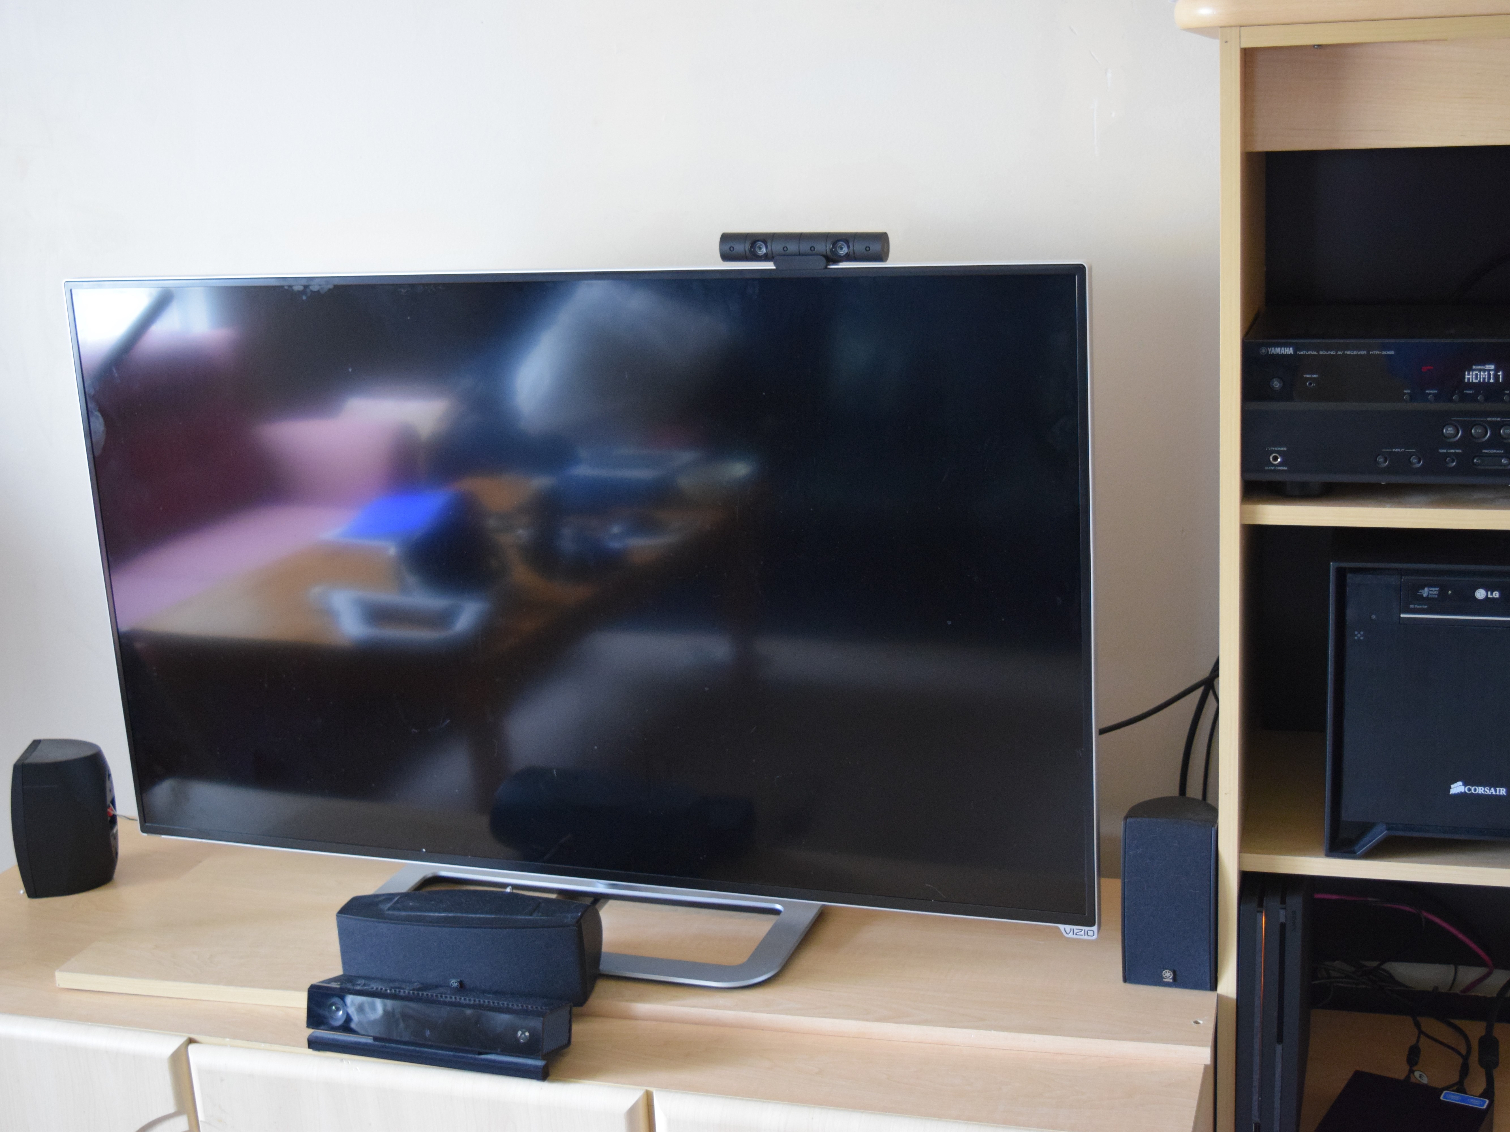
The placement of the PlayStation Camera has a significant impact on the tracking performance of your system. To the best of your ability, try to keep the camera out of direct sunlight. Sony’s tracking system is light-based, which means it works best in darker environments. If you must place the camera in a bright room, try to keep the camera facing away from any natural light source.
It’s also important that you place the camera as high as you can in the room. Tracking performance diminishes the lower your camera is placed.
Most importantly, make sure you choose a central location for your camera. If your place space is off center from the TV, offset the camera accordingly.
MORE: May 2017 Virtual Reality Games Preview
MORE: Best Virtual Reality HMDs
Camera Stand Adjustments
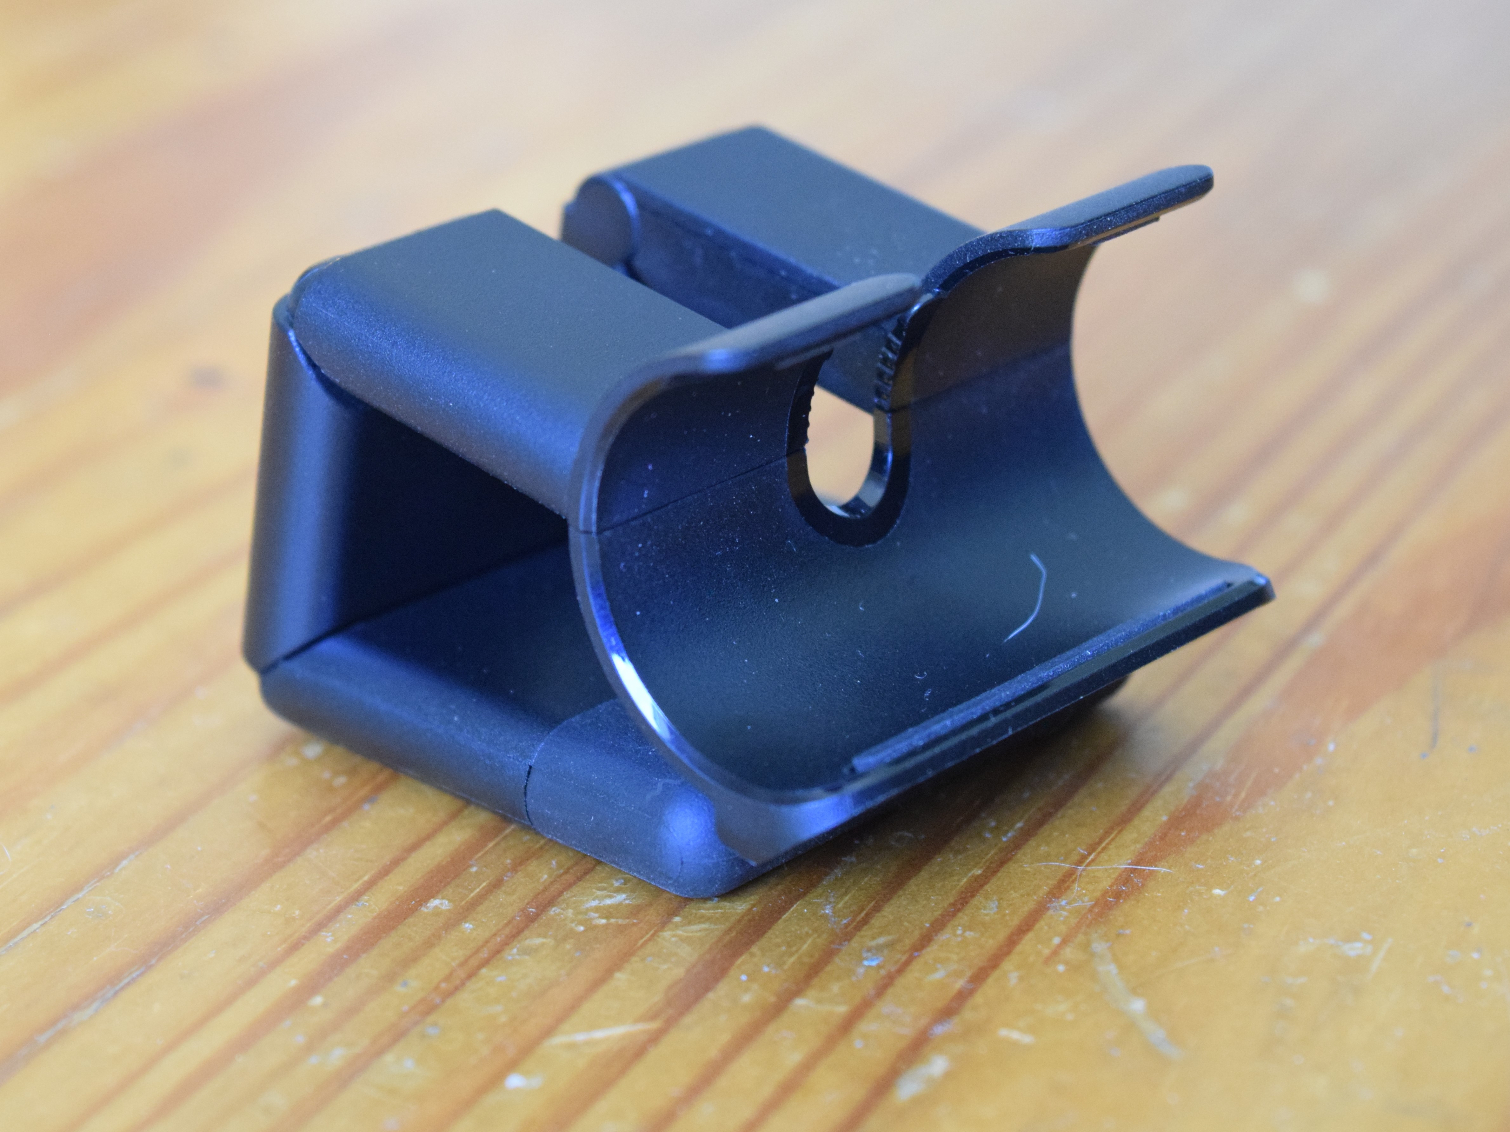
The stand for the PlayStation 4 Camera is quite versatile. At first glance, it’s a basic device, but upon closer inspection you’ll notice that it offers many configuration options.
That stand is really a one-size-fits-all type of product. You can fold it up to create a pedestal for the camera, you can lay it flat to get more stability on uneven surfaces, or you can hang it off the back of your LCD TV. The stand also lets you adjust the tilt angle of the lenses to ensure that the camera points directly at your play area, no matter how high or low you place the camera.
MORE: May 2017 Virtual Reality Games Preview
MORE: Best Virtual Reality HMDs
Plug In the Headset
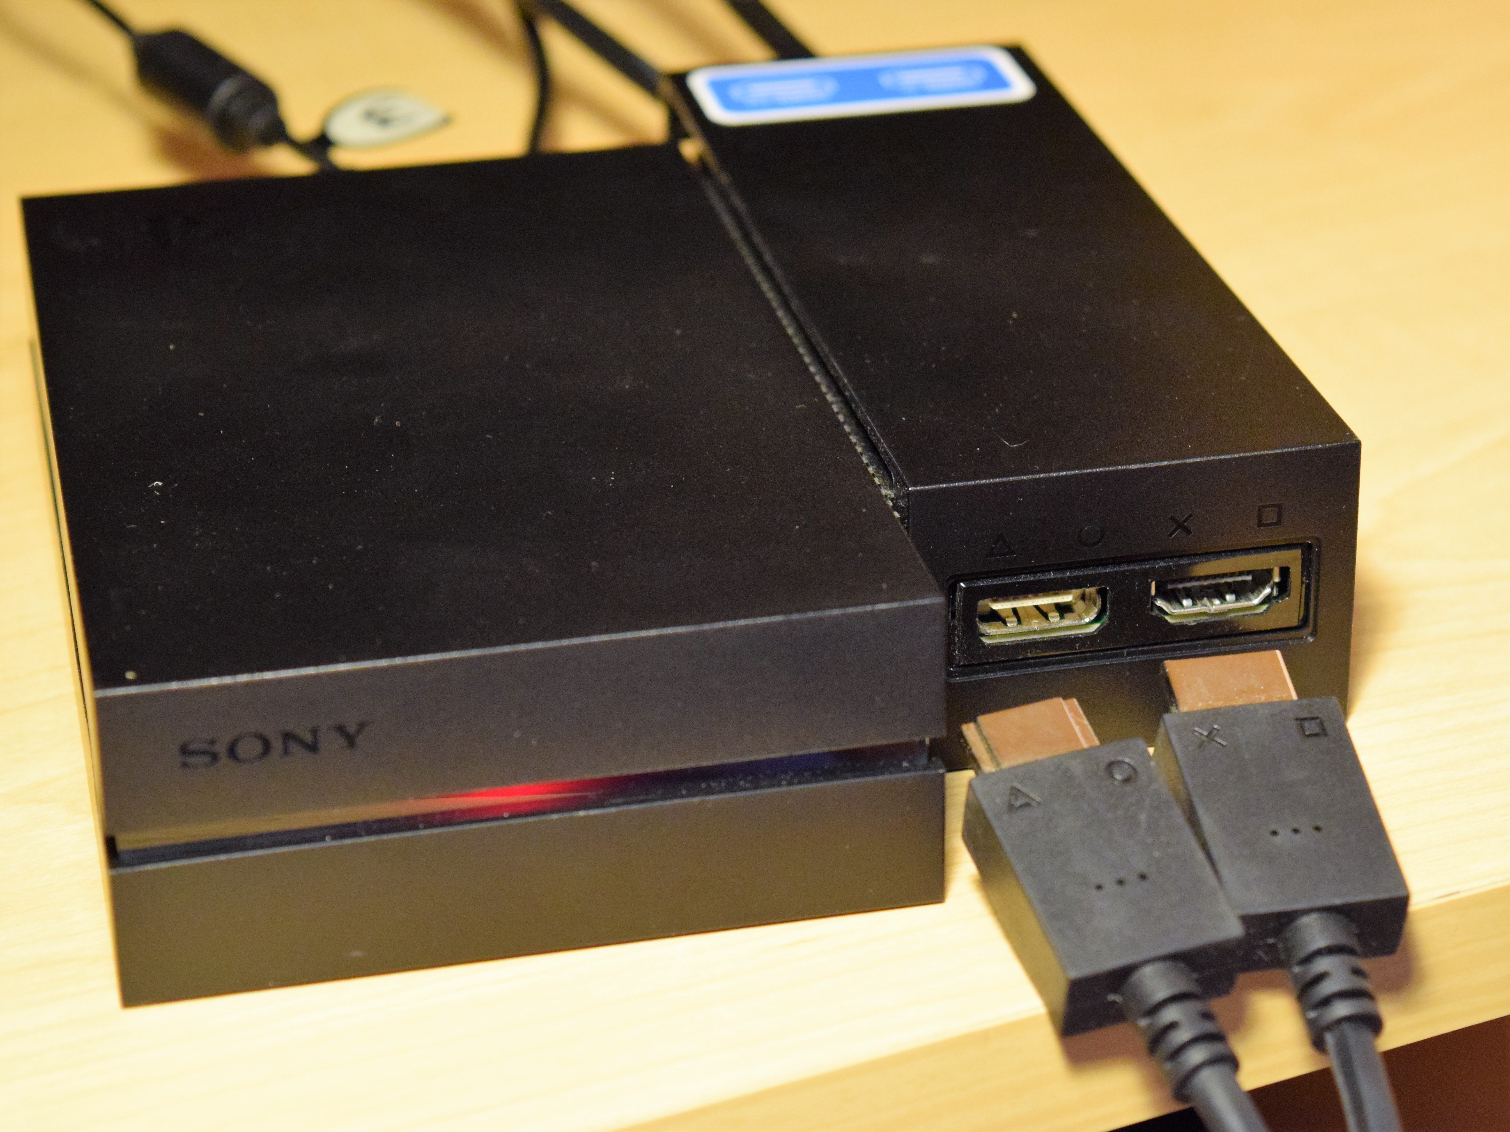
The front of the Processor Unit features two recessed ports. One port is HDMI, and the other one is a proprietary data connection. You’ll notice that the PSVR HMD features a double cable with plugs that correspond to the ports on the Processor Unit. The kit also includes an extension cable with the same ports and plugs.
To access the front ports on the Processor Unit, slide the casing back to expose them. Plug the extension cable into the ports on the Processor Box, and then plug the HMD into the extension cable.
MORE: May 2017 Virtual Reality Games Preview
MORE: Best Virtual Reality HMDs
Kevin Carbotte is a contributing writer for Tom's Hardware who primarily covers VR and AR hardware. He has been writing for us for more than four years.
-
shrapnel_indie Will be simpler when they integrate the VR module with the main console unit. What we got here is akin to the old Sega 32X setup in some way (but more complex.)Reply -
jfkeenan If you have a PS4 Pro you lose HDR when the VR is connected because they used older HDMI in the processor box.Reply -
Dyseman All cables hidden within my gaming cabinet. 1 wire going to Headset. Zero Lag. And everyone you go up against are using same exact setups. So You win or lose by skill, not by being outdone by a superior rig.Reply
Loving mine.
