Setting Up Your PSVR: A Step-By-Step Guide
Power On The Console
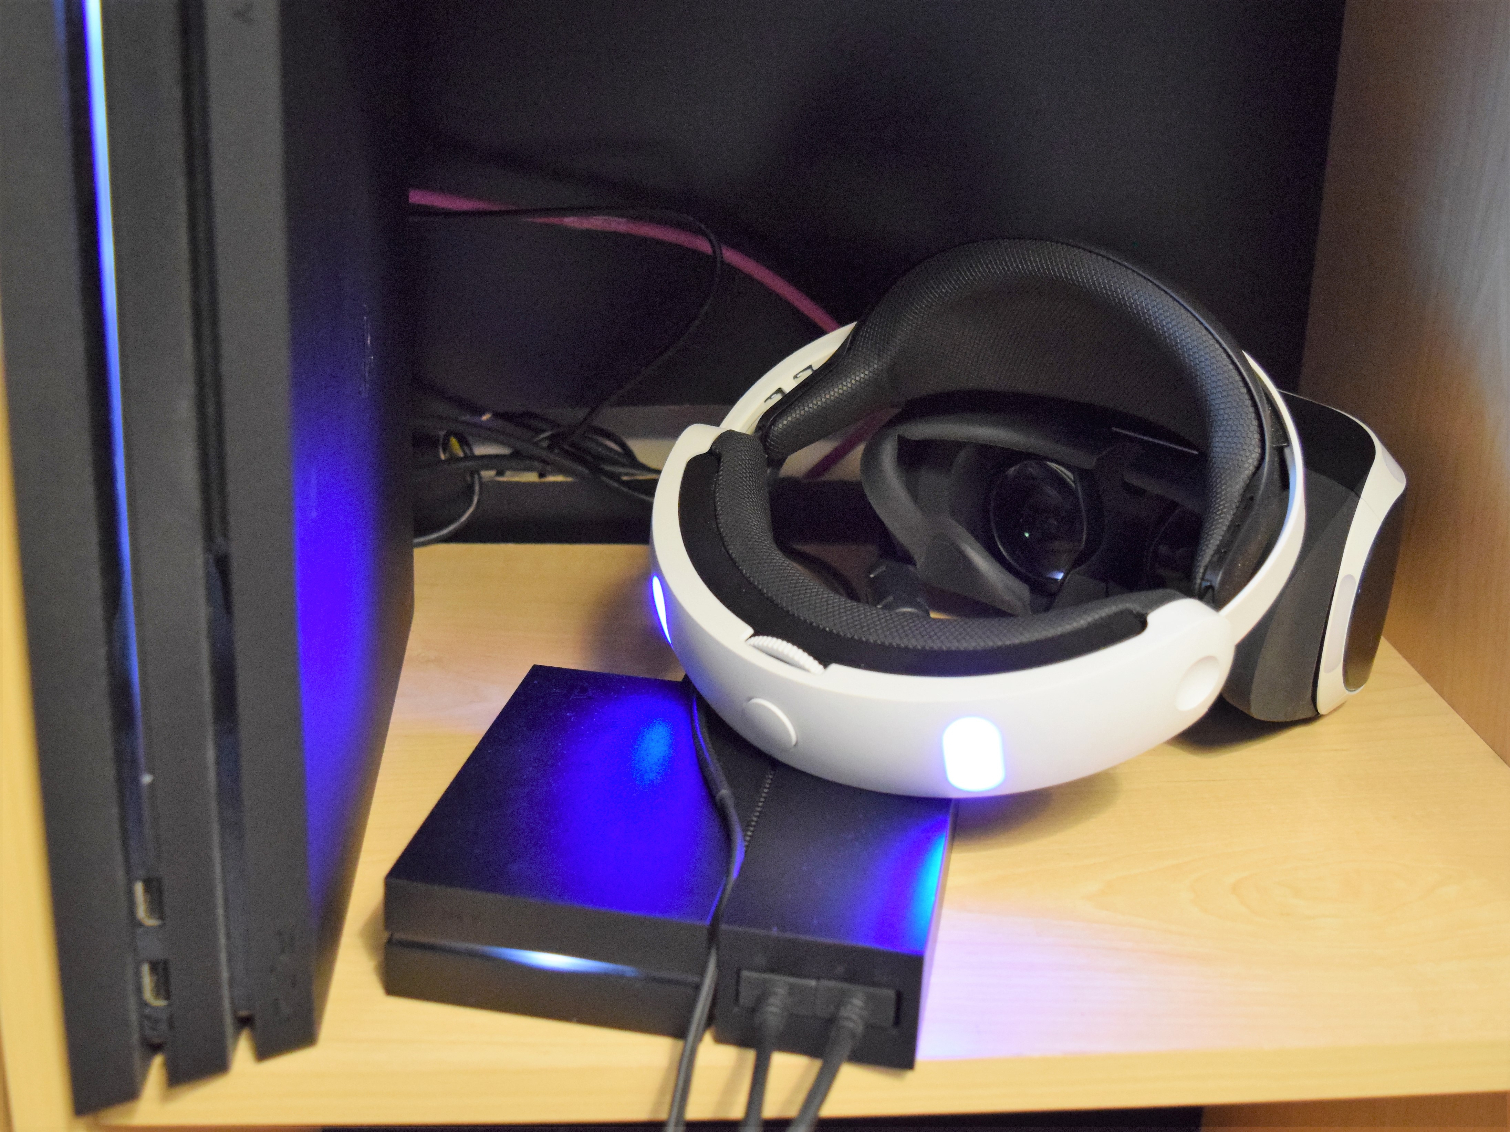
Now that you have all the cables plugged into the PlayStation 4, it’s safe to turn on both the console and TV. The PlayStation VR HMD has its own power button that you need to press.
When you turn on the PSVR HMD, the TV screen will go blank for a moment while the Processor Box takes over the video feed.
MORE: May 2017 Virtual Reality Games Preview
MORE: Best Virtual Reality HMDs
Software Update
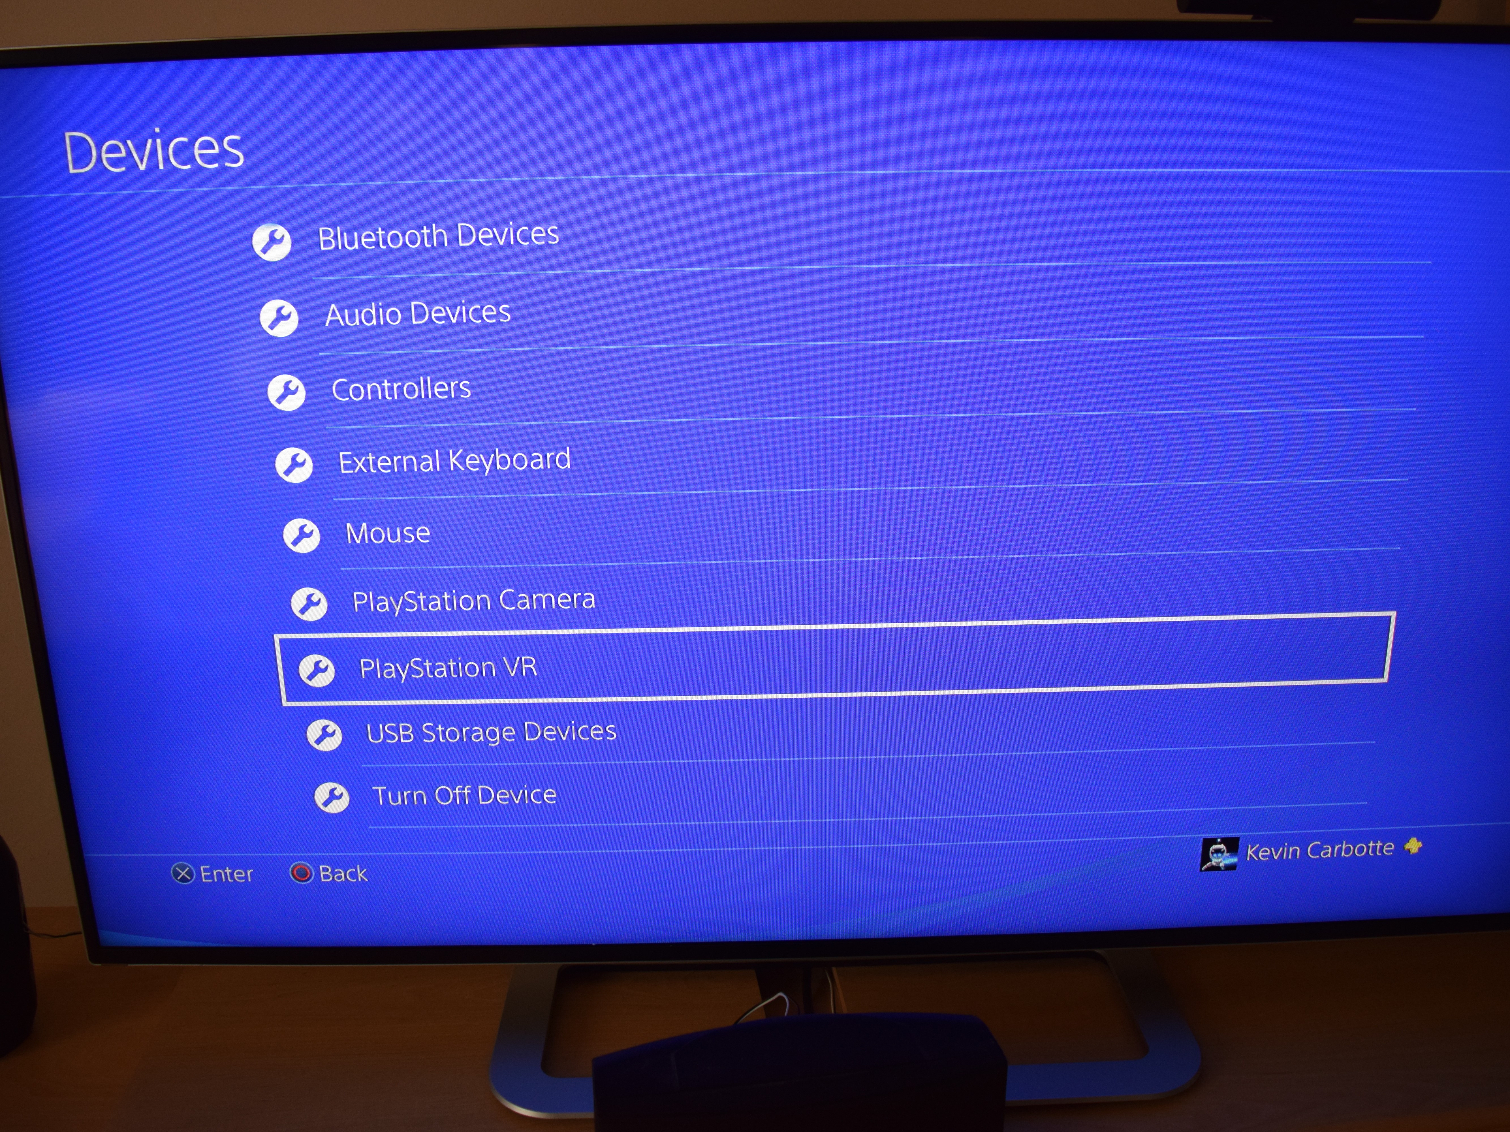
The first time you plug the PSVR in to your PS4, the console will automatically download the drivers for the headset and Processor Box. The console will reboot during the update process. When the update is complete, you'll find a PlayStation VR menu in the Device Settings menu, which includes utilities for calibration and hardware information.
MORE: May 2017 Virtual Reality Games Preview
MORE: Best Virtual Reality HMDs
Get Tom's Hardware's best news and in-depth reviews, straight to your inbox.
Calibrate The Camera
You must calibrate the headset’s position relative to the camera before you can use the PSVR, and you should calibrate the camera before worrying about the headset.
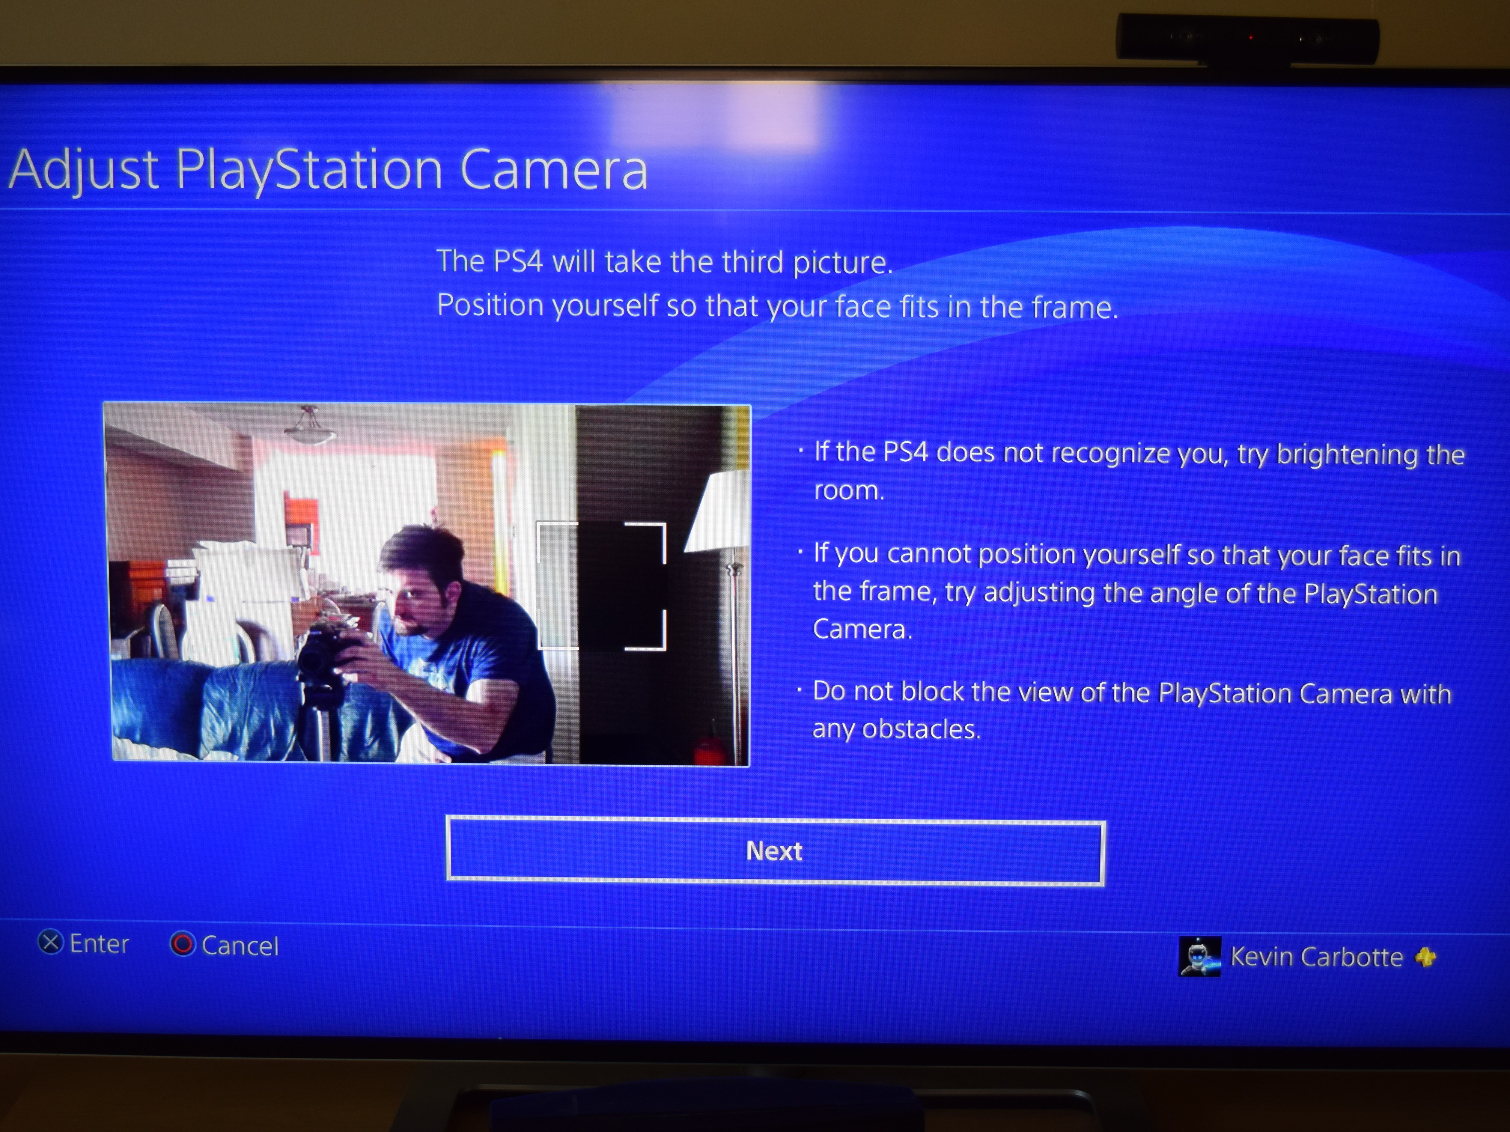
Double check that your camera is placed where you want it and open the “Adjust PlayStation Camera” utility to adjust the camera’s angle so that your body and head are visible when you stand in the primary play space.
MORE: May 2017 Virtual Reality Games Preview
MORE: Best Virtual Reality HMDs
Calibrate PSVR HMD Tracking
Sony uses a camera and LED tracking system for the PSVR headset and its accessories. Once your camera is in position and calibrated, you can fine-tune the tracking on the devices with the “Adjust Tracking Lights” utility. The tracking utility will prompt you to hold the headset up to the camera at a variety of angles. You must show the top, bottom, both sides, and rear of the headset to the camera.
MORE: May 2017 Virtual Reality Games Preview
MORE: Best Virtual Reality HMDs
Calibrate Your Controllers
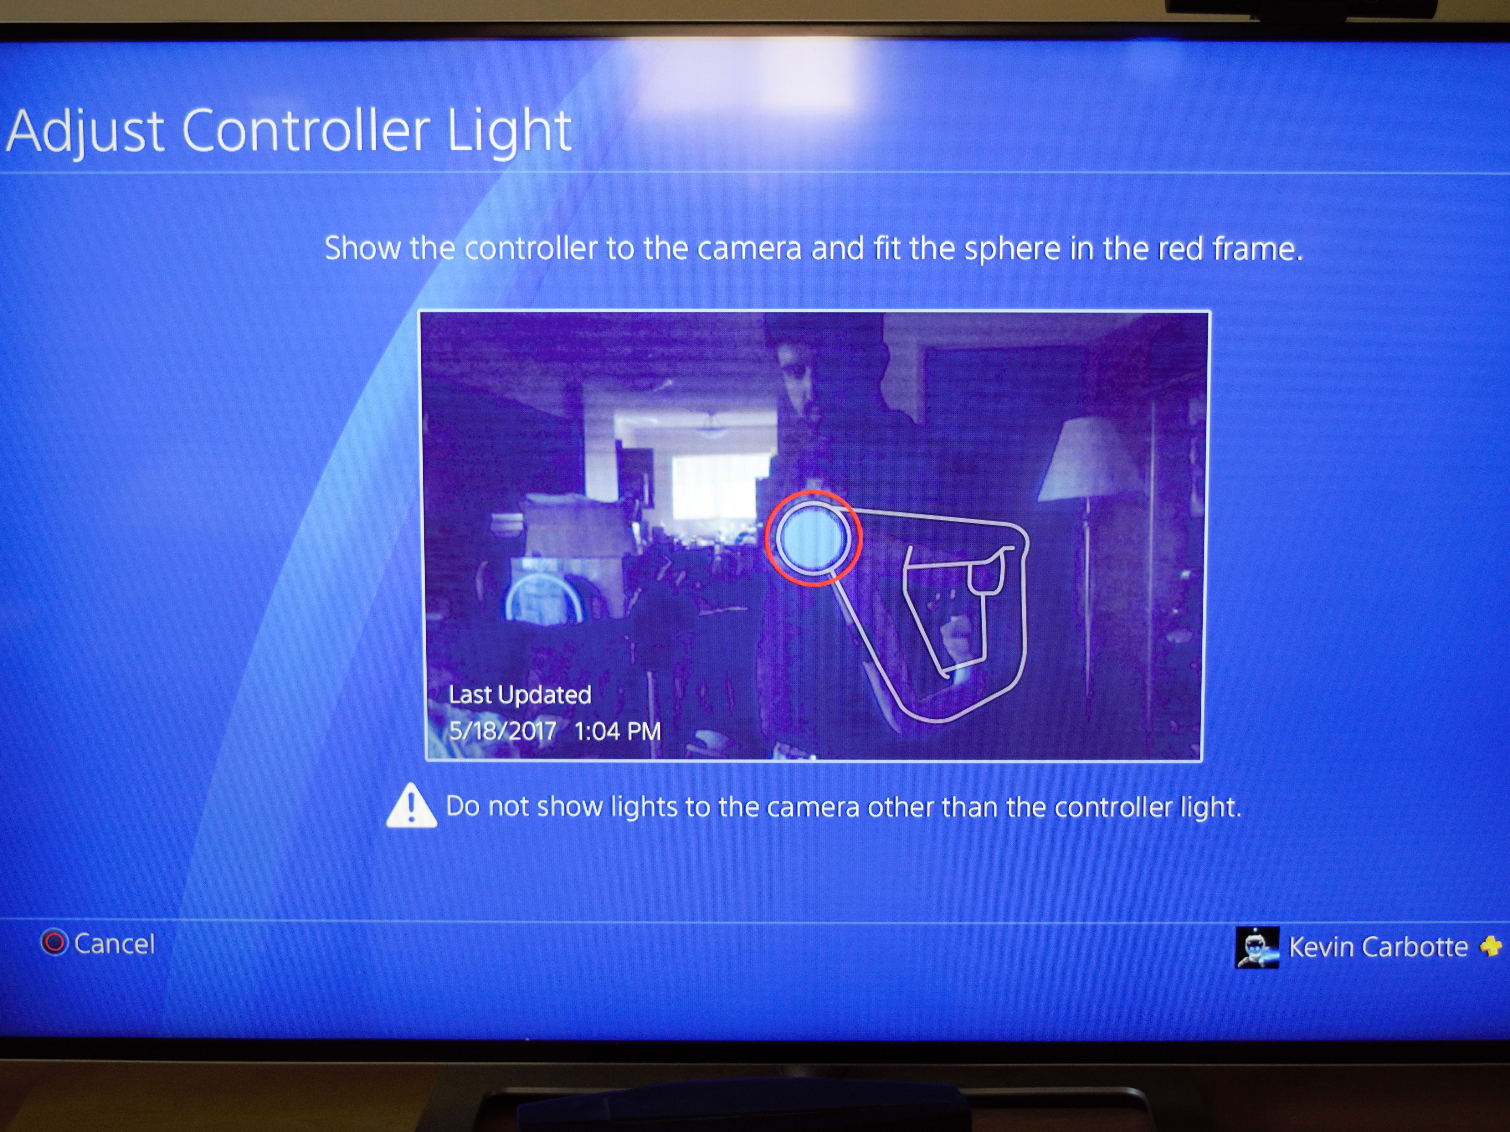
Controllers are easier to calibrate. The camera needs to see only one angle each of the Move controllers, Dual Shock 4 gamepad, and the PSVR Aim controller. In the “Adjust Tracking Lights” utility, select Controller and then press the X button on the controller you wish to calibrate.
Line the controller’s glowing section up with the illustration on the screen and hold it there until the controller cycles through all of its available colors. The software determines which color is the most visible option in your environment.
MORE: May 2017 Virtual Reality Games Preview
MORE: Best Virtual Reality HMDs
Measure Your Interpupillary Distance (IPD)
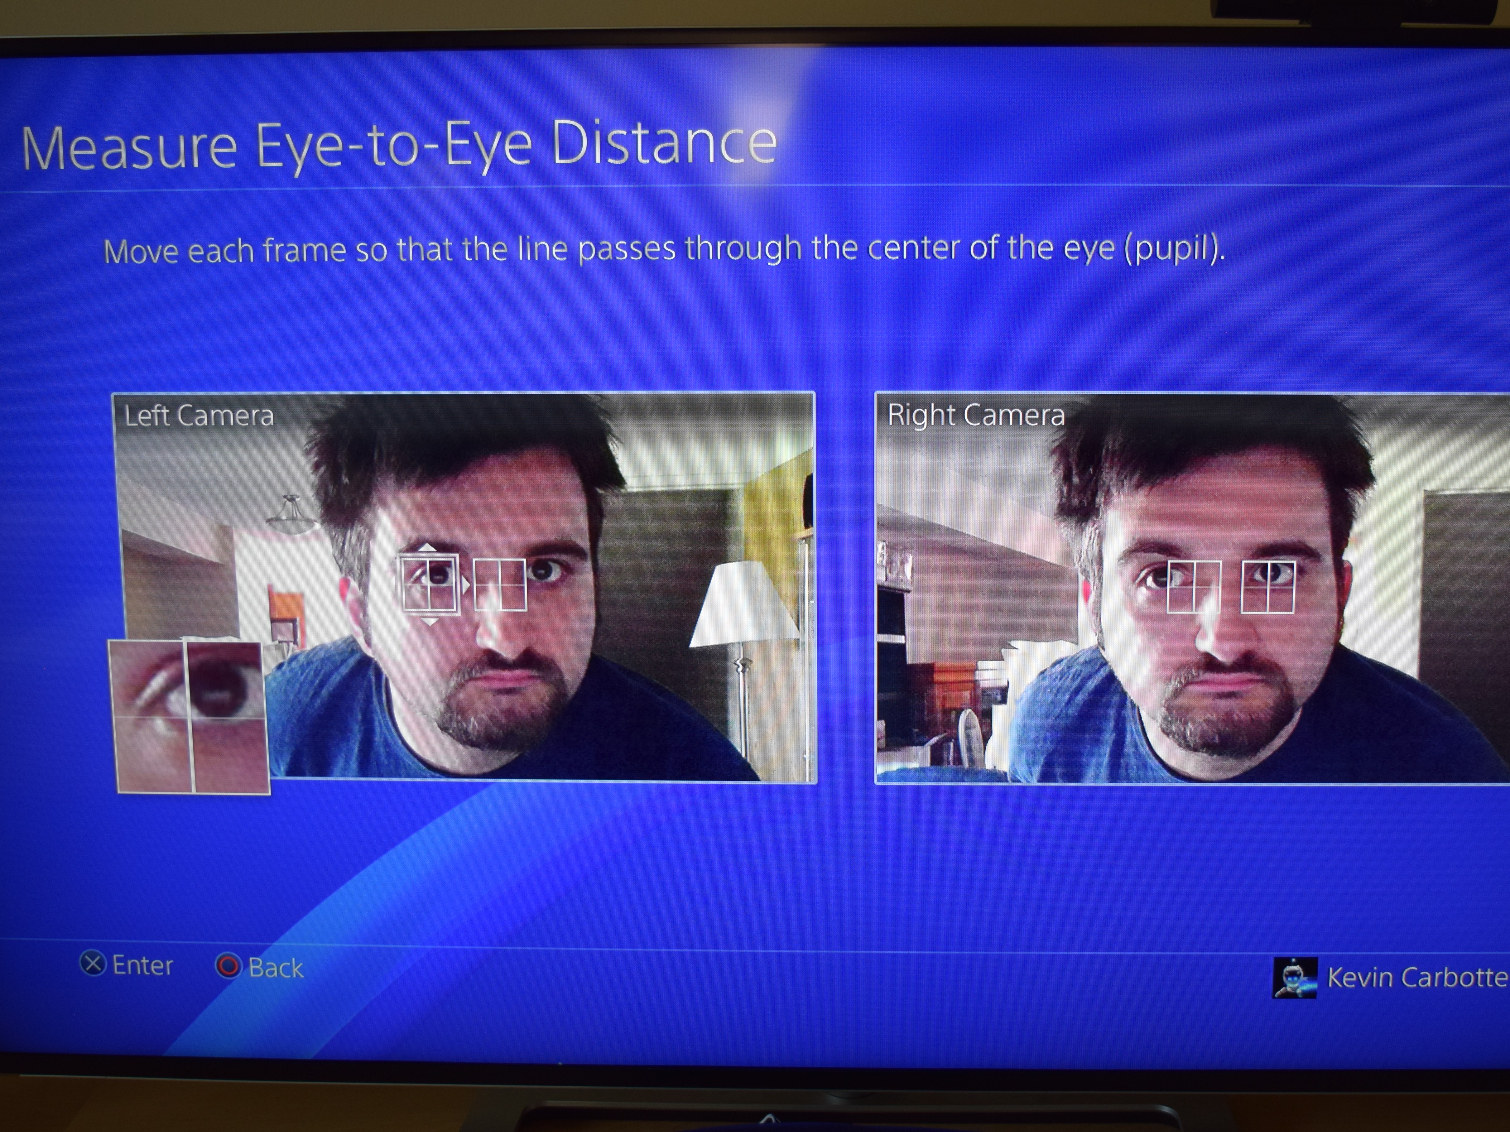
The PSVR headset doesn’t have an interpupillary distance (IPD) adjustment dial like the Oculus Rift and HTC Vive do. Sony opted for a software IPD calibration method instead of a mechanical one. To adjust the IPD settings, open the “Measure Eye-to-Eye Distance” tool and follow the onscreen prompts. You must move close to the PlayStation Camera and peer into the two lenses. The software will determine the optimal IPD setting for you.
MORE: May 2017 Virtual Reality Games Preview
MORE: Best Virtual Reality HMDs
Carefully Put The HMD On
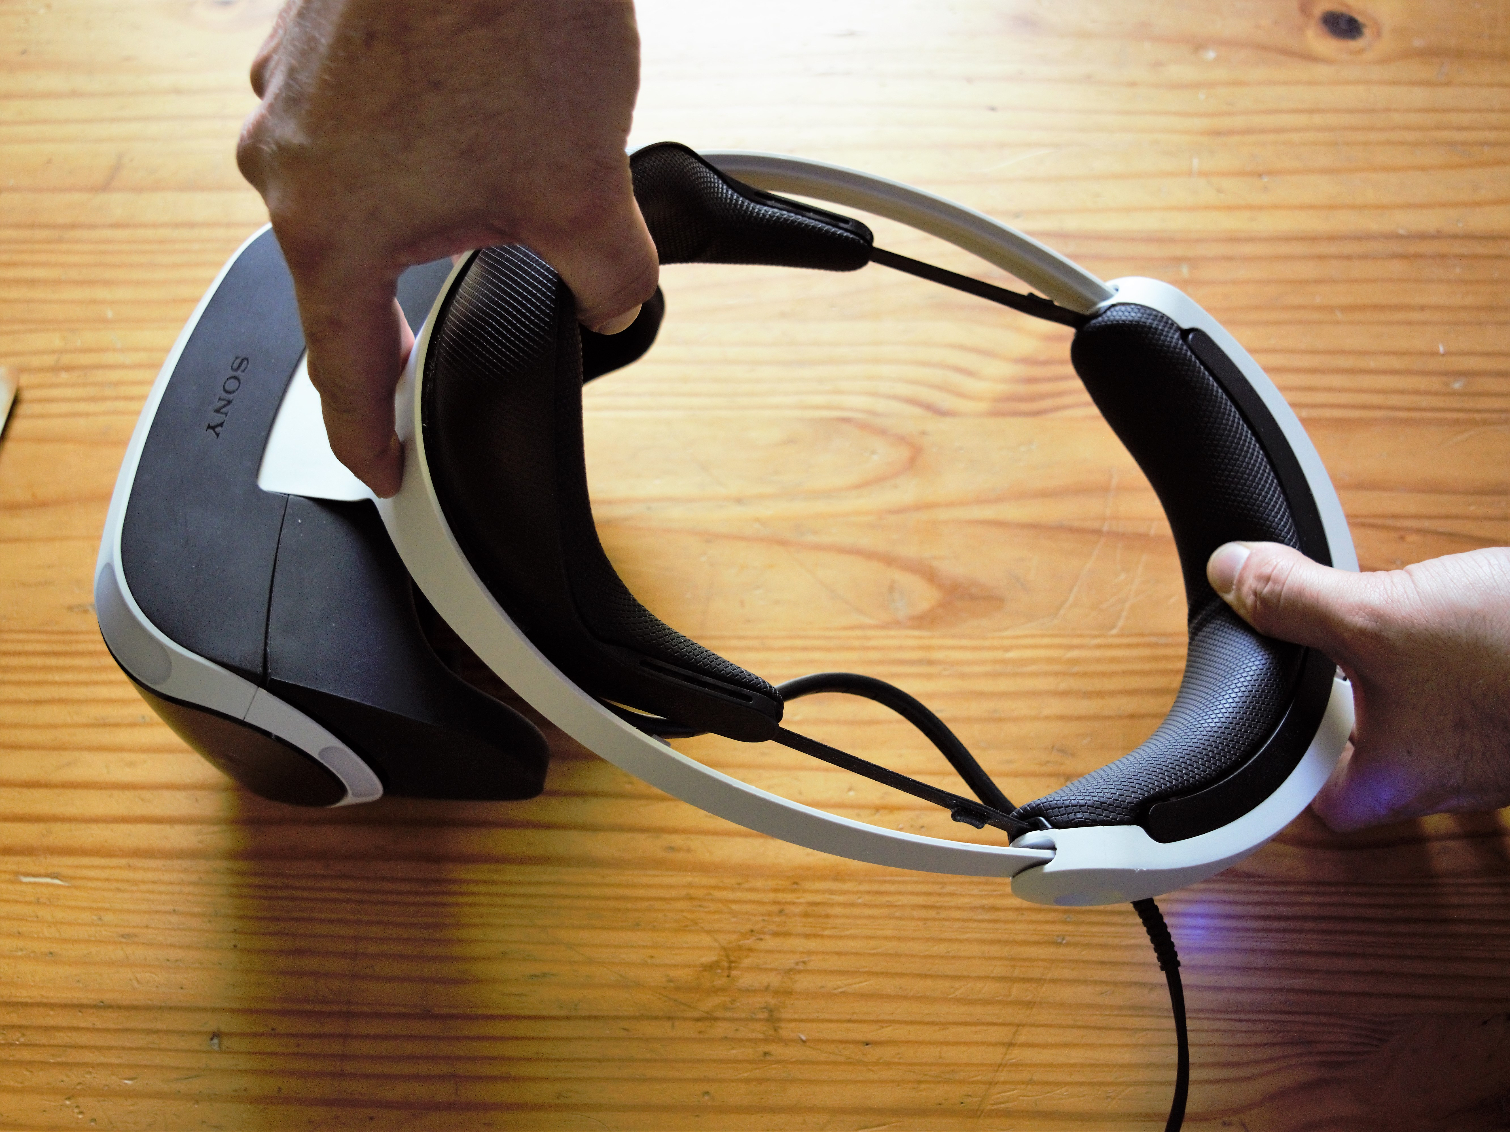
Now that the PSVR software is configured, you can put on the HMD. With one hand, grab the PSVR by the forehead rest and pick it up. With your other hand, grab the back strap where the release button is located. With both hands, extend the headband far enough that you can slip it onto your head. Don’t pull too hard, though, as you could damage the elastic bands that give it tension. Once you let go of the head strap, you should feel a gentle squeeze.
MORE: May 2017 Virtual Reality Games Preview
MORE: Best Virtual Reality HMDs
Adjust The HMD's Fitment
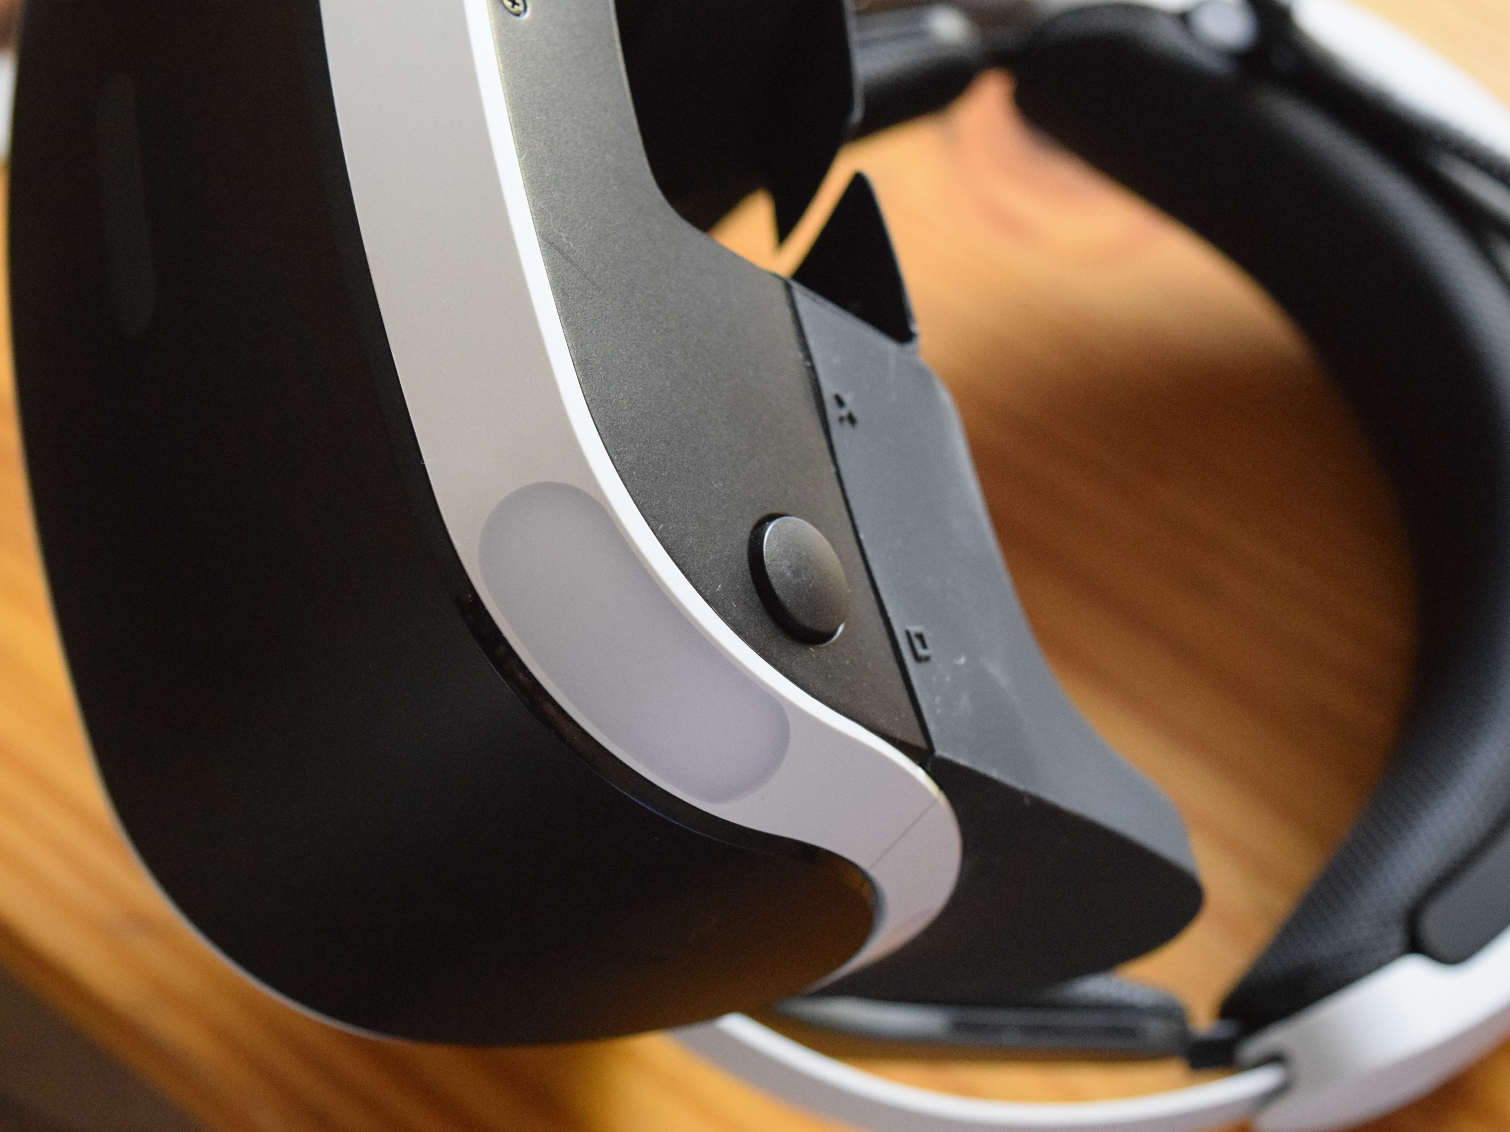
Now that you have the PSVR HMD on your head, adjust it for maximum comfort and visibility. You’ll notice a black button on the bottom right side of the HMD. Press that button to release the screen depth lock. While holding the button down, slide the display pod towards or away from your face to find the best clarity. You should also experiment with adjusting the vertical position of the headset. Just make sure you don’t grab the display pod when moving it up and down. The mount is made of plastic and somewhat flimsy.
Once you have the headset where you want it, turn the dial on the rear of the strap to lock it snugly into place.
MORE: May 2017 Virtual Reality Games Preview
MORE: Best Virtual Reality HMDs
Plug In Some Headphones
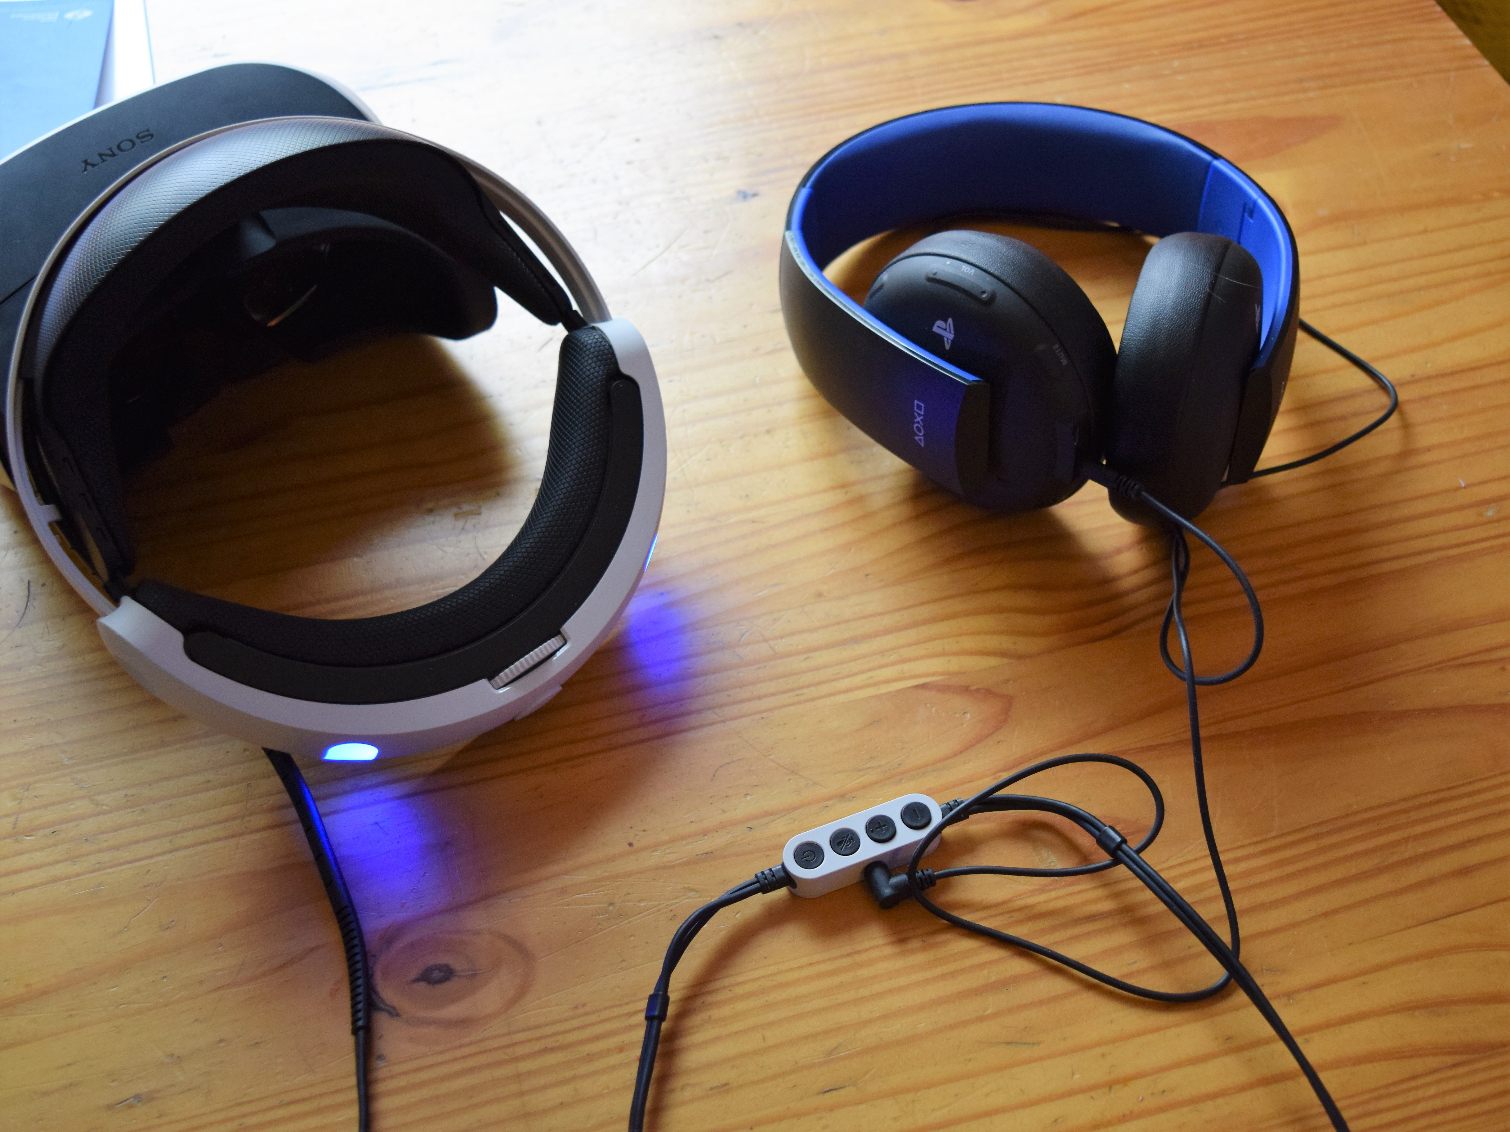
The PlayStation VR doesn't include built-in headphones. You can plug in the included earbuds or a gaming headset, though. The PSVR HMD's data cable includes a small breakout box with a headphone jack on it. The breakout box also includes a mute button and volume up and down buttons. Sony also placed the power button for the HMD on the audio jack breakout box.
MORE: May 2017 Virtual Reality Games Preview
MORE: Best Virtual Reality HMDs
Kevin Carbotte is a contributing writer for Tom's Hardware who primarily covers VR and AR hardware. He has been writing for us for more than four years.
-
shrapnel_indie Will be simpler when they integrate the VR module with the main console unit. What we got here is akin to the old Sega 32X setup in some way (but more complex.)Reply -
jfkeenan If you have a PS4 Pro you lose HDR when the VR is connected because they used older HDMI in the processor box.Reply -
Dyseman All cables hidden within my gaming cabinet. 1 wire going to Headset. Zero Lag. And everyone you go up against are using same exact setups. So You win or lose by skill, not by being outdone by a superior rig.Reply
Loving mine.
