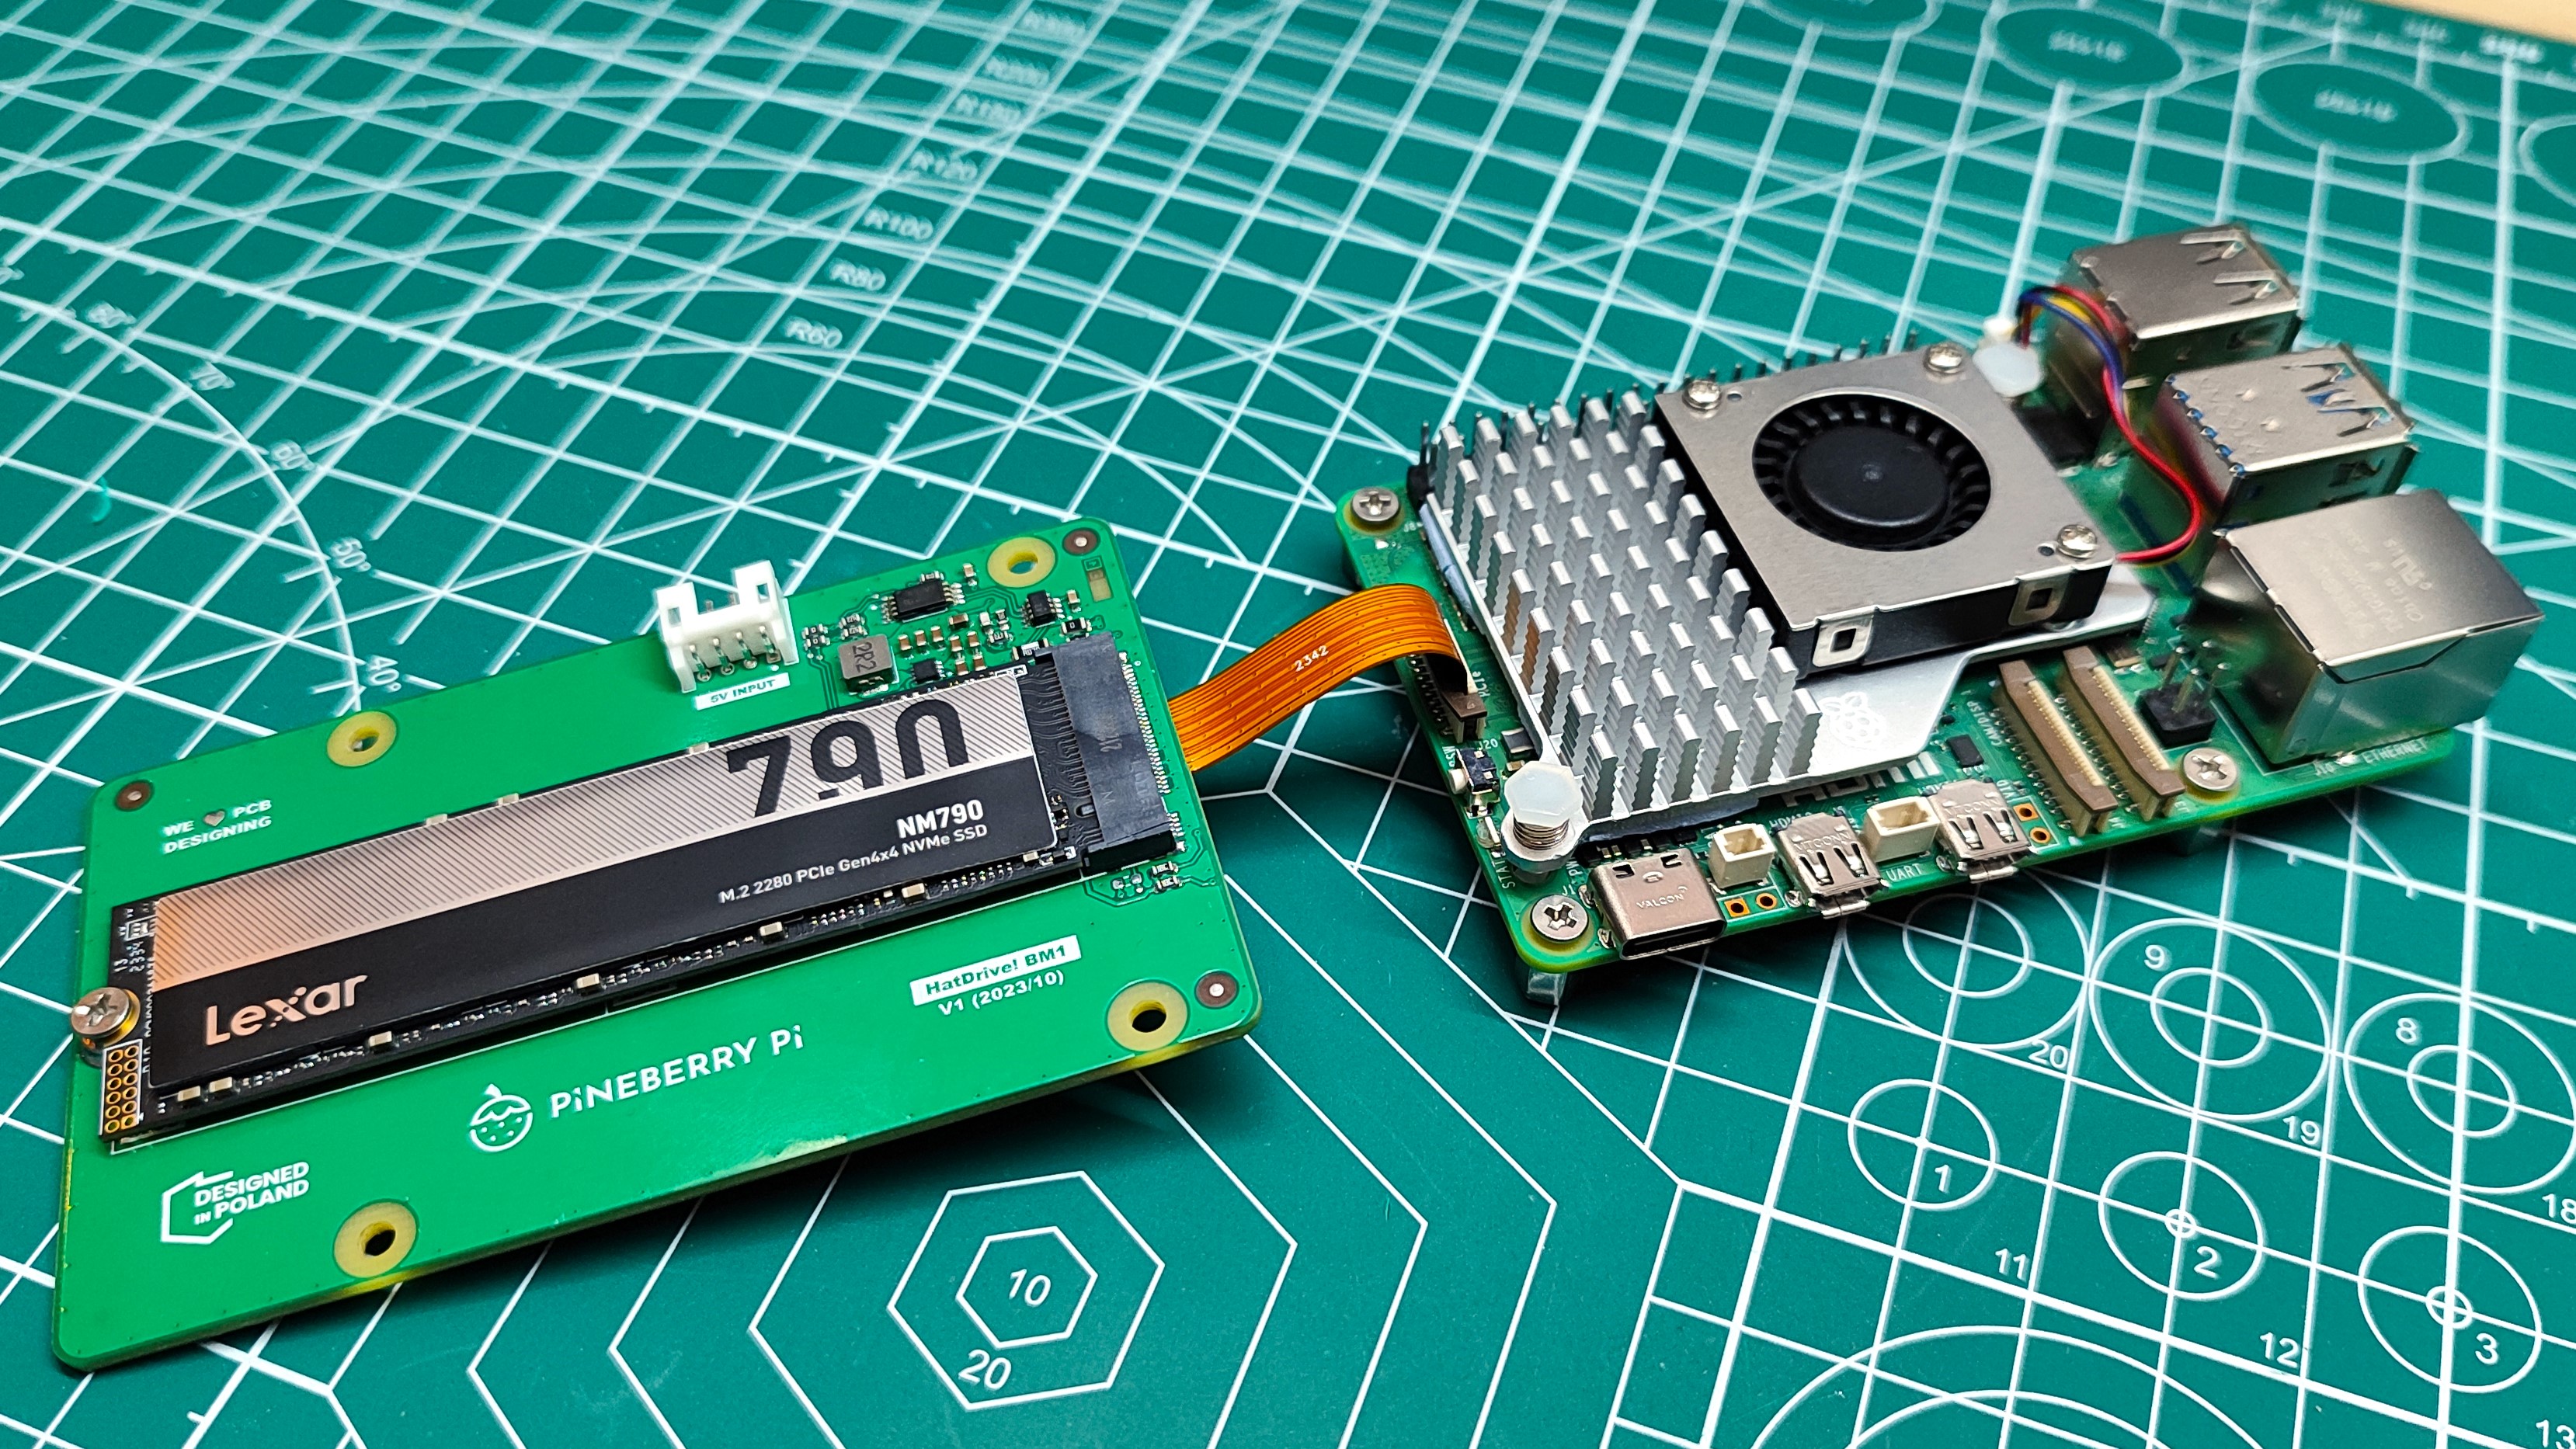
How to turbo-charge your Raspberry Pi 5 with an NVMe boot drive (Updated)
The fastest Raspberry Pi just got faster!
Update 6/7/2024 07:02 PT
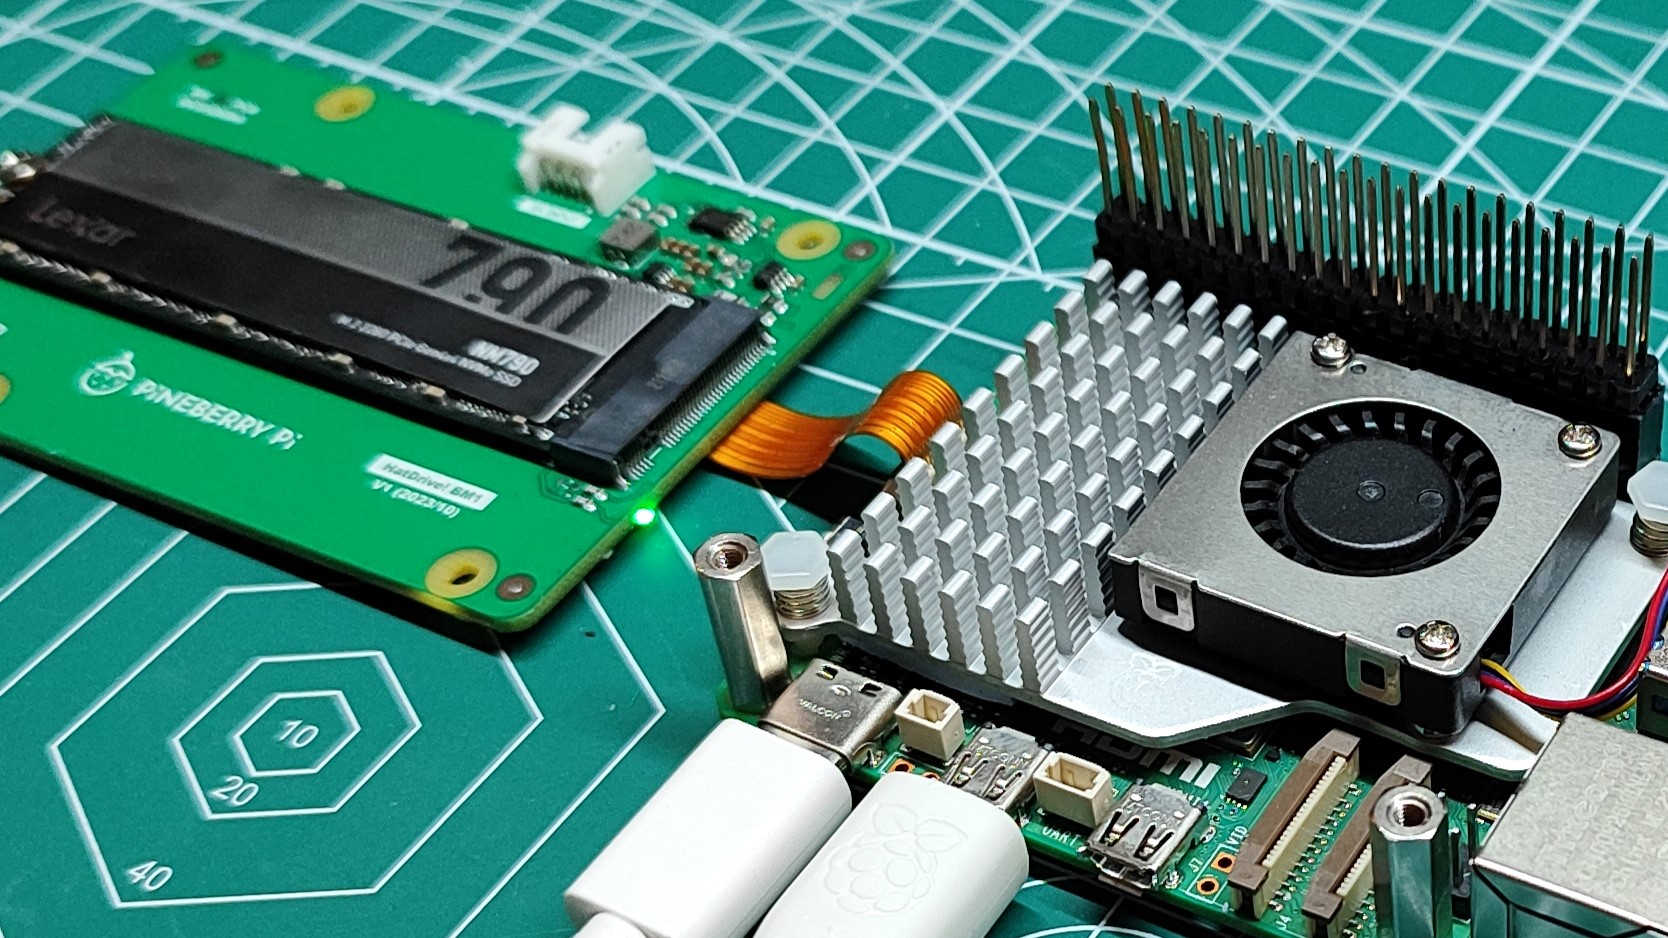
Raspberry Pi has just released its AI Kit which uses an M.2 Hailo-8L NPU that connects to the Raspberry Pi 5 via the M.2 HAT+. That leaves us with the curious situation of only a single M.2 slot for either an NVMe SSD or the NPU.
There are boards which offer multiple M.2 connections. Two that spring to mind are Pimoroni's NVMe Base Duo and Pineboards Hat Drive Dual and Hat Drive AI. The problem is that older bootloaders only see the first PCIe device in the M.2 slot. Updating the bootloader on your Raspberry Pi 5 to the latest firmware (at the time of writing this was June 5 2024) will provide a means to run an NVMe SSD in the first slot, and an NPU or additional NVMe SSD in the other slot.
We have confirmed that this works using a Phison based 2230 NVMe SSD and the Hailo-8L NPU via Pimoroni's NVMe Base Duo.
Update: 2/26/2024 09:39 PT
We have updated this guide due to a recent change in how the Raspberry Pi 5 and Raspberry Pi OS work with NVMe drives. The previous means of editing config files and boot orders is now no longer the correct method and this guide now reflects the current correct method.
Updated article
Get Tom's Hardware's best news and in-depth reviews, straight to your inbox.
The Raspberry Pi 5 introduced PCIe connectivity to the model B form factor and with it we are slowly seeing a number of boards for NVMe SSDs. The first was Pineberry Pi’s Hat Drives, followed by Pimoroni’s NVMe Base. The official Raspberry Pi M.2 board is just on the horizon, as the PIP, a Raspberry Pi word for PCIe Peripheral, specification has just been released.
For the early adopters, who have just received, or built their first NVMe board, how do we get it to work with the Raspberry Pi 5? We’ve been down that road, made the mistakes and have the knowledge to pass on. So let's turbo-charge our Raspberry Pi 5 with a super-speedy NVMe SSD.
For this project you will need
- Raspberry Pi 5 running Raspberry Pi OS from micro SD
- NVMe SSD
- NVMe HAT
- USB-to-NVMe adapter (see best SSD enclosures)
Preparing your NVMe drive
Depending on your NVMe HAT board you can use any of the best NVMe SSDs, but we would choose a 2280 drive as they are cheap and plentiful, just make sure that your HAT board supports them.
1. Boot your Raspberry Pi 5 from a micro SD card.
2. Connect your NVMe SSD to a USB 3 port on the Raspberry Pi 5 via a USB 3 to NVMe adapter.
3. Complete all of the steps to download and install Raspberry Pi OS in our guide. Install the OS to the NVMe drive and not the micro SD card!
4. Once complete, eject and remove the NVMe drive from the USB adapter.
Setting up the Raspberry Pi 5 to use an NVMe drive
With our NVMe drive created, we now need to tell the Raspberry Pi 5 that we want to boot from NVMe and how fast we expect the connection to run at.
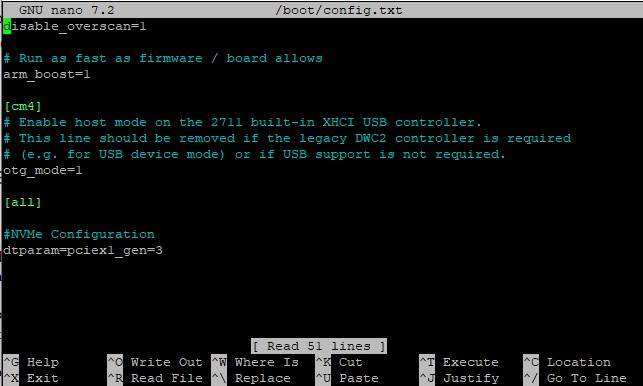
1. Open a terminal and use nano to edit the config.txt file. This file is used to alter the configuration of the Raspberry Pi. With it we can overclock the CPU and GPU and in this case set the PCIe connection speed. Note: from February 2024 the config.txt file has now moved to /boot/firmware/config.txt. Do not edit /boot/config.txt as it no longer works.
sudo nano /boot/firmware/config.txt2. Using the cursor keys, move down to the bottom of the file and add a section for NVMe configuration. We use a comment to denote what this block will do.
#NVMe Configuration3. Set the PCIe connection speed. There is official support for PCIe Gen 2 speeds, but we’ve tested Gen 3 and it works perfectly. Your mileage may vary, so if it doesn’t work, change this to 2.
dtparam=pciex1_gen=34. Press CTRL + X. Then press Y and Enter to save and exit the editor.
5. Reboot the Raspberry Pi for the change to take effect.
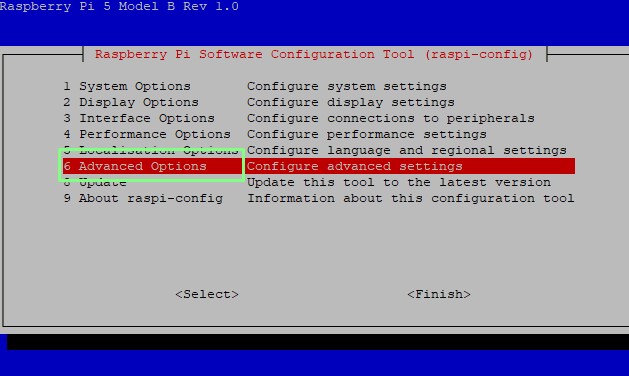
6. Open a terminal and start raspi-config command using sudo. Raspi-config is a terminal (ncurses) based config menu to configure the Raspberry Pi.
sudo raspi-config7. Using the cursor keys, navigate to Advanced Options and press Enter.
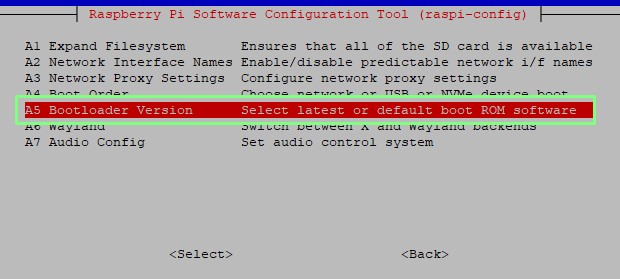
8. Add a line to enable custom PCIe boards to be used with the Raspberry Pi 5.
9. Select Latest and press Enter. When prompted, select Yes and press Enter.
10. Select Finish to exit raspi-config. In the past we would need to edit the boot order to ensure that NVMe was selected. Now, the default option is SD card / NVMe. If there is no SD card present, the Pi 5 will try to boot from NVMe.
11. Reboot the Raspberry Pi for the change to take effect. Check that your Raspberry Pi 5 reboots correctly before moving on.
12. Optional step: Check the bootloader version. Run this command and check that the current and latest bootloader versions are the same.
sudo rpi-eeprom-update 
13. Power off the Raspberry Pi 5 and remove the USB C power connection from the Pi. We need to make sure that the power is off.
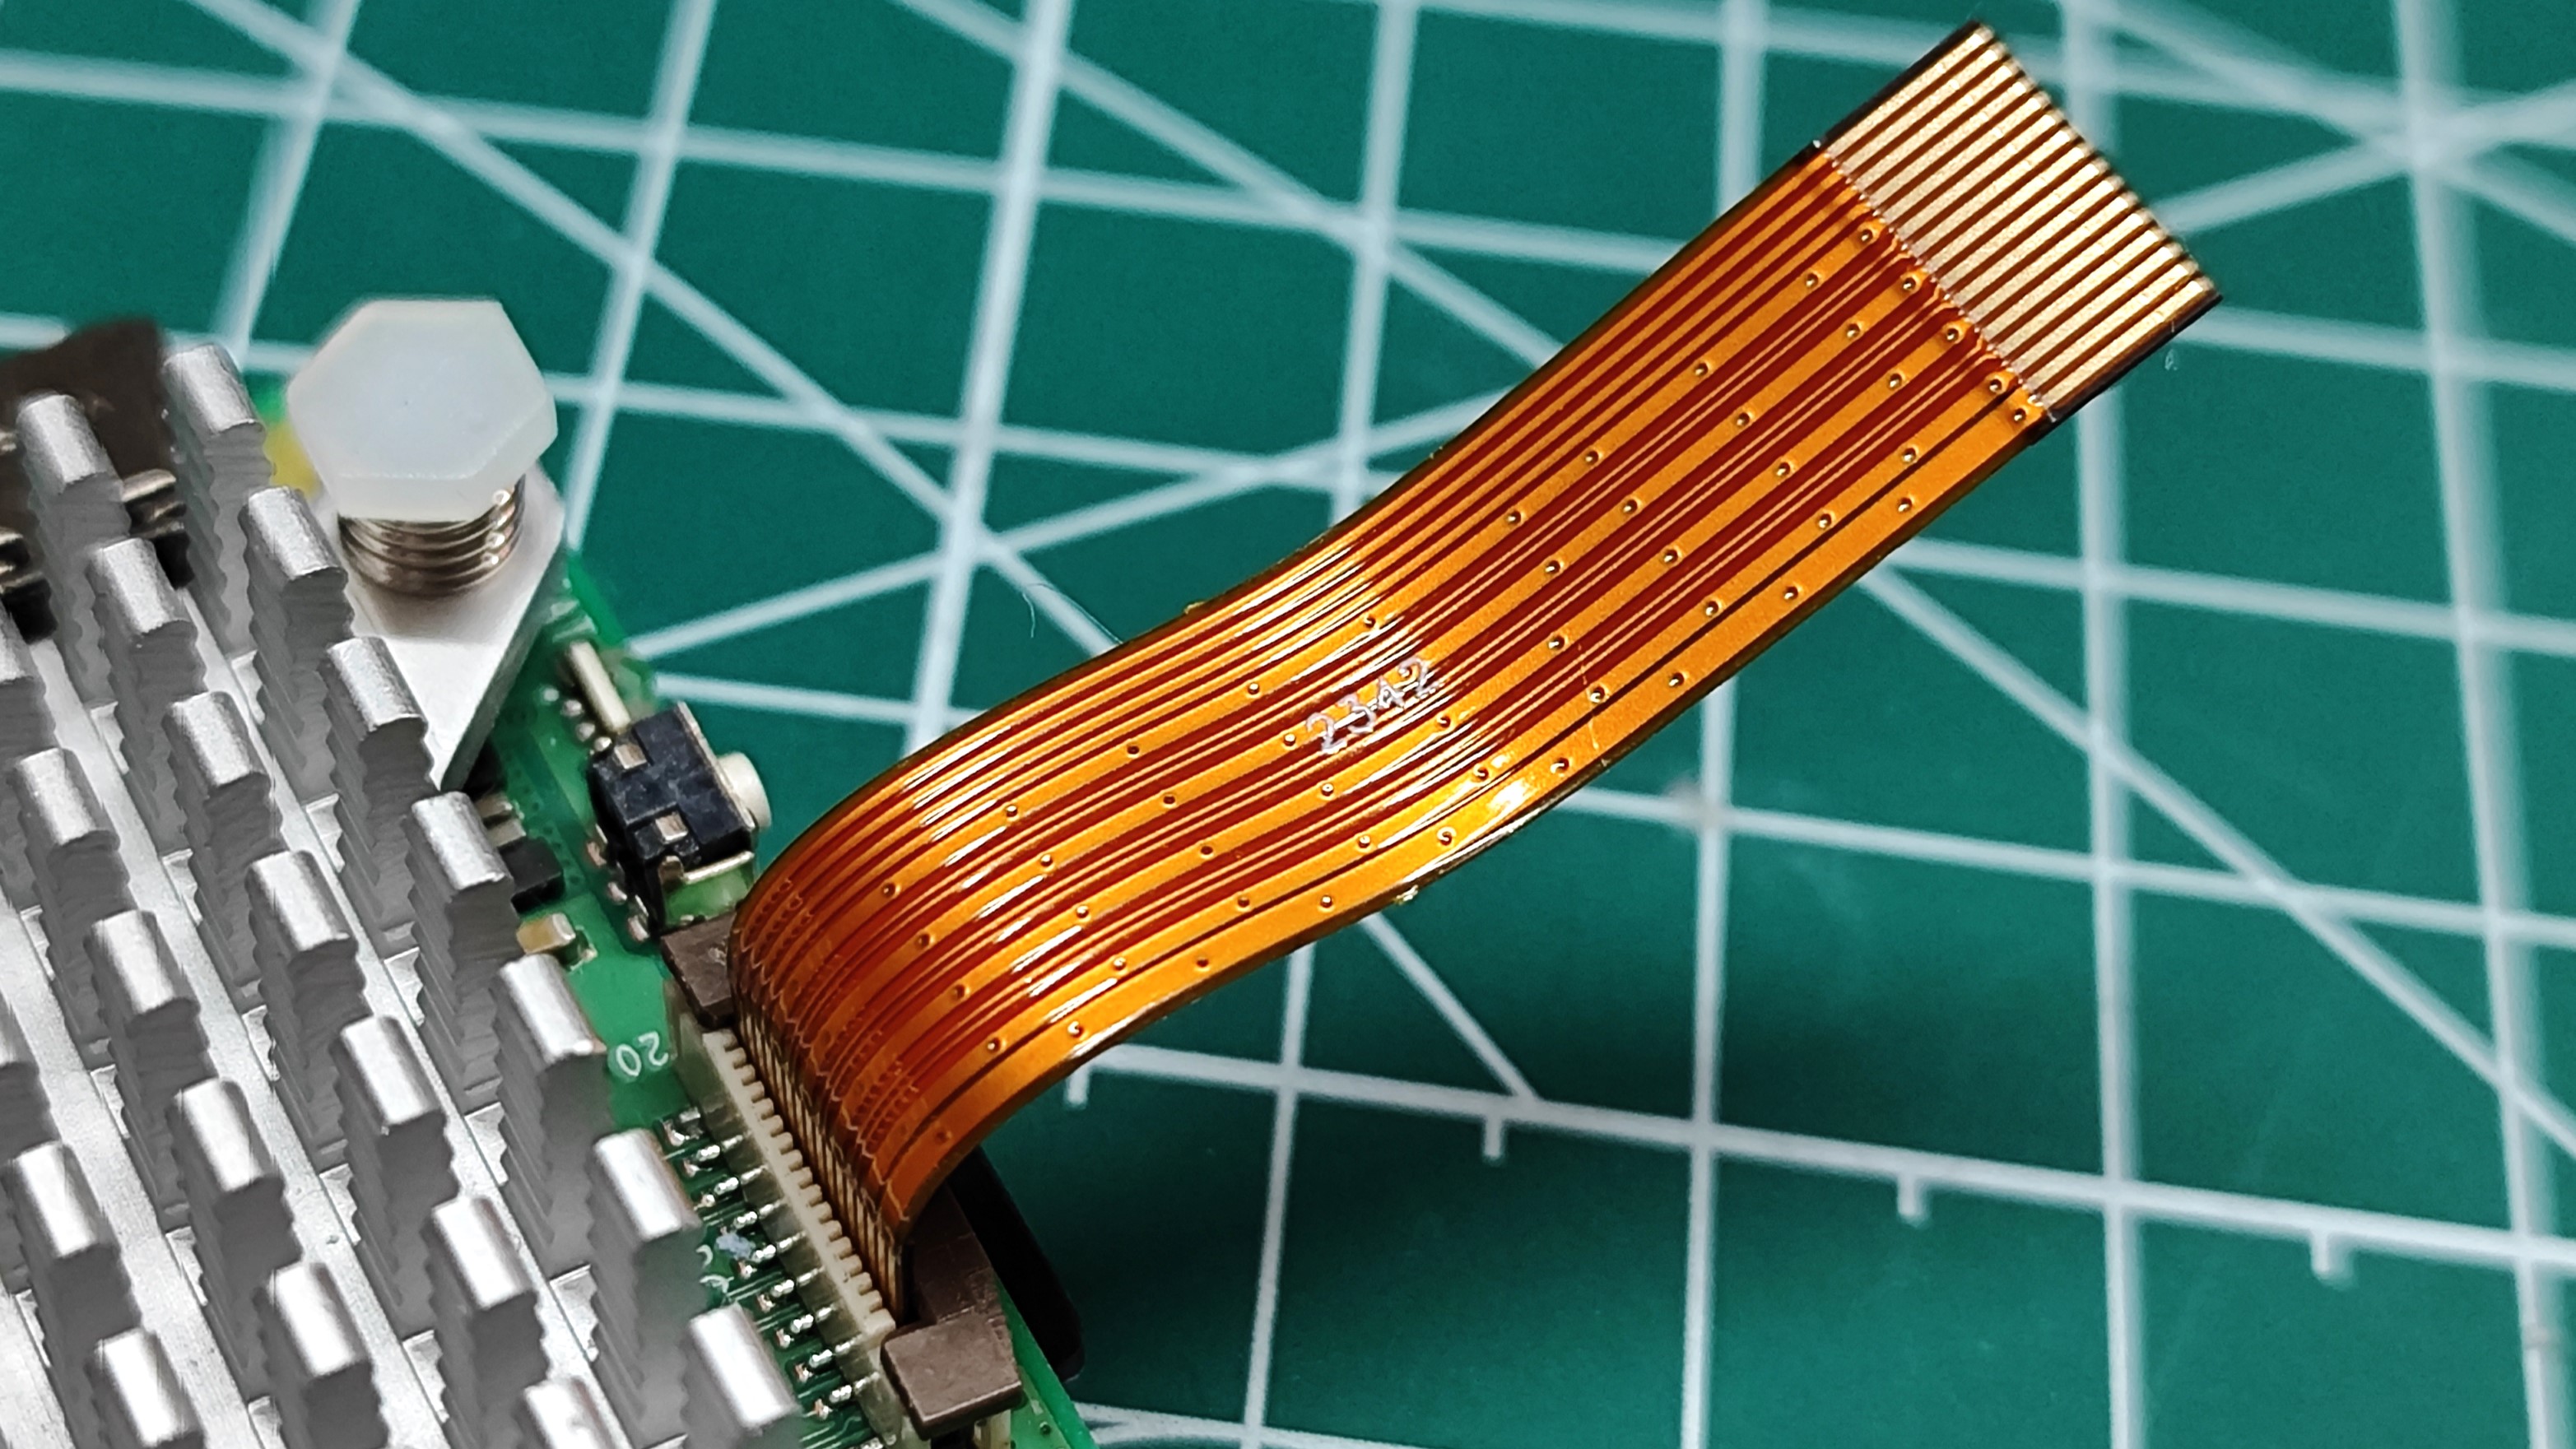
14. Gently lift the PCIe connector plastic housing so that it unlocks and insert the flat flex cable so that the gold “teeth” are facing the USB / Ethernet ports.
15. Gently apply pressure to the plastic connector housing so that the cable is locked in place.
16. Perform the same procedure on the NVMe board.
17. Insert your NVMe drive with Raspberry Pi OS into the NVMe board and secure it in place. Follow the instructions for your chosen board.
18. Check all of the connections are correct and then power up the Raspberry Pi 5.
Your Raspberry Pi 5 is now booting from NVMe and you can enjoy the speed boost that it provides.

Les Pounder is an associate editor at Tom's Hardware. He is a creative technologist and for seven years has created projects to educate and inspire minds both young and old. He has worked with the Raspberry Pi Foundation to write and deliver their teacher training program "Picademy".
-
synthetic hooman Very helpful, but please include the make and model of the NVMe HAT you are using, and a link so we know where to purchase.Reply
Thanks -
if not myString: Reply
The name of the board is printed on it.synthetic hooman said:Very helpful, but please include the make and model of the NVMe HAT you are using, and a link so we know where to purchase.
Thanks
https://pineberrypi.com/ -
SonoraTechnical I understand Downloading the OS to the NVMe board.. But I don't know how you INstall it to the drive when it's attached as a non-boot drive via USB3 and you've already booted from the MicroSD that Has RaspberryPi installed...Reply
If you download it to the NVMe and take care to do everything to prepare it to boot form the NVMe... when you reboot, with the MicroSD removed, won't it just go through the install procedure at that point on the NVMe drive?
