Maker crams Raspberry Pi 5 inside custom 'Raspberry Pi 1000'

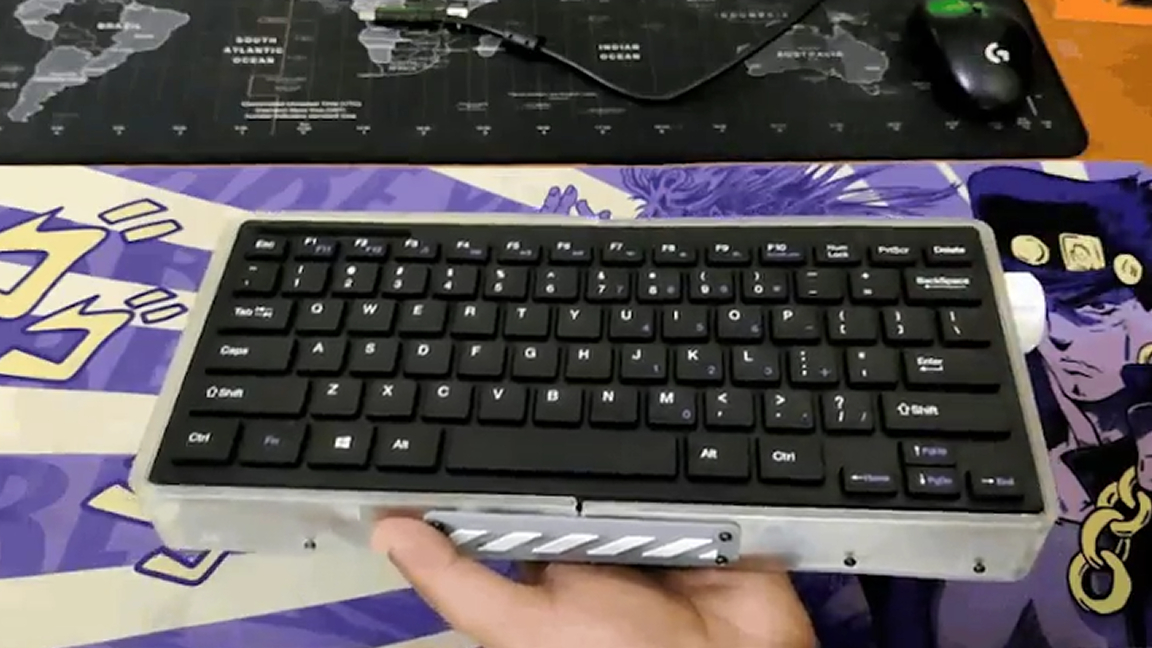
The cool thing about single-board computers like the Raspberry Pi is that they have all of the components you need to make a PC in one place. However, they don't have everything you need to start computing—that's where all-in-one setups like the Raspberry Pi 400 come in. This is essentially a modern day version of 1970s and 80s home computers. The Raspberry Pi 400 is essentially the official keyboard with a Raspberry Pi 4 inside and can output to a screen using the micro HDMI ports at the back. But since the release of the Raspberry Pi 5, we've yet to get an official update to this keyboard-clad Pi experience. We don't know if there will ever be a Raspberry Pi 500, but thankfully, Arnov Sharma has us covered with the Raspberry Pi 1000.
Inside his custom setup is none other than the latest Raspberry Pi 5. This isn't the first project of Sharma's that we've covered—one of our favorites is this Game Boy XL which turned the classic handheld into a giant tabletop display. He's also not the first maker to build a Raspberry Pi 400 with a Raspberry Pi 5.
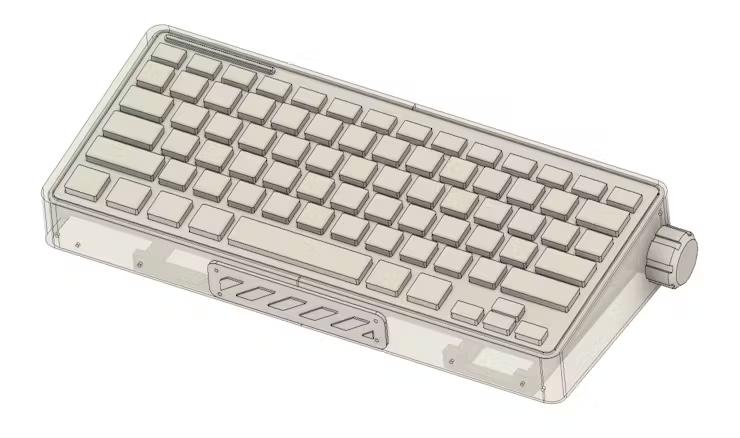
Christopher Barnatt from Explaining Computers created his own Raspberry Pi 500 several months back. Although, both makers have taken their own approach in how to design them. One of the biggest differences you'll notice at first glance is the case design. While Barnatt opted to snap sheets of scored ABS, Sharma has designed his housing digitally for 3D printing using the best budget 3D printers. The Raspberry Pi 1000 also features a custom volume knob and an NVMe SSD for fast boot times.


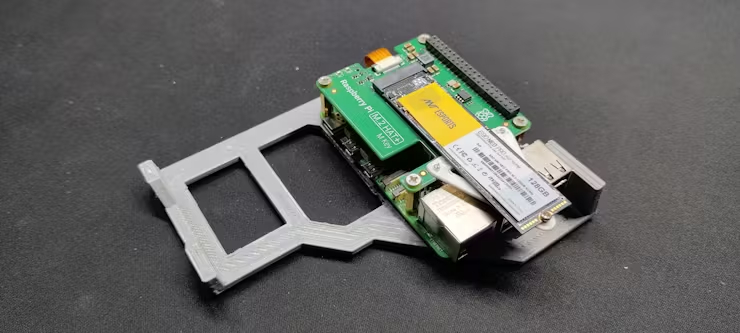
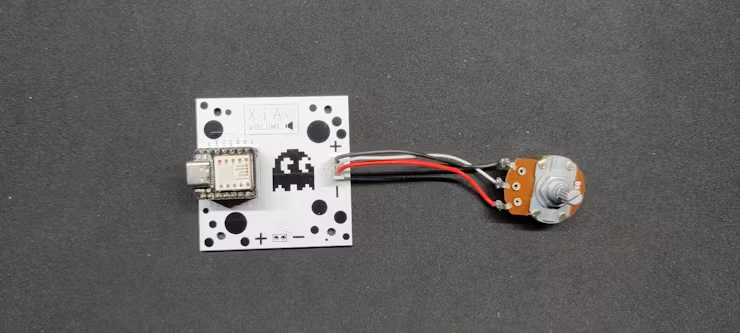
Sharma was kind enough to share a full parts list and detailed breakdown of the construction process over at Hackster. There he also confirms the Raspberry Pi 1000 uses a 4GB Raspberry Pi 5 paired with a PCIe M.2 shield and Gen 3 x4 SSD with read/write speeds of 1600/1100 MBps. The volume knob requires a potentiometer along with a custom PCB that handles the input.
This custom PCB relies on a Xiao SAMD21 microcontroller and includes a spot to connect the potentiometer. It doesn't require any batteries as it pulls power through USB. You can see this board and its design up close in excellent detail over at the official project page at Hackster.
If you want to get a closer look at this Raspberry Pi project in action, check it out over at YouTube.
Get Tom's Hardware's best news and in-depth reviews, straight to your inbox.

Ash Hill is a contributing writer for Tom's Hardware with a wealth of experience in the hobby electronics, 3D printing and PCs. She manages the Pi projects of the month and much of our daily Raspberry Pi reporting while also finding the best coupons and deals on all tech.
