System Builder Marathon Q1 2015: Alternative $1750 PC
Component Installation And Overclocking
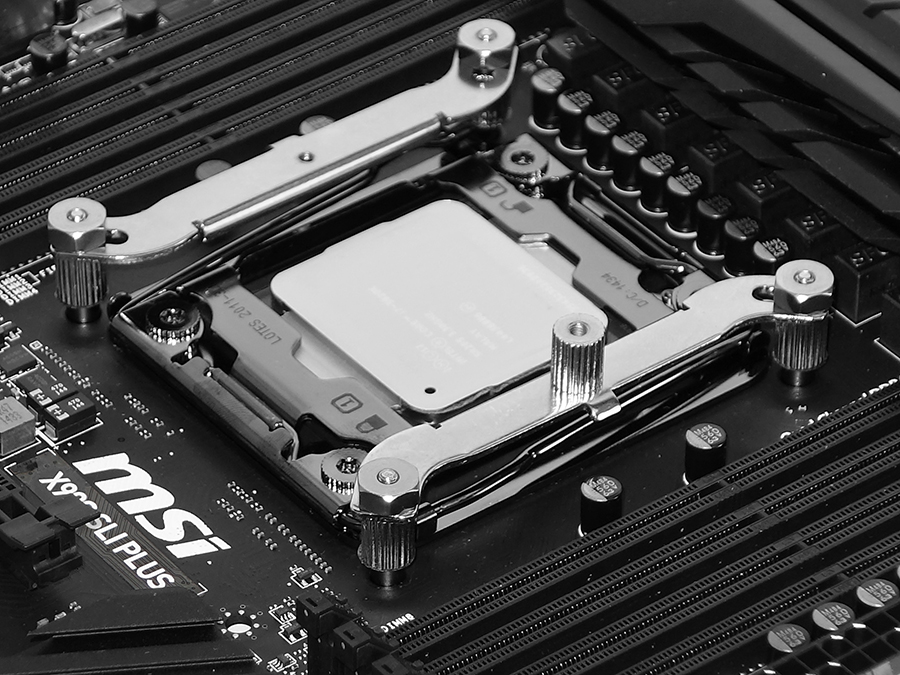
Four standoffs raise the mounting brackets of Cooler Master’s Hyper 612 Ver. 2, and the brackets are then secured with nuts. The clip on the cooler has a hook on one end and a screw on the other. The brackets both have hooks, but the kit includes only the one required screw riser.
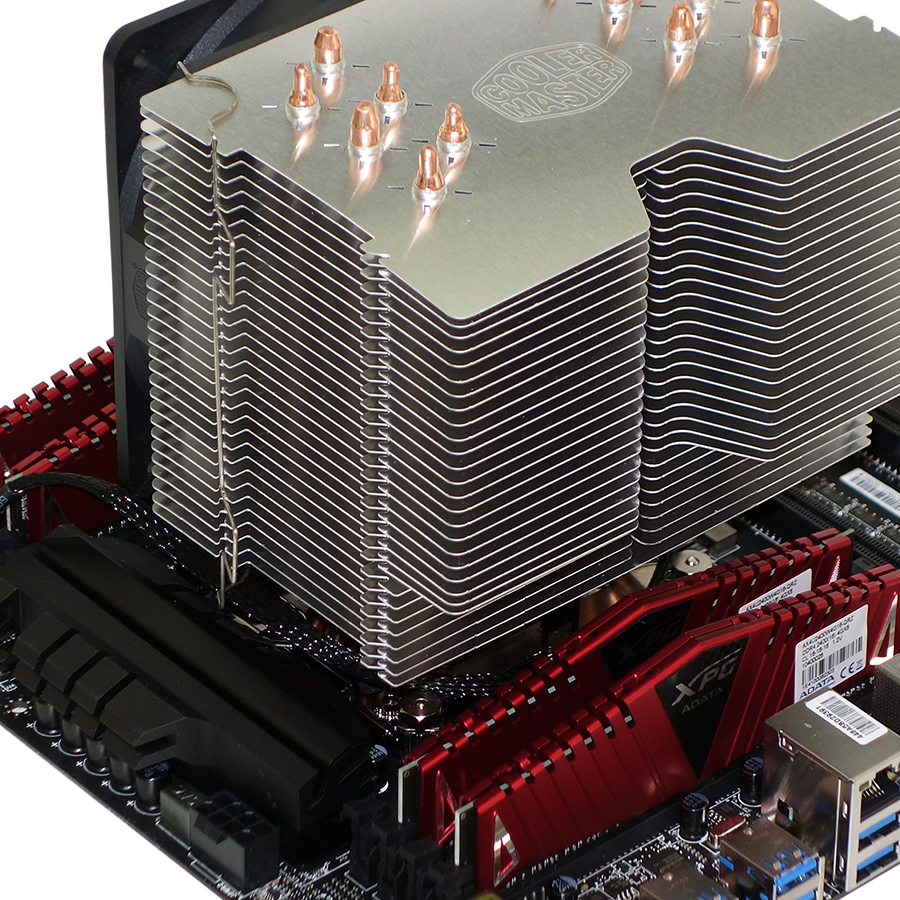
After adding a little thermal compound to the top of the CPU (its heat spreader), I clipped one end of the heat sink’s factory-installed spring clip to the rear bracket and screwed the other end to the single riser seen above.
The Hyper 612 Ver. 2 might be thick, but it’s very offset towards the rear of the motherboard. That offset, along with shorter fins on the bottom, provide exceptional DRAM clearance.
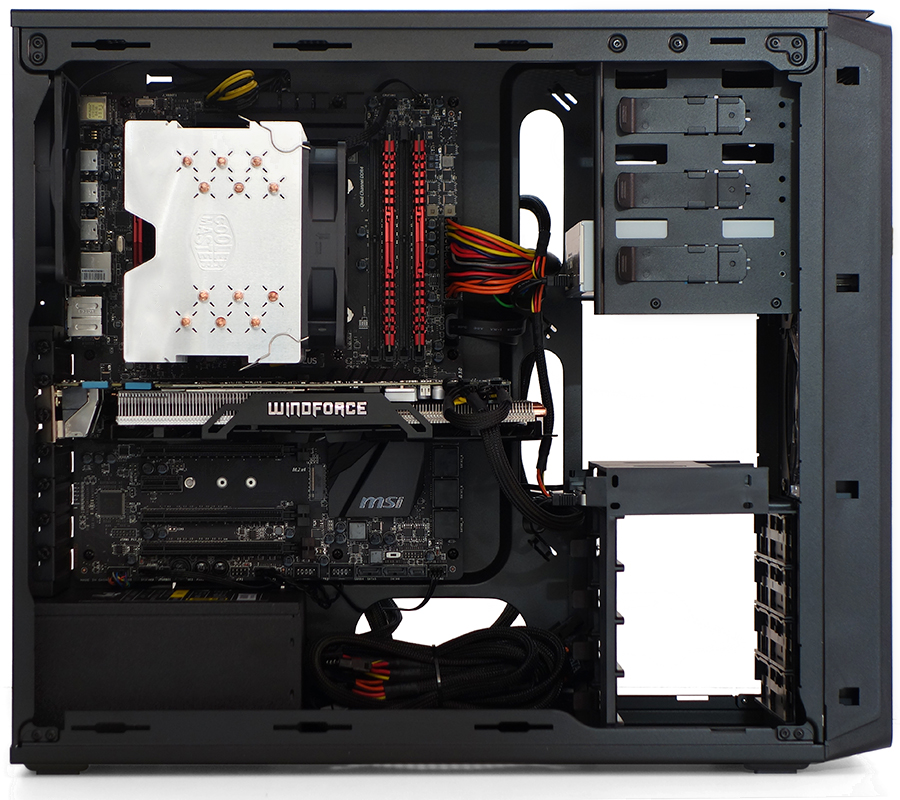
My experience with this case lead me to slide some of its front-panel cables between the motherboard and its mounting panel. I repeated the drive installation from my previous build before adding the graphics card and power supply.
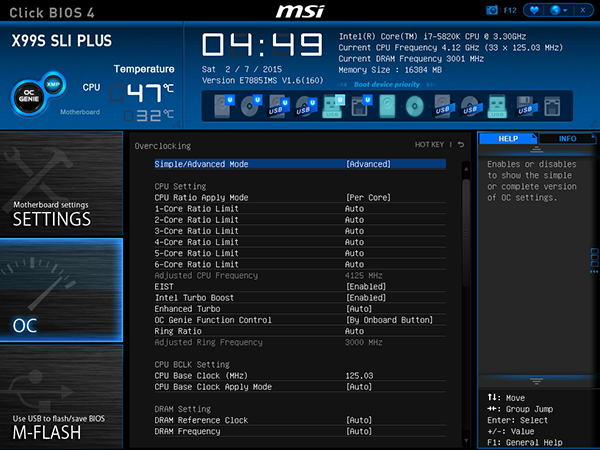
After trying various overclocking methods and reaching only 4.3GHz at 1.20V (stable with Prime95 AVX running 12 threads), I decided to go for greater frequencies at reduced thread count. Unpredictable clock rate results using custom per-core multipliers caused me to instead use stock multipliers with a 125MHz BCLK. This resulted in a practical operating range of 4.25 to 4.50GHz, since any load at least enables the CPU's lowest Turbo Boost ratio of 34x.
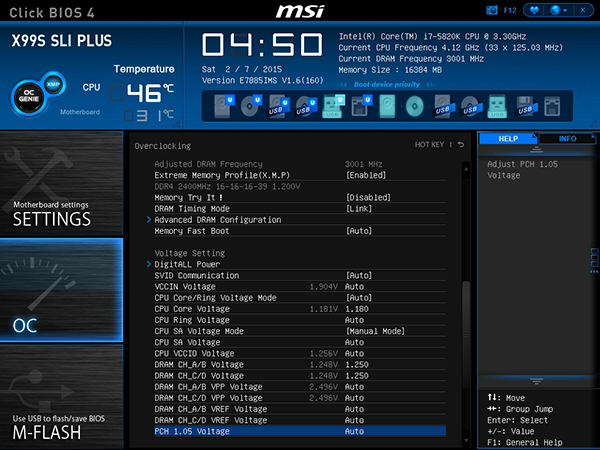
An added benefit of using the higher BCLK is that it automatically boosts my data rate from DDR4-2400 to -3000. The modules don't respond well to wild voltage increases, but a small bump from 1.2 to 1.25V did help me get the timings down.
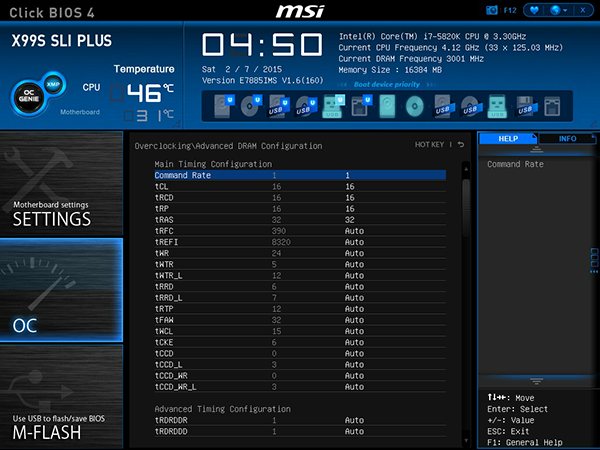
MSI’s X99S SLI Plus automatically increases timings to CAS 20-20-20-40 when boosting the DRAM to DDR4-3000, up from the DDR4-2400 CAS 16-16-16-38 rating. That little bump in voltage (to 1.25V) allows complete stability at DDR4-3000 CAS 16-16-16-32.
Get Tom's Hardware's best news and in-depth reviews, straight to your inbox.
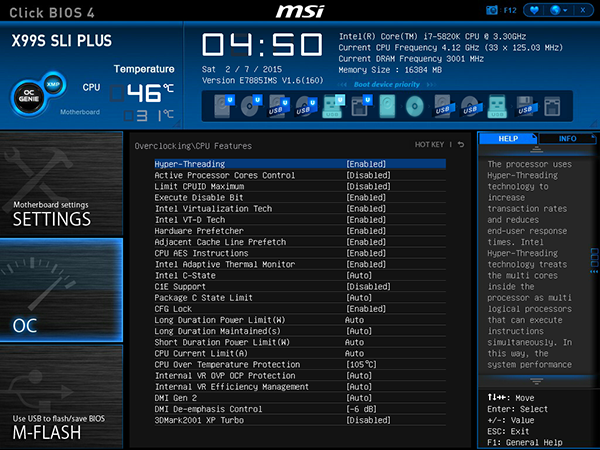
I also increased the thermal threshold to 105° Celsius to reduce throttling, even though the hottest core was reaching 94° Celsius at an unreasonably full load. Why would I do that?
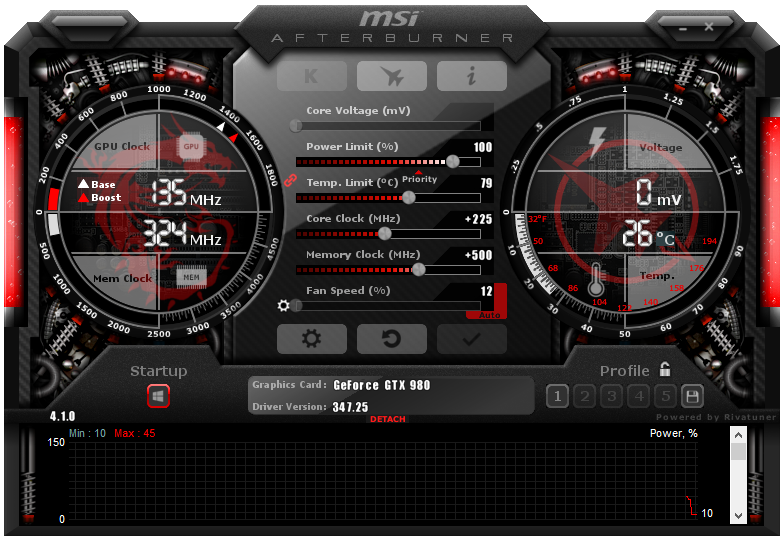
Rather than add one or two degrees to CPU temperature, the fully-loaded and overclocked GPU added a full 10 degrees. That’s because it blew all of its hot air up the side panel, towards the top of the CPU cooler. The good news is that this same graphics card reached a stunning 1.5GHz GPU core and GDDR5-8012 without even getting hot enough to force full fan speed. Heat rises, and the case’s lower fan did a good job of feeding air into the graphics cooler.
The bad news is that when I tried a higher overclock and crashed the program, I forgot to reset its maximum power limit. I’ll lose a few frames per second in worst-case gaming scenarios, but this race to the finish prevents me from spending an extra day gathering newer/better data.
Current page: Component Installation And Overclocking
Prev Page CPU Cooling, Case, Power And Drives Next Page Benchmark Performance
