Tom's Hardware Verdict
This kit sets the path for a maker to follow. We learn so much in our journey and this is a great first step along the path.
Pros
- +
Easy to assemble
- +
Great learning journey
- +
Compatible with Arduino ecosystem
Cons
- -
No Wi-Fi connectivity
Why you can trust Tom's Hardware
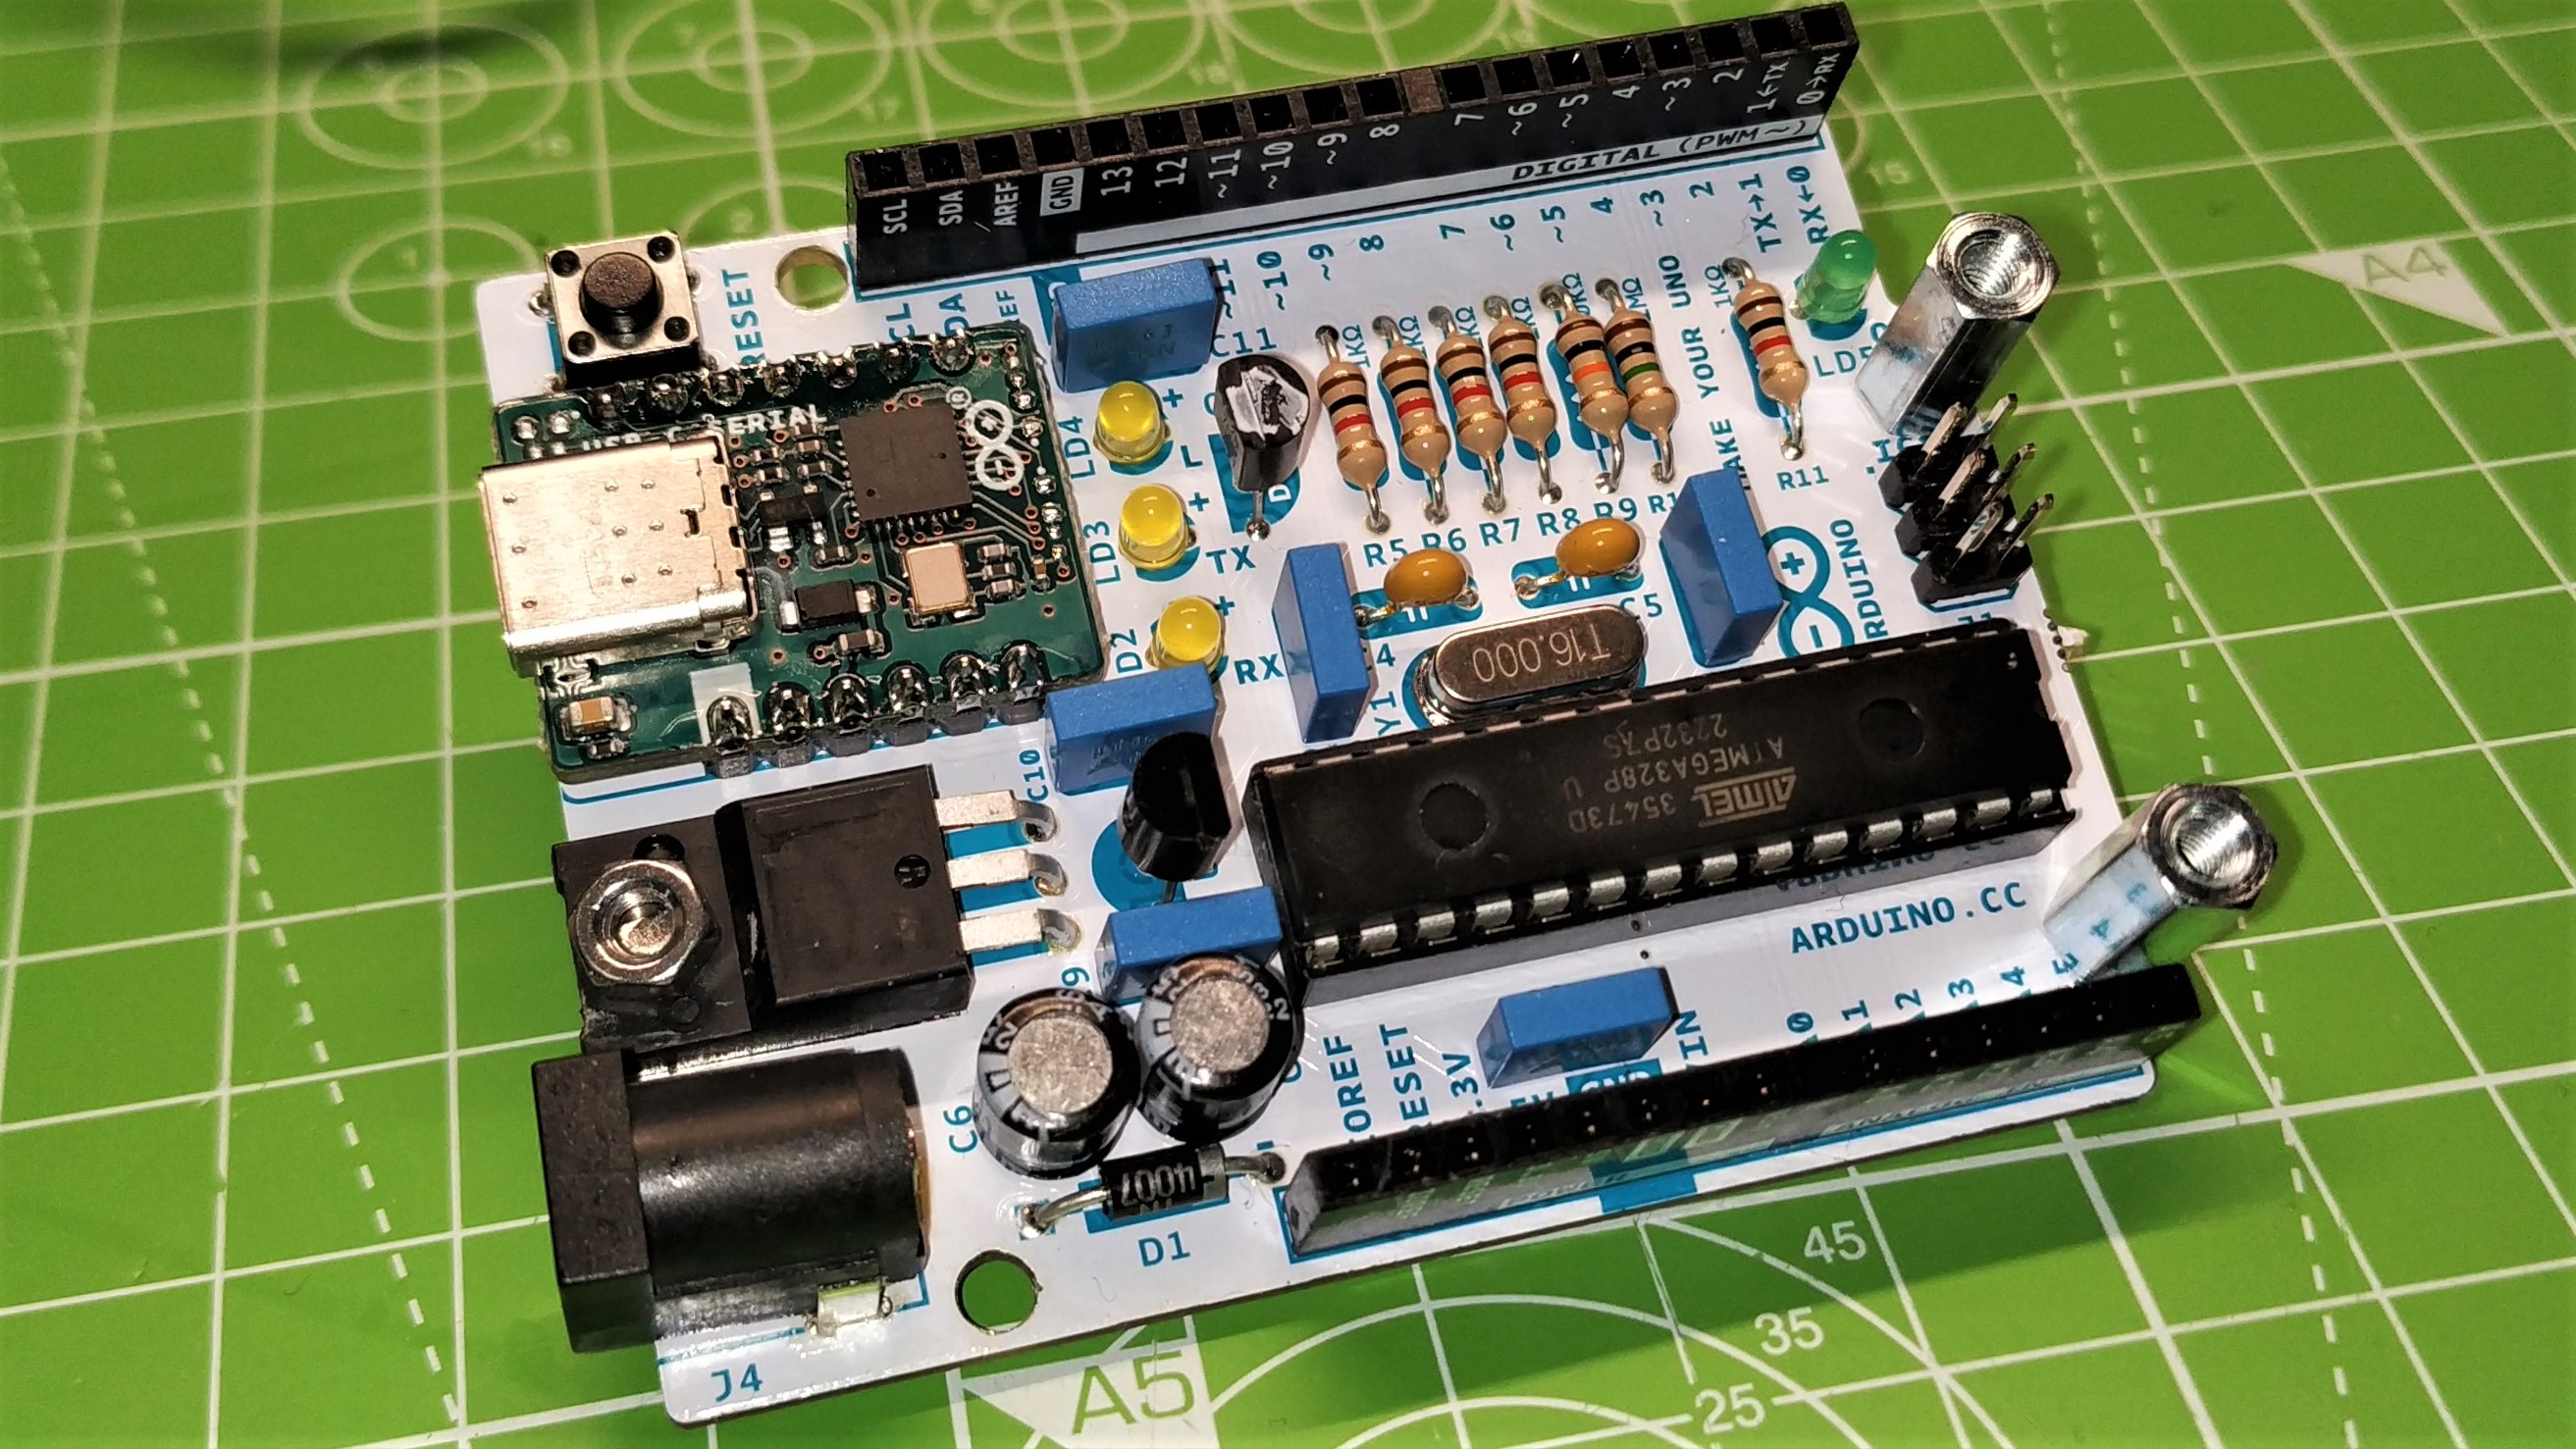
Arduino was there before the Raspberry Pi and it democratized access to electronics and hardware hacking long before everybody’s favorite SBC. The Arduino Uno, the most famous board in the range is now over a decade old. In that time it has powered countless projects, but we have never officially been able to make our own. Until now.
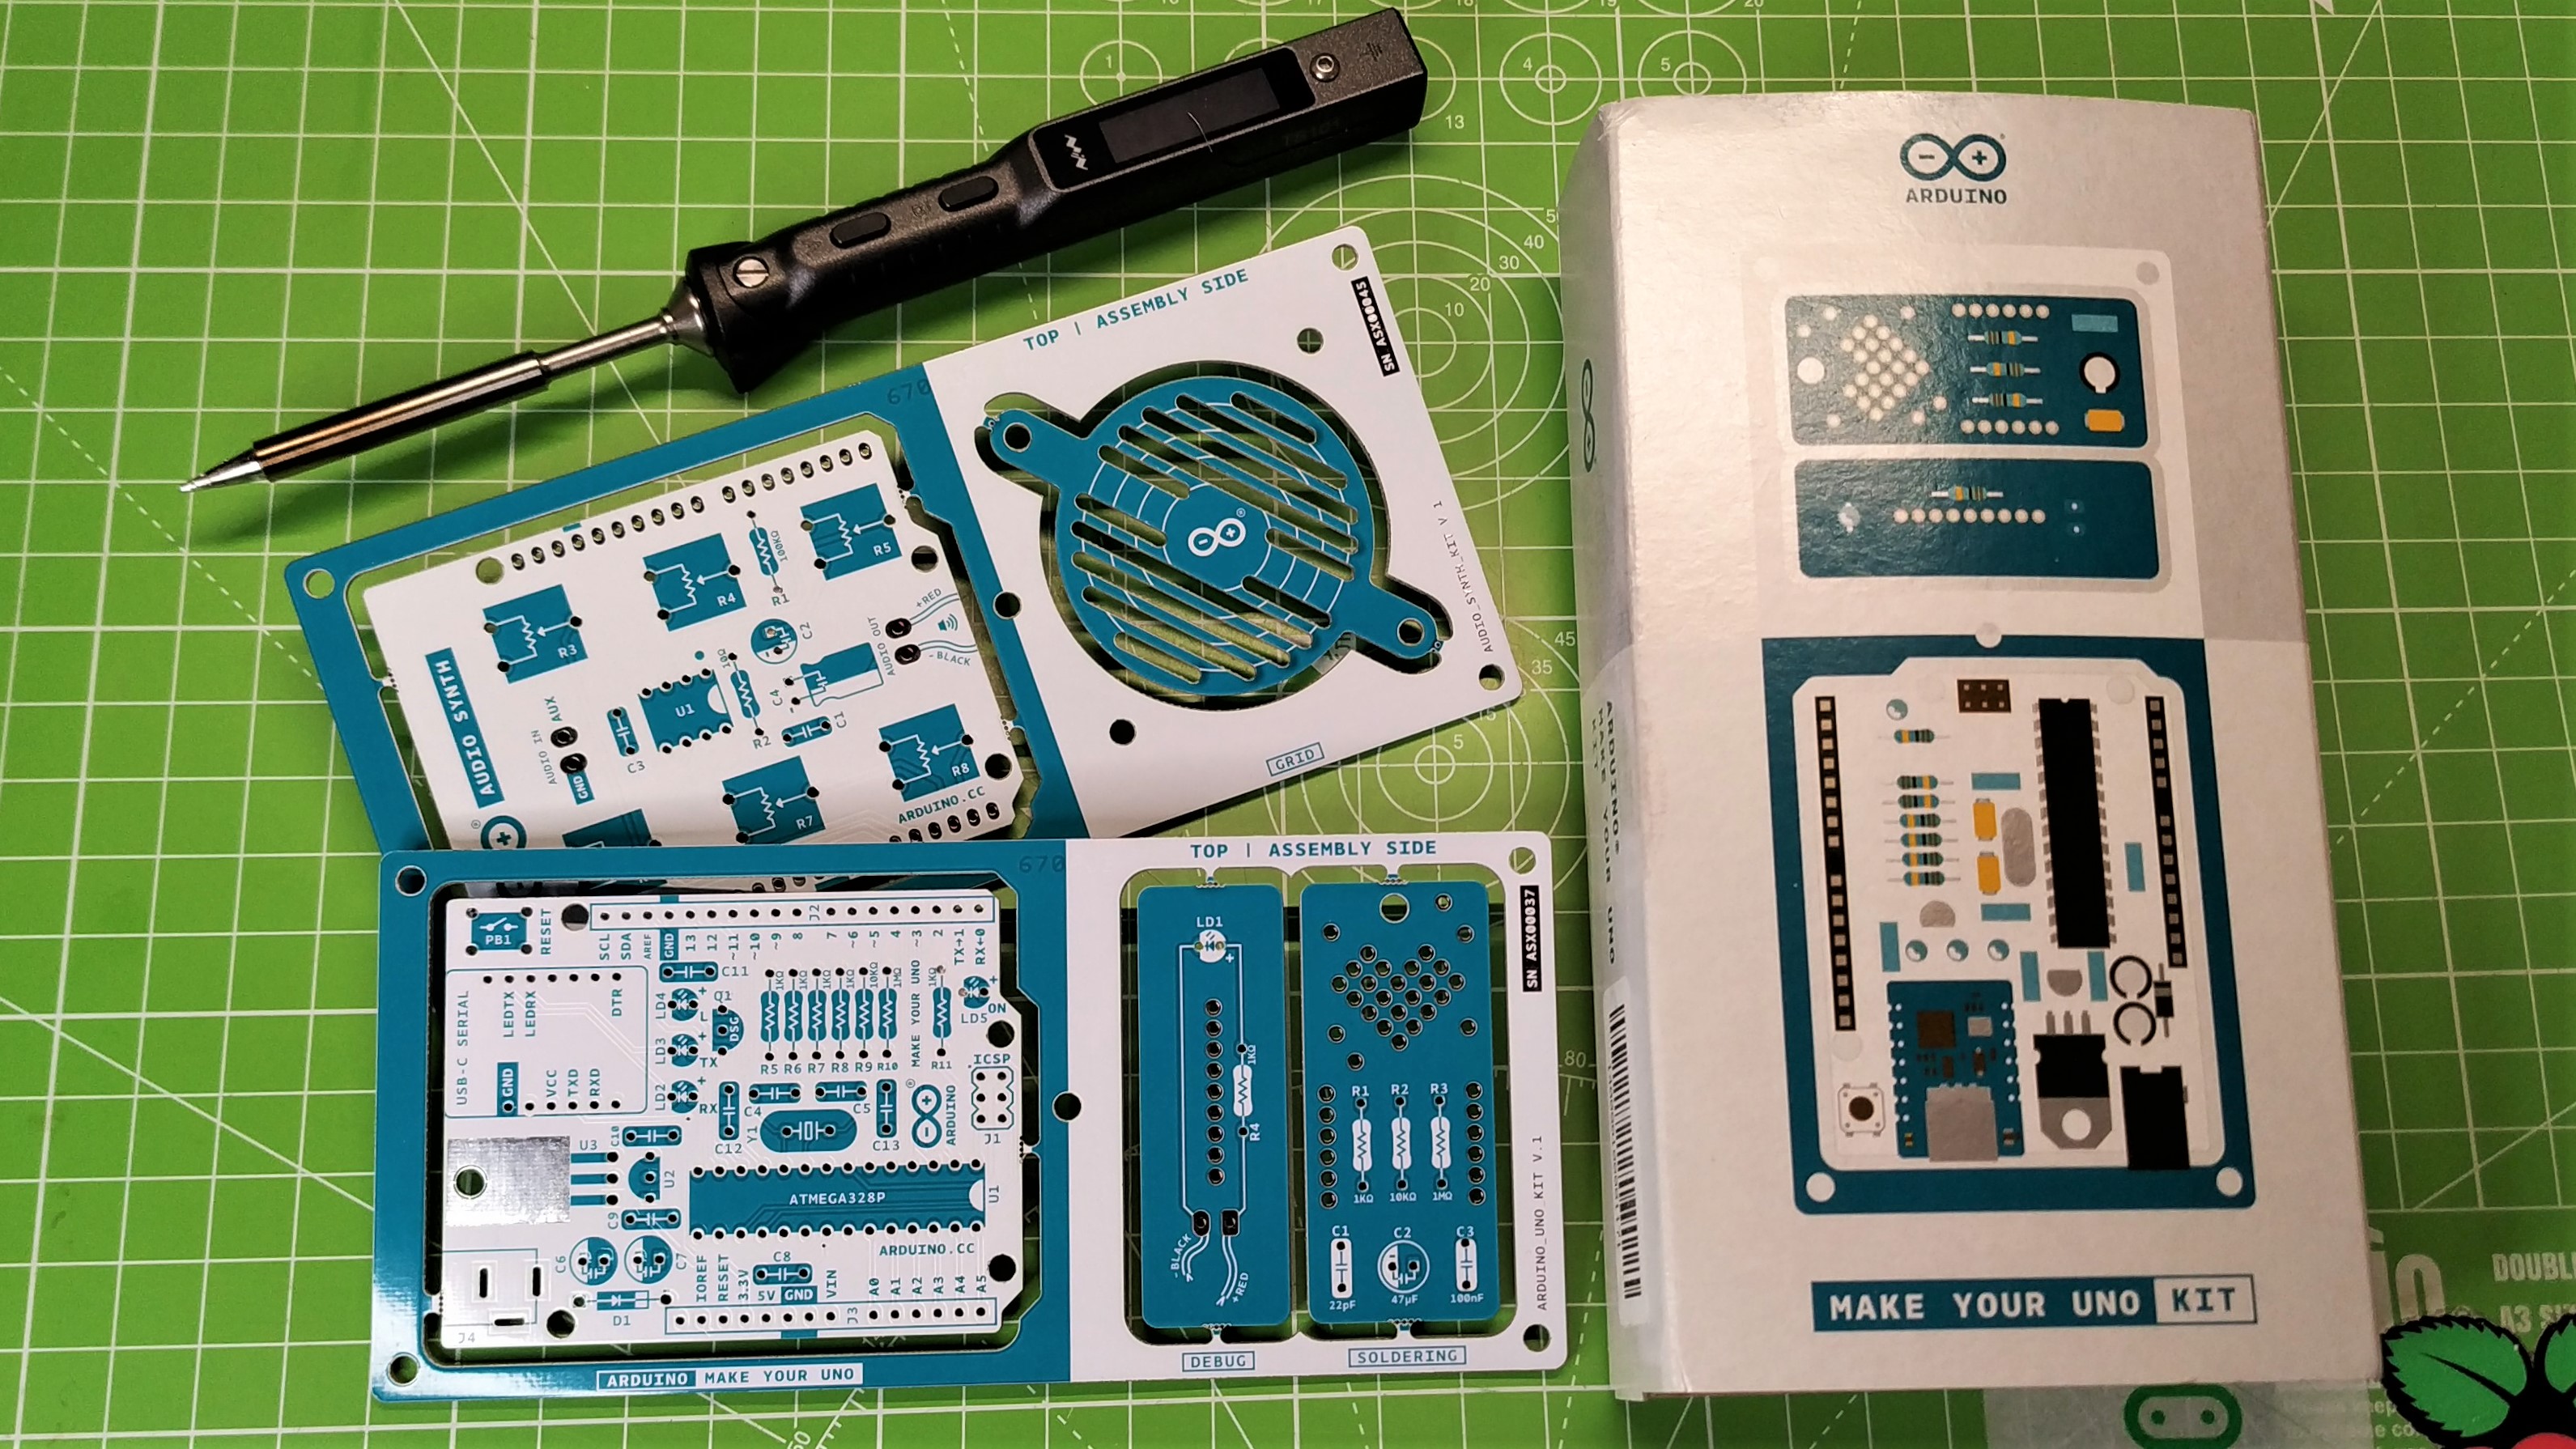
Arduino’s $58 Make Your Uno kit is much more than an Arduino Uno in a box of components. Rather, we have to construct our own Uno from the included parts. This means that we need to use one of the best soldering irons to solder the components into place. But this kit doesn’t just give us the parts to make an Arduino microcontroller; we also construct our own shield (a similar concept to Raspberry Pi’s HAT add-ons) and an Audio Synth which we can use to make music / beeps / boops.
A great learning tool and an all-around good time to build, the Arduino Make Your Uno kit is a fantastic gift for kids, established makers or for yourself. However, if all you want is a working microcontroller board, there are much cheaper options. A regular Arduino Uno (without audio synth and shield) costs $28, a fully-functional clone goes for $18 and a more powerful alternative like the Raspberry Pi Pico W can be had for just $6.
Arduino Make Your Uno Kit Specifications
| Arduino Make Your UNO | Arduino Uno PCB |
| USB C Serial adapter | |
| Through hole components | |
| ATmega 328p Microcontroller | |
| 16 MHz Clock | |
| 32KB Flash | |
| 2KB SRAM | |
| 14 x Digital IO pins | |
| 6 x PWM pins (shared with digital) | |
| 6 x Analog pins | |
| Arduino Audio Synth | Audio Synth PCB |
| Through hole components |
Assembling the Kit
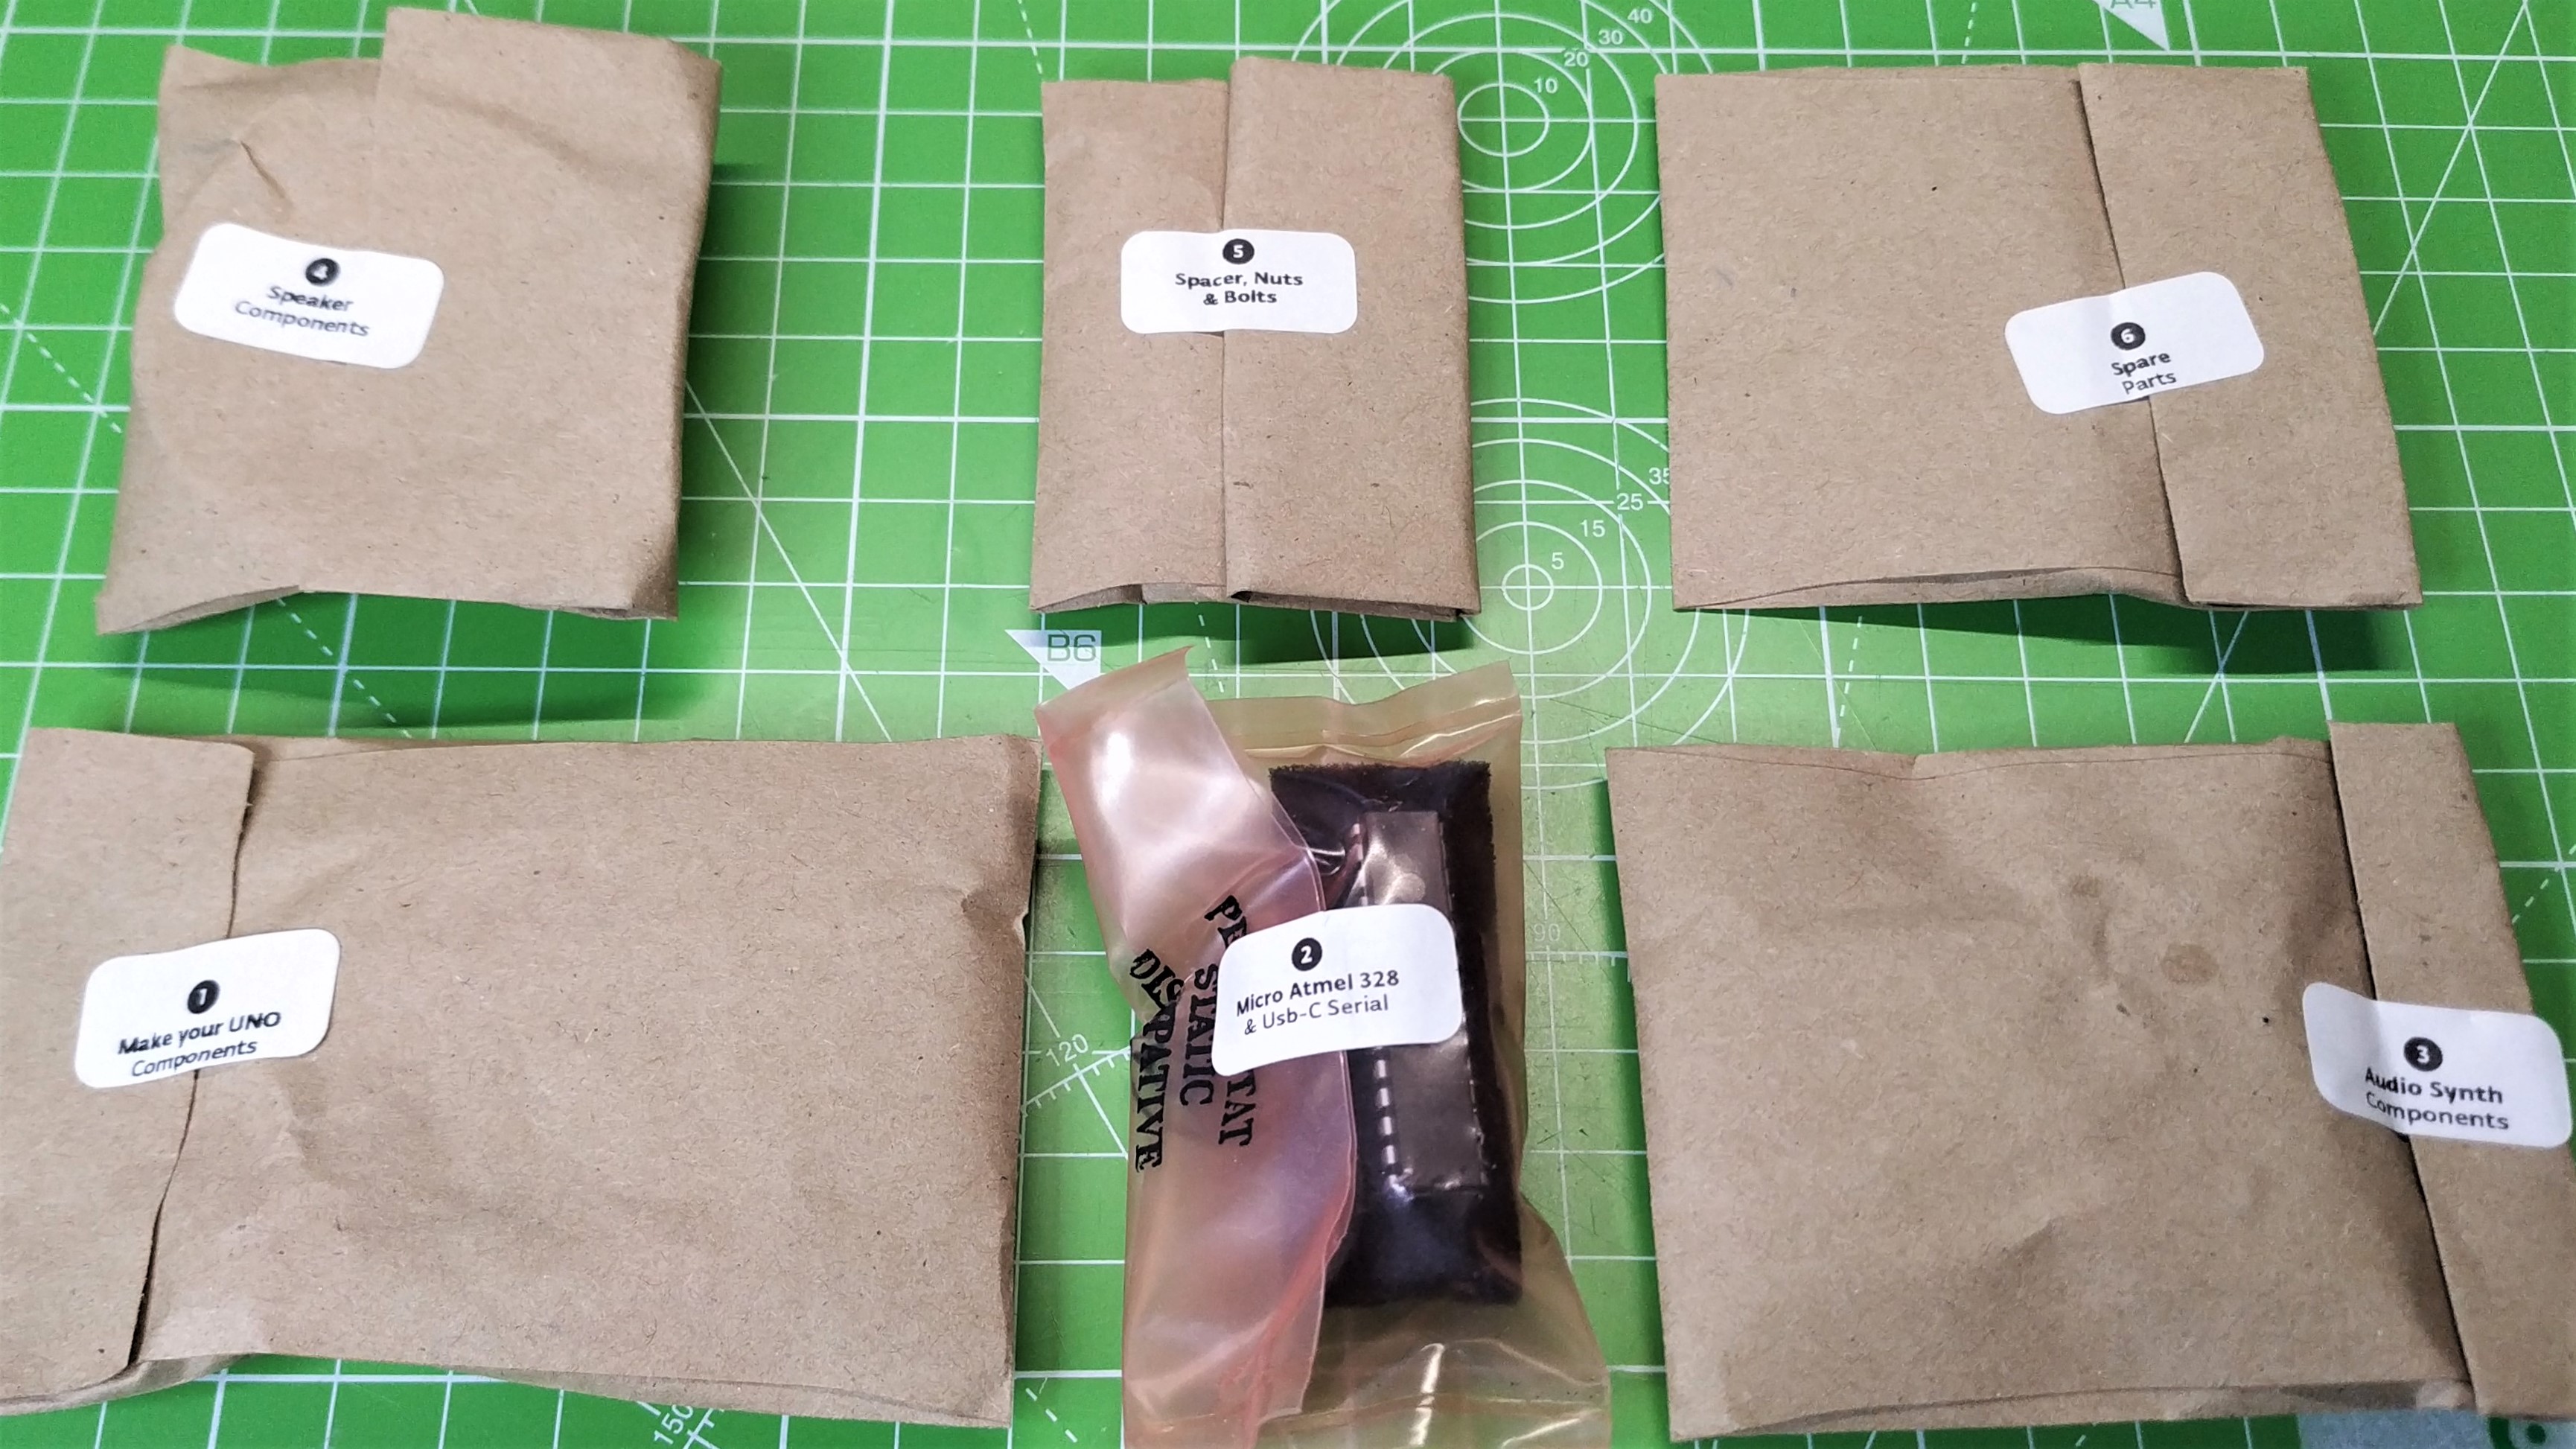
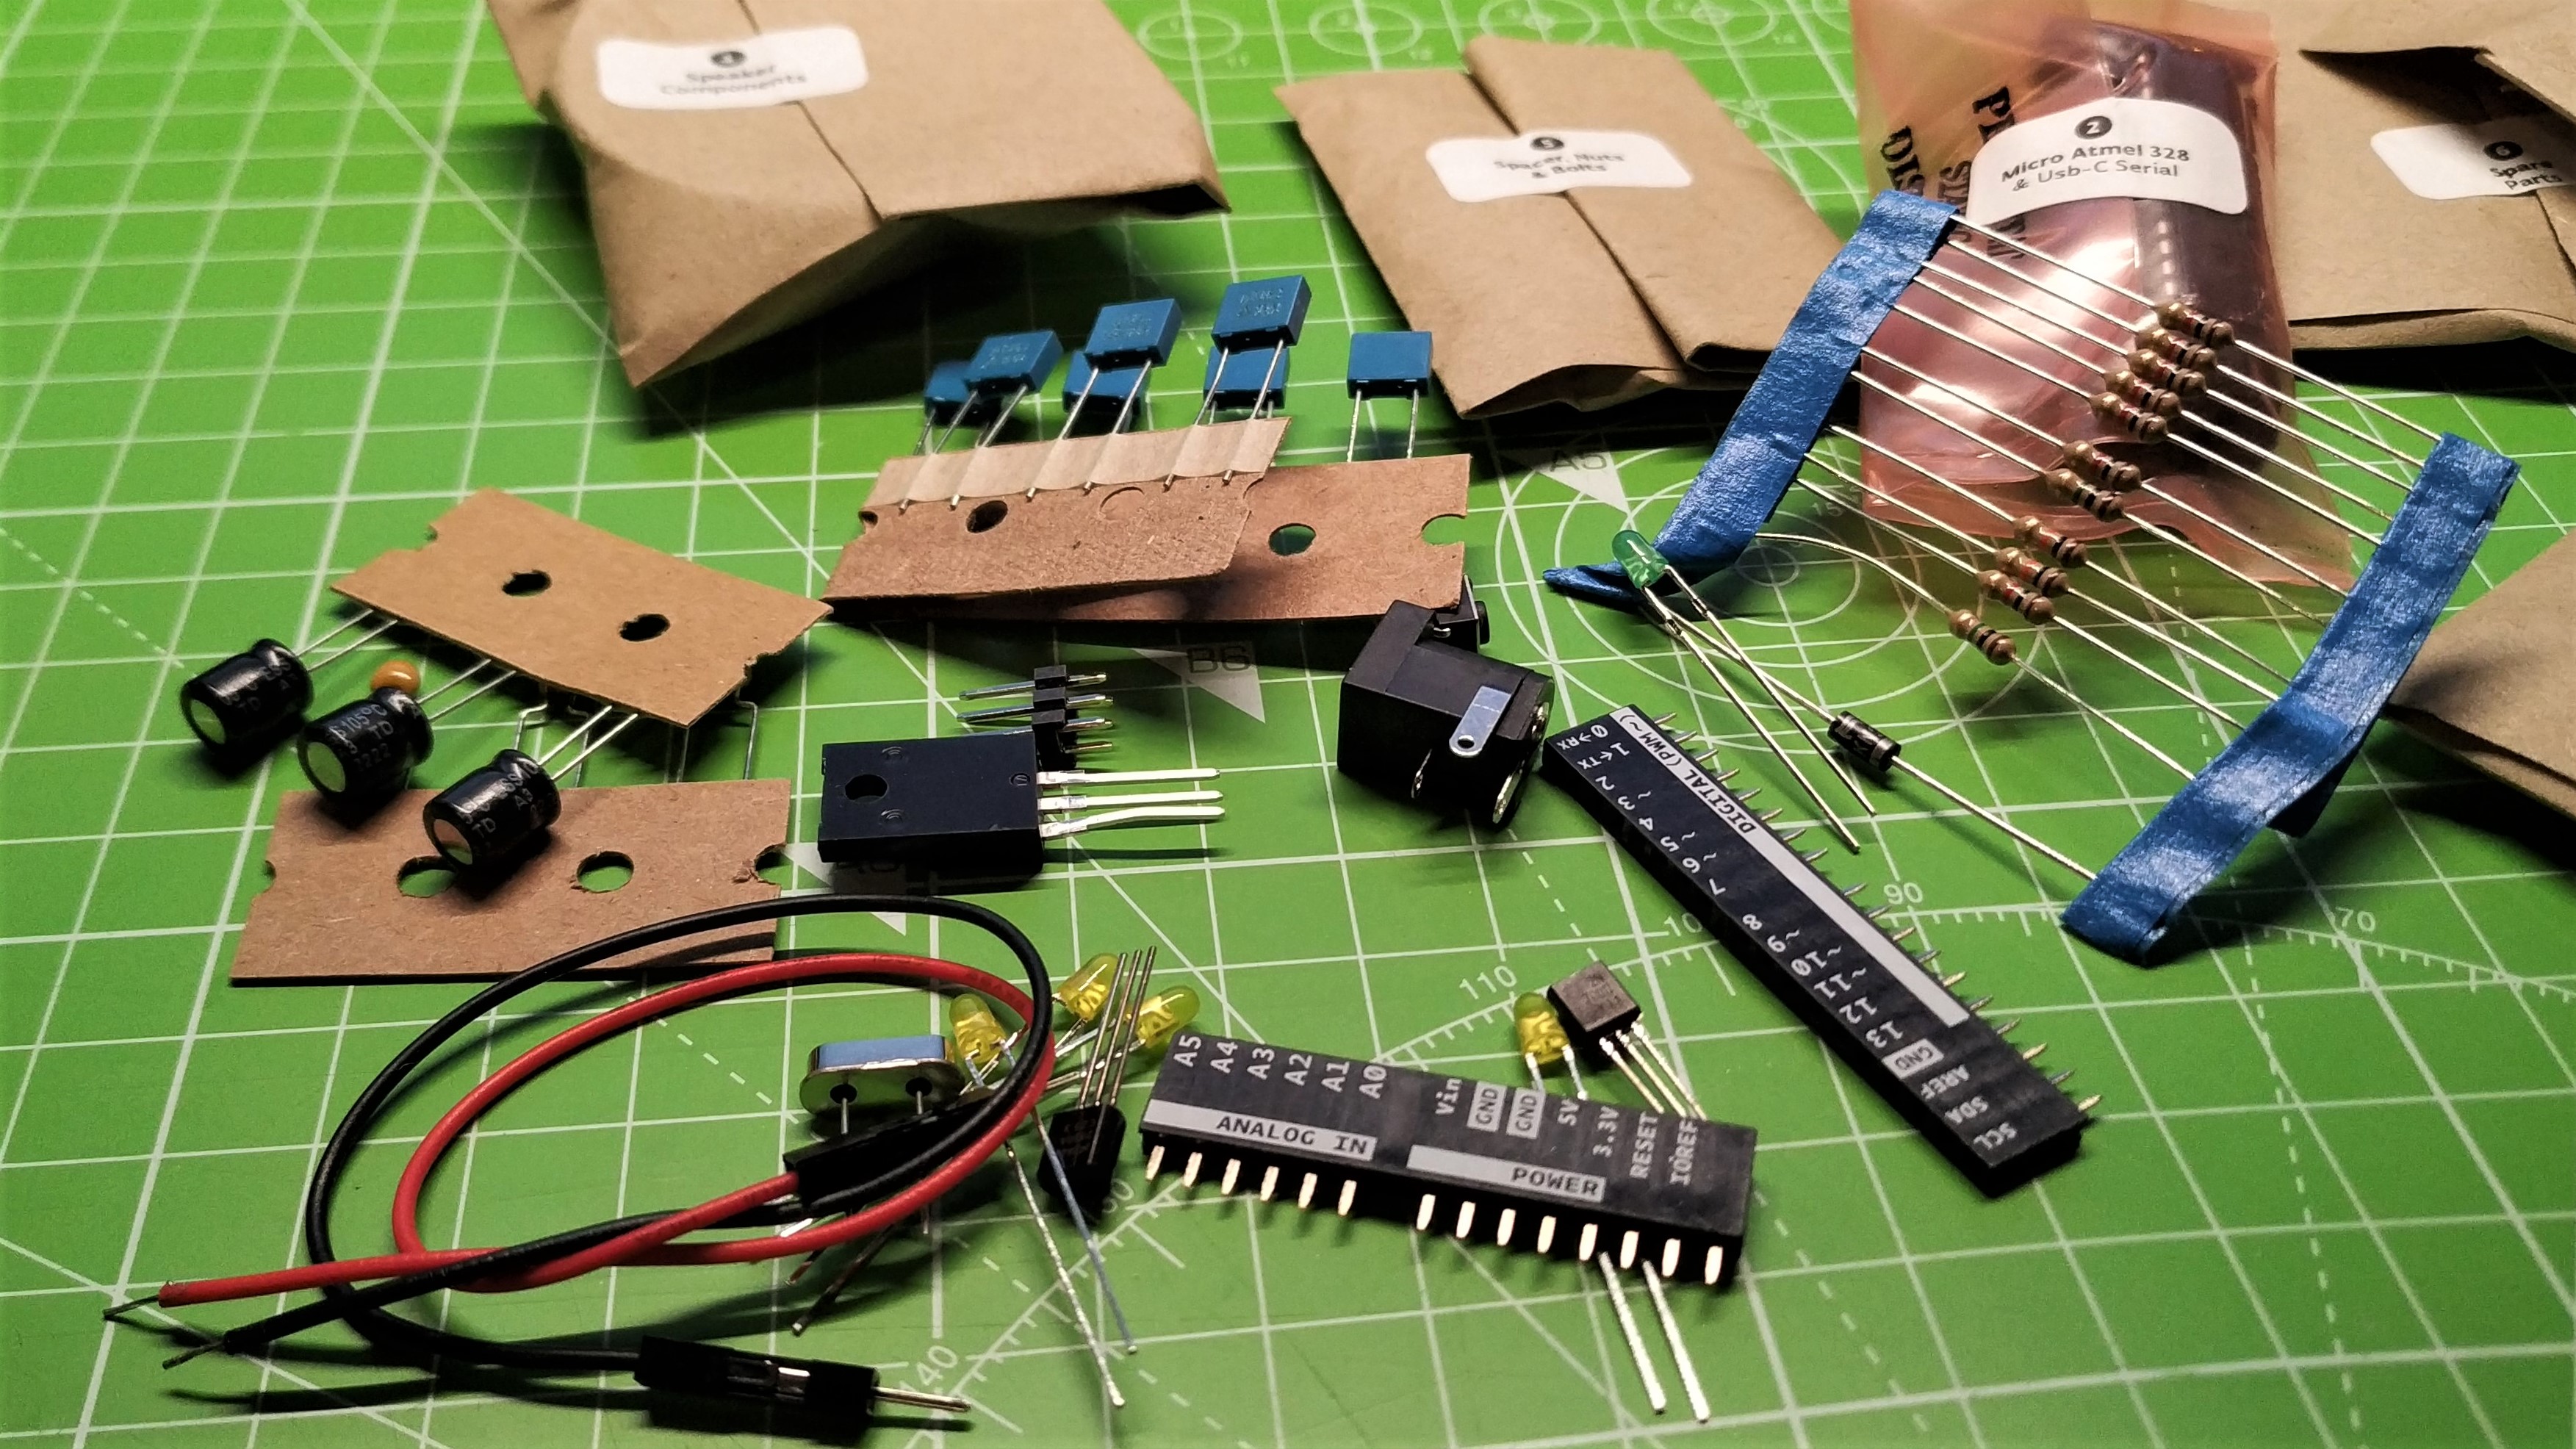
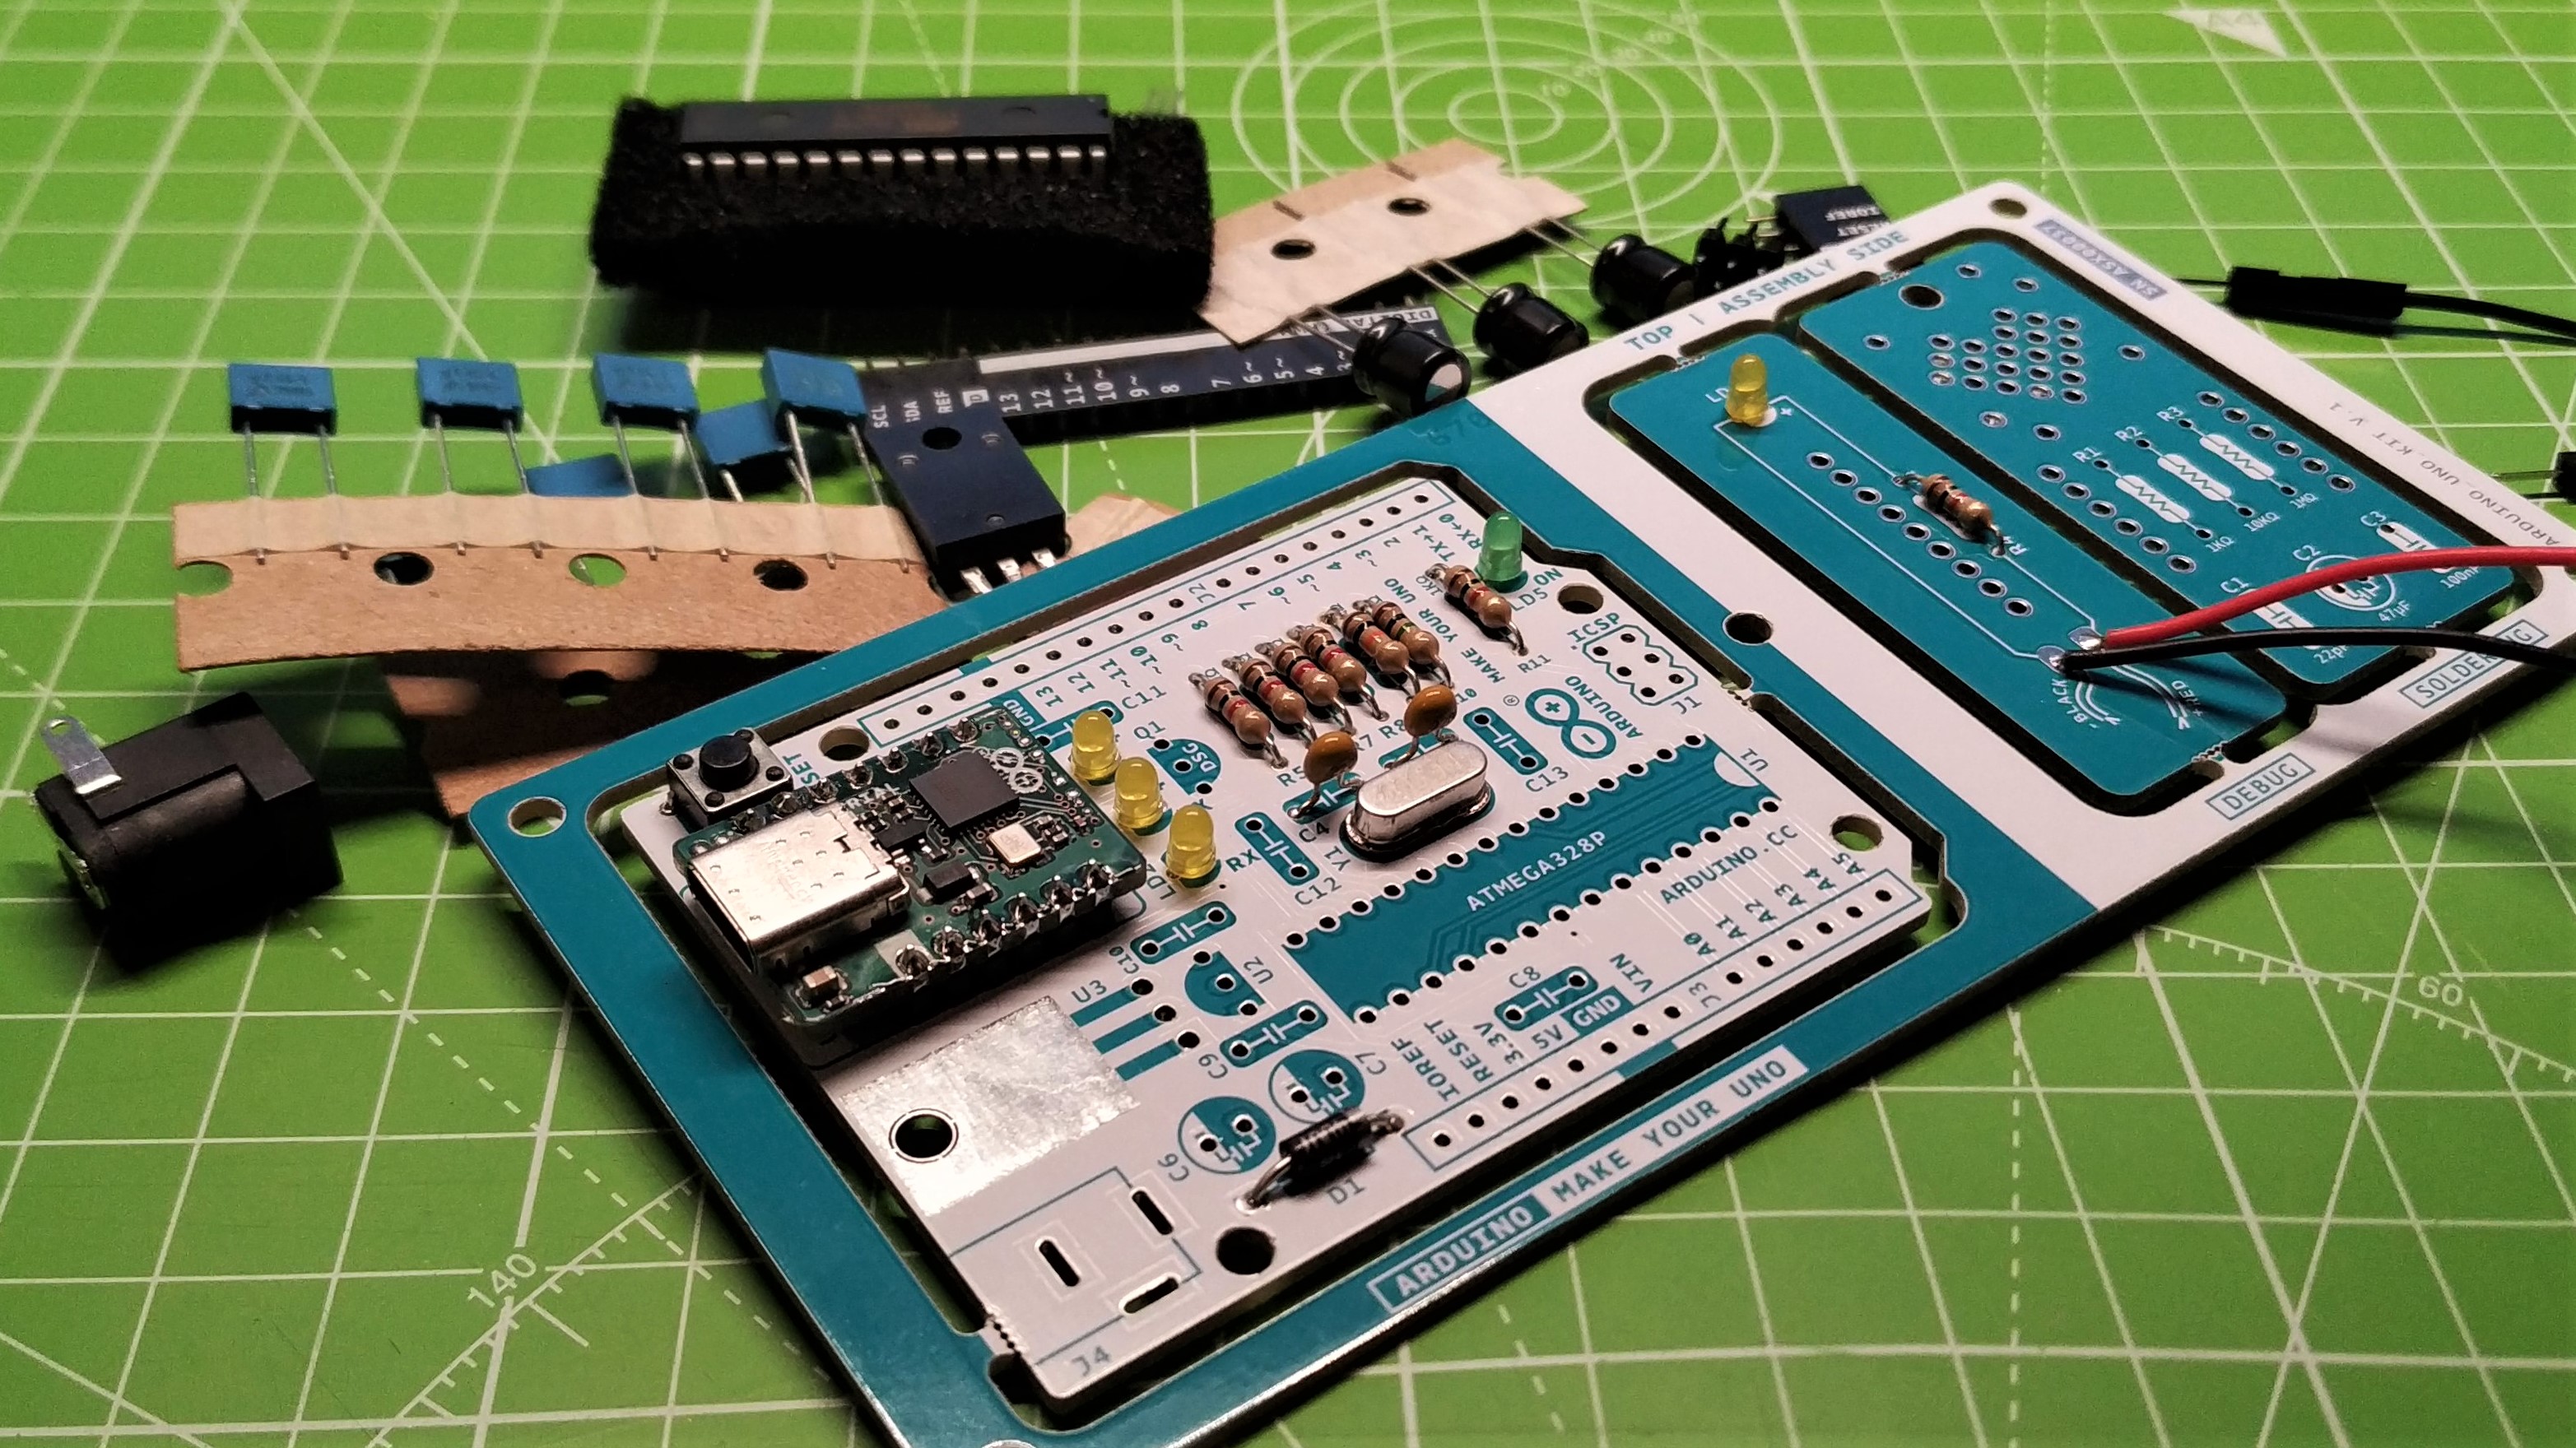
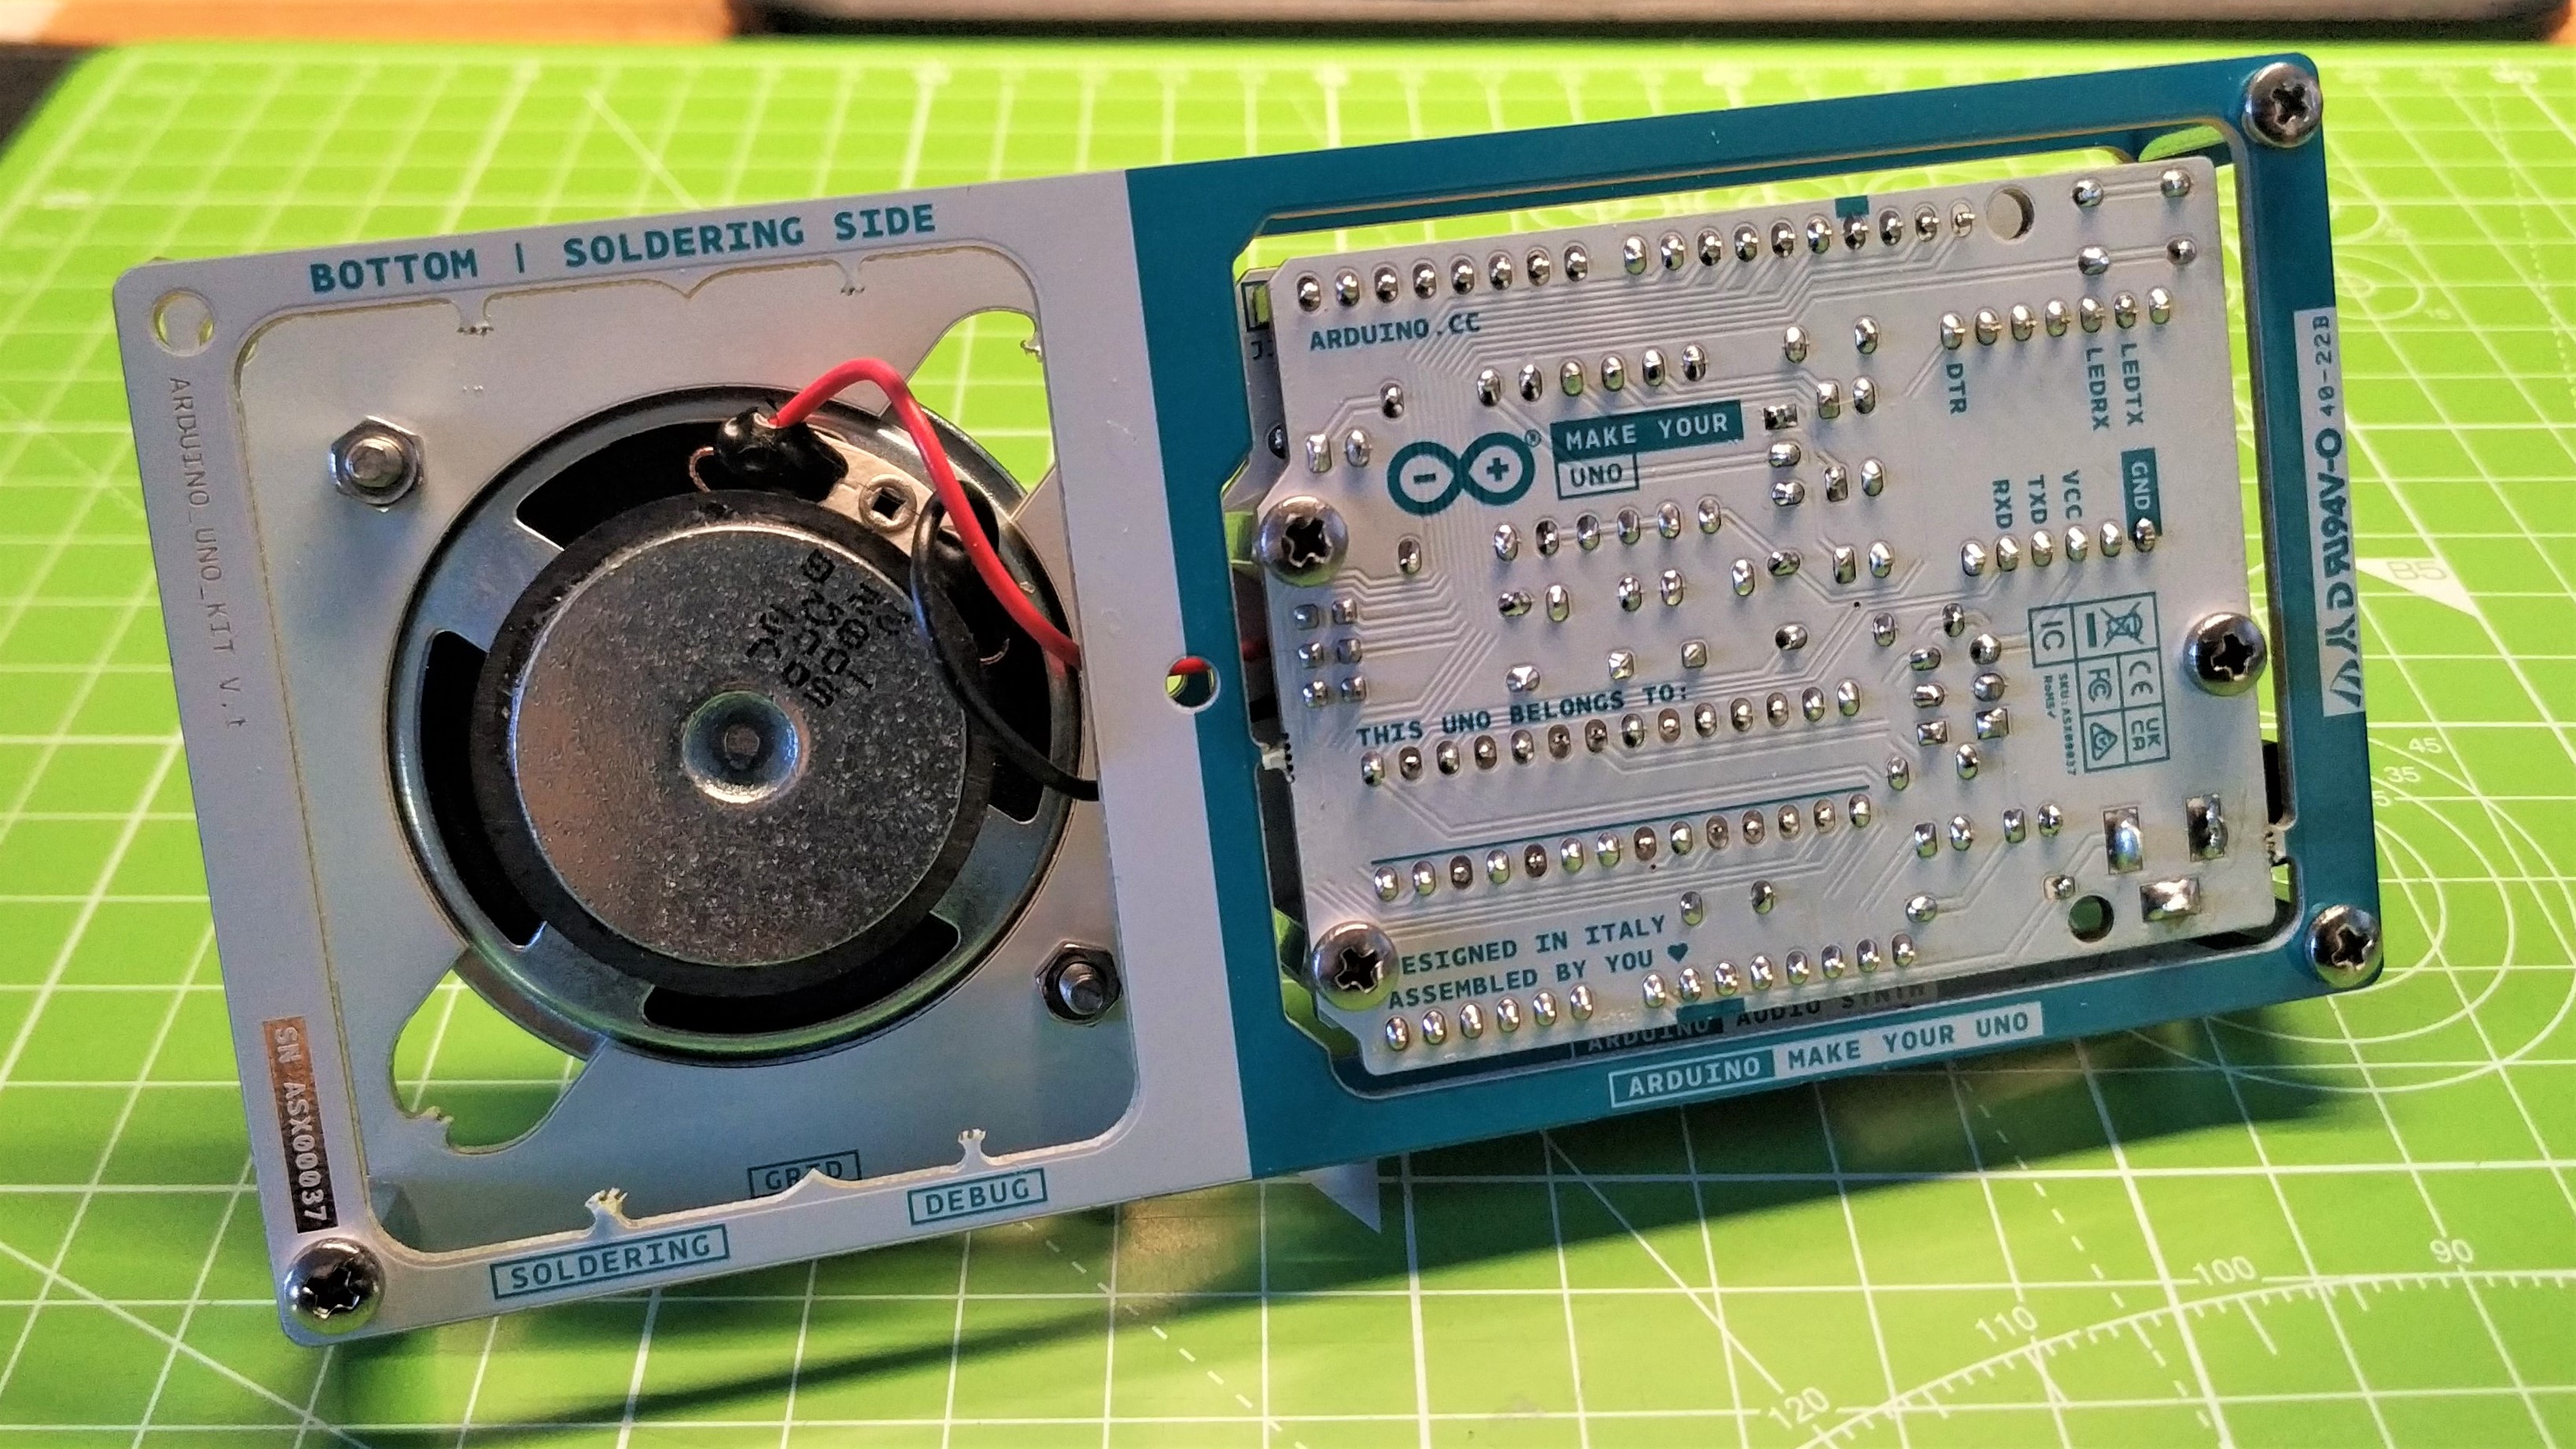
Straight off the bat, this is a lovely kit to build. The PCB is of a high quality, something we have experienced with Arduino boards in the past. As this kit is aimed at those new to soldering, the first task is to solder a debug circuit. This is essentially an LED with an inline 1 Kilo Ohm resistor. Two wires from the circuit are used to check that each of the Uno’s GPIO pins are working correctly. This is a nice touch. It enables us to get building without worrying about making mistakes. With that built, we move on to the star of the show, the Arduino Uno.
Building the Uno is relatively straightforward. The included components are all through hole, making for easier soldering. The only component to feature surface mount components is a USB-C to Serial board. This board is pre-assembled and drops straight into the main Uno PCB. Just a few legs to solder and the USB-C and Uno are joined.
Online instructions guide us through the soldering process. Typically soldering lower components before moving on to taller. These instructions are not just mere diagrams and text. Rather, they are interactive 3D models which show the components being placed into the boards. This is a nice touch for those new to soldering. We can visualize how the parts are inserted, spin the board around for a better angle and zoom in to spot exactly where we need to be. Coming as someone who has followed countless circuit diagrams, this is a refreshing and most welcome change.
It should take a beginner about an hour to solder the kit. More experienced makers will undoubtedly shave minutes from that time. But no matter your experience, you will have fun soldering this kit. Our one criticism of the white PCB is that it shows all the flux from our solder. That’s nothing a quick clean with isopropyl alcohol can’t fix.
Get Tom's Hardware's best news and in-depth reviews, straight to your inbox.
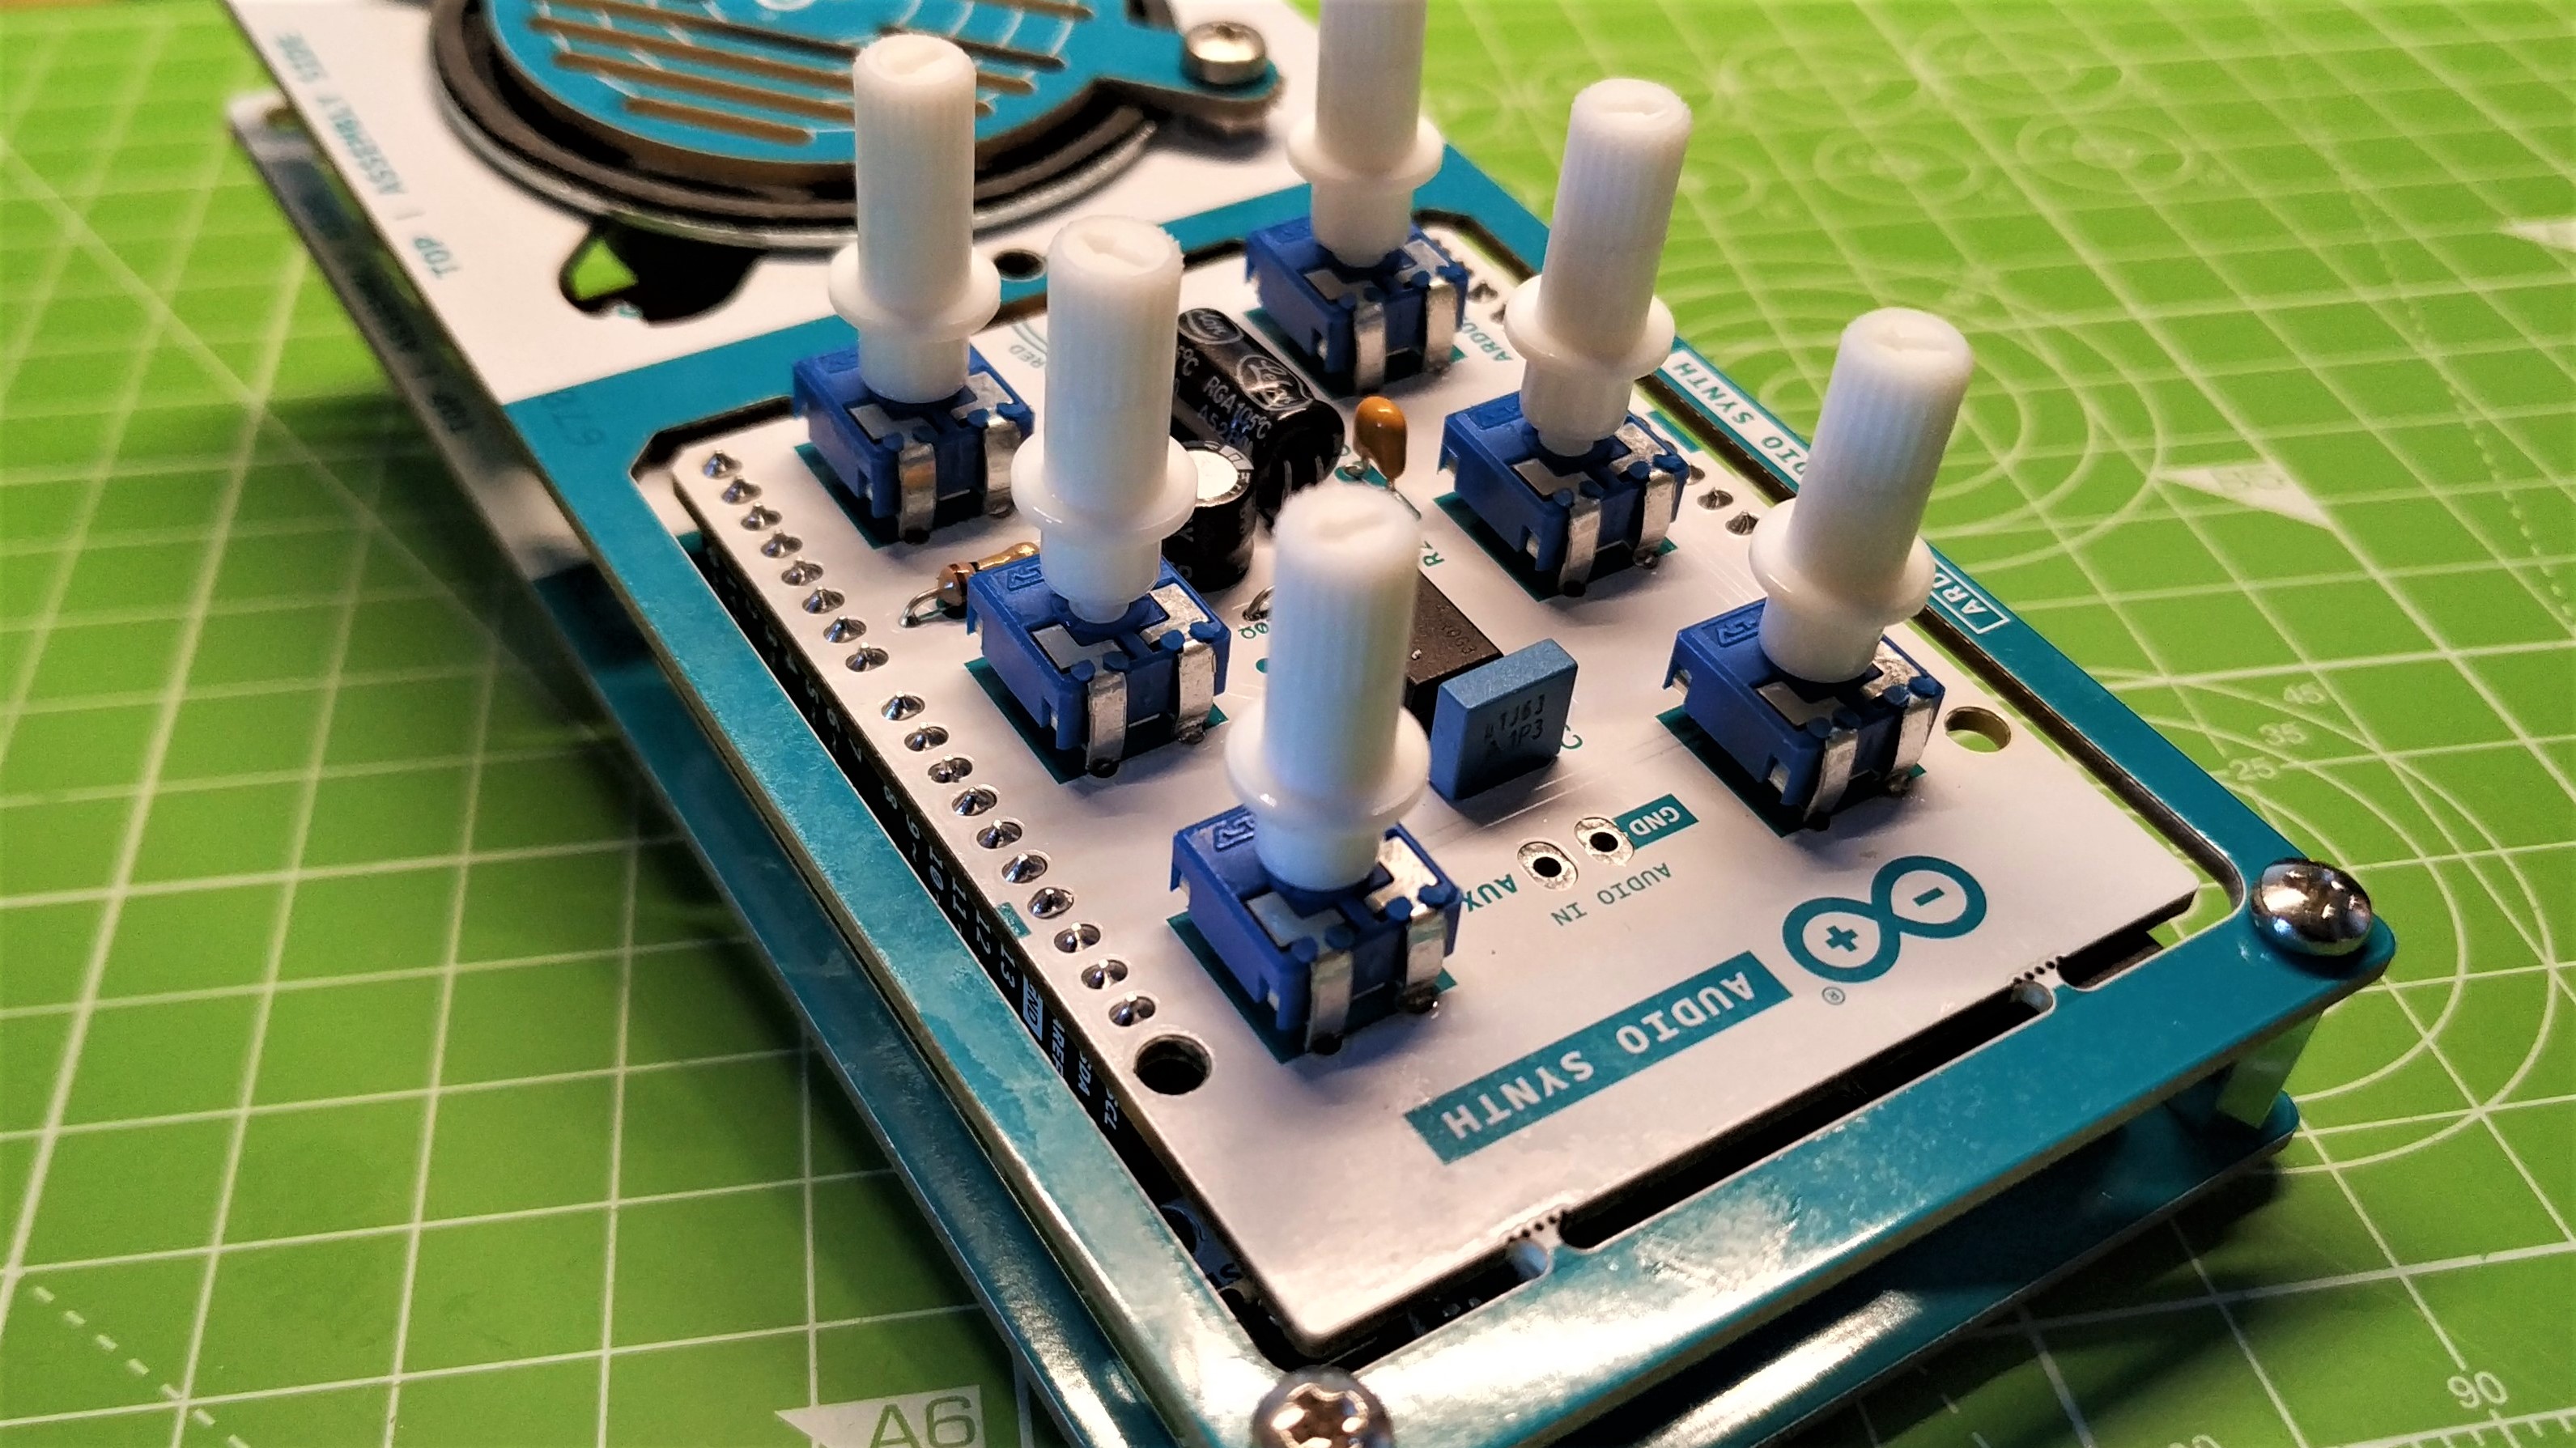
Once the Arduino is built, it is a thing of beauty. The components on the board may differ to the surface mount soldered versions on a typical Arduino Uno, but the pin layout and form factor is unmistakable. We moved forward and soldered up the Audio Synth shield. This shield is a collection of six potentiometers which are connected to the six analog input pins of the Arduino. The audio is routed to an LM386N power amplifier and then played via a speaker on the PCB. The Audio Synth shield fits atop the Arduino Uno and we then reuse the packaging to create a simple instrument. But how do we program it? For that we need an IDE.
Programming the Make Your Uno Kit Audio Synth
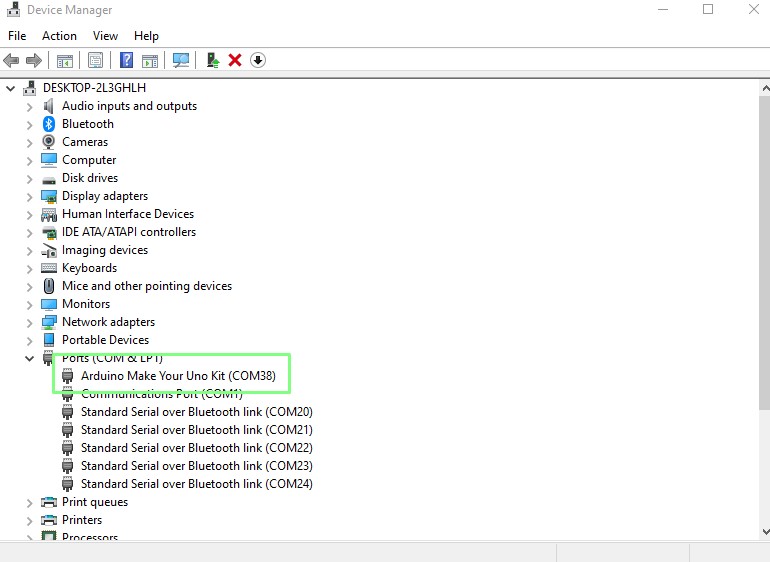
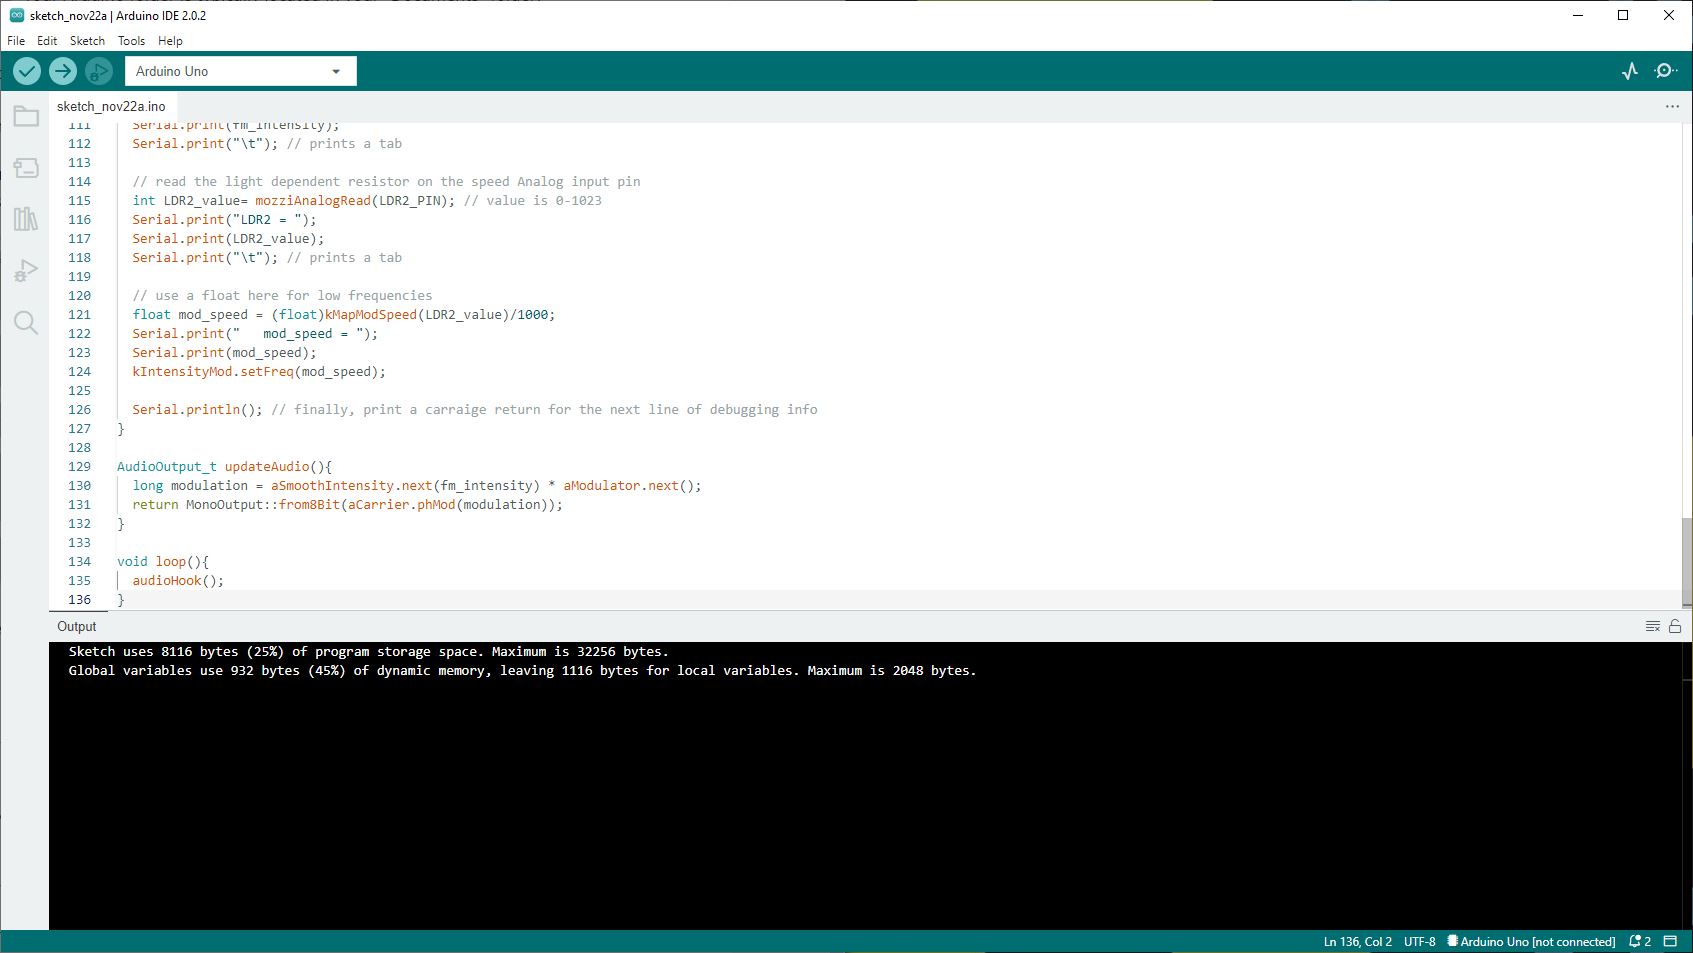
As this is an Arduino, we need to use the Arduino IDE and we tested it with the latest Arduino IDE 2.0 release and an older 1.8 series IDE. It worked flawlessly with both, a testament to the longevity of the Uno range which has worked with many iterations of the IDE. We connected the Arduino Uno to our Windows PC and the device was detected as an Arduno Make Your Uno Kit, a nice touch that sets it apart from typical Unos.
The Audio Synth has a basic sketch (Arduino parlance for a project’s code) that will play beeps and boops, but there is an advanced sketch which turns the kit into a synth instrument, of sorts. Sounding like a prop from a 1980s sci-fi movie, the Audio Synth shield is great fun.
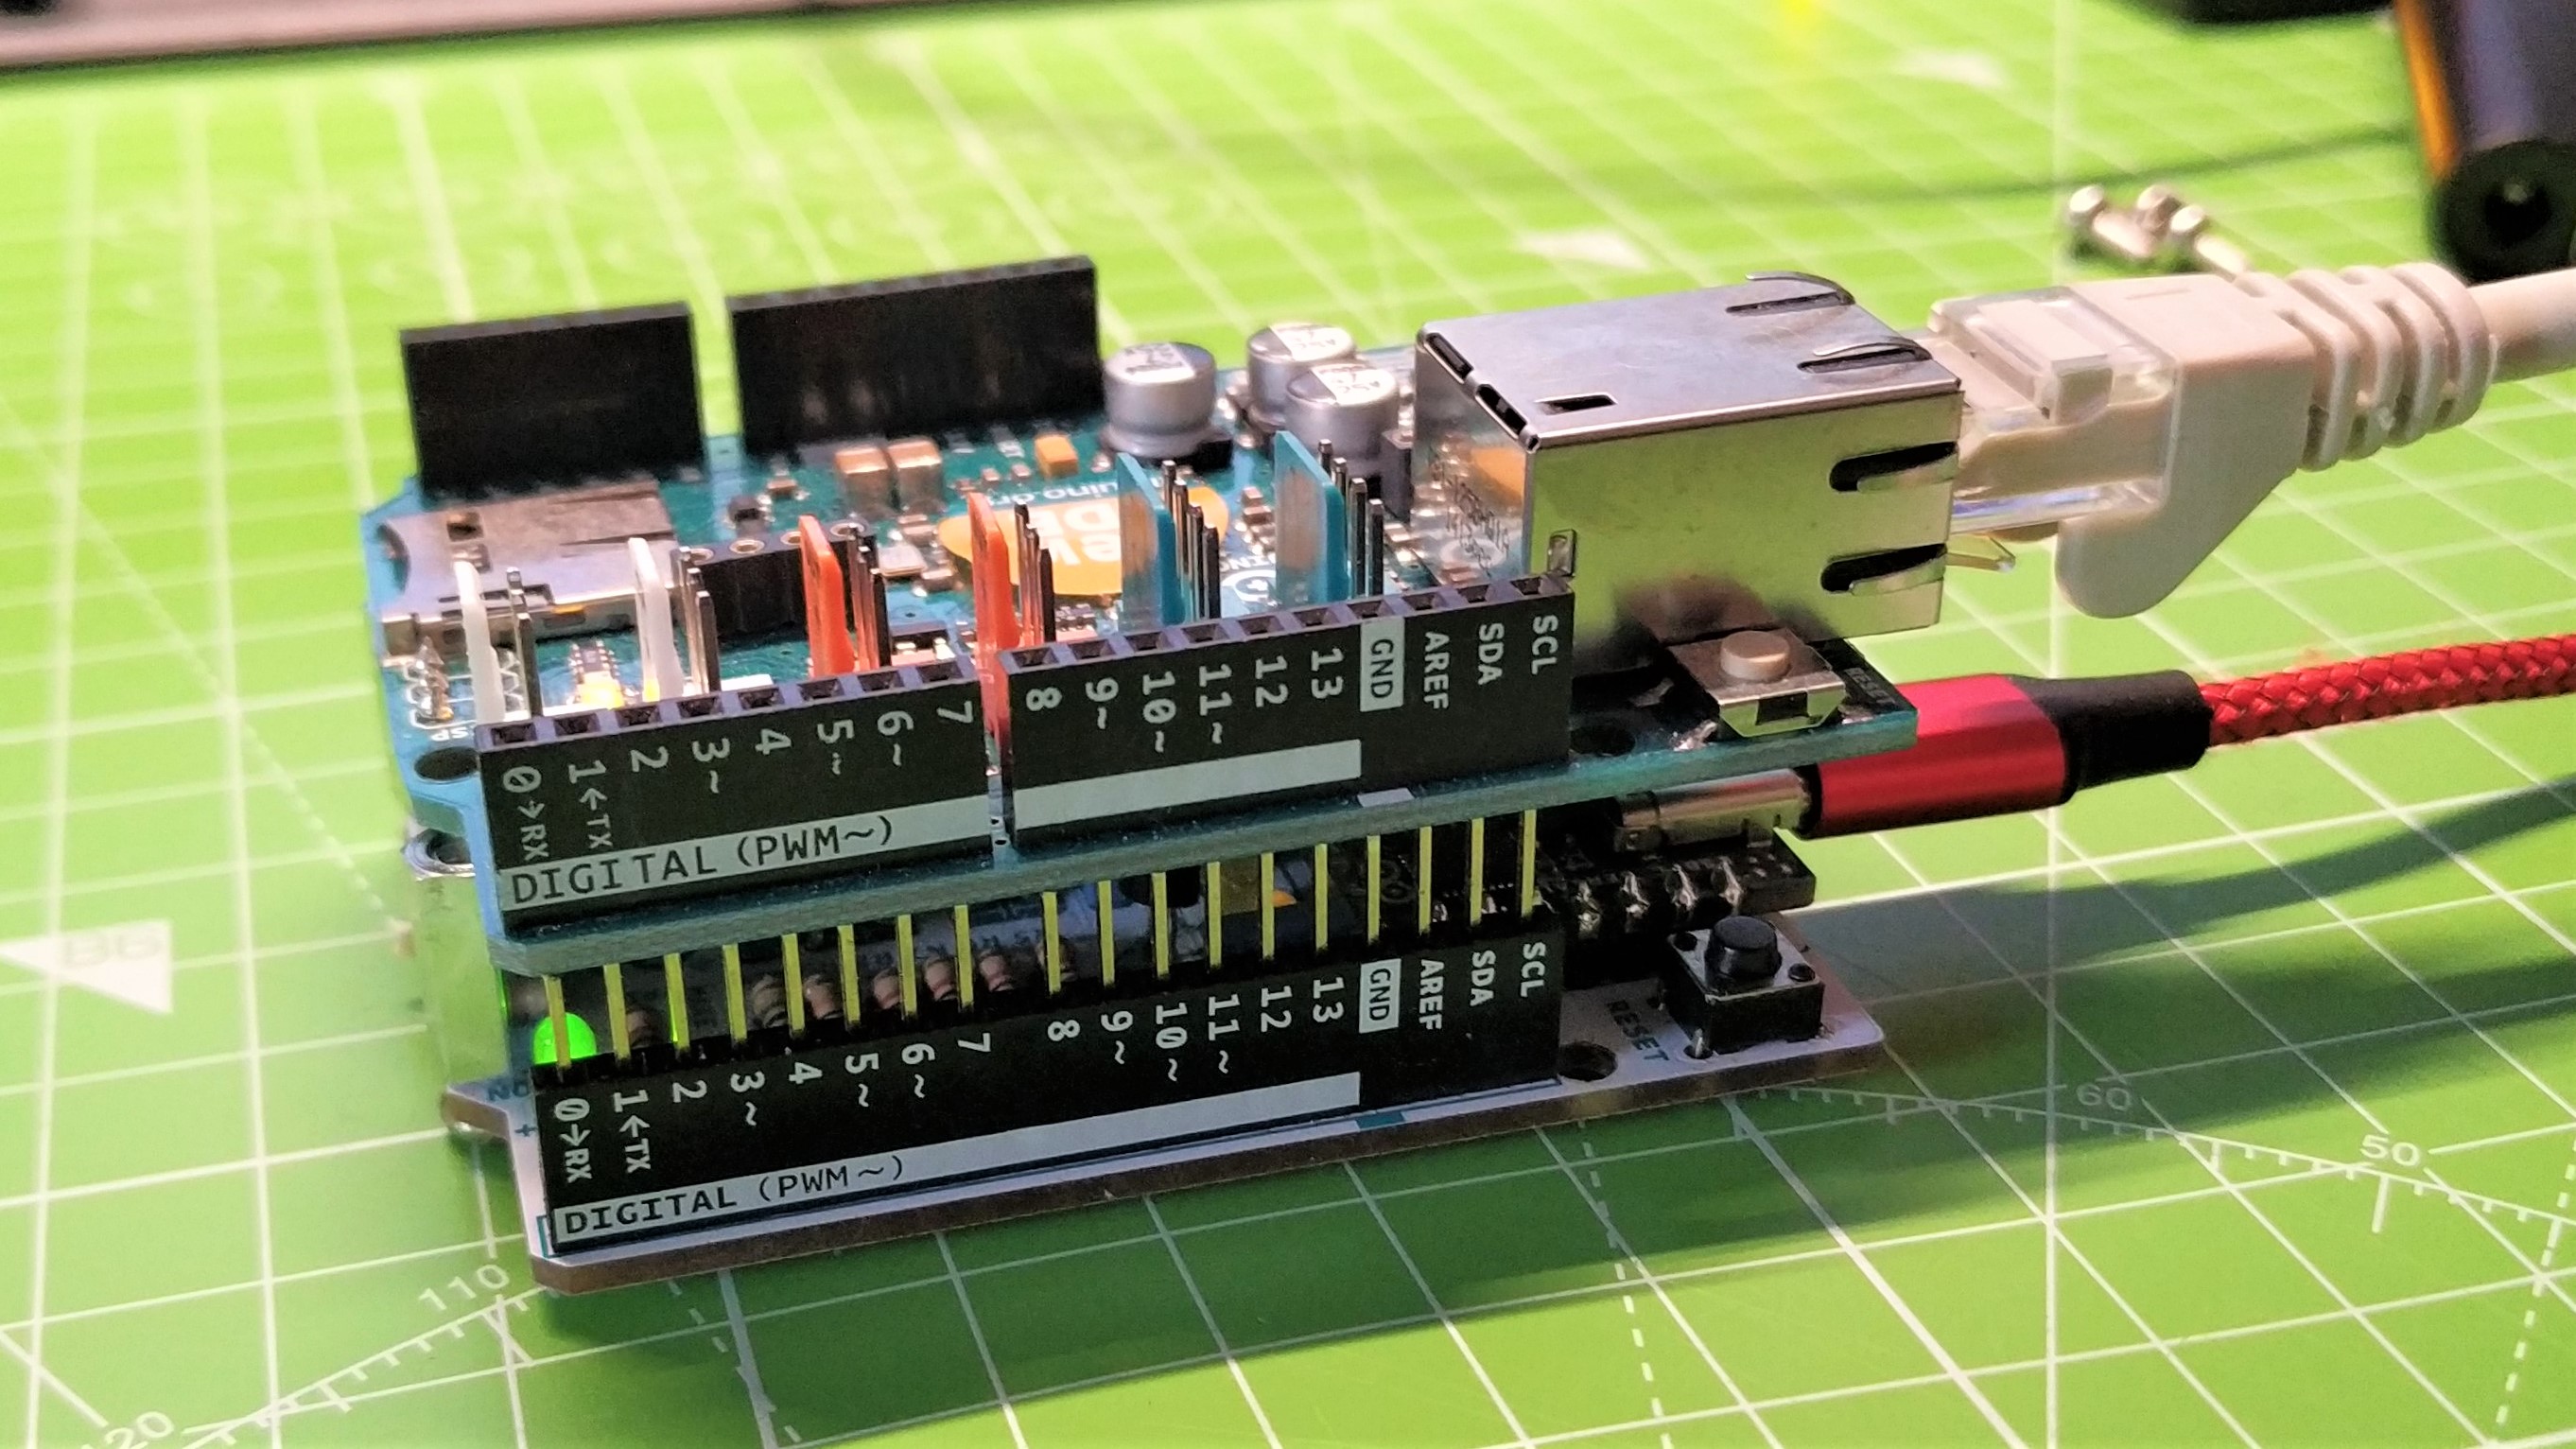
Can we use other shields with the Make Your Uno? Why yes we can. We tested an official, but elderly Ethernet shield and ran a quick web server example sketch. It just worked, with no drama or issues. An Uno, soldered just hours before, was now serving content to devices on our network.
Who is the Make Your Uno Kit Aimed at, and Why?
Squarely, the kit is aimed at newcomers to the Arduno and maker community. The simplicity of the kit, the wonderful instructions and the lessons learned by building from raw components makes this a syllabus rather than a lesson.
We learn so much by doing, and after all the work we are left with a device which we can use to build even more wondrous things. That said, in the age of IoT, it would’ve been nice to have a model with Wi-Fi baked into the board.
Bottom Line
If you are new to the Arduino or soldering then this is a fun kit to make. You could just buy a $6 Raspberry Pi Pico W microcontroller, which uses a more powerful RP2040 CPU and has built-in Wi-Fi, but you would be missing out on the learning that this kit provides.
At the end of all your hard work you have an Arduino Uno, ready to go further and become much more than just a collection of components. It seems that Arduino has once again helped us to rediscover our love of making.

Les Pounder is an associate editor at Tom's Hardware. He is a creative technologist and for seven years has created projects to educate and inspire minds both young and old. He has worked with the Raspberry Pi Foundation to write and deliver their teacher training program "Picademy".
