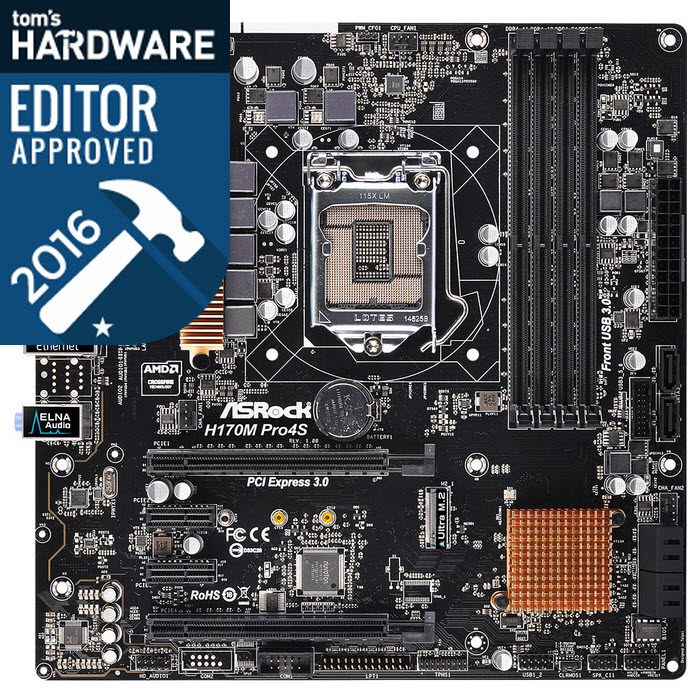
ASRock H170M Pro4S And H170M-ITX/ac Motherboard Reviews
Why you can trust Tom's Hardware
ASRock H170M-ITX/ac
I skipped over this board in the original roundup since I'd already examined MSI's offering in this form factor. Now, we'll get to see how ASRock compares.
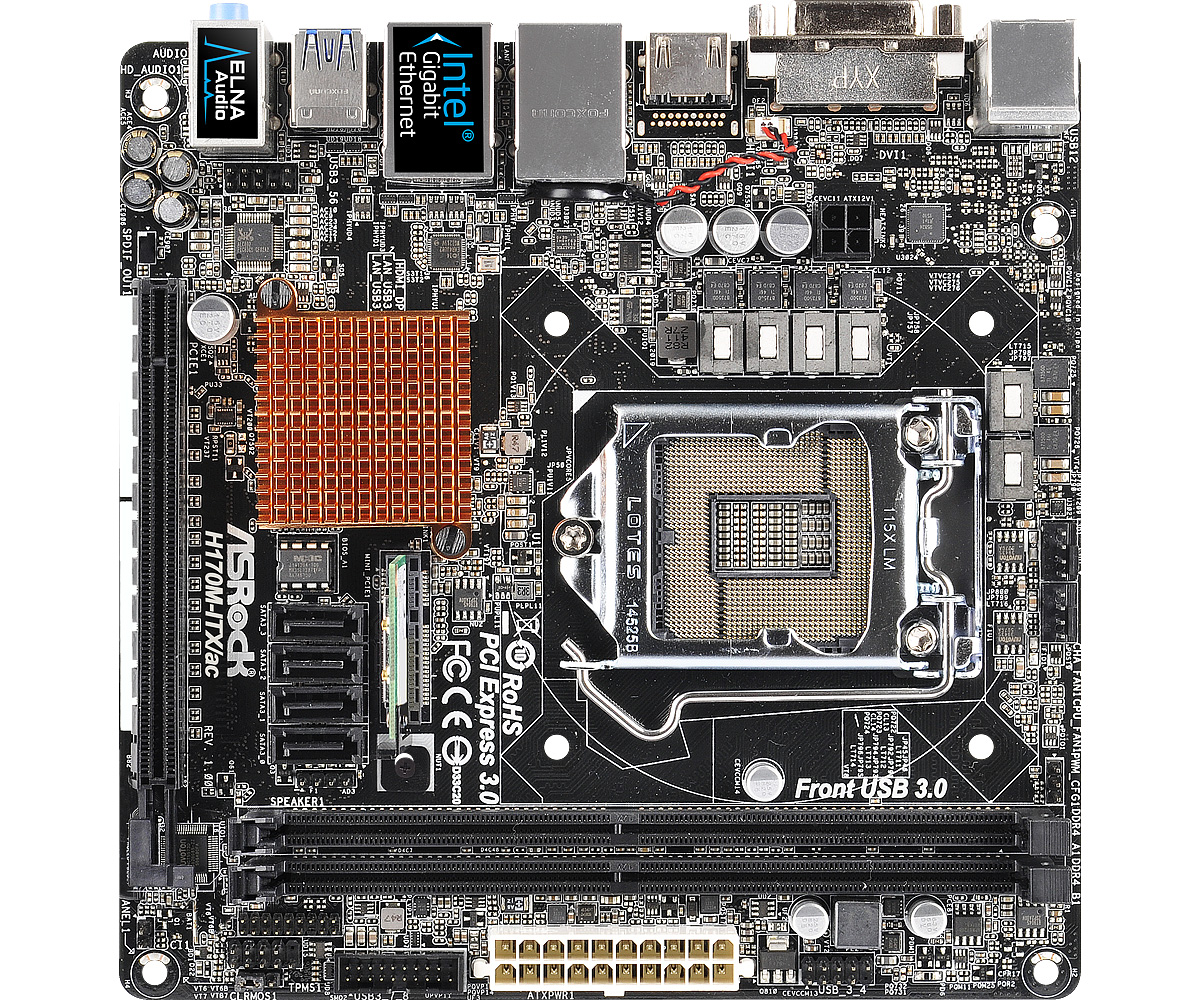
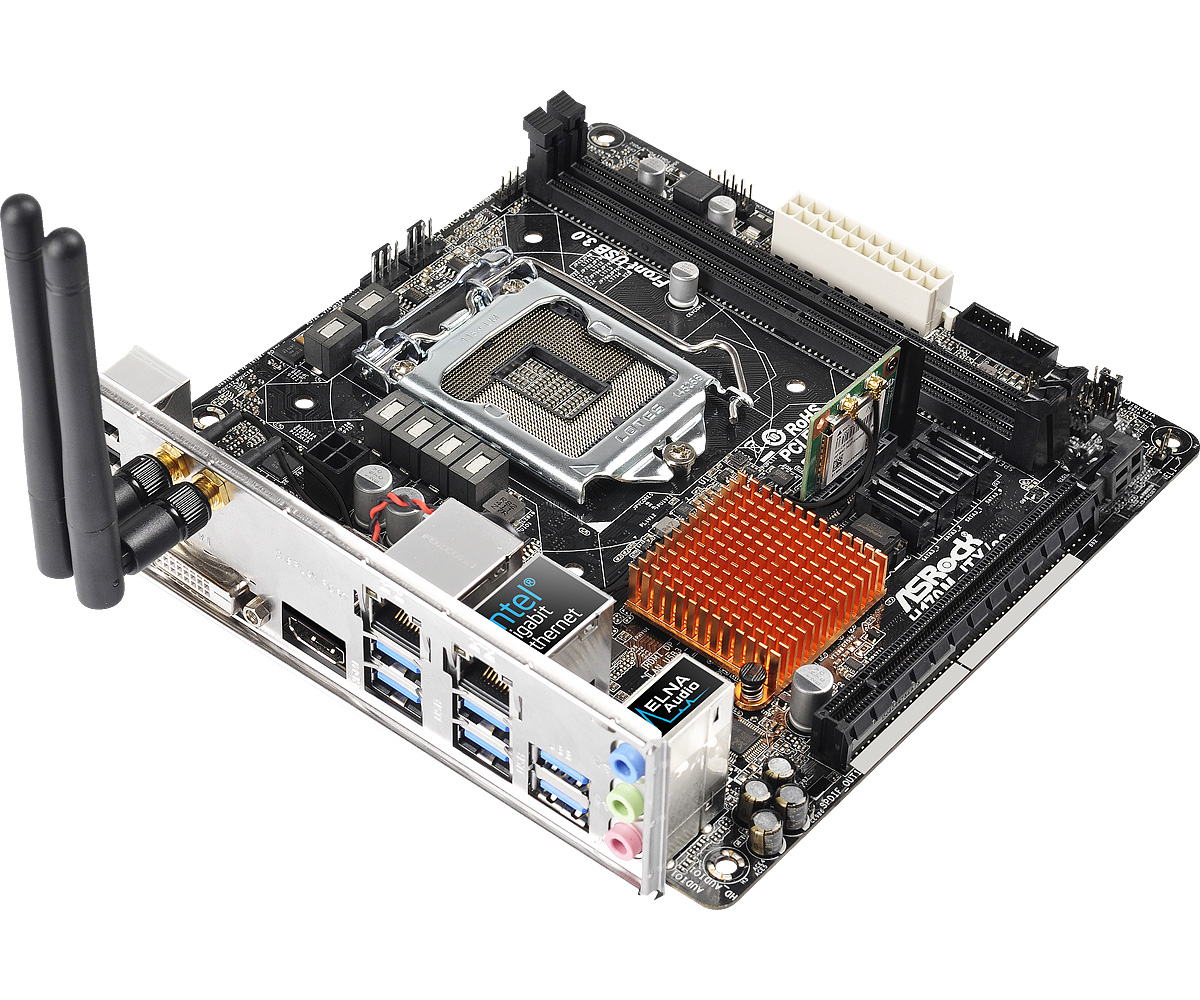
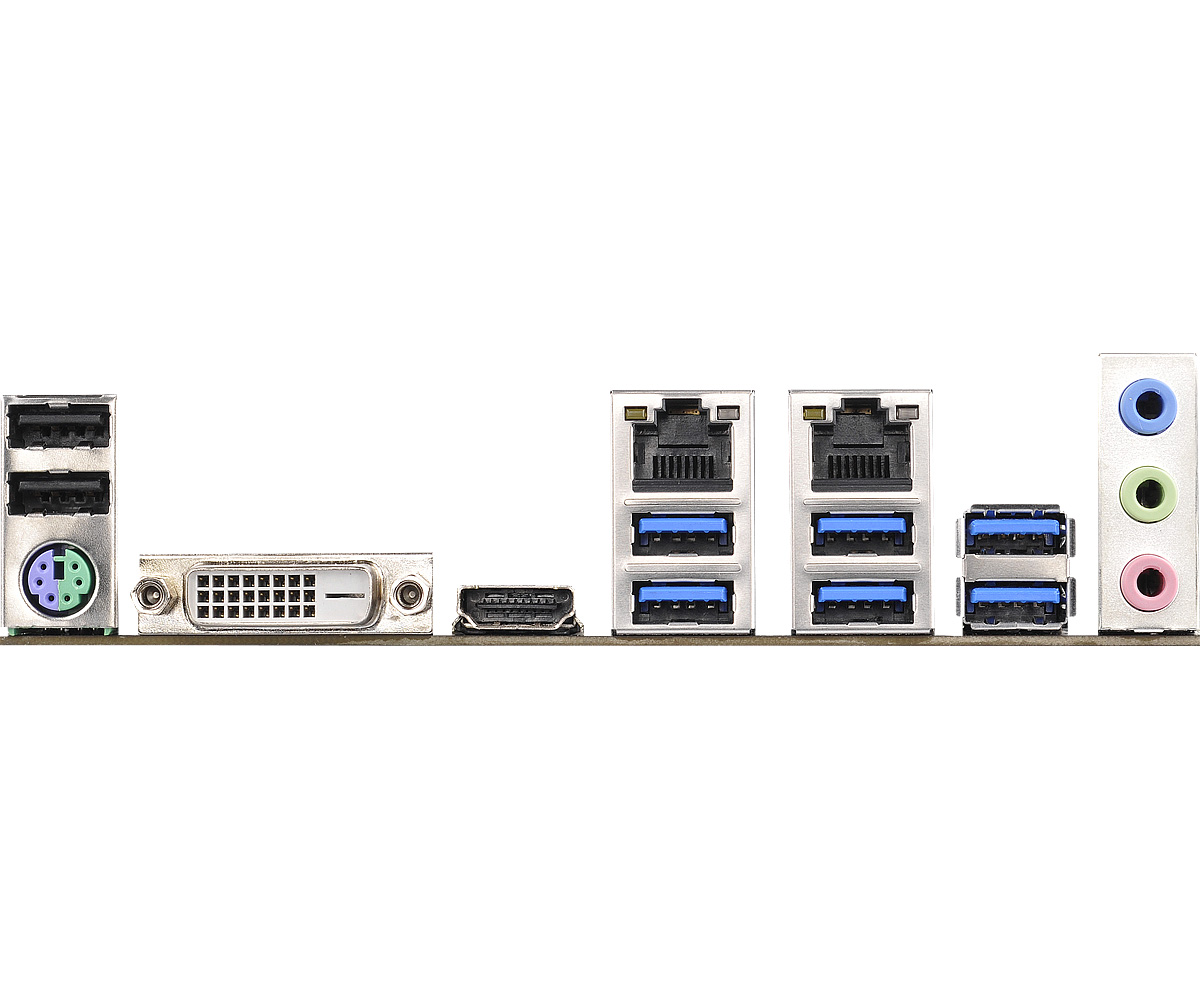
In the box, you get the board, a pair of SATA cables and a pair of antennas for the wireless radio. There is also the usual I/O plate, driver CD and what appears to be the standard ASRock glue-bound 7-1/16-inch x 5-1/16-inch manual that will not lie flat and is somewhat difficult to read due to tiny type. As usual, you get English, German, French, Italian, Spanish, Russian, Portuguese, Turkish and four pictographic Asian languages, plus Bahasa Indonesian. It's not a bad manual, but I do wish it were a little bigger, especially as I get older. Youngsters won't care, but us old guys need to juggle eyeglasses while we're building, making it a little more of a challenge than it needs to be.
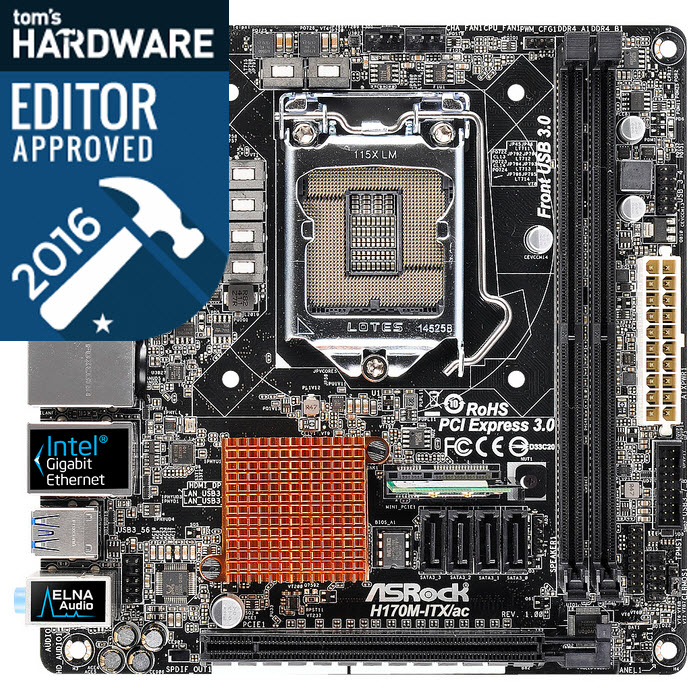
The audio codec is an ALC892, a step up from the ALC887 that MSI uses, and sufficient for most users. The mSATA slot on this board may be used only for the wireless card or for an mSATA drive; it will not work with PCIe M.2 drives. Furthermore, because the slot will point the drive straight up, a builder could hit a height limitation in smaller mITX cases.
The layout is otherwise uninspiring, even for mini-ITX. All of the SATA headers are in a row just above the two DIMM slots, between the PCIe connector and the mSATA connector. Once the parts are installed, finger space here will be nonexistent—and all of the ports will face the same way, so you may need to remove those ahead of the one you really want.
The system speaker pins are located between the SATA ports and the DIMM slots, which is a good thing to plug in very early in the build process. The CLRMOS1, front panel and TPMS headers are crowded together in the front-left corner, but there's enough space to get to them. And the one you'll need most often, CLRMOS1, is on the outside, and includes a jumper cap. To its right is the USB3.0 connector. Between that and the USB2.0 connector is a 20-pin ATX power connector. How often do you see those?
Right above the DIMM slots, on the right edge, is a three-pin header labeled "PWM_CFG1," but it is not described (nor diagrammed) in the manual; I left it alone. The two four-pin fan headers are behind that. Behind the CPU socket is a four-pin CPU power connector. The CPU QVL includes the 91W Haswell CPUs, though, so this (and the 20-pin main ATX power connector) is apparently not a problem. H170 is not an overclocking chipset, and the VRMs lack heat sinks. The CR2032 battery is wrapped and taped to the back of the Realtek LAN port, connected by a two-pin wire that plugs in behind the DVI-I port. The audio connector is where you'd expect to find it: right behind the rear-panel audio jacks.
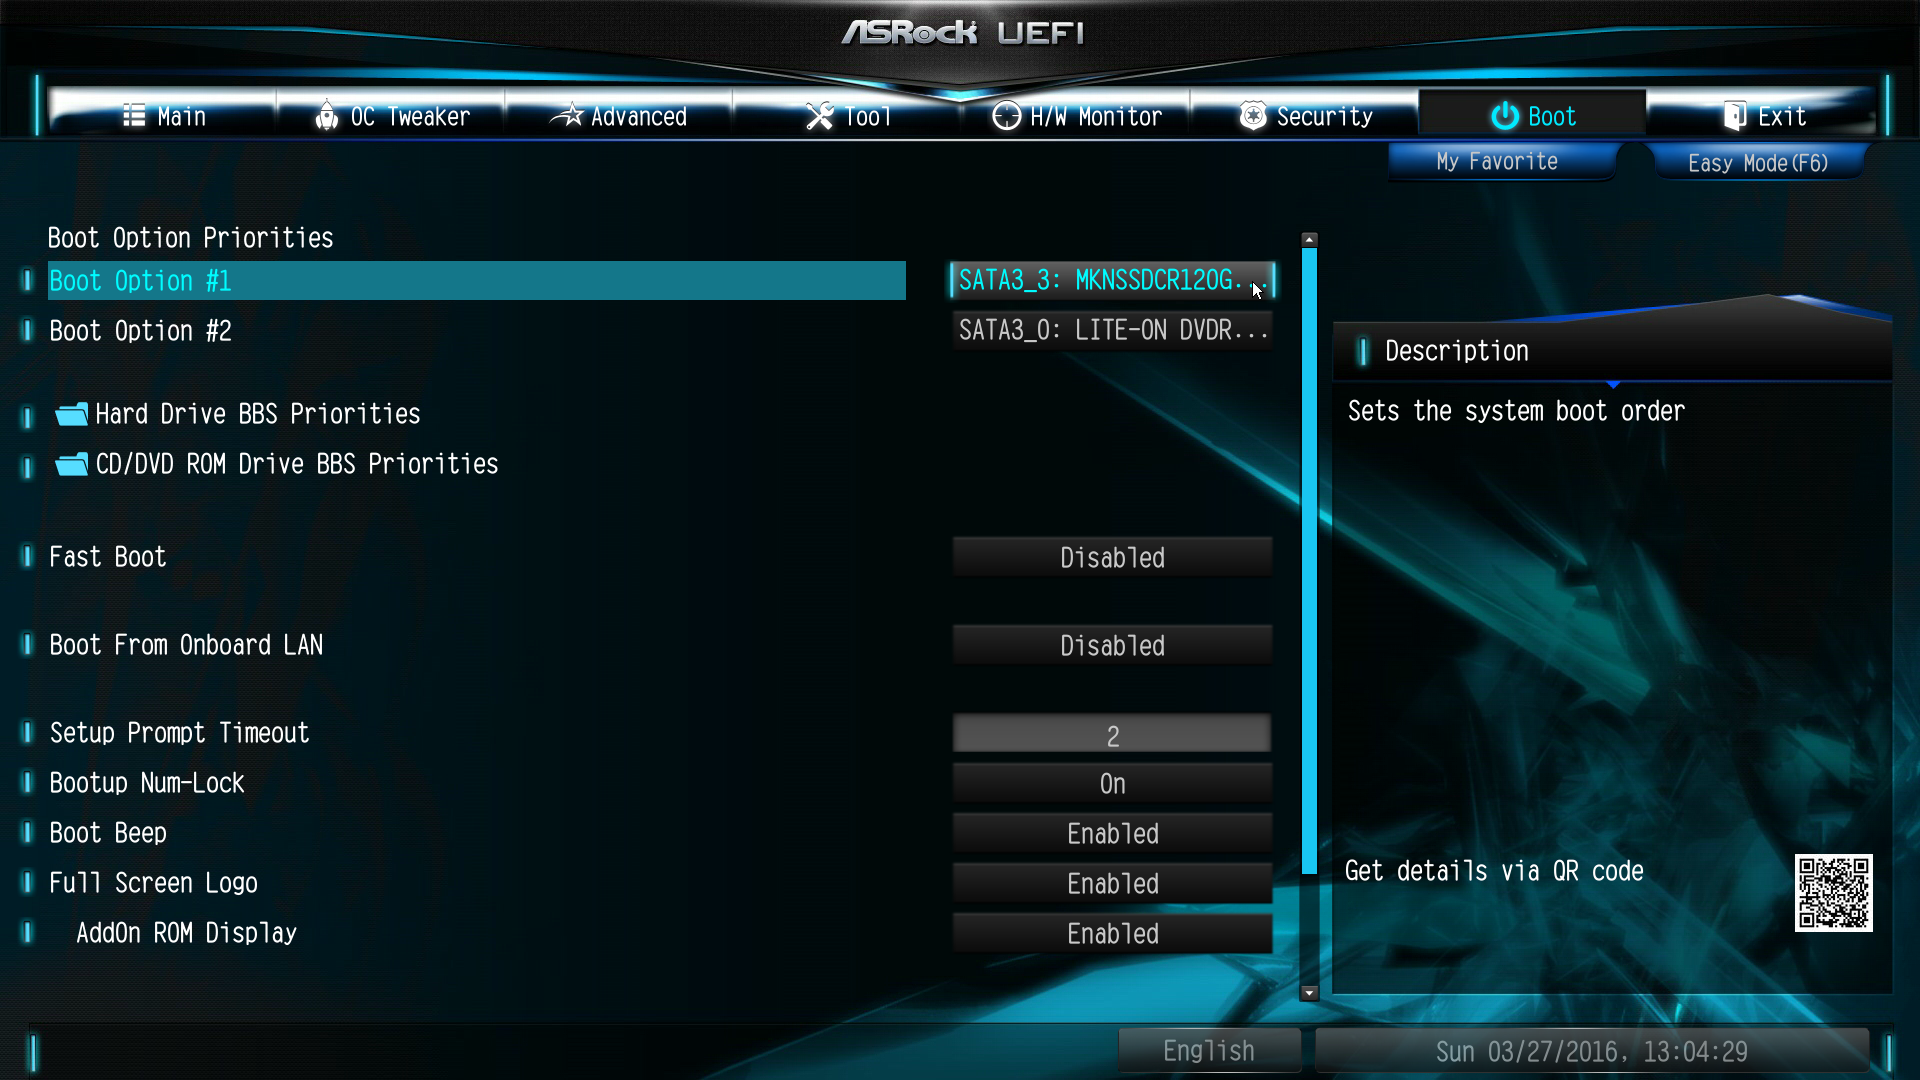
If you've seen one ASRock H170 UEFI, you've seen all of them. Here are a couple more screenshots not previously included. The boot priorities screen looks like this:
Get Tom's Hardware's best news and in-depth reviews, straight to your inbox.
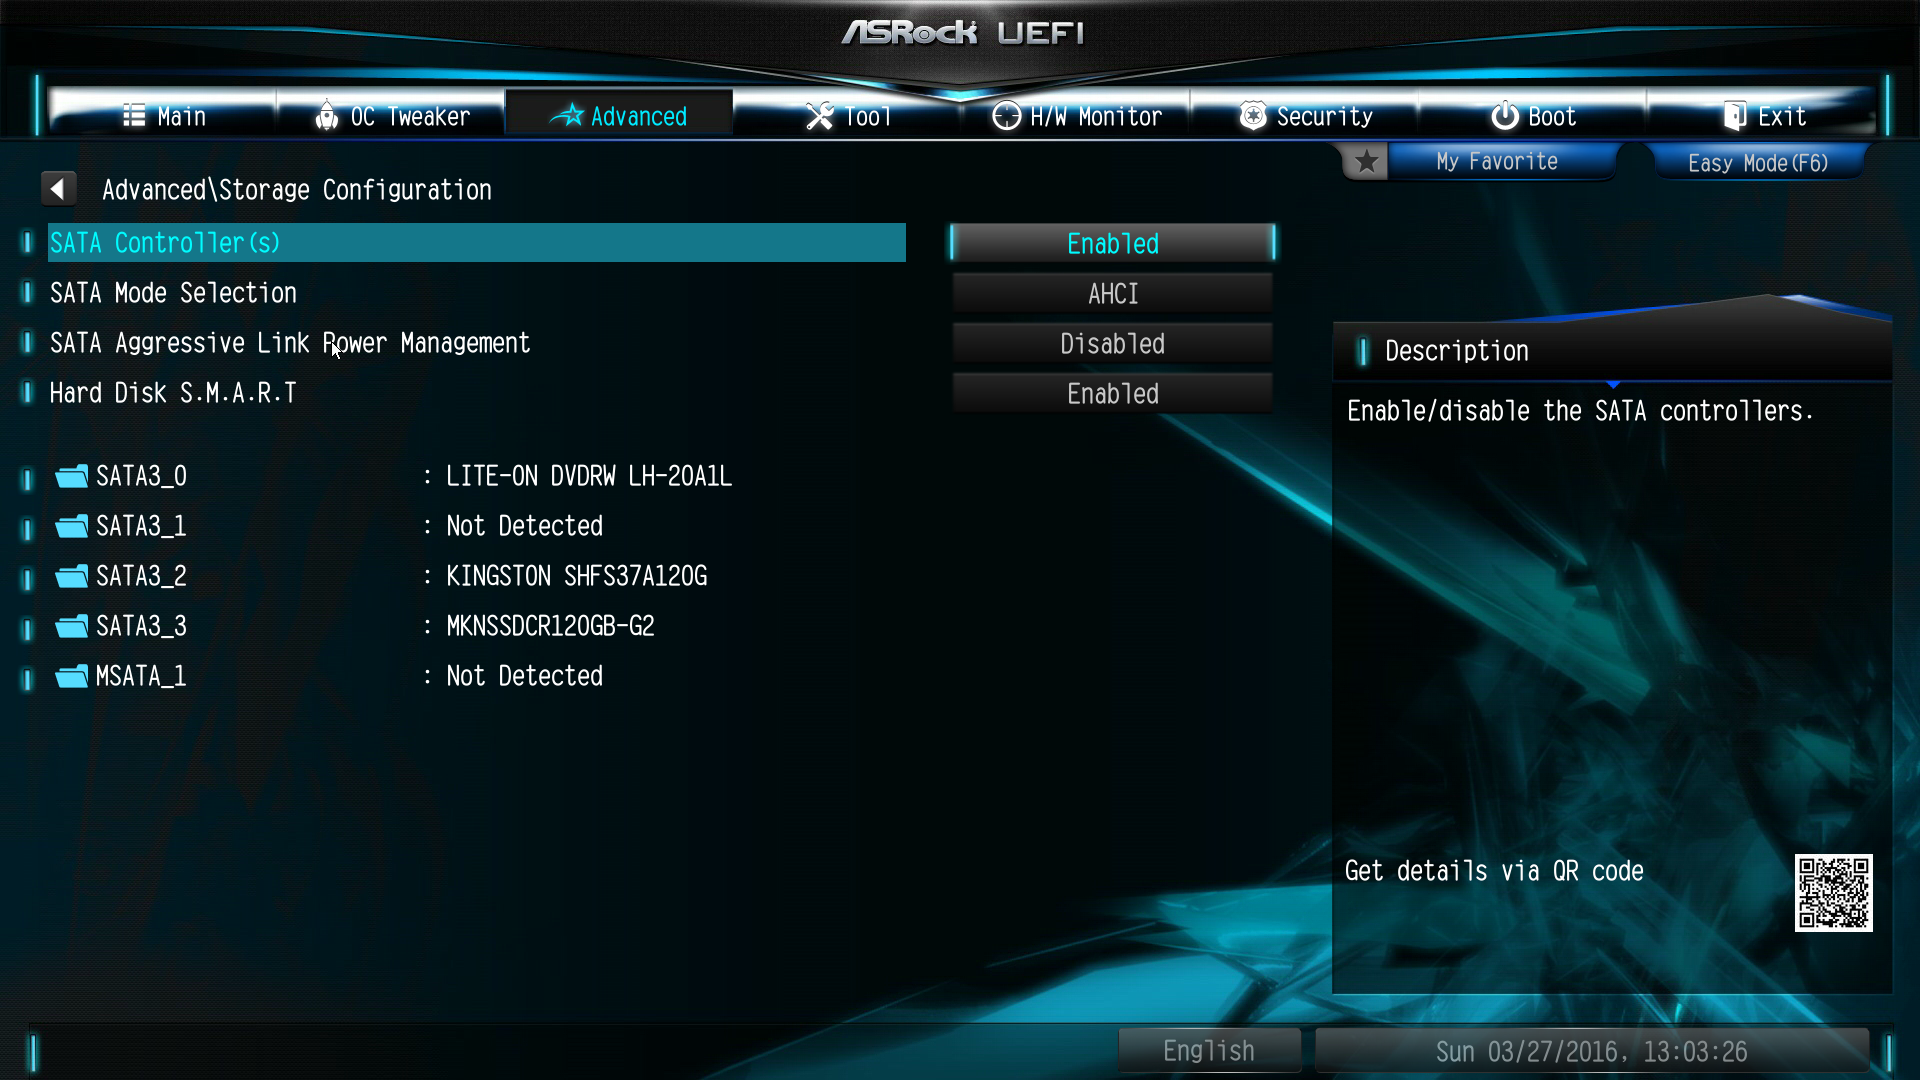
Obviously, this screenshot was captured before I had done any configuration, as Bootup Num Lock is still on. The Storage options screen under the Advanced tab looks like this:
Now it's time to compare the performance of these two with the previous five motherboard samples. All of those have been aggregated into a five-board average in the charts.
Current page: ASRock H170M-ITX/ac
Prev Page ASRock H170M Pro4S Next Page Test Settings, Results And Final Analysis-
joz Nice to see Mushkin getting some action - even if it is just as components for testing other components.Reply
-
Onus I've used a fair number of Mushkin parts over the years, and I only recall a single RMA on some DDR2 years ago. One of my oldest SSDs is the one in my wife's PC, and you can be sure I'd be hearing about it if it were not reliable. I'm generally confident in the brand.Reply -
logainofhades Seems like, for most people, H170 boards are a great choice. I have been pretty happy with mine, that was in the last H170 review. Eventually I will swap for a Z170, and reuse it somewhere else. The lack of PCI-E M.2, on the ITX board, is a bit of a letdown. If I were to build an ITX rig, I would probably consider that feature a must have.Reply -
Onus That is why I chose the MSI board to keep for Igor, in case I wanted to add a PCIe M.2 drive later.Reply
It's a low priority, because interest in nearly identical products isn't going to be high, but I've got two more H170 boards left, the H170 Pro4 and the H170 Pro4S, also both ASRock. I want to get one of them on the bench tonight. In order to maintain interest, I may use it to generate a couple more data points, like comparing Windows 8 and Windows 10 through the same tests. -
pjc6281 no USB 3.1 is the downside for me on both of these. Trying to plan for a nice mini system with a H170 MB and 3.1 is hard to come by.Reply -
rwinches Both boards appear to have the same DVI-I ports in the images.Reply
The Pro4s description of the DVI-I port limitation is missing the words 'do not'
'VGA adapters (do not) work on DVI-I ports, so an adapter won't be an option here.' -
Lutfij Agreed, when going to the smallest form factor possible the benefit of having slim/stealthy or equally smaller components aids in bringing about a small, functional and compact system.Reply
The only thing is I know most people would opt for audio pass through via the HDMI port but I equally know folks who yet have an audio/video receiver that handles discrete multi channel surround sound so a higher quality audio chip would be something in my books though it would only jack up the prices up and float this board closer to enthusiast grade boards. -
Onus The DVI ports do indeed look like DVI-I, but the manual describes them as DVI-D. I will look out for this in the future and actually test them with an adapter I have.Reply
