ASRock Z270 Taichi Motherboard Review
Why you can trust Tom's Hardware
Software & Firmware
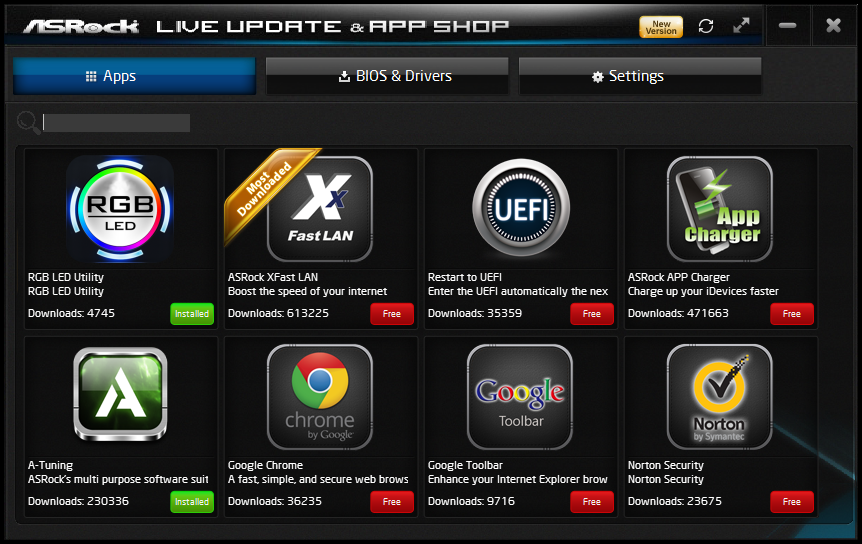
Our Z270 Taichi installation disc included a full set of drivers, but very few applications, primary of which was its App shop. Users can peruse ASRock’s RGB utility, XFast LAN packet prioritization (by cFos), Restart to UEFI applet, App Charger for USB, and A-tuning overclocking application, in addition to a trial of Norton Security, a couple Google apps, and some slot machine freeware.
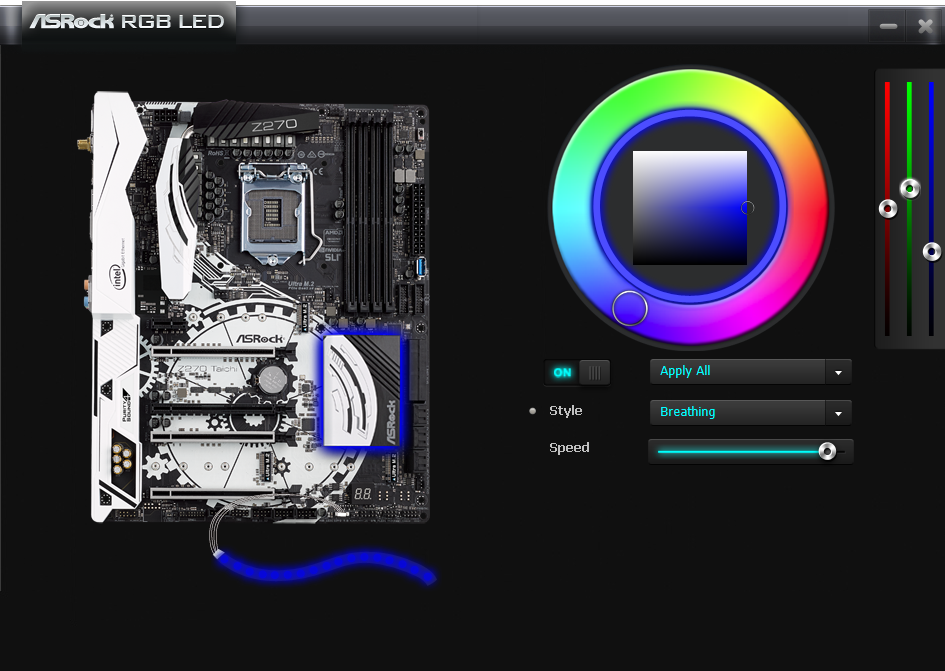
ASRock Aura app is a Windows version of its UEFI control interface for both the RGB cable link and onboard PCH LEDs.
ASRock A-Tuning includes “Load Optimized CPU OC” links to the Z270 Taichi’s firmware-stored O/C profiles, two “Advanced Turbo” settings which also require a reboot to be deployed through firmware, and an Auto Tuning app that only works when an overclock has already been loaded. “Gear 1” and “Gear 2” set the CPU to 4.60 GHz at 1.35V and 4.80 GHz at 1.38V CPU core, but the latter also uses a 2x AVX offset to drop the CPU back to 4.60 GHz when we’re running Prime95. Both settings also bump DDR4-2133 defaults to DDR4-2400 at 1.35V, without inspecting XMP profiles.
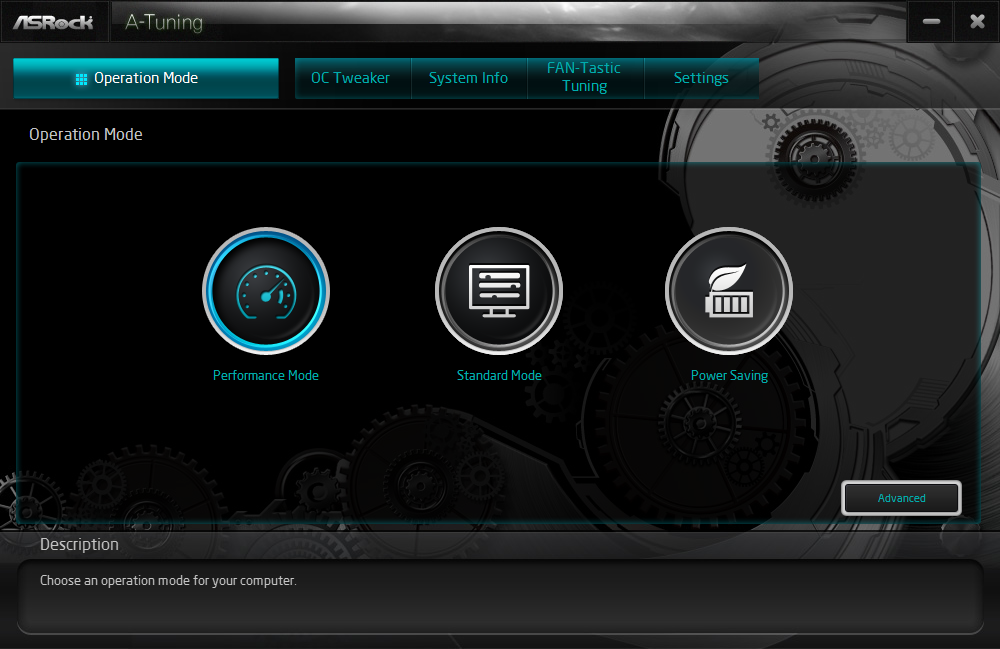
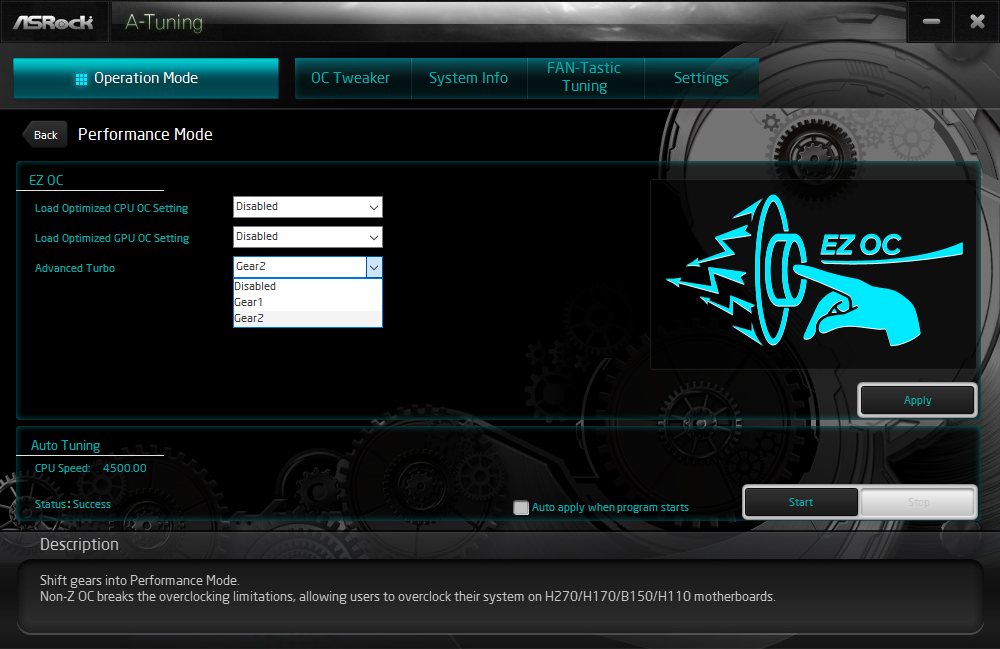
Auto Tuning consistently changes whatever Optimized OC or Advanced Turbo setting to 4.50 GHz at 1.35V - hardly optimal for our CPU, which typically reaches 4.80 GHz at 1.30V and thermal throttles when 1.35V is used to seek a higher overclock.
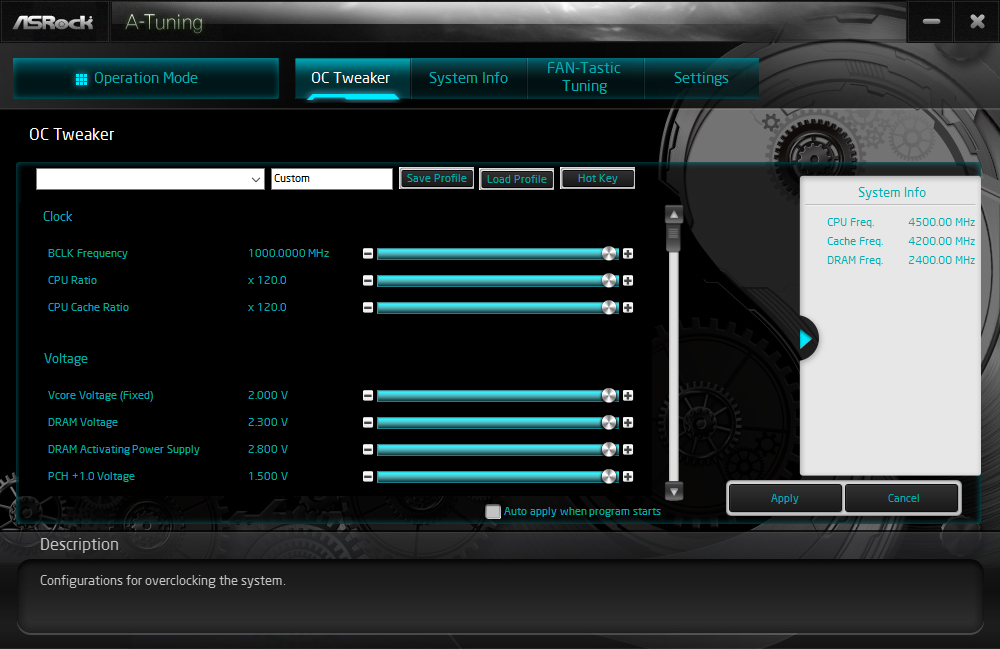
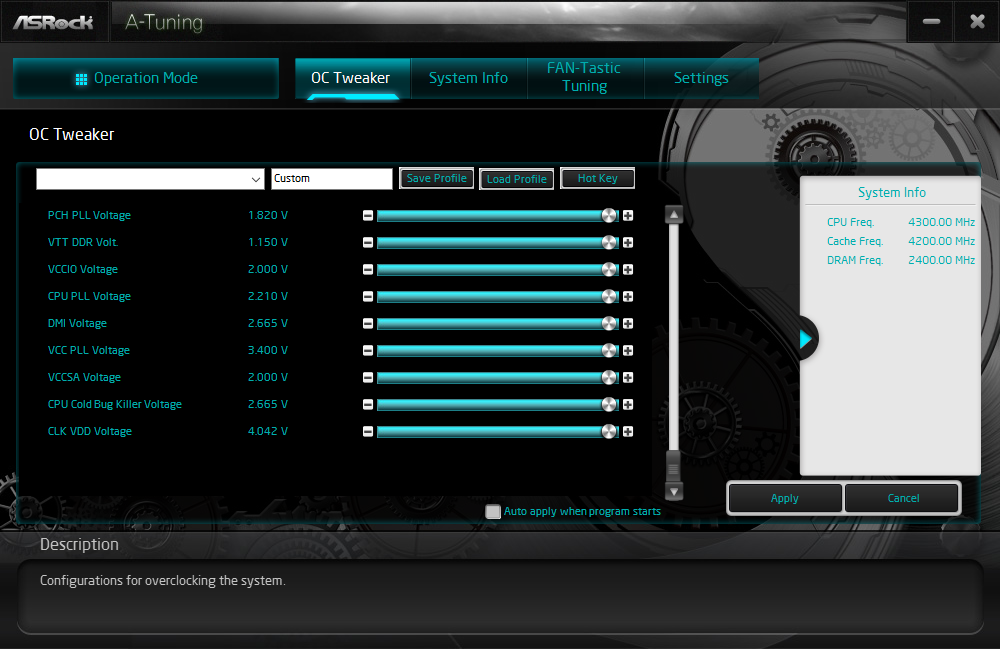
The OC Tweaker menu within A-Tuning provides access to the full range of firmware-based overclocking values within Windows.
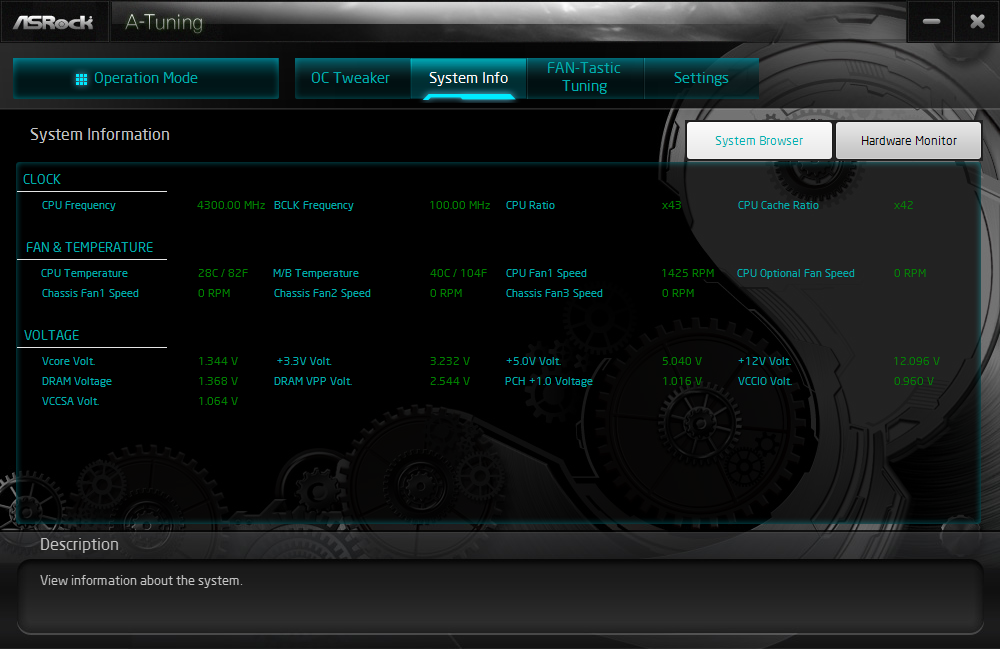
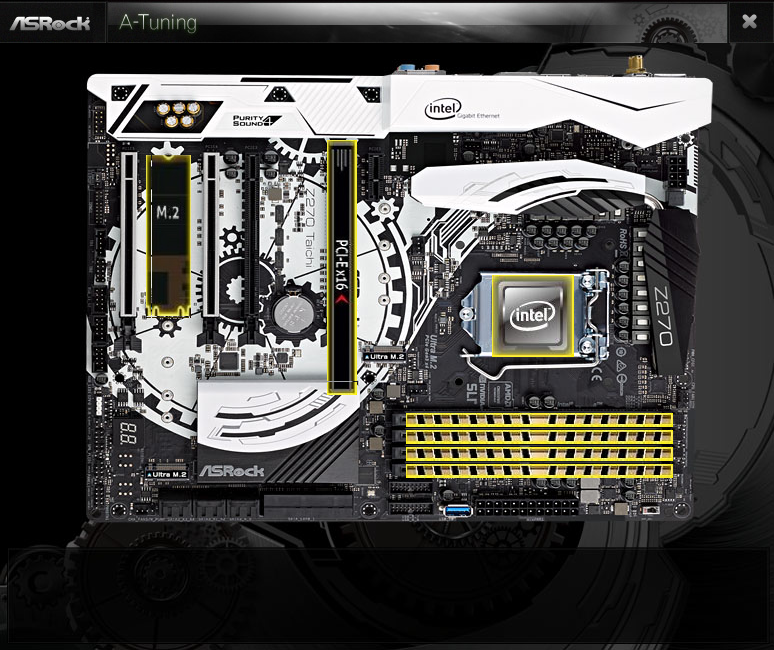
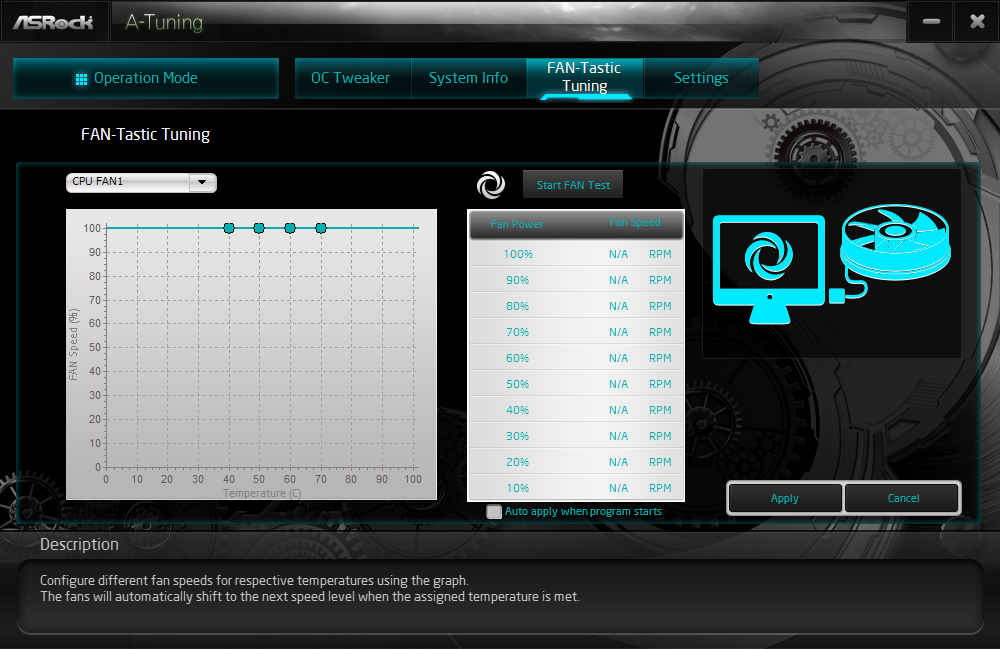
Other A-Tuning menus reveal a Hardware Monitor, a System Browser that shows connected hardware, and a fan tuning page. Both the System Browser and Fan Tuning are repeated from firmware versions.
Firmware
The Z270 Taichi firmware GUI opens into EZ Mode, limiting the amount of damage an inexperienced user can inflict on their hardware. An XMP setting is found here that could cause the board to become unbootable if it were enabled with certain modules, particularly those with XMP ratings too high to be properly supported by the board’s pathways or the CPU’s memory controller. That would typically happen with modules with XMP ratings of DDR4-3866 or more. Fortunately the board can recover from a missed boot, allowing inexperienced builders who happened to install DDR4-4266 to get back into the GUI and try to figure out that “XMP thing” so many experienced builders learned long ago.
Get Tom's Hardware's best news and in-depth reviews, straight to your inbox.
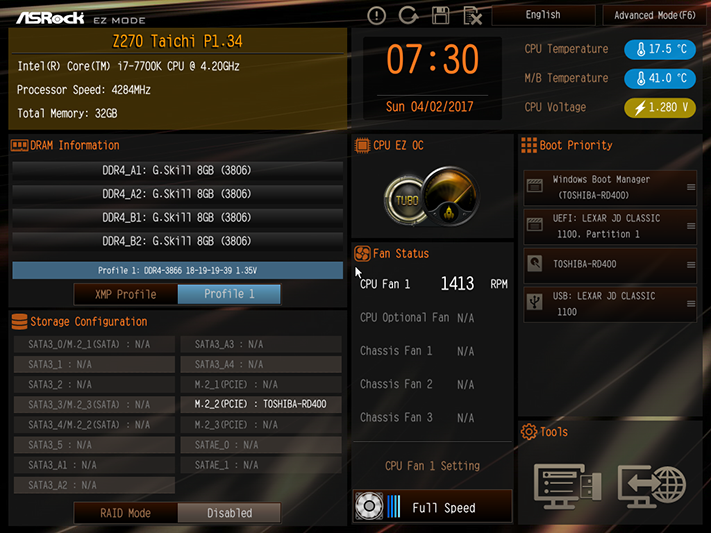
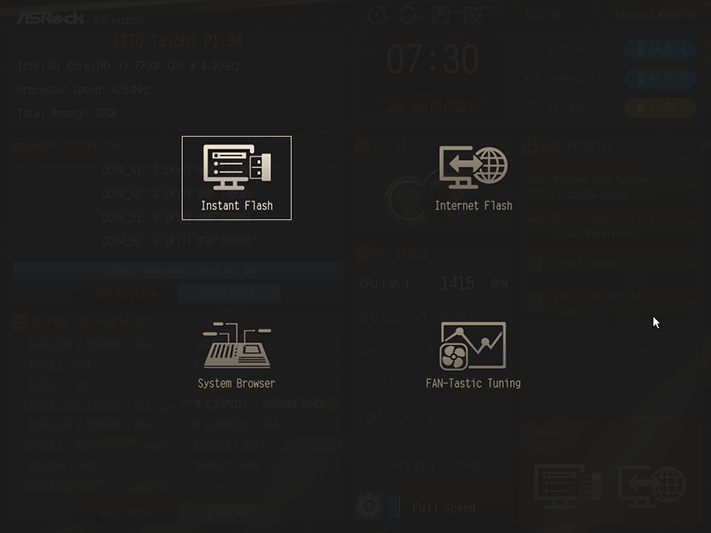
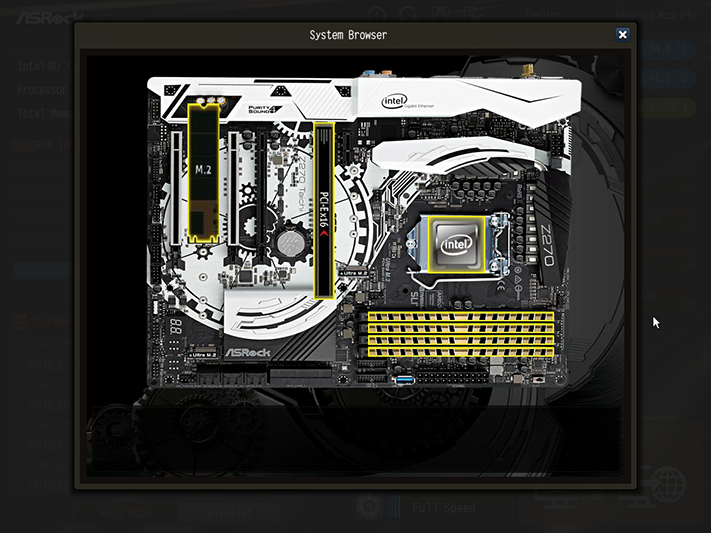
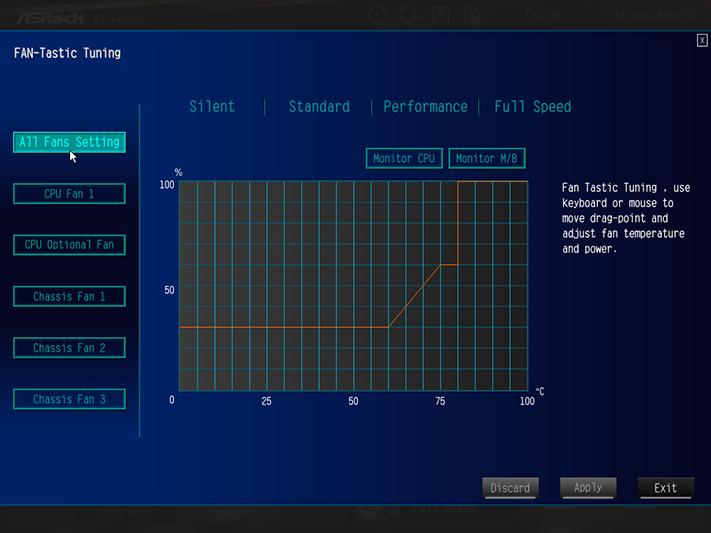
A few other key features of EZ Mode include its submenus for firmware updates, firmware downloads (to a flash drive), System Browser to reveal which parts have (or haven’t) been detected, and Fan-Tastic Tuning.
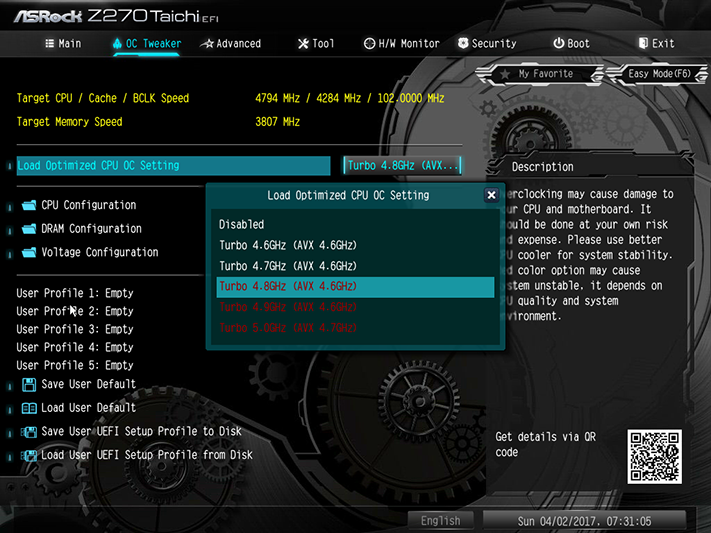
Programed overclocking profiles include 4.6 GHz at 1.26V CPU core, 4.7 GHz at 1.28V, 4.8 GHz at 1.30V, 4.9 GHz at 1.325V, and 5.0 GHz at 1.35V. Negative offsets for AVX loads of 1x, 2x, 3x, and 3x for those 4.7 through 5.0 GHz settings defeat our “100% stable overclock” mandate, but the disabling the AVX offset allowed this processor to run an AVX load for 48 minutes while using the other Turbo 4.8 GHz settings.
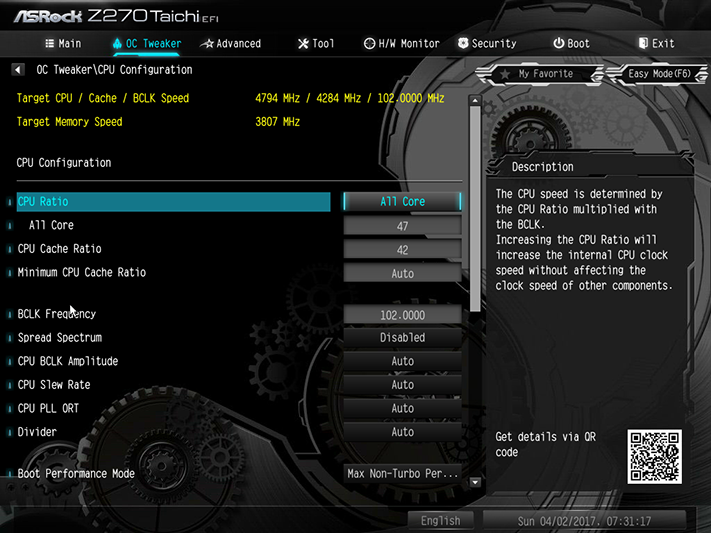
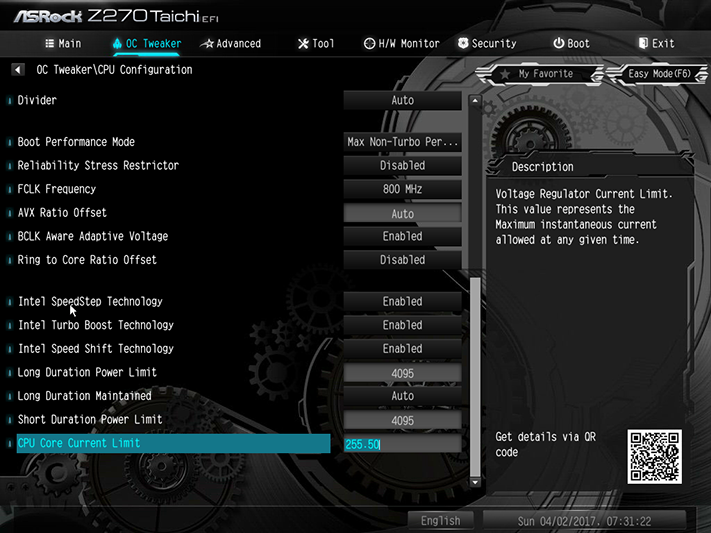
The 100% stability we sought was finally found at 4.79 GHz, using a 102 MHz BCLK and 47x multiplier. The Z270 Taichi fell behind all similarly-priced competitors for want of that last 6 MHz: We’ll let you decide if that’s a deal breaker.
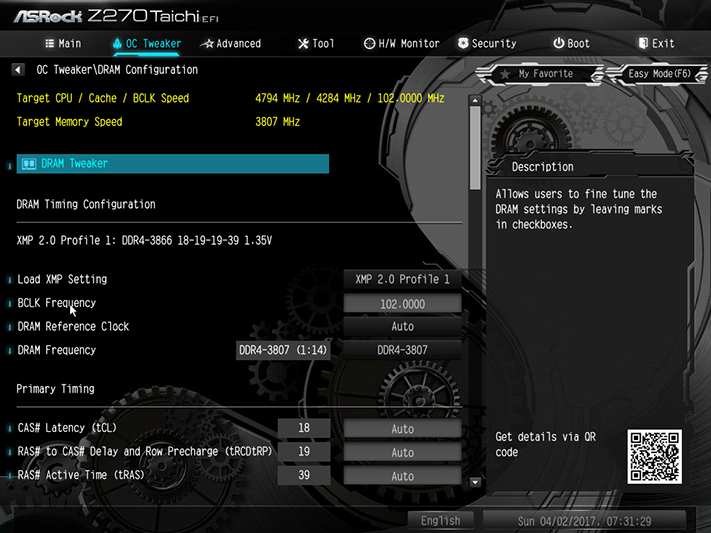
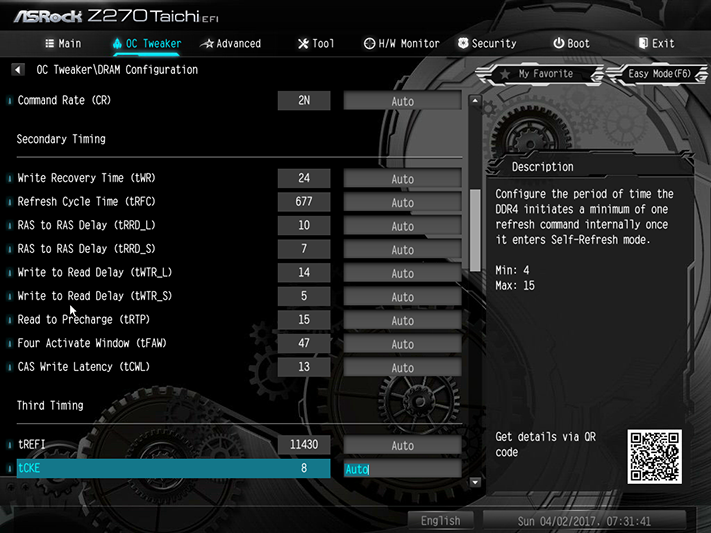
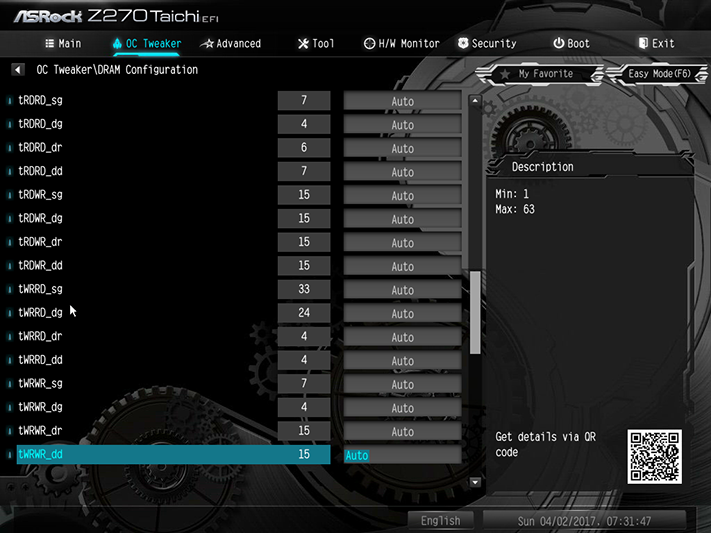
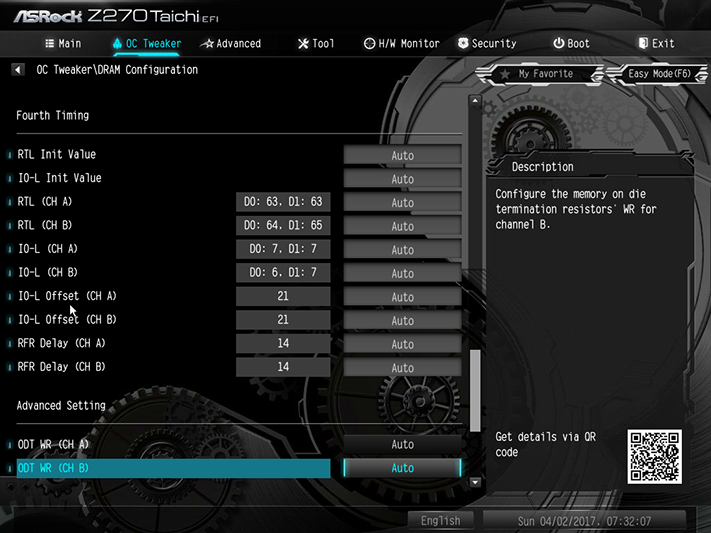
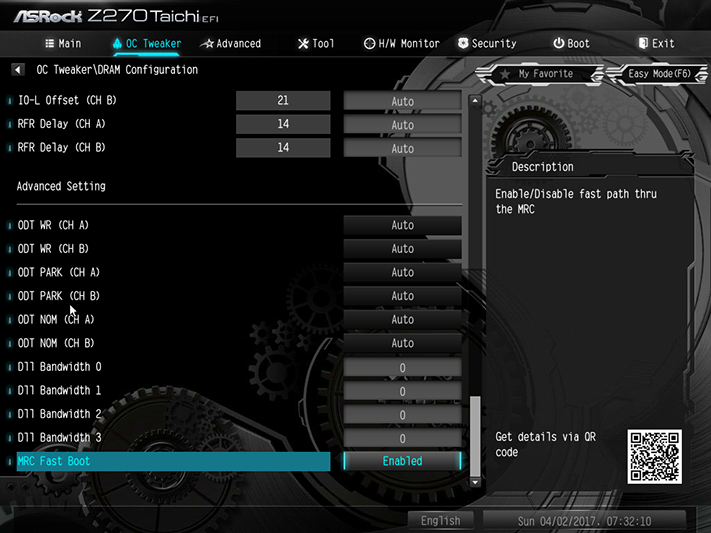
Our four-DIMM DDR4-3867 kit reached DDR4-3808, again at the Z270 Taichi’s 102 MHz BCLK. Removing two of the modules got it stable to its full 3867 data rate.
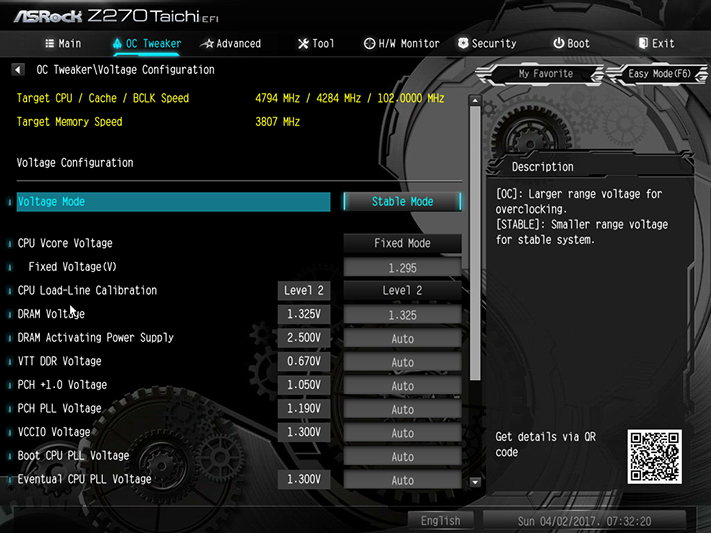
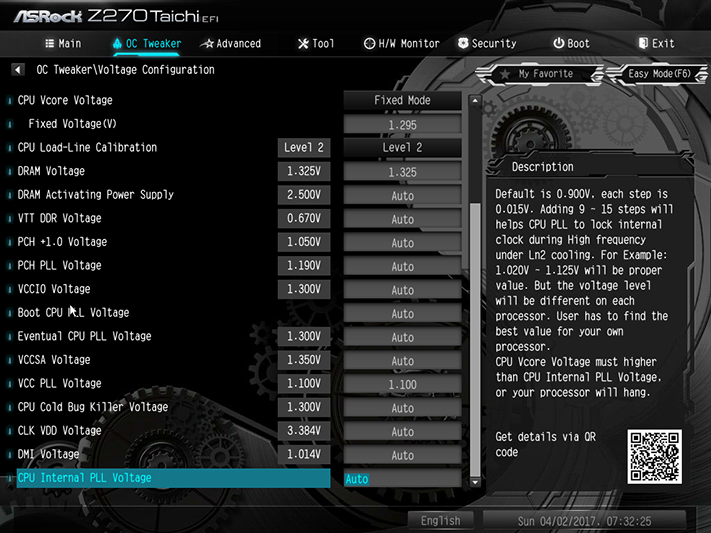
All of the manufacturer-programmed overclocks used Level 2 Load-Line calibration, which keeps the CPU core voltage from dropping under load. While CPU-Z reported no concern with the Z270 Taichi’s 1.30V setting at Level 2, thermal and power readings showed the processor both inappropriately warm and consuming too much energy. The 1.295V setting got us within normal parameters without affecting stability of the 4.794 GHz overclock. Meanwhile, the DRAM measured (at the slot) 28mV over its firmware setting, so that the 1.325V setting got us within the 1.349 to 1.355V range previously chosen to keep overclocking comparisons fair.
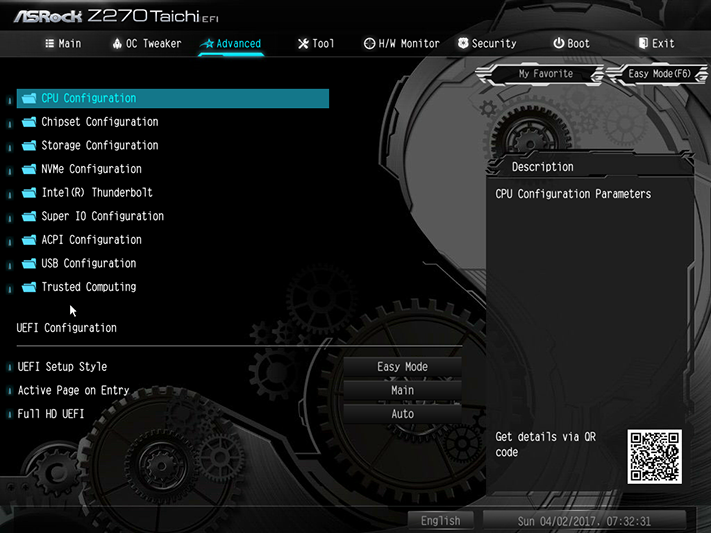
You’ll find the UEFI Setup Style setting under the Advanced menu of Advanced mode, and changing it to Advanced mode gives Advanced users a shortcut to their Advanced overclocking controls.
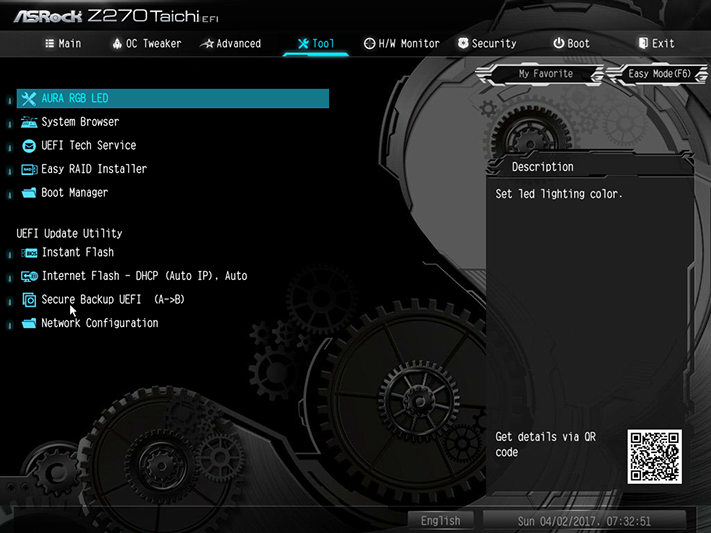
The “Tool” menu of Advanced is also more advanced than that of EZ-Mode, providing an outgoing email server for tech support, a RAID driver tool to put installation disc drivers on a thumb drive, boot manager, and Secure Backup to copy firmware updates from ROM A to ROM B.
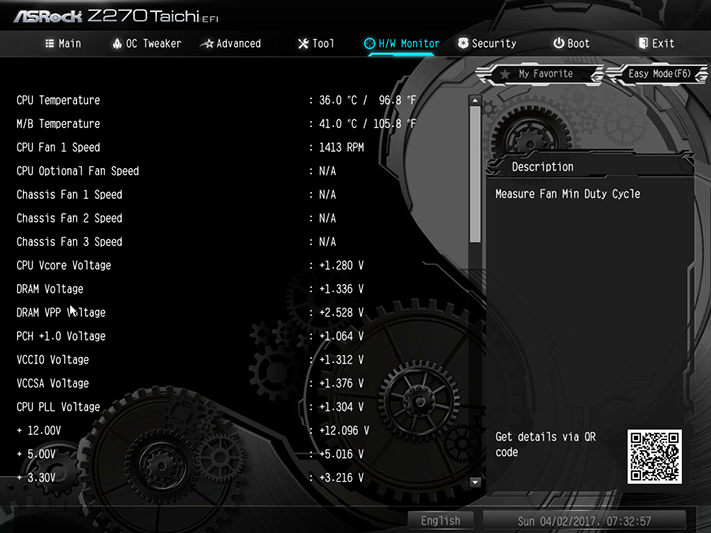
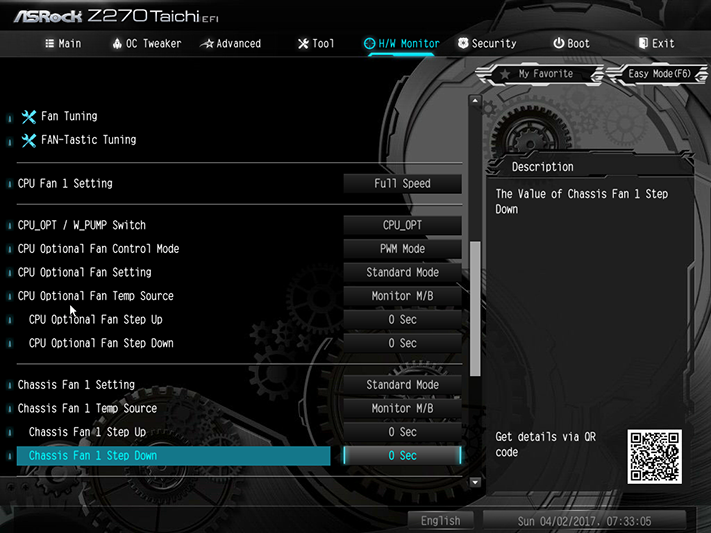
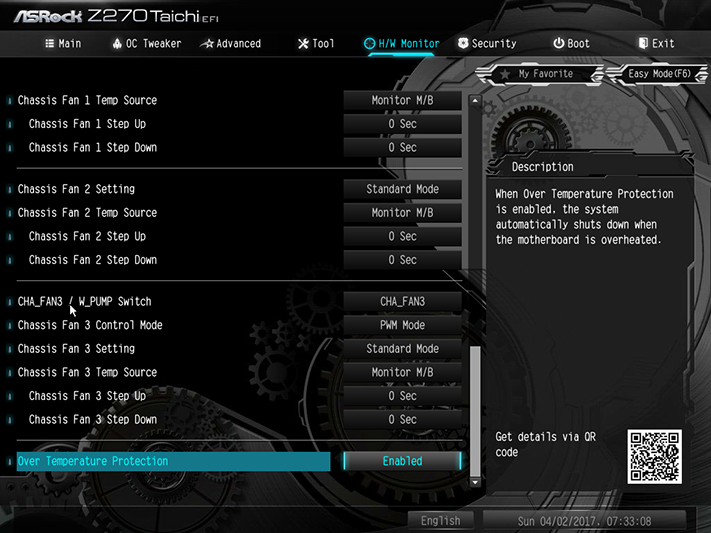
Separate voltage regulators for fan controls have a price, and ASRock minimized the impact of that price by including only two of these. The extra hardware allows users to control the speed of non-PWM fans. Designed to support water pumps as well as fans, these two headers also offer 1.5A capacity, whereas the others are limited to 1A.
MORE: Best Motherboards
MORE: How To Choose A Motherboard
MORE: All Motherboard Content
Current page: Software & Firmware
Prev Page Features & Specifications Next Page Benchmarks & Final Analysis-
Anoraki I've owned an ASRock motherboard for about 4 years now and it still works great. I would highly recommend ASRock's motherboard. Either those, or Asus's motherboards.Reply -
mlee 2500 This board has all the features important to me personally...plenty of M.2, dual Ether (so no slot or space consuming cards necessary), DTS connect so I can use optical to my receiver without having to hack the driver. Almost wish my current system didn't have a couple more years left in it.Reply -
bit_user LOL. The name reminds me of old people doing Tai Chi in the park.Reply
https://en.wikipedia.org/wiki/Tai_chi
And that graphic on the board has absolutely nothing to do with anything. Like, what's at the center of the big gear? At least they made a gear around the clock battery, though it's not like there's any point to it. -
Faux_Grey It's been a long day.Reply
Got to the CPU benchmarks and I started wondering. "How are they testing a 7700K on a X370 AMD board?"
.. I need more sleep. -
Crashman Reply
LOL19609178 said:It's been a long day.
Got to the CPU benchmarks and I started wondering. "How are they testing a 7700K on a X370 AMD board?"
.. I need more sleep.
See the X370 Gaming K4 vs X370 Taichi Review
