Why you can trust Tom's Hardware
Software
On the software side, ASRock gives users a few useful applications for system monitoring and overclocking in Phantom Gaming Tuning, RGB control through Polysynch, and even an ‘App Shop’ for easy downloading and installation of ASRock apps and other third-party applications.
ASRock’s Live Update & App Shop is a small-footprint program designed to give users convenient access to ASRock’s own apps, including the Polychrome RGB LED utility, XFast LAN, Restart to UEFI, and the App Charger. In addition to the ASRock apps, some third-party applications including Chrome and Norton Security can also be downloaded from here. Updating BIOS and drivers is a breeze due to the drivers/BIOS tab that displays a list of drivers/BIOS and the current version and shows the latest version available. Simply select which to update (or use the update all function) and it will update your drivers.
Overall, the application was useful for a first-time update situation and its role for one-stop updating. I tested this out letting it update any drivers needed and it was successful in doing so.
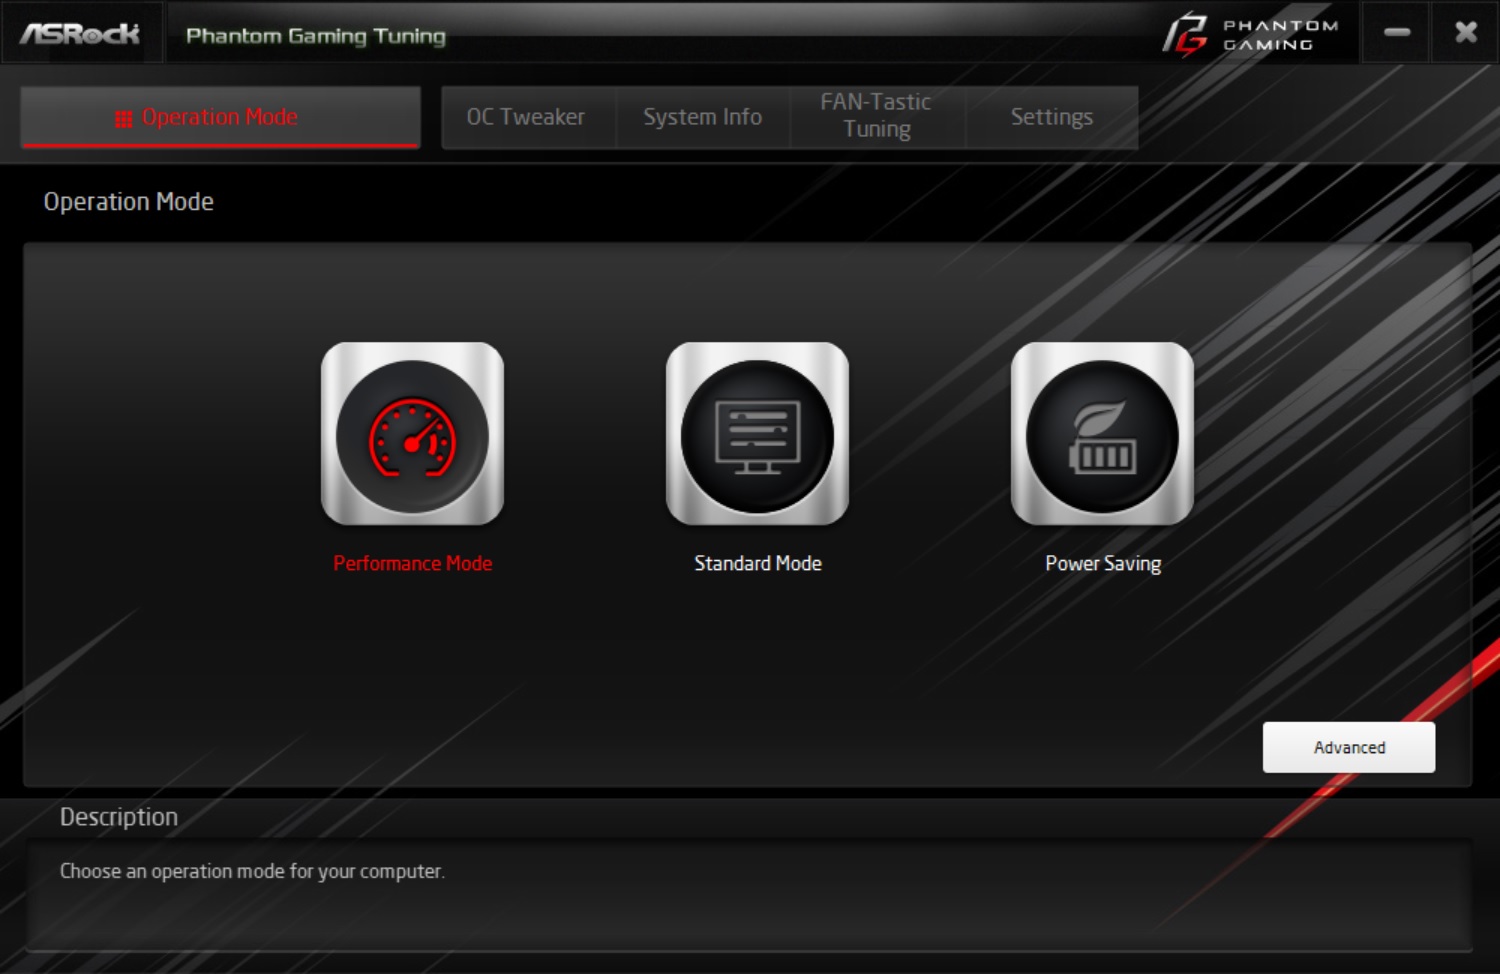
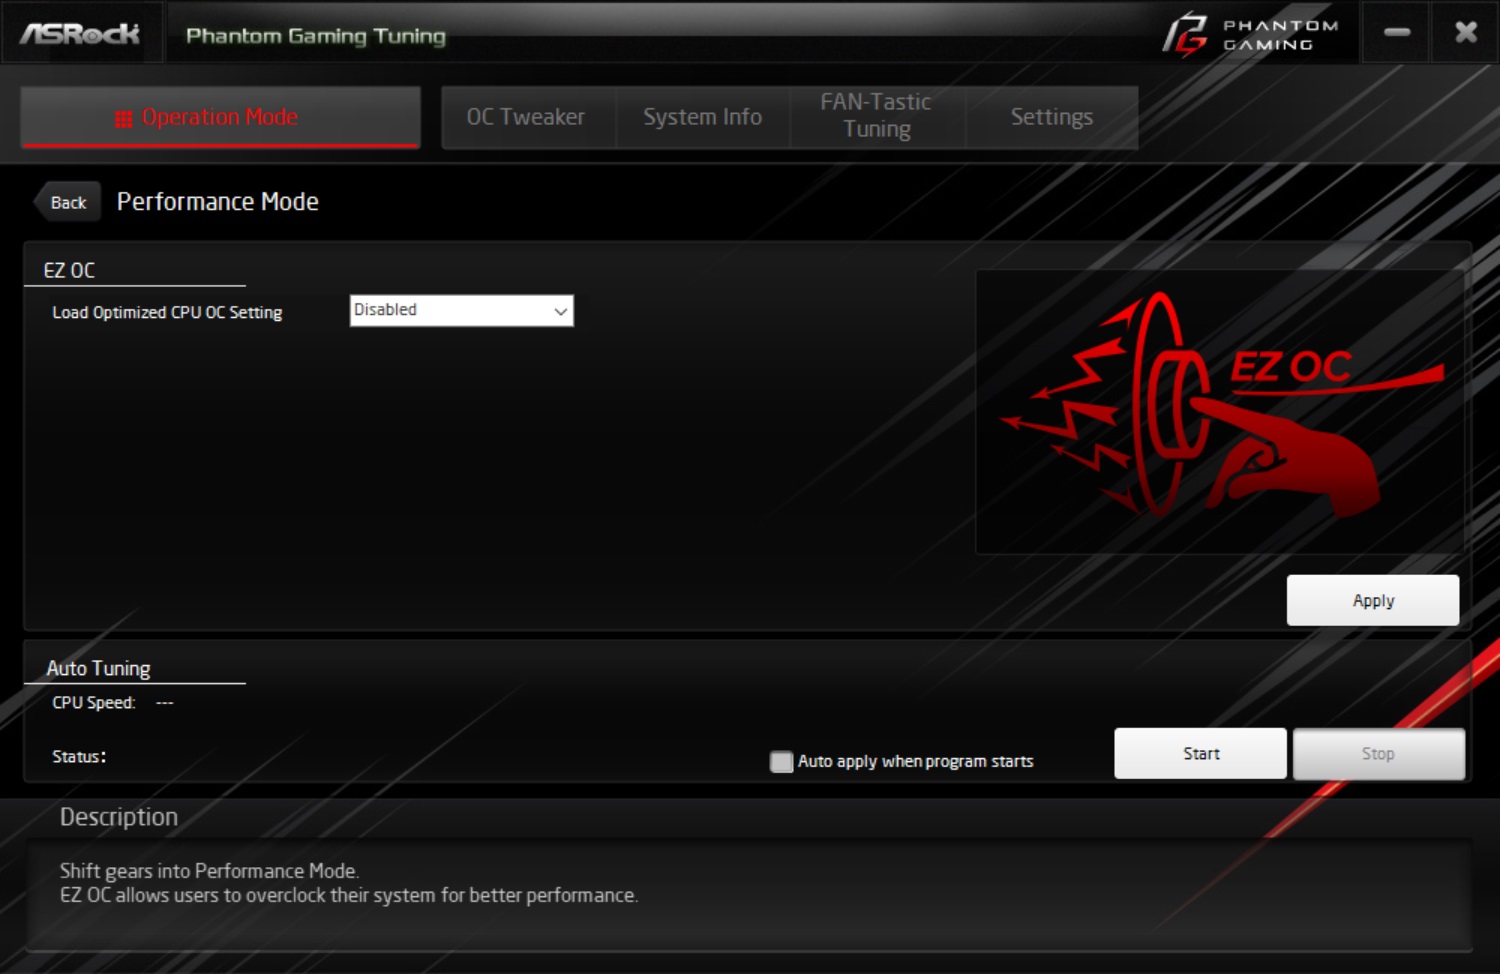
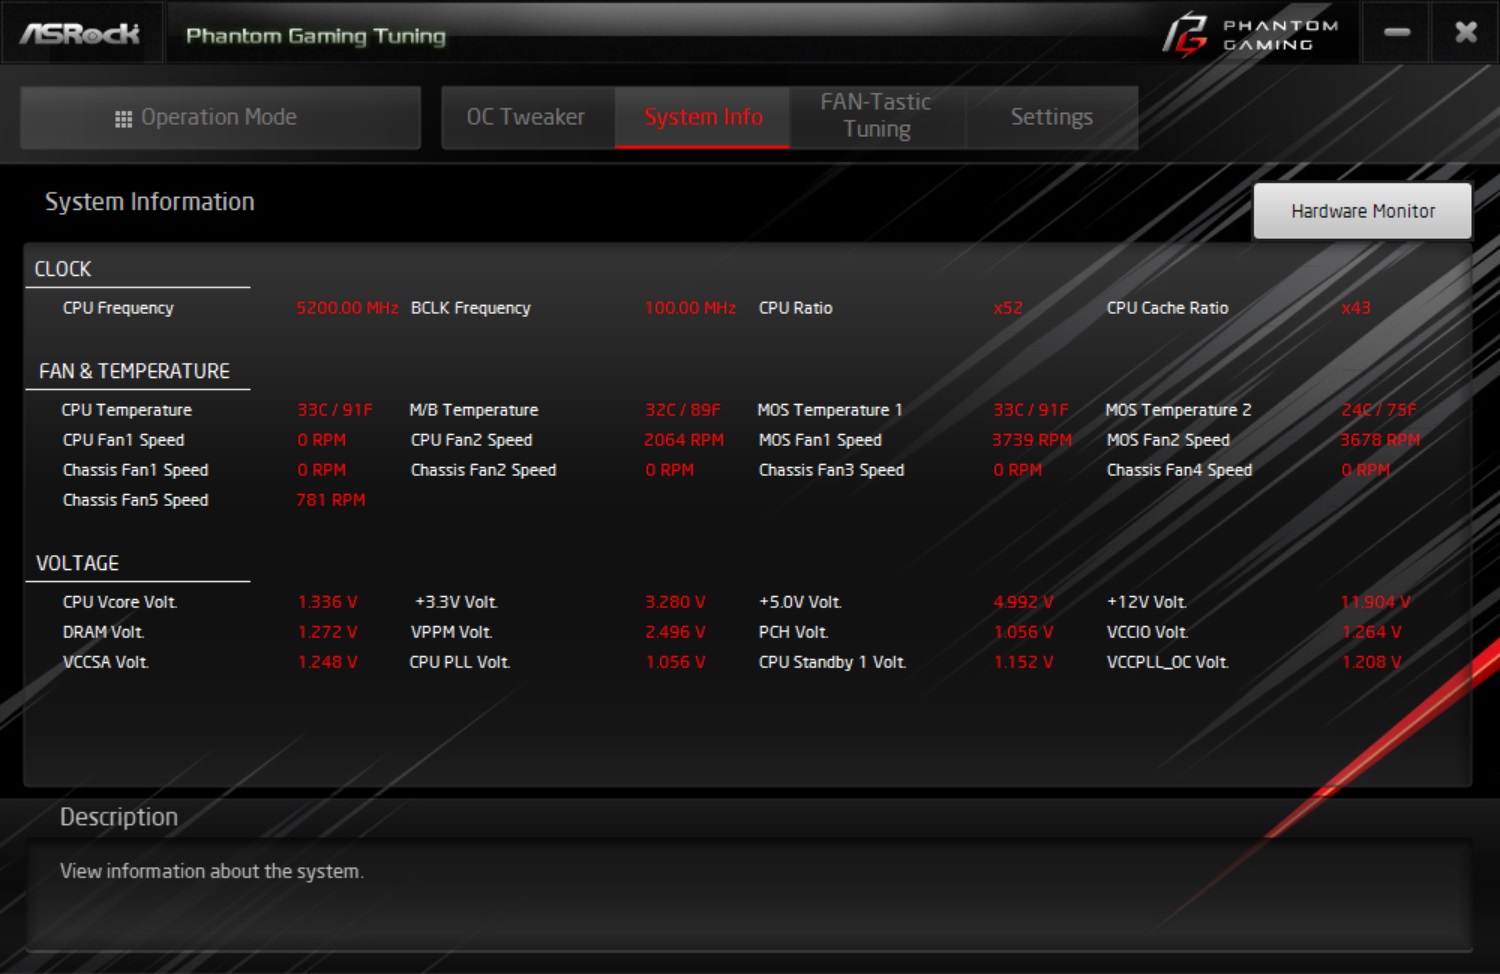
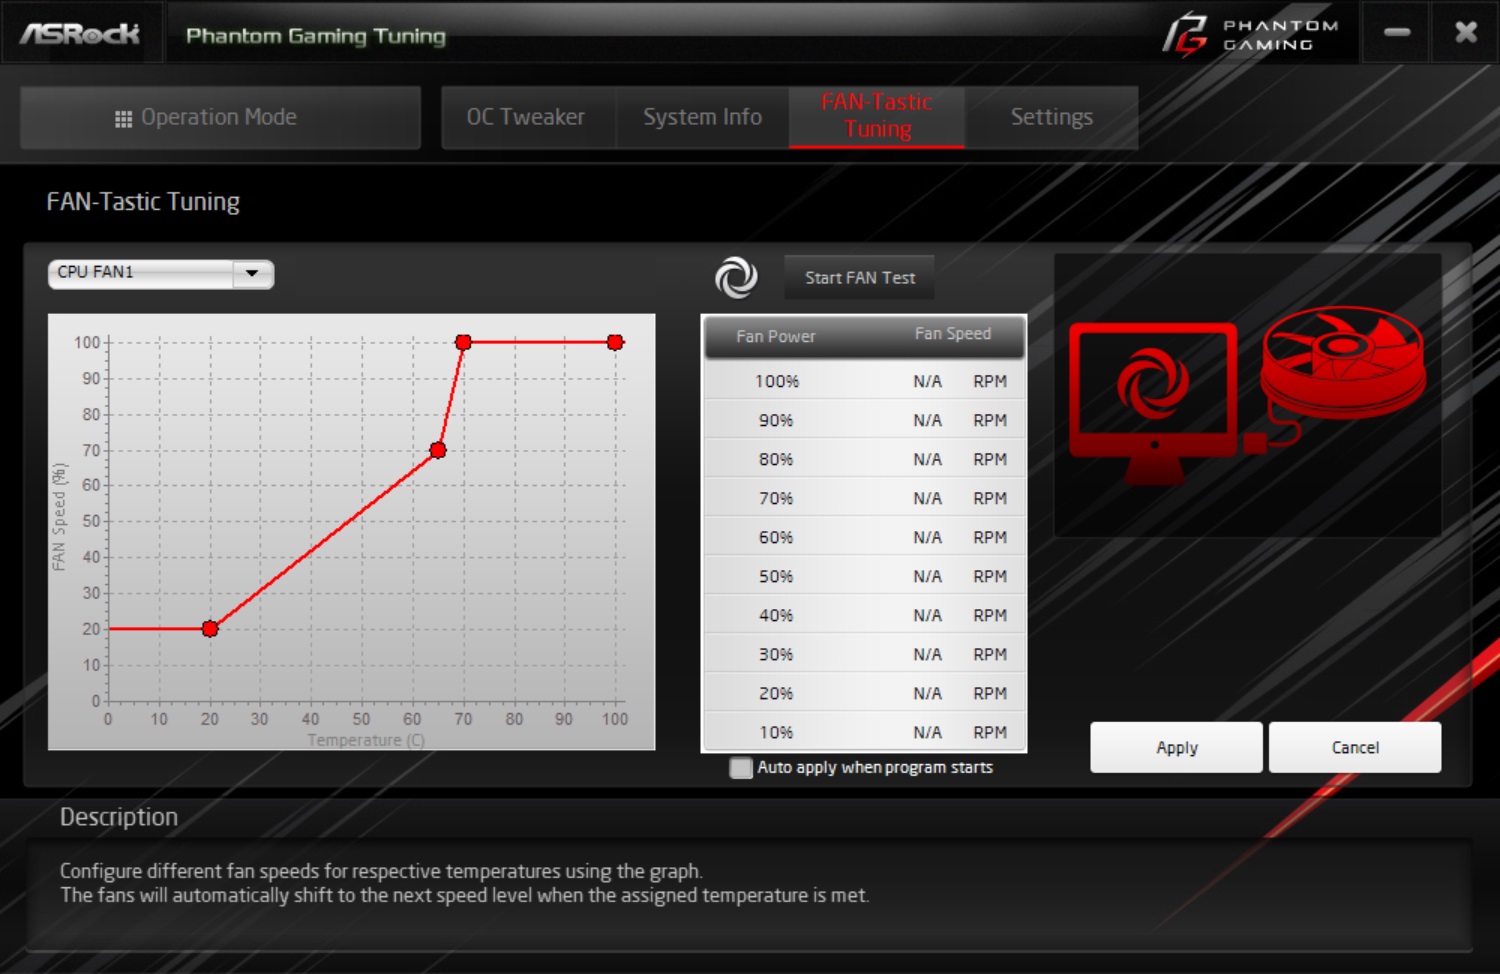
The Phantom Gaming Tuning application, tunes/tweaks the system and offers monitoring capabilities. PGTuning starts in the Operation Mode screen allowing users to select between different performance modes including Power Saving, Standard (default), and Performance.
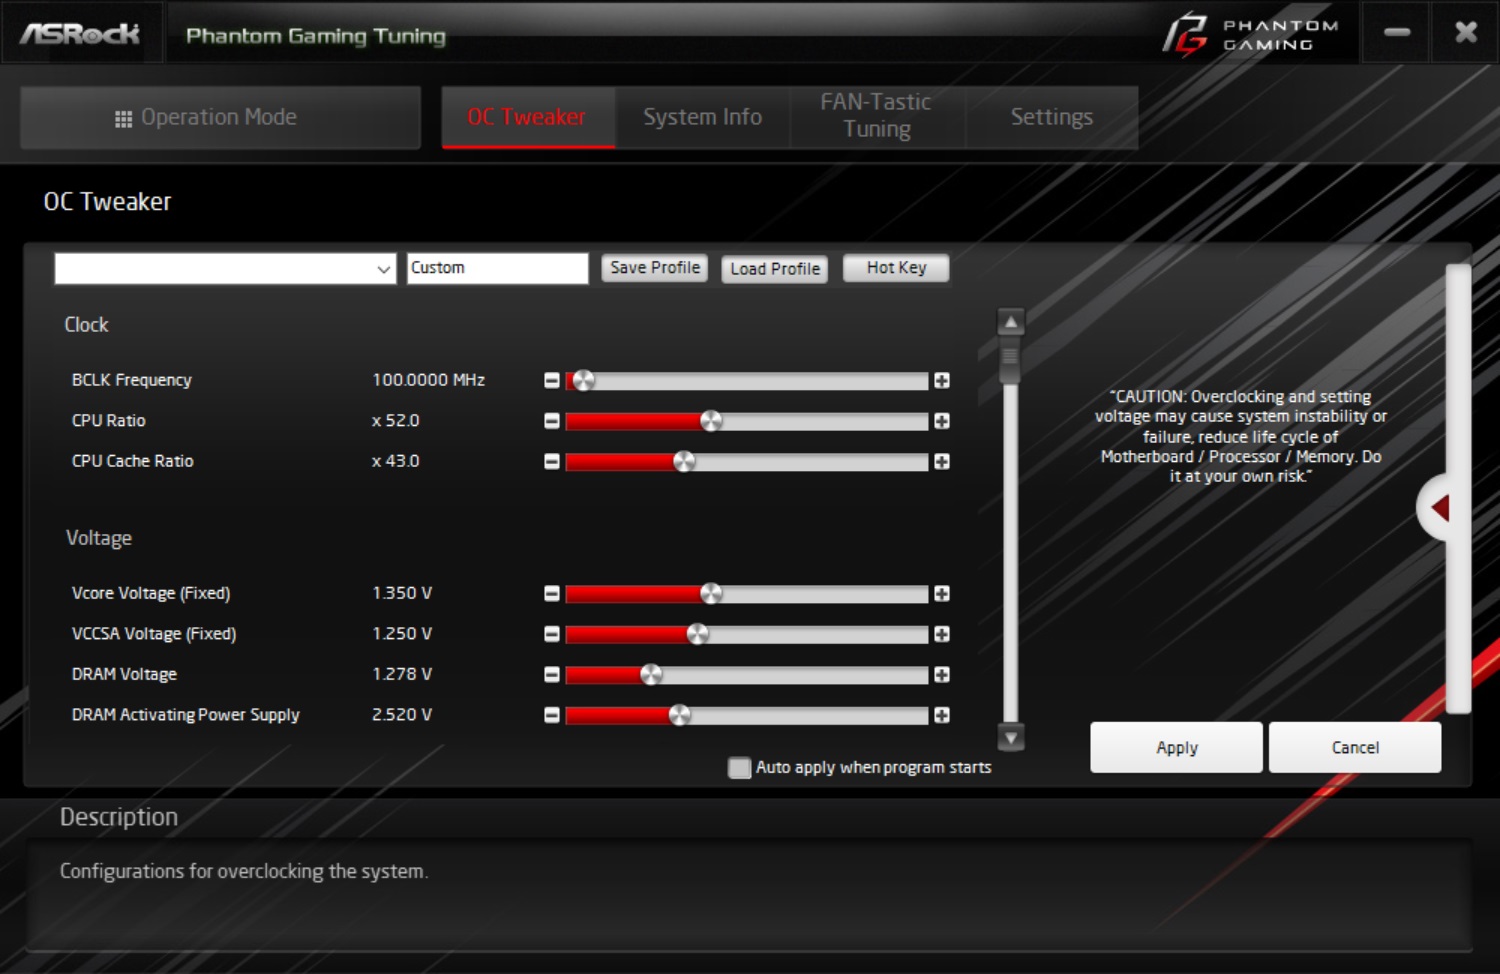
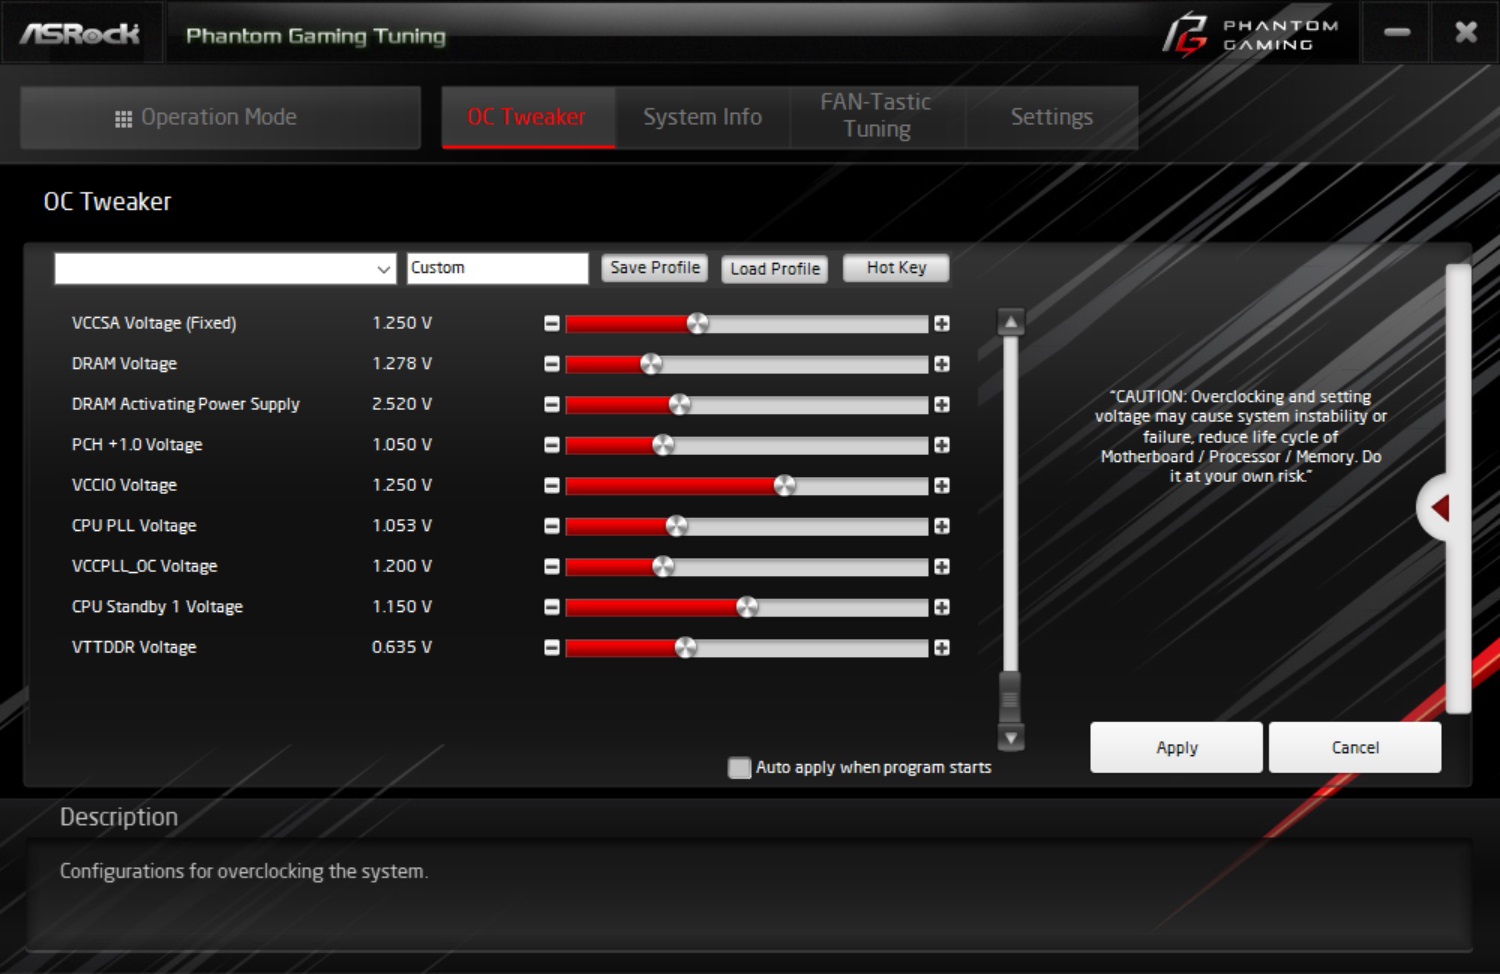
Overclocking capabilities are handled in the OC Tweaker section. Here you can access the CPU frequency and voltage, SOC and DRAM voltages, and other secondary voltages. Thankfully, through either an update or just a platform change, we are able to adjust the CPU ratio directly (whereas the last time I used the software you entered an actual clock speed). We didn’t get to play around too much but the few changes I made with it in Windows (clocks and voltage) worked without issue.
For monitoring, the Phantom Gaming Tuning application lists several domains including Clocks, Fan & Temperature as well as Voltages. The CPU section covers CPU clock speed, BCLK frequency along with CPU multiplier and Cache Ratios. From the Fan & Temperature section, CPU, motherboard and PCH temperature sensors are listed here, along with any fans that are plugged in. We can see the MOSFET fans spinning at over 3.2K RPM here (this is idle, note). Critical voltages including Vcore, CPU VDD, DRAM, and others are listed, along with the three major rails from the power supply.
Last but not least is FAN-Tastic Tuning. This section is where you apply custom fan curves for each fan. Simply jump in and run the fan test (which finds the min/max speeds of the attached fans/pumps), then select the fan you would like to control using the dropdown in the upper left and tweak to your heart’s content.
Get Tom's Hardware's best news and in-depth reviews, straight to your inbox.
Overall, the Phantom Gaming Tuning application worked without issue, monitoring critical systems as well as including its tweaking ability.
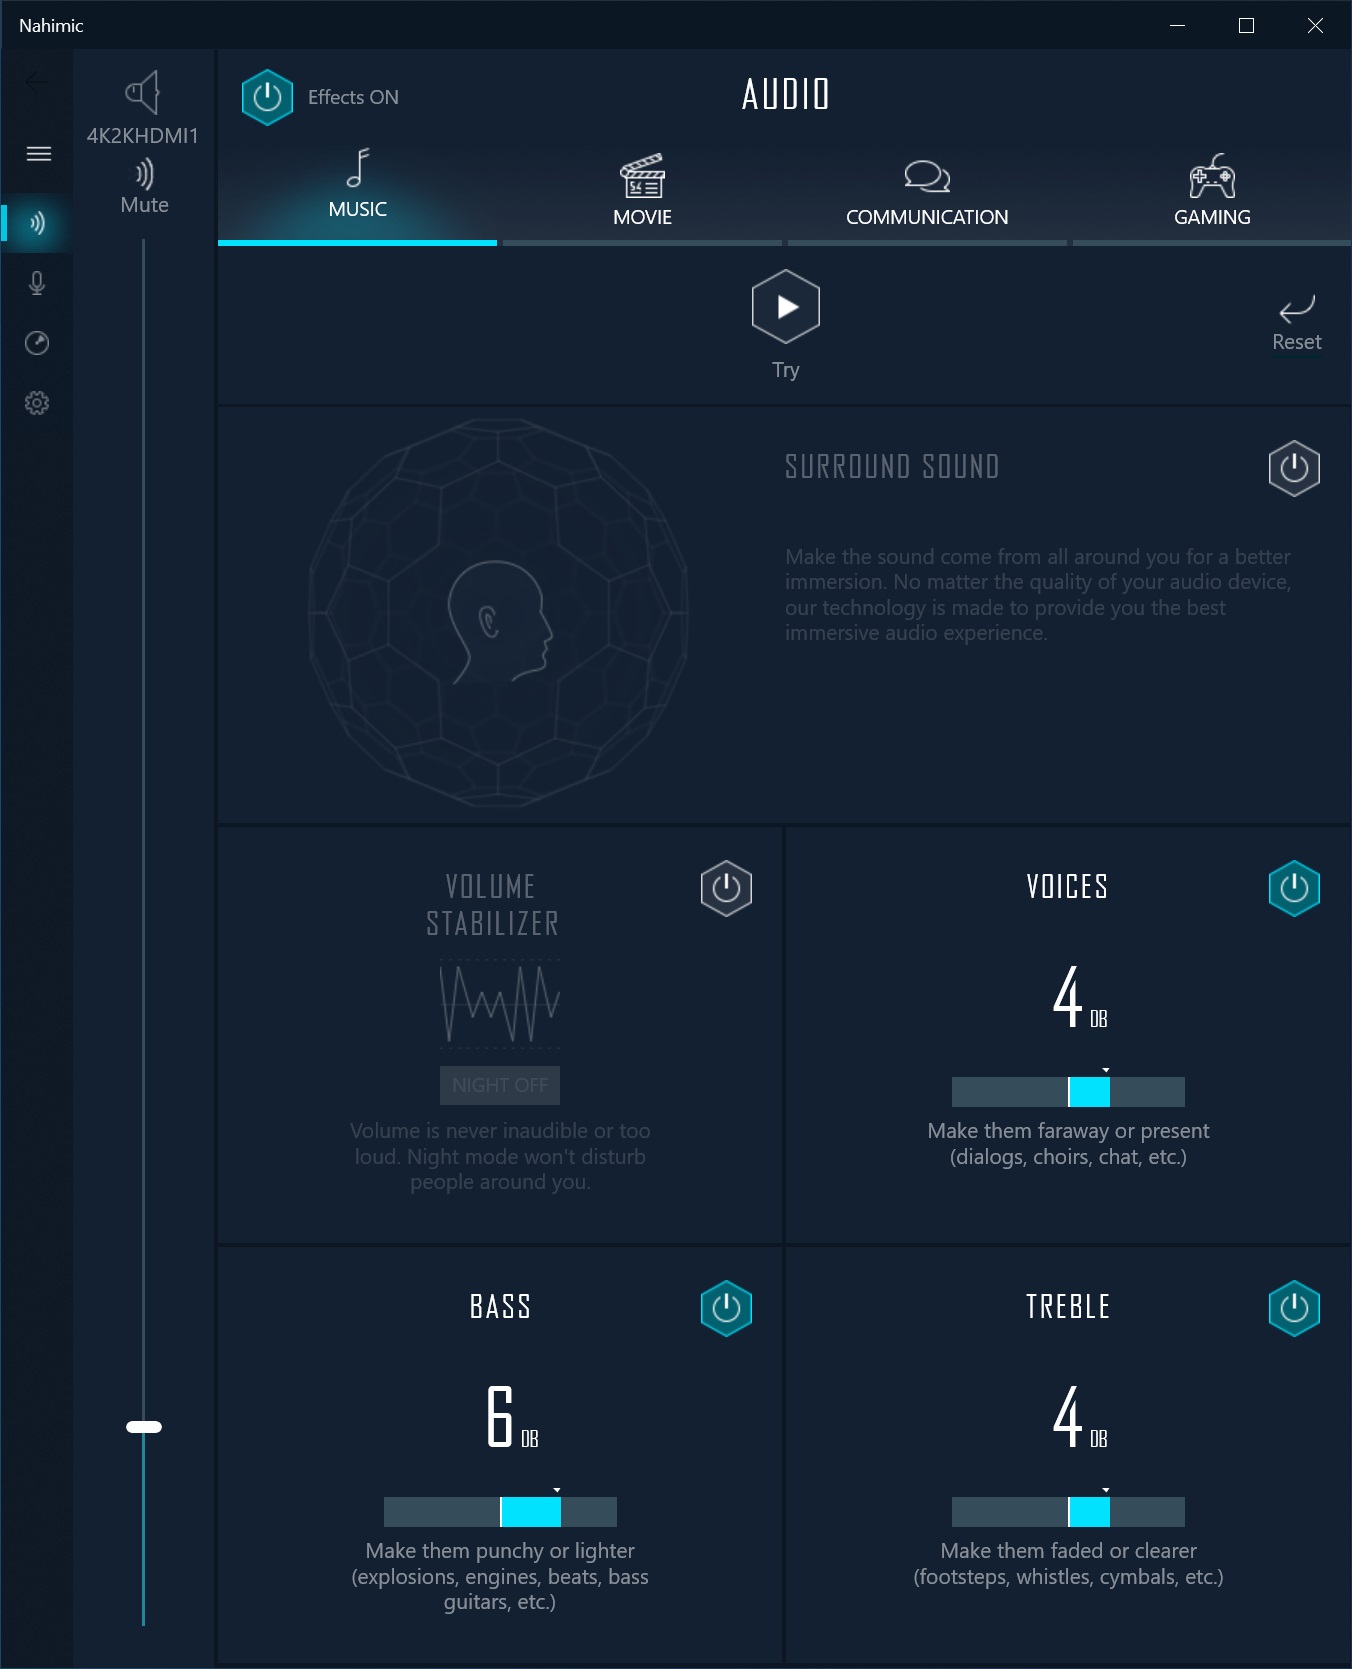
Supporting the Realtek ALC1220 codec is Nahimic 3 audio software. Recently updated, this application controls your audio from speakers and surround modes, to microphones, with some tuning in between. The application looks good, with an updated GUI with a darker blue background with lighter blue contrasts.
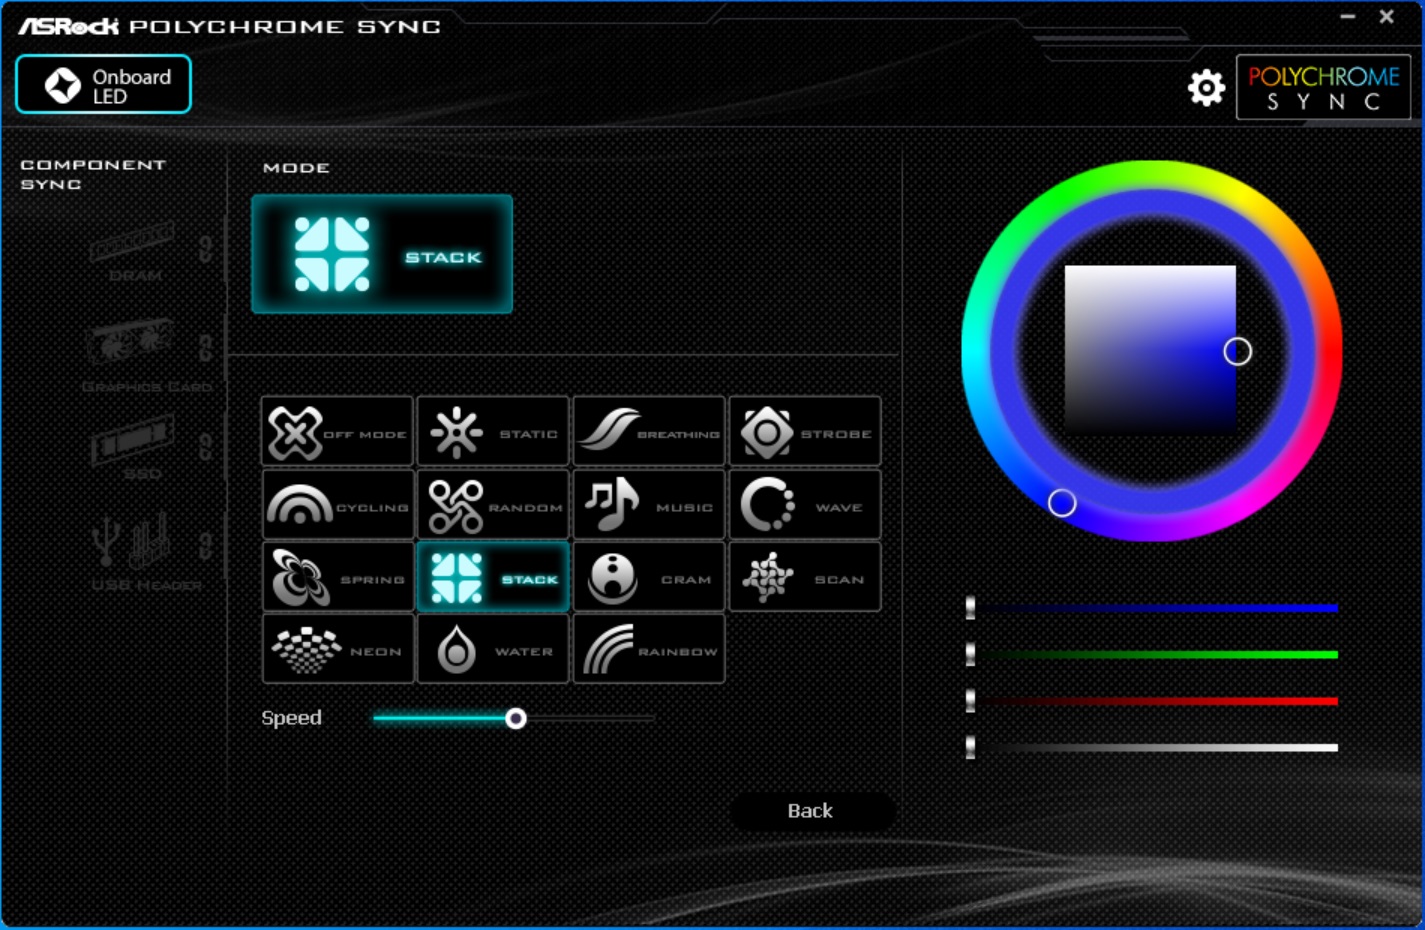
ASRock’s Polychrome Sync application controls the RGB ecosystem on the motherboard and any attached compatible devices. Upon opening the software, it scans your environment and adds access to any devices controlled through the software. In total, there are 15 different preset modes/patterns for the RGB lighting. Polychrome Sync also changes the RGB color and speed of many of the modes for even more customization. Polychrome worked well on this system but didn't recognize either of the popular GSkill kits we used.
Firmware
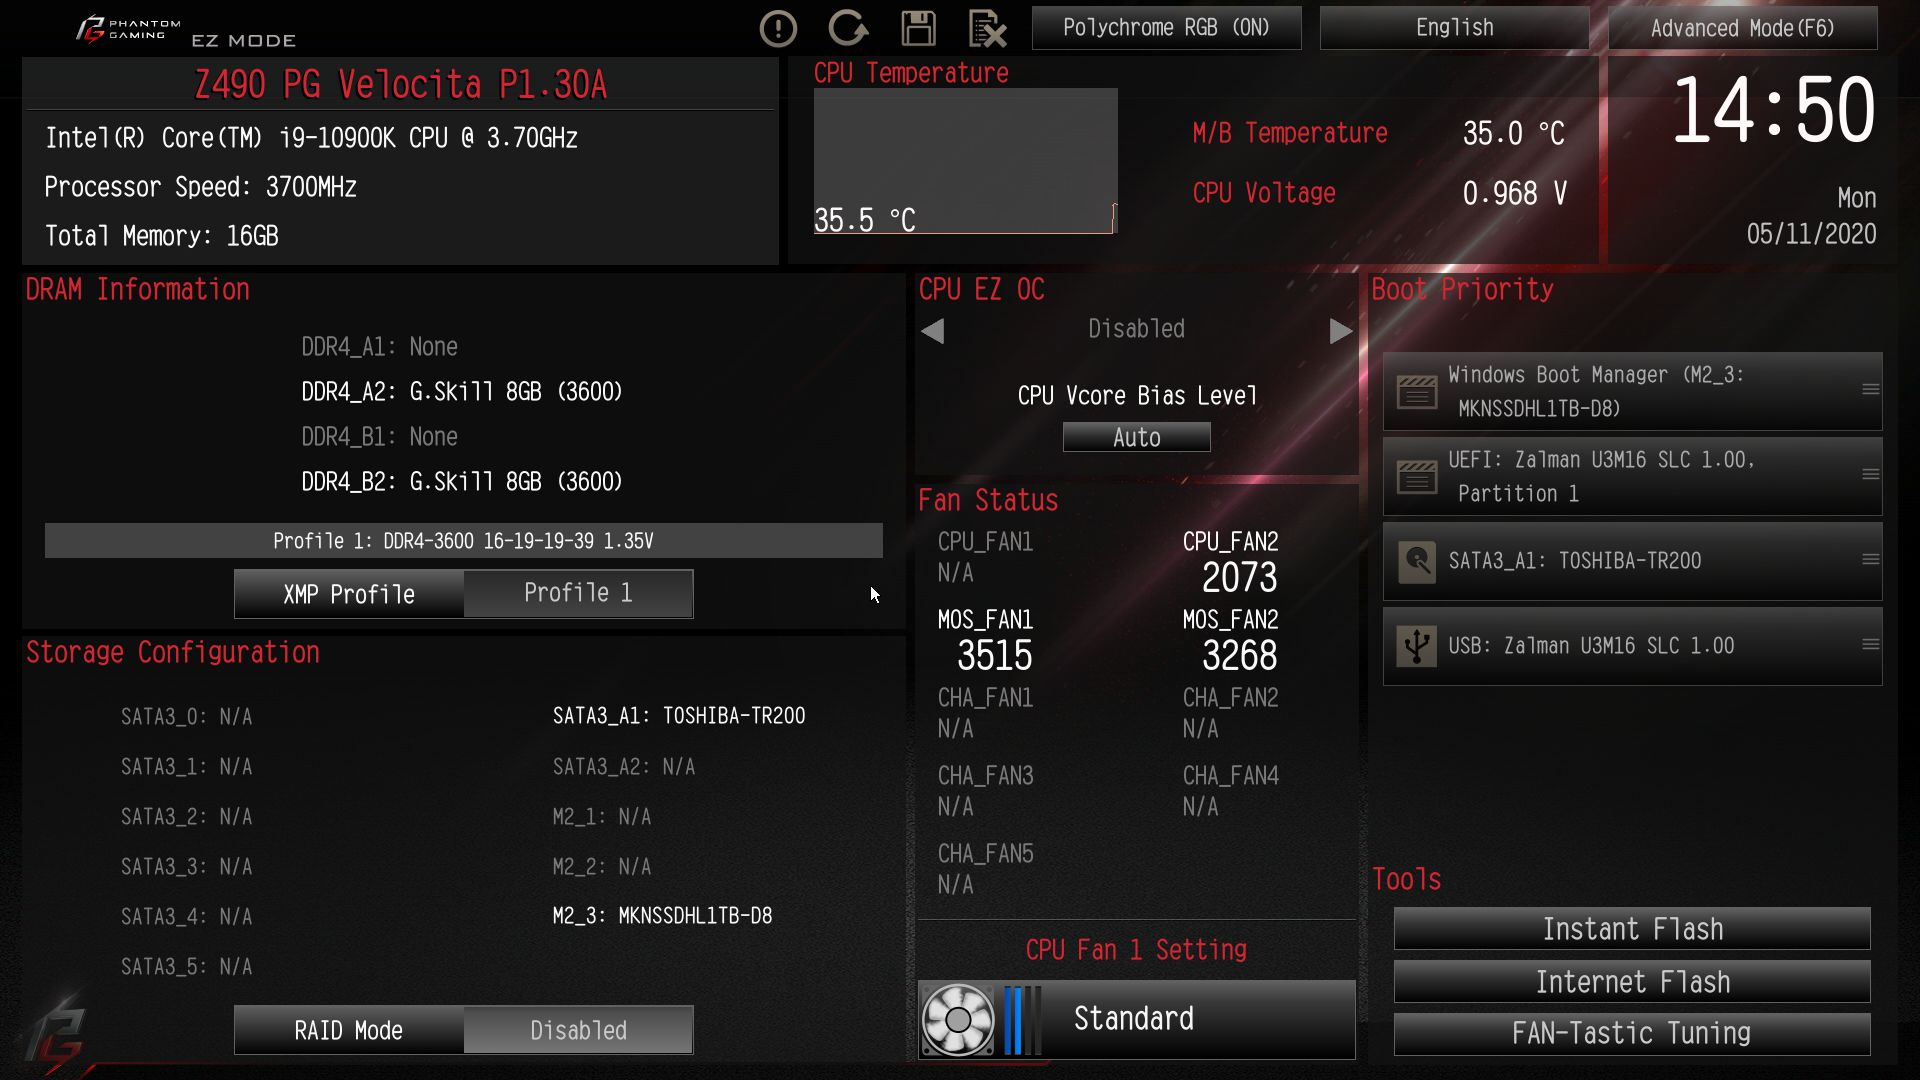
When accessing the ASRock BIOS, by default you’re presented with the ‘Easy Mode’ version that displays more information on a single screen with few adjustments possible. On screen information covers the BIOS version, CPU information including specifications, temperatures and voltage, DRAM and storage data, as well as fan status/control and boot priority. In all, it is an informative screen with functions to enable XMP, switch a RAID mode in for storage, swap boot order, and adjust the fan speeds. There is also an EZ OC function to overclock the CPU. We found the preset speeds worked but did tend to use a little more voltage than was needed to pass our stress test.
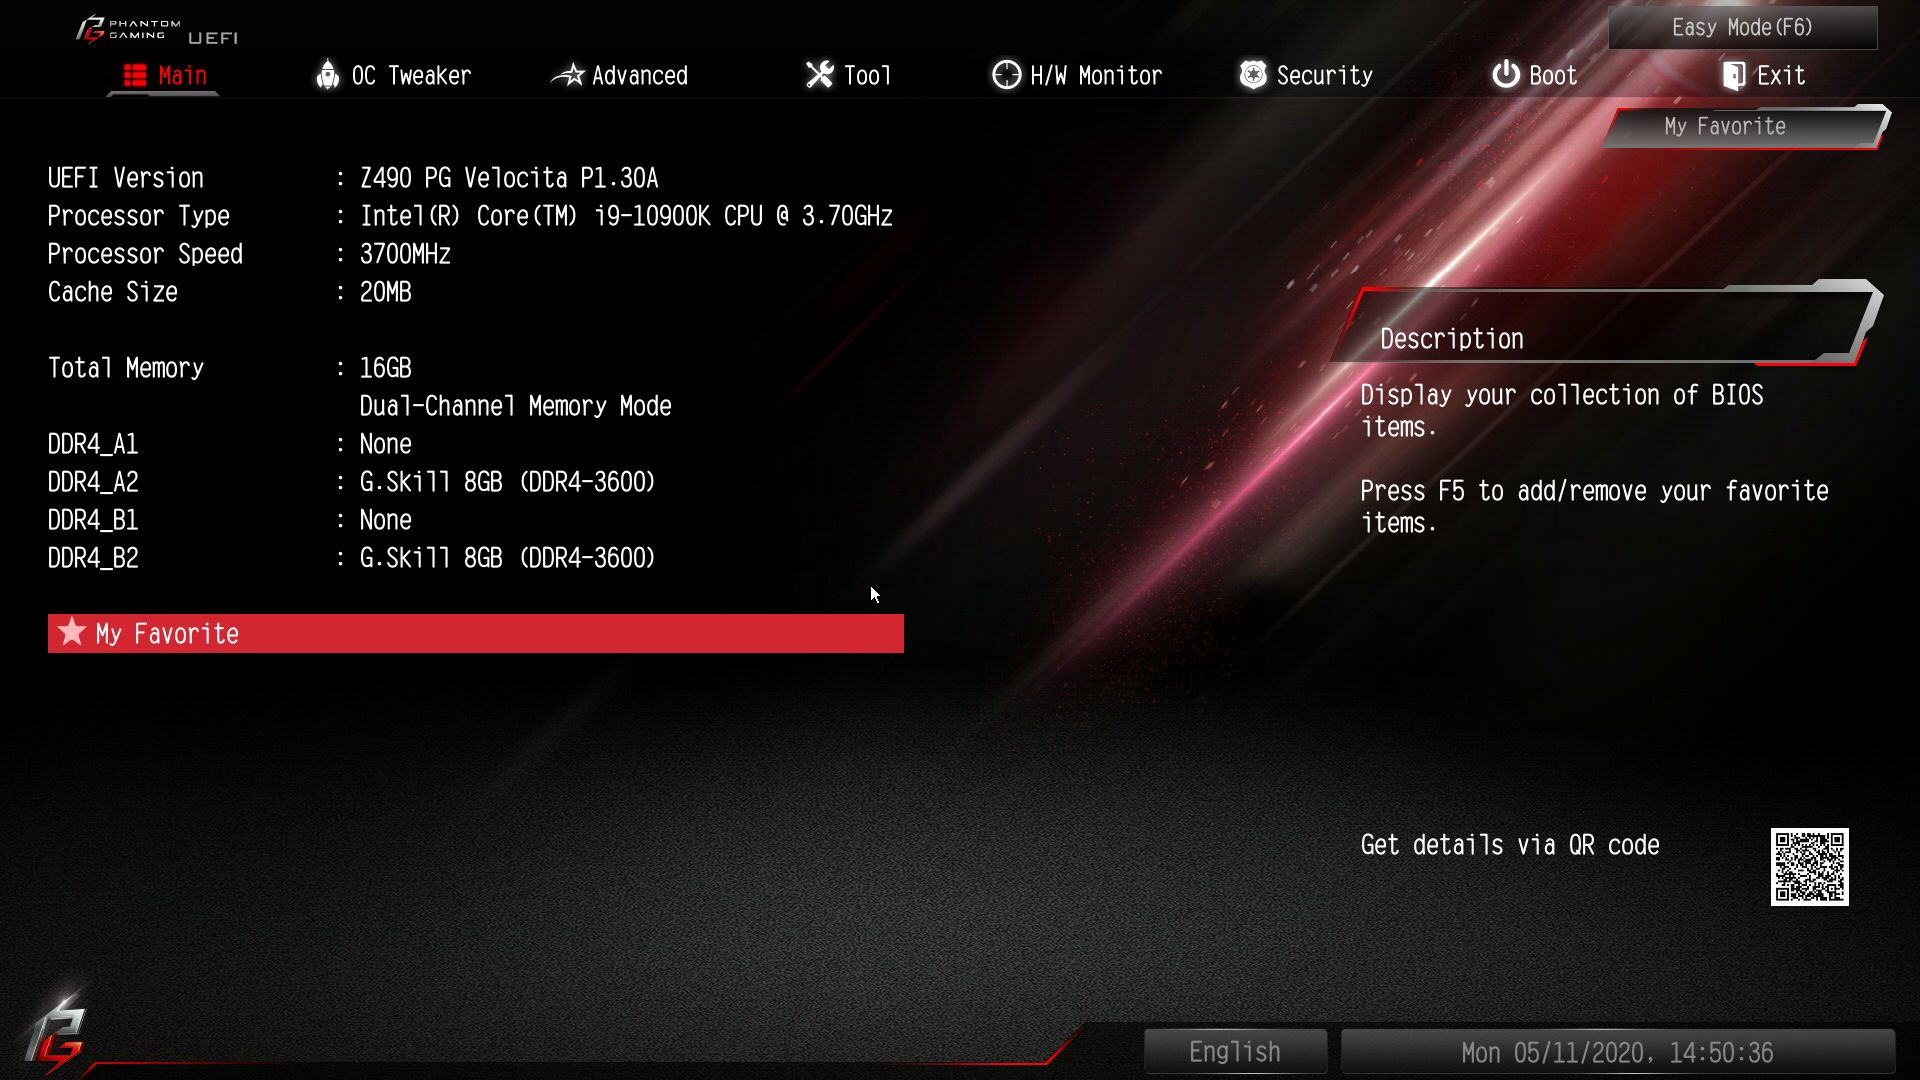
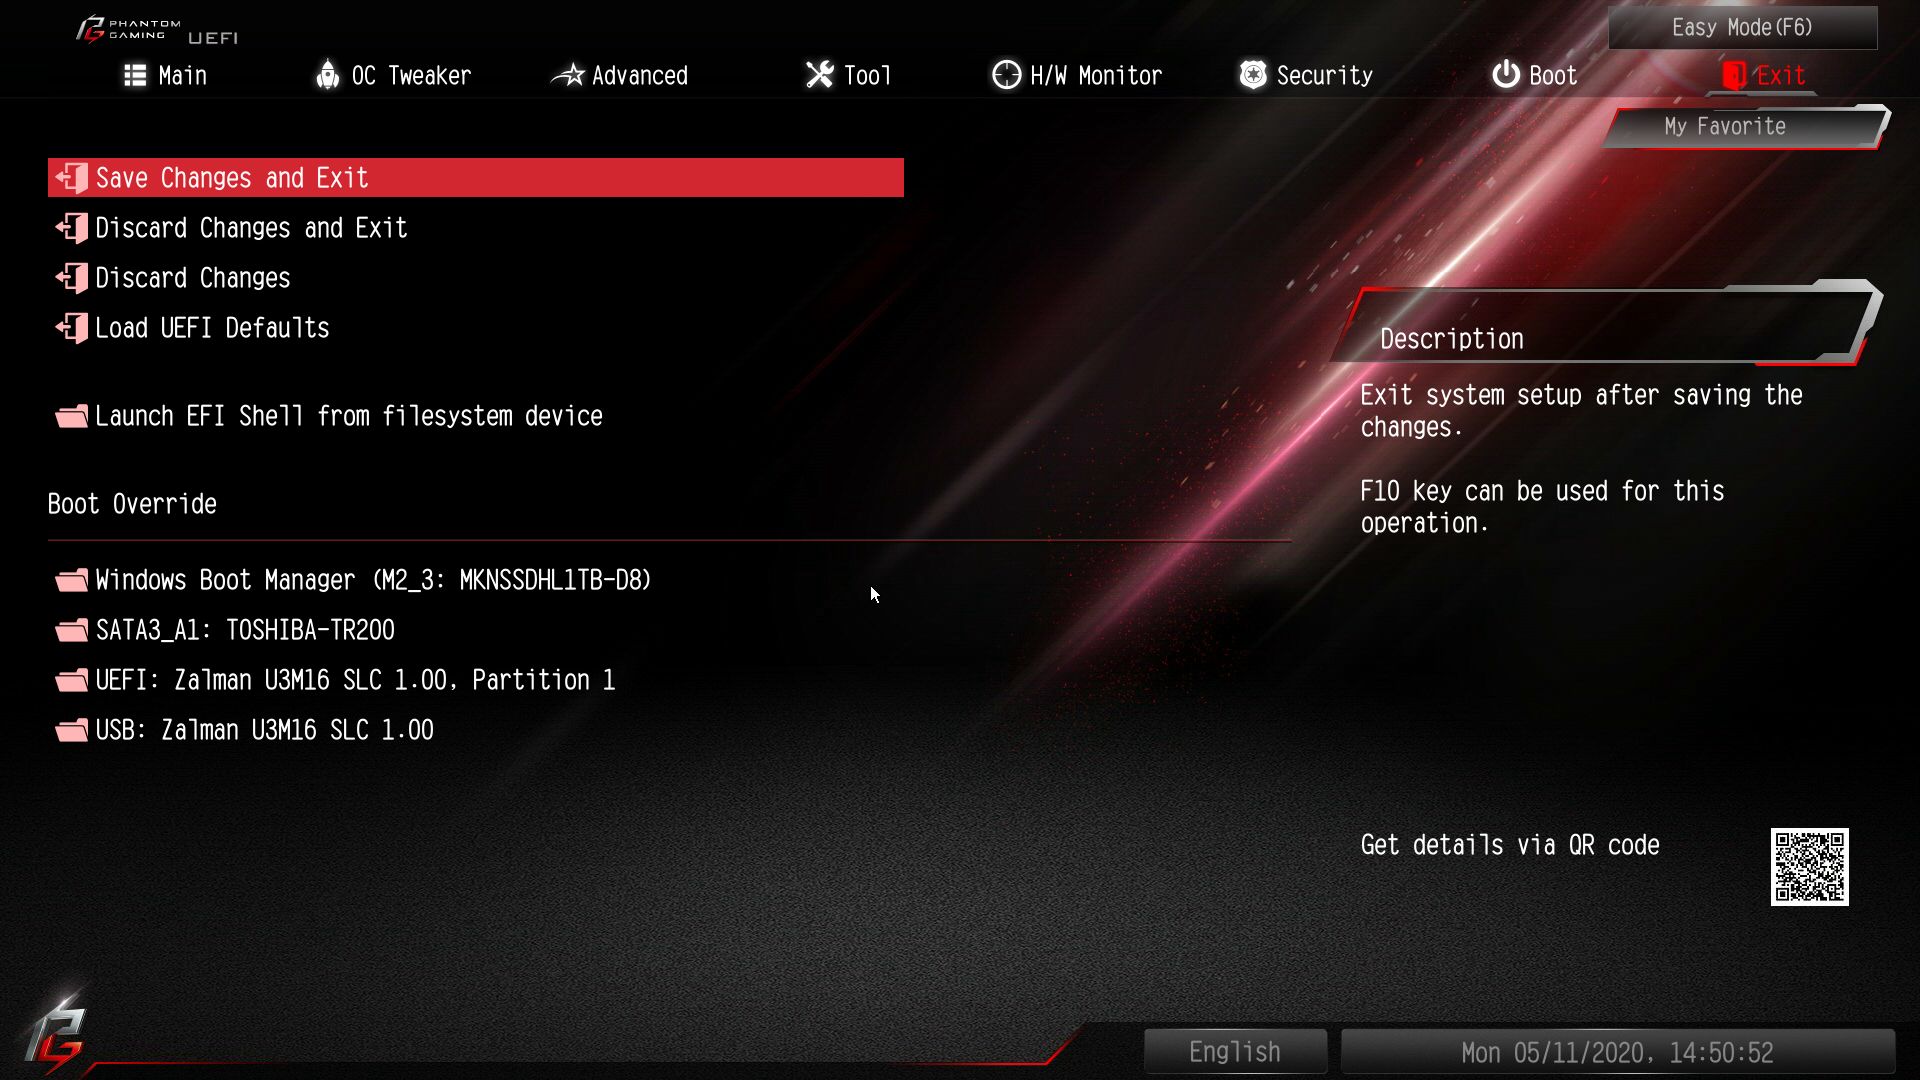
Once in Advanced Mode, we see the more familiar setup of headings across the top (Main, OC Tweaker, Advanced, Tool, H/W Monitor, Security, Boot and Exit) with details and sub-headings found below. The first section, Main, is purely informational, detailing specifications on the UEFI version, Processor and installed RAM.
Overclockers will do the bulk of the work in the OC Tweaker section. Here you’ll find access to the CPU details from SMT modes, memory speed and timing adjustments, as well as voltage functionality. All overclocking functions are located in this section, including the CPU.
Inside the DRAM section, users are able to adjust primary, secondary, and tertiary timings for manual overclocking. This is another location to enable XMP profiles (EZ Mode can do this as well). Memory support is listed up to DDR4 4666+ when overclocking, up from the DDR4 4333+ on Z390. As always, your mileage may vary with memory clocks as it is dependent on the IMC and RAM kit used.
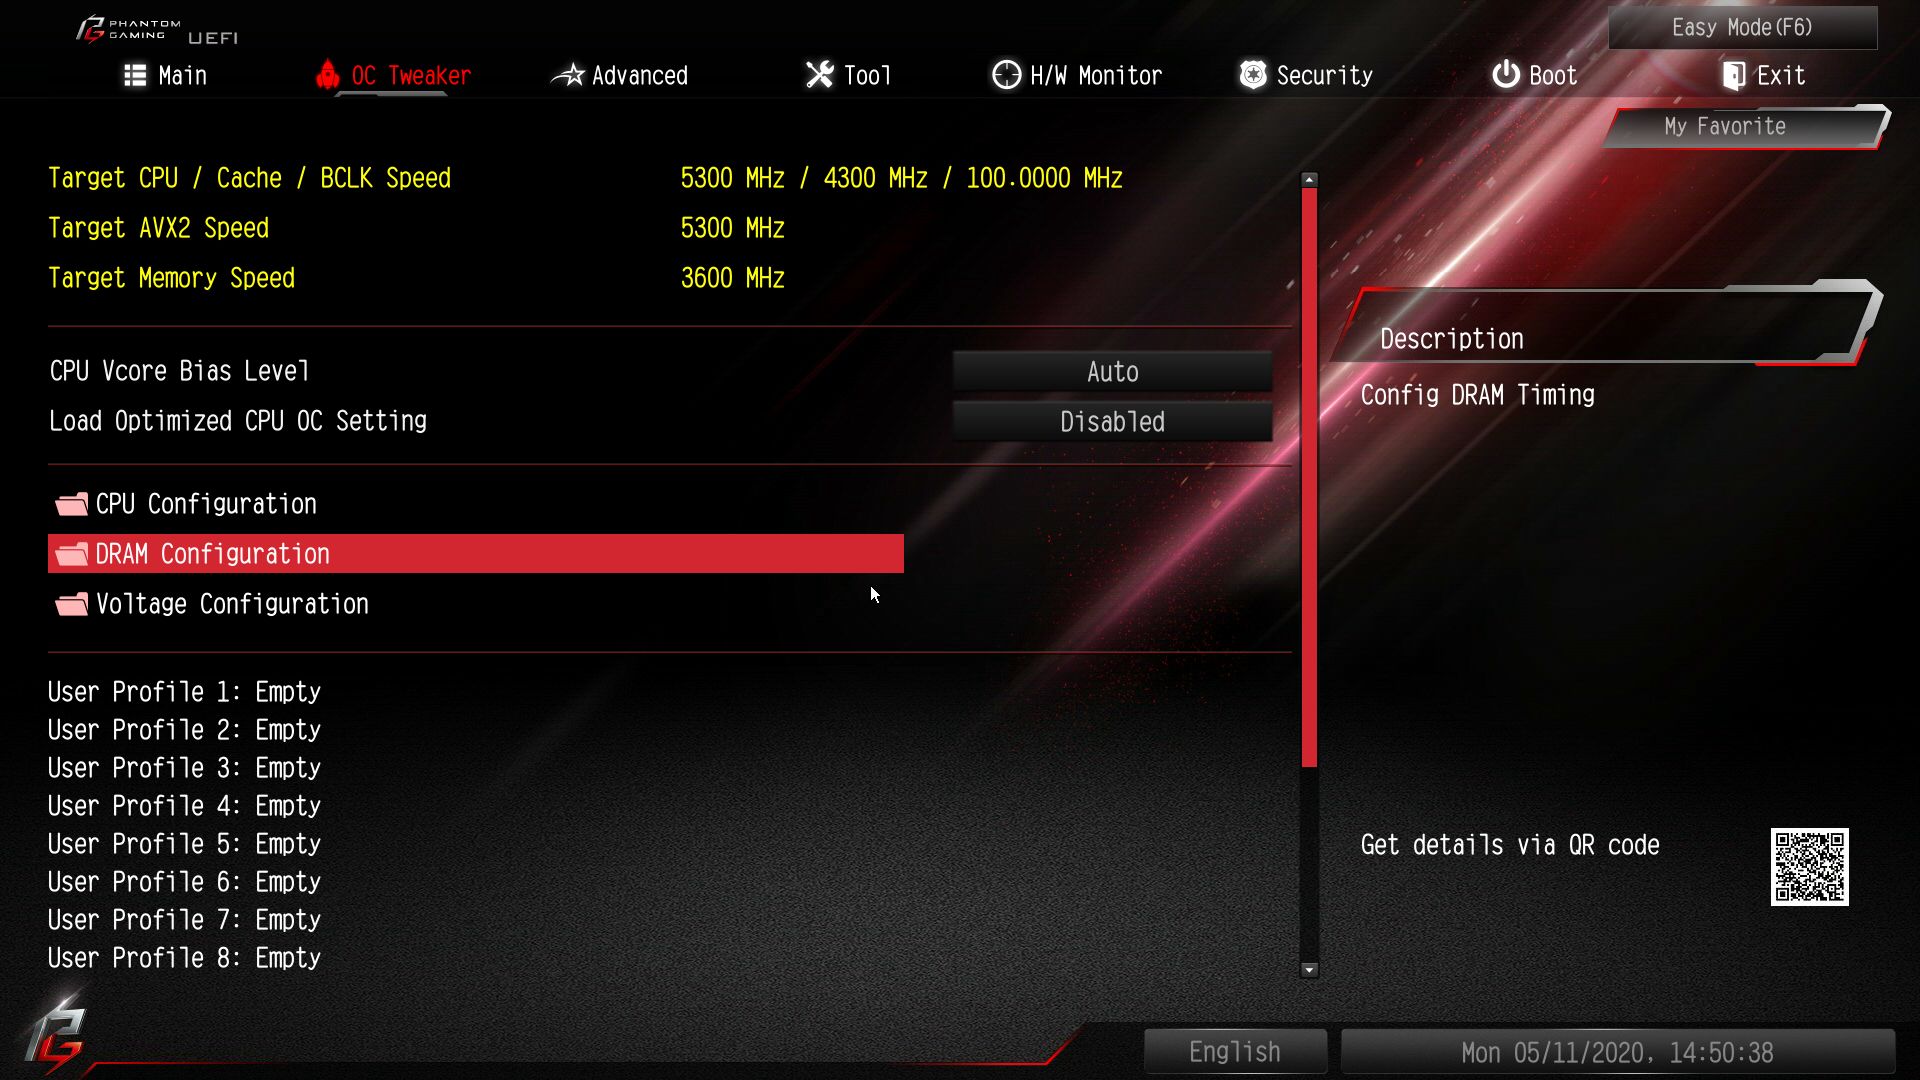
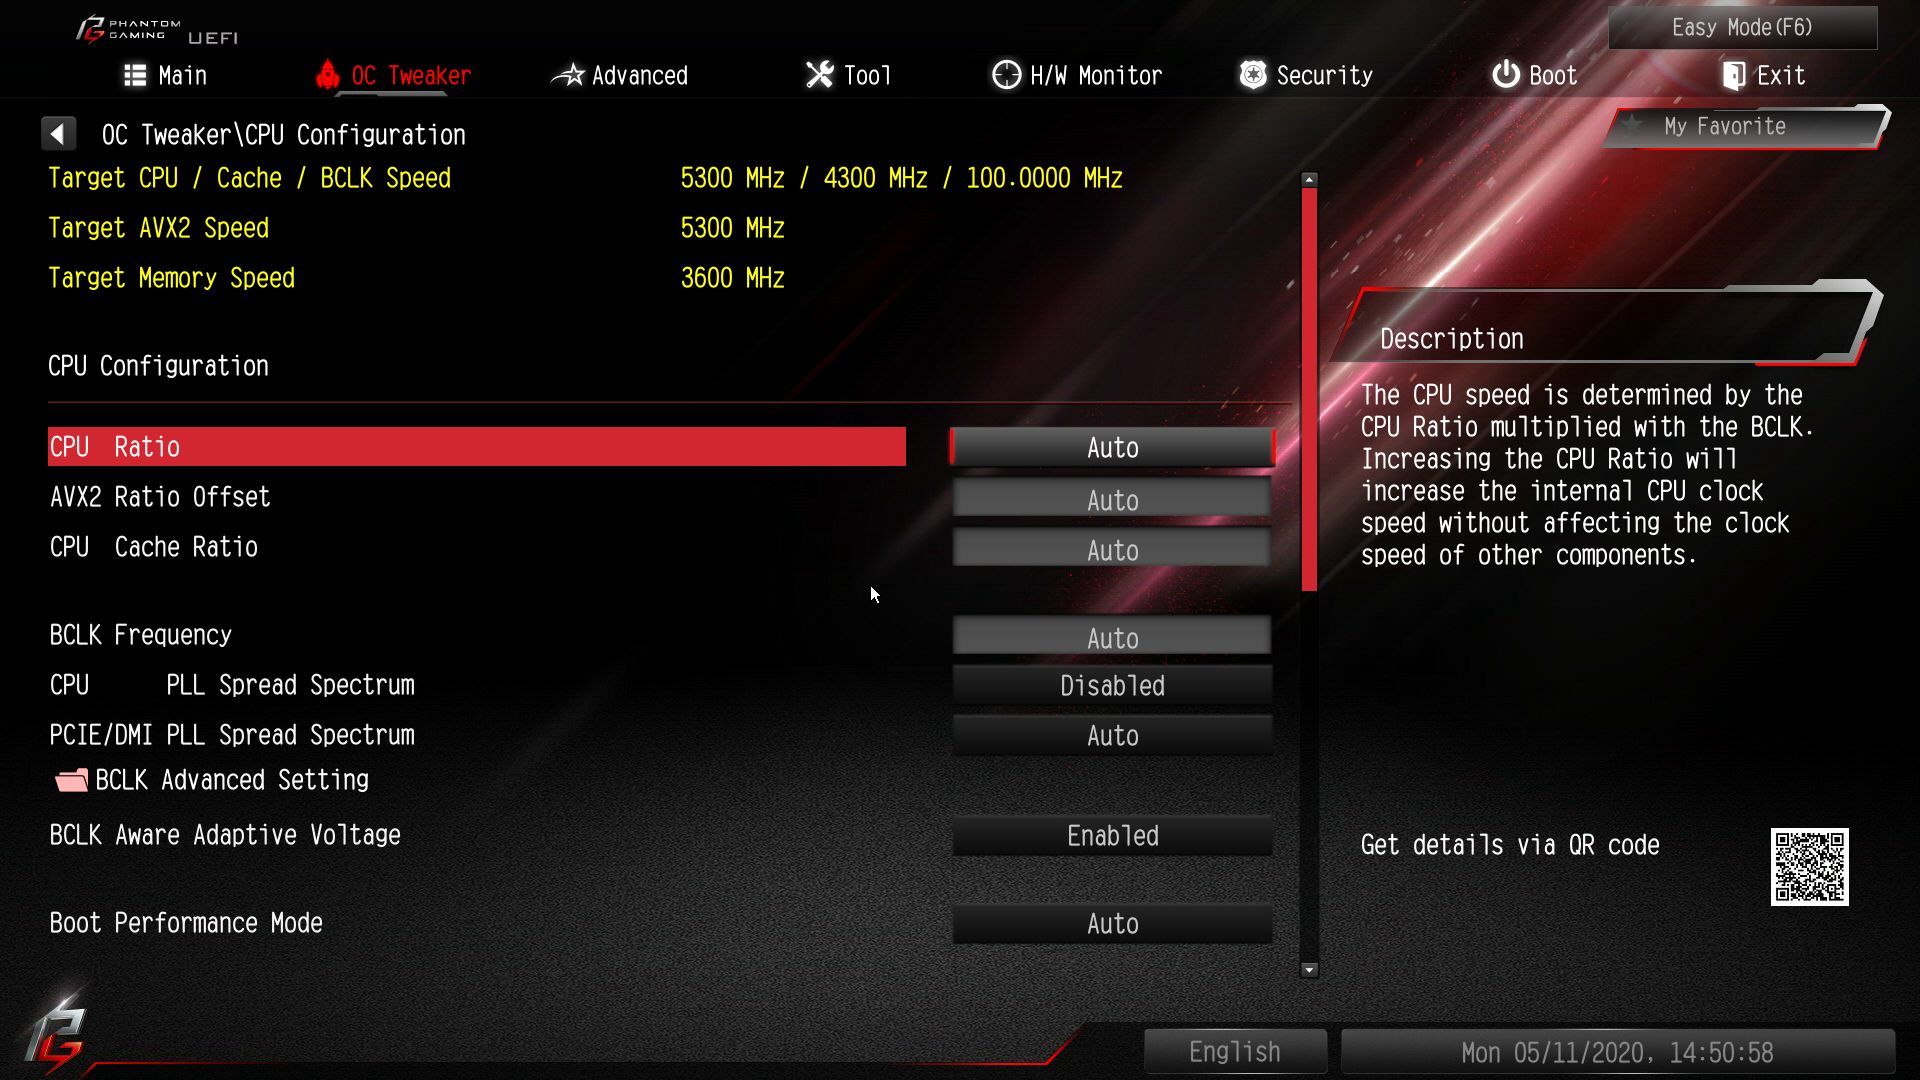
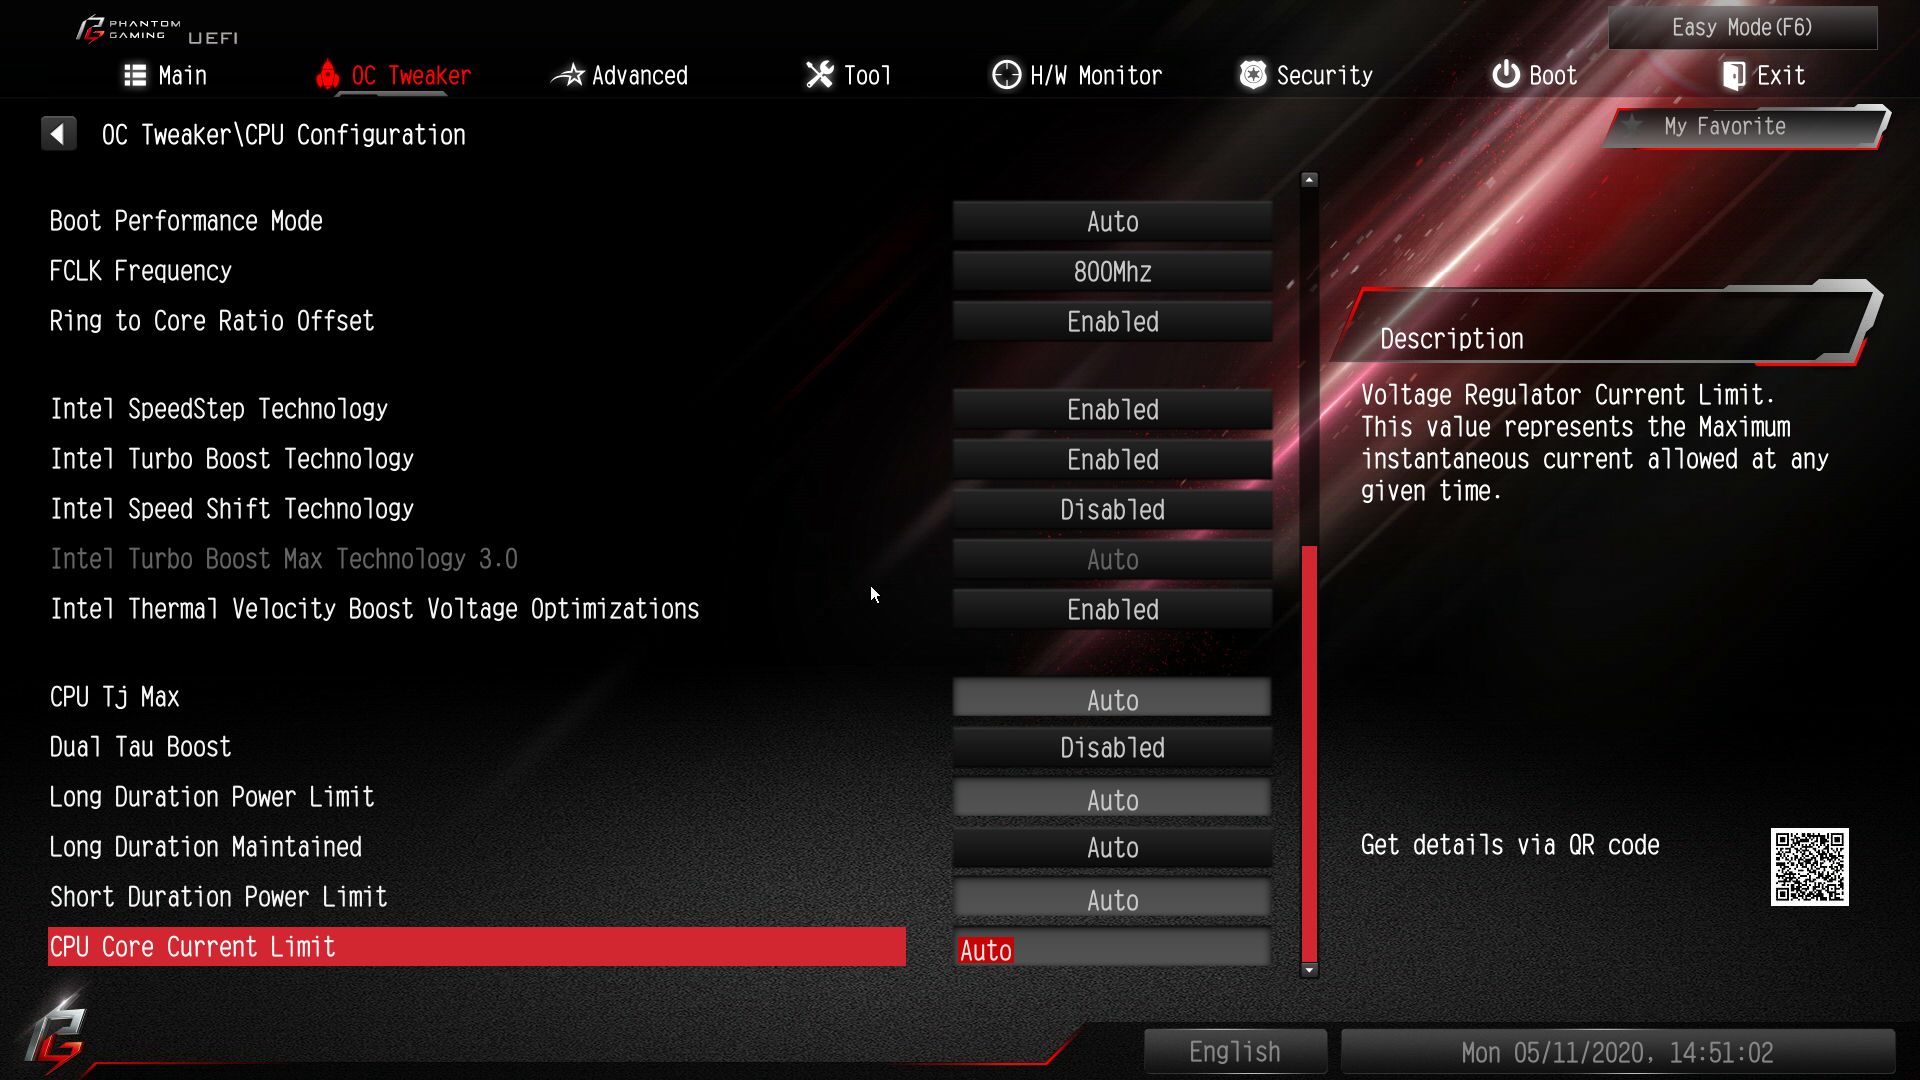
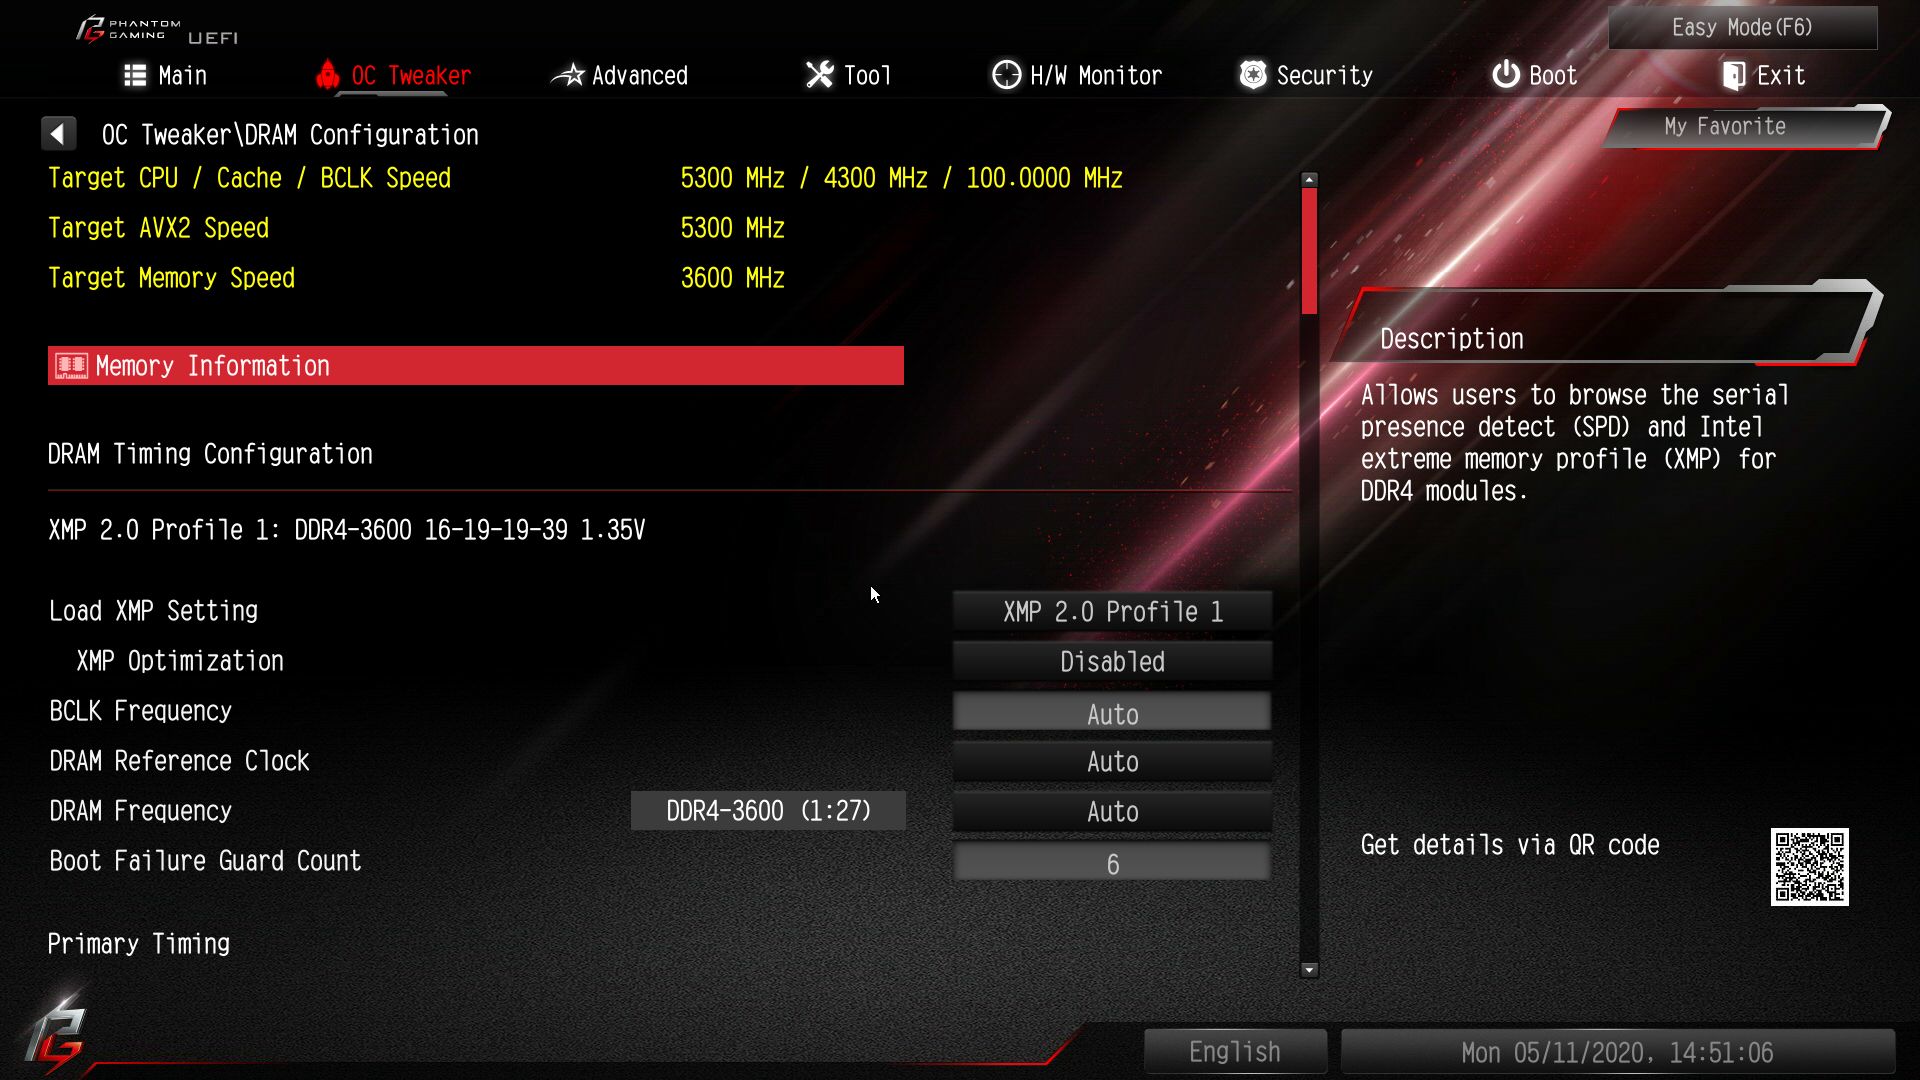
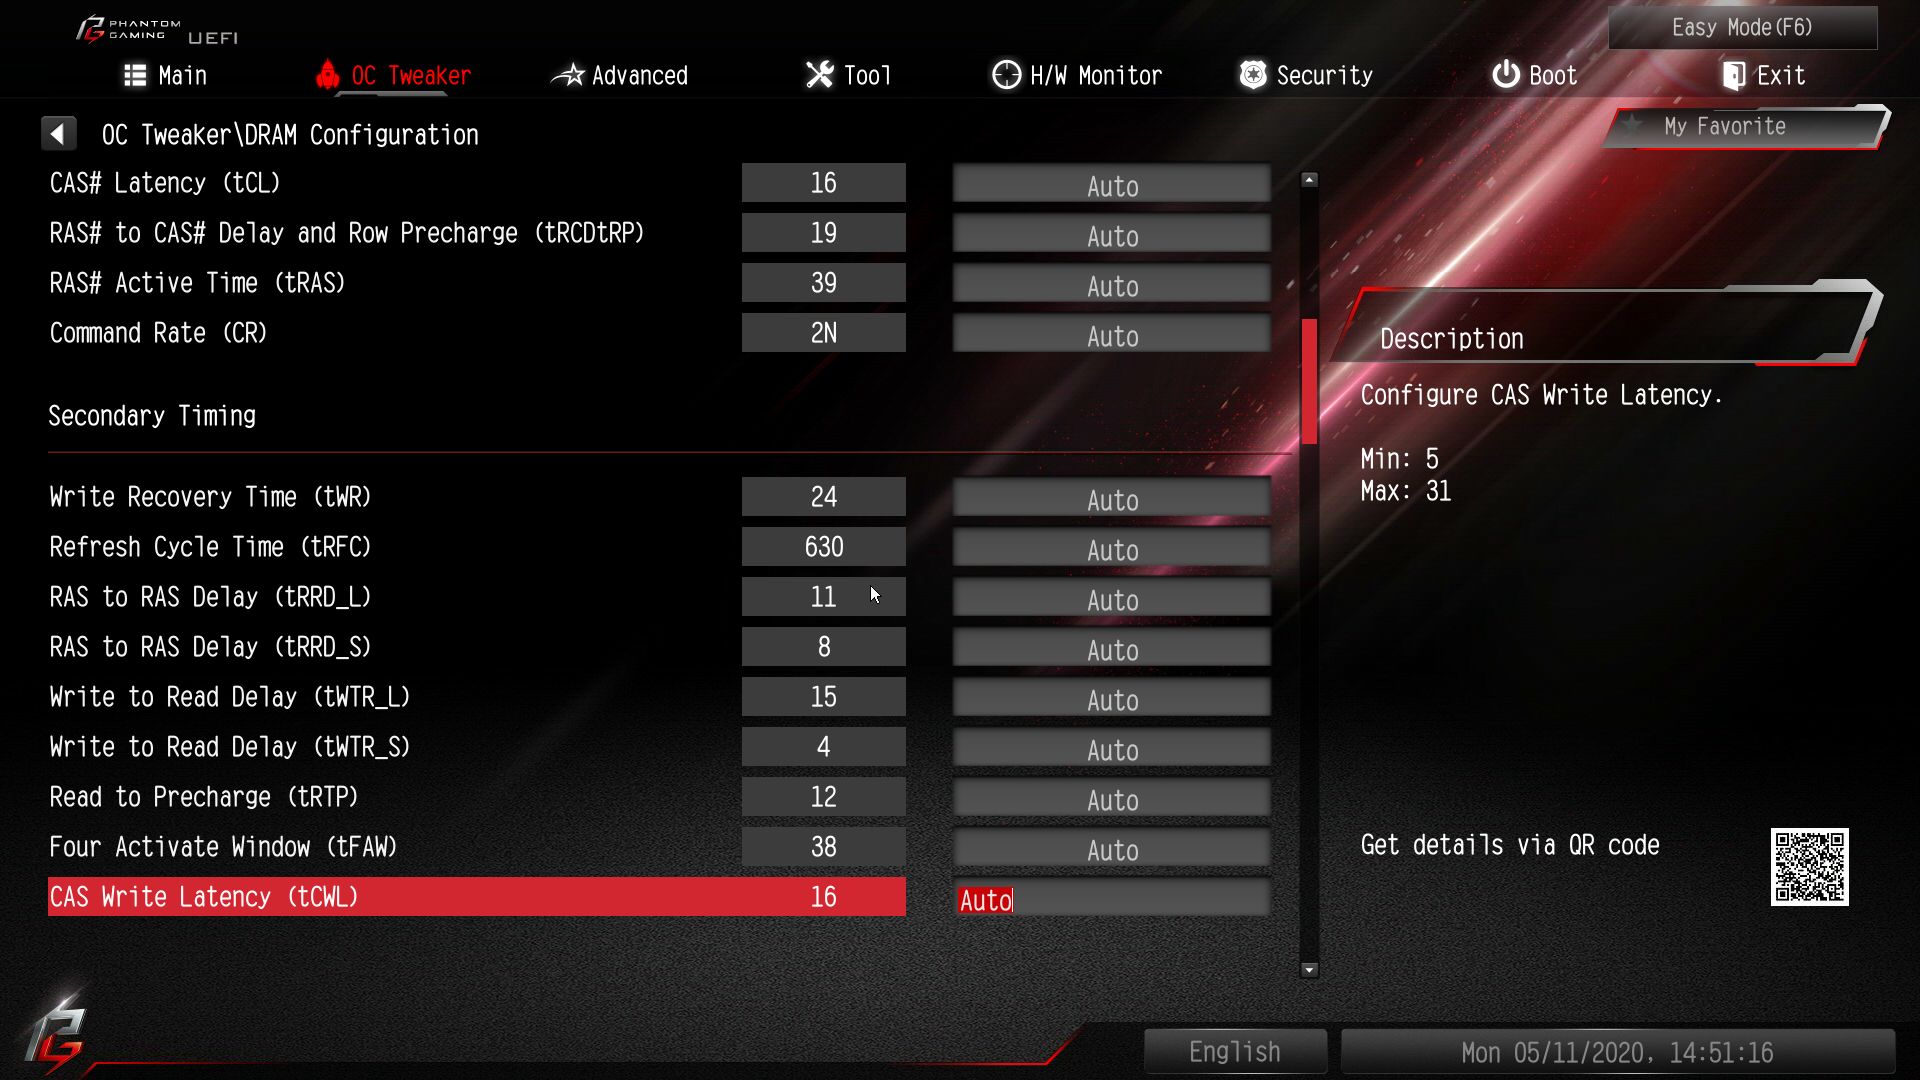
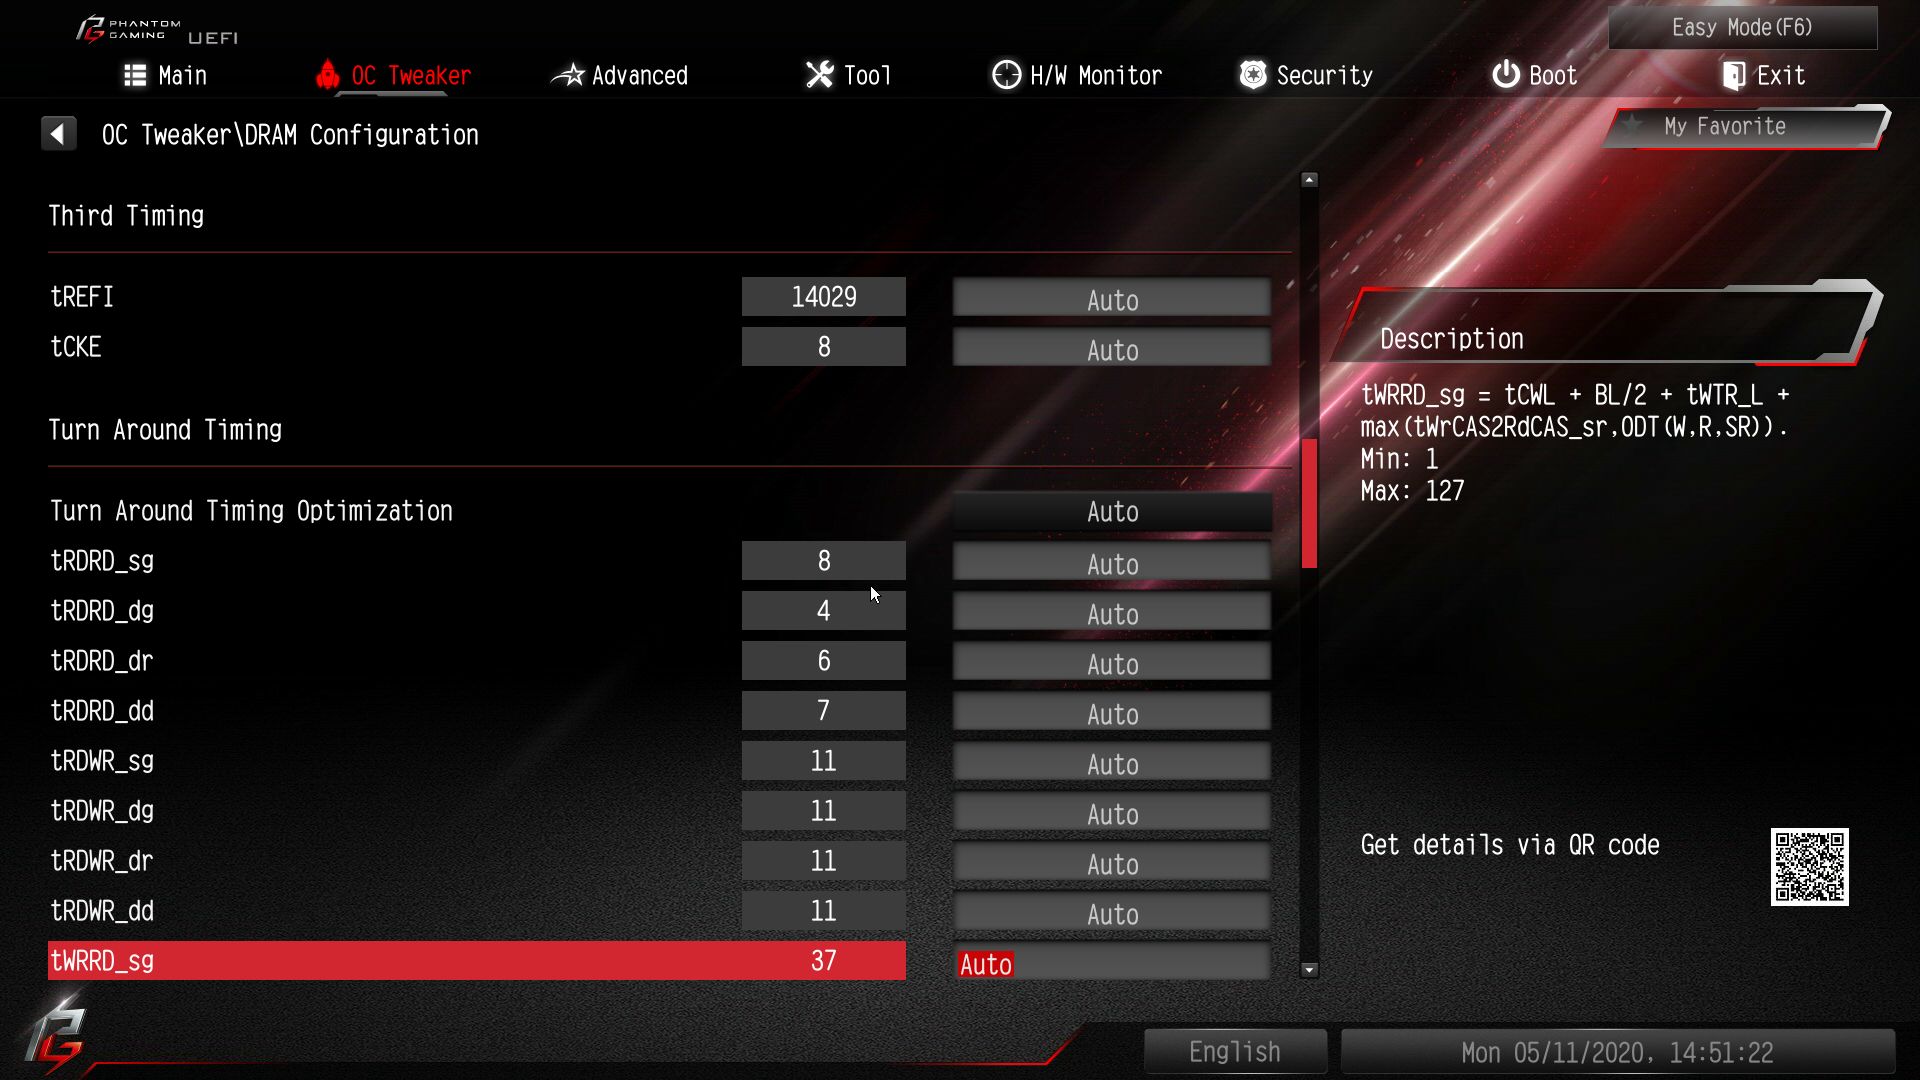
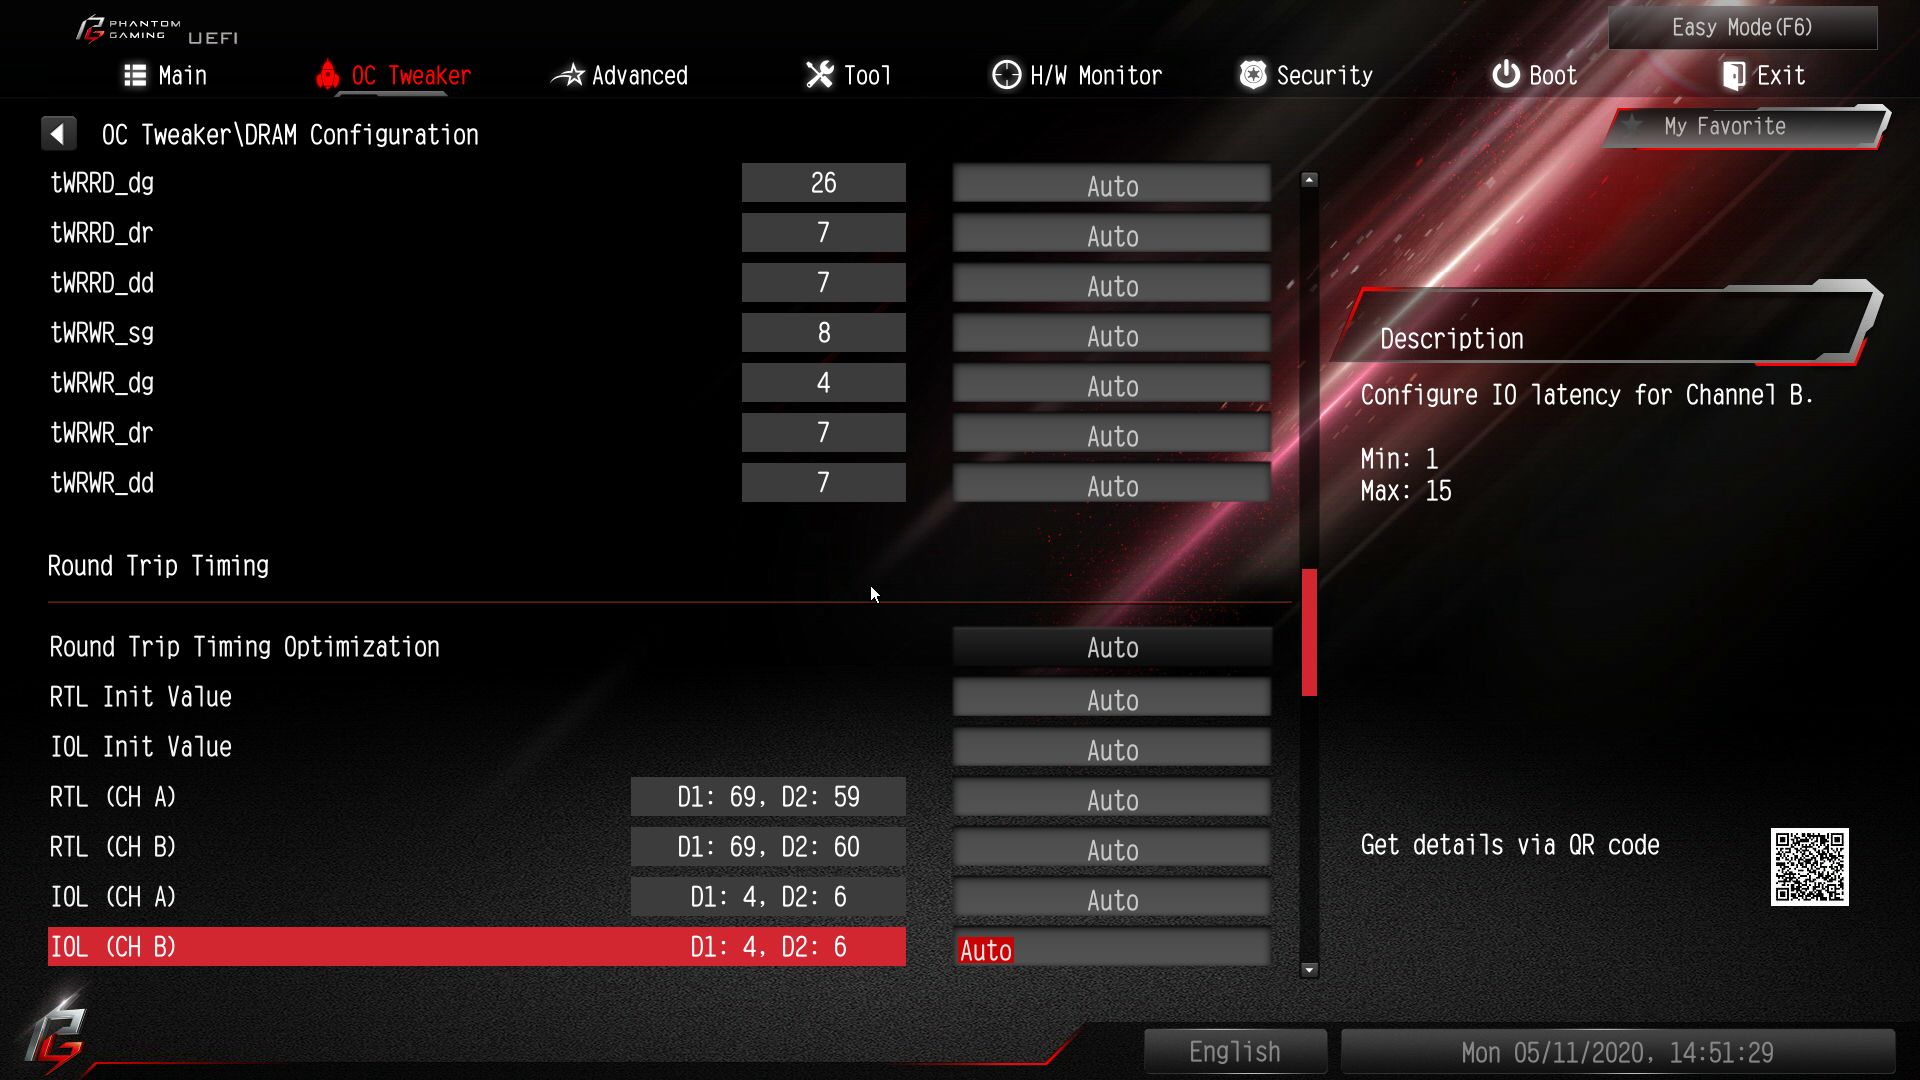
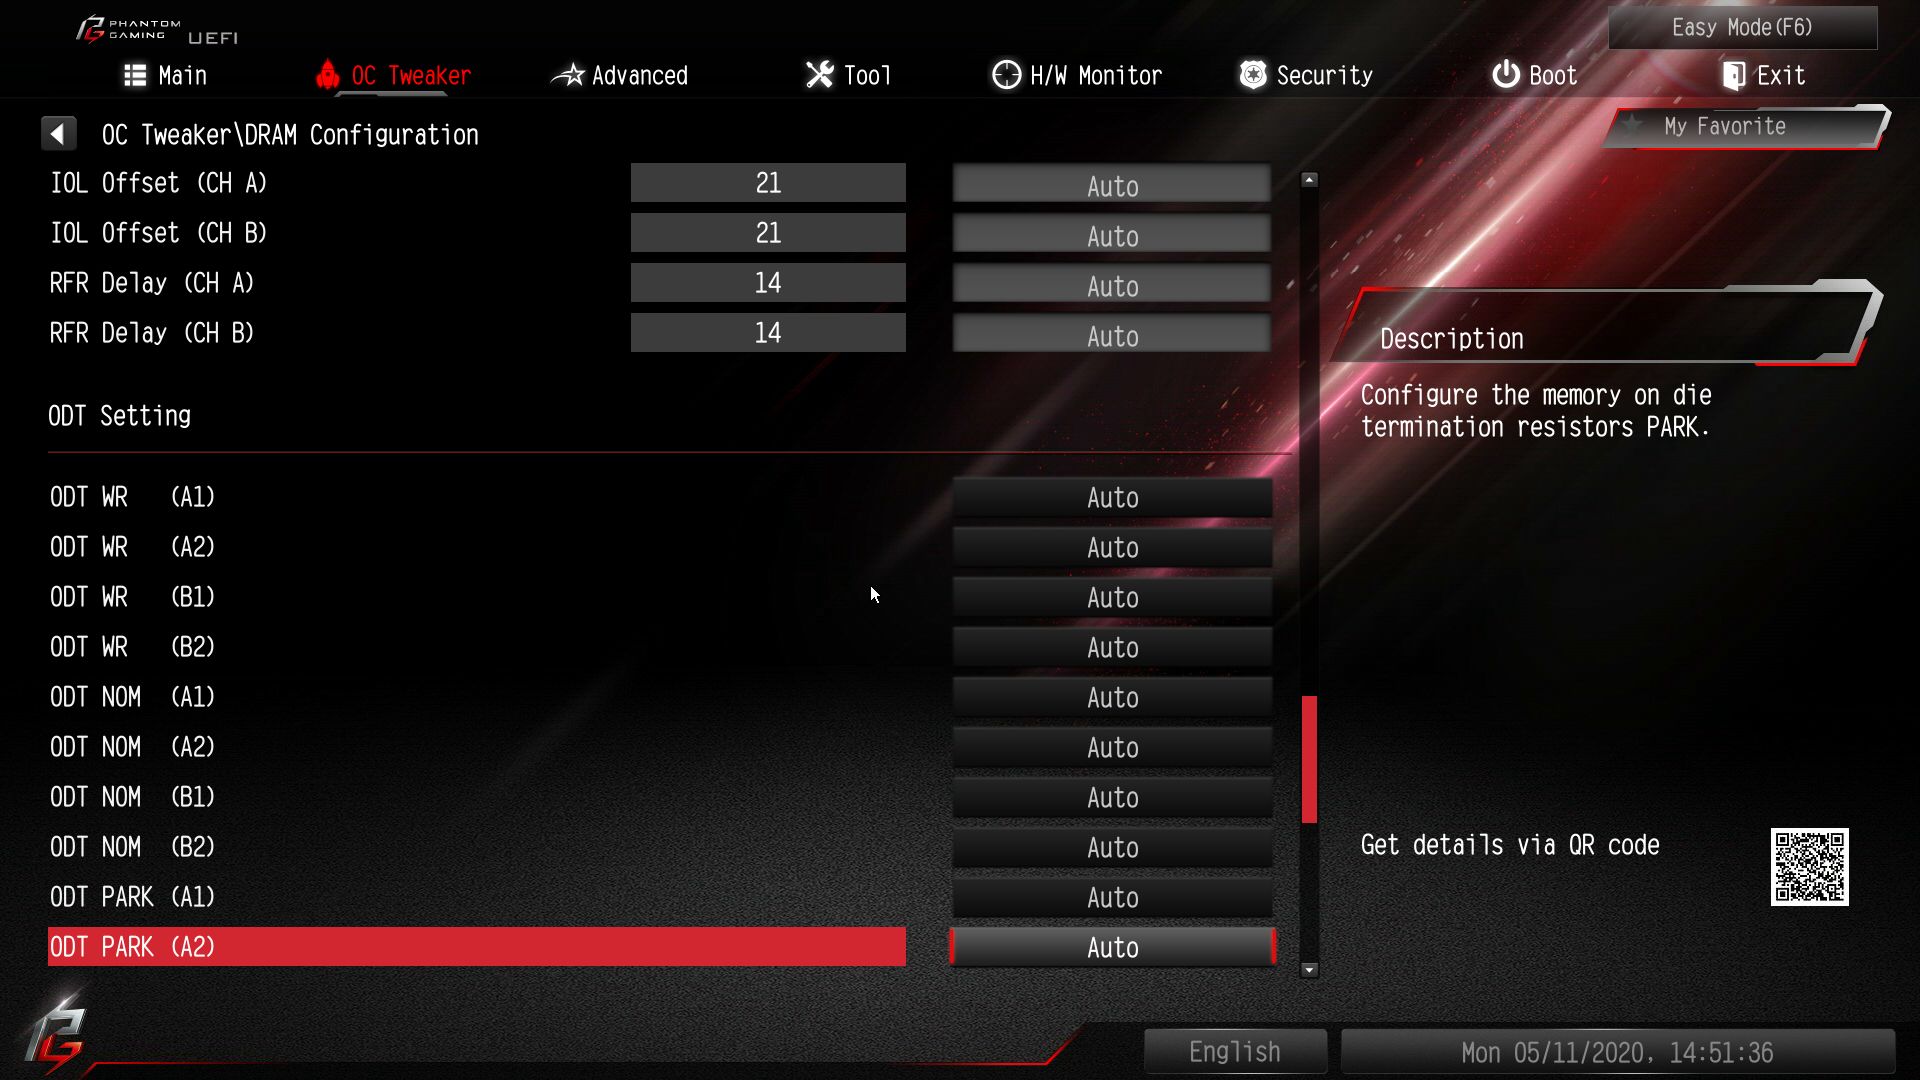
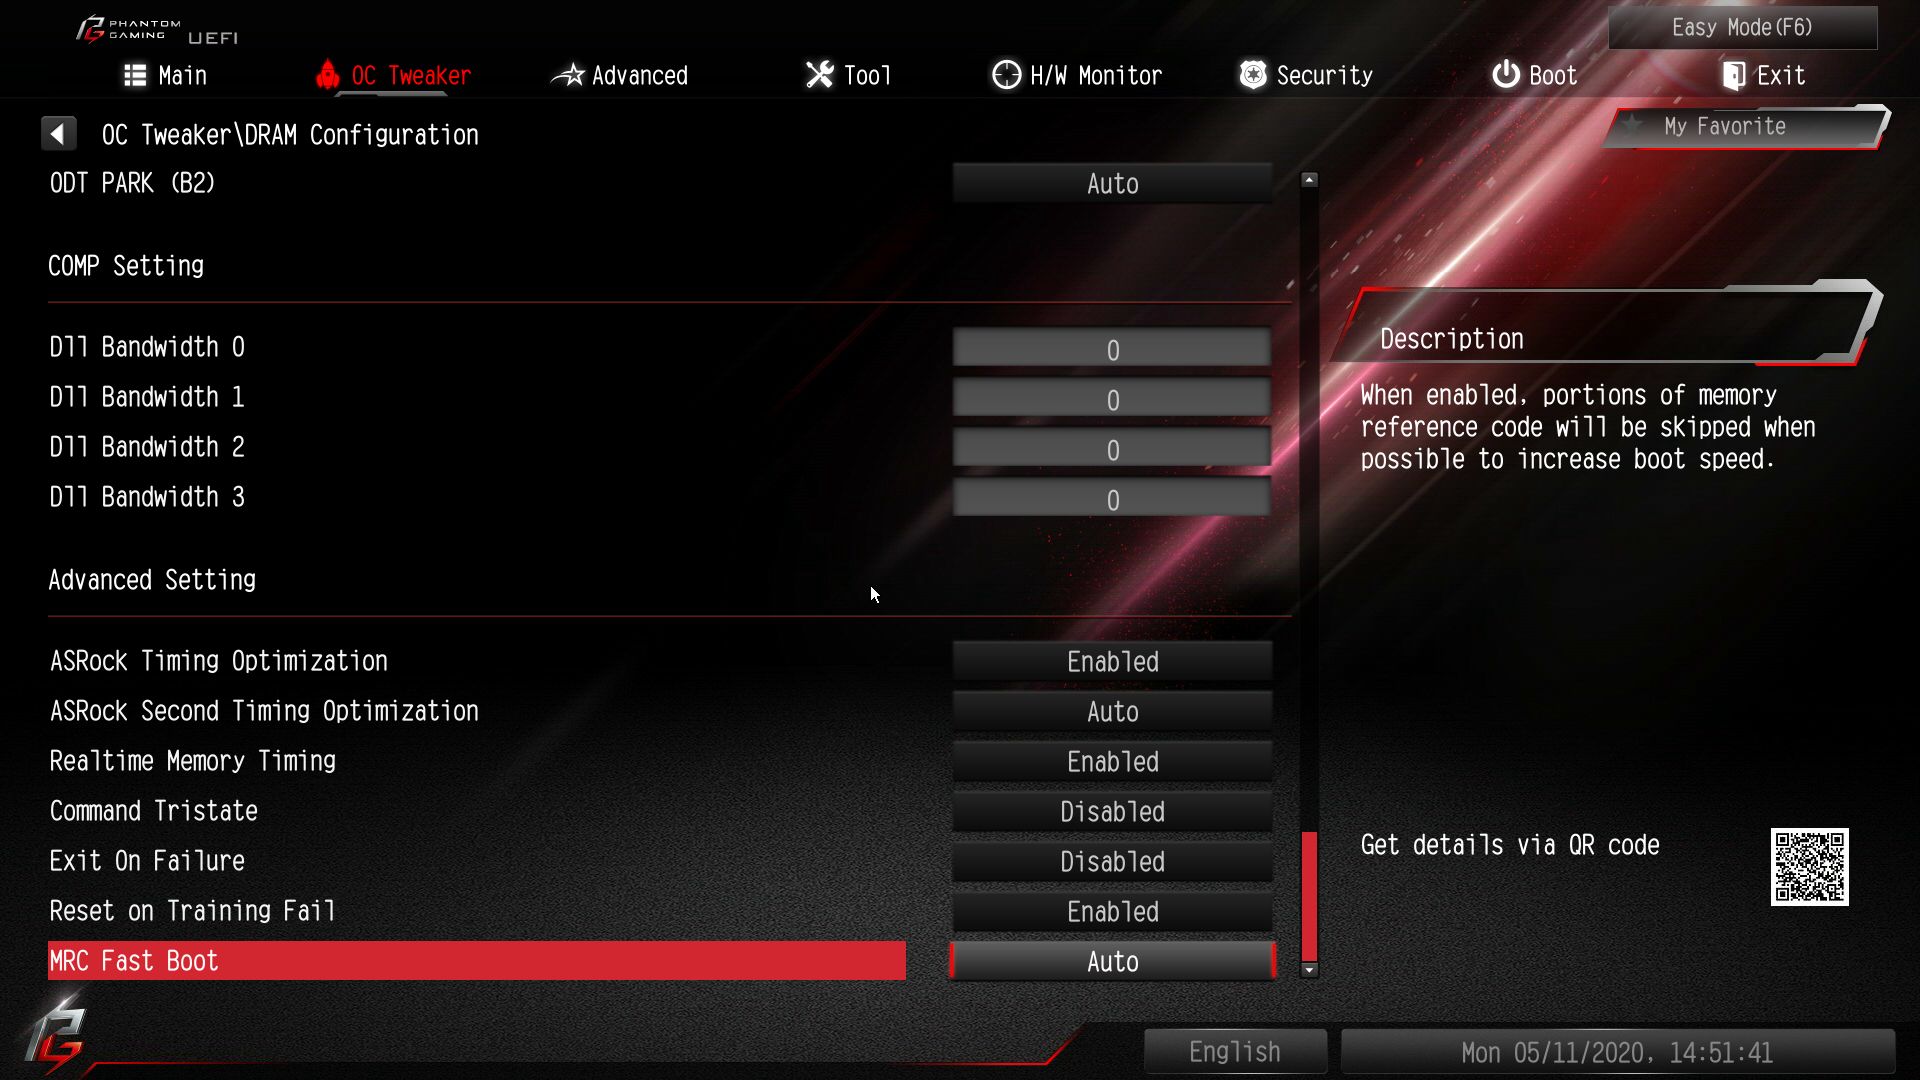
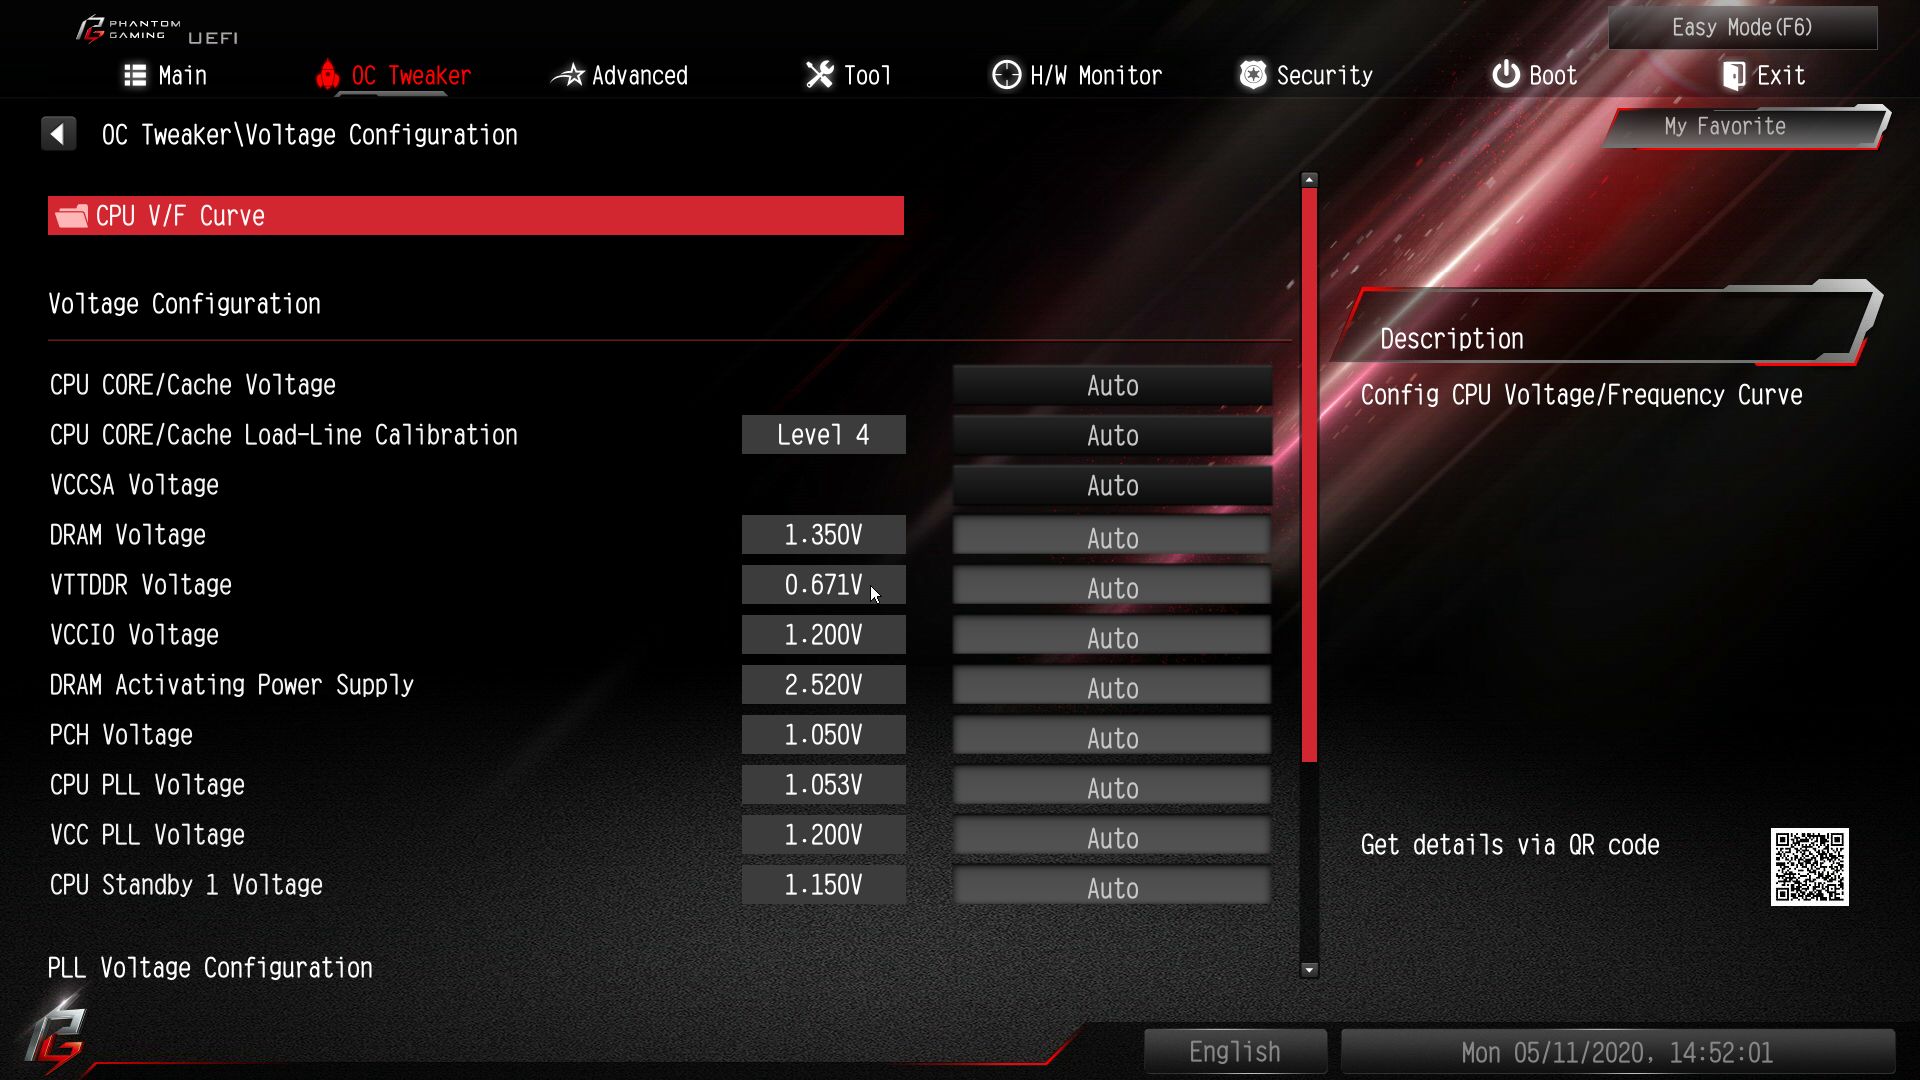
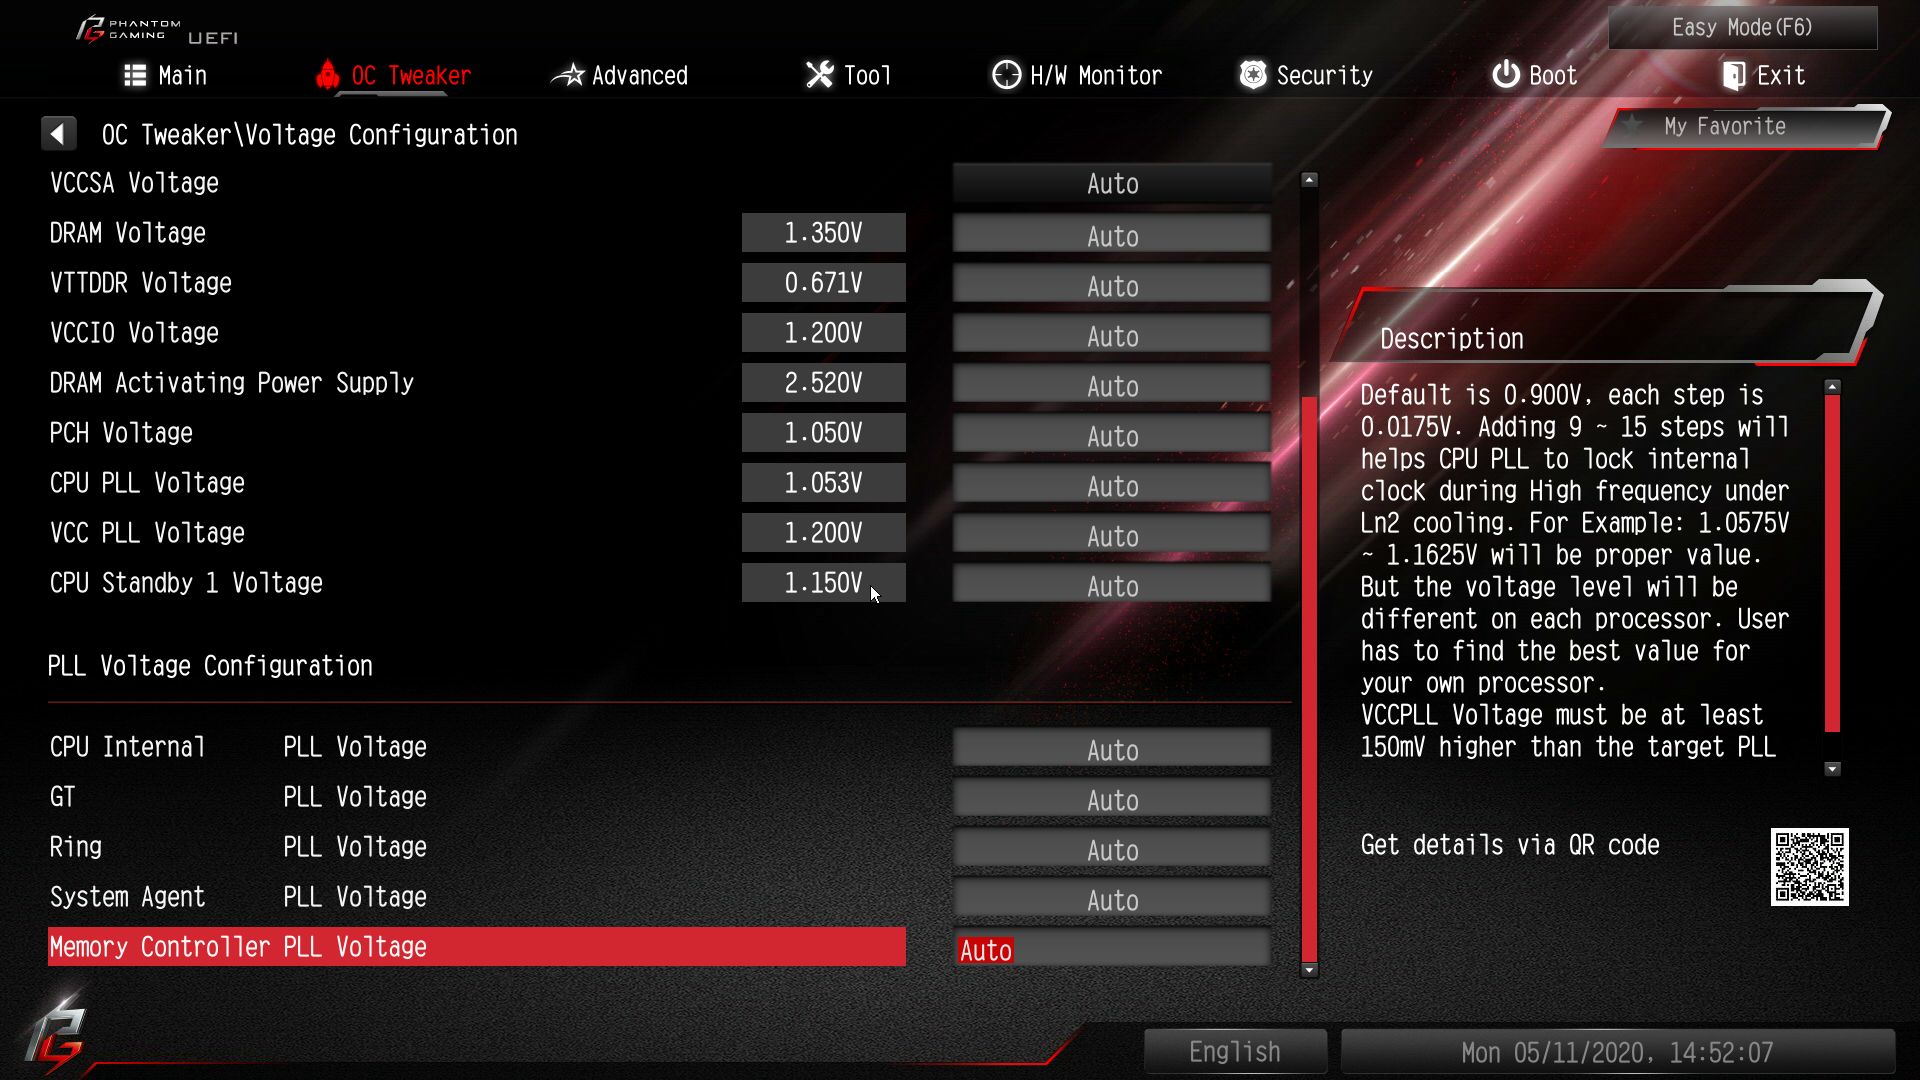
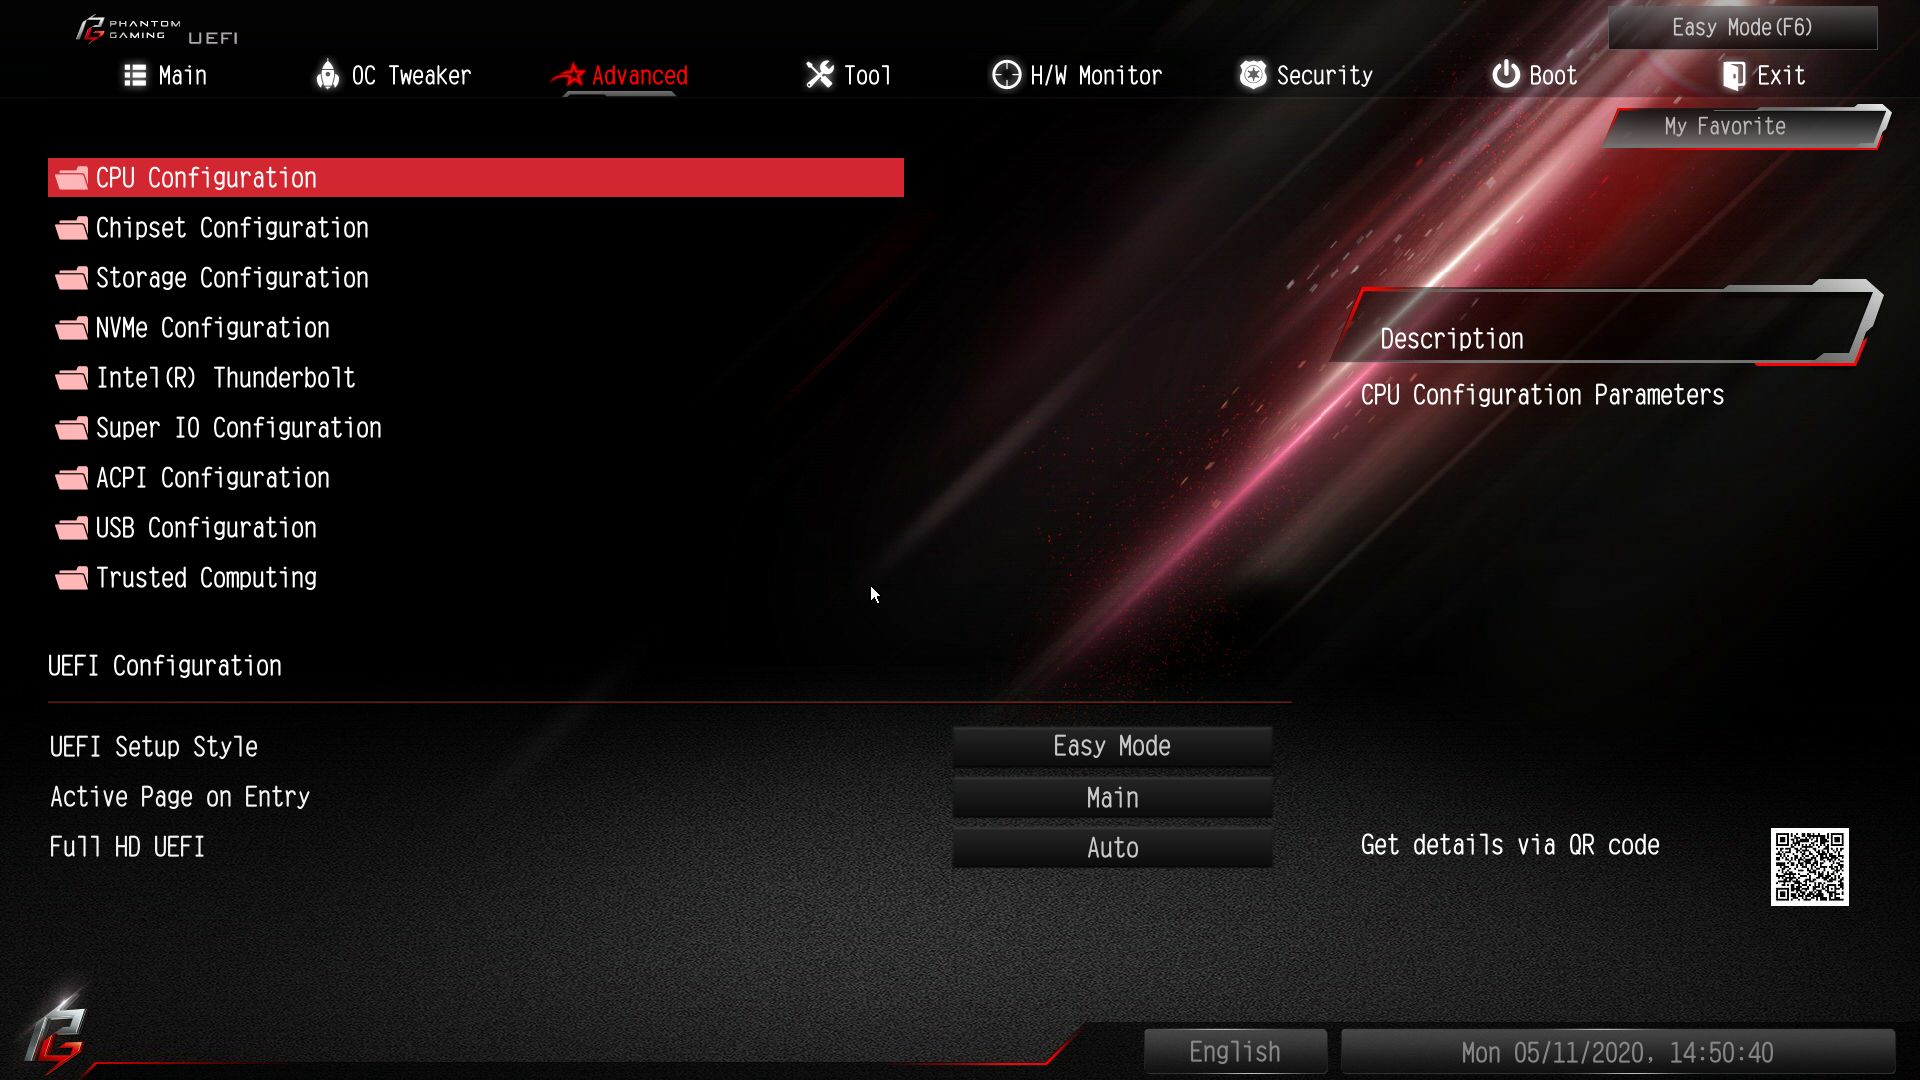
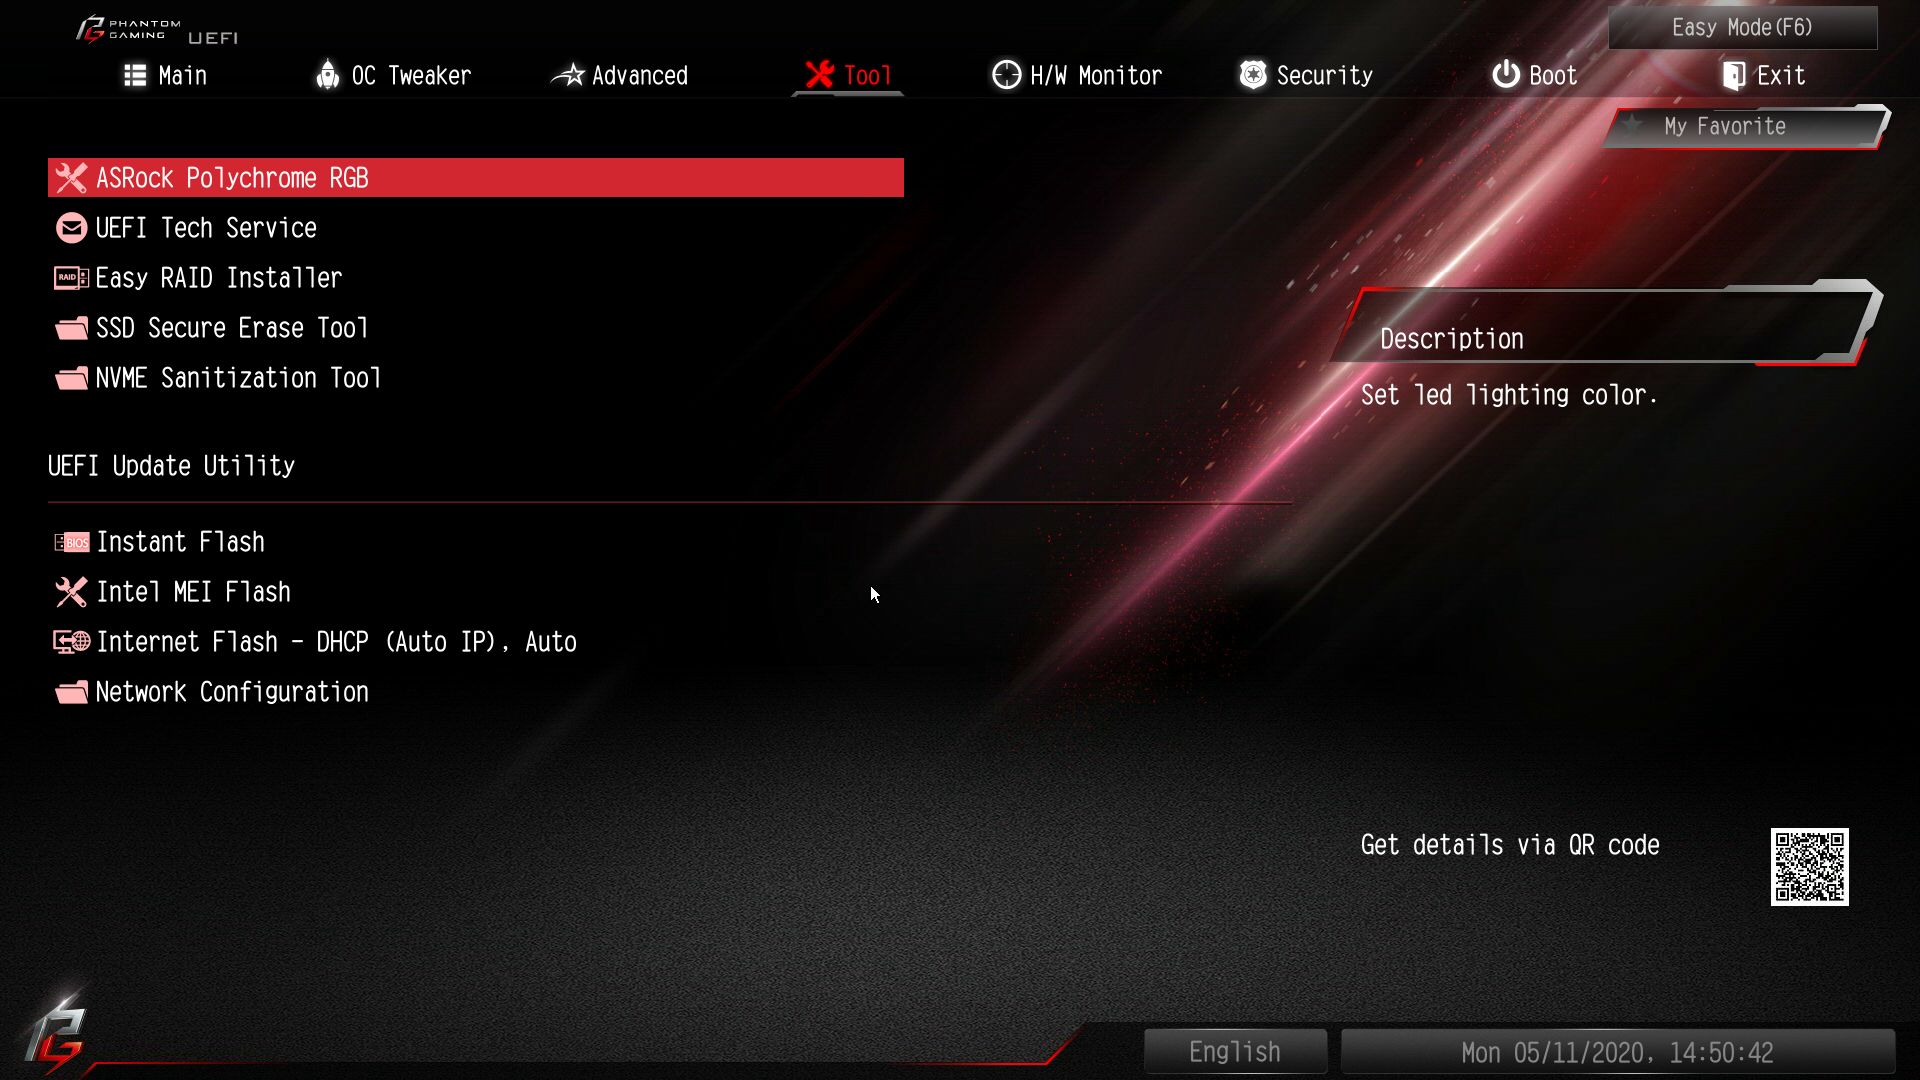
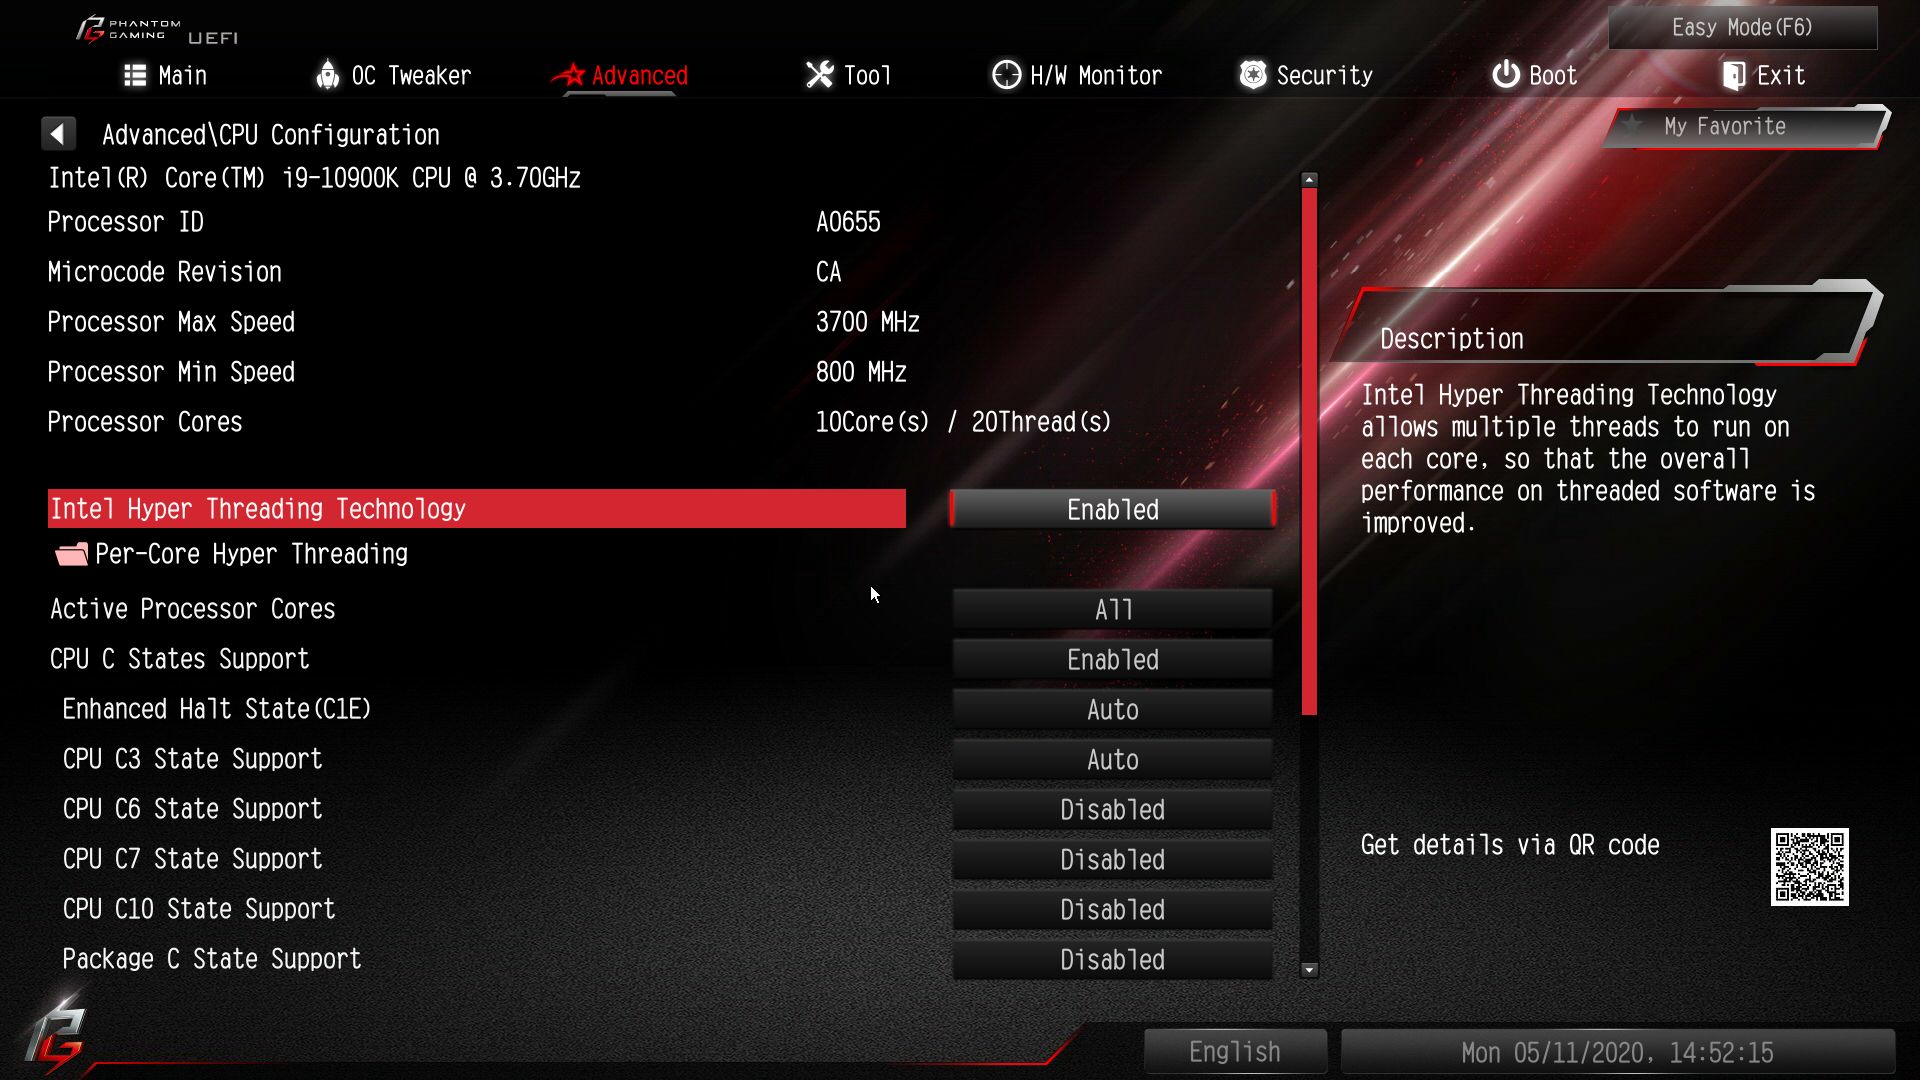
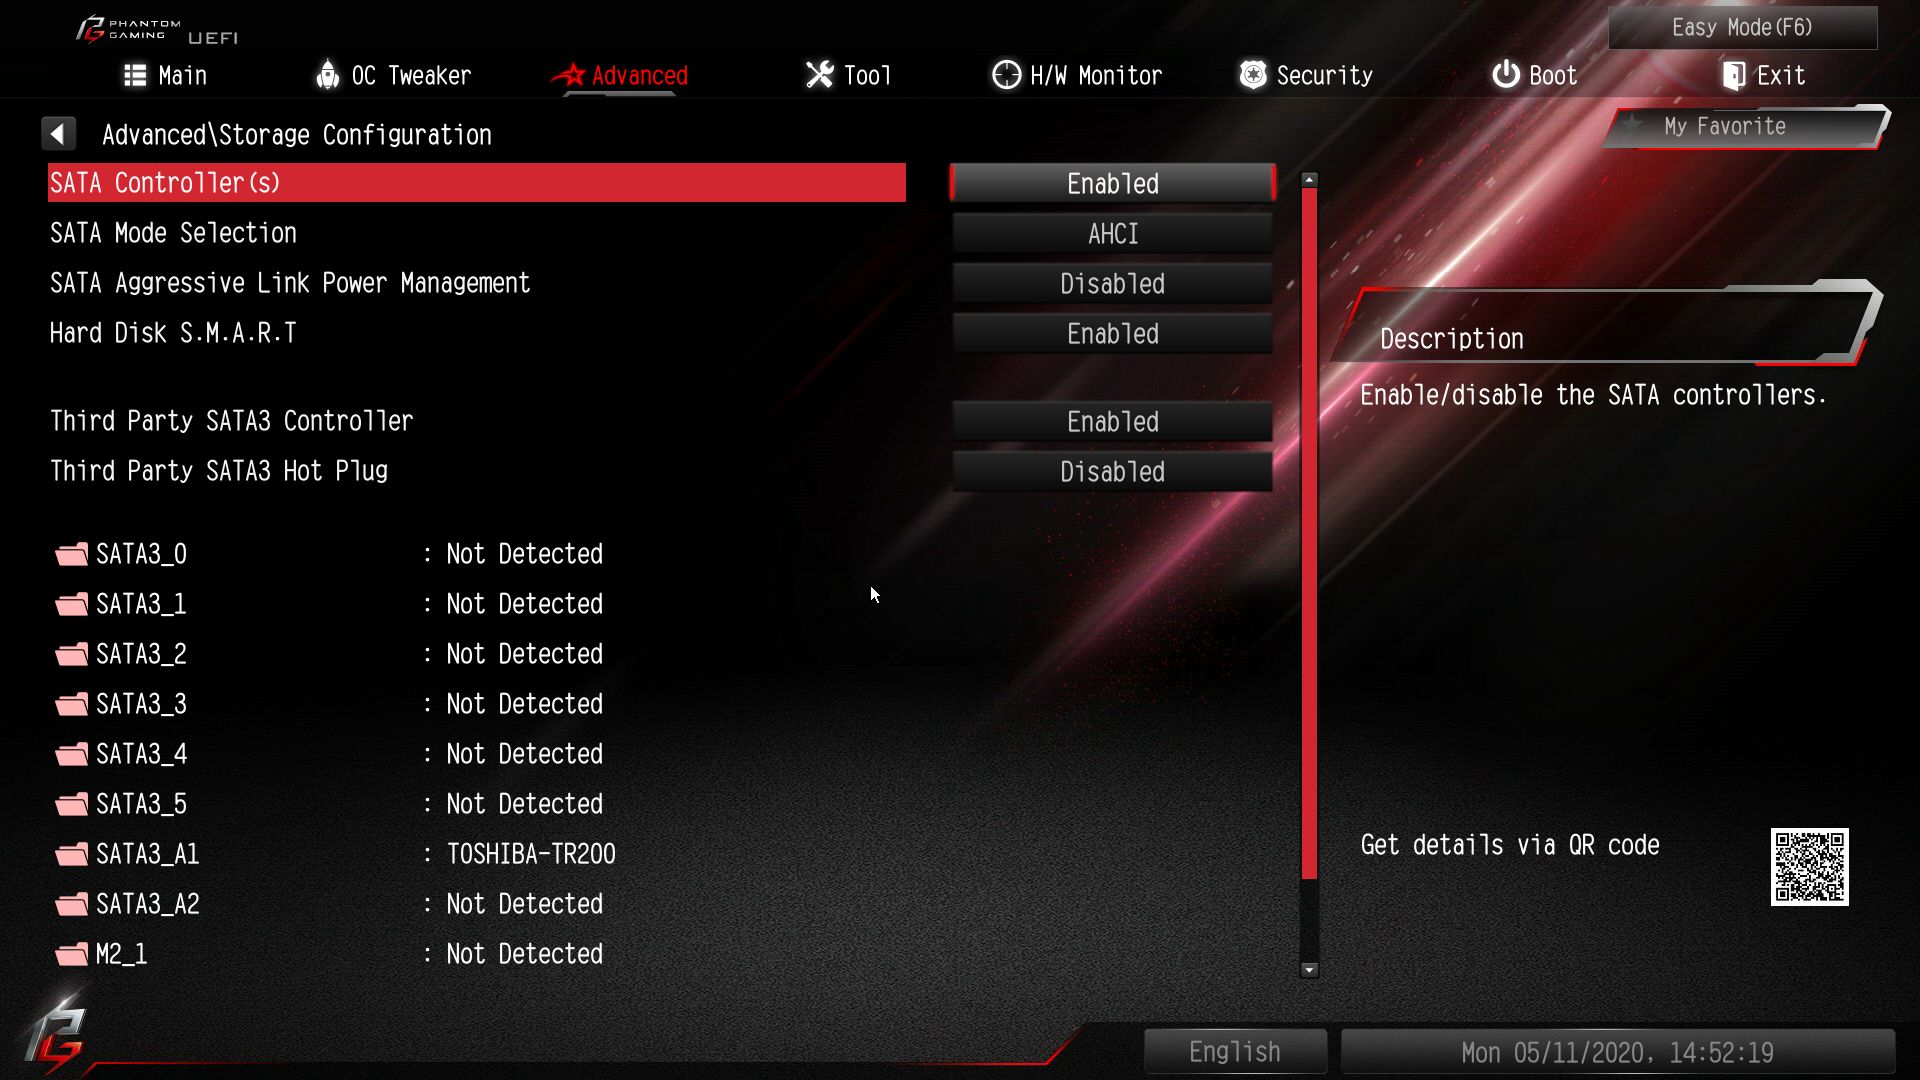
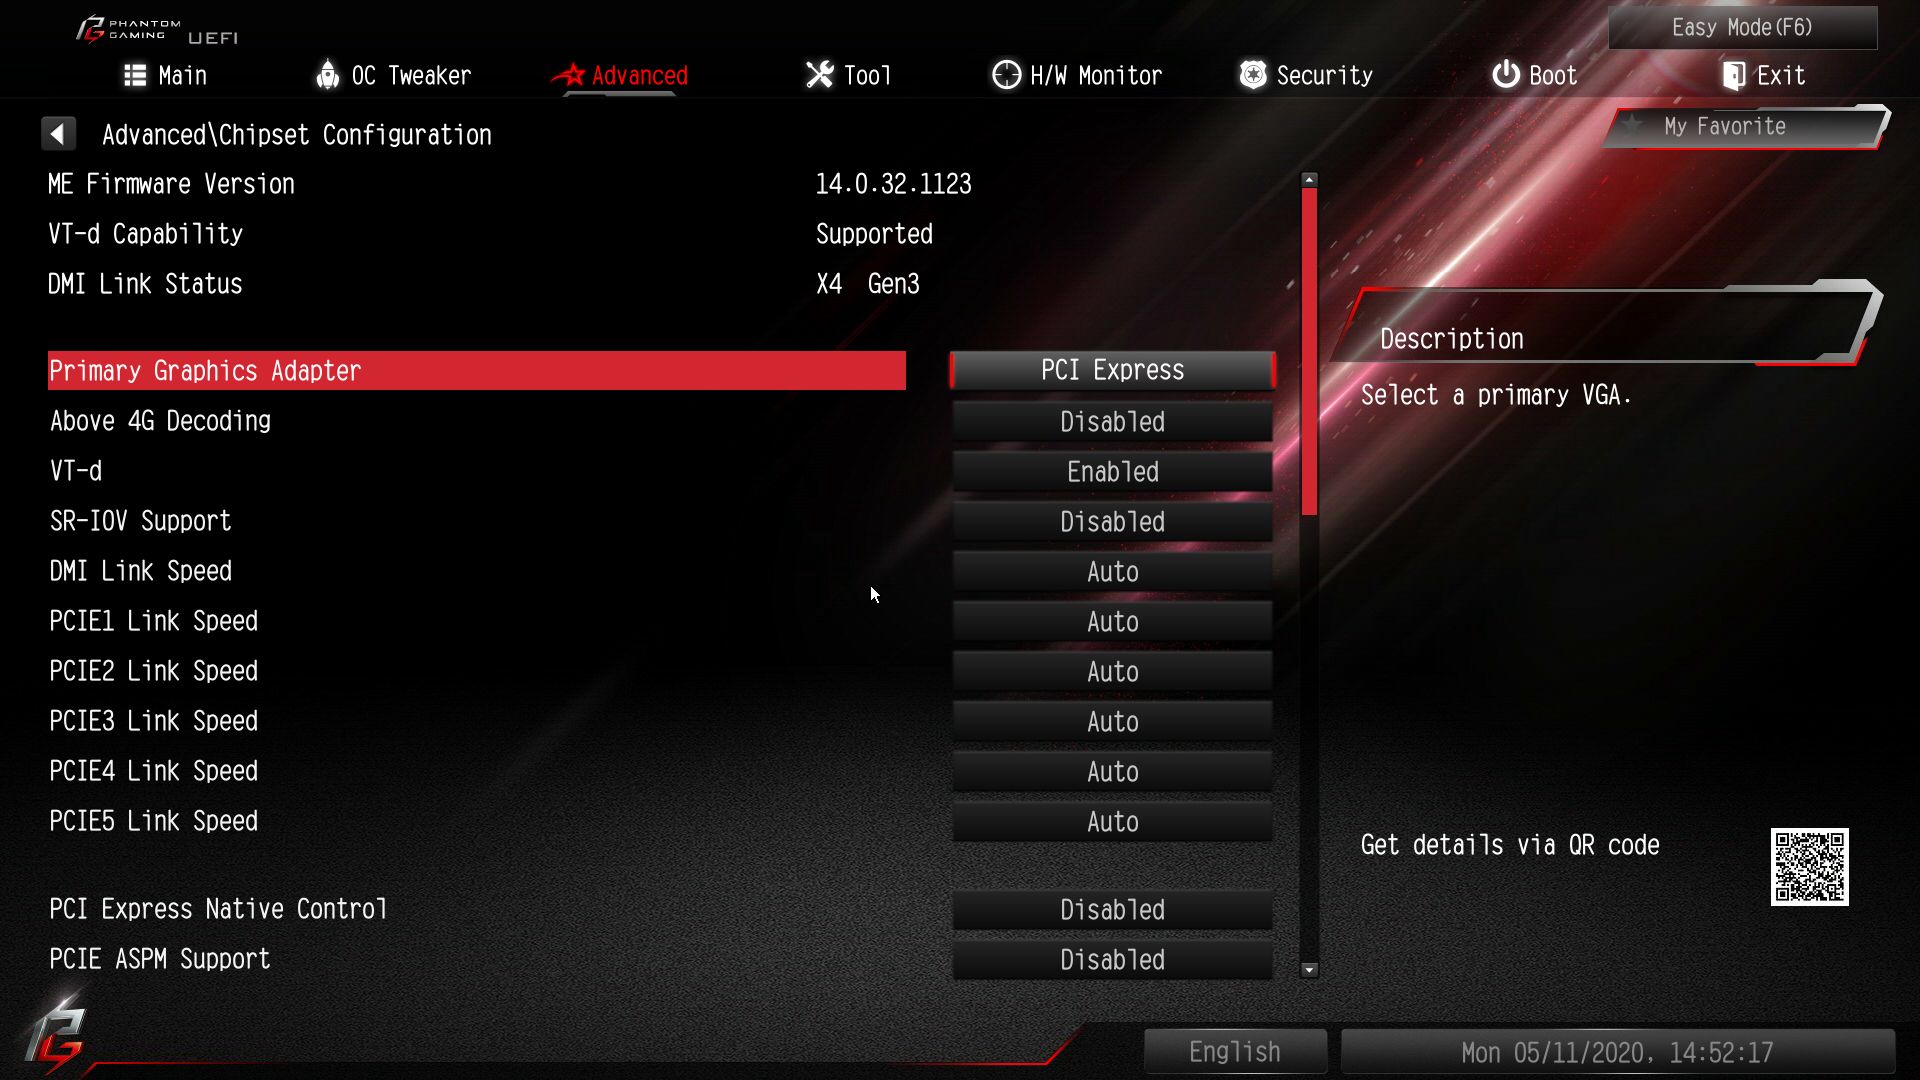
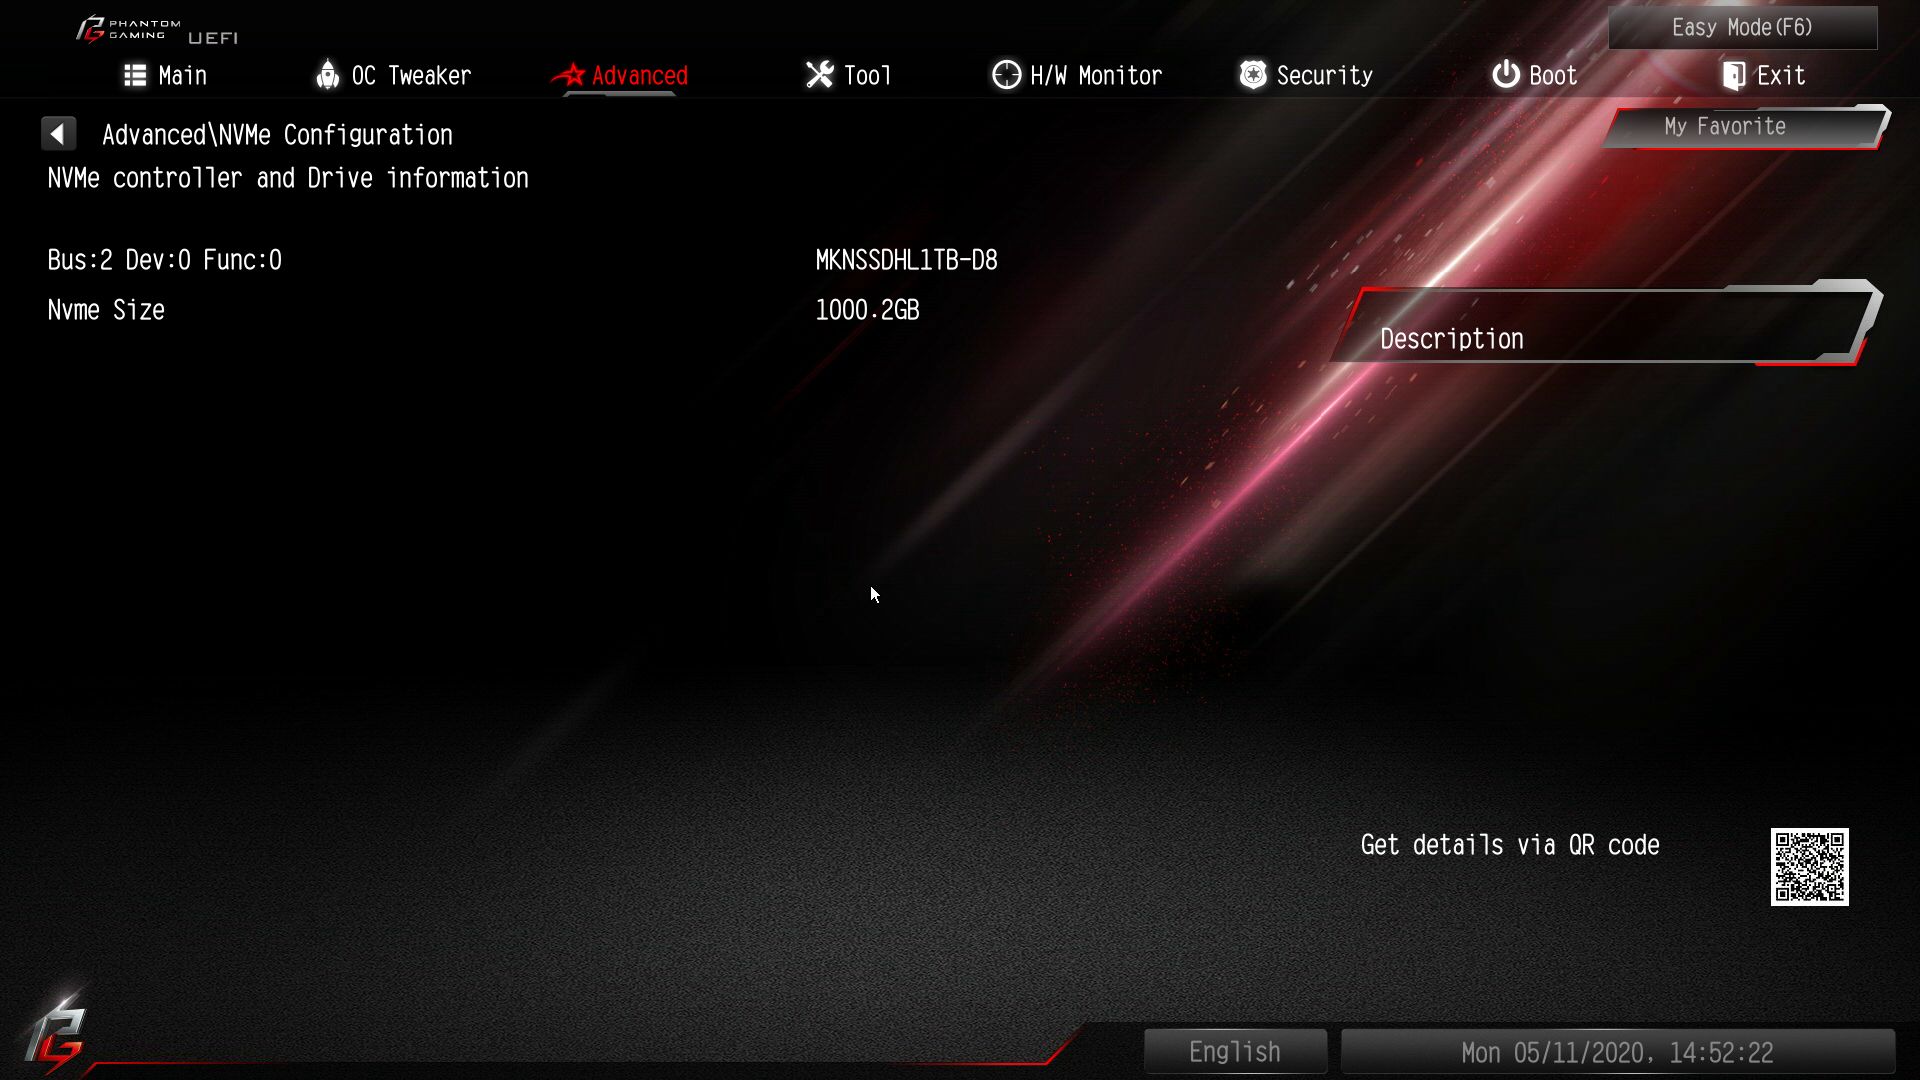
Inside the Advanced section is where you’ll configure the CPU, Onboard devices (HD audio, WAN/BT, PS/2, etc), and Storage. Inside the Tool heading, we find BIOS adjustments for RGB LEDs, SSD/NVMe Secure Erase tools, as well as access to the Instant Flash utility for updating the BIOS. If you do not have the latest BIOS on the drive, the Internet Flash function will go out to the ASRock website and find the proper BIOS for you.
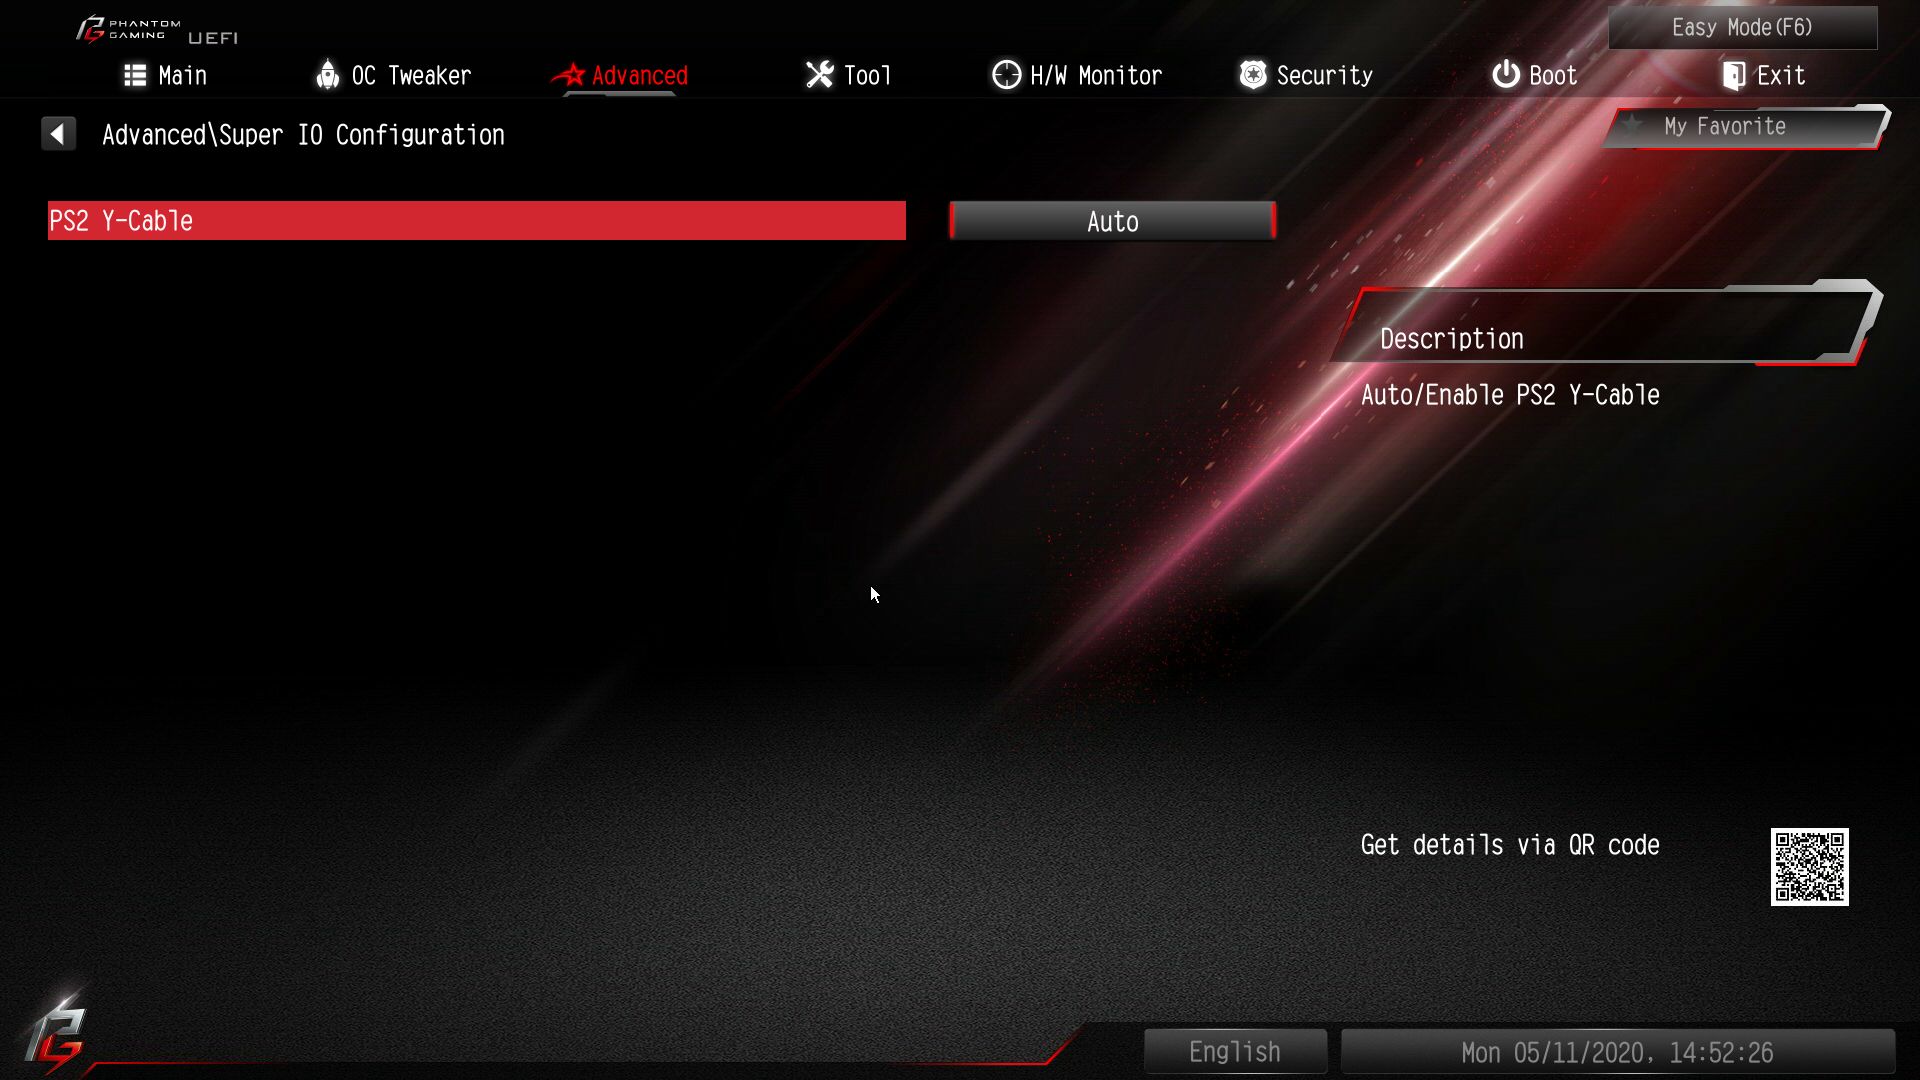
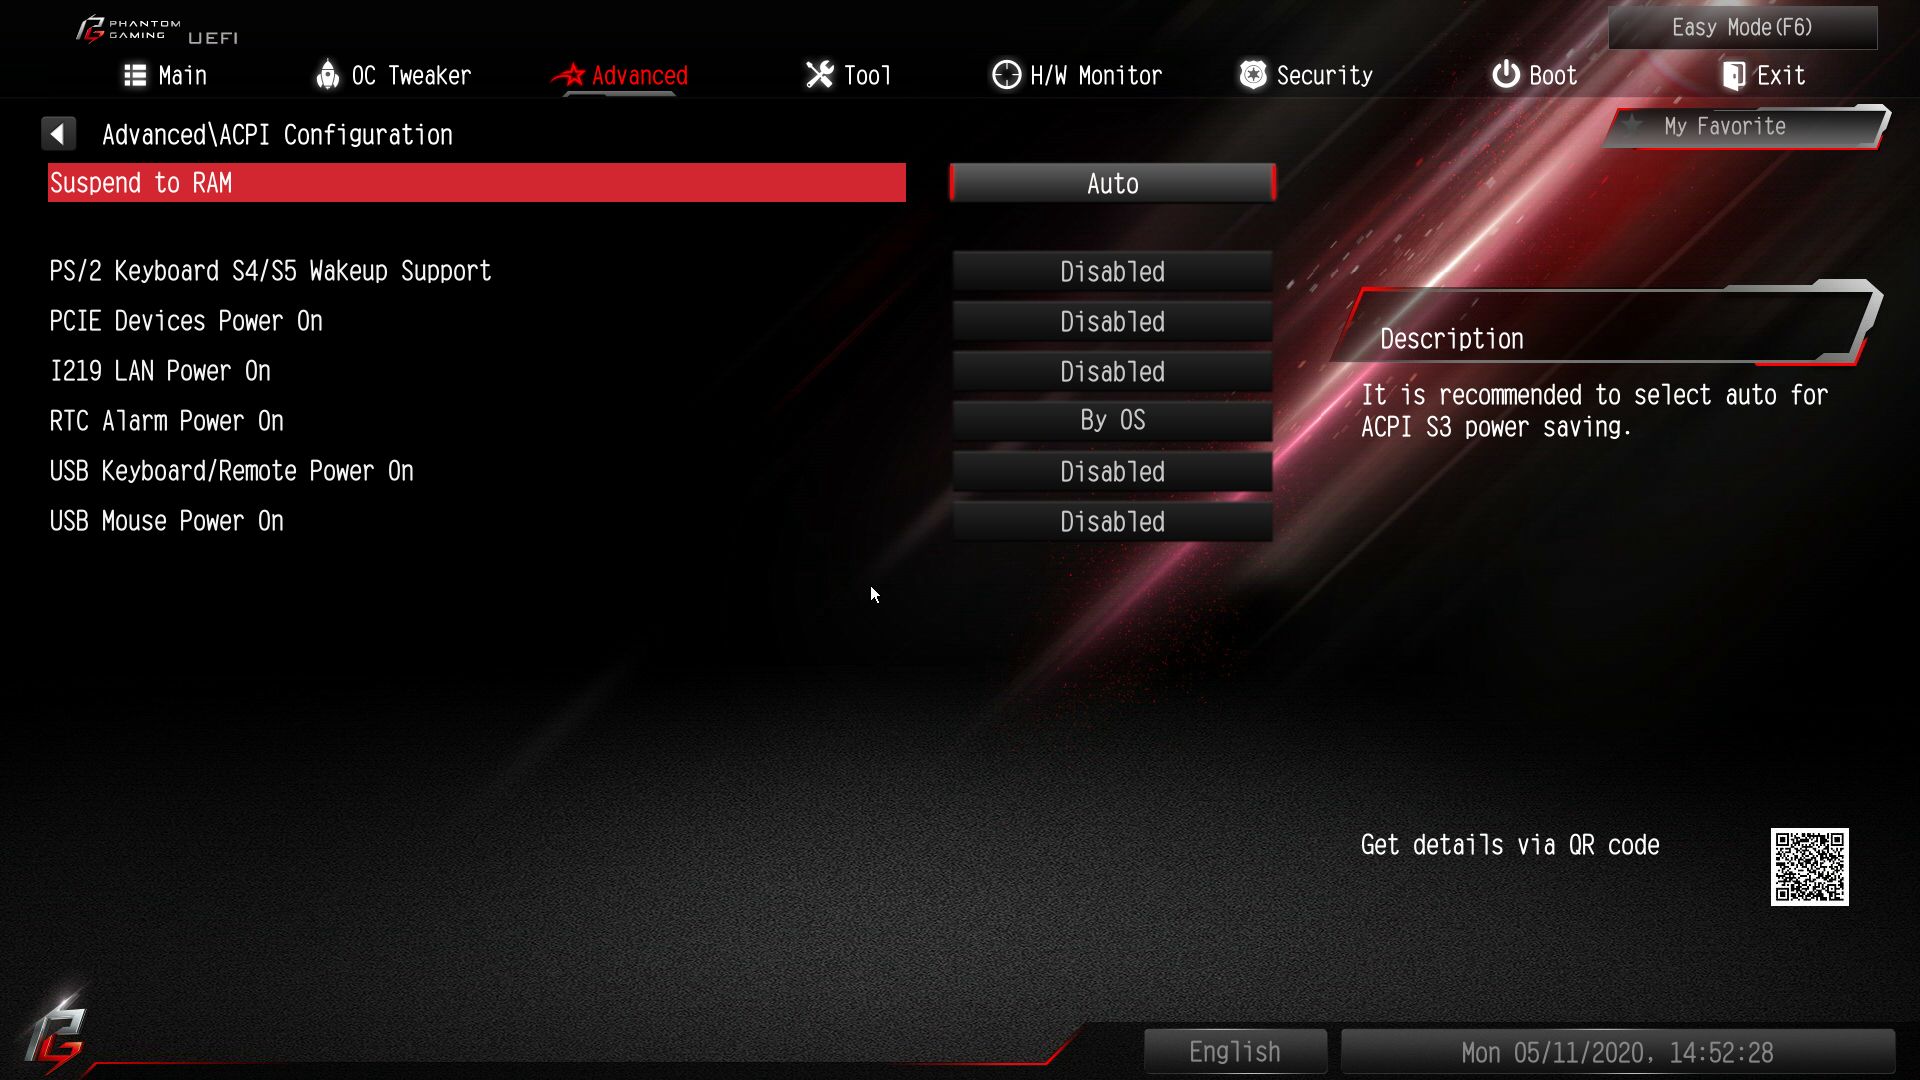
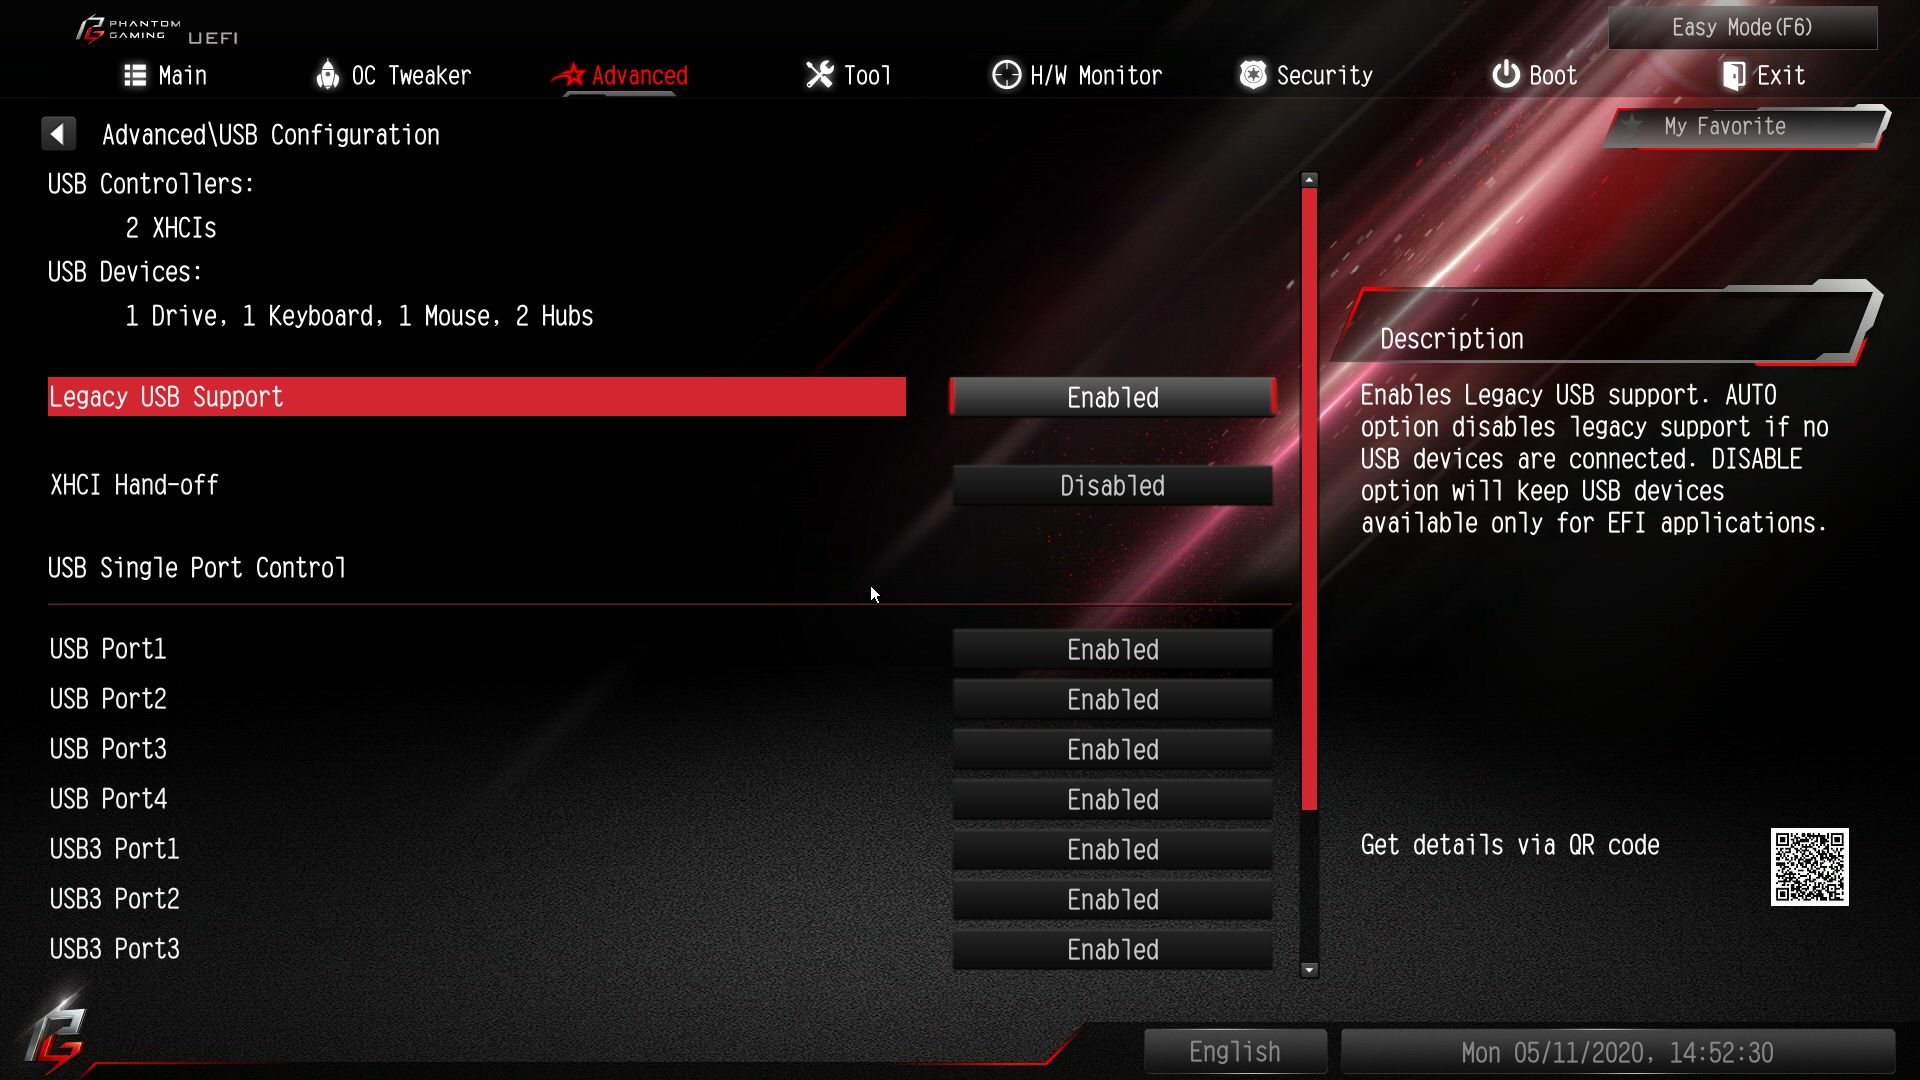
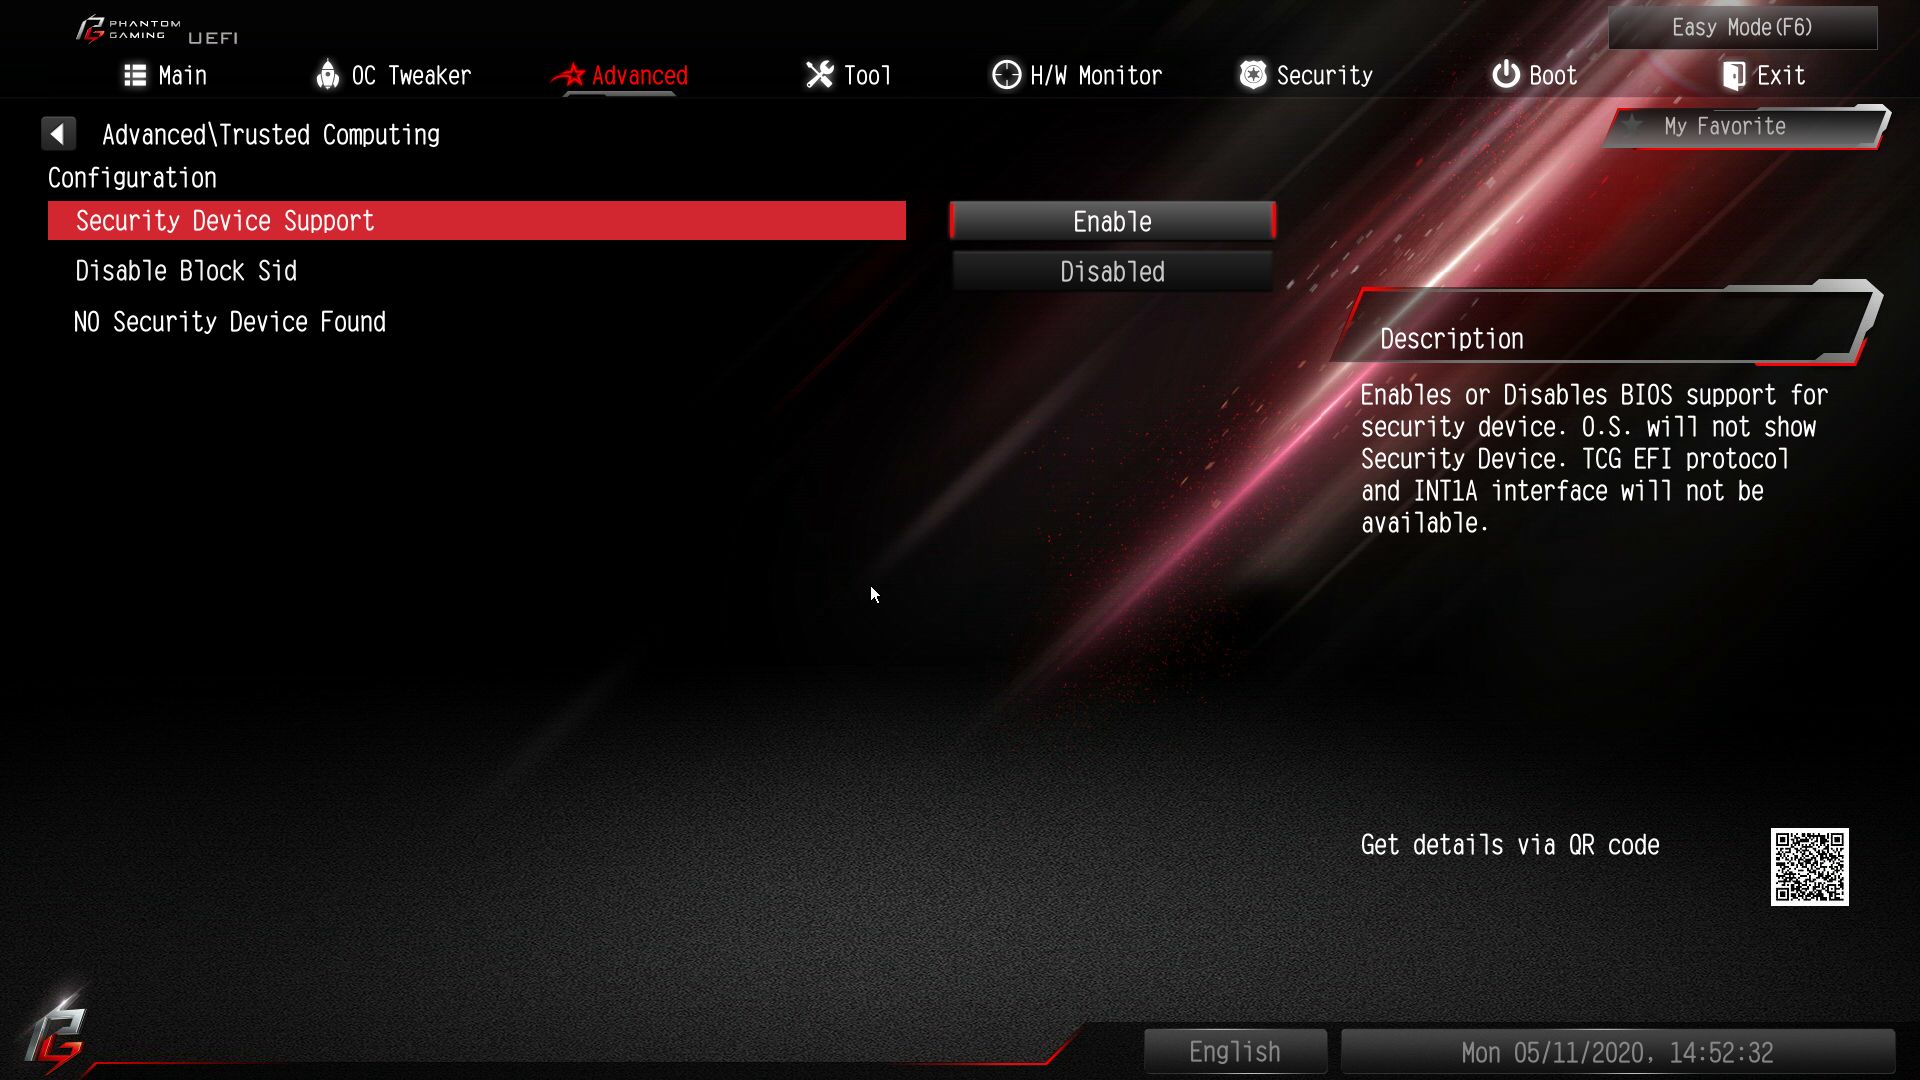
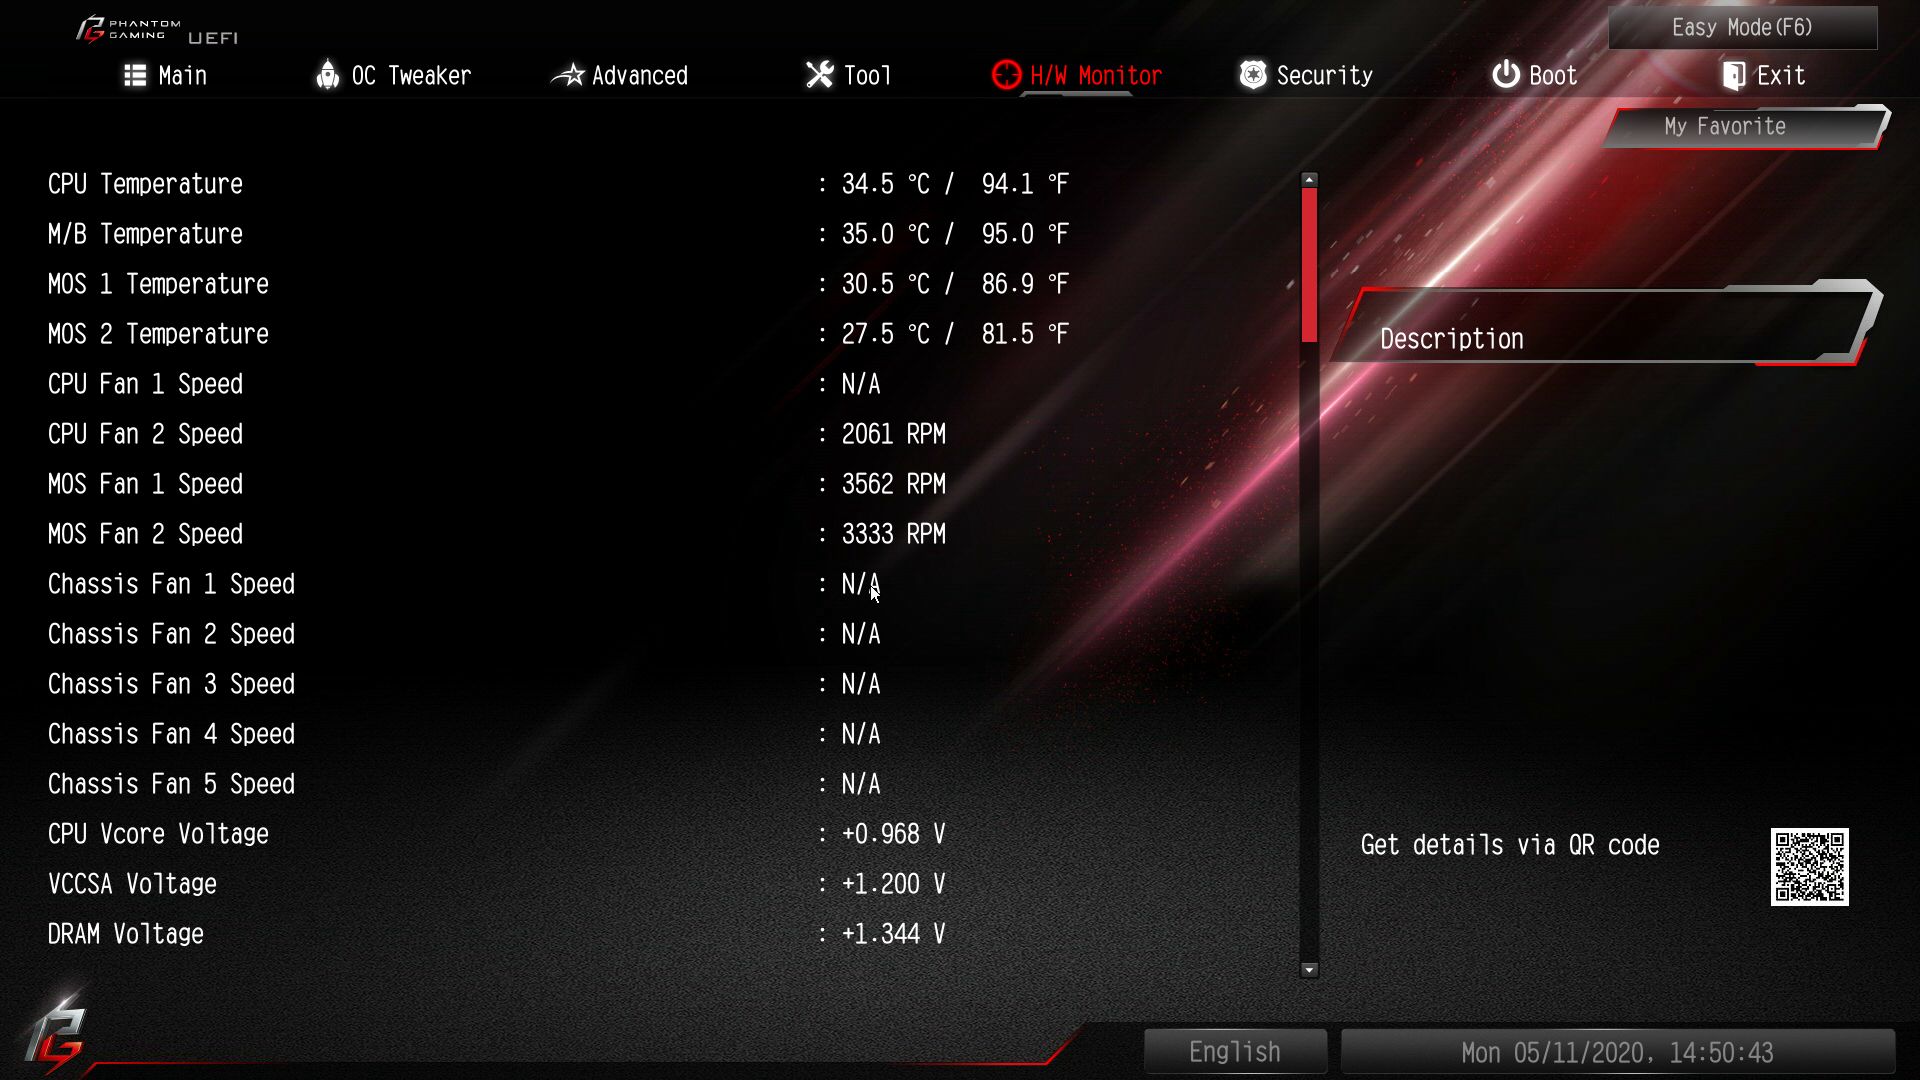
Inside the H/W Monitor, we were presented with a system status of temperatures, fan speeds, voltages, and power supply voltage. Below these readings is where to find fan control. The fans have speed options from silent to full speed, along with the ability to customize and create your own fan curve. Unlike some firmware, this one doesn’t have a fancy GUI. Still, setting a custom curve was straightforward. Additionally, the board has the ability to select a temperature source to react to, either the CPU or motherboard.
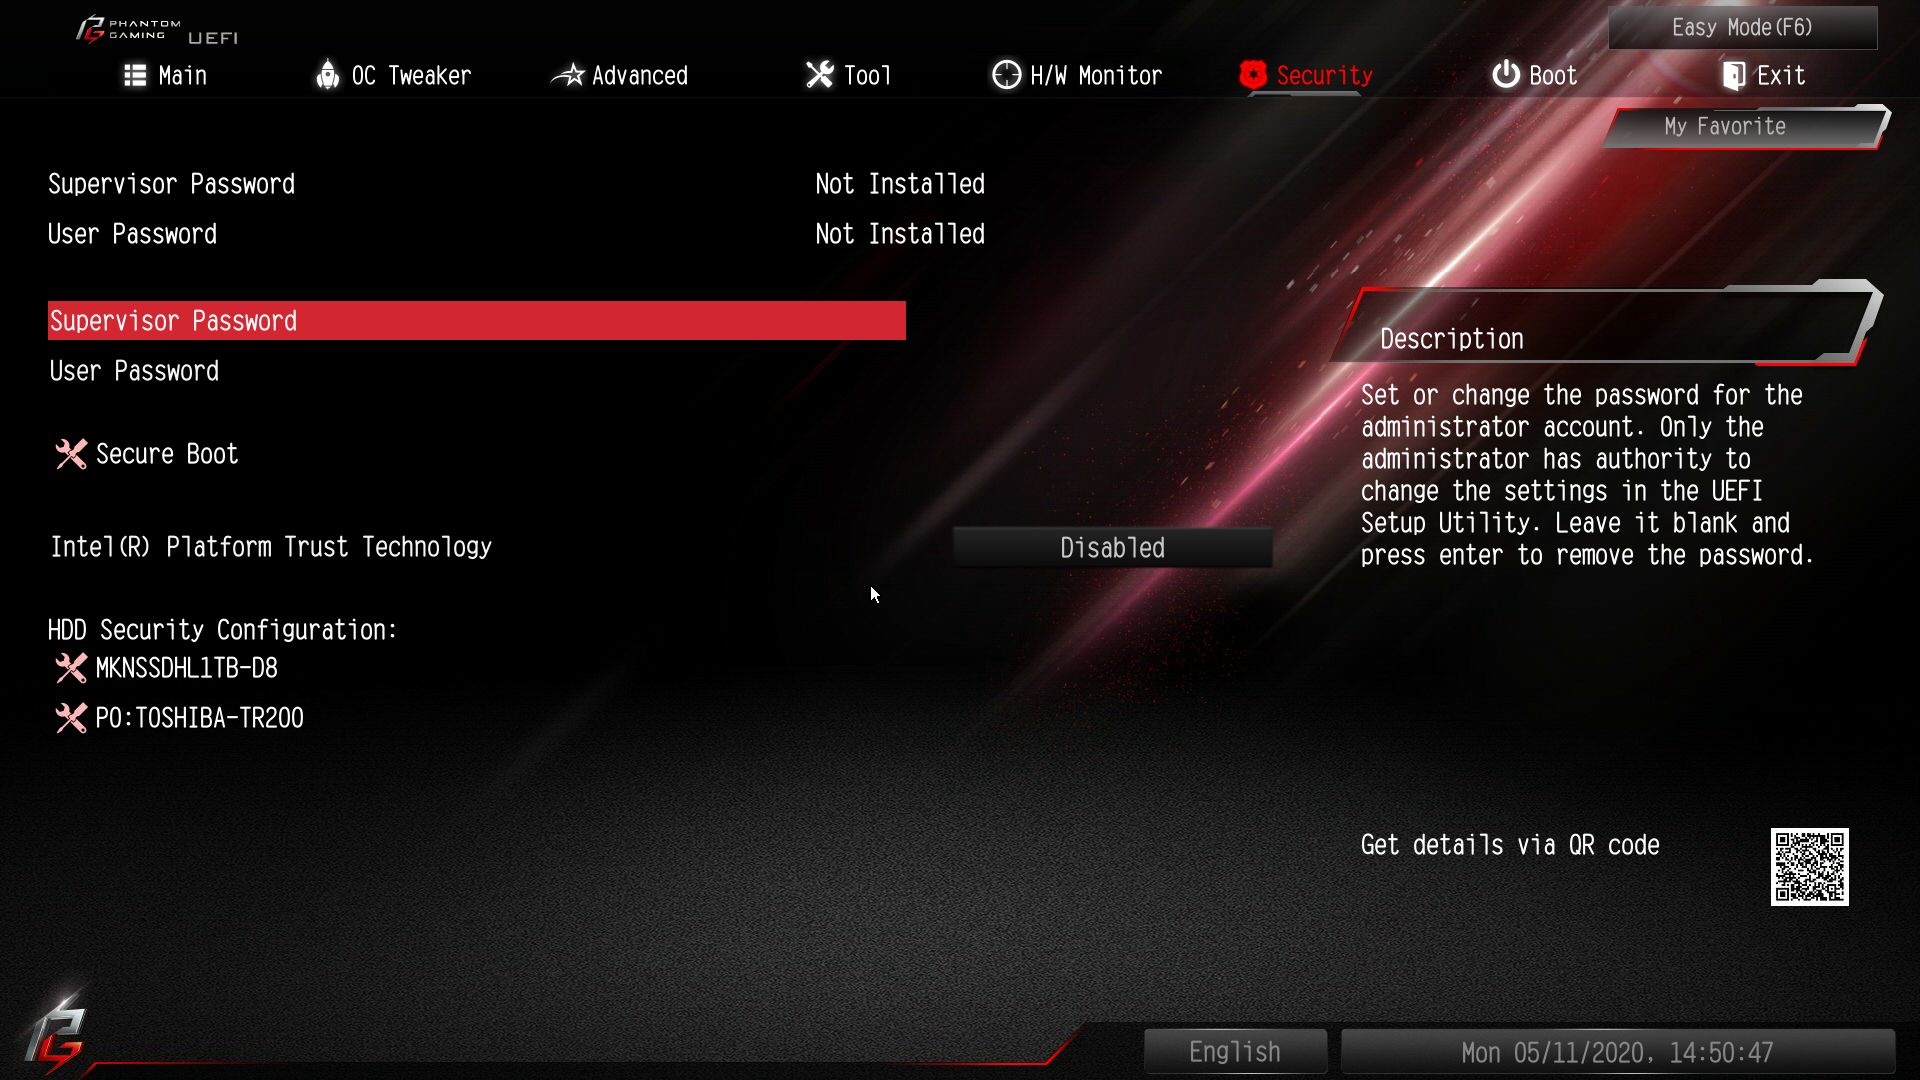
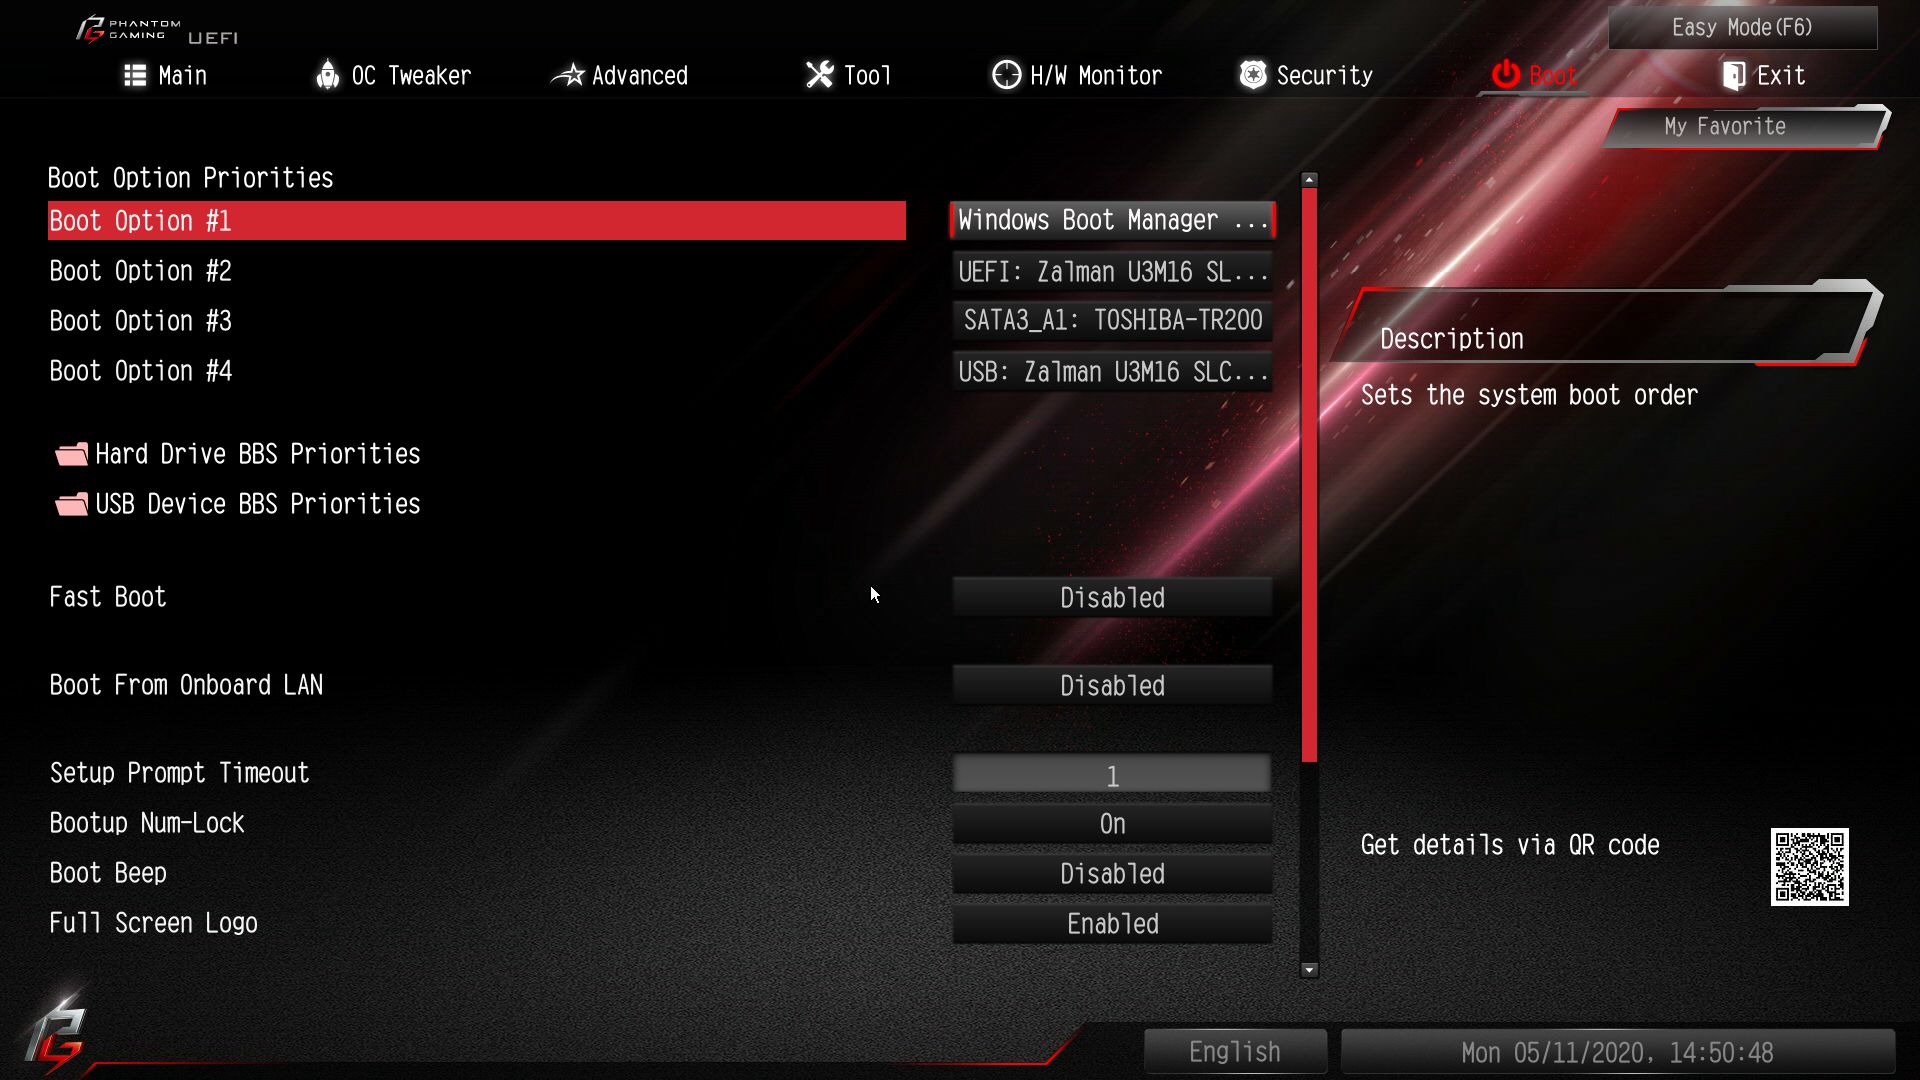
The Security and Boot sections are fairly self-explanatory, with nothing sticking out as missing here. If you need to set a system password at the BIOS level, Security is where that’s handled. Adjusting anything with regards to the boot process, including boot order, time outs, and fast boot is located in the Boot section.
The BIOS in ASRock’s Z490 PG Velocita looks good and worked well for our testing. The only oddity we found is with the VRM fans not stopping. ASRock advertises that the fans stop completely when the “temperature goes low,” but at 32 degrees Celsius idle we didn’t hit that threshold. Setting the VRM fans to “Silent” resolved this issue. By default they will not shut down.
MORE: Best Motherboards
MORE: How To Choose A Motherboard
MORE: All Motherboard Content
Current page: Software and Firmware
Prev Page Features and Specifications Next Page Test System and Comparison Products
Joe Shields is a staff writer at Tom’s Hardware. He reviews motherboards and PC components.
