Tom's Hardware Verdict
Despite chopping apart a good chipset to fit into Mini-ITX, Biostar delivers a board that performs on par with the competition at a price that can’t be ignored. The X370 GTN is a great Mini-ITX board if Wi-Fi isn’t necessary, but a little too rough around the edges. The low price earns its approval for lower-cost mini-PC builders.
Pros
- +
Low Price
- +
Good RGB and fan header placement
- +
ATX-average performance and overclock, in Mini-ITX
Cons
- -
Poor USB and SATA placement
- -
Rough UEFI experience
- -
Physical constraints around the socket
Why you can trust Tom's Hardware
Features & Specifications
Mini-ITX is a battleground where manufacturers have to make critical design decisions regarding features, layout, and product use case. With the industry putting more emphasis on smaller form factor chassis and watercooling solutions, does sacrificing motherboard features and connectivity for compactness make sense? Let's see what Biostar's Racing lineup tells us about these trade-offs.
Specifications
The Biostar X370 GTN makes its way to the bench along with some deviations from our typical X370 reviews. Looking back at our Ryzen launch article, X370 is targeted towards the high-end enthusiast who doesn’t want to invest in TR4 and Threadripper. With more SATA, USB3.1 Gen2, and PCIe lanes dedicated to GPUs, X370 has a good mix of connectivity, expandability, and performance potential. In contrast, B350 still enables overclocking but lacks the wealth of I/O connectivity from the processor and chipset.
And that’s the rub with the Biostar X370 GTN. With Mini-ITX, there just isn’t enough physical planar to fit the chipset’s arsenal of I/O onto a single board. Most of what makes X370 tick is sacrificed in the name of compactness.
| Market | Enthusiast | Performance | Mainstream |
| Chipset | X370 | B350 | A320 |
| PCIe Gen3 Graphics | 1x16/2x8 (Ryzen) 1x8 (APU/Athlon) | 1x16 (Ryzen) 1x8 (APU/Athlon) | 1x16 (Ryzen) 1x8 (APU/Athlon) |
| USB 3.1 G2 + 3.1 G1 + 2.0 | 2+10+6 | 2+6+6 | 1+6+6 |
| SATA + NVMe | 4 SATA + 1 x4 NVMe (Ryzen) or 6 + x2 NVMe | 2 SATA + 1 x4 NVMe (Ryzen) or 4 + x2 NVMe | 2 SATA + 1 x4 NVMe (Ryzen) or 4 + x2 NVMe |
| SATA Express (SATA & GPP PCIe G3) | 2 | 1 | 1 |
| PCI Express GP | x8 Gen2 (plus x2 Gen3 when no x4 NVMe) | x6 Gen2 (plus x2 Gen3 when no x4 NVMe) | x4 Gen2 (plus x2 Gen3 when no x4 NVMe) |
| Overclocking | Yes | Yes | No |
Board Description
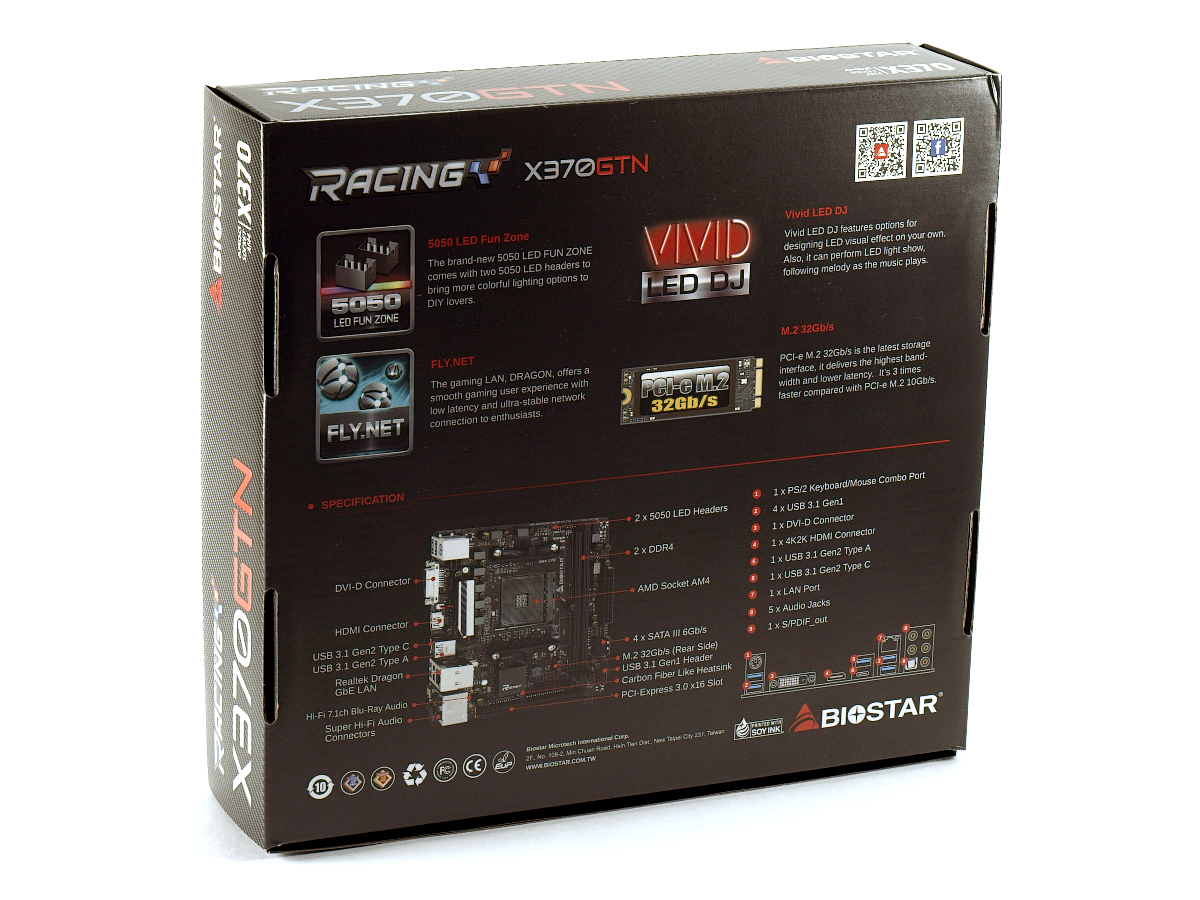
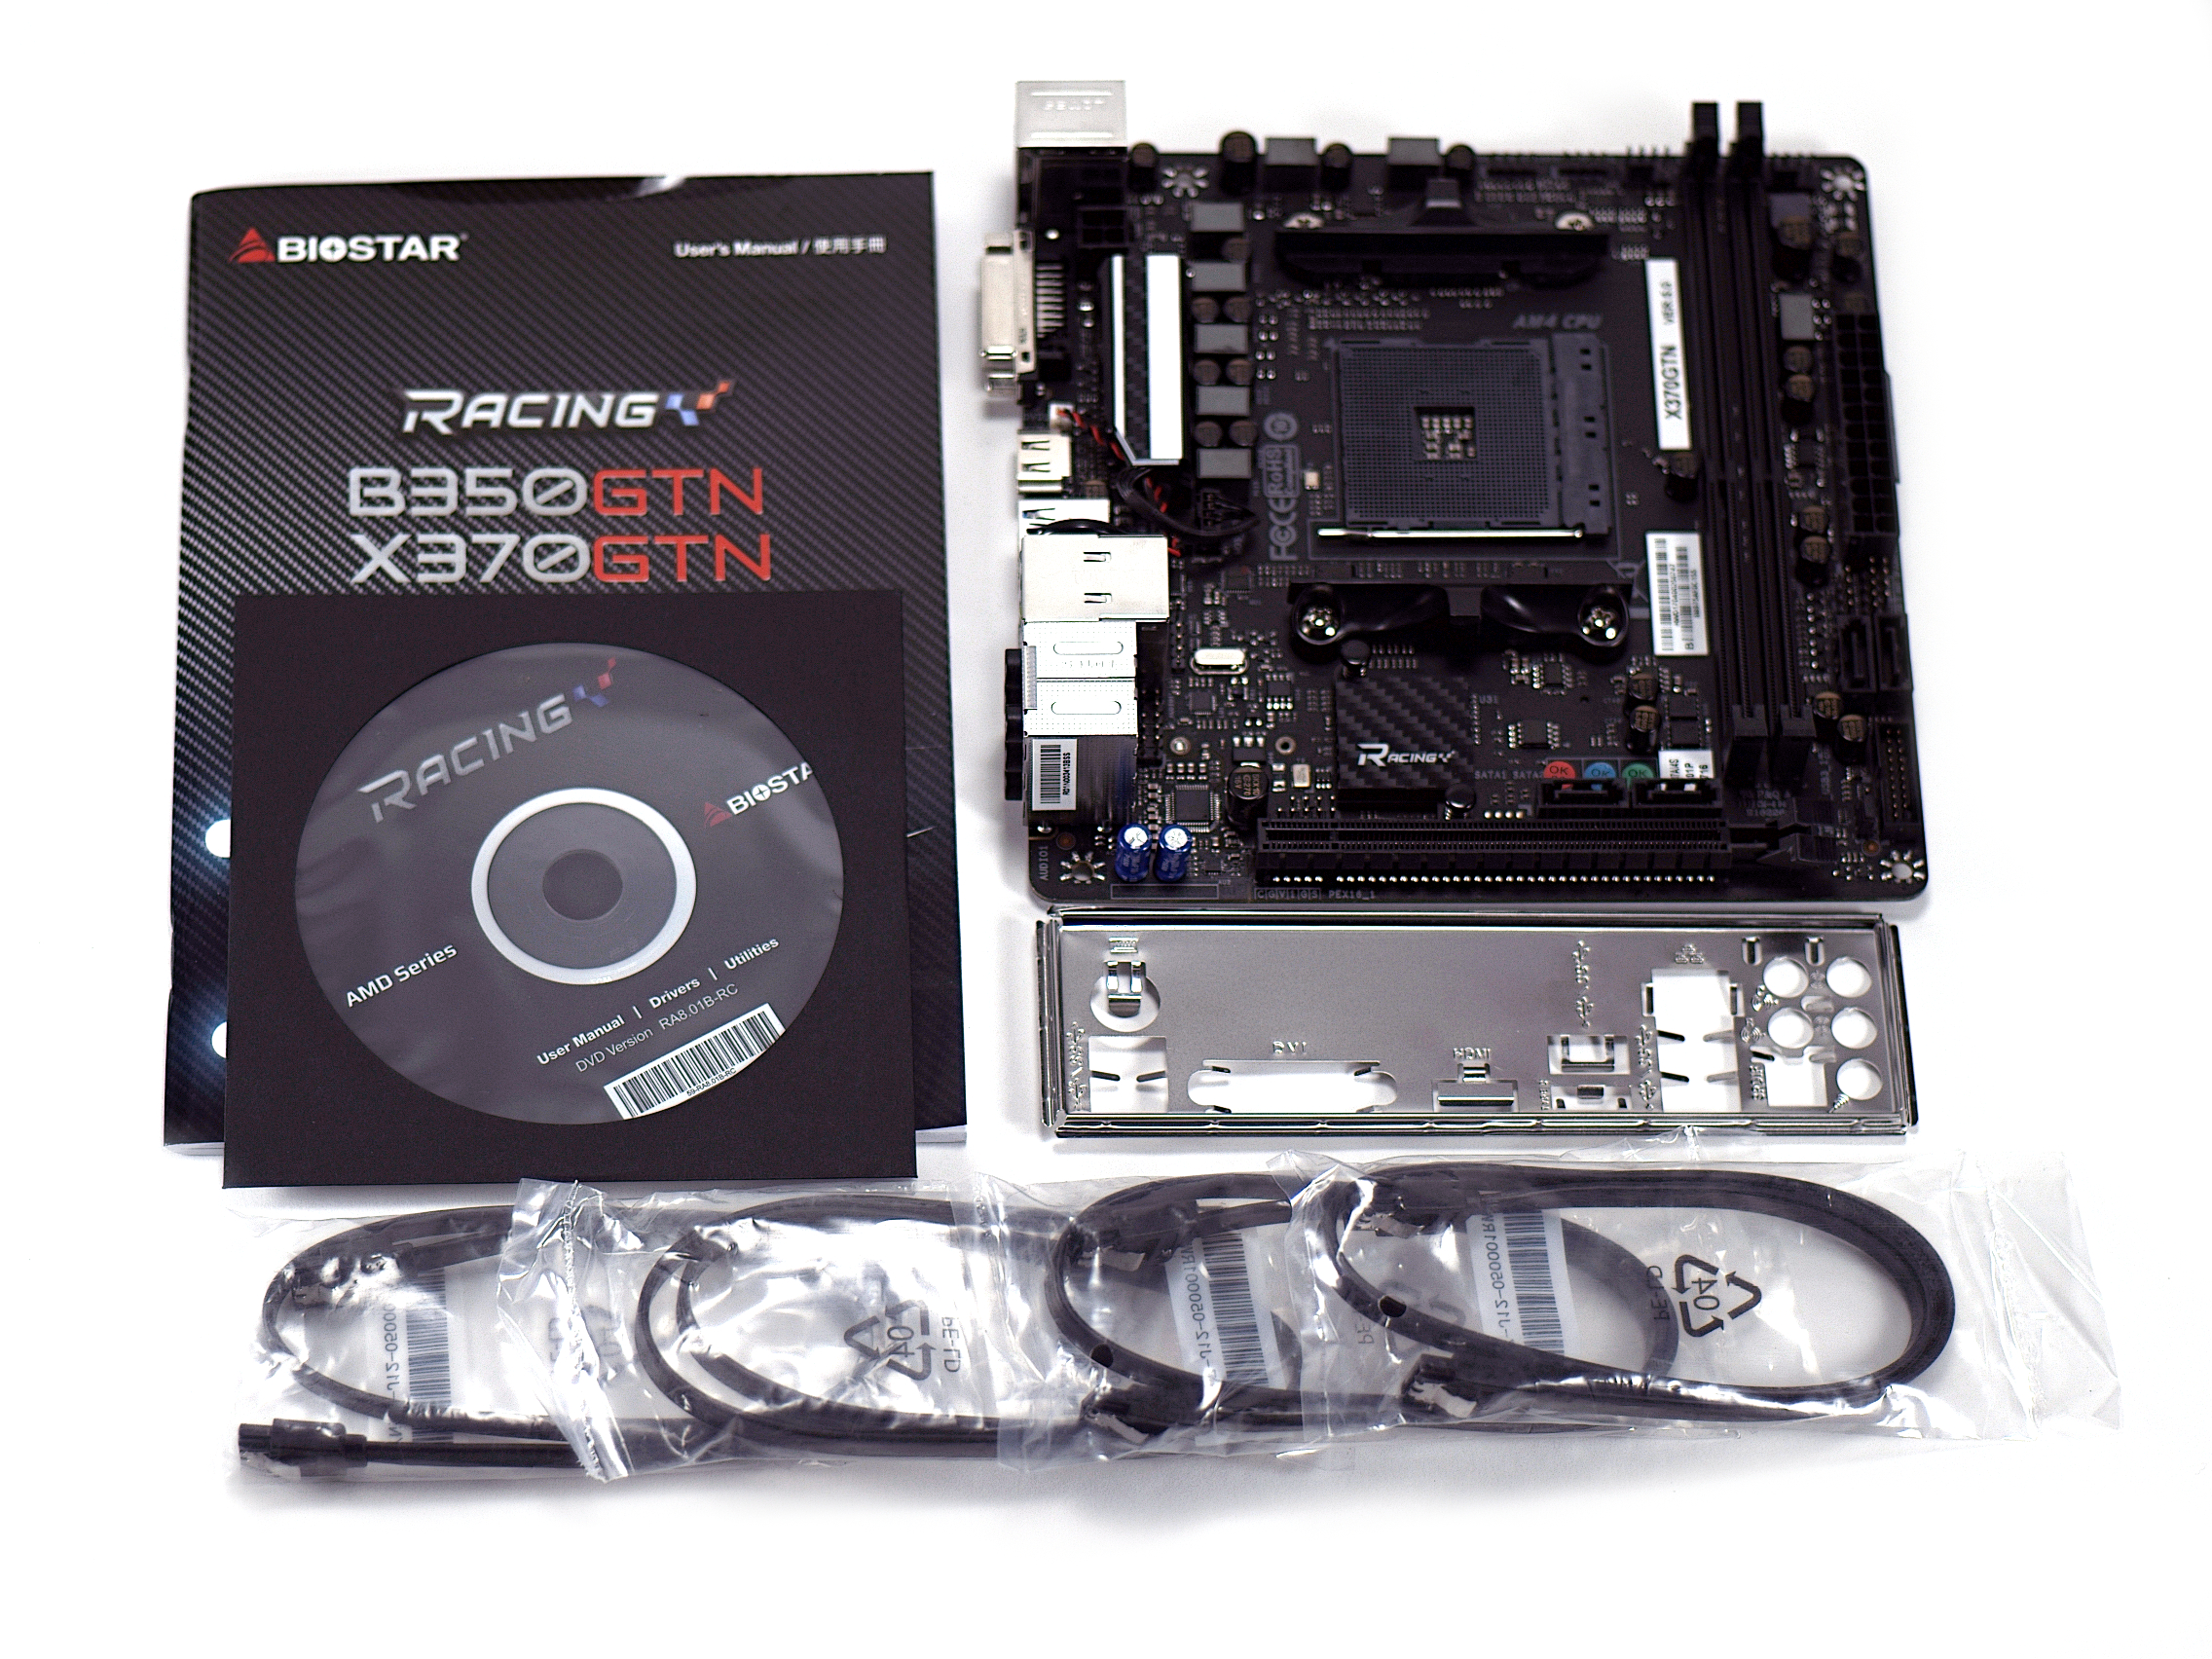
The packaging of the GTN is very similar in style to its bigger brother without the addition of the folding cover page. The contents are a bit sparse for an X370 board, with only a driver CD, manual, backplate, and four SATA cables. Given the form factor, there probably aren’t many other items that could have been bundled in.
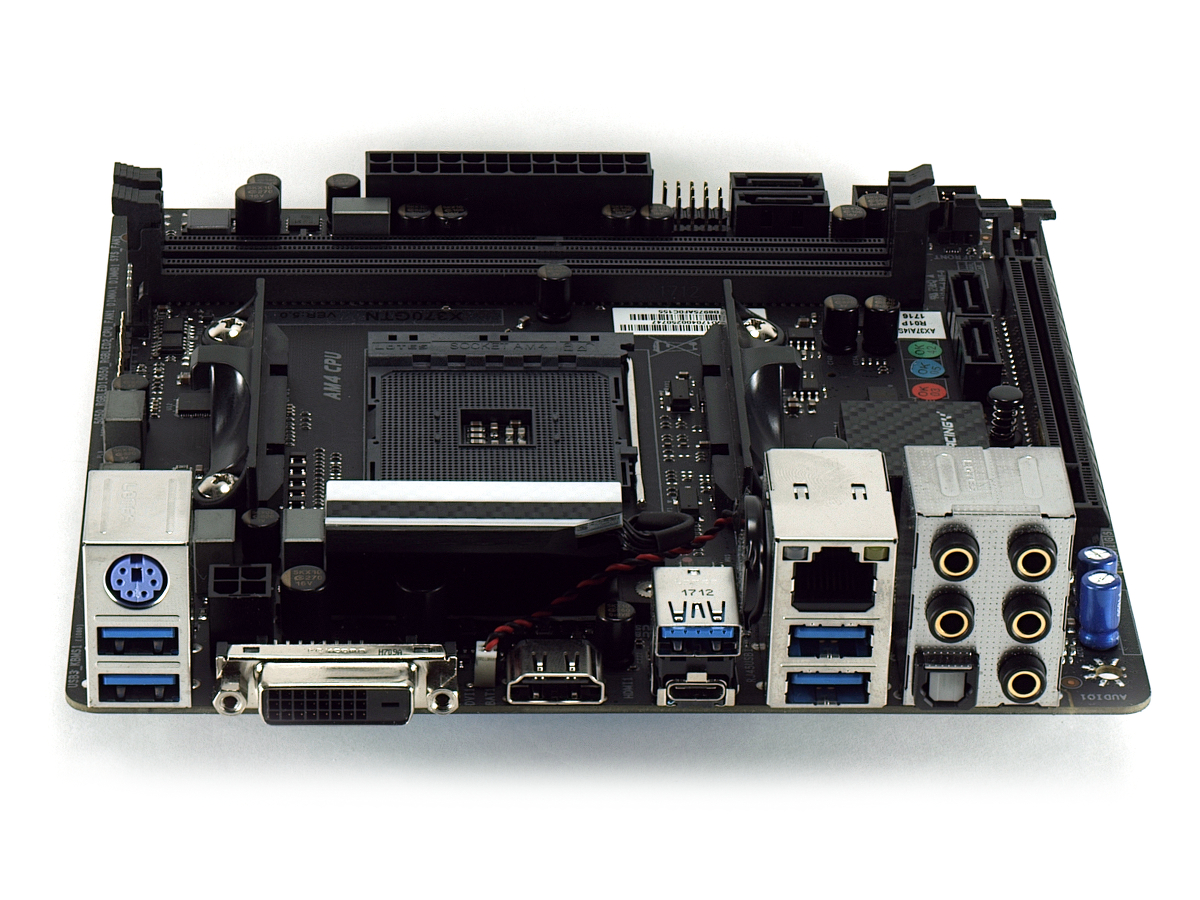
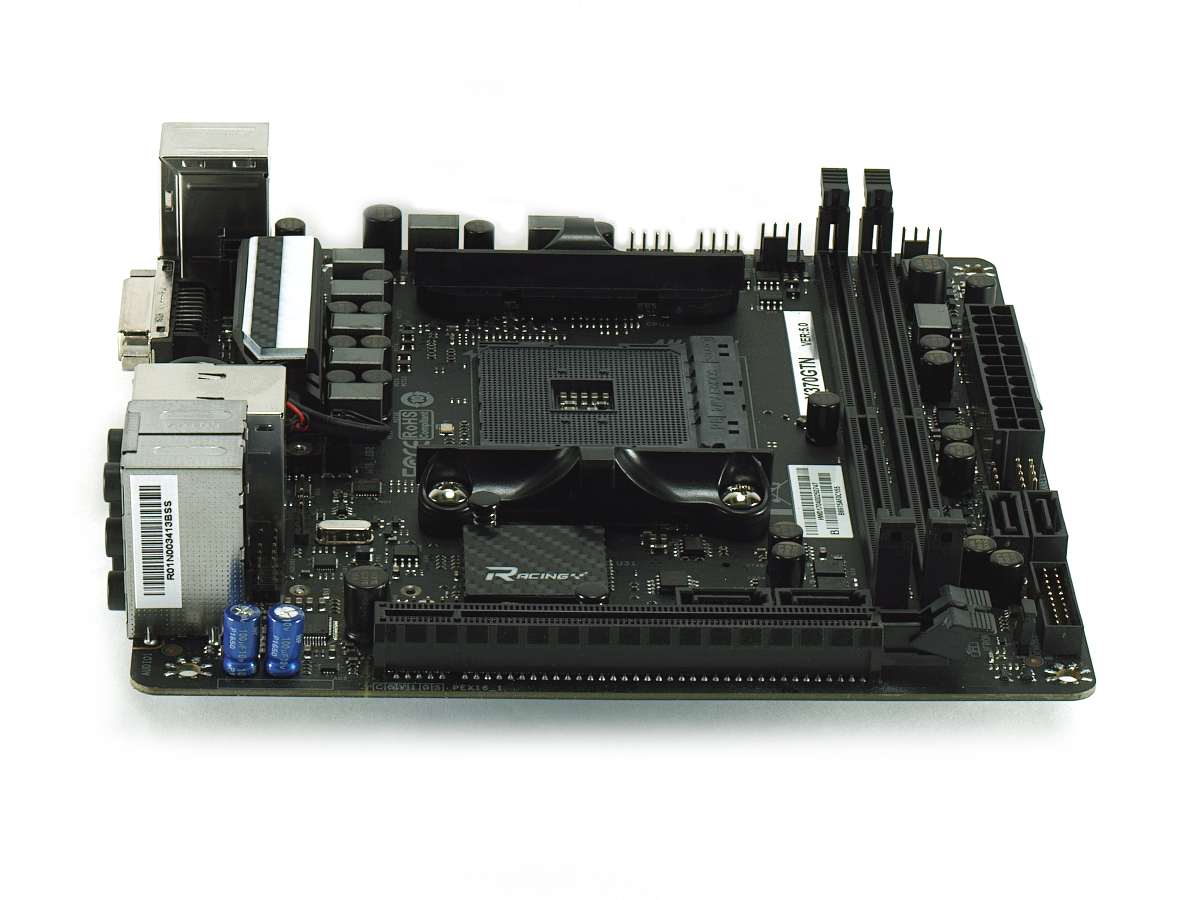
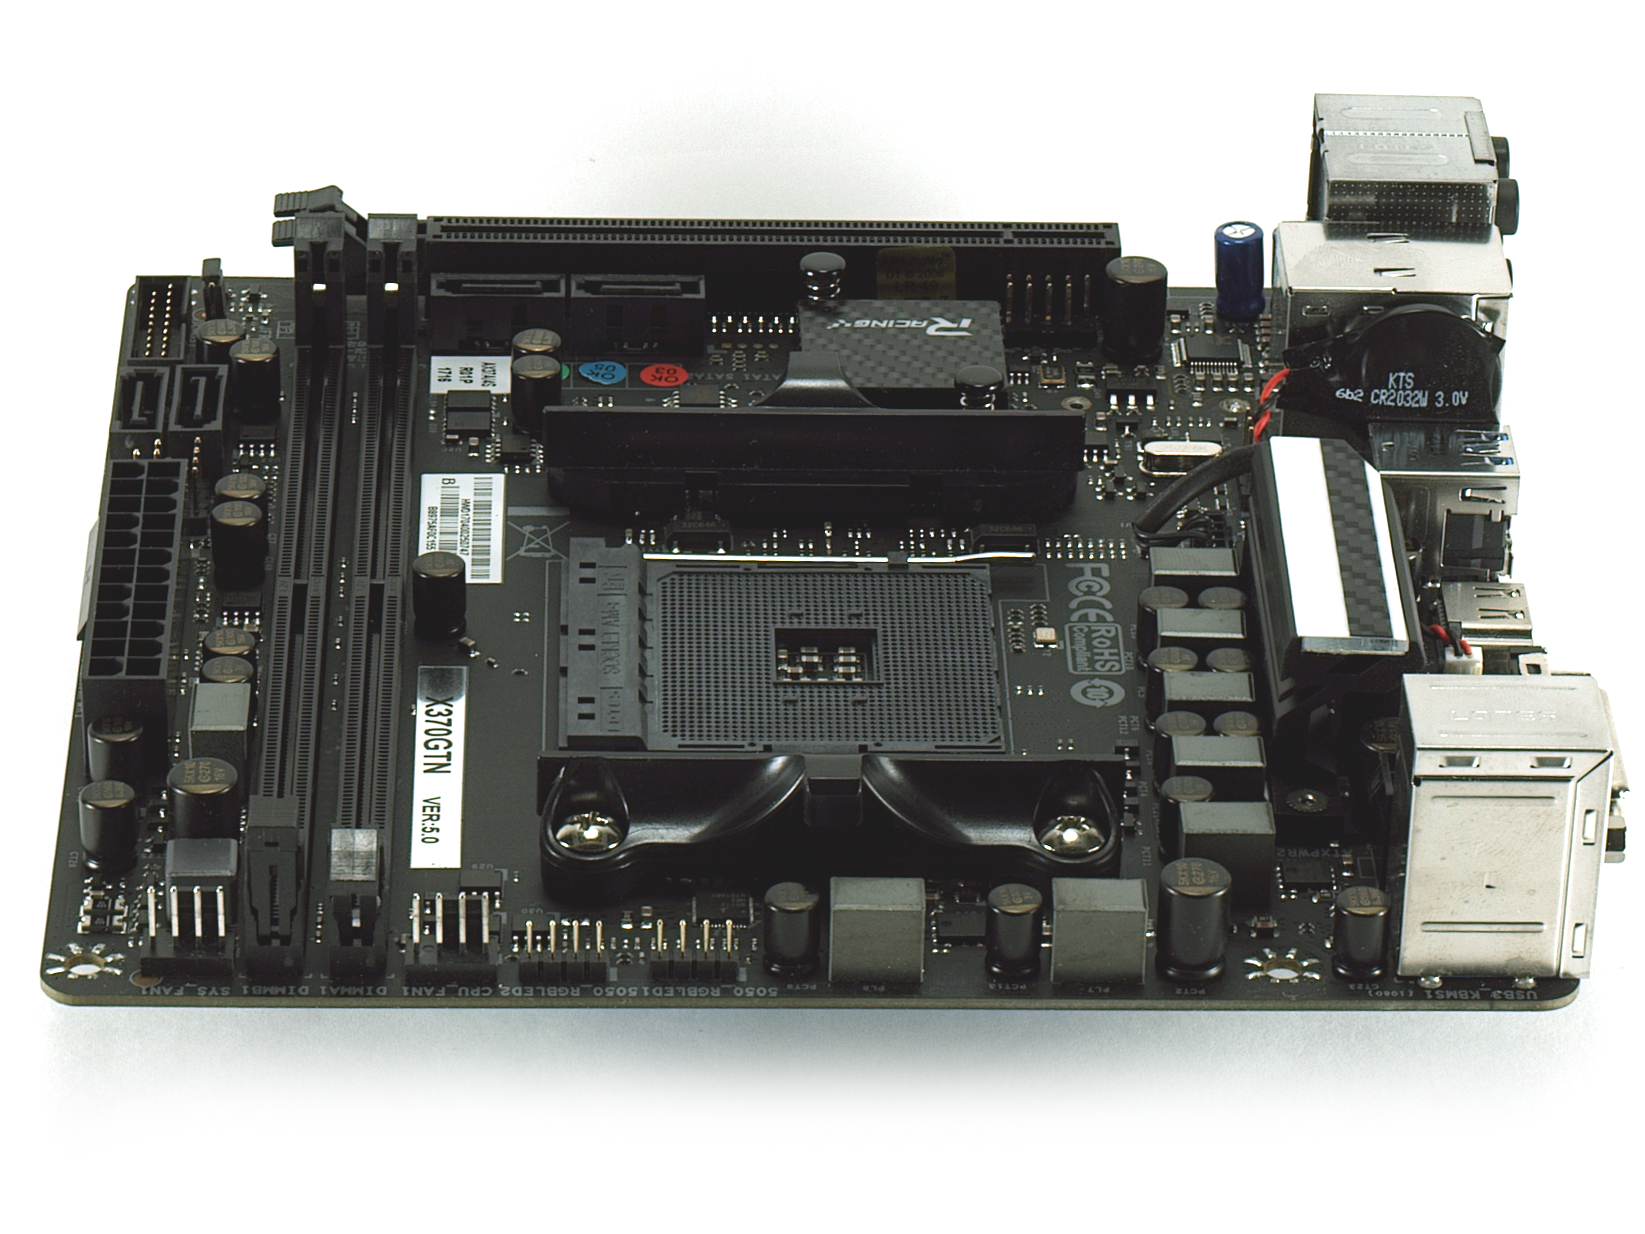
Looking at the backpanel, there's one PS/2, DVI-D, HDMI 1.4, gigabit Ethernet, two USB 3.1 Gen2 (1 Type-C, 1 Type-A), four USB 3.1 Gen1, five analog, and one digital audio. That's similar to the larger X370 boards. The lone PCIe x16 connector consumes the bottom of the board where we typically find the additional headers and front panel pins. Directly above the x16 slot is the USB 2.0 header, which was slightly difficult to route our chassis header wires to. Still gazing in the GPU territory, there are four SATA ports available (with RAID 0/1/10 support).
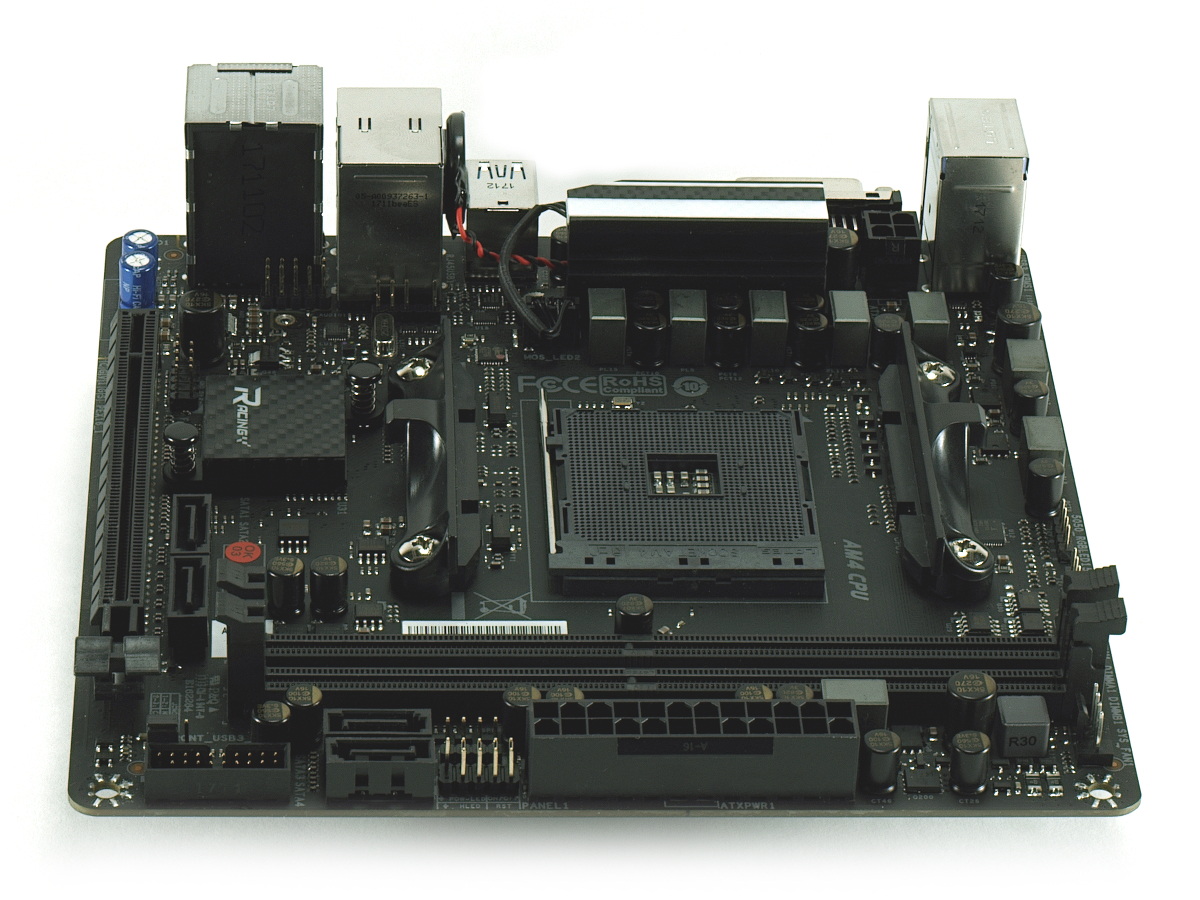
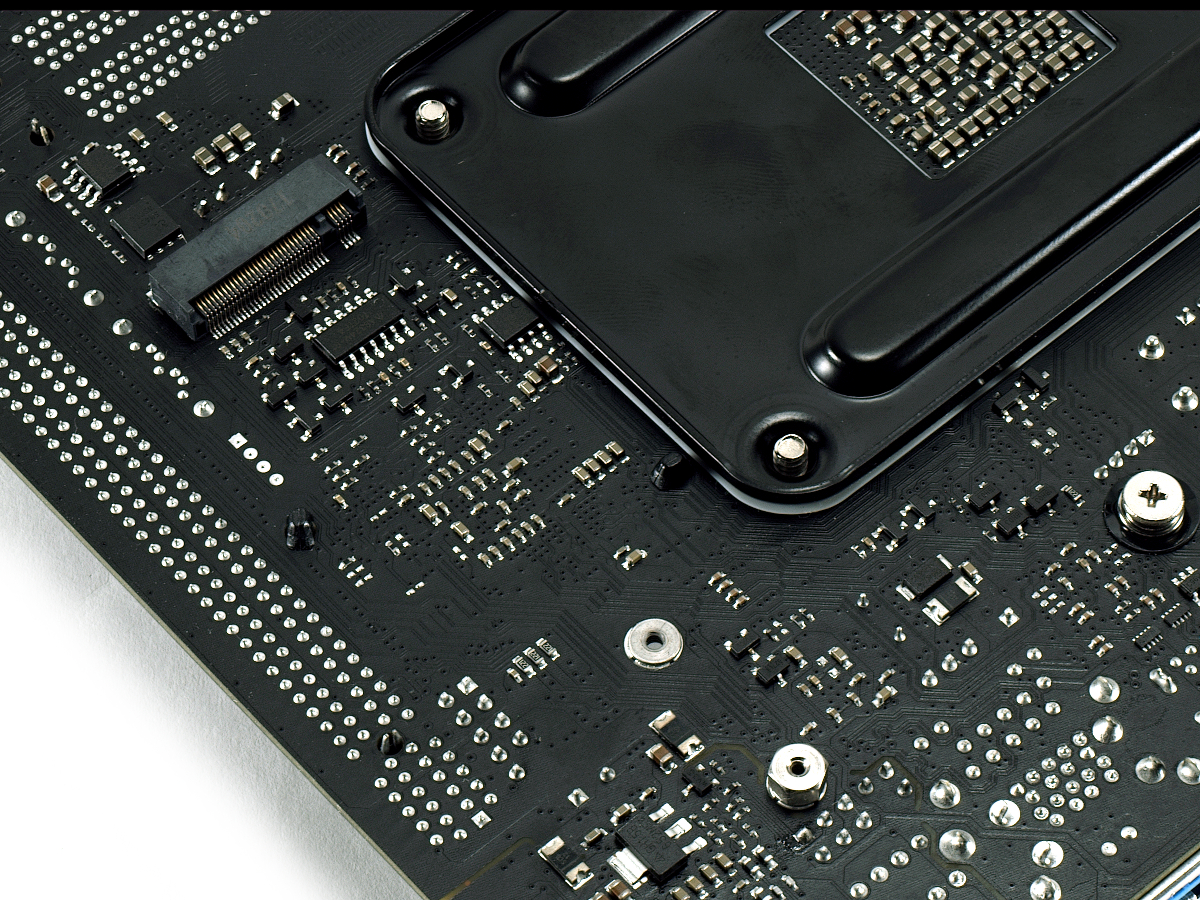
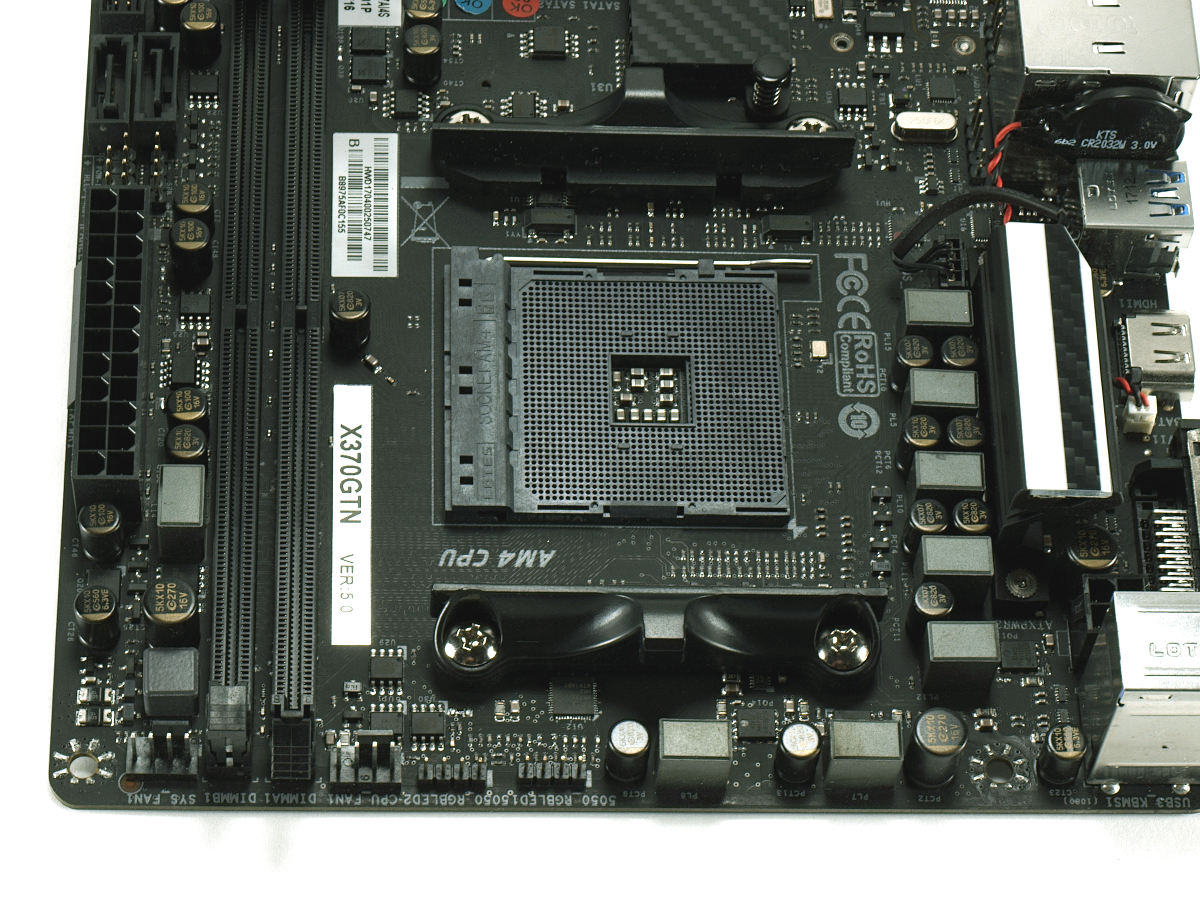
The side of the board hosts the front panel, USB 3.0, and 24-pin ATX headers. Only two DDR4 DIMM connectors are on the board, and they use the single-sided DIMM latches. A single 4-pin 12V connector is located by the VRegs for supplying the processor with additional power. Cleverly hidden on the backside of the board is the M.2 NVMe connector, so don’t forget to install that high-speed storage device before securing the board in the chassis.
Get Tom's Hardware's best news and in-depth reviews, straight to your inbox.
Biostar made a few good decisions on this board in the layout department. Two 5050 LED ports are located on the top side of the board, which helps eliminate some of the clutter from the front of the case while still providing builders with lighting options. Two fan headers are also located next to the LED headers, so top or front mounted radiators will be ideal. We would like to have seen a third fan header for exhaust, but two fans can get the job done.
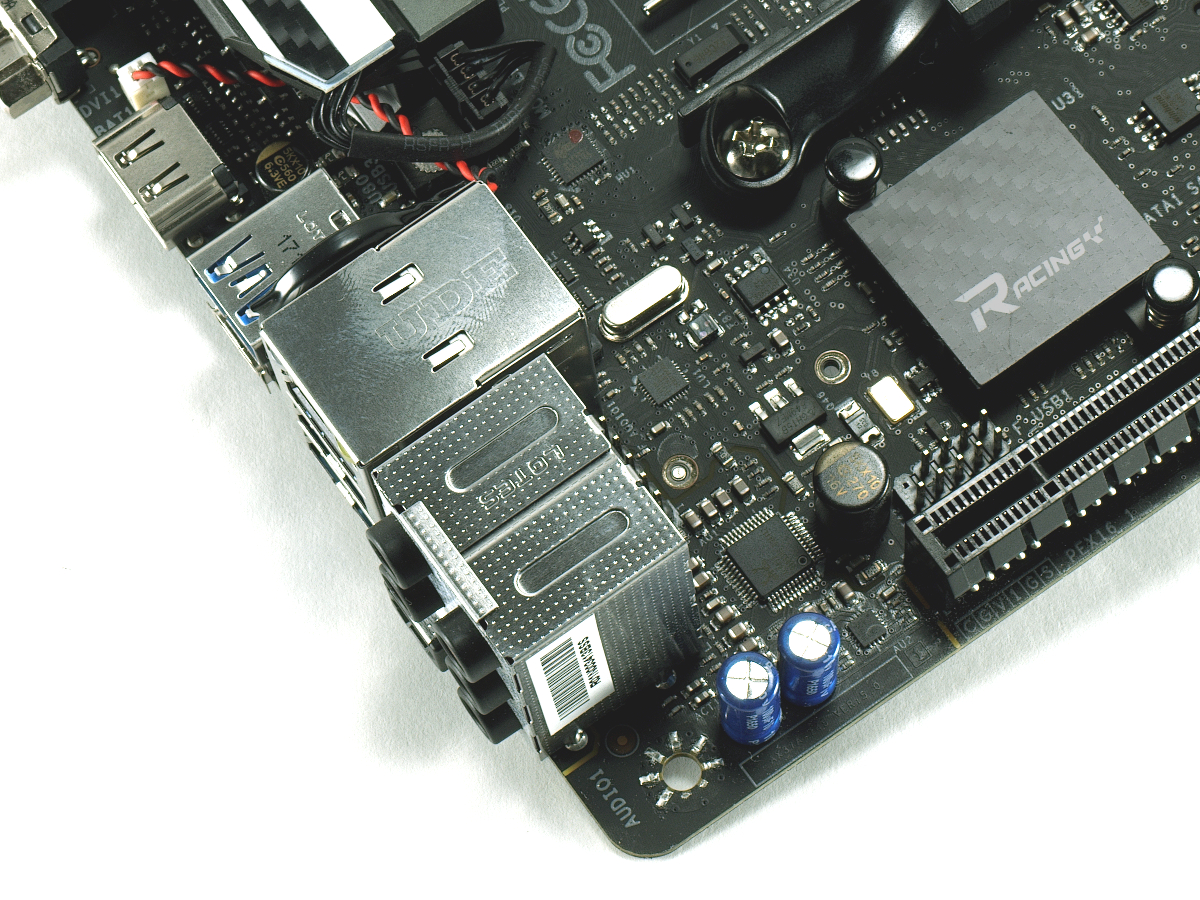
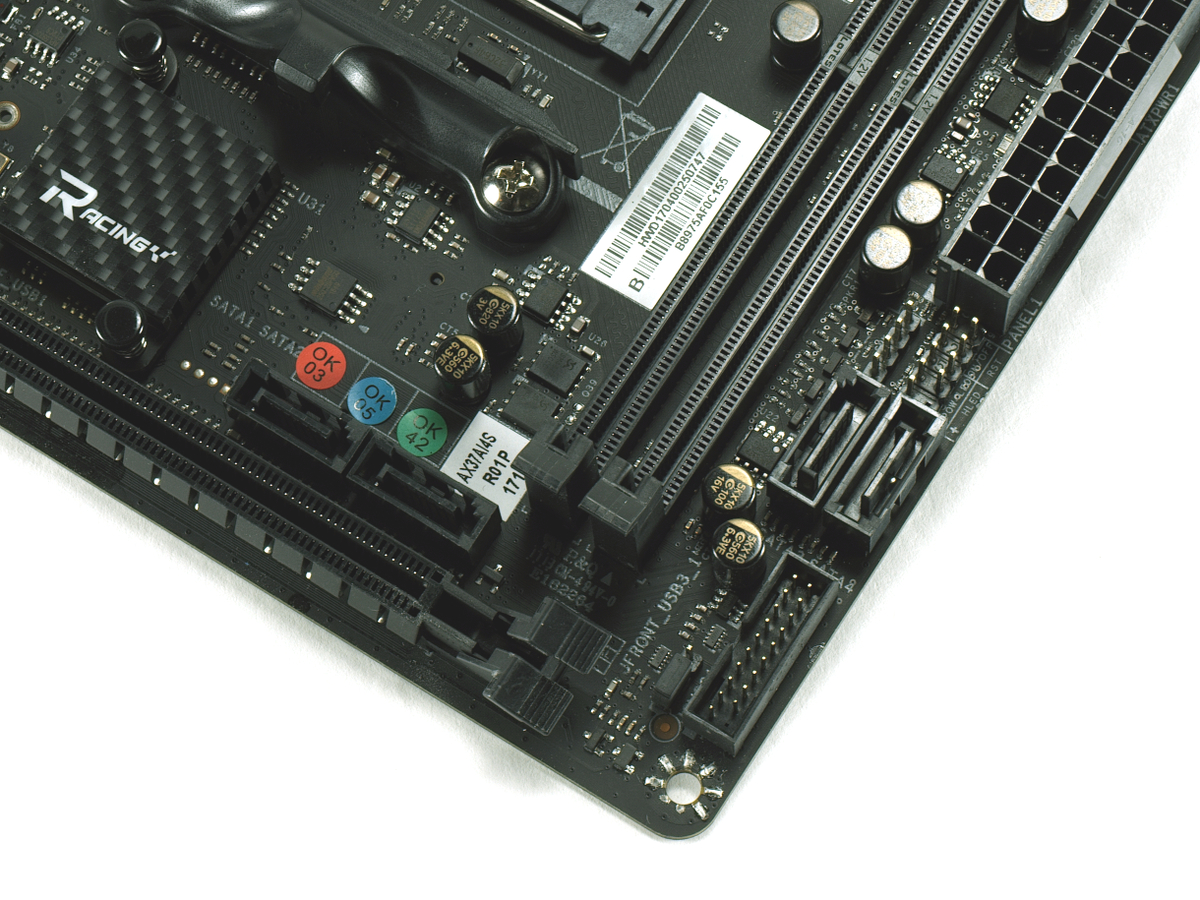
On the downside, the aforementioned USB 2.0 header is in such a weird spot that it is almost unusable. It might be feasible to use a flexible PCIe riser or clever cabling techniques, but routing our Thermaltake Suppressor front panel wires was less than optimal (and draped across the entire board). The SATA ports could have used a little more attention given that there are no angled connectors and that they are scattered around an already chaotic segment of the board.
Space surrounding the CPU for cooling solutions is also a sore point, although this is highlighted in the documentation. Installing the Noctua NH-L9x65 SE AM4 was a smooth process, but installing the Corsair H110i required shifting the cooling head to the left in order to provide enough clearance for the DIMMs. Though the water tubing provided no interference with the DIMMs, any DIMMs with thicker heatspreaders could drive you back to Newegg or Amazon looking for slimmer modules.
MORE: Best Motherboards
MORE: How To Choose A Motherboard
MORE: All Motherboard Content
-
amateramasu Jacob, I've been planning a build around the Gigabyte AB350N, which board would you recommend? This is going into a Bitfenix Prodigy, so I'm not likely to get a larger mobo.Reply
Thanks,
amateramasu -
TheTerk At <$90 the Biostar X370 GTN should work fine for a smaller budget system (if you don't need WiFi). Given your case choice, just make sure your cooler is within the Biostar specifications and will fit in your case.Reply
If you can catch the AB350N on sale, it's only about $10 more expensive than the GTN. You get more features with the AB350N and a cleaner product (which is why I rated it higher in my other article). Otherwise, you might want to save the $15-$35 and put it towards another component. -
Onus Nice review. This, along with the Biostar boards I reviewed last year or the year before have been demonstrating a consistency that Biostar previously lacked. I think they've stepped up to where they finally deserve some serious consideration.Reply -
siman0 Here is my build with this board. Its not bad but im going to be swaping over to the asrock x370 board. It has wifi, also this board for some reason doesnt like to overclock well.Reply
https://pcpartpicker.com/b/9tQZxr -
Valantar I've had this board since around June, and I'm very happy with it except for one thing: fan controls. While the option is there, it's exceptionally unintuitive (okay, you set a start value and a value for how quickly rpm increases with temperatures, but there's no way at all to tell what these numbers actually mean, nor how high they go), and communication between BIOS settings and Biostar's Racing GT app seems nonexistent. The app doesn't have an option to start automatically on boot (and won't, even if I set it to do so through the startup folder, probably due to it requiring admin privileges), and before it starts, my CPU fan (well, the fan on the radiator that's directly after the CPU in the loop) runs at full speed. Rather annoying.Reply
Other than that, the board runs stable, with no real issues. My RAM (2x8GB TridentZ 3200C16, so not B-die) some times refuses to POST at 3200 XMP (tries five times, then the UEFI resets itself automatically), but at 2933 it's rock solid. The SATA connectors don't bother me as I don't have more than two SATA devices and thus I only use the outer headers, and even if the USB 2.0 header is placed oddly, I didn't have any issues routing the cable to it (tucking it next to the RAM helps keep it tidy too). Same goes for front panel audio. All other headers are far better placed on this board than any other AM4 ITX board IMO.
As for the people here considering other boards: if you need WiFi, go for it, but consider the board layouts before making a decision. Having the 24-pin along the top edge of the board makes it impossible to route the cable properly in many cases, and some boards even have the EPS connector some place between the CPU, rear I/O and PCIe slot. That's definitely not a good placement. Not to mention that this IIRC is the only AM4 ITX board with USB-C. -
paull29724 I've noticed some positive reviews of Biostar lately, and heavily considering getting this board for my mini itx build. For 79.99 on newegg now, tempted just to get it now and build it after I get my case. Anyone can suggest a good case for this build?Reply
