Build Your Own (Physical) 3D Models
Pouring The Silicone Rubber And Making The Badge
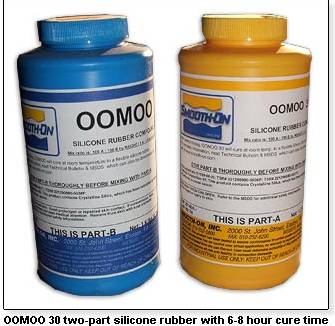
After allowing the model to dry, we can now move on to pouring the actual silicone rubber that will comprise the mold. For this I've decided to use another product from Smooth-On, called OOMOO 30. The "30" stands for the durometer or Shore A hardness, which is the relative hardness of the rubber upon curing. Shore A hardness of common rubbers ranges from 15 to 60, with 60 being approximately the hardness of a hockey puck. The silicone comes in a two-part base and catalyst with equal parts being mixed by volume. The cure time upon mixing is six to eight hours.
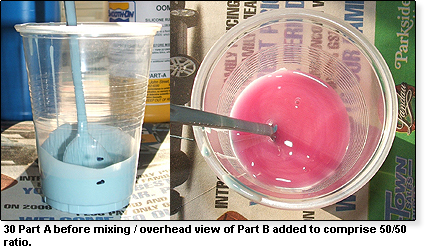
I've used a regular plastic cup for the mixing process, with a mark at both the half full and full points. OOMOO is quite easy to work with, measurements don't have to be exact and I've found they can be "eyeballed" if need be. It doesn't have to sit upon mixing, and should be poured immediately.
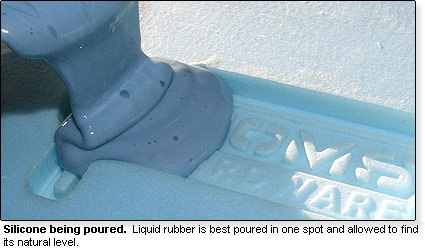
The rubber is quite viscous but still allows for easy pouring. To avoid air pockets from forming within the mold, Smooth-On advises pouring the silicone over the model in one area only, and allowing the rubber to find its way over it. I haven't experienced any problems using this material and have found it to be an excellent product for a variety of applications.
After pouring it's best to leave the rubber sit without movement, although some accounts claim that agitating the model slightly allows for a better mold. In this case I've left it for overnight curing and checked on it come morning. Even though you can clearly see air bubbles forming at the top of the mold, these will eventually escape, leaving a smooth rubber finish.
Get Tom's Hardware's best news and in-depth reviews, straight to your inbox.
Current page: Pouring The Silicone Rubber And Making The Badge
Prev Page Seal The Model Next Page Peeling Back The Rubber - There Is The Mold

