Build Your Own (Physical) 3D Models
Seal The Model
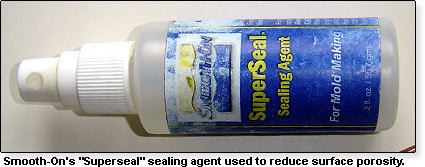
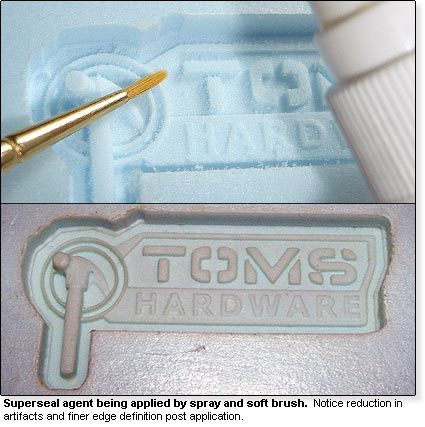
Now that the model is looking fairly good we have to begin preparations for making the silicone mold. While milling in foam is quite fast compared to aluminum or steel there are certain procedures that must be taken to preserve maximum detail in the finished product. As you could see in the last picture, the surface of the foam is still quite rough due to its porosity, and there are striae left over from the milling process. What we want to do now is create a smooth surface on top of the model while keeping any reduction in detail caused by a surface sealant to a minimum. Luckily, a company called Smooth-On makes a great, detail preserving sealant called SuperSeal, which reduces the porous surface of a material when applied in multiple coats.
The SuperSeal is sprayed onto the foam model and buffed in using a soft brush. For this particular model I've applied the seal three times, allowing for approximately five minutes of dry time between coats. This smoothing procedure would be somewhat duplicated if the mold was made from metal. The master would normally be polished using a buffing wheel/jewelers rouge to remove any of the minute lines that may exist from the space left over between toolpaths.
Get Tom's Hardware's best news and in-depth reviews, straight to your inbox.
Current page: Seal The Model
Prev Page Let's Mill It! Next Page Pouring The Silicone Rubber And Making The Badge
