Apple's Migration Assistant makes transferring all your data to a new Mac so easy that even a caveman could do it
Apple’s Migration Assistant and a Thunderbolt cable make system-to-system cloning a breeze.
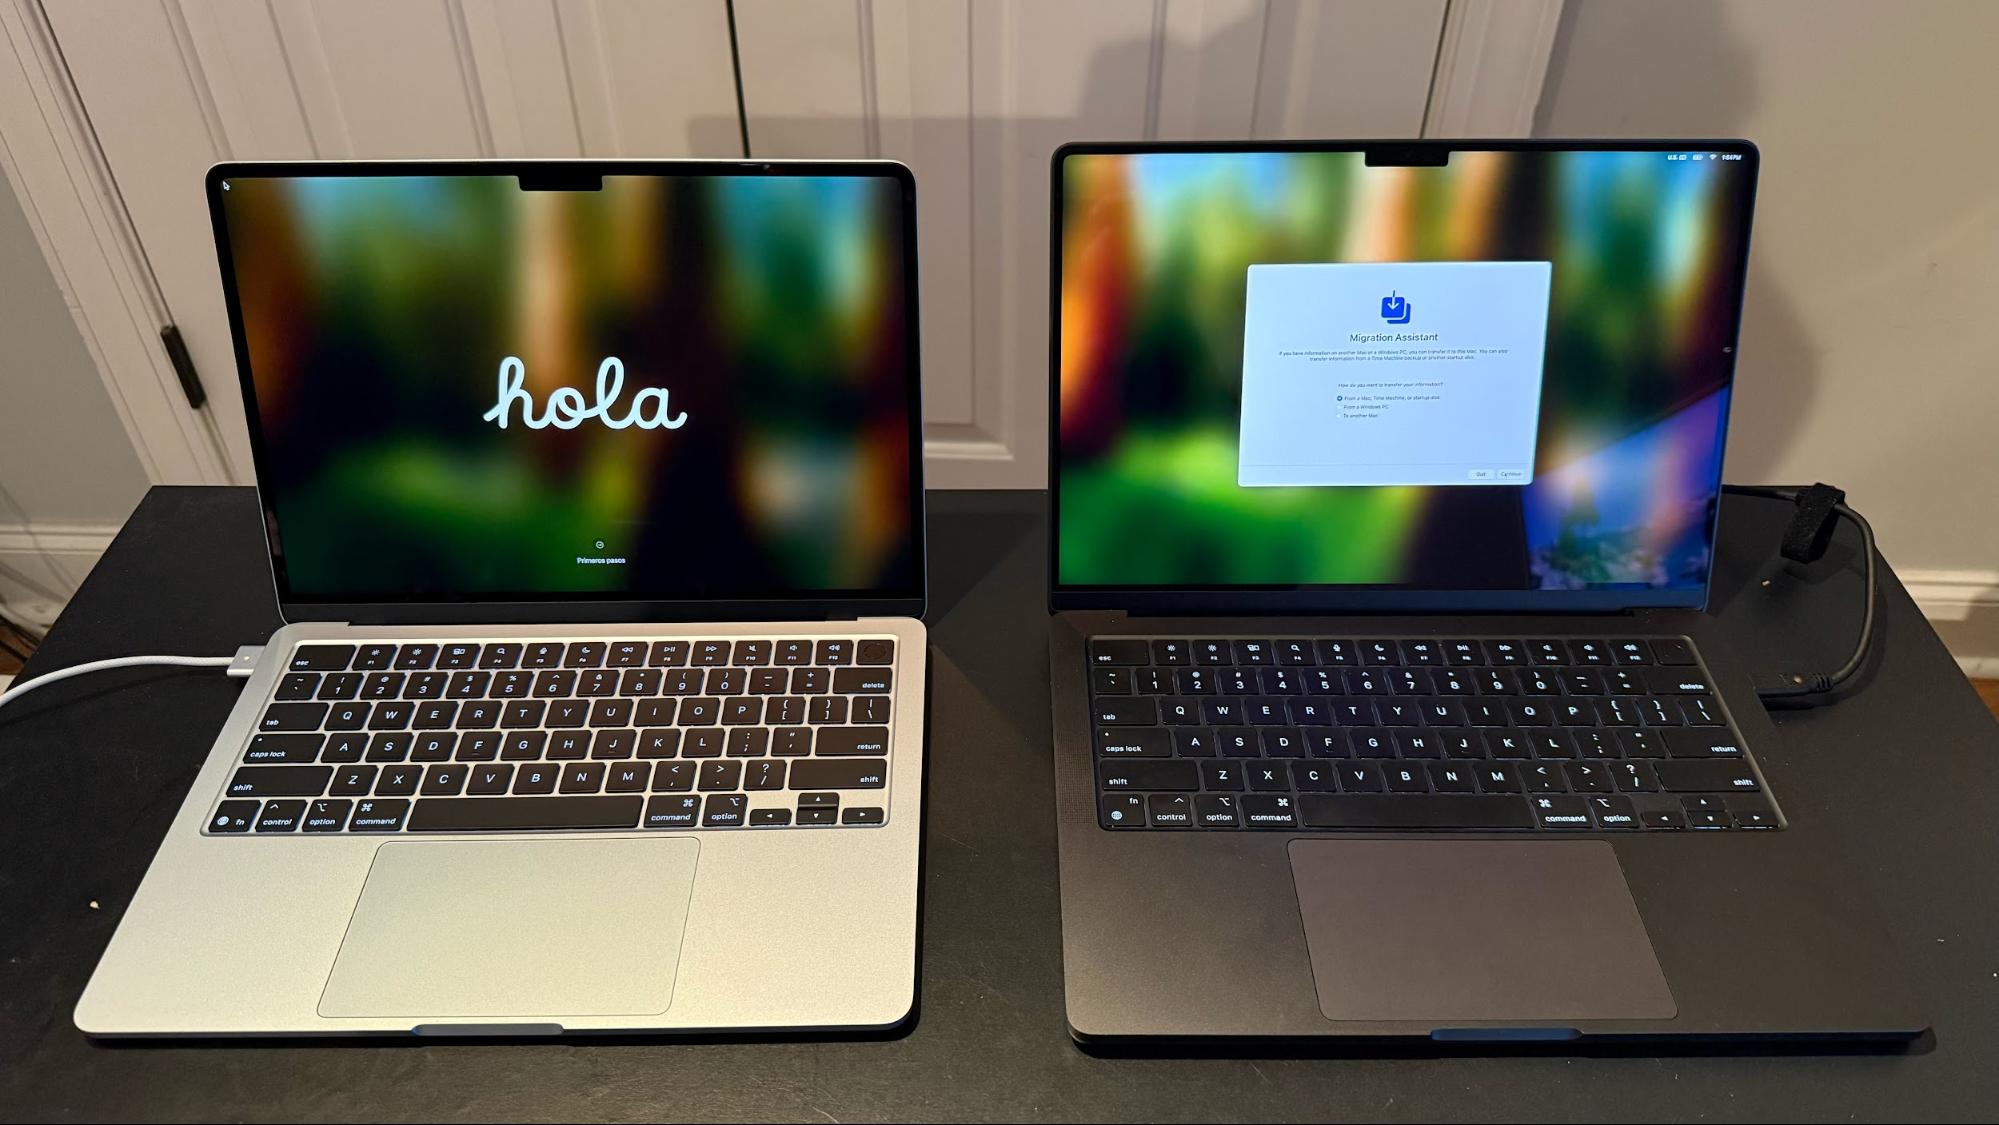
We've all been there: it's time to upgrade to a new computer, and you need to shuffle all your data from the old system to the new one. For those who don't want to start from scratch, one of the simplest methods is to restore from a previous backup. Whether you use the built-in backup/restore tool in Windows or Apple's Time Machine, this can be a lengthy process depending on the speed of your external storage or network/internet connection.
If you're a Mac user, there's also another option that makes transferring data from your old system to your new one as quick and painless as possible. I'm talking, of course, about Migration Assistant. Migration Assistant can transfer some or all of your information to a new system in a few short steps. Migration Assistant is also versatile, allowing you to transfer data from a Time Machine backup, a Windows PC, or directly from another Mac via Wi-Fi, a wired network, USB-C cable, or Thunderbolt cable.
For the fastest possible performance when transferring from one Mac to another Mac, Thunderbolt is the preferred option, and that's the method I'll discuss in this guide.
Preparing your old Mac for use with the Migration Assistant
In my case, I have an older MacBook Pro that my wife will use going forward. My replacement is a 13-inch MacBook Air, and I want all of my apps and settings to be identical to the way they are with the MacBook Pro.
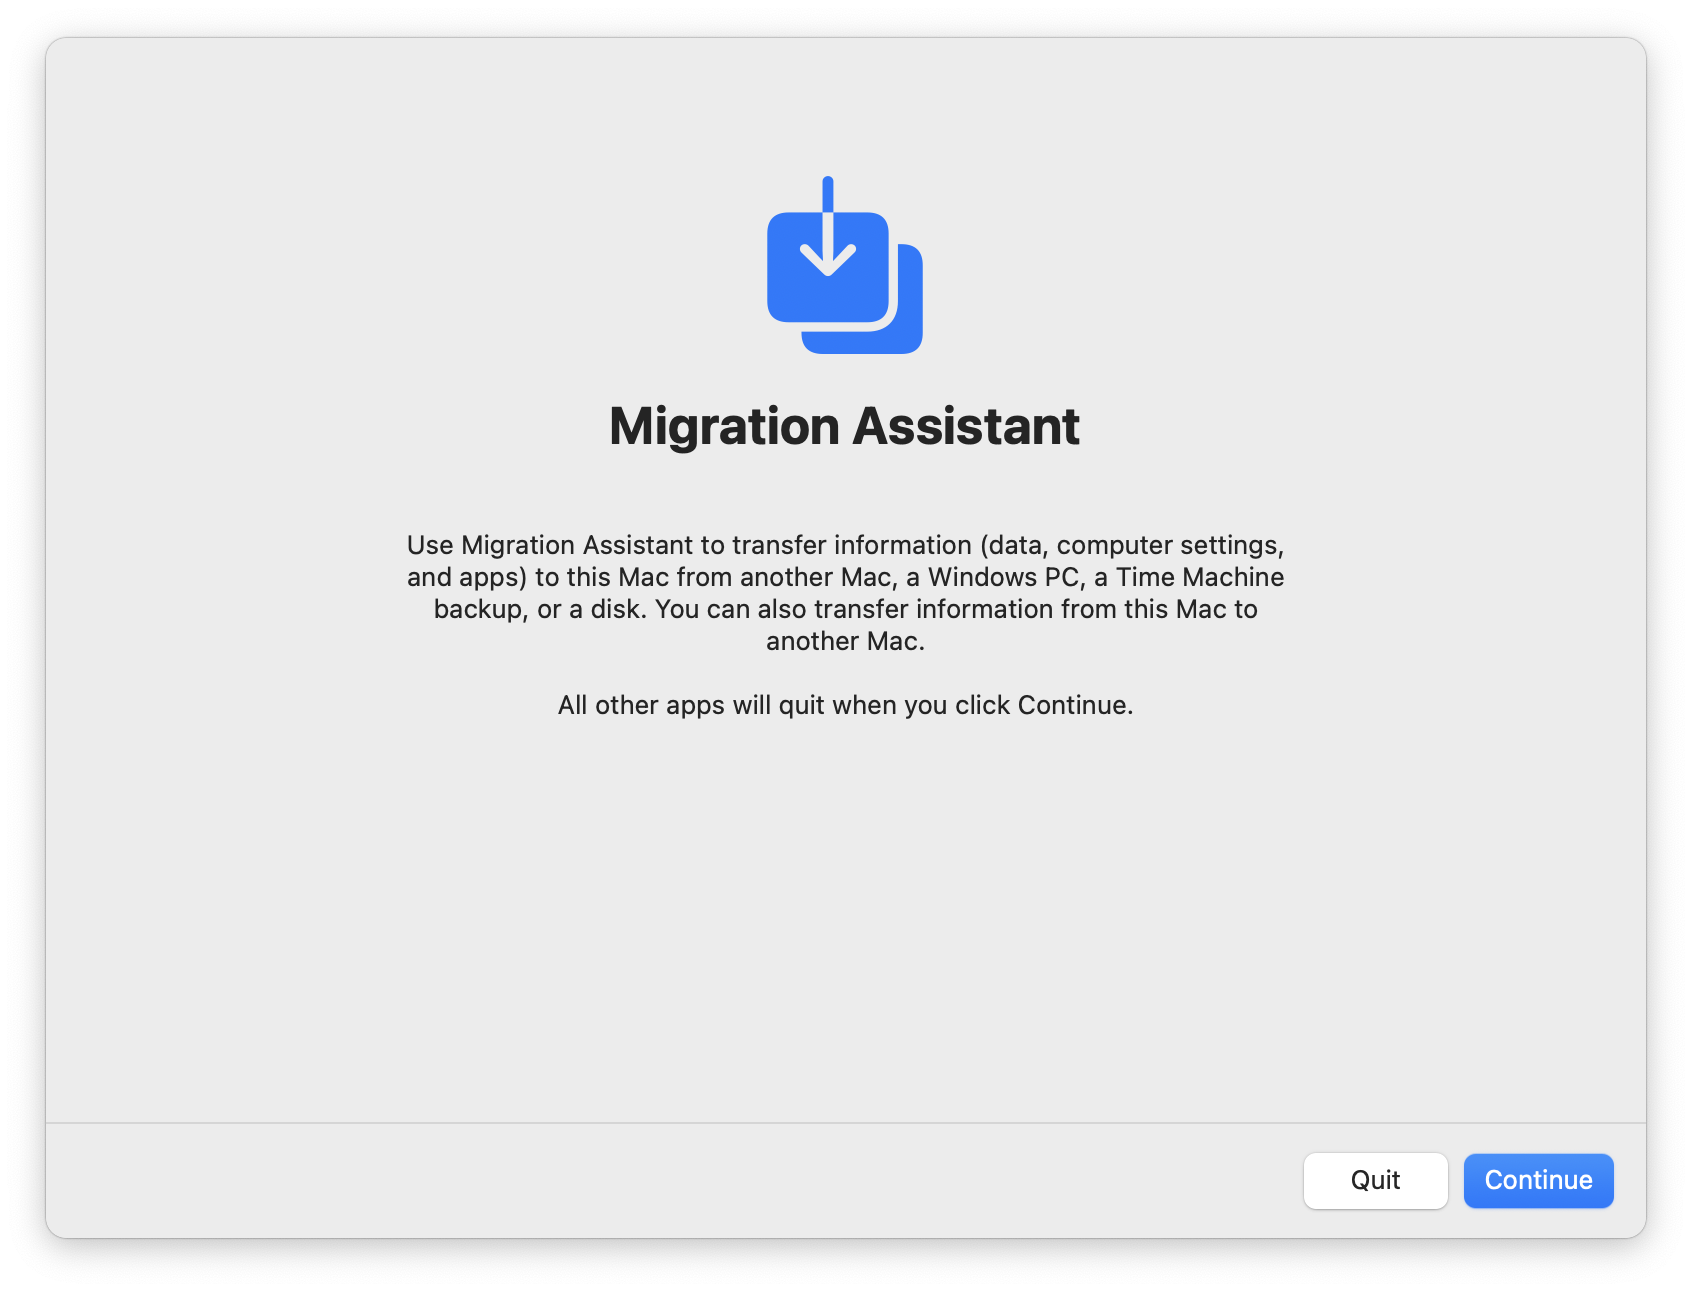
So, the first step in this process is to open Migration Assistant. For me, the fastest way to do this is to start typing "Migration" in Spotlight and then click on the app from the search results.
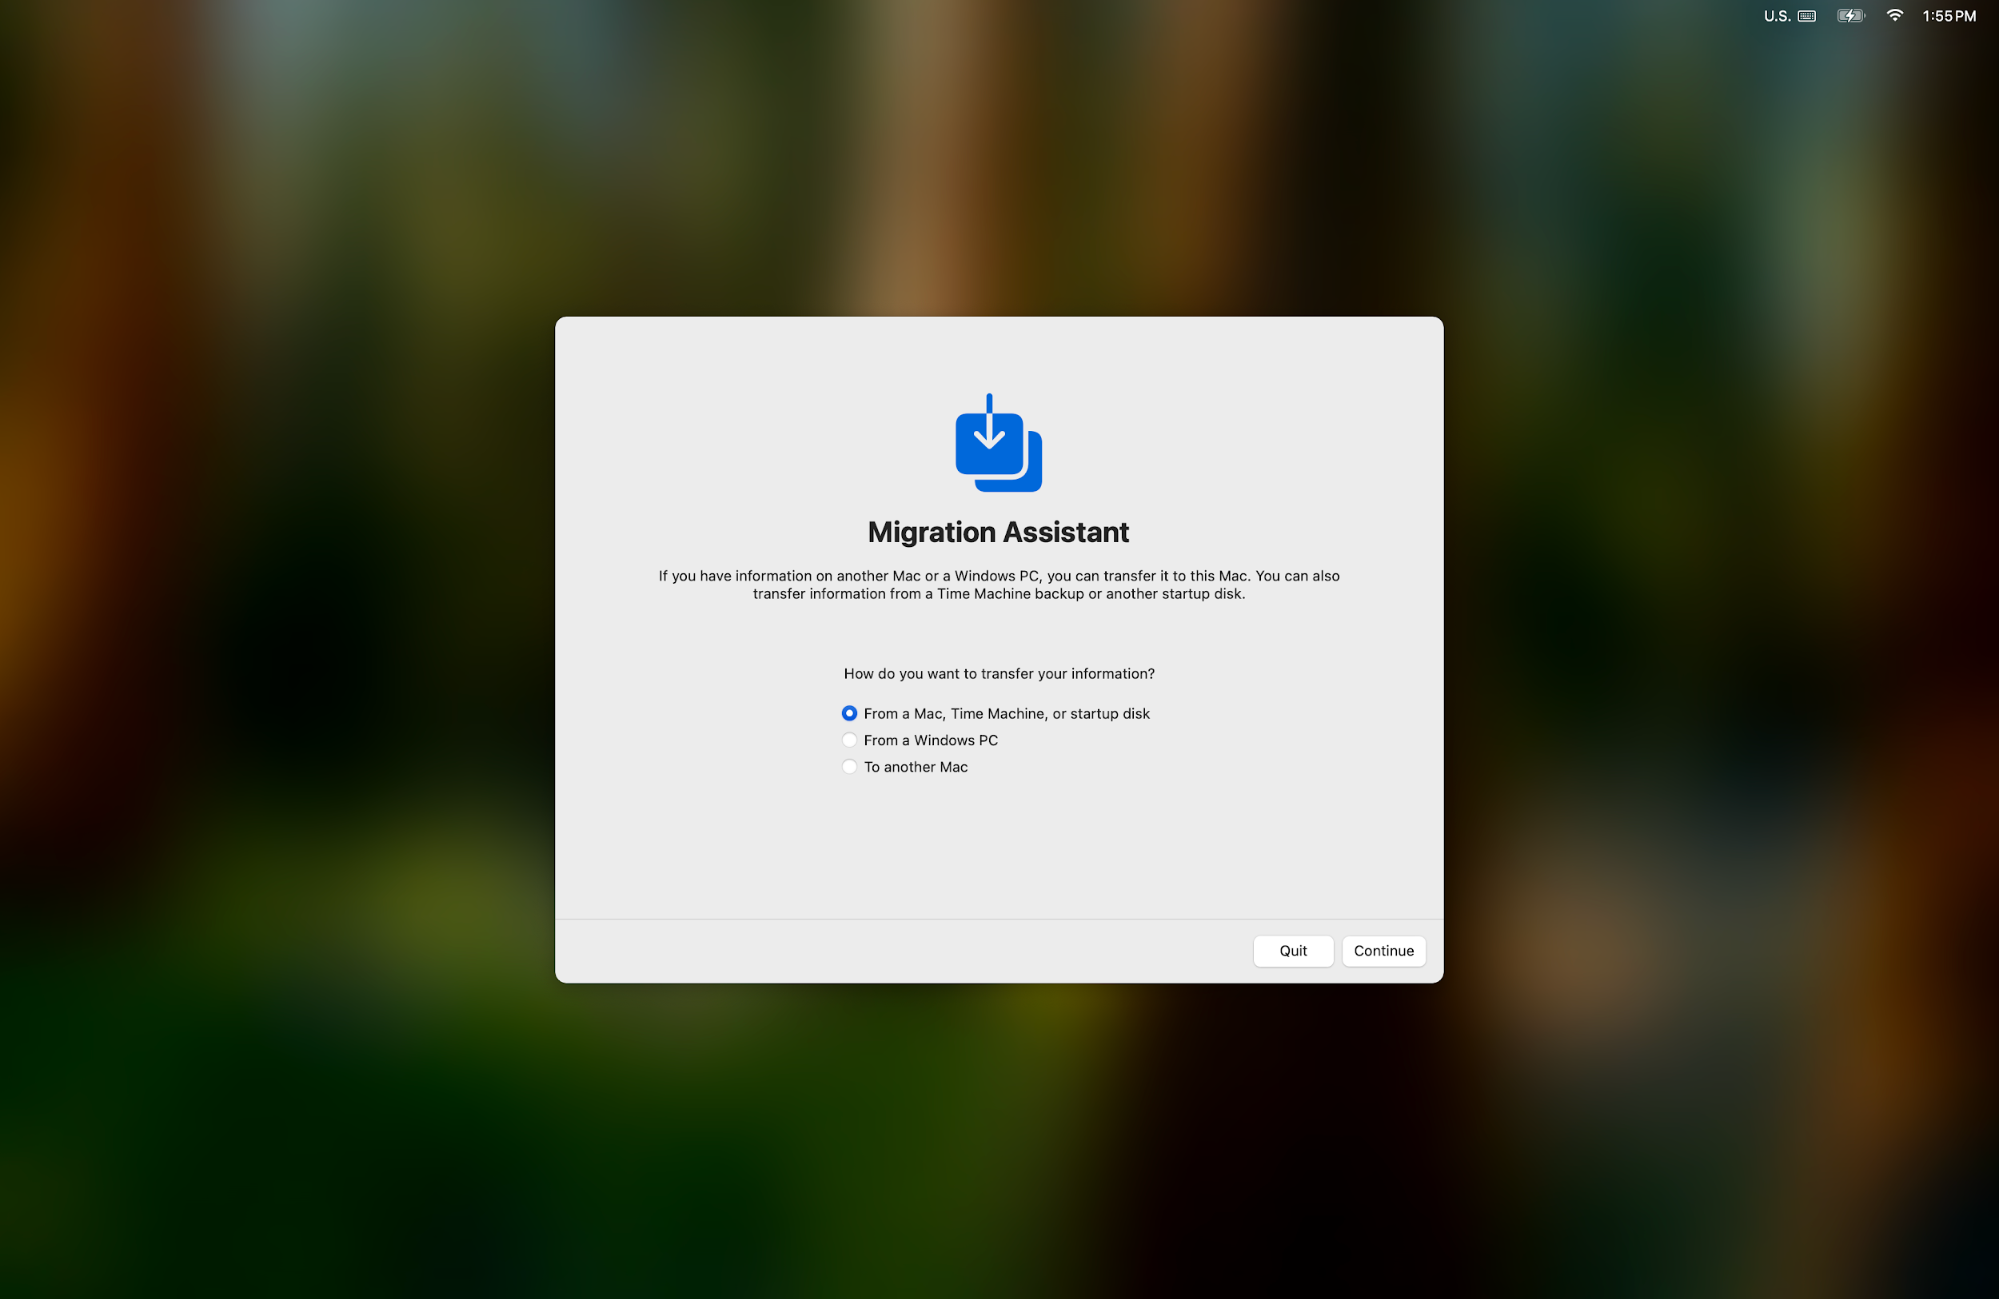
Once opened, a message pops up informing you that all open apps will be closed to continue the process. After acknowledging that prompt, you're presented with the above screen that asks how you want to transfer your data. I chose the third option, "To another Mac."
Migration Assistant: Making data transfer fast and straightforward
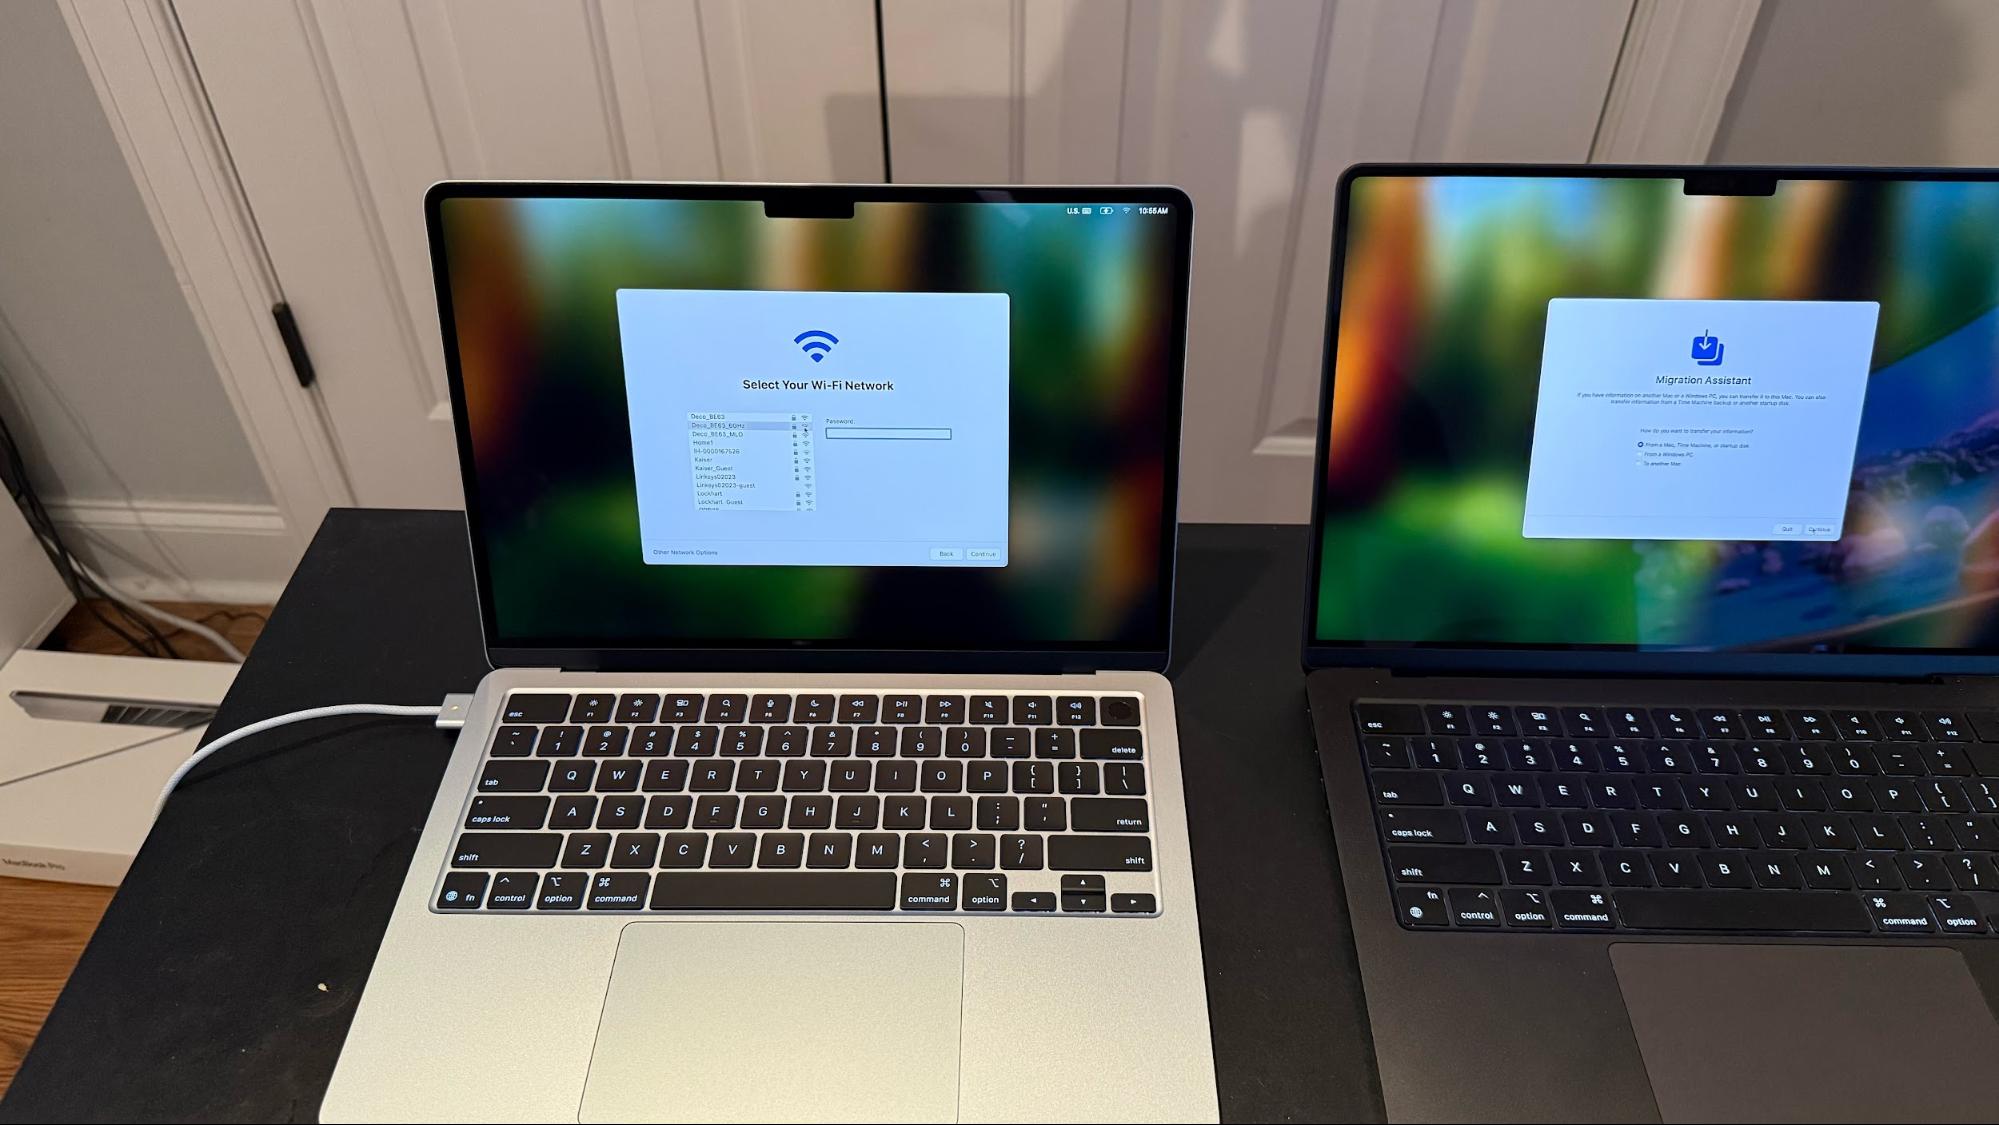
I left the source MacBook Pro on that screen and turned on my new MacBook Air. After clicking through a couple of prompts to confirm my language preferences and connect to a Wi-Fi network, I saw the same Migration Assistant screen.
Get Tom's Hardware's best news and in-depth reviews, straight to your inbox.
For the MacBook Air, I selected "From a Mac, Time Machine backup, or Startup Disk." It was at this time that I grabbed a Thunderbolt cable and plugged one end into the MacBook Air and one end into the MacBook Pro. I then clicked Continue on both systems.
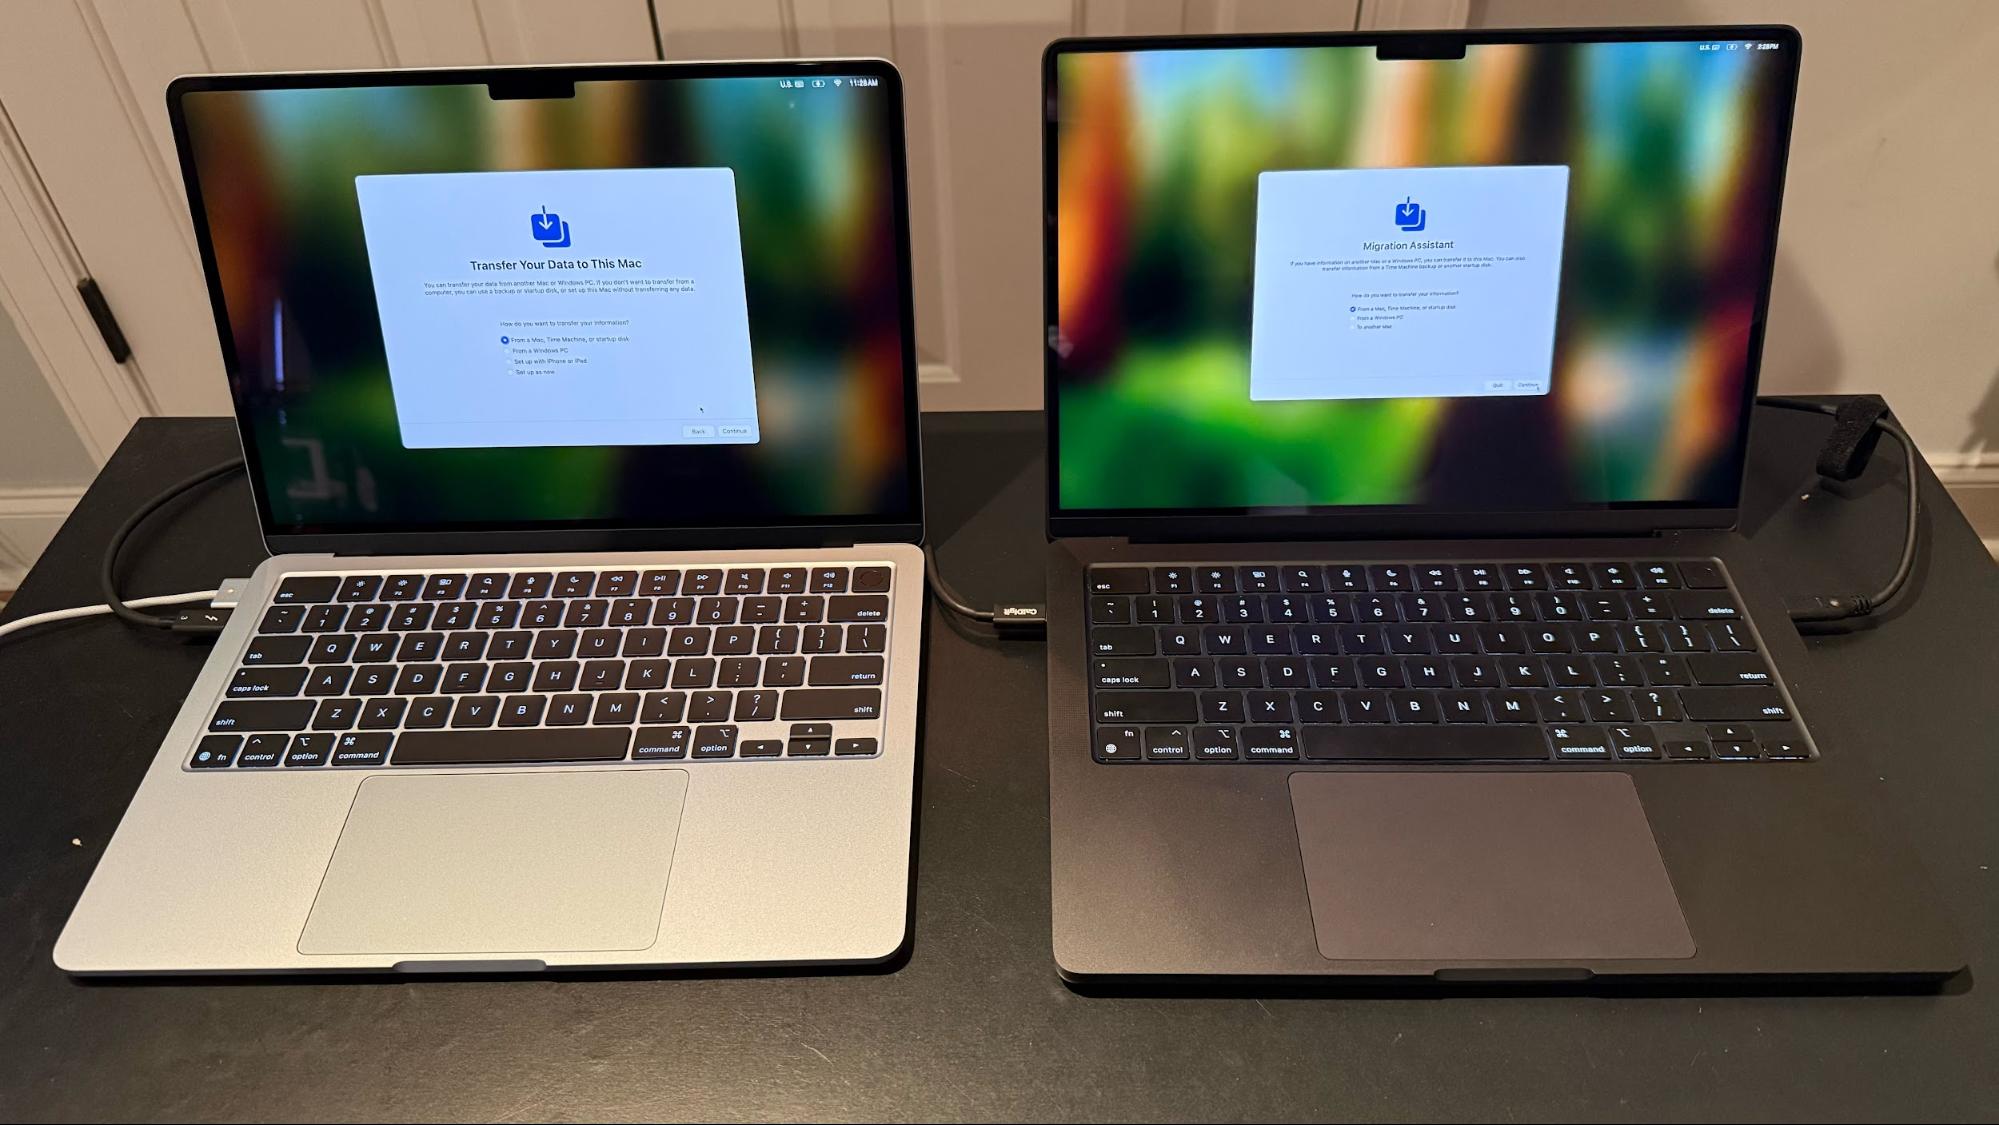
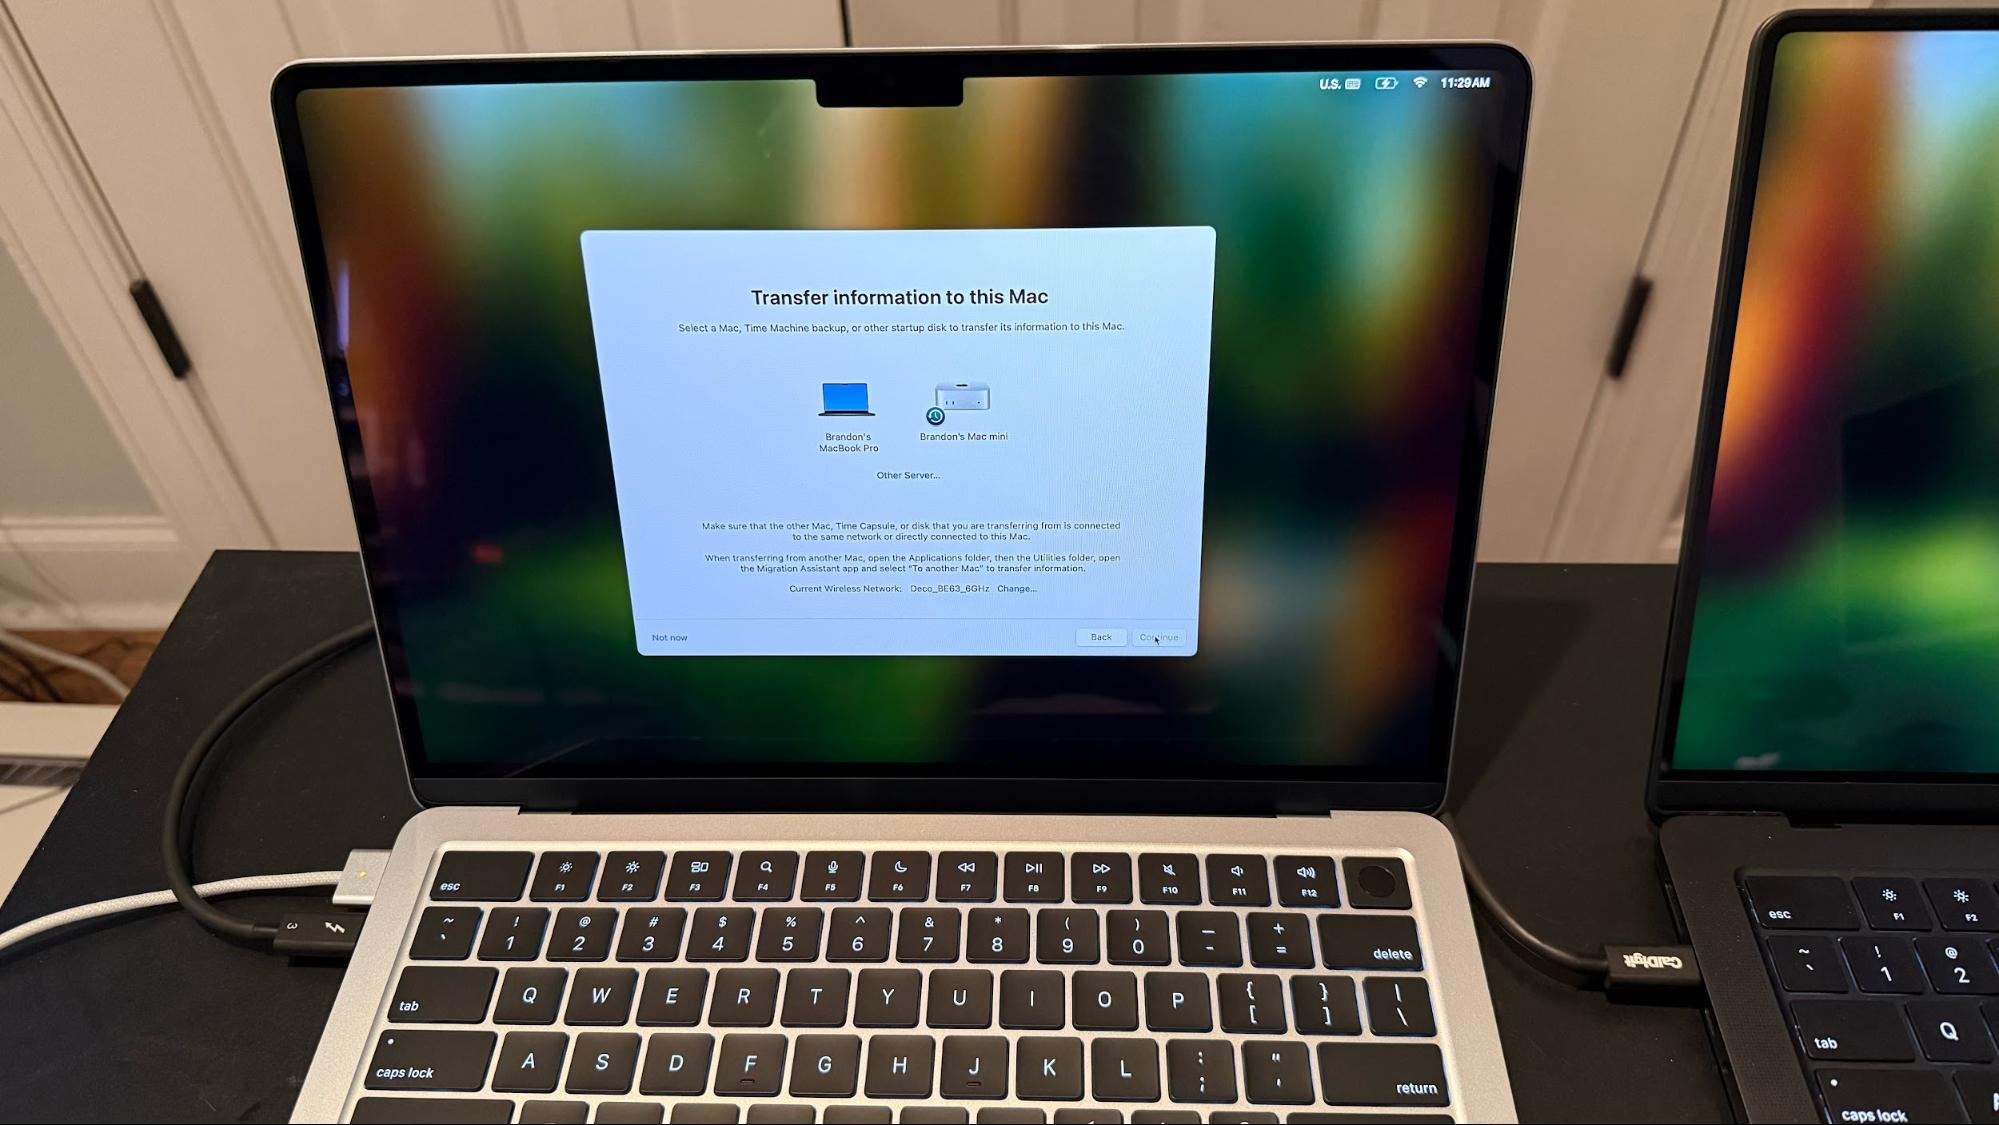
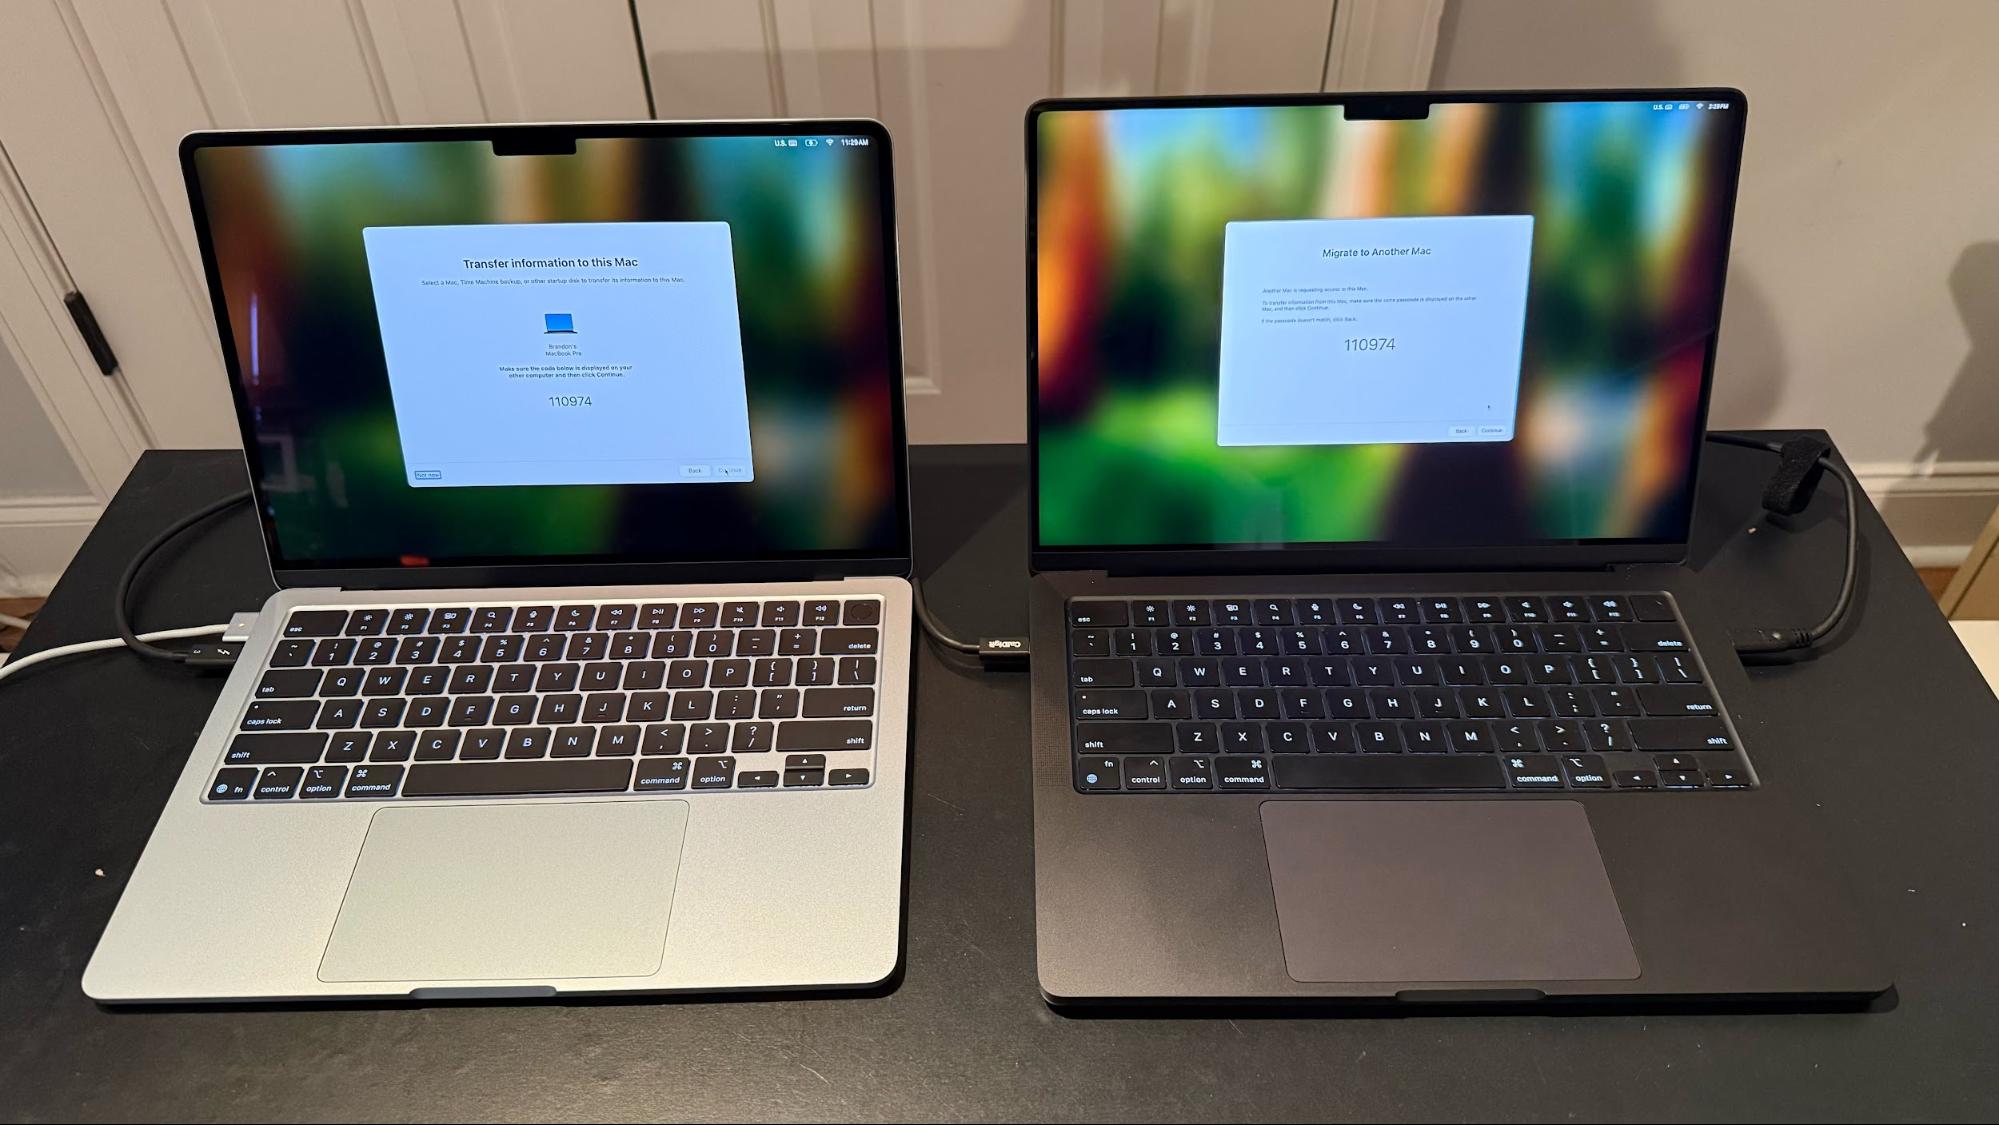
The MacBook Pro's screen now showed that it was discoverable to other devices. On the other side of the equation, the MacBook Air showed me available sources to draw data from: my Mac mini, which also doubles as a Time Machine server, and the MacBook Pro. I, of course, selected the MacBook Pro and clicked Continue. At that point, matching codes appeared on both displays to signify a successful link.
Next, the "Transfer your Information" page gives you the option to select which data you want to transfer individually: Applications, user data, Other Files & Photos, and System and Network settings. Since I wanted an exact copy of my MacBook Pro, I selected everything, which included over 47GB of application data and 148GB of personal user data for my account. Factoring in all of the system files and settings, over 800,000 files were marked for transfer.
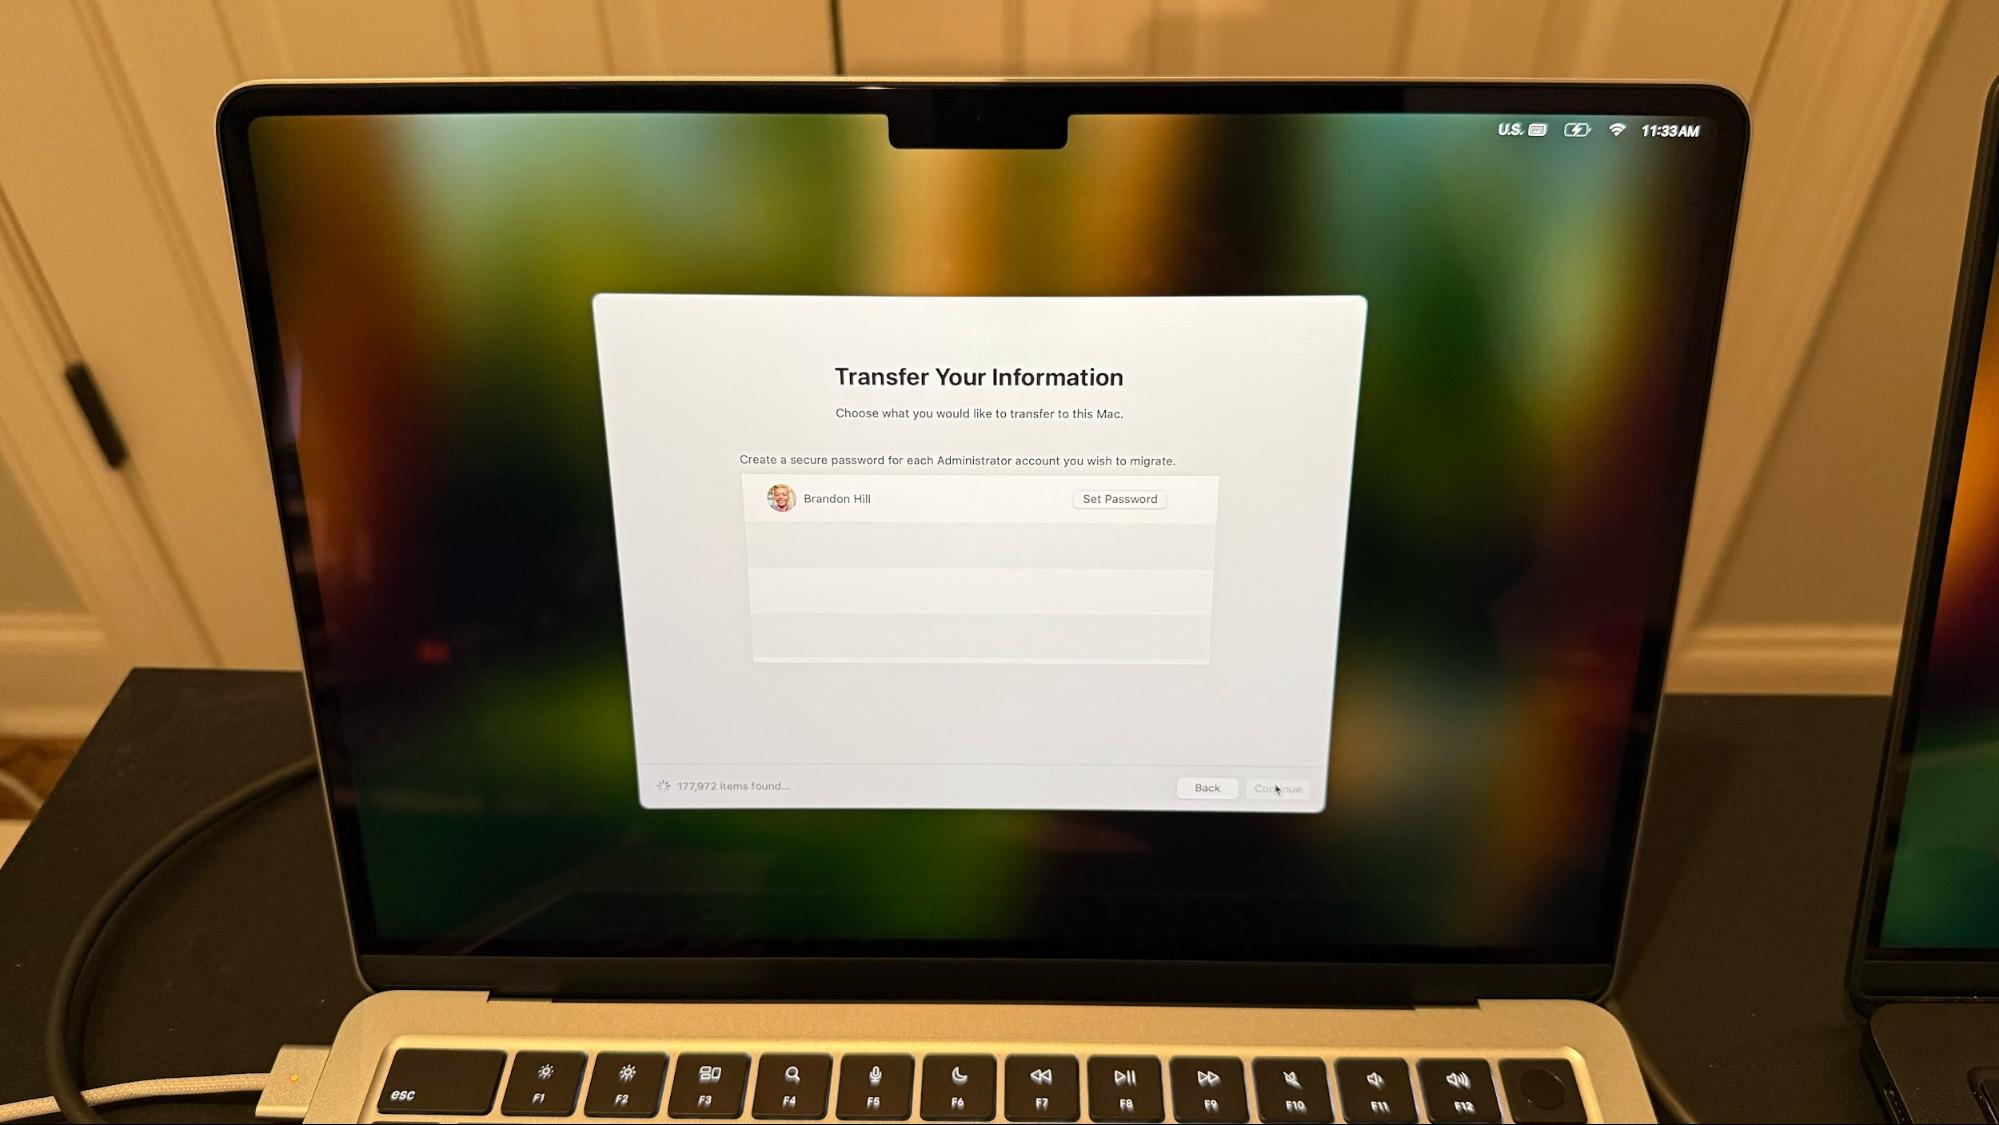
After clicking Continue, the following screen asked me to set a password for my user account, which I did. I next accepted Apple's Terms and Conditions, after which the transfer process began. Once the process started, I peeped the Connection Details button in the bottom left of the screen on the MacBook Air, which showed that the Thunderbolt connection was standing firm at nearly 3,000 MB/s.
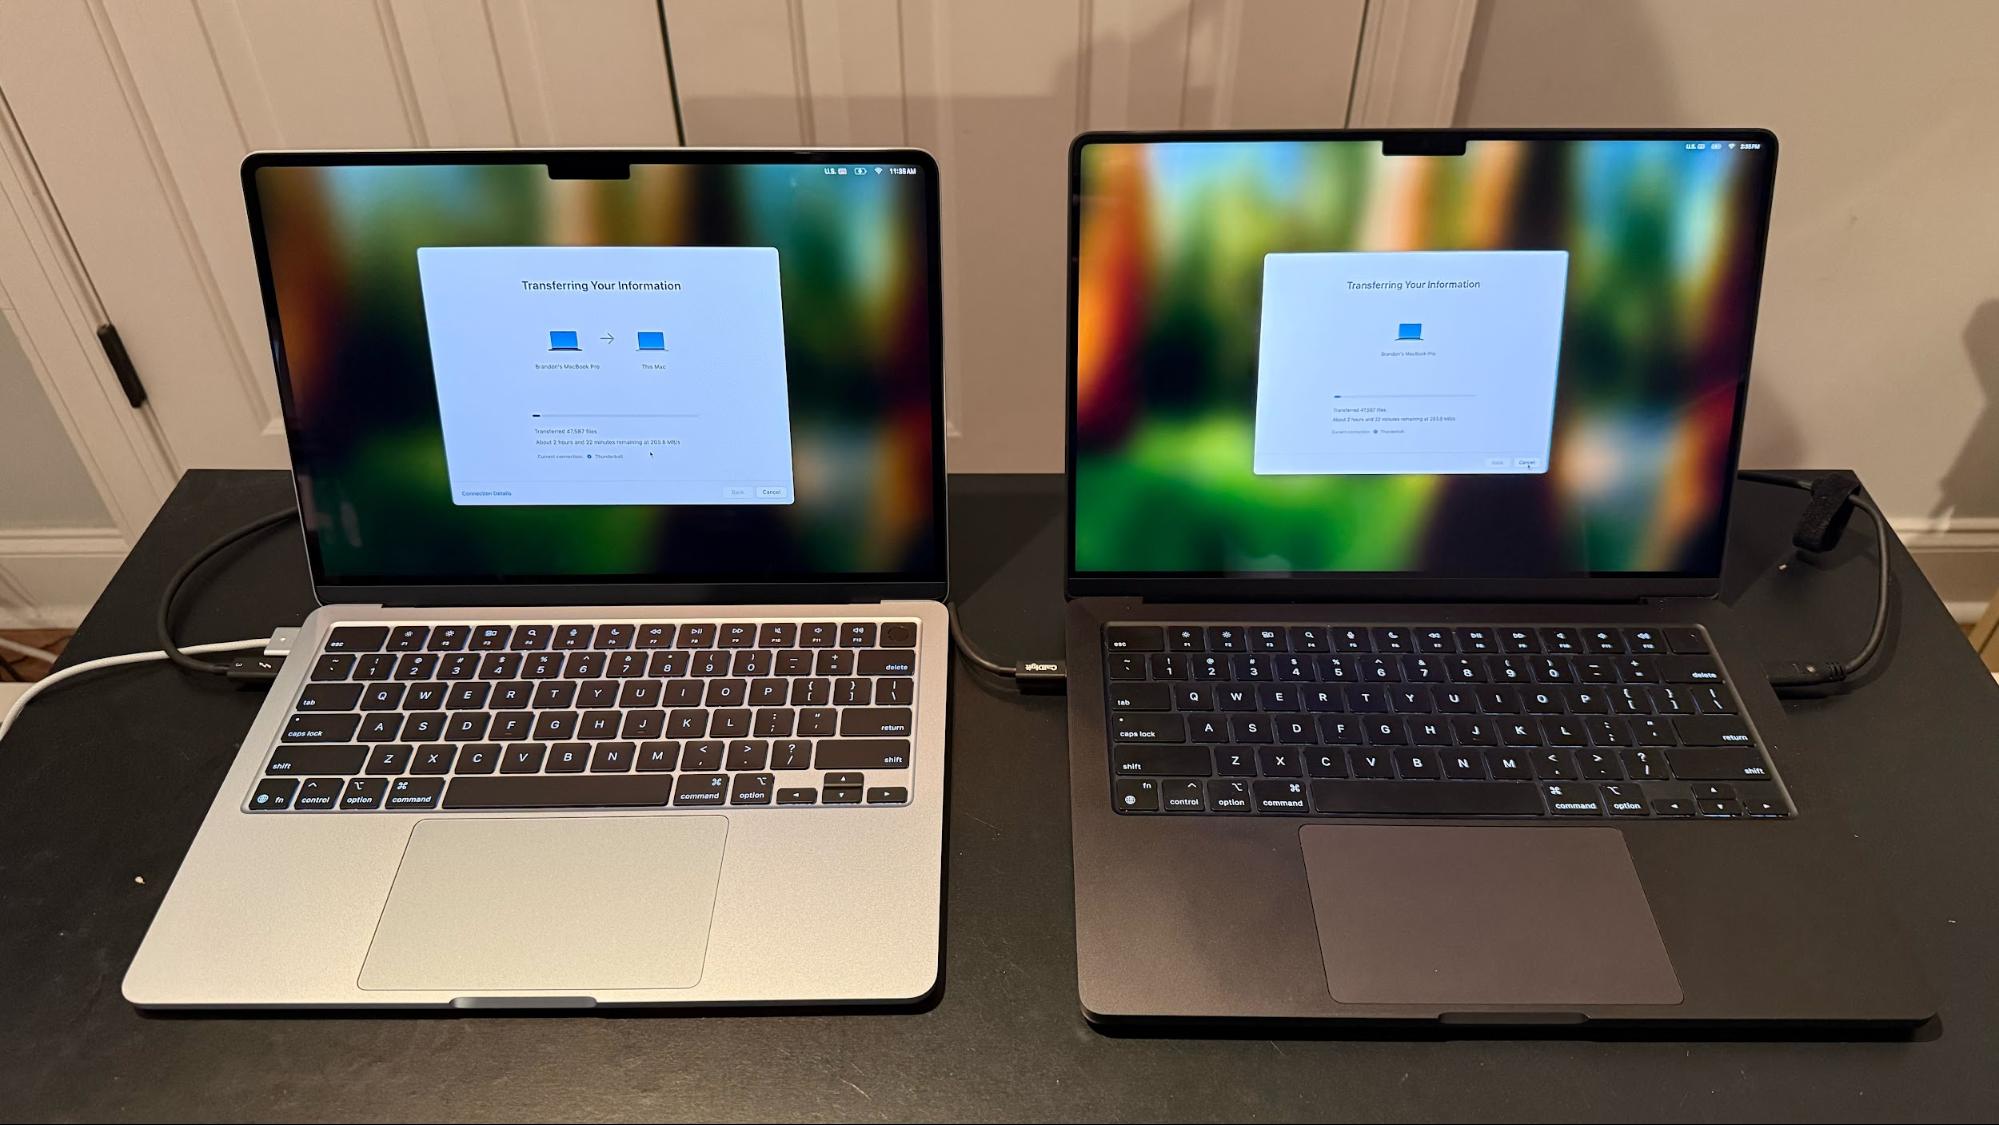
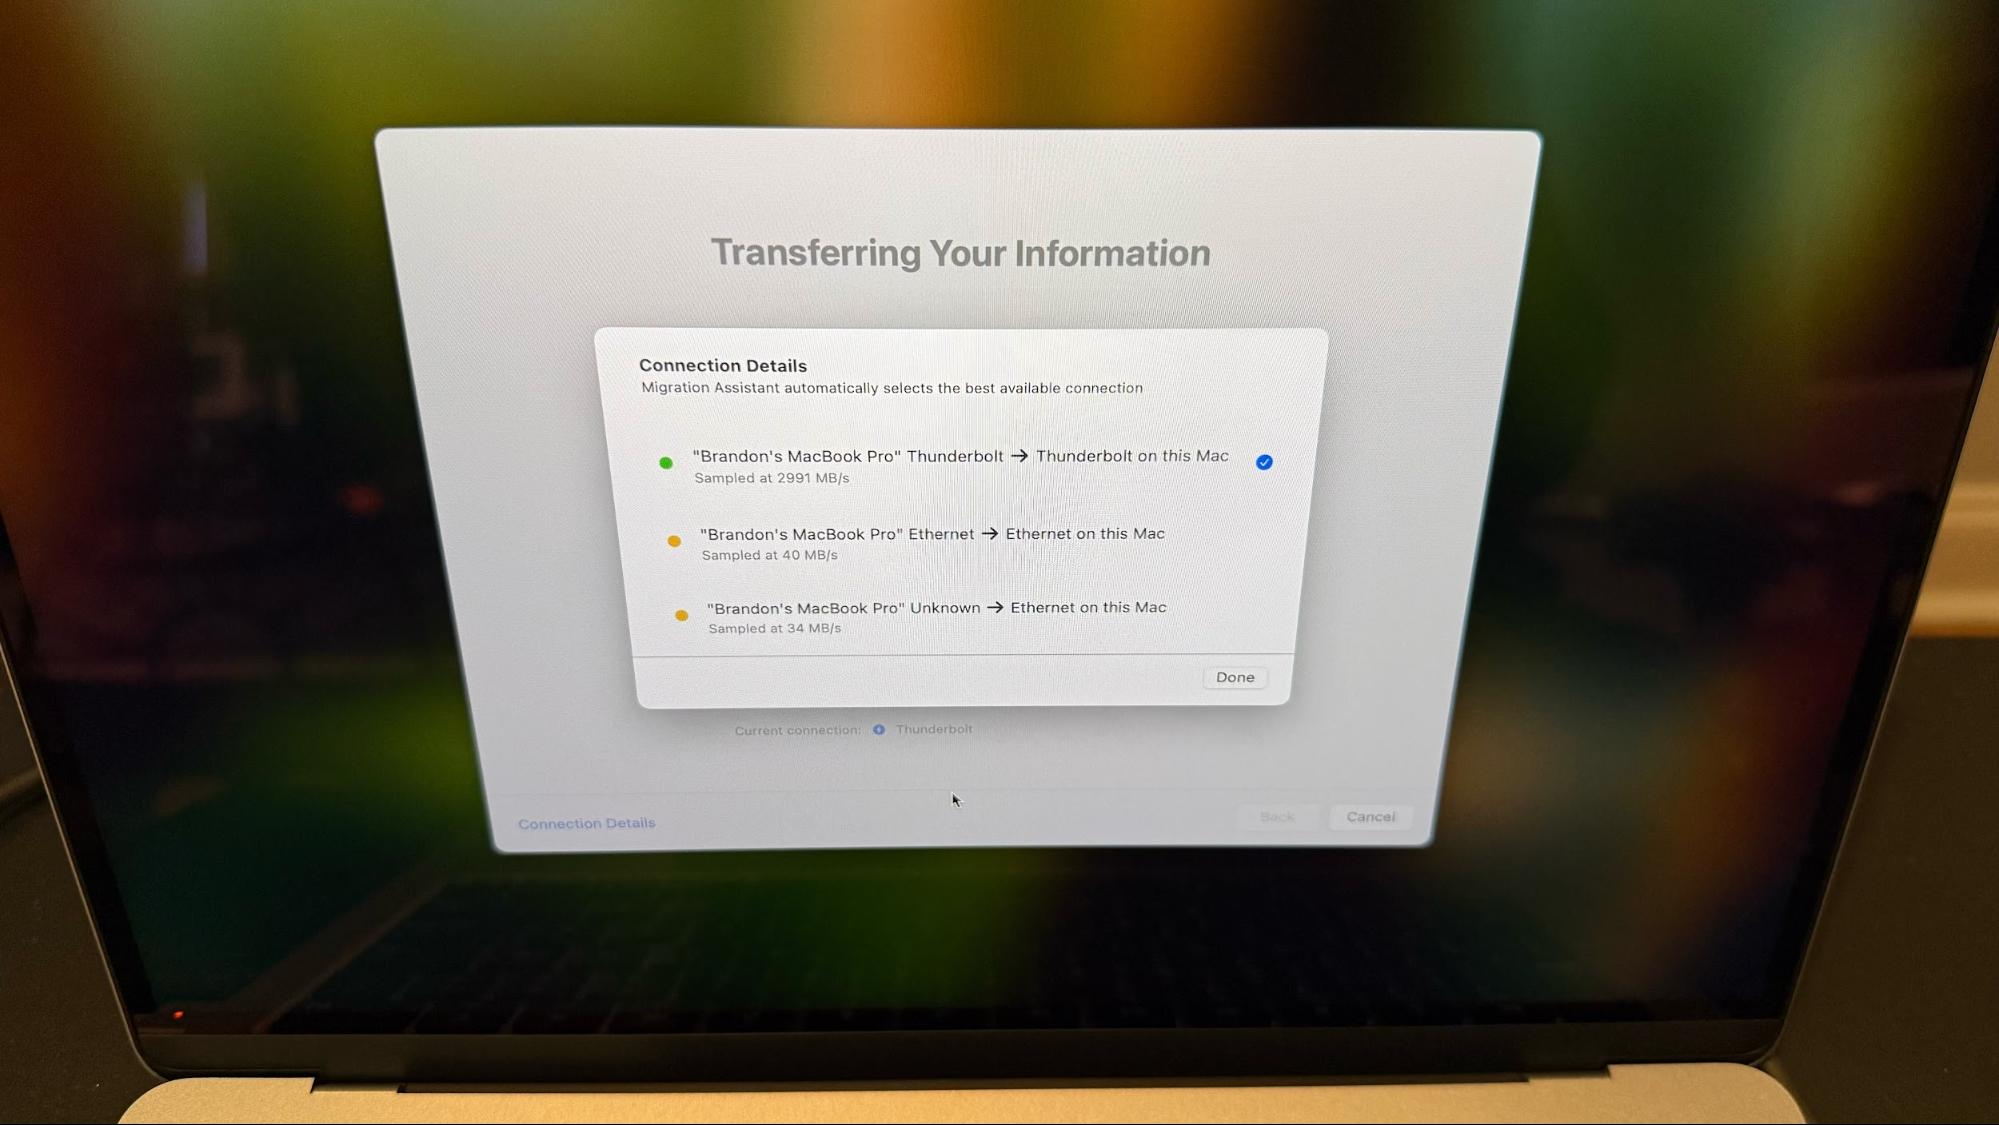
Initially, Migration Assistant said that the process would take over 2 hours and 30 minutes to complete. However, that time quickly whittled down as the process ramped up. When all was said and done, all of my data was transferred from the MacBook Pro to the MacBook Air in a speedy nine minutes. At this point, the "Migration Complete" message popped up on the MacBook Air and gave me the option to restart the system.
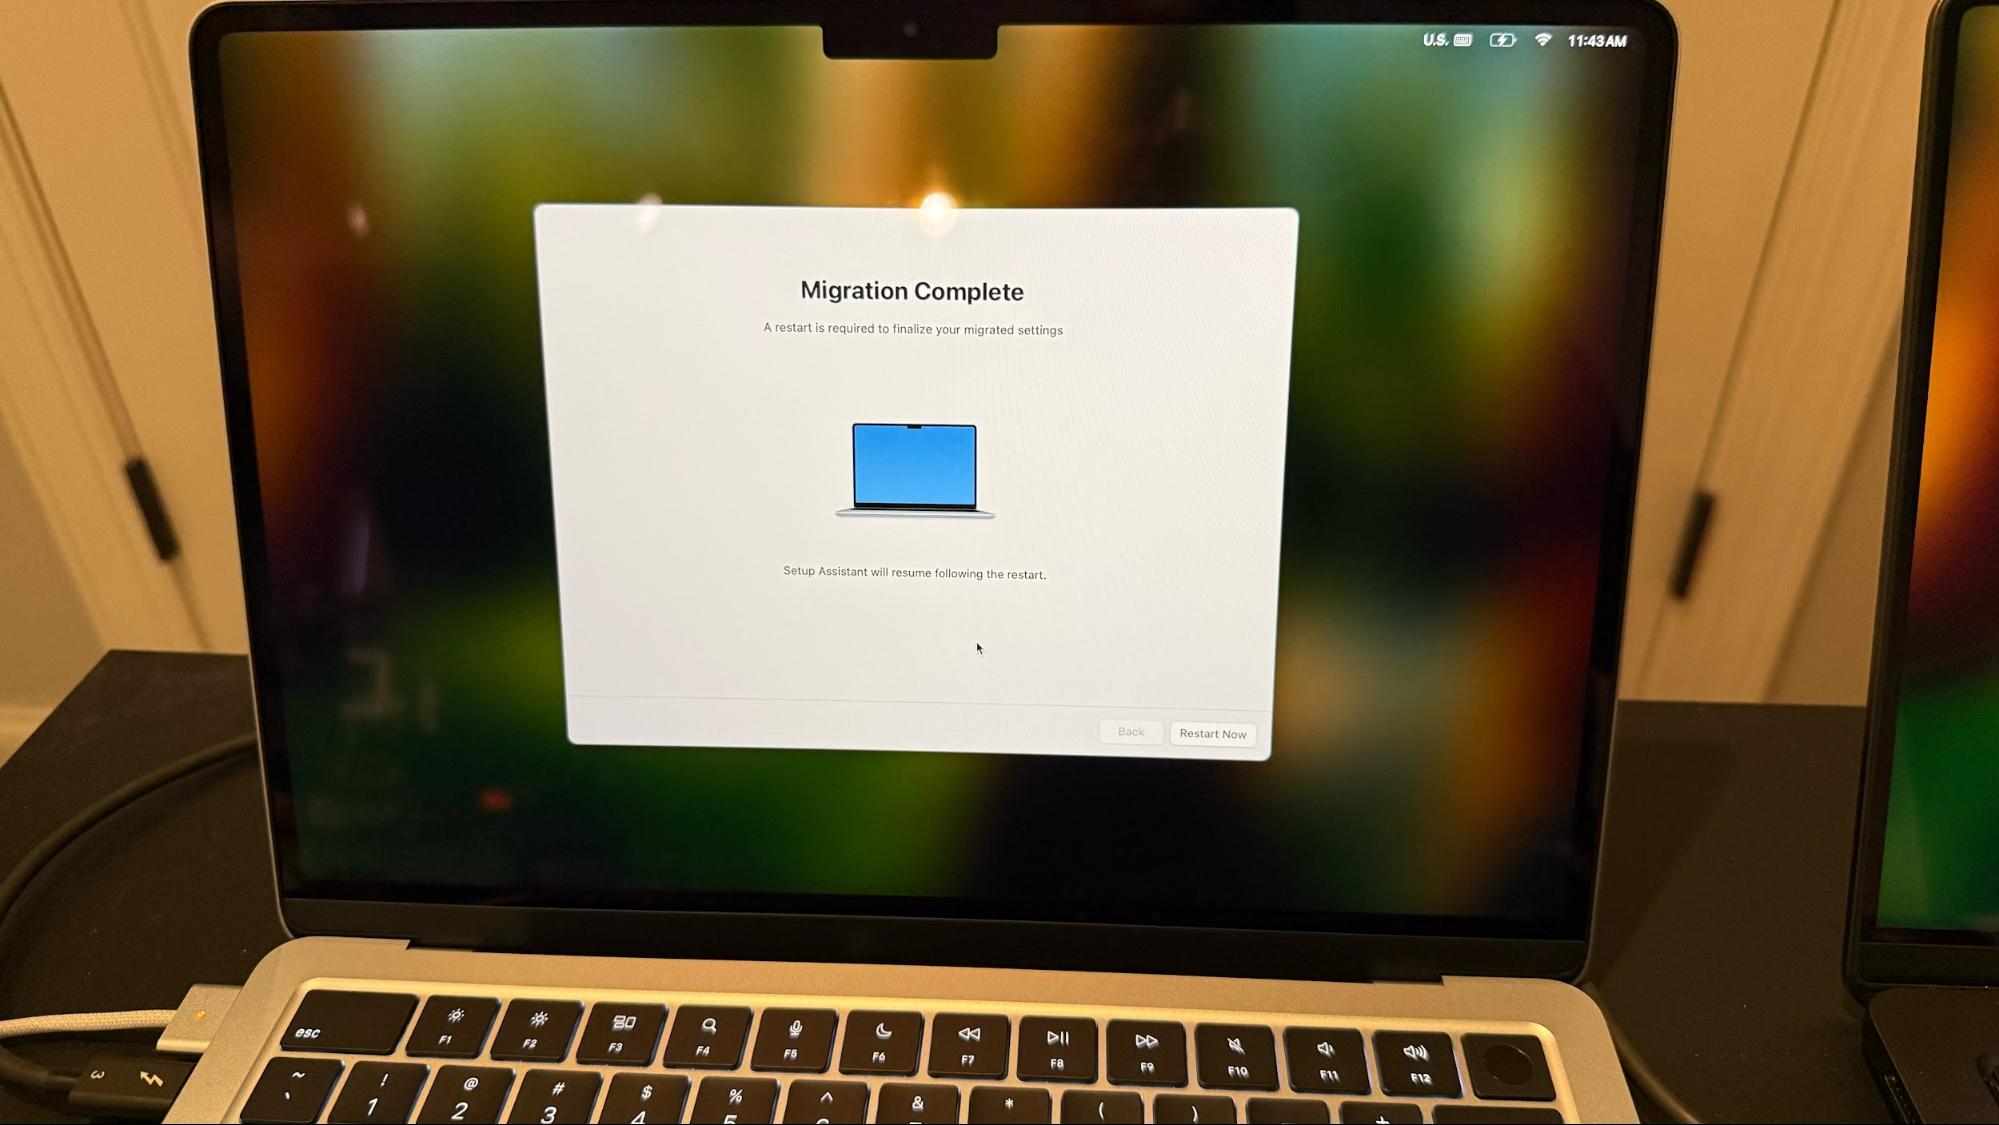
I unplugged the Thunderbolt cable and rebooted the MacBook Air. Once the system rebooted, I was asked to register my fingerprint with Touch ID and add my credit cards to Apple Pay (since that sensitive personal data doesn't transfer over). After logging in, I was then presented with a carbon copy of my MacBook Pro on my MacBook Air, much to my delight. All of my apps, settings, and data were intact.
I had to reactivate my copy of Microsoft Office 2024 and TG Pro, which I use to monitor system temperatures and fan speeds (not applicable on the MacBook Air), as it complained that my license was no longer active. I entered my email address and license code, to which the app responded that it was already registered to another system (my MacBook Pro). However, Tunabelly Software provides a handy button that lets you transfer your license from an old system to a new one. After clicking that button, I was back in business. Those were the only two hiccups that I ran into during the process, and both were easily rectified.
Factory resetting your old Mac
After a successful migration, the next step was to completely wipe the MacBook Pro so that my wife could use it with her Apple Account. For this, I went to System Settings → General → Transfer or Reset. Next, click the Erase All Contents and Settings button. A prompt will then appear, asking you to enter your user password.
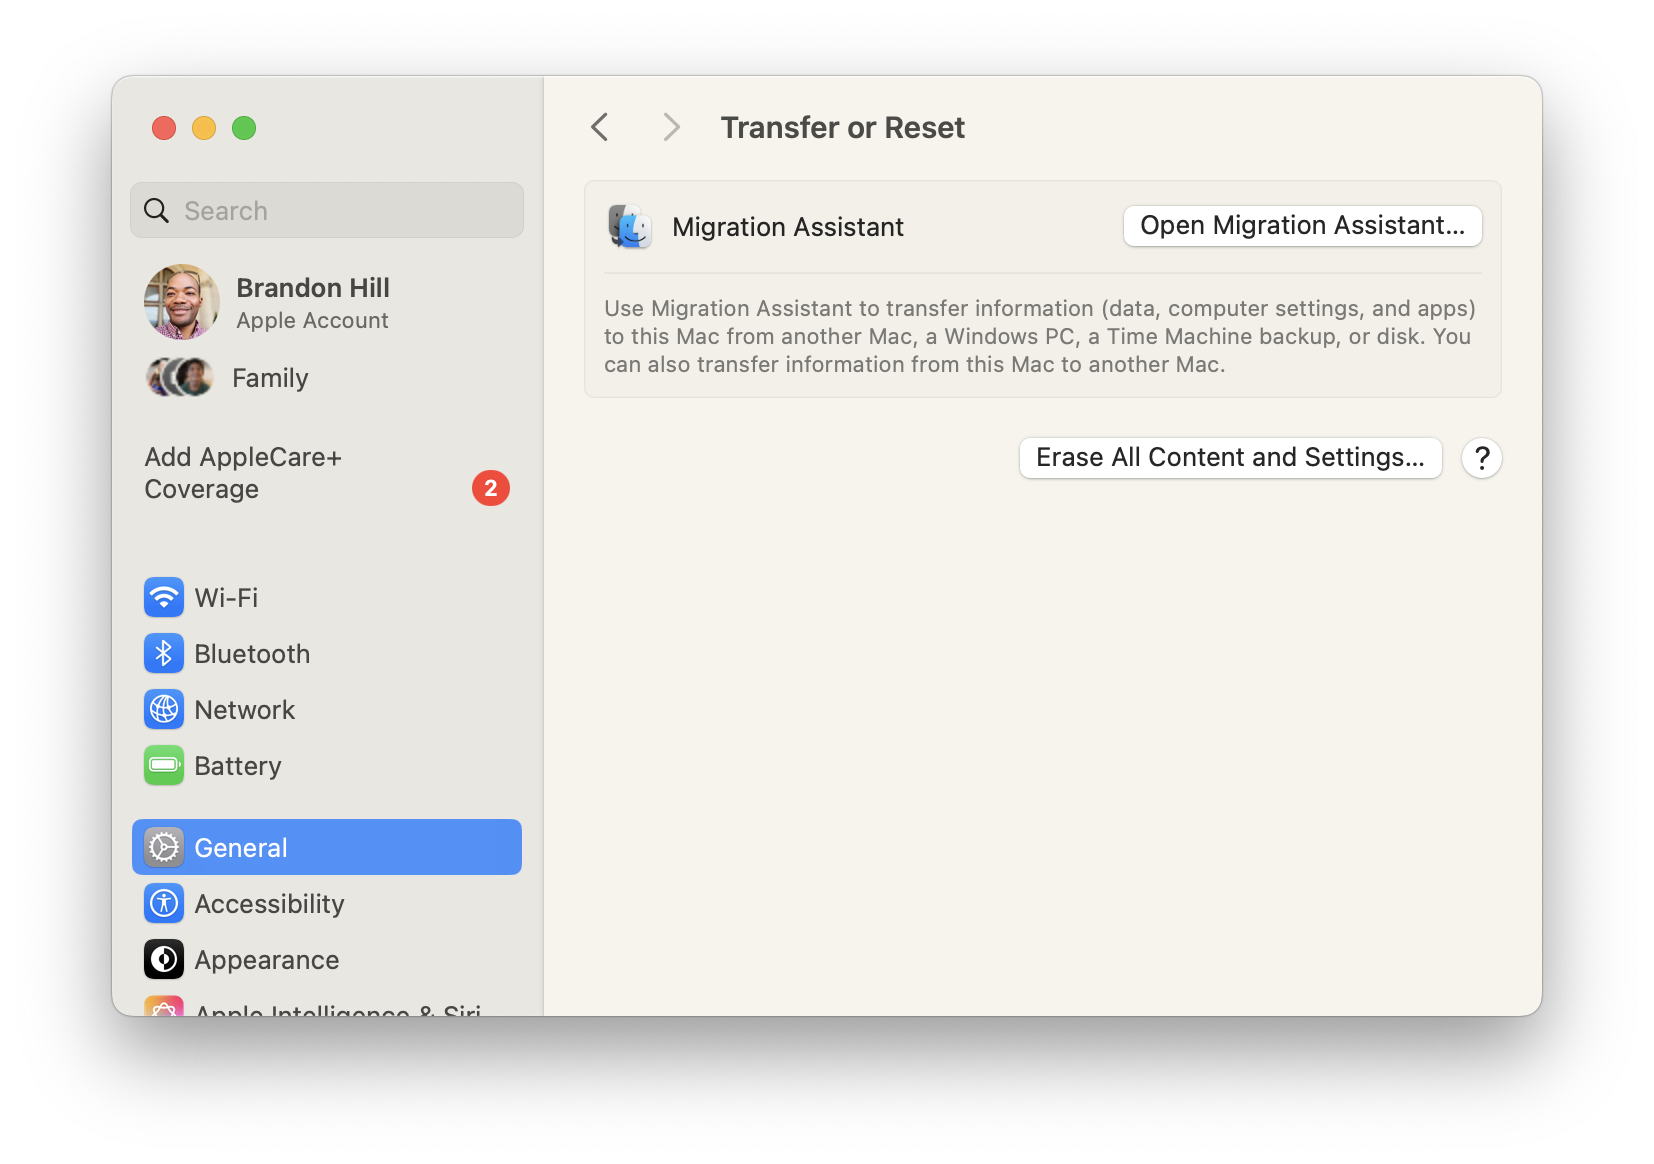
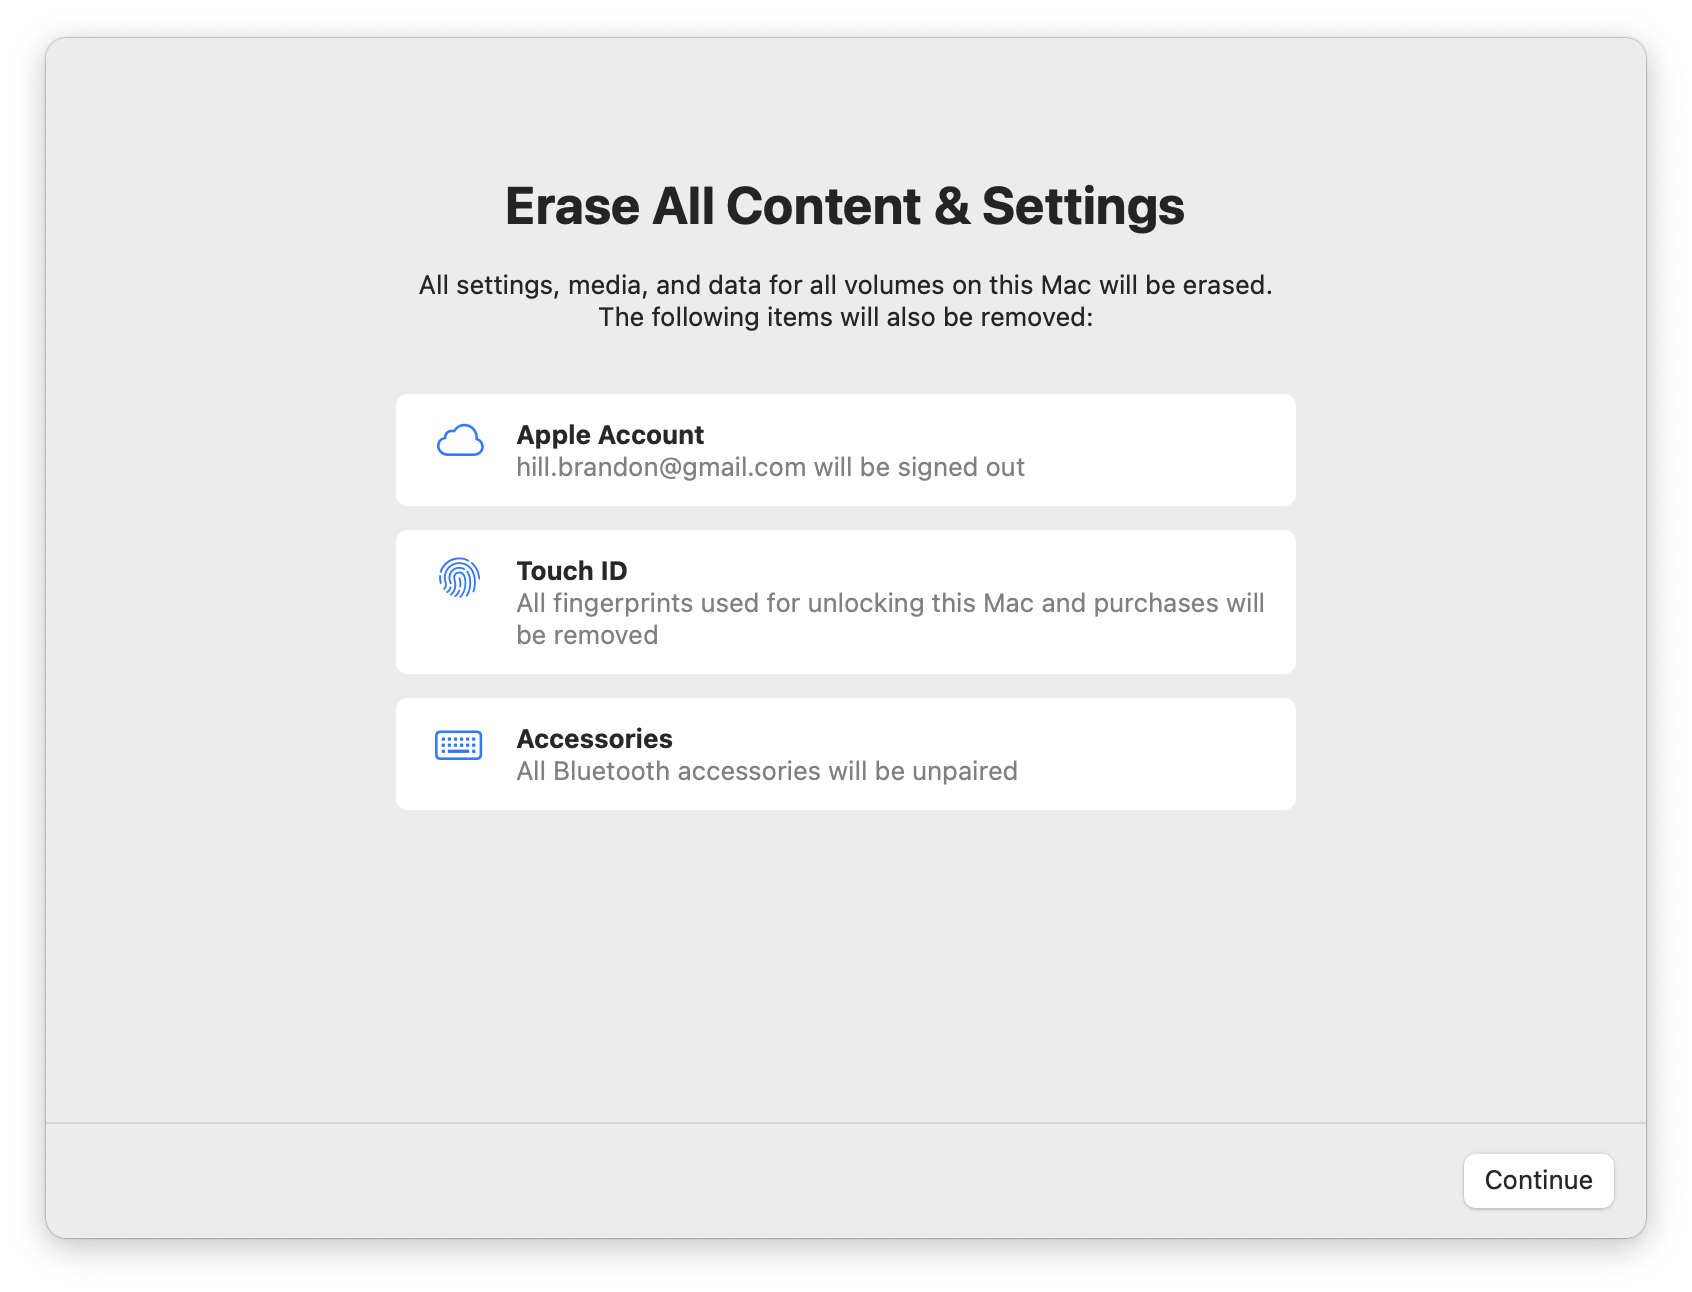
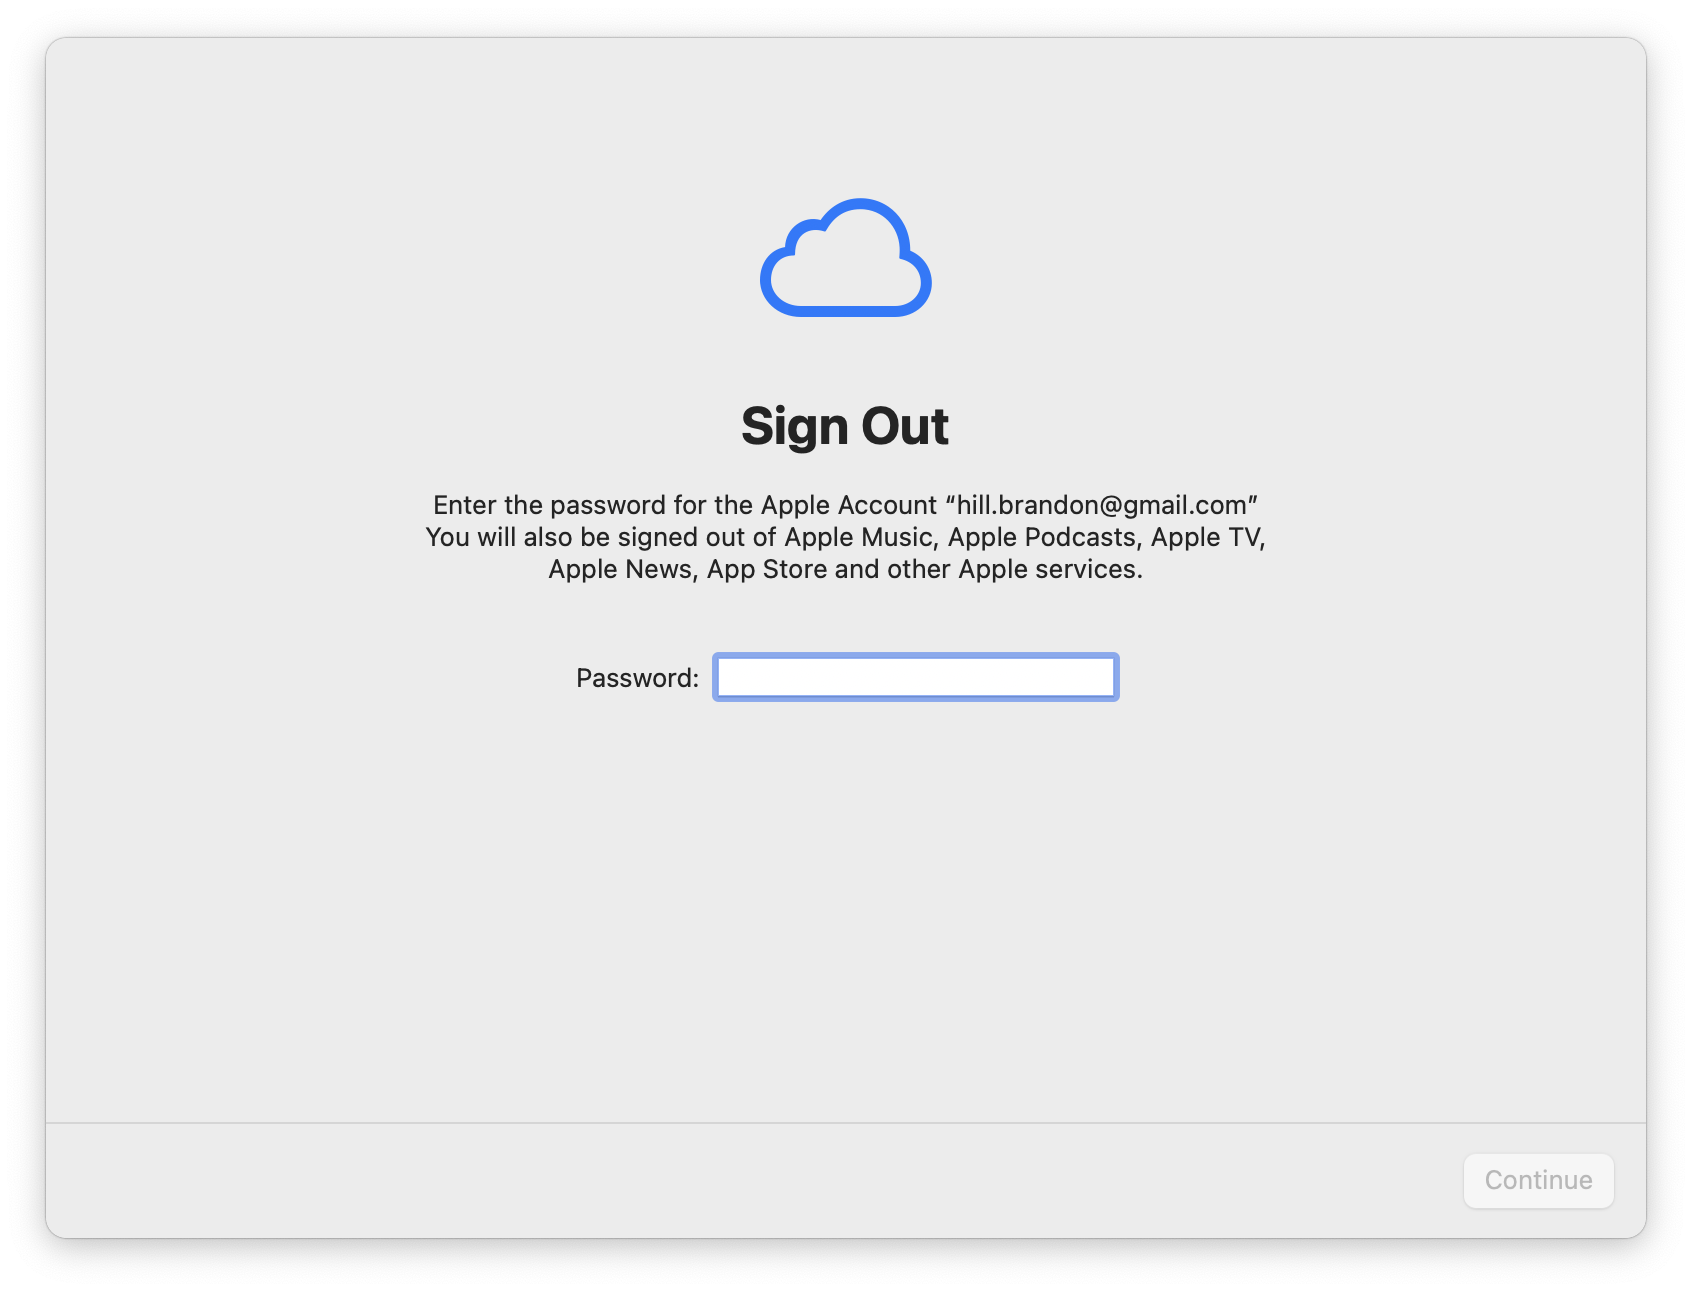
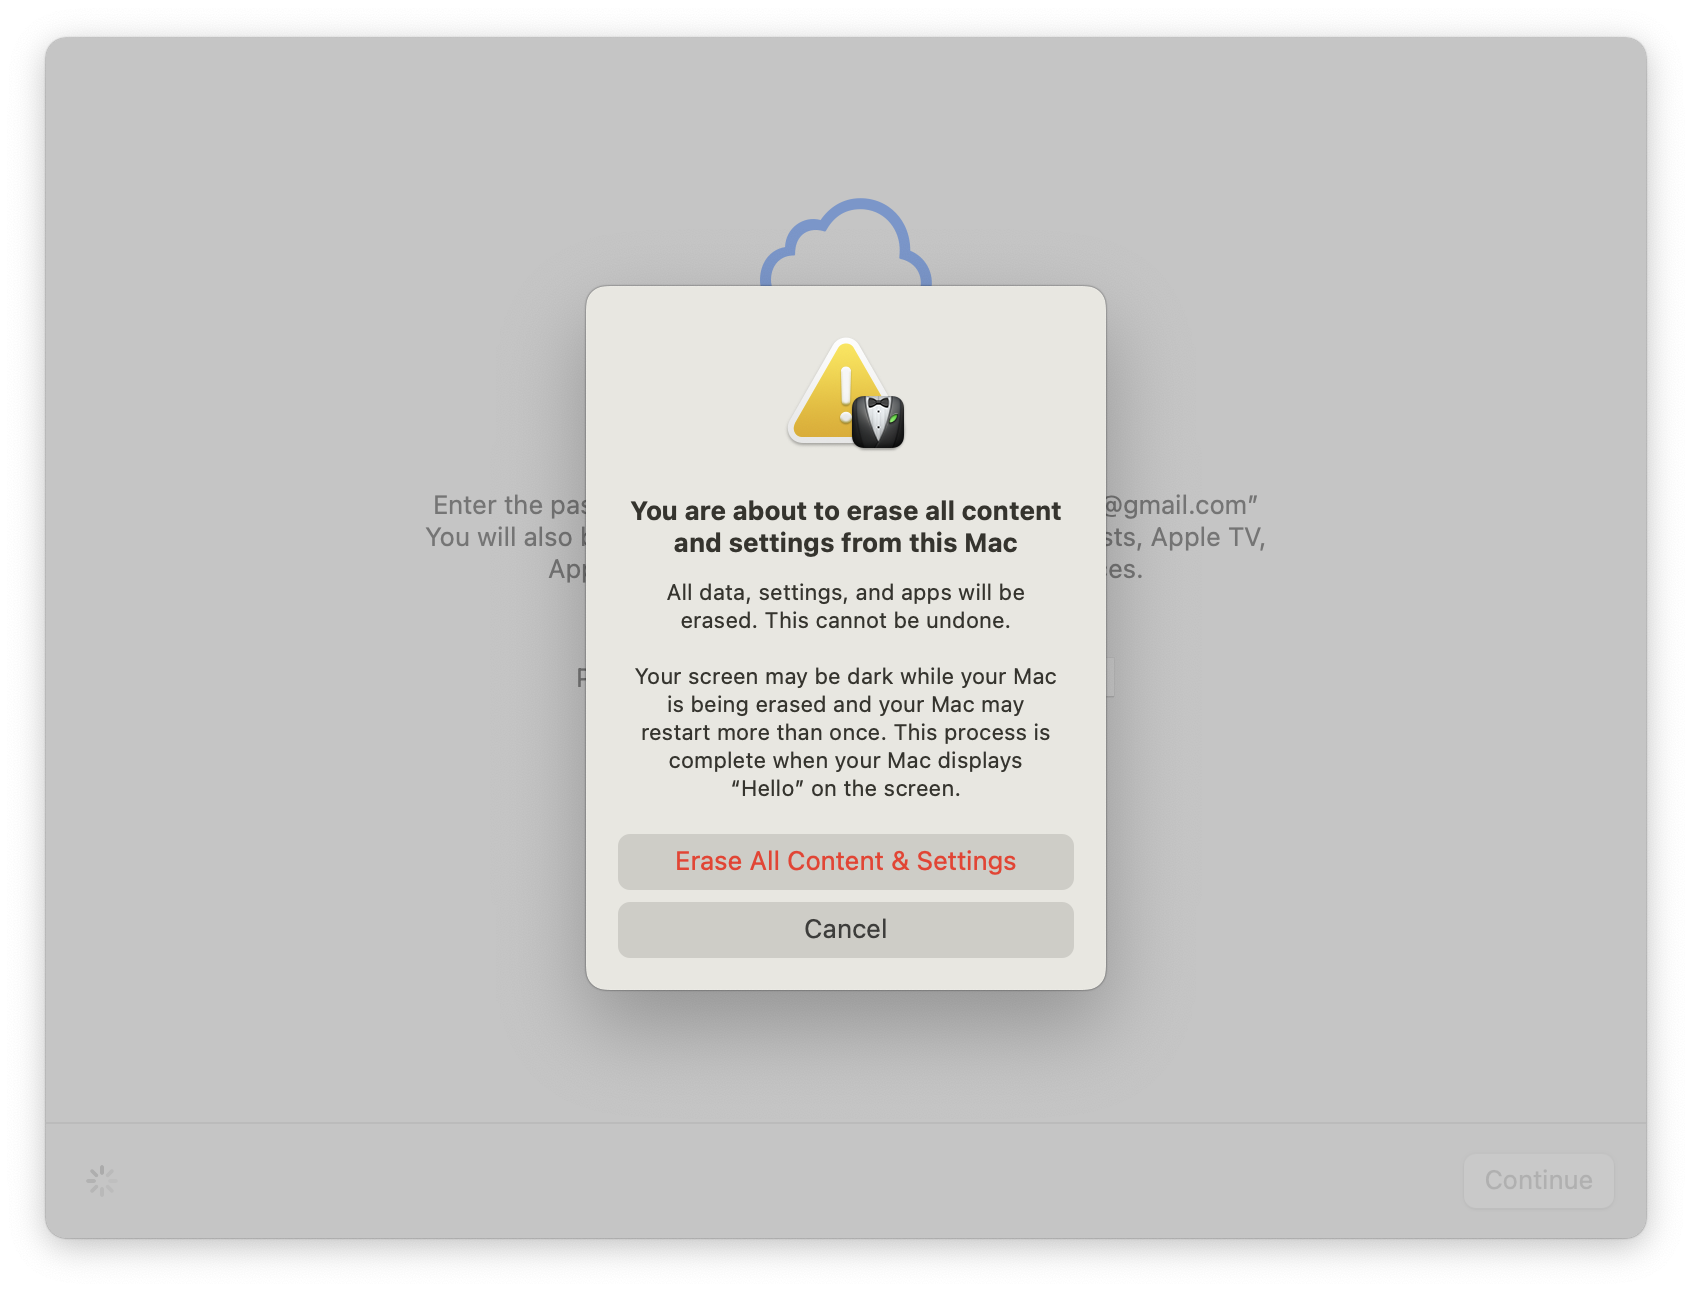
The next screen tells you all of the data that will be removed from the Mac (including your Apple Account, Touch ID data, and Bluetooth peripheral connections). You'll next need to enter your Apple Account password to sign out of all your online Apple services. Finally, a confirmation screen appears, asking you to confirm that you want to nuke everything from your system. Click "Erase All Contents & Settings," and your system should reboot and begin the cleaning process. Once complete, the system will boot to the Welcome/Setup screen.

Brandon Hill is a senior editor at Tom's Hardware. He has written about PC and Mac tech since the late 1990s with bylines at AnandTech, DailyTech, and Hot Hardware. When he is not consuming copious amounts of tech news, he can be found enjoying the NC mountains or the beach with his wife and two sons.
-
rjaltizer Beware using Migration Assistant to move cloud storage (e.g., Dropbox) data from source to target systems, especially if source has larger disc capacity and some folders are not "online only." Long story short: Excluding any cloud storage transfer during migration and setting it up separately after other migration is complete would have saved me a lot of work on both source and target systems if I'd done so.Reply