Build Your Own (Physical) 3D Models
Let's Mill It!
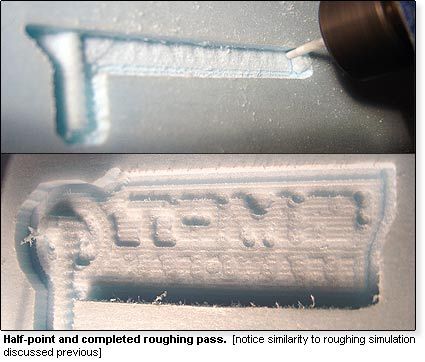
We're now ready to start milling. Everything has been zeroed out, so all that remains is to start the motor for the spindle holding the bit, and let the machine run its course. As mentioned above, the first run is the roughing pass, which will remove the bulk of excess material and allow the smaller bit to finish the job. I've set the spindle speed to 8,000 RPM, which is a relatively low rotation speed, as we're milling foam and not aluminum or stainless steel.
After the model has reached this stage, it is time to change to the smaller bit to create the detail work. Some machines have an automatic tool changer which sends the spindle back to a tool cradle, allowing it to automatically advance through the job with the appropriate tool. My CNC mill requires the user to manually change the bit and again zero out the axes before continuing.
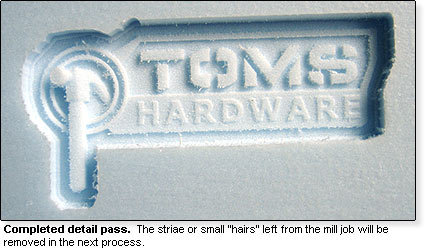
Recall that the final pass bit is significantly smaller, at 0.028", so it fleshes out precise regions of the model. After being secured in the mill's chuck, it is zeroed out to the same origin as the roughing pass. Due to the number of paths generated by the software for detail work, a finishing pass takes substantially longer. The roughing pass took approximately five minutes for this model, while the detail pass took about three hours and twenty minutes.
Get Tom's Hardware's best news and in-depth reviews, straight to your inbox.

