Tom's Hardware Verdict
For $10 and a Raspberry Pi Pico W you’ll have a lot of fun with this addon.
Pros
- +
Onboard battery support
- +
Good GPIO breakout
- +
Lego compatible
Cons
- -
Micro USB is only for charging
Why you can trust Tom's Hardware
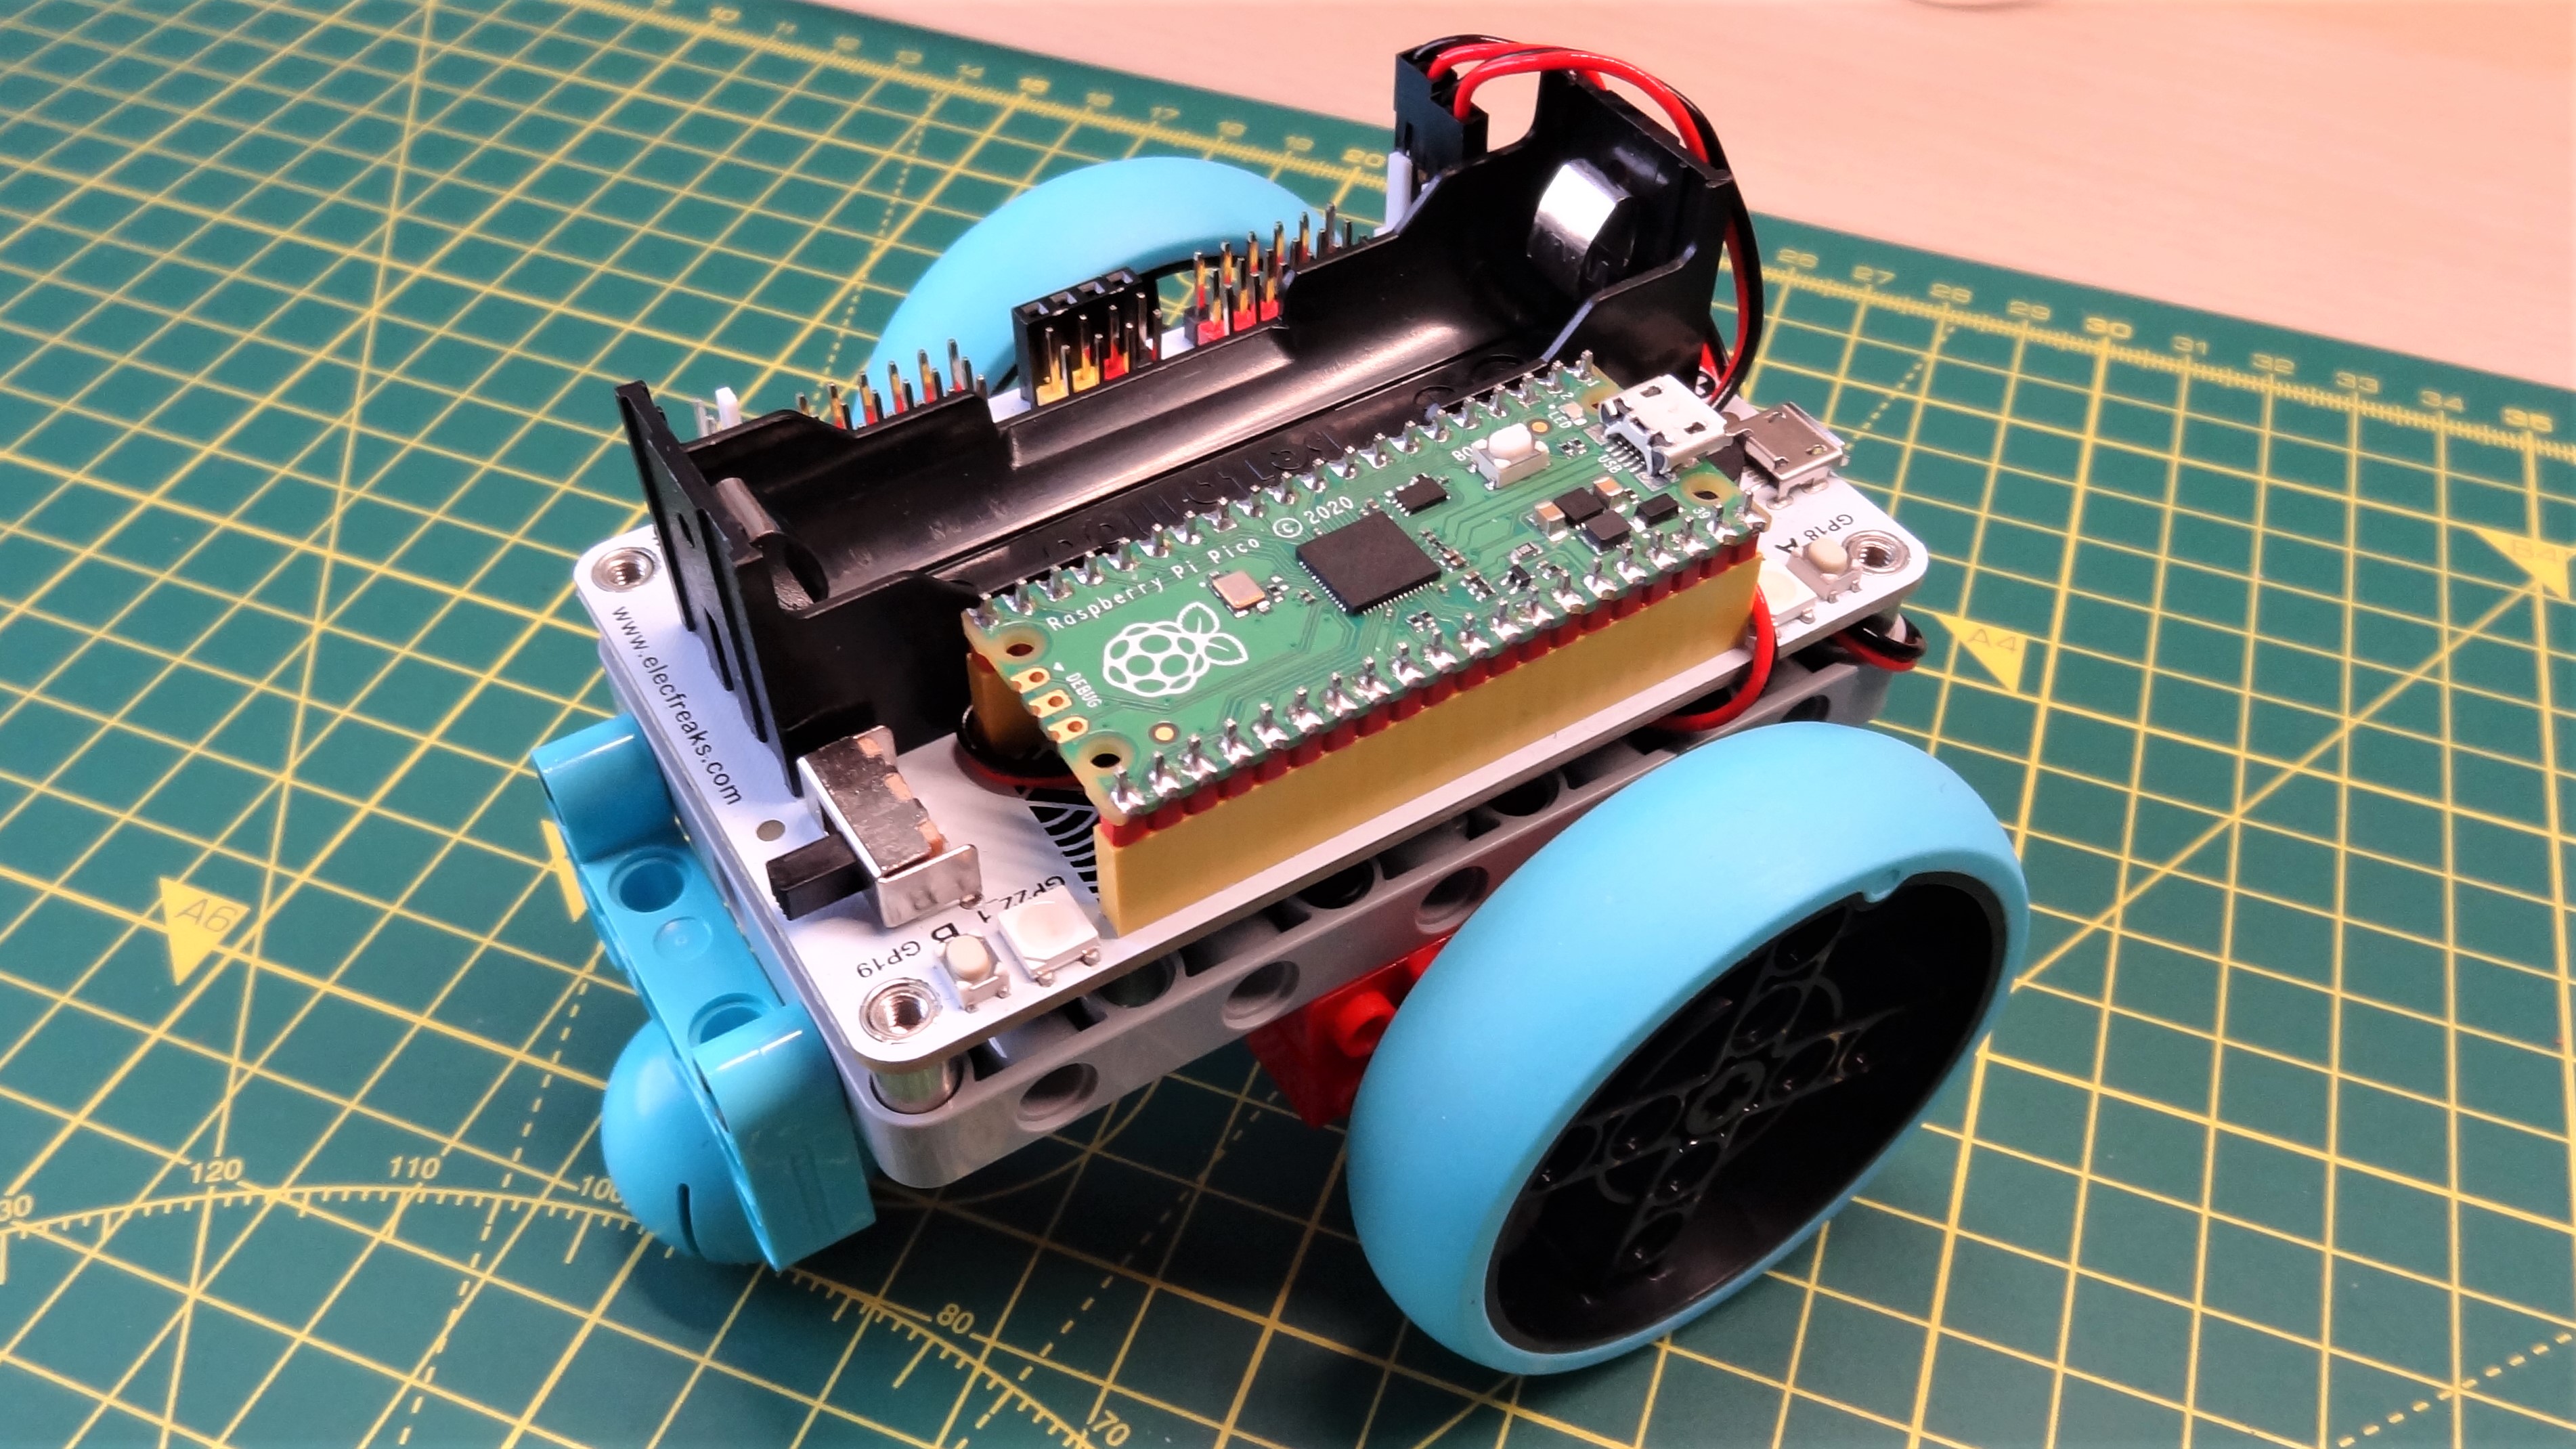
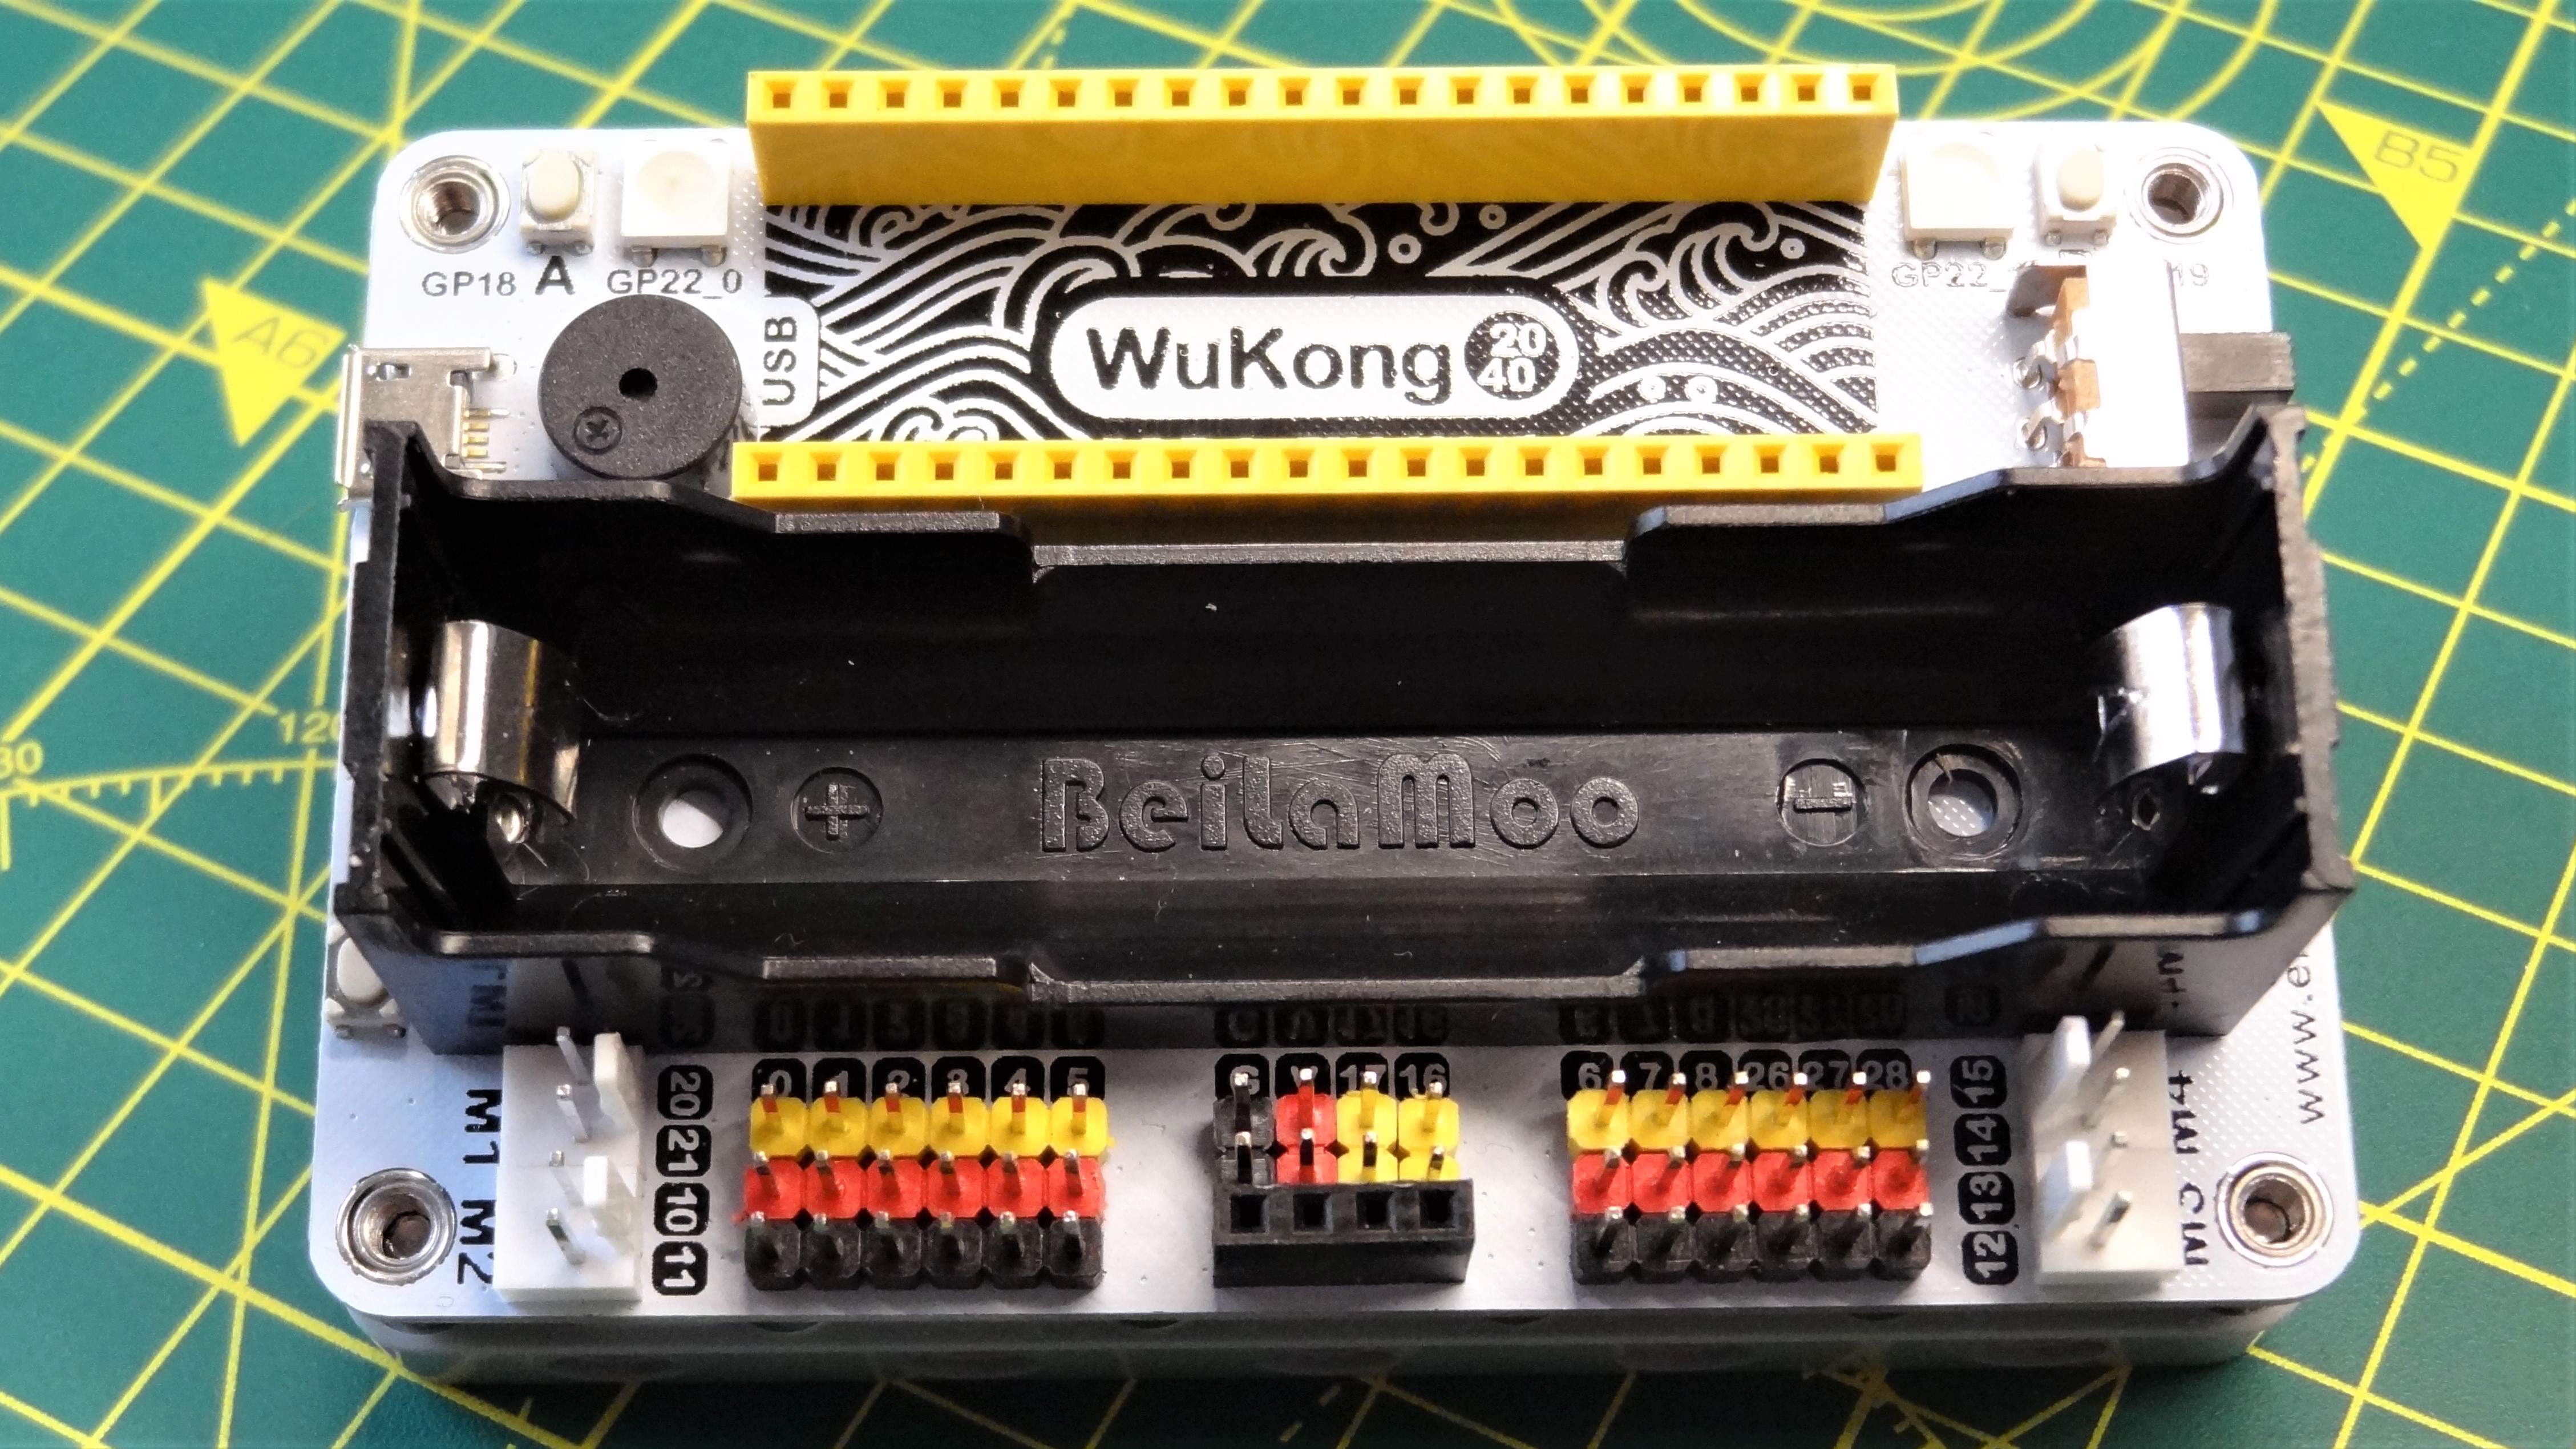
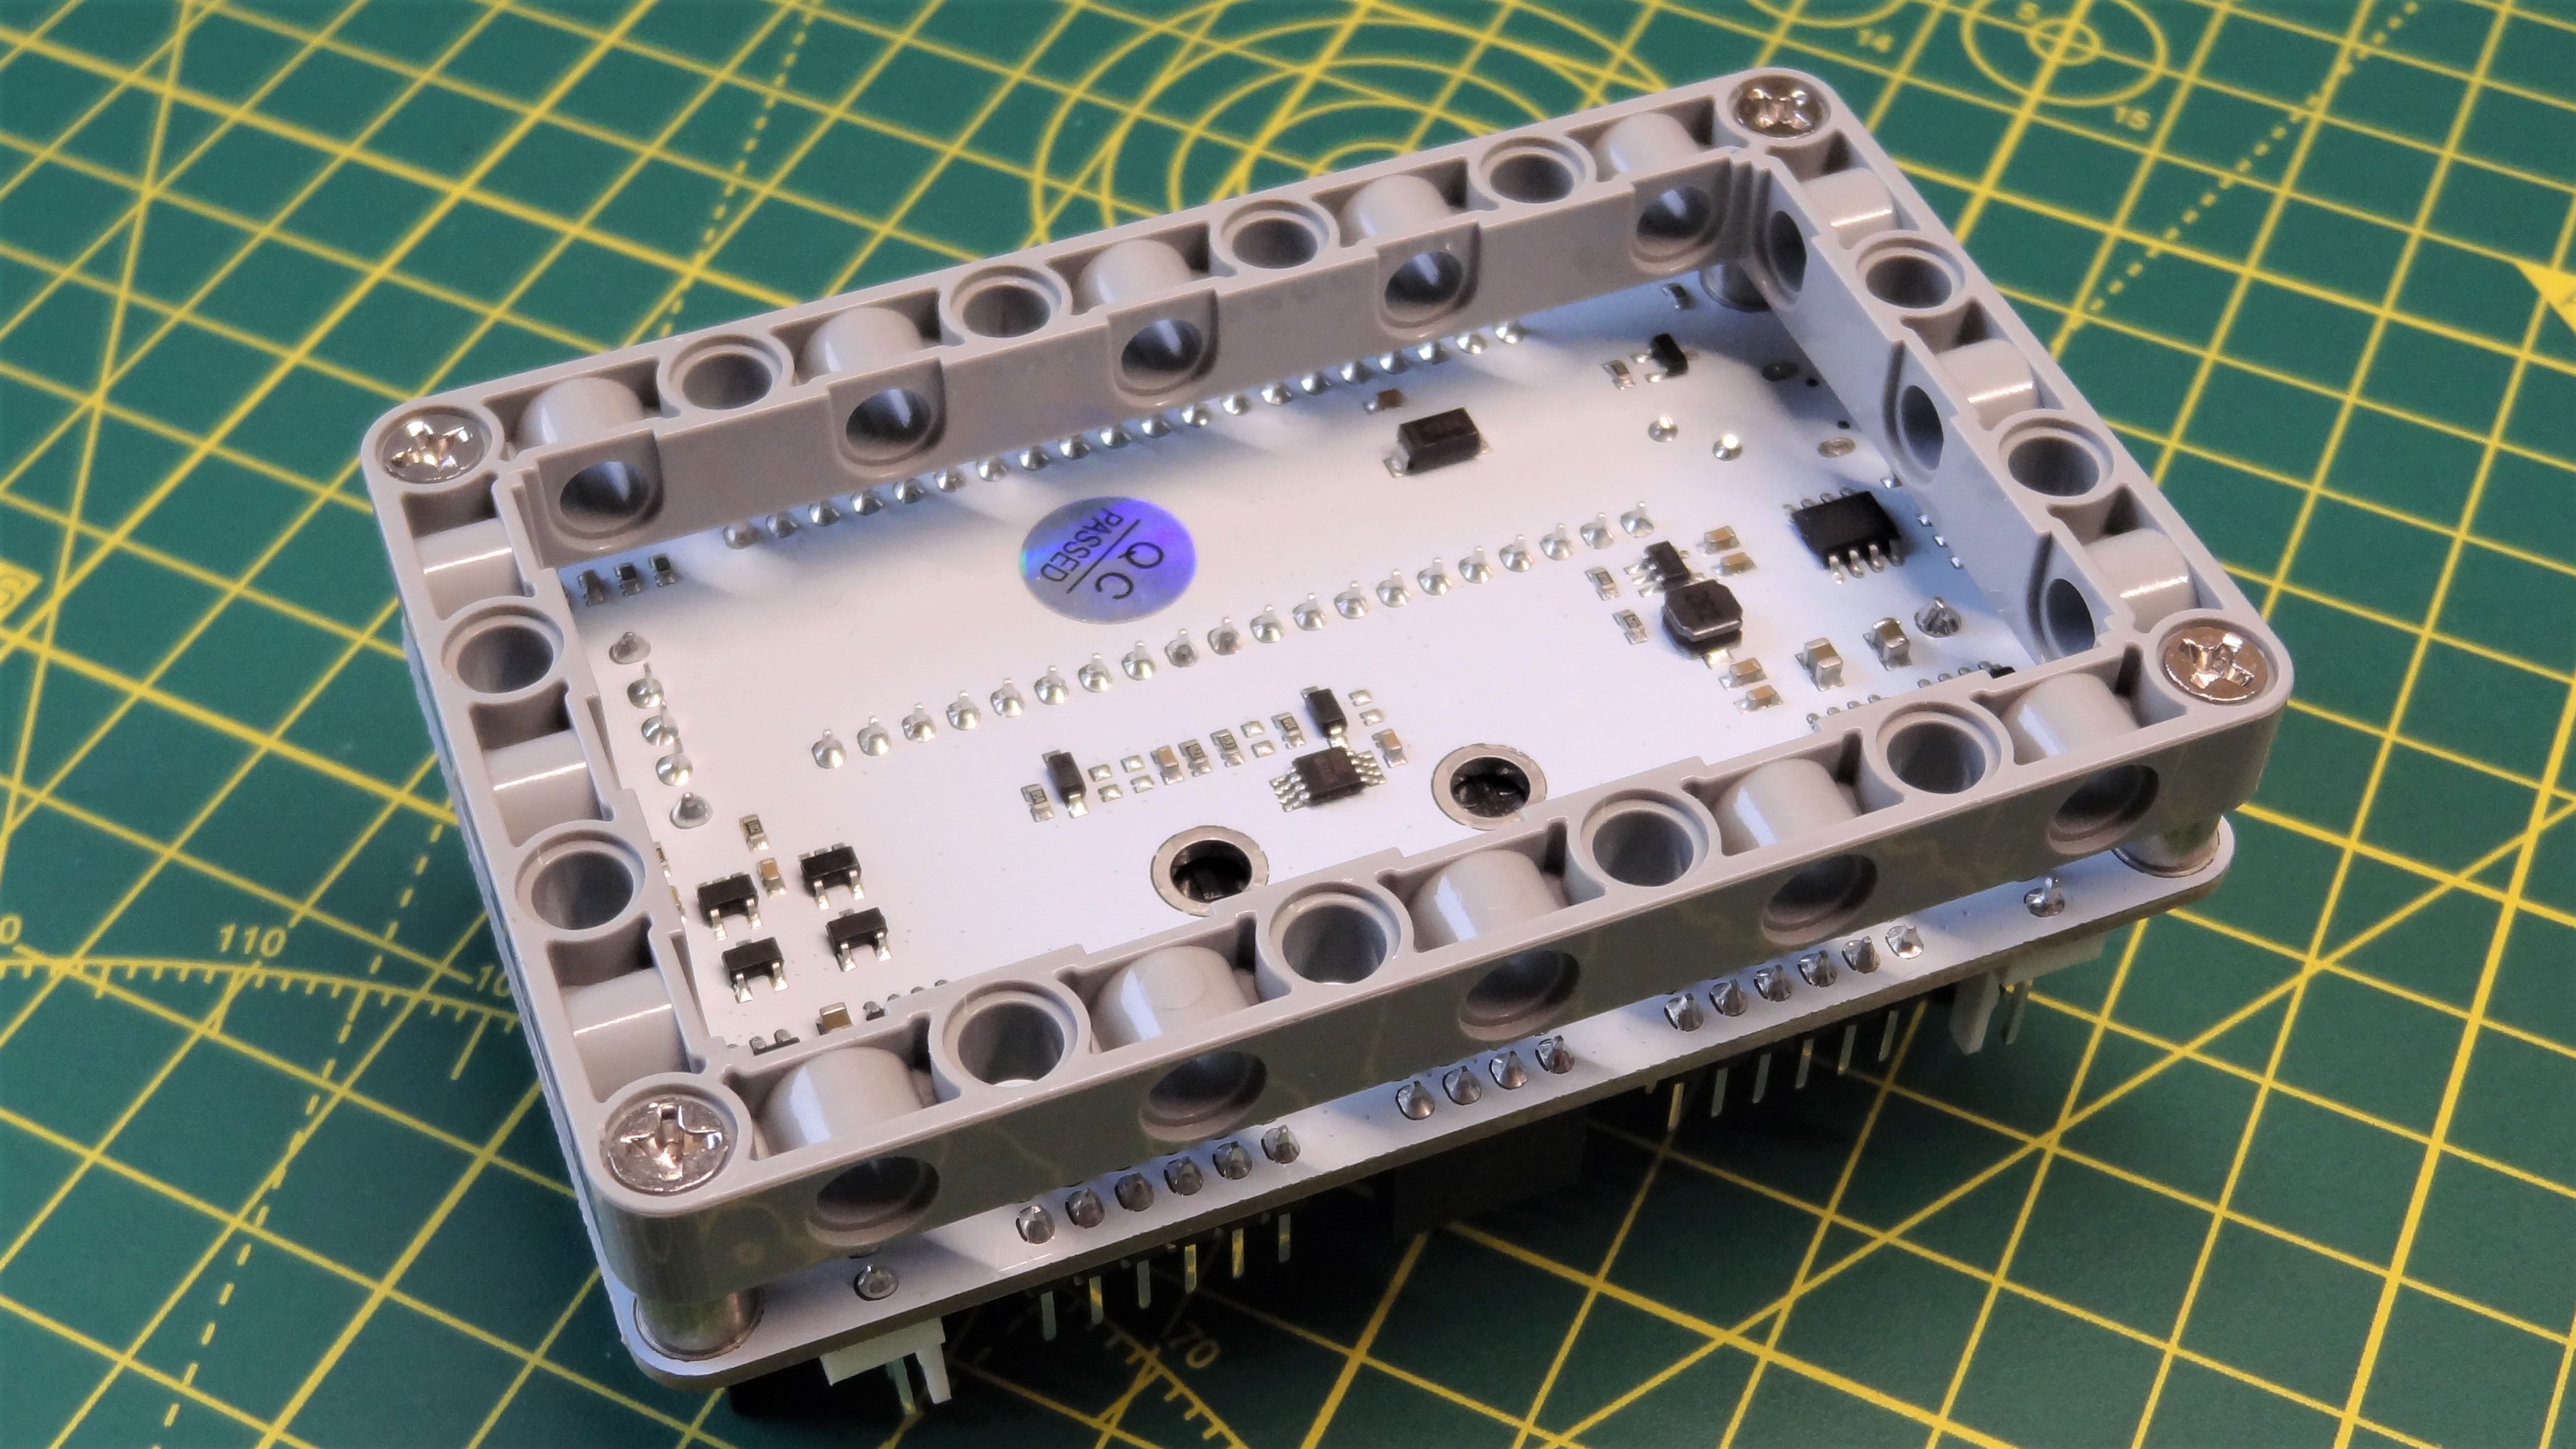
For $10 Elecfreaks’ WuKong 2040 is an interesting add on for the Raspberry Pi Pico and Pico W. It brings easy connections for four motors, 12 servos, or a mixture of sensors and general electronics components. But there are two things which make this stand out from the crowd. Firstly, there is a large 18650 battery holder on top of the board. This means that a project can be powered for up to an hour, and that the battery can be recharged using the onboard micro USB port. Secondly, underneath the board is a Lego compatible frame that can be used to integrate the board, and your Pico into a Lego based electronics project.
All of these features are great, but do they work and can I build something with them? To learn that I put it on the bench and took it for a test.
WuKong 2040 Specifications
| Pico Compatibility | Raspberry Pi Pico, Raspberry Pi Pico W and any other board which shares the pinout |
|---|---|
| GPIO | SVG (Signal, Voltage Gnd) pins for GPIO 0,1,2,3,4,5,6,7,8,16,17,26,27,28) |
| Motor connections | |
| M1: GPIO 20, 21 | |
| M2: GPIO 10, 11 | |
| M3: GPIO 12, 13 | |
| M4: GPIO 14, 15 | |
| Buttons | |
| A: GPIO18 | |
| B: GPIO19 | |
| NeoPixels / WS2812 | |
| GPIO 22 | |
| Buzzer | |
| GPIO 9 | |
| I2C, SPI, UART, PWM, Analog | |
| Power | Micro USB |
| 18650 Battery (Not Included) | |
| Onboard 18650 charger (1000 mA charging current) | |
| Dimensions | 87 x 55 x 37 mm |
Setting Up The WuKong 2040
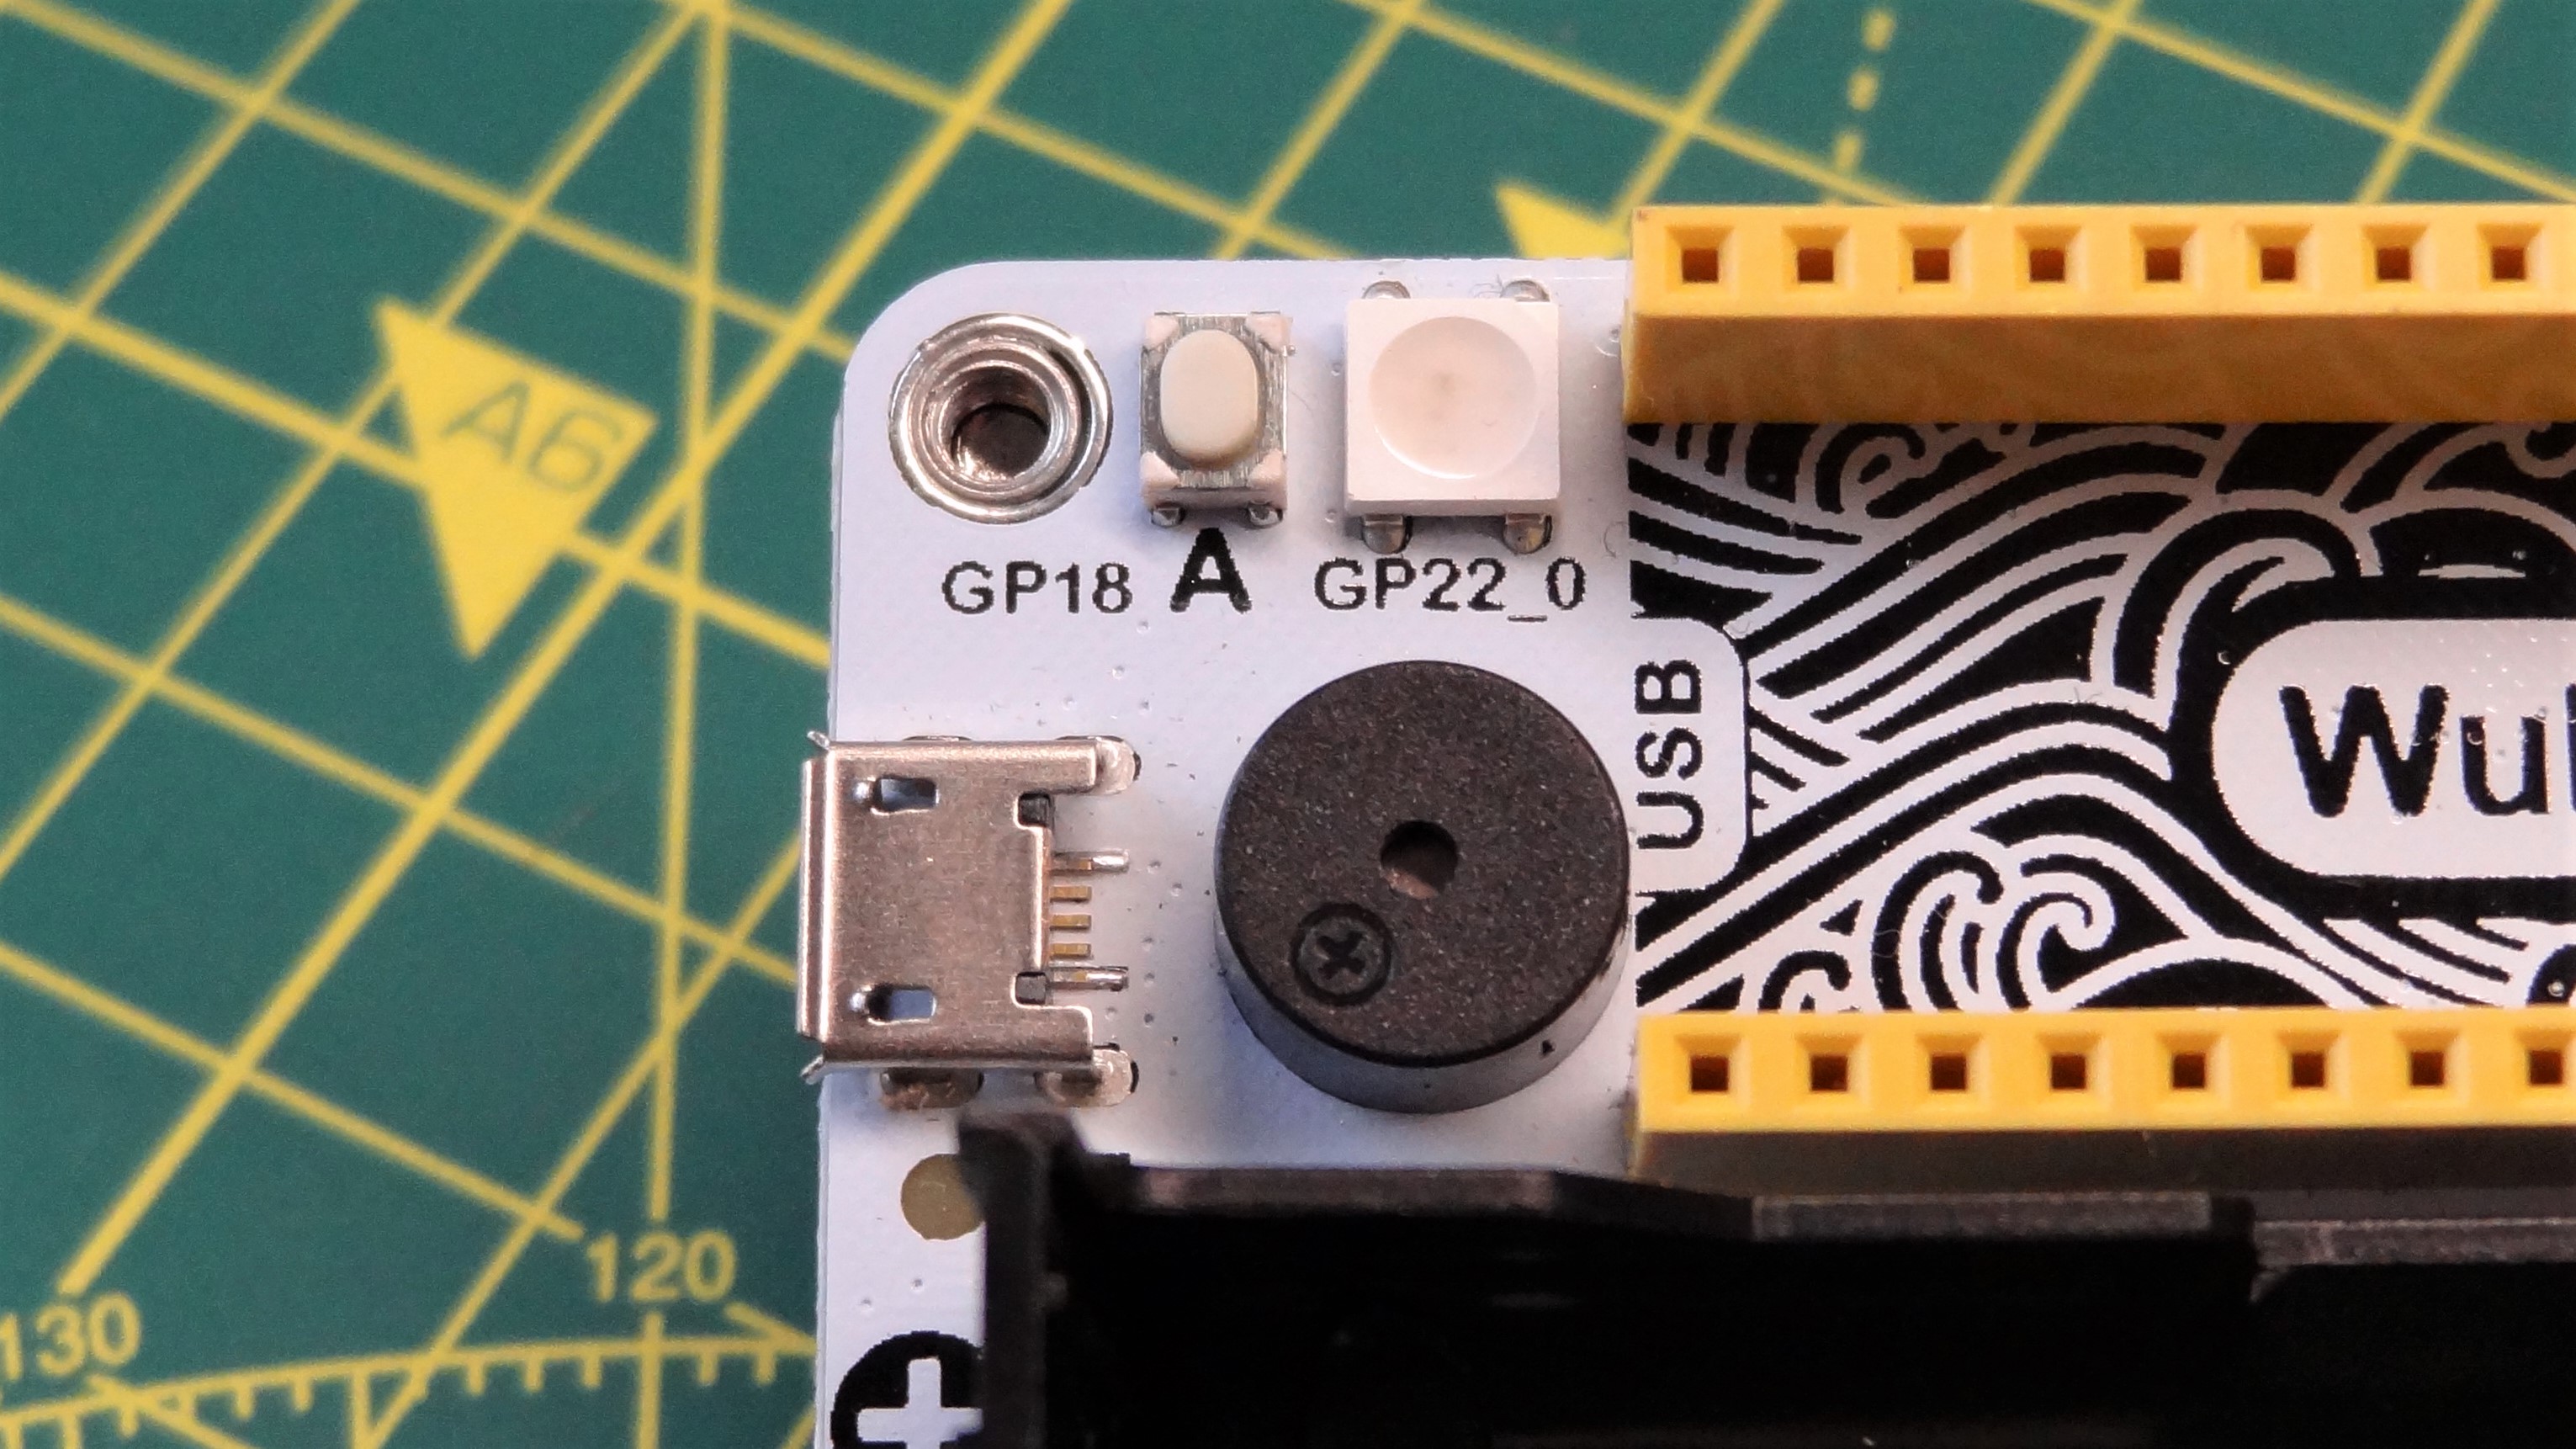
There’s no software library to install for the WuKong 2040, and this means we have direct access to the GPIO via any compatible programming language. Inserting the Raspberry Pi Pico into the header pins, my first instinct was to connect the micro USB cable to the micro USB port of the WuKong 2040. This instinct was incorrect. It seems that this particular port is reserved for charging an 186050 cell (not included).
Speaking of 18650s, you’ll need to pick up a battery with a flat top, not with a tip for the + polarity. A flat top battery will slide into place with minimal effort, whereas others will produce massive force on the spring steel contacts. If you’ve never used an 18650 before, heed this caution. They can store a lot of power and should never be damaged or shorted. Store them in a secure plastic container when not in use.
To write code to the Raspberry Pi Pico, I had to connect to the Pico’s own micro USB port. I’m not a massive fan of this as the number of plug / unplug cycles will ultimately reduce the life of the Pico. But that is just the way it is.
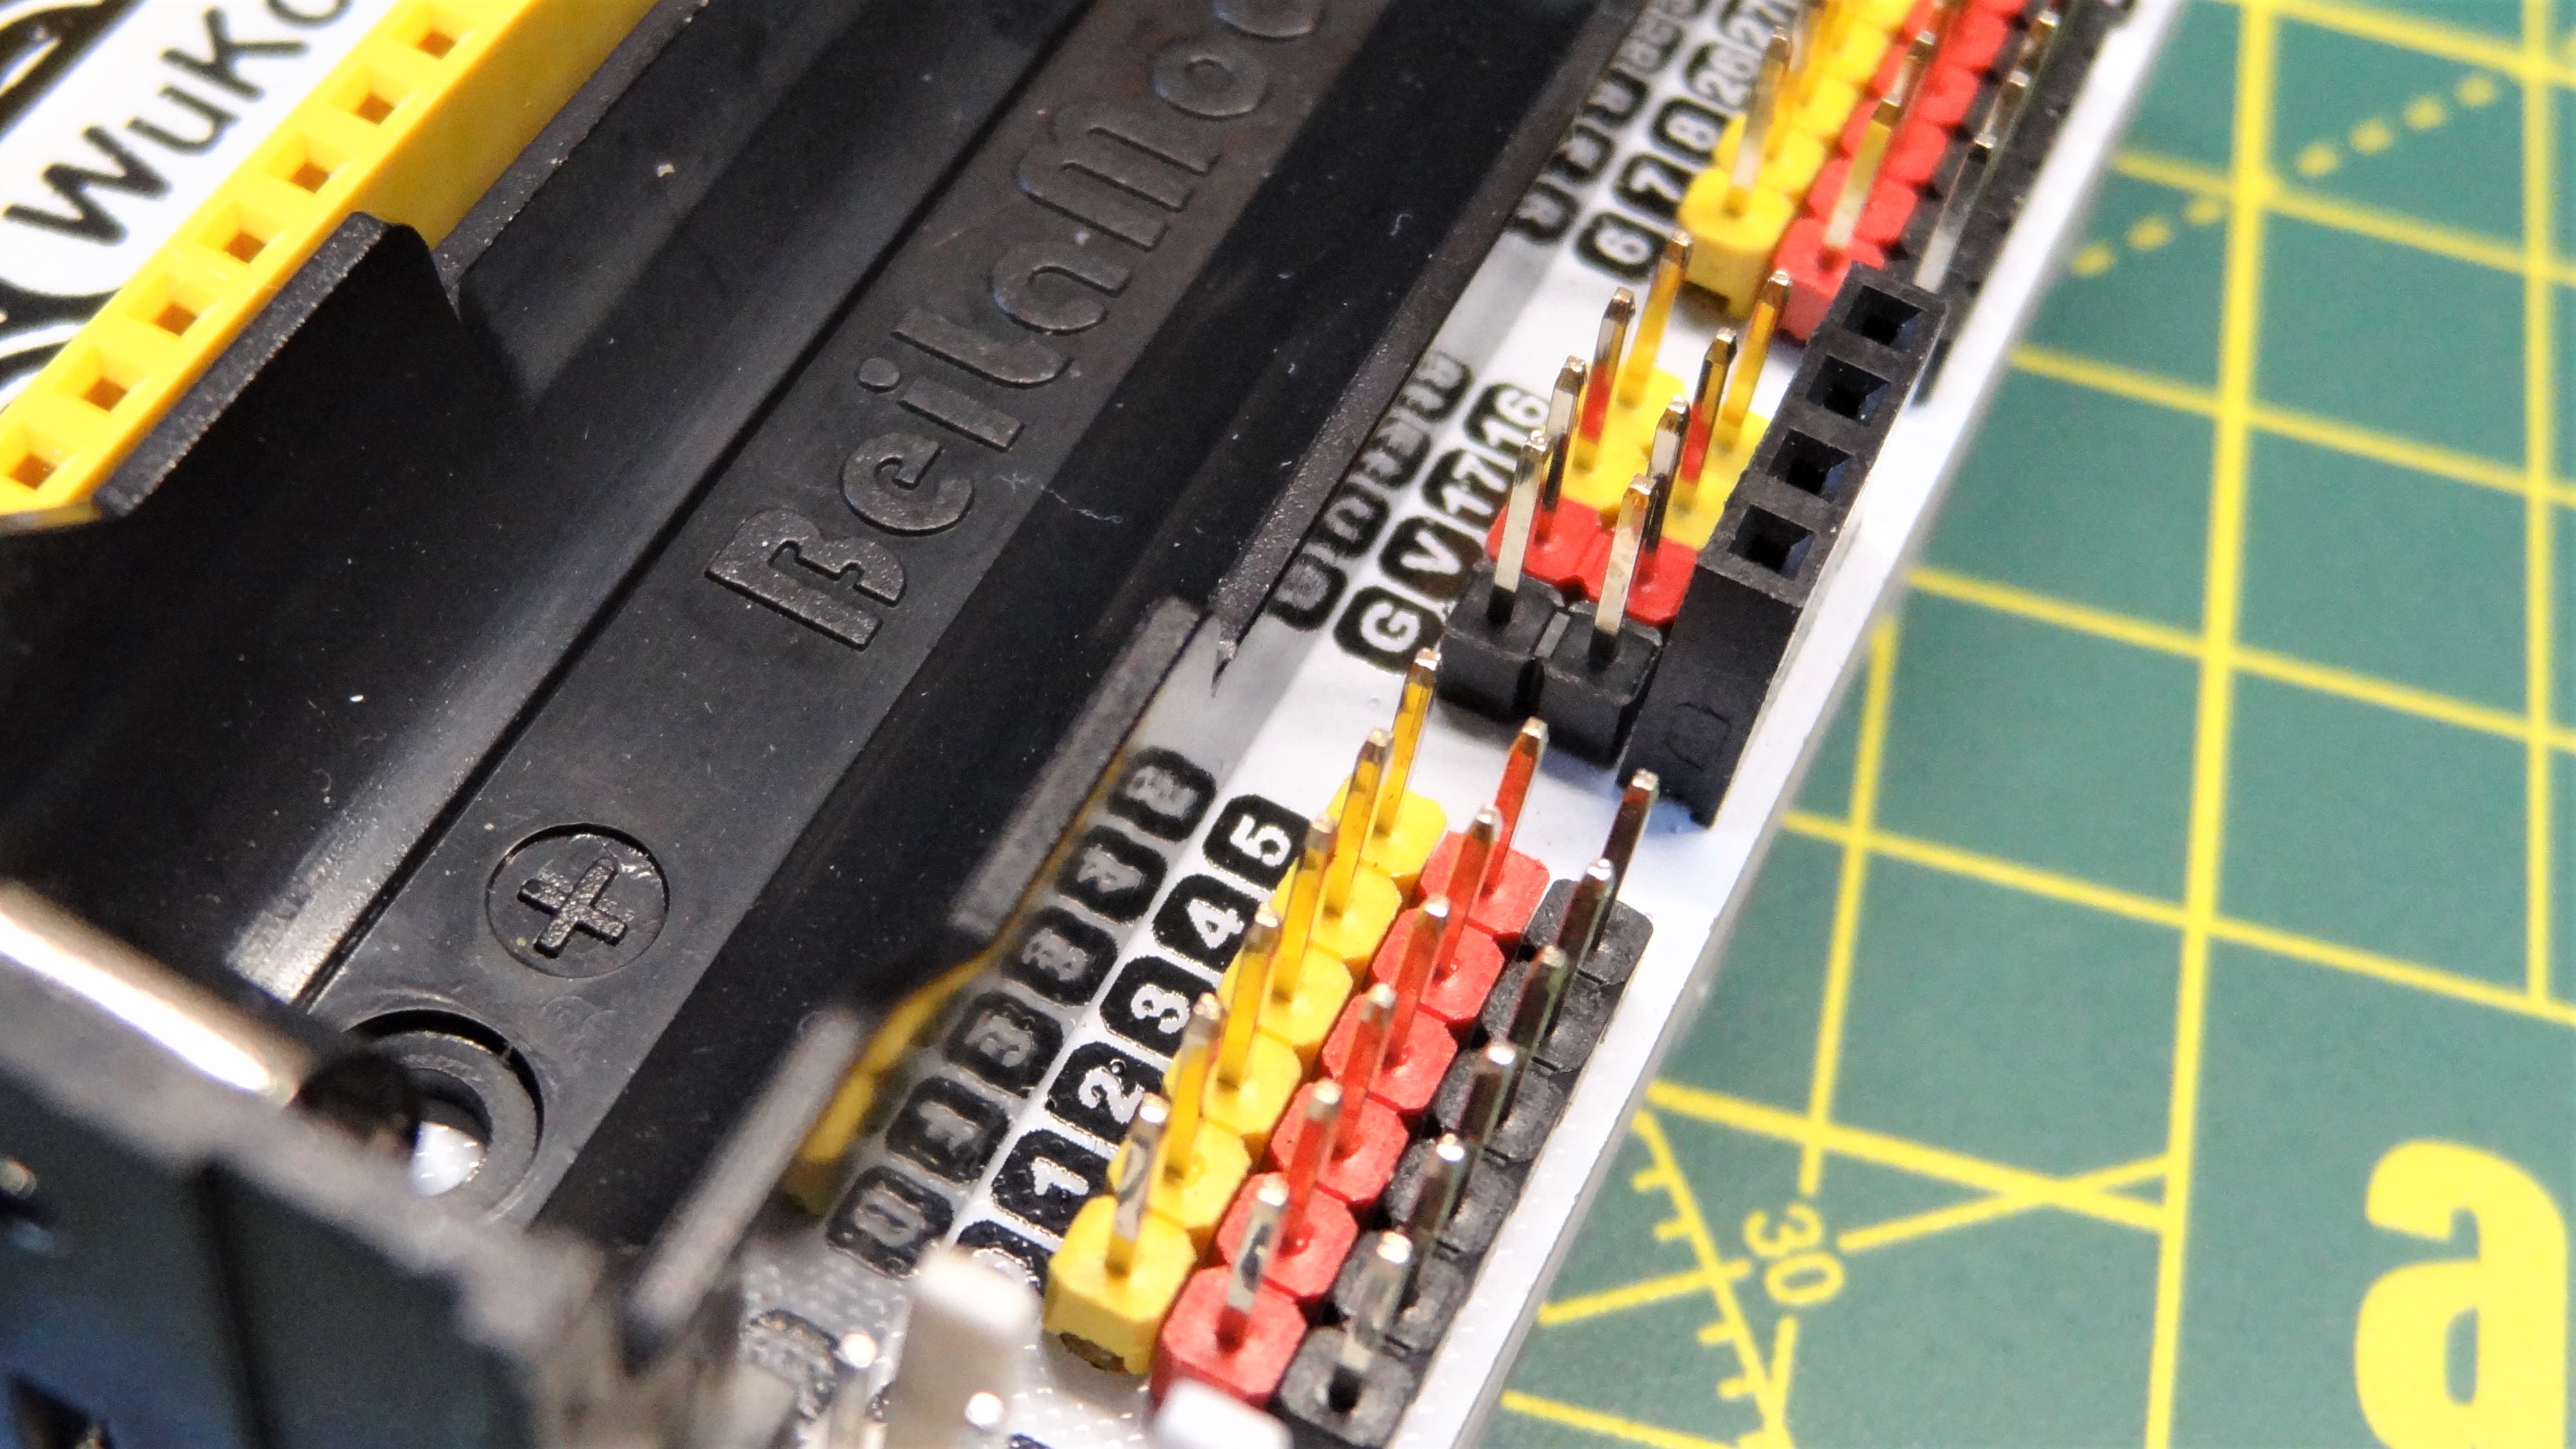
The GPIO is broken out via a series of SVG (Signal (Yellow), Voltage (Red) and Ground (Black)) pins. This means that there is access to 3V and GND for every connection, handy.
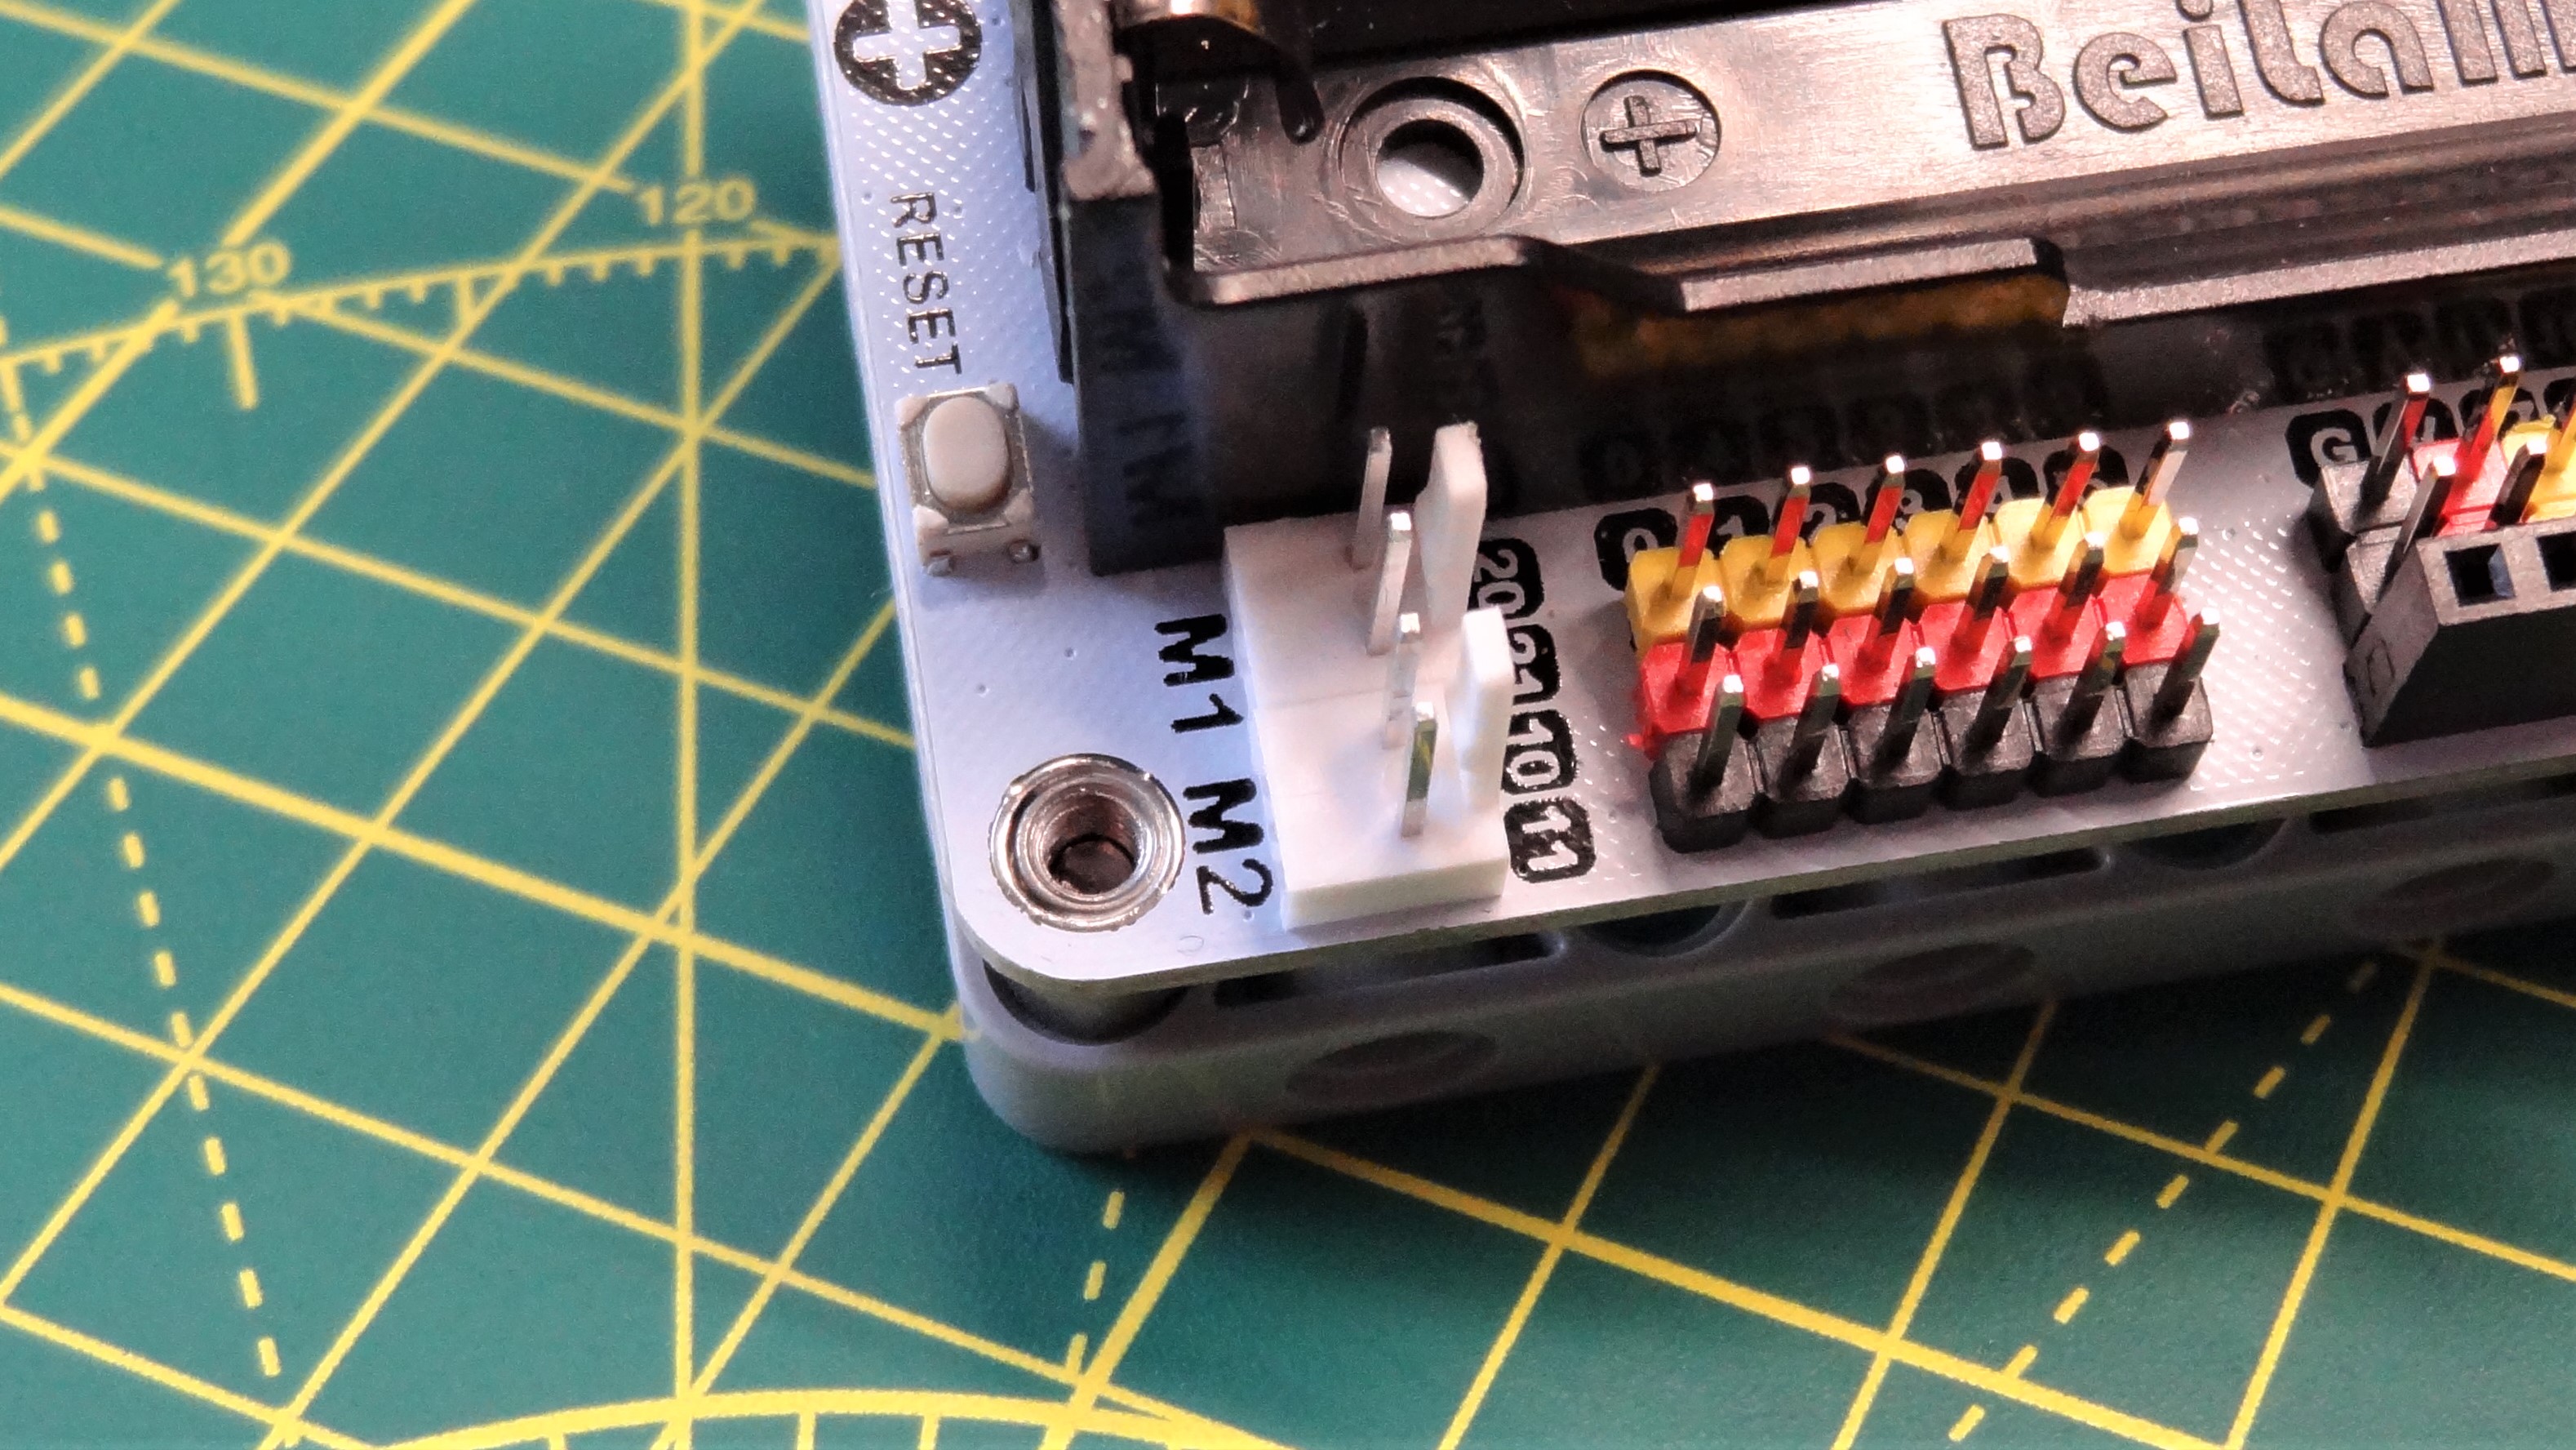
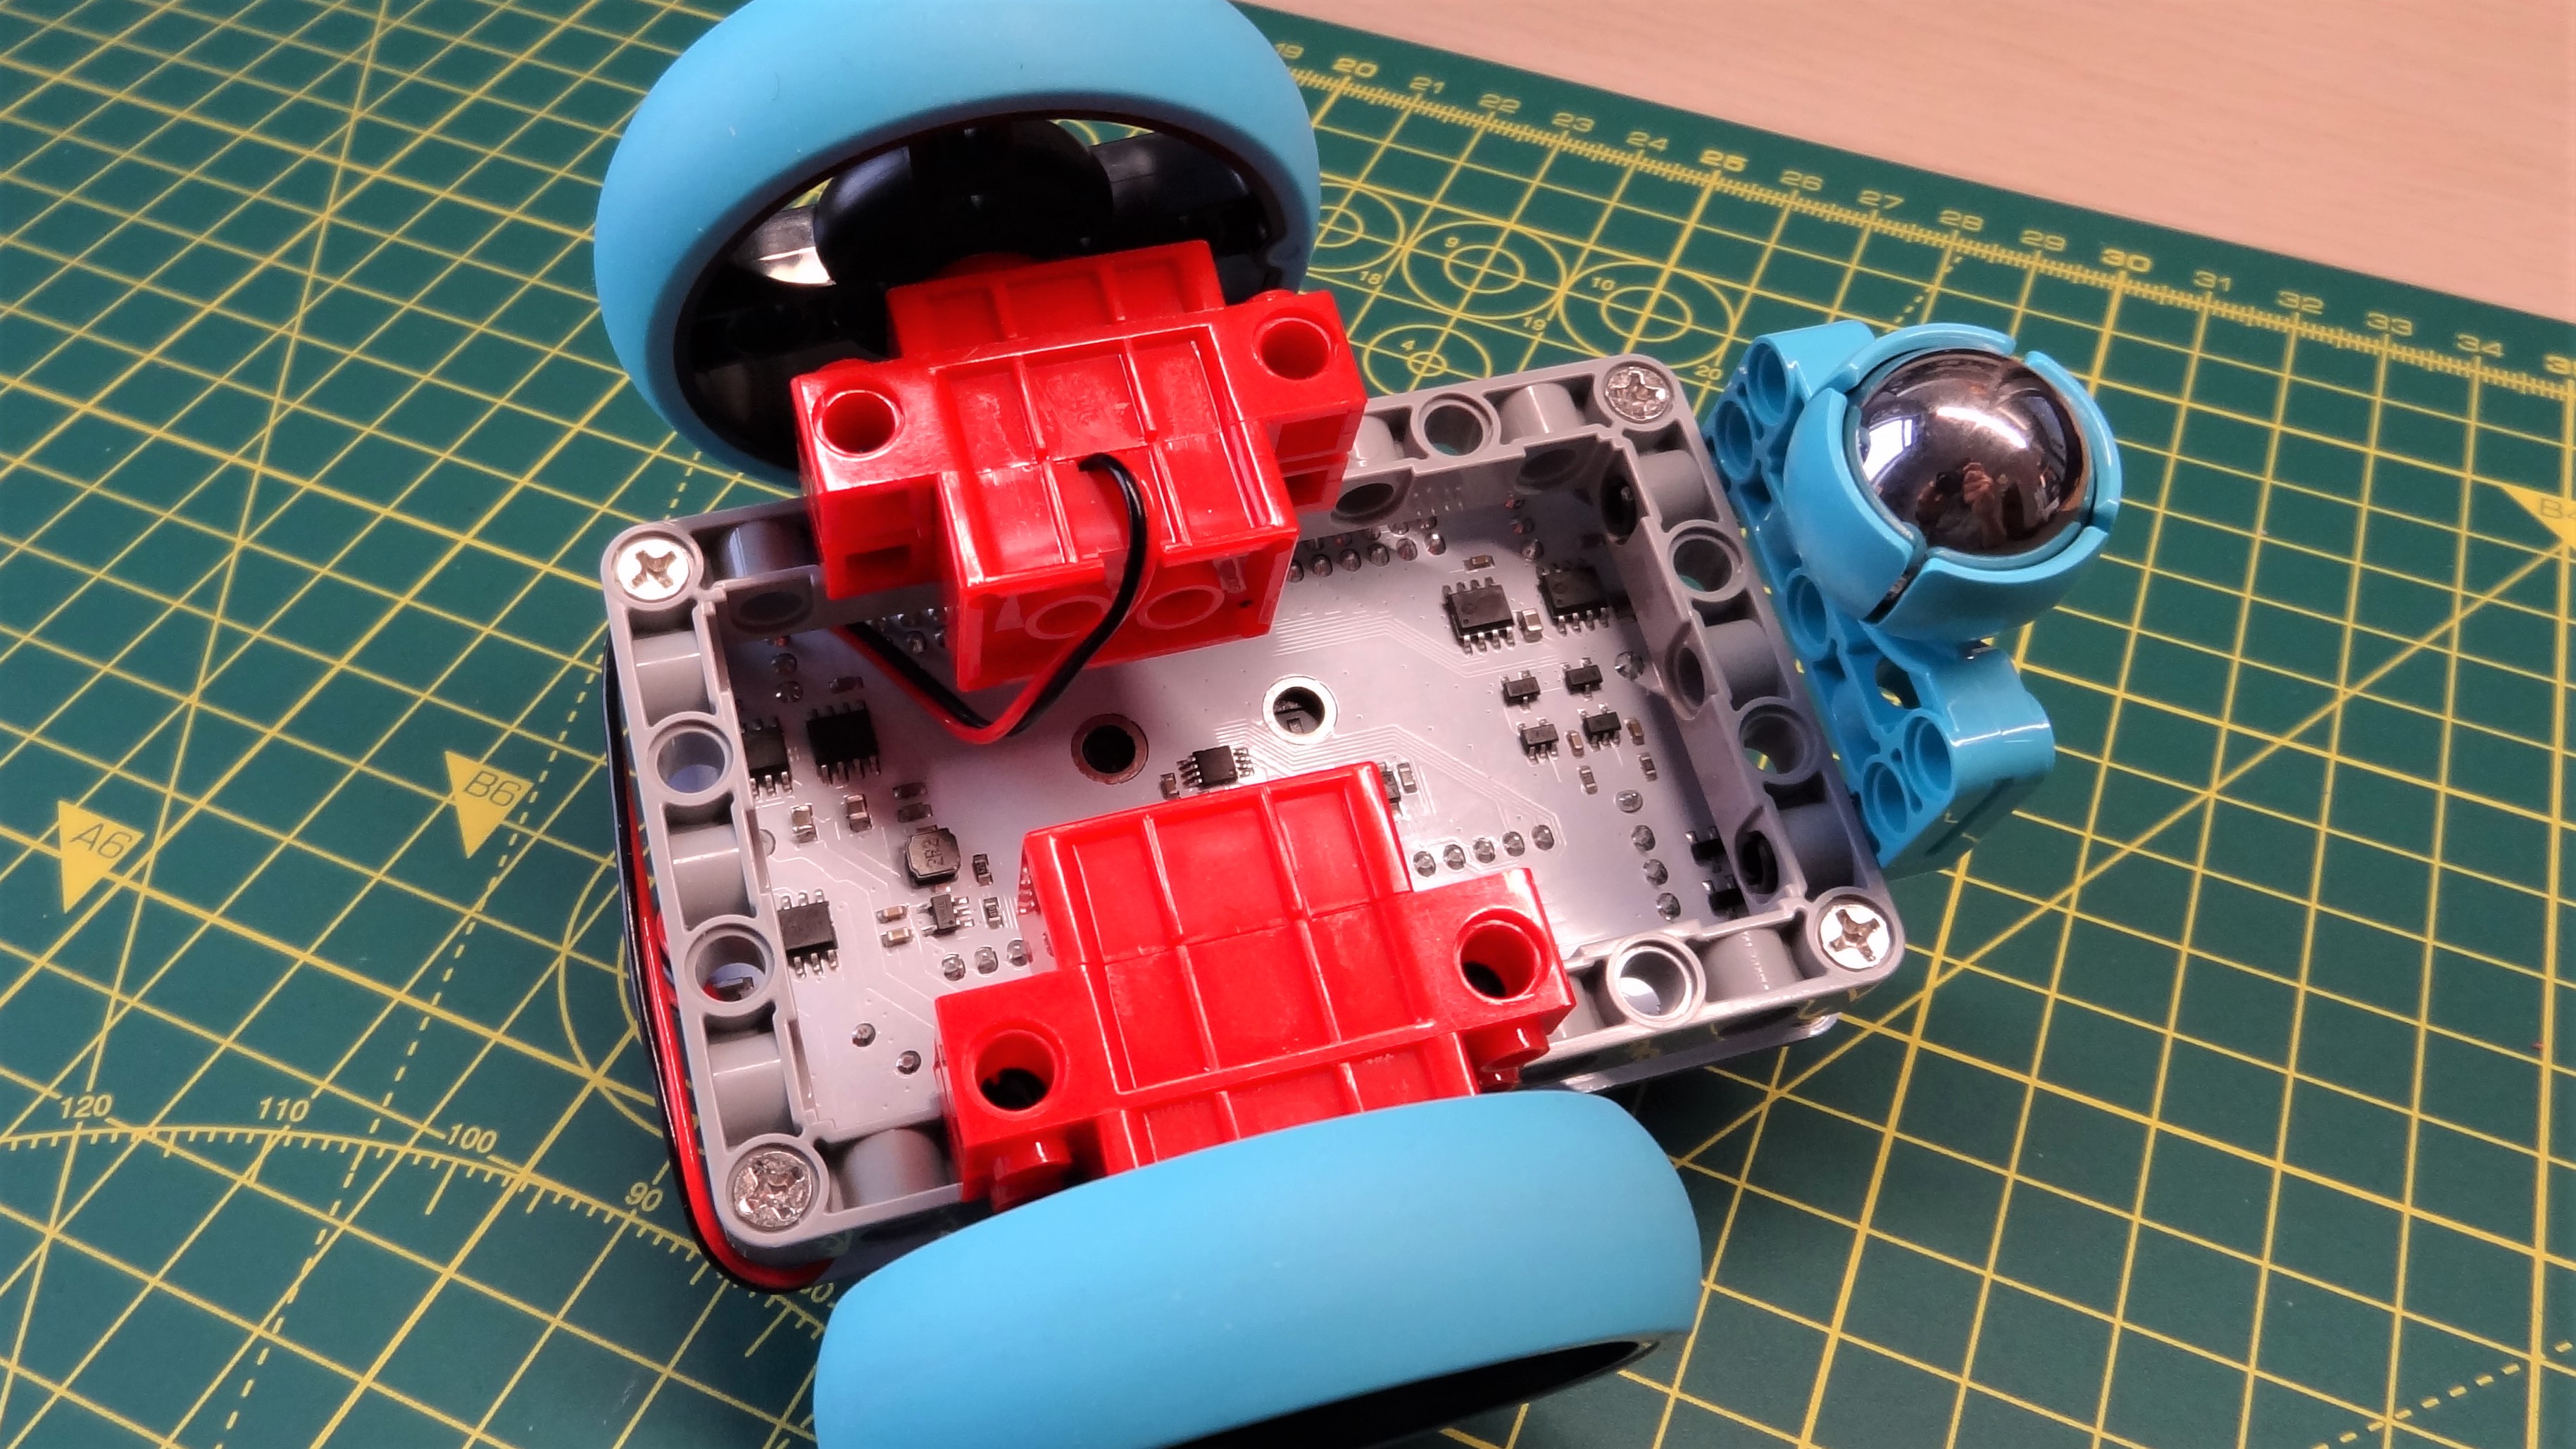
Where it comes into its own is when a servo is attached. The SVG pinout matches a servo perfectly, and with a little code there can be up to 12 servos in operation. There are four motor terminals, marked M1 to M4. These terminals are connected to GPIO pin breakouts for the Raspberry Pi Pico via four chips. The chips should be some form of H bridge controller, where the polarity of the motor can be switched to provide forward and backward motion. But these 75V15 chips have me stumped. I can’t find a datasheet for them. However , they do work as well as a traditional H bridge motor controller (L298, L3110S, DRV8833 etc). I connected up two Lego compatible DC motors and wrote a few lines of MicroPython to spin a robot around my desk.
Get Tom's Hardware's best news and in-depth reviews, straight to your inbox.
The onboard Neopixels are bright and easy to use with MicroPython and CircuitPython. Elecfreaks suggested using Adafruit’s CircuitPython and so that is what I used for a quick test. This is also where I hit a snag. Normally, I would save the code to the Pico as code.py, the NeoPixel library would be in the lib folder and everything would just work. But it did not. After a little head scratching, I found that I had to swap the micro USB port from the Pico to the WuKong 2040 in order to see the NeoPixels illuminate. That’s not a great workflow, and one that could cause issues for newcomers.
Lego Compatible Chassis
Underneath the mainboard is a Lego compatible frame. This frame is designed to work with Technic components, and is also compatible with Lego Spike components. I attached two Lego compatible DC motors, purchased from Aliexpress for less than $10 for the pair, then raided my box of Lego Spike parts. 90% of the parts i connected were not official Lego, but be they official or not, they were all solidly connected. The Lego chassis integration is a key selling point. It means we can make projects without the need for the best 3D printer or a laser cutter.
What Projects Can Be Made With Wikong 2040?
First and foremost, this is a board for Pico robotics. It just works with robots. Throw a Raspberry Pi Pico W on top, an 18650 battery in and some time learning Anvil you have a Wi-Fi controlled robot.
The digital and analog GPIO and specialist protocols also tie in nicely with the onboard battery system. It means that I can make a sensor platform with just a few parts, put it in a nice case and start collecting data. Multiple servo connections make this a fun board to build a walking robot or a sensor triggered art installation which gracefully changes form.
Bottom Line
For $10, I can forgive the micro USB issue. Sure it is annoying but the sheer number of features and easements present on the WuKong 2040 mean I can have lots of fun. The onboard 18650 battery holder and charging system are useful, and while I don’t get a full GPIO breakout, what I get is plenty for my needs.
Printing the GPIO pin reference on the board is handy, I just wish that it included the I2C, SPI, UART pin references too. The Lego compatible base is great fun for Lego fans such as myself. If you don’t need it, no worries. Grab a cross head screwdriver and it comes off in a jiffy. In a classroom, makerspace or homebrew project, the WuKong 2040 is a great all rounder for $10.
MORE: Best RP2040 Boards
MORE: Best Raspberry Pi Projects
MORE: Raspberry Pi: How to Get Started

Les Pounder is an associate editor at Tom's Hardware. He is a creative technologist and for seven years has created projects to educate and inspire minds both young and old. He has worked with the Raspberry Pi Foundation to write and deliver their teacher training program "Picademy".
