Tom's Hardware Verdict
The Elegoo Mars is an affordable printer with the quality and performance of a professional machine. It's an excellent 3D printer for both resin printing newbies and enthusiasts alike.
Pros
- +
Affordable
- +
Easy-to-Use
- +
High-Quality Prints
- +
Sleek Design
Cons
- -
Loud beeping throughout beginning and end of printing process
Why you can trust Tom's Hardware
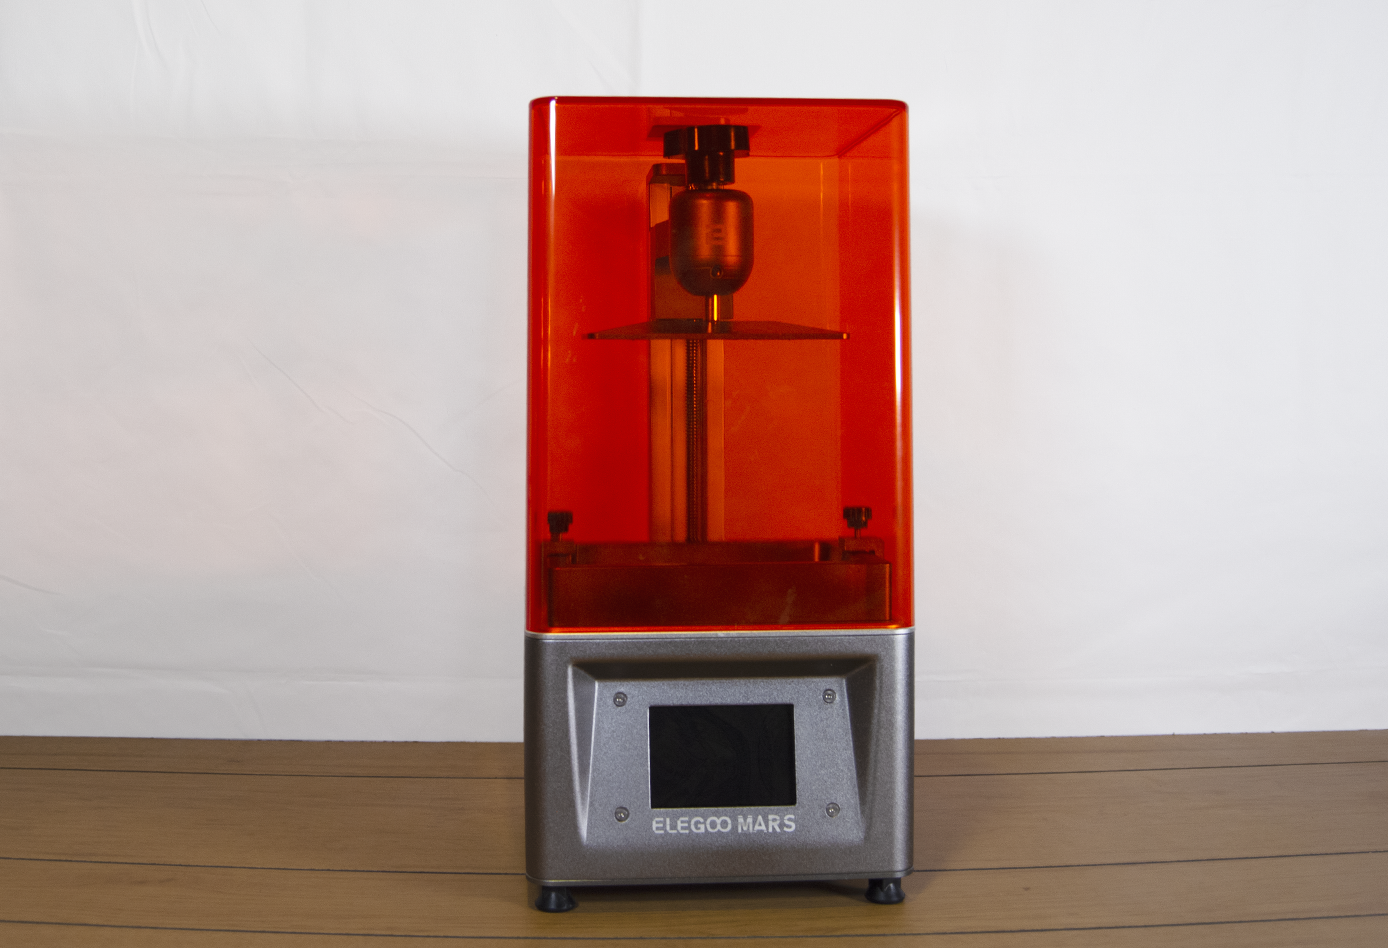
Most affordable 3D printers use FDM (Fusion Deposition Modeling), a process which involves extruding hot plastics. Resin-based printers usually offer more detail and smoother surfaces, but they also cost more. Enter the Elegoo Mars, which uses precise resin curing to provide impressive output for a very-affordable $259. This printer is sleek, affordable, easy-to-use and more than capable of standing up to expensive competitors.
Specifications
| Row 0 - Cell 0 | Row 0 - Cell 1 |
| Printer | ELEGOO Mars UV Photocuring LCD 3D Printer |
| Dimensions | 7.87 x 7.87 x 16.14 inches (20 x 20 x 41cm) |
| Build Volume | 4.7" x 2.6" x 6.1" (120 x 68 x 155mm) |
| Printing | Photopolymer Resin |
| Interface | Touchscreen |
| LCD | 2560×1440 2K HD masking LCD |
| UV | 40W |
Print Quality
The print quality on the Elegoo Mars is incredible. This printer gives higher-priced competitors a run for their money. The X/Y resolution is 0.00185" (0.047mm), so the quality on everything you print is already miles ahead of your standard FDM printer. Here’s a quick comparison of the same castle printed on an FDM printer next to one printed on the Mars.
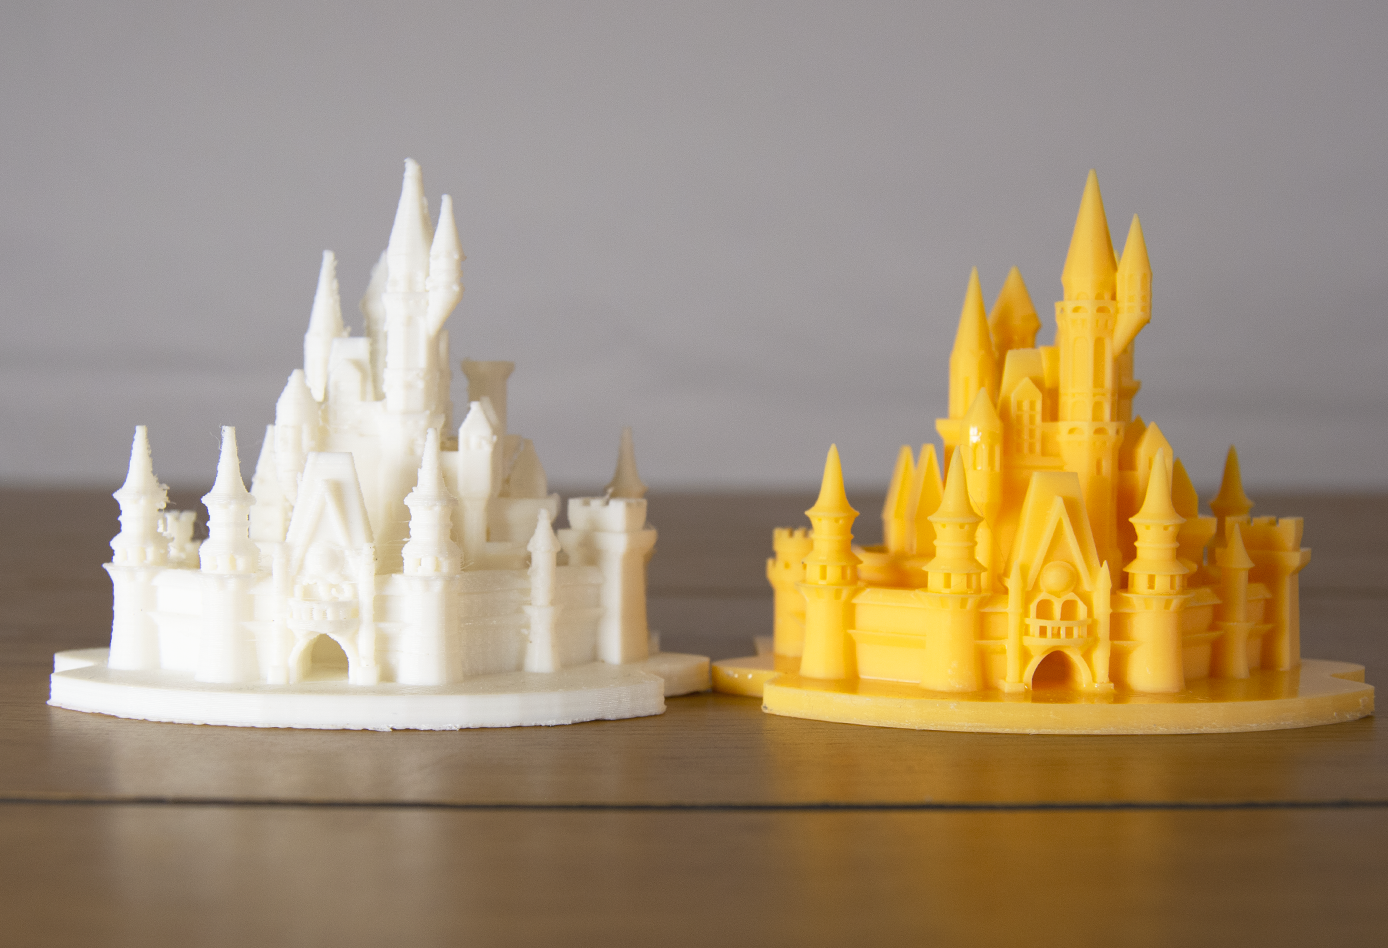
Everything I printed on the Mars was so precise that no touchups were needed. Small details and tiny designs are very much visible and easily printed. The print quality definitely stands up to similar (albeit more expensive) printers on the market.
Design
The Elegoo Mars leans on the smaller side. It doesn't take up much space and offers a small build volume. But that isn't necessarily a downside! The price factor and performance more than makeup for the size.
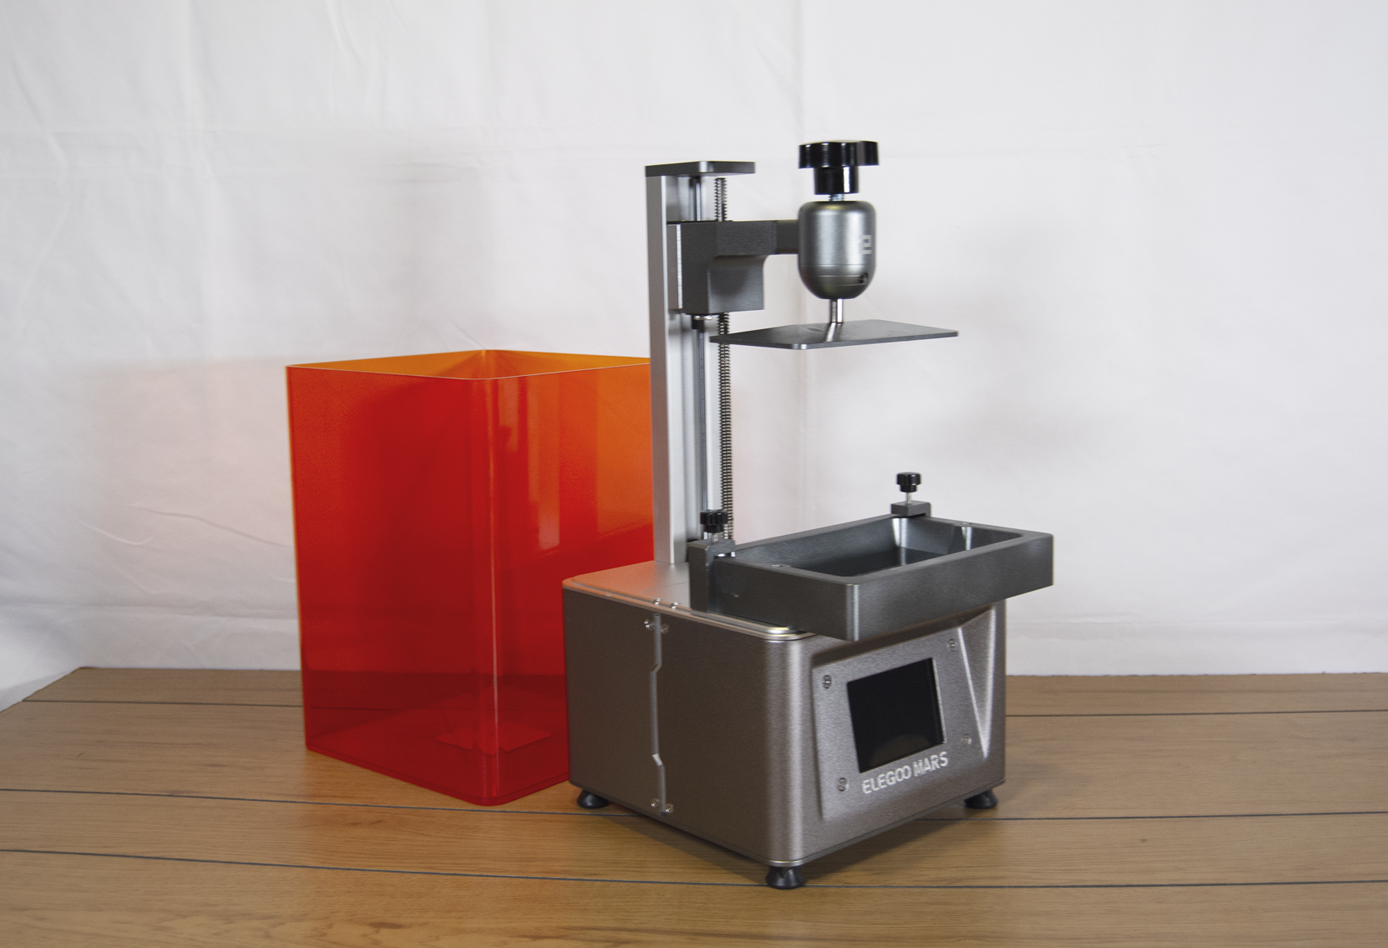
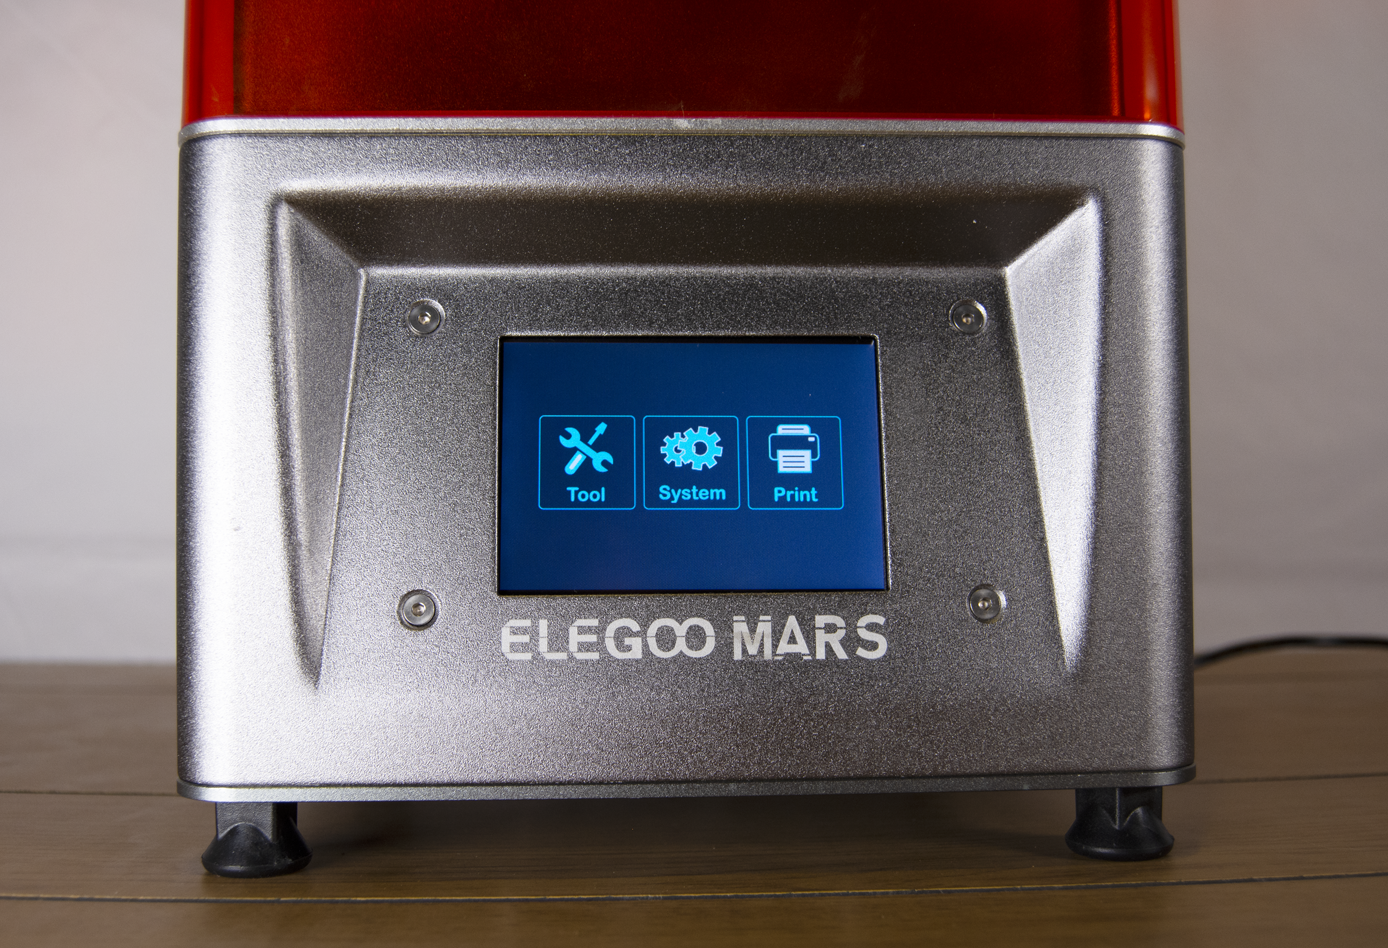
The Elegoo Mars design is remarkable given the price. The aluminum base lines up perfectly with the orange UV cover—it looks really sleek on a workbench but your taste may vary. It has a relatively small footprint, taking up a 7.87" x 7.87" (20cm x 20cm) square space and reaching 16.14" (41cm) high.
You'll find a touch screen interface on the front of the base. It’s pressure-sensitive, which is always welcome when you're working in nylon gloves. The UI is easy to navigate and intuitive in design. Everything you would expect is available—basic printer settings, leveling tools, and access to the flash drive storage.
Get Tom's Hardware's best news and in-depth reviews, straight to your inbox.
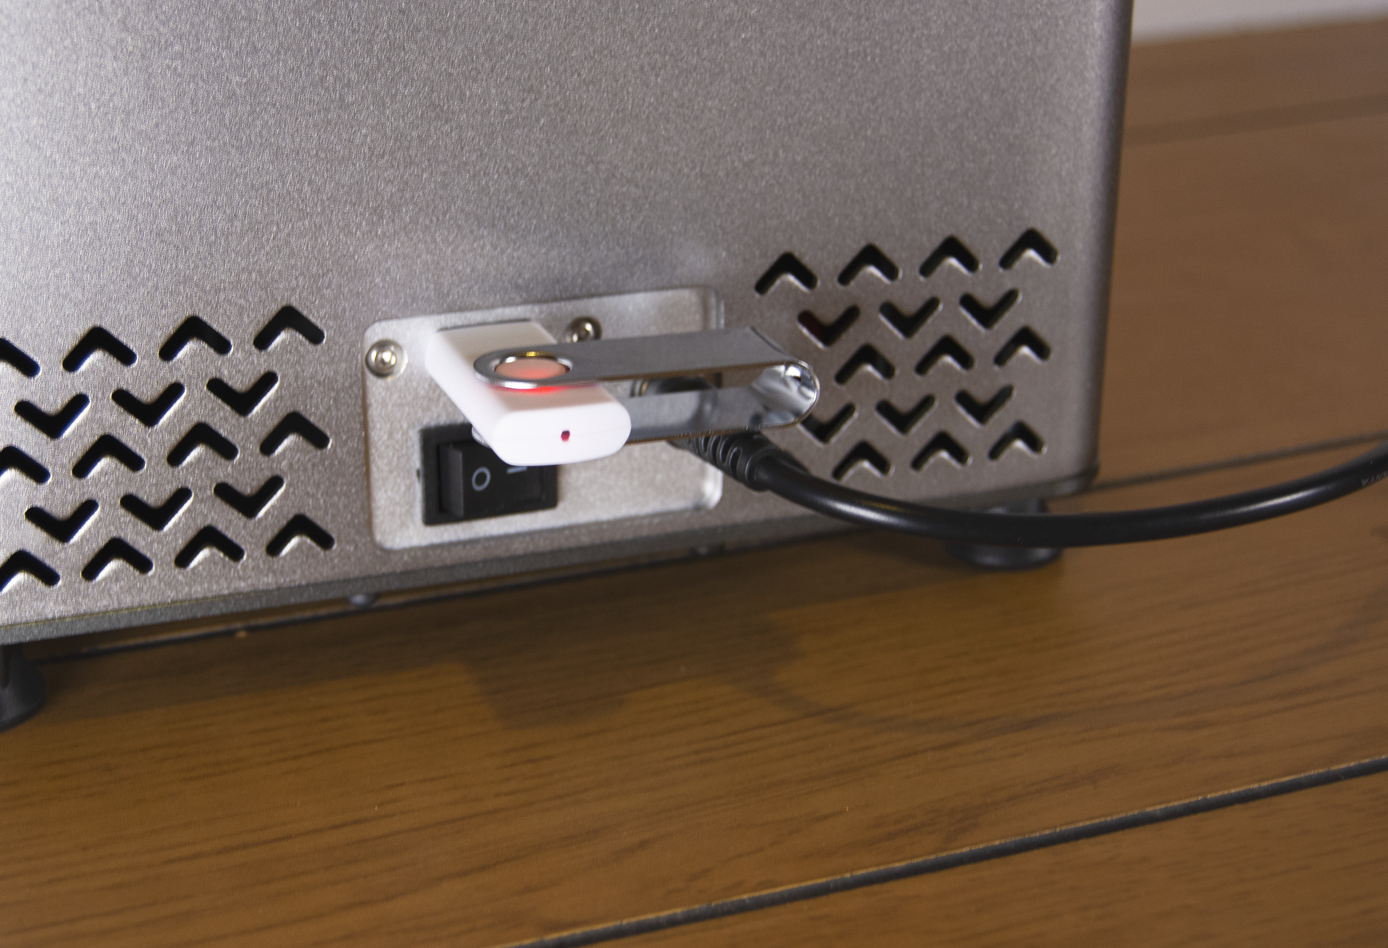
Prints are loaded onto a flash drive (one is included with the printer) which can be plugged into the USB slot on the back of the printer. The back panel also houses the power button and power cord port.
In the Box
The box comes with just enough materials to help start your first print. You will need to purchase your own resin and 99% alcohol for cleaning final prints. In the box, you can expect:
- The Elegoo Mars Printer
- UV Cover
- Build platform
- Power Adapter
- Instruction Manual
- Tool Kit
The Tool Kit is a separate package containing smaller tools and components. You'll find:
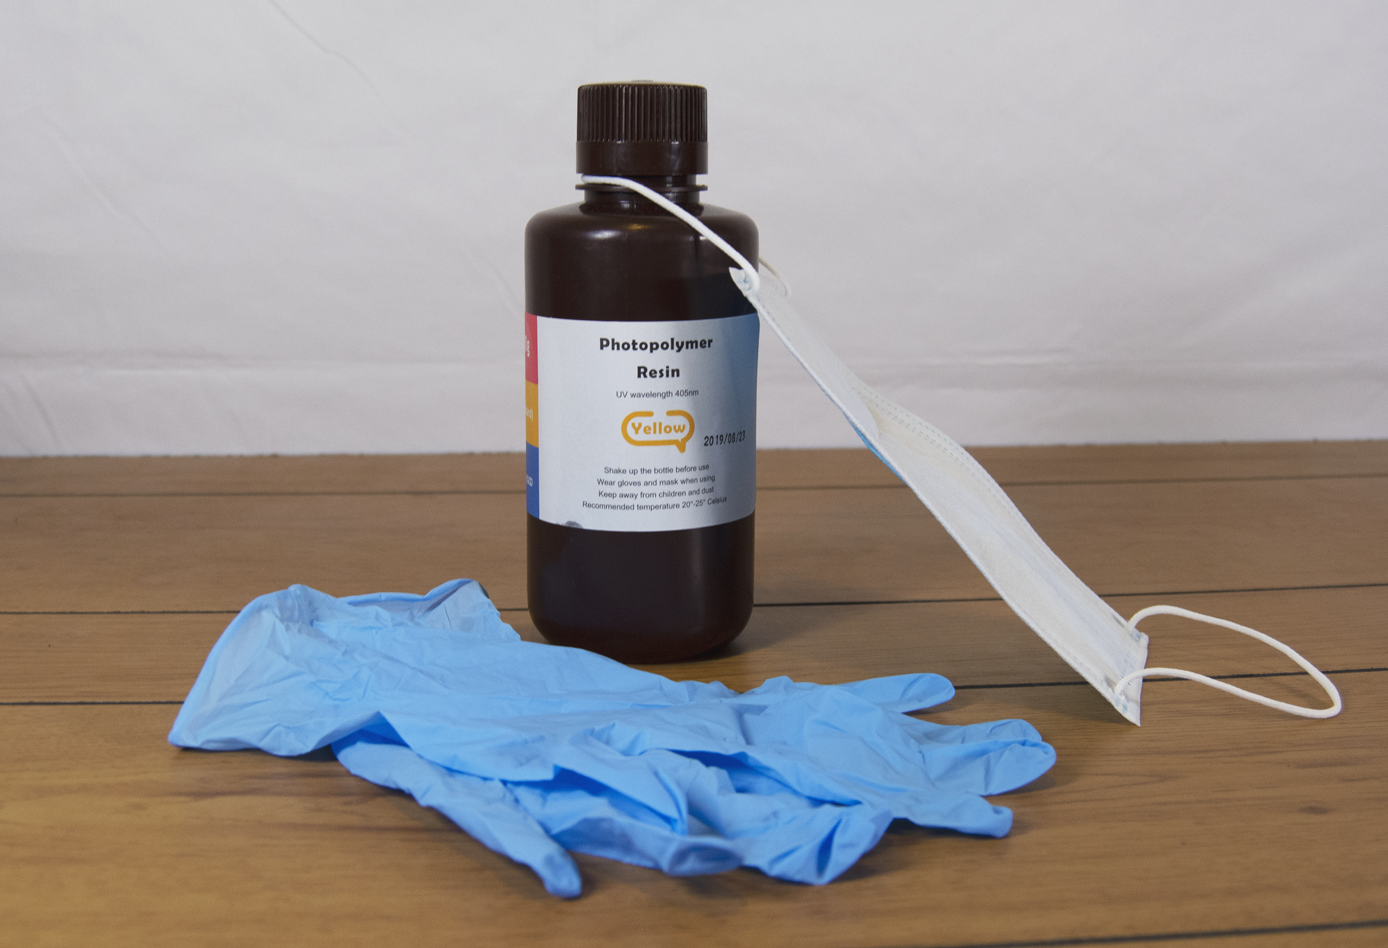
- Gloves
- Masks
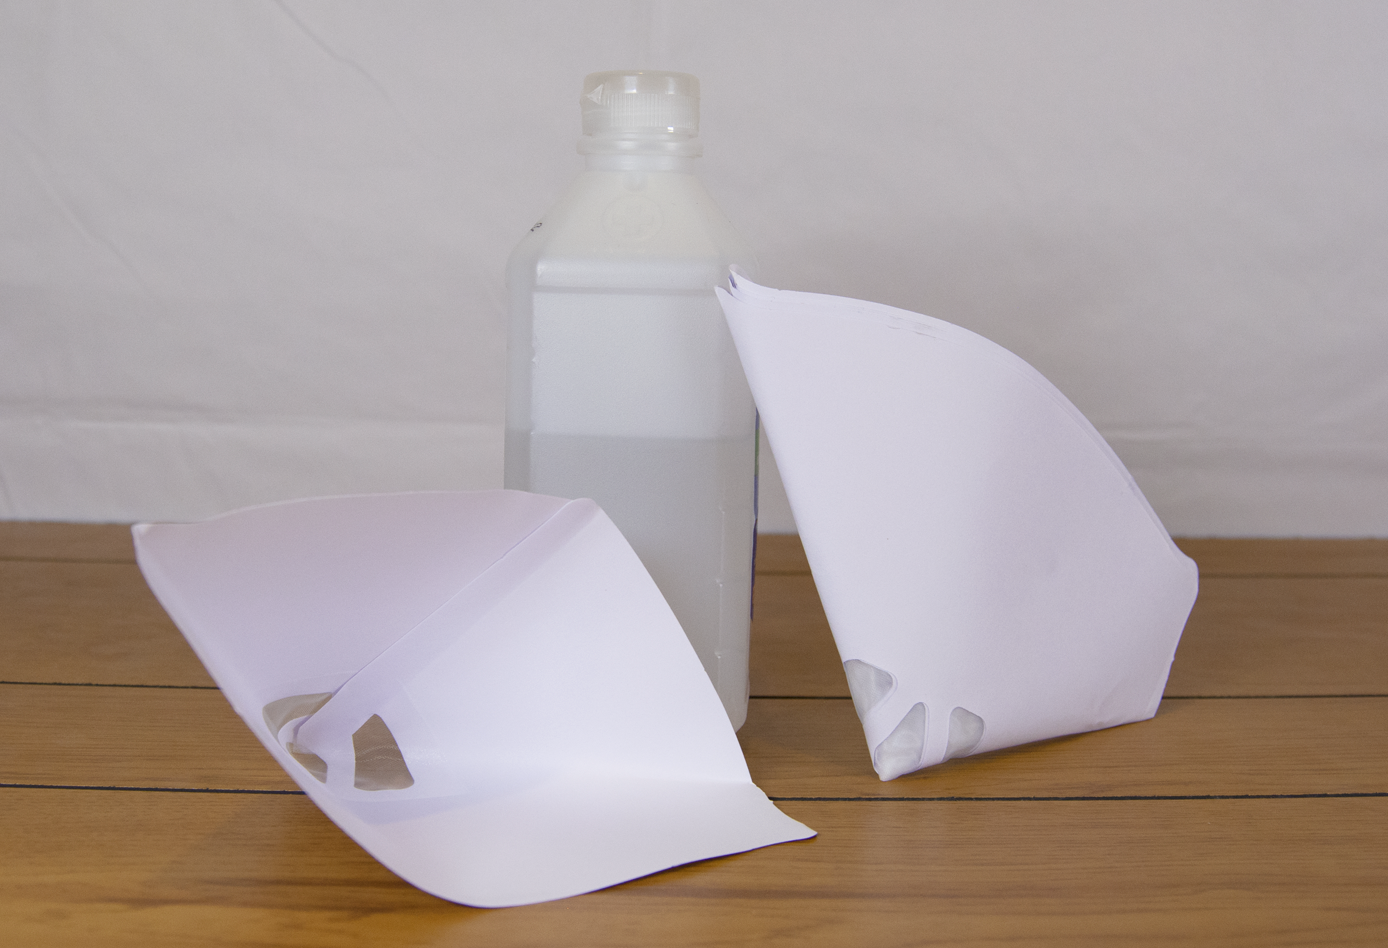
- Filter funnels
- Hex keys
- Measuring cup
- Wire cutters
- Scraper
- Flash drive
These tools will get you through your first couple of prints, but soon you will need to replenish your resources. It's a good idea to stock up on gloves and masks. The most difficult item to locate will be the filter funnels, but those can be found online.
Setup
There isn't much to do in the way of assembly—the printer is shipped ready to use. The most you'll have to assemble is the UV cover and build plate when pouring resin or removing prints.
Connect the Mars to power using the power adapter provided by Elegoo. The flash drive contains a test file that can be printed immediately. With the printer powered and flash drive connected, pour resin into 1/3 of the tank. Be sure to gear up with gloves and a mask before working with photopolymer resin. The test file can be selected using the touch screen interface on the front of the printer.
Setting up a custom print will involve the use of slicing software on a computer. Elegoo recommends using ChiTu Box to create printable files for the Mars.
Printing Process
The printer uses photopolymer resin to 3D print objects. With resin poured into the tray, the build platform is raised and lowered while the UV light underneath cures the resin into a hardened layer to create the object. This resin is not safe to touch without gloves.
The resin tray is simple to remove on the Elegoo Mars. There are two thumbscrews that release the tray when loosened. In the corner of the resin tray is a groove which makes pouring leftover resin through the funnel easier.
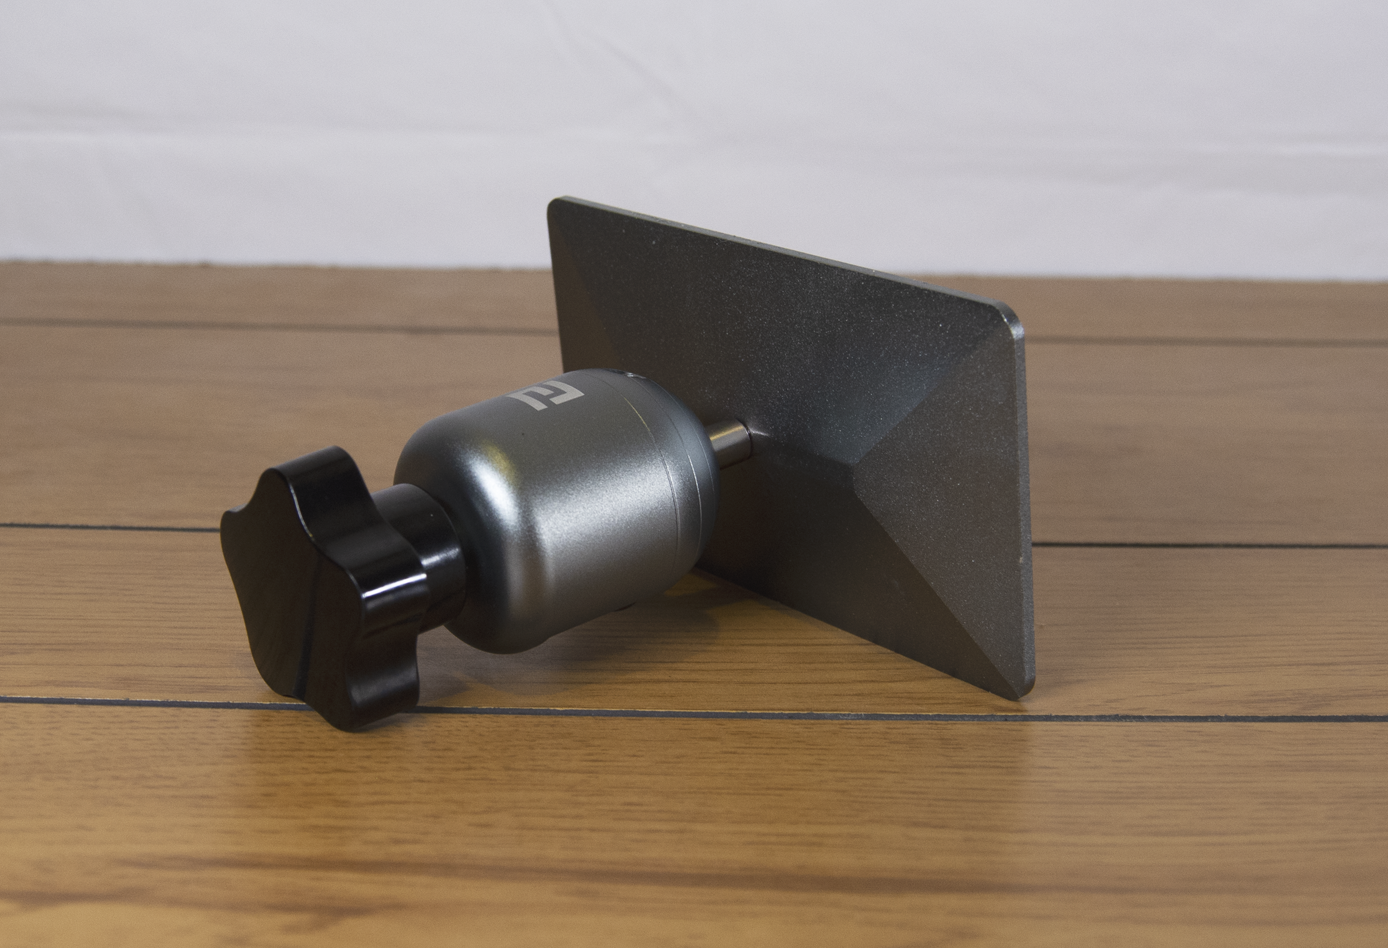
The build platform provides a building volume space of 4.7" x 2.6" x 6.1" (120mm x 68mm x 155mm). It attaches to the z-axis with a convenient knob screw so the build plate can be removed, something you will do often when resin printing.
I didn’t have any trouble with initial layers nor have I had a print fall from the plate. My biggest issue was quite the opposite—with many of my prints sticking to the plate. I had to purchase a pack of razors to pry my final prints loose.
It's also worth noting the printer will make a loud, somewhat startling beep during the initial layers and when a print job is complete. It may sound like a warning, but the beep is consistent on every print and cannot be disabled.
Resin
The most expensive aspect of resin printing is the cost of resin. Elegoo is unique in that they manufacture both resin printers and printer resin. They provide a limited selection of photopolymer resin guaranteed to work with the Elegoo Mars printer on the official website.
The cost of resin varies between each color. This table features the current supply of resin featured on the Elegoo website. The cost analysis shows a breakdown of each product and cost per ounce of resin.
| Color | Size | Price | Cost Per Ounce |
|---|---|---|---|
| Black | 500g (17.6oz) | $27.99 (€25.38) | $1.60 (€1.45) |
| Black | 1000g (35.3oz) | $44.99 (€40.79) | $1.27 (€1.15) |
| Blue | 500g (17.6oz) | $27.99 (€25.38) | $1.60 (€1.45) |
| Clear Green | 1000g (35.3oz) | $44.99 (€40.79) | $1.27 (€1.15) |
| Clear Green | 500g (17.6oz) | $27.99 (€25.38) | $1.60 (€1.45) |
| Grey | 1000g (35.3oz) | $44.99 (€40.79) | $1.27 (€1.15) |
| Grey | 500g (17.6oz) | $27.99 (€25.38) | $1.60 (€1.45) |
| Maroon | 1000g (35.3oz) | $44.99 (€40.79) | $1.27 (€1.15) |
| Translucent | 1000g (35.3oz) | $39.99 (€36.25) | $1.13 (€1.02) |
| Translucent | 500g (17.6oz) | $24.99 (€22.66) | $1.41 (€1.28) |
| White | 1000g (35.3oz) | $39.99 (€36.25) | $1.13 (€1.02) |
| White | 500g (17.6oz) | $27.99 (€25.38) | $1.60 (€1.45) |
| Yellow | 500g (17.6oz) | $24.99 (€22.66) | $1.41 (€1.28) |
A common complaint when resin printing is the overwhelming smell of resin. You should always avoid printing in closed spaces and exercise caution with air quality. You need to wear a mask when working with resin printers not only because of the odor but its toxicity when inhaled.
I experienced very little resin odor with the Elegoo Mars using the official resin. It's important to use a well-ventilated room when printing and it's worth noting that I did have multiple fans running. But I don't believe it would have been enough to cover your standard resin pungence. This resin definitely had a light odor that dissipated quickly after printing.
Cleaning up fresh prints requires a decent amount of alcohol—99% is preferable to the 70% or 91% varieties you'll find on most store shelves. I also recommend a dedicated container for submerging final prints. Alcohol is less expensive than the cost of resin, but it is a persistent material you will need when using this printer.
Once a print is complete, the excess resin can be stored for reuse on another print. You will need specialized funnels to filter the resin before putting it back into the resin bottle. Elegoo provides 10 funnels with screens in the bottom. They are a bit on the bulky side and can be awkward to fit above the bottle, but they definitely help filter the leftover resin. It's easy to go through these quickly, you'll need more as you continue to use the printer.
Once the unused resin is put back in the bottle, the tray needs to be cleaned. You can use 99% alcohol to clean the inner surface of the resin tray. It's also useful for cleaning drops of resin that may have splattered around the work area.
Compatible Files and Software
STLs and other 3D files can't be sliced with most FDM printer software—so don't expect to use Cura here. Elegoo recommends ChiTu Box for slicing prints on the Mars. It's worth noting there are plenty of other options for slicing resin printer files. However, I decided to use their recommended program as this can sometimes impact performance and quality in final prints.
If you want to use a third party slicer, you will need to create a custom profile for the Elegoo Mars. These specs can be used to create an accurate profile for slicing.
| Spec | Elegoo Mars |
|---|---|
| Printer Name | Elegoo Mars |
| Resolution X / Y | 1440px / 2560px |
| Size X / Y / Z | 68.04mm / 120.96mm / 150mm |
| Mirror | LCD Mirror |
| Resin Type | Normal |
| Resin Density | 1.1 g/ml |
Since objects print upside down, you sometimes need creative solutions for complicated objects. Supports are just as necessary with resin printers as they are for FDM printers. These can be created manually before slicing an object or automatically generated with slicing software like ChiTu Box.
Tip: Pay attention to infill settings when slicing on a resin printer. Slicing a hollow object will save a lot of resin when creating big objects.
Printing Process
The overall printing process on the Mars is straightforward and painless. Level the build plate, pour the resin, select a file to print and clean it up when it's finished. My test prints required very little maintenance when slicing and printing. Some objects may require a skirt along the build plate to help with adhesion while printing. In those cases, you would need to remove the skirt from the bottom of the final print.
You can automatically level the build platform using a tool built into the printer UI. You will need a sheet of A1 paper to place between the build platform and UV LCD panel when leveling. You don't need to level before every print. The platform can sometimes move off-balance after a number of prints. When the initial layers stop adhering to your prints, that's a good indicator that you need to level it again.
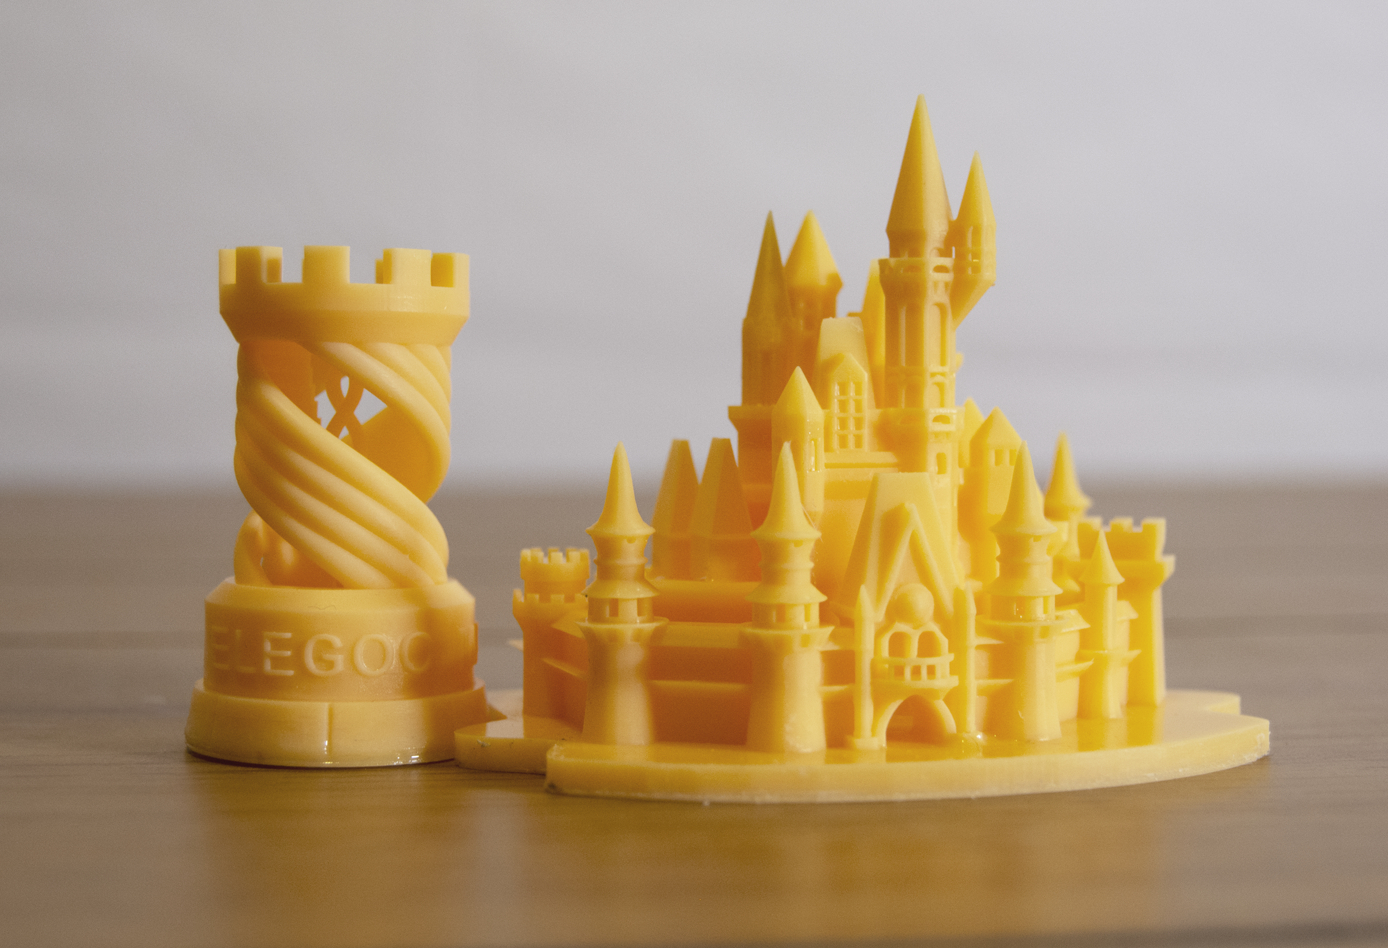
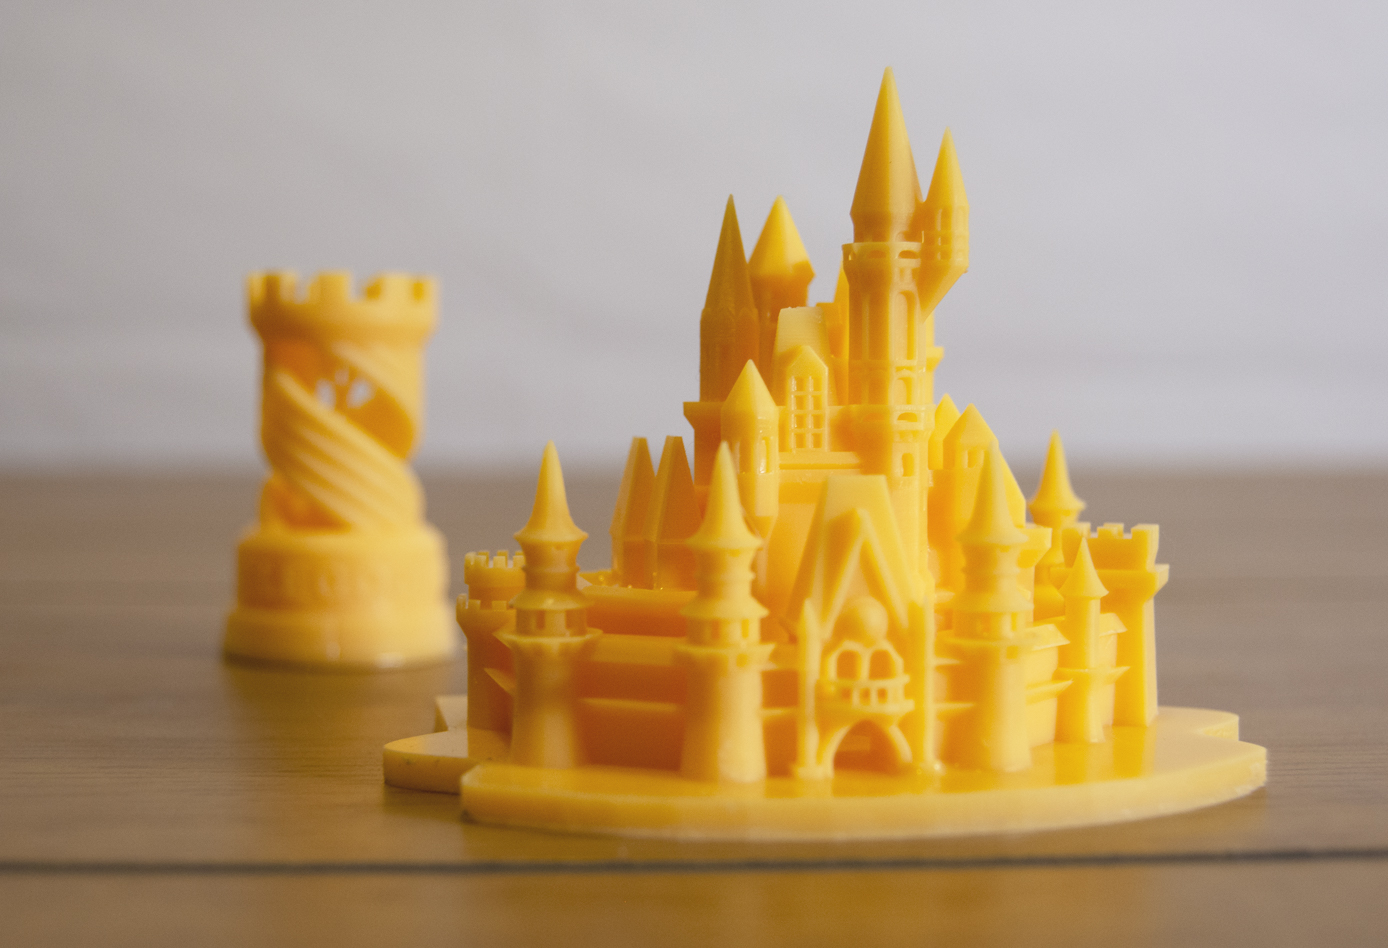
When setting up for a print, the resin tank only needs to be filled about 2/3 of the way. If you run out of resin while printing an object, you can always pause the print to add more. For most small prints, you won't need to refill the tank. But haveing that option for larger prints is always a plus.
The printing process on the Elegoo Mars can take as long as a standard FDM printer. Most of the test prints in the example pictures took at least 2 hours to complete. The ChiTu Box print time estimates were surprisingly accurate when slicing. If you want to speed up the 3D printing process, slice your object with less infill or make it hollow.
As with all resin printers, you will need to clean your final objects before they can be handled. Excess resin is removable with 99% alcohol. I highly recommend completely submerging your prints in alcohol to ensure the remaining residue is completely removed. Keep your gloves on for this progress.
Upcoming Version
Elegoo will soon be releasing a slightly-improved version of this printer which will be called the Mars Pro and feature a matrix UV lamp, a new filter system, and a quieter Z-axis. It is expected to cost $299, a $40 premium over the regular Mars. We will be testing and publishing a review.
Bottom Line
The Elegoo Mars UV Photocuring LCD 3D Printer is an excellent printer for the price. It looks nice, performs well, and doesn't take up much space on a workbench. The quality you get out of this machine compared to similar printers is more than noteworthy.
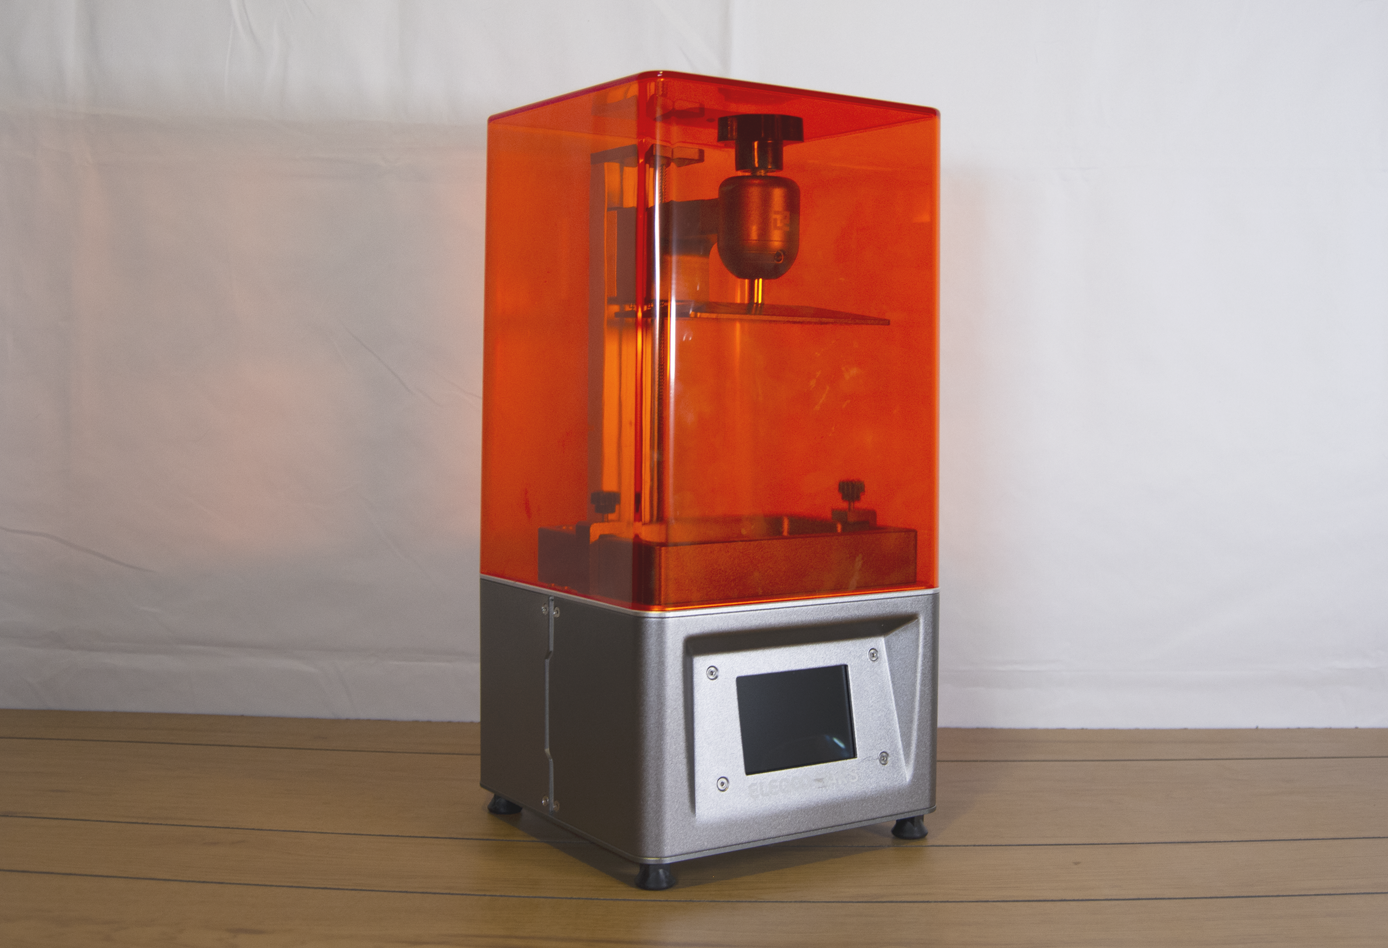
The Mars user interface is easy to use and the overall printing process is really simple. This is a great introductory machine for resin printing newbies. It's an opportunity to explore the resin printing process without investing twice the price. And of course, the print quality is hard to ignore—especially when compared to FDM printers in a similar price range.
Whether you're an experienced 3D printing enthusiast or a curious party ready to try resin printing, the Elegoo Mars is a fantastic choice.

Ash Hill is a contributing writer for Tom's Hardware with a wealth of experience in the hobby electronics, 3D printing and PCs. She manages the Pi projects of the month and much of our daily Raspberry Pi reporting while also finding the best coupons and deals on all tech.
-
cryoburner ReplyIf you want to speed up the 3D printing process, slice your object with less infill or make it hollow.
I don't believe that's how it works for UV printers. In a UV printer like this, print-time should depend primarily on z-axis height. So as far as print-time is concerned, it shouldn't matter much whether you print a solid block completely filling the entire build volume or a single thin spindle, so long as they are the same height. According to its specs, the Elegoo Mars is supposed to print at 22.5mm (about 0.9 inch) per hour, though that may depend on settings.
The way these UV printers work is they have a high-resolution LCD screen on the bottom with a UV backlight, which displays an image for each slice of the model. The layer of liquid plastic over the areas not blacked out by the LCD hardens when exposed to the light, while the unexposed areas do not. So the amount of time it takes to print a layer should be independent of how much plastic the layer contains, meaning hollowing an object out shouldn't affect that. Making the object shorter, such as by printing a tall object on its side or in multiple sections side by side could reduce print time though, since there will be fewer layers to harden.
Now, there are other good reasons to make the object hollow, namely that you won't be wasting unnecessary material to make an object solid that doesn't need to be. Of course, you'll need to provide some kind of holes to allow that extra uncured plastic to drain, otherwise you may be stuck with toxic liquid plastic inside the object, which probably won't be ideal. : P
I find these UV printers interesting, and while I don't yet have one, I was looking at them back when a relatively inexpensive model launched a few years ago, though I believe that was still priced upward of $400, at a time when other UV printers on the market tended to cost over $1000. At around $250, these are actually getting quite affordable now, similar to filament-based 3D printers and not much more than even a higher-end photo printer.
Of course, a UV printer is still not exactly something for everyone. It's basically like operating a small plastic factory in your home, complete with toxic chemicals and noxious vapors. I think I would want to install some sort of fume hood for it if I got one. There also seems to be a lot of clean-up involved, washing finished objects in alcohol, filtering unused resin, cleaning out the reservoir and so on. The print quality looks great compared to filament-based 3D printers though. -
PCPhill The print speed is determined by exposure times, layer height and Z axis height. It doesn't care what the infill setting is, solid, hollow or anywhere in-betweenReply -
PCPhill I do own one and love it. The beeps are loud, but CAN be turned off on the touchscreenReply