Fast and Inexpensive - Promise's FastTrak66 IDE RAID-Controller
The Changing Procedure
There are several different procedures that have the same effect as swapping the SMD-resistor underneath the EPROM-chip, and all of them keep you from having to remove this integrated circuit from the card. I chose the simplest method, but you can find all of them on this of Ole Pedersen. All of those methods are using the same steps:
- Flash the BIOS of the FastTrak66 (downloaded from Promise's website) onto the Ultra66 card, which actually renders your Ultra66 useless until you do the soldering procedure. Don't forget this step, because once the controller 'believes' it's a FastTrak66 after the soldering procedure, it won't let you flash the BIOS anymore and you'll have to reverse the soldering procedure to flash the FastTrak66-BIOS.
- Do the soldering. That's it.
Changing back is similar:
- Flash the Ultra66-BIOS onto to changed card, so that it won't work as FastTrak66 anymore.
- Reverse the soldering procedure.
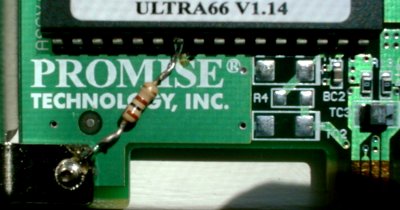
As published on Ole Pedersen's page, there are several different soldering procedures you can use. I personally vouch for one in particular, which involves soldering a 100 - 1000 Ohm resistor (1/4 W is just fine) from pin 23 of the EPROM to ground, pulling down pin 23.
As you can see, I didn't even use a new resistor, because I couldn't wait trying it out once I had heard about it. Pin 23 is the seventh pin from the left of the EPROM's bottom row of pins.
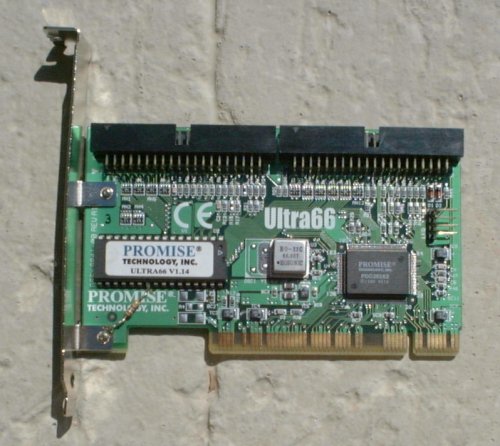
Here is the new 'FastTrak66' RAID-controller for the price of an Ultra66-card plus the price of one little resistor:
As usual I'd like to point out that soldering should only be done by people who have the required skills and please do me the favor and use a fine circuit board soldering iron with a fine tip, not a 100 W overkill model that will fry the whole card. You know that Tom's Hardware Guide will not take any responsibility if you send your computer system or parts of it into Nirvana due to this article.
Installation And Handling
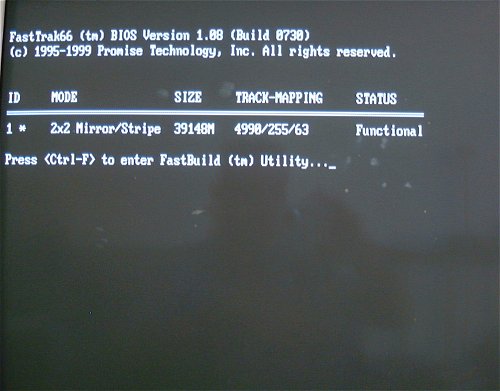
One of the beauties of FastTrak66 is the fact that all RAID and disk settings are actually done right after boot up in FastTrak's own BIOS-setup, which you invoke by pressing 'Ctrl-F' when the screen message appears.
Get Tom's Hardware's best news and in-depth reviews, straight to your inbox.
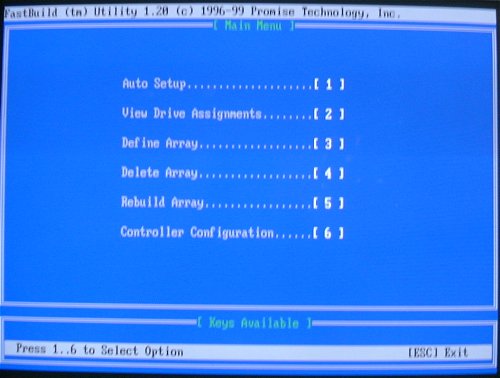
You enter the following menu:
If your drives aren't already set up, you can use the extremely easy and convenient 'Auto Setup' feature. In this Auto Setup you simply choose between three different set up options.
| Performance | FastTrak creates a RAID 0 Stripe Set out of the connected drives. |
| Row 1 - Cell 0 | |
| Security | FastTrak either creates a RAID 1 mirror if only 2 or 3 drives are connected, or a RAID 0,1 mirror of stripes if you hooked up 4 drives to the controller. |
| Row 3 - Cell 0 | |
| Capacity | FastTrak makes one large drive out of all the connected drives using 'Spanning'. This set up is best if you've got several drives of completely different sizes and speeds. |
Current page: The Changing Procedure
Prev Page Make Your Own FastTrak66 Out Of An Ultra66 Next Page Installation And Handling, Continued


