Tom's Hardware Verdict
FlashForge’s Artemis is a good cube style printer that ships fully assembled for a smooth introduction to 3D printing, but more powerful competitors cost a lot less.
Pros
- +
Direct Drive
- +
Steady build plate motion on the Z axis
- +
Fully assembled
- +
Choice of bed surface
Cons
- -
Manual bed leveling
- -
Small build volume
- -
Proprietary nozzles
- -
Doesn’t feed TPU well
Why you can trust Tom's Hardware
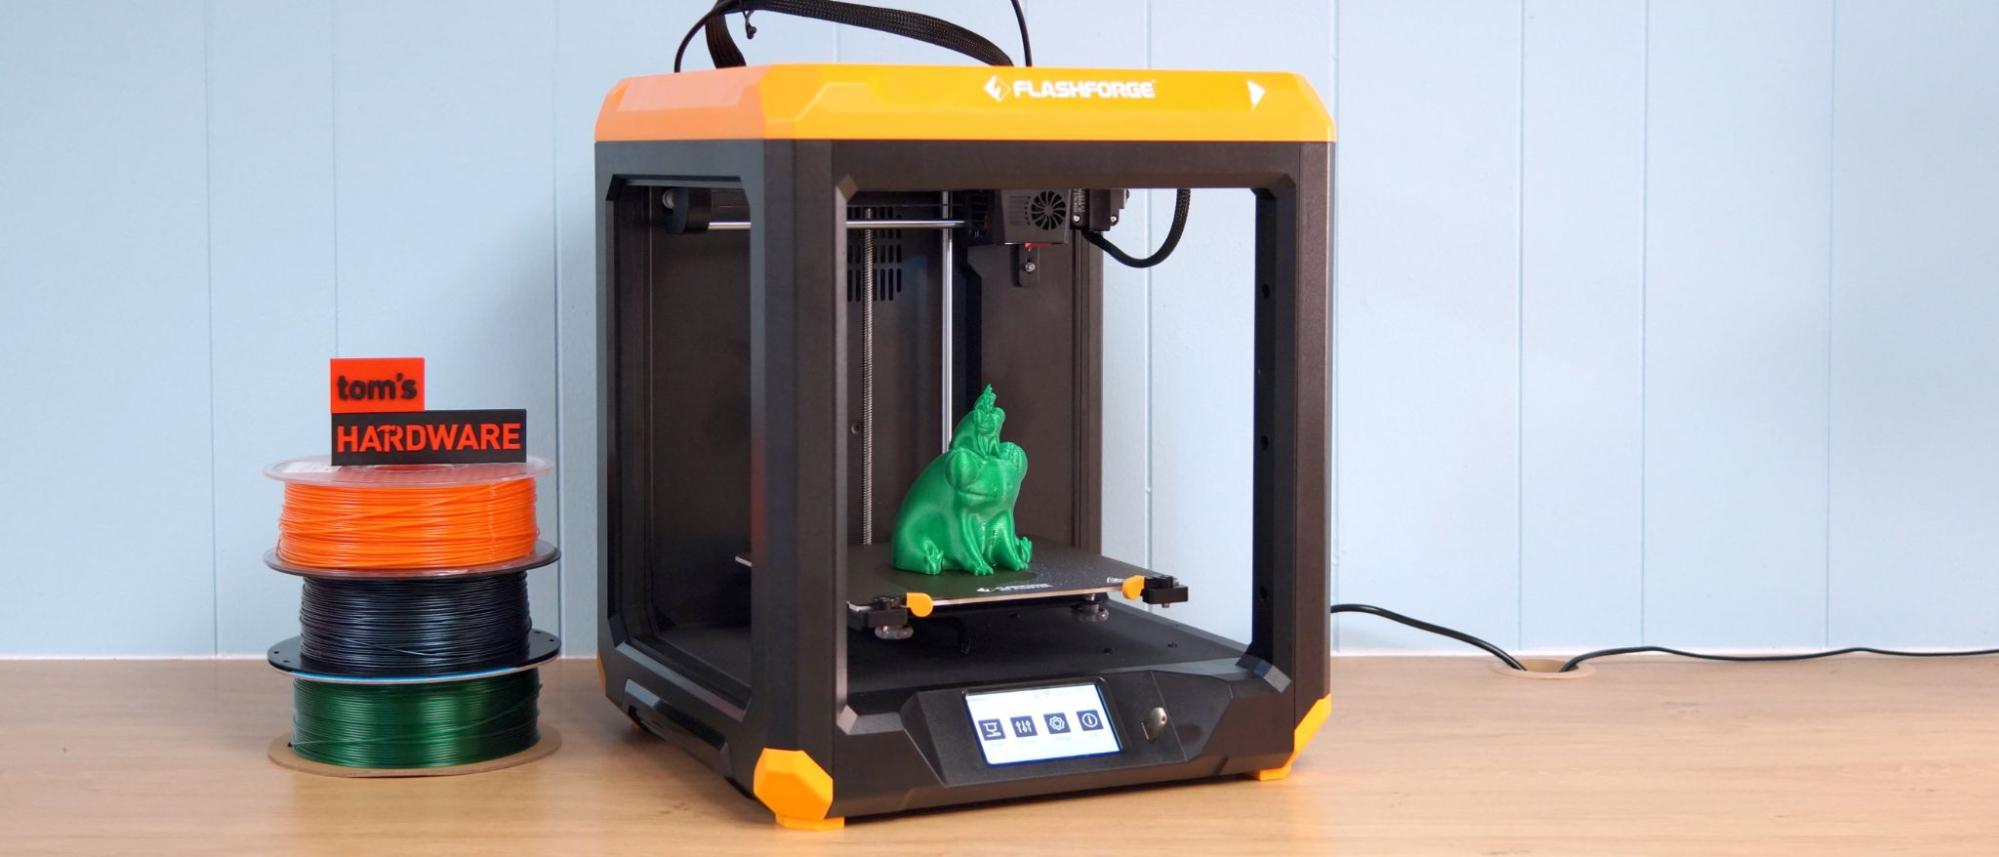
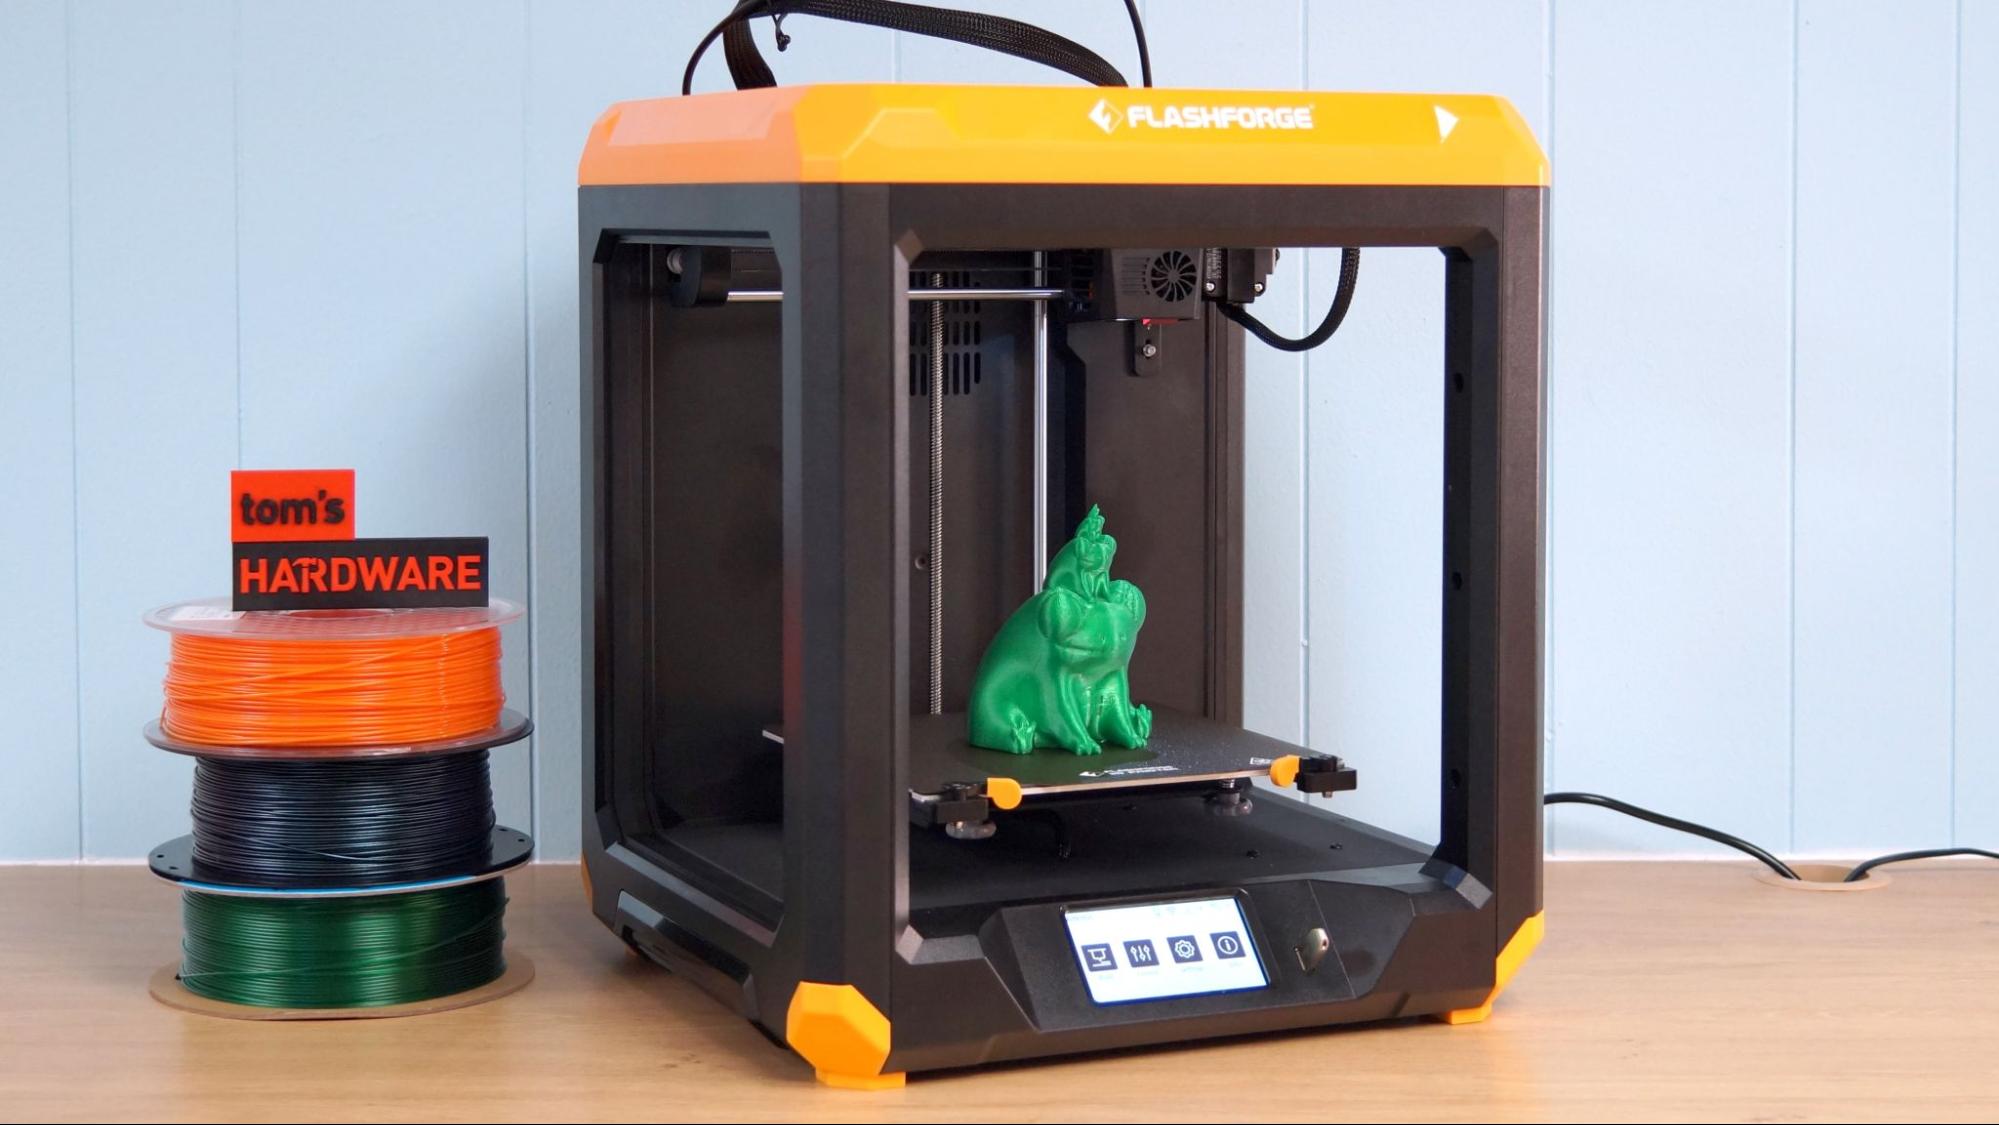
The FlashForge Artemis is an easy-to-use 3D printer for first time makers, students and anyone who wants a carefree printing experience. It's an open frame printer with a direct drive and Z axis build plate that provides steady motion for smoother prints.
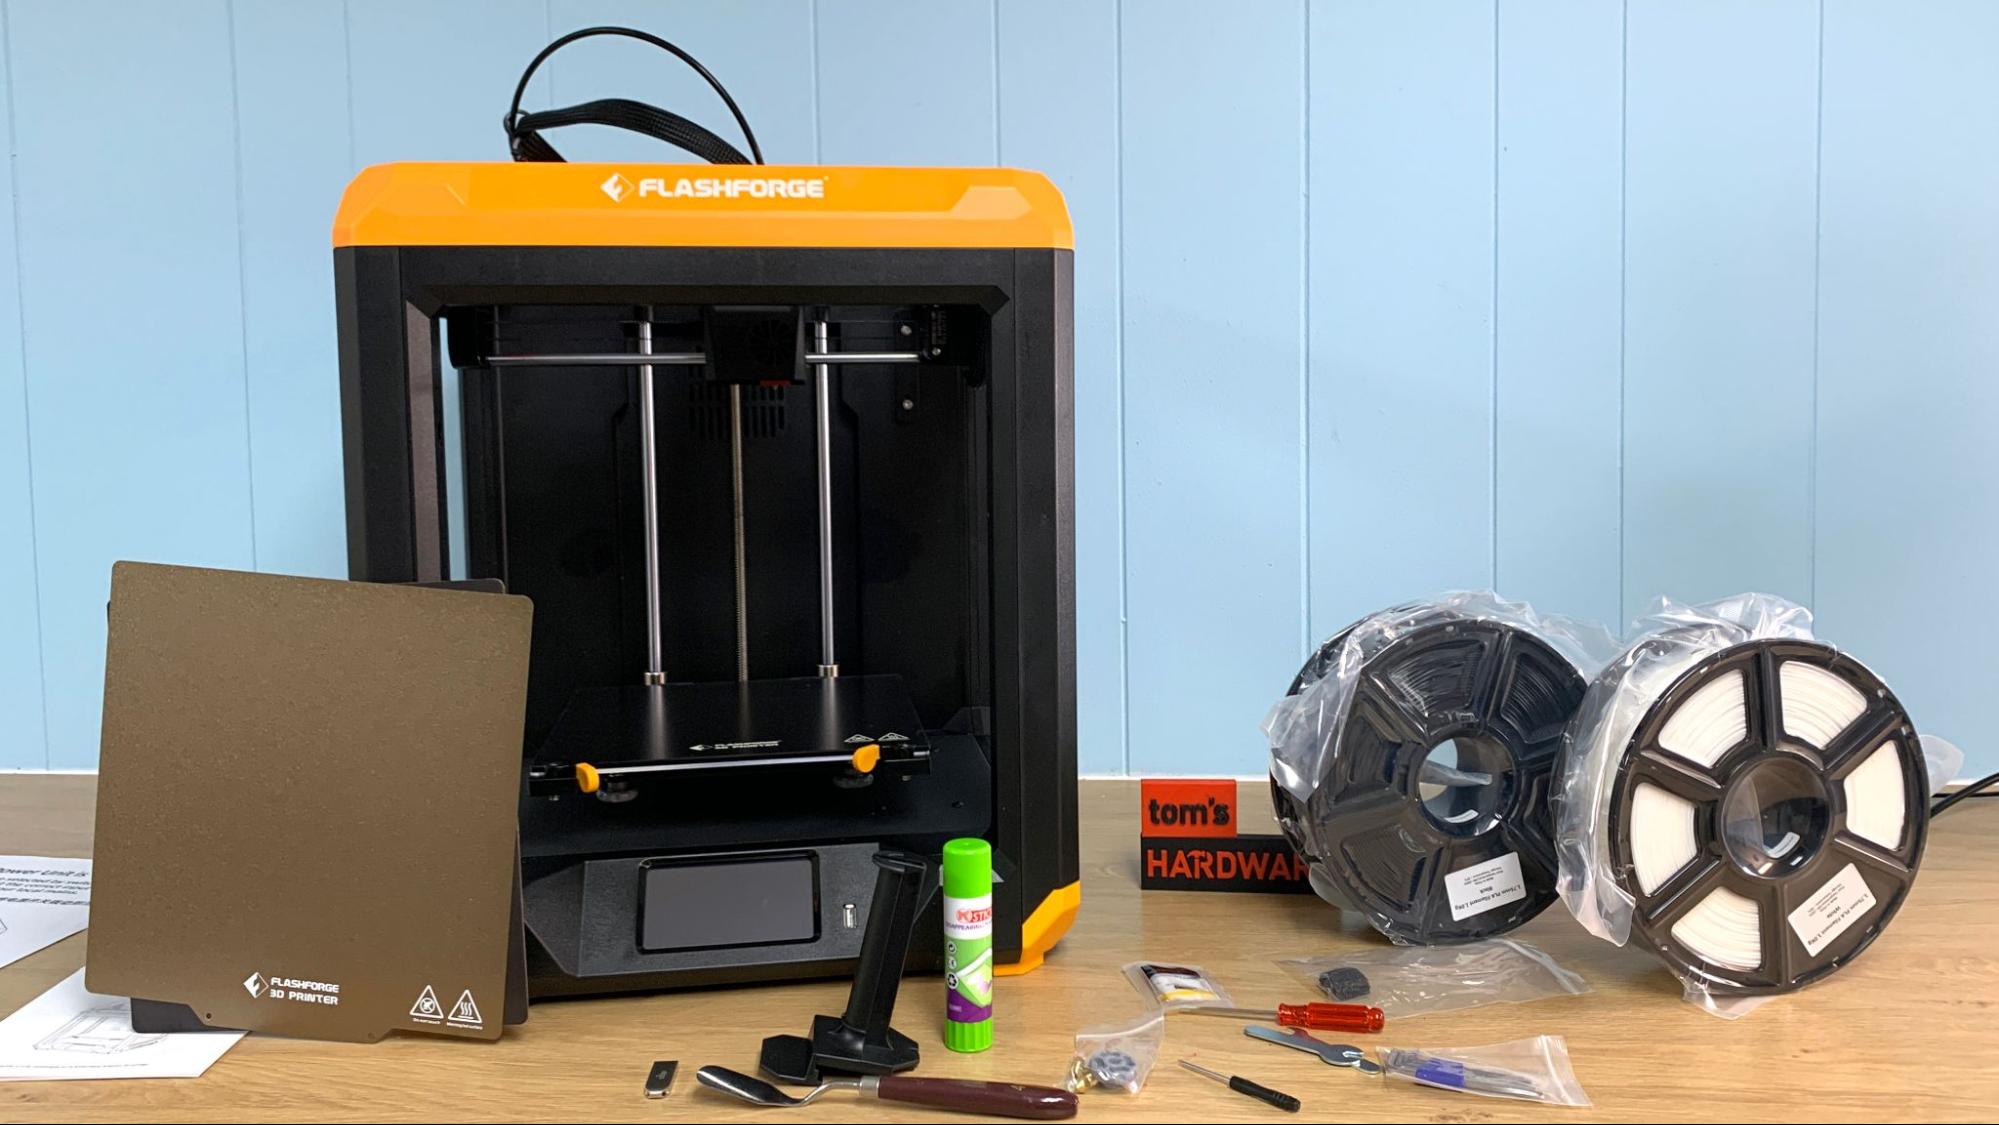
The Artemis is mostly plug and play. It comes fully assembled, and is refreshingly easy to set up. I had it unboxed and printing inside 20 minutes. It came with a generous starter pack that included two full spools of filament and an upgraded PEI build plate you can install when you get tired of chipping prints off the factory glass plate.
The Artemis also has built-in WiFi and an easy-to-understand bespoke slicer. Retailing at $499, it’s designed to compete with the best 3D printers for beginners and it delivers some nice prints, but it’s also pricey, has a small build volume and requires manual bed leveling.
Specifications: FlashForge Artemis
| Build Volume | 190 x 195 x 200 mm (7.5 x 7.7 x 7.9 inches) |
| Material | PLA/TPU (up to 260 degrees) |
| Extruder Type Bowden | Direct drive |
| Nozzle .4mm MK8 | .4mm (high flow proprietary) |
| Build Platform | PEI textured spring steel sheet and Coated glass, heated |
| Bed Leveling | Assisted Manual |
| Filament Runout Sensor | Yes |
| Connectivity | USB stick, WiFi |
| Interface | Color touch screen |
| Machine Footprint | 406 x 416 x 469 mm, (16 x 16.4 x 18.5 inches) |
| Machine Weight | 10 KG (22 lbs) |
FlashForge Artemis: Included in the Box
The FlashForge Artemis comes with everything you need to get your printer set up, as well as a few extra parts. You get tools to maintain the printer, 3 spare nozzles, glue stick, a print removal tool and a USB flash disk. You also get a PEI coated flex sheet with a sticky back magnet you can install and two full sized spools of filament.
The USB flash disk contains test models, a PDF manual and FlashPrint slicing software. A paper quick start guide has directions to get the printer up and running.
Design of the FlashForge Artemis
The FlashForge Artemis is a cube style, open frame 3D printer with a Z mounted build plate that moves up and down while you print. Most Cartesian printers, like the Ender 3 S1 Pro, have the bed mounted on the Y axis where it is subjected to rapid back and forth movement. This style of machine is more compact than the typical bed slinger, and produces smoother prints due to its gentle upward moving build plate.
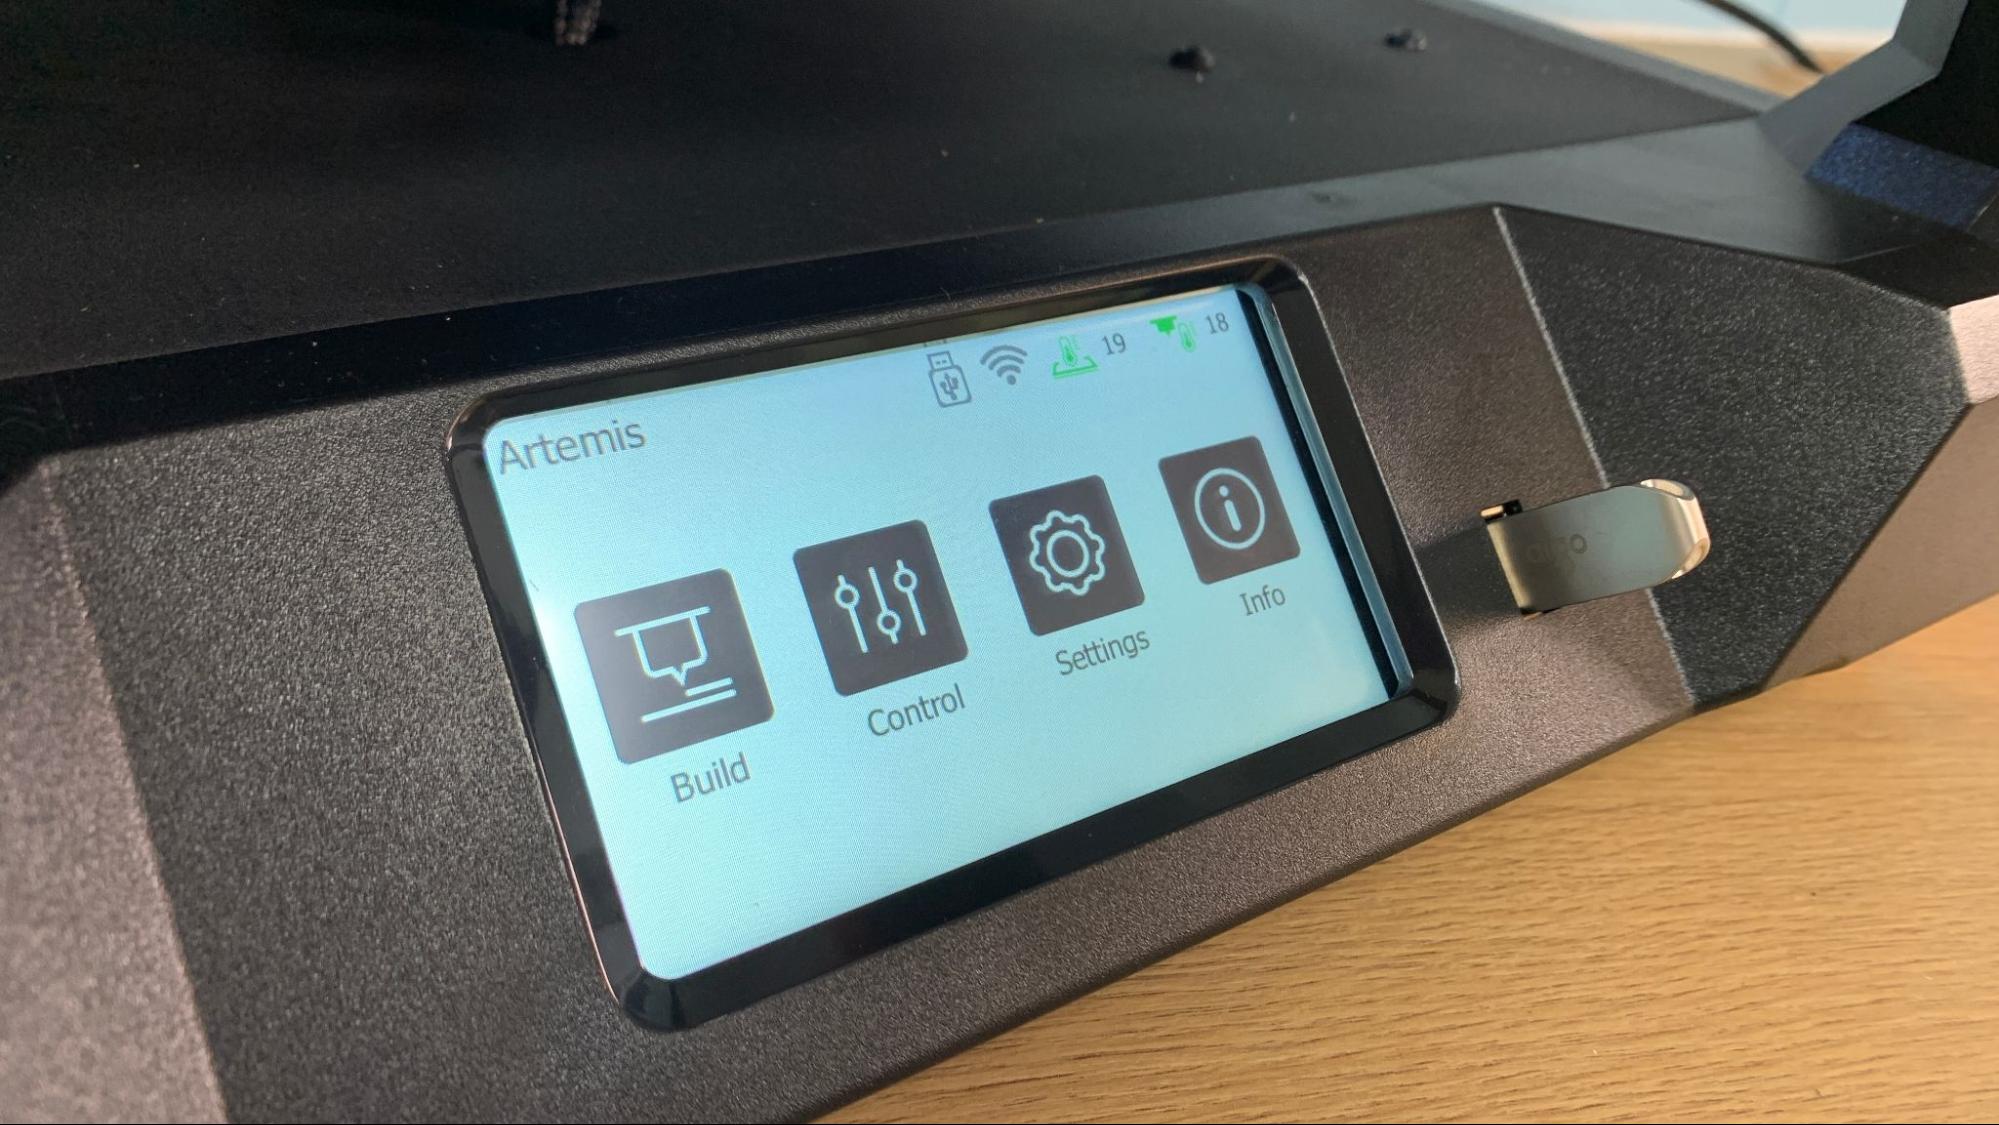
Our test unit had a bright orange plastic case, but you also have the choice of royal blue. The large touch screen is very responsive with widely spaced buttons and easy to read menu options. I’m not fond of the rear mounted spool holder, which makes changing spools somewhat difficult. However, the easy to load direct drive makes up for this hardship.
Get Tom's Hardware's best news and in-depth reviews, straight to your inbox.
The FlashForge website says Artemis can reach speeds of 180 mm/s and though it comes with a high flow nozzle, the cooling fan isn’t up to the task. I was able to get excellent performance from the machine at 80 mm/s (a little quicker than the 50 to 60 mm/s we get from standard printers), but pushing it faster is questionable at best.
The Artemis has an odd size of high flow nozzle that you’ll have to purchase directly from FlashForge. The printer comes with three spares, so it should take a while before you’ll need to order more. Unfortunately at the time of this review, nozzles for the Artemis are not listed on the FlashForge website.
Curiously, the Artemis comes with two build surfaces – a factory installed glass plate and a separate PEI flex plate with a magnet to add yourself. A rather misleading illustration on the FlashForge website makes it look like the build plates will stack, but that was not the case. The glass is held in place with brackets in the back and latches on the front that snugly hold the plate. There is no room for the extra thickness of the magnet. Once you choose to install the flex plate there’s no going back – not without chiseling the magnet’s adhesive backing off. Personally, I’m ok with this, as the flex plate is superior in my opinion.
Files can be moved via a USB thumb drive or built in WiFi. The WiFi was very easy to set up, but can only be accessed through FlashPrint.
Assembling the FlashForge Artemis
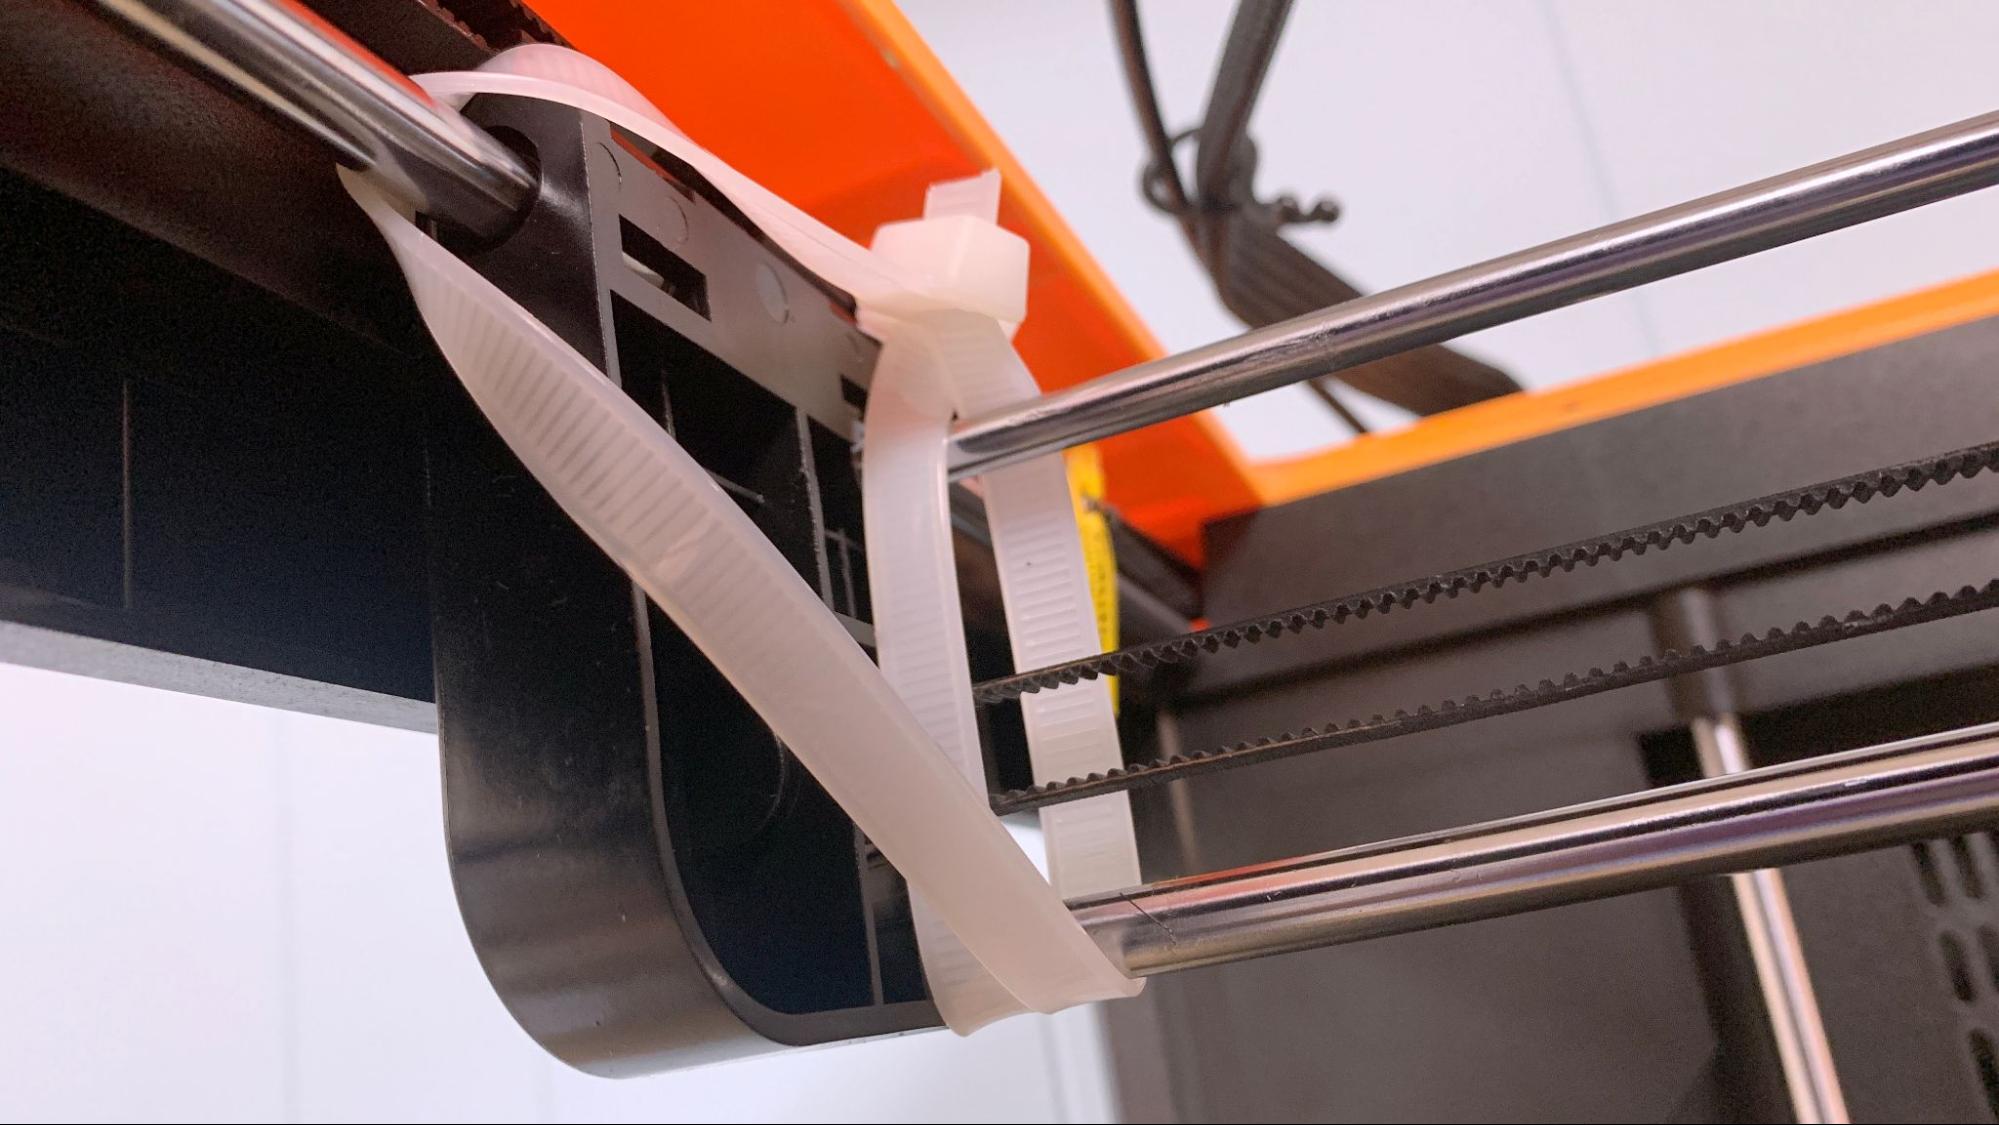
The FlashForge Artemis comes fully assembled and only needs to be unpacked. Simply clip the assorted zip ties holding the tool head in place and pop in the spool holder.
Leveling the FlashForge Artemis
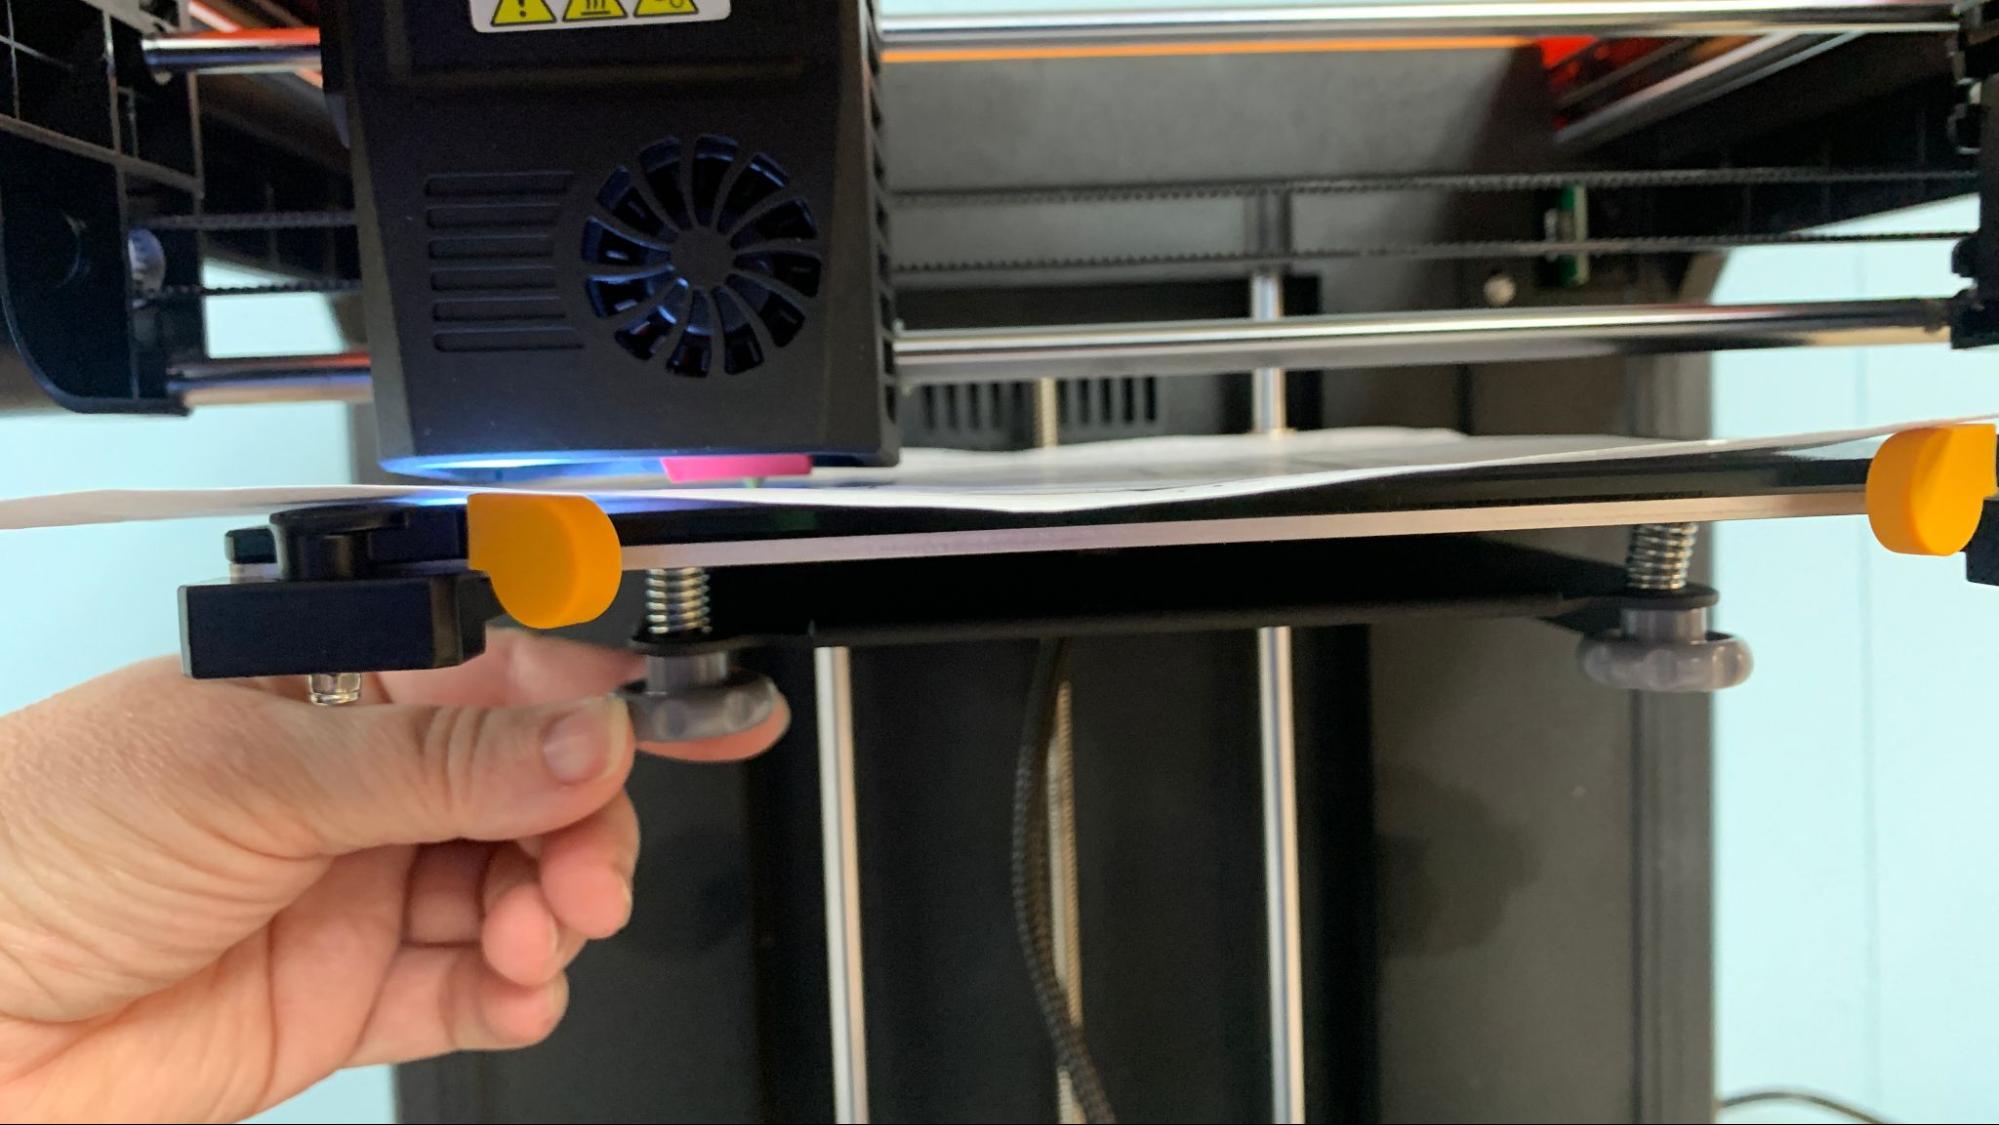
The FlashForge Artemis has assisted manual 3 point leveling, a step down from the fully automatic bed leveling on less-expensive competitors such as the Elegoo Neptune 3 Pro. It moves the print head to three leveling points – one in the back and two in the front. The menu screen walks you though the entire process with very clear instructions.
You’ll need a piece of ordinary paper placed on the glass bed. Click Control → Level to start the program. It will start with a single rear point, where you move the nozzle up or down with commands from the screen. Lower the nozzle until a tiny bit of friction is between it and the paper when you slide it. This sets the z height. The next two points are located in the front corners. Here you’ll adjust the bed up or down using the knobs until sliding the paper just meets resistance.
Loading Filament on the FlashForge Artemis
The spool holder is mounted on the rear of the printer, making loading filament somewhat awkward. Thankfully, getting ordinary filament into the hotend is very easy on the Artemis. The machine has a reverse Bowden, meaning a tube is used to guide filament from the spool holder, over the top of the machine to the direct drive.
The Bowden tube fits snugly into the tool head and there are no levers. Filament is pushed through the tube from the spool and stops when it meets resistance. Press “load filament” on the touch screen. It will warm the hotend to 200 degrees and automatically feed the filament.
Preparing Files / Software for FlashForge Artemis
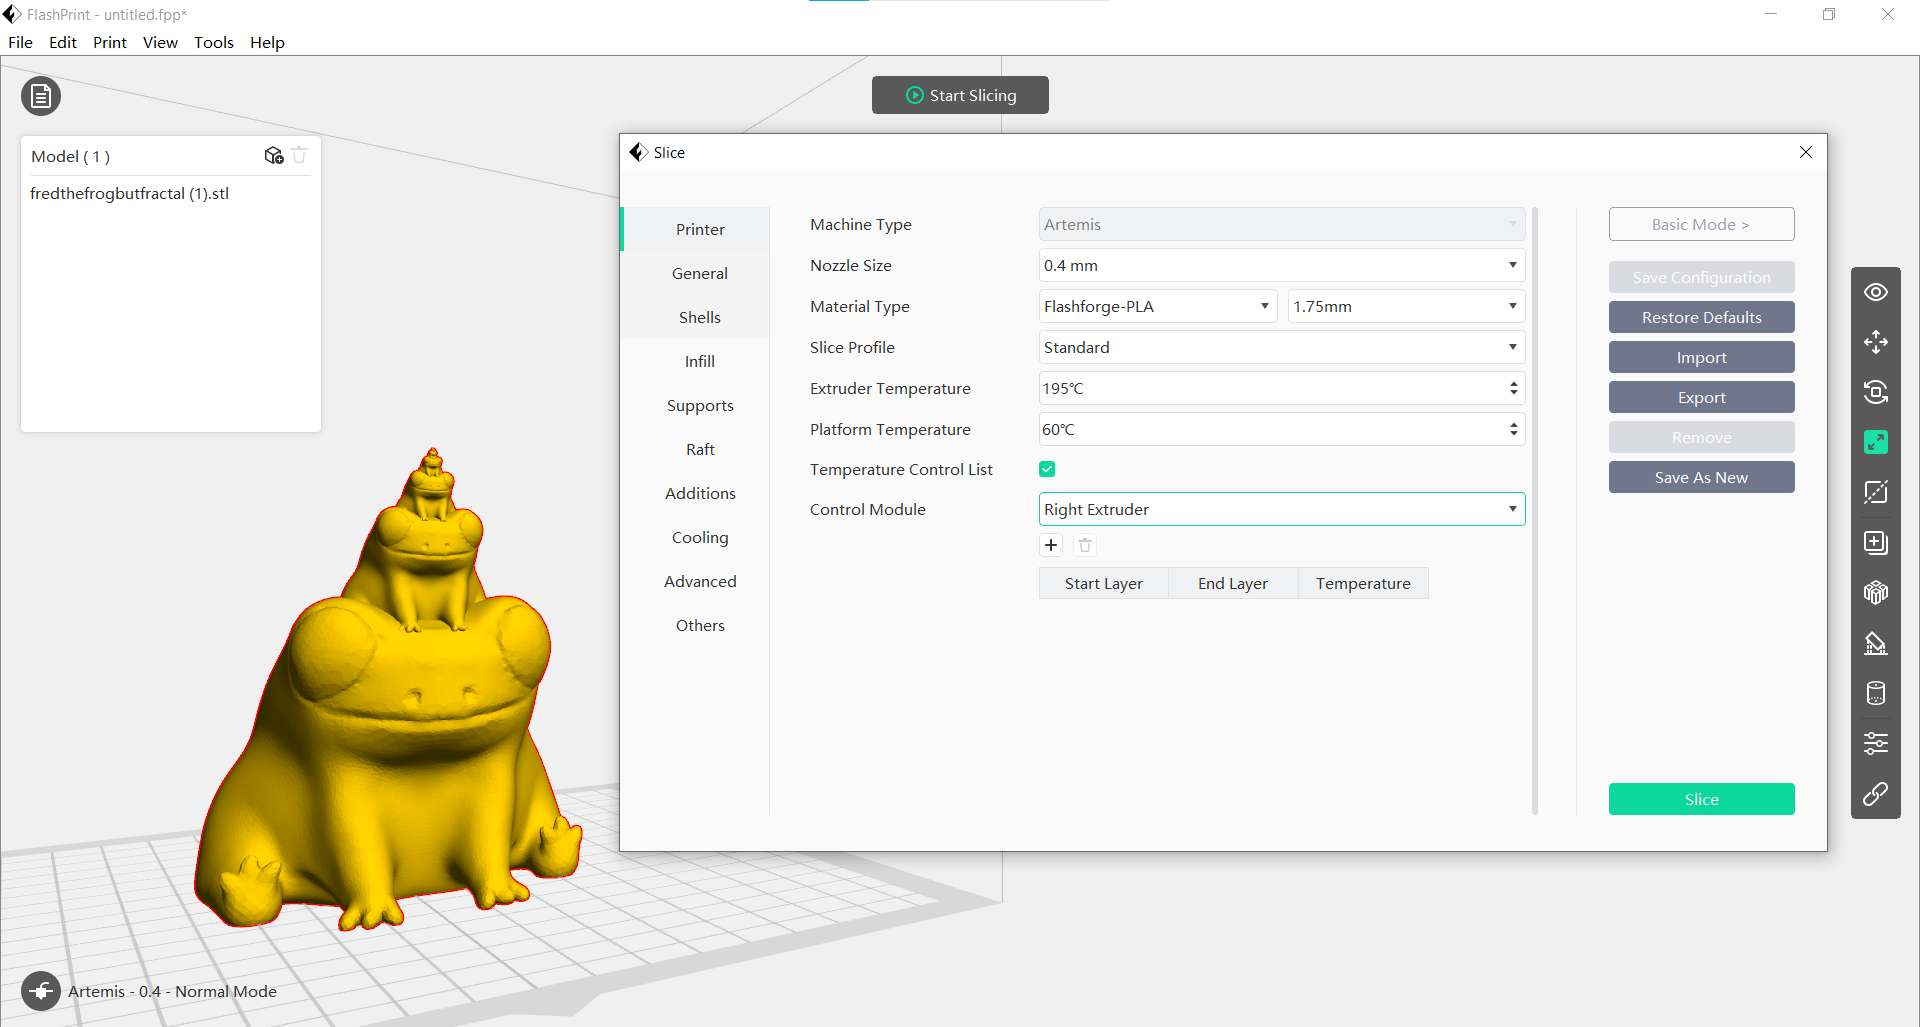
The Flashforge Artemis came with its own FlashPrint slicer, which is tuned especially for the Artemis. It is a full feature slicer on par with Cura, with a basic mode for quick slicing and an expert mode for those who want granular control. It also has the ability to connect to the machine via WiFi to save you the hassle of dealing with the USB stick.
If you want to use Cura or PrusaSlicer you will need to create your own profiles from scratch. For this review, I stuck with FlashPrint so I could take advantage of the WiFi file transfer.
Printing on the FlashForge Artemis
The FlashForge Artemis comes with two full rolls of FlashForge PLA, one white and one black. If you want more exciting materials like silks and multicolor filaments, you should check out our guide to the best filaments for 3D printing for suggestions.
The Artemis also comes with two build plate options, which is unusual. A coated glass plate is factory installed, while a PEI flex plate and magnet is included. Sadly, once you switch to the flex plate you can’t go back – the clips are held in place with difficult to access screws and don’t have enough clearance to hold both the glass and magnet. For that reason, I ran several prints on the glass bed before switching to the PEI plate.
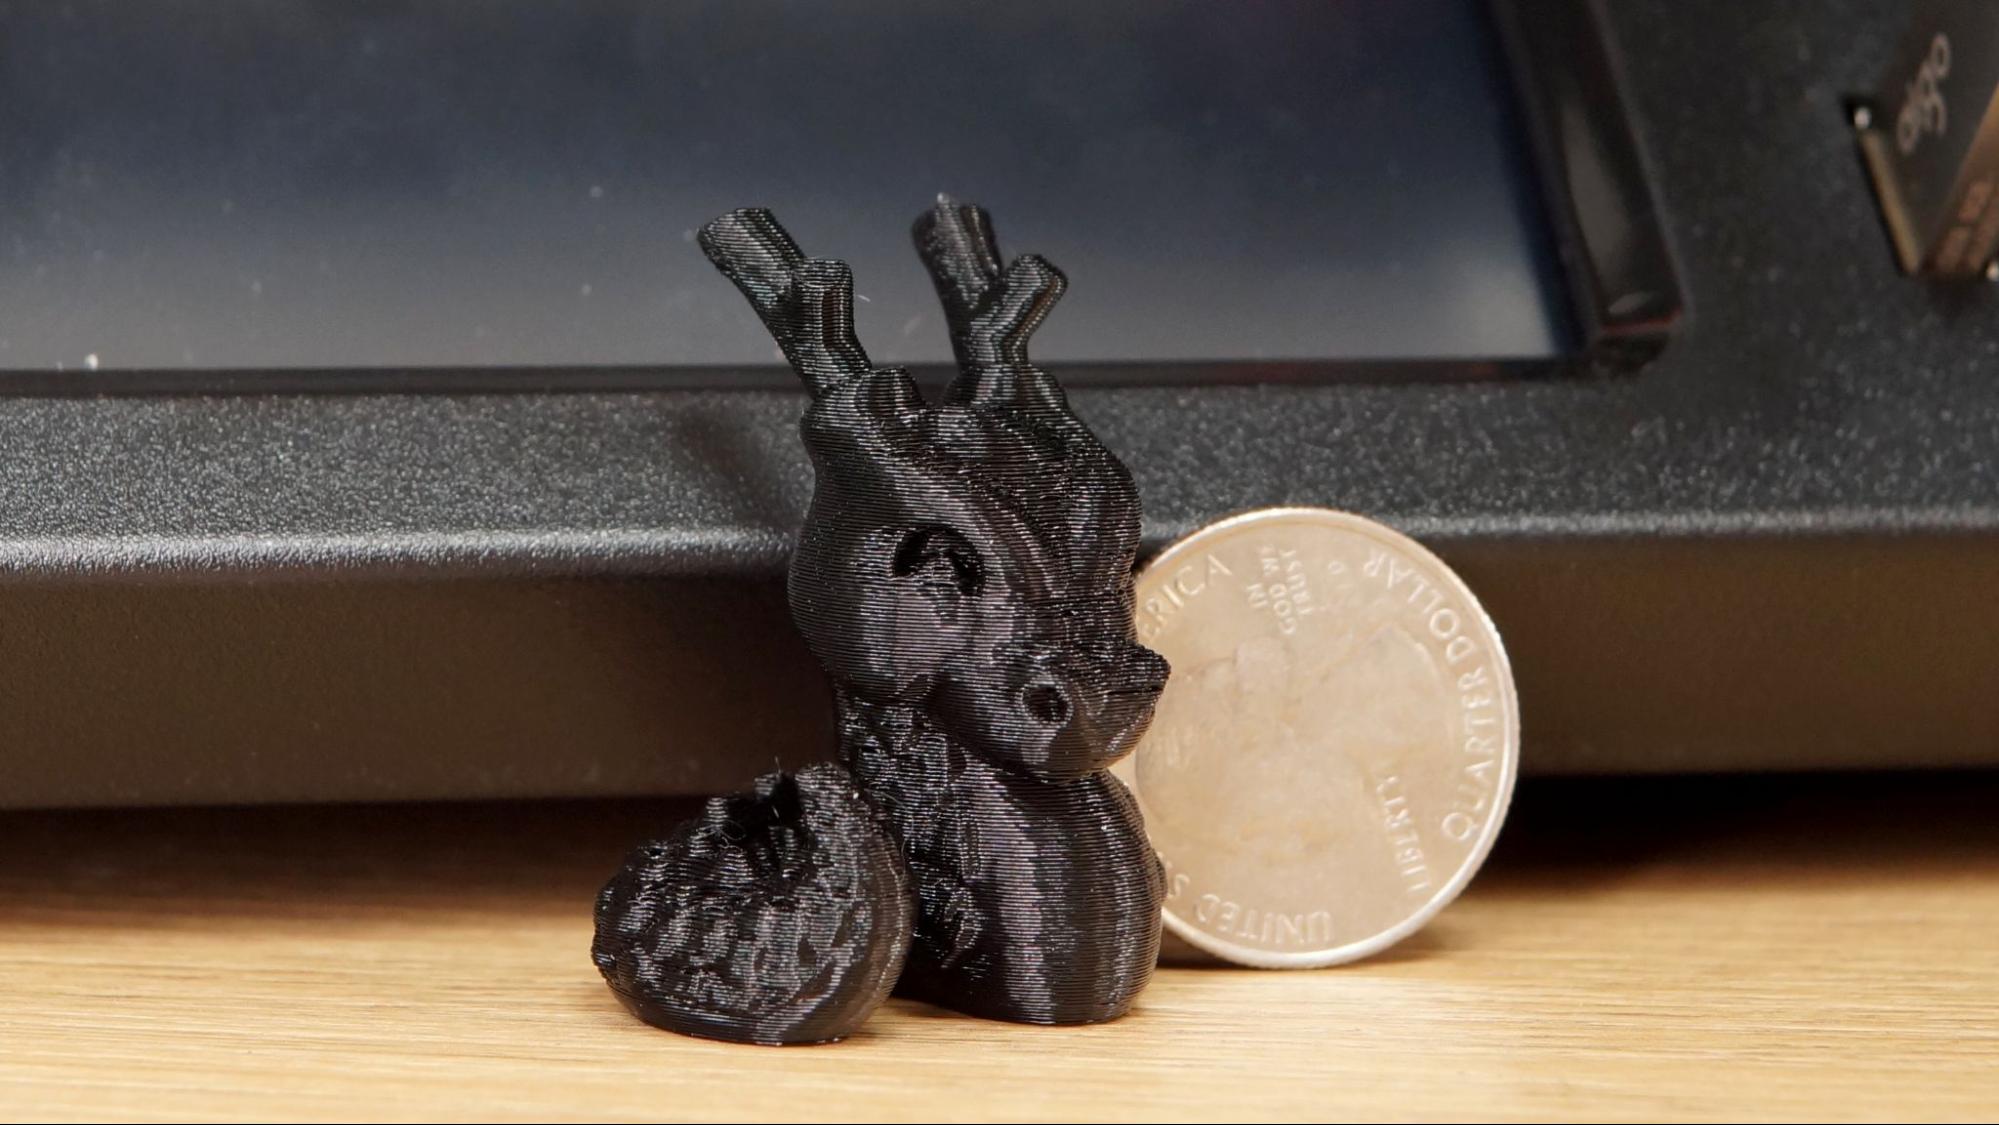
The first print I ran was McGybeer’s Cali-Dragon in the provided black PLA. I used the already installed glass build plate and it came loose producing a silly whipped topping effect on the head. For the 2nd try I added glue – as recommended in the manual – and it held firmly and printed beautifully with smooth sides and clean antlers. It also required a chisel to remove. This print used the default settings in FlashPrint, with a .18mm layer height and 50mm/s, taking 46 minutes.
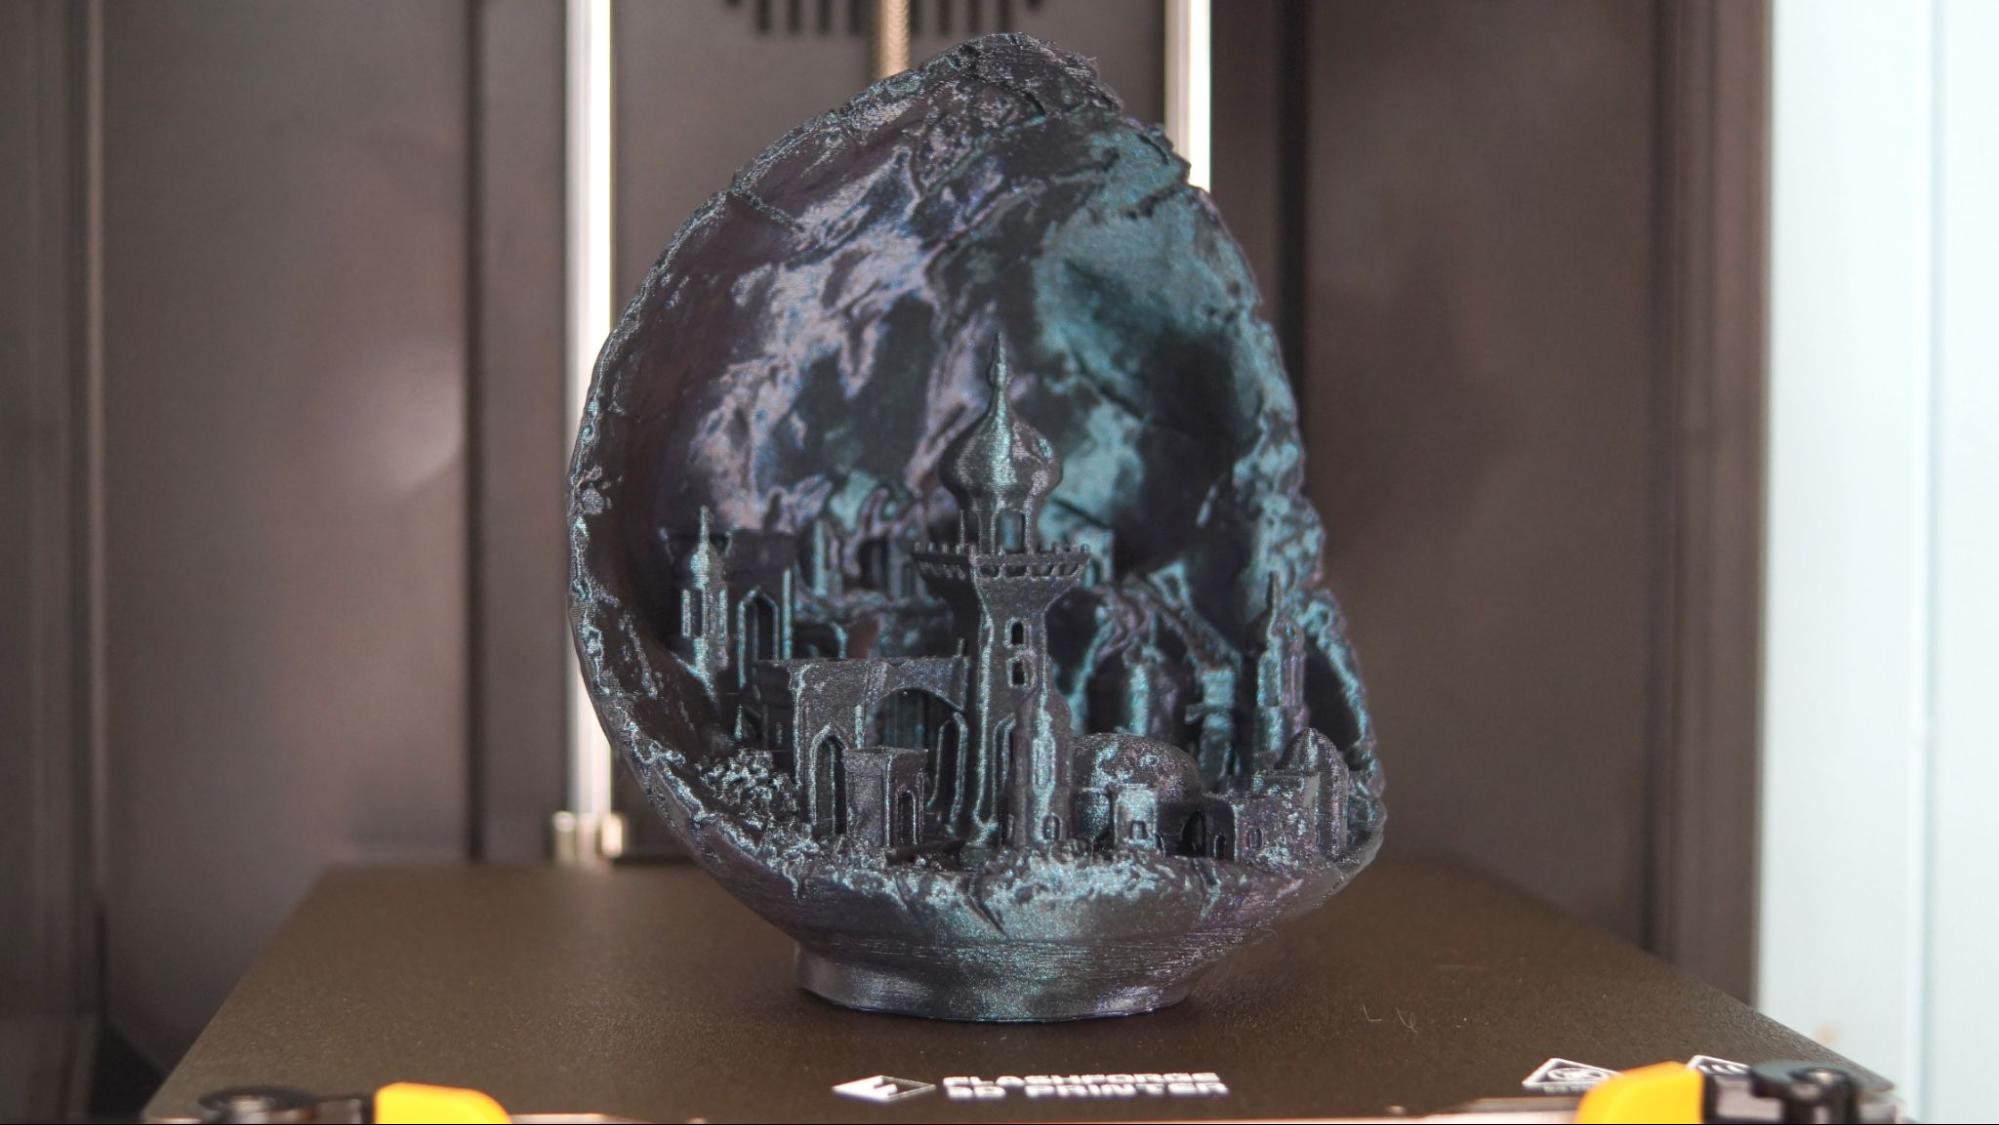
Next I wanted to print something impressive, so I brought out Kijai’s Moon City 2.0, an improved and more detailed version of a classic print. The results were stunning with crisp details, pointy turrets, no stringing and smooth inner planet wall. This was printed in FlashForge’s Burnt Titanium PLA, and with a .2mm layer height, took 16 hours and 9 minutes to print.
Before testing PETG, I decided to install the textured PEI flex plate. Then required sticking a magnet to the aluminum heat bed and discarding the glass plate. The PEI plate works better for PETG and doesn’t need a barrier of glue stick to prevent it from adhering permanently to the glass.
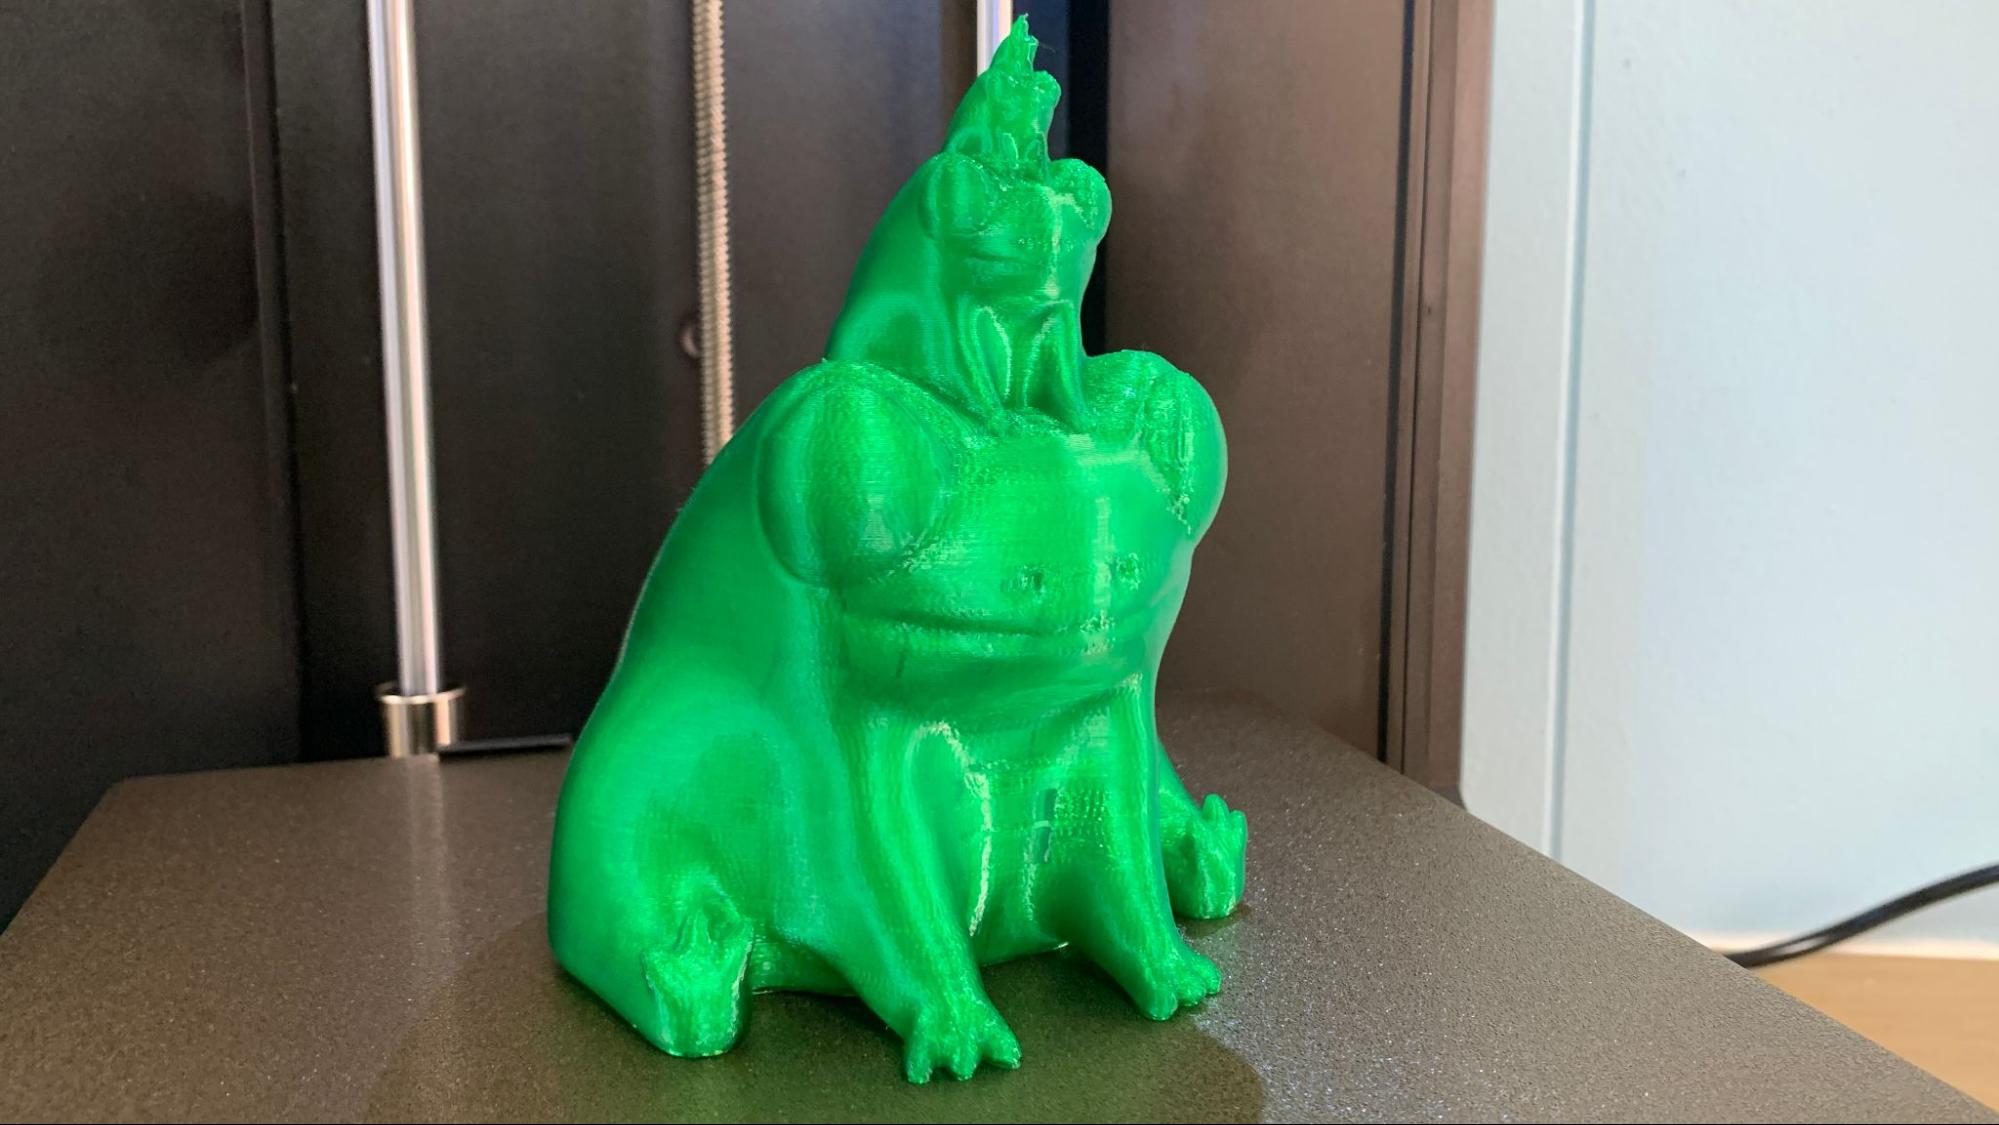
PETG ran perfectly on the Artemis, as seen on this stacked Fred the Frog. Printed in Inland Translucent Green PETG in 3 hours and 54 minutes with a .2mm layer height with a standard 50mm/s speed.
TPU was a bust as I was unable to get it loaded. The feed system was unable to grab onto the filament, and since the entry point is deep inside the shrouded tool I couldn’t push it in either.
Bottom Line
The FlashForge Artemis is a good machine offering a plug and play experience aimed at beginners and makers who don’t want to tinker with their printer, particularly as part of set up. It handled ordinary filament exceptionally well, but the “easy load” tool head couldn’t grab hold of TPU.
The machine comes with a very generous starter pack, including two rolls of PLA filament and a build plate upgrade. The built-in WiFi is a treat, especially with the cost of adding a Raspberry Pi to printers at the moment.
At $499, the FlashForge Artemis is expensive, but a solid choice if you want a pure plug and play experience to start your journey into 3D printing. However, if you want to save a little money while gaining more build space and auto bed leveling, we suggest the Elegoo Neptune 3 Pro, currently on sale for $230. Another great starter printer you can stash in the closet is the highly portable Creality Ender 2 Pro, retailing at $169.
MORE: Best 3D Printers
MORE: Best Resin 3D Printers
MORE: Best Filaments for 3D Printing

Denise Bertacchi is a Contributing Writer for Tom’s Hardware US, covering 3D printing. Denise has been crafting with PCs since she discovered Print Shop had clip art on her Apple IIe. She loves reviewing 3D printers because she can mix all her passions: printing, photography, and writing.
