Tom's Hardware Verdict
Creality took its most popular budget 3D printer and decked it out with all the upgrades, saving you time, and even a little money.
Pros
- +
Quality prints
- +
Easy assembly
- +
Auto bed leveling
- +
Direct drive
- +
Touch Screen
Cons
- -
Odd cooling fan placement
- -
Menu is not user-friendly
Why you can trust Tom's Hardware
The Creality Ender 3 S1 Pro is quite a mouthful, but it’s also quite a printer. Shortly after announcing the deluxe Ender 3 S1, Creality inexplicably added even more features to their trusty workhorse and dubbed it the “pro” version.
None of these new features will make you throw your S1 in the garbage, but they are enticing if you’re stepping up from an Ender 3 Pro or V2 model. Ready to compete with the best 3D printers on the market, the Ender 3 S1 Pro comes with Creality’s first all metal hotend, a PEI flex plate, a touch screen, an improved spool holder and a built-in light kit.
That’s on top of core improvements already introduced in the S1 version, such as a direct drive, dual Z axis, auto bed leveling, and a slot for a full sized SD card.
Retailing at $479 on Creality’s website, this printer is a far cry from its budget minded roots. It’s still $360 cheaper Prusa MK3S+ kit, but nearly twice the price of basic Ender 3s still on the market. Those bargain basement Enders are still popular because they are so easily upgraded. Nearly everything that comes on an Ender 3 S1 Pro can be added to a classic Ender 3, if you’re willing to spend at least $350 in parts and add them to the old printer yourself (which is a hassle and costs more if you don’t already own an Ender 3).
Specifications: Ender 3 S1 Pro
| Machine Footprint | 6490 x 455 x 625 mm (19.2 x 18 x 24.5 inches) |
| Build Volume | 220 x 220 x 270 mm (8.5 x 8.5 x 10.5 inches) |
| Material | PLA/PETG/TPU/ABS |
| Extruder Type | Direct Drive |
| Nozzle | .4mm (Interchangeable) |
| Filament Runout Sensor | Yes |
| Bed Leveling | CR Touch |
| Connectivity | SD card, Type-C USB |
| Interface | Color Touch Screen |
Creality Ender 3 S1 Pro: Included in the box
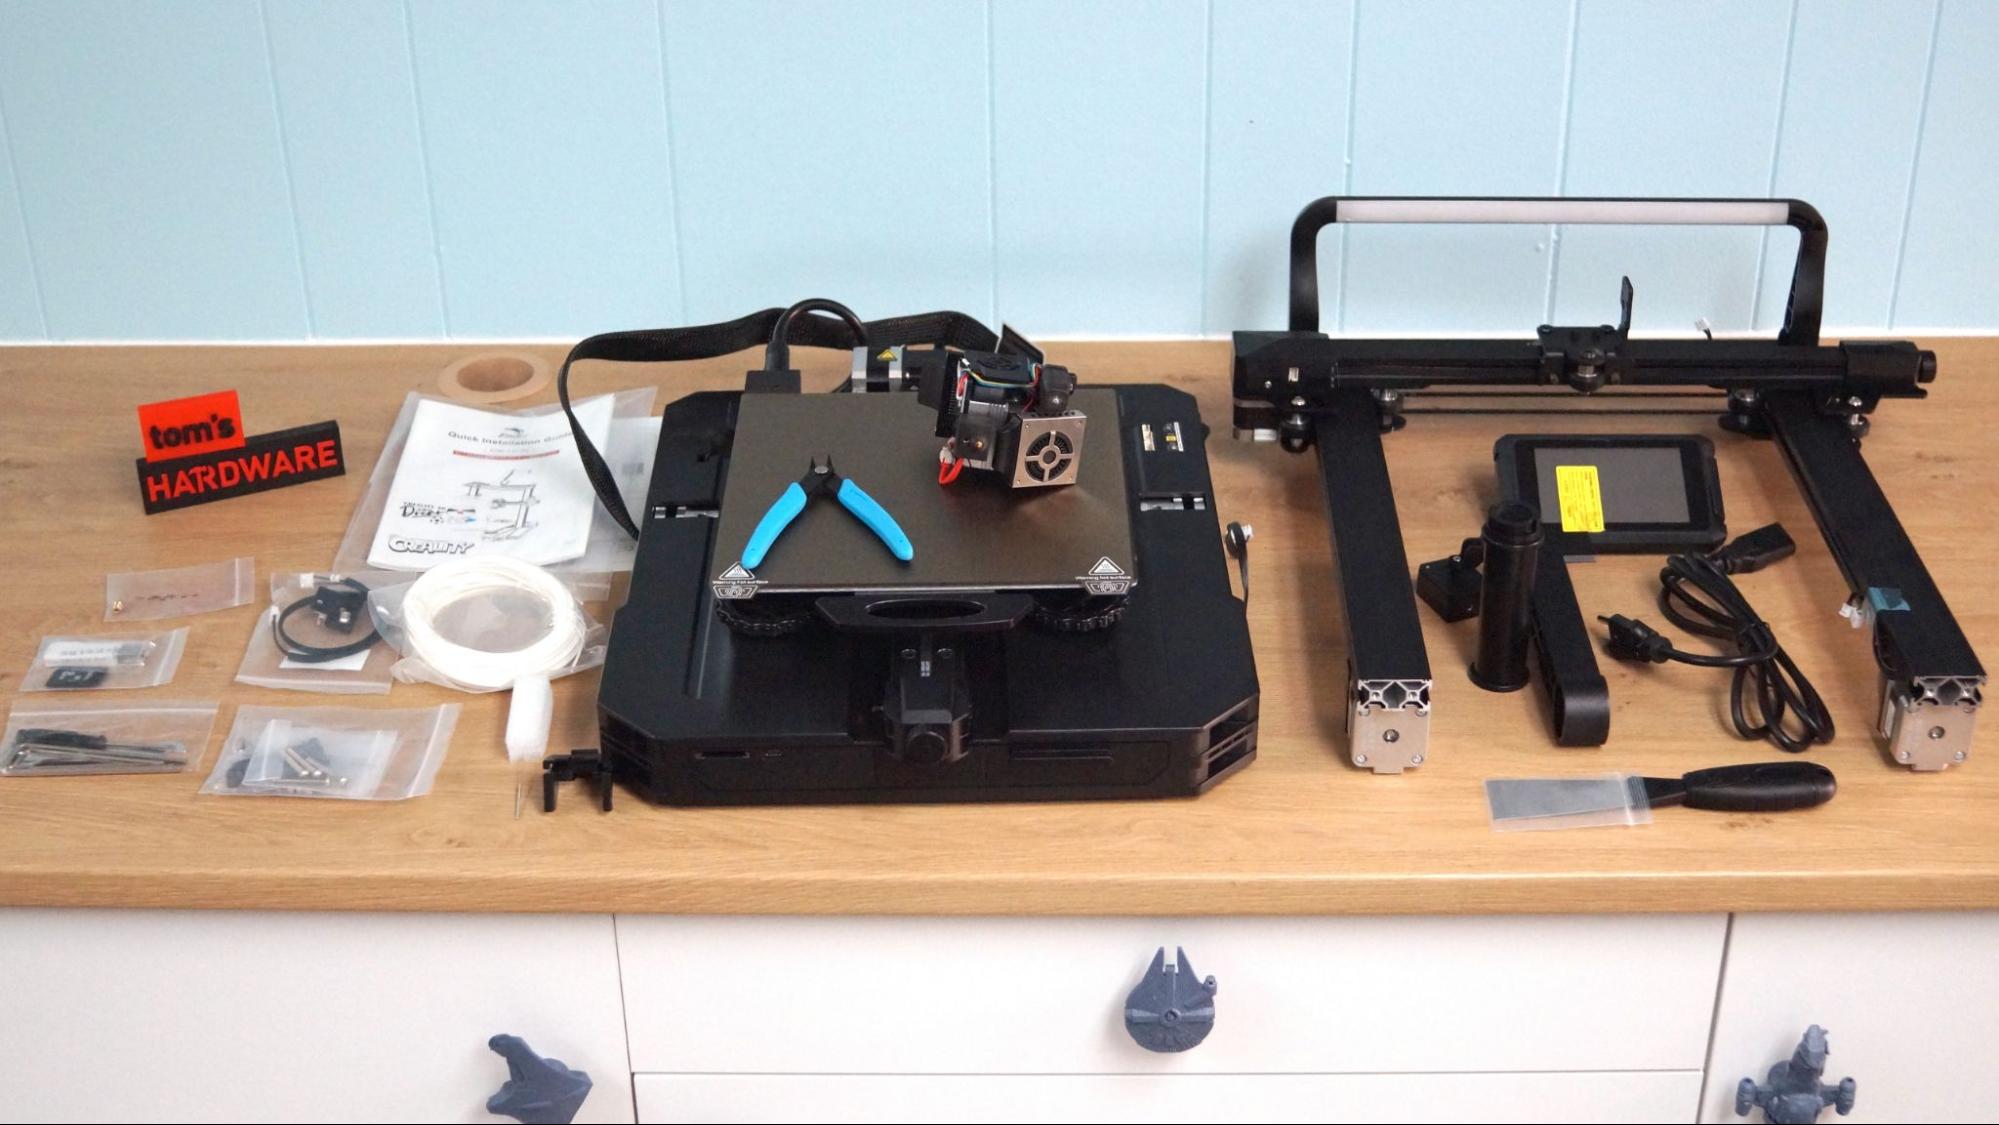
The Ender 3 S1 Pro comes with everything you need to get your printer set up. You get tools to build and maintain the printer, side cutters, a metal scraper, a nozzle cleaner, a spare nozzle, an extra Z limit switch, and a full sized SD card with a USB adapter. There’s also a small sample of white PLA to print your first model.
The SD card has two short videos, one on assembling the printer, and another on how to level it. You also get a PDF copy of the manual, a copy of Creality Slicer 4.8.0 and models in both pre-sliced .gcode and .stl format.
Design of the Creality Ender 3 S1 Pro
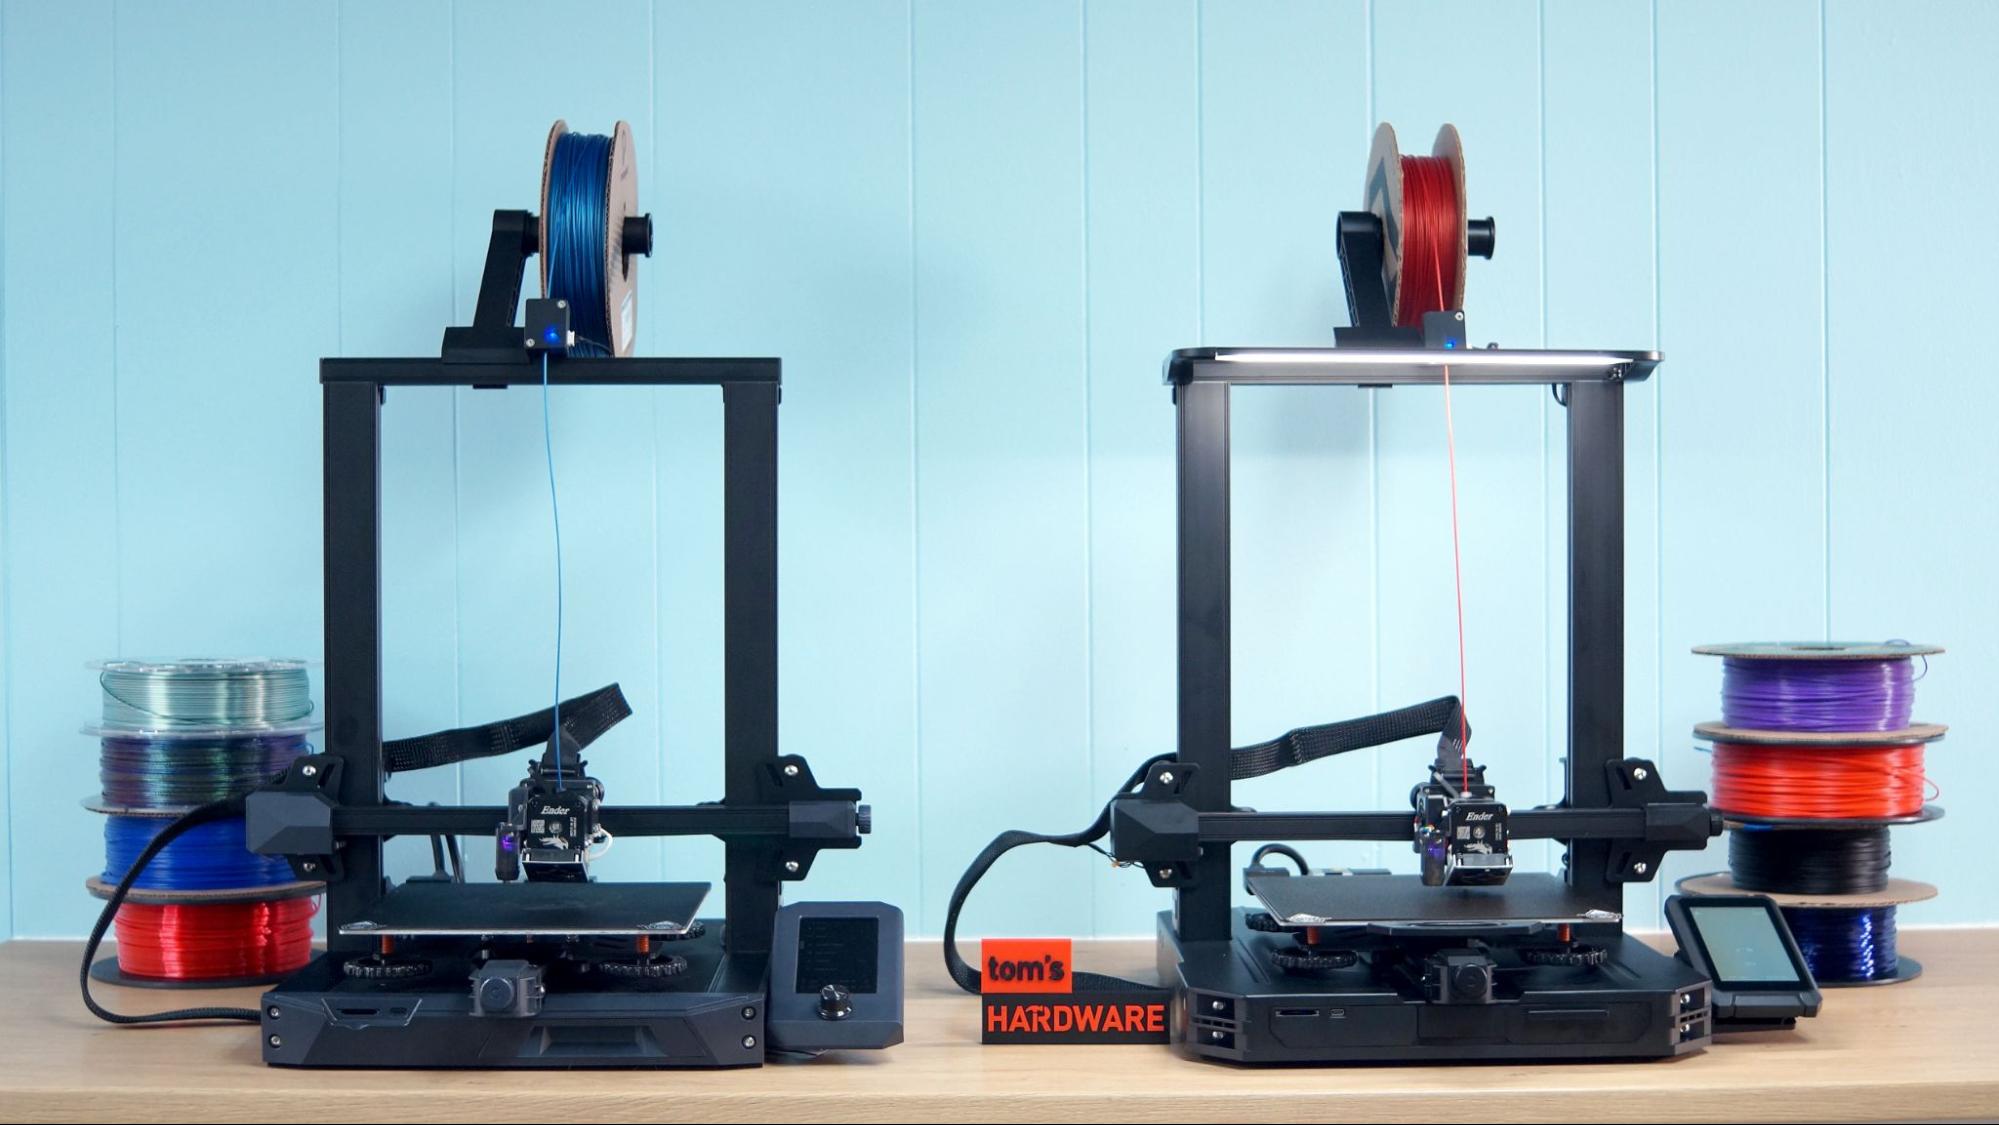
The Ender 3 S1 Pro is quite a bit flashier than the old Ender 3s, but only slightly different from the previous S1.
Get Tom's Hardware's best news and in-depth reviews, straight to your inbox.
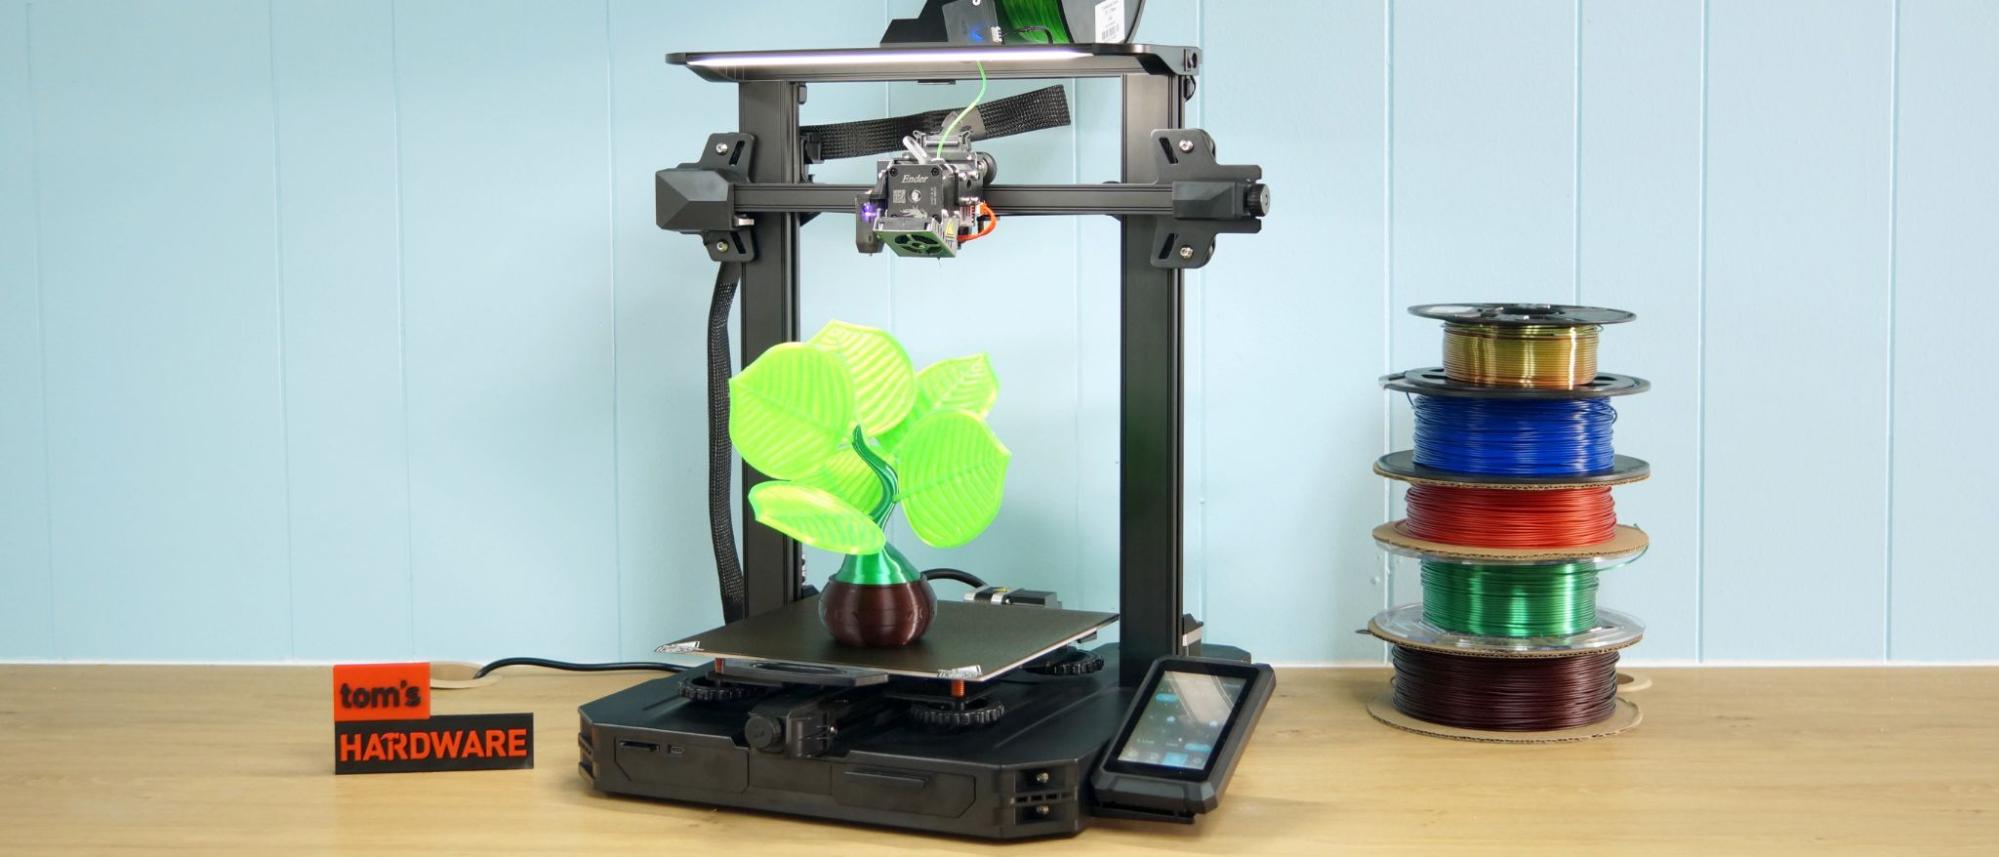
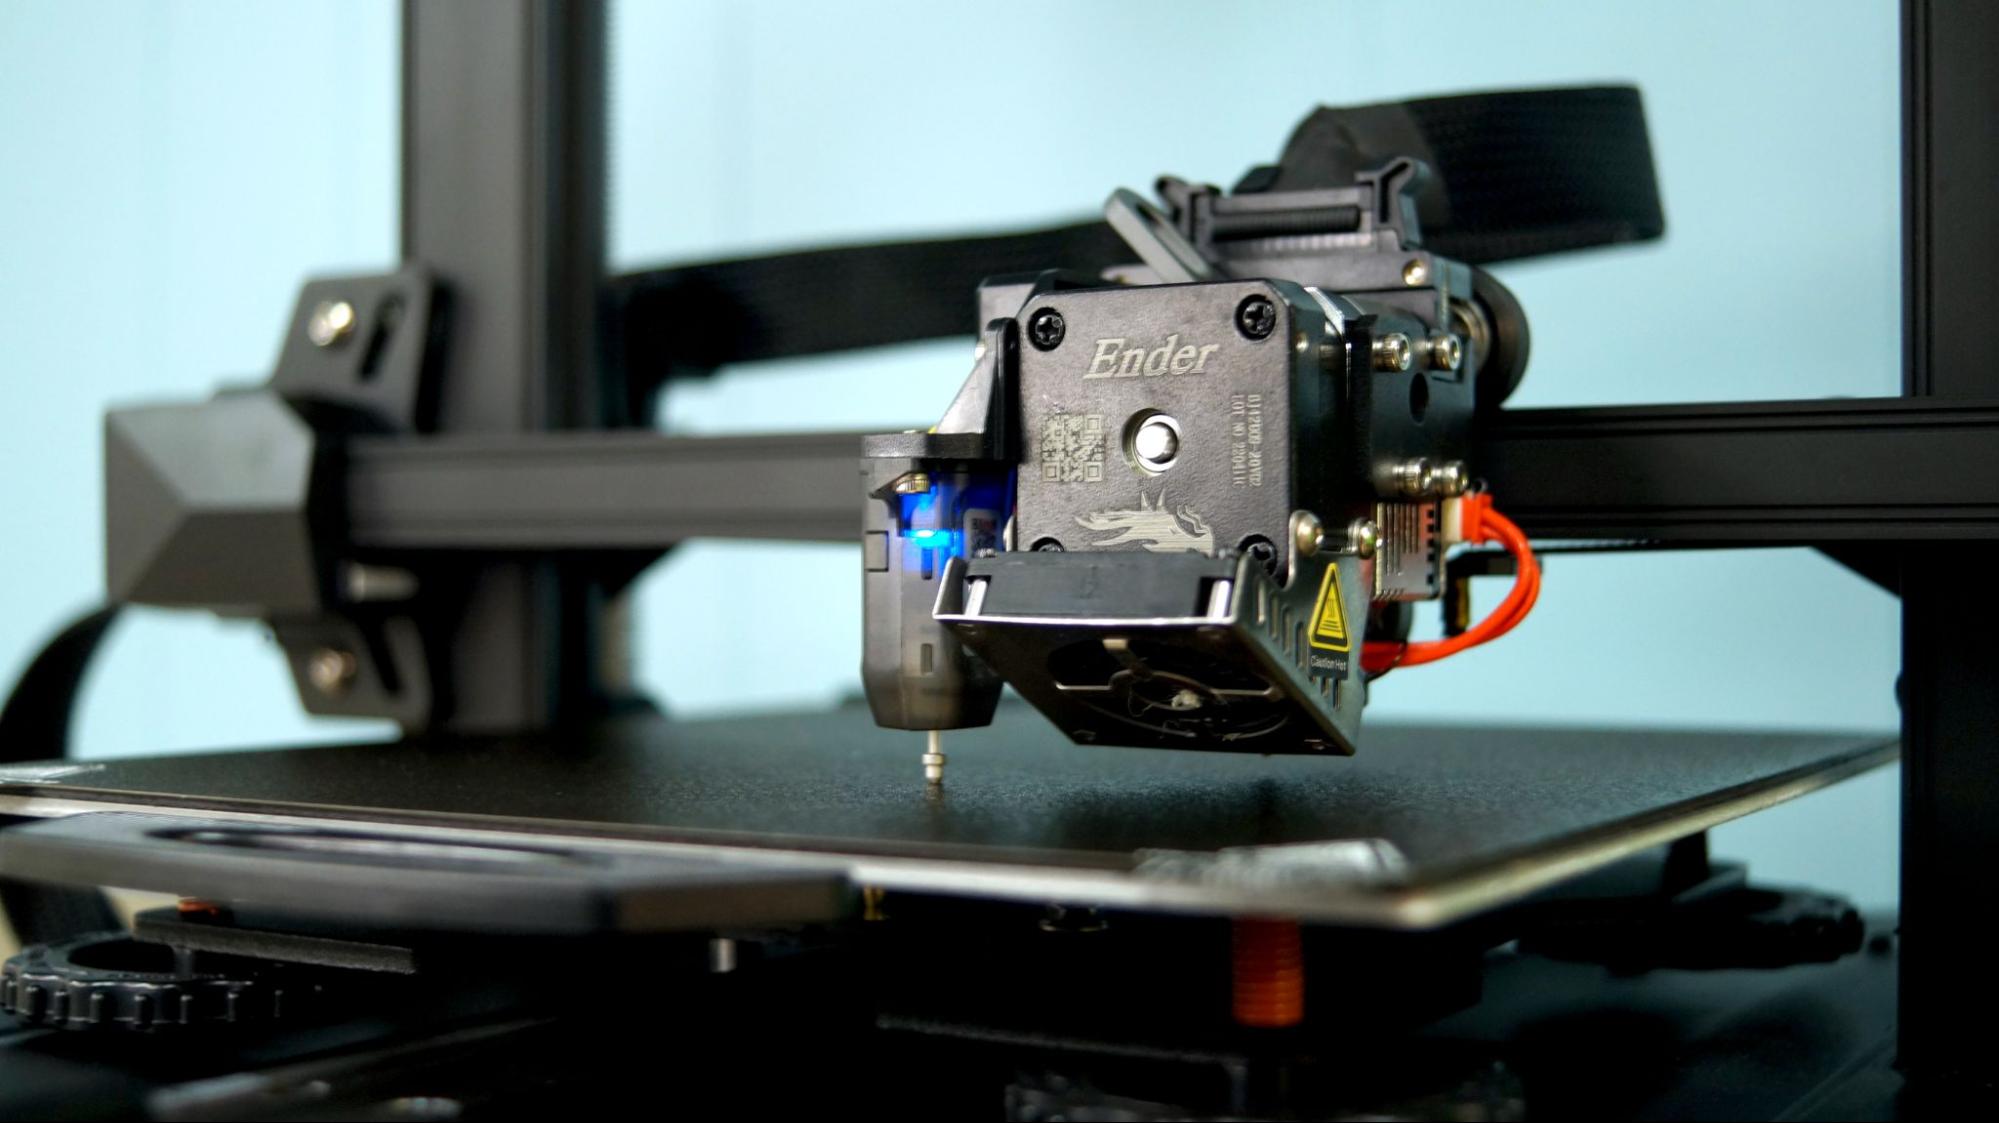
The Ender 3 S1 Pro has a modern look, with an all-in-one design, smooth metal frame and flat cables. It has Creality’s newest direct drive, the all metal Sprite, which not only improves performance, but does away with the need for a Bowden tube.
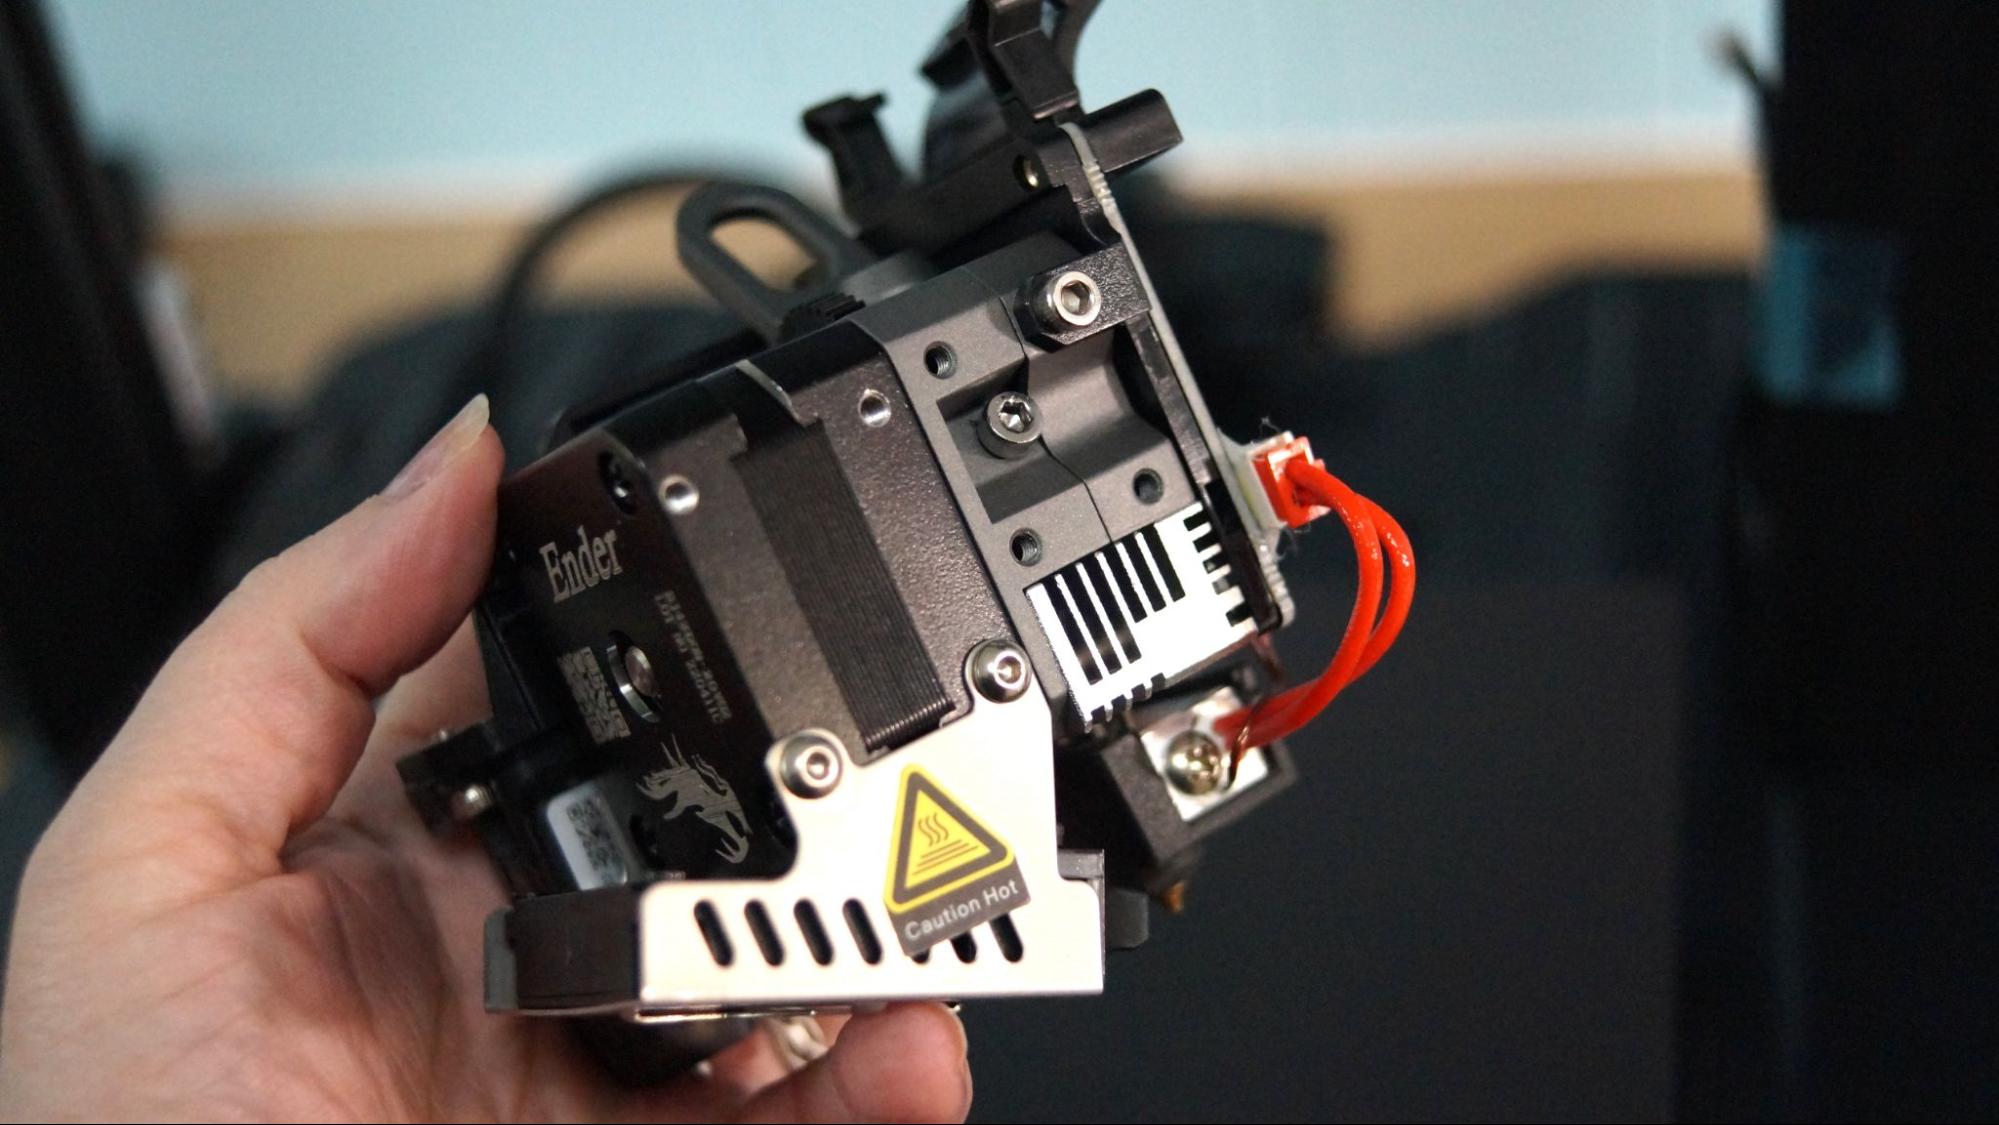
The direct drive is an all metal, dual gear unit that works beautifully. It’s a little industrial looking compared to the rest of the machine, but the lack of plastic housing serves to cut down on weight. It’s a titanium heat break allows it to heat up to a toasty 300 degrees. This allows us to print more materials, but more important, cuts down on nasty clogs from burnt PTFE tubes.
The Creality Sprite extruder is shipped unmounted and attaches with a few easy to reach screws. It’s meant to be simple to remove, so you can swap it with a laser kit, purchased separately. We’ll be reviewing the laser at a later date.
I’m still not loving the awkward front-mounted parts cooling fan, which makes it hard to watch your first layer go down. The machine also comes with a run out sensor mounted near the spool holder and power loss recovery.
Like the S1, the Ender 3 S1 Pro has a CR Touch for auto bed leveling, but kept the bed’s flexible springs and knobs. Should the CR Touch fail completely, or you just hate easy bed leveling, Creality included a Z limit switch you could add to convert it back to manual.
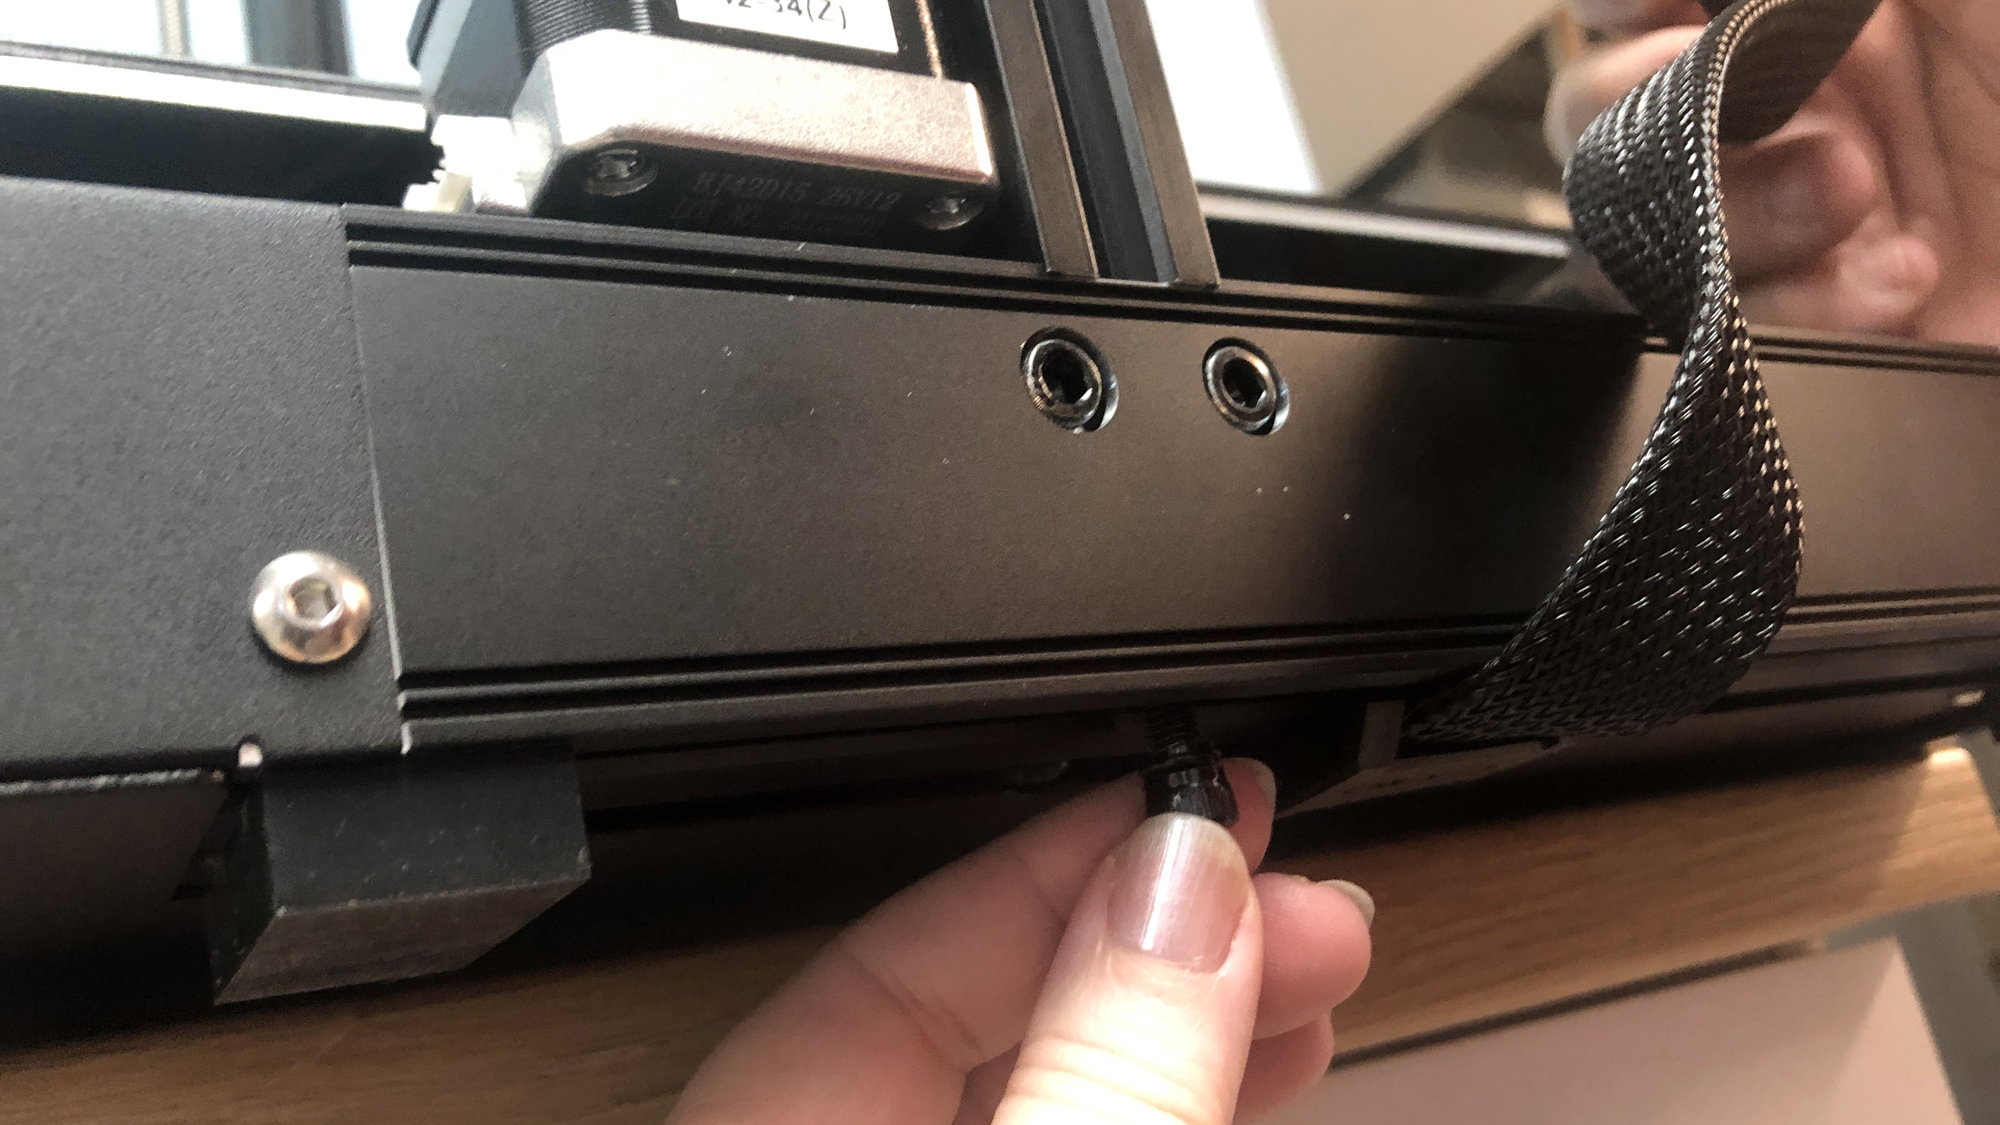
A final intriguing addition is a dual Z axis upgrade, something normally reserved for larger printers. The two lead screws are kept in sync with a belt for added security. The extra Z axis ensures smoother prints by giving the X gantry more support.
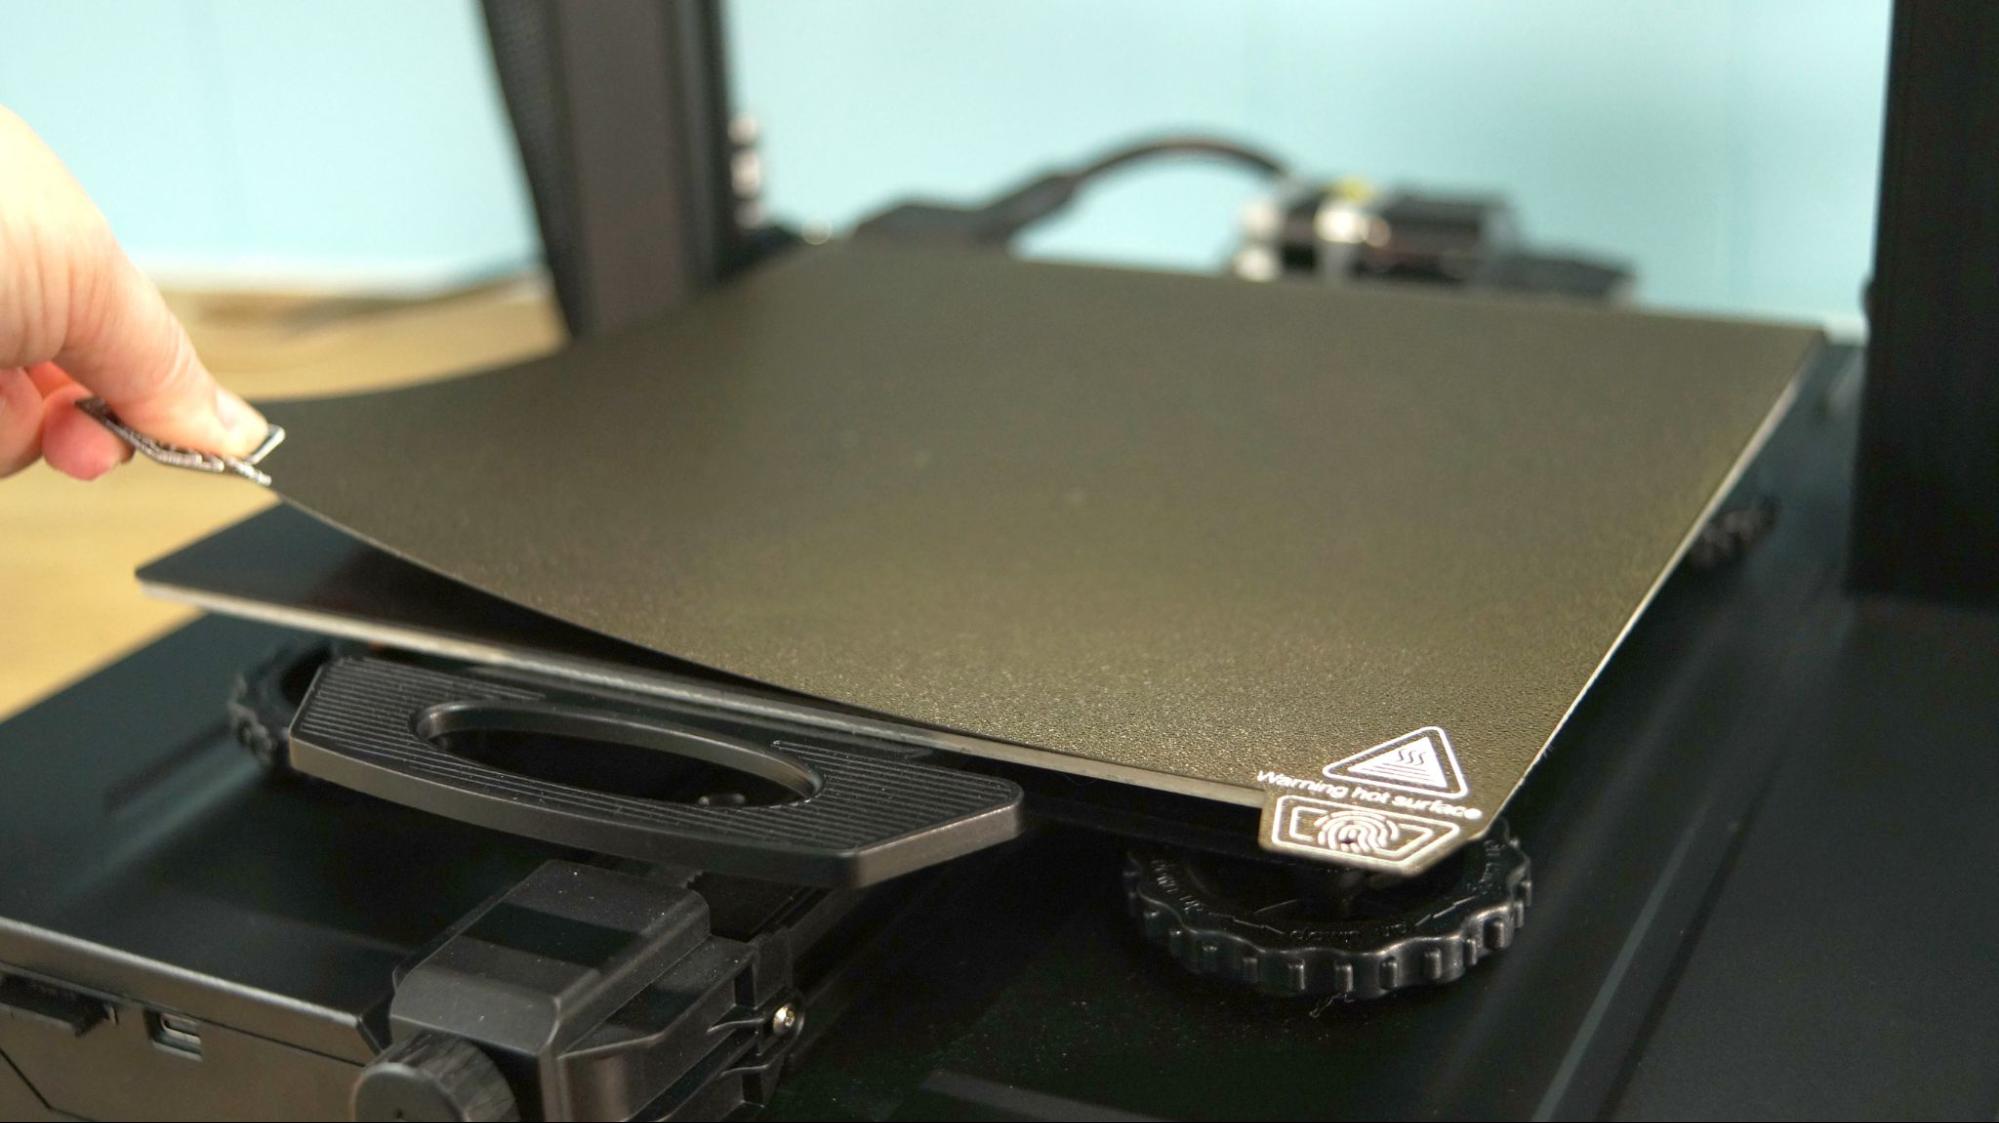
I was most excited to see my favorite upgrade – a PEI coated steel flex plate. The PC coated plate on the S1 was both too sticky and too floppy, and damaged a few vase mode prints.
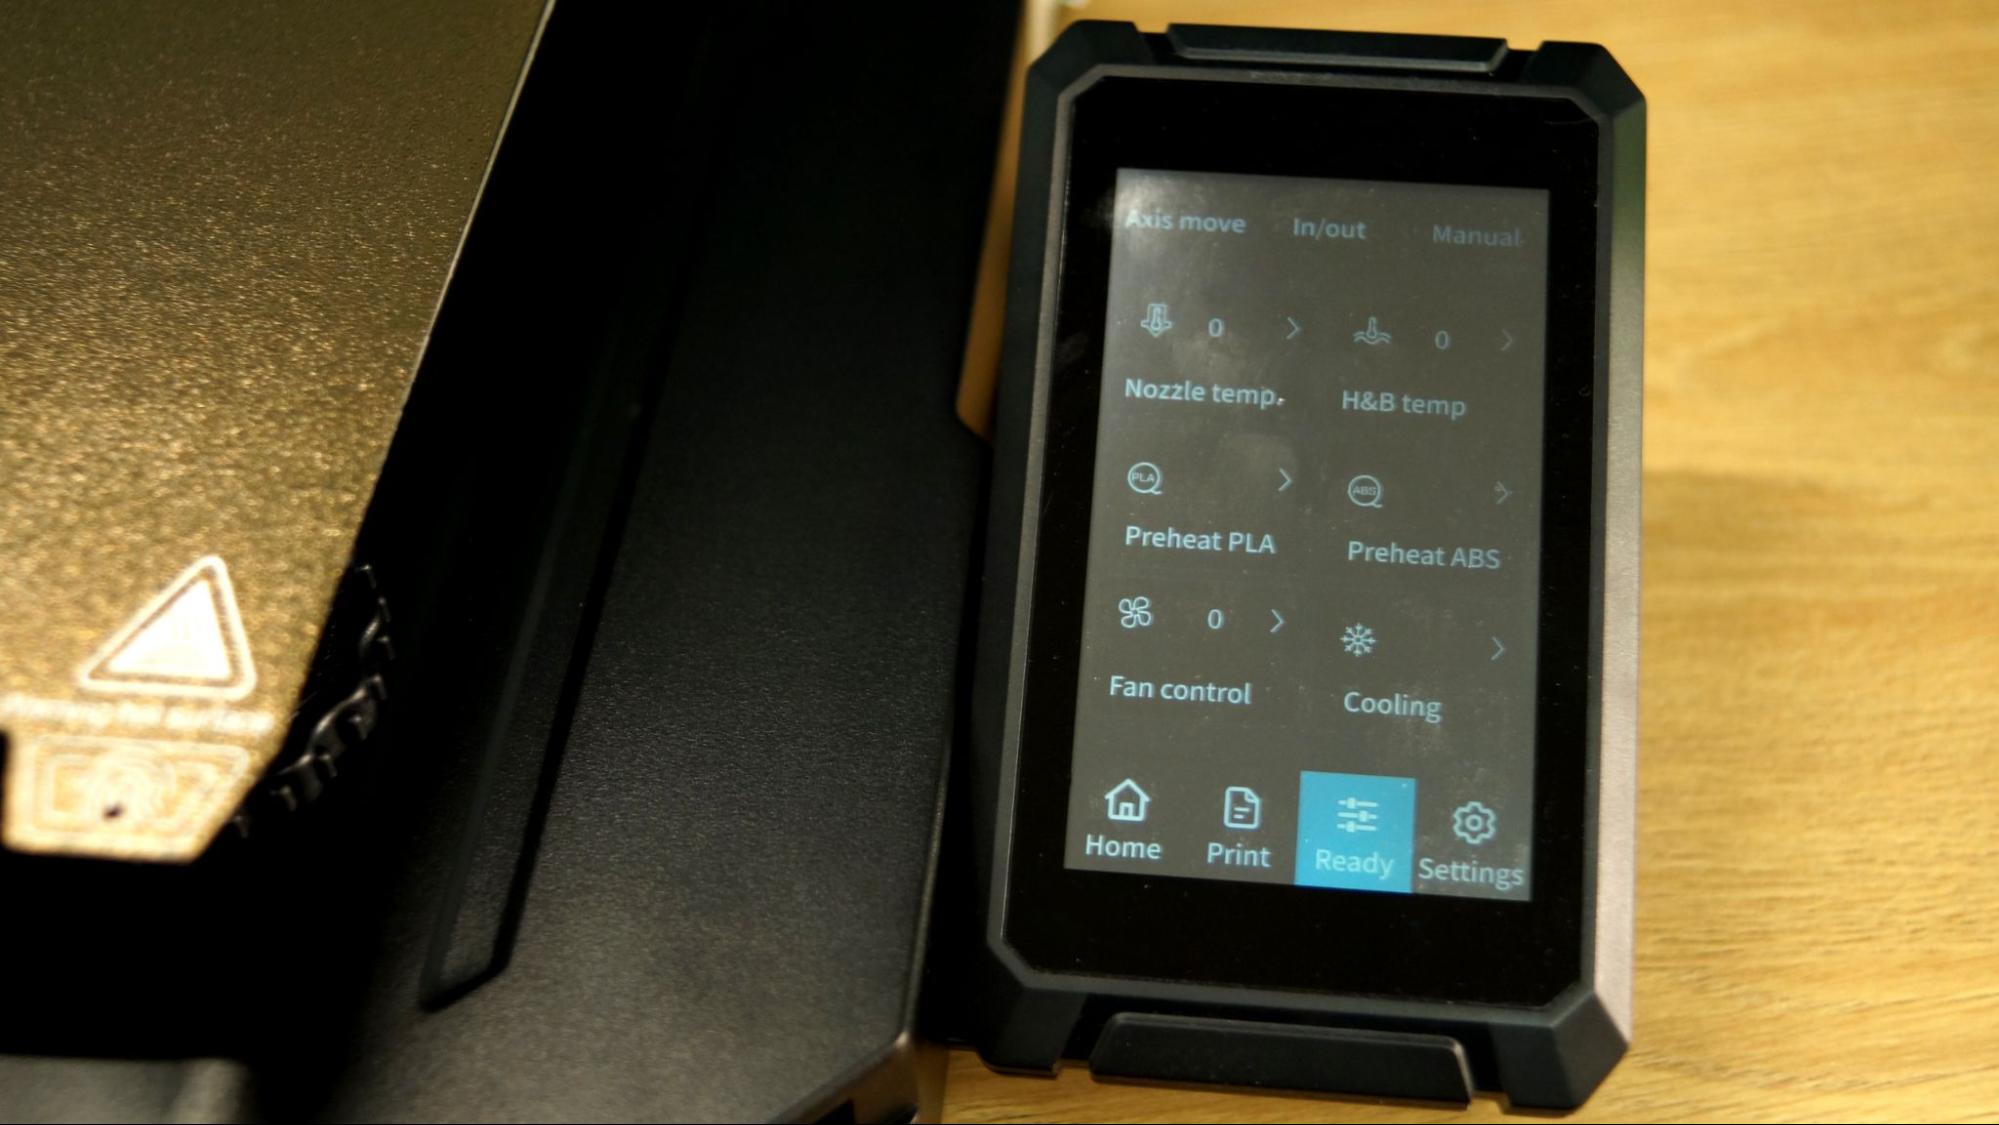
If you’ve used any Creality machine in the past, the new touch screen will throw you for a loop. The layout is completely different from all the old versions with a complex text menu that, honestly, doesn’t make a lot of sense in places. For example, the automatic preheat buttons are hidden under “manual” and bed leveling is stashed under settings.
Assembling the Creality Ender 3 S1 Pro
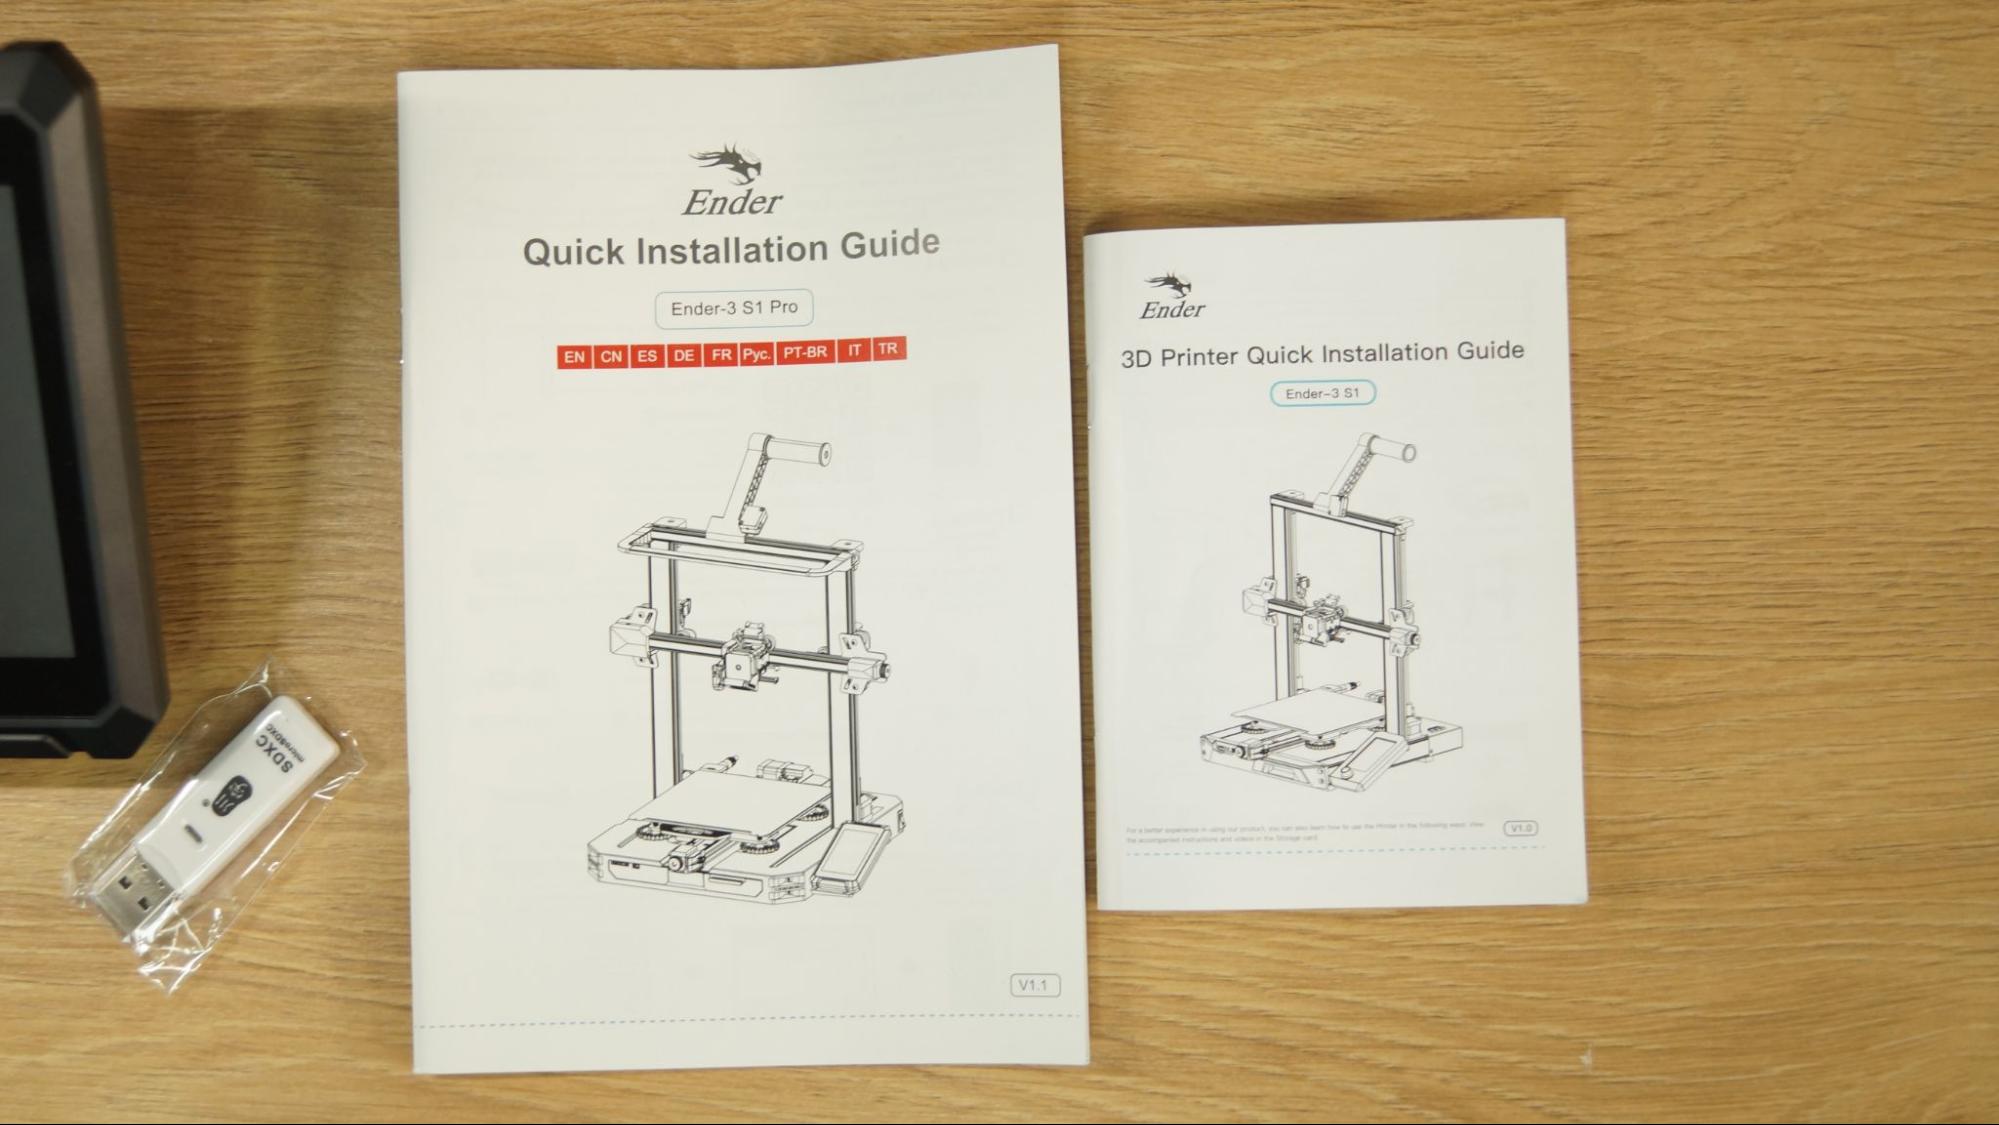
The Creality Ender 3 S1 Pro is mostly pre-assembled and comes together with a handful of neatly labeled bolts and screws. Creality learned from the S1 and made the paper manual much larger. If you find video easier to follow, you can watch a good assembly video on the included SD card.
I installed the gantry first. It fits into slots on the base unit and is held in place with 2 screws and 2 bolts on each side. Then I fitted the hotend assembly onto the X gantry with four screws. The control screen bolts to the side with 3 screws and the spool holder snaps into place on the top.
Wiring is very simple as everything is already attached to the frame and only needs to be plugged in.
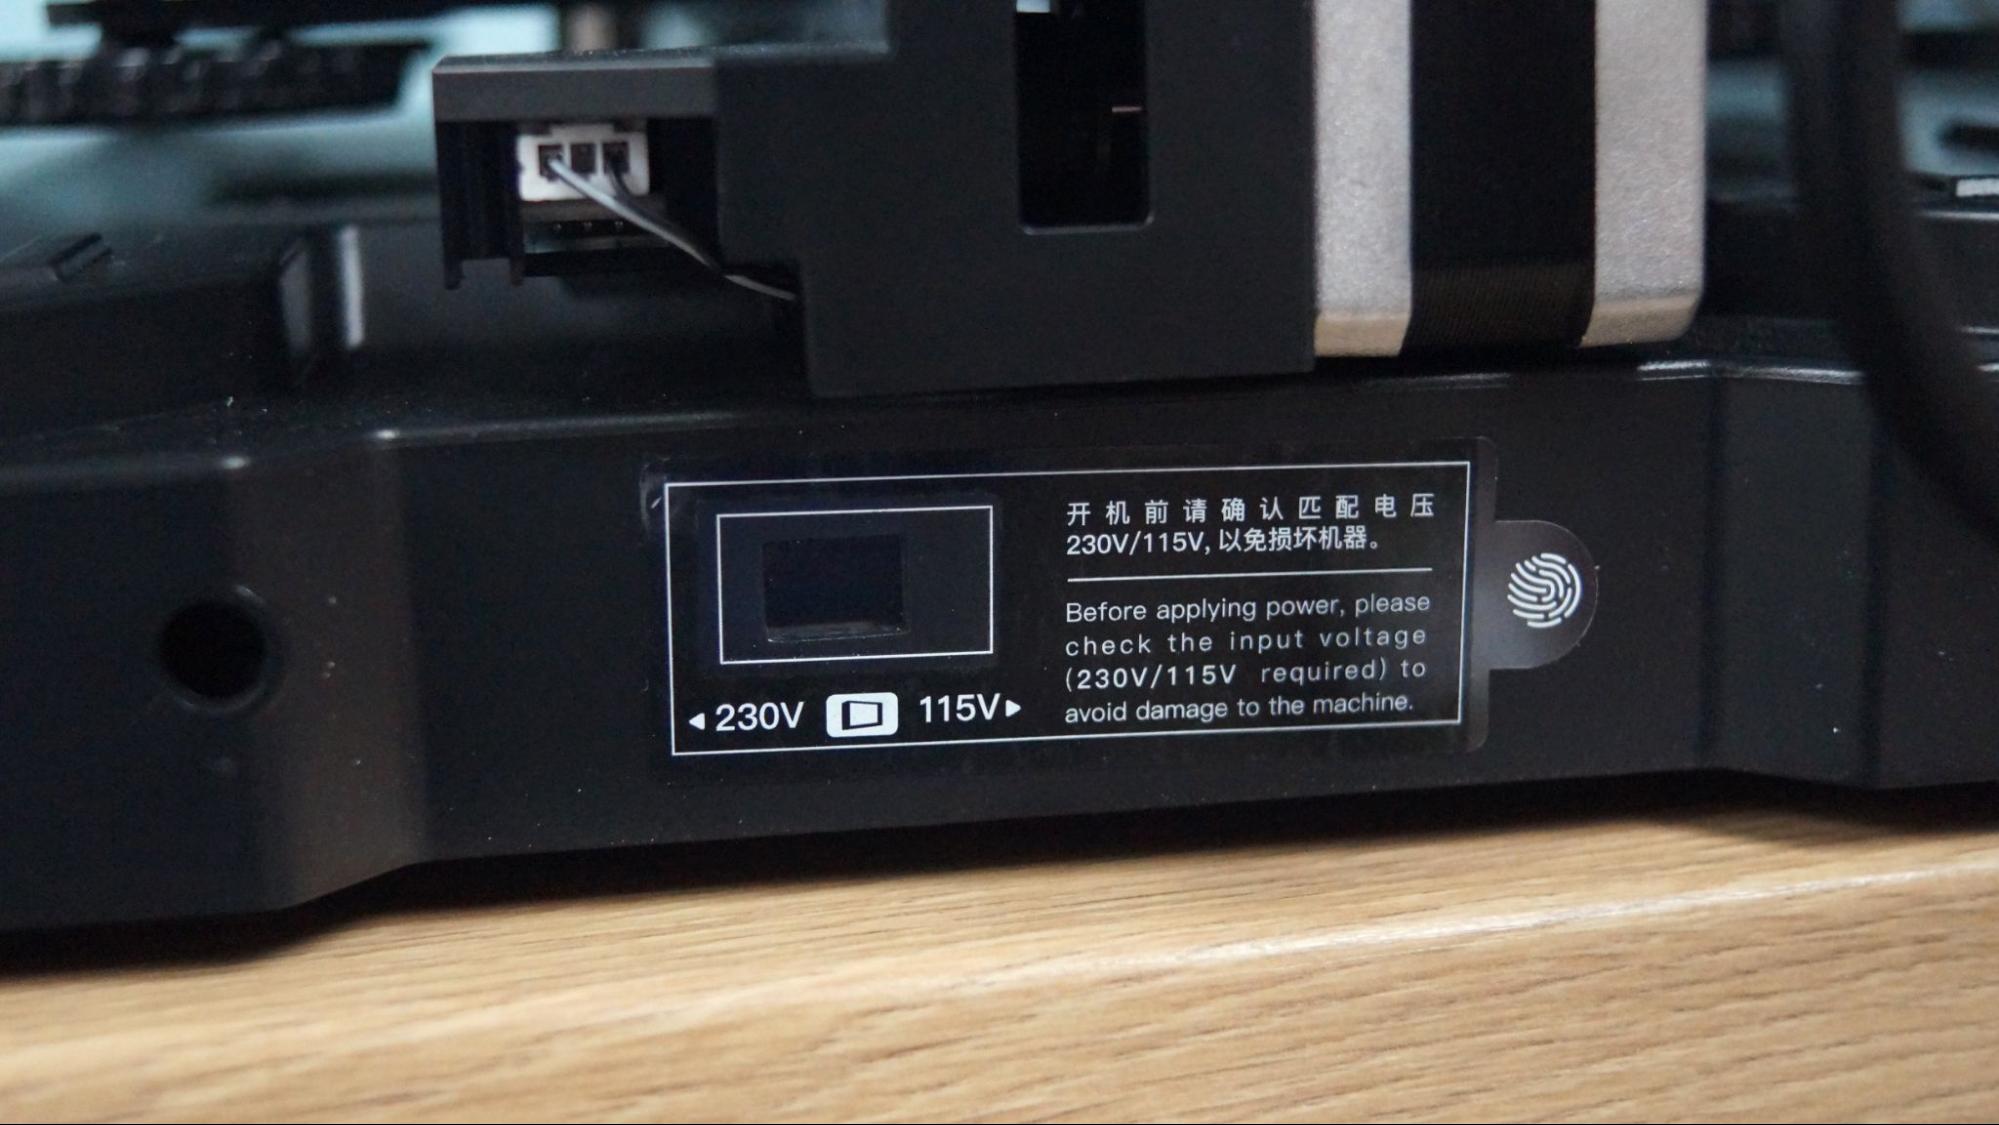
Last, flip the power supply switch to match your main household electric, which is 115V in the U.S. Creality placed a giant sticker to make sure you don’t overlook the hidden switch.
Leveling the Creality Ender 3 S1 Pro
The Ender 3 S1 Pro comes with a CR Touch installed, Creality’s version of the popular BL Touch. It physically taps the build surface with a metal probe and works with both metal or glass surfaces.
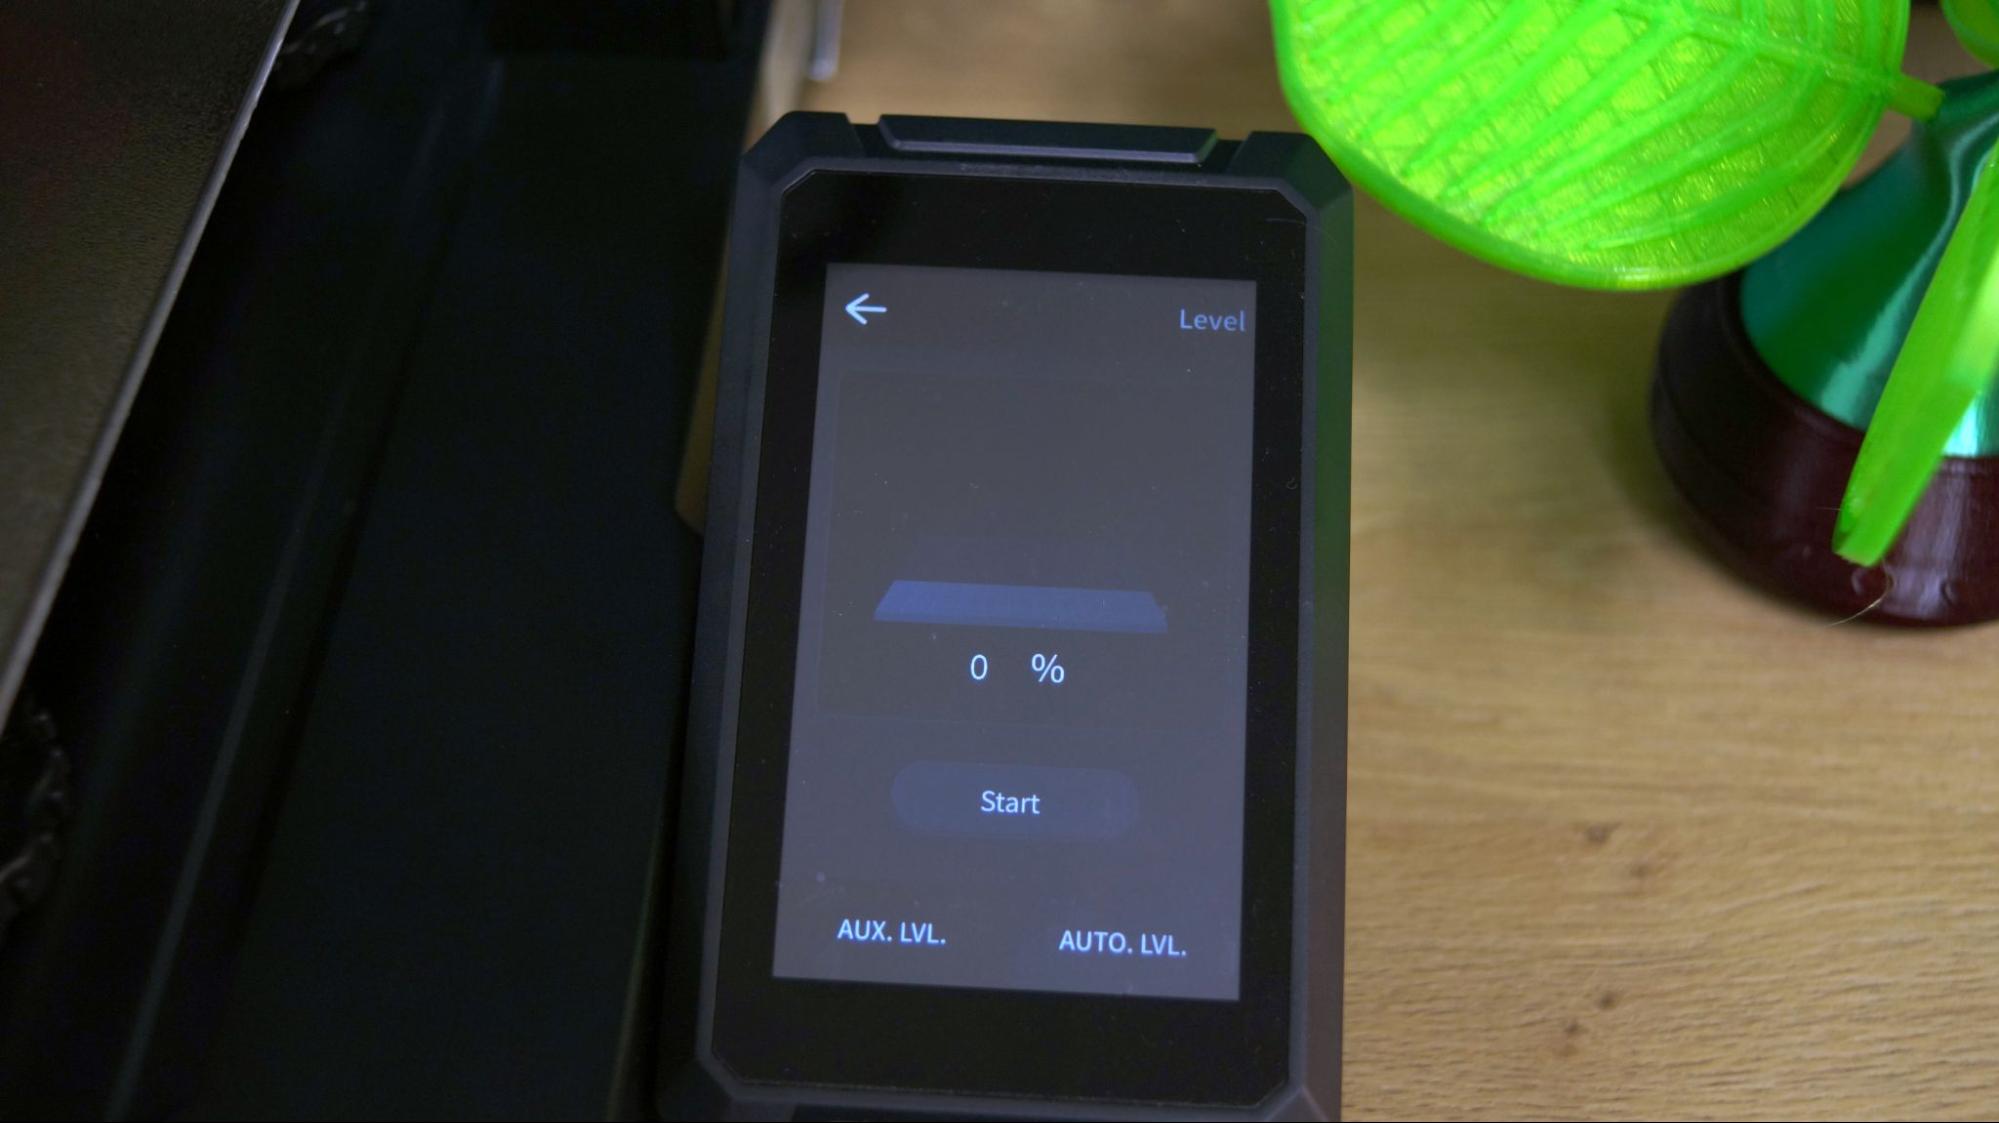
To level the printer for the first time, select Level from the settings menu. Click Start and the printer will immediately go into its leveling routine without preheating and tap 16 points around the bed.
Now go back to the previous menu and click “Auto Level” to set the Z offset by sliding a piece of paper under the nozzle. Move the Z offset up or down until the nozzle just scrapes the paper. The printer I tested did not need to adjust the Z, it was perfect the first time.
If the CR Touch is unable to level the bed, you will need to do a manual level. Directions for this are in the manual.
Loading Filament on the Creality Ender 3 S1 Pro
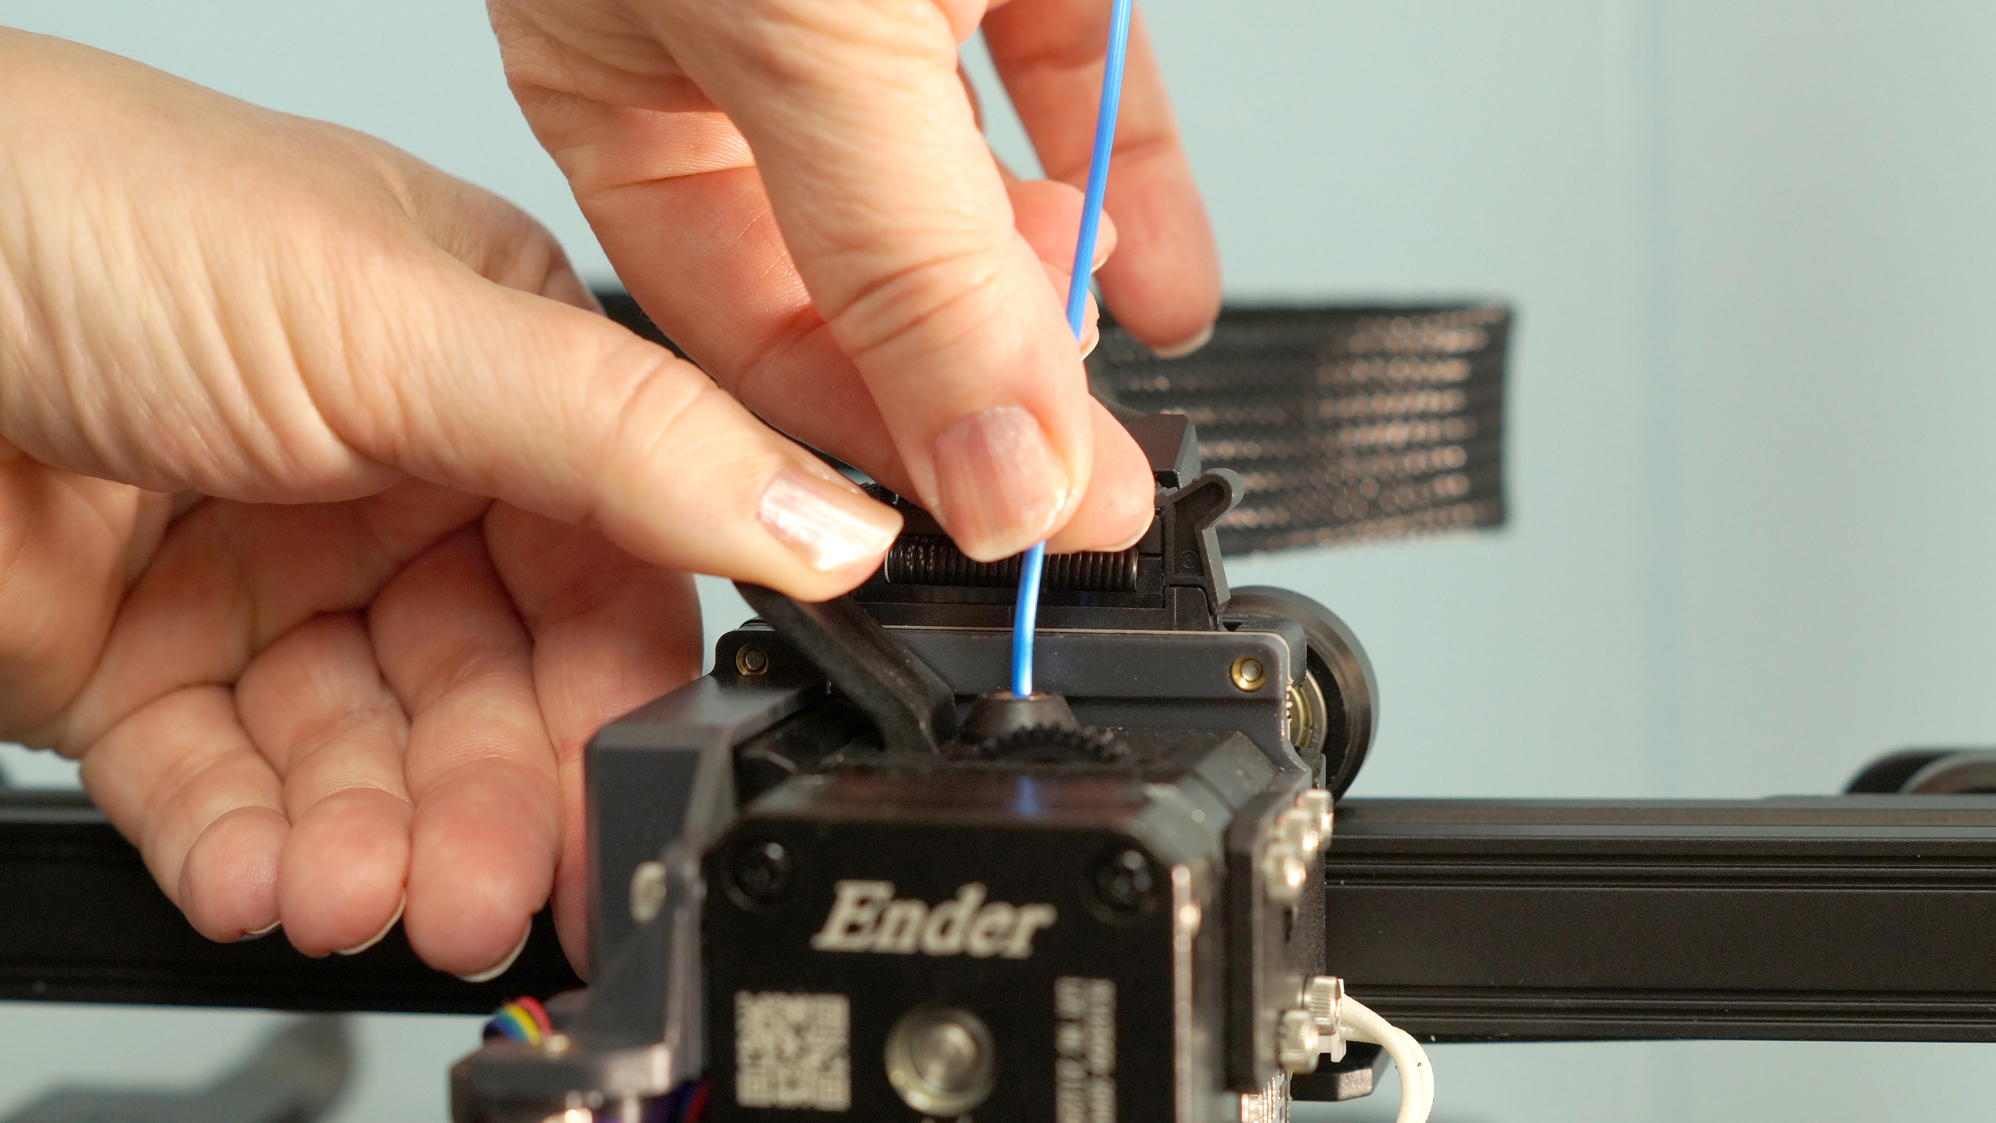
The Creality Ender 3 S1 Pro is the first Ender to include a filament loading routine in the control panel. This is located under Ready → In/Out. Click the nozzle icon, enter a number of millimeters you’d like to advance. 20 is a good place to start. If the nozzle is not hot, the Ender 3 S1 Pro will automatically warm up to 200 degrees, then advance the filament.
To unload material, just reverse the process.
Preparing Files / Software for Creality Ender 3 S1 Pro
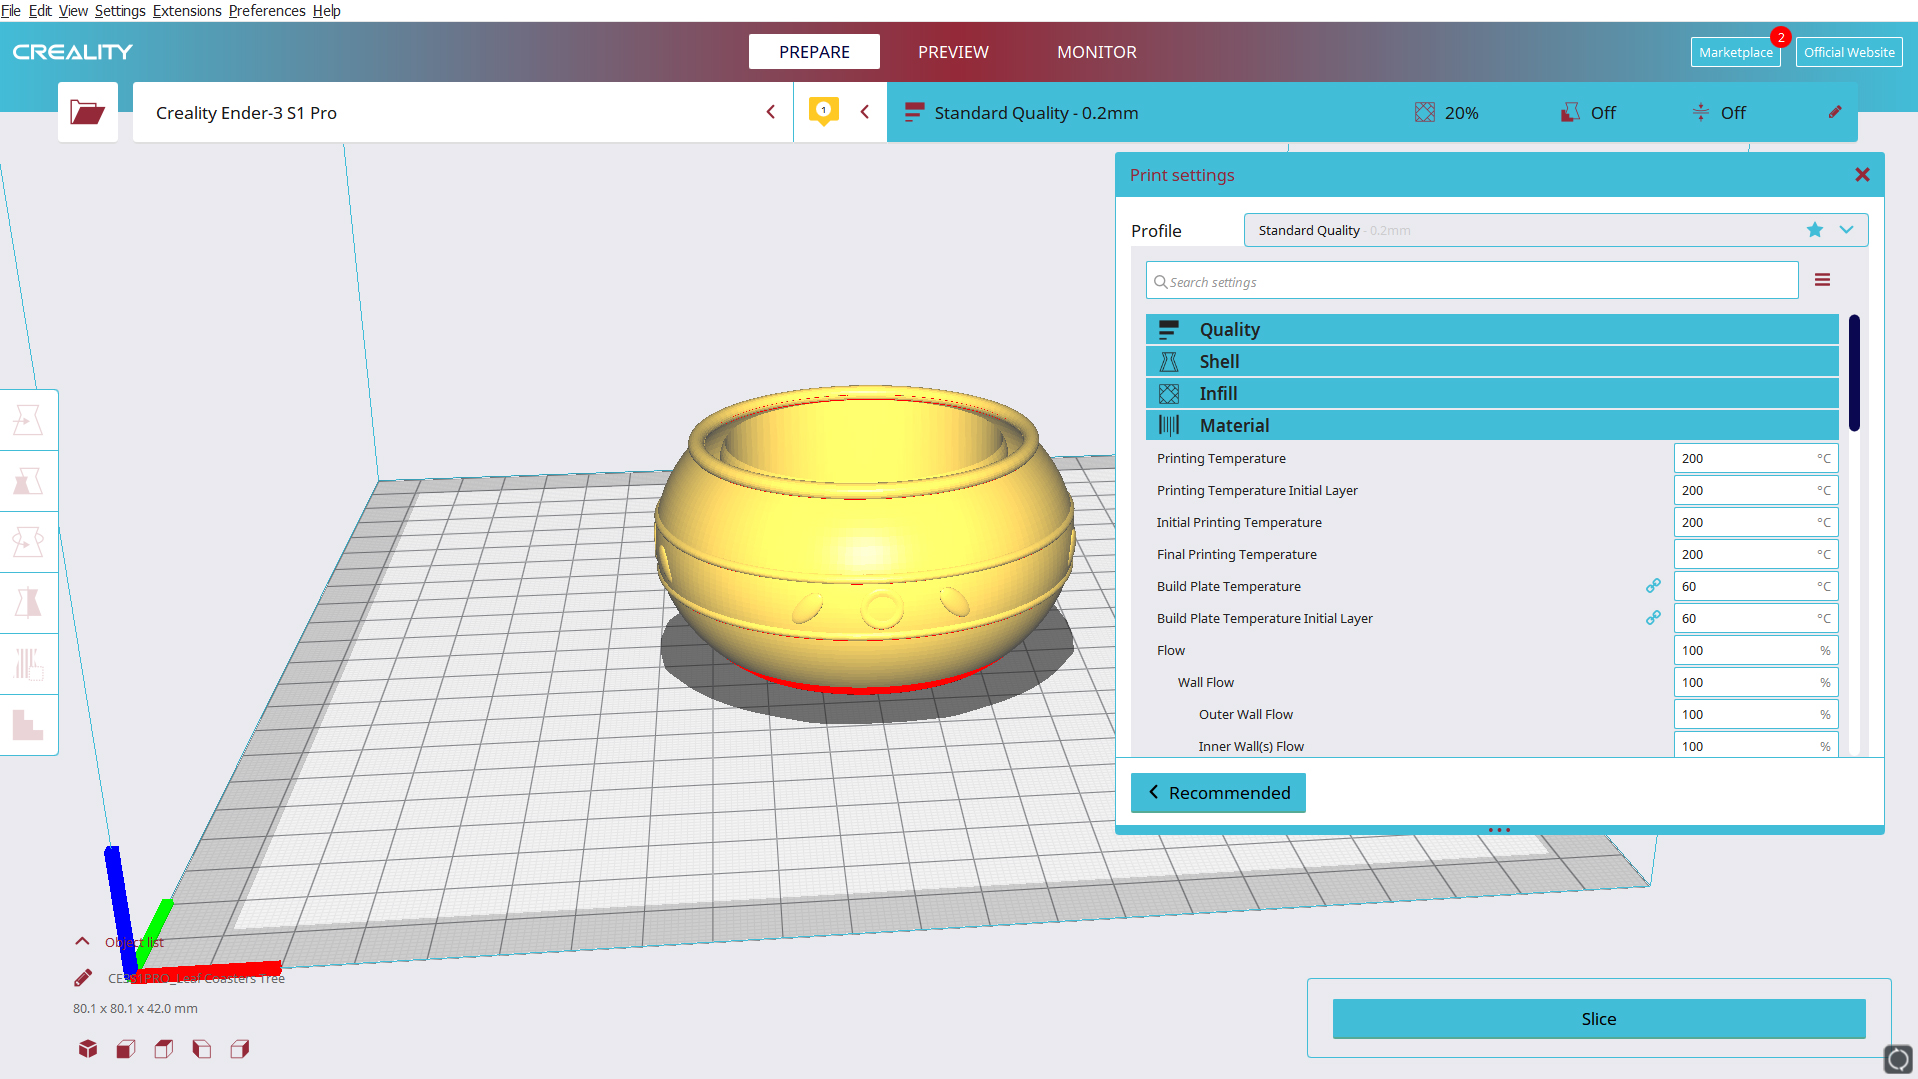
The Ender 3 S1 Pro comes with a copy of Creality Slicer 4.8.0, which is simply an older version of Cura with Creality branding and every printer its ever made pre-loaded. PrusaSlicer is another popular alternative that’s also free and some consider easier to use.
The latest version of Cura (5.0) doesn’t have a profile for the Ender 3 S1 Pro, but you can use the profile for the Ender 3 Pro and adjust the build height to 270. PrusaSlicer has a profile for the Ender 3 S1, which has the same build size.
Printing on the Creality Ender 3 S1 Pro
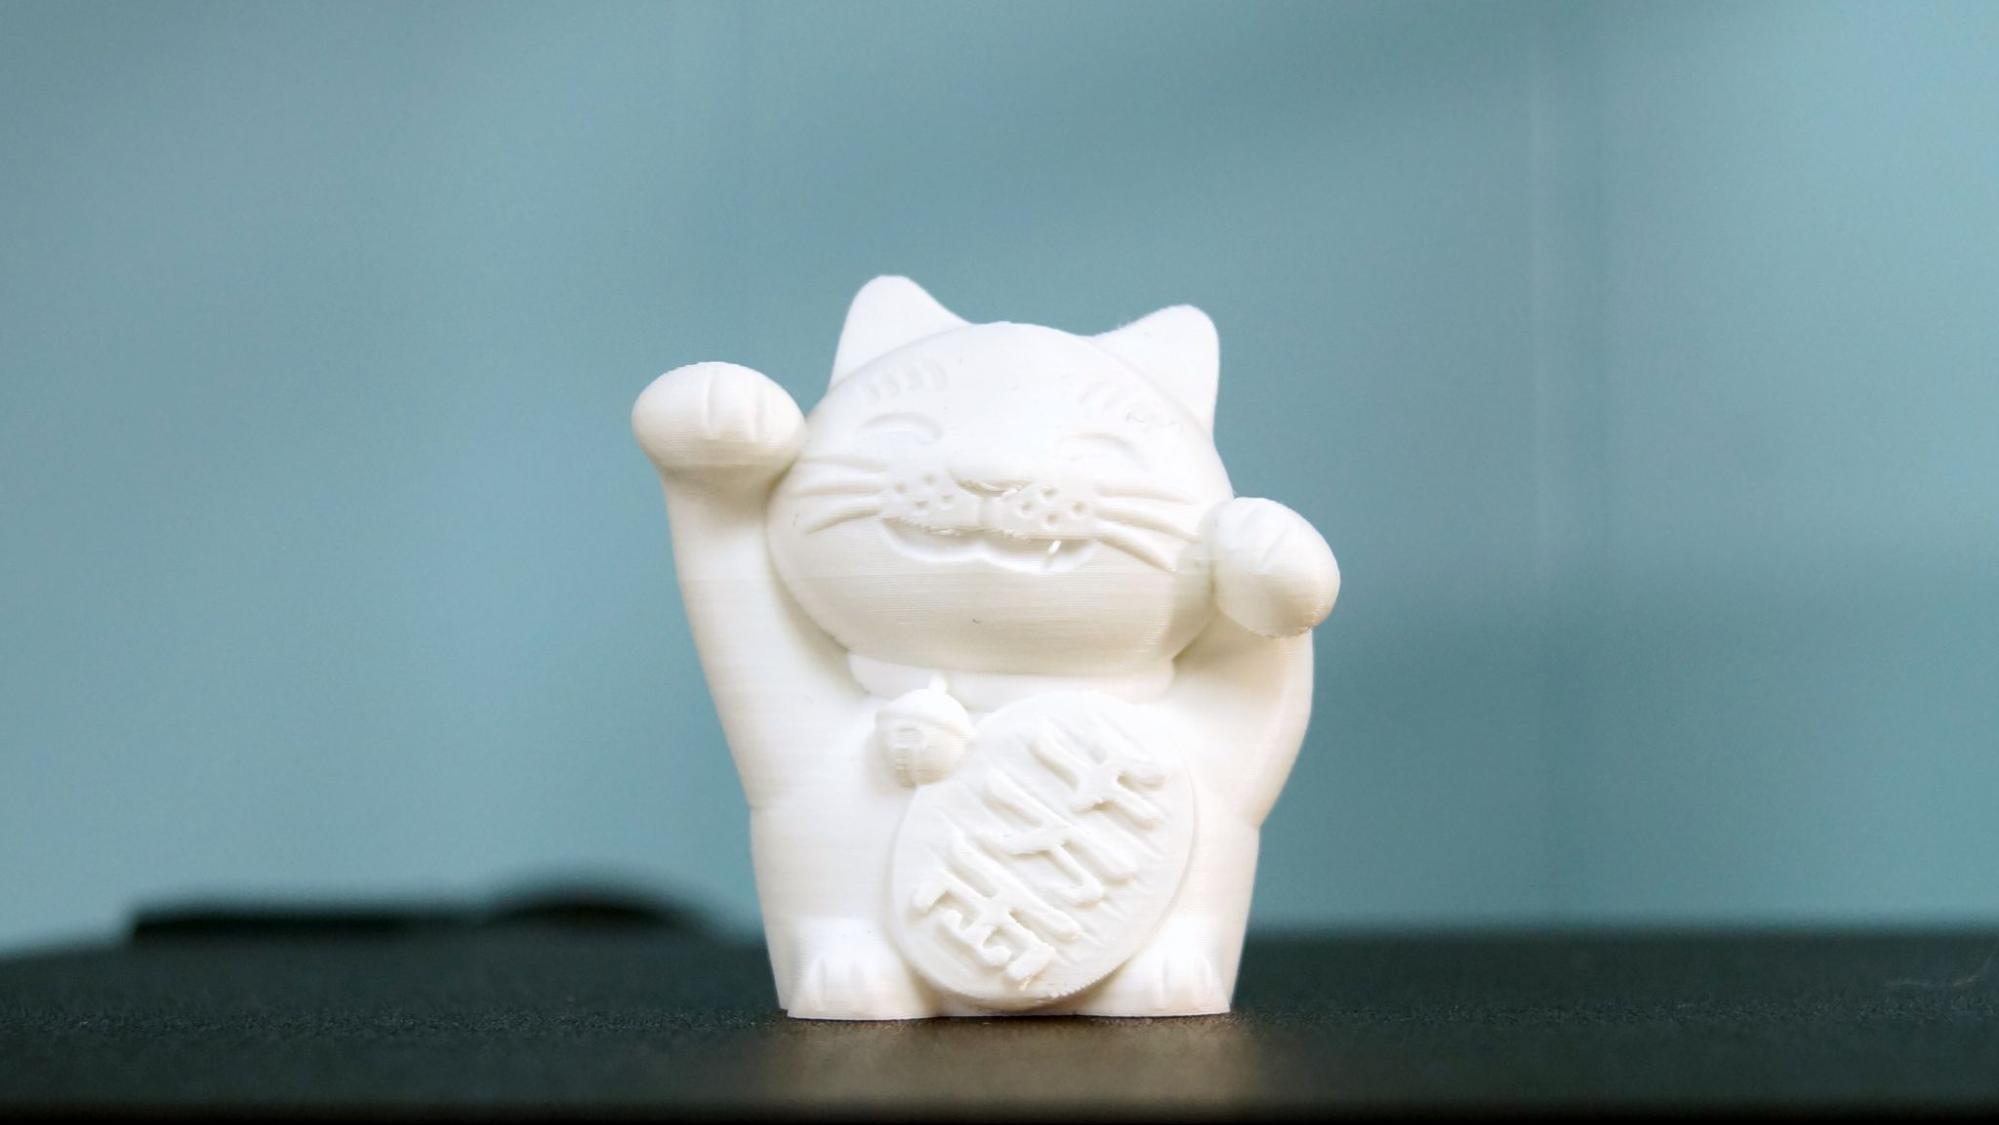
The Creality Ender 3 S1 Pro printed wonderfully right out of the box. My first print was a pre-sliced Cat from the SD card – which was also the test print supplied with the S1. I turned out exactly the same, including the same little stray bit of filament on the mouth. This is printed using the sample filament.
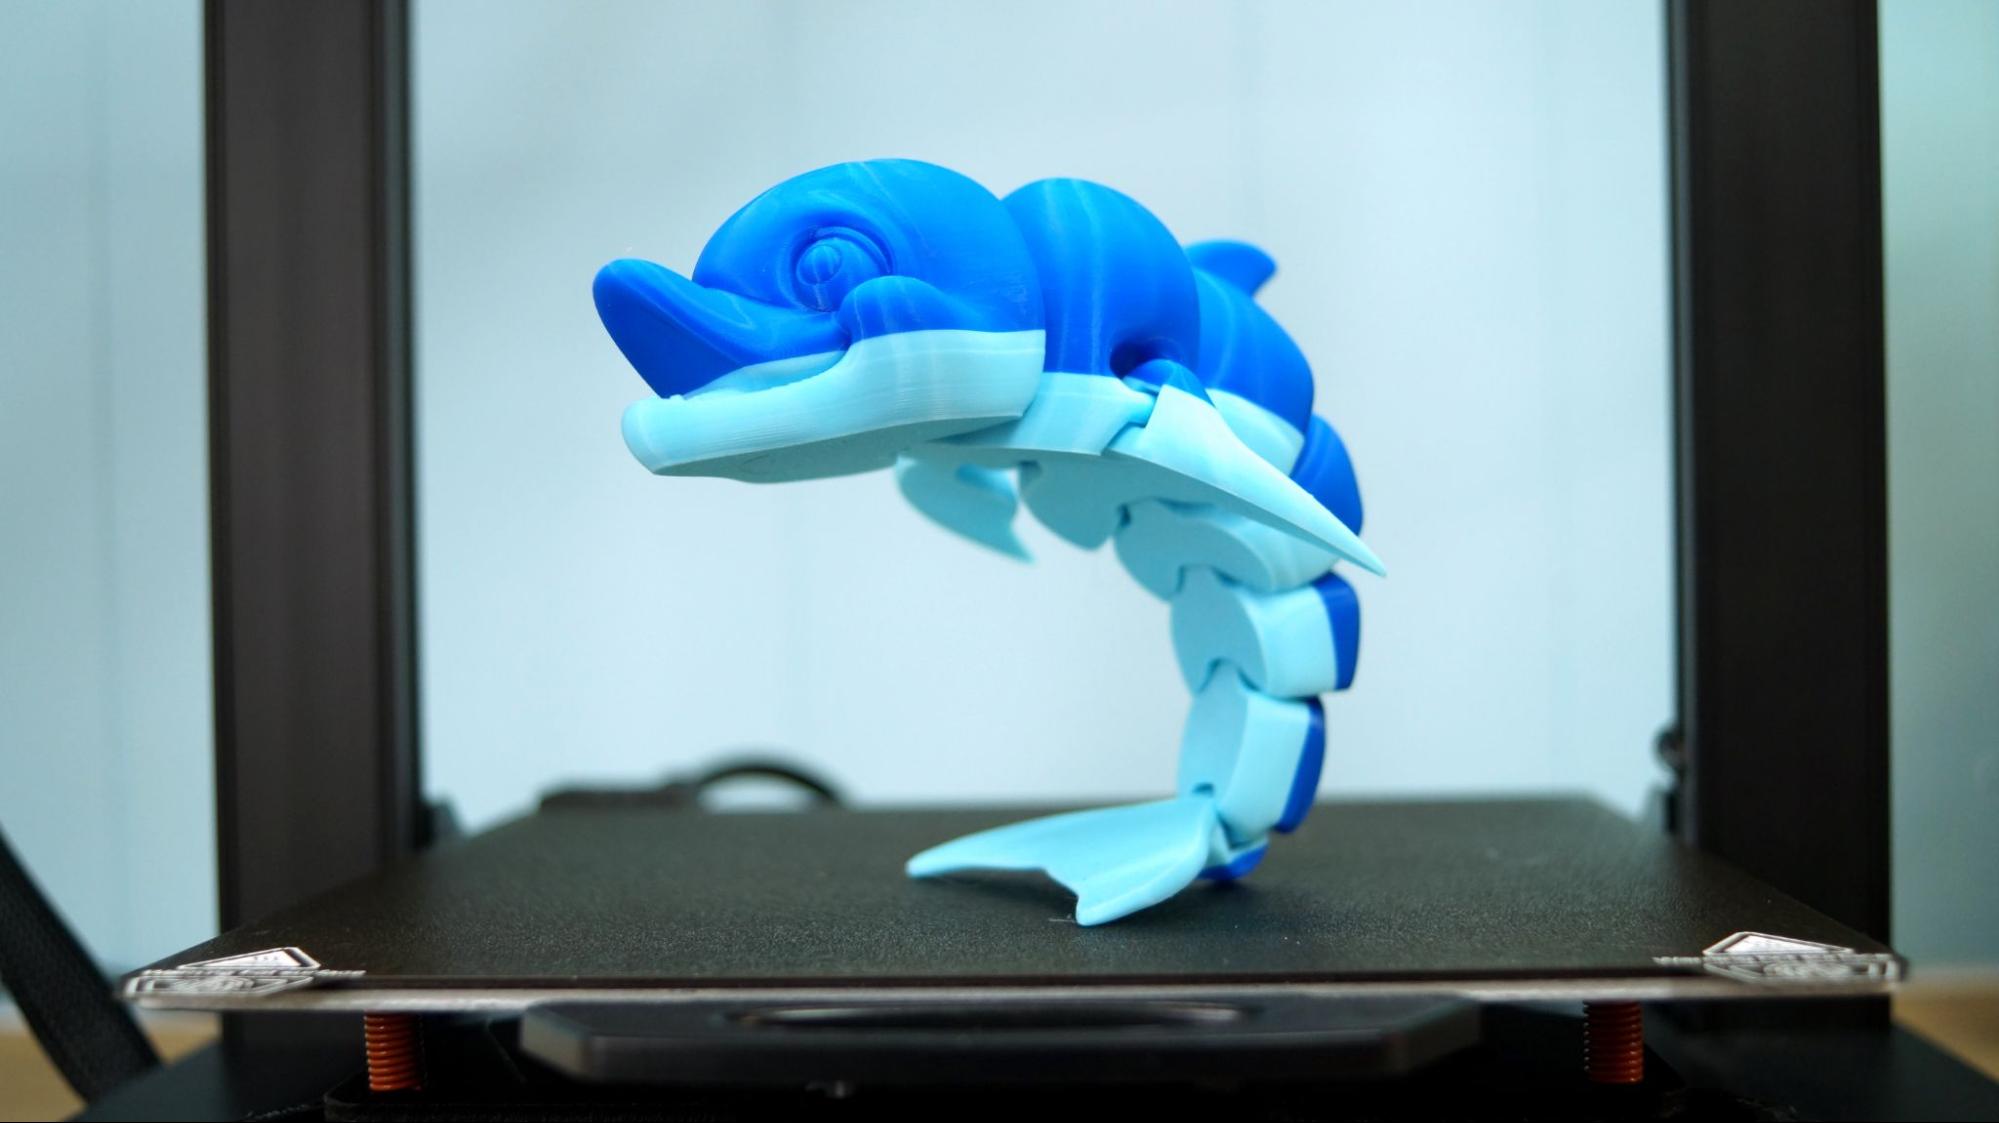
I like to test bed adhesion with a print in place model, like a flexi toy. This dolphin from Flexi Factory fit the bill and printed very cleanly. I did a manual color swap just to use up some final scraps of PLA. This is printed in Inland Turquoise PLA and Matterhackers Pro Series Blue PLA. This took 3 hours and 55 minutes at a .2mm layer height and 60mms speed.
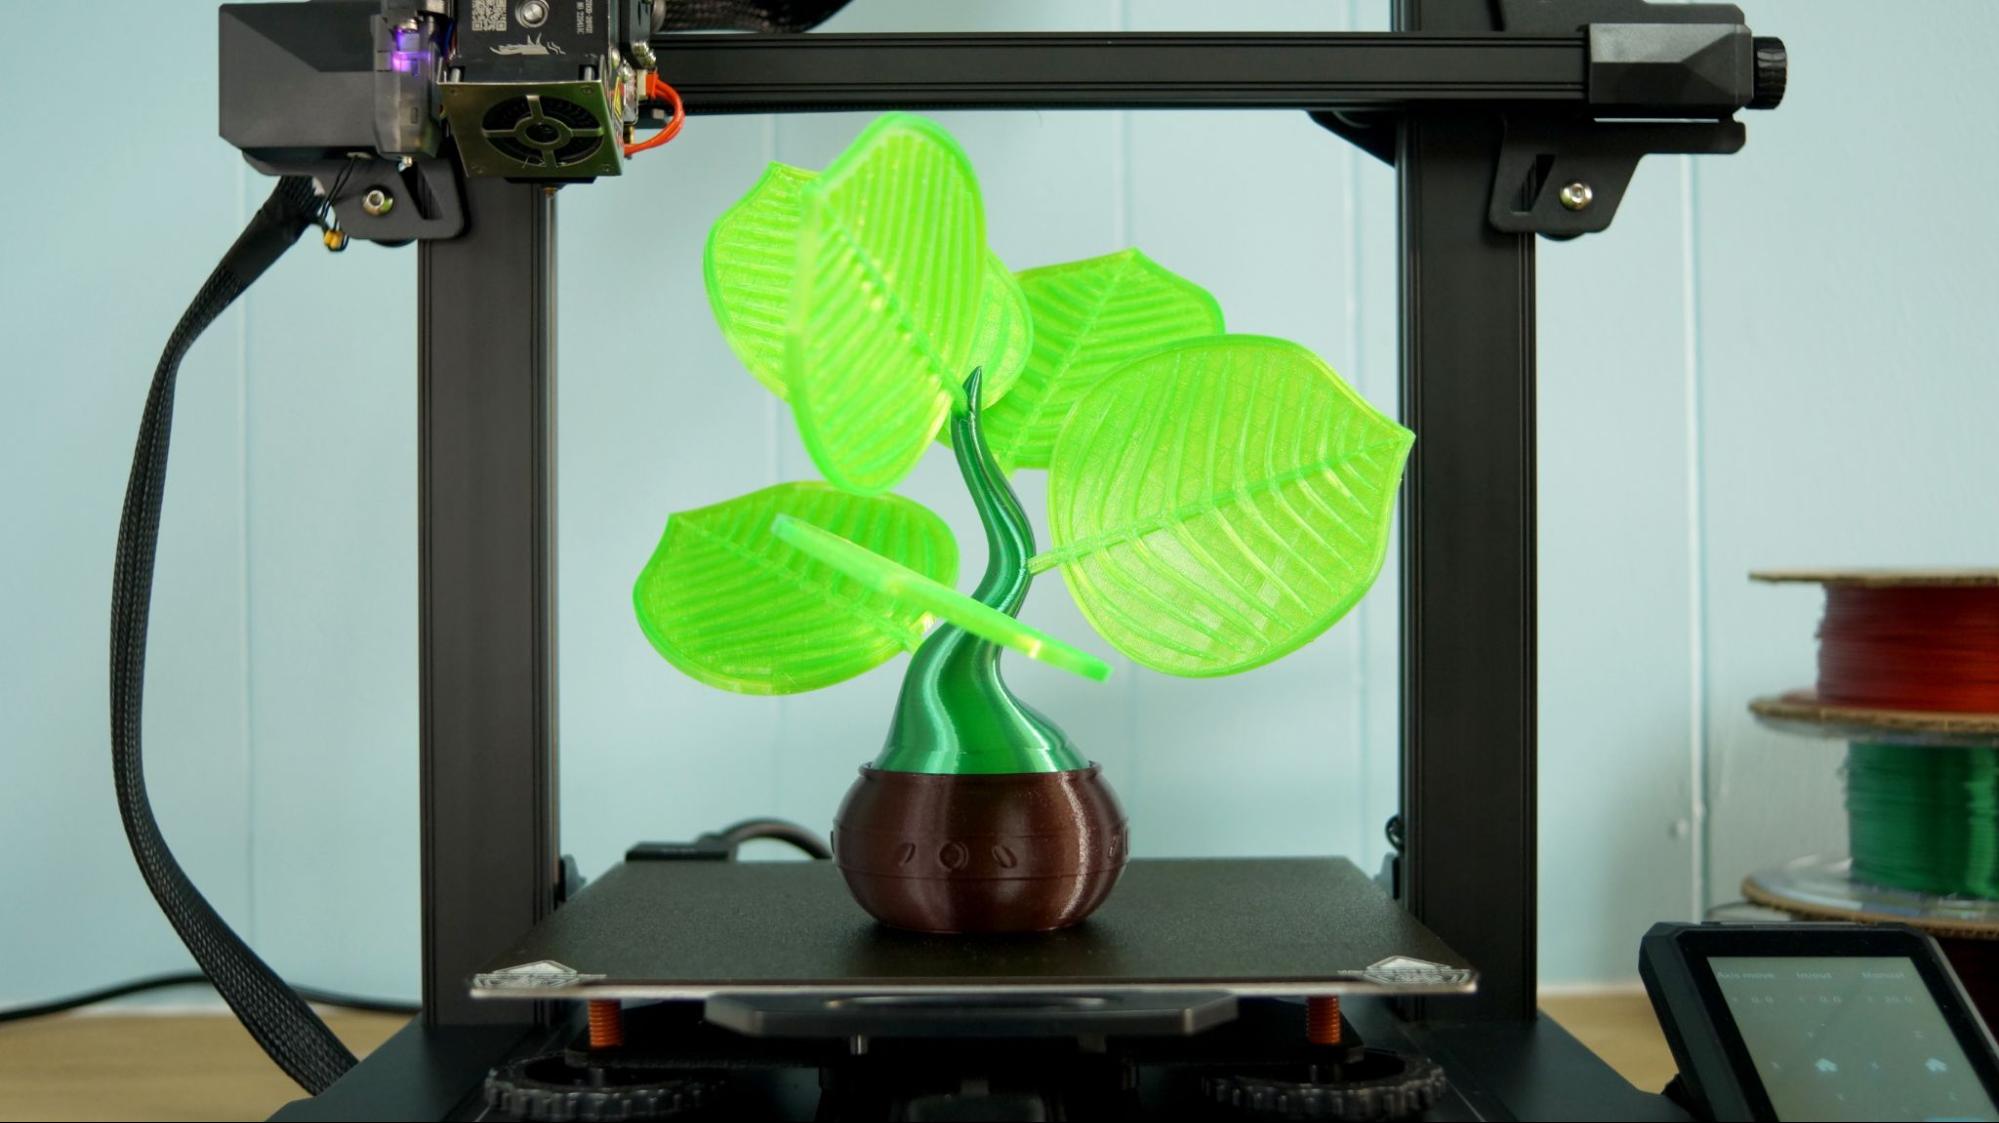
I wanted to test TPU in an interesting way, so I ran this really cool coaster set from Trilobyte3D. It won a contest on Printables.com for, you guessed it, coasters! This is a three part print, with the leaves printed in TPU laying flat, then the stem and pot printing separately without supports. The leaves are made from Matterhackers Translucent Green TPU and come off the stem to place under your drink. The stem is Emerald City Green Silk from Polyalchemy Elixir and the pot is Protopasta Recycled PLA in Still Colorful 11. Everything was printed individually at a standard .2mm layer height, and the whole project took 19 hours and 45 minutes of printing time.
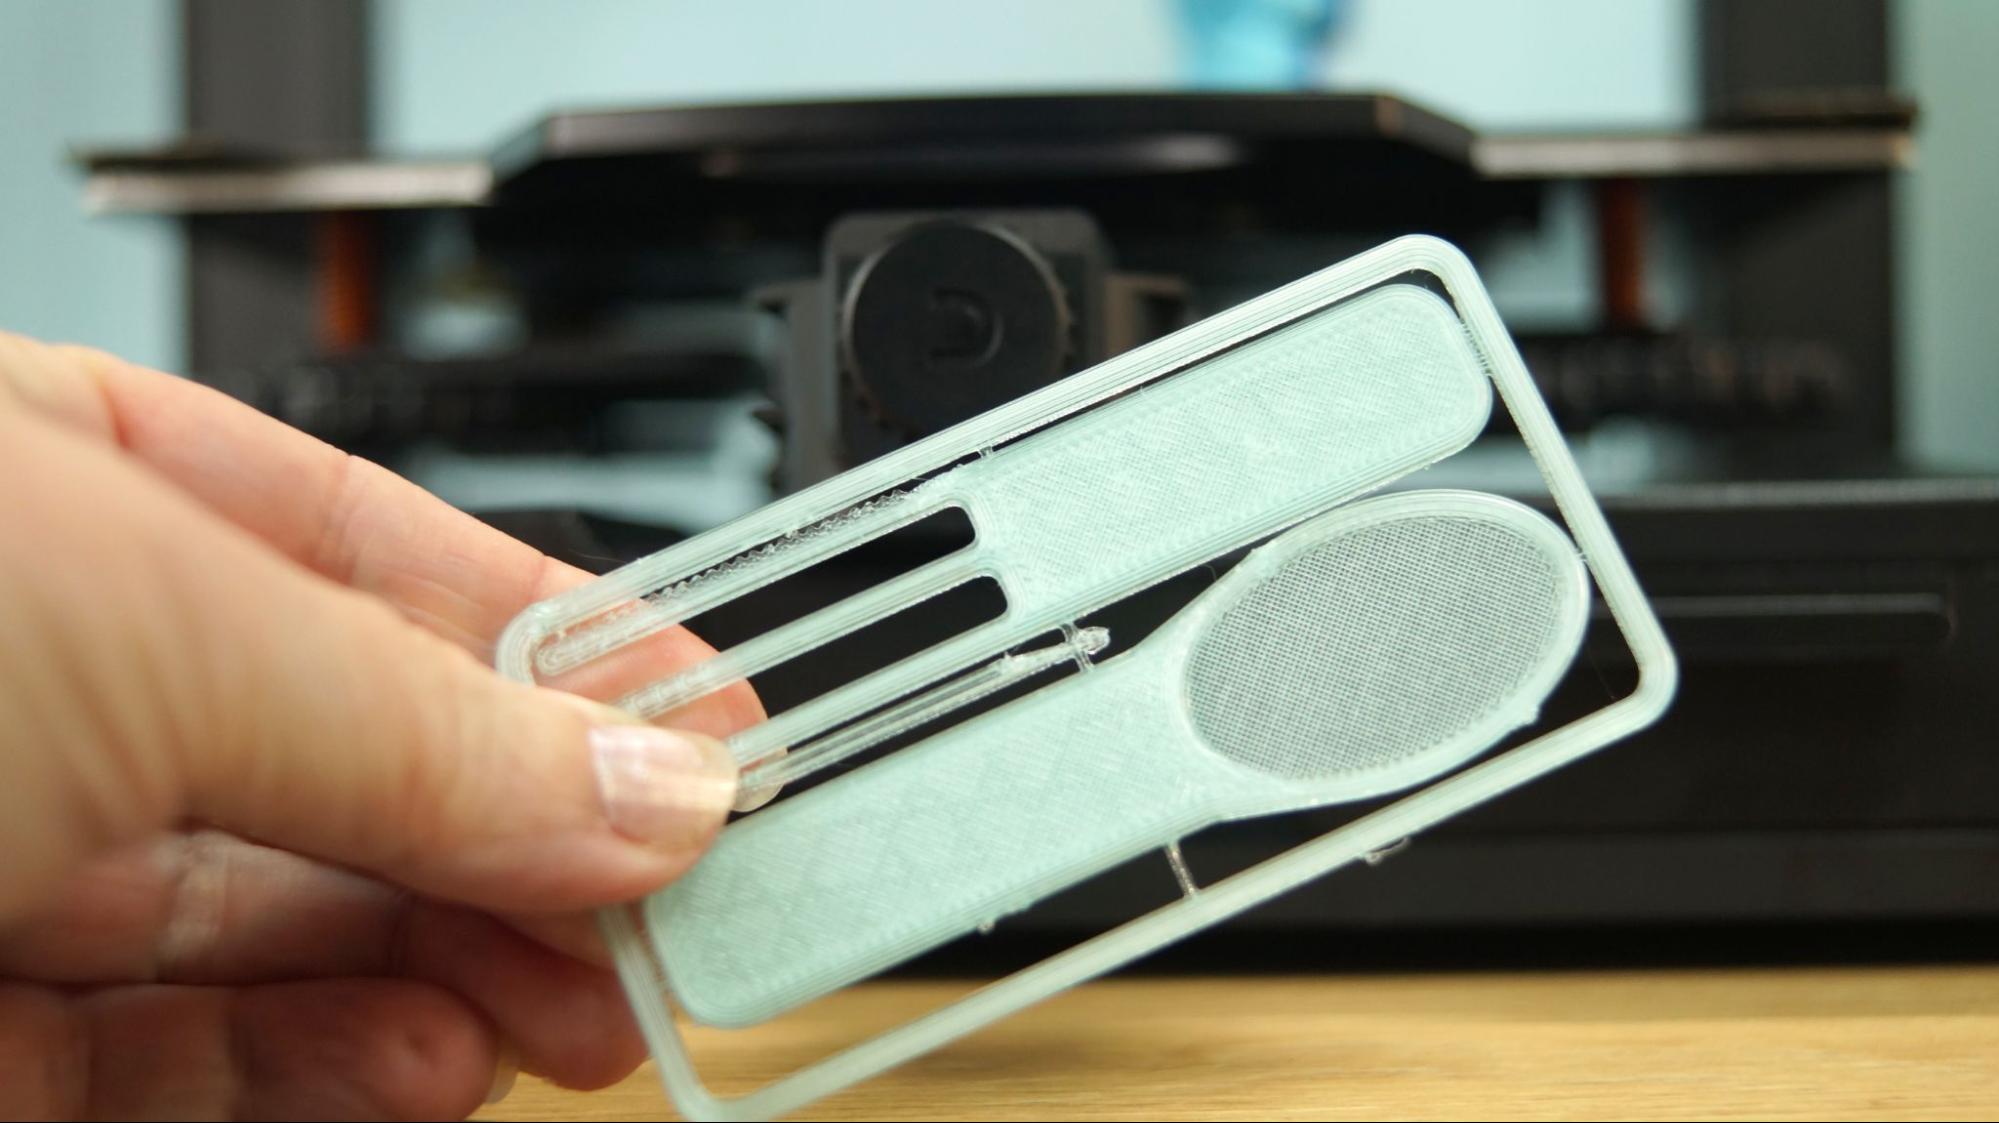
I’ve been looking for practical prints, and found it with this credit card cutlery model from jq910. I used Keene Village Edge Glow Glass PETG. It’s only a nine layers thick, but still quite sturdy. This printed in 36 minutes with a .2mm layer height and 60 mms speed.
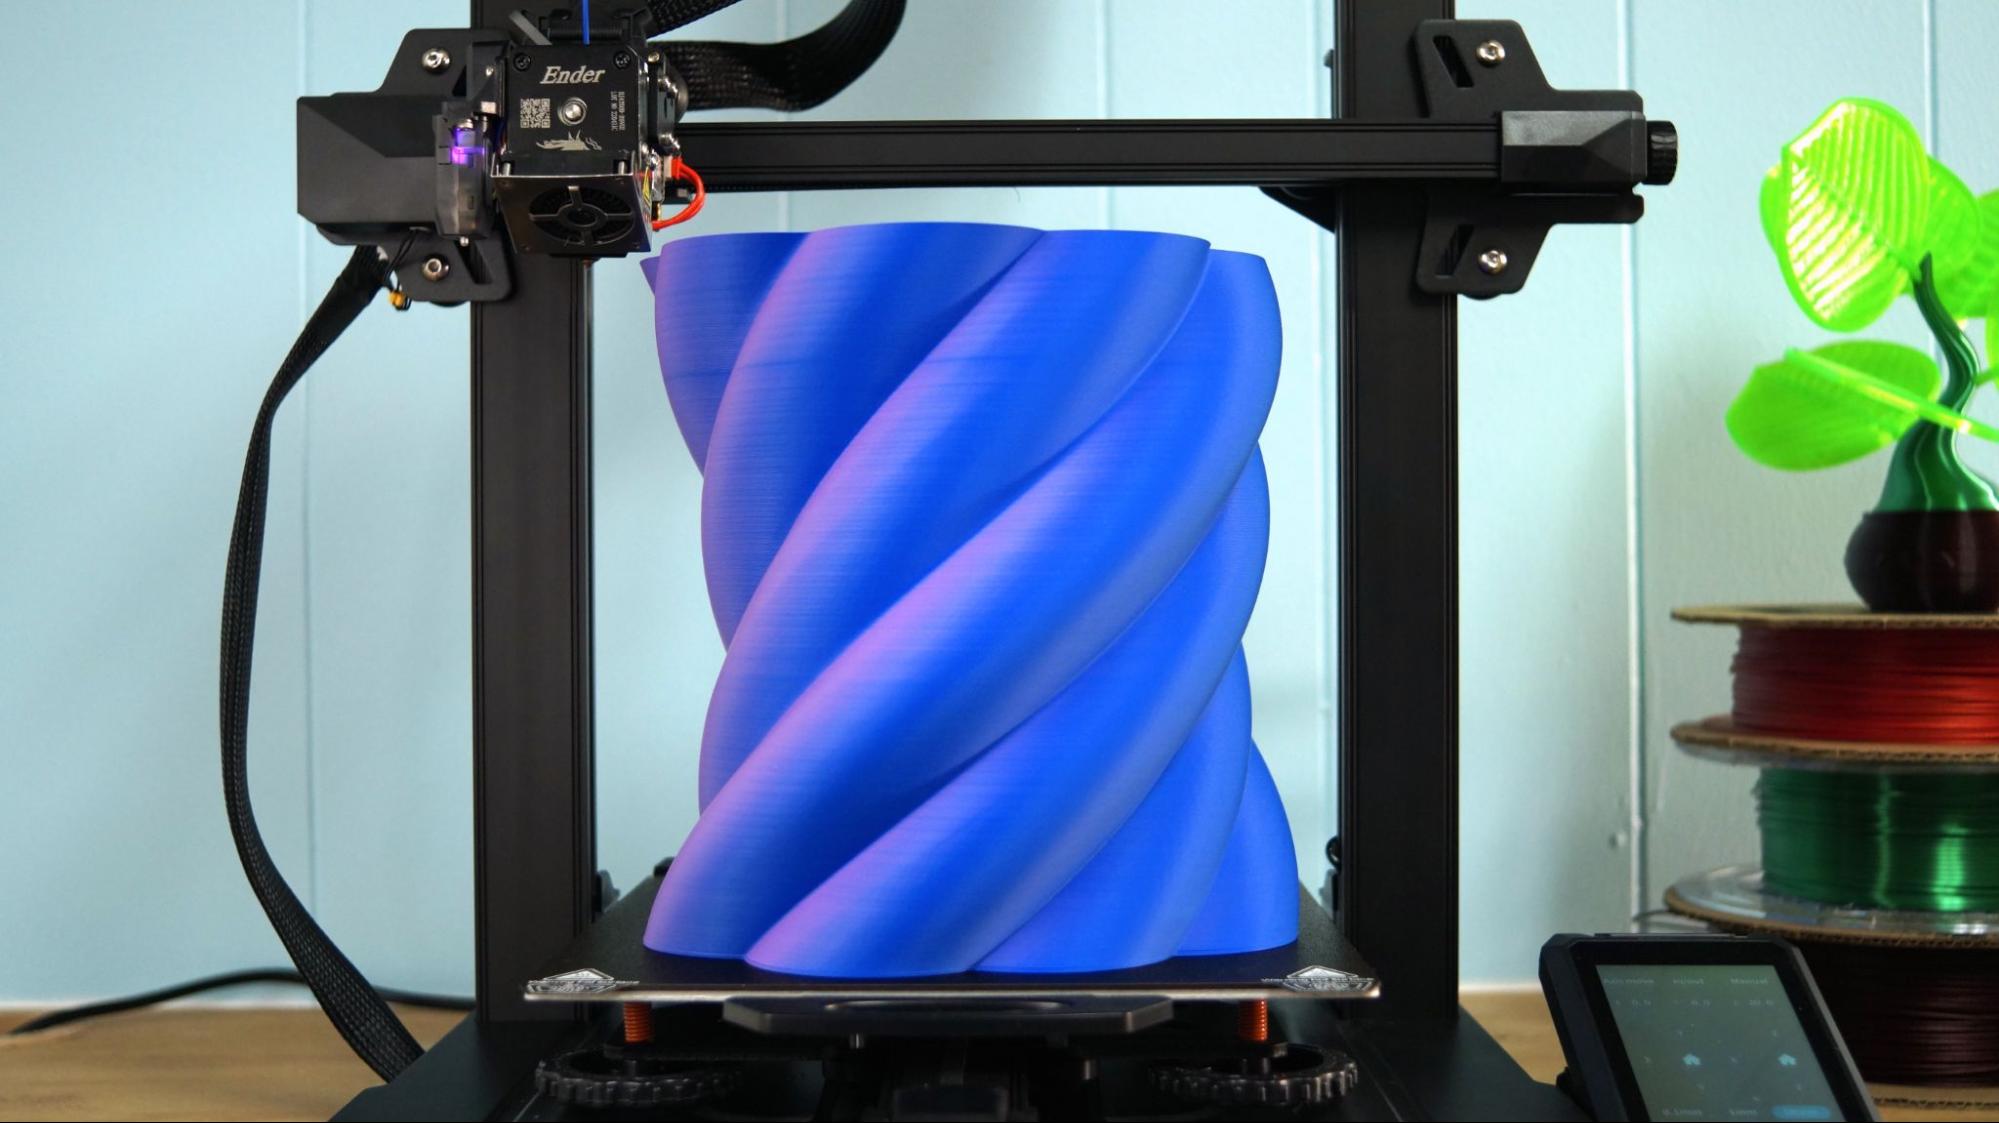
To see just how big I can print with an Ender 3 S1 Pro, I took this Twisted Cloud Vase by PressPrint and expanded it 200% until it filled the bed. Then I ran it in Blue/Purple Evyone Matte Dual-Color PLA. It’s a vase mode print, so it only took 7 hours and 36 minutes at a .2mm layer height and 60 mms speed.
Bottom Line
The Ender 3 S1 Pro is a fantastic printer and a refreshing change of pace from its bare-bones beginnings. It’s easy to assemble and the CR Touch leveling system worked perfectly without a need to make any adjustments. The new PEI coated flex plate is great and all the little upgrades from light kit to all metal hotend make this printer feel like a complete consumer grade product. This isn’t a science project to stick out in the shed, it’s a real piece of hardware to sit proudly on your desk.
Retailing at $479, the S1 Pro has everything you need in a 3D printer, and more features than a lot of the competition. However, if you want the deluxe Ender experience and don’t need an all metal hotend, you can save a few bucks by getting the Ender 3 S1. Another feature packed printer we like is the Anycubic Kobra, priced at $319, it’s an Editor’s Choice and our pick for Best Printer for Beginners.

Denise Bertacchi is a Contributing Writer for Tom’s Hardware US, covering 3D printing. Denise has been crafting with PCs since she discovered Print Shop had clip art on her Apple IIe. She loves reviewing 3D printers because she can mix all her passions: printing, photography, and writing.
-
warezme I would love one of these in a larger print area format. I already have 3 Ender 3 Pro's modded up but need a larger print area at this time. BTW I love that coaster leaf holder idea, brilliant!Reply -
Dyseman Awaiting my S1 PLUS edition. The 300x300 version of the S1 Pro (Pretty much the same thing but bigger and no LED light.) But I agree on Screen friendliness. Hopefully it is just a nice update away.Reply -
USAFRet I'm upgrading my Ender 3 Max to most of this capability.Reply
touch screen, direct drive, auto leveling.
And the absurdly large print area....;) -
warezme Reply
I saw the S1 Plus and ordered it as well. I will likely sell one of my older 3 pro's to make room.Dyseman said:Awaiting my S1 PLUS edition. The 300x300 version of the S1 Pro (Pretty much the same thing but bigger and no LED light.) But I agree on Screen friendliness. Hopefully it is just a nice update away. -
jmcgaw "All the Bells and Whistles"Reply
All? How about 'many'? I don't see multiple extruders or multiple materials or any great speed, all of which seem to be the current standard. Sure, for a relatively low-cost machine it looks to check many of the boxes but it is certainly not tricked out to the max.
