Tom's Hardware Verdict
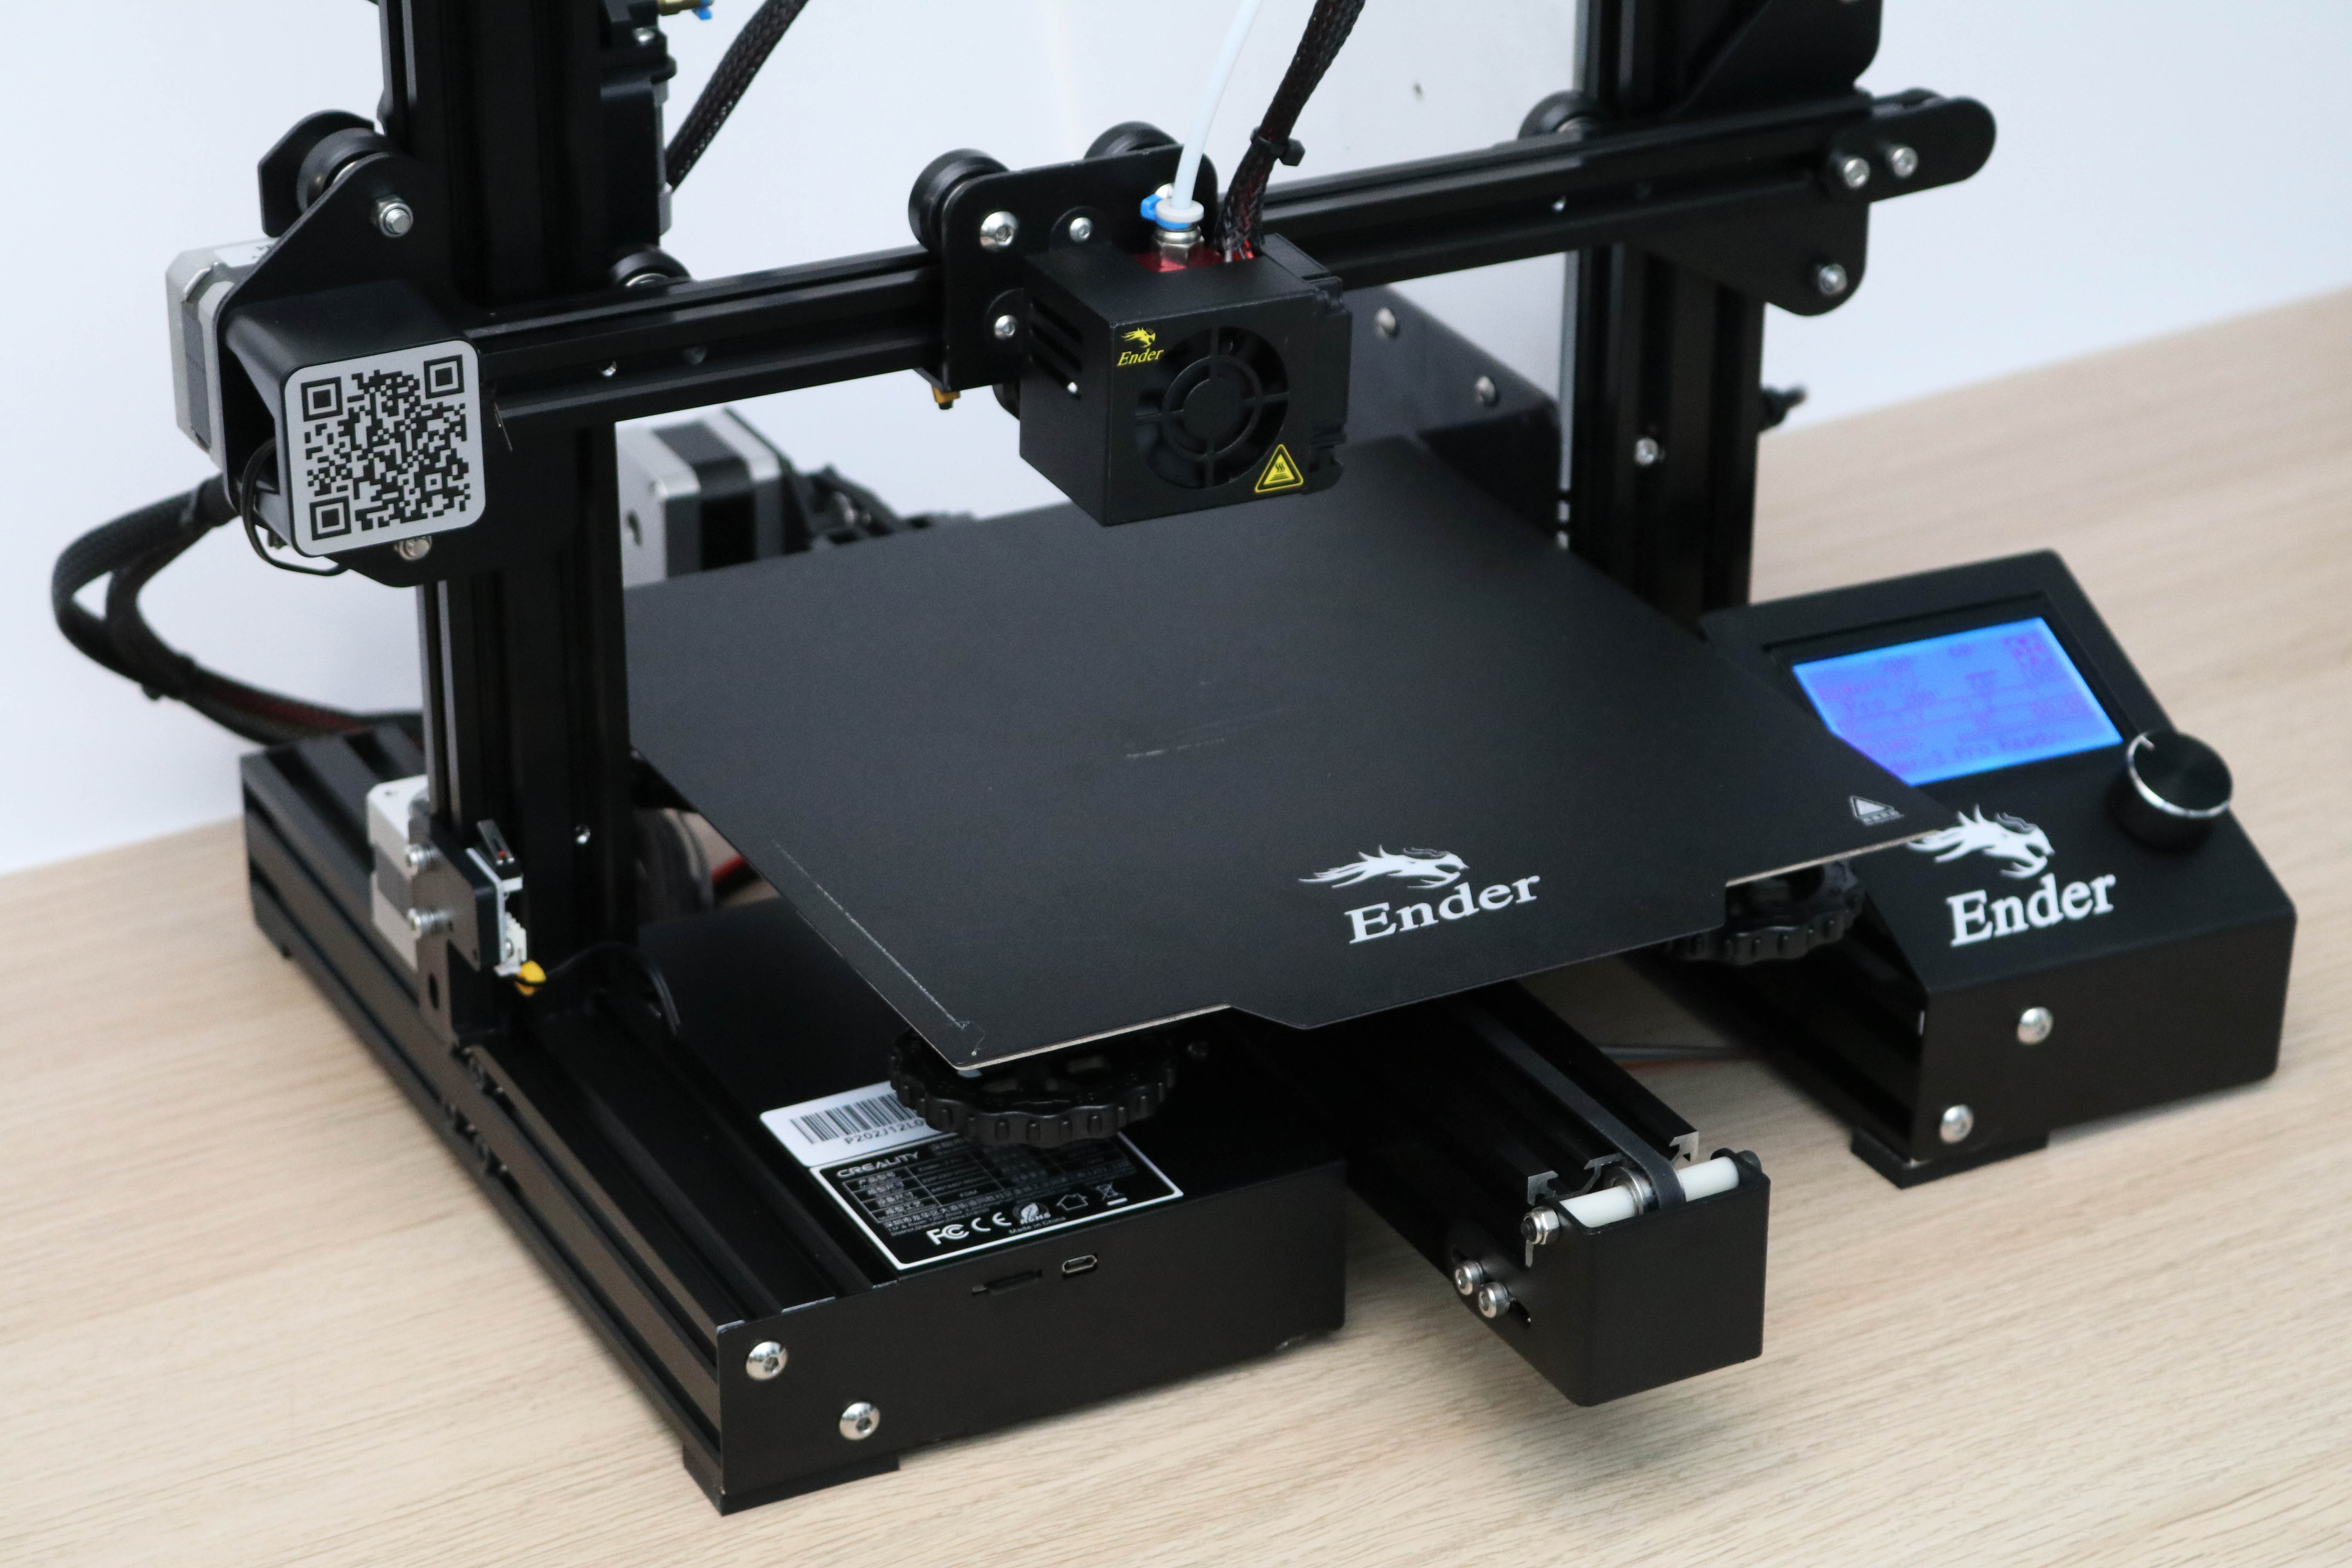
The Creality Ender 3 is an open-source, DIY kit 3D printer that is ideal for beginners looking to get started in 3D printing or professionals looking to create an inexpensive fleet of printers for manufacturing.
Pros
- +
+ Beginner-friendly assembly process
- +
+ Highly accessible and modifiable frame
- +
+ 350W 24V power supply heats up quickly
- +
+ Simple first-party app offers solid print quality
Cons
- -
Noisy stepper motors and cooling fans
- -
Interface feels outdated
Why you can trust Tom's Hardware
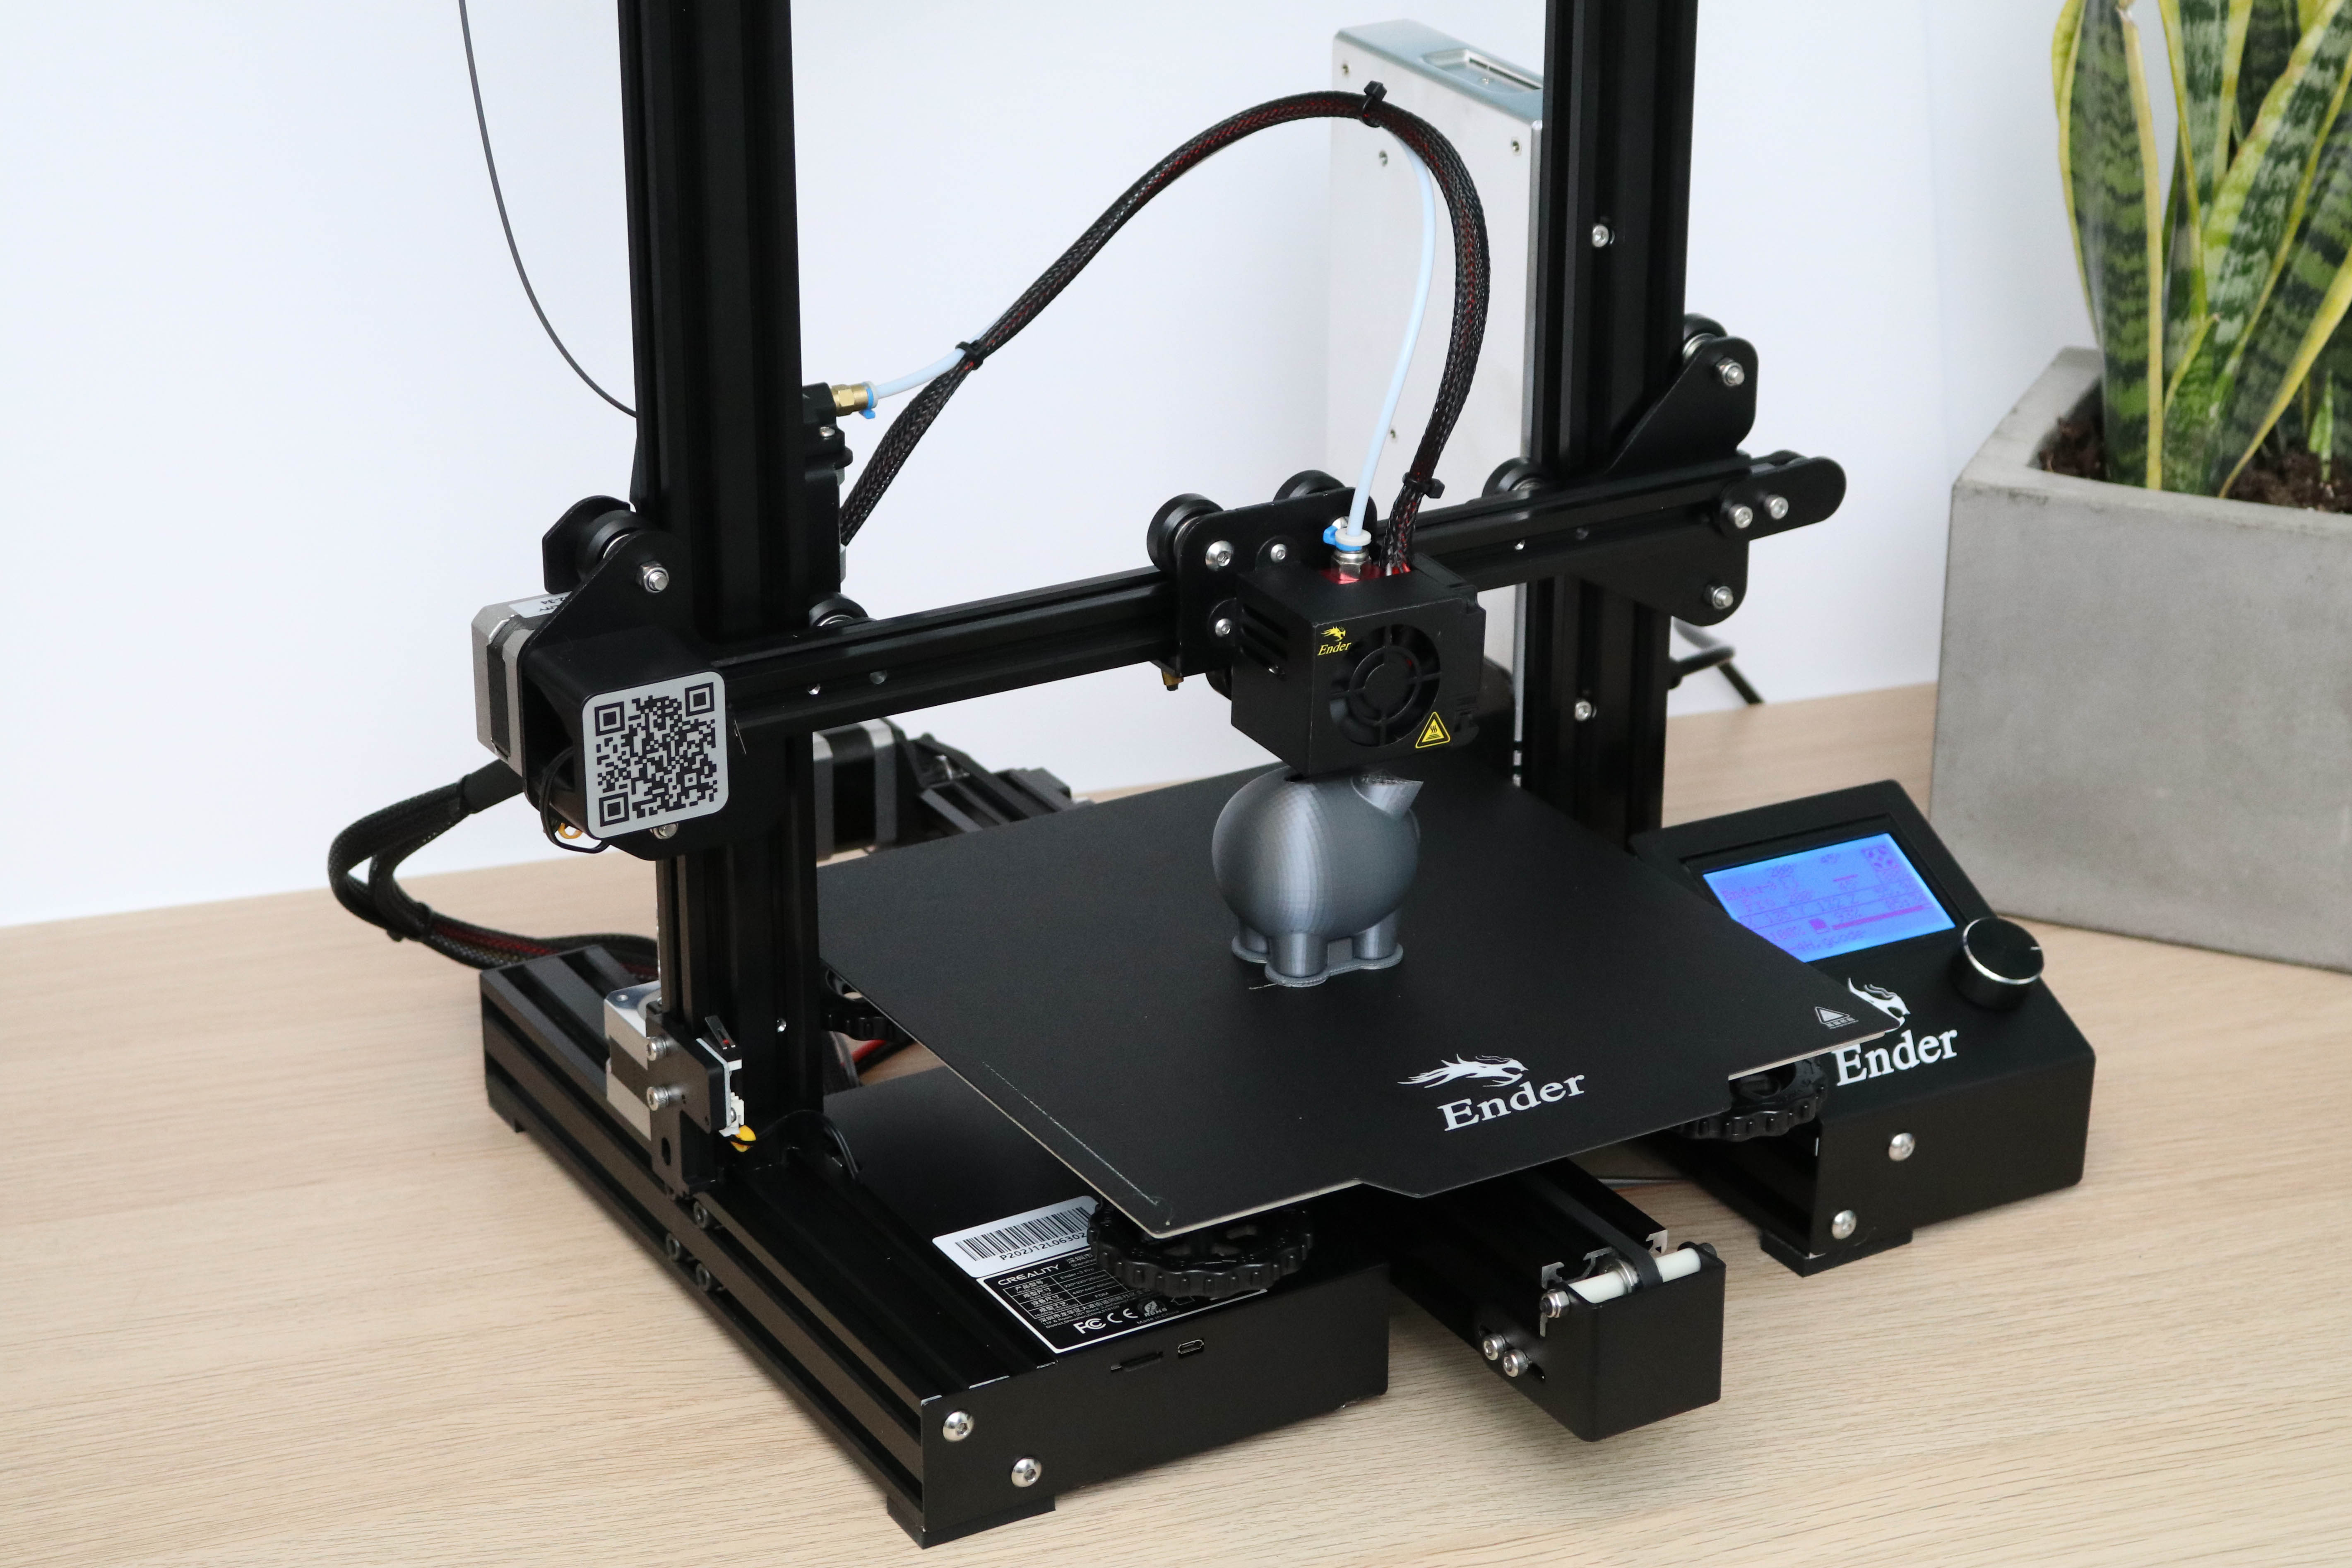
Retailing for a very-reasonable $240, the Creality Ender 3 Pro is one of the most popular filament-based 3D printers, attracting both beginners and budget-focused makers. The device ships unassembled and uses an open-source design that makes it easy to modify. However, the great support and solid output quality of this printer also make it easy-to-use. Whether you’re interested in buying your very first 3D printer or you’re looking to set up a fleet for manufacturing, the Creality Ender 3 Pro is one of the best budget 3D printers you can buy.
Specifications
| Machine Footprint | 17.5 x 17 x 18 inches (44.5cm x 43.2cm x 45.7cm) |
| Build Volume | 8.7 x 8.7 x 9.8 inches (220mm x 220mm x 250mm) |
| Material | 1.75mm PLA, ABS, PETG |
| Nozzle | .4mm |
| Build Platform | Removable Flexible Textured Sheet |
| Connectivity | microSD, USB |
| Interface | 3.25" LCD w/ Dial Button |
Creality Ender 3 Pro: Included in the Box
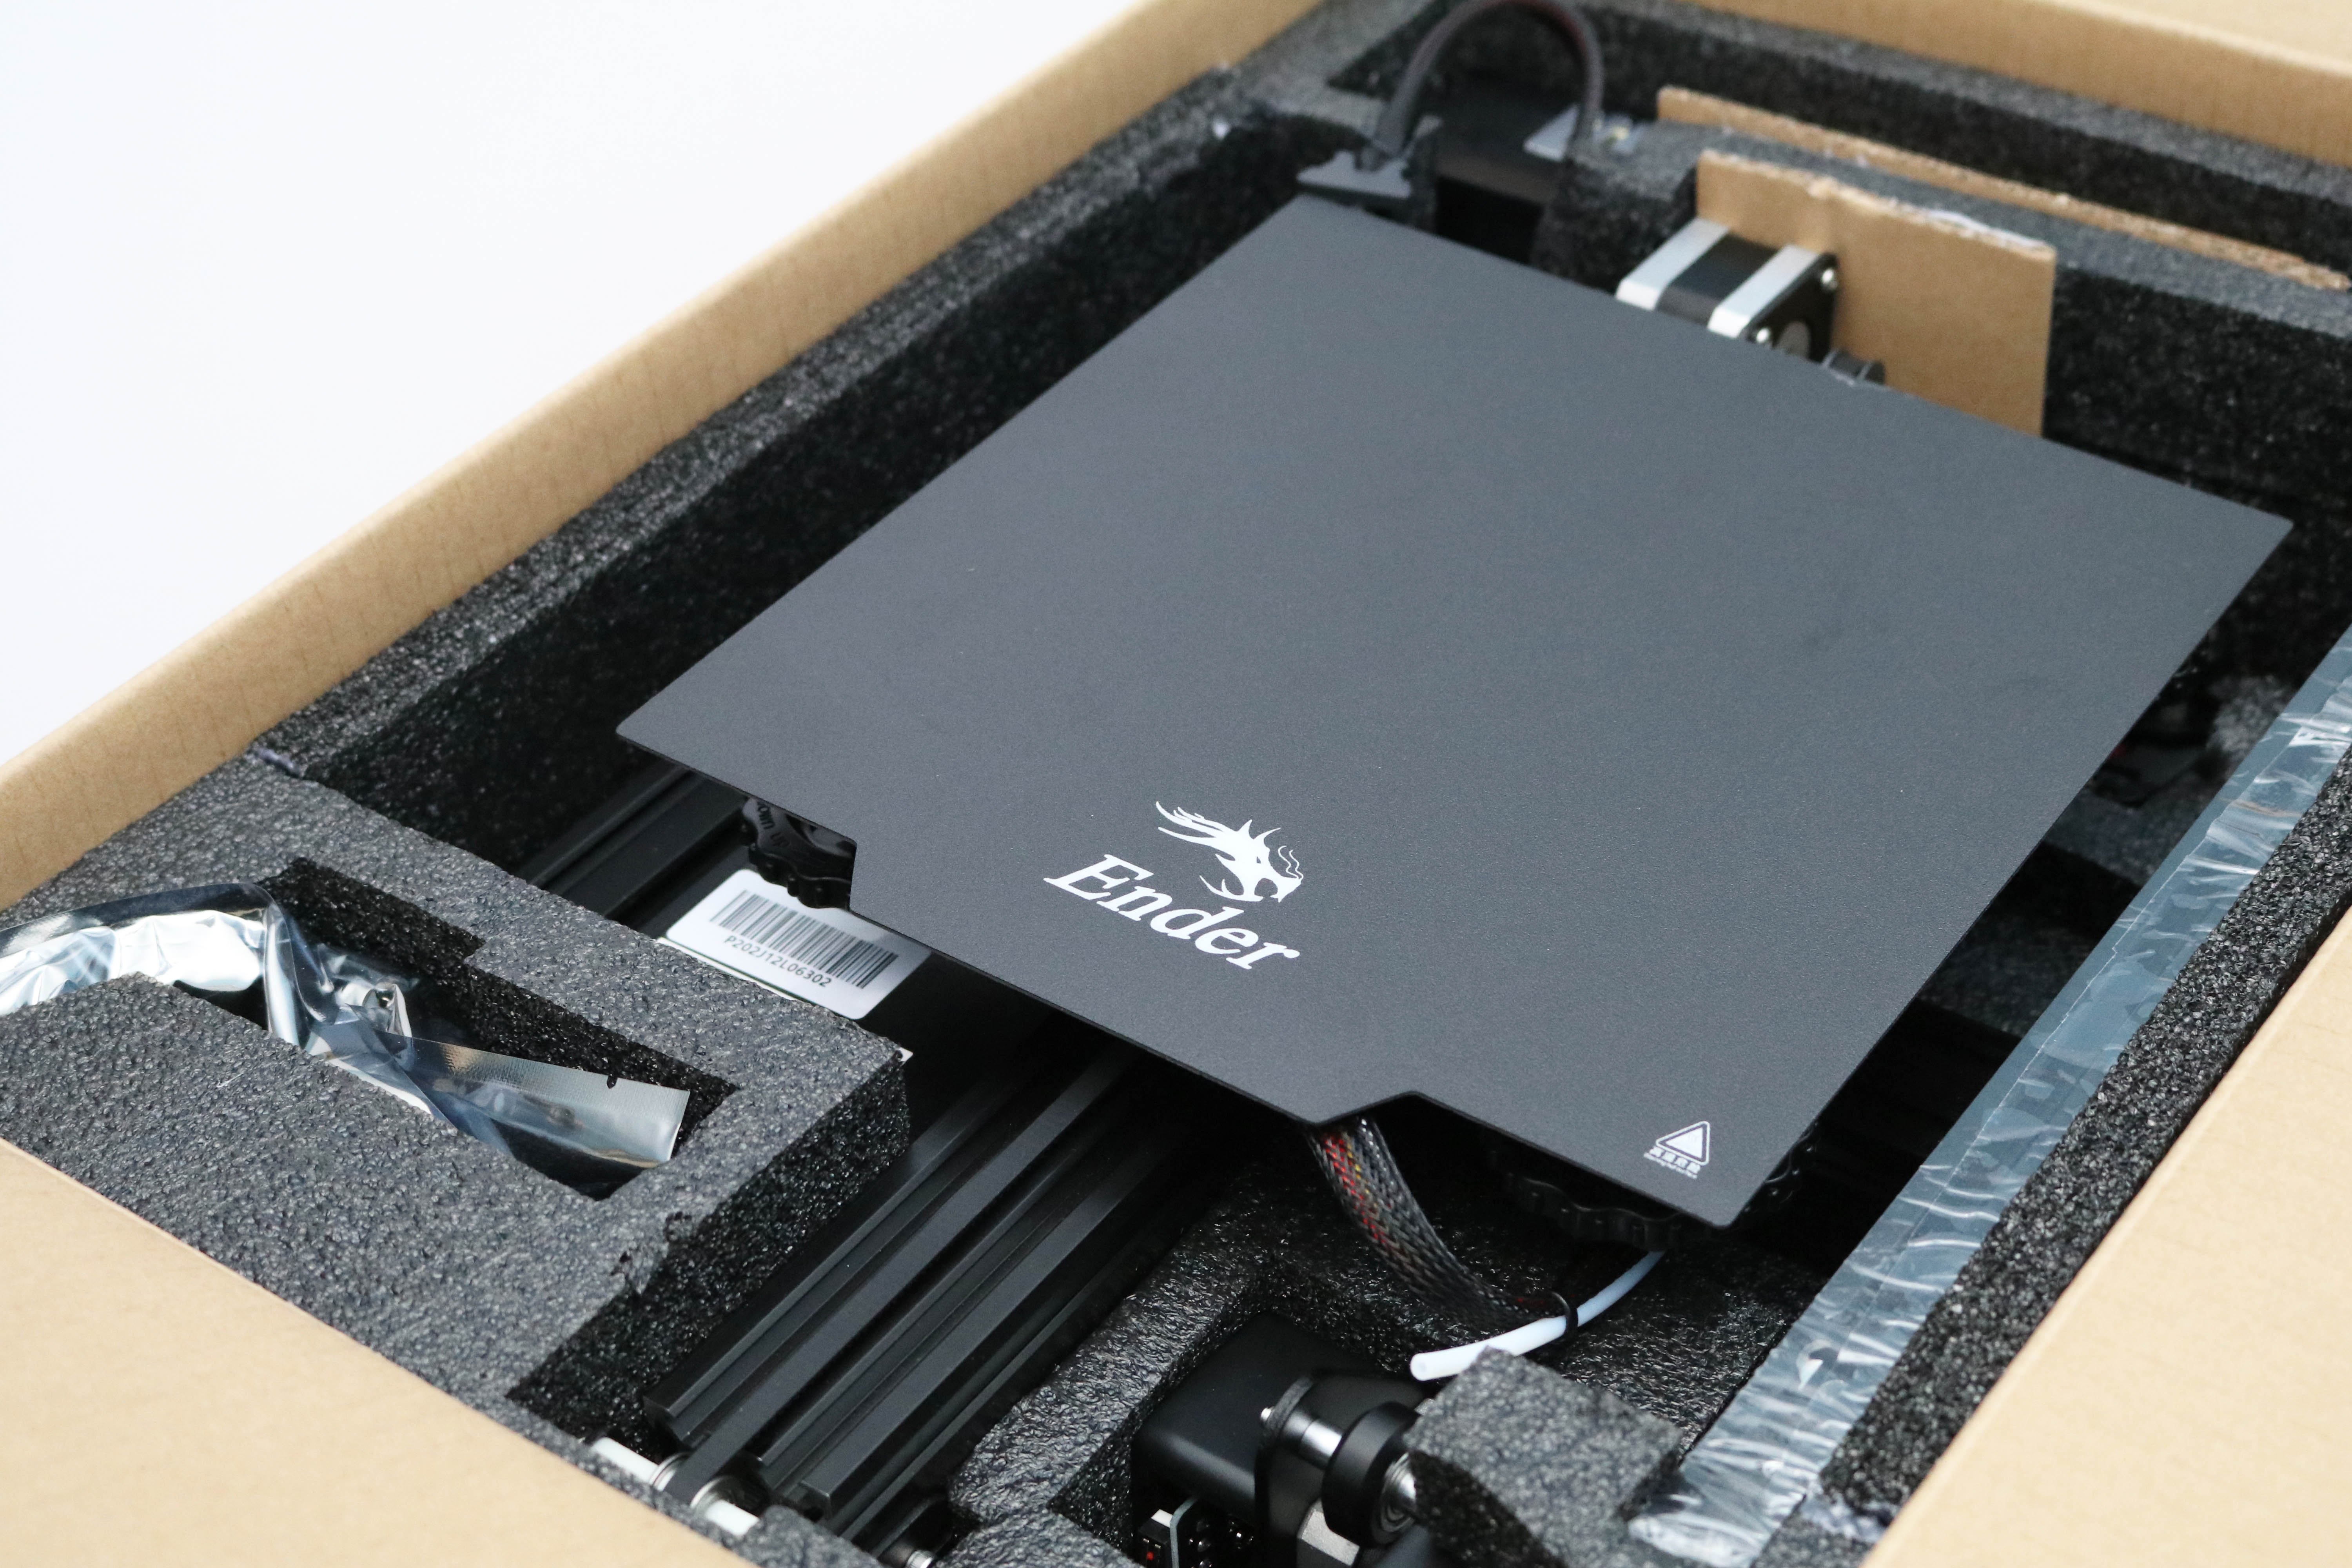
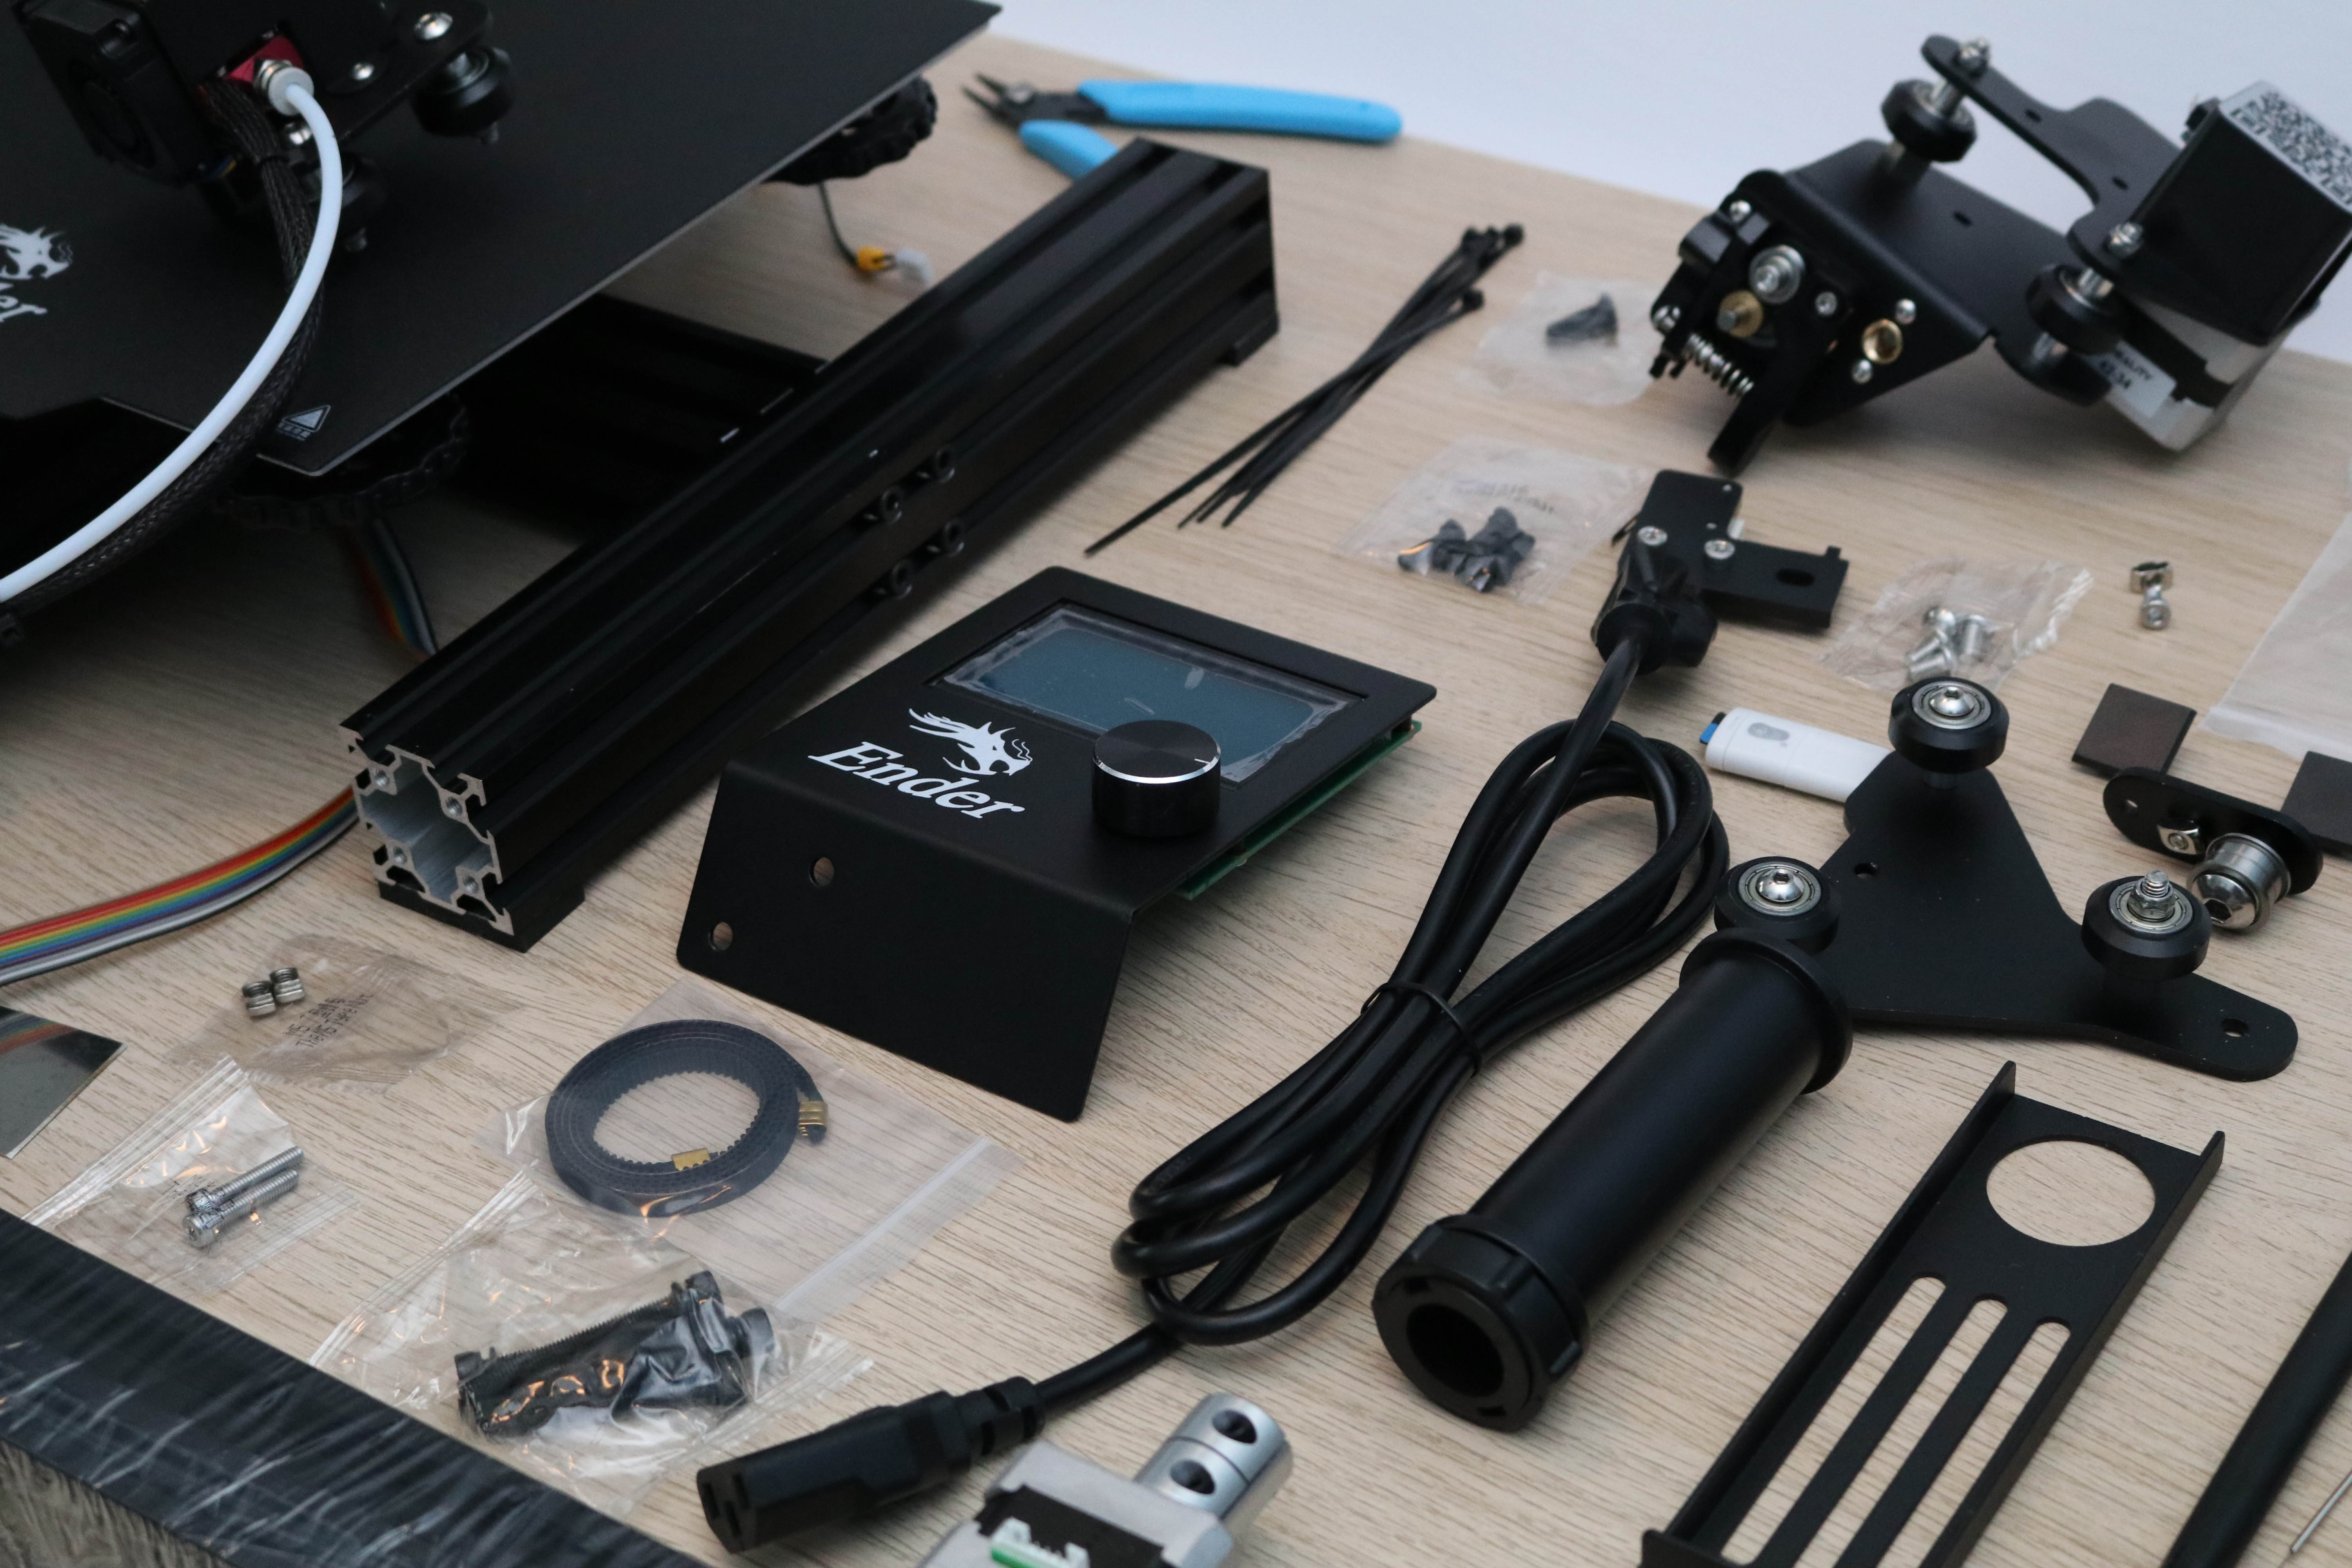
The Creality Ender 3 Pro ships unassembled and includes all of the tools you need to put it together and get it running. In addition to all of the printer components, the box includes: a full set of Allen keys, zip ties, a set of flush cut wire snips for cutting filament, a scraper for removing parts from the bed, a microSD card, a microSD-to-USB reader, a small sample coil of PLA filament, and a few extra parts for the assembly process. All of the bolts are bagged in sets which are labeled with their measurements, which is very helpful during the assembly process.
Assembling the Creality Ender 3 Pro
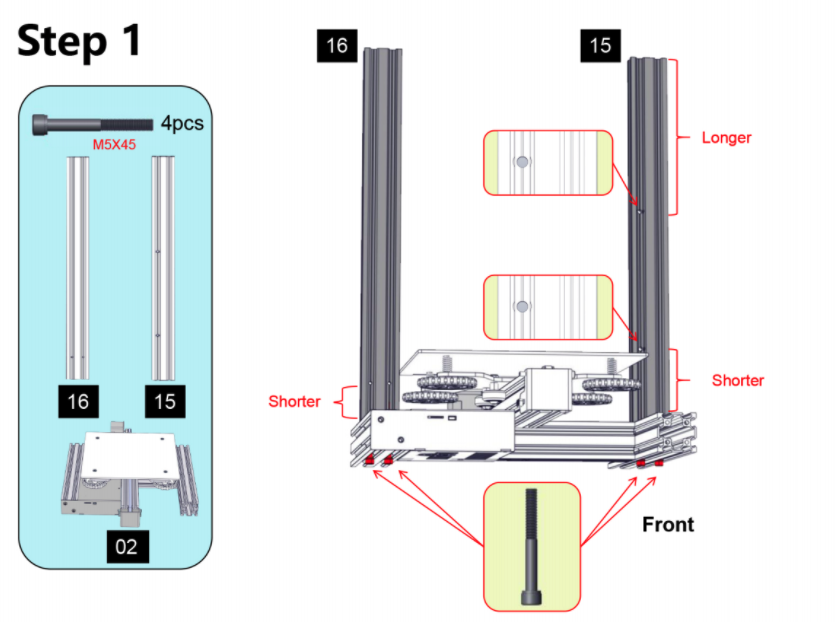
Although the Creality Ender 3 Pro is a DIY kit 3D printer, the overall assembly process is designed to be friendly to users of all skill levels and can be comfortably completed in an afternoon. There is no soldering, crimping, or other advanced techniques required that would put this kit out of reach for a beginner with limited tools and/or experience. Building the Ender 3 Pro took me just over an hour from unboxing to flipping the power switch, and I didn’t need a single tool that wasn’t included with the printer.
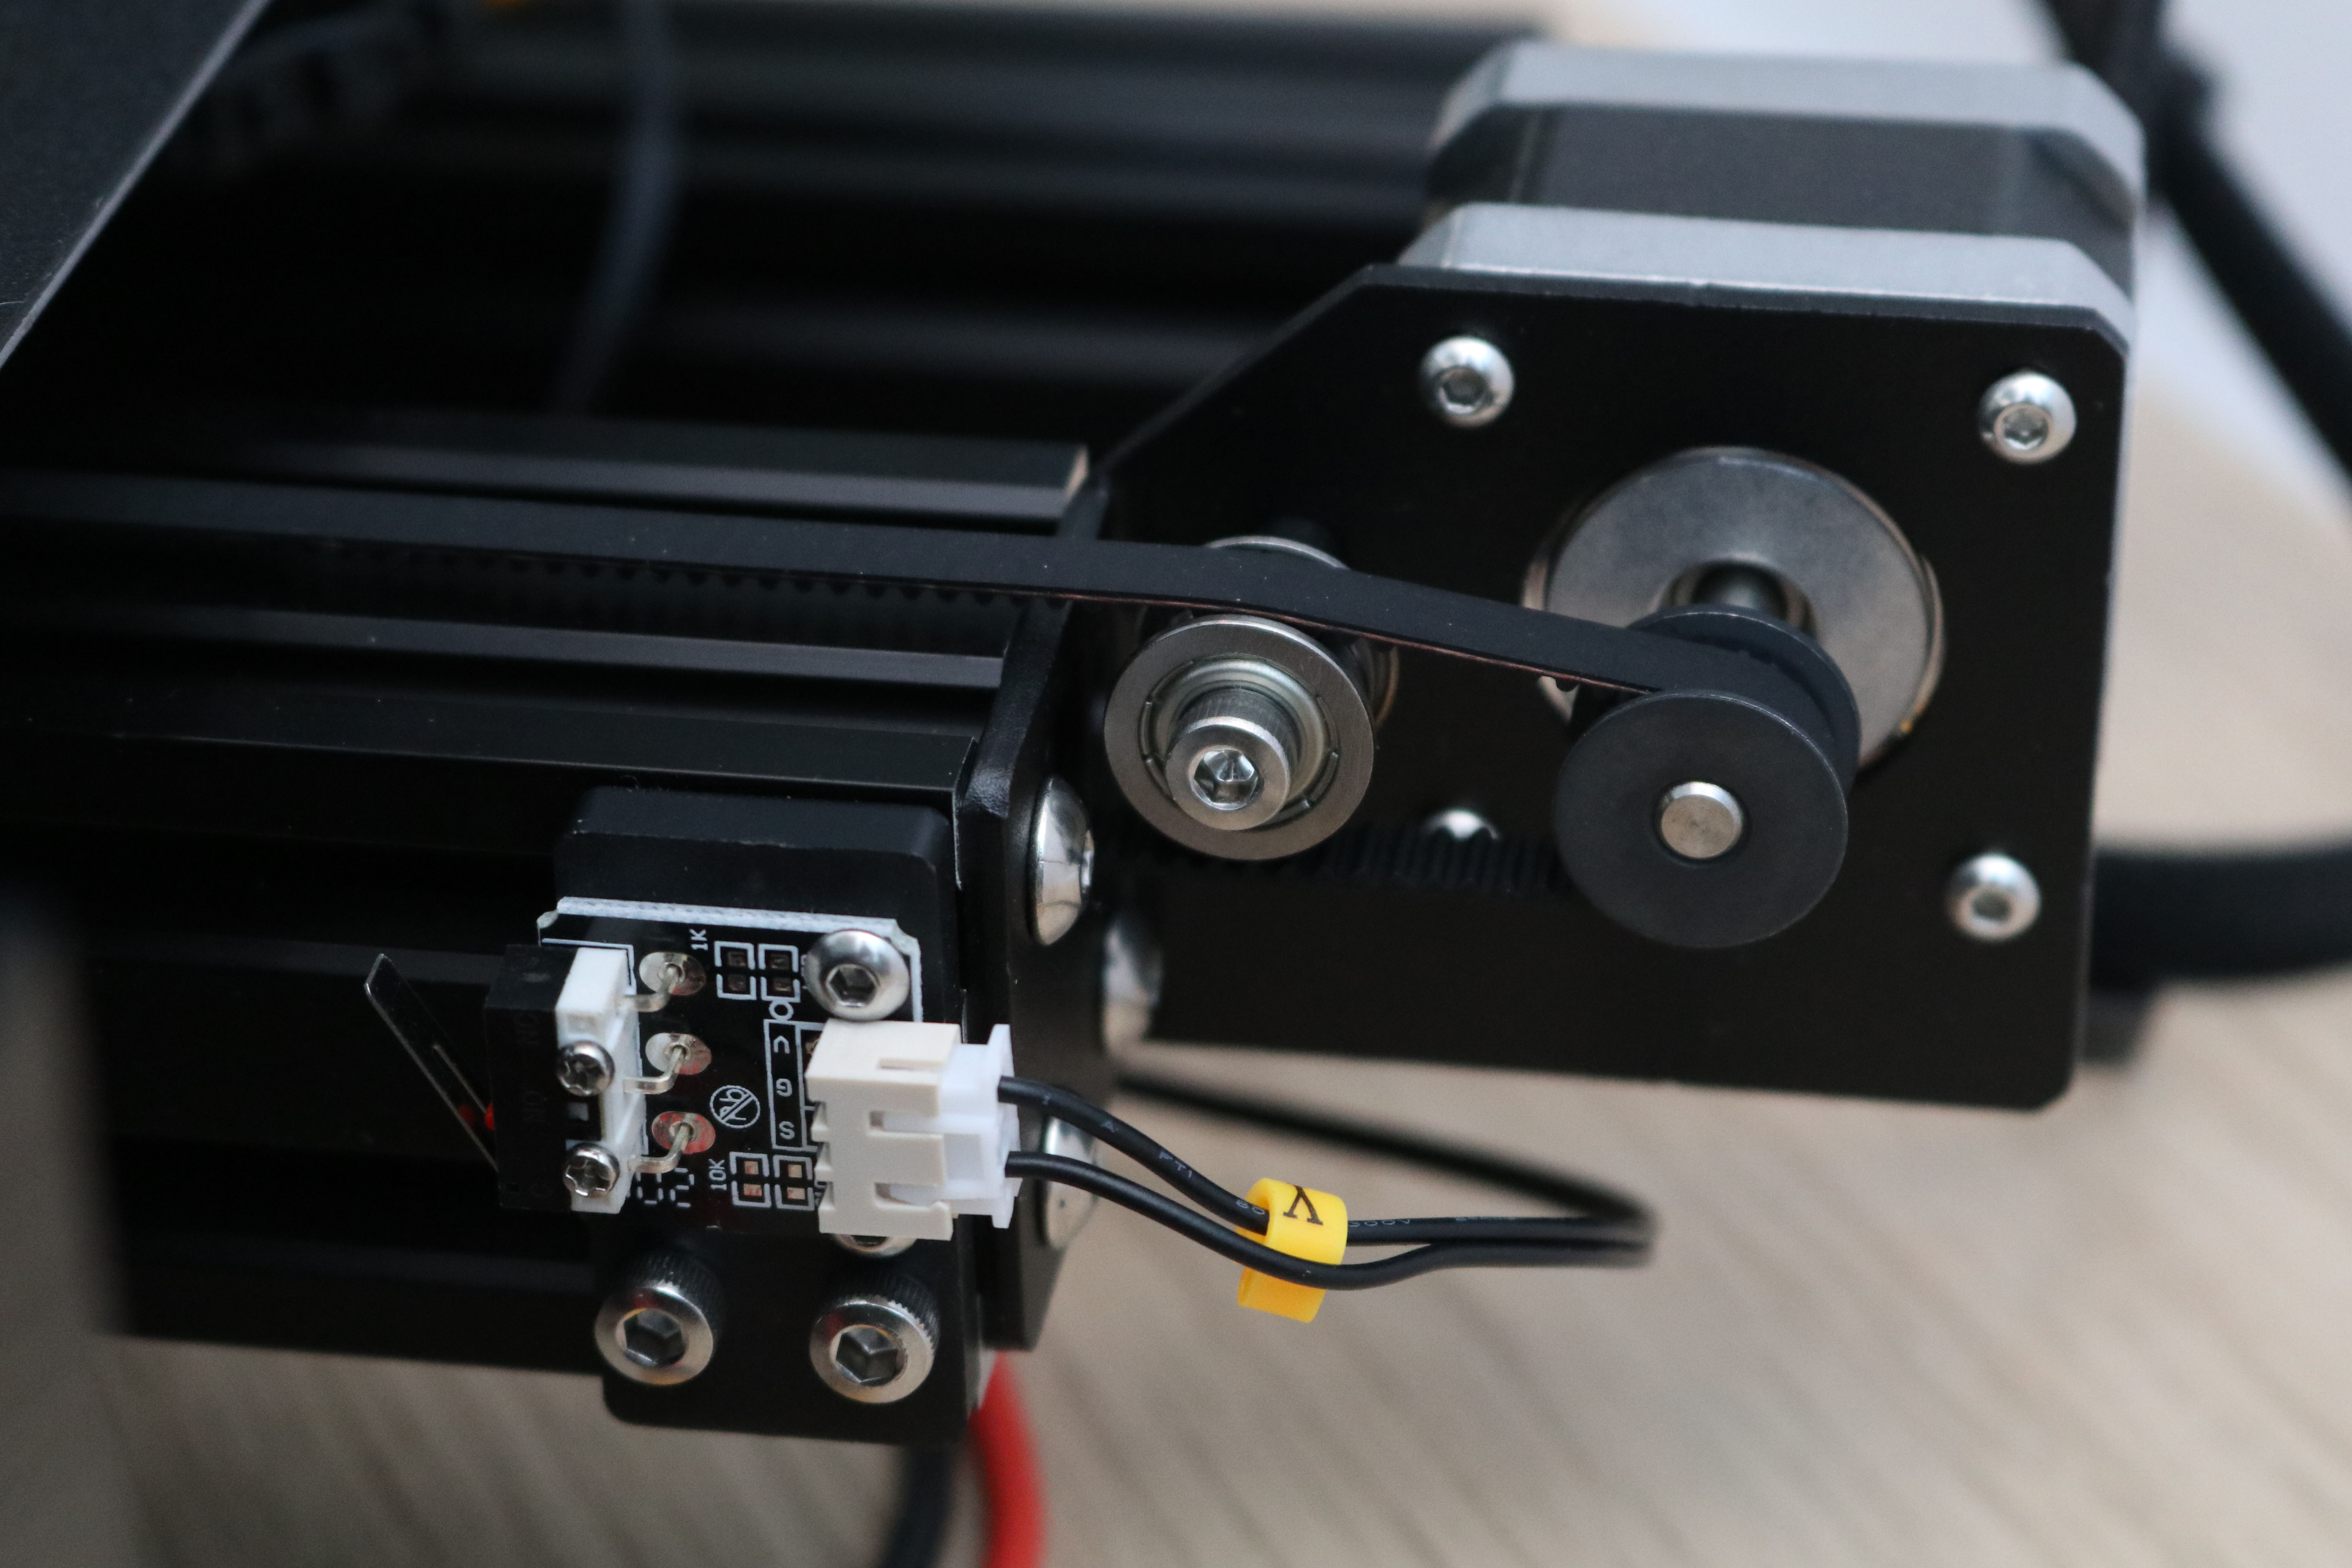
The assembly guide breaks down the assembly into 12 steps that are easily completed sequentially and is also included as a digital .pdf on the microSD card. Creality also includes a video showing the assembly process on the microSD card if you prefer a video guide instead of a written one. Among various quality-of-life improvements over the original Ender 3, the Ender 3 Pro has built-in belt tensioners for the X and Y axes that allow you to manually adjust tension if the belt isn’t stretched properly.
Loading Filament and Leveling on the Creality Ender 3 Pro
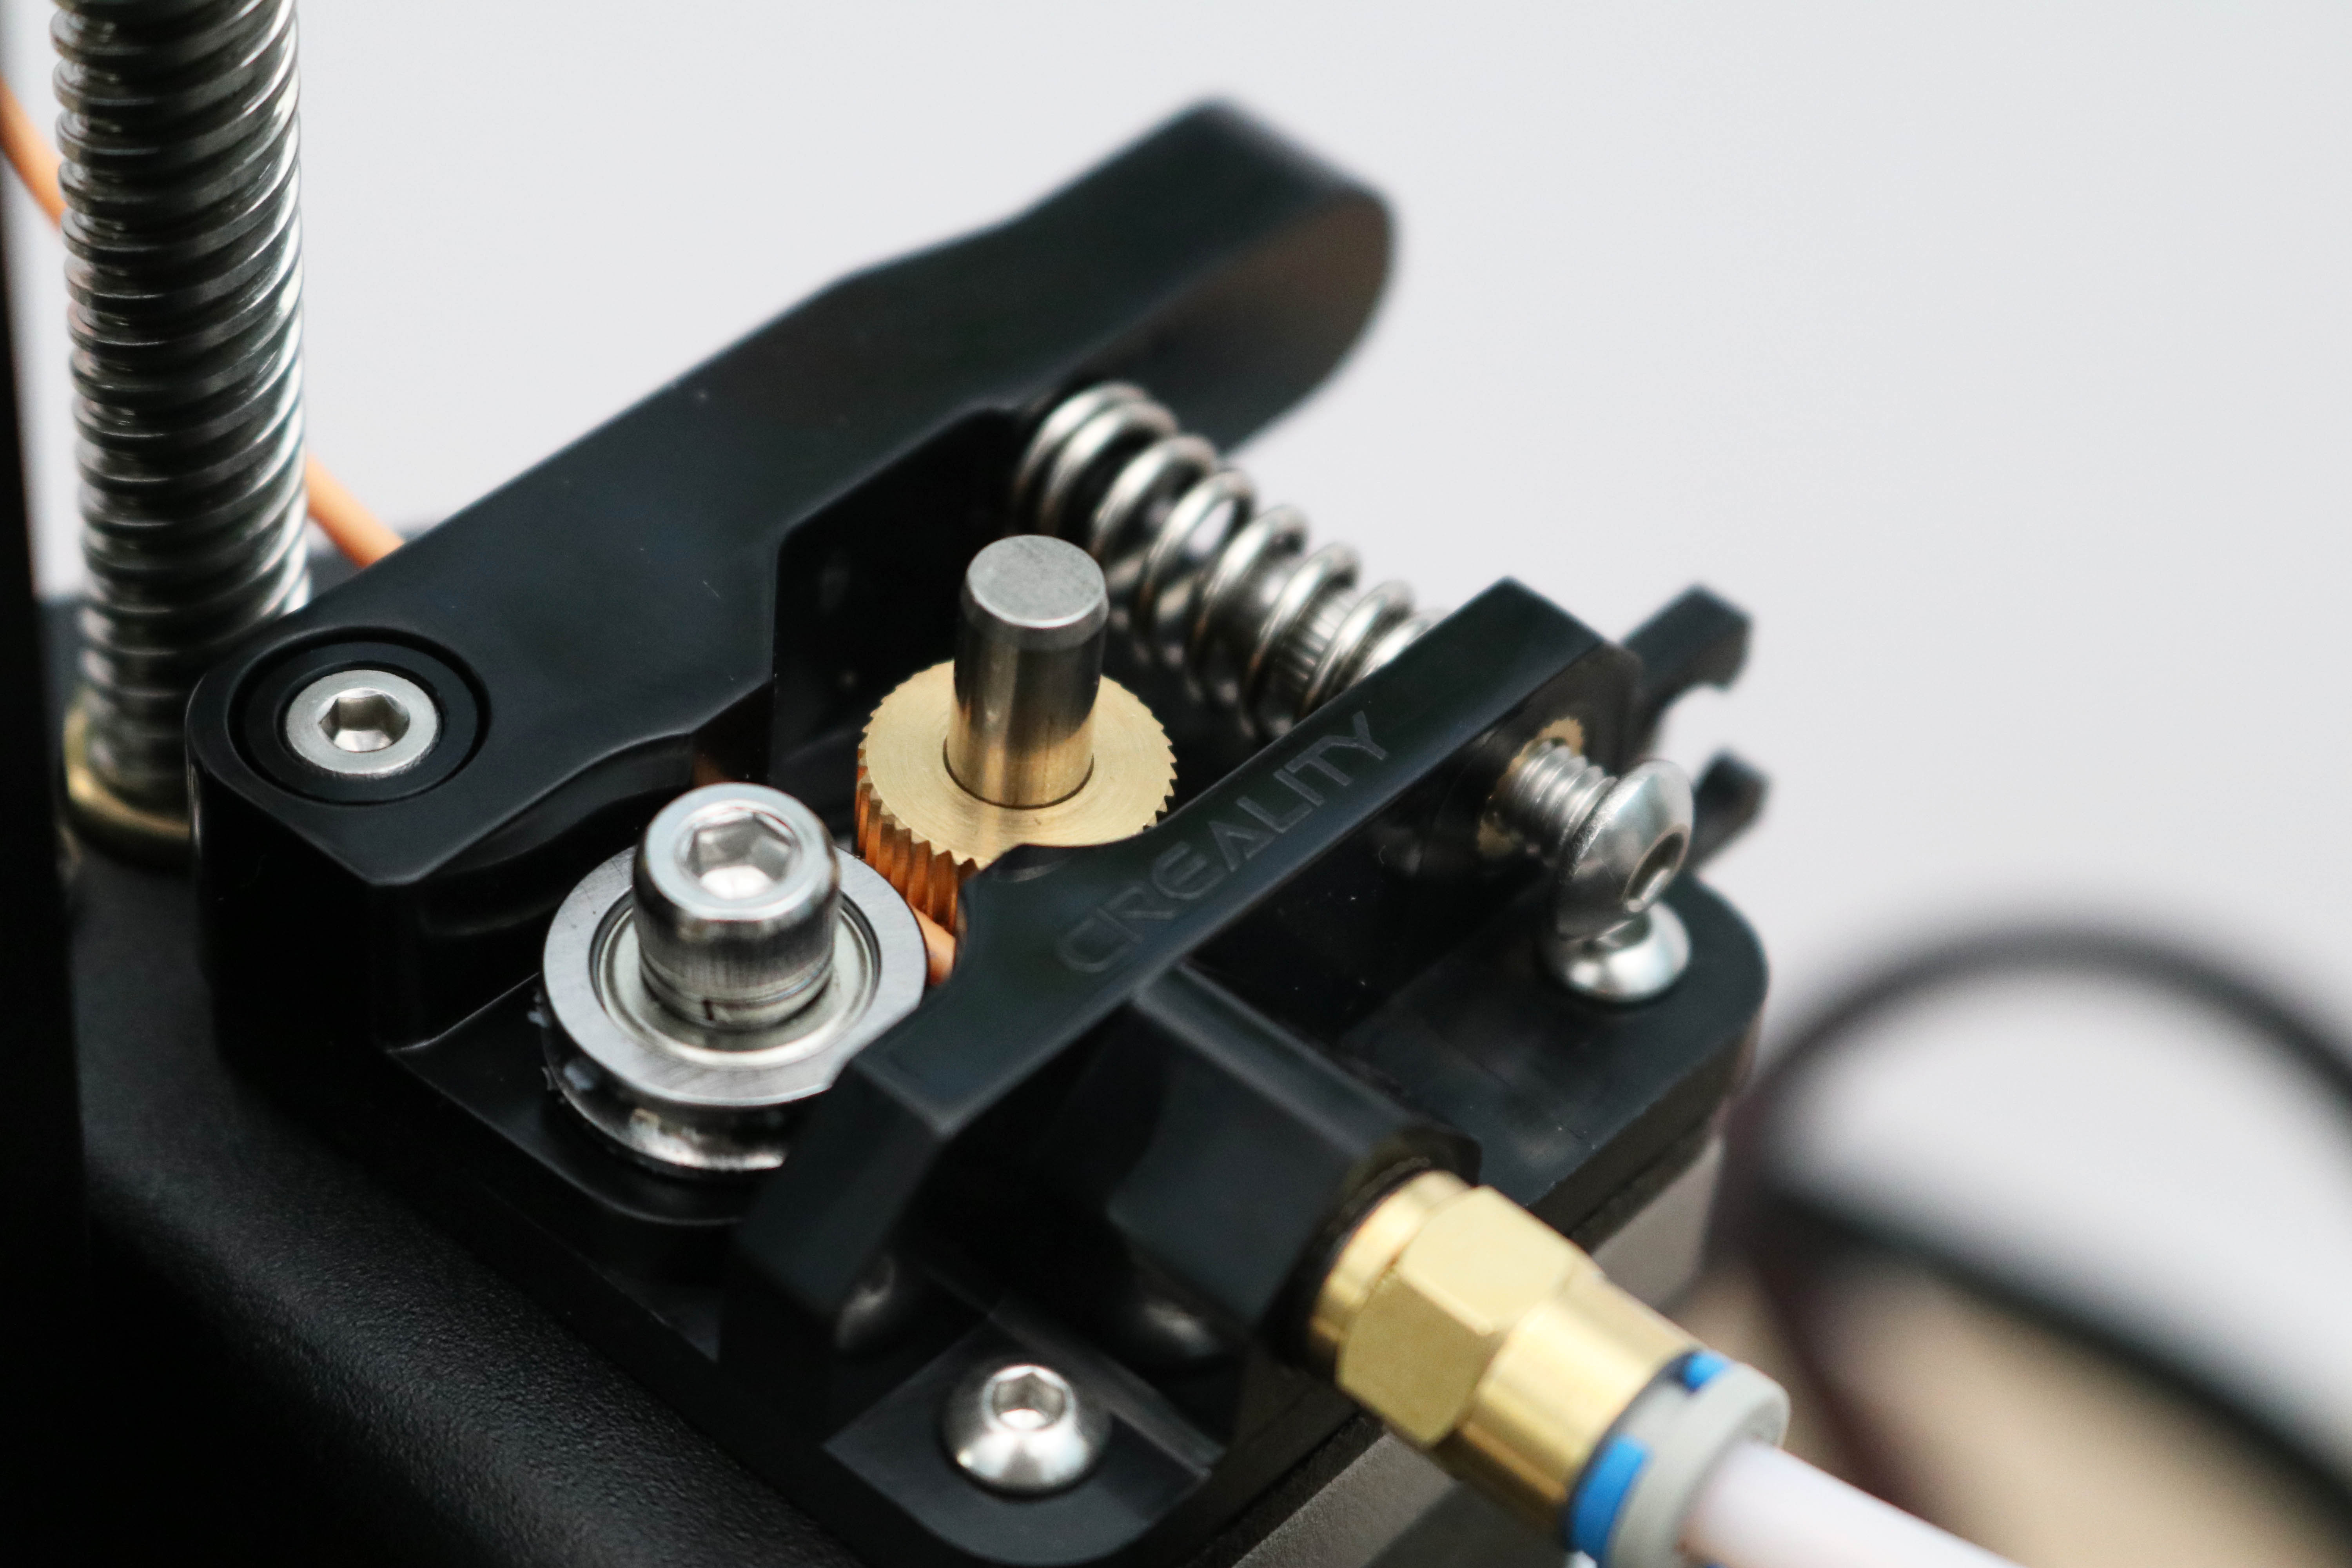
Loading the filament is a breeze. I was able to easily load filament through the injection molded extruder and into the white Bowden tube. The 350 Watt Meanwell-brand power supply heated both the nozzle and the bed to loading temperature in just under two minutes, which meant I wasn’t waiting around for the bed to reach printing temperature after the nozzle had already heated.
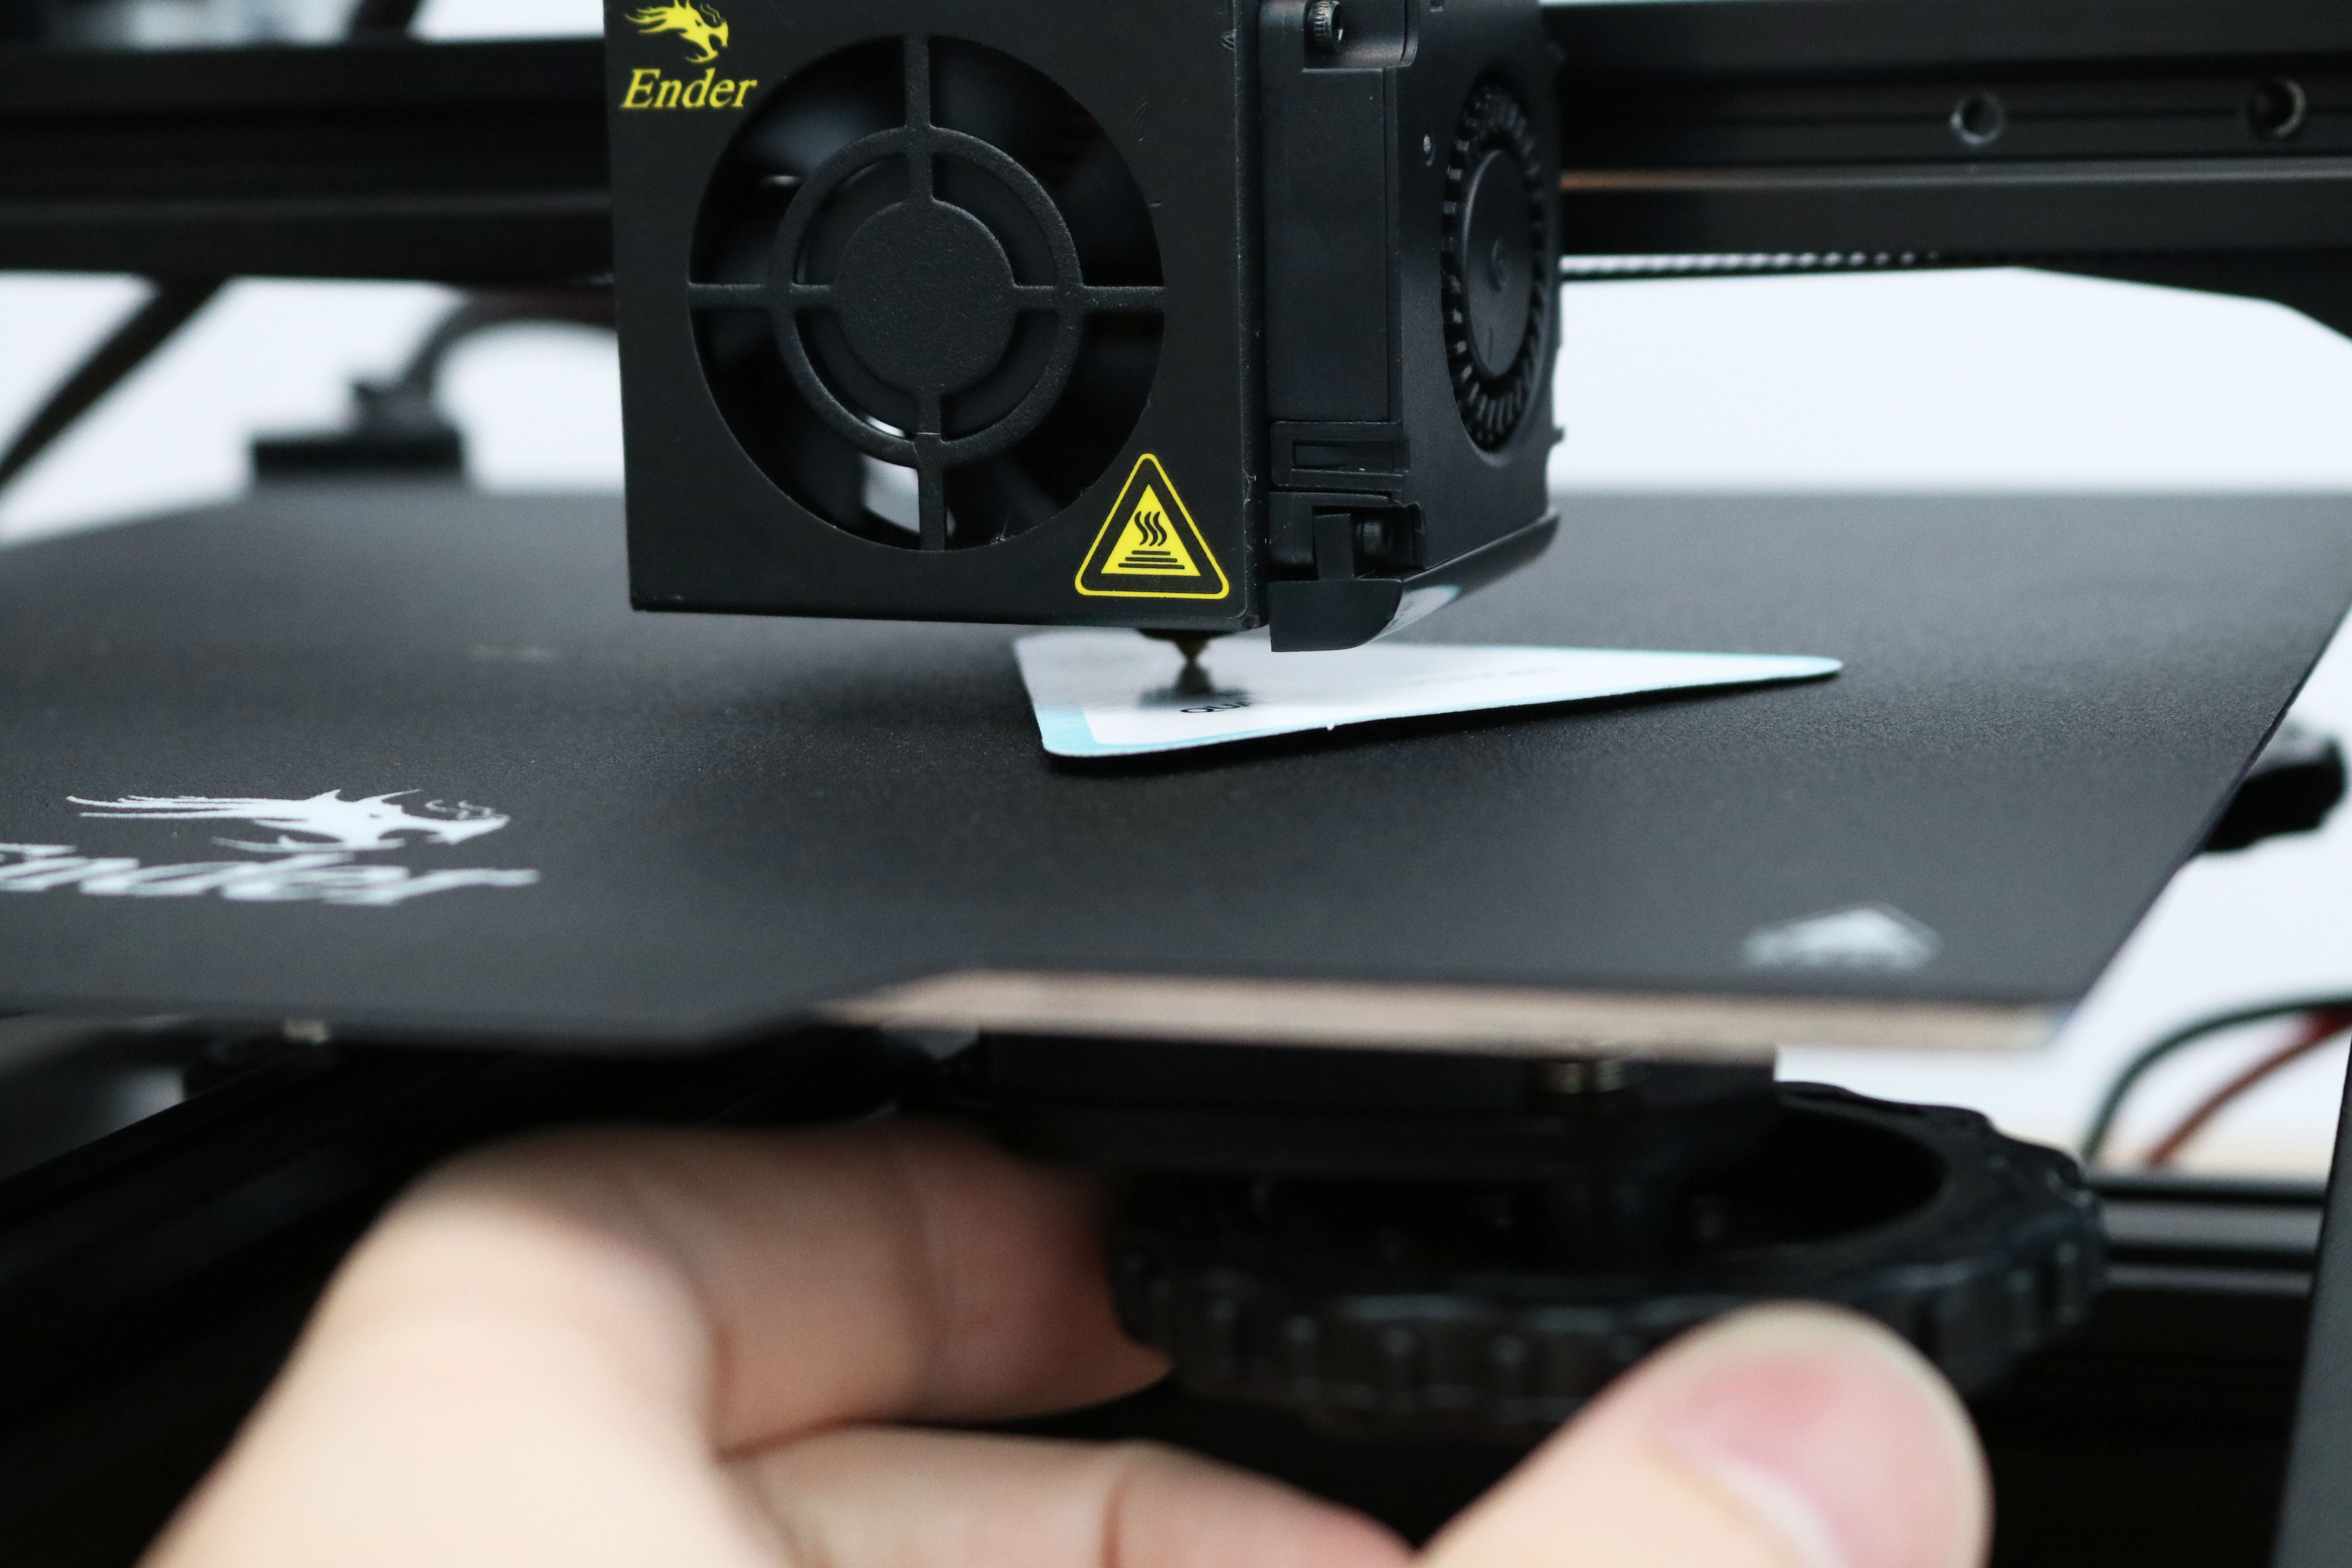
Once I had loaded filament into the extruder, I leveled the bed by using the included triangular piece of paper and adjusting the nozzle height with the thumbscrews at all four corners of the bed. This process is relatively straight-forward and I didn’t run into any problems during leveling. If you level the bed carefully, you'll get prints that adhere well to the build platform without being deformed. The piece of paper should be lightly pressed down into the build platform; too close and the paper becomes pinned down, too far and it can move freely. This can be difficult on a flat glass bed if the glass isn’t perfectly flat, but the combination of aluminum bed and textured sheet was easy for me to level quickly and accurately.
Creality Ender 3 Pro Build Quality
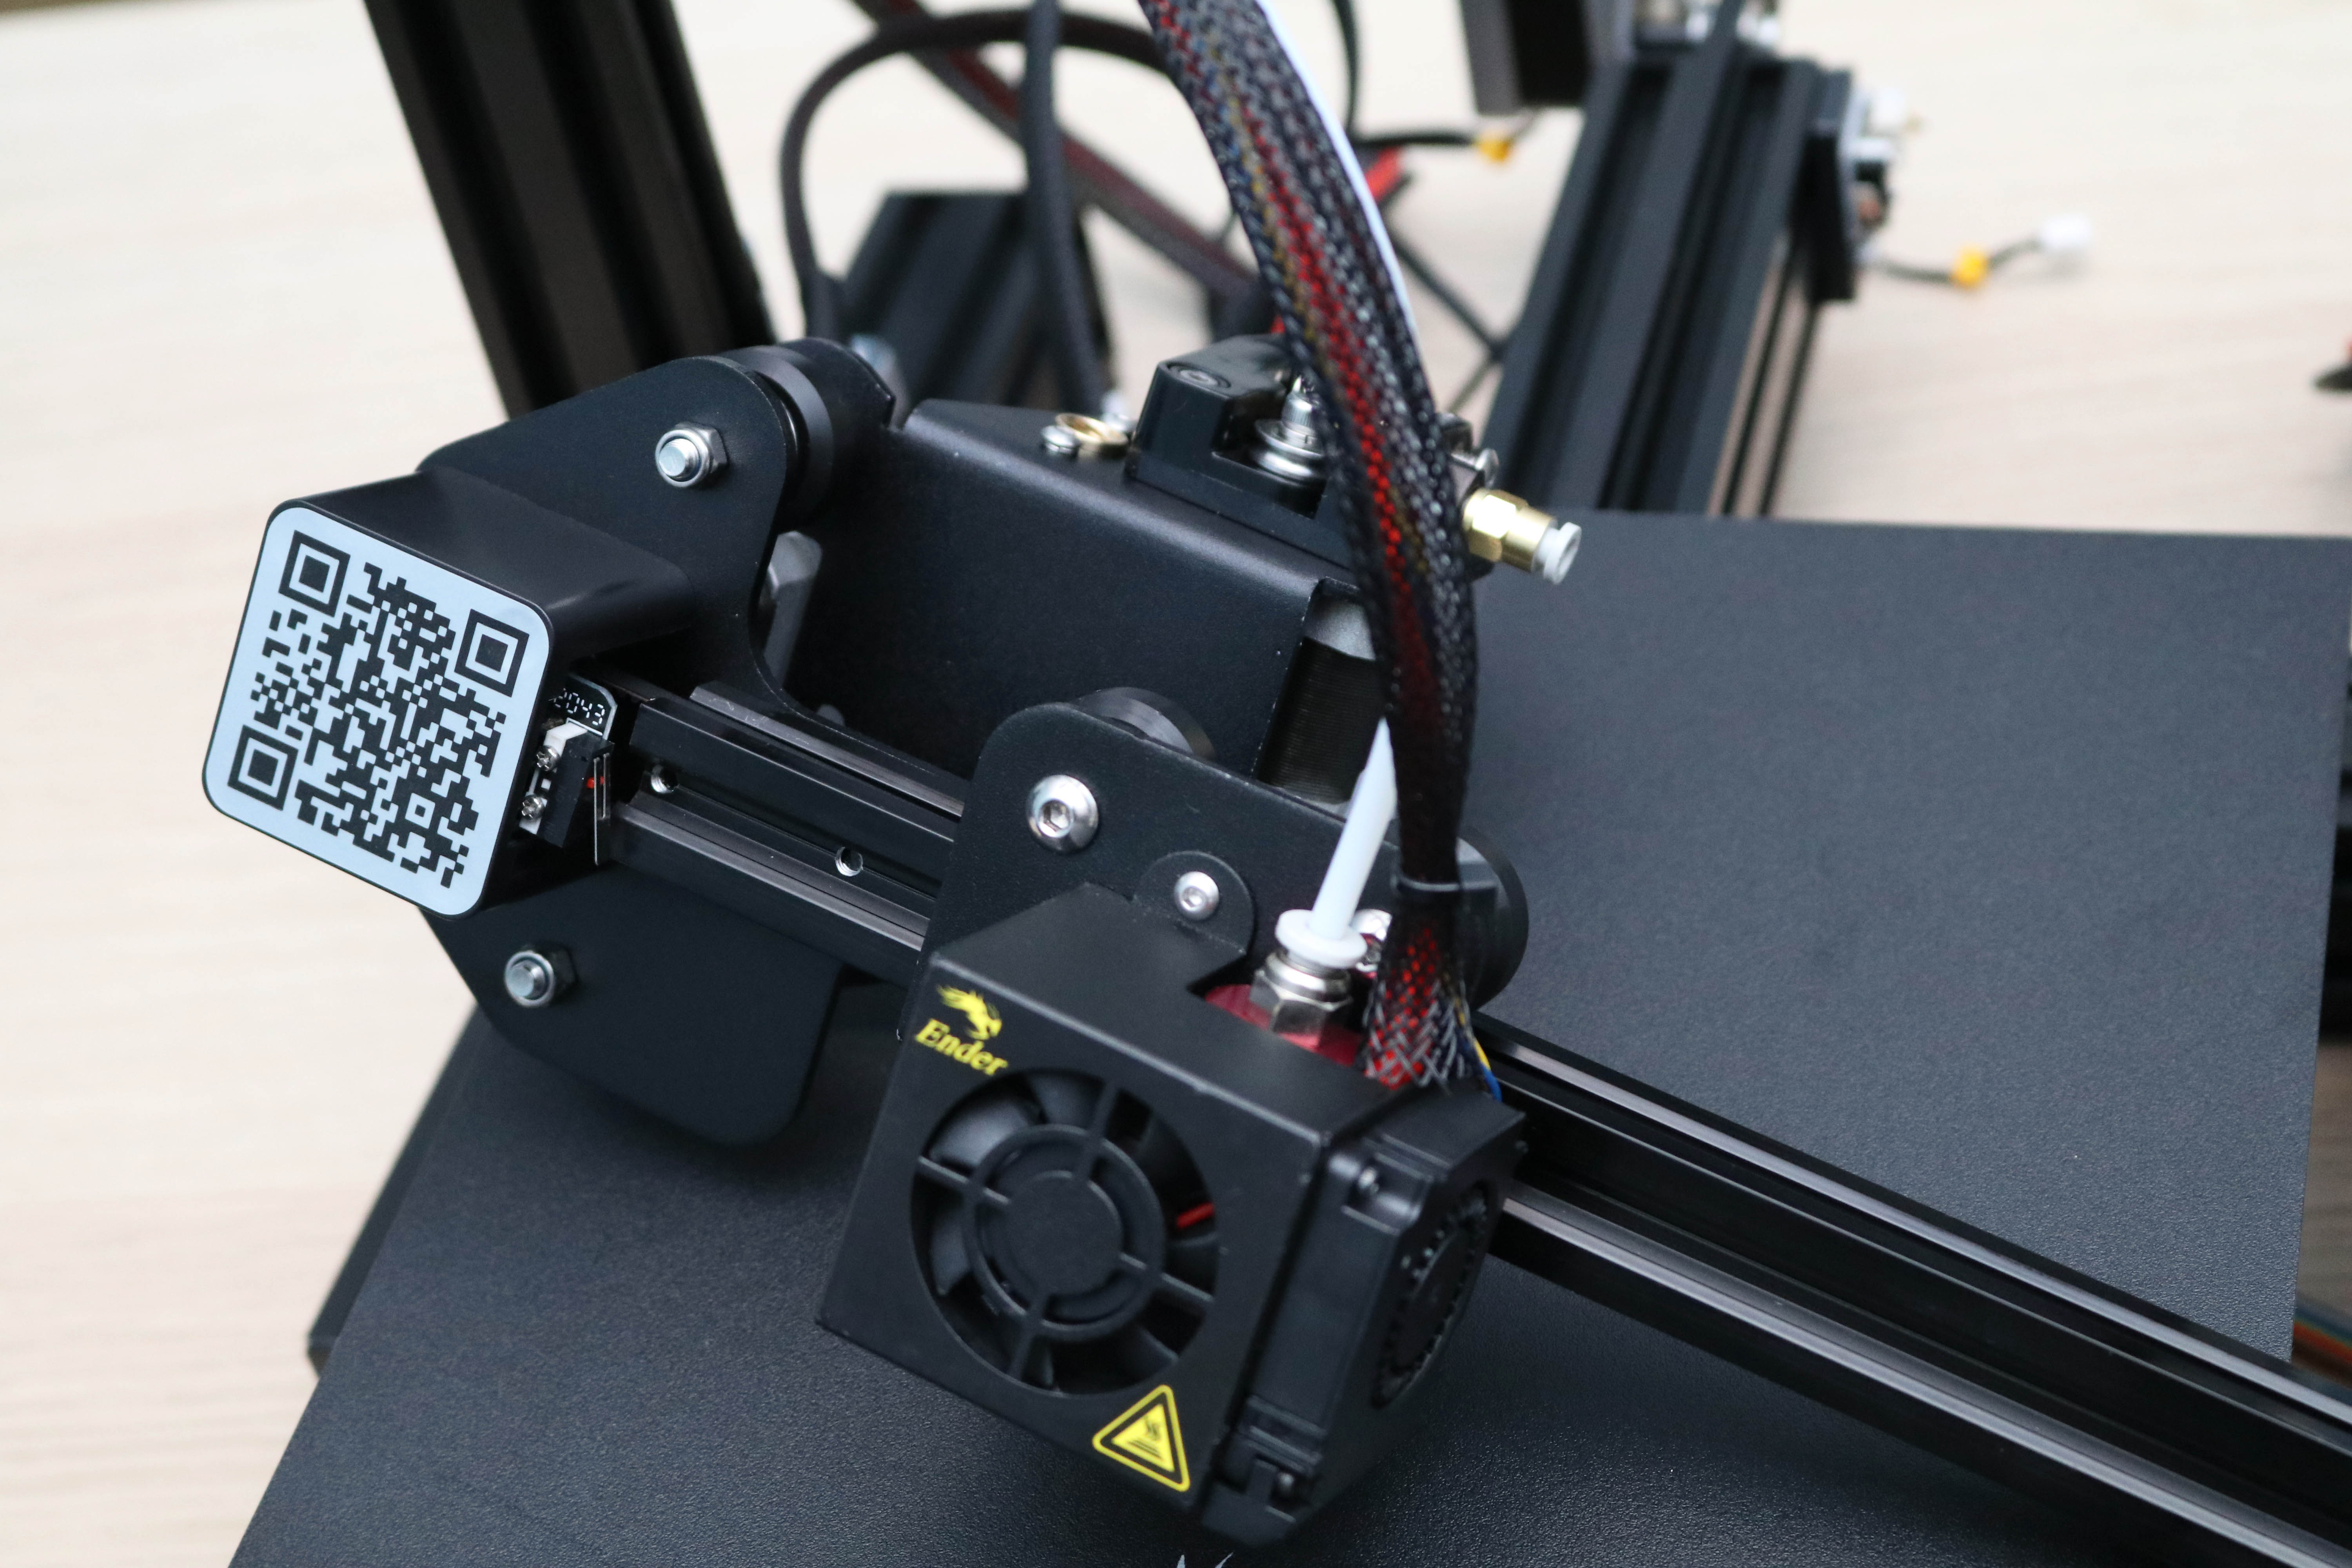
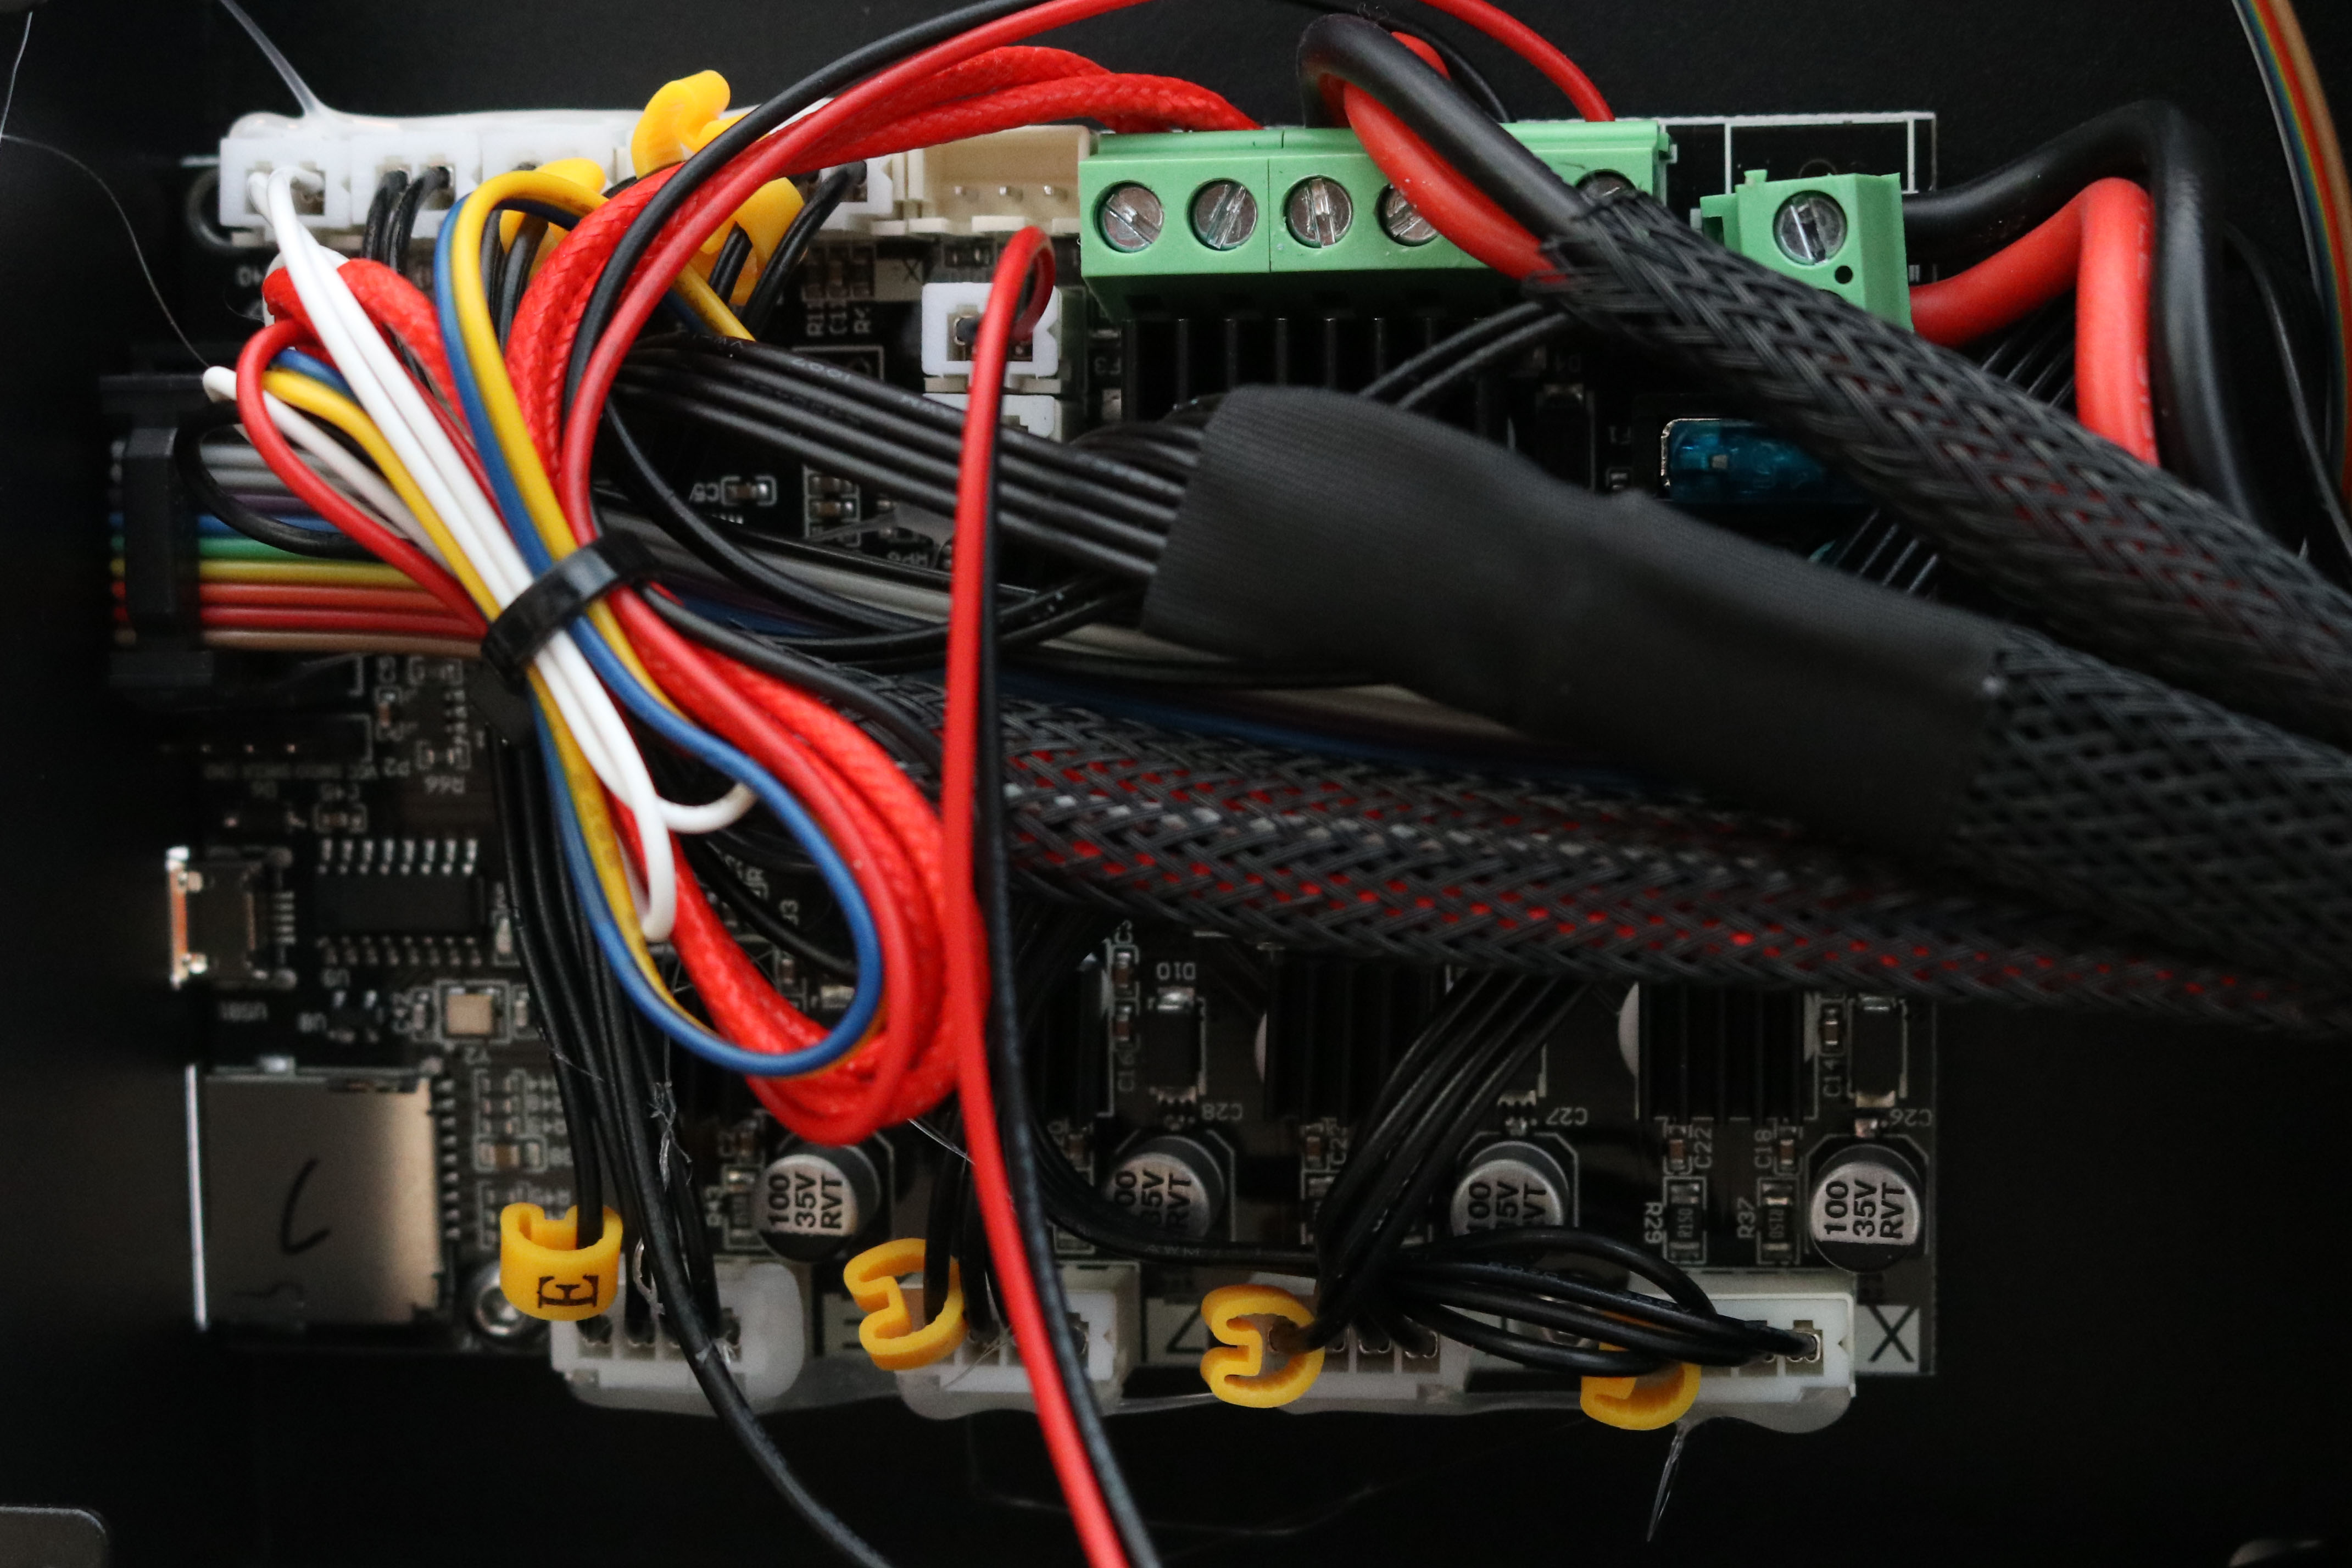
The Creality Ender 3 Pro ships with the V4.2.2 controller board, which is the standard board for this model of printer. The wiring job is professional, with several of the wiring connectors affixed with a silicone potting compound into their sockets to prevent them from coming loose during shipping or operation.
Get Tom's Hardware's best news and in-depth reviews, straight to your inbox.
The wires are bundled and the overall cable management is clean and allows for good airflow over the stepper drivers. The board accepts a microSD card for uploading .gcode instructions and can also be controlled via the USB port on the front of the machine.
The Ender 3 Pro's V4.2.2 controller board features HR4988 stepper drivers, which can create a noticeable amount of noise during printing. Combined with the noisy fan that cools the controller board and the intermittent fan on the power supply, this printer makes a surprising amount of noise when printing. The buzzing from the stepper motors reminded me of my very first 3D printer from 2013, a Printrbot Jr. that could be heard from clear across the house through multiple walls when it was printing.
If you’re planning to use this printer near your desk, it may be distracting during fast travel movements and when the power supply fan kicks on. I found that I was unable to concentrate with the machine on my desk, and had to move it to the other side of the room while it was running.
Printing on the Creality Ender 3 Pro
The Ender 3 Pro ships with a microSD card that contains a user manual, a troubleshooting guide, various USB drivers, and several pre-sliced models in .gcode format. These pre-sliced models can be printed by simply inserting the microSD card into the printer and selecting a model.
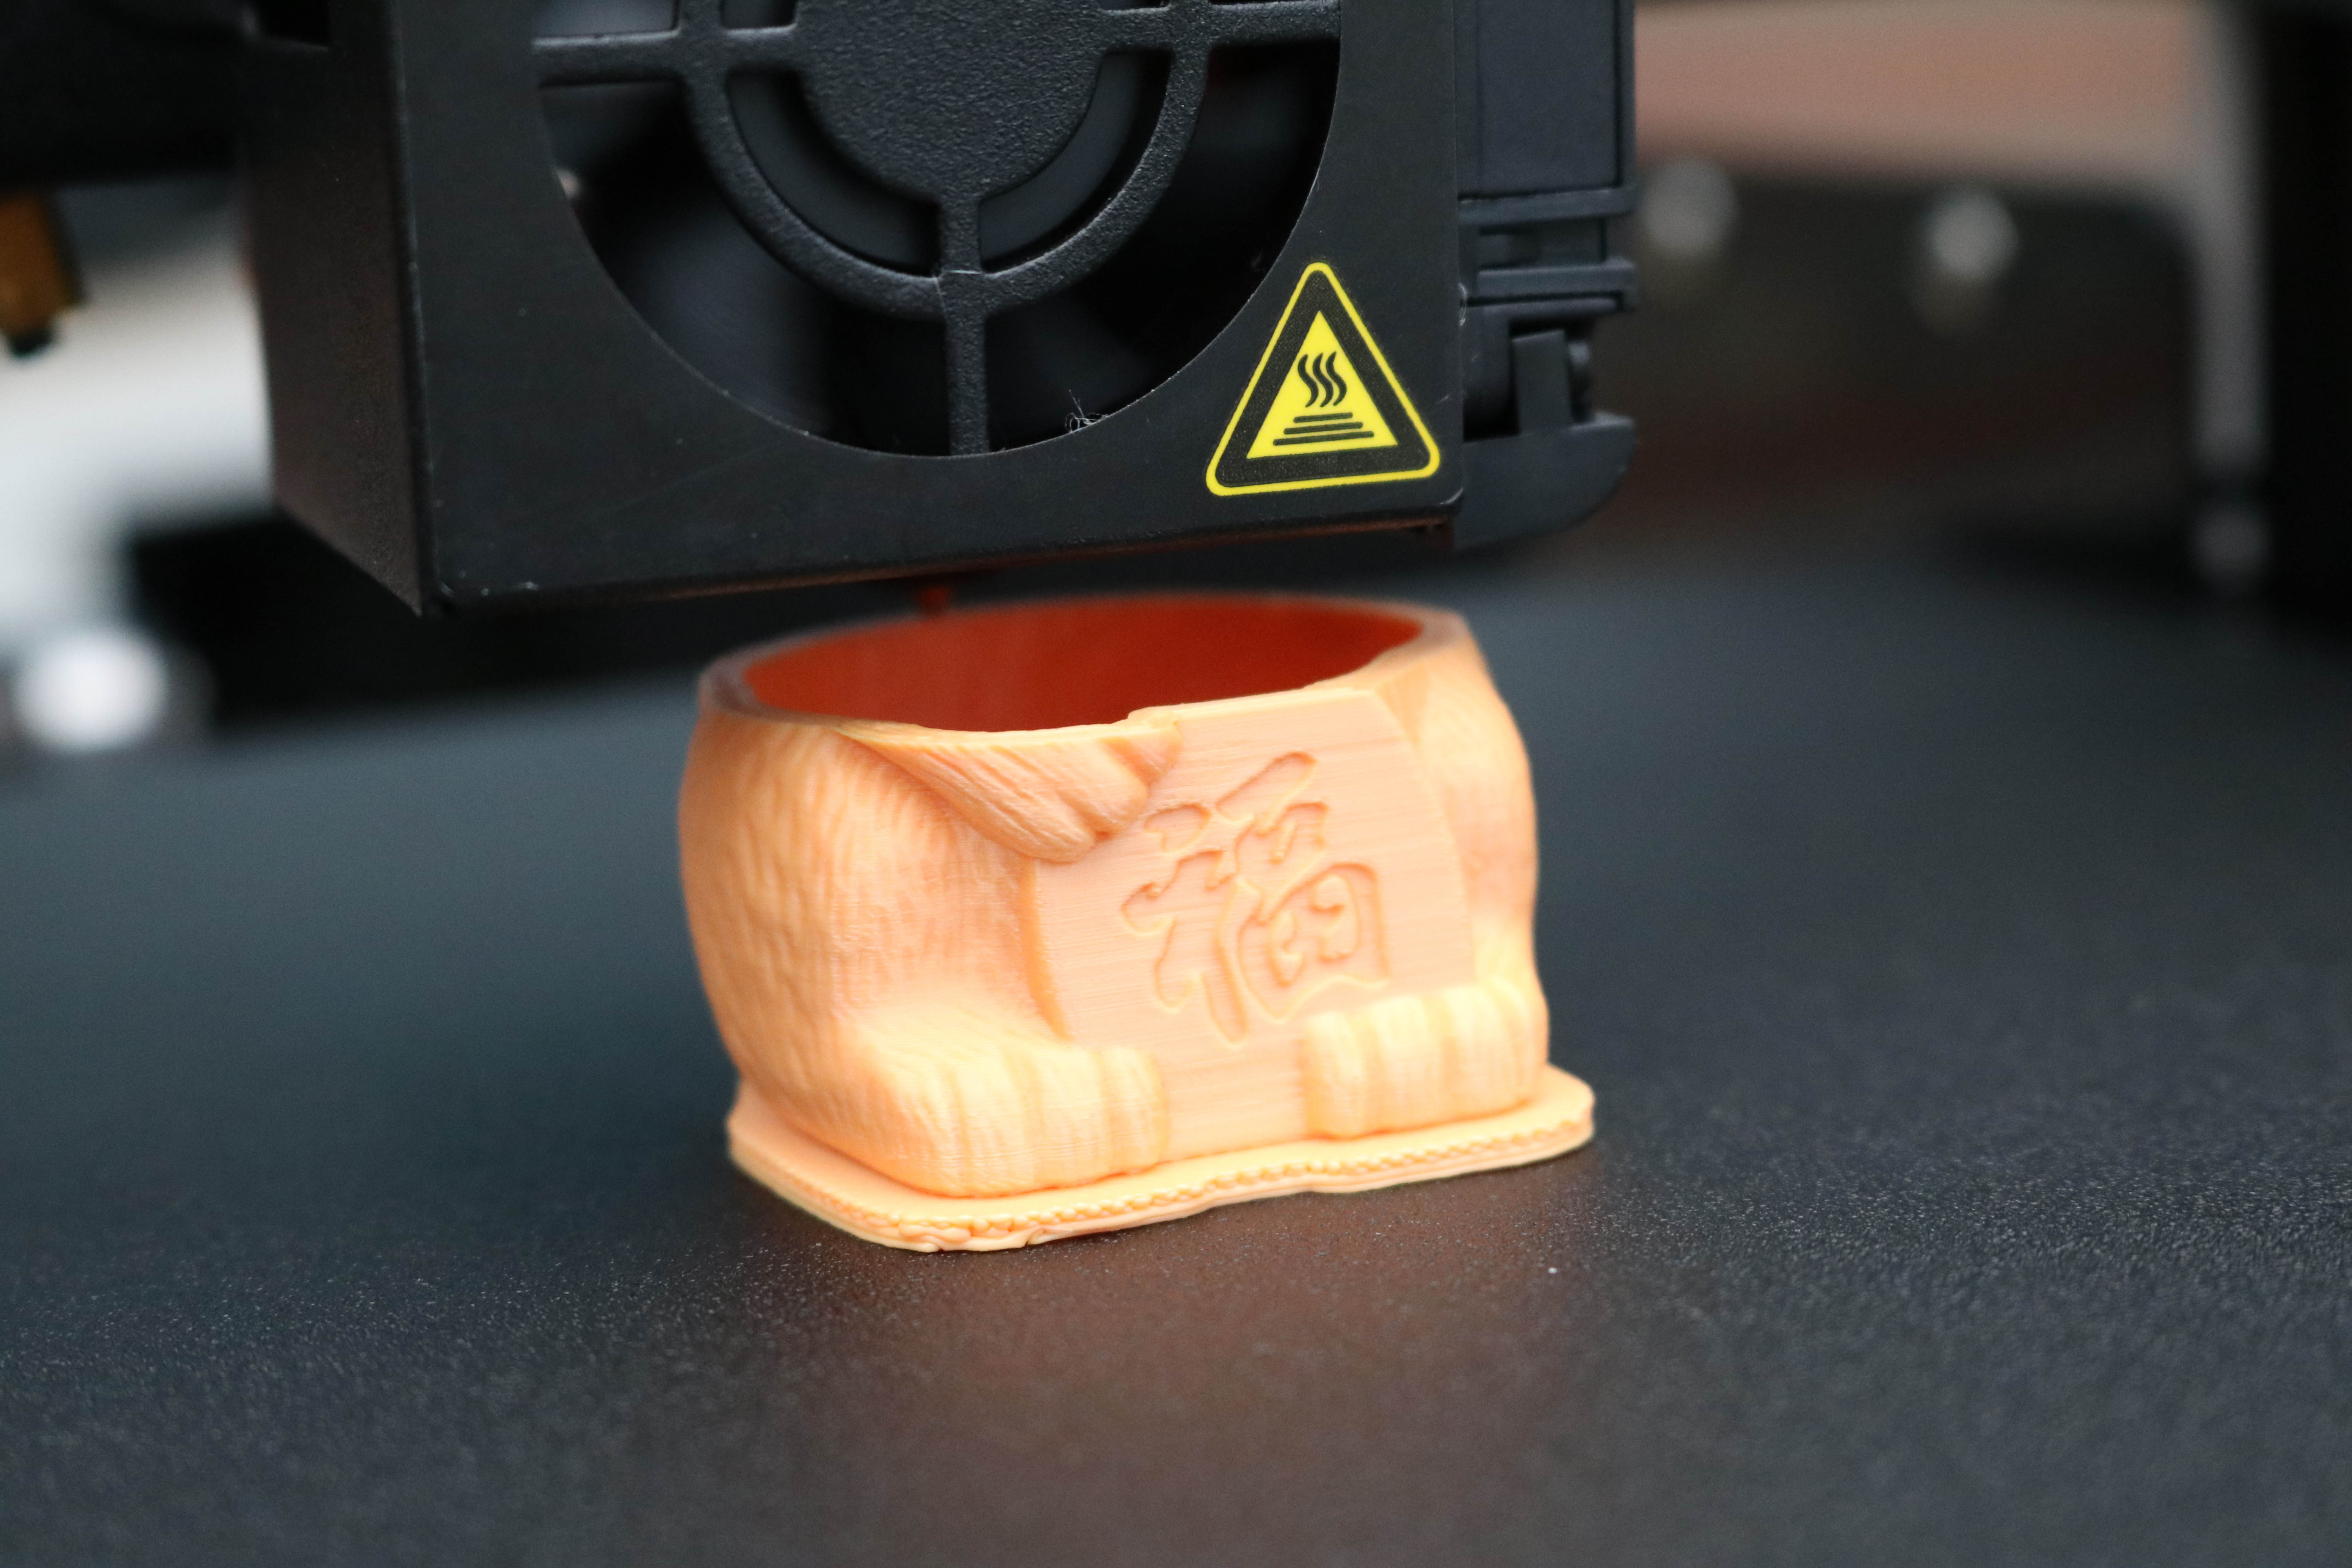
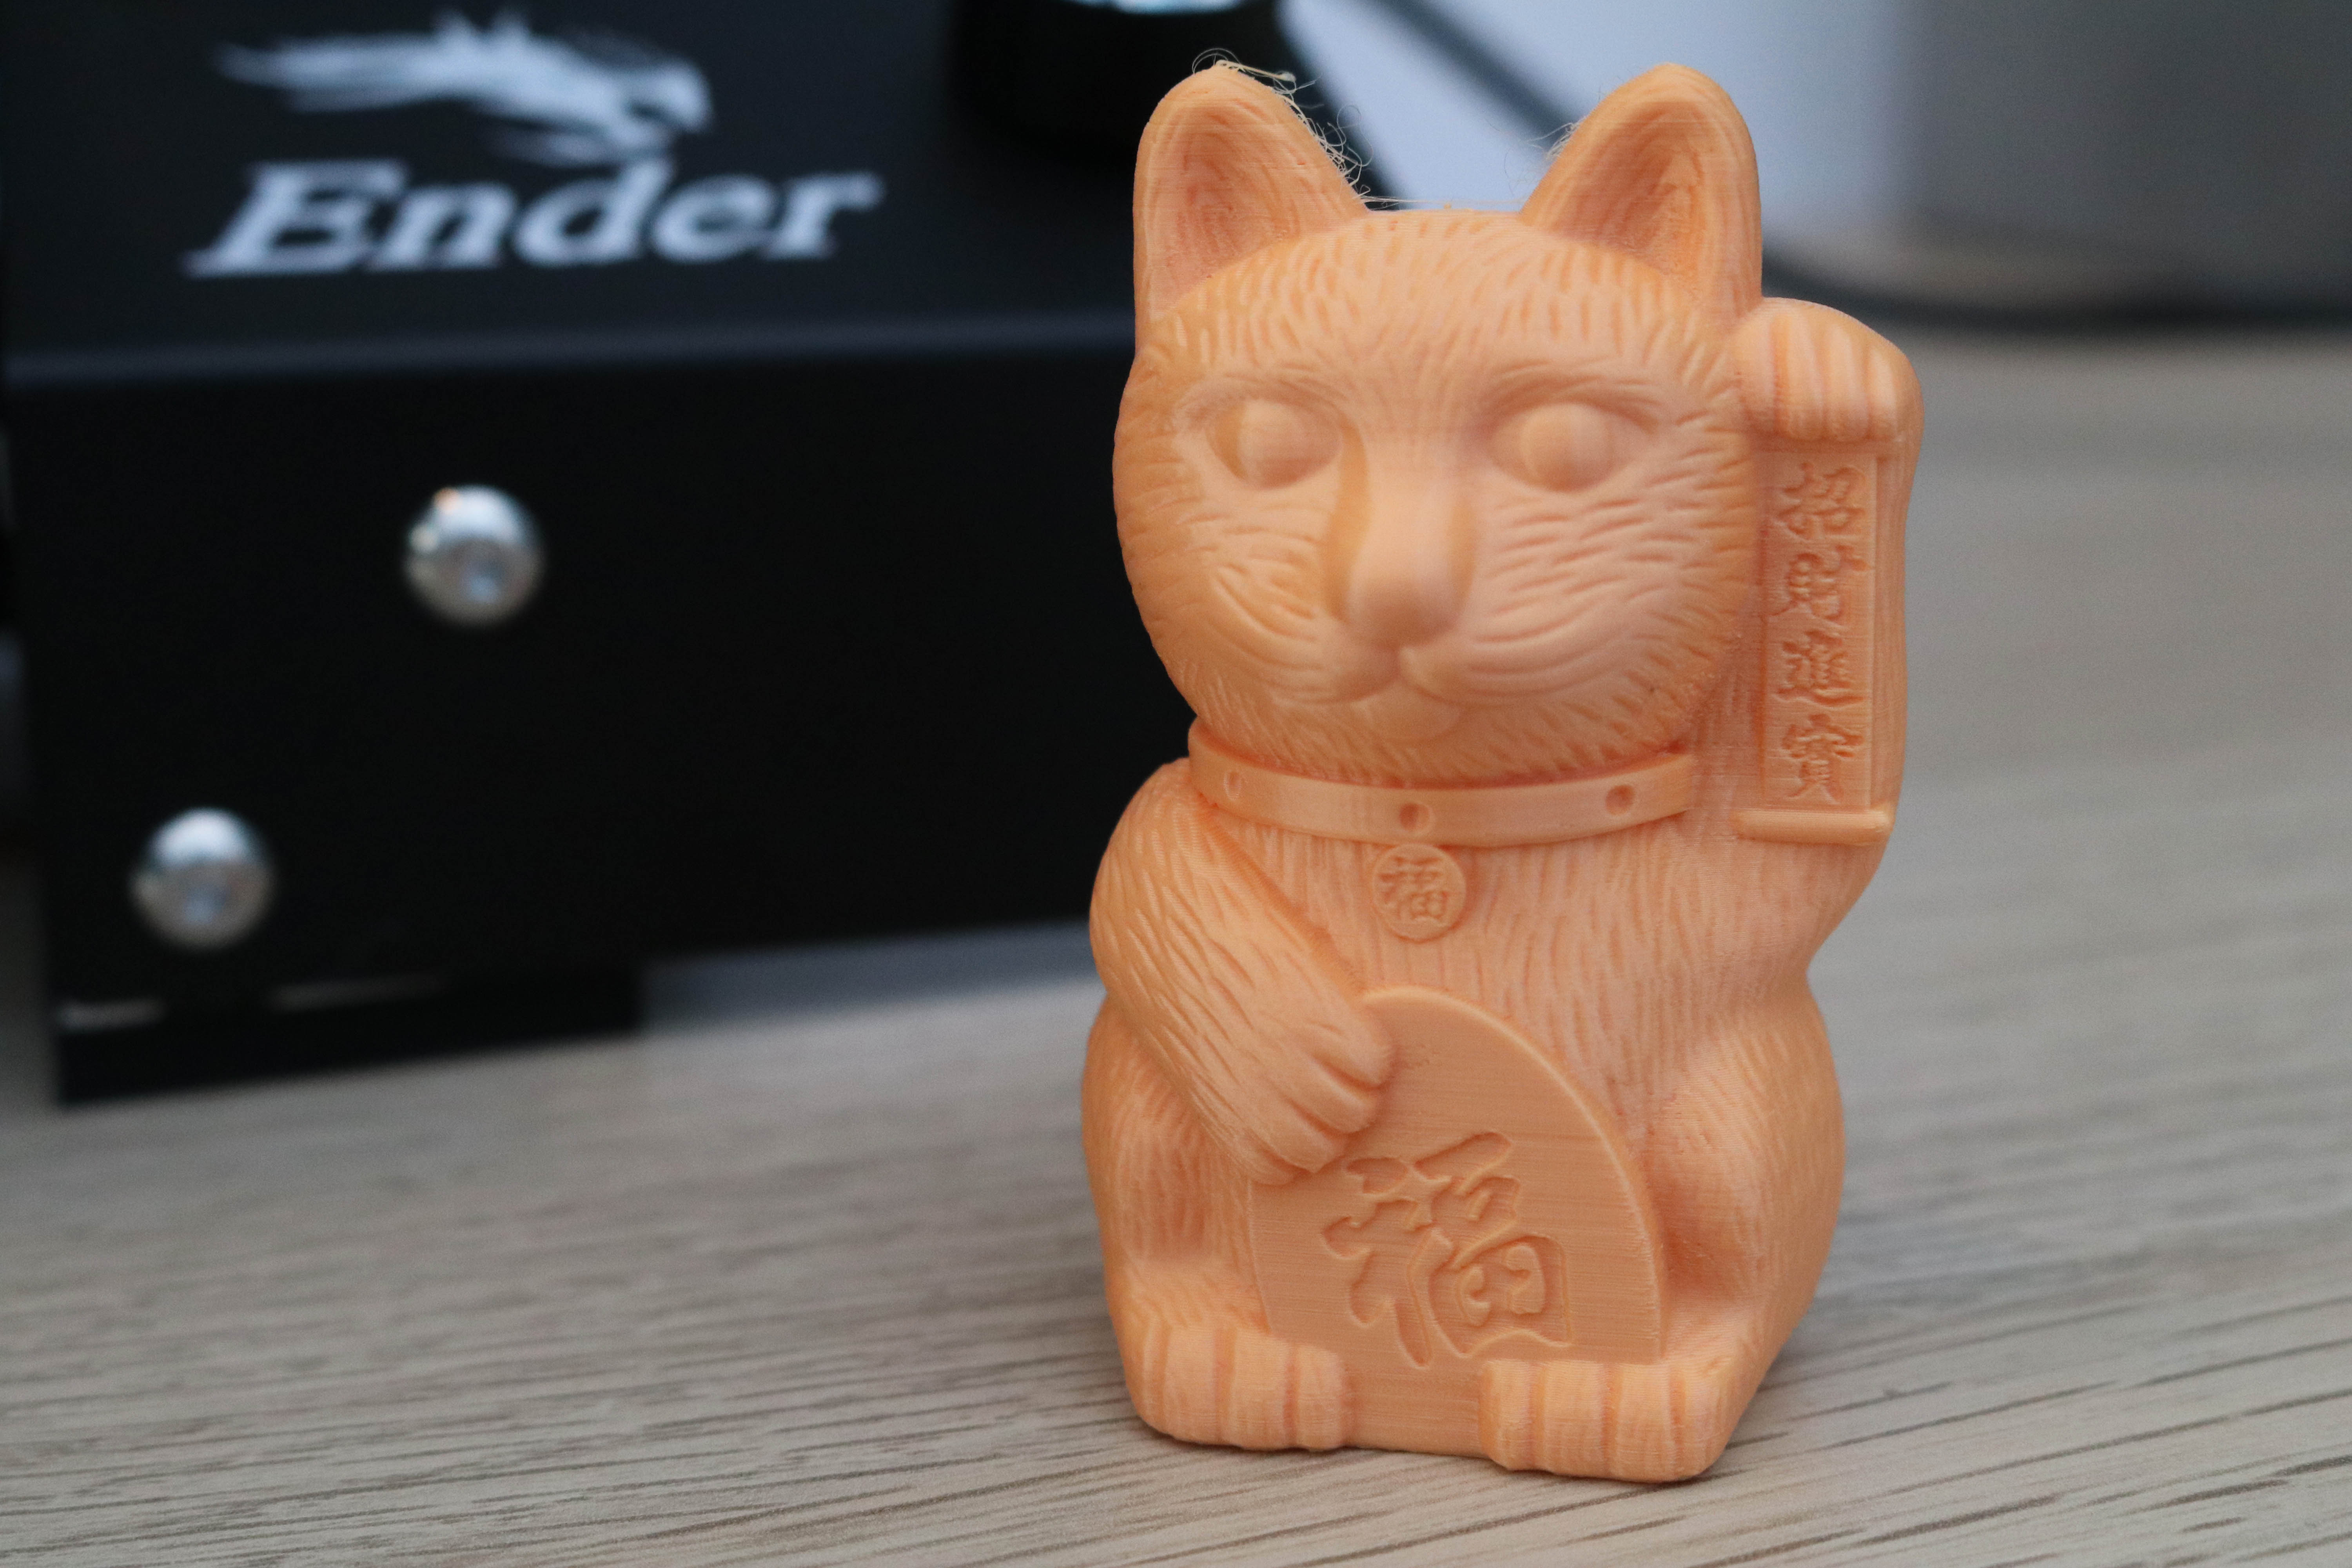
I ran my first test print using the “cat-3.5H.gcode” file and, while it was printing, I took a look at the .gcode file in a text editor. The file was sliced at a .1mm layer height, using 3 perimeters, and prints completely hollow with 12 solid layers on the bottom and top of the model. This is an unusual strategy for printing small models, as having an internal infill structure can help to support any material overhangs that occur on the inside of the model.
Despite the unusual printing configuration of this test file, the printed model featured a good amount of surface detail with no major visible defects aside from some stringing that occurred while printing the ears. To remove the print, I peeled the flexible magnetic build plate off and bent slightly, allowing the print to pop right off. The raft separated easily from the model and didn’t leave any defects on the bottom surface. The test part is an impressive example of what the Creality Ender 3 Pro is capable of.
Software and Settings
Creality ships the Ender 3 Pro with their own slicer called ‘Creality Slicer’, which is compatible with Windows PCs and is based on the open-source software Cura.. Other common slicers for this open-source printer include Cura, PrusaSlicer, and Simplify3D.
A typical printer in this price range, such as the Mingda D2 ($235 on Amazon), will ship with a copy of Cura and a printer profile that was designed for that specific machine. These profiles can be hit or miss and typically require a lot of dialing in to get a good result.
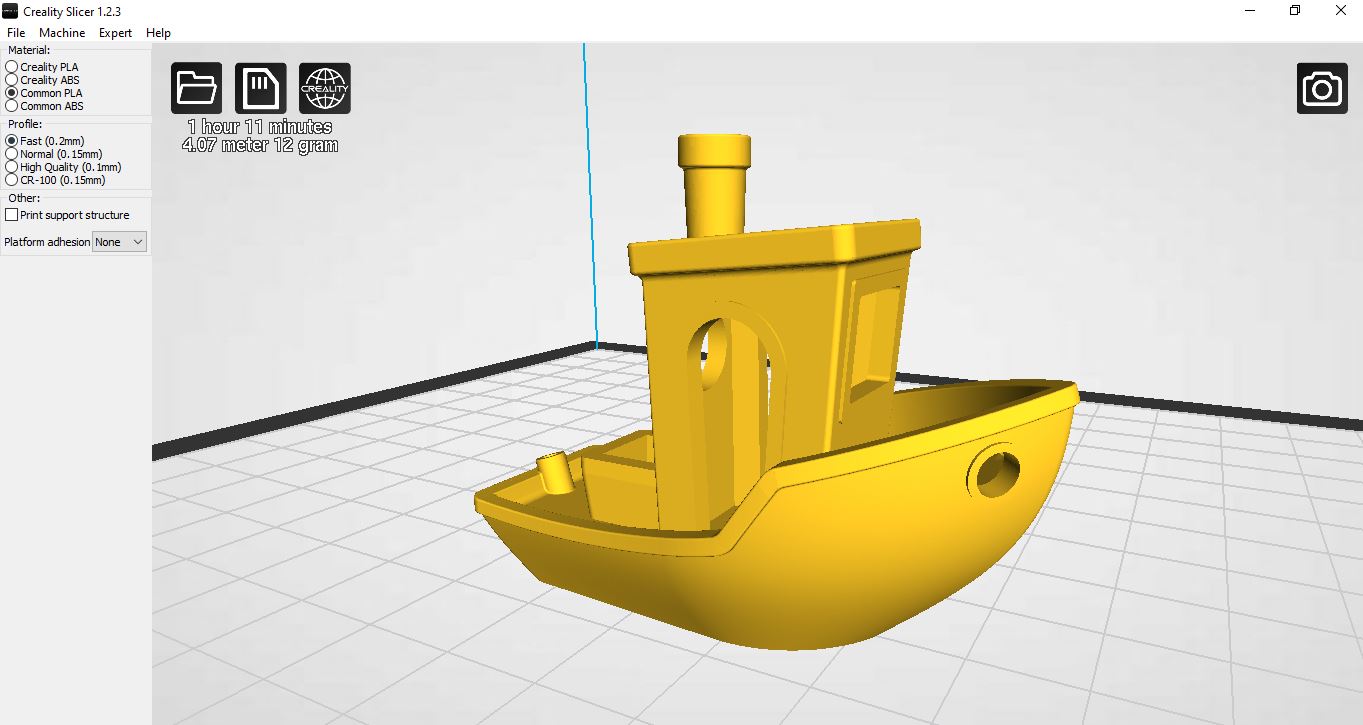
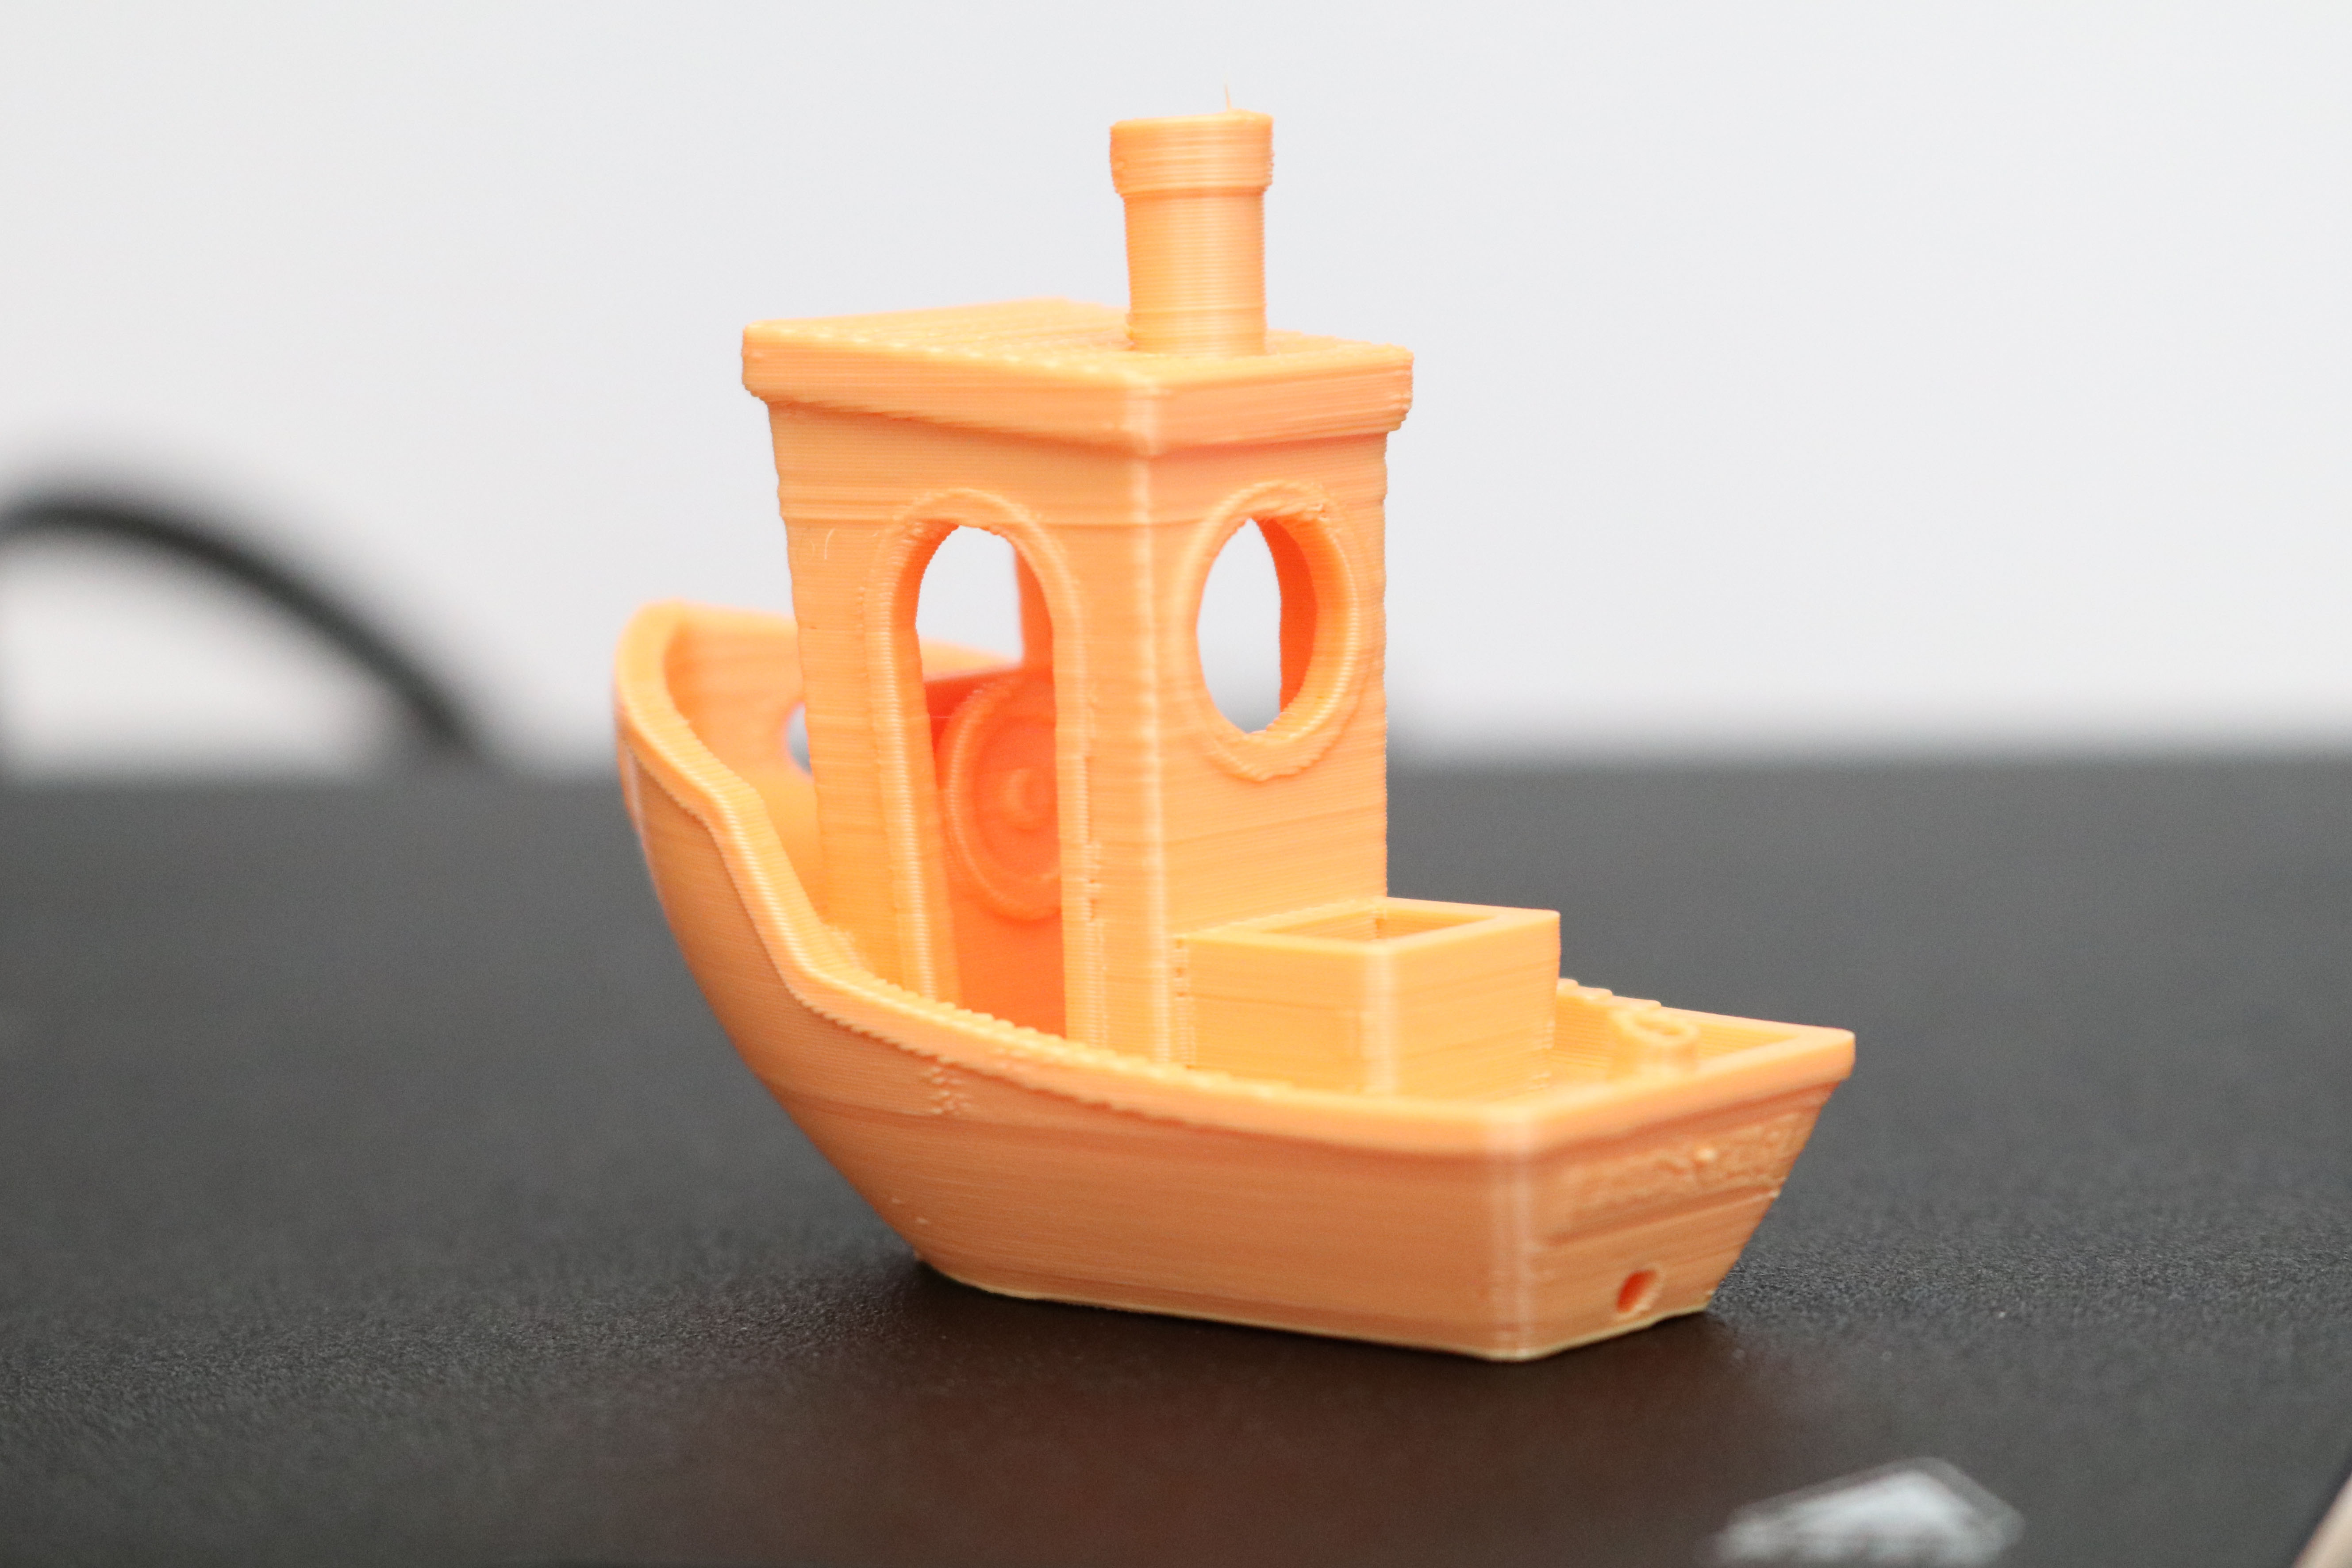
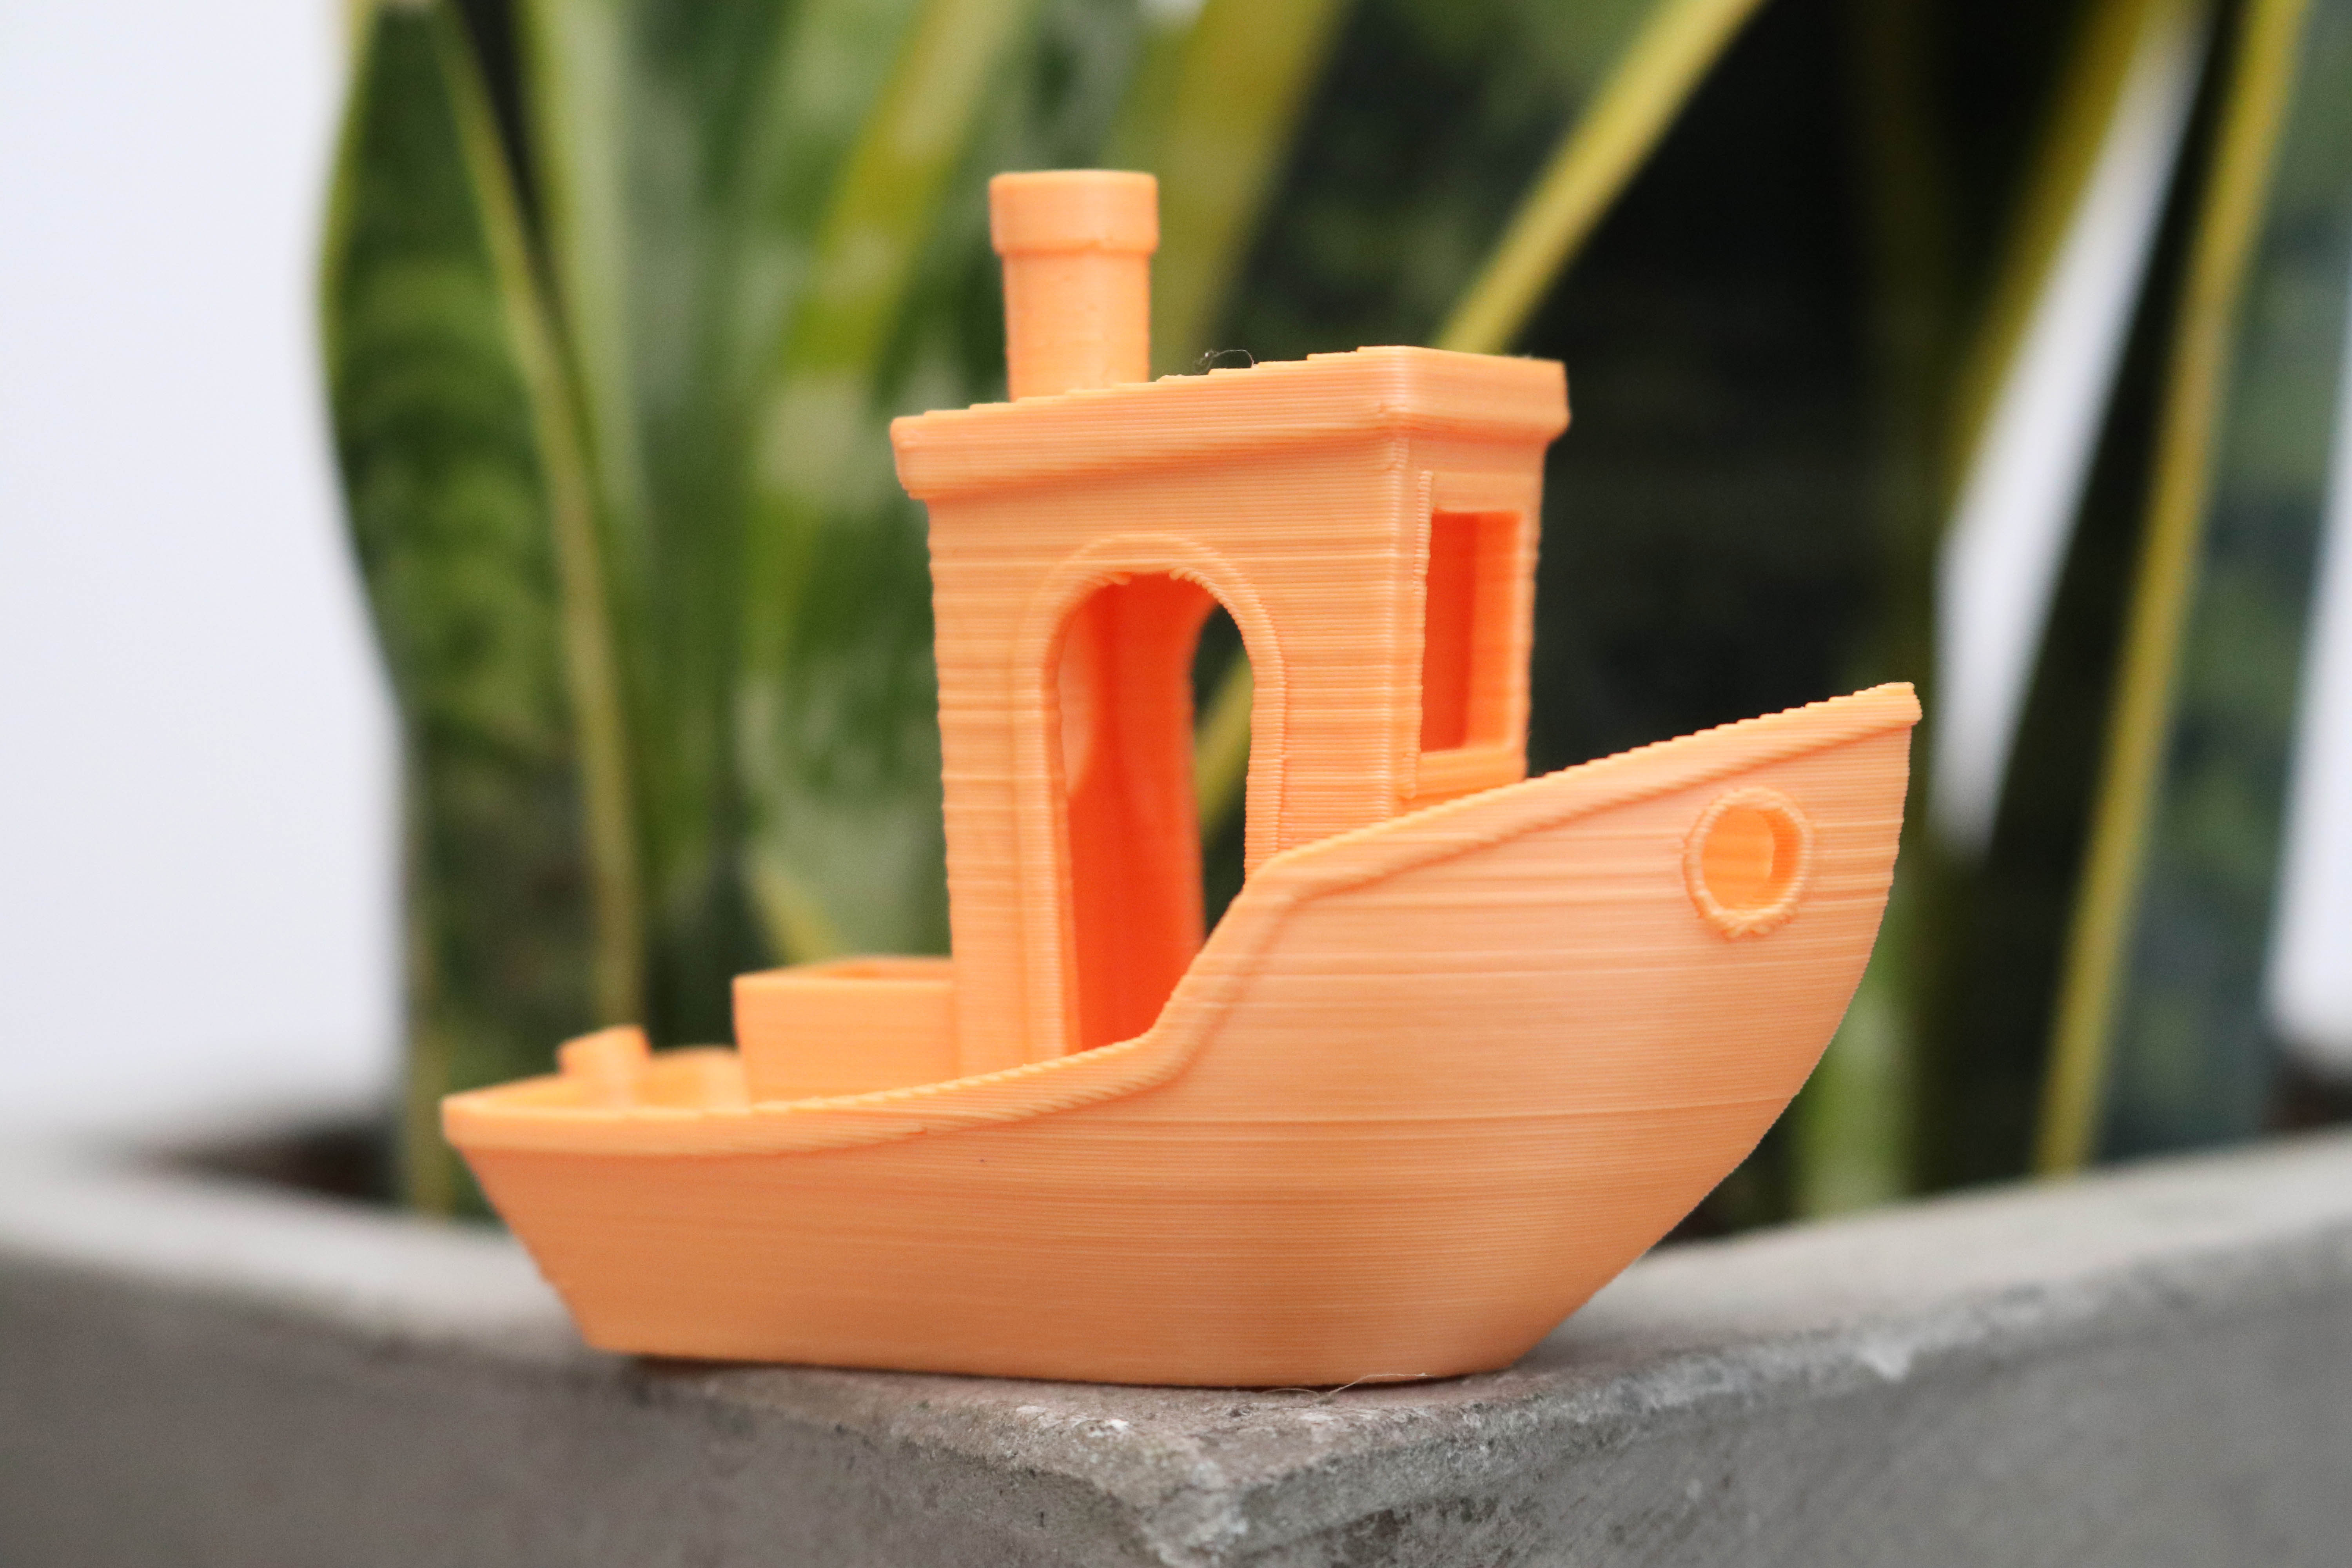
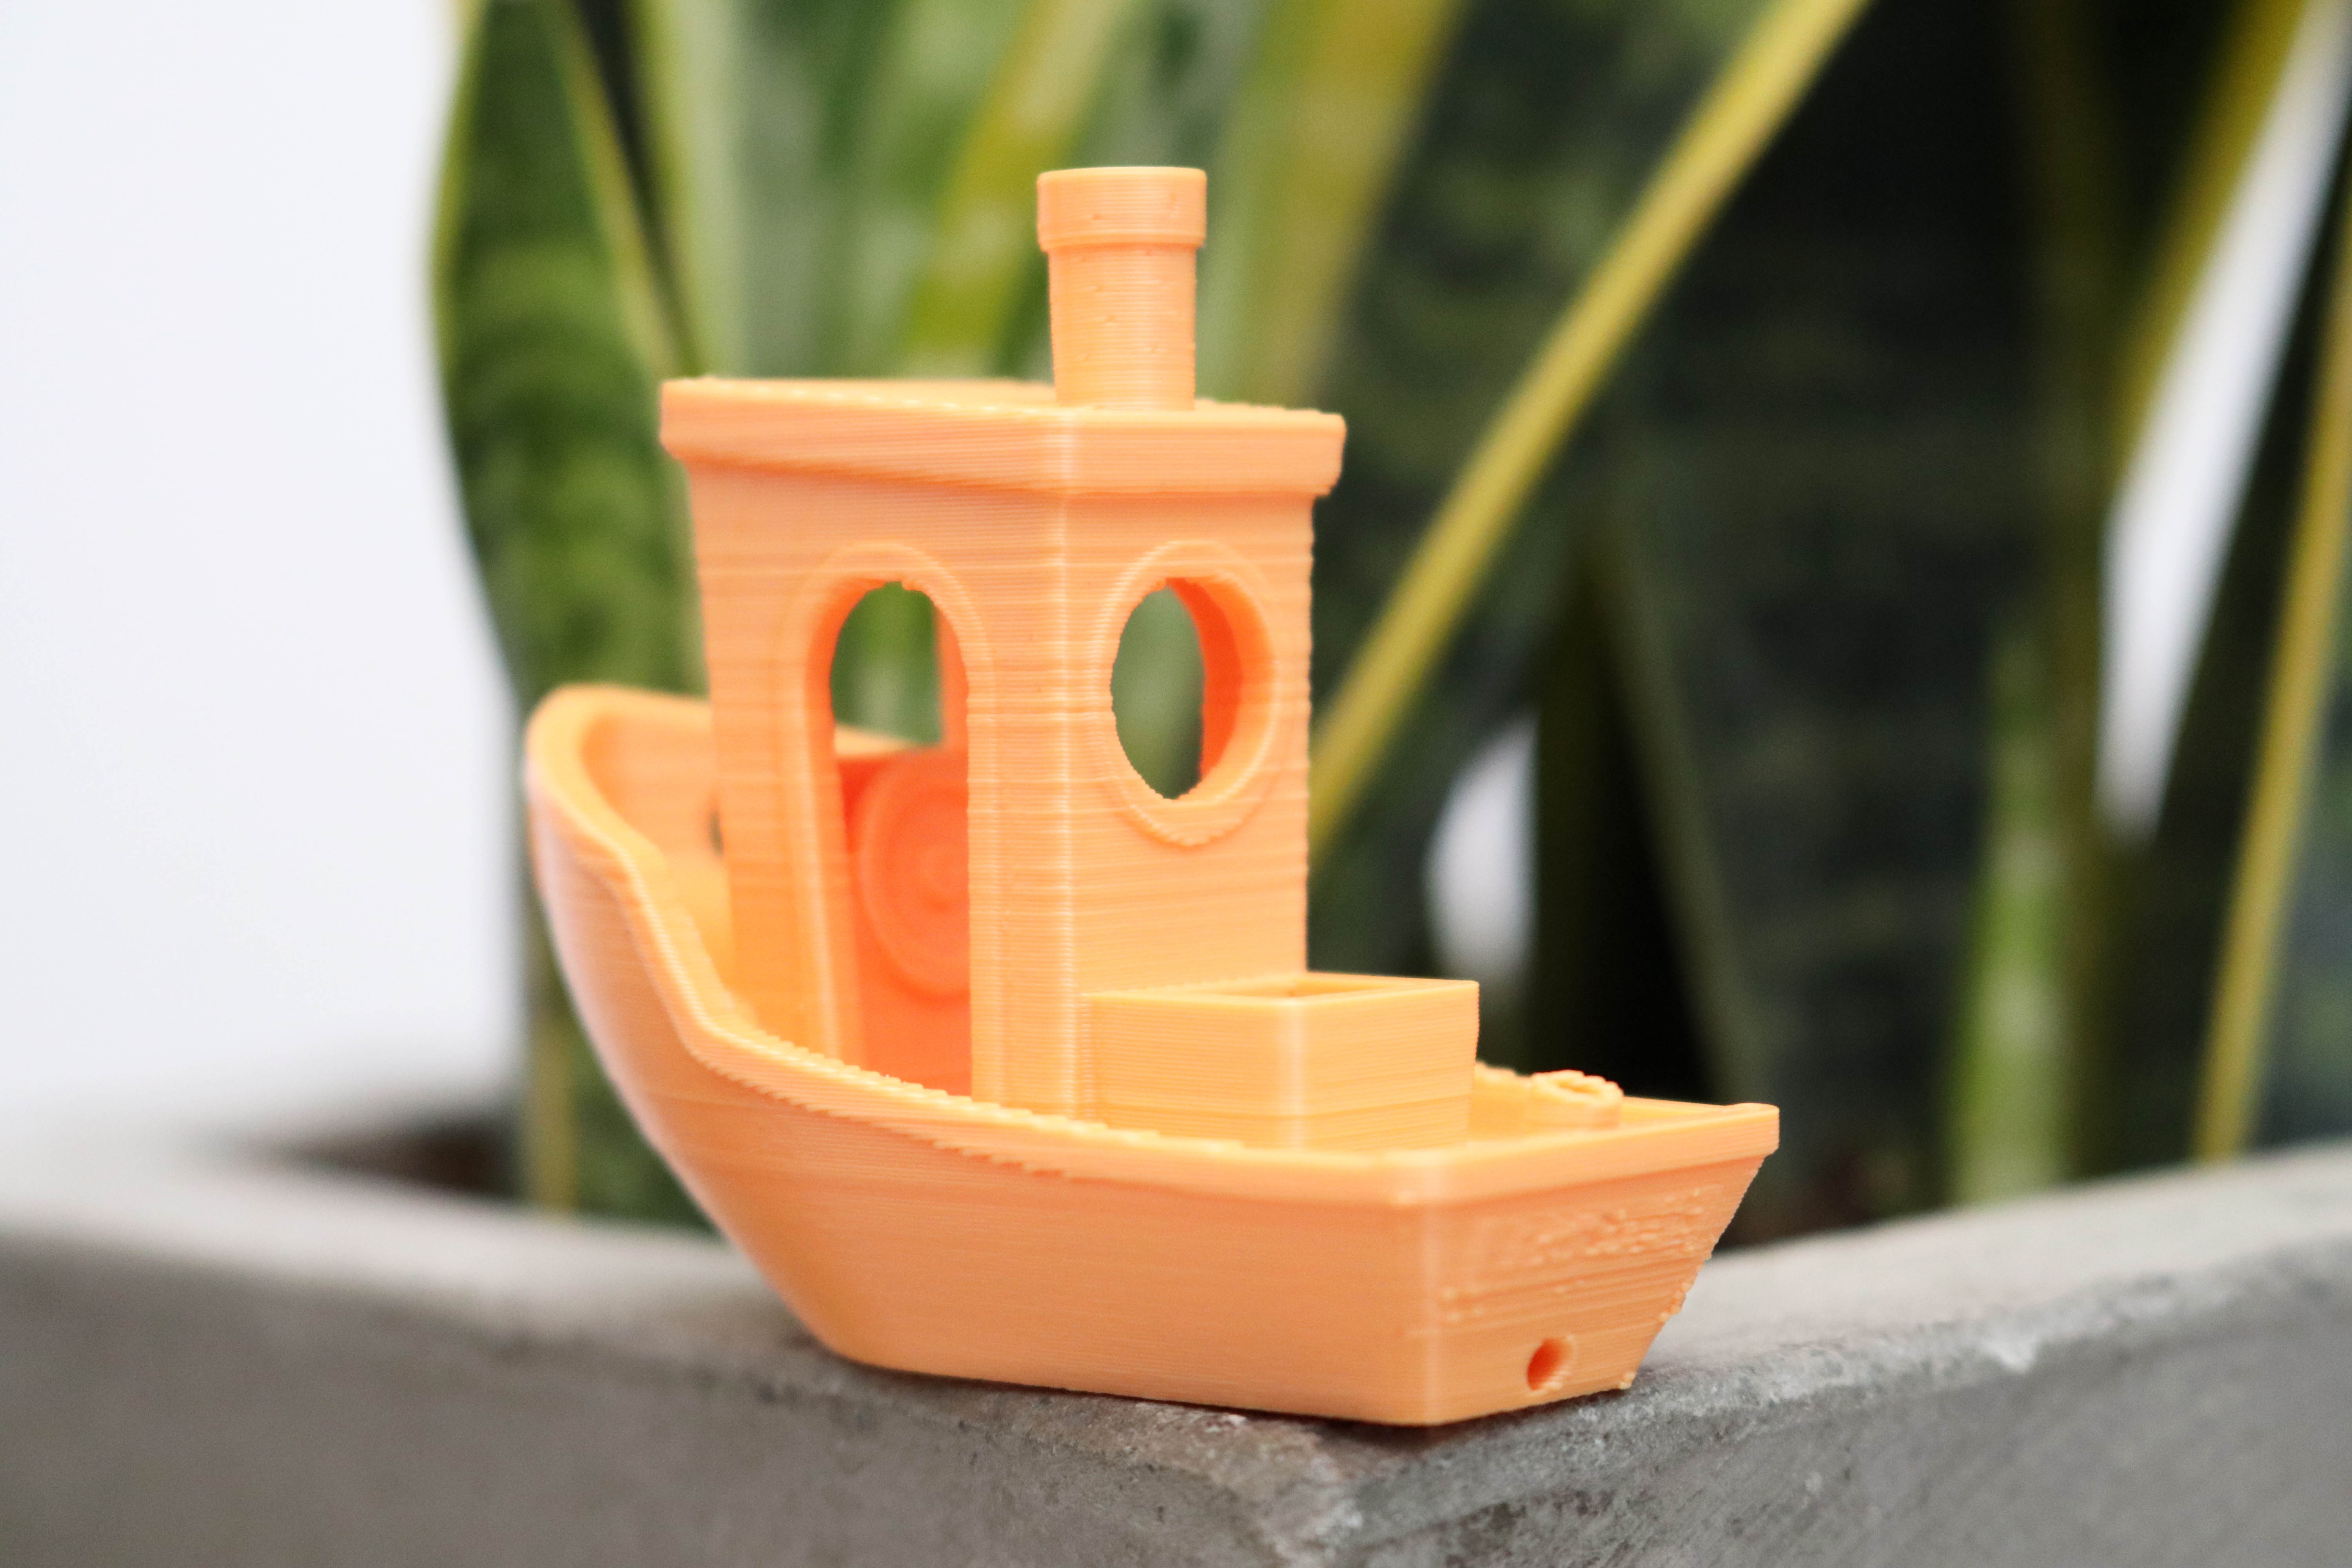
For this review, I used both Creality Slicer as well as PrusaSlicer to print a model and used the default settings at .2mm layer height for both to directly compare them.The model I used is the Benchy, a common benchmarking test used for this style of 3D printer that offers an insight into the performance of the printer when making difficult-to-produce geometry.
Creality Slicer Settings on the Ender 3 Pro
| Profile | Fast (0.2mm) | Row 0 - Cell 2 |
| Material | Common PLA | Row 1 - Cell 2 |
| Platform Adhesion | None | Row 2 - Cell 2 |
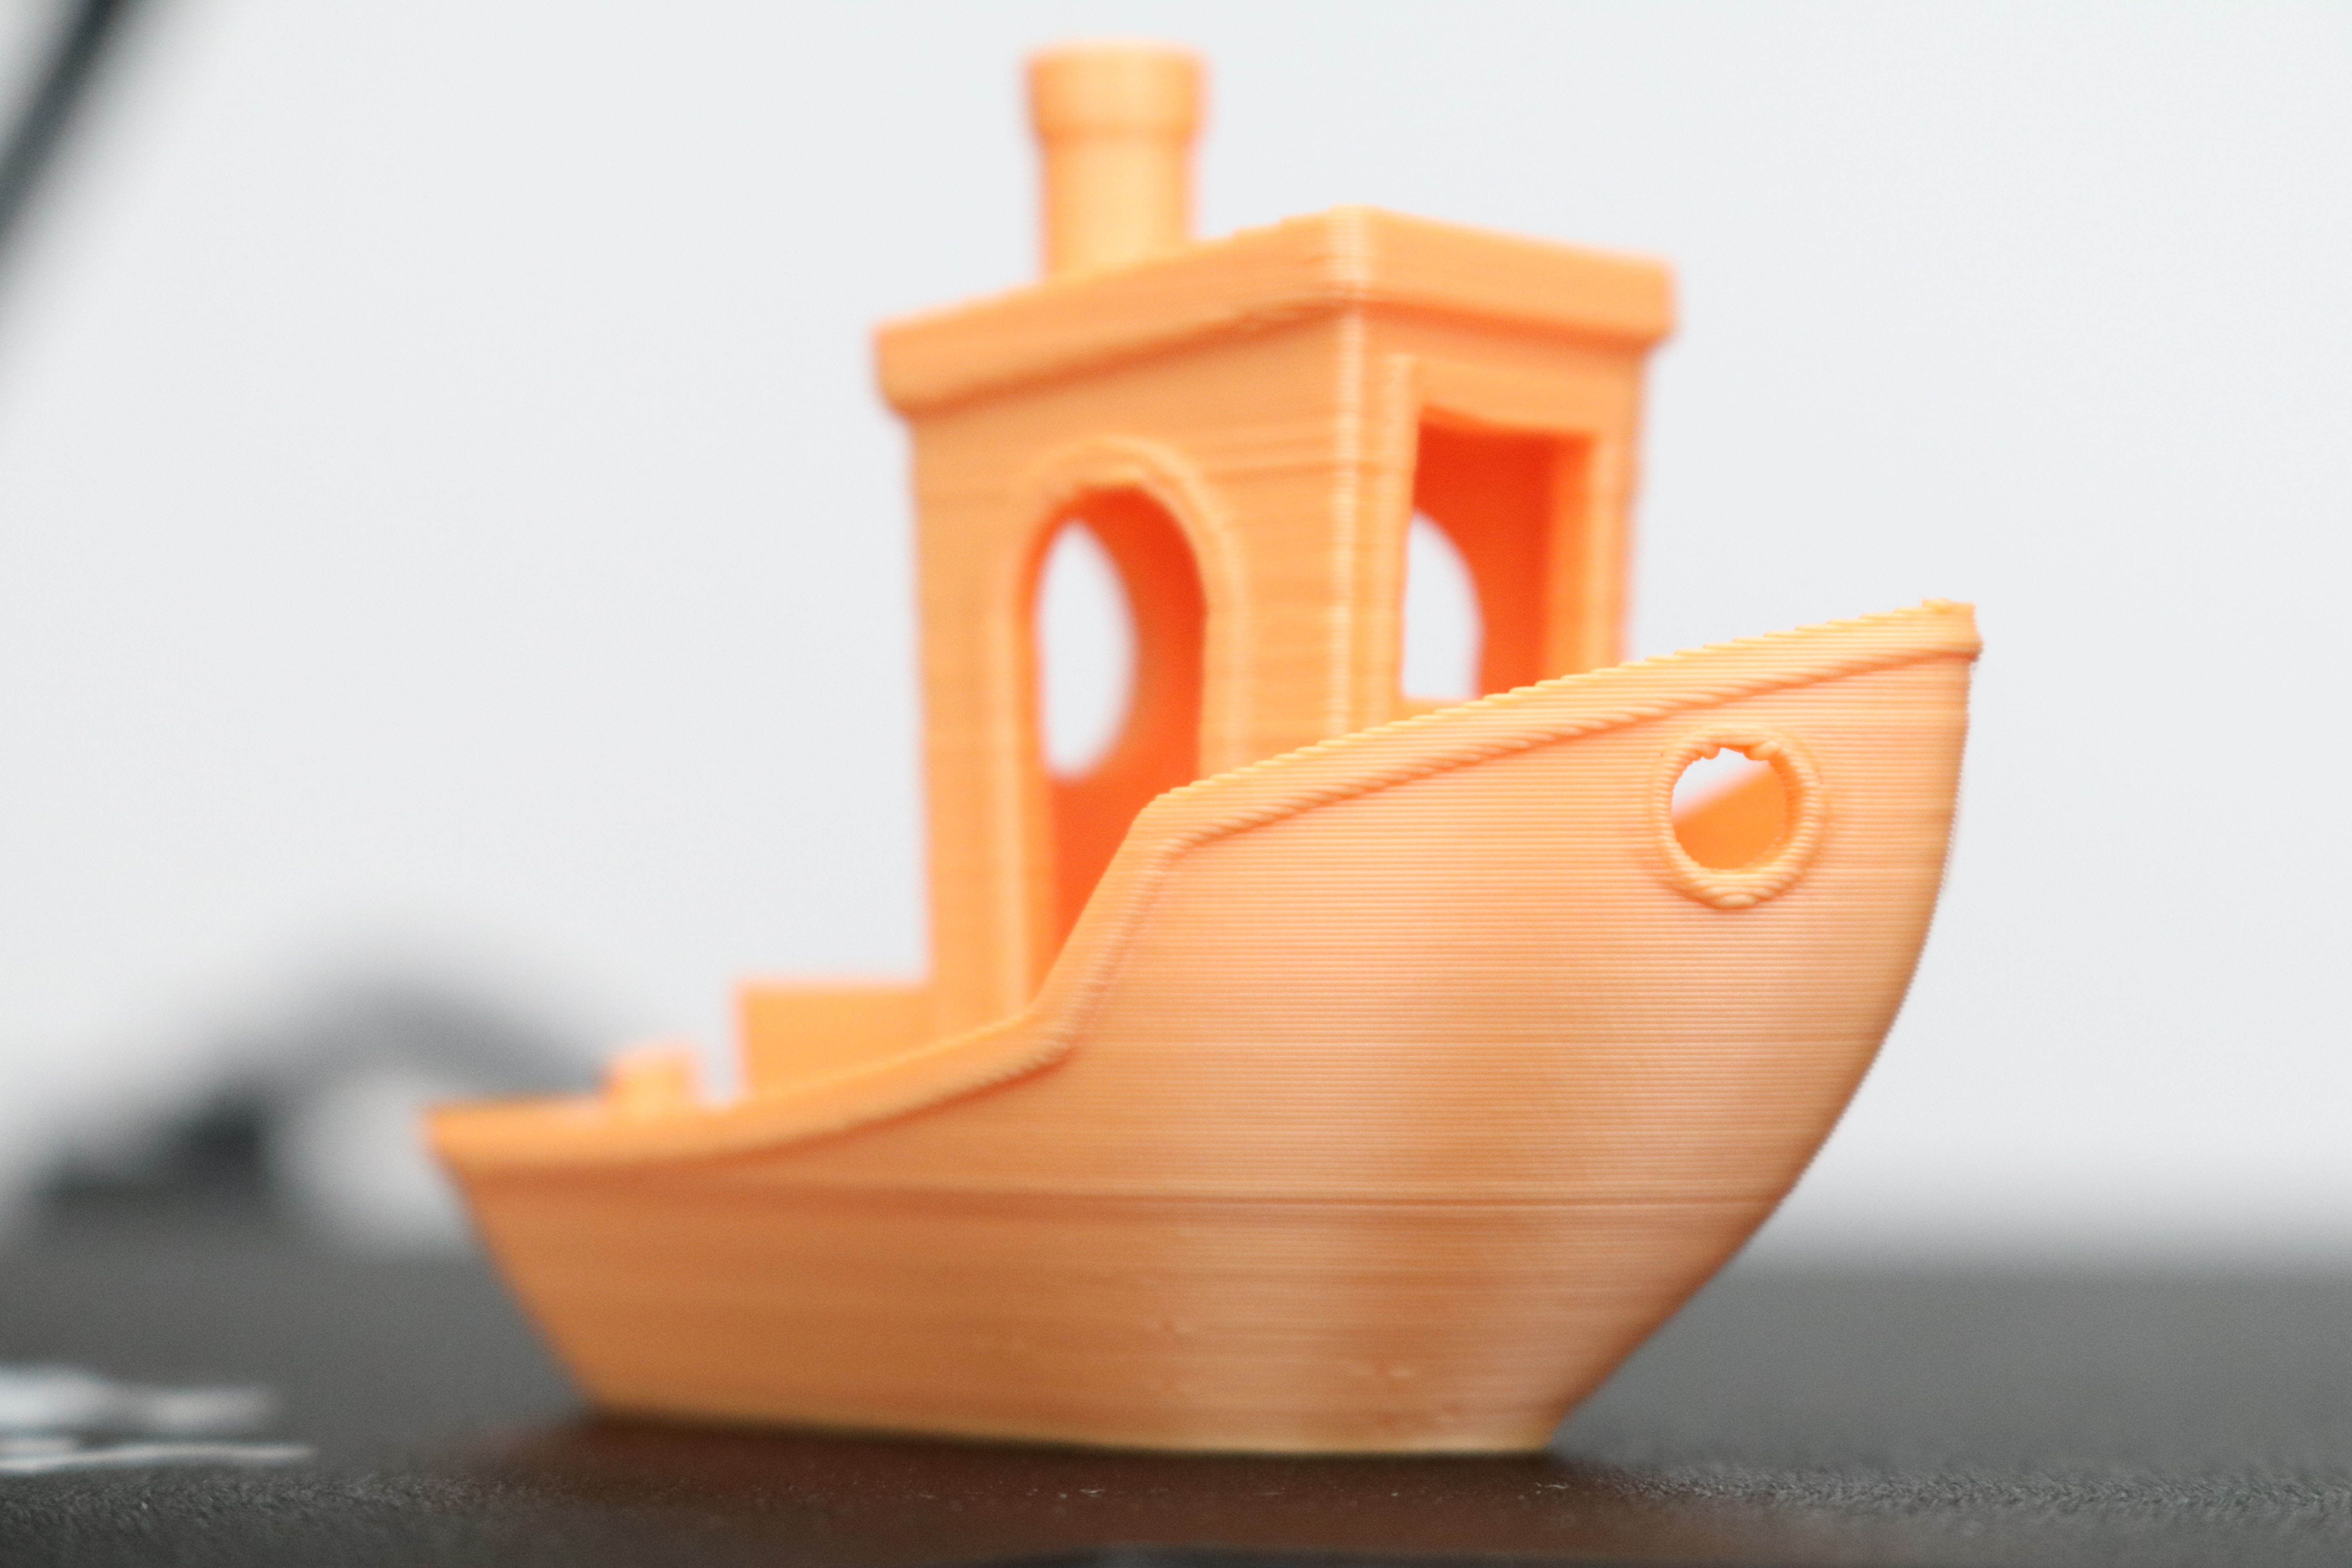
I used the default ‘Fast’ profile for the Ender 3 Pro built into Creality Slicer to test out the printer and see how much detail it was able to produce. The model printed with no major visible defects, save for the infamous ‘hull line’ which typically occurs when the printer transitions from sparsely filled layers to solid layers.
The layers laminated evenly, and I only saw a few visible bumps caused by the start and stop point of each toolpath on the outermost contour. For a part printed with no changes to the software, I was satisfied with the overall quality of the Benchy.
PrusaSlicer Settings on the Ender 3 Pro
| Layer Height | 0.2 mm |
| Infill Percentage | 20% |
| Print Speed | 40mm/second |
| Extruder Temperature | 205 degrees Celsius (401 degrees Fahrenheit) |
| Heated Bed Temp | 60 degrees Celsius (140 degrees Fahrenheit) |
I ran the same test print using PrusaSlicer, another common slicer program that also includes a native printer profile for the Ender 3 Pro. In addition to the hull line artifact, this print also showed some banding towards the top of the print and seemed to lack a bit of the detail present in the model sliced with Creality Slicer.
This print wasn’t quite where I would like to see a benchmark print, and some optimization of the software (print speed, retraction settings, etc.) would likely be required to get this part to an acceptable level of quality. I’ve printed this part using similar settings on the Prusa MK3S using the same material in the past, and the quality is much higher than what I saw here. While the Prusa MK3S is a more expensive machine, I was still surprised to see this much of a difference in a test part using the same software.
Printing a second test print on the Creality Ender 3 Pro
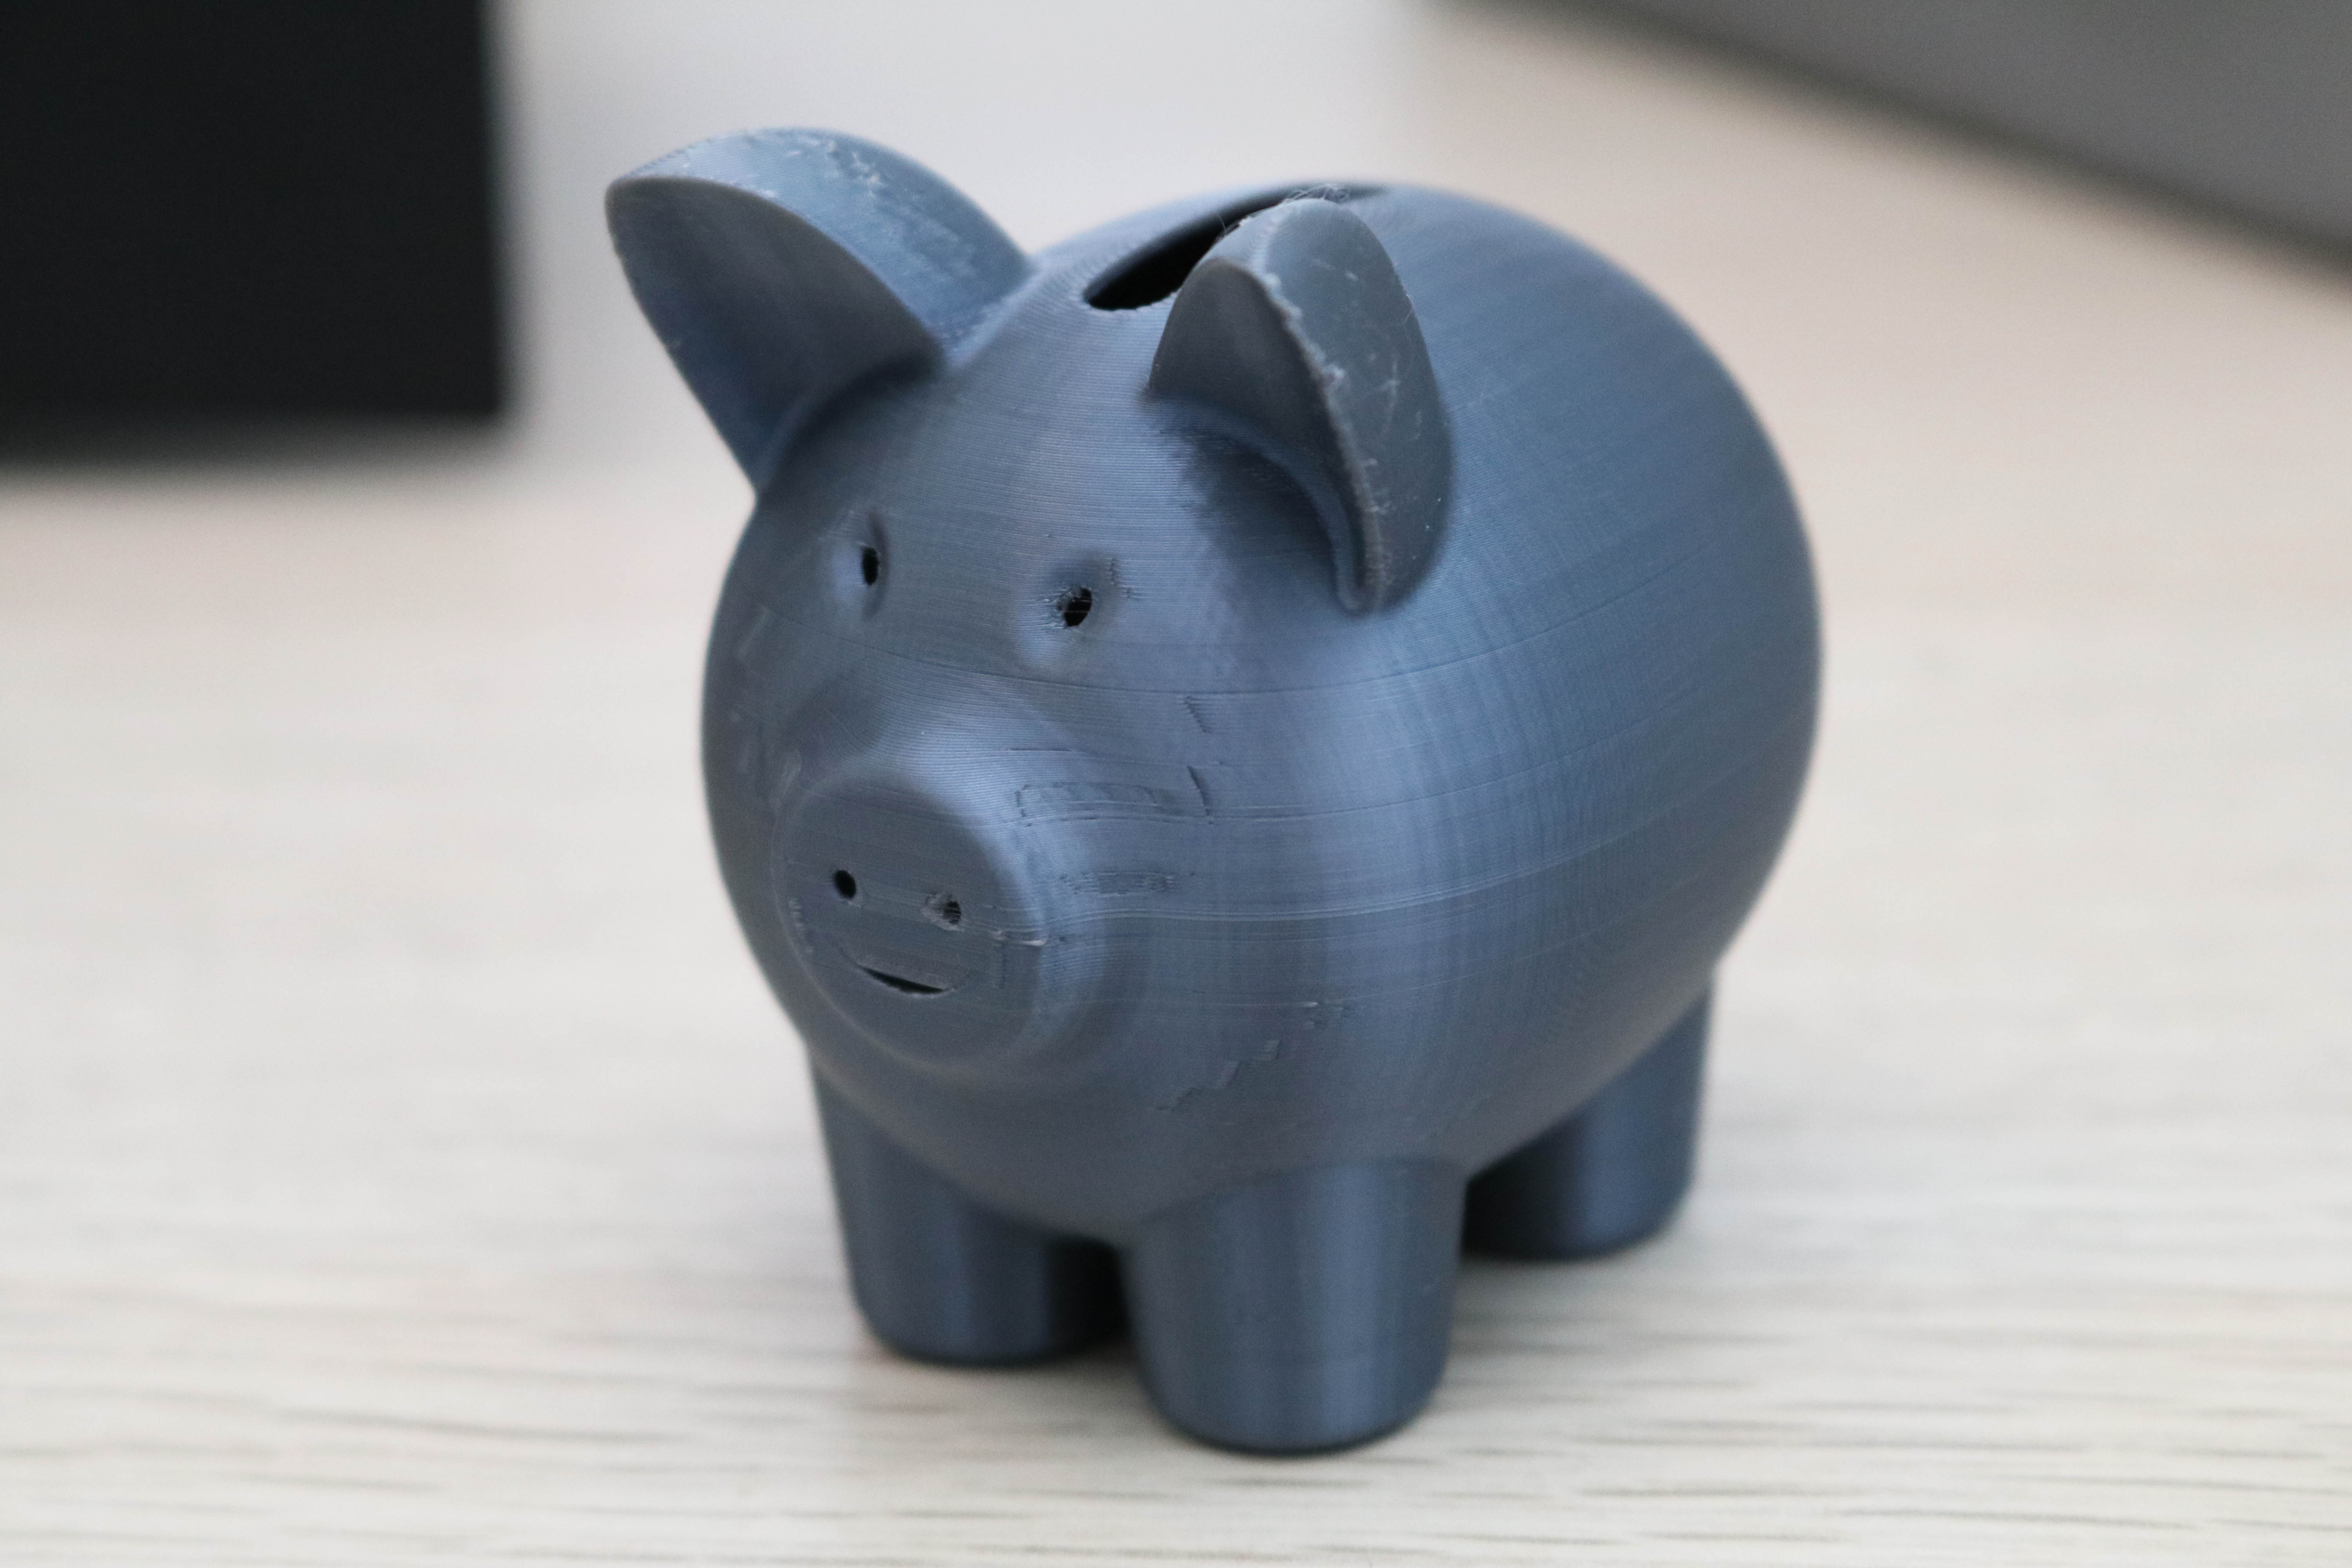
I was curious about the amount of banding present in the model printed with PrusaSlicer, so I decided to re-run another one of the pre-prepared files from the SD card to confirm the problem wasn’t being caused by a hardware issue. I ran the piggy bank test part, and it came out without any of the visible banding that I noticed on the model sliced with PrusaSlicer. The vertical walls were smooth and even, and the model seemed to be clear of any major defects.
The PrusaSlicer profile, while a good starting point for this printer, clearly requires a bit of calibration to get the best results. I’ve found that reducing print speed is typically a quick way to troubleshoot and can have a major impact on the overall quality of the part, and that may be a setting worth experimenting with to get the best results.
Adjusting retraction is another important consideration, as the Ender 3 uses a Bowden extruder, which pushes the filament through a long tube before it gets to the hot end. This pushing (and pulling during retraction) can cause defects in the print if not properly calibrated, so this might be worth investigating as well.
Bottom Line
By including Creality Slicer with the Ender 3 Pro, Creality has simplified the printer experience for first-time users who are interested in getting their printer up and running without spending a lot of time experimenting with third party software. I was impressed with how easy the Creality Slicer software was to install and use with the Ender 3 Pro, because most other manufacturers with printers in this price range ship without first-party software. The basic settings to create a print are brought to the front of the app and the included “expert” mode will let you adjust settings as you become more comfortable with the printer.
Whether you are a beginner interested in building your very first printer or an experienced entrepreneur looking to create a print farm to produce 3D printed products, the Creality Ender 3 has a lot to offer with only a few notable drawbacks. The noise produced by the Ender 3 Pro while printing is definitely a downer for anyone living in a studio apartment, and the lack of an enclosure to retain heat should be considered by anyone interested in printing with a higher-temperature material like ABS or Polycarbonate. Creality also offers the Ender 3 Pro V2 ($279 on Amazon), which features silent stepper drivers and a more modern interface at a slightly higher cost.
Other printers in this price range, such as the Anet ET4X ($199 on Amazon), offer similar features and specifications, but the removable textured build platform and the fast-heating 350W power supply on the Ender 3 Pro make it an easy choice for anyone looking for a user-friendly machine. In addition, the open-source Ender 3 Pro has a large and robust user base and multiple online communities dedicated to modifying and experimenting with their Creality machines.
It’s clear that Ender 3 Pro has a lot to offer anyone who is interested in 3D printing. It’s an excellent first printer for a beginner or an additional machine for the experienced hobbyist.
MORE: Best 3D Printers
MORE: Best Budget 3D Printers
MORE: Best Resin 3D Printers

Andrew Sink first used a 3D printer in 2012, and has been enthusiastically involved in the 3D printing industry ever since. Having printed everything from a scan of his own brain to a peanut butter and jelly sandwich, he continues to dive ever more deeply into the endless applications of additive technology. He is always working on new experiments, designs, and reviews and sharing his results on Tom's Hardware, YouTube, and more.
-
drivinfast247 I have two of them, highly modified of course, and they're great machines!Reply
They are great out of the box but a $40, 32bit silent board is a great upgrade. -
dmoojunk Be very cautious of buying directly. Customer service is very poor, buy with a credit card for dispute resolution and ideally from a local reseller to avoid having to deal with them if problems arise.Reply
