Tom's Hardware Verdict
The sublime RGB LEDs are the stars of the show, but the whole package is close to perfect. Scrolling text, subscriber counts and simple 8-bit games are all possible with this.
Pros
- +
High quality RGB LEDs
- +
Great form factor
- +
Easy to use
- +
Awesome PCB silkscreen
Cons
- -
Only I2C break outs
Why you can trust Tom's Hardware
The Raspberry Pi Pico W disrupted the status quo in mid 2022. For a time we were happy with the Raspberry Pi Pico. For $4 it brought a lot of computing power but it lacked something that ESP32 and ESP8266 owners had, Wi-Fi. The Raspberry Pi Pico W’s higher price, $6 versus $4 saw that extra $2 bring Wi-Fi and a lot more opportunities to the tiny microcontroller.
Pimoroni capitalized on the Pico W and released a range of Pico W Aboard products, from tiny sensor platforms to an Inventor’s inspiration. The Pimoroni team also teased a new “Unicorn” board. Pimoroni has a history of releasing Unicorn themed products. The original Unicorn HAT being the first, but the latest is the $50 Galactic Unicorn which sees the Raspberry Pi Pico W powering an incredible 538 RGB LEDs.
But is this Unicorn a one-trick-pony or do we have a thoroughbred on our hands? To learn this we need to saddle up and take it for a test ride.
Galactic Unicorn Hardware Specifications
| SoC | RP2040 Arm Cortex M0+ Dual Core at 133 MHz |
| RAM | 264KB SRAM |
| Storage | 2MB Flash |
| Connectivity | 2.4 GHz Wi-Fi |
| GPIO | 2 x QW/ST Connections (Stemma QT / Qwiic) |
| 583 RGB LEDs (53 x 11 matrix) | |
| MAX98357 3.2W I2S Mono Amplifier (with 30mm 1W speaker) | |
| Phototransistor | |
| 9 x Buttons | |
| Power | Micro USB |
| JST-PH Battery connector (5.5V Max) | |
| Dimensions | 330 x 78 x 10.3 mm |
Using Galactic Unicorn
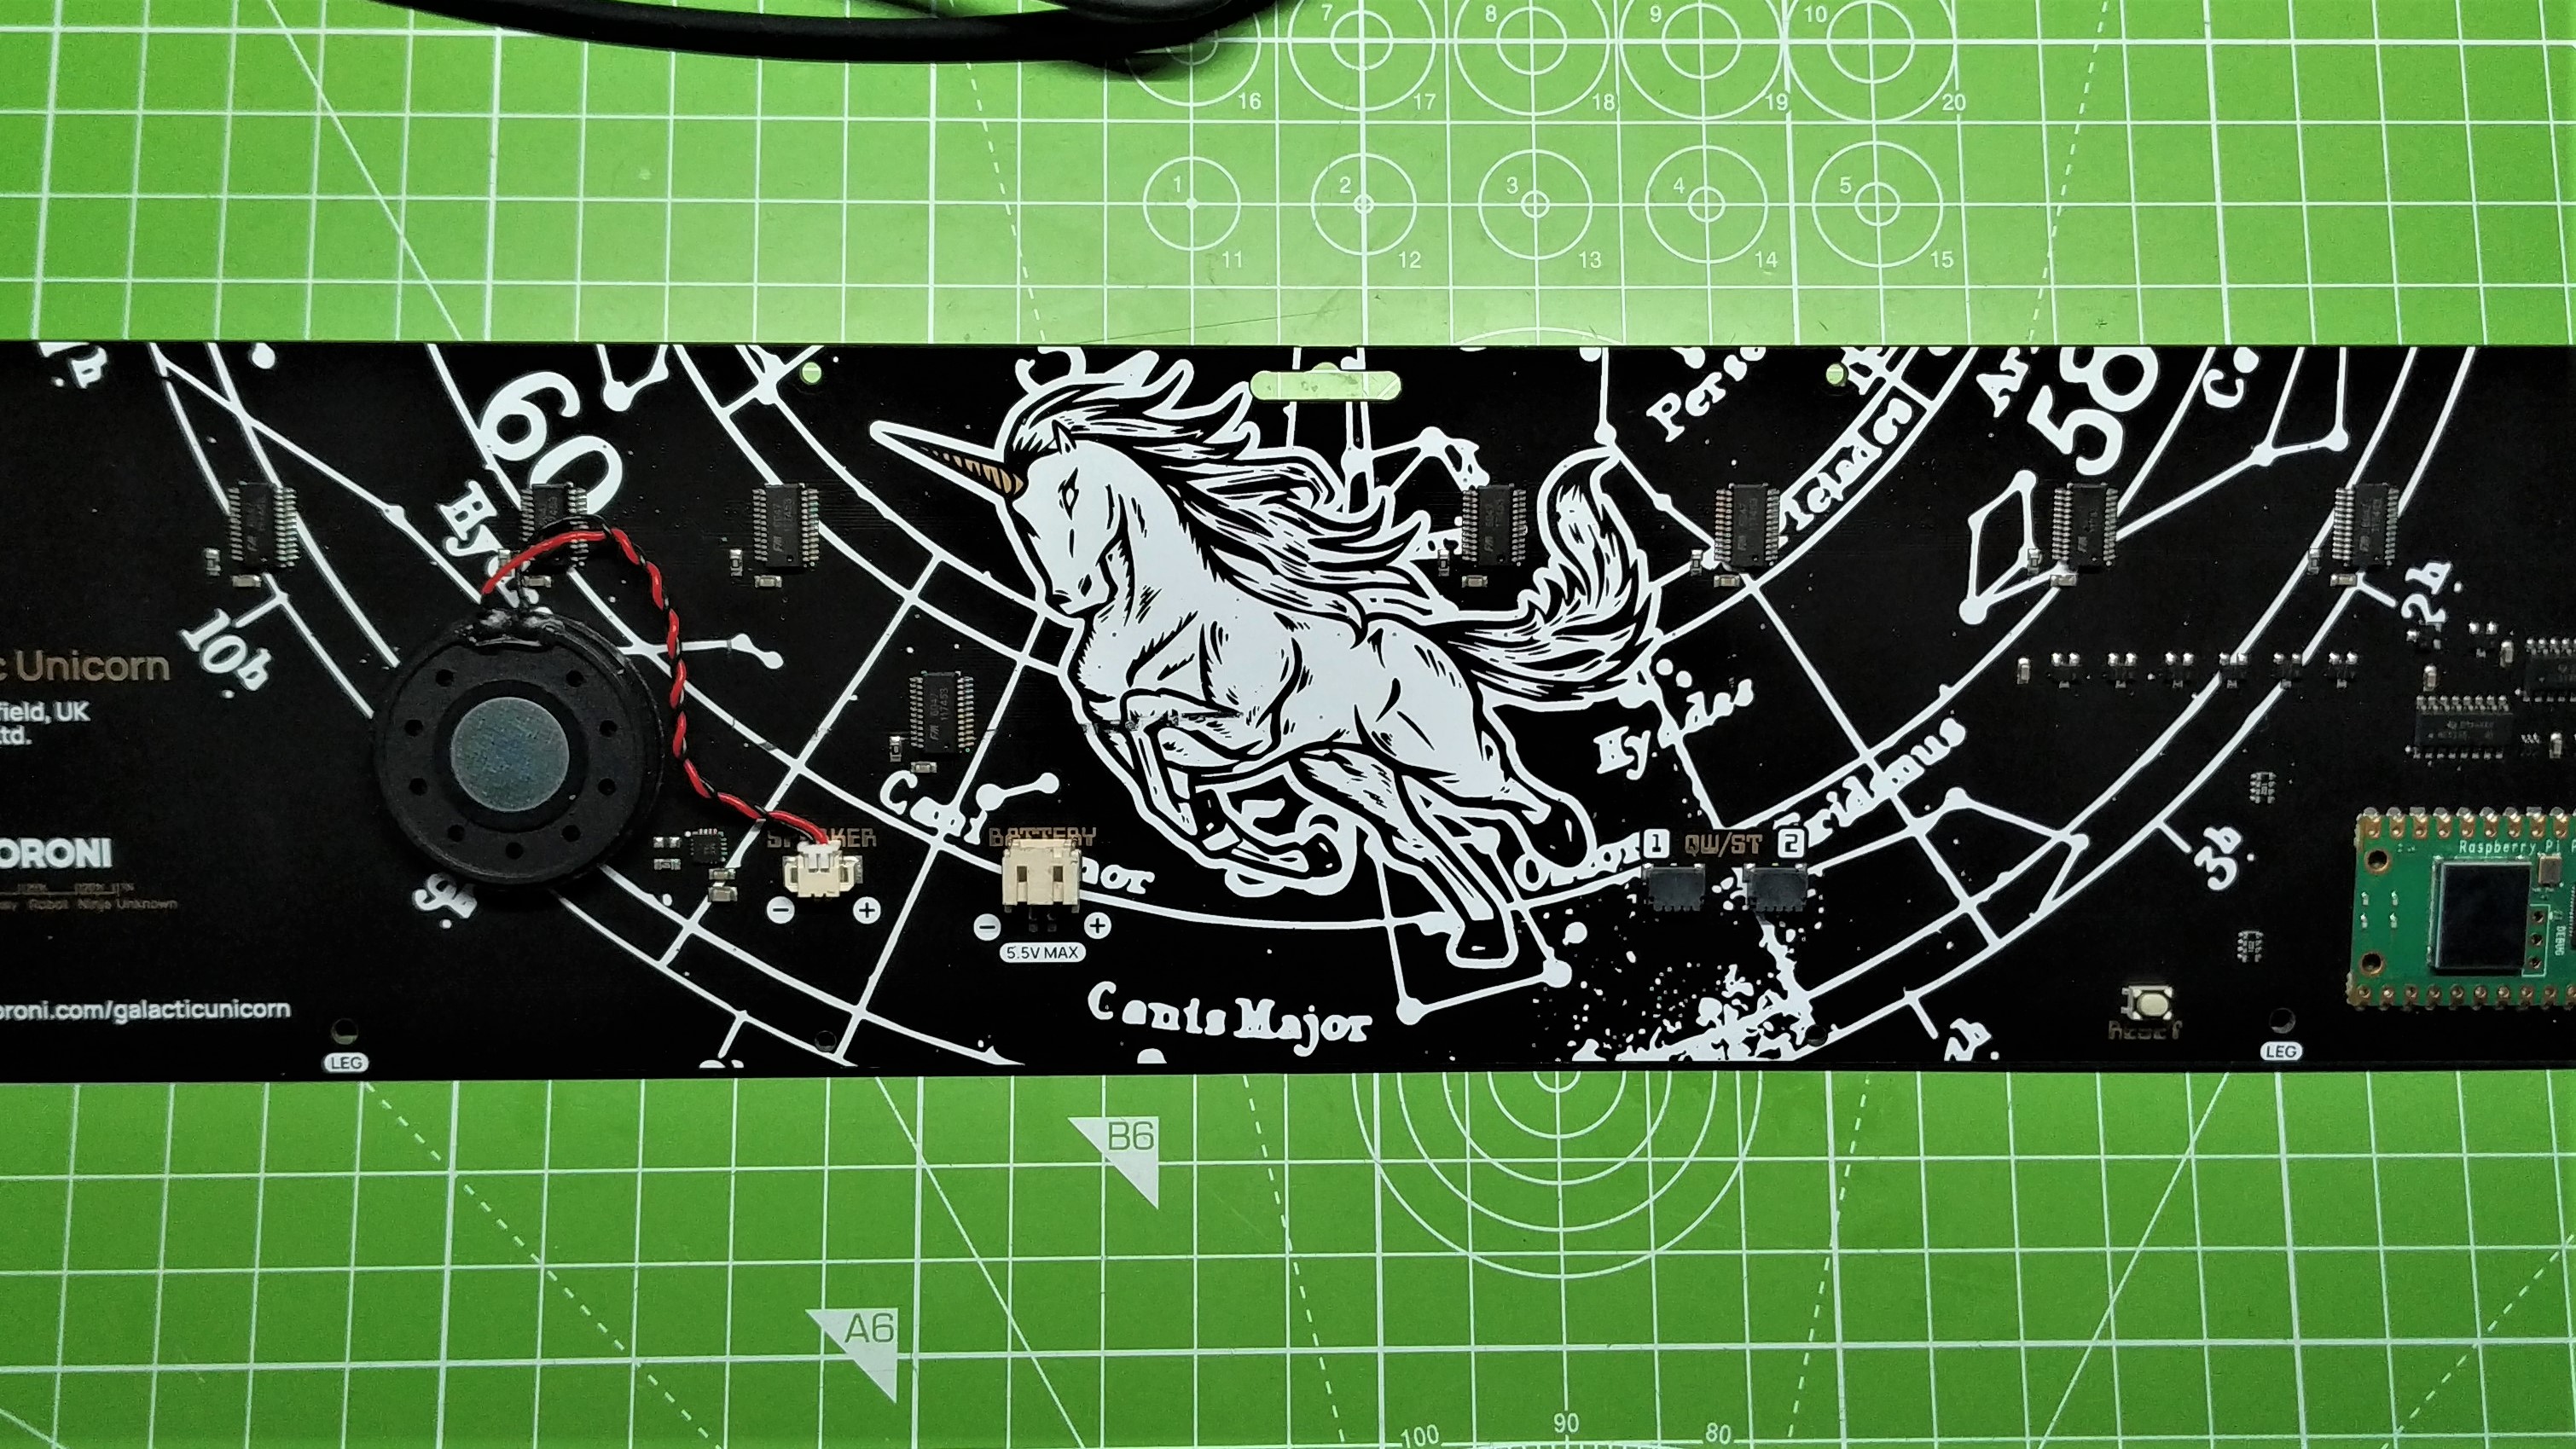
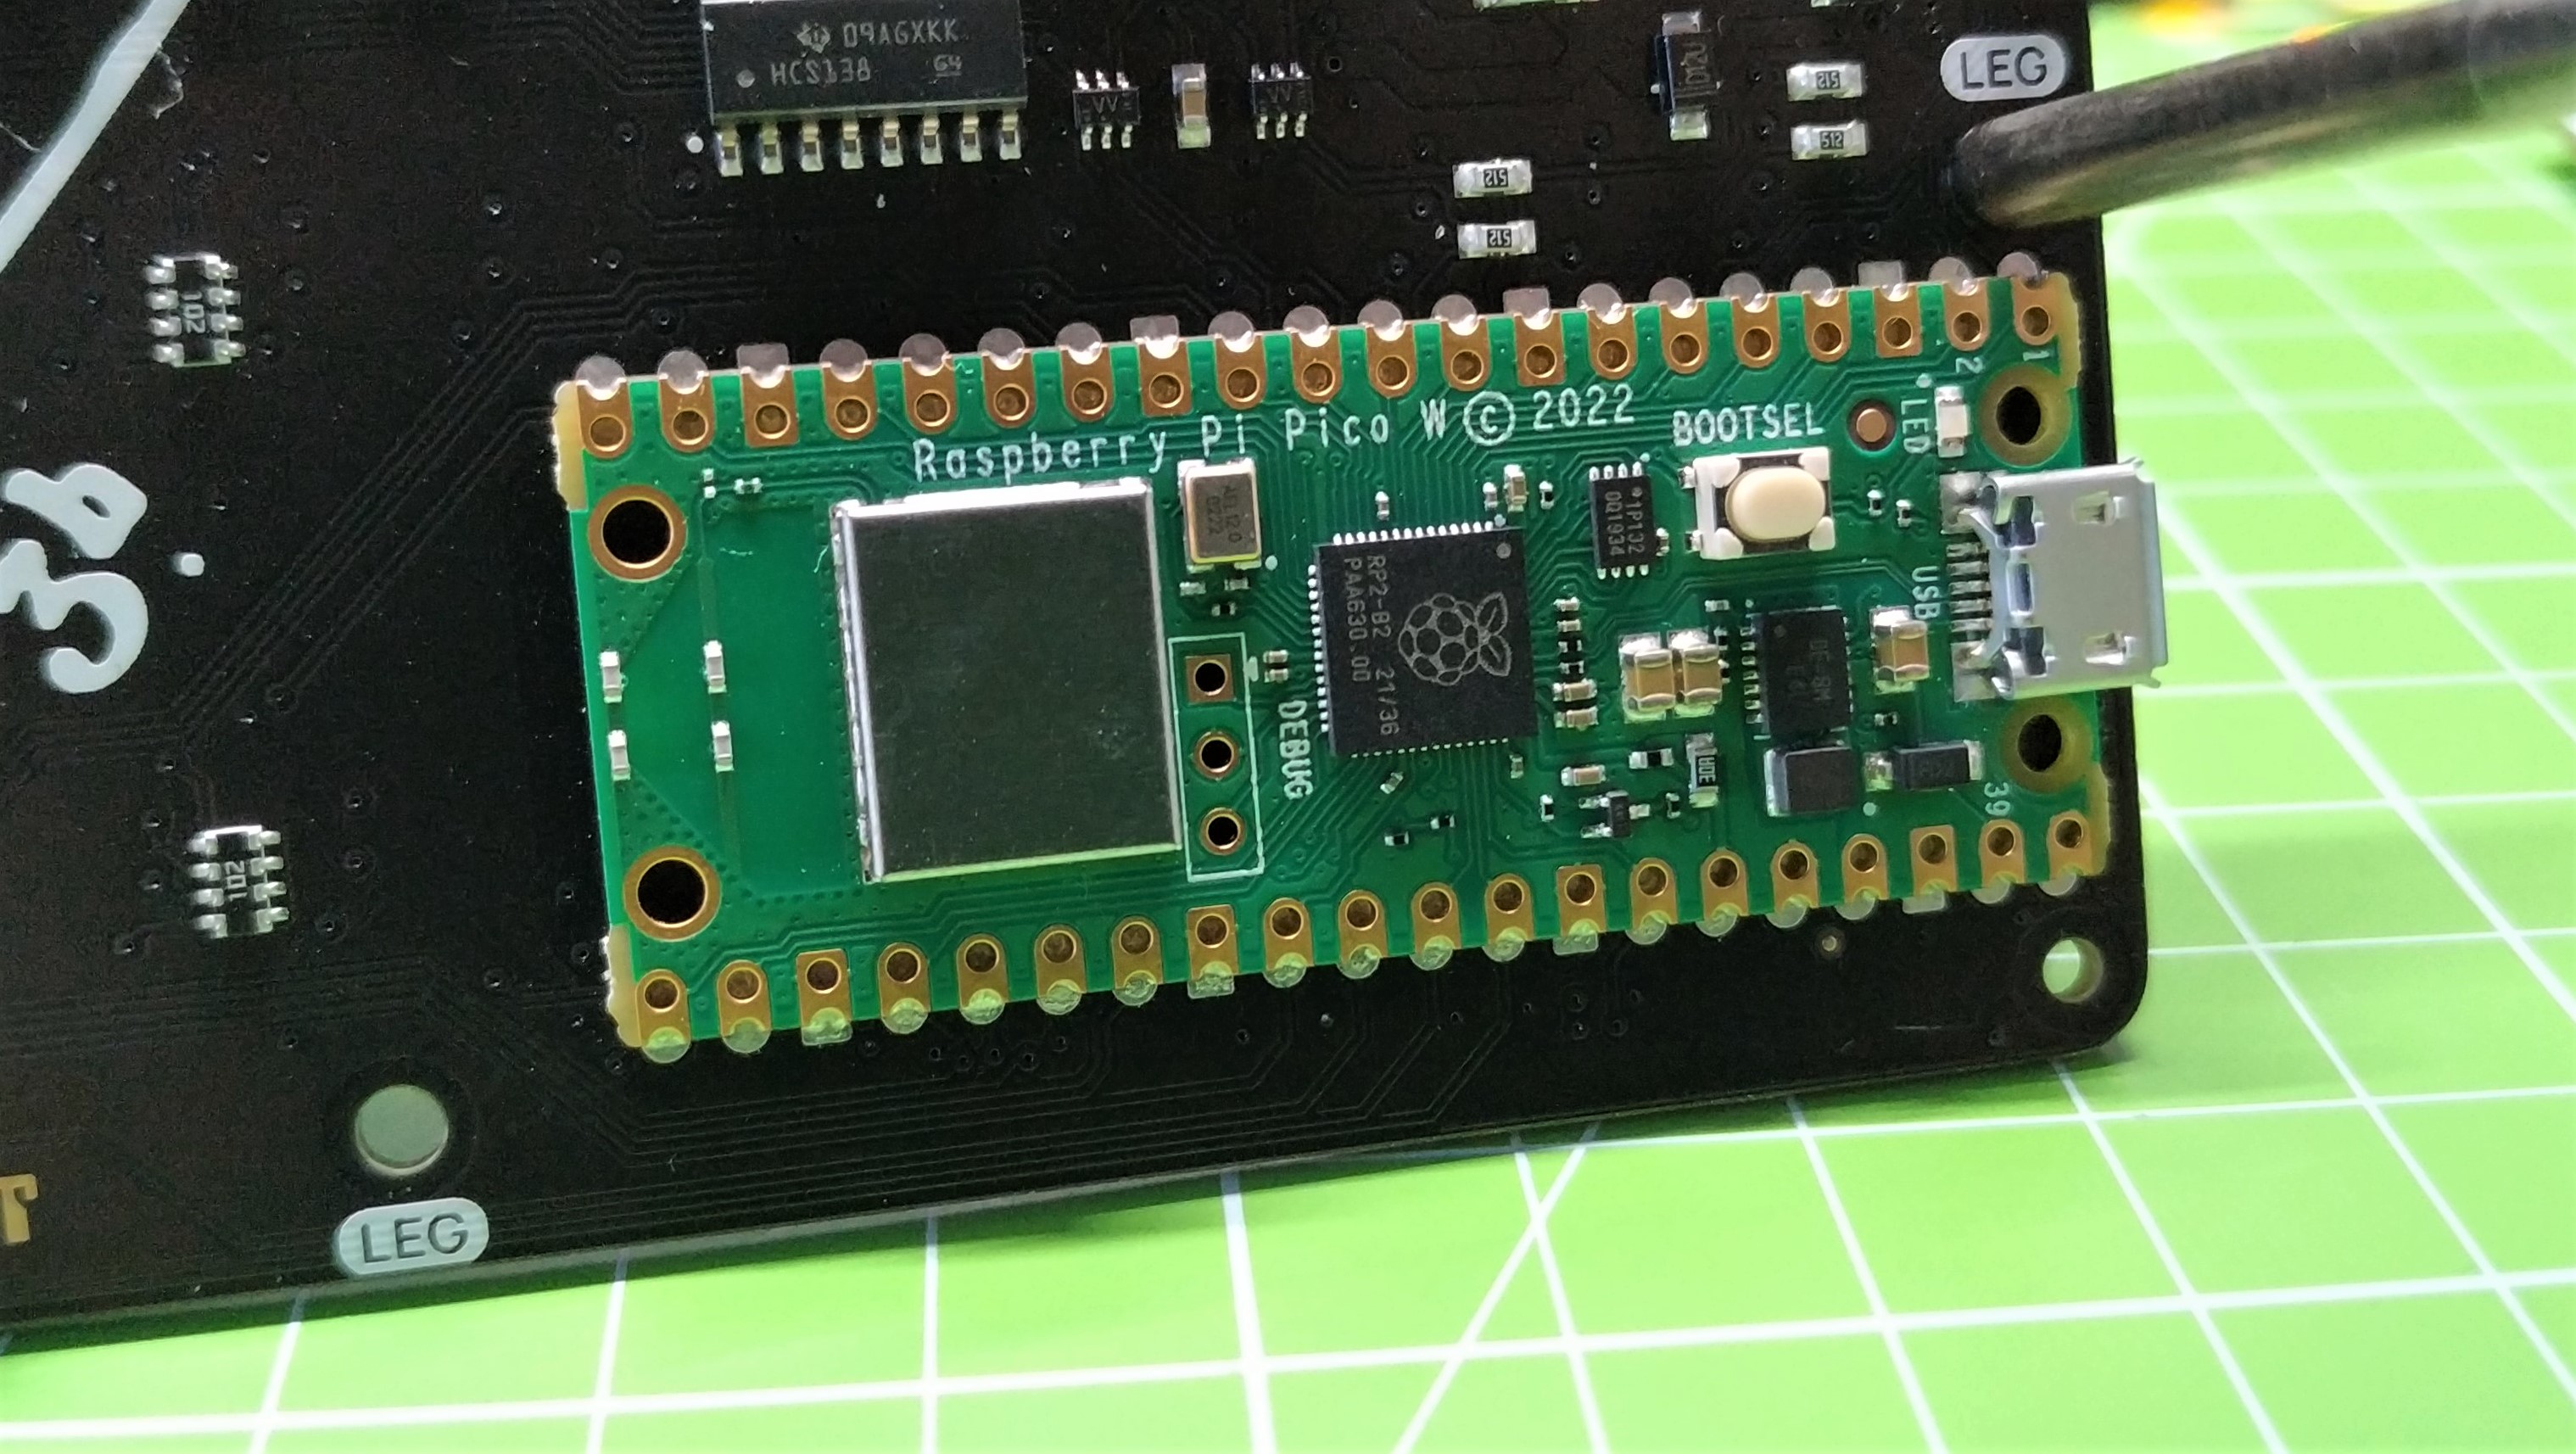
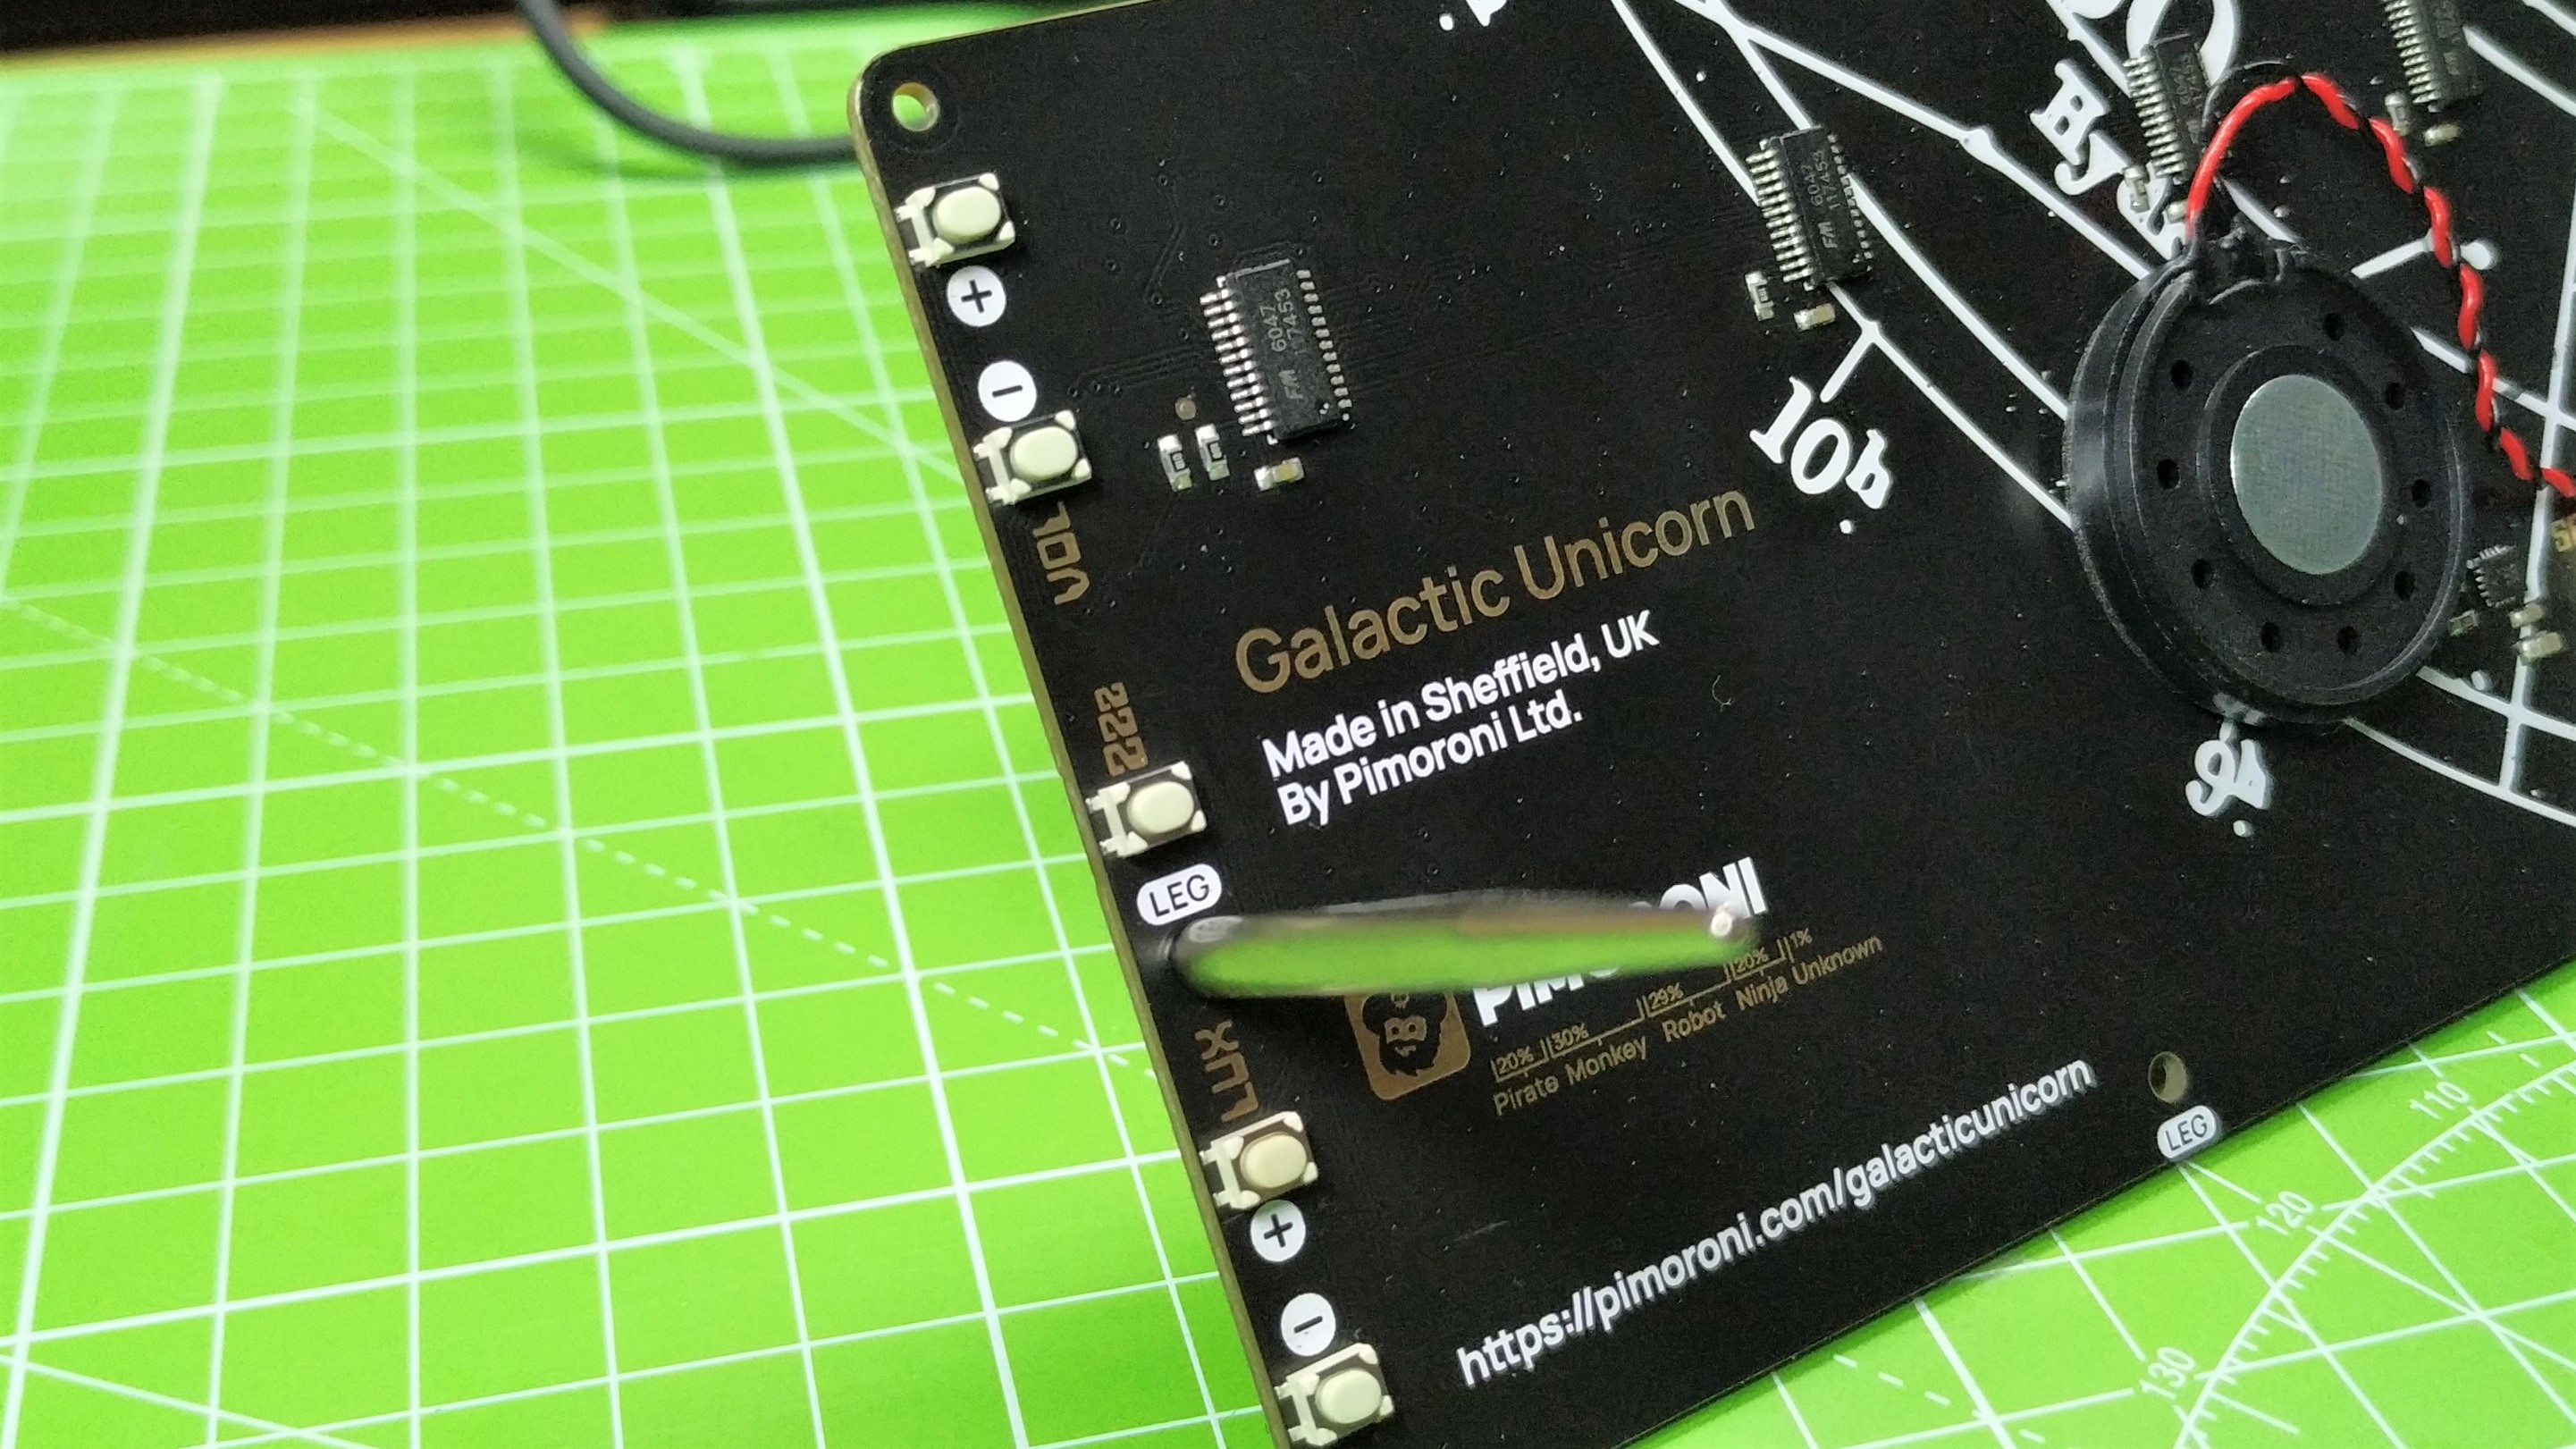
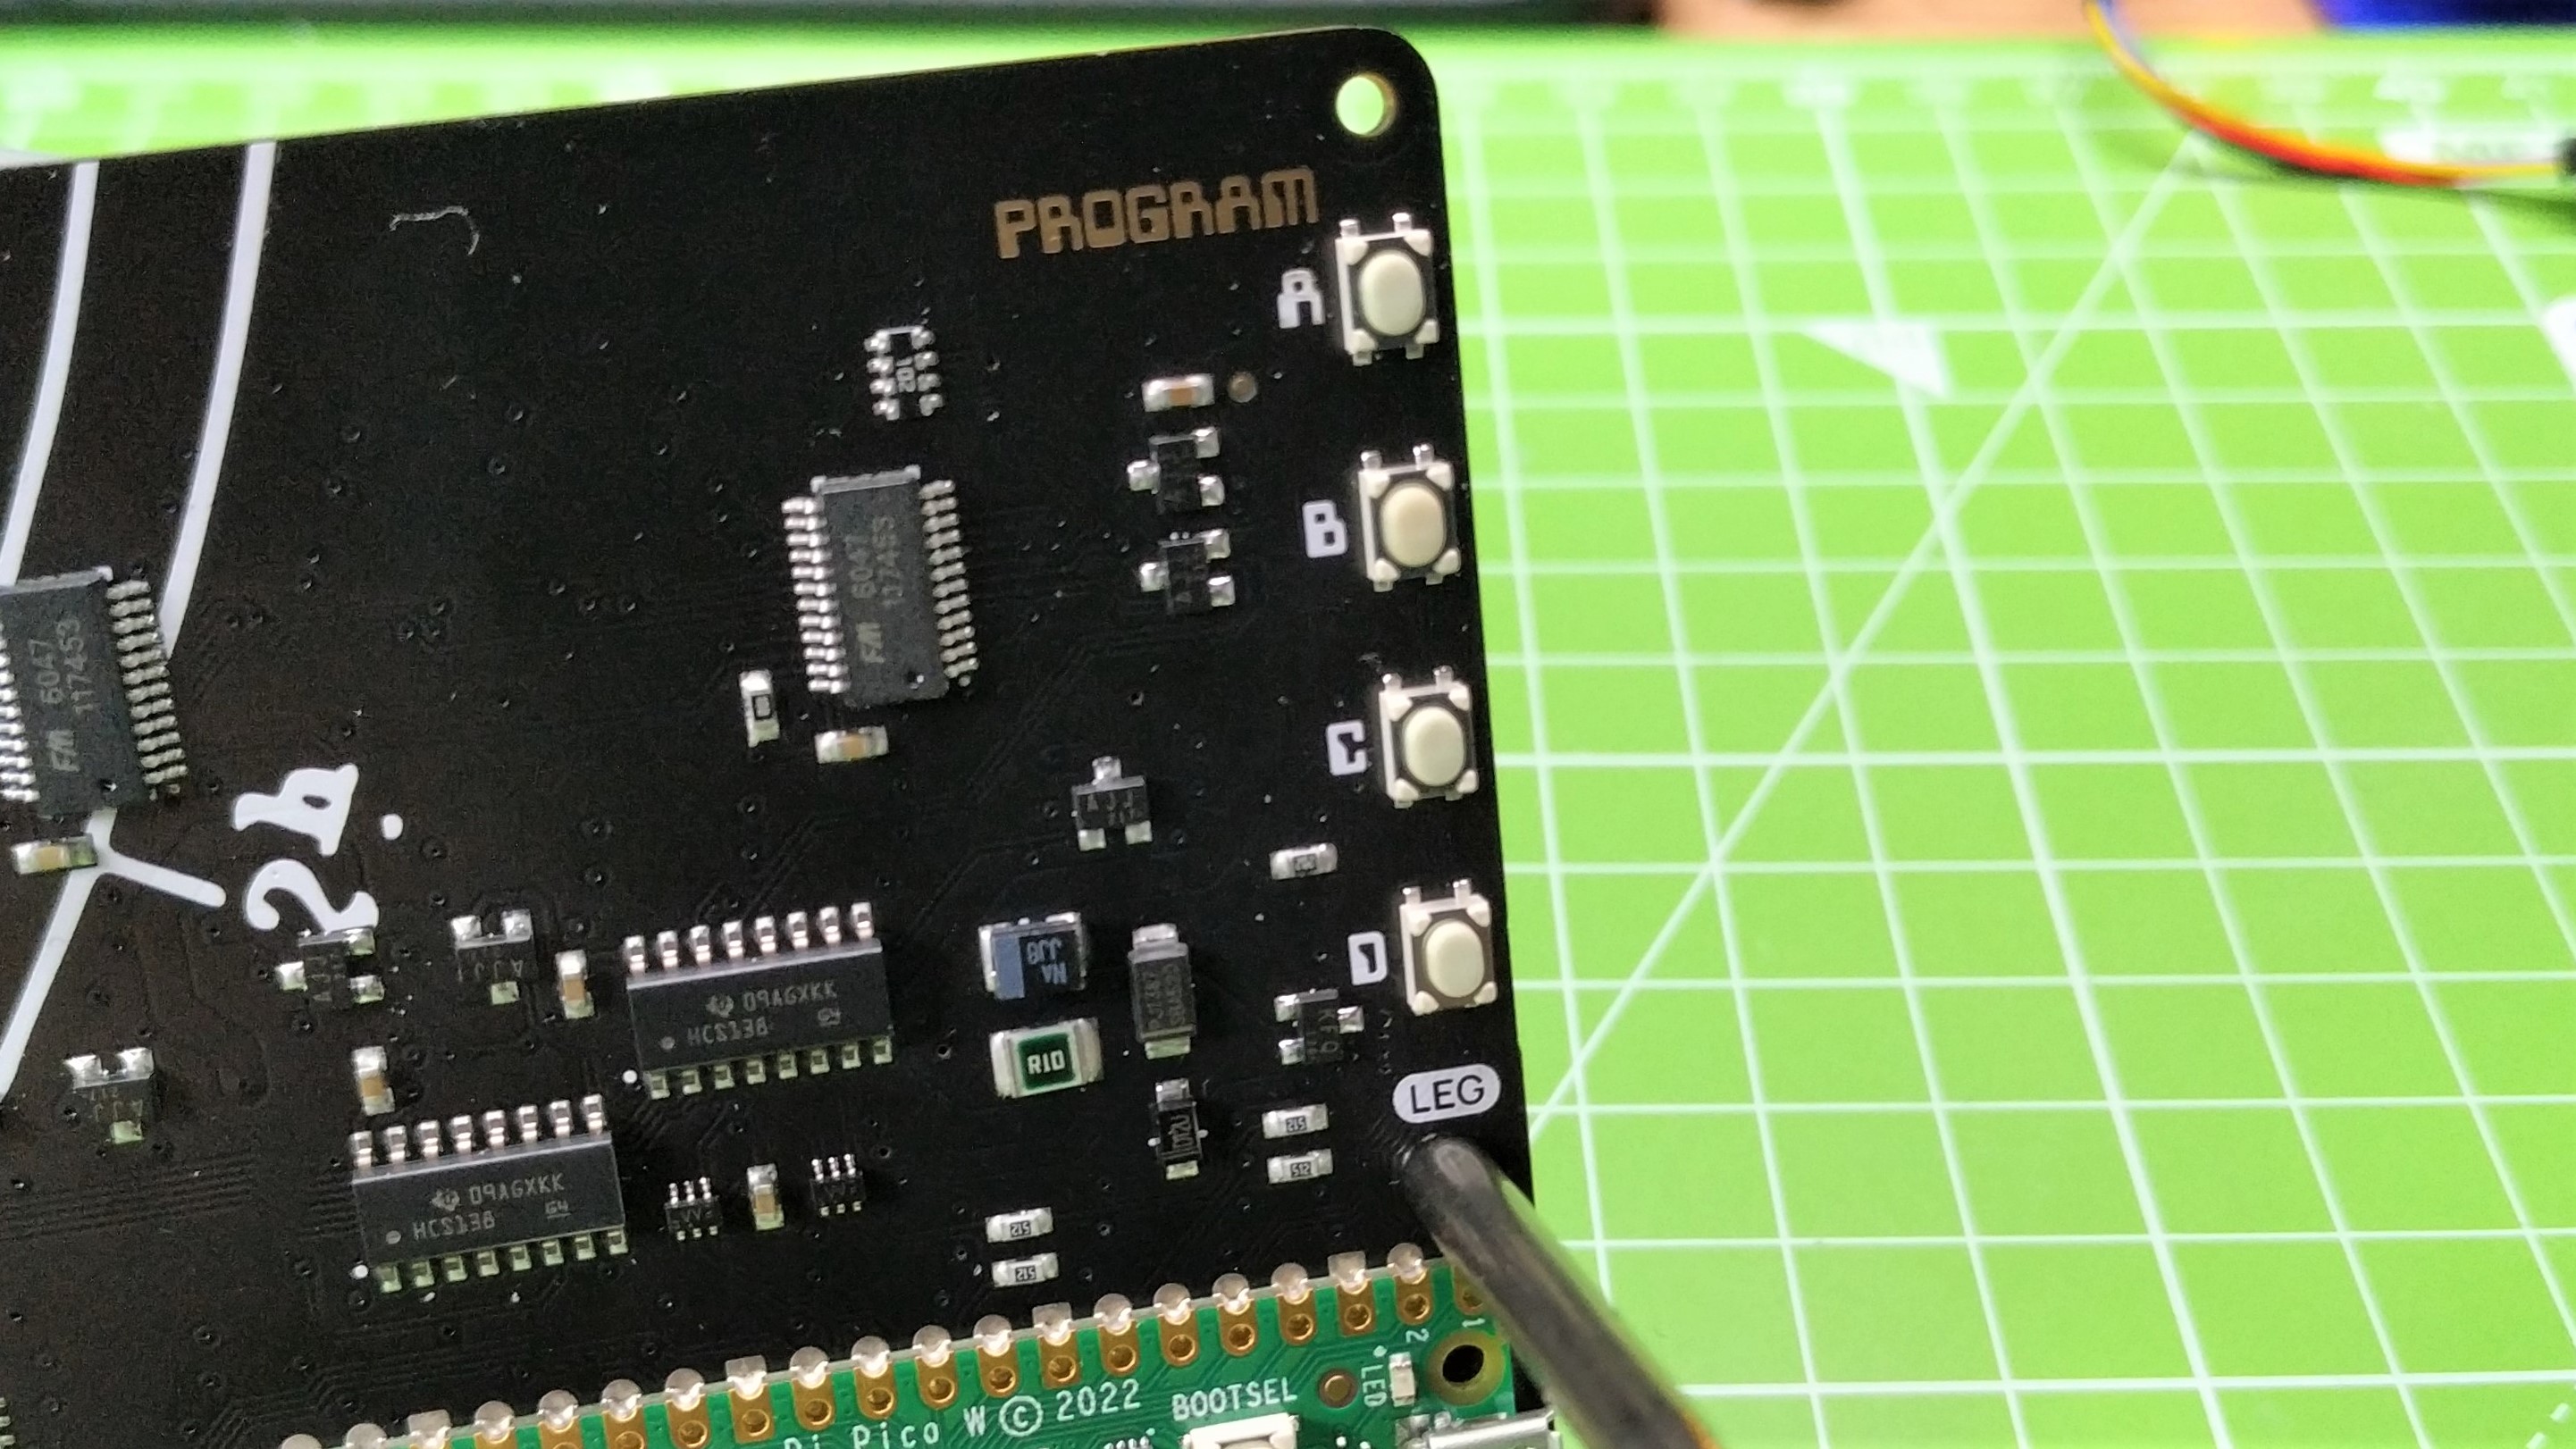
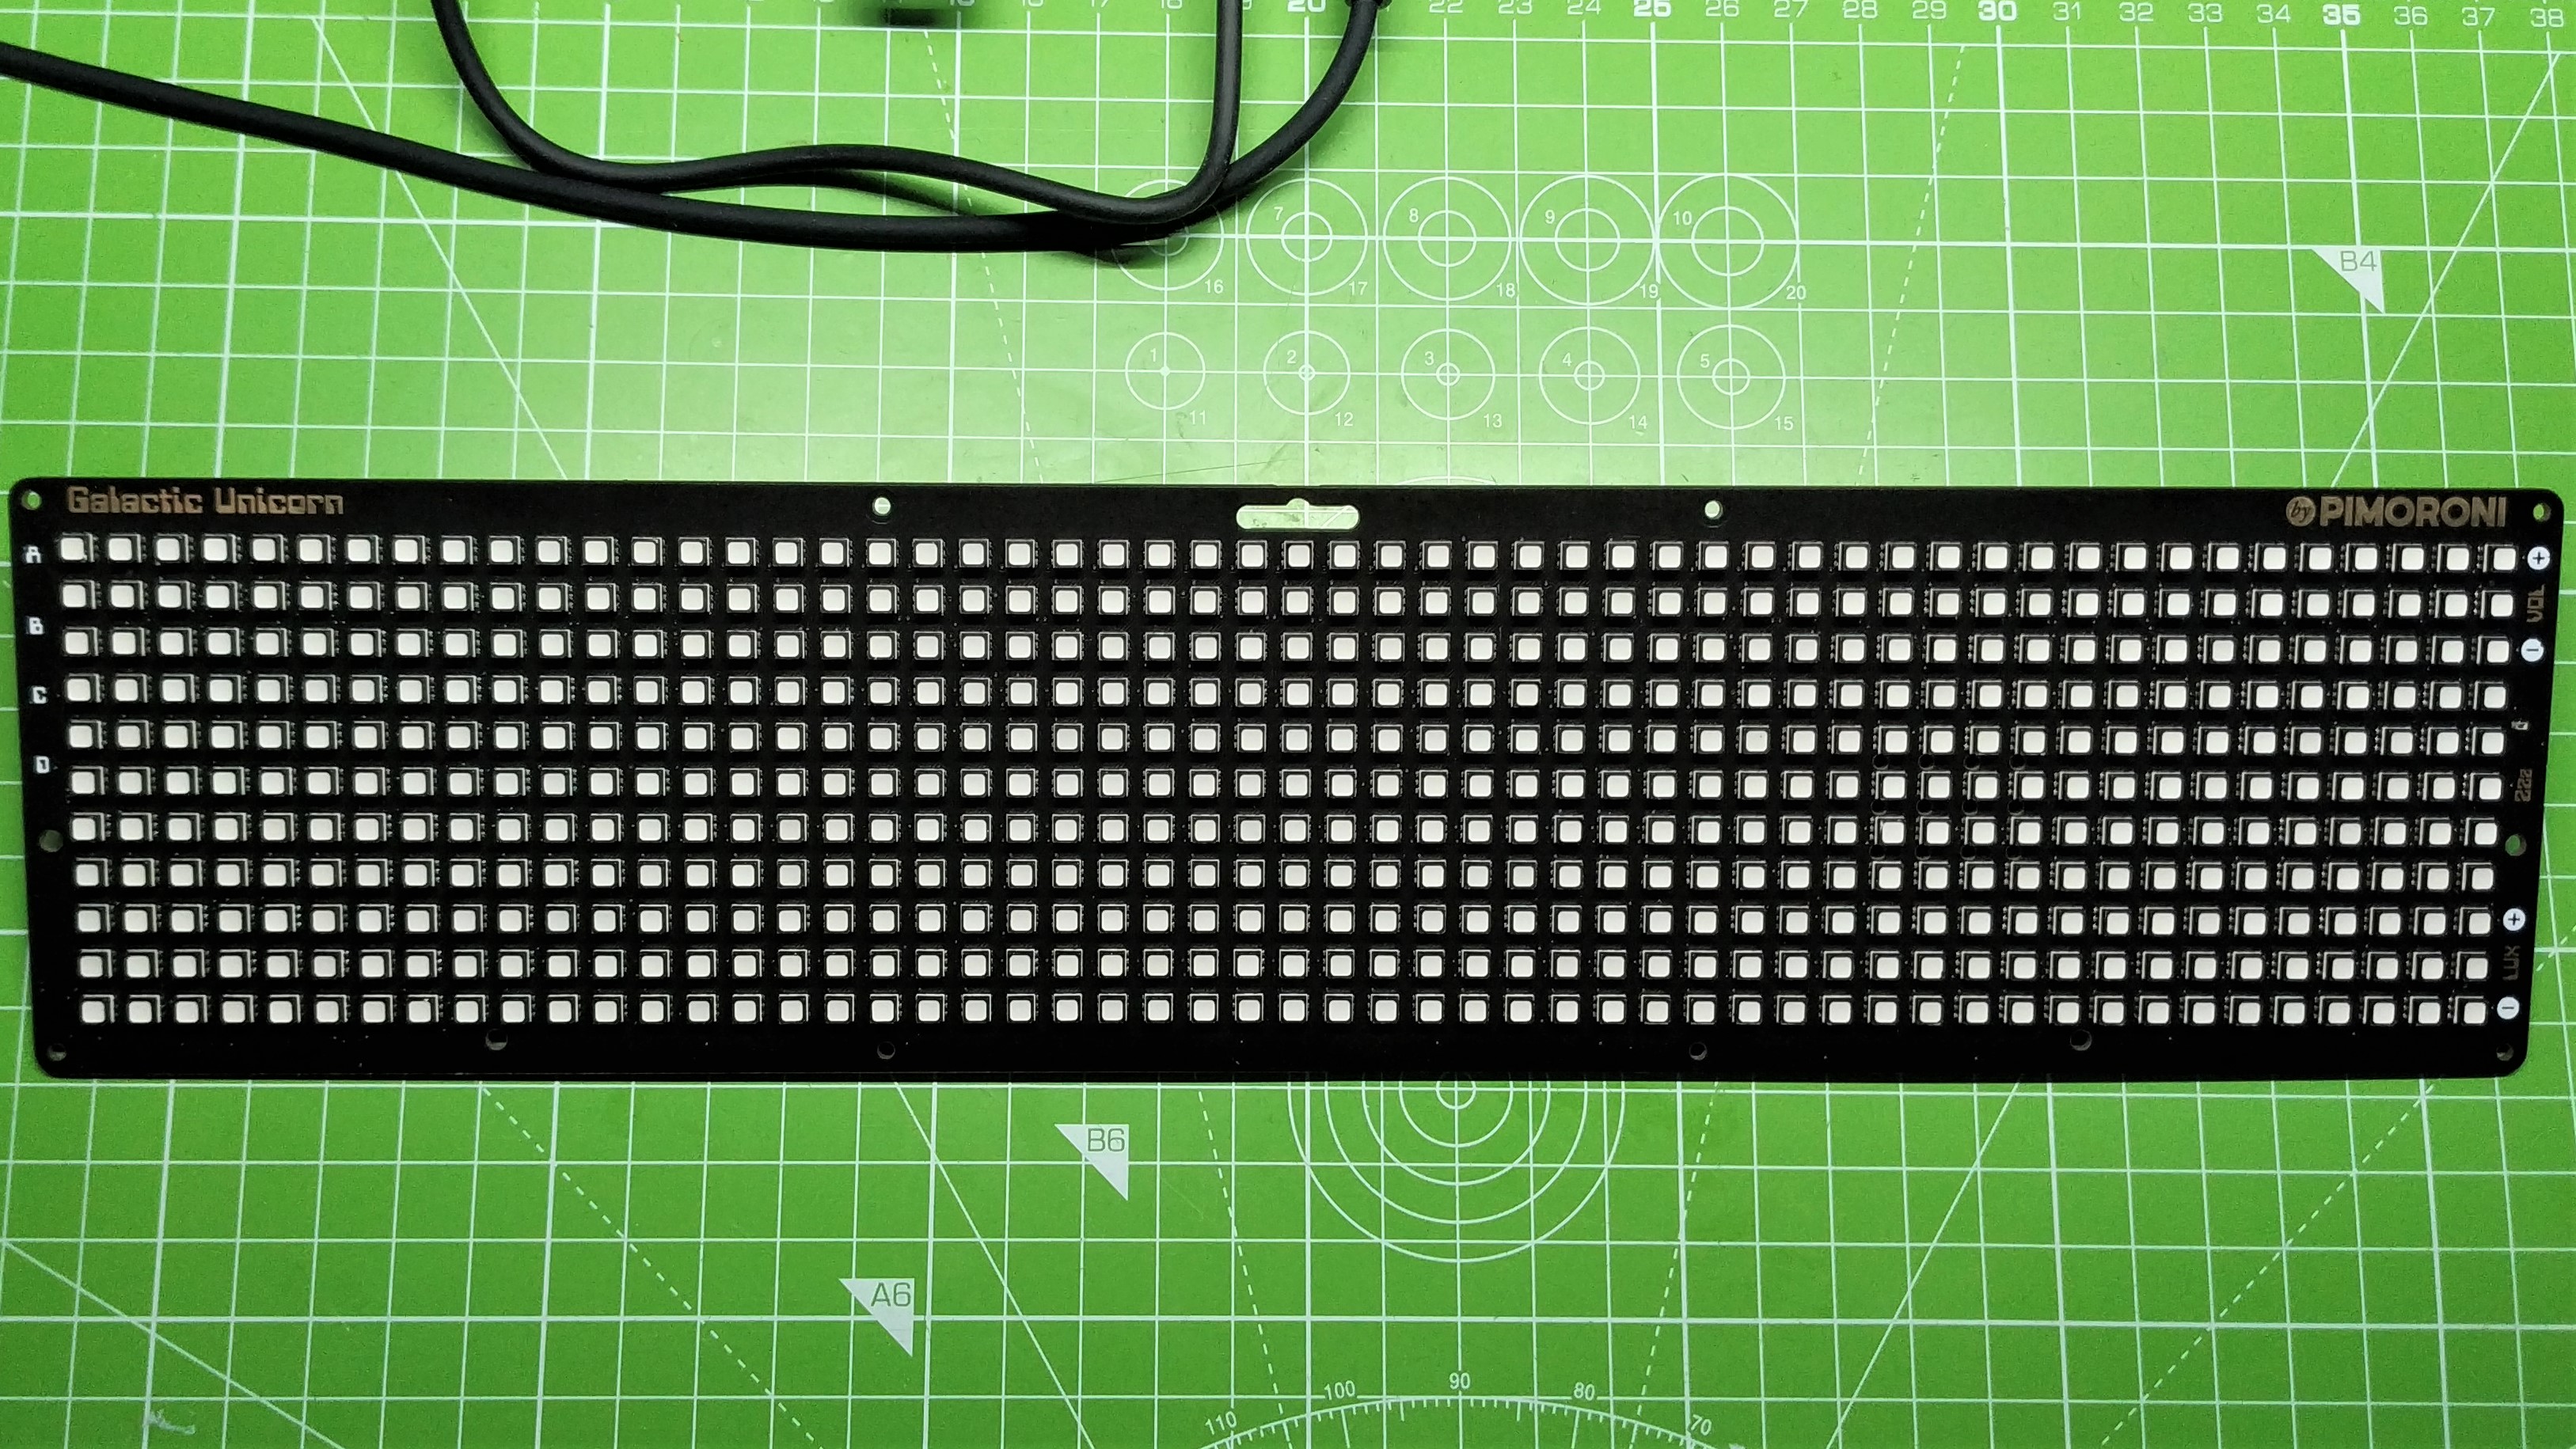
As ever, Pimoroni really delivers on both the hardware and software experience. Before we delve into the review, let's take a moment to admit the silkscreen printing on the PCB. The illustration is superb, and the print is crisp. It ties the product together and gives us much more than a bare PCB to admire. On the print side we can see the Raspberry Pi Pico W surface mount soldered to the main PCB, with buttons for user input (A to D), volume, brightness and a handy reset button (which we have to admit that we forgot about on a few occasions). Around the perimeter are a series of M2 sized mounting holes. These can be used to secure the included metal legs, for use on a desk. Pimoroni also provides a DXF file which has the exact position of these holes. The DXF file can be used to laser cut an enclosure for Galactic Unicorn. The same file could easily be used as a template for a 3D printed holder. For the daring amongst you, there is even a lanyard attachment, to maximize your impact at the next social gathering / conference.
Flashing the bespoke Pimoroni UF2 Pico firmware provides us with a wealth of options to interact with the Galactic Unicorn, and many other accessories. From there it was just a matter of tinkering with the provided examples to get a feel for how it works. The best example of how it all works is in the features.py project code. Here we get a demo of all the RGB pixels, inputs and a surprisingly competent speaker that managed to belt out a great 8-bit tune.
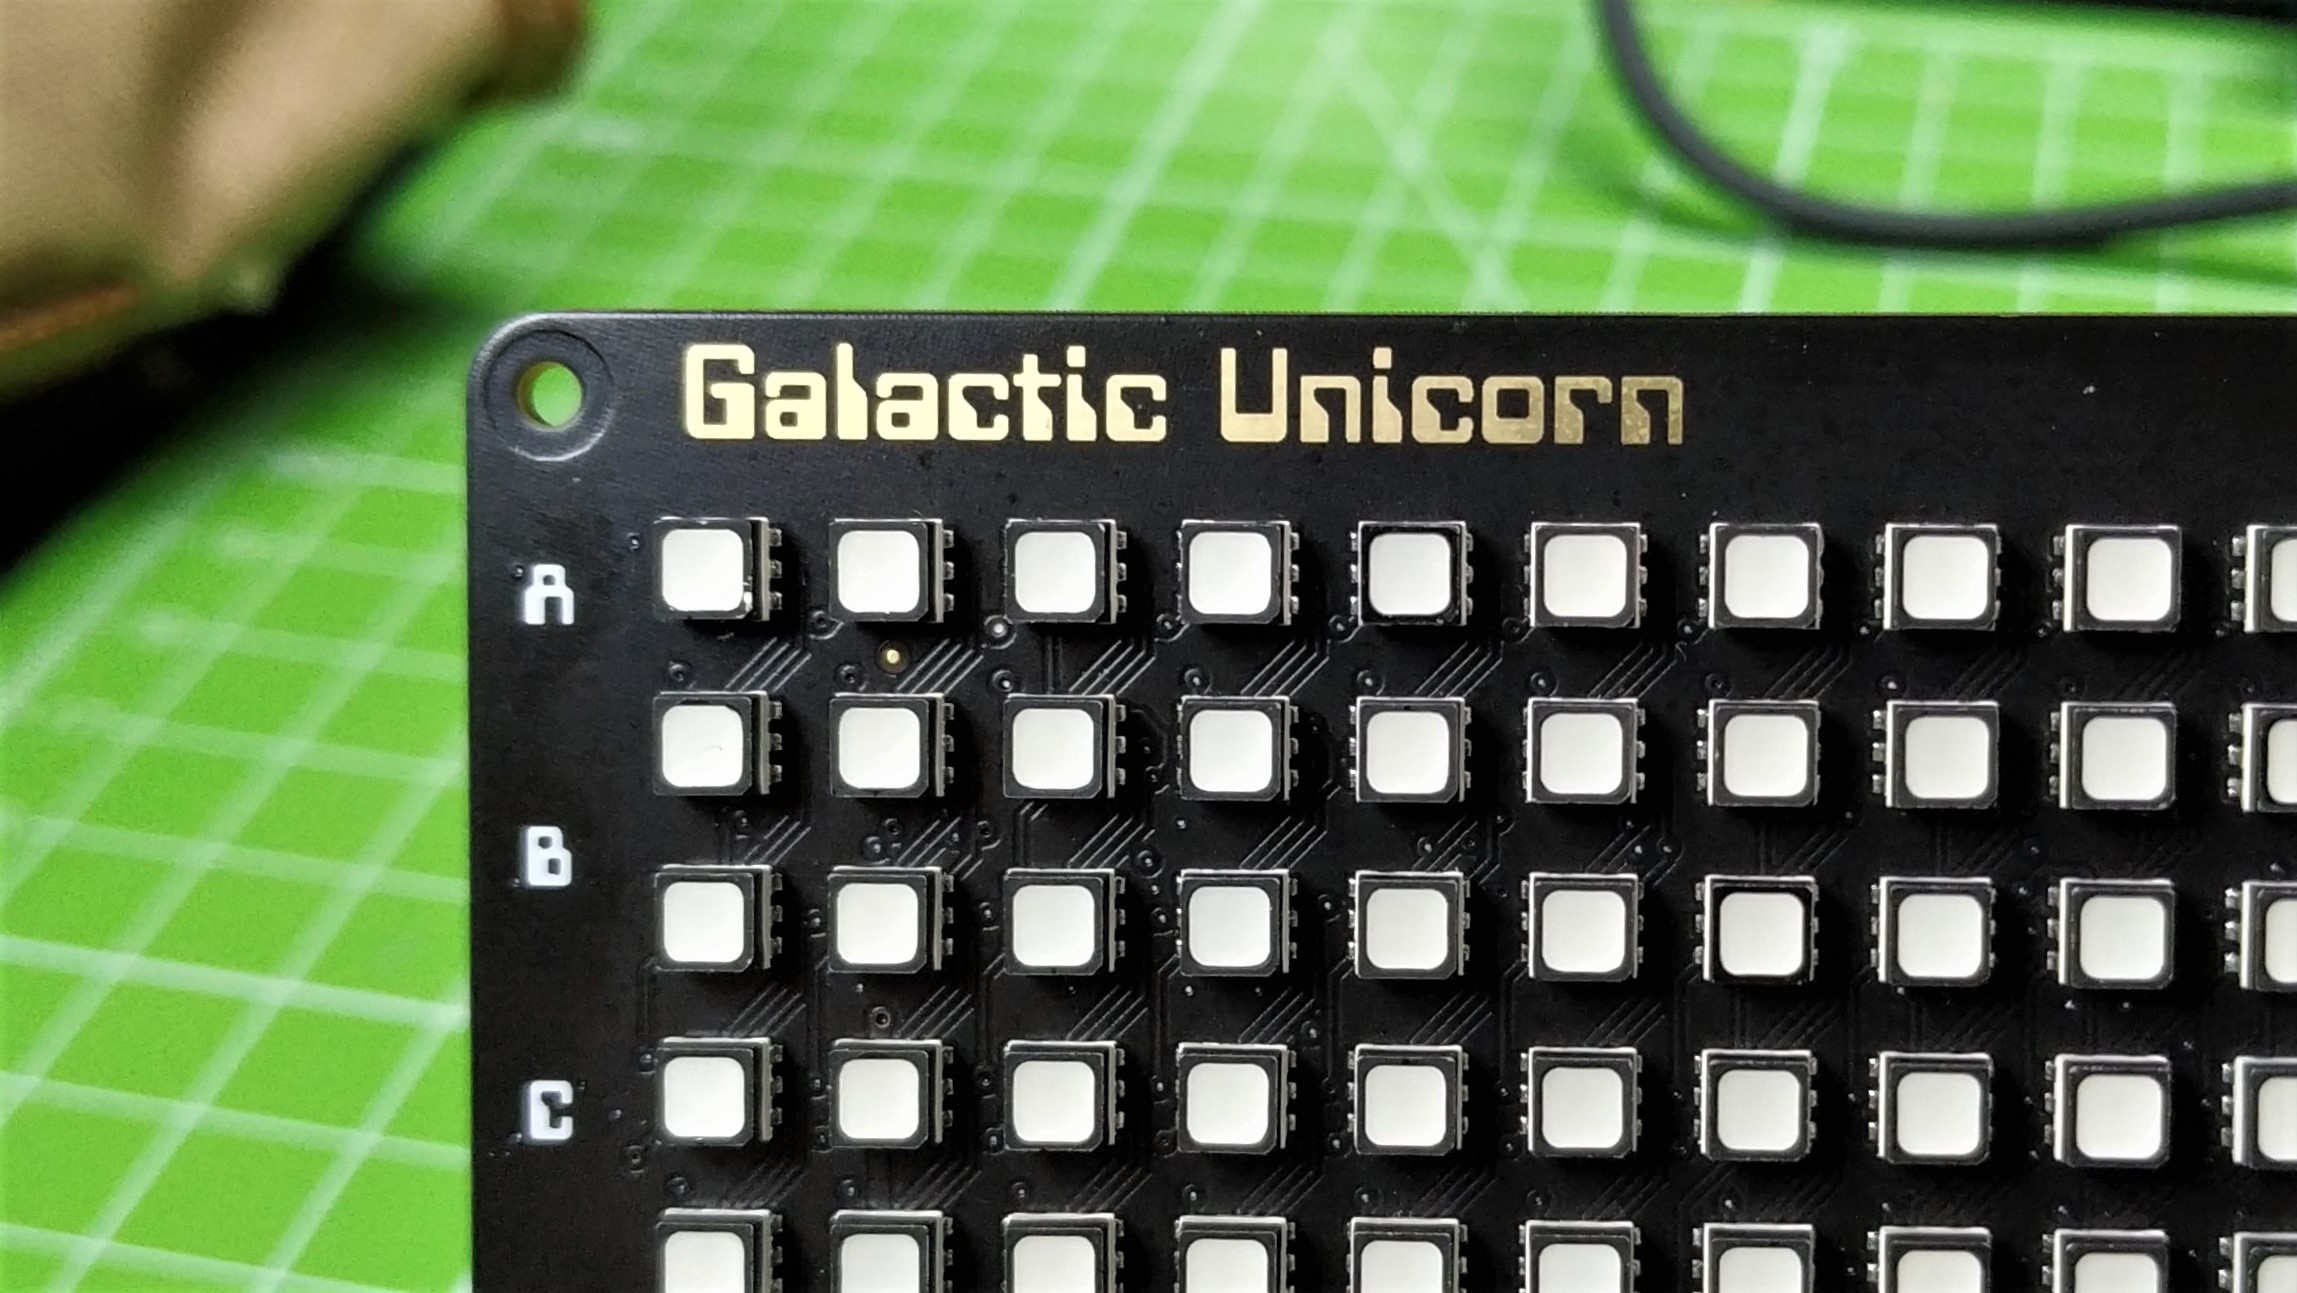
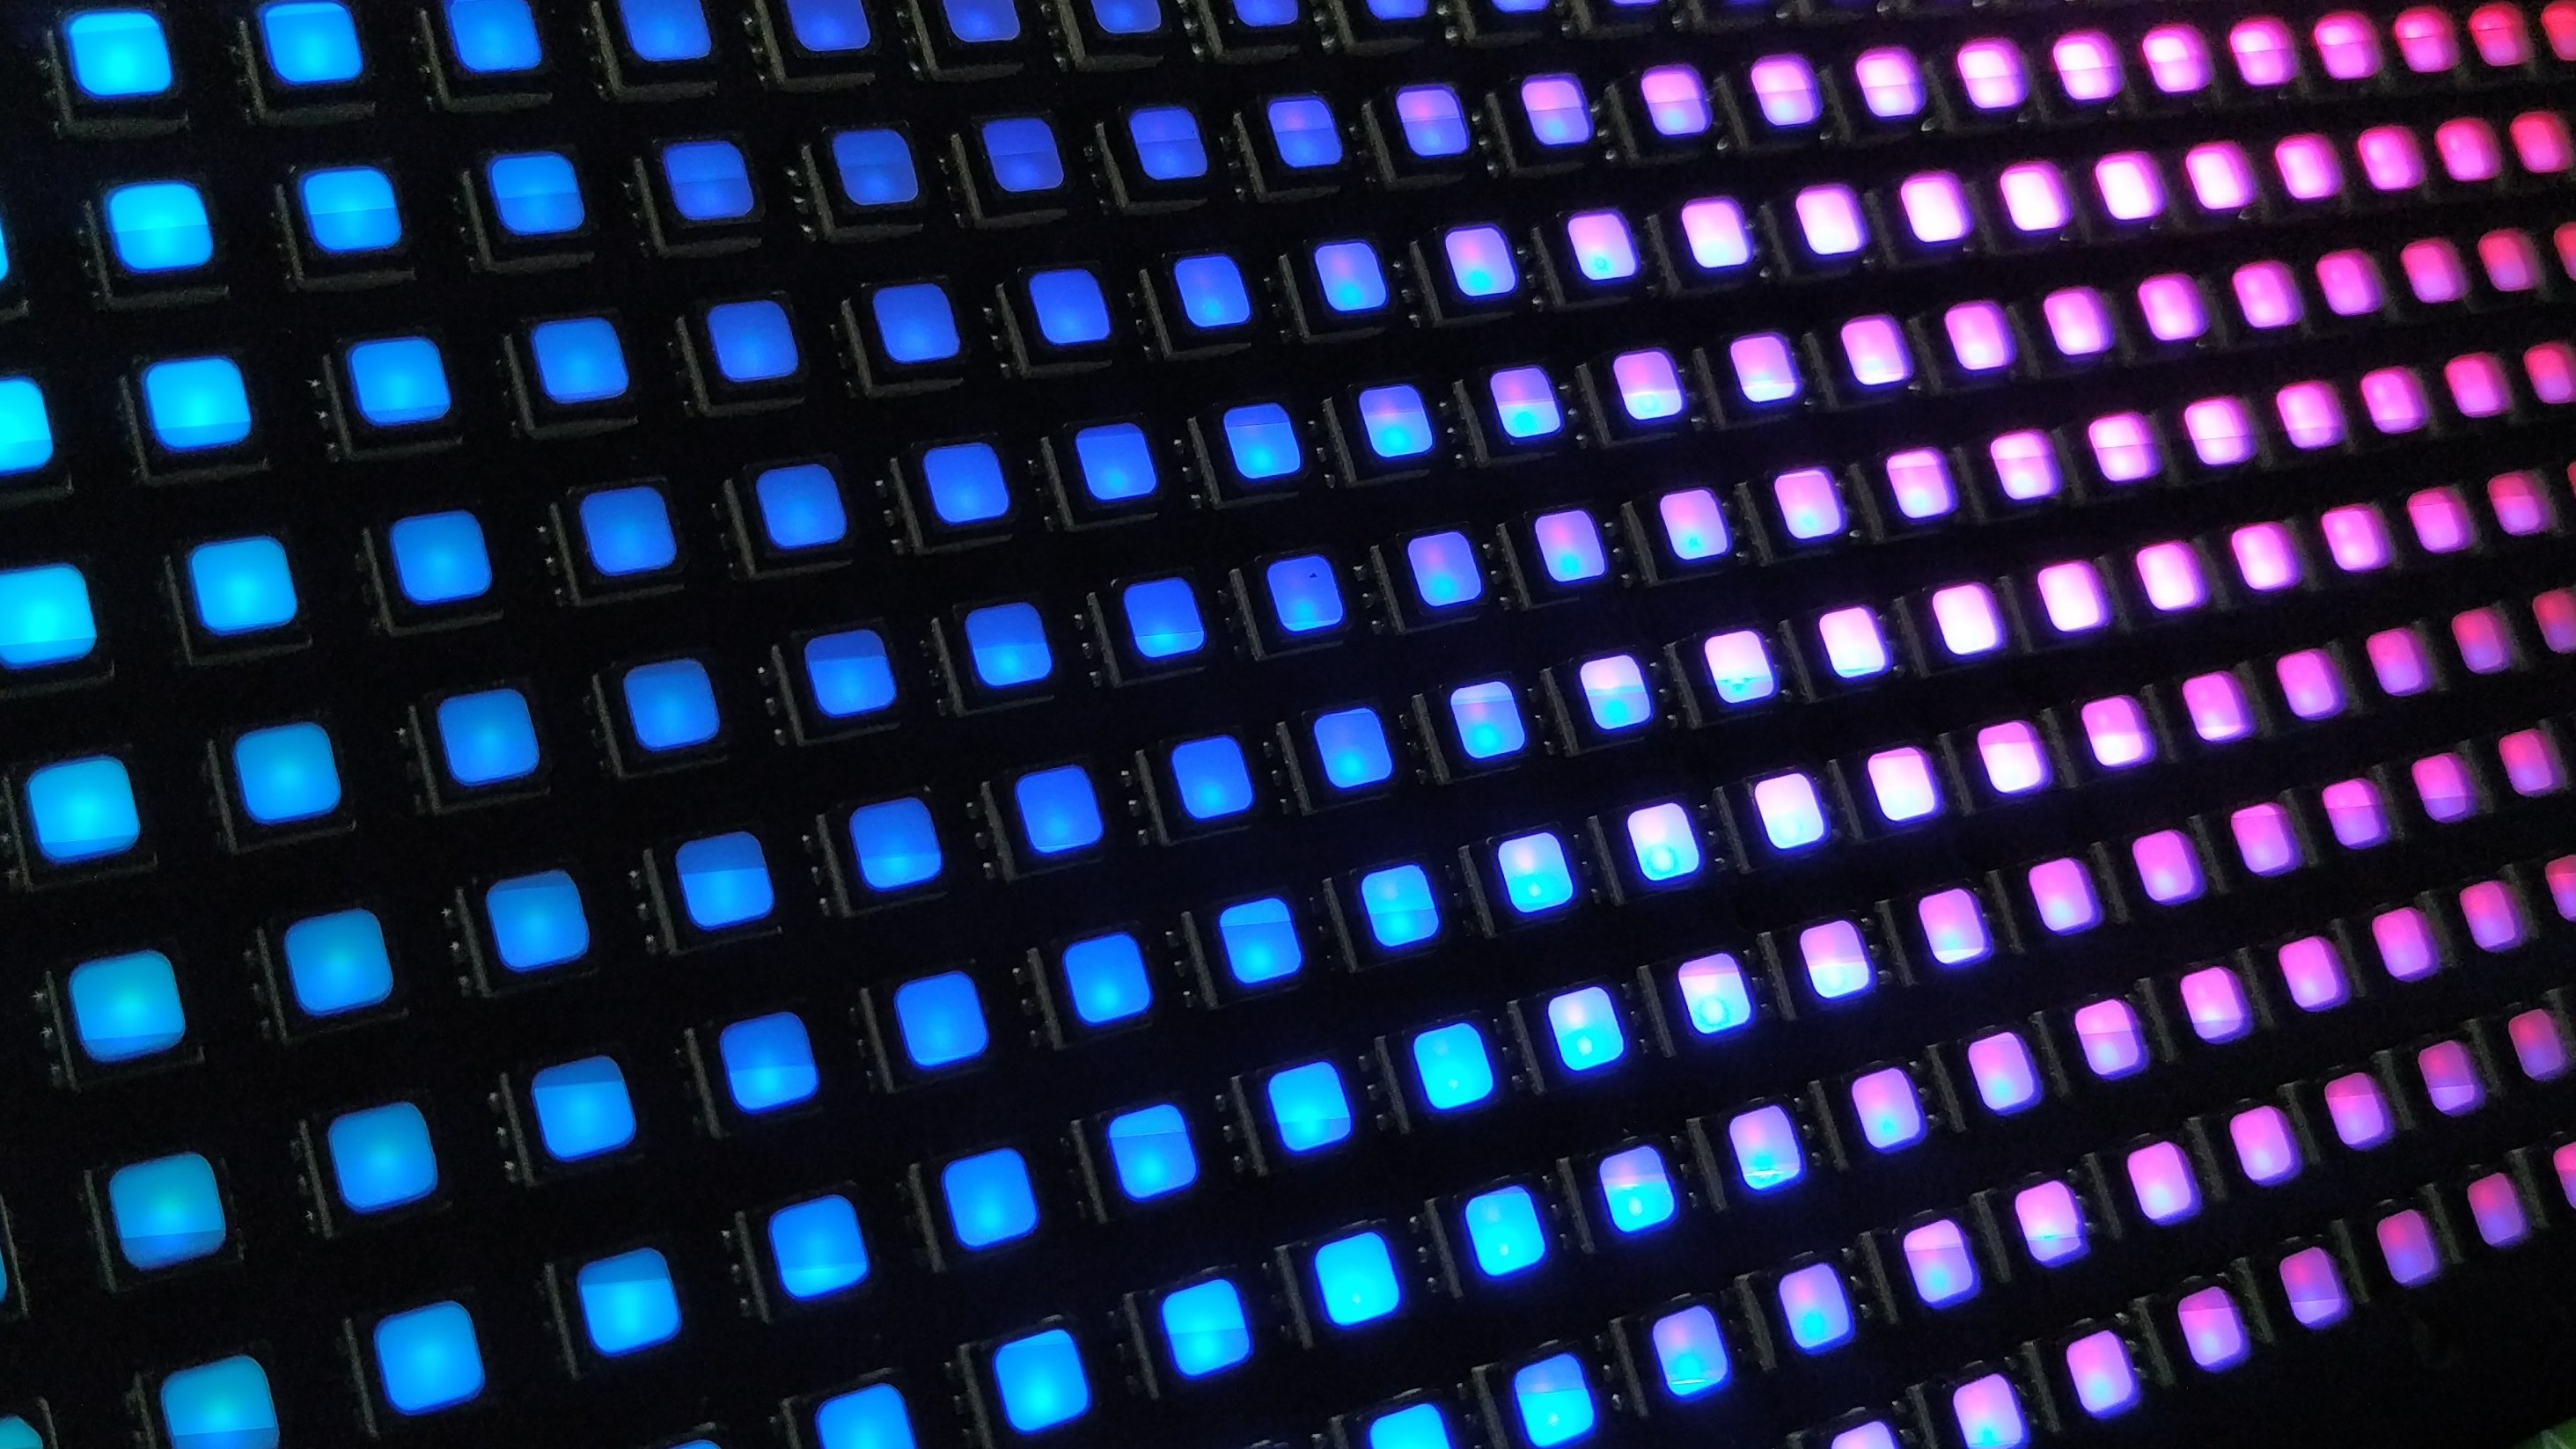
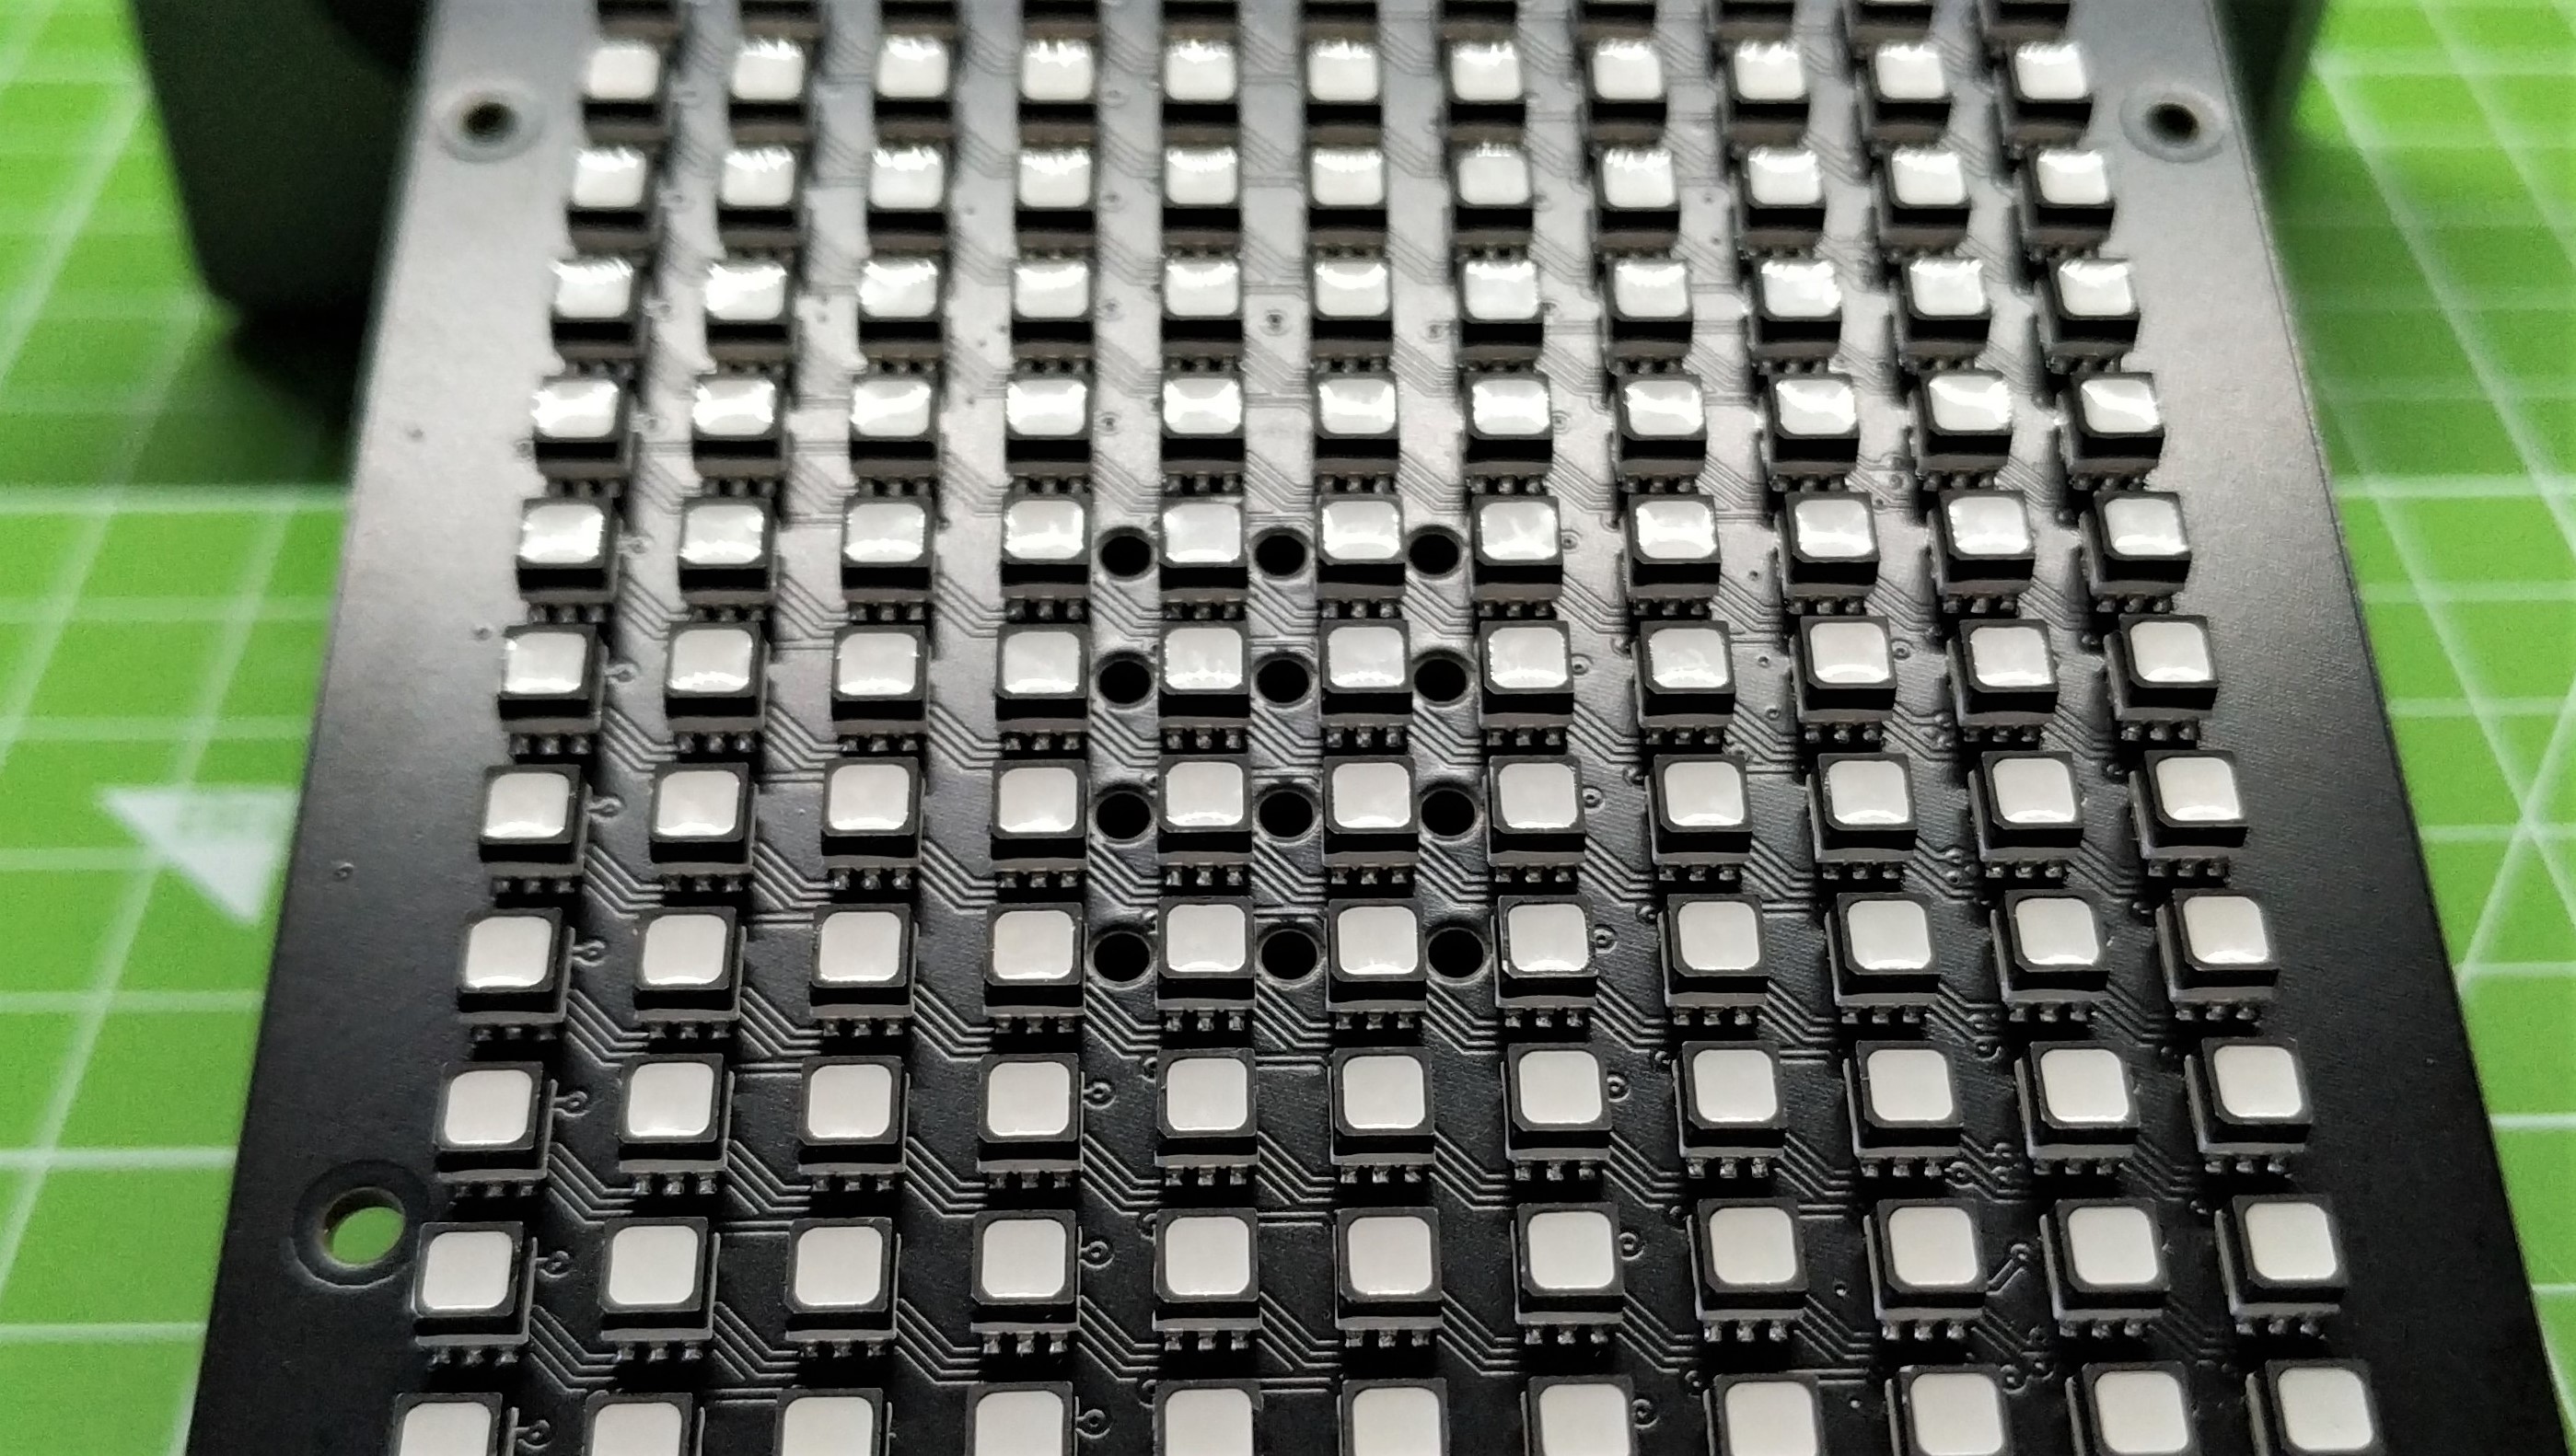
The stars of the show, all 538 of them, are the RGB LEDs. Running at 300 fps, these 14-bit RGB LEDs are driven by the Raspberry Pi Pico W’s Programmable IO (PIO) and apply gamma correction on the fly.
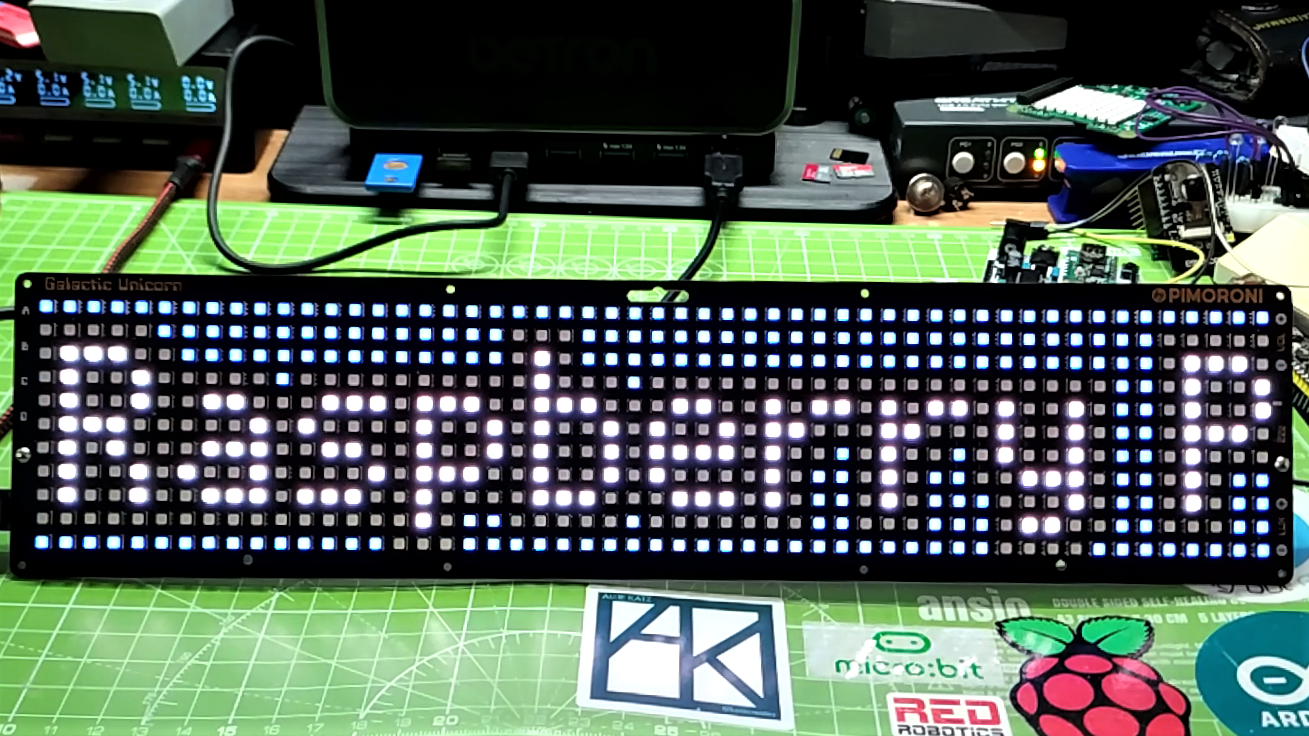
So what does this mean? If you have ever tried to record a video or take a photograph of an RGB LED, you will know how difficult it is to workaround the flicker generated by them. With Galactic Unicorn we don’t have that issue. With no shutter speed tinkering, we had rock solid scrolling text.
Get Tom's Hardware's best news and in-depth reviews, straight to your inbox.
For our review, we created a script that would read the Tom’s Hardware RSS feed and scroll the headlines across the rather luxurious LED matrix. We modified the scrolling text example, adding in network access and using the urequests module to parse a JSON object (we used an online tool to parse the RSS into JSON) and from there we extracted the values from the JSON object.
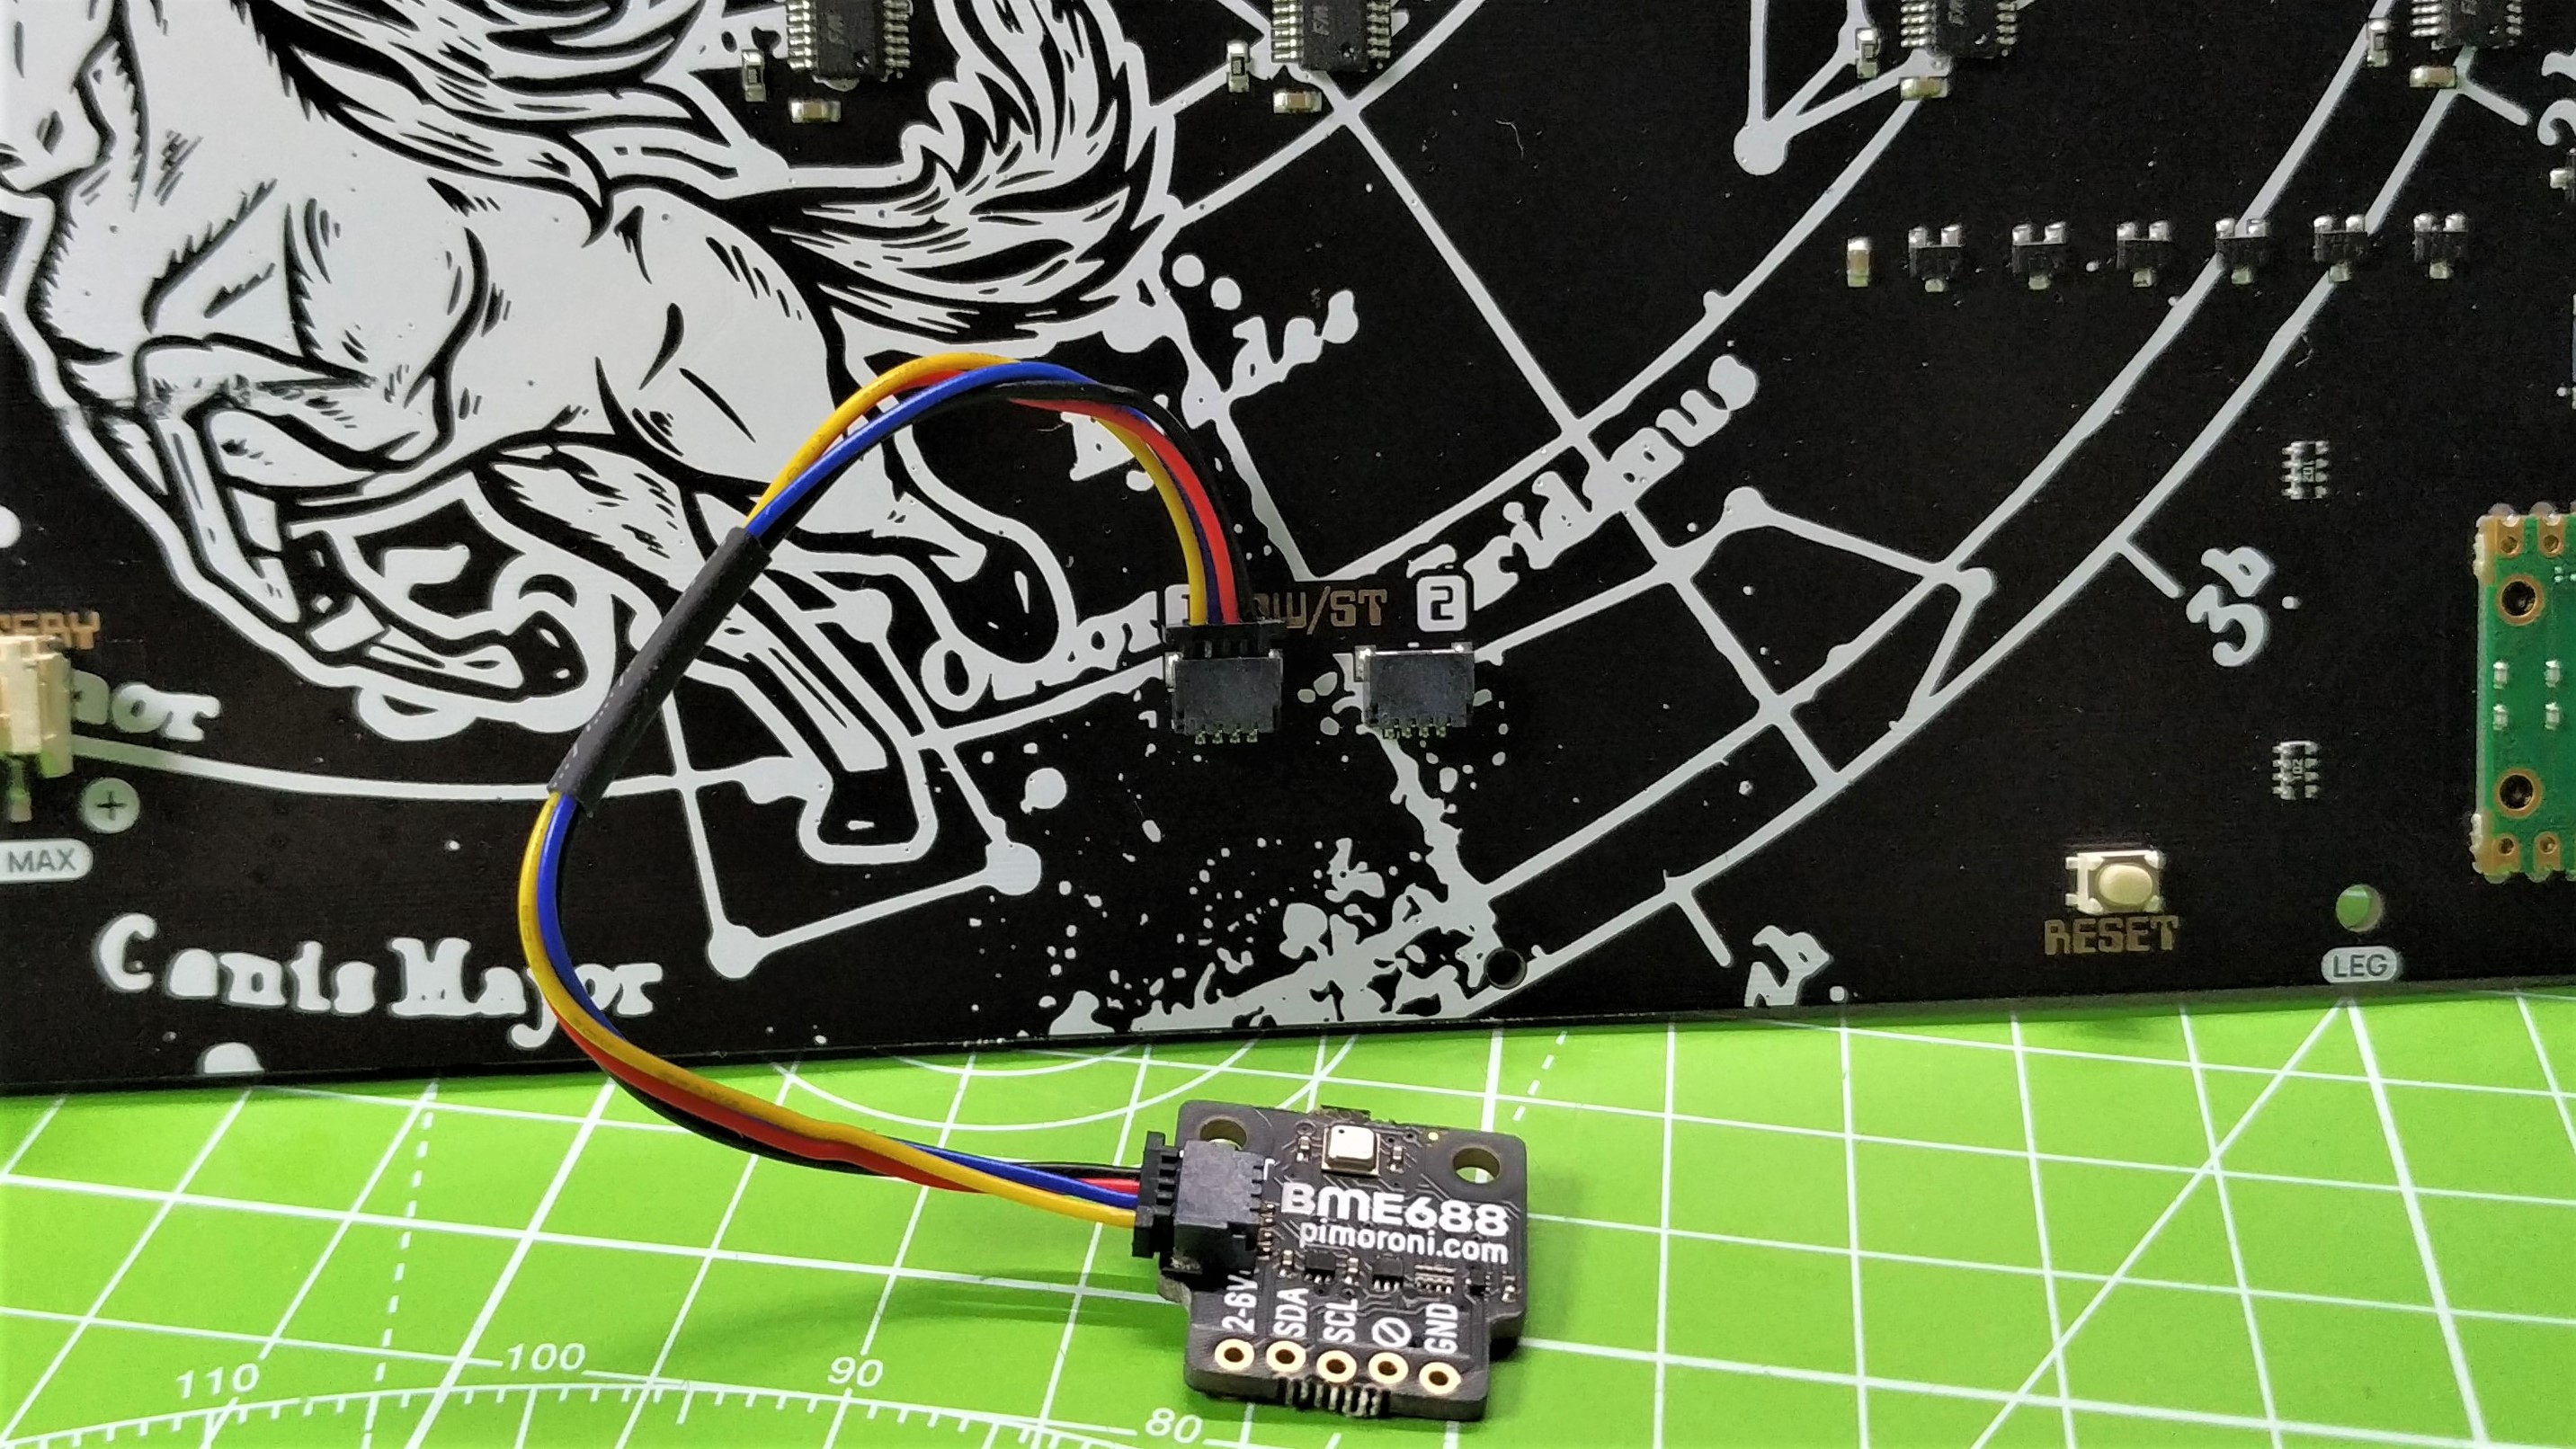
The next test involved a BME688 temperature sensor, connected to the Galactic Unicorn’s QW/ST connectors. Within a few minutes, we had live temperature, humidity and air pressure readings in our home with only one connector easily hidden from sight. The QW/ST connectors are Stemma QT / Qwiic compatible and provide access to the I2C interface. Apart from the buttons, the QW/ST connectors are the only means to interface with Galactic Unicorn.
That does restrict what we can connect to largely products that follow the QW/ST, StemmaQT, Qwiic form factor, of which there are plenty from Pimoroni, Adafruit and SparkFun. You can get StemmaQT to male jumper wire adapters for use with I2C devices or for basic GPIO access. We would’ve liked to have a few more GPIO pins. We can get by with I2C, but just a few more pins broken out for use would be nice.
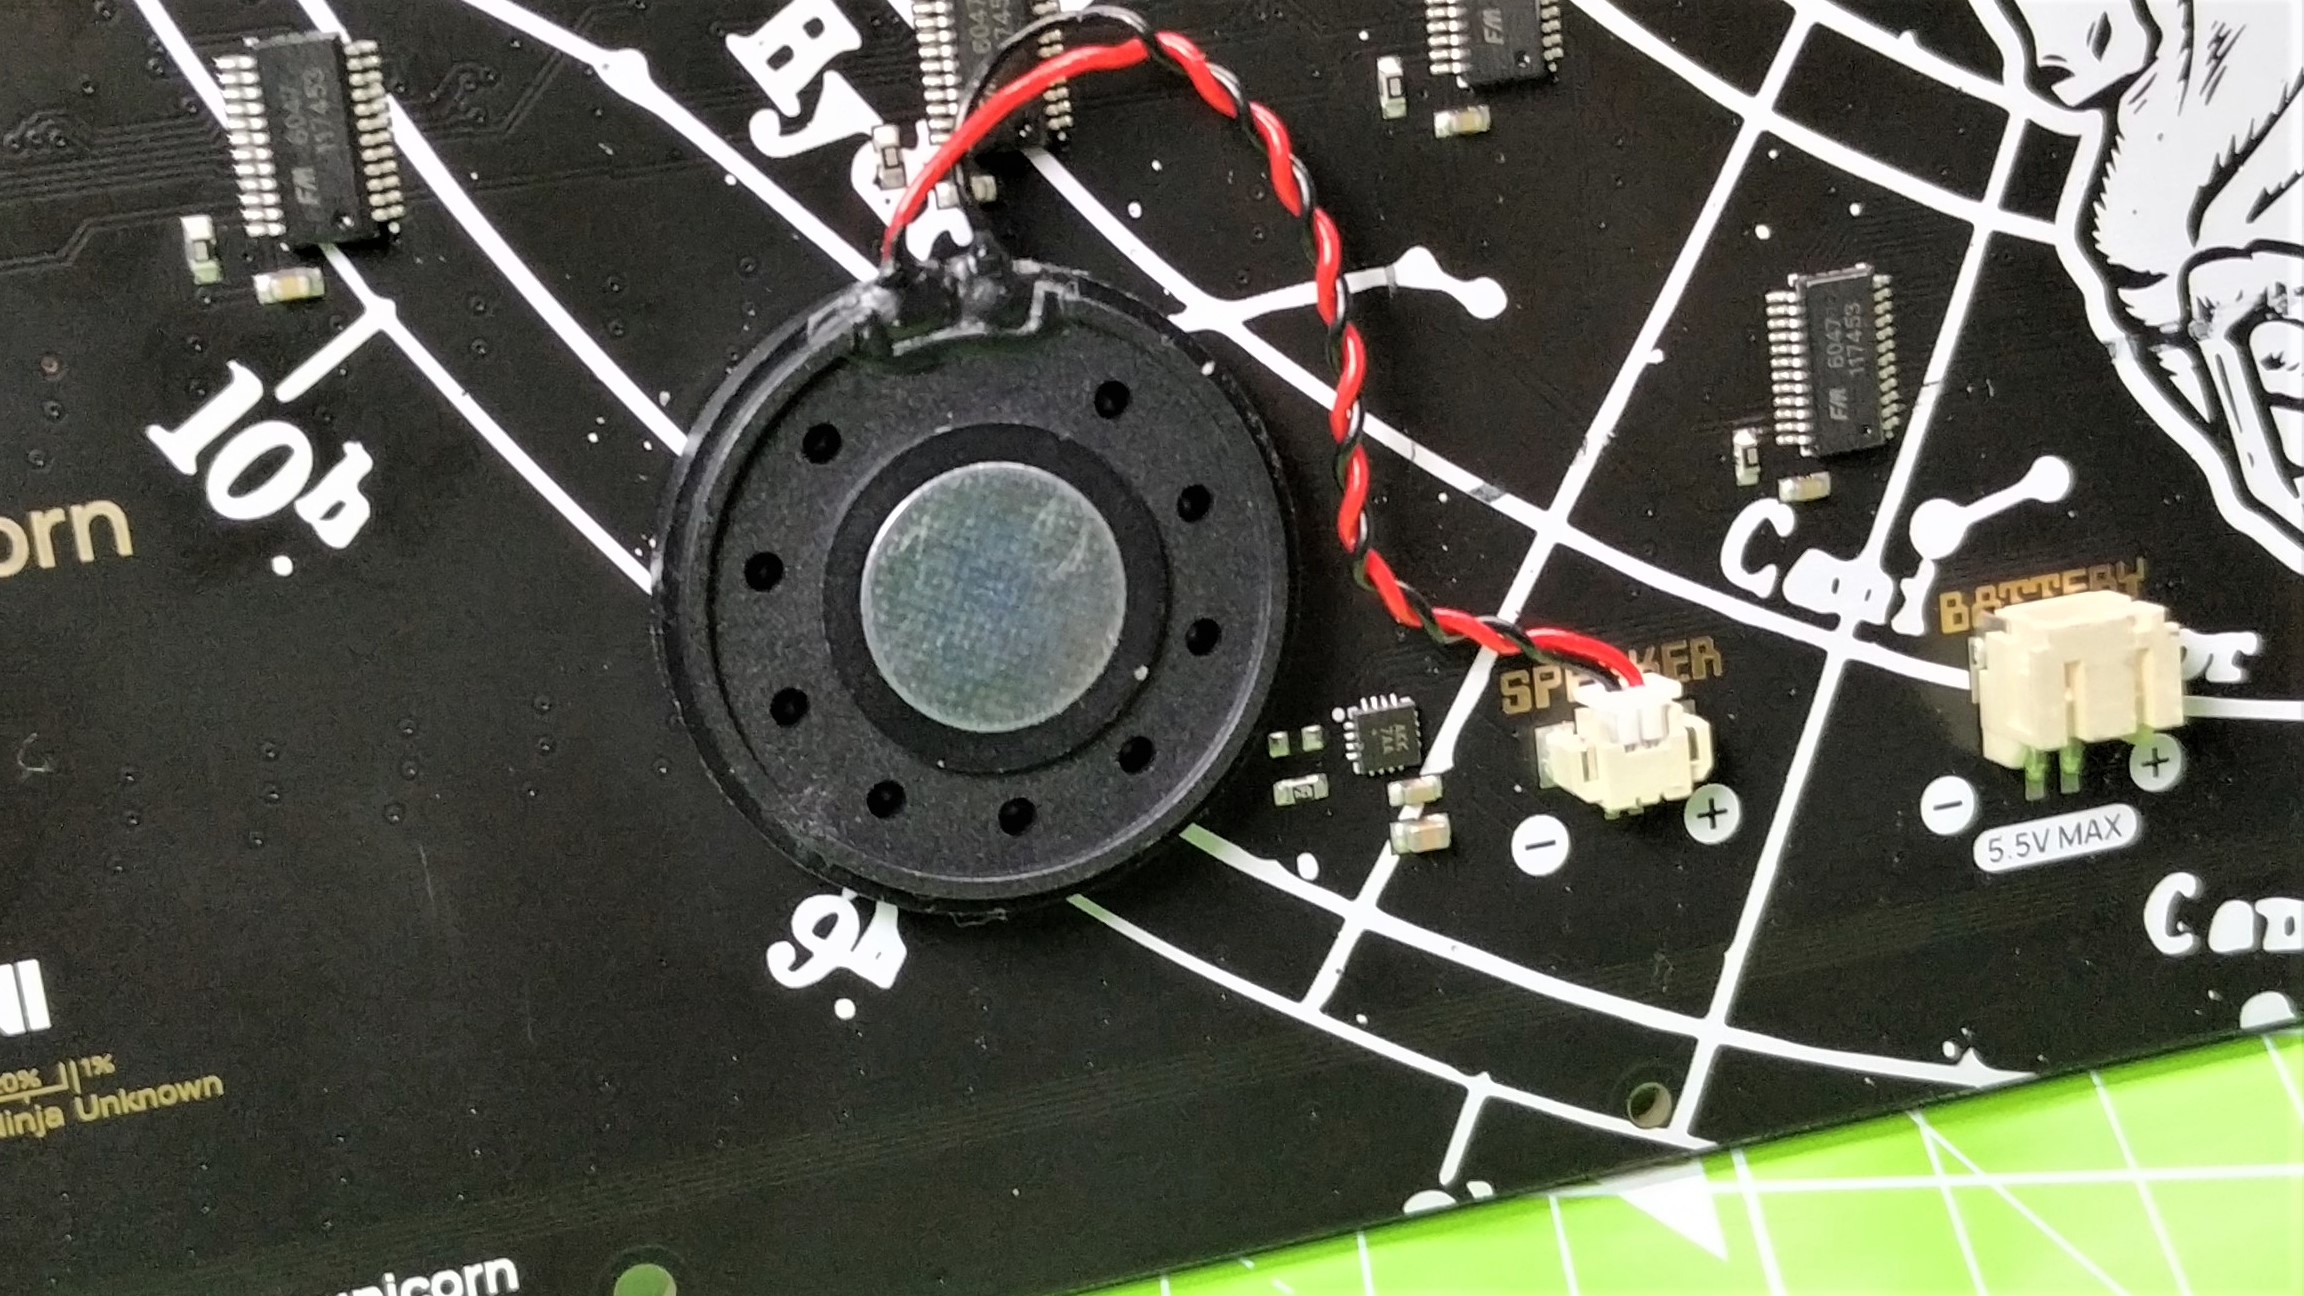
Galactic Unicorn is not just about sound and the 20mm 1W speaker may not provide a THX certified experience, but the noises it makes are wholesome and hark back to a simpler era. The MAX98357 I2S mono amplifier does a great job of boosting the sound to audible levels. The speaker’s position on the PCB sees a series of holes cut into it, to provide the best possible volume. The Galactic Unicorn is capable of good sound quality, somewhat akin to a high quality musical greetings card.
Galactic Unicorn Projects
If you need a YouTube subscriber counter, scrolling news ticker, 8-bit retro wall art then Galactic Unicorn is for you. Heck, even a novelty sized conference badge would be a great build with Galactic Unicorn. The alternatives to Galactic Unicorn are building our own using a HUB75 LED matrix and a Raspberry Pi / Raspberry Pi Pico W.
If gaming is more your thing, then perhaps the ultimate flex would be a pixel version of Mario across the expansive matrix. With individual control of the pixels and buttons on the perimeter of the board we could make our own pixel homages to the classics. Widescreen Pacman would especially be fun.
No matter your ambitions, Galactic Unicorn wraps it all up into a thin and very stylish package with none of the wiring issues. Laser cutting our 3D printing your own case should be a breeze thanks to the downloadable DXf files.
Bottom Line
The Pimoroni Galactic Unicorn is more expensive than a true DIY option, but the extra dollars provide convenience and a truly slick experience. We don’t have to worry about the wiring and pulling together our own code. It is ready to go with the minimum of effort. This is much more than a text scroller.
It can be your information radiator, GitHub commit streak reporter, or even play a really large version of Flappy Birds. The hardware is solid and the software backs it up beautifully. Because it uses MicroPython, we have access to many more modules of code, but Pimoroni’s initial choices are solid and provide us with enough to get on with making a cool project.

Les Pounder is an associate editor at Tom's Hardware. He is a creative technologist and for seven years has created projects to educate and inspire minds both young and old. He has worked with the Raspberry Pi Foundation to write and deliver their teacher training program "Picademy".
