Gigabyte X299 Aorus Gaming 7 Motherboard Review
Why you can trust Tom's Hardware
Software & Firmware
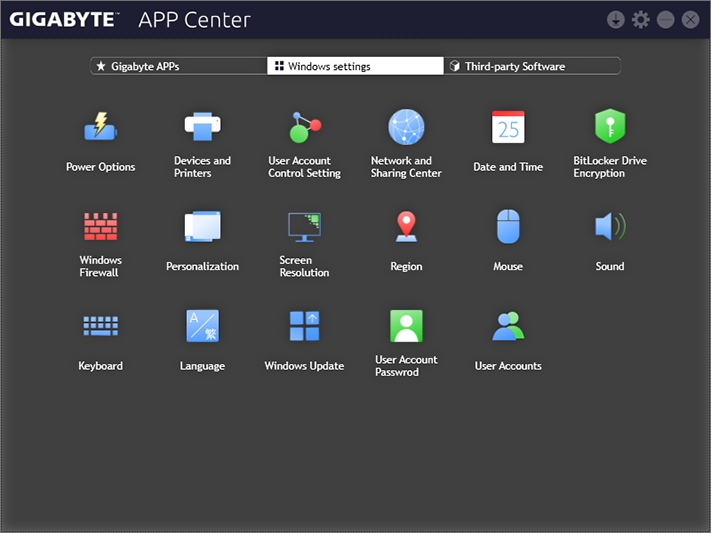
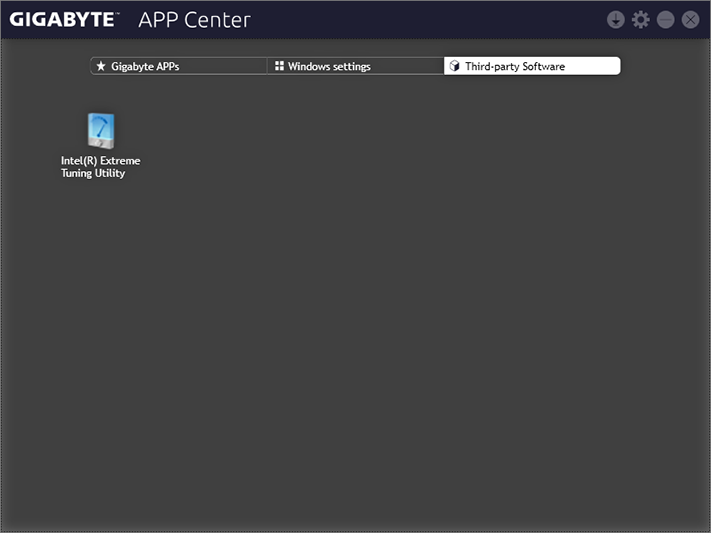
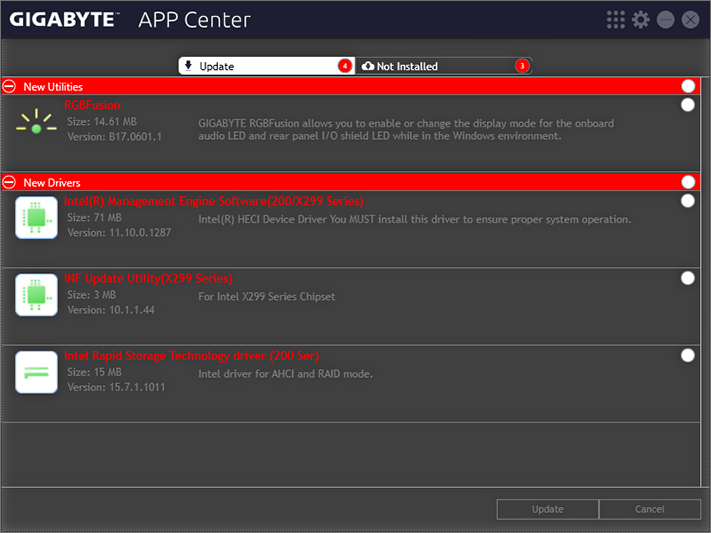
App Center, the launching point for Gigabyte’s applications, includes shortcuts for Windows settings, a menu for installed third-party applications, and a download tool that polls Gigabyte servers for software and driver updates.
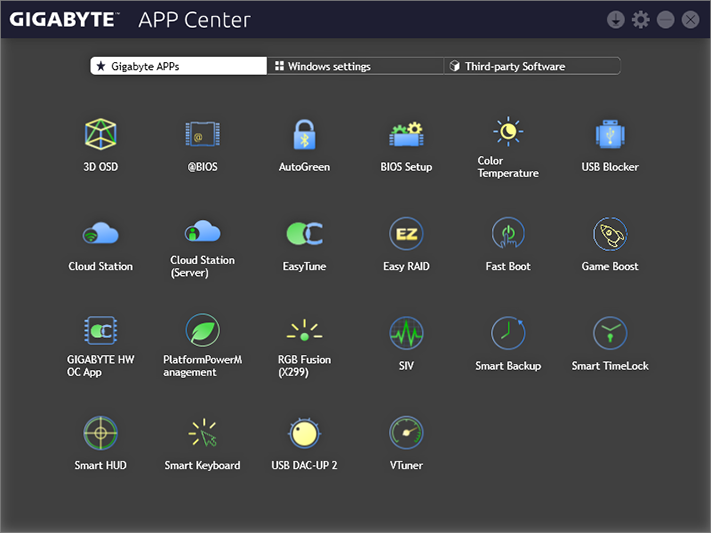
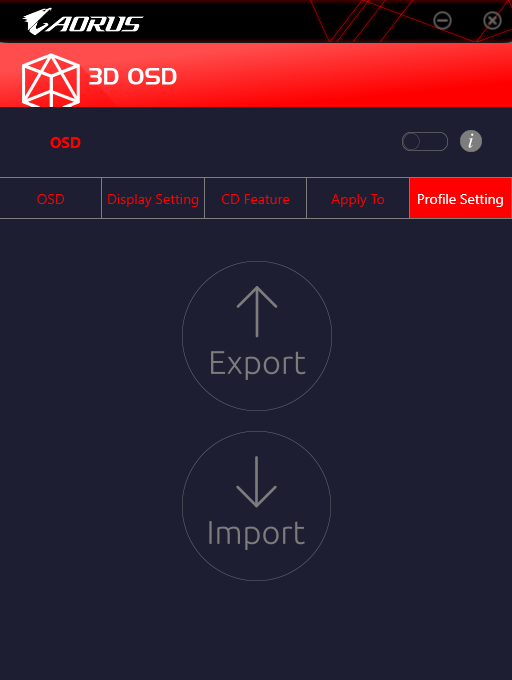
Gigabyte’s 3D OSD provides a configurable overlay of various status information that can be accessed via hotkey function.
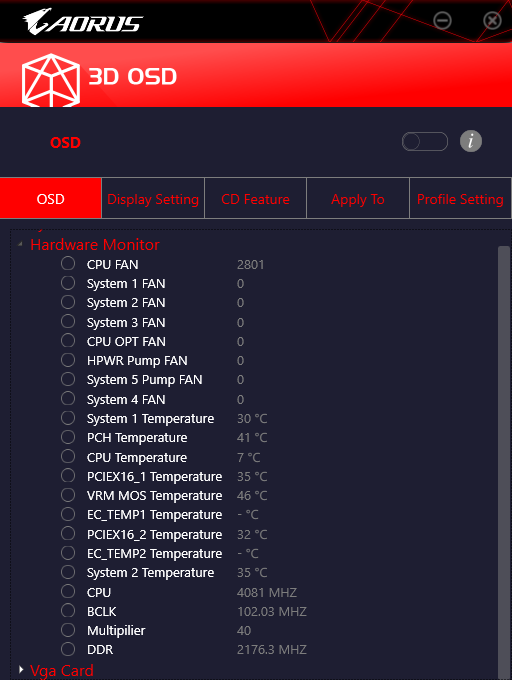
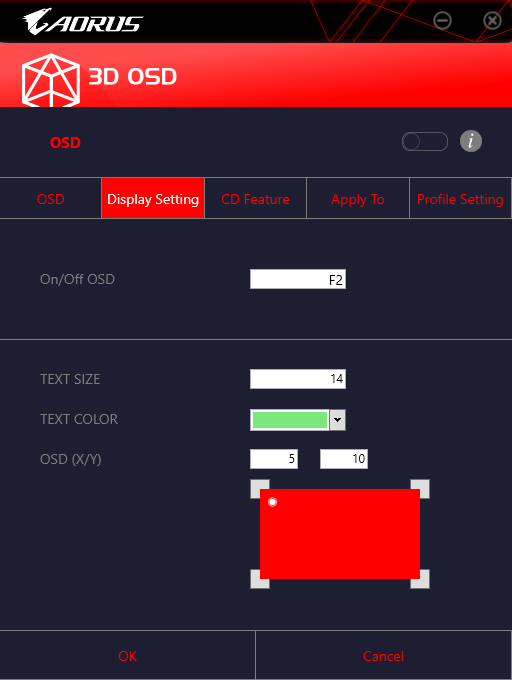
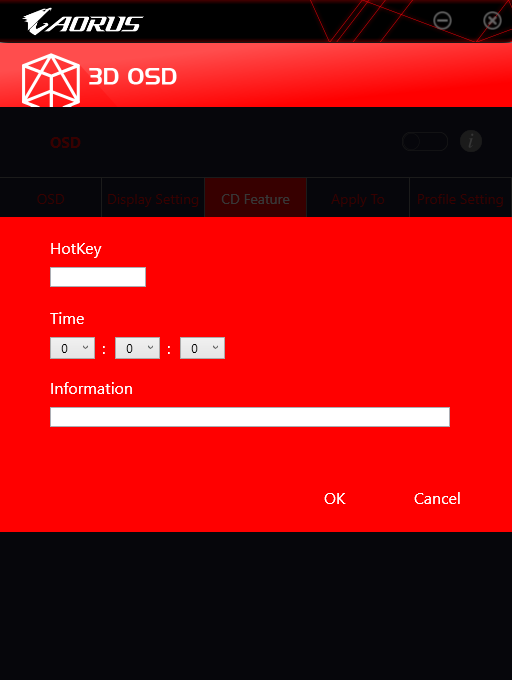
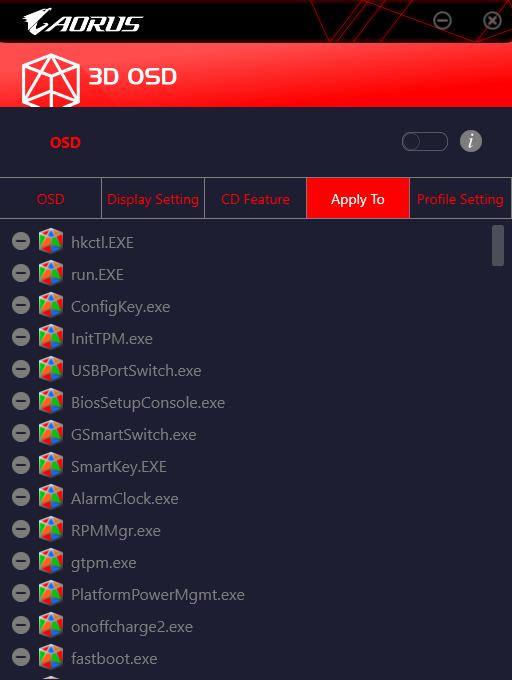
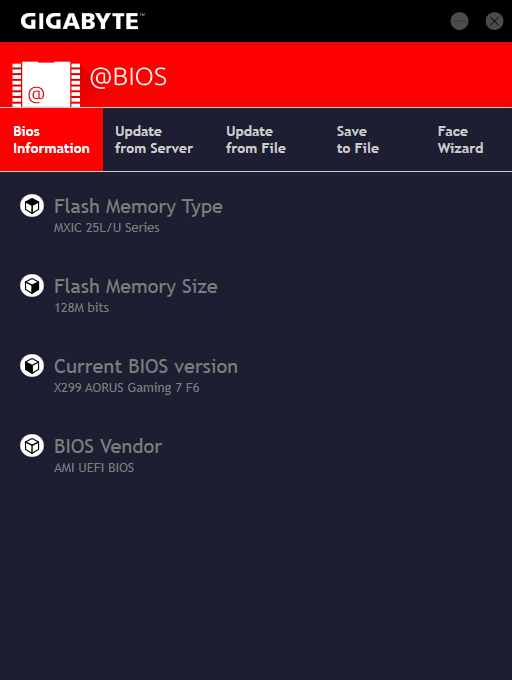
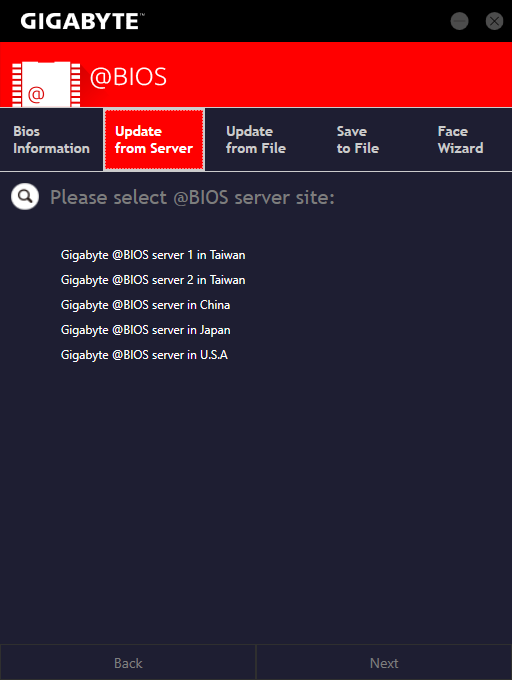
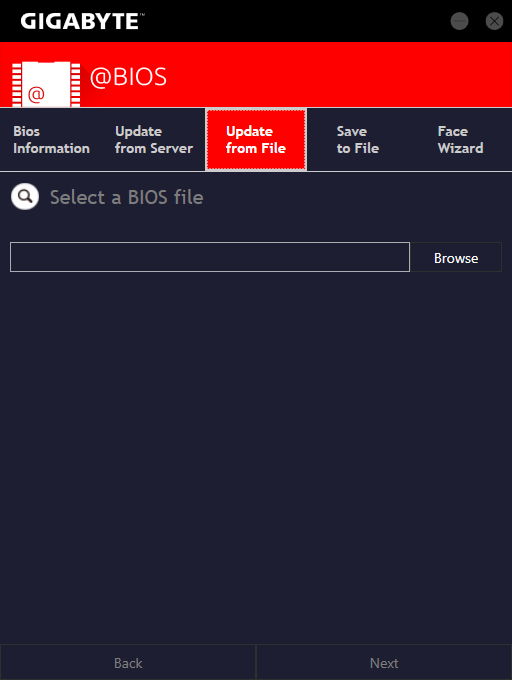
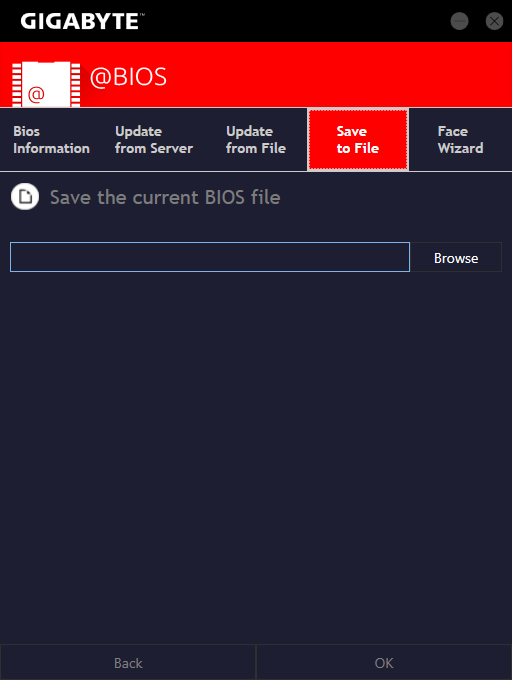
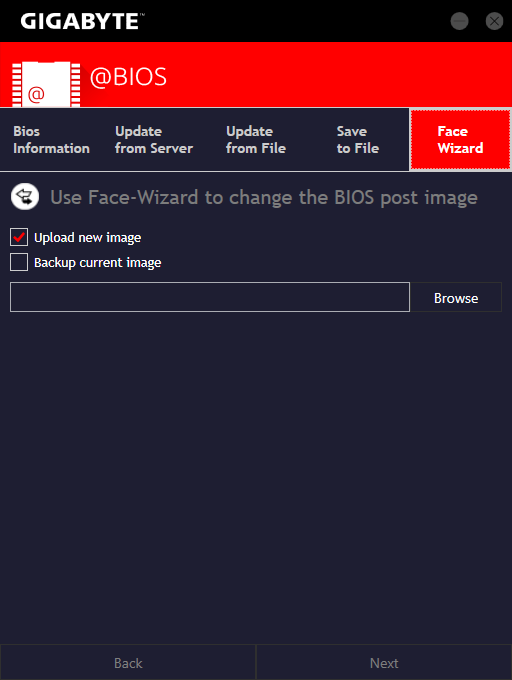
Gigabyte @BIOS allows flashing of the main ROM IC from Windows, includes server polling for firmware updates, and allows alteration of the splash image via its Face Wizard tool.
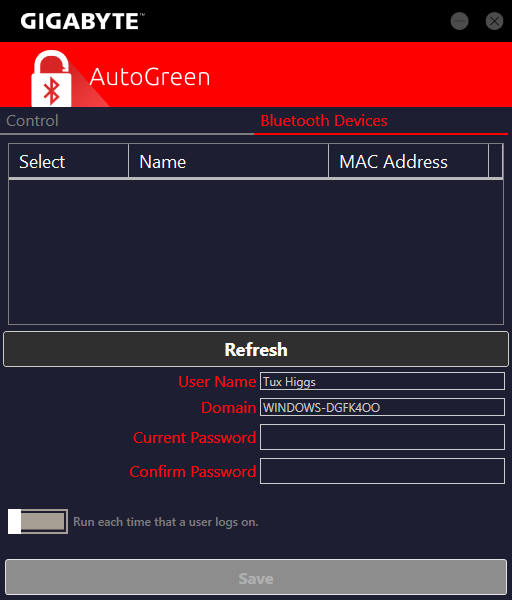
Gigabyte AutoGreen senses the presence of your Bluetooth-enabled smart phone and can lock or unlock the PC as you approach or walk away, carrying said phone.
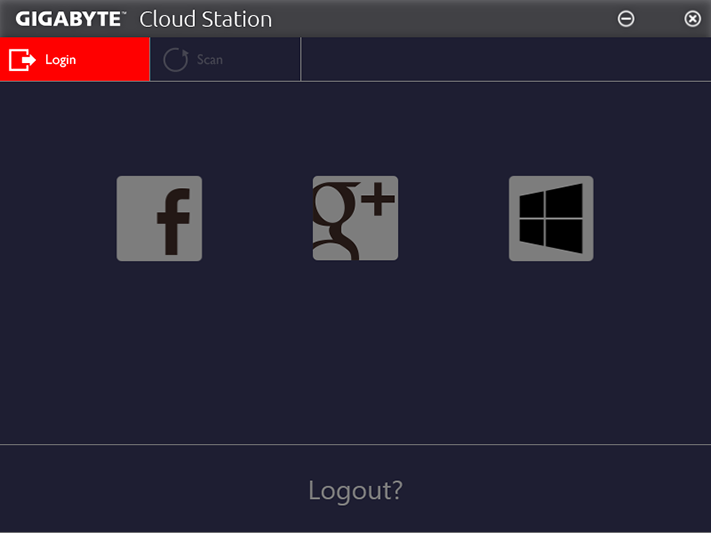
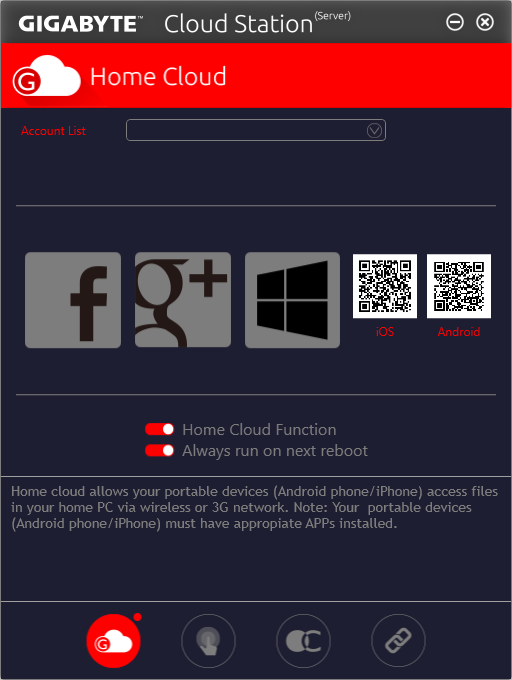
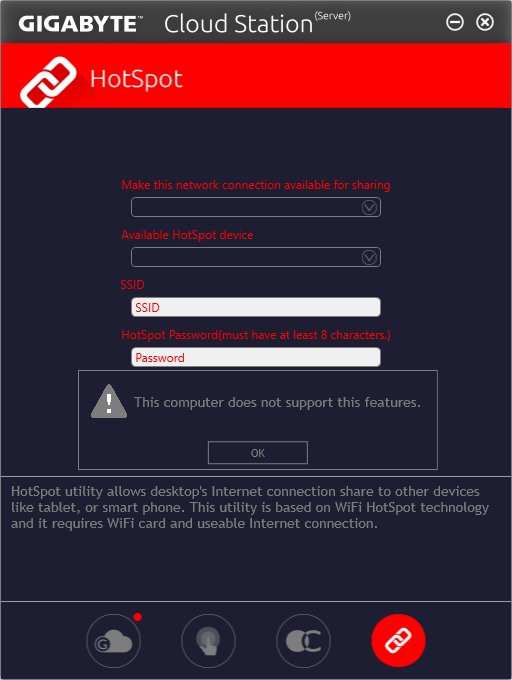
Gigabyte Cloud Station and Home Cloud Server is a suite of applications for sharing data between devices and using remote devices to control the computer. The HotSpot function reported that the X299 Aorus Gaming 7 doesn’t support it, even though a wireless card is present.
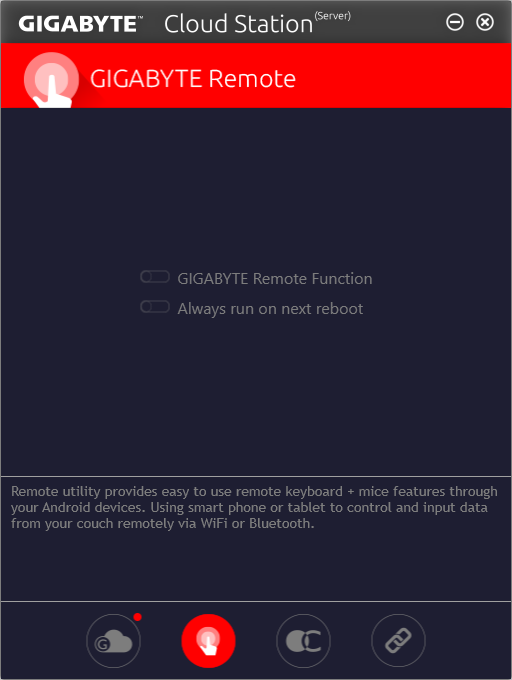
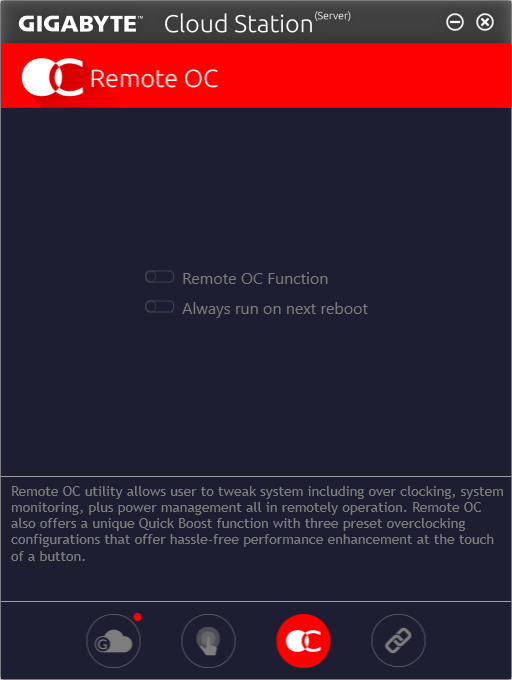
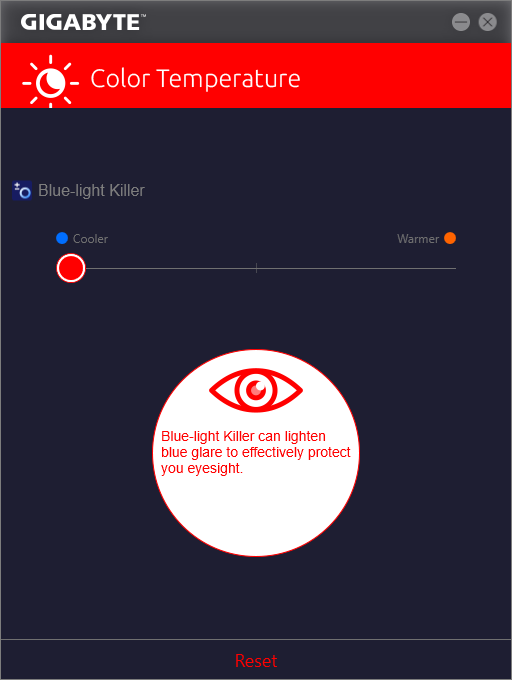
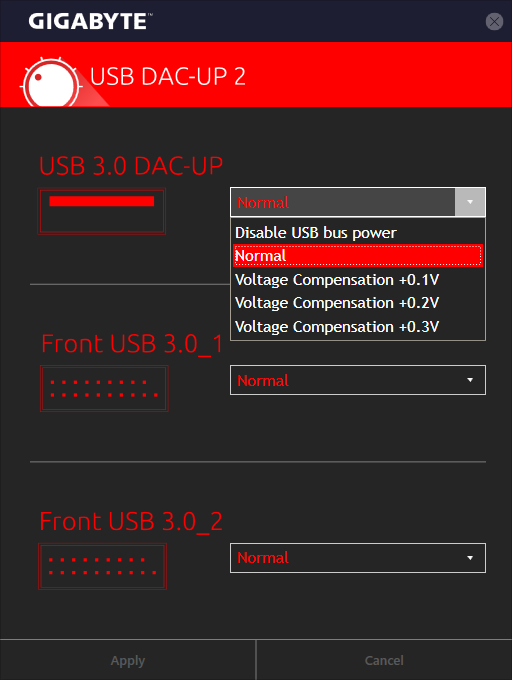
Gigabyte Color Temperature lets you adjust the color output of your graphics card to reduce blue glare, and USB DAC-UP 2 lets you increase USB voltage by up to 300mV. Gigabyte says the latter utility is particularly useful to reduce voltage sag when using long USB cables.
Gigabyte RGB Fusion allows users a broad variety of lighting control, including the rainbow mode seen in Gigabyte’s motherboard promotional photos. In addition to basic repetitive patterns, the utility lets you apply color to various monitors, such as showing the LEDs as red when the system reaches a certain temperature or yellow when a fan dies.
Get Tom's Hardware's best news and in-depth reviews, straight to your inbox.
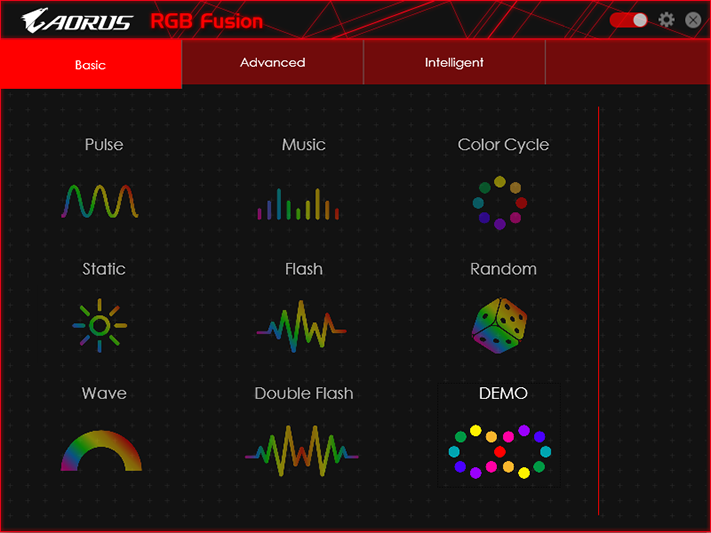
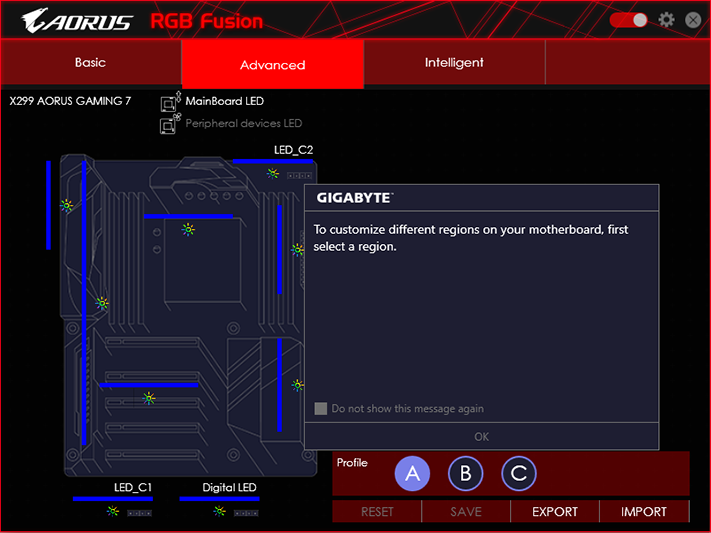
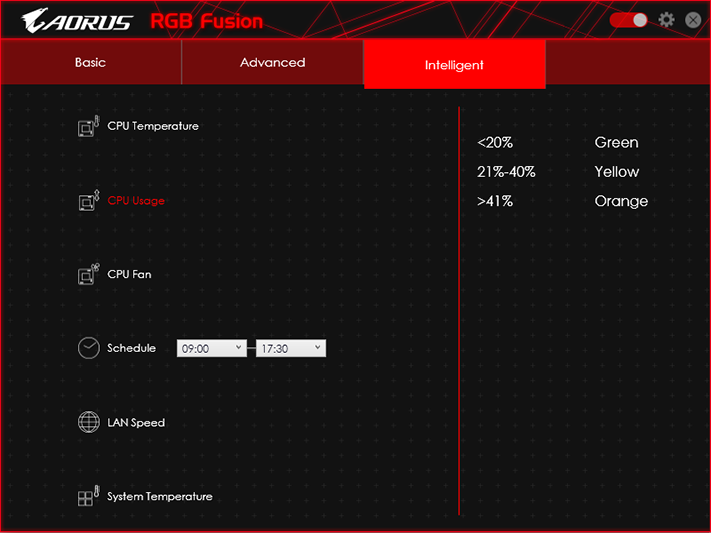
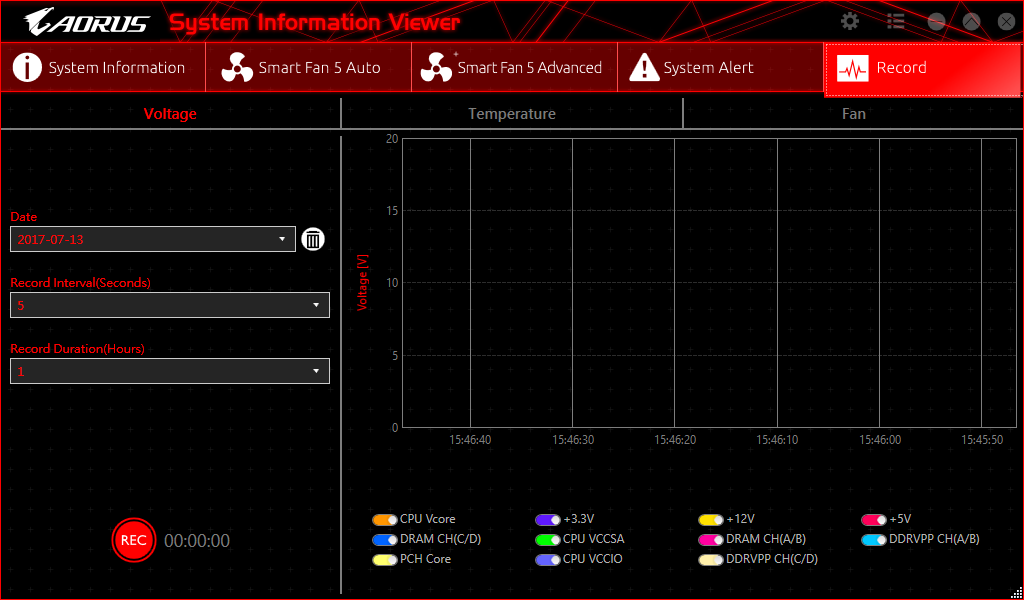
Though it also shows component status, Gigabyte System Information Viewer is the launching point for Gigabyte’s Windows-based fan control. Additional menus show system alert adjustments, a system status recorder, and even a popup for a screen side bar that shows all monitored readings.
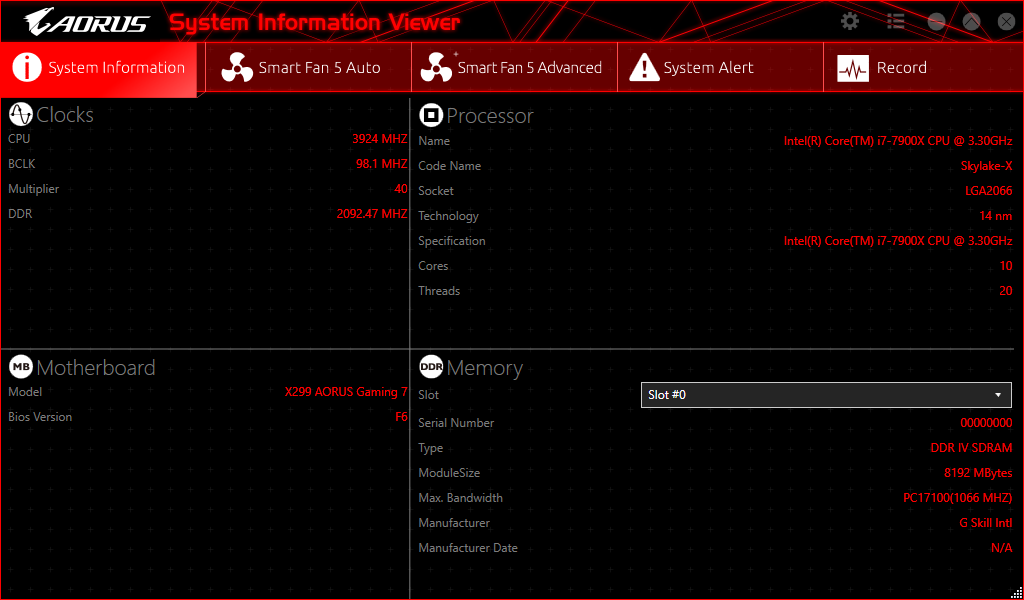
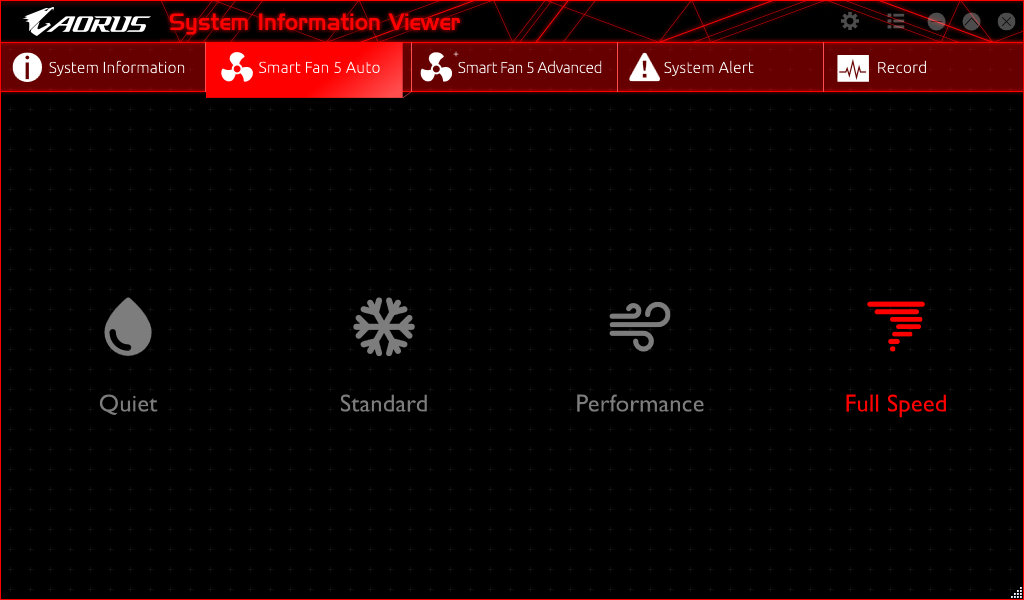
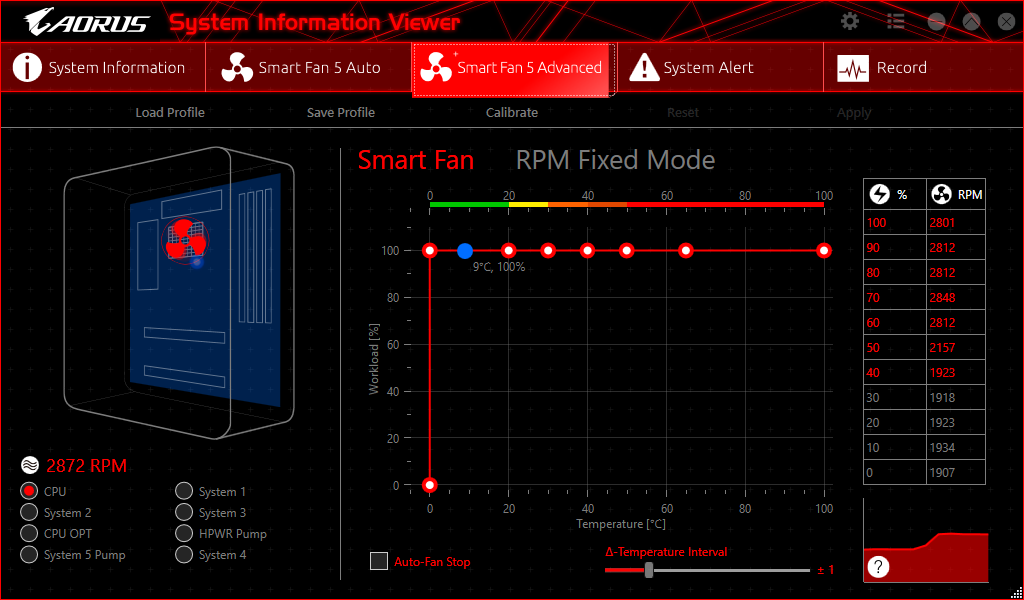
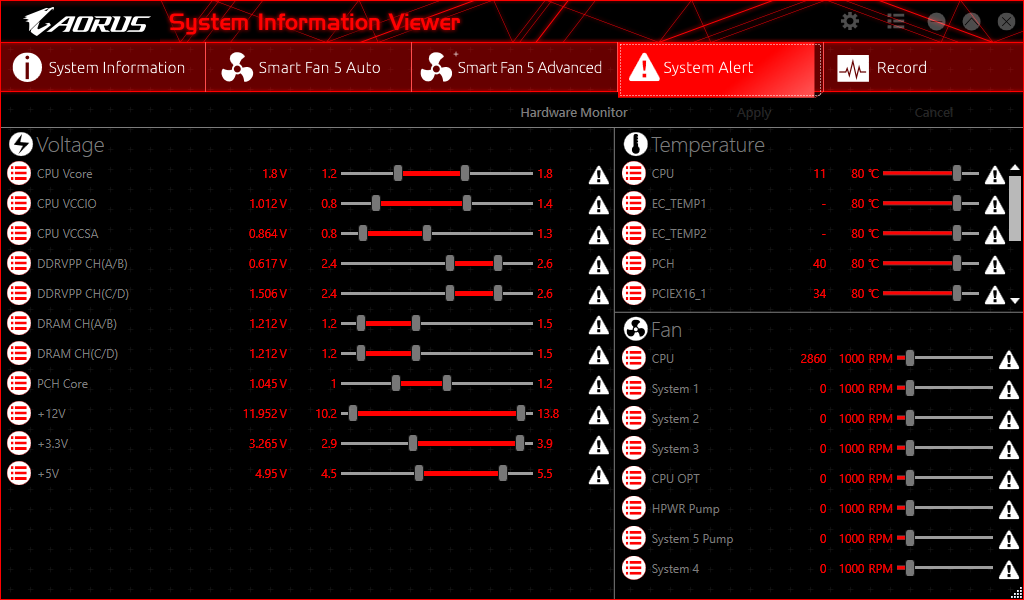
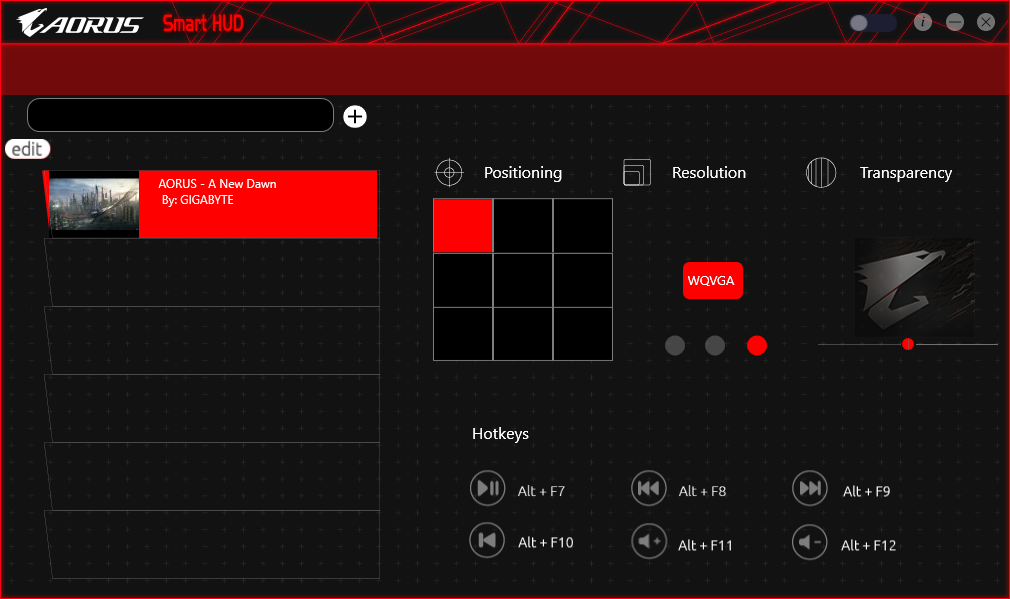
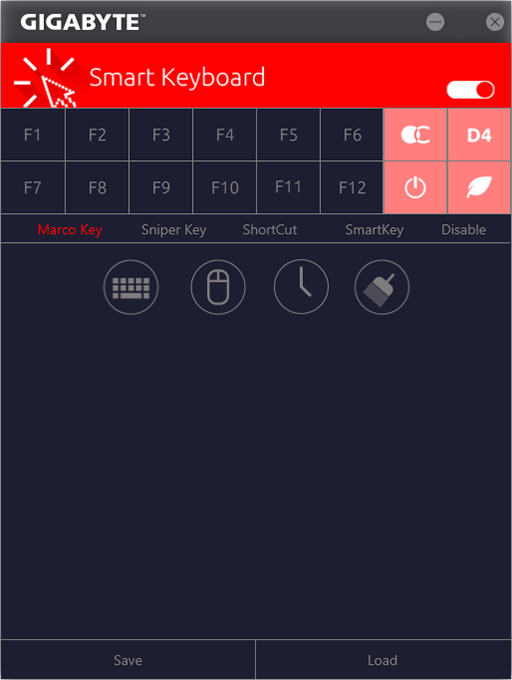
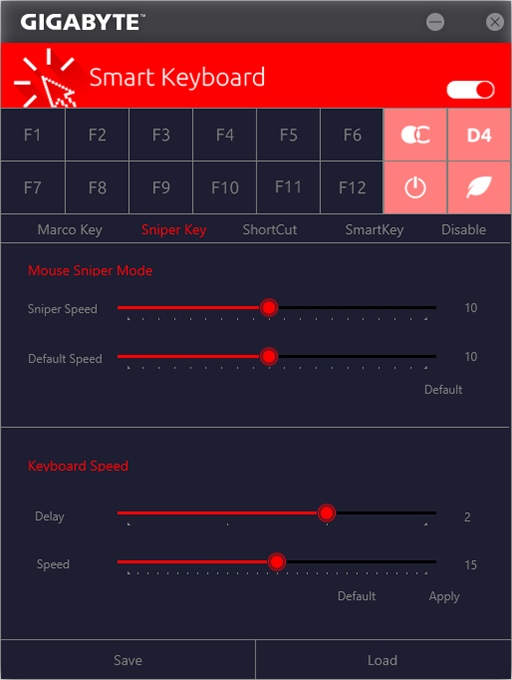
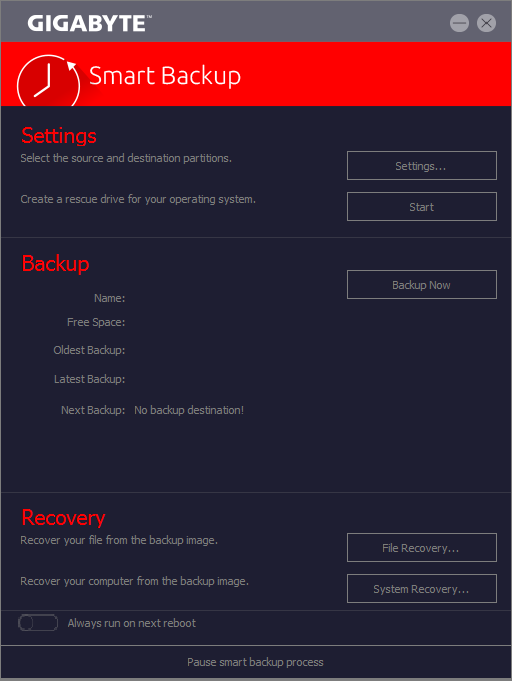
Smart HUD is Gigabyte’s overlay program for playing videos while gaming, which could make it easier to follow a more experienced player’s progress through a game map. Other important “Smart” applications include a macro recorder, an access scheduler (to limit the time available to other authorized users), and even a hard drive backup application.
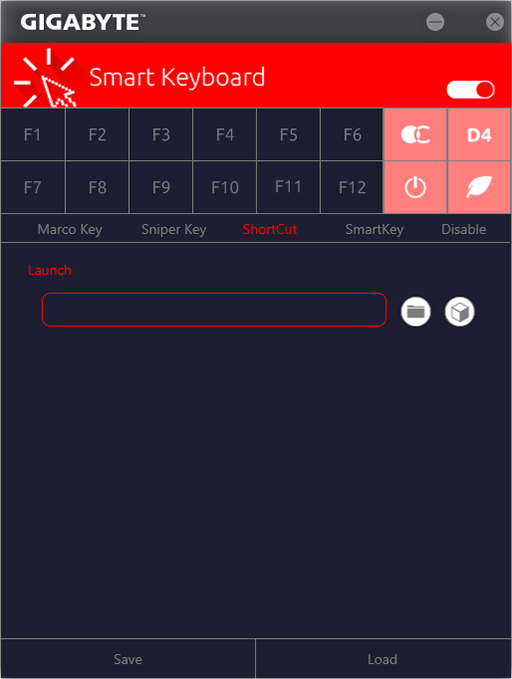
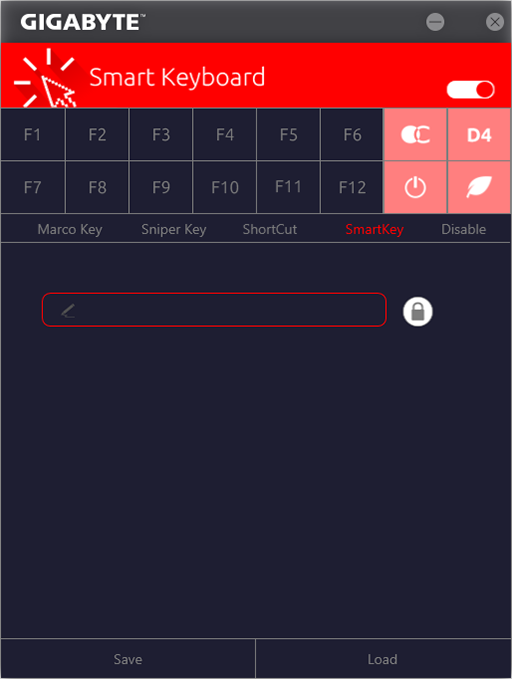
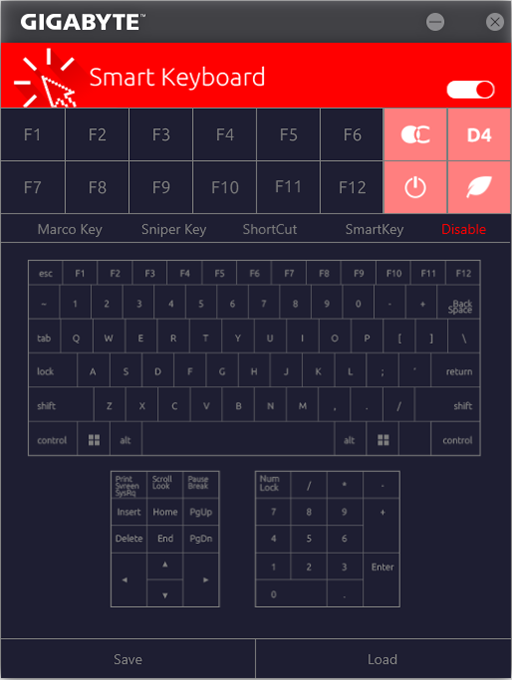
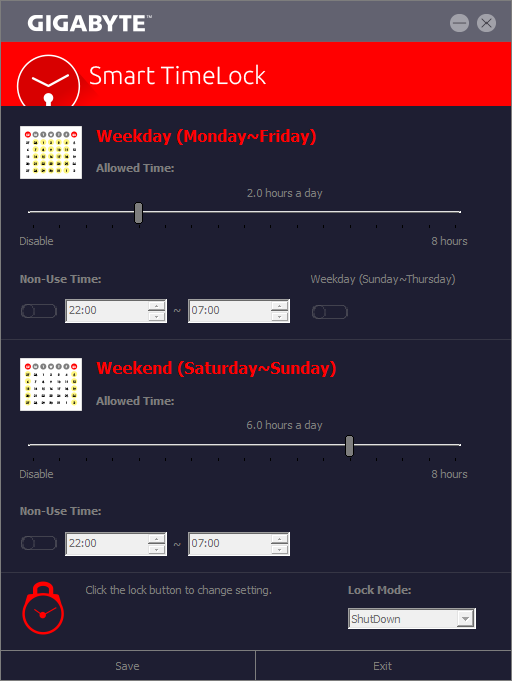
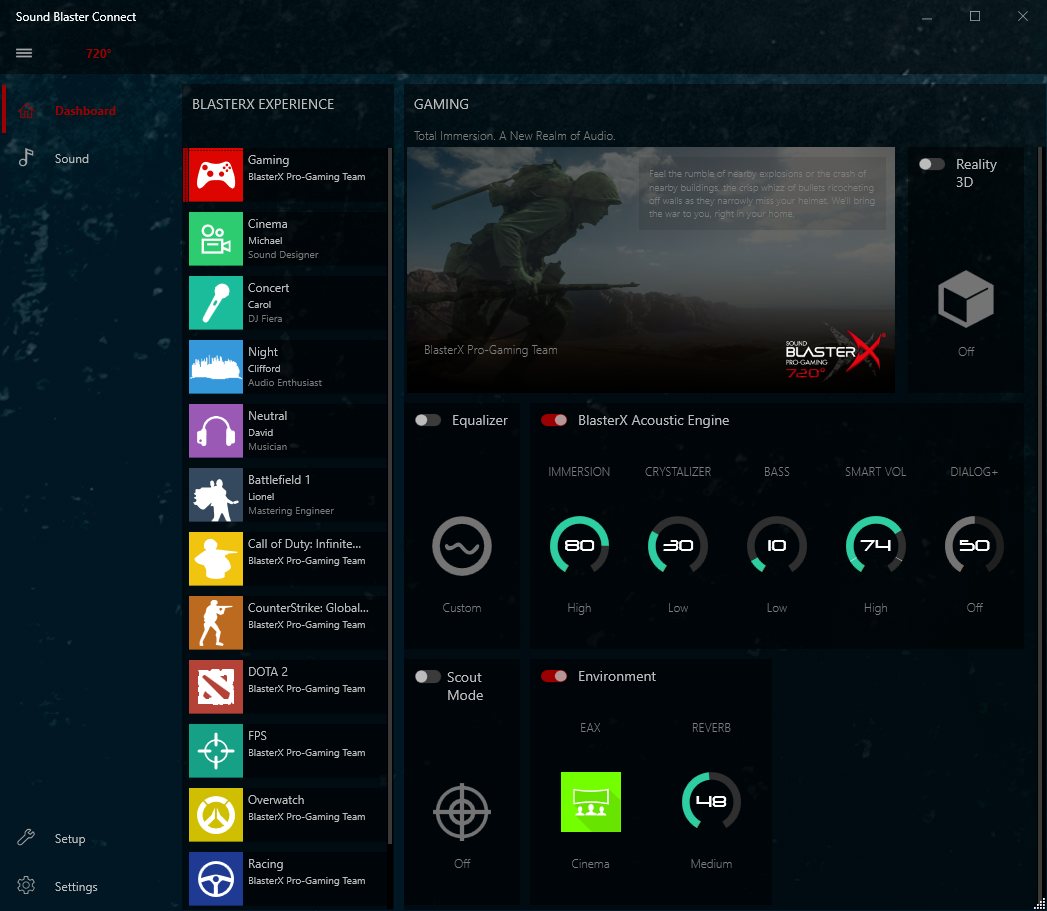
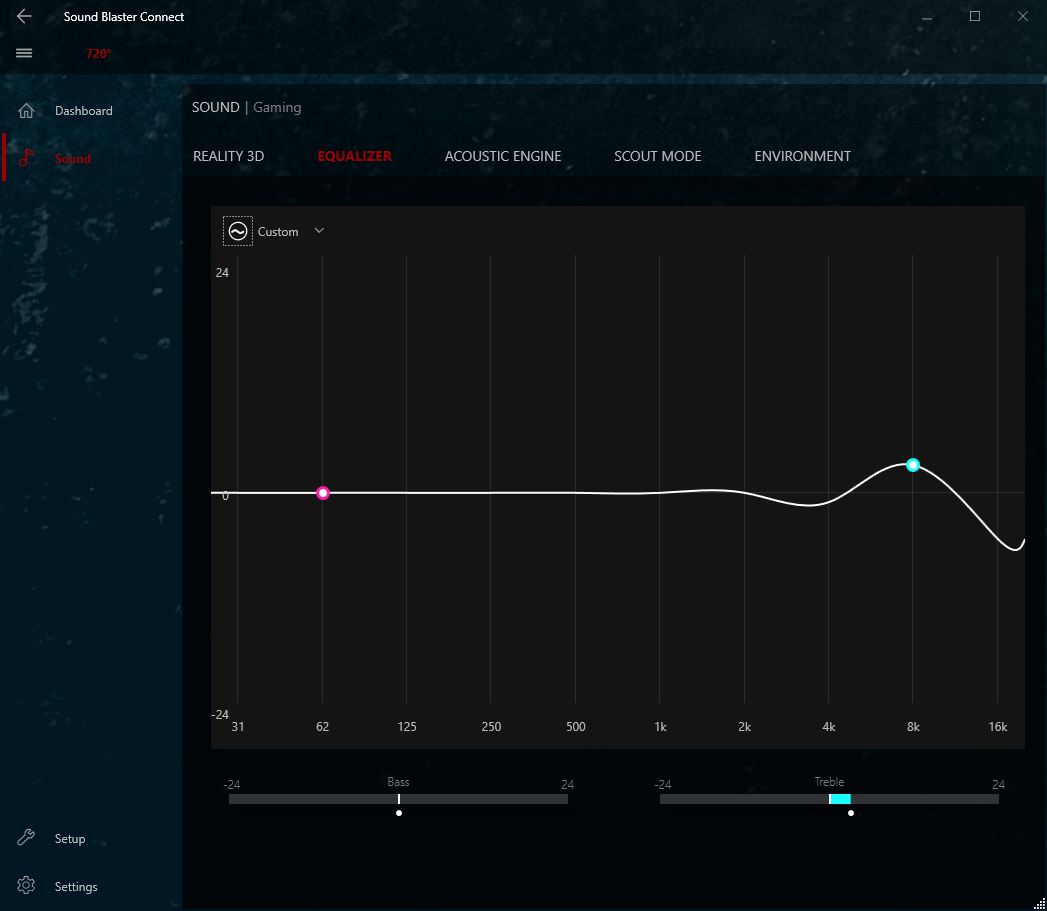
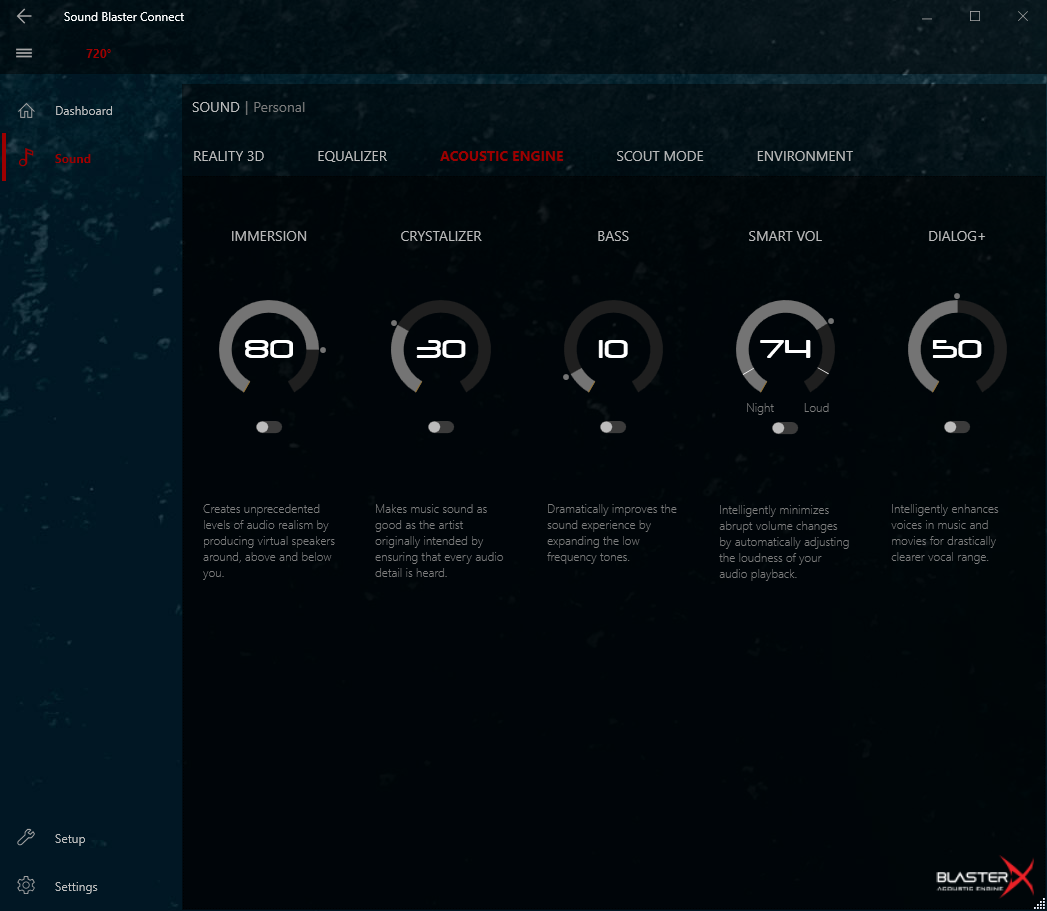
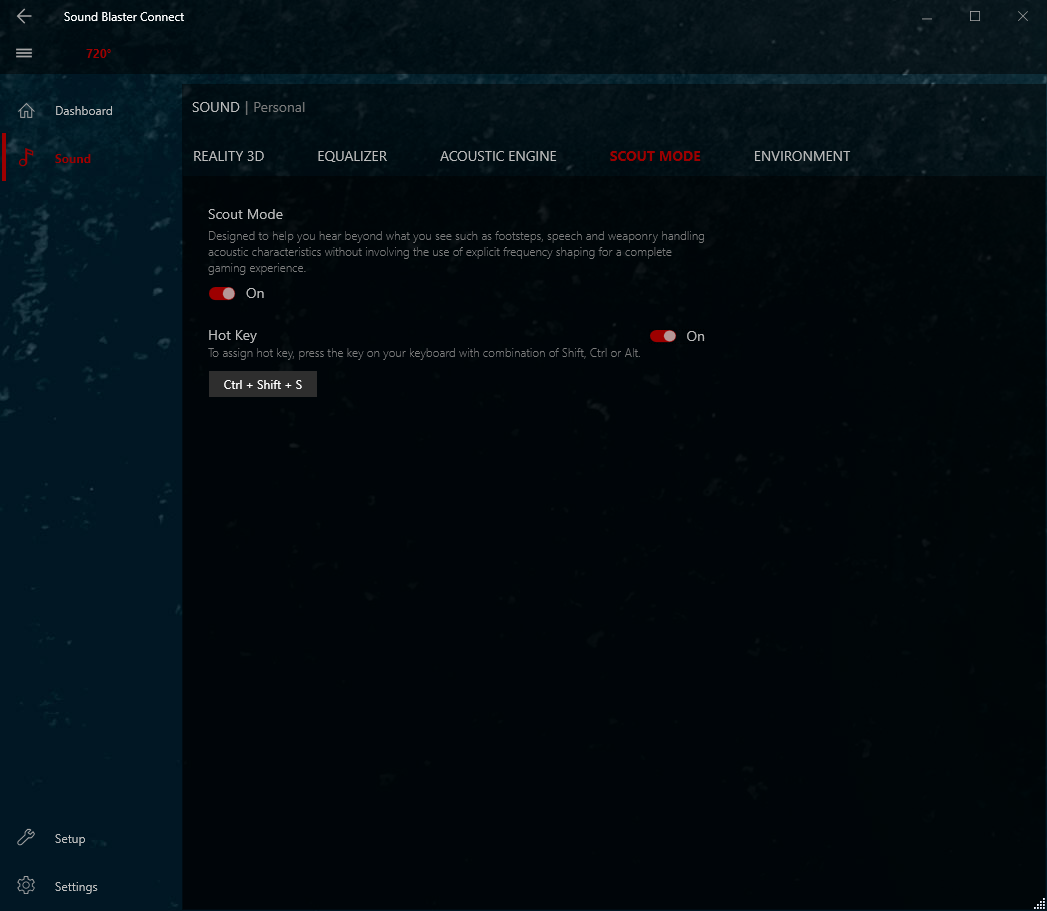
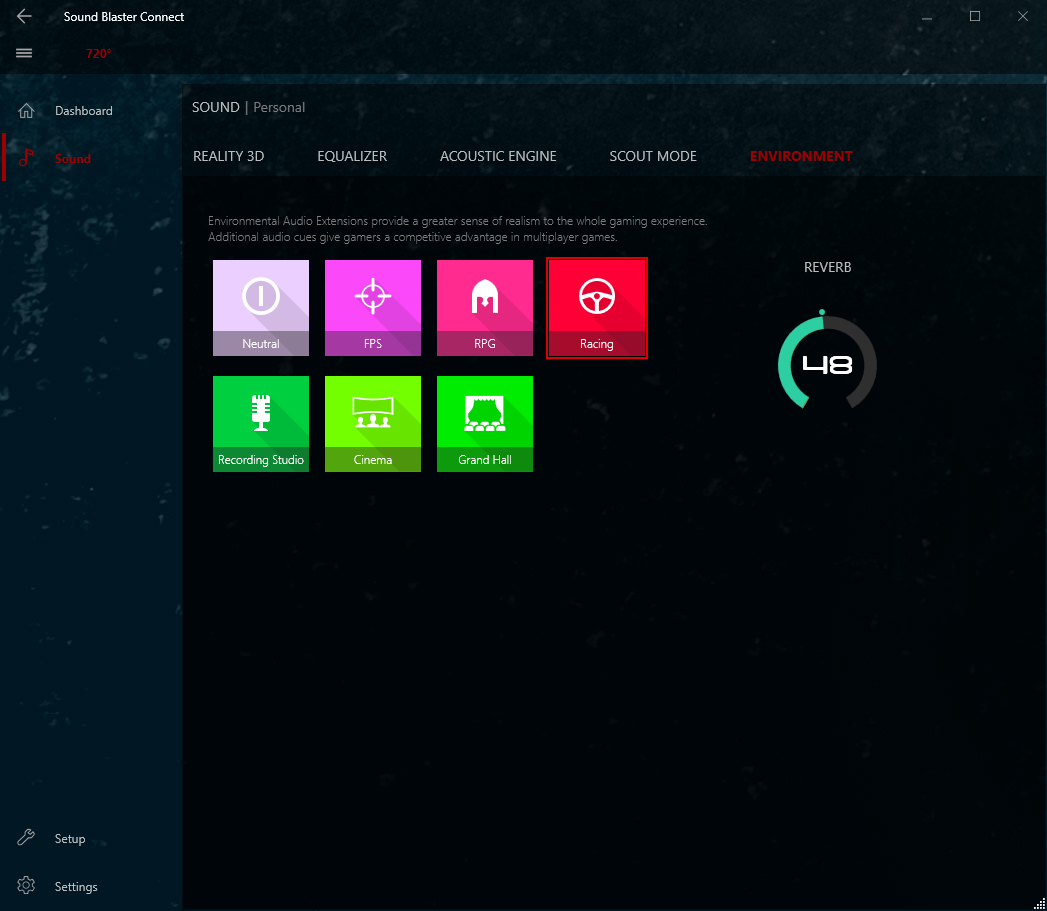
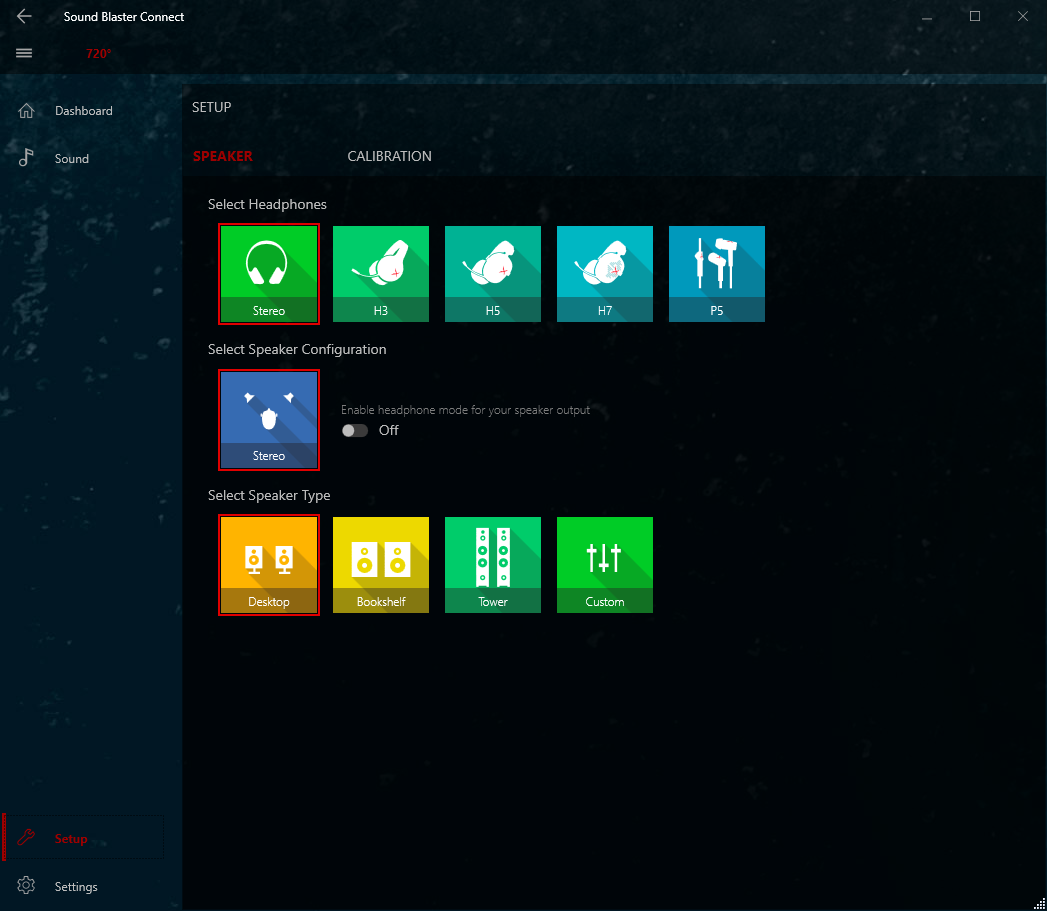
The X299 Aorus Gaming 7 includes Creative’s SoundBlasterX 720° suite, which adds various audio manipulation including increasing the noise of your opponent’s footsteps, and a radar app to visually indicate the direction of their approach.

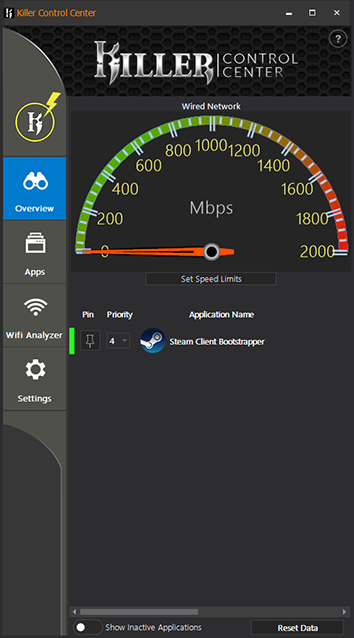
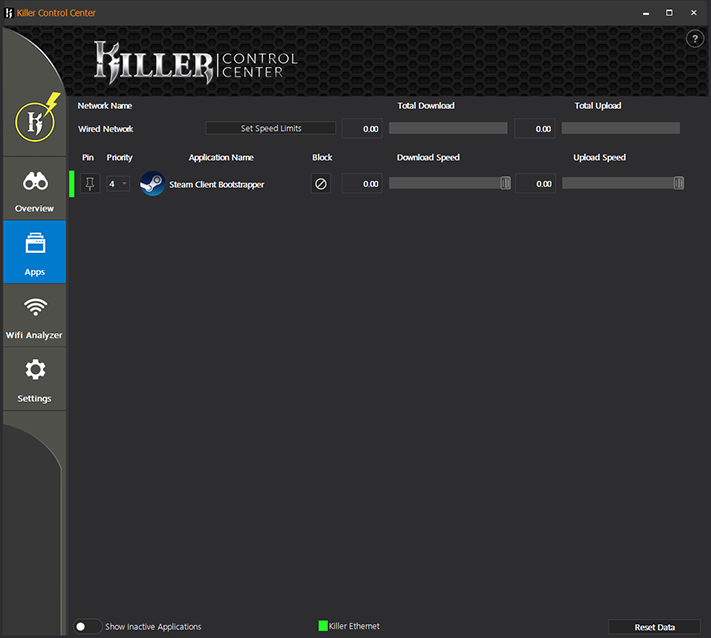
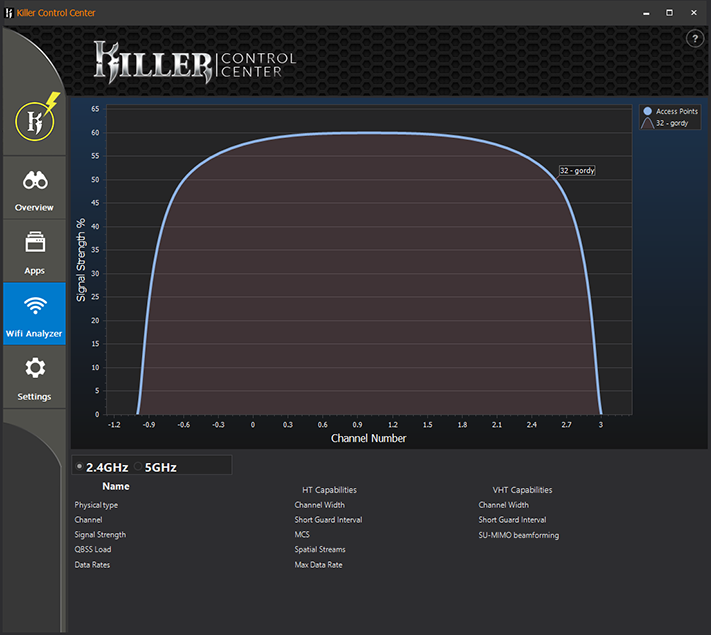
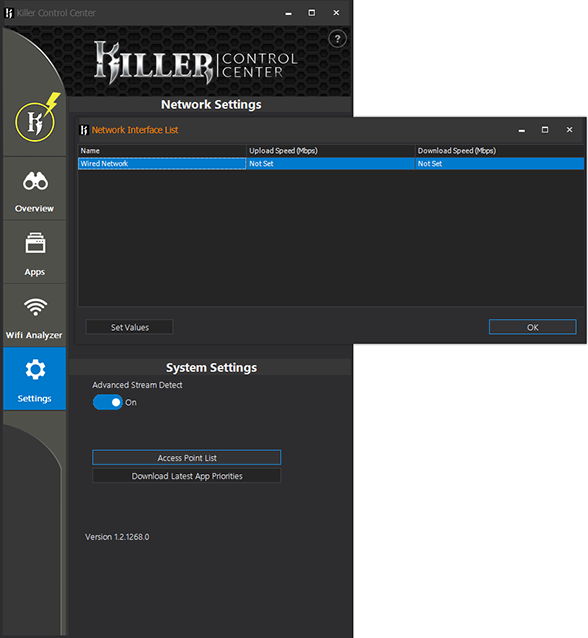
The X299 Aorus Gaming 7’s Killer NIC and Killer Wi-Fi entitle users to the Killer Control Center, with its various packet and bandwidth prioritization controls.
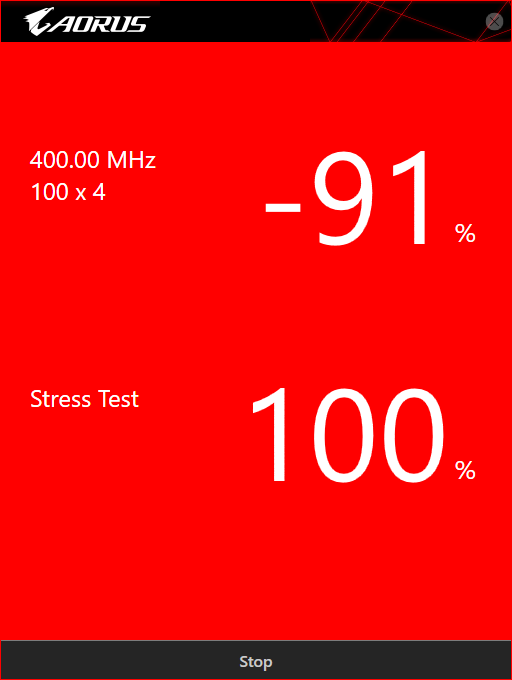
Finally, Gigabyte’s EasyTune provides overclocking control within Windows. Its AutoTuning program would run from the CPU’s minimum setting up to the point where the system locked, and rebooting the system would cause it to restart the process, wasting an hour of review time.
Manual adjustment of base clock functioned, but the some of the other settings weren’t behaving properly yet (for example, the multiplier would adjust down but not up). Any change to the DRAM multiplier requires a reboot so that the program can make the change to firmware, and even escaping out of the program causes it to reboot.
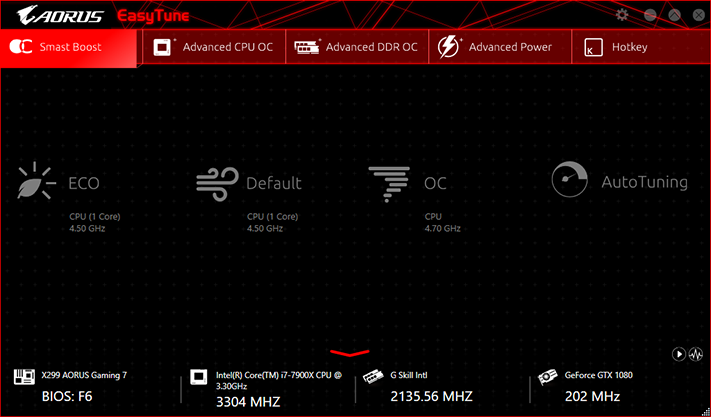
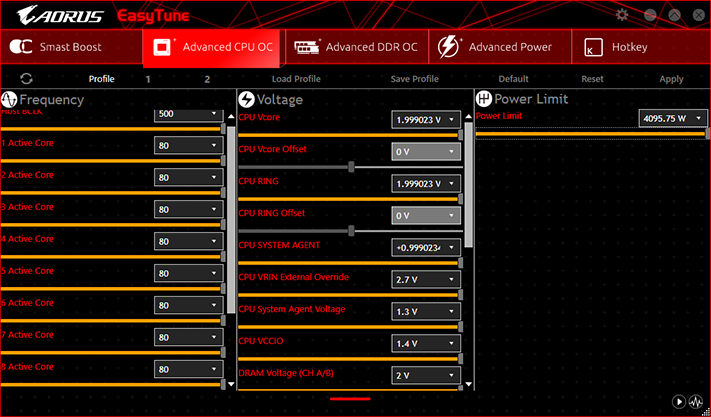
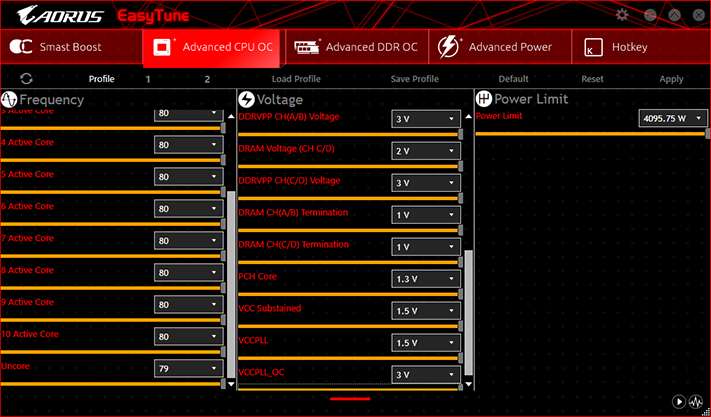
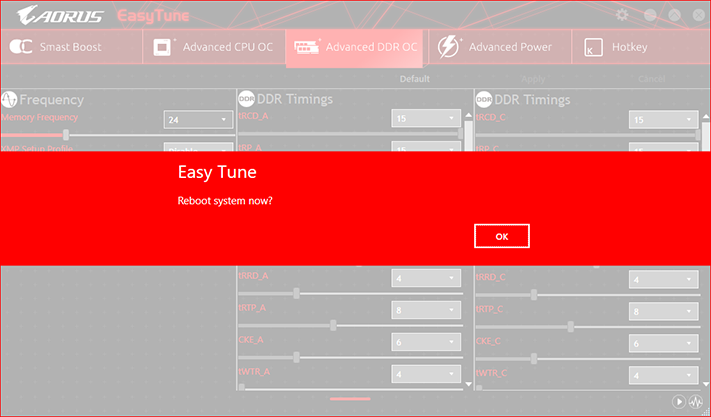
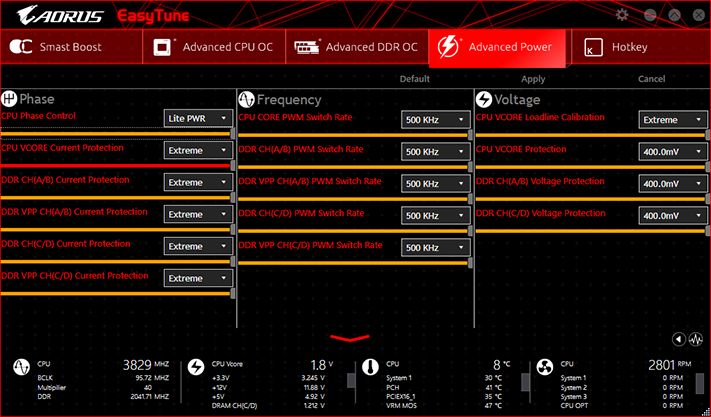
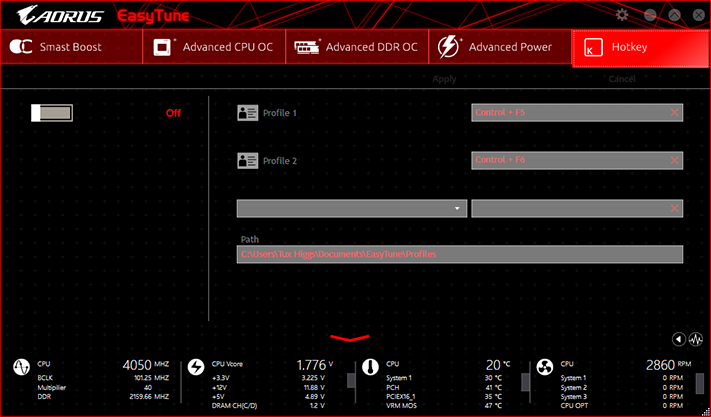
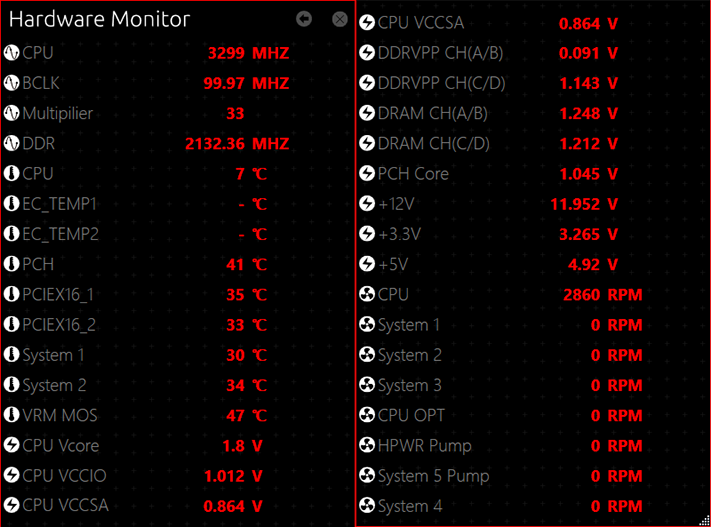
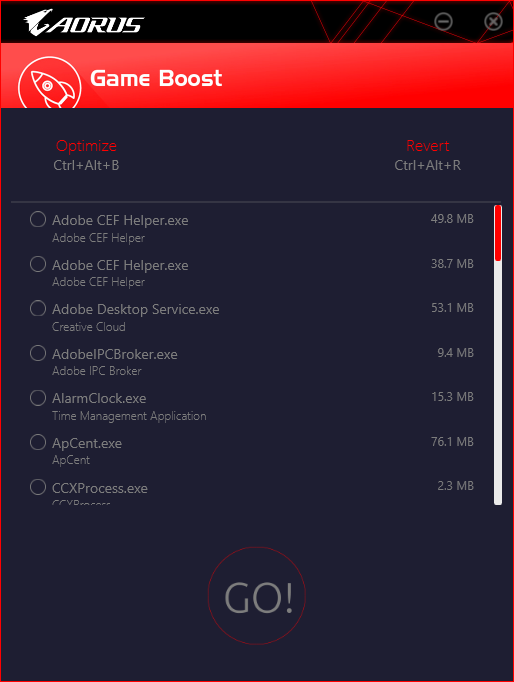
The hardware monitor popup that fills the right edge of the screen is also available in EasyTune. I chopped the image in two and placed the pieces side-by-side to fit them within this article’s view window.
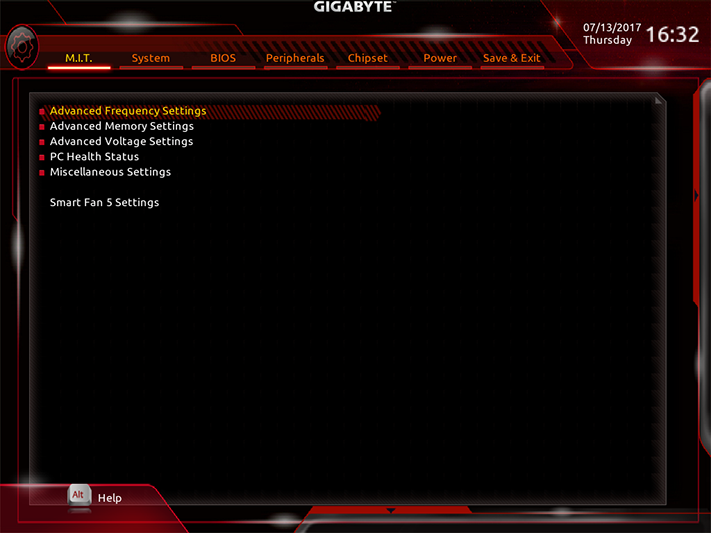
Firmware is the easiest place to overclock, and the X299 Aorus Gaming 7’s UEFI opens to its Motherboard Intelligent Tweaker menu to expedite this. The M.I.T. menu is simply a launching point for various submenus that control CPU and DRAM clocks and timings along with various voltage levels and fan speed profiles.
The X299 Aorus Gaming 7 had zero difficulty pushing our Core i9-7900X to 4.40 GHz at 100% load, but finding the 4.40 GHz setting for our load wasn’t as easy. We use Prime95 with AVX optimization, but Gigabyte doesn’t offer a 0x offset. Unlike some other boards, the “Auto” setting of 3 (deducted) was not indicated during our overclock, leaving us to question why the board was ramping the CPU down. After finding the issue, the easiest way to get to 4.40 GHz at full load was to set 4.50 GHz with the lowest possible AVX offset of 1.
>
Default power saving and Turbo Boost settings weren’t automatically disabled when we overclocked, so the multiplier still fluctuated. Disabling SpeedShift, C1E, and C6/C7 states got the board to lock in our 45x unloaded, 44x loaded selection.
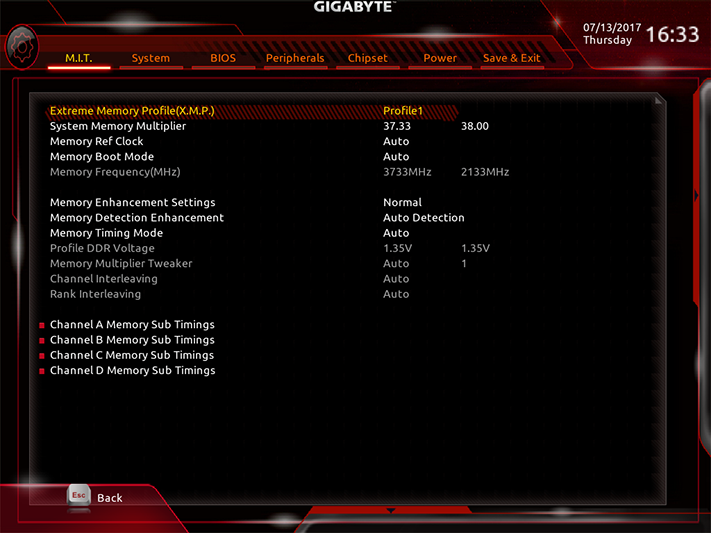
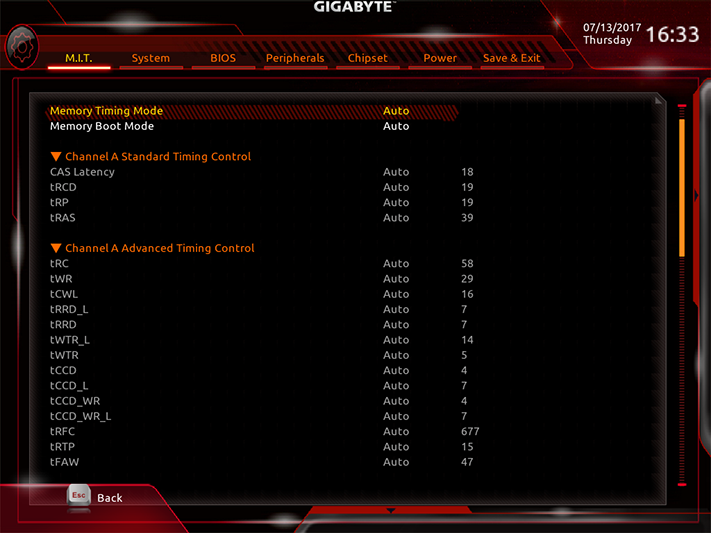
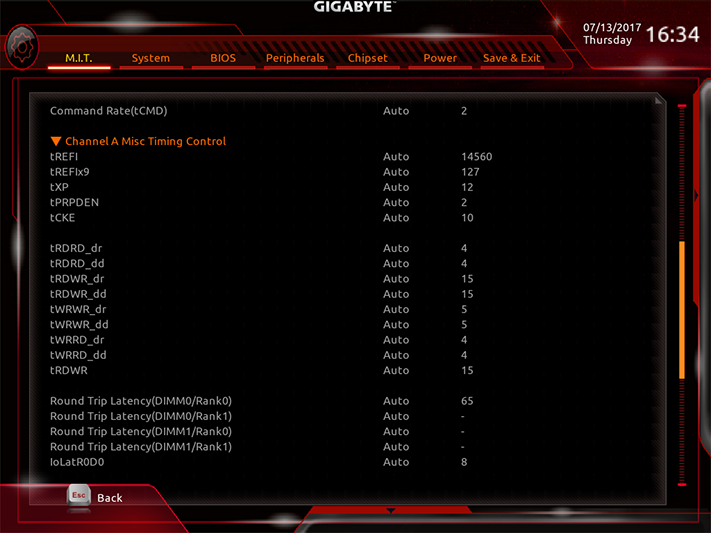
The X299 Aorus Gaming 7 provides full control of memory data rates and timings, with Manual mode allowing all-channel adjustment and Advanced Manual mode allowing per-channel adjustment. Firmware programming attempted to set our XMP profile of DDR4-3866 by choosing a 38x data rate (19x multiplier with DDR) and 101.7 MHz BCLK, but our memory wasn’t stable even at 38x 100 MHz. Listed as a 37.33x ratio, the lower DDR4-3733 setting worked while retaining XMP timings to aid stability. FYI, the 37.33x setting is really 14x a memory controller ratio of 4/3 BCLK (at 100 MHz BCLK, 14x 133.33MHz x 2 = DDR4-3733).
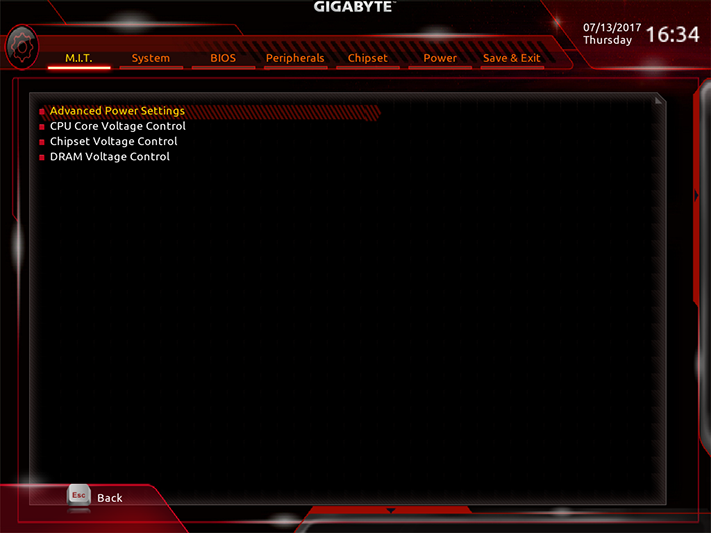
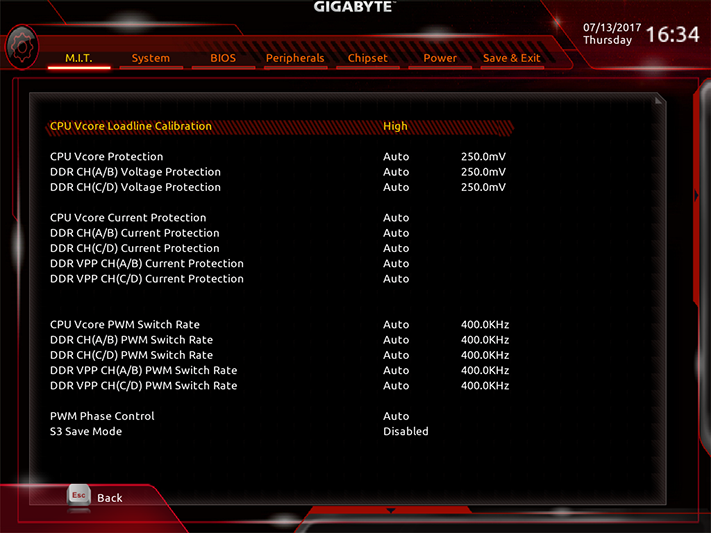
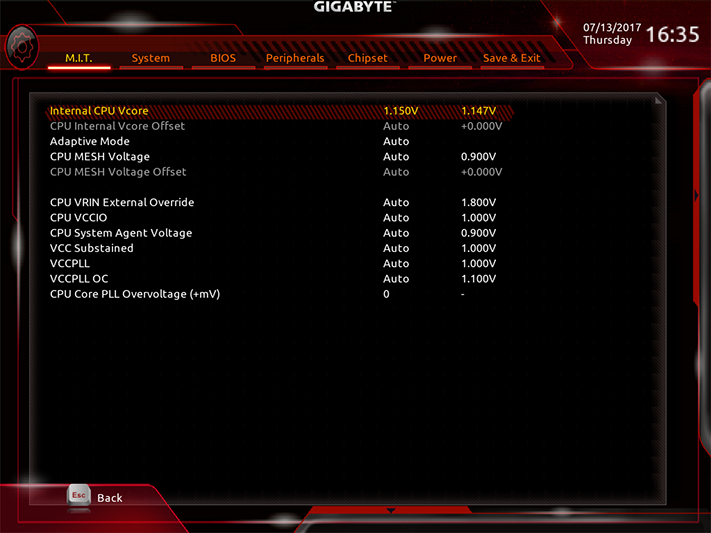
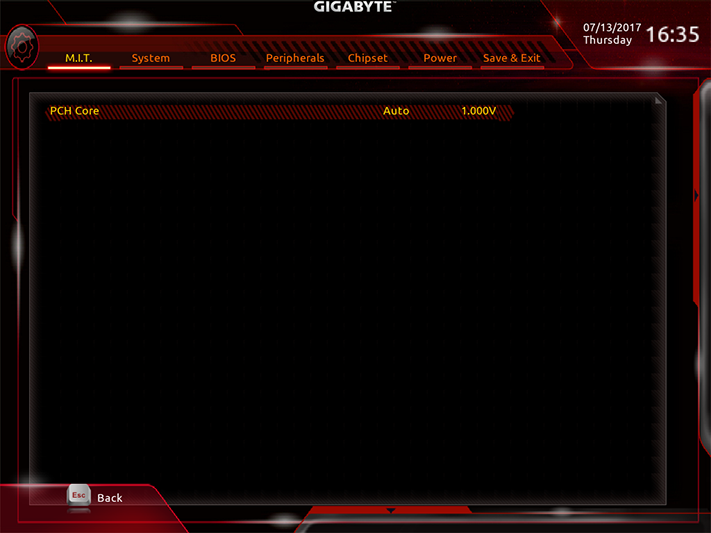
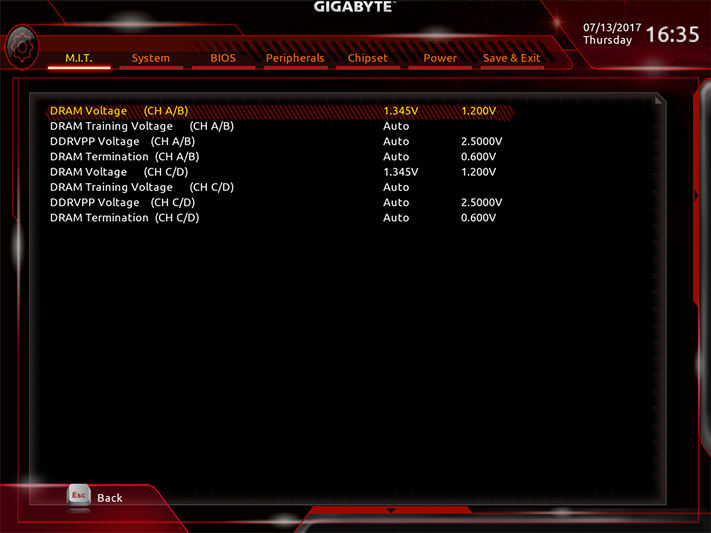
The Advanced Voltage Settings submenu brings up another group of submenus that separately address power control, CPU core voltage, chipset voltage, and DRAM voltage. I stumbled across a Vcore Loadline Calibration setting of “High,” which appeared perfect for our CPU at a 1.15V core setting. Surprisingly, the DRAM voltage setting of 1.345V produced a peak 1.354V meter reading at the DIMM: Most companies over-compensate by far more.
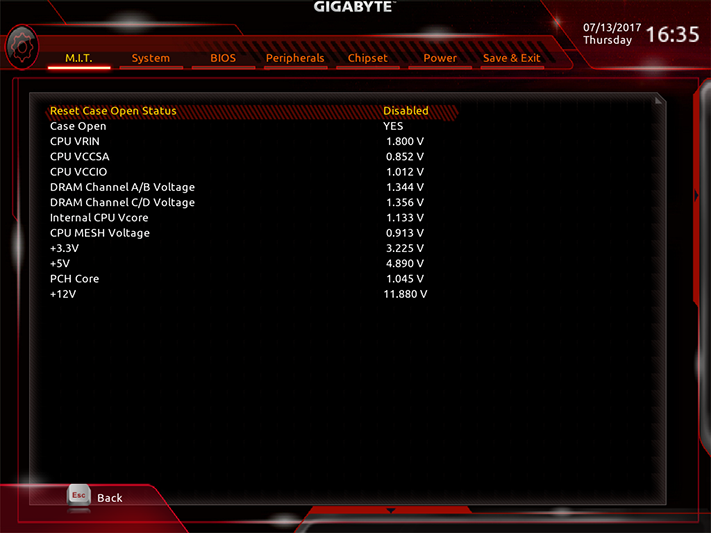
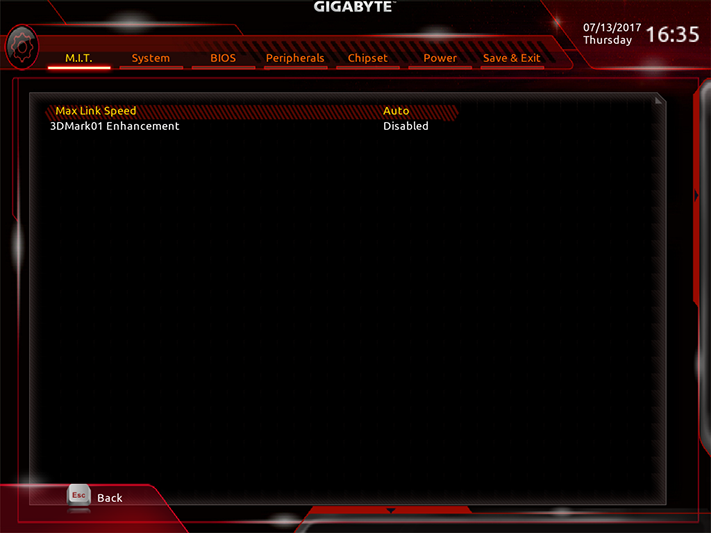
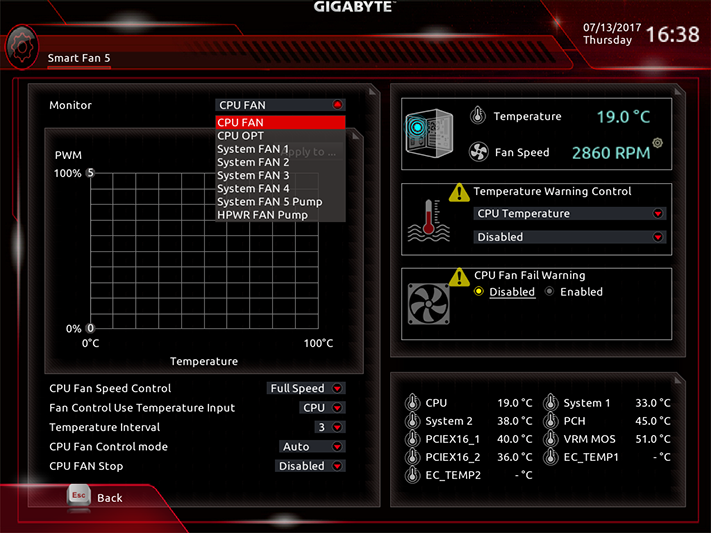
Additional M.I.T. submenus provide voltage readings, a legacy 3DMark setting, and temperature-to-speed slopes for up to eight fans. The X299 Aorus Gaming has a program to calculate ideal fan RPM, includes factory-set fan maps, and can be custom configured to user-selected slopes.
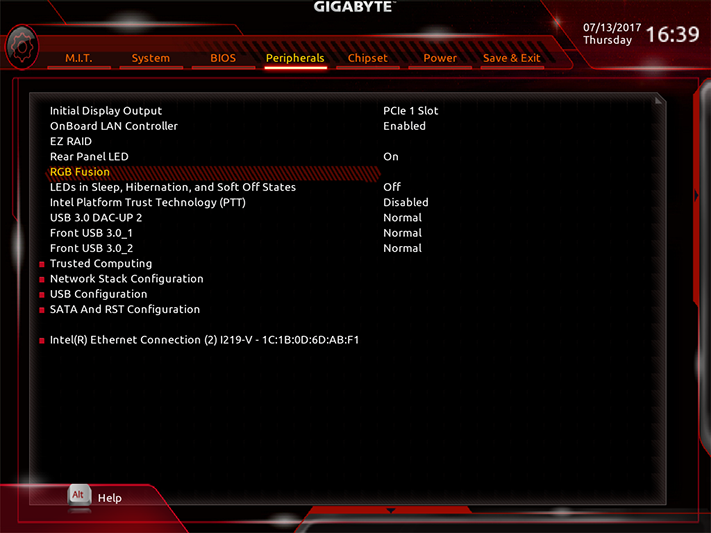
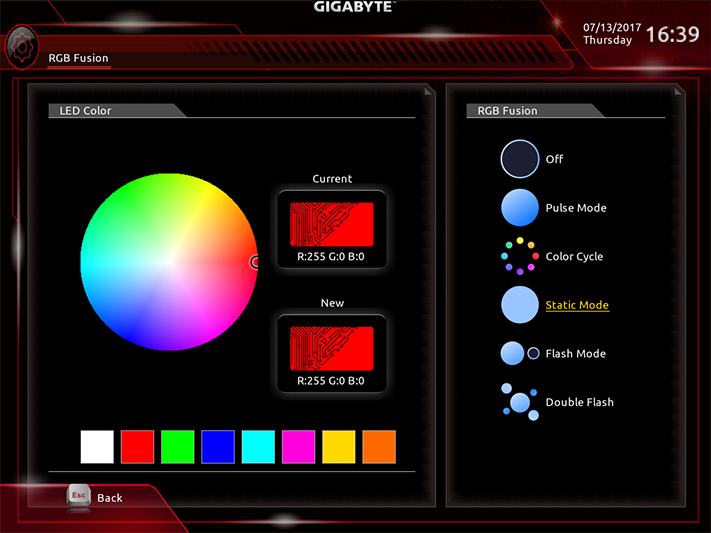
Located within the Peripherals main menu, the RGB Fusion submenu of firmware can be used instead of software if you’d prefer not to load the software.
MORE: Best Motherboards
MORE: How To Choose A Motherboard
MORE: All Motherboard Content
-
drwho1 I'm still hoping that future boards don't limit features on their boards. I don't want to see "if you used m.2 drive you loose 2 Sata connections " anymore... then this boards with 2 or 3 m.2 if you used them, then you lose 4/6 Sata connections out of 8?Reply
Just not make sense to me. -
AgentLozen ReplyDrWho1 said:I'm still hoping that future boards don't limit features on their boards. I don't want to see "if you used m.2 drive you loose 2 Sata connections " anymore... then this boards with 2 or 3 m.2 if you used them, then you lose 4/6 Sata connections out of 8?
Just not make sense to me.
I understand why you would say this. I also think that every feature on a motherboard should be 100% usable.
What's happening though is that there are more features on the board than there is bandwidth for it. If you enable one feature, it eats the resources needed for another. Have you ever worked at a job that was understaffed? It's like that. -
What i like about x299 platform is that PCIe frequency just like with 1366 socket is not affected when you change BLCK. I wish it is the same case for X99, would make possible to overclock Xeons easily.Reply
-
This price is too much. Waiting for < $200 X399 AMD or X299 Intel and they will come in about year.Reply
-
Kahless01 until intel quits screwing around and comes up with a decent plan instead of playing it fast and loose there is really no reason to test any of its products. there are far too many variables because of the rush job they did. youre just going to have to retest when they come to their senses and thats a lot of wasted time and resources on everyones part.Reply -
derekullo Reply19961930 said:GOD THE LIGHTING IS SO TACKY
Red lights make it faster.
PC Building 101
-
gasaraki Reply19961735 said:until intel quits screwing around and comes up with a decent plan instead of playing it fast and loose there is really no reason to test any of its products. there are far too many variables because of the rush job they did. youre just going to have to retest when they come to their senses and thats a lot of wasted time and resources on everyones part.
So you mean just like Ryzen boards? If everyone followed your advice, there wouldn't be any motherboard reviews for either brands.
-
AnimeMania Does anybody know if it is "OK" to put your graphics card in any of the 5 PCIe slots on the motherboard. I would probably place my graphics card in the PCIe slot farthest from the CPU so as not to cover up the LED graphics and provide adequate ventilation. Something in the back of my mind tells me that not all PCIe slots are equal and you might be penalized for doing so.Reply
