Gigabyte X570 Aorus Elite Motherboard Review: Sub-$200 Goodness
Why you can trust Tom's Hardware
Software and Firmware
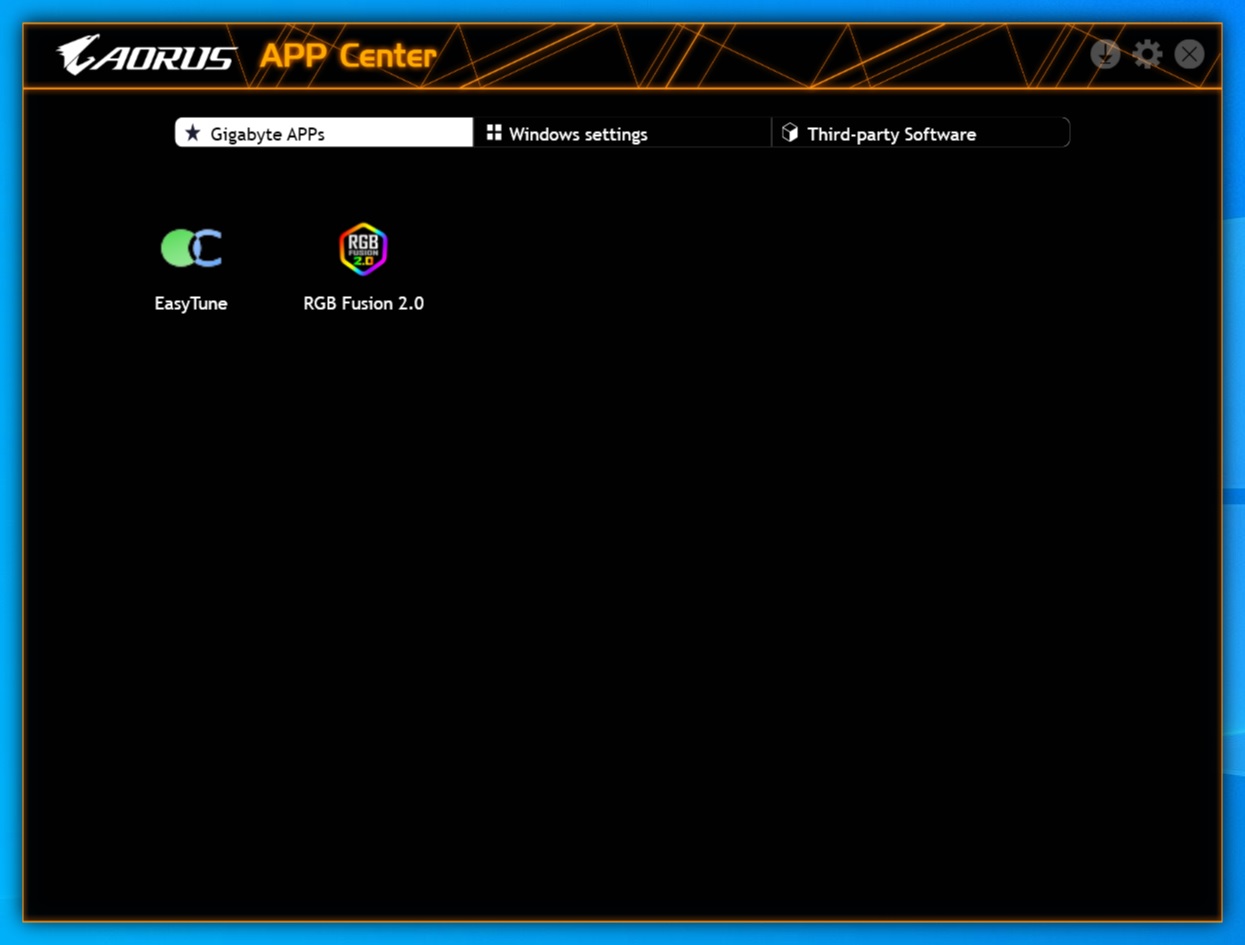
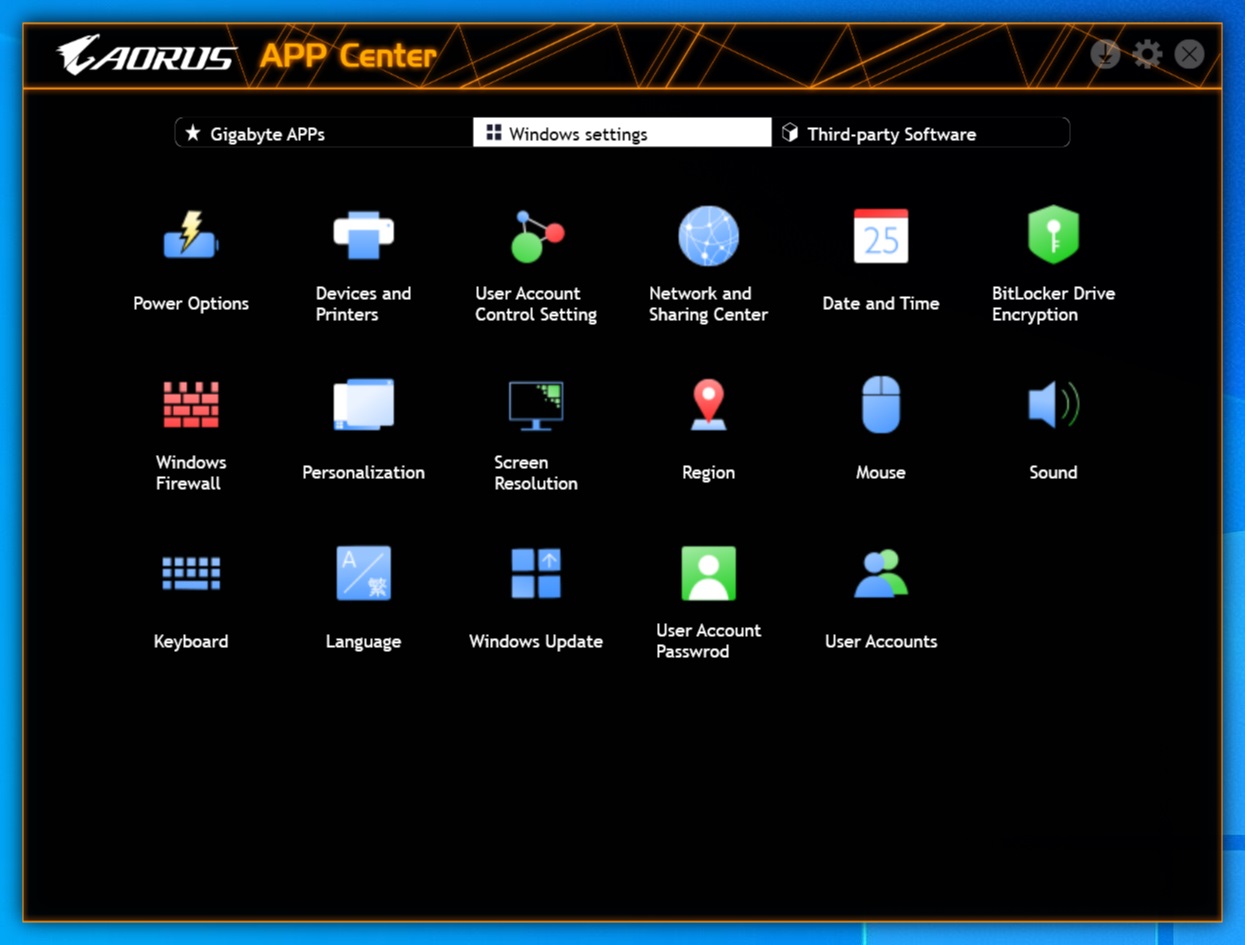
In the Gigabyte software ecosystem, the company offers several applications designed to help the user get more from their PC, and handily stows them all in a single App Center wrapper. From here, you can access Easy Tune, RGB Fusion 2, @Bios, Game Boost, Cloud Station, On/Off Charge, and more.
App Center also acts like a quasi-Windows Settings control panel, with easy access to user account information, firewall, devices, sound, power options and more. The app itself runs out of the way in the tray until it’s needed. Overall, the software is a good toolbox for accessing the Gigabyte apps and Windows settings, though one thing I would like to see is a driver-updating utility which we have seen in other similar applications from different board partners.
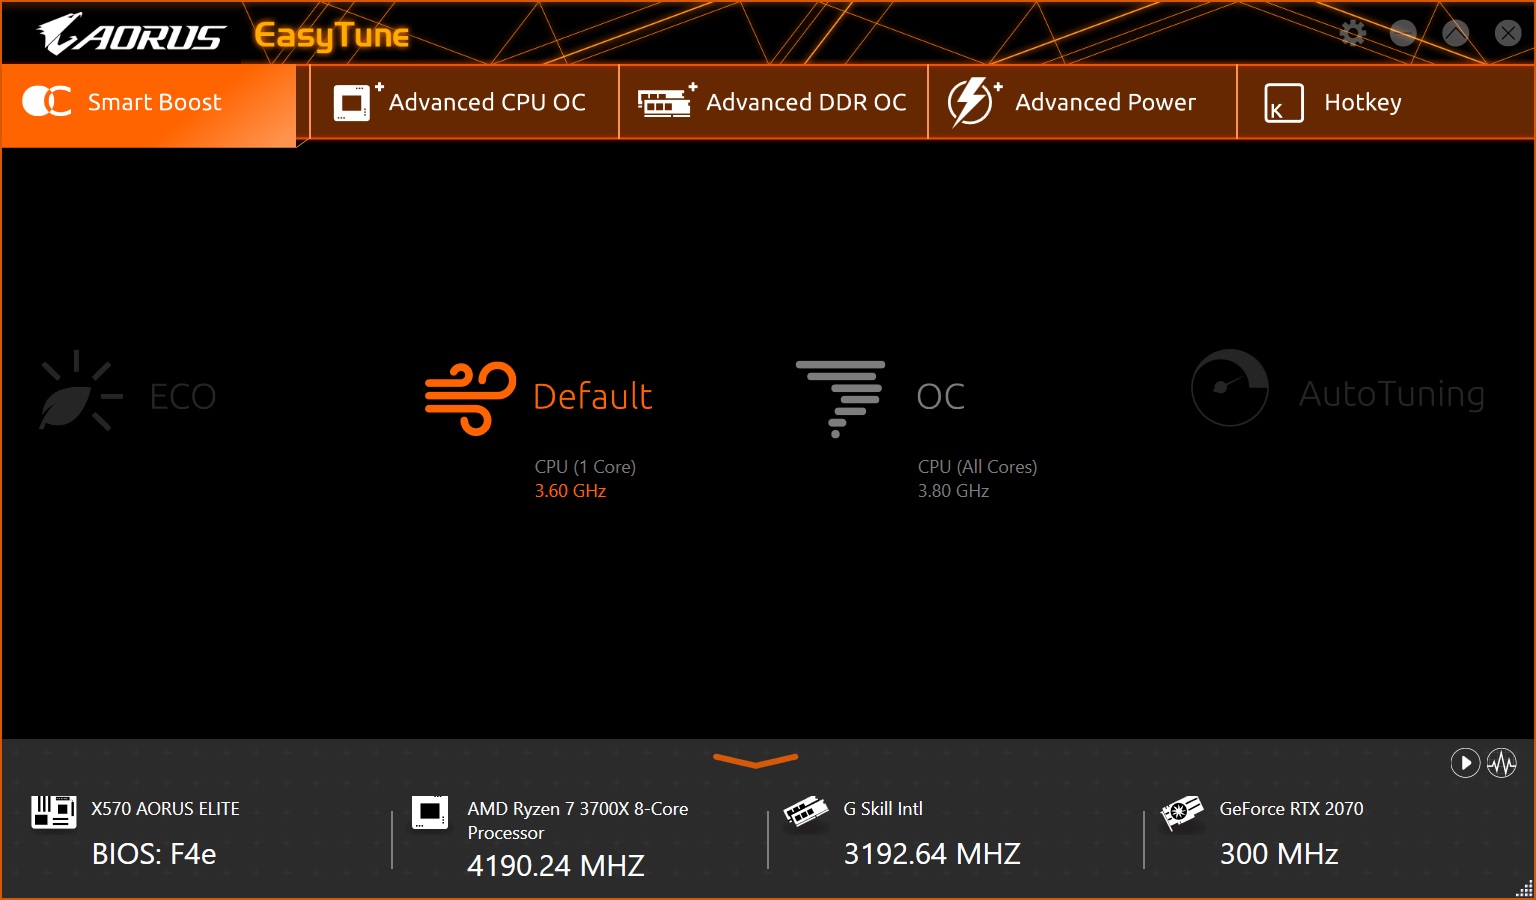
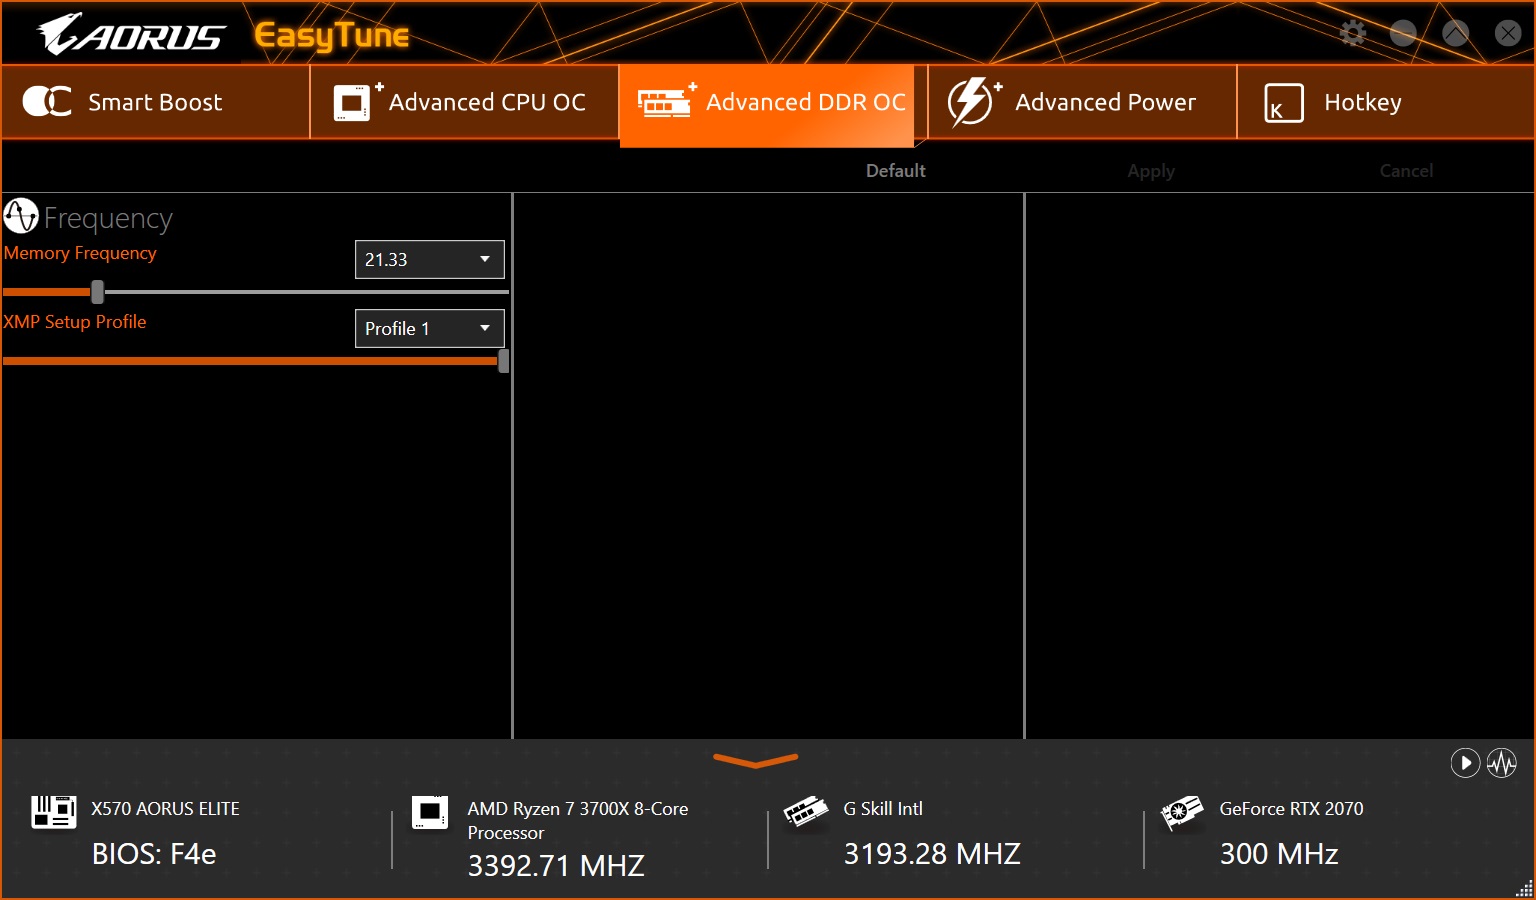
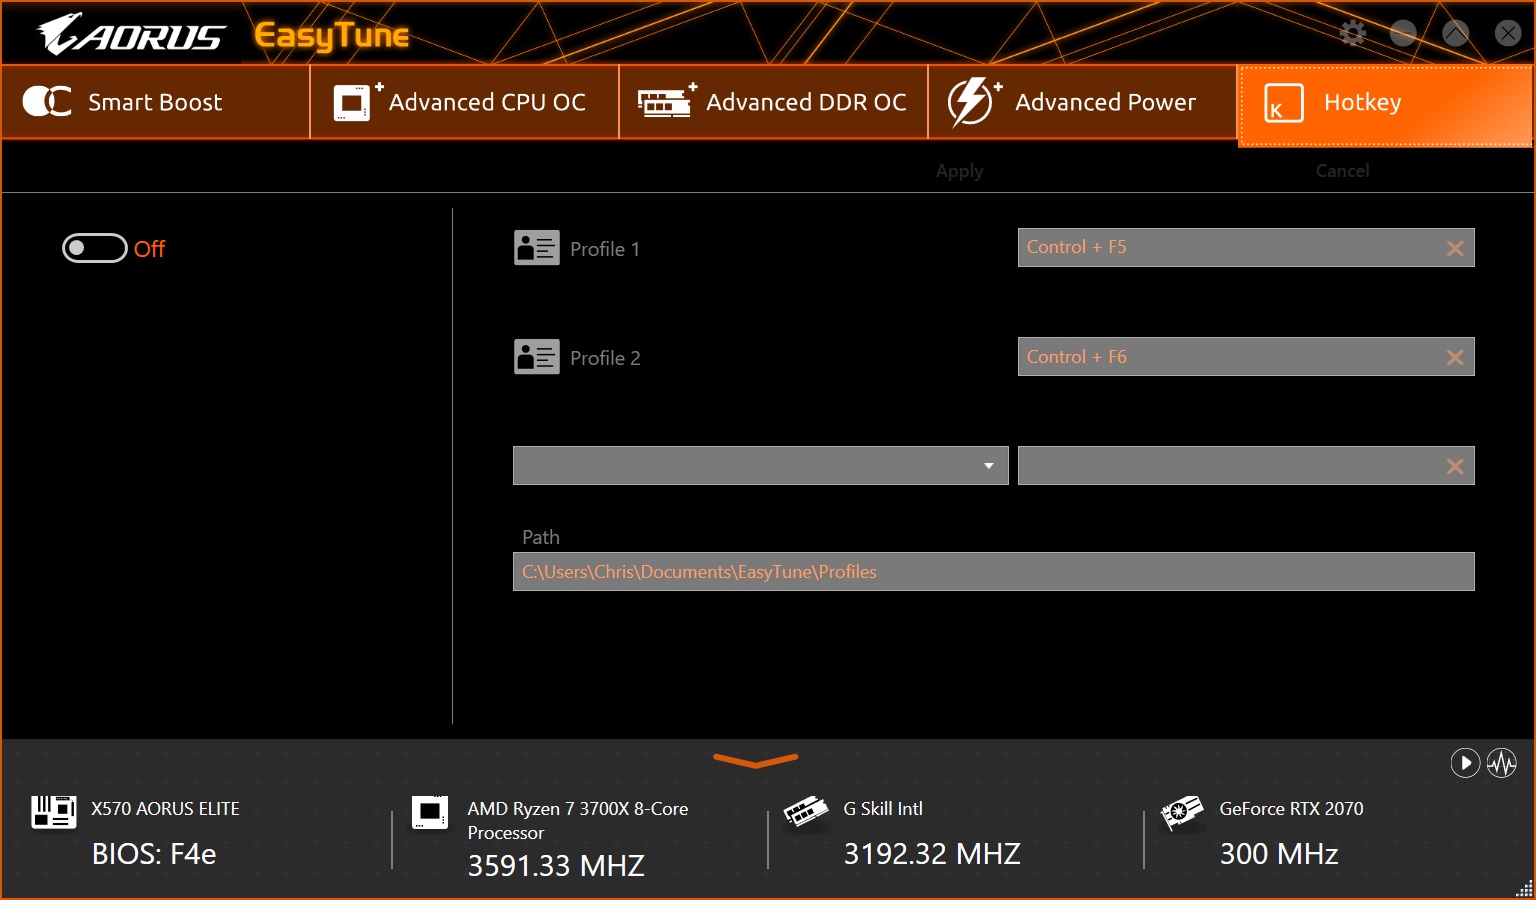
The first application we’ll look at is Easy Tune, which is designed to display system information including temperatures, voltages and clock speeds and fan control. Across the top are several sections, each with different functionality, while on the bottom is live system monitoring.
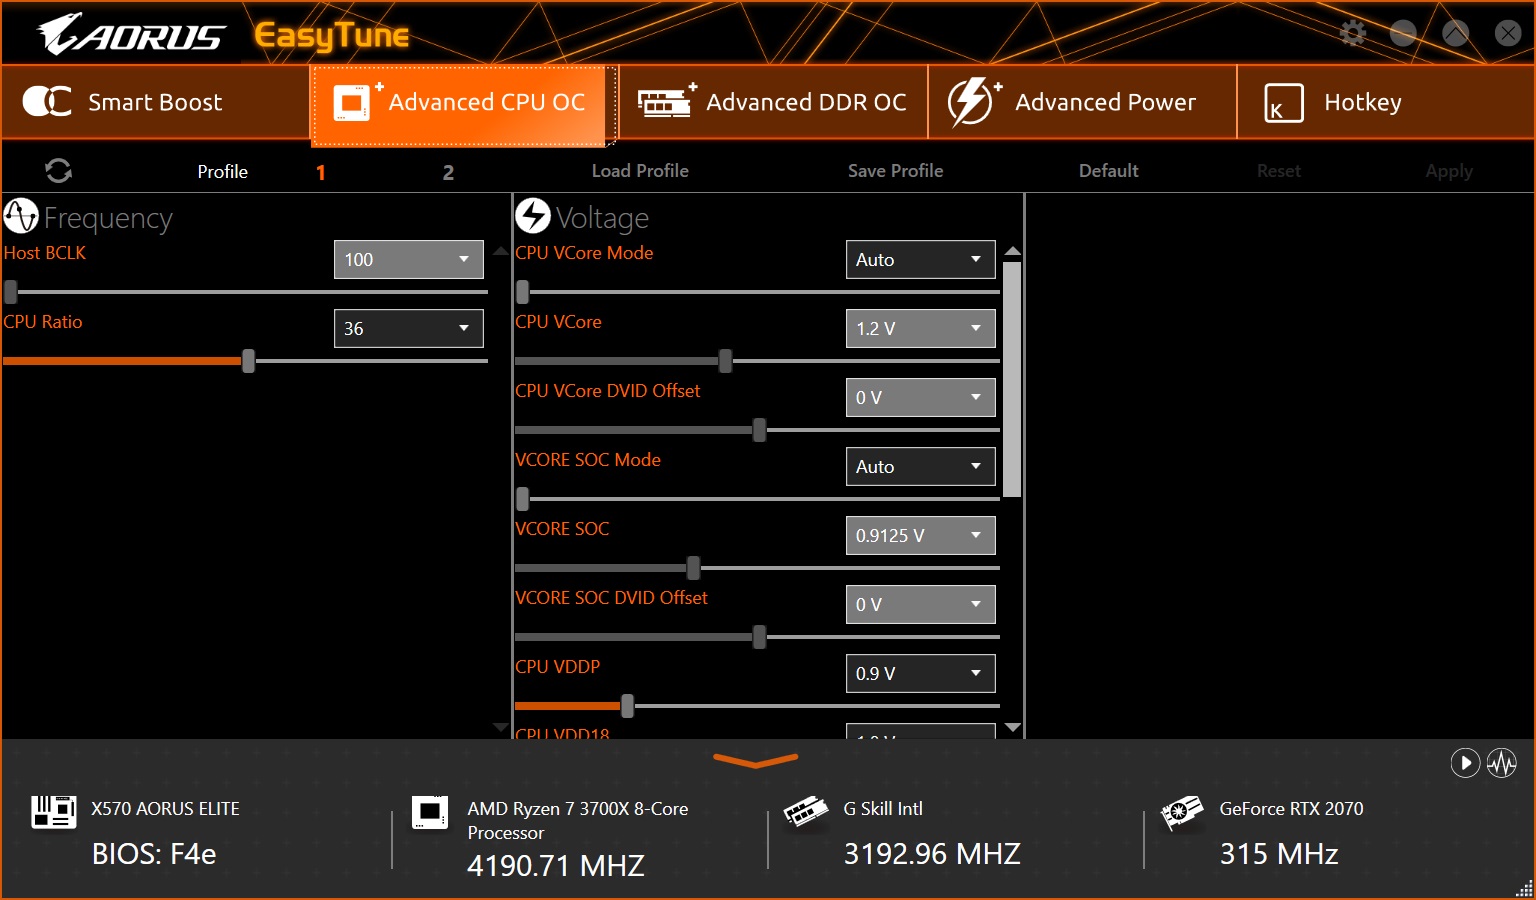
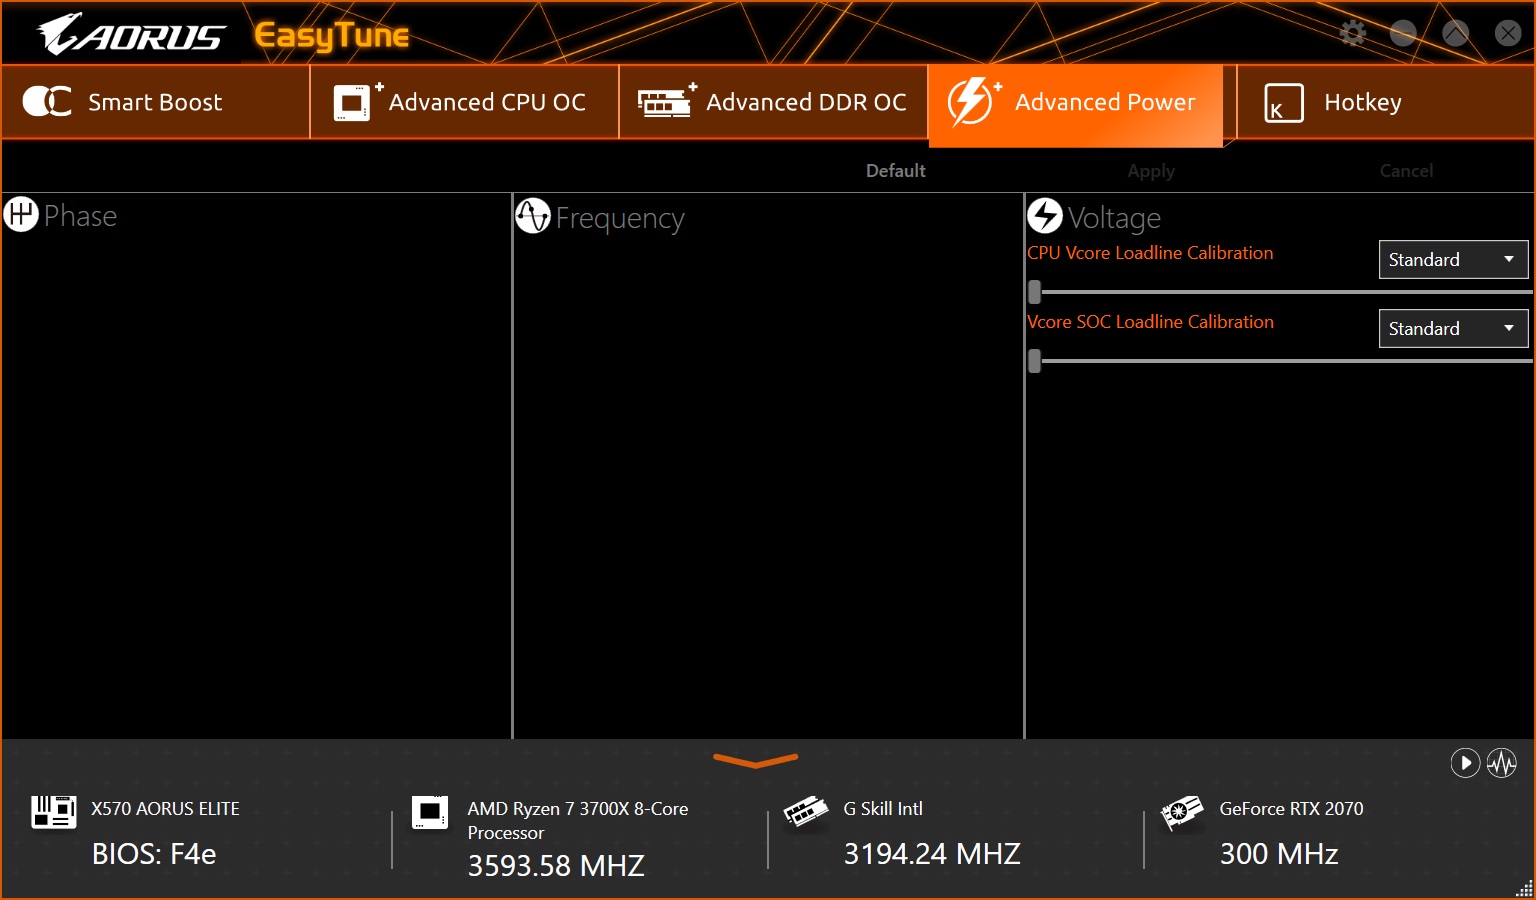
The first section is OC Smart Boost, with options to overclock the CPU. In this case, default is 3.6GHz on one core) and 3.8 GHz with all cores. In most cases, Precision Boost Overdrive (PBO) will clock past those points, so we suggest using that. In the advanced CPU and DDR overclock portion, users will find all the overclocking options. This includes BCLK and CPU ratio functions, CPU Vcore, SOC and DRAM voltages, among some other lesser options. The DDR portion only offers control for memory frequency and XMP/DOCP profile setups, but no timing control (which should be done in the BIOS anyway). In the advanced power section, we find Load Line calibration for both Vcore and SOC, in case you see a lot of vdroop.
Easy Tune works well as a monitoring tool as well as for overclocking. Some users may not be comfortable in the BIOS and this Windows-based utility is a bit less intimidating when you aren’t used to digging around outside of your OS.
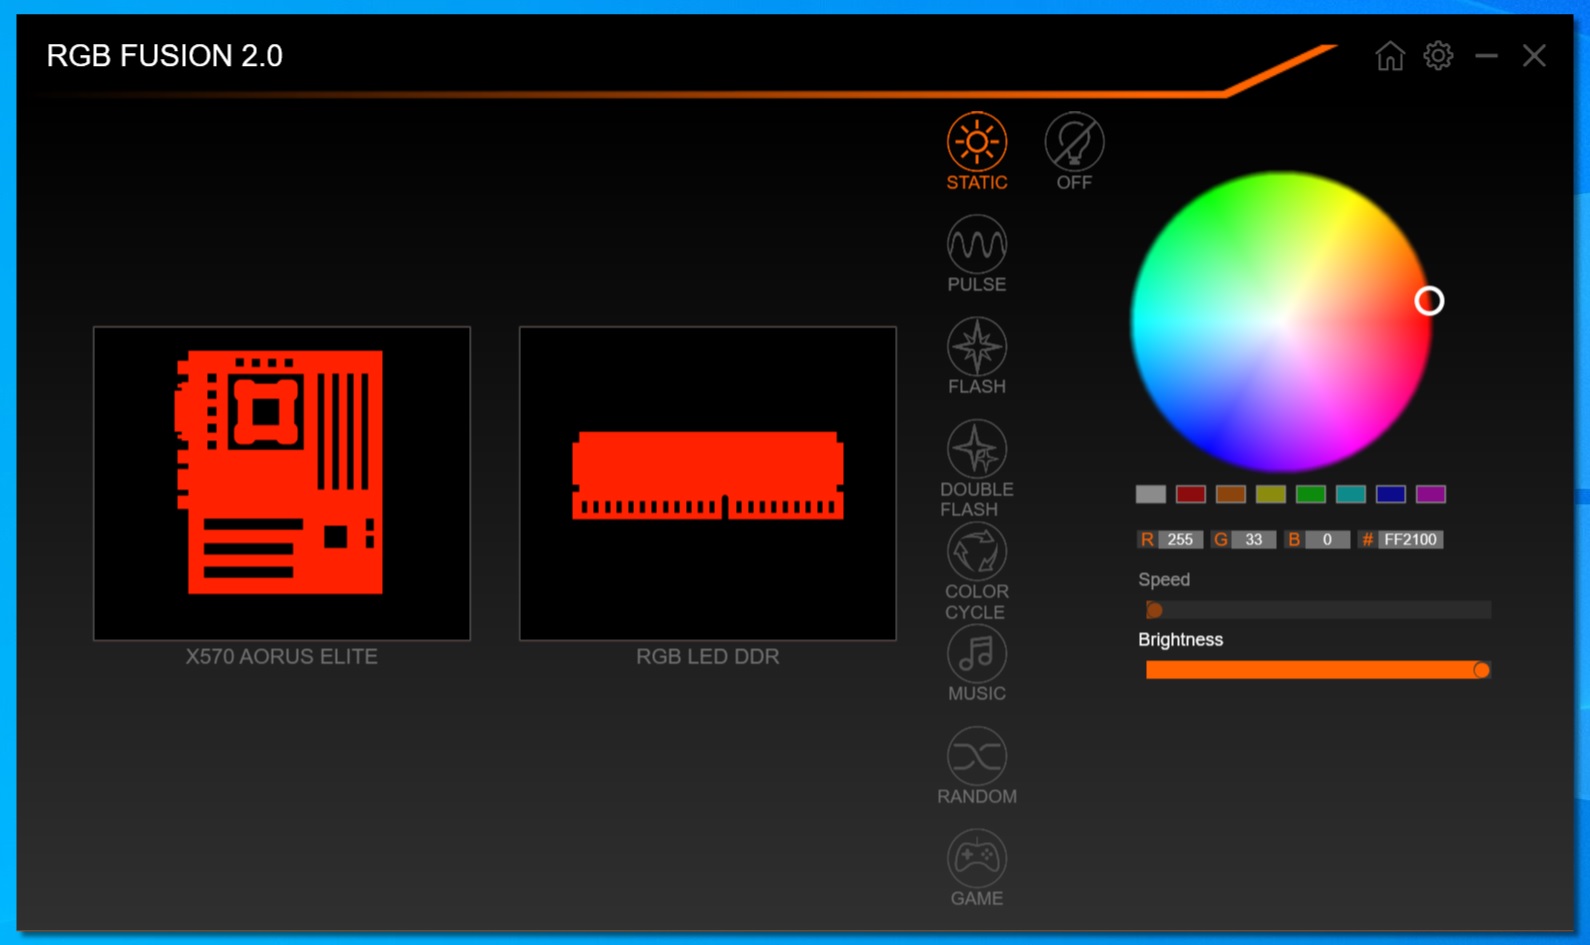
Gigabyte’s RGB LED control application is called RGB Fusion 2.0. This program gives you control over the integrated RGB LEDs on the board as well as any compatible devices you plug into the board, including memory, video cards, and any LEDs attached to the board through its four headers. You’re able to customize the lighting through eight pre-programmed functions, along with the color, speed and brightness.
Firmware
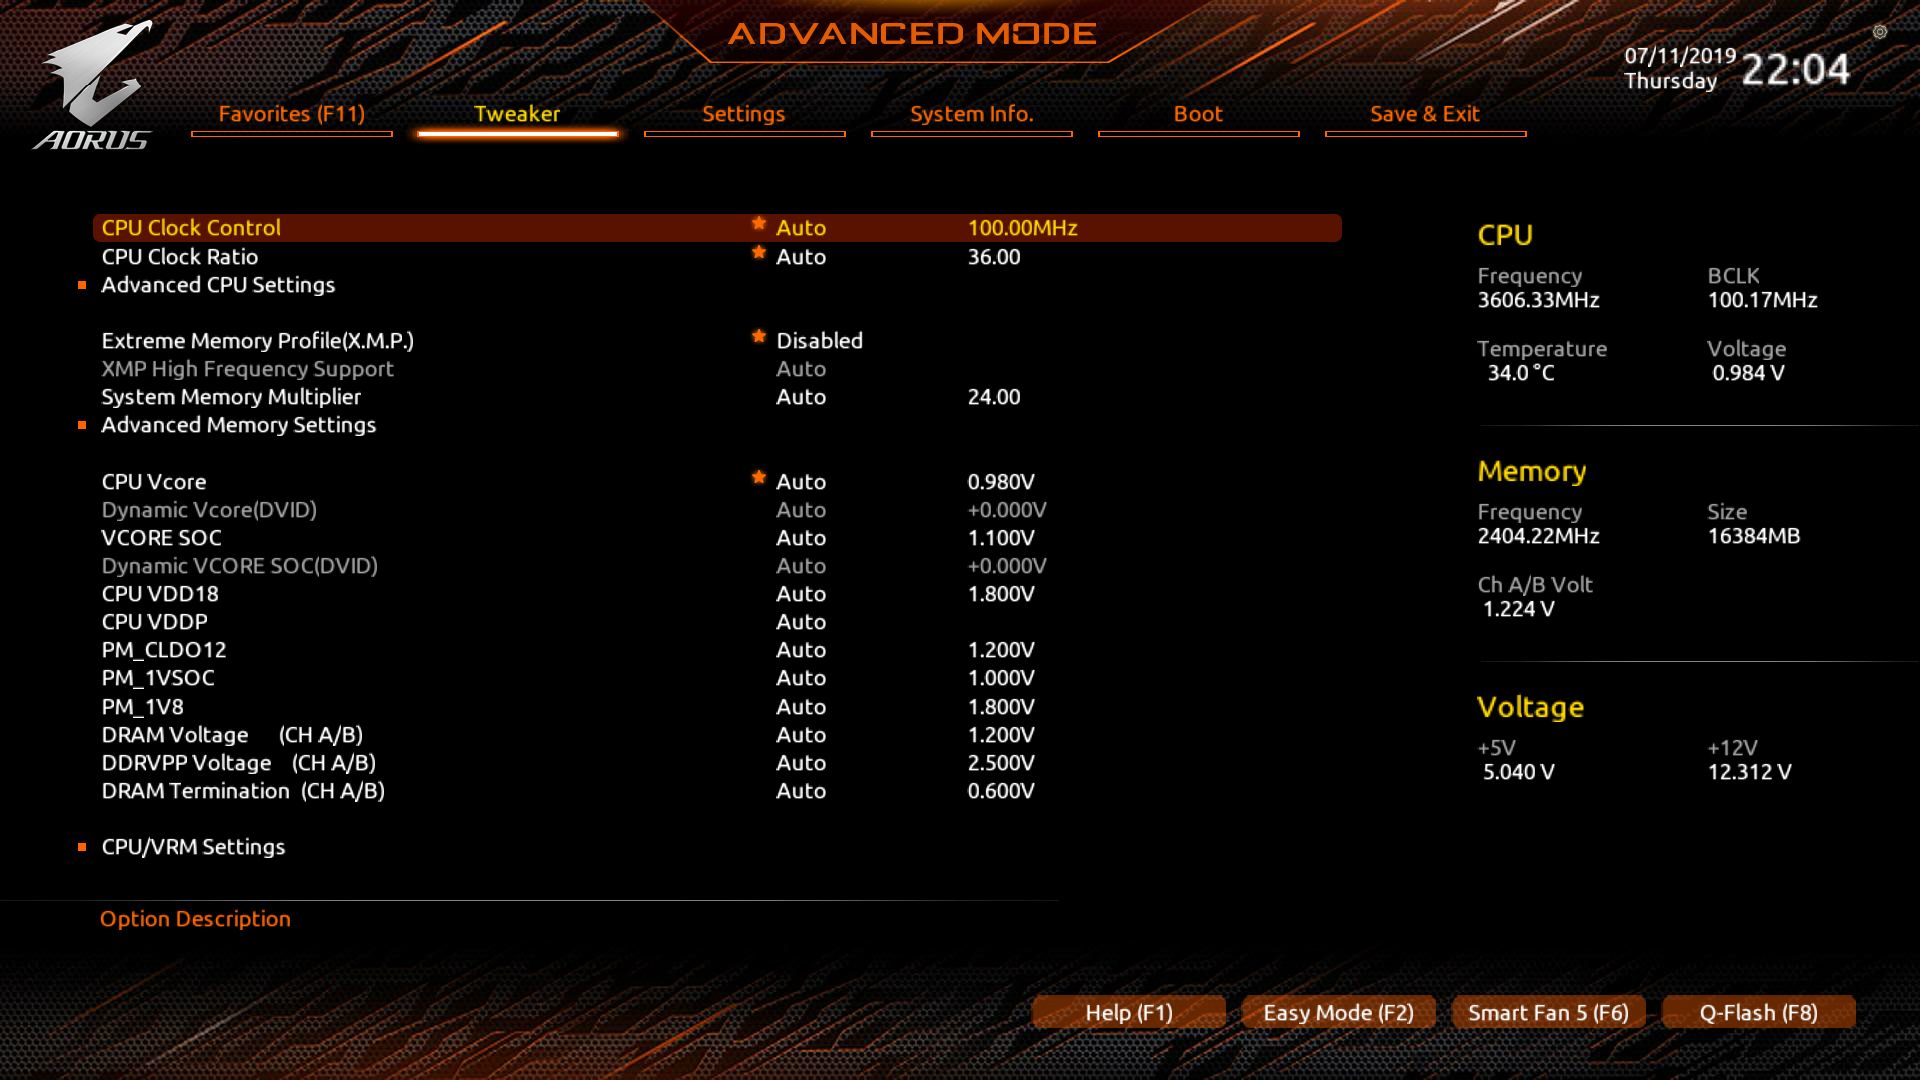
Moving on to the UEFI / BIOS, there are some slight changes to what I am used to across the top. For example, MIT has been replaced with “Tweaker,” though overall styling and the Aorus theme of Orange and black remain the same.
Get Tom's Hardware's best news and in-depth reviews, straight to your inbox.
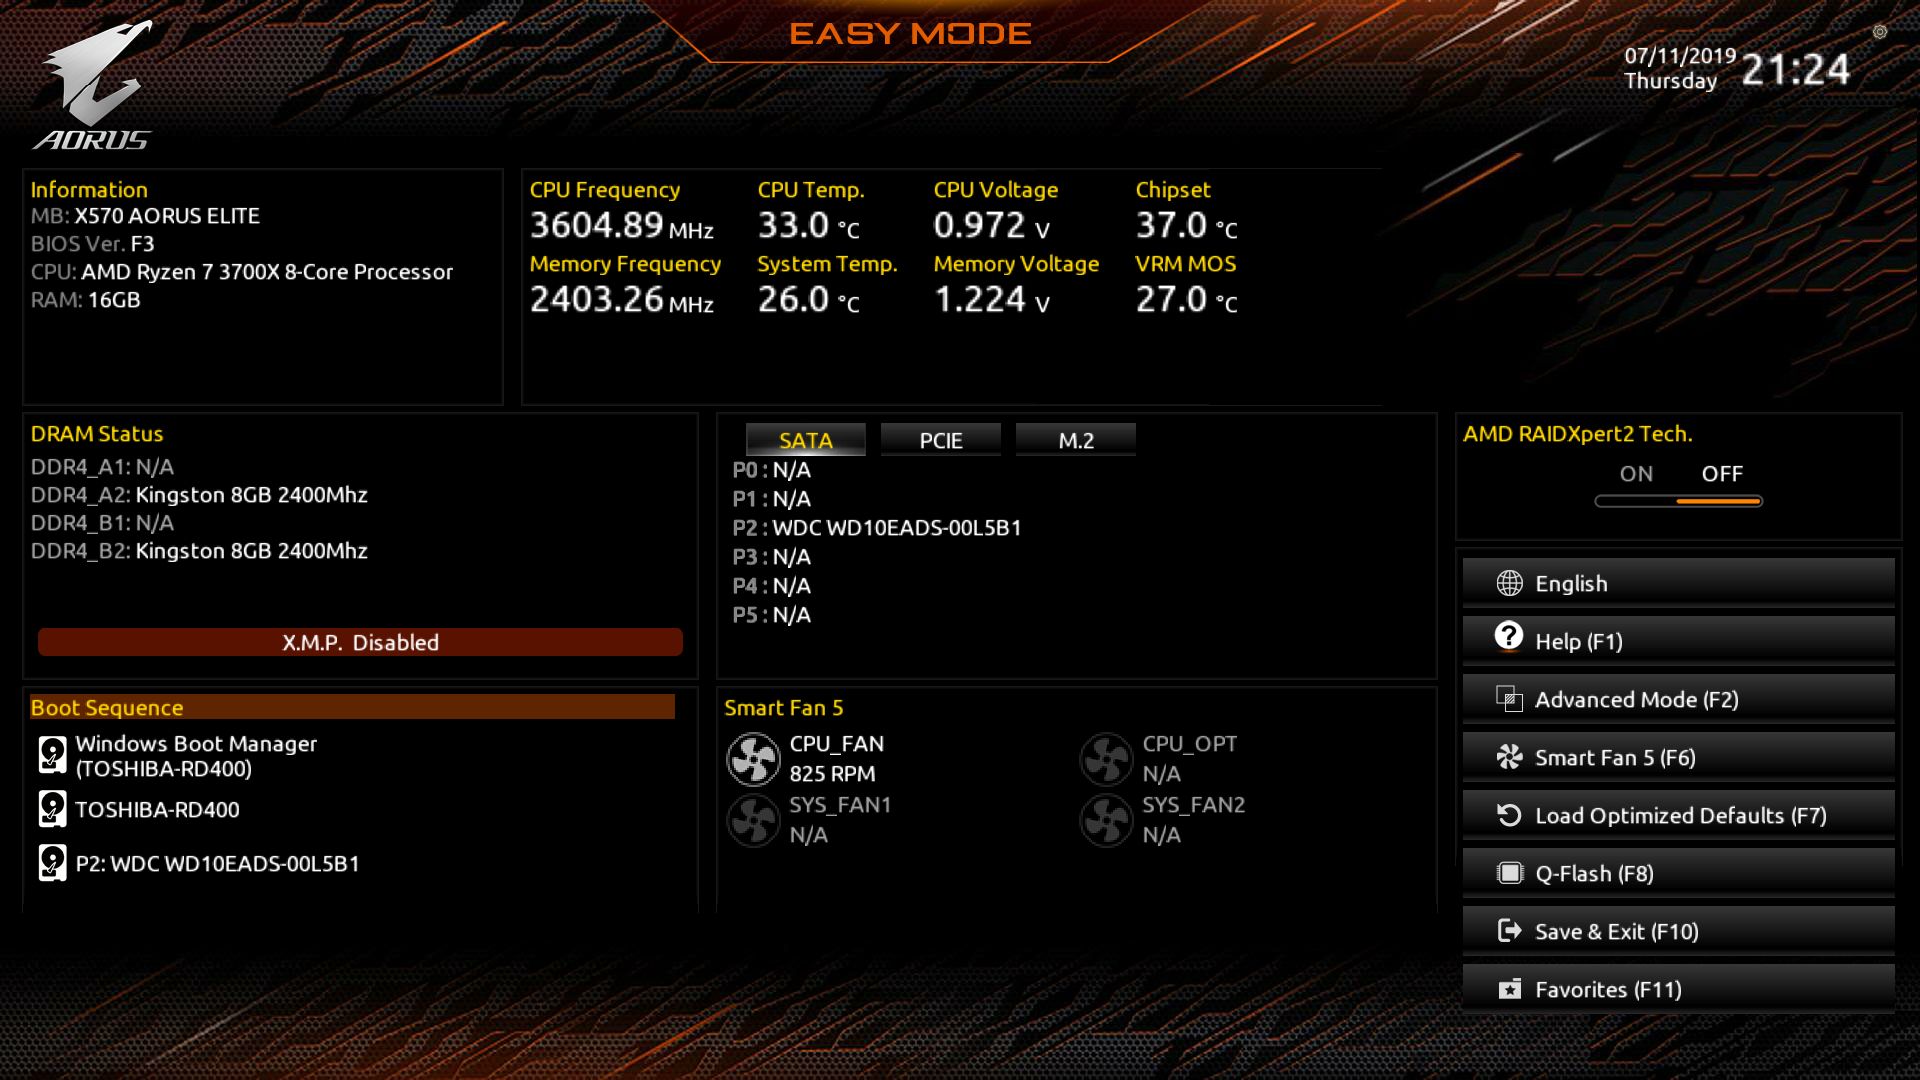
Starting off in Easy Mode, this section is mostly informative with a bit of editing and interaction allowed. It displays information such as the motherboard name, BIOS version and the installed CPU and RAM amount. There is a section covering the CPU frequency and voltage, along with temperatures of the CPU, chipset, and VRMs. It will also display an installed SATA or M.2 drives, as well as what is populating the PCIe slots.
You’re able to adjust a few things on this screen including setting the XMP profile, changing the boot sequence, as well as access Smart Fan 5 to control your fans. On the lower right-hand side is where one can switch into advanced mode, Smart Fan 5, or Q-Flash, as well as loading defaults, can be done here. Any other functionality will have to come from the advanced sections.
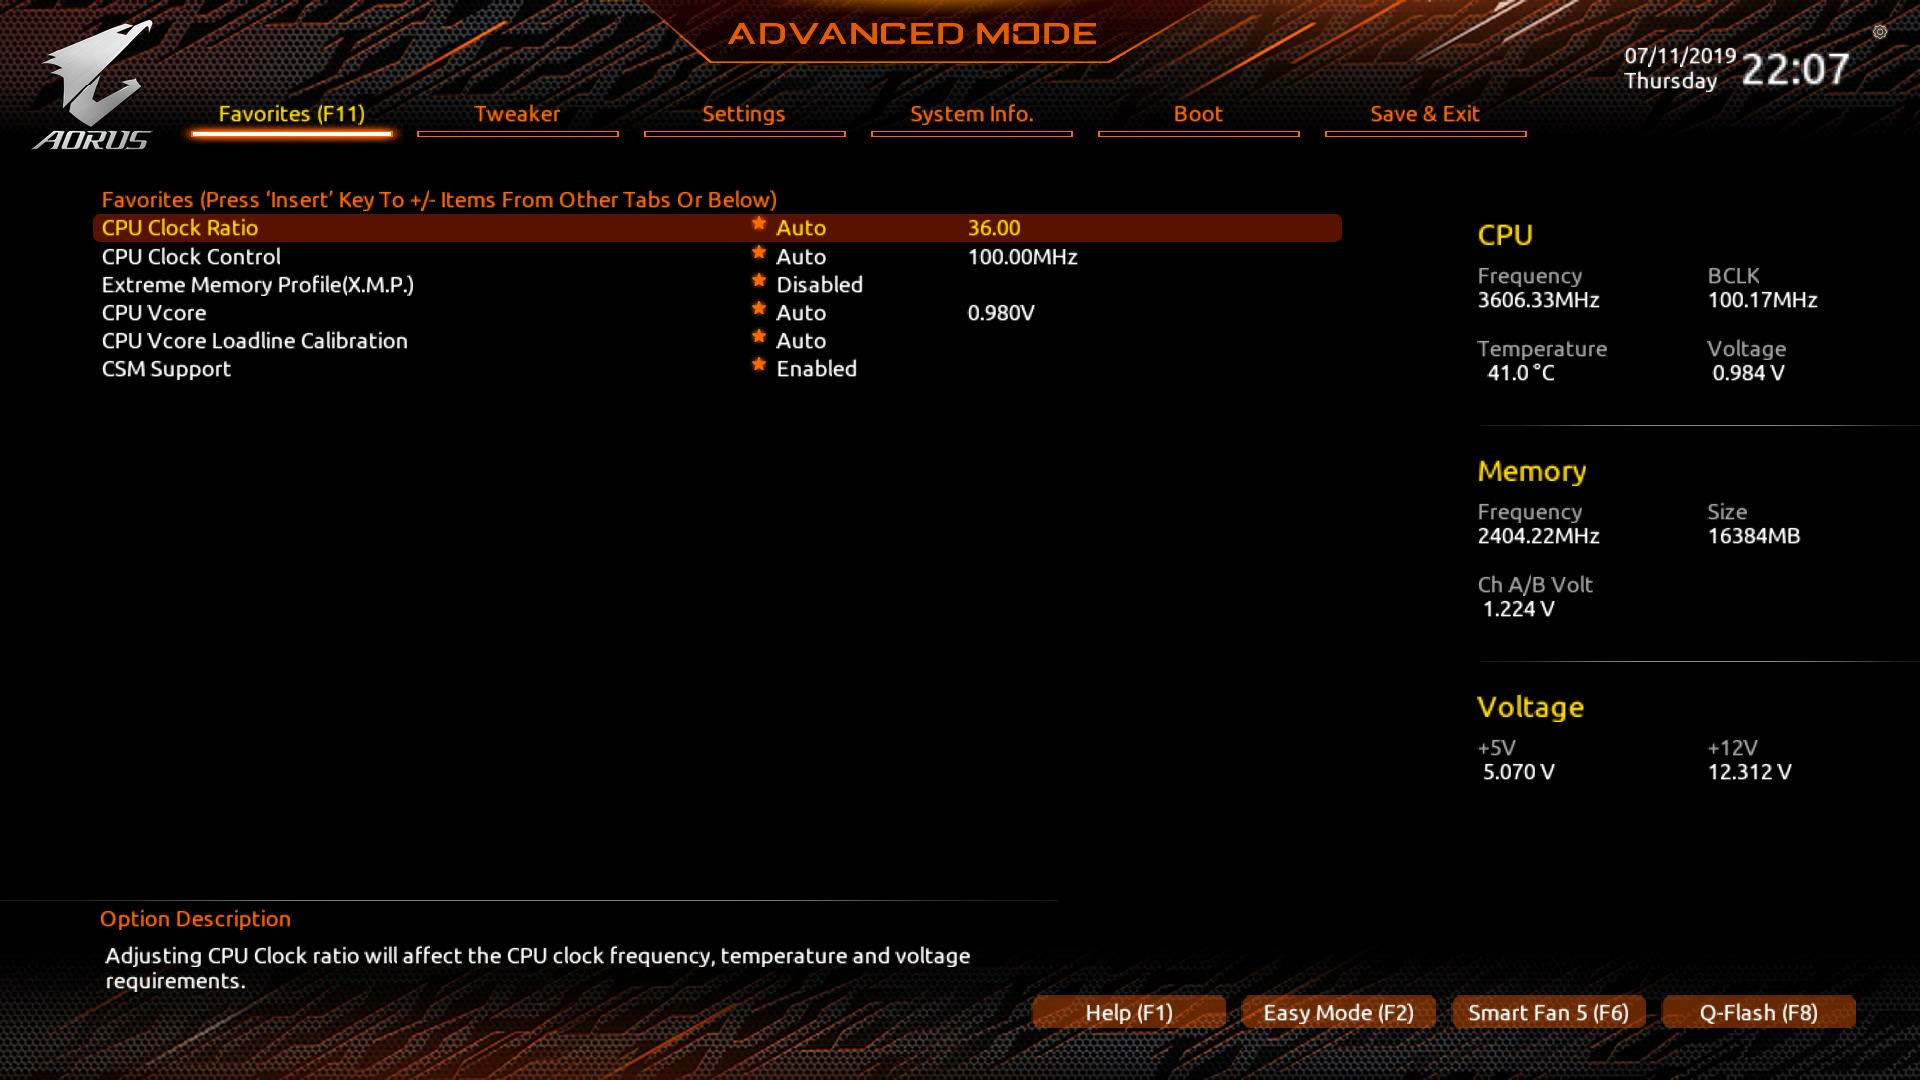
The Advanced mode is where most of the tweaking and overclocking will be handled. Across the top, there are several headings each with specific functionality beneath. From left to right, there’s Favorites, Tweaker, Settings, System Info., Boot and Save and Exit.
The favorites section is a user-customized portion of the BIOS. By default, it includes CPU BCLK and Ratio controls as well as XMP profile and Vcore/Load Line Calibration functions. You can add to this page by pressing the insert key from other tabs to make it ‘yours’.
The tweaker section, or as it was called on X470 based boards, MIT, is where you’ll find all the functionality necessary for overclocking the CPU, setting memory speed and timings and other power type features. For the most part, Gigabyte has done a good job at putting the most-often used options under the same heading. But still, we found ourselves jumping around a bit. There is an entire section for overclocking within the Settings heading, which is mostly duplicated in the tweaker section. I would like to have seen PBO options in the tweaker section, at least.
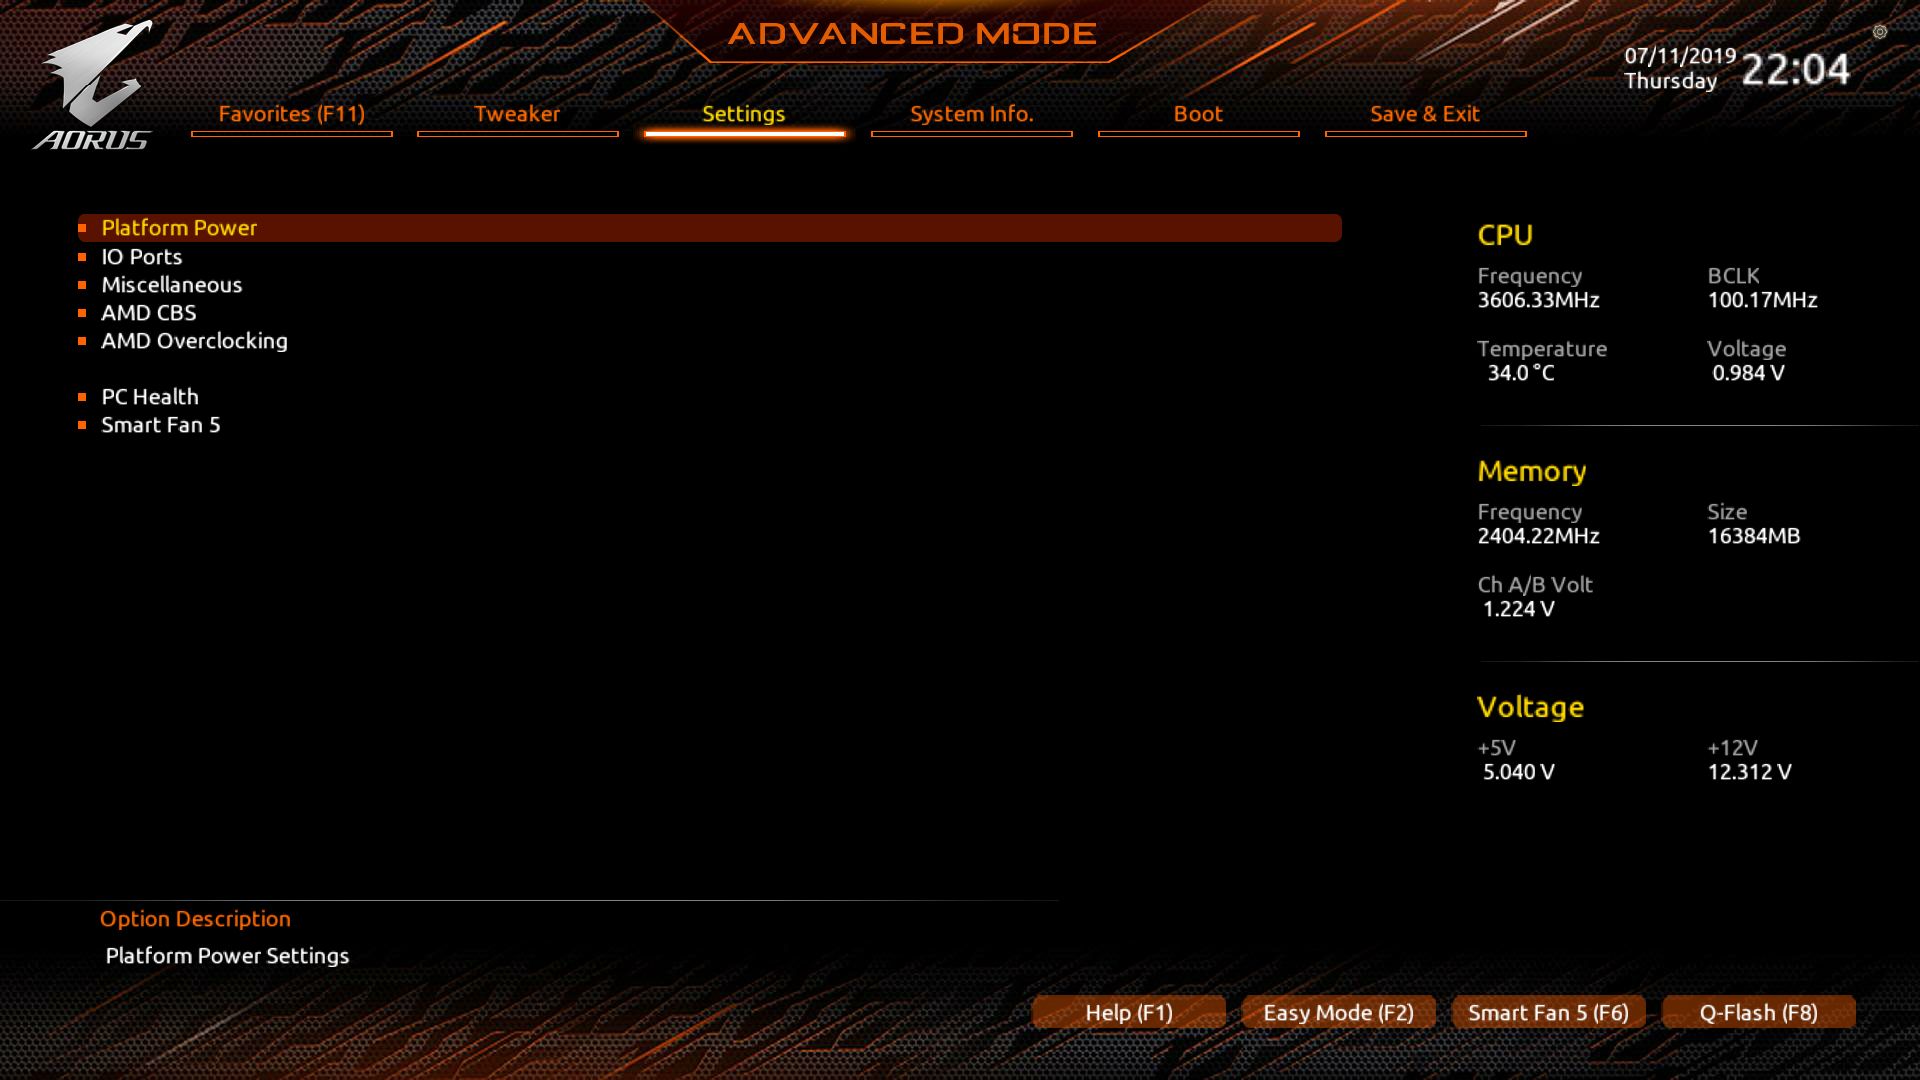
The Settings section contains subheadings for Platform power, IO ports, Miscellaneous, AMD CBS (memory, power XFR, etc), as well as AMD Overclocking, PC Health, and Smart Fan 5 access. If you needed to mess with SATA, USB or Network configurations, this is where it’s done.
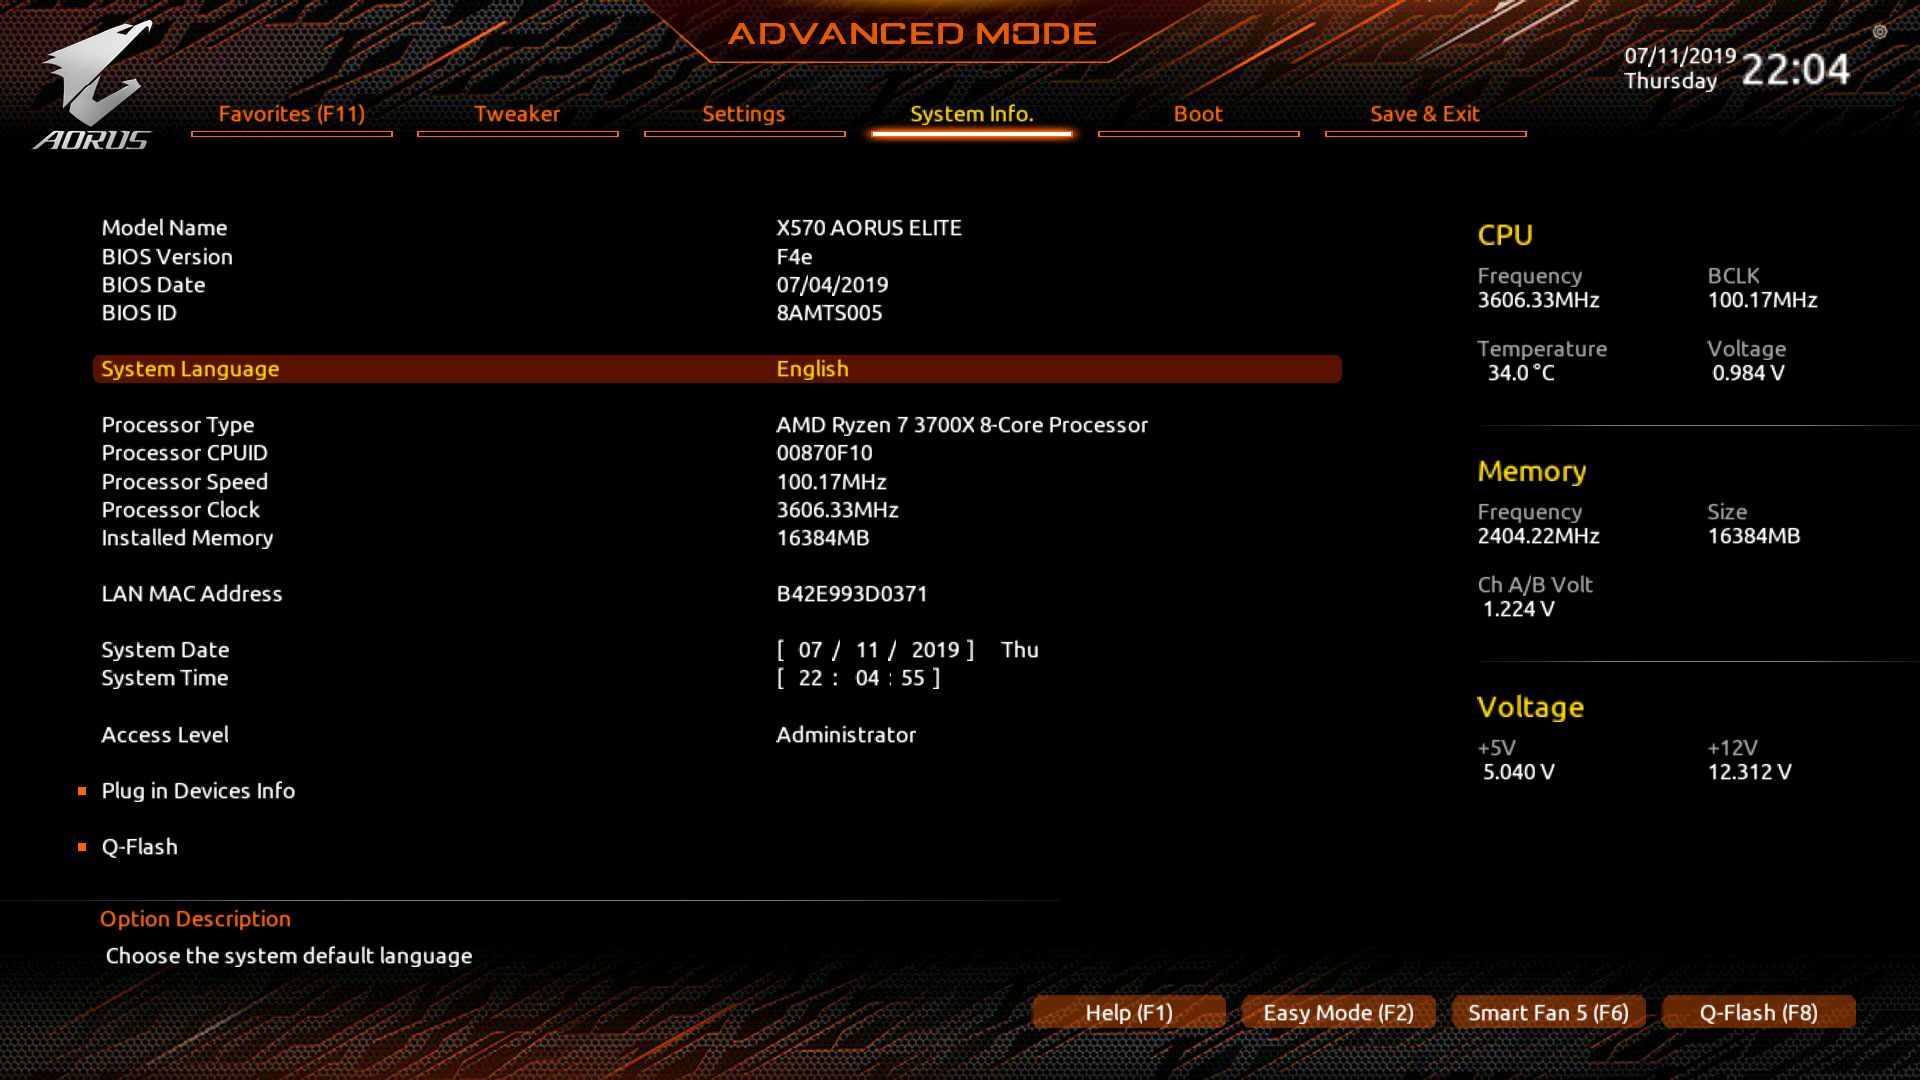
The System Info. section is informational displaying details on the BIOS, Processor, LAN MAC address and is where to adjust system date and time. You can also reach Q-Flash from here (and elsewhere) as well as get details on attached devices.
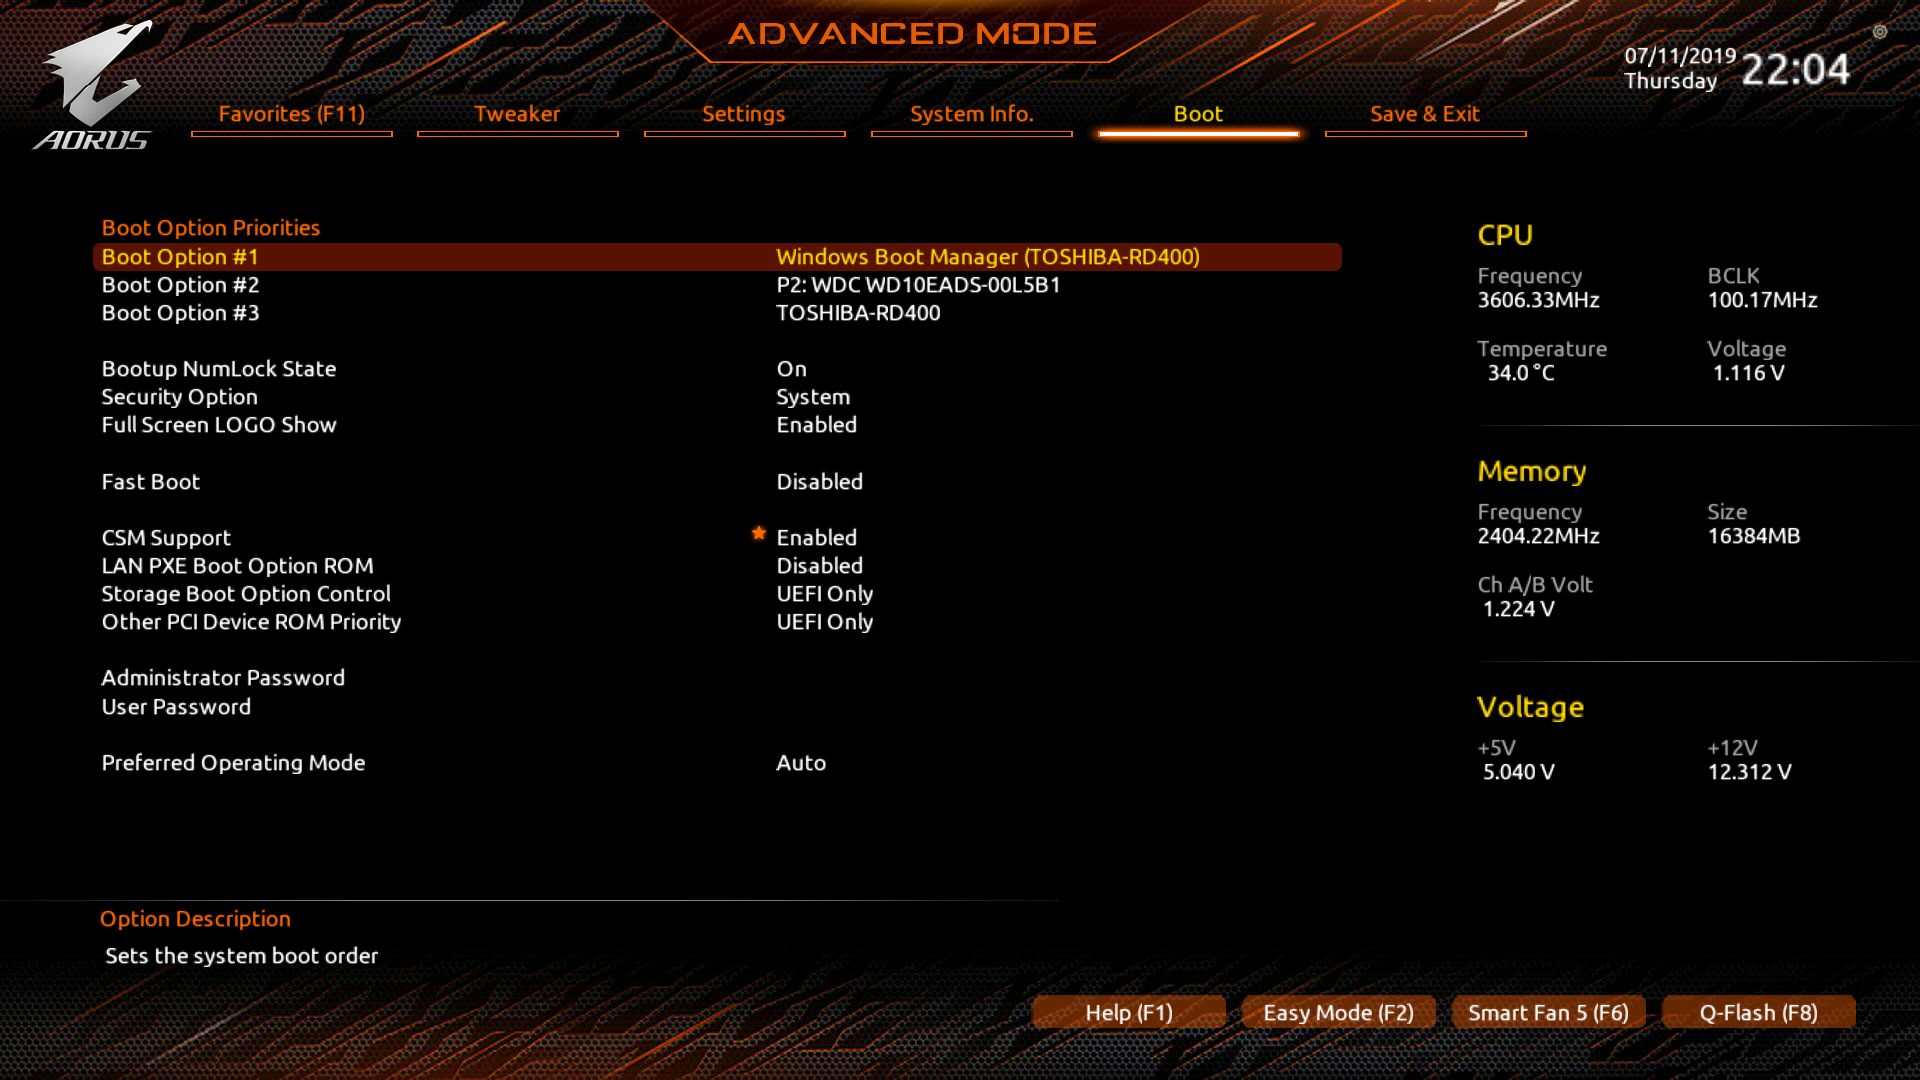
The Boot section is where users are able to control the boot options, full-screen logo enable/disable, fast boot and any LAN PXE boot options.
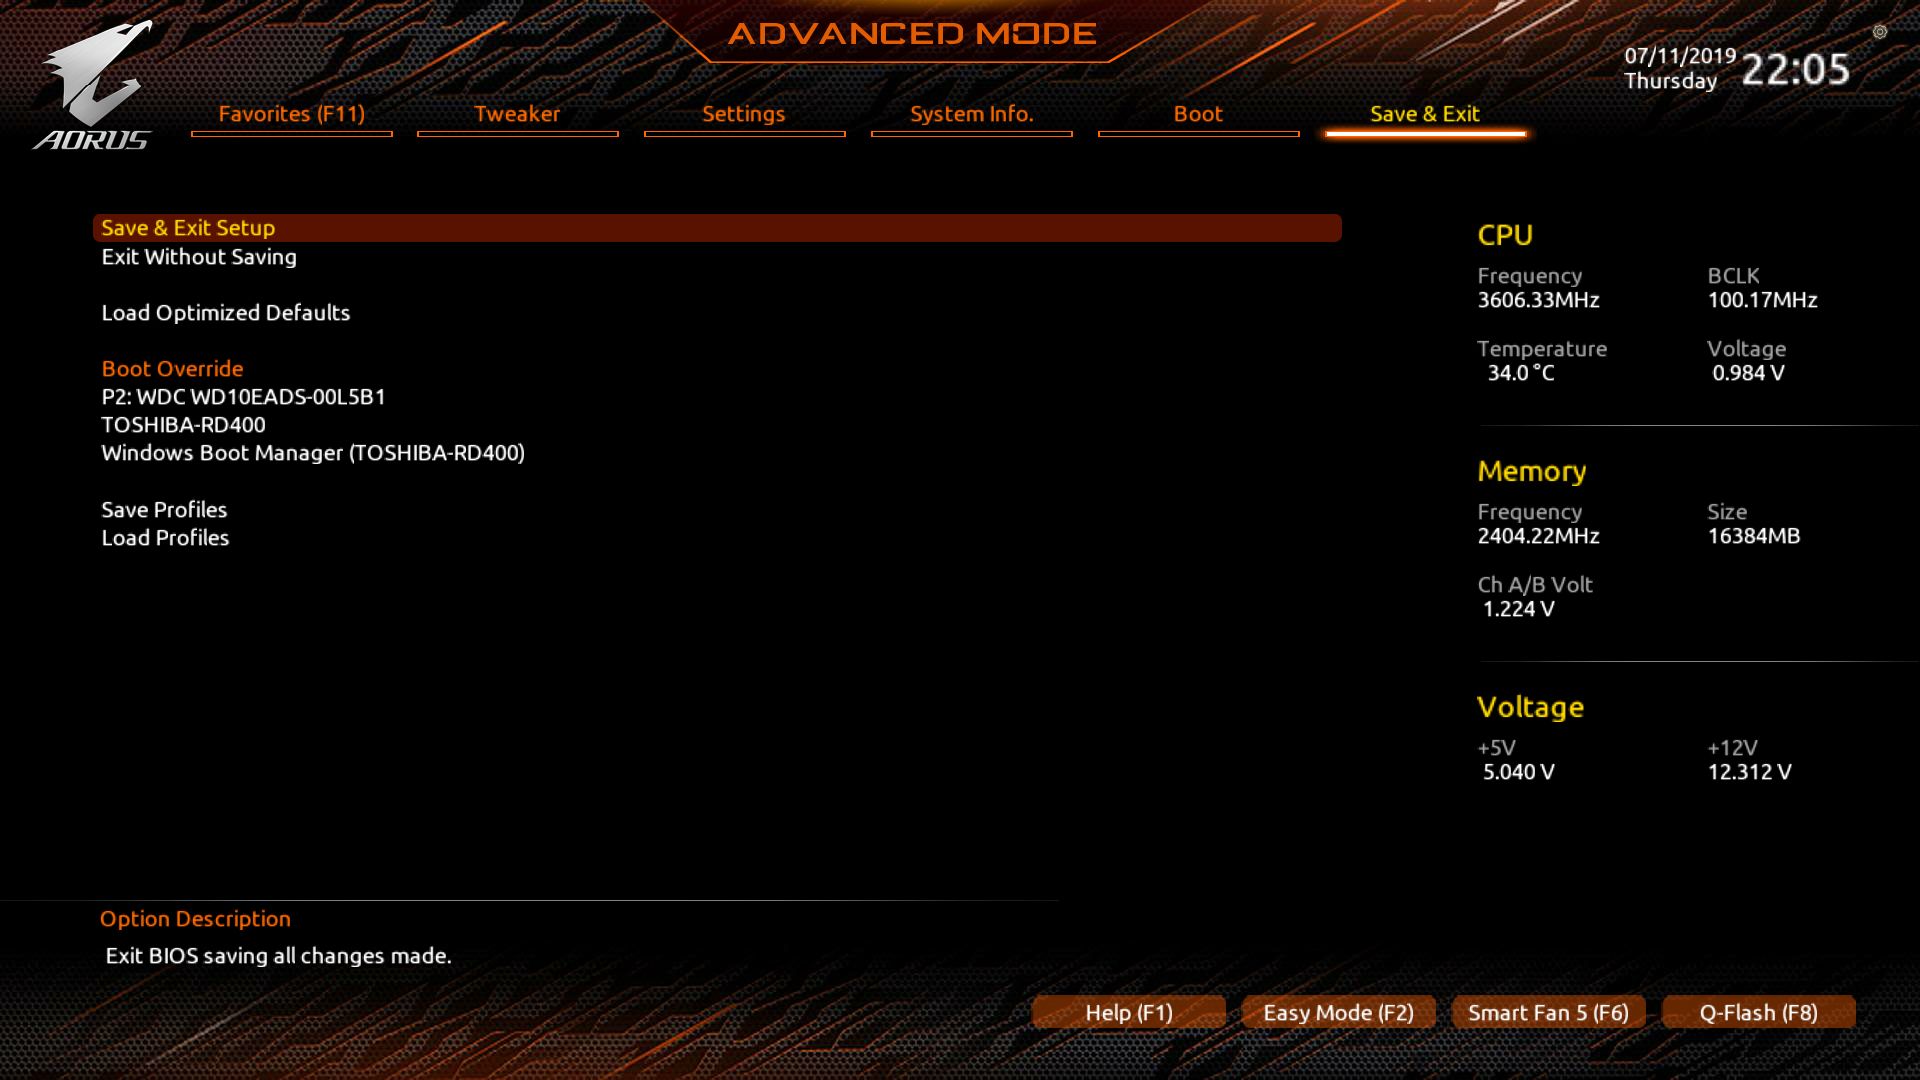
Last up is the Save and Exit section, where you can save any bios changes, load optimized defaults and save and load user profiles.
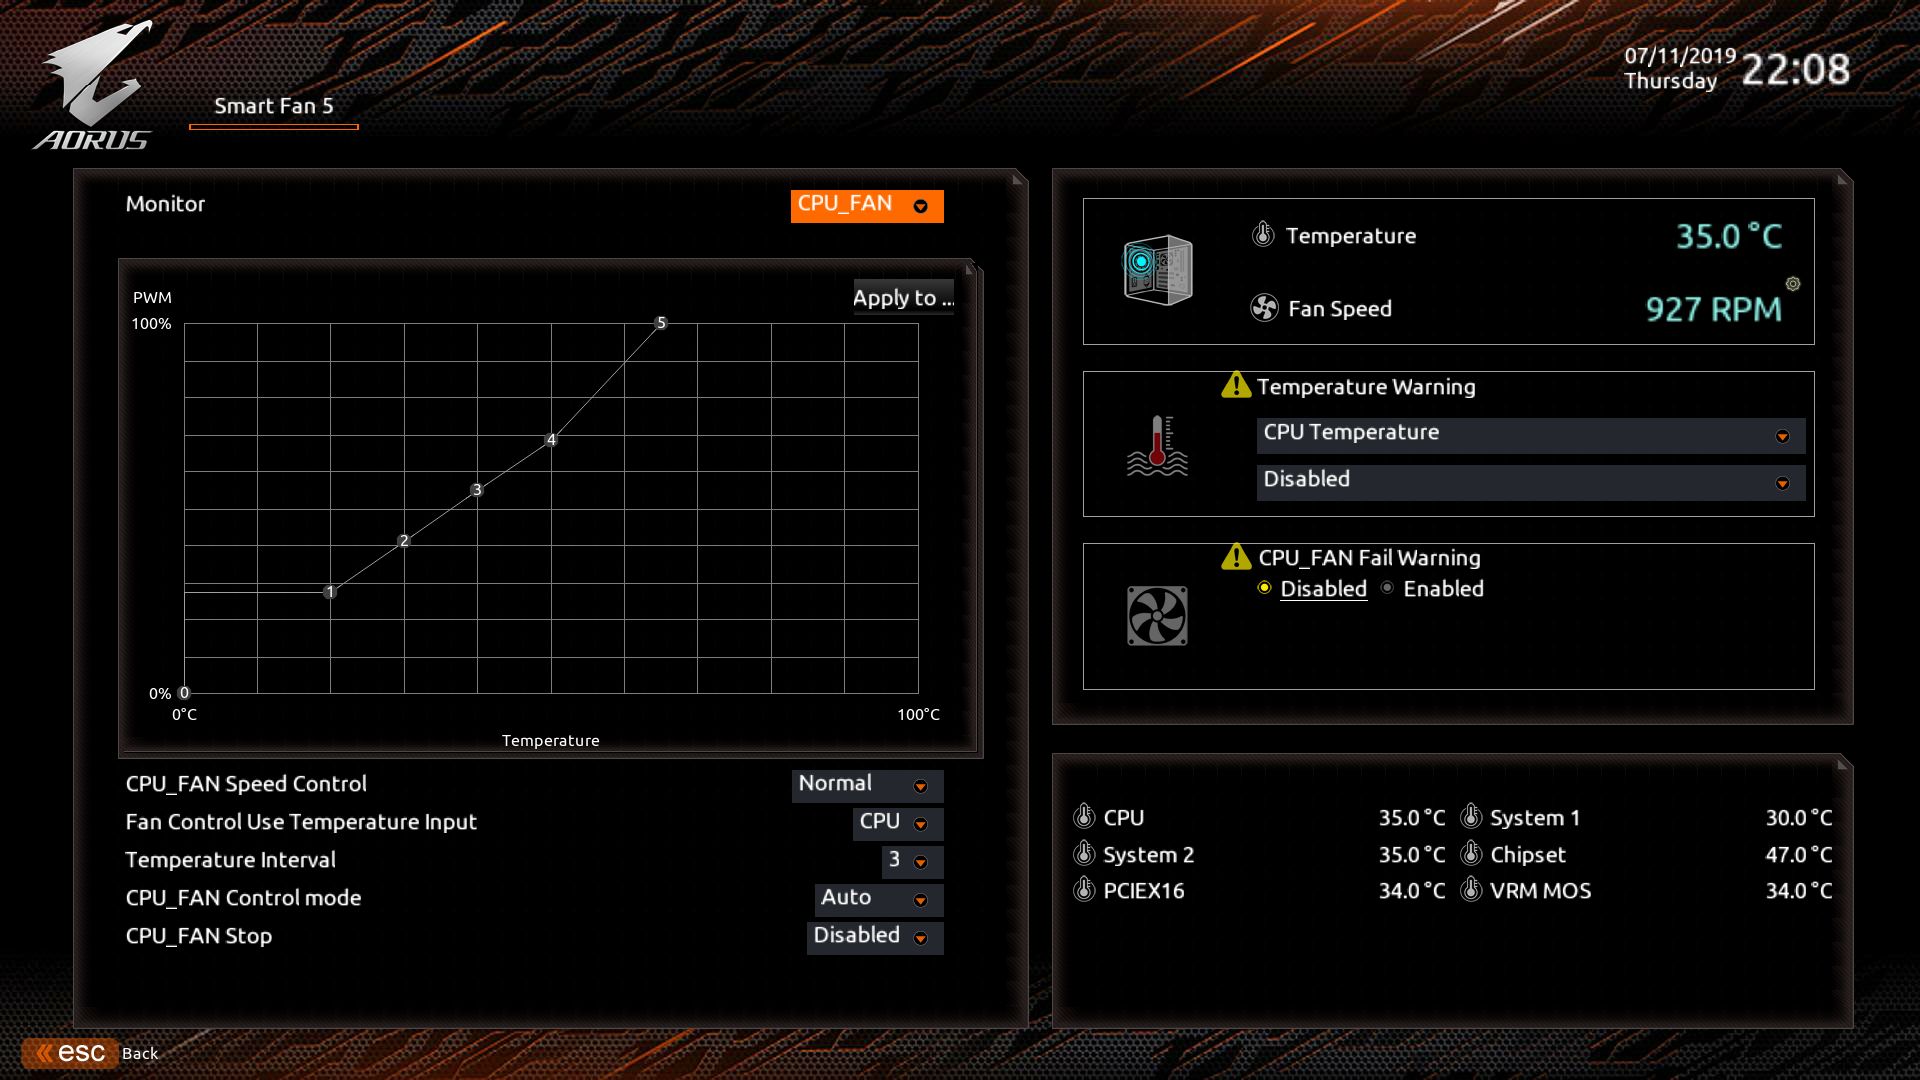
Jumping into Smart Fan 5 from the BIOS, users are able to create custom fan curves and choose which sensor input the header reacts to. For example, basing the CPU header(s) that off CPU temperatures, and case fans VRM or motherboard temperatures. The point is, you get pretty granular control over when the fans ramp up. This isn’t something you typically see on a budget board.
Overall, the updated BIOS is easy to navigate. But there are a lot of sections with duplicate entries, which can be convenient but also conusing. Overall, the firmware lets you do what you want to do with a fairly easy learning curve. We were able to overclock, for what little that is actually worth, and change settings without issue.
MORE: Best Motherboards
MORE: How To Choose A Motherboard
MORE: All Motherboard Content

Joe Shields is a staff writer at Tom’s Hardware. He reviews motherboards and PC components.
-
alan.campbell99 I ended up going for this motherboard shortly after the Ryzen 3000 CPUs dropped. It's working well for me so far. My considerations were cost, PCIe16 slots and m.2 heatsink scheme. I wanted two PCIe16s so I could add in my SAS card, I wanted separate m.2 heatsinks that didn't require messing with the chipset heatsink, I also didn't need lots of SATA as I use two NVME drives and a bunch of SAS SSDs I acquired. No optical drive in this build either so presently not using any SATA ports.Reply -
atombombe Recently upgraded to a Ryzen 3700X cpu and needed a motherboard. After searching a lot I finally chose to Gigabyte Aorus Elite X570. First Gigabyte product I own. Not afraid of buying more from the Gigabyte brand in the future.Reply
What made me buy this board over other products was the Intel lan, Realtek ALC1200 audio codec and also every review states that the board had good VRMs. Not that I'm a huge overclocker, but I chose good VRMs because of future expand-ability. I might get some better CPU with more cores and then need the extra power on the board.
It has been very easy to build the computer. Everything just worked. Put in DDR4 3200 CL14 ram, chose XMP in bios and it has been running without any hickups! -
robert40 it is funnyReply
"Elite was able to push our Ryzen 7 3700X to 4.16 GHz at 1.32V. Anything beyond this point yielded a near-instant stoppage of AIDA64’s stress test "
this cpu is 3.6gh -4.4 gh without overlocking:) -
SovereignKnight Replyrobert40 said:it is funny
"Elite was able to push our Ryzen 7 3700X to 4.16 GHz at 1.32V. Anything beyond this point yielded a near-instant stoppage of AIDA64’s stress test "
this cpu is 3.6gh -4.4 gh without overlocking:)
That is 4.4 GHz on ONE or TWO cores. The rest of the cores are running @ ~ 3.6-3.8 GHz.
The overclock in this review is 4.16 GHz on ALL cores.
It takes a hell of allot of power to push all cores to 4.16 GHz, vs. just 1 or 2 cores at 4.4 GHz.
That also takes more voltage, in turn creating more heat.
The benefit in this case for overclocking all cores to 4.16 GHz is, you get one hell of a multi threaded boost for any application that will use more than one or two cores. -
raposa ReplySovereignKnight said:That is 4.4 GHz on ONE or TWO cores. The rest of the cores are running @ ~ 3.6-3.8 GHz.
The overclock in this review is 4.16 GHz on ALL cores.
It takes a hell of allot of power to push all cores to 4.16 GHz, vs. just 1 or 2 cores at 4.4 GHz.
That also takes more voltage, in turn creating more heat.
The benefit in this case for overclocking all cores to 4.16 GHz is, you get one hell of a multi threaded boost for any application that will use more than one or two cores.
Do you mean a higher Tier motherboard, would provide more power, thus providing better mult-thread perfomance? Thus maximizing potential of multicore processores, like 3900x/3950x? -
robert40 Reply
You are right! Sorry.I am new on amd (ryzen 5 3600) from intel I5 3570k (z77) and from 3400mhz to 4200 all core (4 core) without + voltage or anything else.......just change the multiper.On 4300 just work 3 core and 4th core must put just 4200mhx.But i am sure + little voltage will fine.and more....SovereignKnight said:That is 4.4 GHz on ONE or TWO cores. The rest of the cores are running @ ~ 3.6-3.8 GHz.
The overclock in this review is 4.16 GHz on ALL cores.
It takes a hell of allot of power to push all cores to 4.16 GHz, vs. just 1 or 2 cores at 4.4 GHz.
That also takes more voltage, in turn creating more heat.
The benefit in this case for overclocking all cores to 4.16 GHz is, you get one hell of a multi threaded boost for any application that will use more than one or two cores.
so amd is different(:
but still the best value.... -
kadir8804 Reply
check your configuration I have that board and that micro at 4.25 1.25v without problemsrobert40 said:it is funny
"Elite was able to push our Ryzen 7 3700X to 4.16 GHz at 1.32V. Anything beyond this point yielded a near-instant stoppage of AIDA64’s stress test "
this cpu is 3.6gh -4.4 gh without overlocking:) -
Ancient Alien Wow, I must have bad luck. I have been building my own systems since 1996. Purchased the X570 Aorus Elite in Dec 2019. BIOS erased the partitions on 5 HHDs totaling 16TB. Returned for a replacement and new board wouldn't recognize any drives but one. Came with f4 BIOS, so I downloaded the f20 BIOS to flash. BIOS recognized the USB drive, but I couldn't save or load from it. Sometimes, while booting, the BIOS screen would come up without pressing the delete key and would do this several times before I finally got the OS to load. Had random system freeze ups that became more frequent. Ended up calling it a $200 loss and replaced it with a MSI MEG X570 Tomahawk WiFi and the system behaves well now. No more Gigabyte products for me.Reply
