How To Mine Ethereum Now
Building An Ethereum Mining Rig: Digital Wallets & Mining Software
You've now got a fully installed and updated Lubuntu system. But you're not done yet. You still need to install and configure the actual mining software. Don't worry, it's easier than you think.
Crypto Currency Wallet
To store your crypto currency you'll need a digital wallet. Since we're dealing mainly with Ethereum here, you need a wallet that can handle Ether. You have plenty of options, so do a little research and find one that works for you. All you need is the 40-character hexadecimal string addressing your account. If you're in a hurry to make one and get mining, enter these commands in a terminal to make a wallet through Geth.
| sudo add-apt-repository ppa:ethereum/ethereumsudo apt-get updatesudo apt-get install ethereum gethgeth account new |
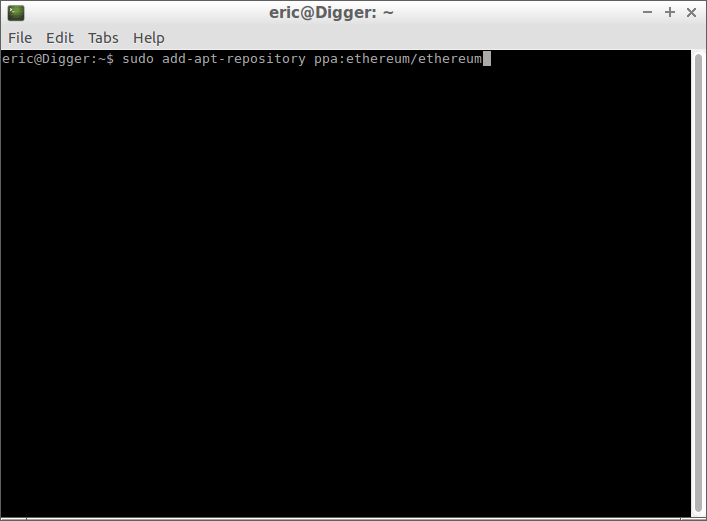
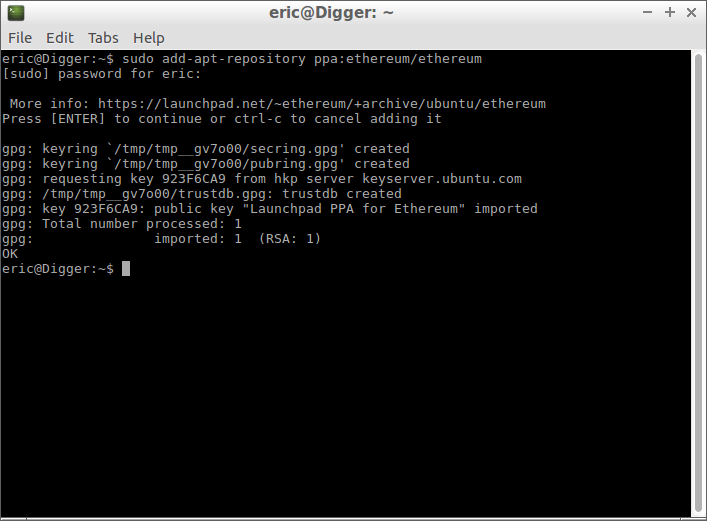
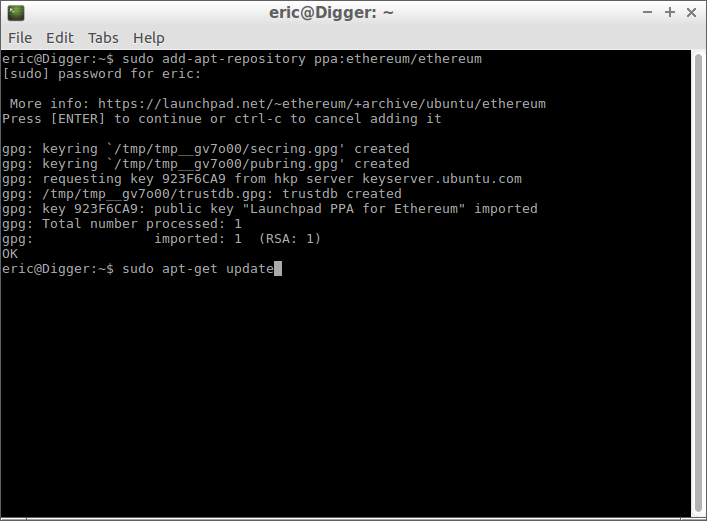
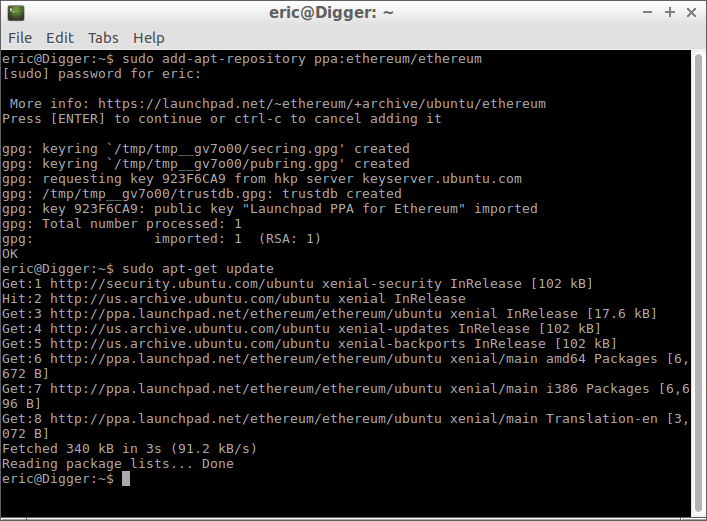
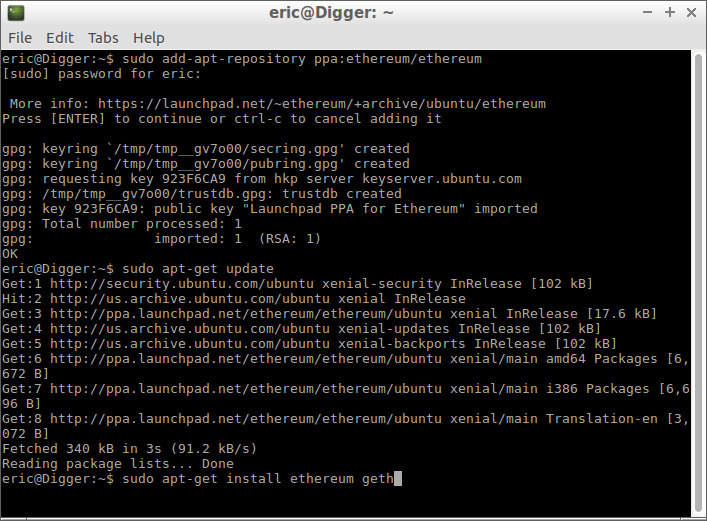
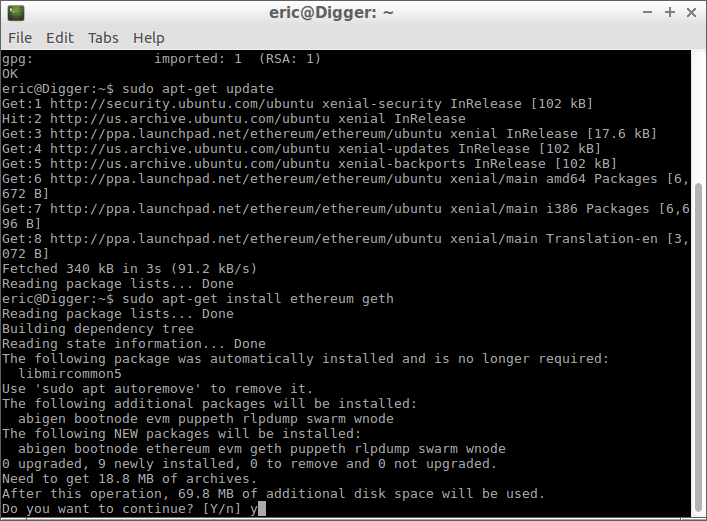
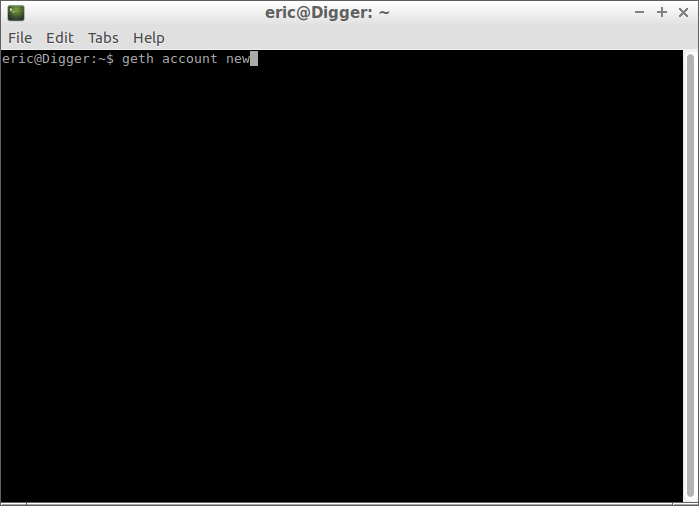
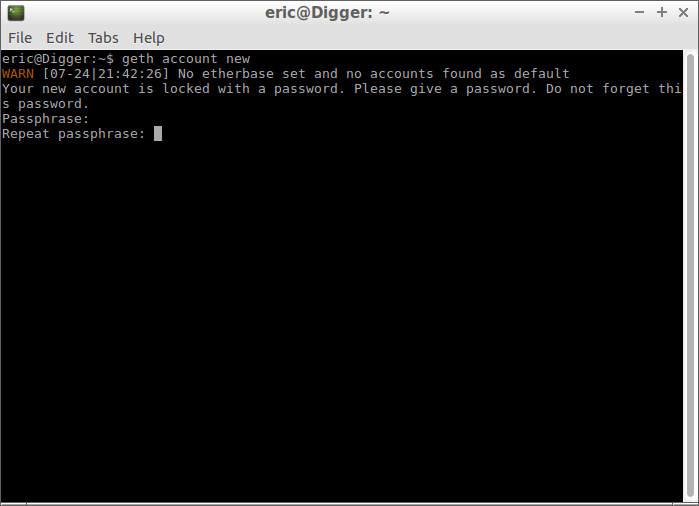
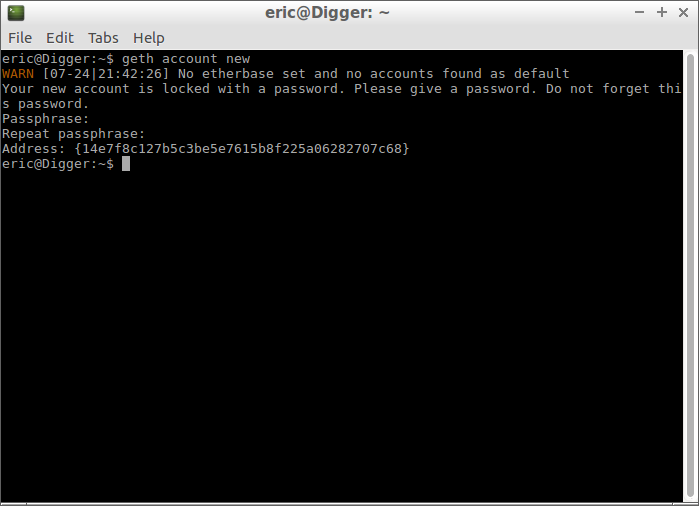
This will install Geth on your mining rig and create a new wallet. Word of advice, do not lose the password you just used to create the account. It cannot be retrieved by anyone else. You will need the password and the encrypted key (stored in the ~/.etherium/keystore directory) on your mining rig to access the account later.
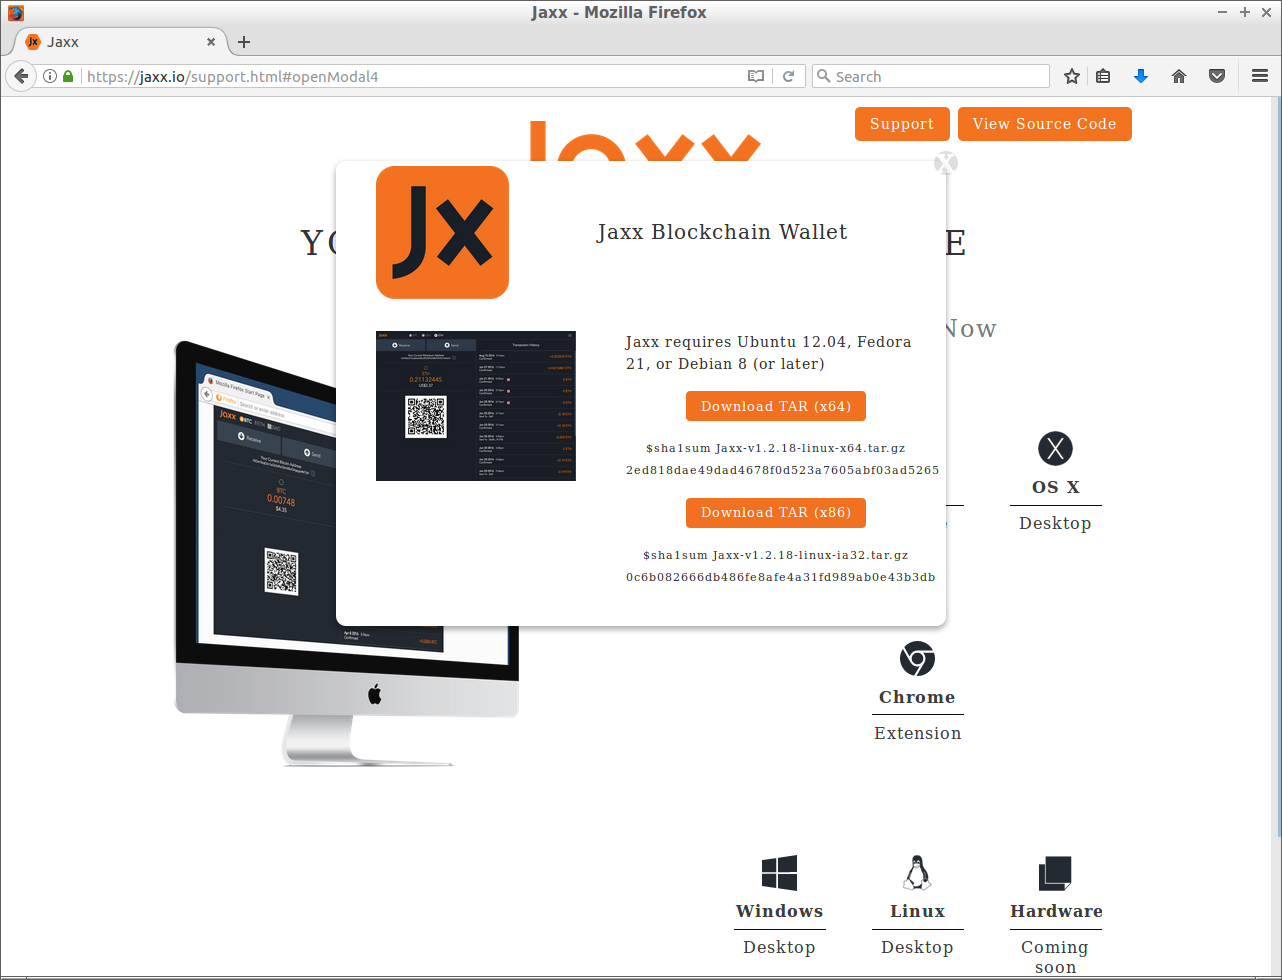
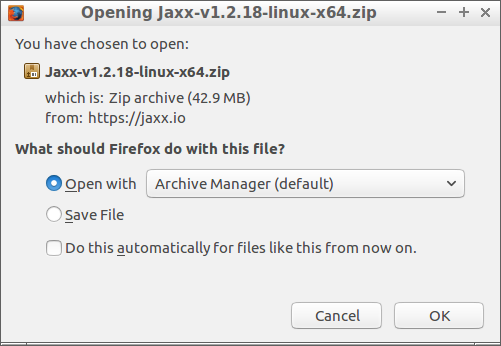
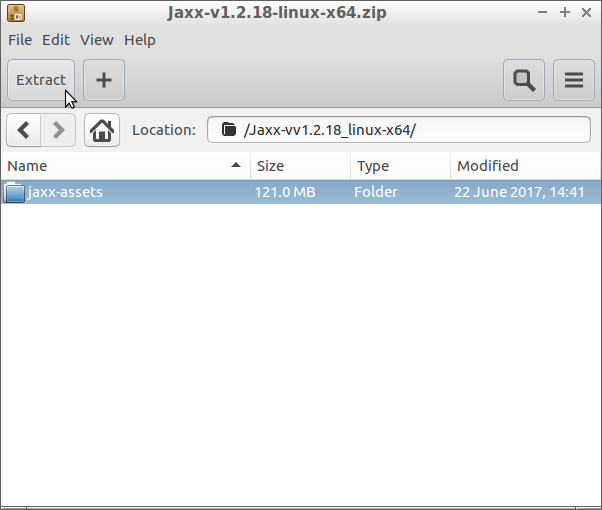
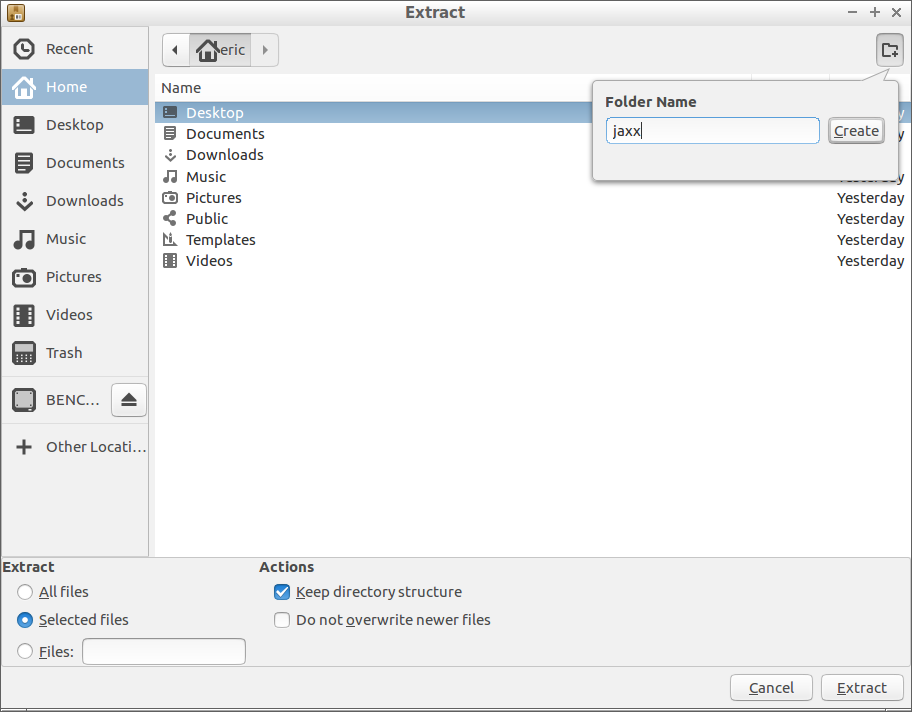
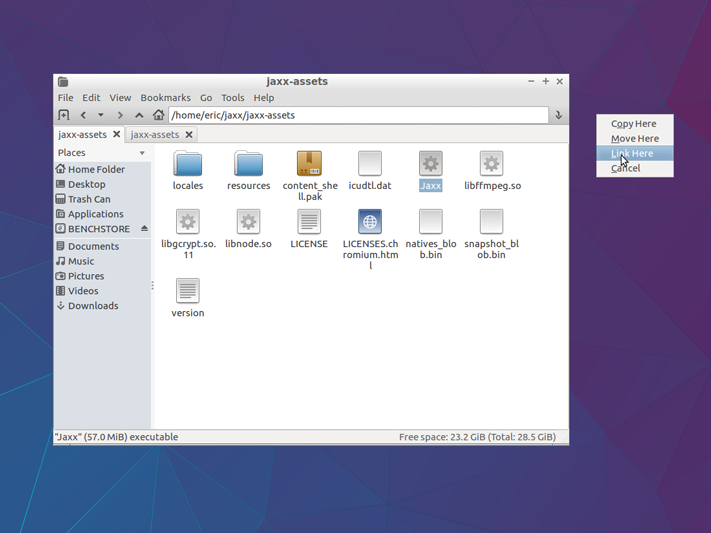
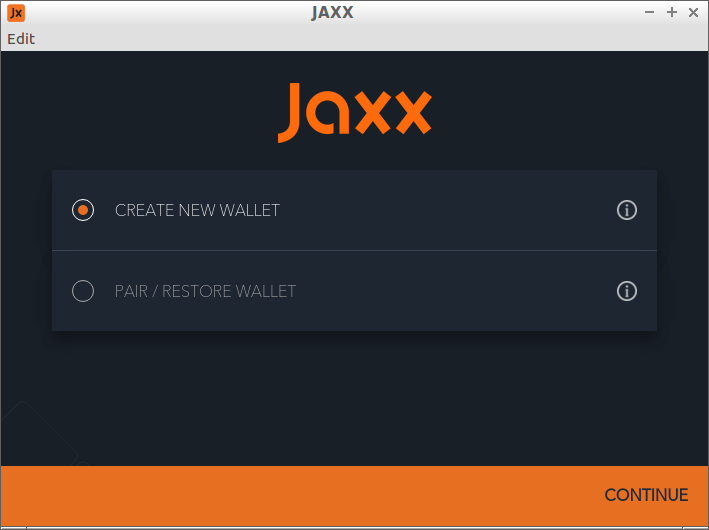
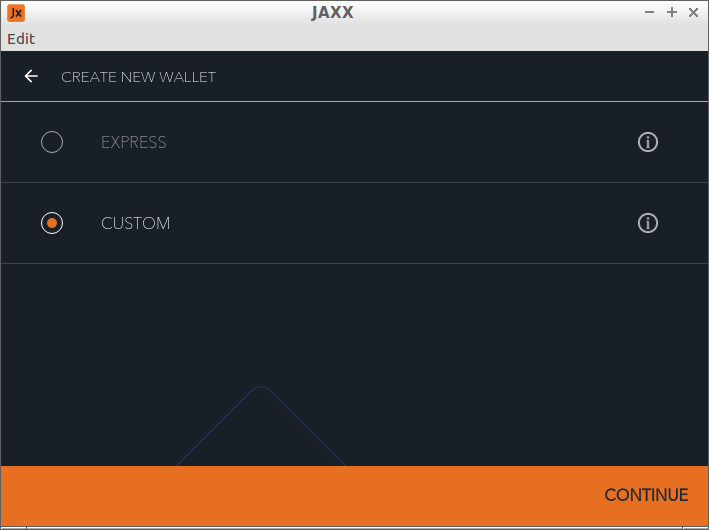
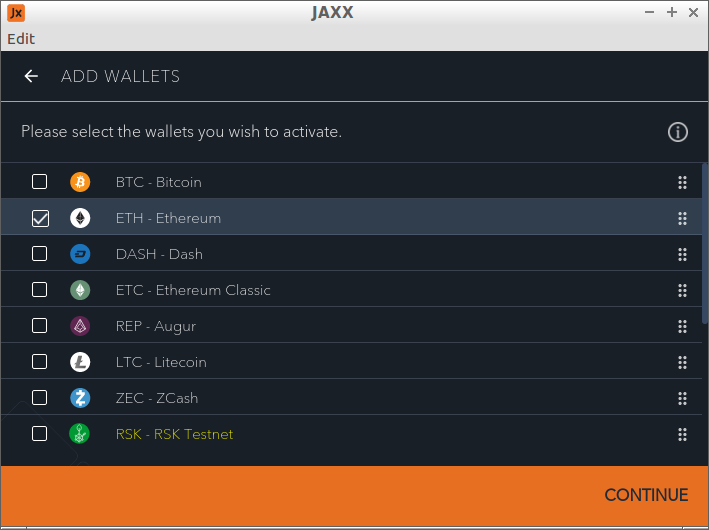
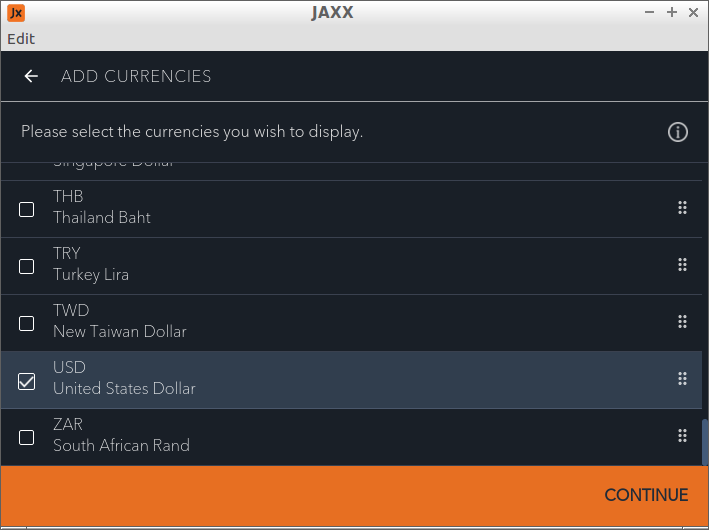
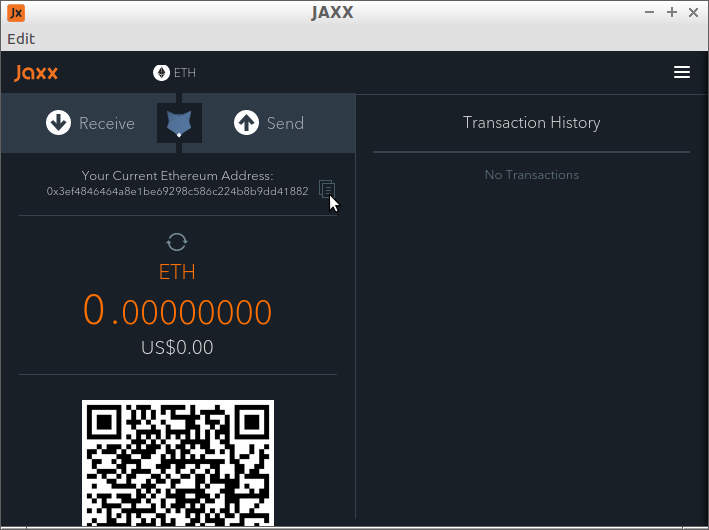
The option I used is called Jaxx. It can handle multiple crypto currencies and Tom's Hardware is going to delve into other crypto mining experiments. To use Jaxx, go to the website (jaxx.io) and download the Linux desktop version. Open the file in Archive Manager and find the jaxx-assets folder inside the base directory in the archive. Highlight it and hit the Extract button. Navigate to your home directory, make a new folder called jaxx, and extract the files there. After everything is unzipped, find the Jaxx file in the assets directory and double click it. You can also Ctrl-click and drag it onto the desktop to make a shortcut. Once in Jaxx, go through the wizard to create a new wallet choosing the crypto currency you want to use and national currency for exchange.
You can opt to have Jaxx backup and secure your wallet with a PIN. This will also generate a random 12-word phrase used for recovering and linking your account to other systems (e.g. if you wanted to install Jaxx on your tablet or phone). The 12-word phrase is essentially a master password for your wallet. Do not lose it or share it. Once your wallet is created, you can copy the hexadecimal address directly to the computer's clipboard using the handy button in the UI.
Mining Software Installation
Just like crypto wallets, there are a few mining software options. After experimenting with a few, I settled on the Claymore Dual Miner for a few reasons. First, trying to use the "official" C++ Ethminer is a headache on Ubuntu, since the packages are now fragmented and broken. Installing it now requires downloading the source files, installing a compiler, then compiling and linking the application. You can find a compatible direct download and install, but it creates local copies of the 2GB DAG files on the disk, which will wear out a USB drive quicker. Having only a dual-core CPU means the source file compiling and DAG creation are slow. If you used Geth to make your wallet, you can also use that for mining. It operates out of a JavaScript console that I didn't find very intuitive.
In contrast, Claymore is small, quick to install, loads DAG files into RAM rather than disk, and is wonderfully optimized so that you'll likely see higher hashrates on your GPUs than you'll see on other miners. It also works for both AMD and Nvidia cards, even both simultaneously, and can be used on Windows. The downside is that it uses 1% of your GPU mining cycles for its own account, as a means of payment to Claymore's creator. Considering you'll see about 5% better hashrates on Claymore, the payment seems fair.
Get Tom's Hardware's best news and in-depth reviews, straight to your inbox.
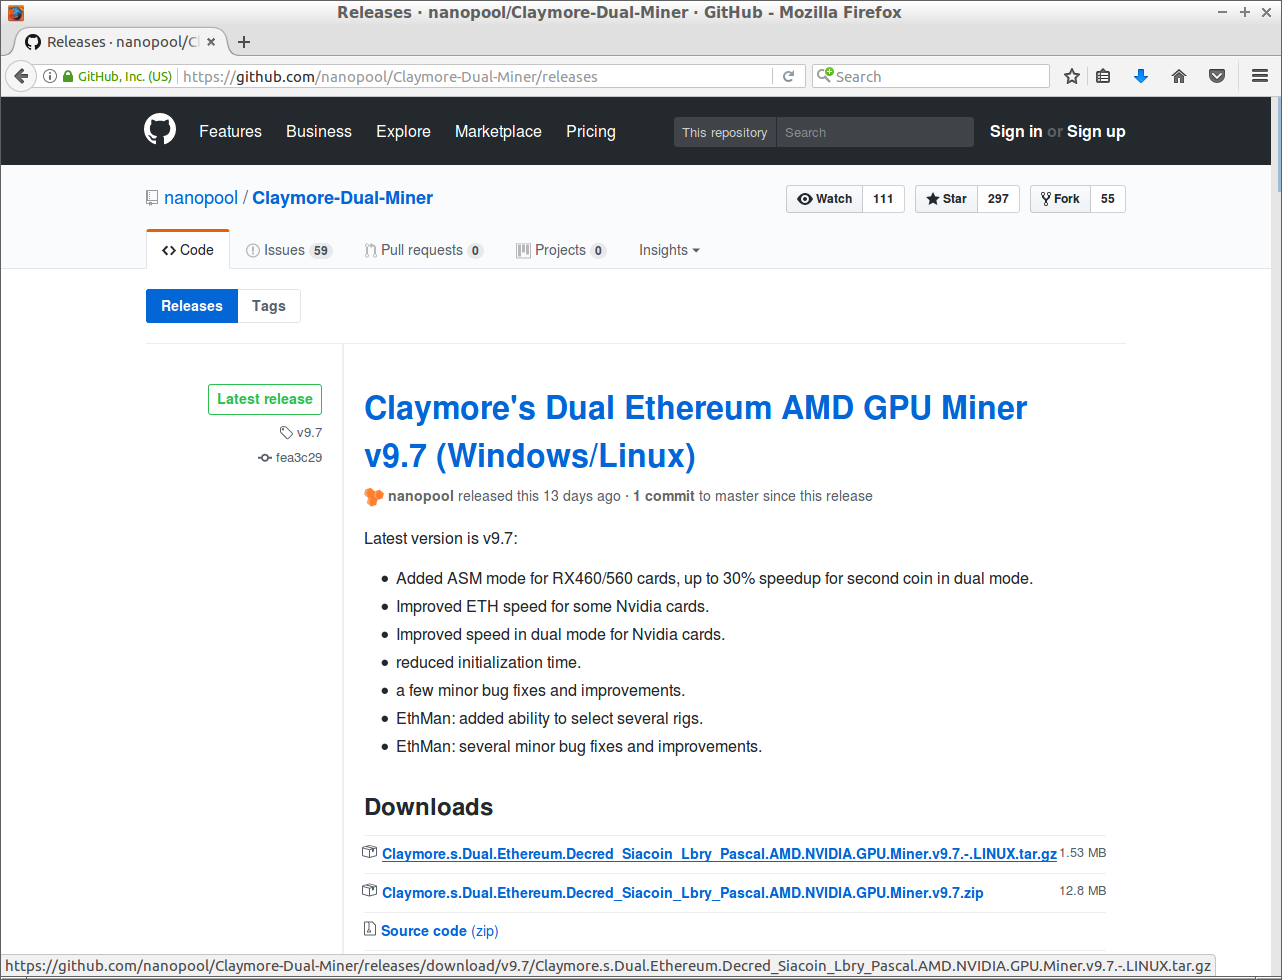
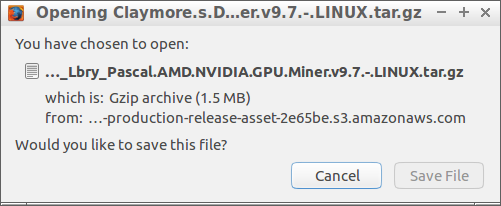
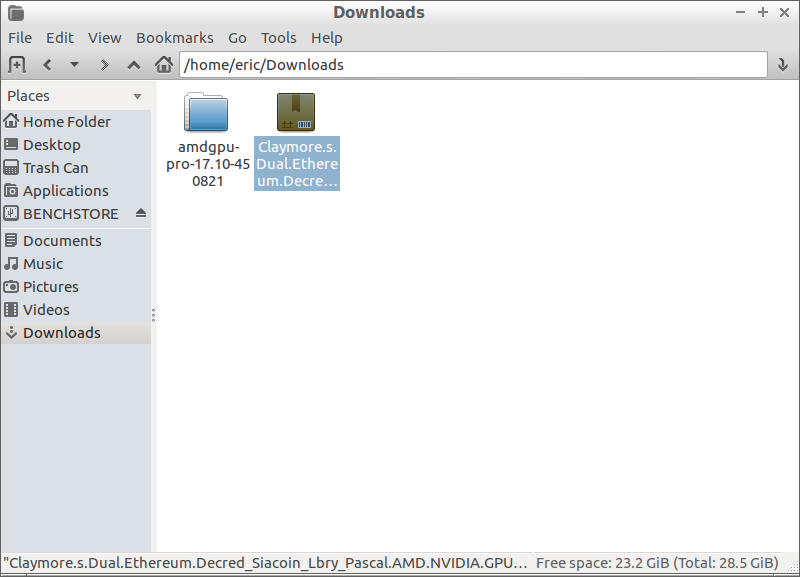
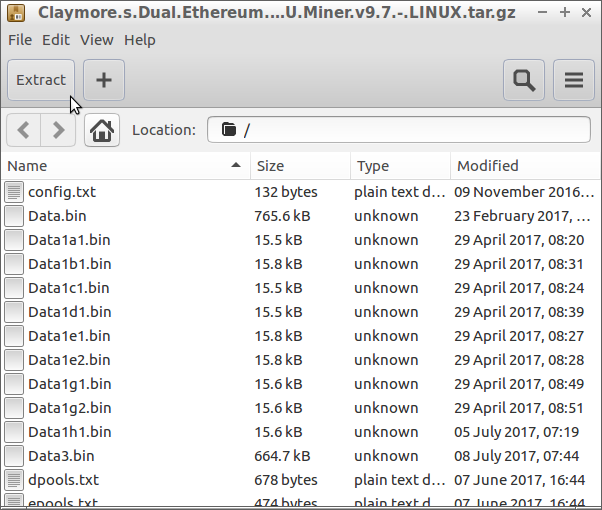
To install it, head over to Claymore's GitHub page (v9.7 is the latest release as of this writing) and download the tar.gz file. Use Archive Manager to open it and extract it to its own folder (I made a claymore folder in the home directory). That's it. No need to run any installation script. However, it needs to be run from the command line, and it uses quite a few input parameters. So the smart thing is to make a shell script that executes it all (similar to a batch file in Windows).
Before you make a script, you'll need to decide if you want to mine on your own or join a mining pool. Mining solo means if you finish a block, you get all the credit and a bigger chunk of Ethereum for it. However if someone else is working on the same block that you are and finishes first, you get nothing. Pools work inversely. With the greater shared processing, blocks are completed faster with less chance that someone else finishes one first. But everyone shares credit, and most pools take a small share of the crypto coin (typically 1%), so actual payout is a little less. If you can assemble a strong miner, say 100 megahashes per second (MH/s) or better, high risk/high reward solo mining might pay well. For those doing it as a hobby, a pool usually means a smaller but more consistent payment. I'll leave individual pool research up to you.
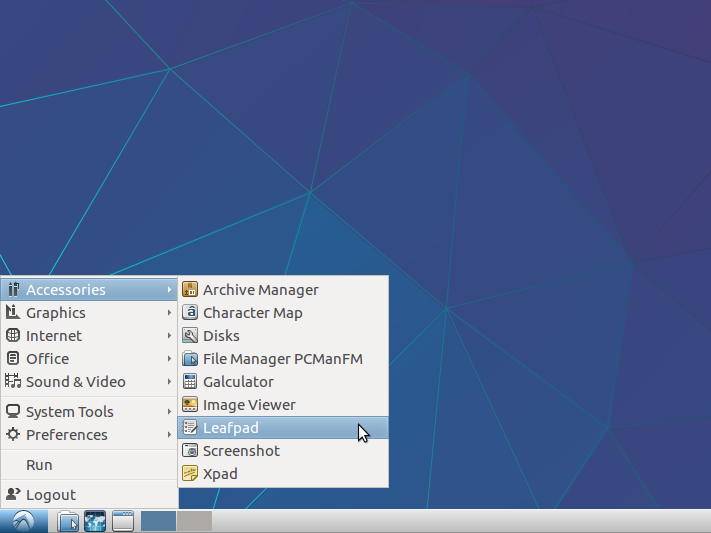
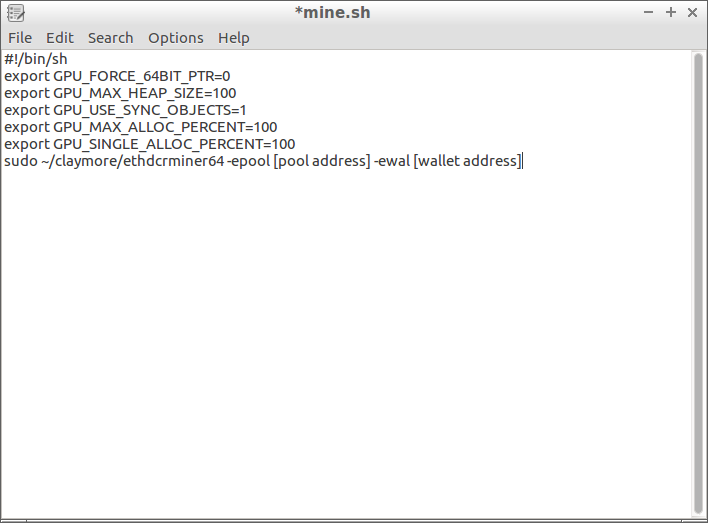
We now have enough information to make a script. Open up Leafpad in the system menu under Accessories. Type the following lines into it.
| #!/bin/shsudo ~/claymore/ethdcrminer64 -epool [pool address] -ewal [wallet address].[Mining ID] -mode 1 |
The first line identifies it as a script to be executed. The second calls the miner "ethdcrminer64" with the necessary parameters. This example assumes you unpacked the miner in a directory named "claymore" in the home directory (Linux uses the ~ for home). If you unpacked it somewhere else, adjust your script accordingly. Each parameter in brackets in my example should be replaced with your own details (leave out the brackets). If you join a pool, they'll give you a URL to use as a pool address. Your wallet address is the 40-character string you got when you made your wallet; just be sure to preface it with "0x" in your script. If you want to identify your particular miner, you can add a string after your wallet with a period separating the two. This is useful if you have multiple mining machines and want to monitor them individually. Specifying mode 1 tells Claymore to mine for Ethereum only.
Claymore has many other options available that you can use to customize it to your particular mining machine. Read its readme file for full details. Owners of particularly strong AMD cards will benefit from the –etha 0 flag, while those who want to keep their GPUs under a certain temperature will want to use the –tt XX flag. Many mining pool web pages will also have extra information on how to use Claymore with their pool, or additional environmental variables to set before executing Claymore.
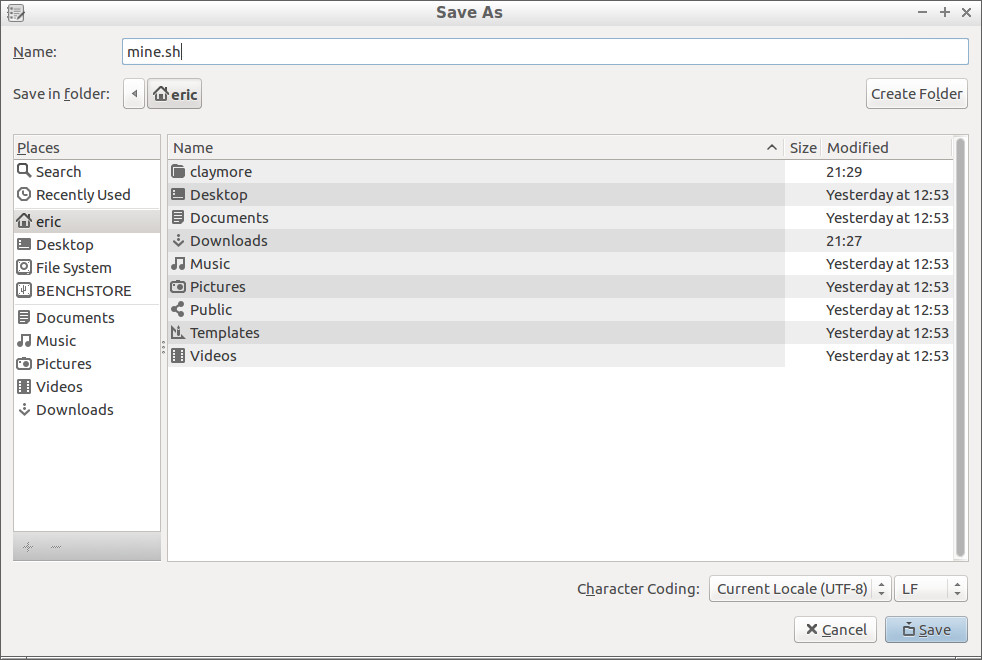
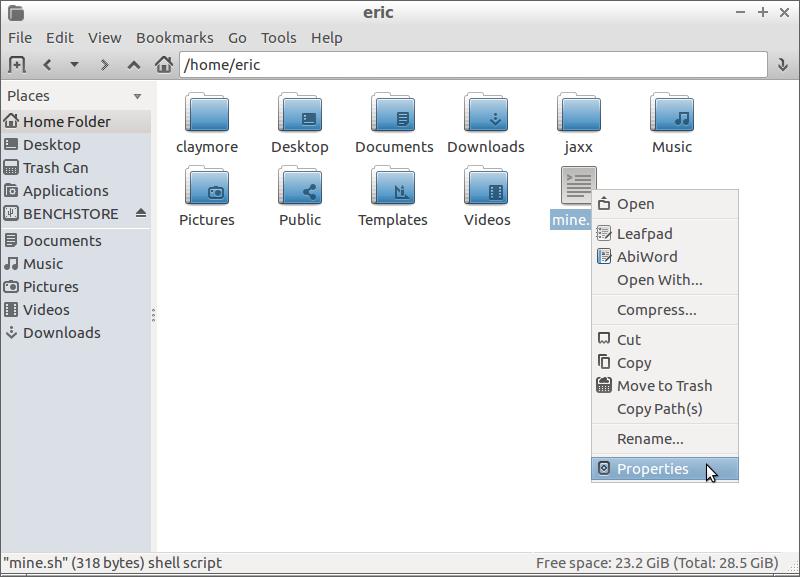
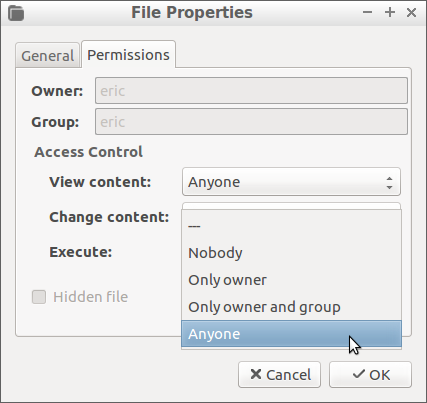
When you're done adding lines to your script, give it a name like "mine.sh" and save it in the home folder. Now you need to make your script executable. Open a file manager and right-click on the script file and bring up the file properties. On the Permissions tab, change Execute to "Anyone" and click OK.
System Testing & Tuning
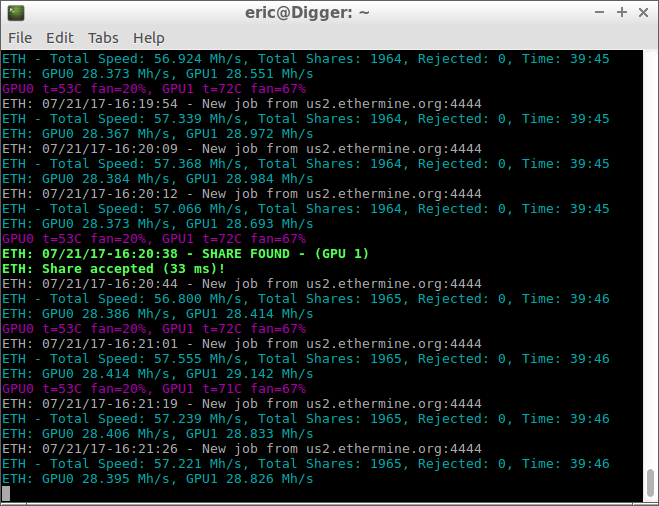
That's it! You're done. You've got a fully functional Ethereum mining system. Run the mining script either by double-clicking the file or executing "~/script_name.sh" in the terminal. It should go through some initialization and then get to work. Once you see it reporting non-zero hashrate numbers for each GPU, you know it's working. If you see errors, recheck your script (right-click and open in Leafpad; this will edit it instead of running it).
Before setting your miner to 24/7 labor, it's a good idea to test it out and make sure everything is stable. First and foremost, make sure your electrical wiring can handle the system draw. Most homes shouldn't have a problem powering even a heavy duty miner, but make sure you're not putting it on an electrical circuit that already has a high draw appliance. Building and electrical codes in many countries already make sure things like washers, dryers, furnaces, and air conditioners have their own circuits, but don't run your mining rig off the same plug that powers a refrigerator, freezer, or microwave.
Next, tune your cooling system to the best balance of power draw, cooling performance, and noise generation for your comfort. Two system fans at 50% are quieter and consume less power than one fan pegged at 100%. Liquid pumps are a huge power sink in a cooling system. If you can lower their speed without losing too much cooling capacity, do it. It's a good idea to err on the side of caution to make sure none of your components burn out, but that doesn't mean every fan needs to run at 100%.
I'm very familiar with the liquid loop I'm using, so I already had things dialed in pretty well. The pump is already set to its optimal cooling RPM. The smaller CPU means less component cooling and less load through the VRM. The 140mm fans in my loop blow across the VRM. Unplugging them saved a little power draw and noise without sacrificing critical cooling capacity. The triple 120mm radiator blows across the expansion card area of my motherboard, so I left those three fans on 65% duty to give a little extra airflow over GPU 2.
Claymore by default tries to keep GPUs under 68°C and will change their fan speeds accordingly. A few hashing runs showed GPU 2 was constantly bumping into that thermal range and its fans were screaming. I increased the temperature limit to 72°C to keep the fans a little quieter without endangering the GPU. I then grabbed a leftover Noctua NF-A15 fan from a NH-D15 cooler and propped it up in the case at the end of GPU 2 to get some increased airflow along the axis of the card.
The end result is GPU 1 at 50°C in the liquid loop, GPU 2 around 70°C, and power draw dropping from 595W to 585W.
MORE: The Ethereum Effect: Graphics Card Price Watch
MORE: Best Graphics Cards
MORE: Best PC Builds
Current page: Building An Ethereum Mining Rig: Digital Wallets & Mining Software
Prev Page Building An Ethereum Mining Rig: Software Installation & Configuration Next Page Want To Profit From Crytpo-Mining? Have A Rig Ready & Get In Early-
rush21hit Us mere mortals wouldn't have an R9 290X level of card lying idle. Heck, suppose we do have unused GPU it would be something from 2 gen before it and a mainstream oran entry level card of its time at that, at the very least.Reply
That said, I do have HD7750 and HD6670 on a closet somewhere, only its from HIS with a common HIS problems; the fan.
So suppose anyone does have some mainstream or high level card at least the level of HD5850, as an example, they'd still faced with power bill issue, which in some case outweigh the profit. As we all know how much of a sucker old gens are compared to what we have now. That is assuming they are somehow emotionally attached to it and not decided to sell it, even after buying later gen.
This article still has a point. But a very unlikely one. -
Neuspeed This article didn't address the mining difficulty of Ethereum. At this point, is not a good idea to mine ethereum unless people have hash rates in the GH/s or at least MH/s. It's better to mine other alt coins such as: XMR, LTC, and many others. Overstock.com will now accept 40+ different Altcoins as form of payment. Won't be long before other companies do as well.Reply -
RedJaron Reply
I think you read this wrong. I didn't write this saying "These are the exact steps and parts list you need." It's simply saying, "Here's a basic idea you can possibly adapt to your own circumstances." No, not everyone has a 290X in storage. But a lot of people do. My current "leftover" GPU is an R9 280. That's plenty strong for some hobbyist mining.20050808 said:Us mere mortals wouldn't have an R9 290X level of card lying idle. Heck, suppose we do have unused GPU it would be something from 2 gen before it and a mainstream oran entry level card of its time at that, at the very least.
All of which I cover fairly extensively in the last page, or did you not bother reading the whole thing?20050808 said:So suppose anyone does have some mainstream or high level card at least the level of HD5850, as an example, they'd still faced with power bill issue, which in some case outweigh the profit.
You're attributing much too broad a brush to people. There are plenty of reasons to keep around leftover computer parts, other than sentimentality. You might want a backup incase your new hardware gets damages, is a lemon, etc. You might hang on to some stuff because you've got friends or family that might want it when they finally decide to ditch their current dinosaurs.20050808 said:As we all know how much of a sucker old gens are compared to what we have now. That is assuming they are somehow emotionally attached to it and not decided to sell it, even after buying later gen.
Never said it didn't have a few restrictions, was only saying it is possible.20050808 said:This article still has a point. But a very unlikely one.
Actually, I did talk quite a bit about the rising hash difficulty. Did you not read the last page? Did you not see on the front page where I talked about the ballooning DAG files making it harder to use older mainstream GPUs ( since most of them are 2GB VRAM or less )?20050892 said:This article didn't address the mining difficulty of Ethereum.
You don't need a GH/s rig to do it, as I've already demonstrated. It may not be hugely profitable, but you can make a little at it even using something as lowly as a 4GB 1050 Ti.20050892 said:At this point, is not a good idea to mine ethereum unless people have hash rates in the GH/s or at least MH/s.
Too true. Just ask Sylvester McMonkey McBean.20050951 said:As with every gold rush. The real profit lies in selling shovels. -
g-unit1111 Reply20050951 said:As with every gold rush. The real profit lies in selling shovels.
Yup those that got rich are the ones selling the mining equipment! :lol: -
10tacle As much as I despise miners and the very idea of cryptocurrency, I found this article interesting and a little enlightening why people are getting into it late in the game. Even if ETH crashes and burns tomorrow, eventually there will be another to take its place. I don't see this cycle changing anytime soon either unless governments get involved and start banning mining in their nations.Reply -
10tacle Oh and one more thing: not all is bad for we PC gamers. Those of us who have previous generation GPUs have enjoyed watching the values of said cards go up. A friend of mine sold his 8GB RX 470 for $320 on eBay last month, or nearly $100 more than he paid for it. I sold my SLI pair of GTX 970s for $420 or about $120 more than they were worth combined a few months ago. We both upgraded to a GTX 1080Ti with the spoils.Reply -
derekullo What about integrated graphics cards?Reply
From what I'm reading the Intel HD Graphics 630 can address up to 64 gigabytes of ram allowing you technically keep mining even after the Geforce 1070 is forced out when the DAG finally exceeds 8 gigabytes.
Or is there hash rate efficiency not high enough to offset the electricity used for the Intel HD Graphics 630?
My reason for asking is I have a lot of computers not being used but without graphics cards. -
Math Geek thanks for the article. i'll be pointing the 100 users a day in the forum asking about getting into mining toward this article. good basic info that can be easily adapted to individual users.Reply