MSI MEG X570 Ace Review: Memory Speed Master?
Why you can trust Tom's Hardware
Firmware and Overclocking
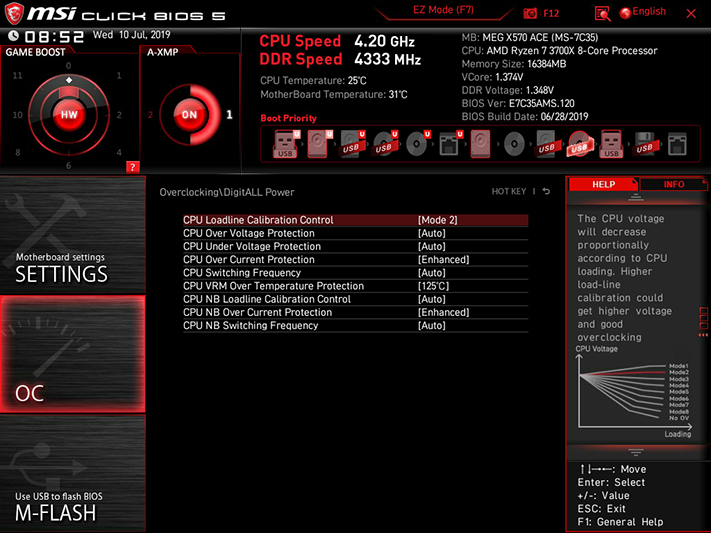
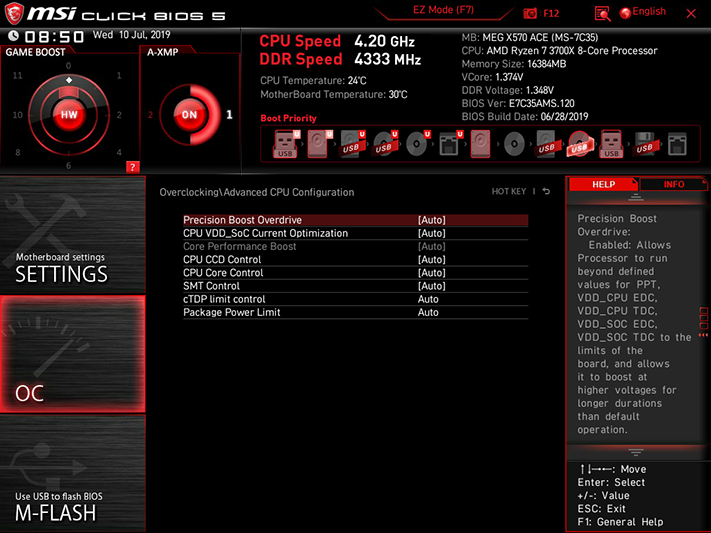
MSI Click BIOS 5 remembers the user’s chosen interface version (EZ or Advanced mode) upon exit, so that tuners can more-quickly pick up where they left off. We left off at 4.20 GHz, unable to get our CPU to go any higher at up to 1.40V and finally backing down to 1.366V under heavy software load when higher settings proved unfruitful.
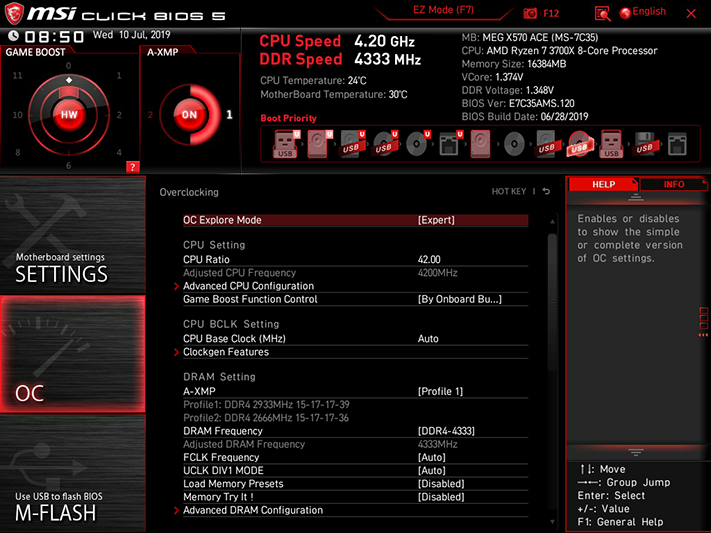
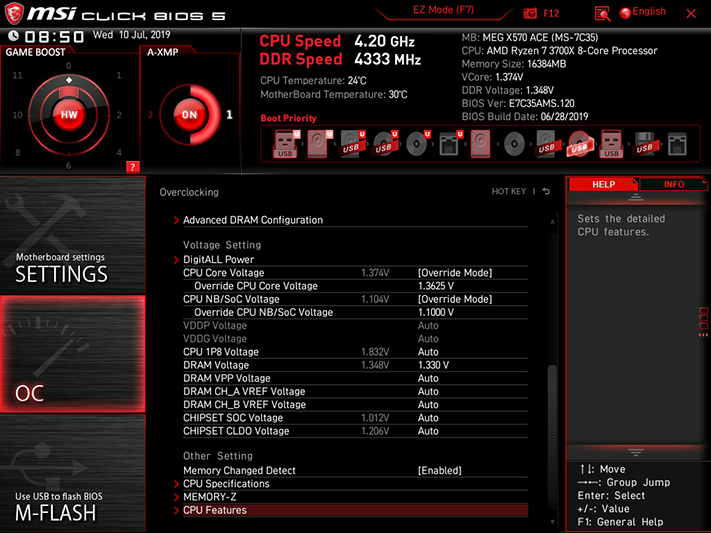
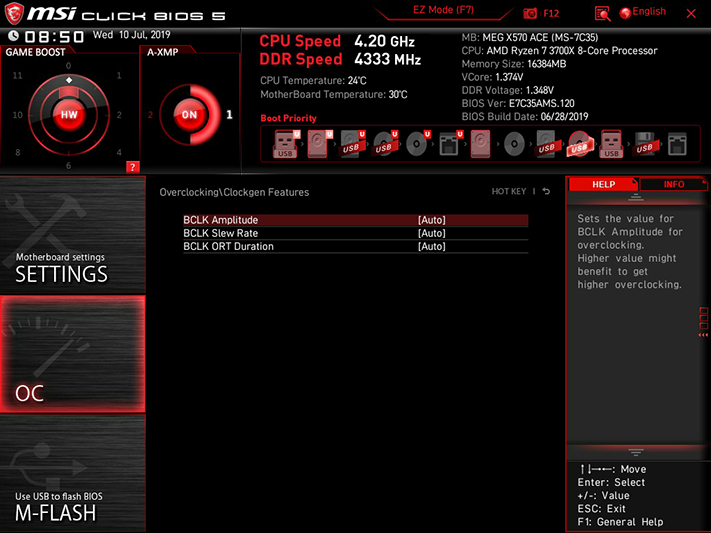
Our Hynix-based HyperX DDR4-2933 reached an alarming DDR4-4333 at full stability using the board’s 1.330V setting, which corresponded to a measured 1.354V at the DIMM slots. That’s a full 24mV over-voltage, which is why we’re forced to get out the meter in the first place, and it’s also why we’ve picked a DRAM voltage limit (1.355V) to prevent cheating in these comparisons.
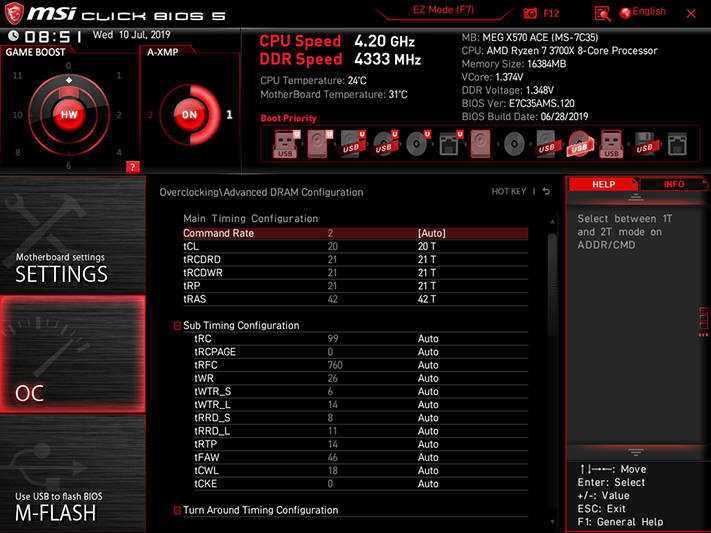
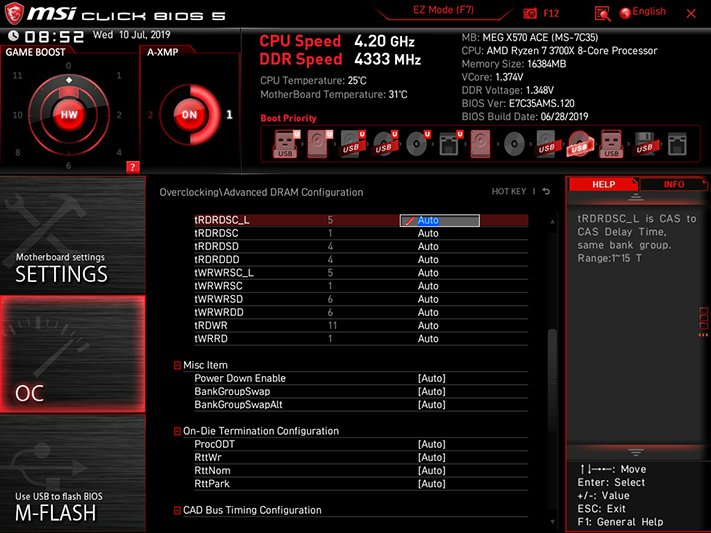
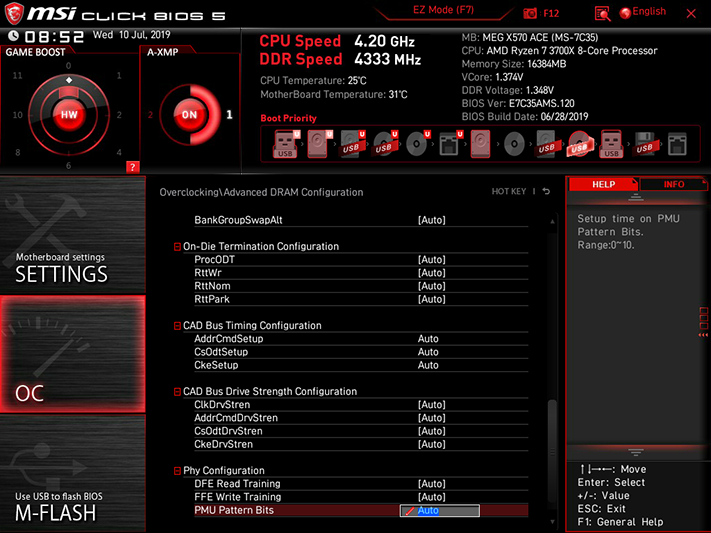
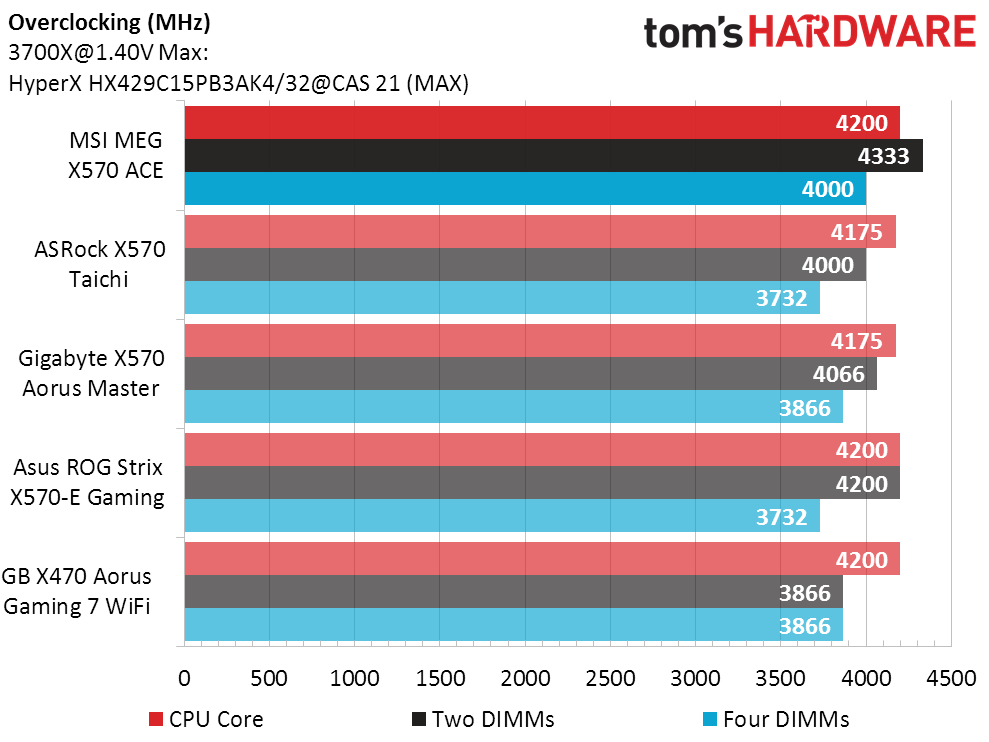
Our memory overclock came at 20-21-21-21-42 timings, as switching to straight CAS 21 settings didn’t get give us an additional stability. CAS 21 straight timings were originally picked in hopes of pushing these modules to DDR4-4200, and 4333 certainly beats that. On the other hand, that achievement happened with only two DIMMs installed, and the full four-DIMM kit reached a mere DDR4-4000.
Two ways we found to get our core voltage to its optimally-stable 1.366V under heavy load were to start with 1.375V and select Mode 3 load line calibration, or to choose 1.3625V as the base and Mode 2 as the calibration level. Since the 1.375V gave us 1.384V at idle and the 1.3625 gave use 1.372V at idle, the latter option appears to be better.
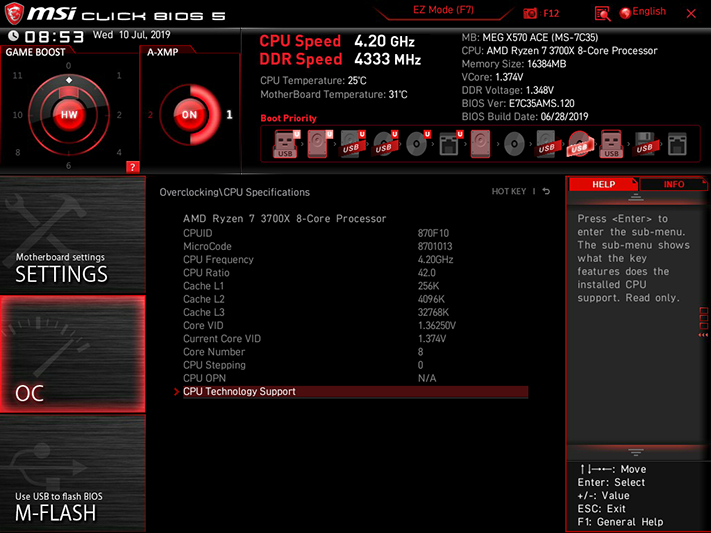
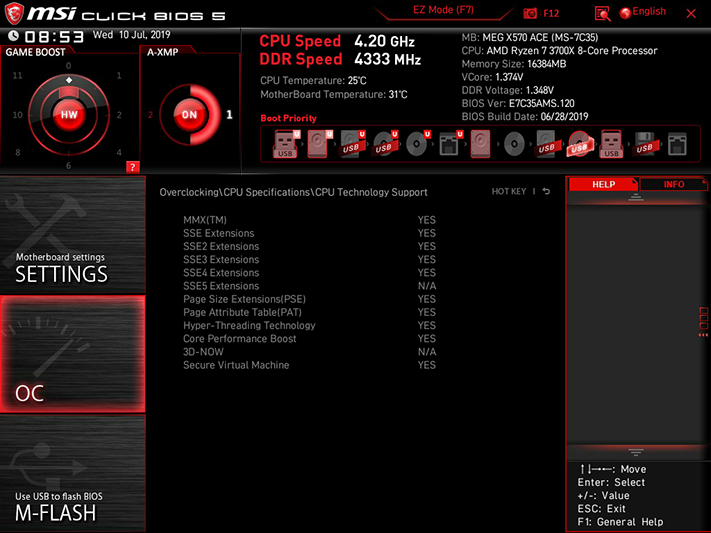
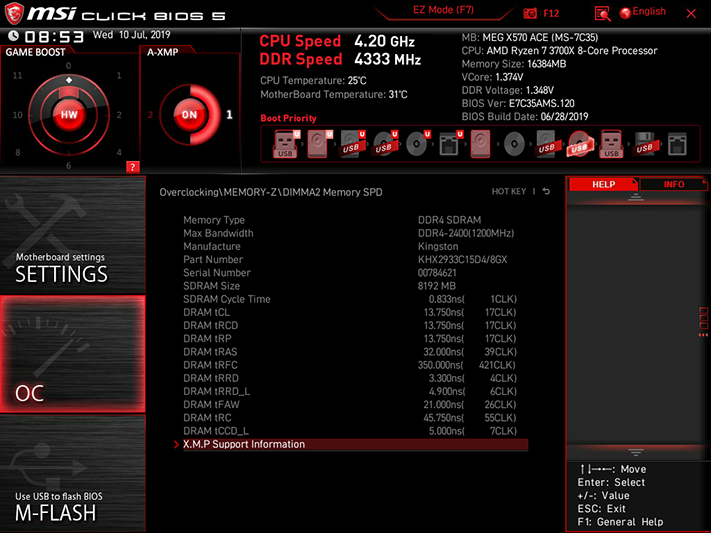
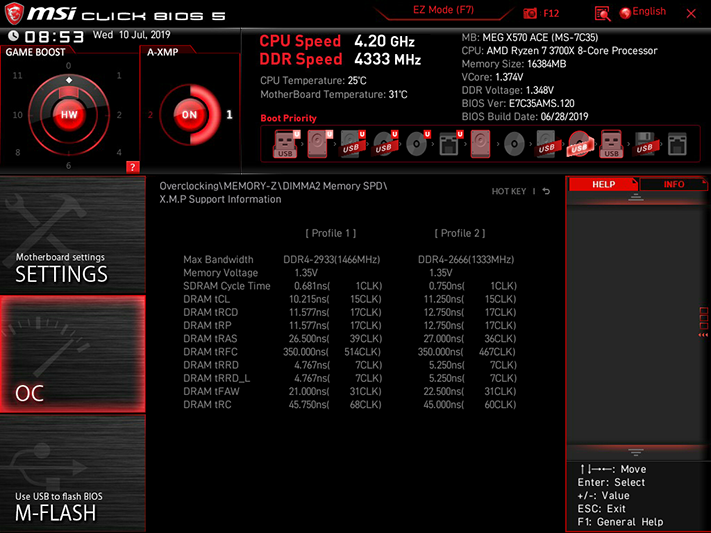
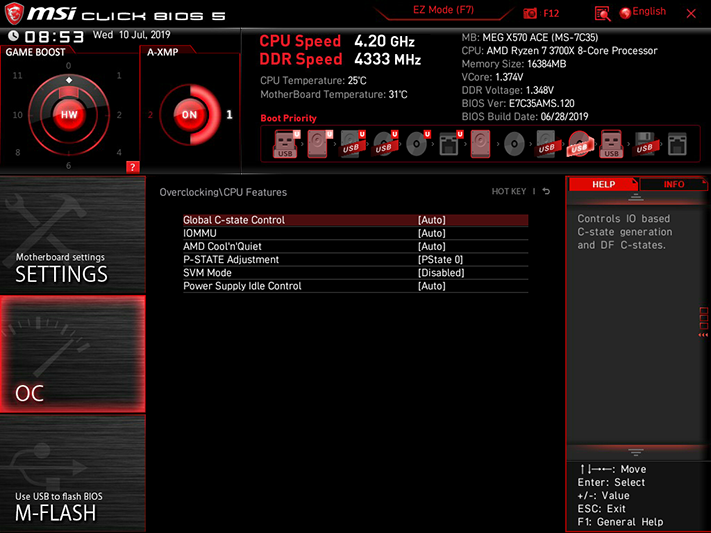
Other OC menu items include CPU specifications and DRAM timings reports, and advanced CPU features settings that we didn’t need to touch to reach our overclock.
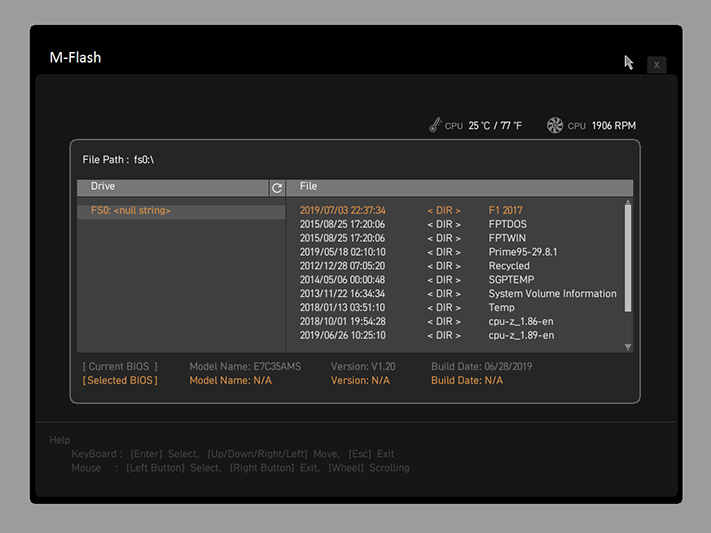
MSI’s M-Flash firmware update utility can be launched from within firmware, though it opens a separate GUI.
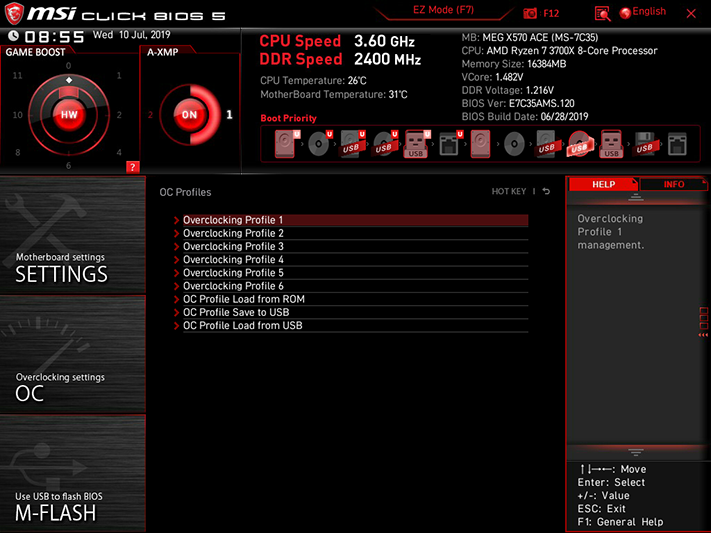
Up to six custom firmware configurations can be stored as user profiles on what space remains of the onboard flash ROM, and those profiles can also be exported or imported from a USB flash drive.
Get Tom's Hardware's best news and in-depth reviews, straight to your inbox.
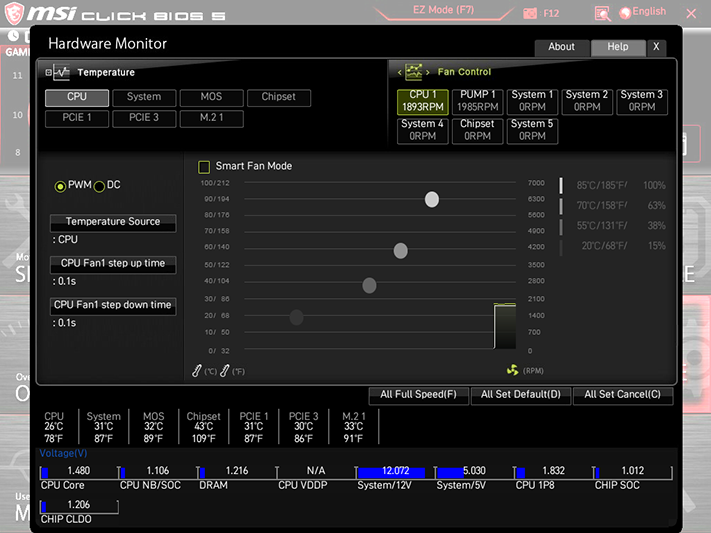
MSI’s Hardware Monitor menu is primarily a fan RPM mapping page, where users can select either PWM- or voltage-based control methods for each of the motherboard’s seven headers and assign custom curves or slopes to deal with various temperature readings.
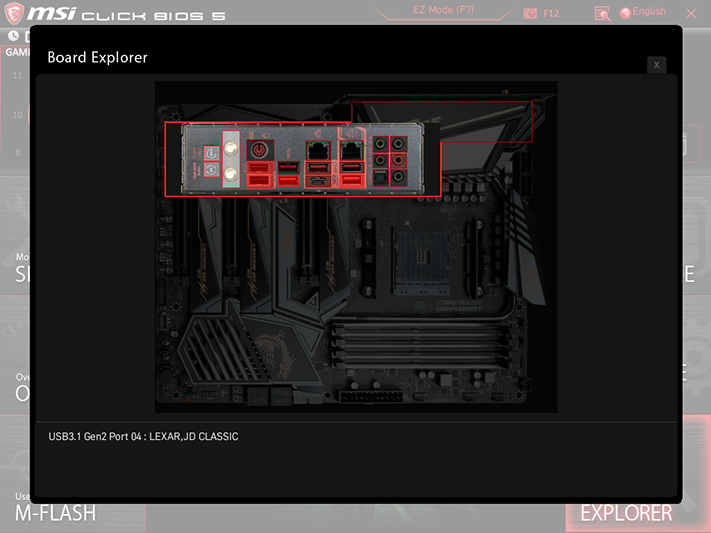
MSI Board Explorer shows what’s connected to each slot, socket, or port simply by mousing to that location. We picked the port that our USB flash drive was plugged into and its description was accurate, though the cursor position wasn’t captured by MSI’s screenshot utility.
Overclocking
We’ve retained the hardware from our X570 Aorus Master Review to compare the MEG X570 Ace, adding data from our upcoming ROG Strix X570-E Gaming to expand the charts. It’s only fair, since we put the MEG X570 Ace’s data in the X570 Aorus Master review.
The MEG X570 Ace’s 4.20 GHz CPU clock would have put it over all X570 comers, if not for the spoiler data from our upcoming review of the ROG Strix X570-E Gaming. And what good would that win over other X570 models have done if it only managed to tie the older X470 board?
Memory overclocking is the MEG X570 Ace’s competition killer, where it accomplishes around 200 MHz higher data rate than the average of its competitor’s, even after we adjusted the voltage to keep the competition fair. Yet performance is the point of overlocking, so how much bandwidth did it get?
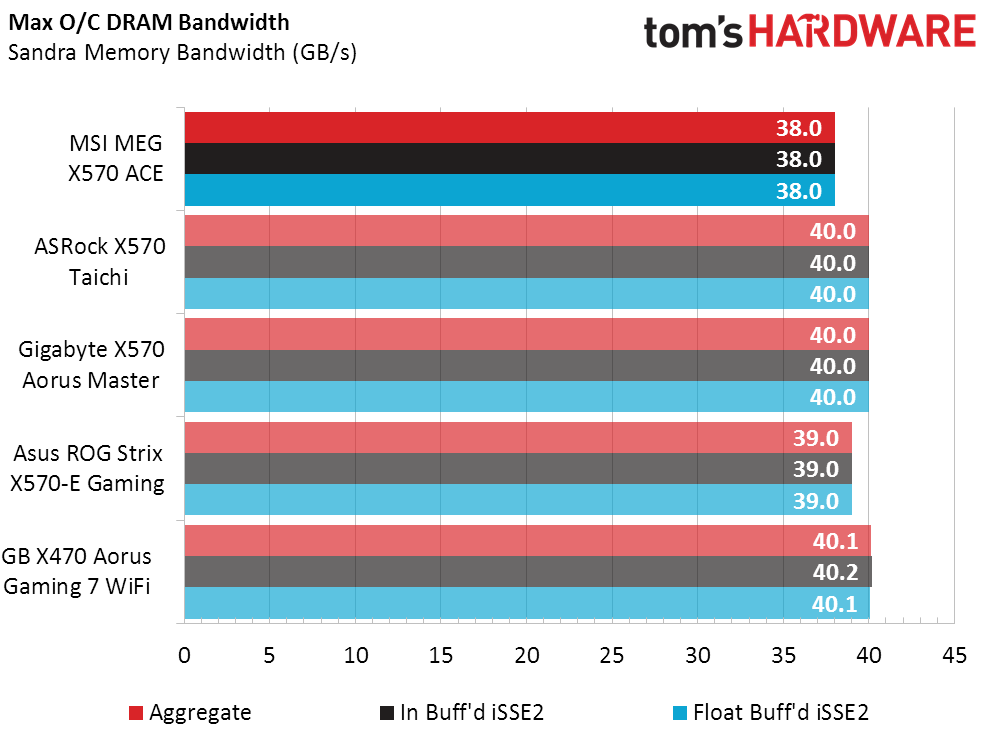
Relaxing secondary and tertiary timings are one trick to achieving a high memory overclock, but a performance deficit results. That’s what appears to be going on in the overclocked bandwidth chart, where even the X570 Taichi’s lowly DDR4-3733 four-DIMM limit outperformed the mighty X570 Ace’s DDR4-4000 bandwidth. These are also best-case scenarios since Sandra’s memory bandwidth drops when only two DIMMs are installed: The Taichi’s DDR4-4000 two-DIMM test produced only 38 GBps, and the Ace’s DDR4-4333 produced only 37 GBps, according to our test notes.
MORE: Best Motherboards
MORE: How To Choose A Motherboard
MORE: All Motherboard Content
Current page: Firmware and Overclocking
Prev Page Specifications and Design Next Page Benchmark Results and Final Analysis-
thegr8anand Aorus Master is better imo but Msi is running a promotion where they give CM ML240R AIO on purchase of Meg Ace.Reply
https://www.msi.com/Promotion/I-Love-You-3000-AMD -
DRB Trading There was one (to me critical) missing measurement in MSI MEG X570 Ace review ... sound level emanating from PCH fan. Having read several whining PCH fan the Aorus X570 Master (reviews) ... to me THIS related sound level measurement would be the deal breaker ... not a probably imperceptible mhz of performance here or there. From the test result posted ... one could intuit that the position of fan results in poorer cooling ... but the PCH fan placement gains from unobstructed output positioning and perhaps better/larger fan design from MSI fan design experience. Since the PCH temp seems to run higher ... the question is open if this causes the fan to work harder and the term wear and tear implications. I'm replacing a system now as much as anything because of noise. New system case will be Fractal Design S2 ... may replace case fans with Noctura ... depending on performance.Reply -
Crashman Reply
I'm sorry, but I couldn't hear the MSI PCH fan above the noise of other system fans. I could spin it up manually to hear it whine, but that's not very realistic considering that it never hit a high RPM during our tests. I've heard that the real heat starts coming when you've attached multiple PCIe 4.0 devices, but we don't have multiples yet.DRB Trading said:There was one (to me critical) missing measurement in MSI MEG X570 Ace review ... sound level emanating from PCH fan. Having read several whining PCH fan the Aorus X570 Master (reviews) ... to me THIS related sound level measurement would be the deal breaker ... not a probably imperceptible mhz of performance here or there. From the test result posted ... one could intuit that the position of fan results in poorer cooling ... but the PCH fan placement gains from unobstructed output positioning and perhaps better/larger fan design from MSI fan design experience. Since the PCH temp seems to run higher ... the question is open if this causes the fan to work harder and the term wear and tear implications. I'm replacing a system now as much as anything because of noise. New system case will be Fractal Design S2 ... may replace case fans with Noctura ... depending on performance.
Edit: What do you think of using this board for memory evaluations? It has less bandwidth on our overclocked DDR4-2933, but it hits higher data rates and scales smoothly from DDR4-3733 to DDR4-4333. The other boards won't do that. -
Andreas.Kefalas Hey, this is the best comparison of the mainstream boards i've seen so far, thank you! Any chance to also include the C8H? This would be awesome....Reply -
Crashman Reply
I don't have one. Joe Shields is taking over the X570 series with a slight difference in hardware that means when he gets it, you'll only be able to compare his other results.Andreas.Kefalas said:Hey, this is the best comparison of the mainstream boards i've seen so far, thank you! Any chance to also include the C8H? This would be awesome.... -
underpickled I have this motherboard, and I got about 41 GB/s with the 3600 MHz A-XMP profile (16-16-16-36 timings). Tuning with the Ryzen RAM calculator (16-16-16-32, plus other tuning) got me to 45 GB/s. I don't think max frequency is really the key here in terms of measuring memory bandwidth. Seems to me it's not much of a comparison unless the motherboards are comparing with the same timings, then maybe another test with max OC.Reply
