System Builder Marathon Q1 2016: $1275 Professional Workstation
This month I break the SBM mold by using a true workstation processor and graphics.
Component Selection & Assembly
System Builder Marathon Q1 2016
Here are links to each of the four articles in this quarter’s System Builder Marathon (we’ll update them as each story is published). And remember, these systems are all being given away at the end of the marathon.
To enter the giveaway, please fill out this SurveyGizmo form, and be sure to read the complete rules before entering!
- $662 Budget PC
- $1275 Professional Workstation
- $1232 Prosumer PC
- System Value Compared
$1275 Professional Workstation
One of my longstanding goals for the System Builder Marathon has been to break the mold a bit and do some experimental builds. By now, I think we’ve gathered enough data from traditional, enthusiast grade components that we’re able to paint a pretty good picture as to which parts will work best with a certain theme and price point. However, we seem to be heavily lacking data on true professional components like workstation graphics cards and motherboards, server CPUs and ECC RAM. With no theme or budget restrictions this quarter to prevent me from doing so, I set out to explore some of the more non-traditional hardware combinations.
The Build
- Platform Cost: $1,090
- Total Hardware Cost: $1155
- Complete System Price: $1275
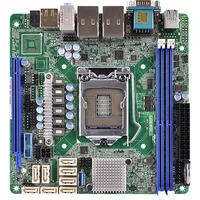
Sometimes making plans for a System Builder Marathon build are like making plans for war; they’re great until the first shot is fired. The first wave of trouble came shortly after I submitted my purchase request for this quarter’s components. It seemed Newegg managed to run out of almost every LGA 1151 workstation motherboard with either a C232 or C236 chipset, right after I placed my order. I waited a few days to see if the board I picked would become available again, but that never happened and with time running out to finish the build, I was forced to go with the only board available at the time.
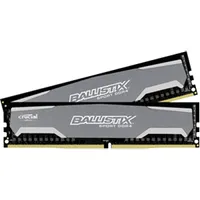
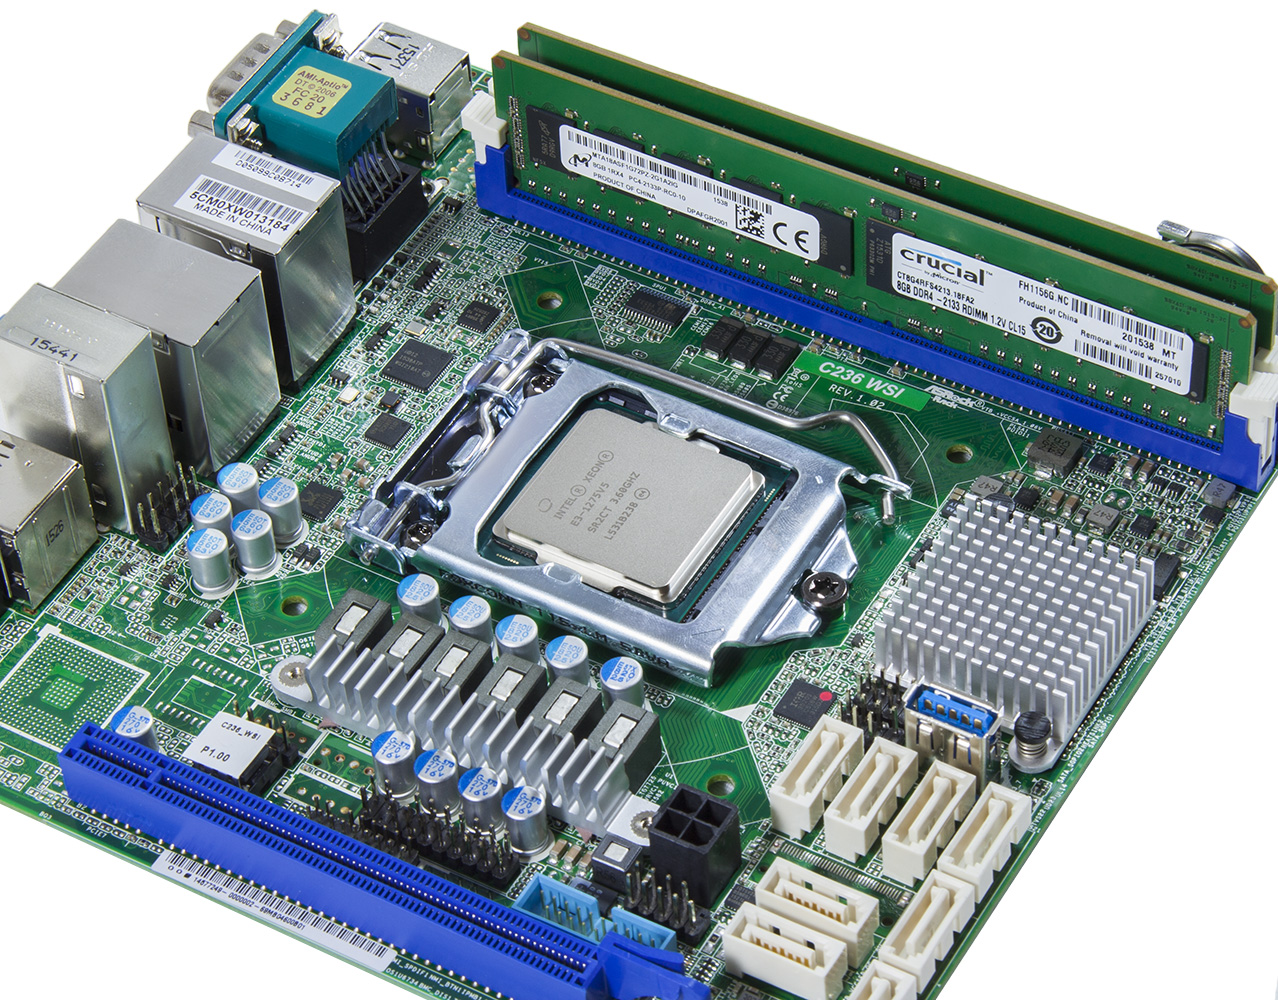
The second wave of trouble came when the ECC RAM that I ordered turned out to consist of completely incompatible registered DIMMs instead of the unregistered DIMMs I thought I was buying. There wasn’t any time left to order another set of RAM and still have time to finish the build, so I was forced to use a set of non-ECC RAM that I had on hand in order to keep things moving.
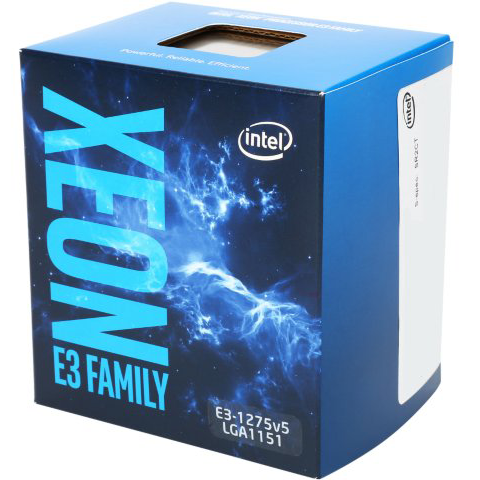
At last with a working build, I was ready to test, or so I thought… The bearing on the stock cooler that shipped with my Xeon processor decided it was going to further contribute to my problems and started making a horrendous rattling noise. Luckily, I have an excess of stock Intel CPU coolers laying around and after a quick switch I was good to go.
Get Tom's Hardware's best news and in-depth reviews, straight to your inbox.
Component Selection
Assembly
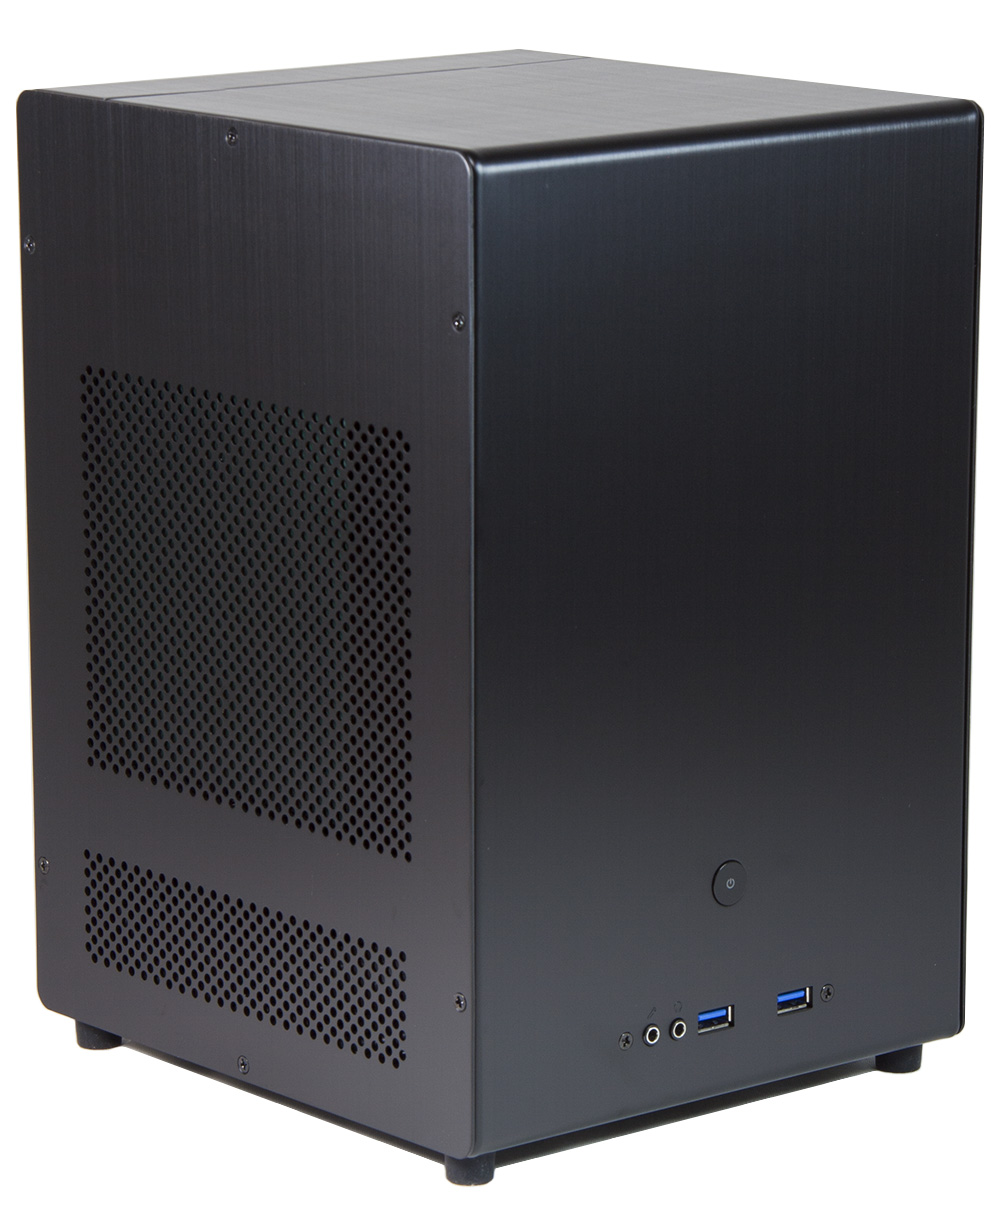
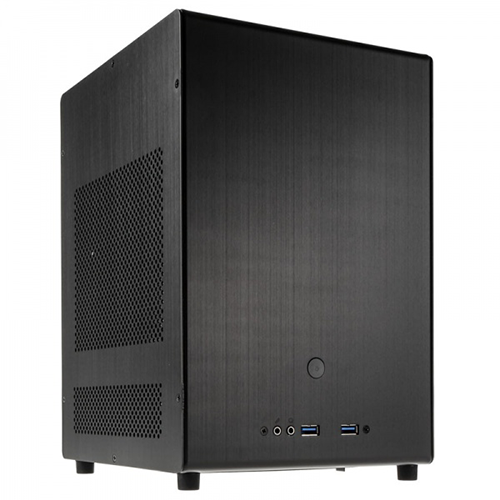
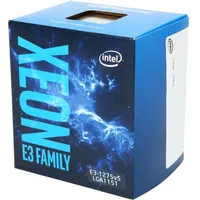
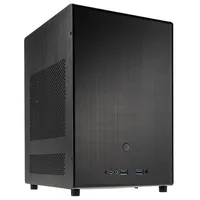
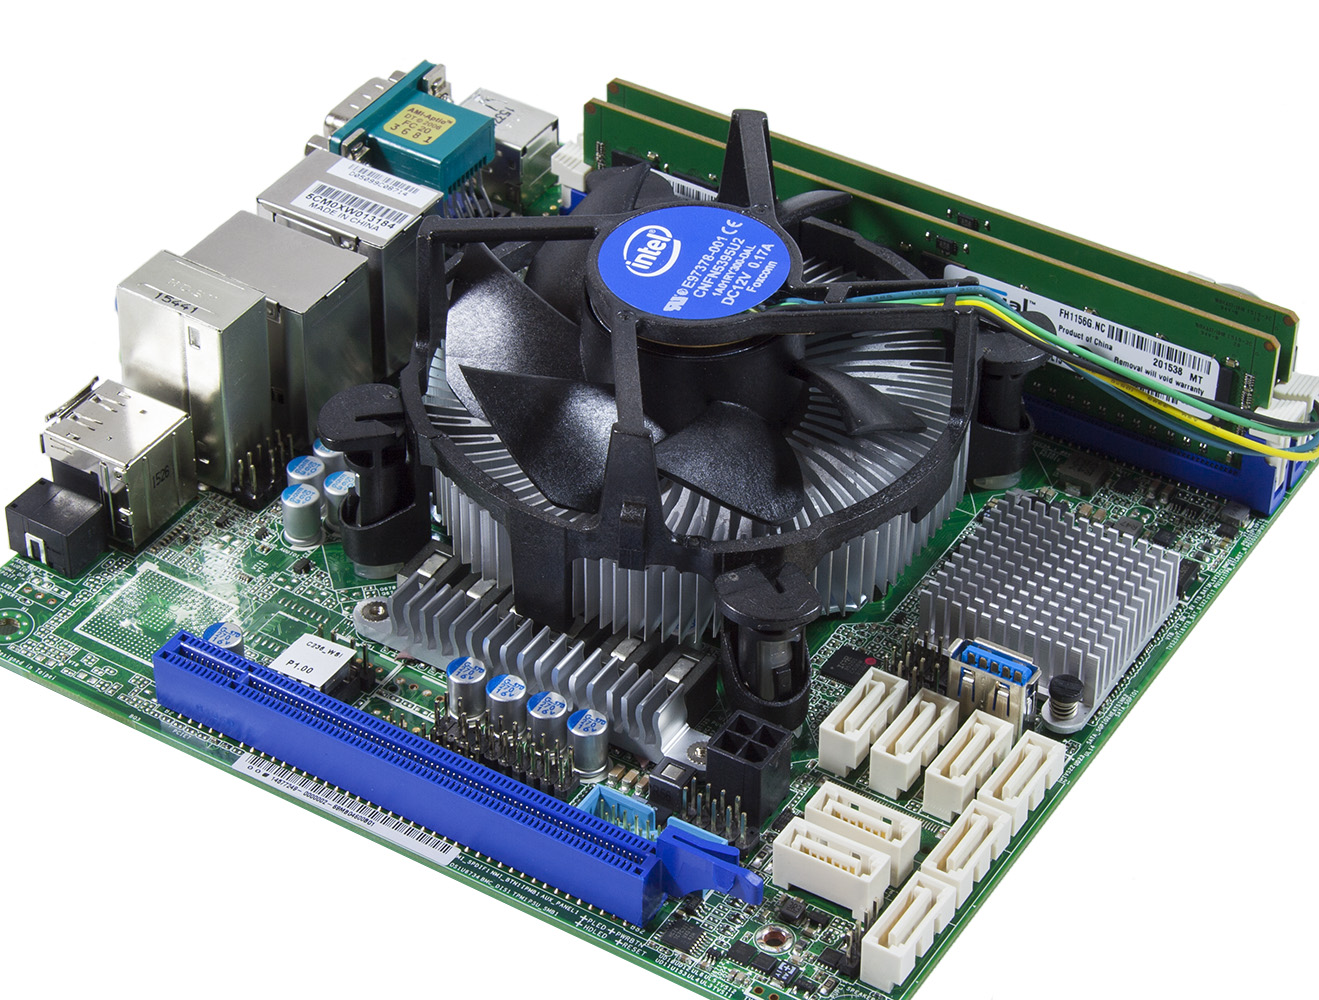
Other than the joy misery of trying to attach and route cables inside of a MiniITX case, this quarter’s build was largely uneventful and follows the standard build process. After removing the protective cover from the LGA 1151 socket, the Xeon CPU simply drops in to place. Similarly, the RAM seated into its slots without much trouble, and as you can see the photo below was taken before I realized the horrible mistake I had made and had to switch out my RAM.
The stock Intel Skylake cooler comes pregreased from the factory and mounts to the board using the standard pushpin mount. The CPU fan cable then connects to a connector hidden on the other side of the RAM modules.
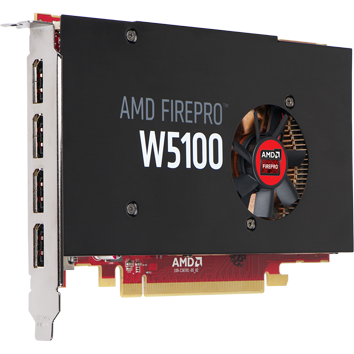
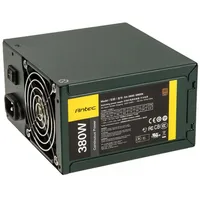
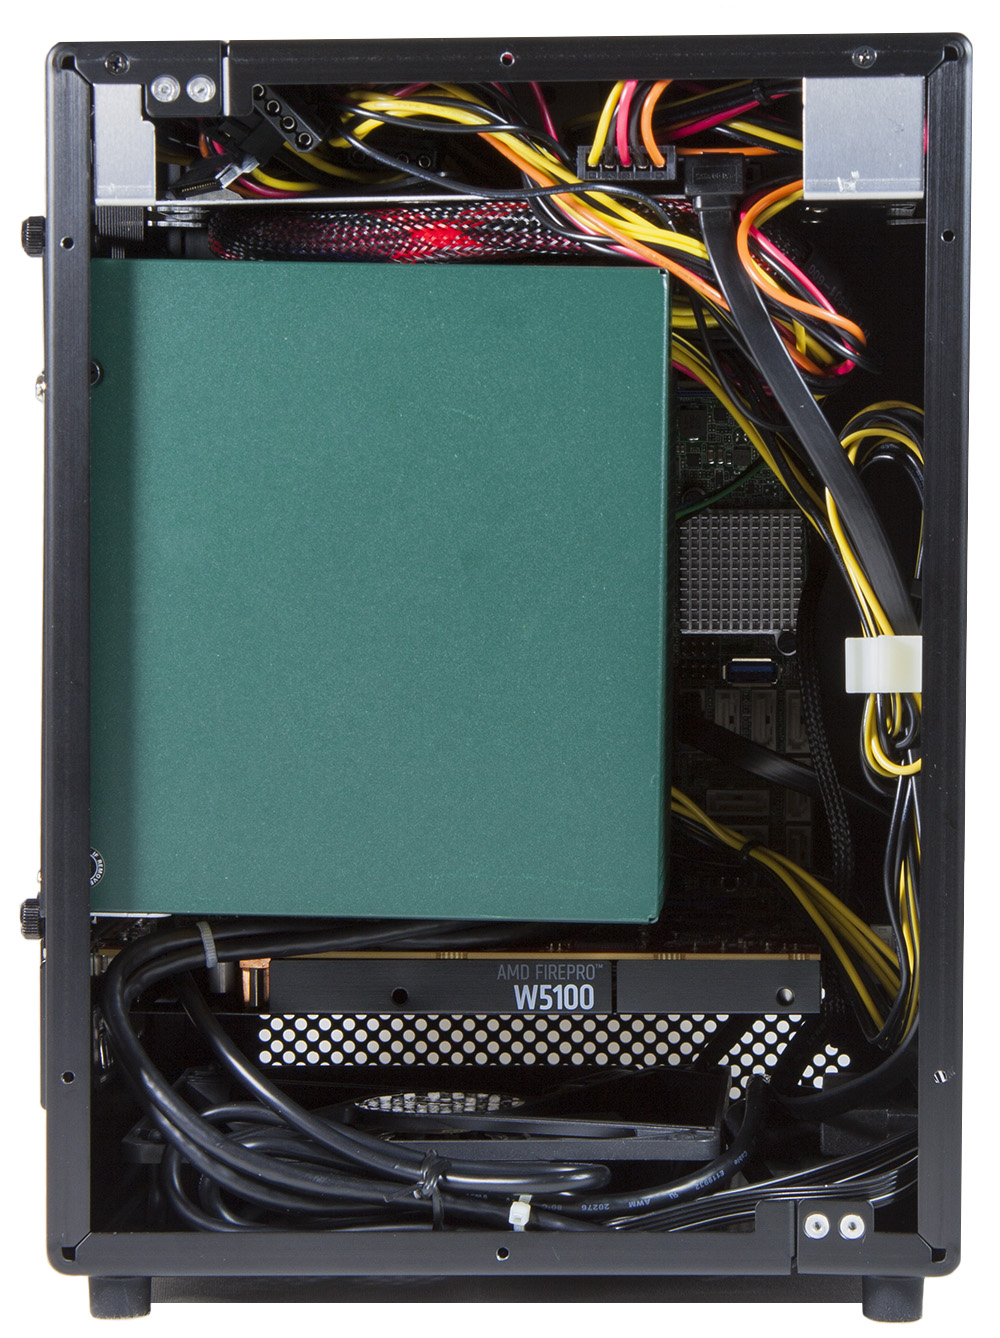
After installing the motherboard in the case, all that was left was to install the GPU, SSD and PSU, and do some simple cable routing. A modular PSU would have really helped here, but thankfully the hard drive tray at the top of the case also works wonders for disposing of unwanted or excess cables. For everything else that can’t be stuffed away up there, Lian Li is nice enough to include plenty of cable ties and even a few peel-and-stick cable holders to help deal with the mess. The end result looks somewhat like this:
-
cadder It is interesting to see a build with workstation components and how they compare to enthusiast-oriented components. I work in the building construction industry and almost everybody uses Revit for CAD. Revit is slow and power-hungry, only uses one core, doesn't need much GPU but needs a single core running as fast as you can get. This is a misconception about workstation users, many of them don't need a lot of slow cores. I wonder how many people that use workstations benefit from lots of cores and how many don't. This would be an interesting study. My company is switching from desktops to laptops- my Dell desktop workstation with dual Xeons is 3/4 as fast as my Dell Precision workstation laptop.Reply
If you are loading a lot of apps like we do, a 250GB drive is not enough. When my newly configured and loaded workstation was put on my desk it had about 350GB of files on the hard drive.
When I built CAD workstations for my previous company about 6 years ago, I used i5 processors and overclocked them. I took them as high as I could go and then backed down 0.2GHz for a little safety margin. The machines ran 24/7 with no problems. -
edlivian i understand you couldn't get ecc memory for this review, but the whole point of a serious workstation is not performance as you have said, its about precision with no errors. There is no way you could quantify this with benchmarks. ECC memory is an invaluable requirement in the server market, or anything you can not live with an error. And 90% of the workstation and server market are not custom builds, they mostly come from Dell, HP, Lenovo and AppleReply -
Onus Kudos for your bravery and sacrifice, your system dying horribly in the charts, but not before heroically yielding some usable data. As you said at the outset, it was nice to see something other than a gaming build.Reply -
Valentin_L I have been managing PC builds for our office for several years. We have a dozen seats of Solidworks with some simulation softwares. For productivity, we ditched the ECC requirement for faster compute... We ended up with overclocked mainstream cpu 2700K, 3770K and I'll continue with 6700K. The $$ saved from not going ECC goes into SSD and other productivity "enhancer". Staff wait less, they are happier, complain less about PC freezing over and over. Then, do we have memory issues, surely, I mean, I don't have ways to measure it, but if somebody raised a hand and say that he takes the same file twice from the server and once it works, once it crash, we know there is an issue somewhere. But it never seems to happen consistently enough that it hinders productivity. Plus... I am not building rockets...Reply
If you browse through solidworks own forum (not sure it's open to public) you will see a lot of report of people moving to mainstream overclocked cpu + professional card.
For the server side... YES, ECC everywhere, Xeon (or the equivalent AMD) everywhere, redundancy like our life depends on it... that, we can't screw up. -
DouglasThurman I think this build was a little doomed to begin with. Very nice small set of parts though and I like the use of a workstation graphics card. Most times when I come across a laptop with a workstation card in it in a refurb sale I'd choose it over one with a lesser regular gaming graphics card. Performance is a little slower but still rock solid and better power consumption.Reply -
MartenKL We have 32GB in our current workstation builds and I would like to double that to our next build, and we are going back to ECC and no overclock this time due to low gains in performance and added crashes with overclocked systems. Also running Autodesk Building Design Suite with Revit and Autocad. Main focus will be single threaded performance. Hopefully I will find a solution for striping two 500GB samsung Pro 950 as when all software is installed we approach 500 GB.Reply -
AllanMeineche Regarding the choice of CPUs supporting ECC; Intel has a handy tool for making that decision - http://ark.intel.com/Search/Advanced?s=t&ECCMemory=trueReply -
ralanahm ReplyRegarding the choice of CPUs supporting ECC; Intel has a handy tool for making that decision - http://ark.intel.com/Search/Advanced?s=t&ECCMemory=true
That list has a lot of CPU -
If your RAM had been ECC, your results would have been even lower. It's too old now, but the AMD FX series supports ECC (unregistered only) out of the box, if the motherboard also supports it. So you could have gotten an FX-8370 for about 200$, with an Asus motherboard that supports ECC RAM for about 150$, then went for a Firepro w7100 or such with the money saved.Reply
Nice try, but if you didn't get it running ECC in the end, it's a fail imo. -
gunbust3r Is the $1232 Prosumer PC going to be better? I kind of dread entering the giveaway at this point for fear of winning this stinker.Reply
