Tom's Hardware Verdict
If you’re looking for a budget printer that can handle high-temperature filaments and deliver quality prints, the Voxelab Aquila S2 is your best choice.
Pros
- +
+ Includes a good Flexible Magnetic Build plate with smooth and textured sides
- +
+ Direct drive extruder
- +
+ Great price point for a printer with its capabilities
- +
+ Great assembly instructions
Cons
- -
Manual Bed Leveling System
- -
Menu is a bit cumbersome for loading filaments other than PLA and ABS
Why you can trust Tom's Hardware
Just about any FDM-style 3D printer can handle PLA filament with aplomb and better models have no problem with PETG or ABS. However, if you want to work with high-temperature filaments such as nylon, which produces smoother parts that slide together better, or carbon fiber, which provides added strength, you’ll need a printer that can produce that level of heat.
Designed to compete with and out-heat the best budget 3D printers, Voxelab’s Aquila S2 features a direct drive extruder that is capable of handling an impressive array of high-temperature filaments and can print at up to 300 degrees Celsius, 60 degrees more than competitors such as the Creality Ender 3 Pro. A successor to the Voxelab Aquila, the $280 FDM printer achieves its high temperatures by using an all-metal hotend, which is unique for a printer in this price range. It also features a removable magnetic flexible PEI textured build plate and a resume print feature so that you can continue printing even after power loss.
Voxelab Aquila S2 Specifications
| Machine Footprint | 18.2 x 18.6 x 18.7 inches (46.2cm x 47.2cm x 47.4cm) |
| Build Volume | 8.7 x 8.7 x 9.4 inches (220mm x 220mm x 240mm) |
| Material | 1.75mm PLA, ABS, ASA, PETG, PLA-CF, PETG-CF, PA, PC, TPU, PET-CF, PA12-CF |
| Nozzle | 0.4mm |
| Build Platform | 220mm x 220mm |
| Connectivity | microSD, USB |
| Interface | 4.3" LCD w/ Dial Button |
Included in the Box with Voxelab Aquila S2
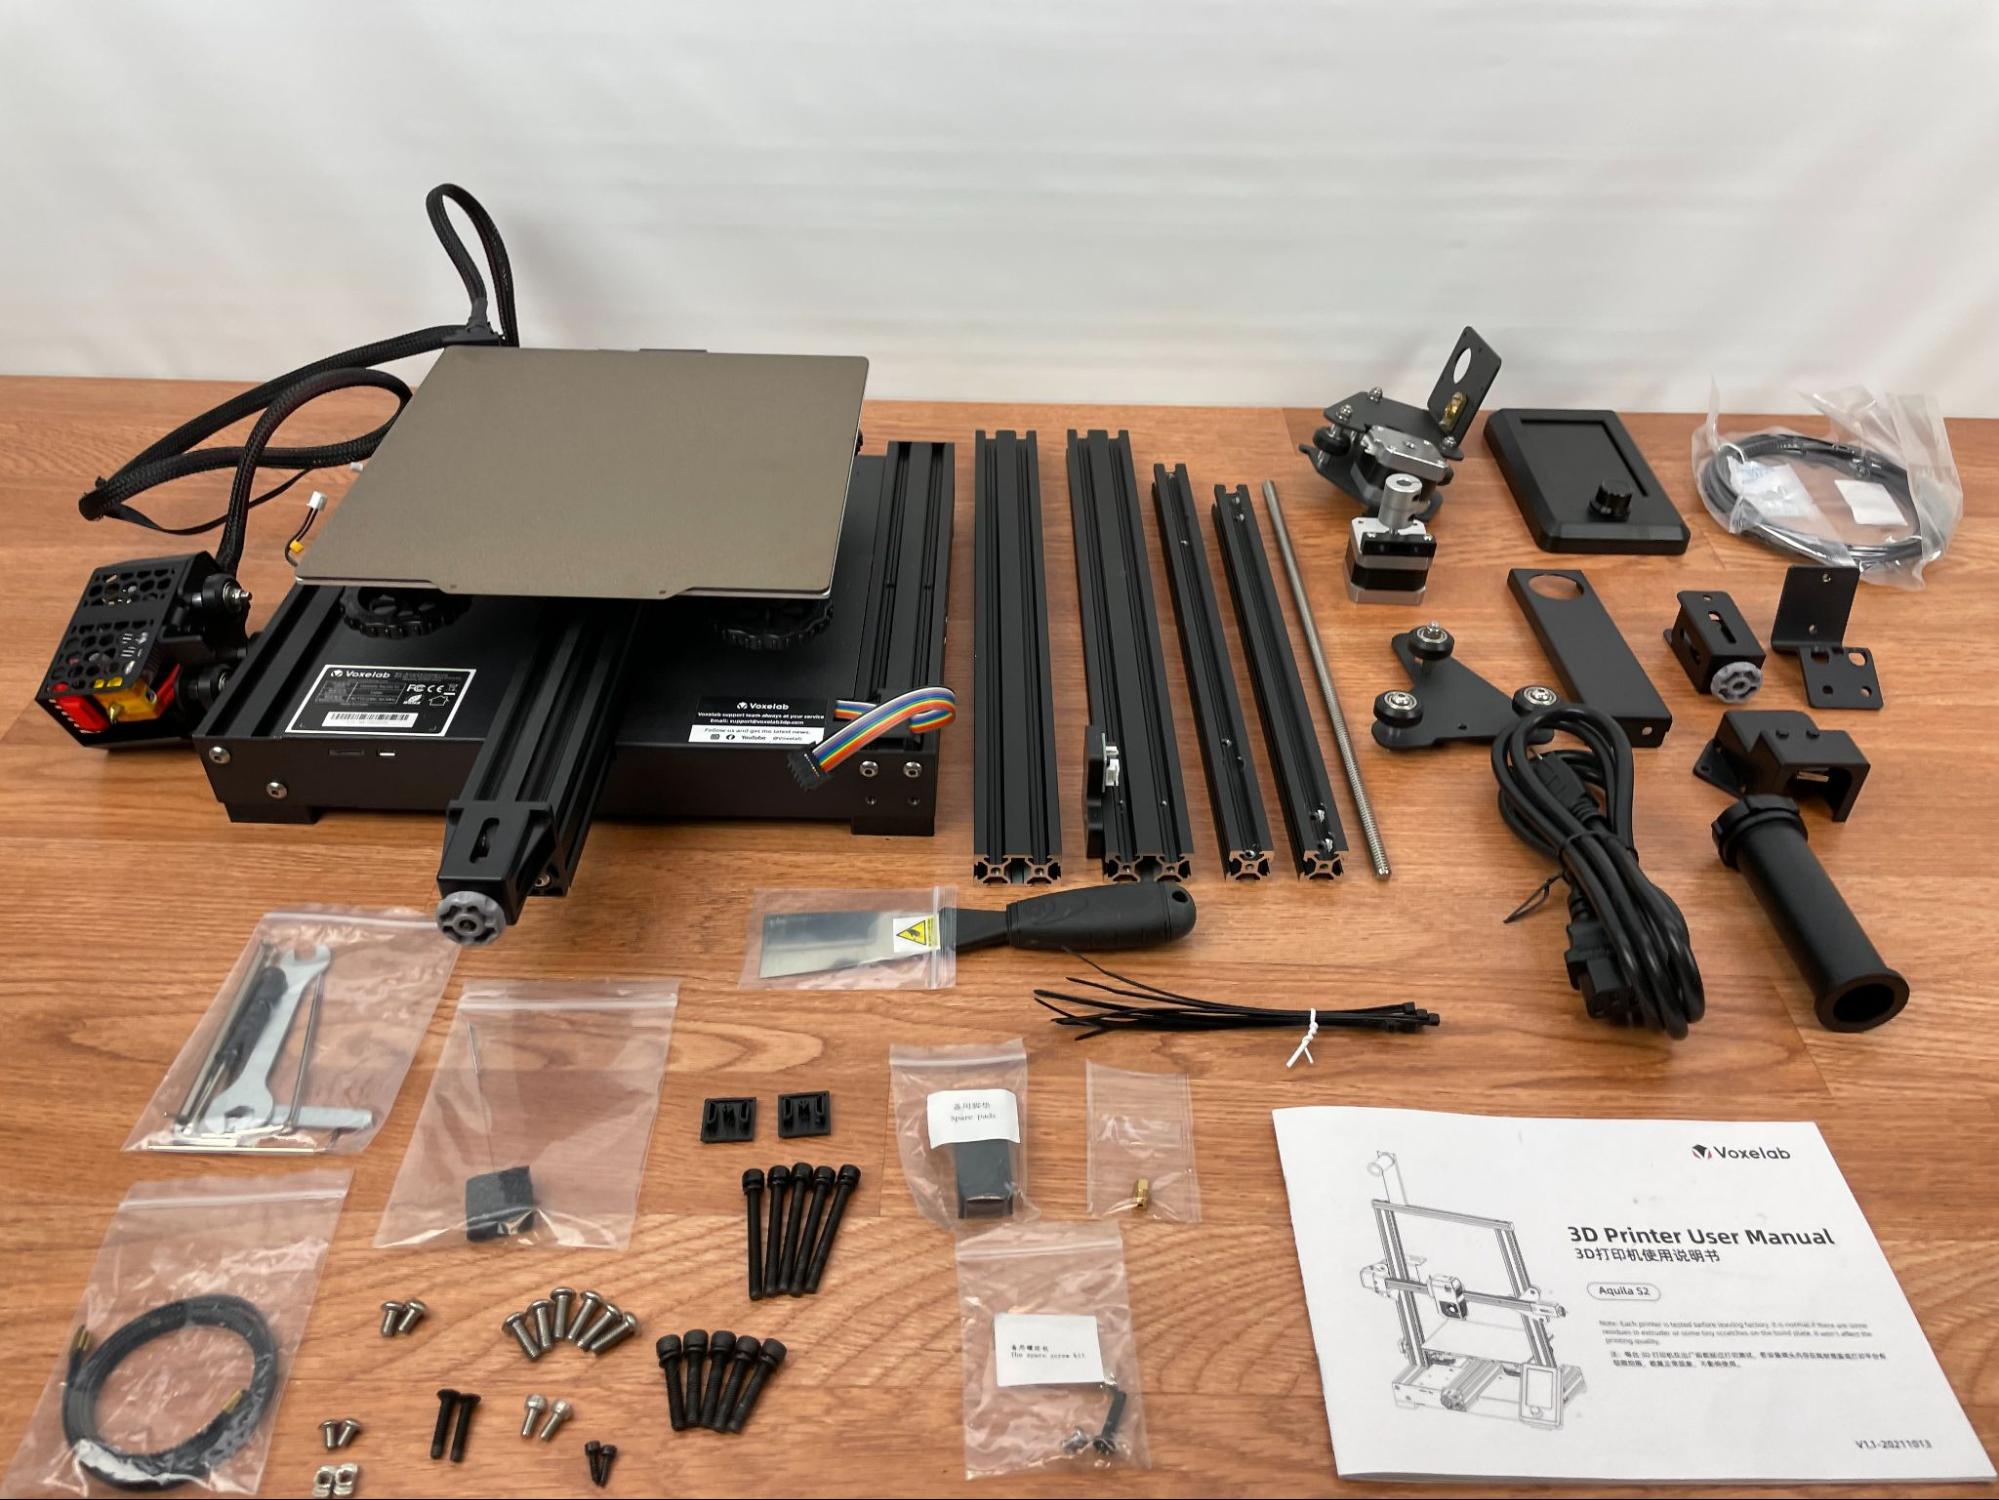
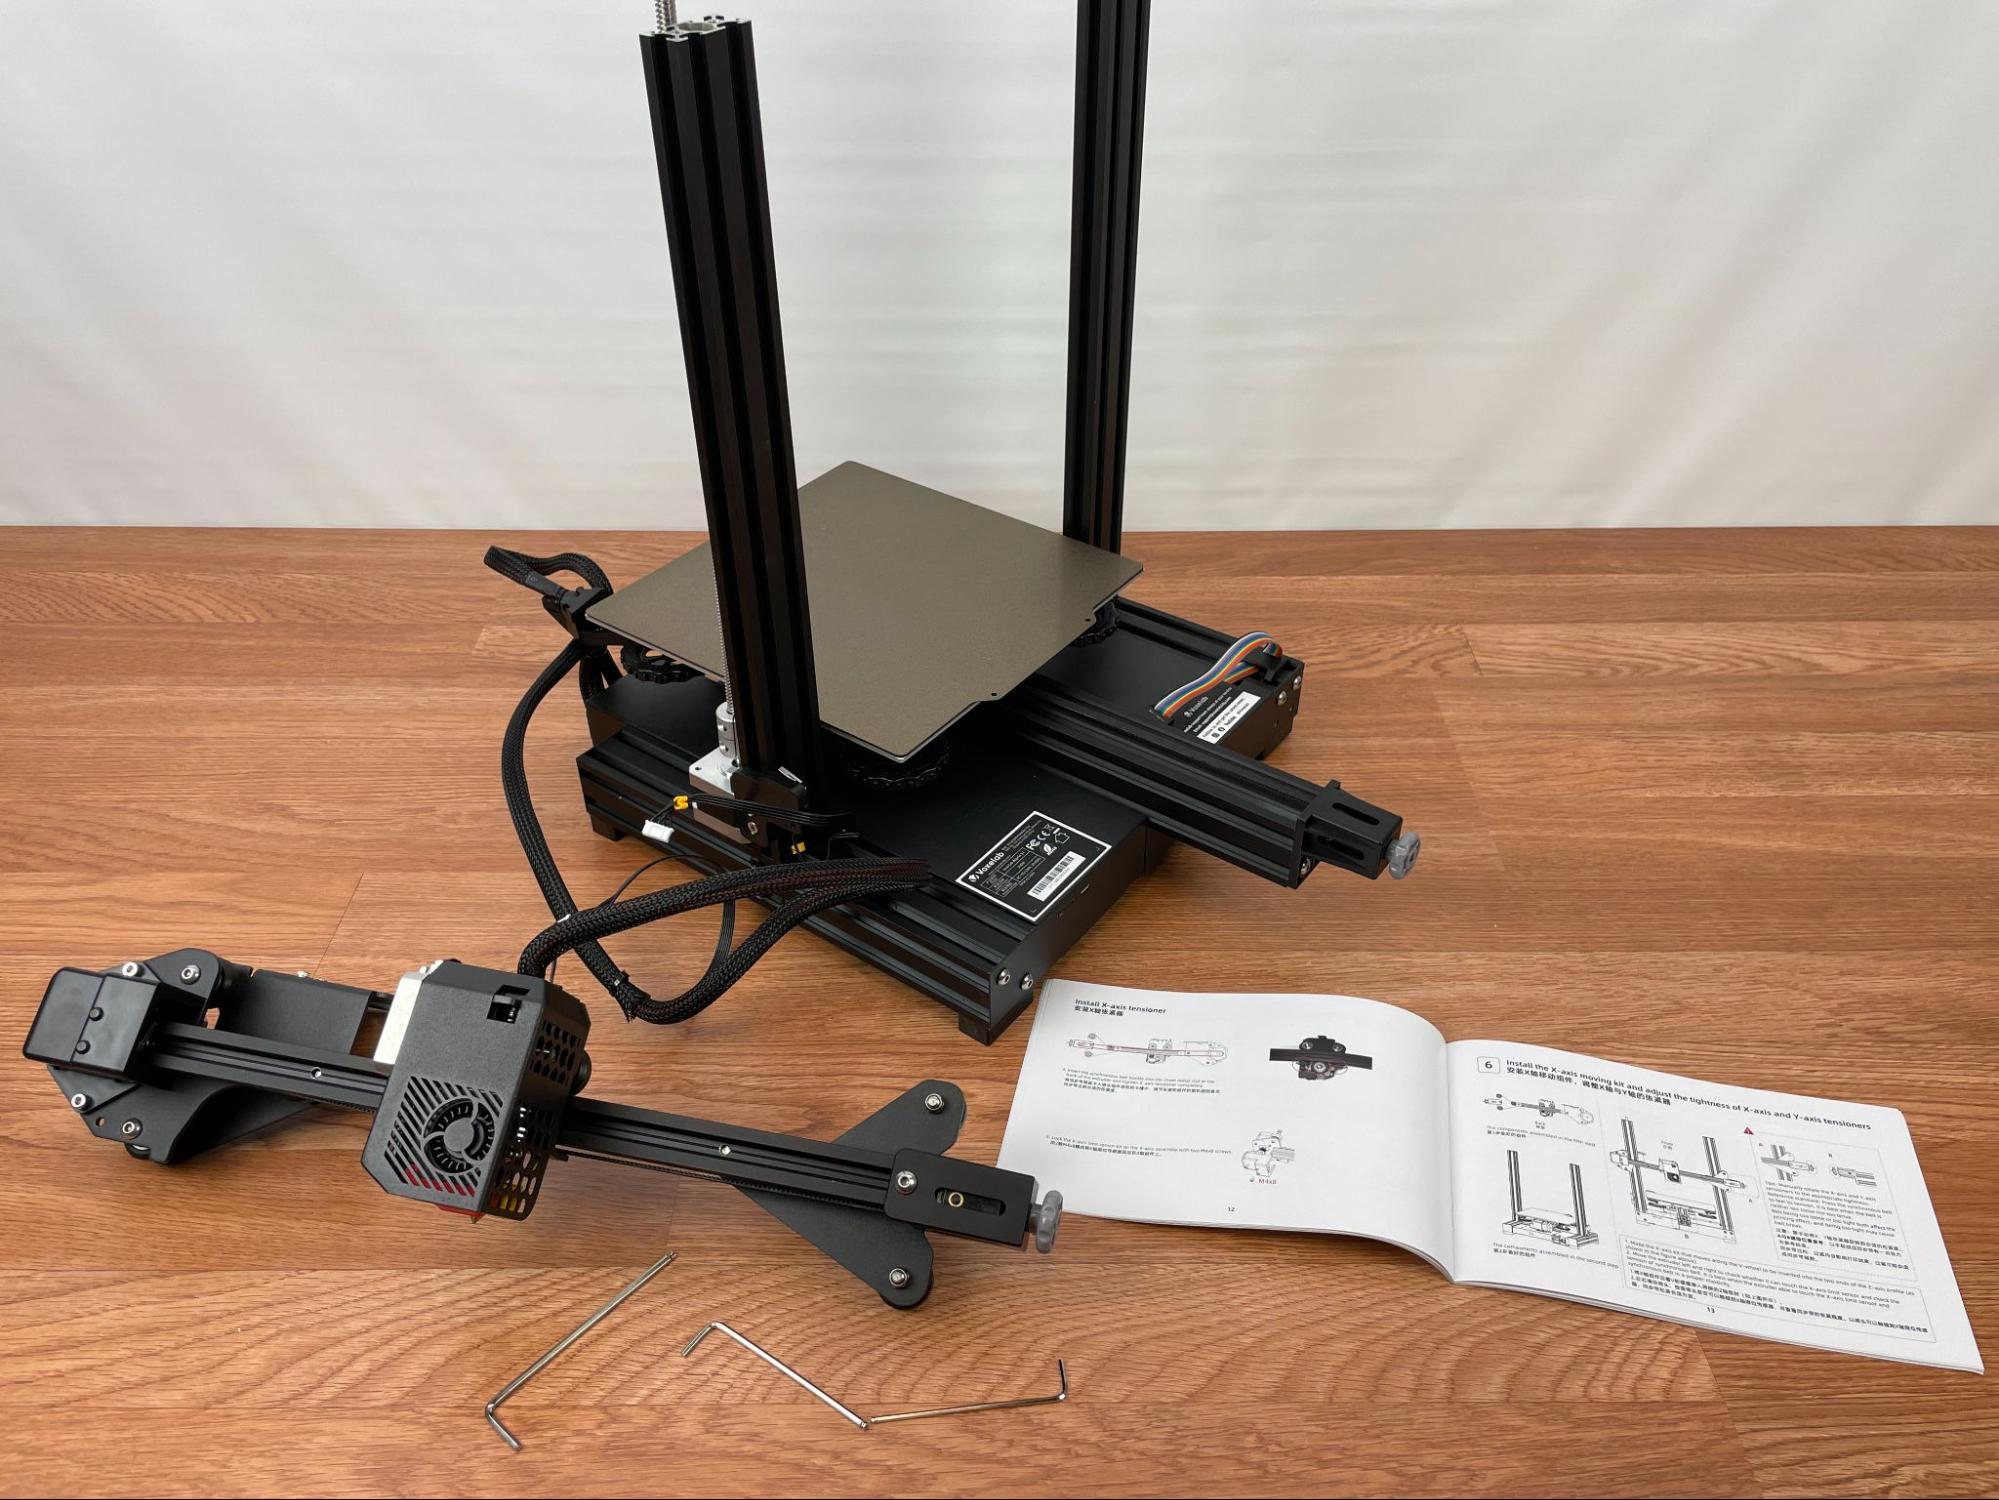
The Voxelab Aquila S2 comes well-packed in the box in a partially assembled state. All tools required for assembly are included, along with a few spare parts and a sample of filament. A scraper to remove finished prints from the bed is also included, but because the printer has a textured flexible build plate, it should be used sparingly for only the toughest to remove prints.
Unlike with many printers, there were no flush cutters included. If this is your first 3D printer and you don’t already have a pair on hand, you may want to pick some up. A manual is included on both the microSD card and in the form of a paper booklet with easy-to-follow assembly instructions. A filament holder is included, as we see with many similar printers. The Voxelab Aquila S2 ships with the base of the printer already assembled and most of the wiring is already in place allowing for a quick assembly. Some of the included tools are for printer maintenance later on as you continue to use it.
Design of Voxelab Aquila S2
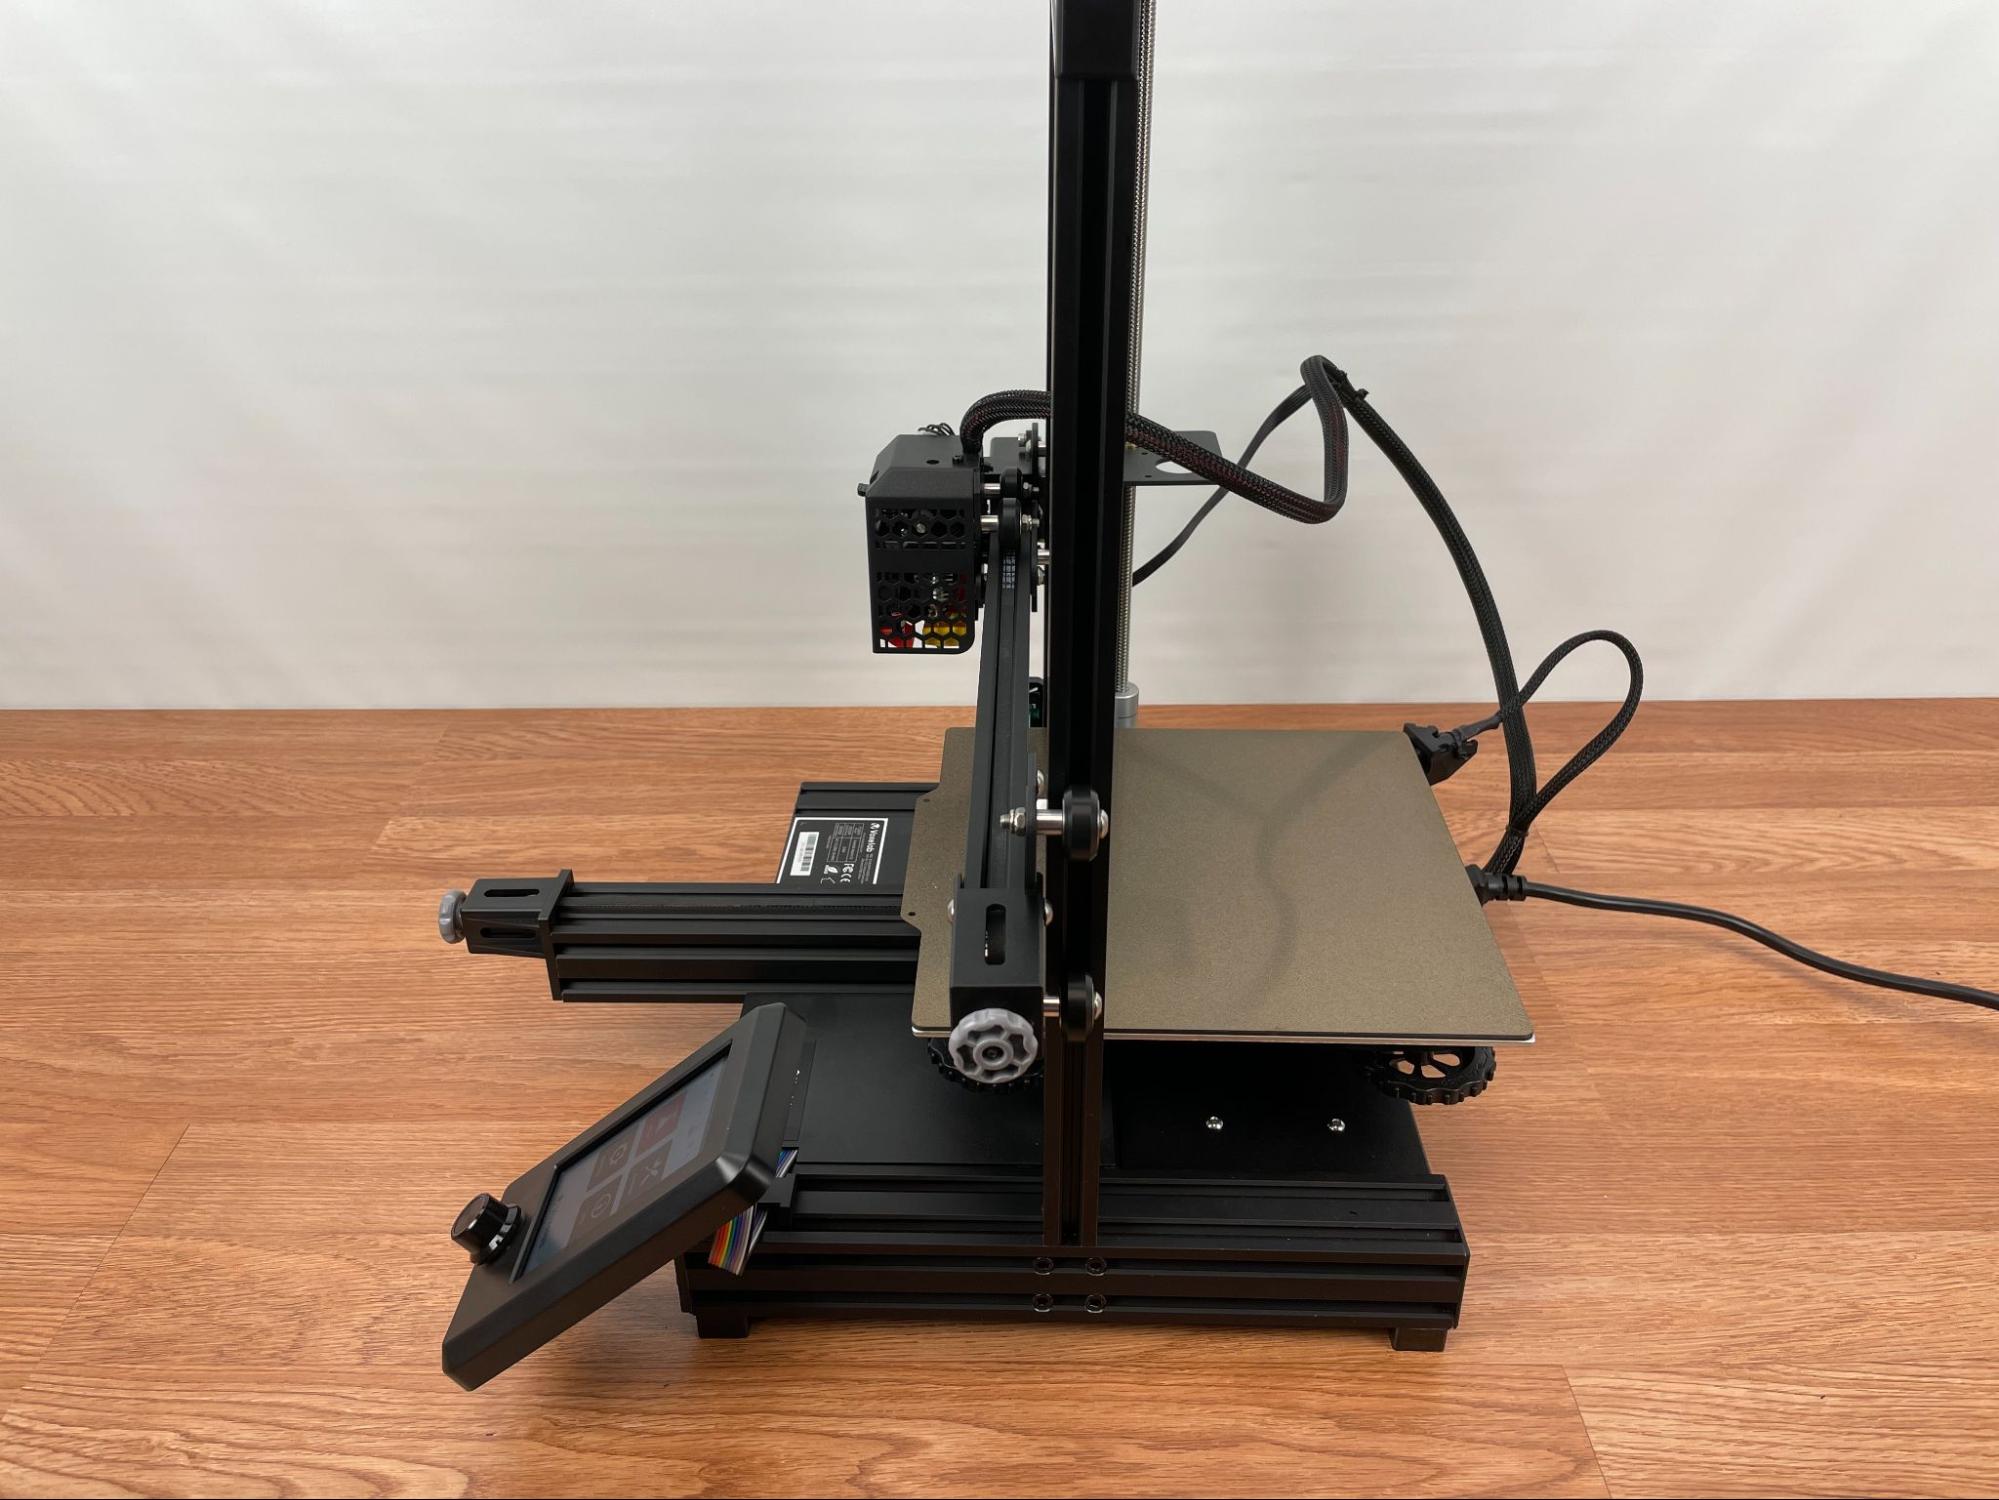
The printer is a basic cartesian style printer that is similar in build size to its predecessor, the Aquila. The overall build volume gives plenty of room for many different models to be printed on without the printer taking up too much space.
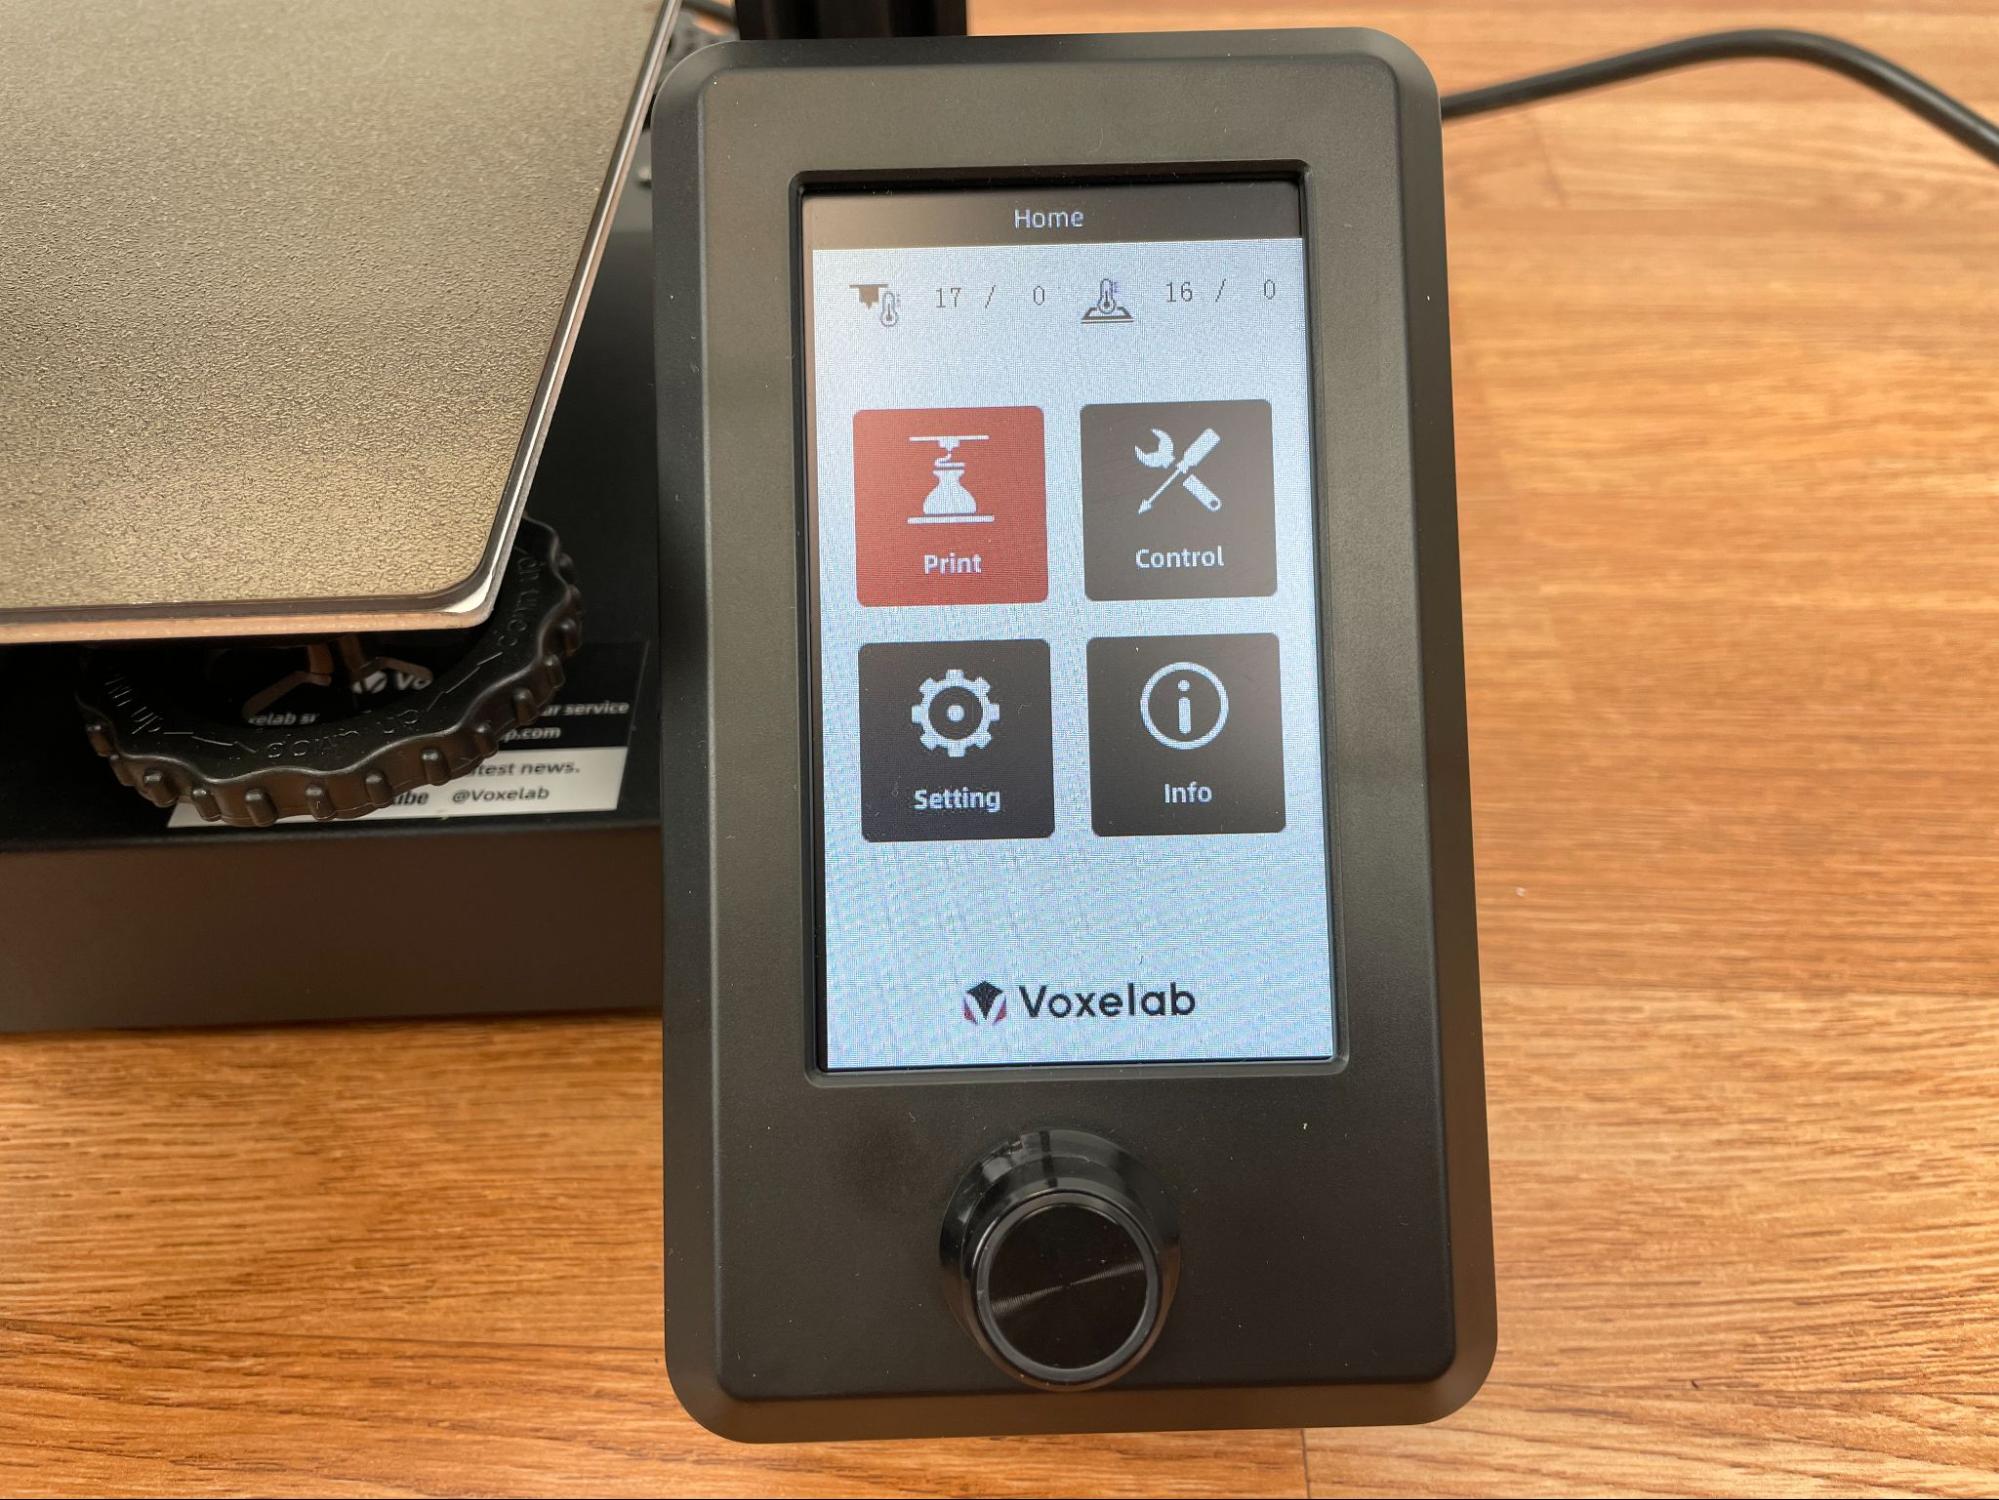
The printer features a 4.3” full color display that is controlled with a dial button to scroll through the menu options. The menu is fairly simple and has just the right amount of functionality without making it too complicated. This control pad is similar to the one on the original Aquila, but is mounted vertically which gives the printer a sleeker appearance. With the large colorful button-like appearance of the User Interface, I found myself often forgetting this was not a touch screen.
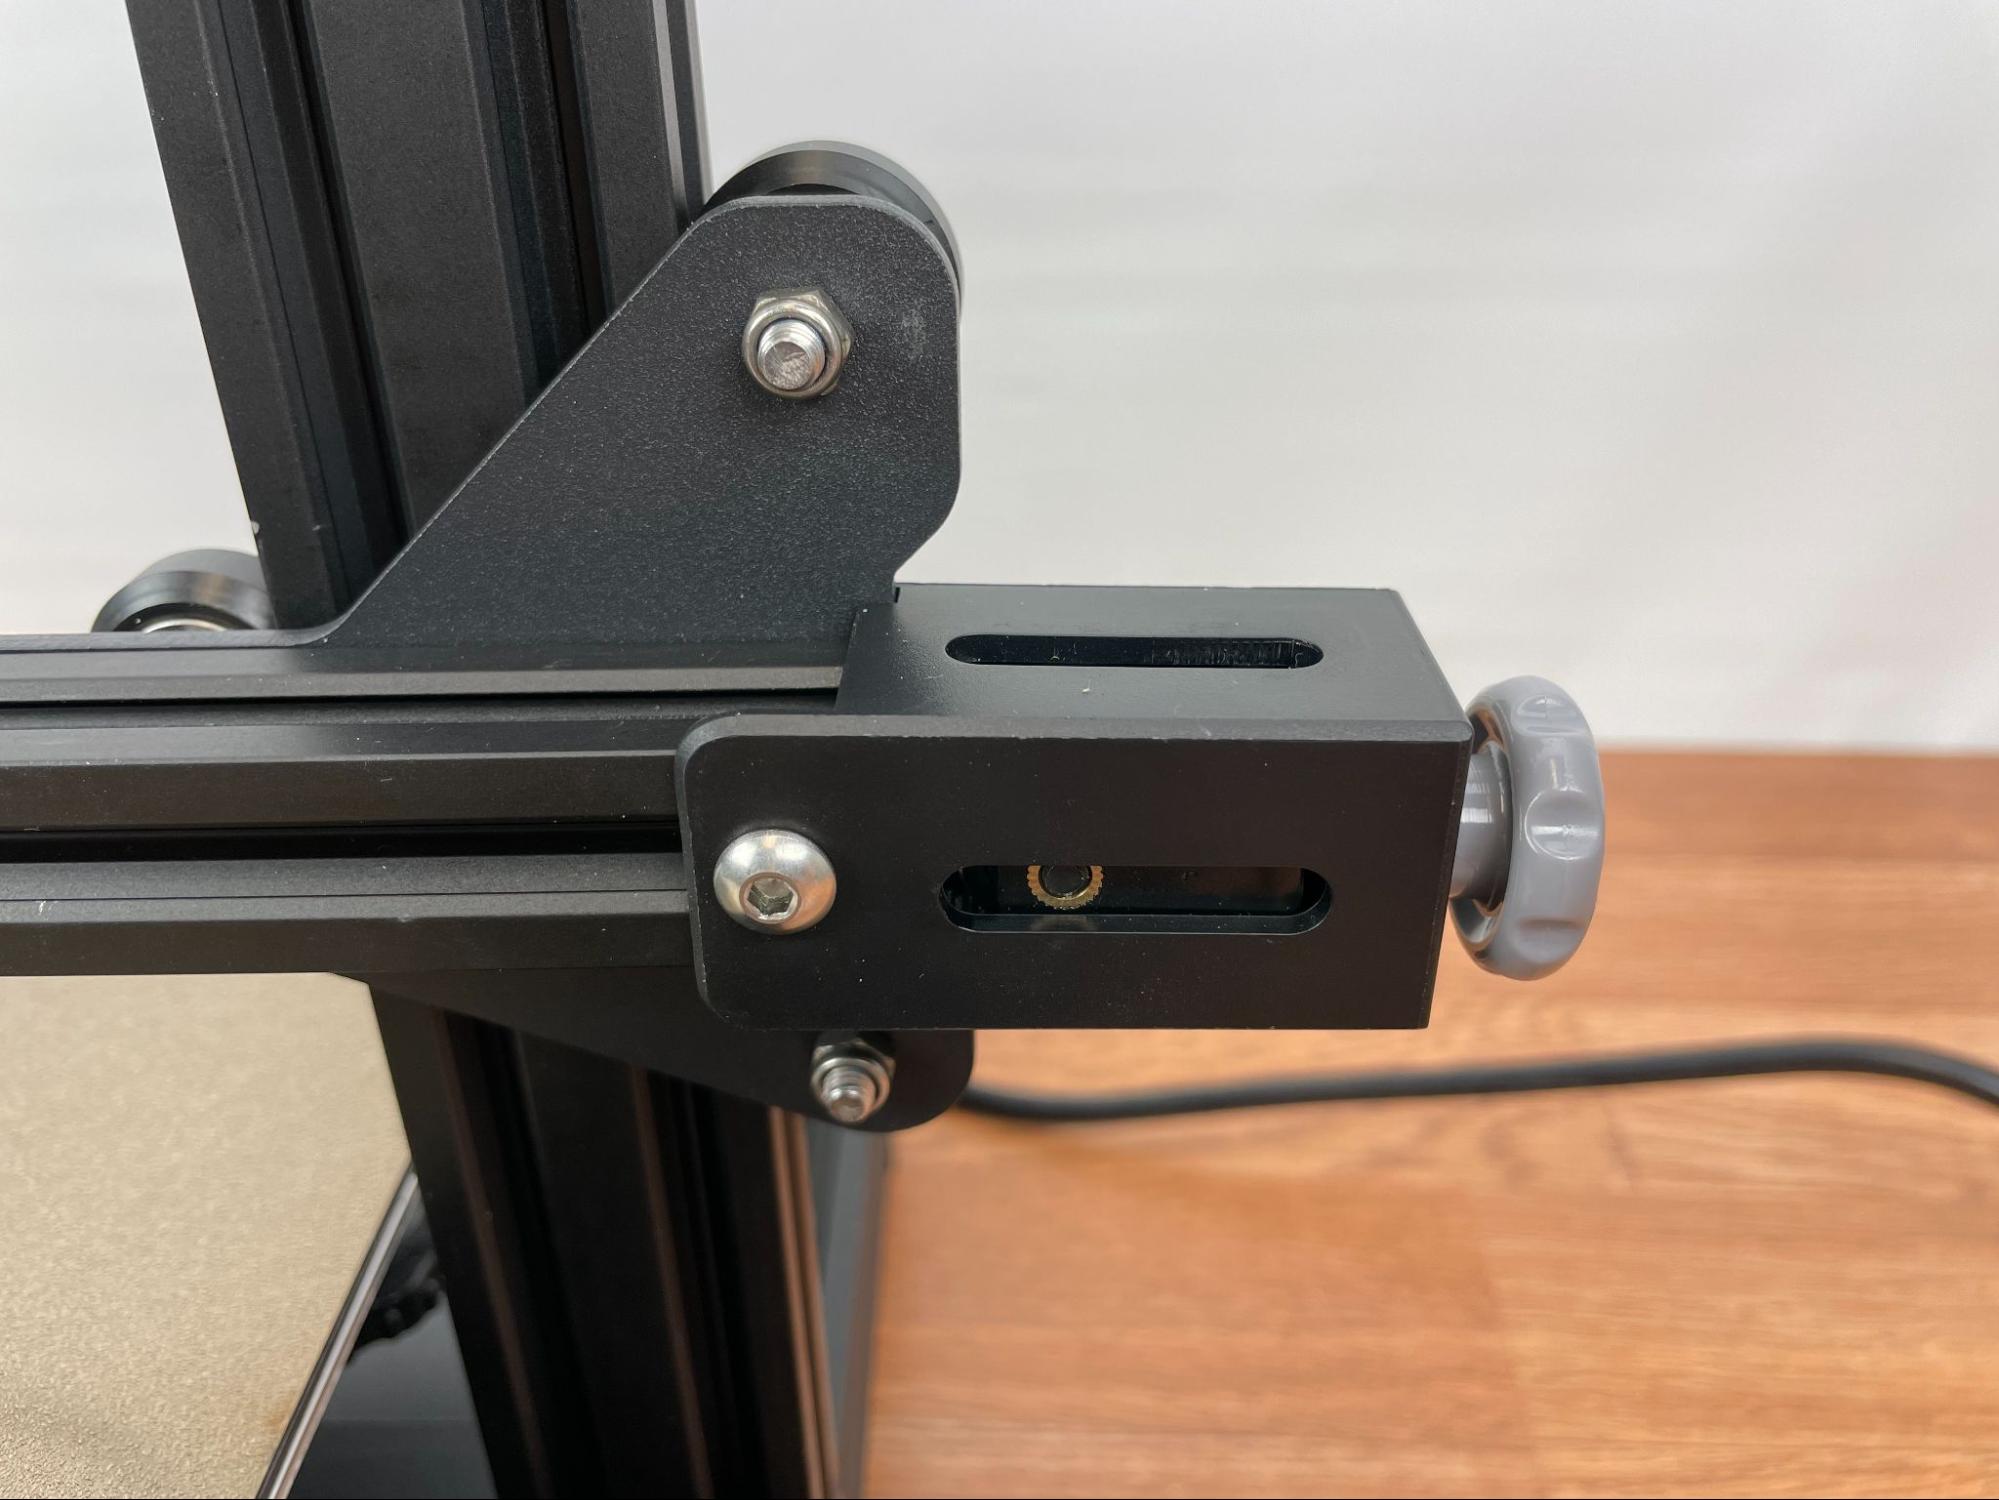
The X and Y Axis belts have built-in tensioners on them, allowing for easy adjustment. After the initial setup, you shouldn’t need to make any adjustments, but if you ever do, this makes it very simple.
Get Tom's Hardware's best news and in-depth reviews, straight to your inbox.
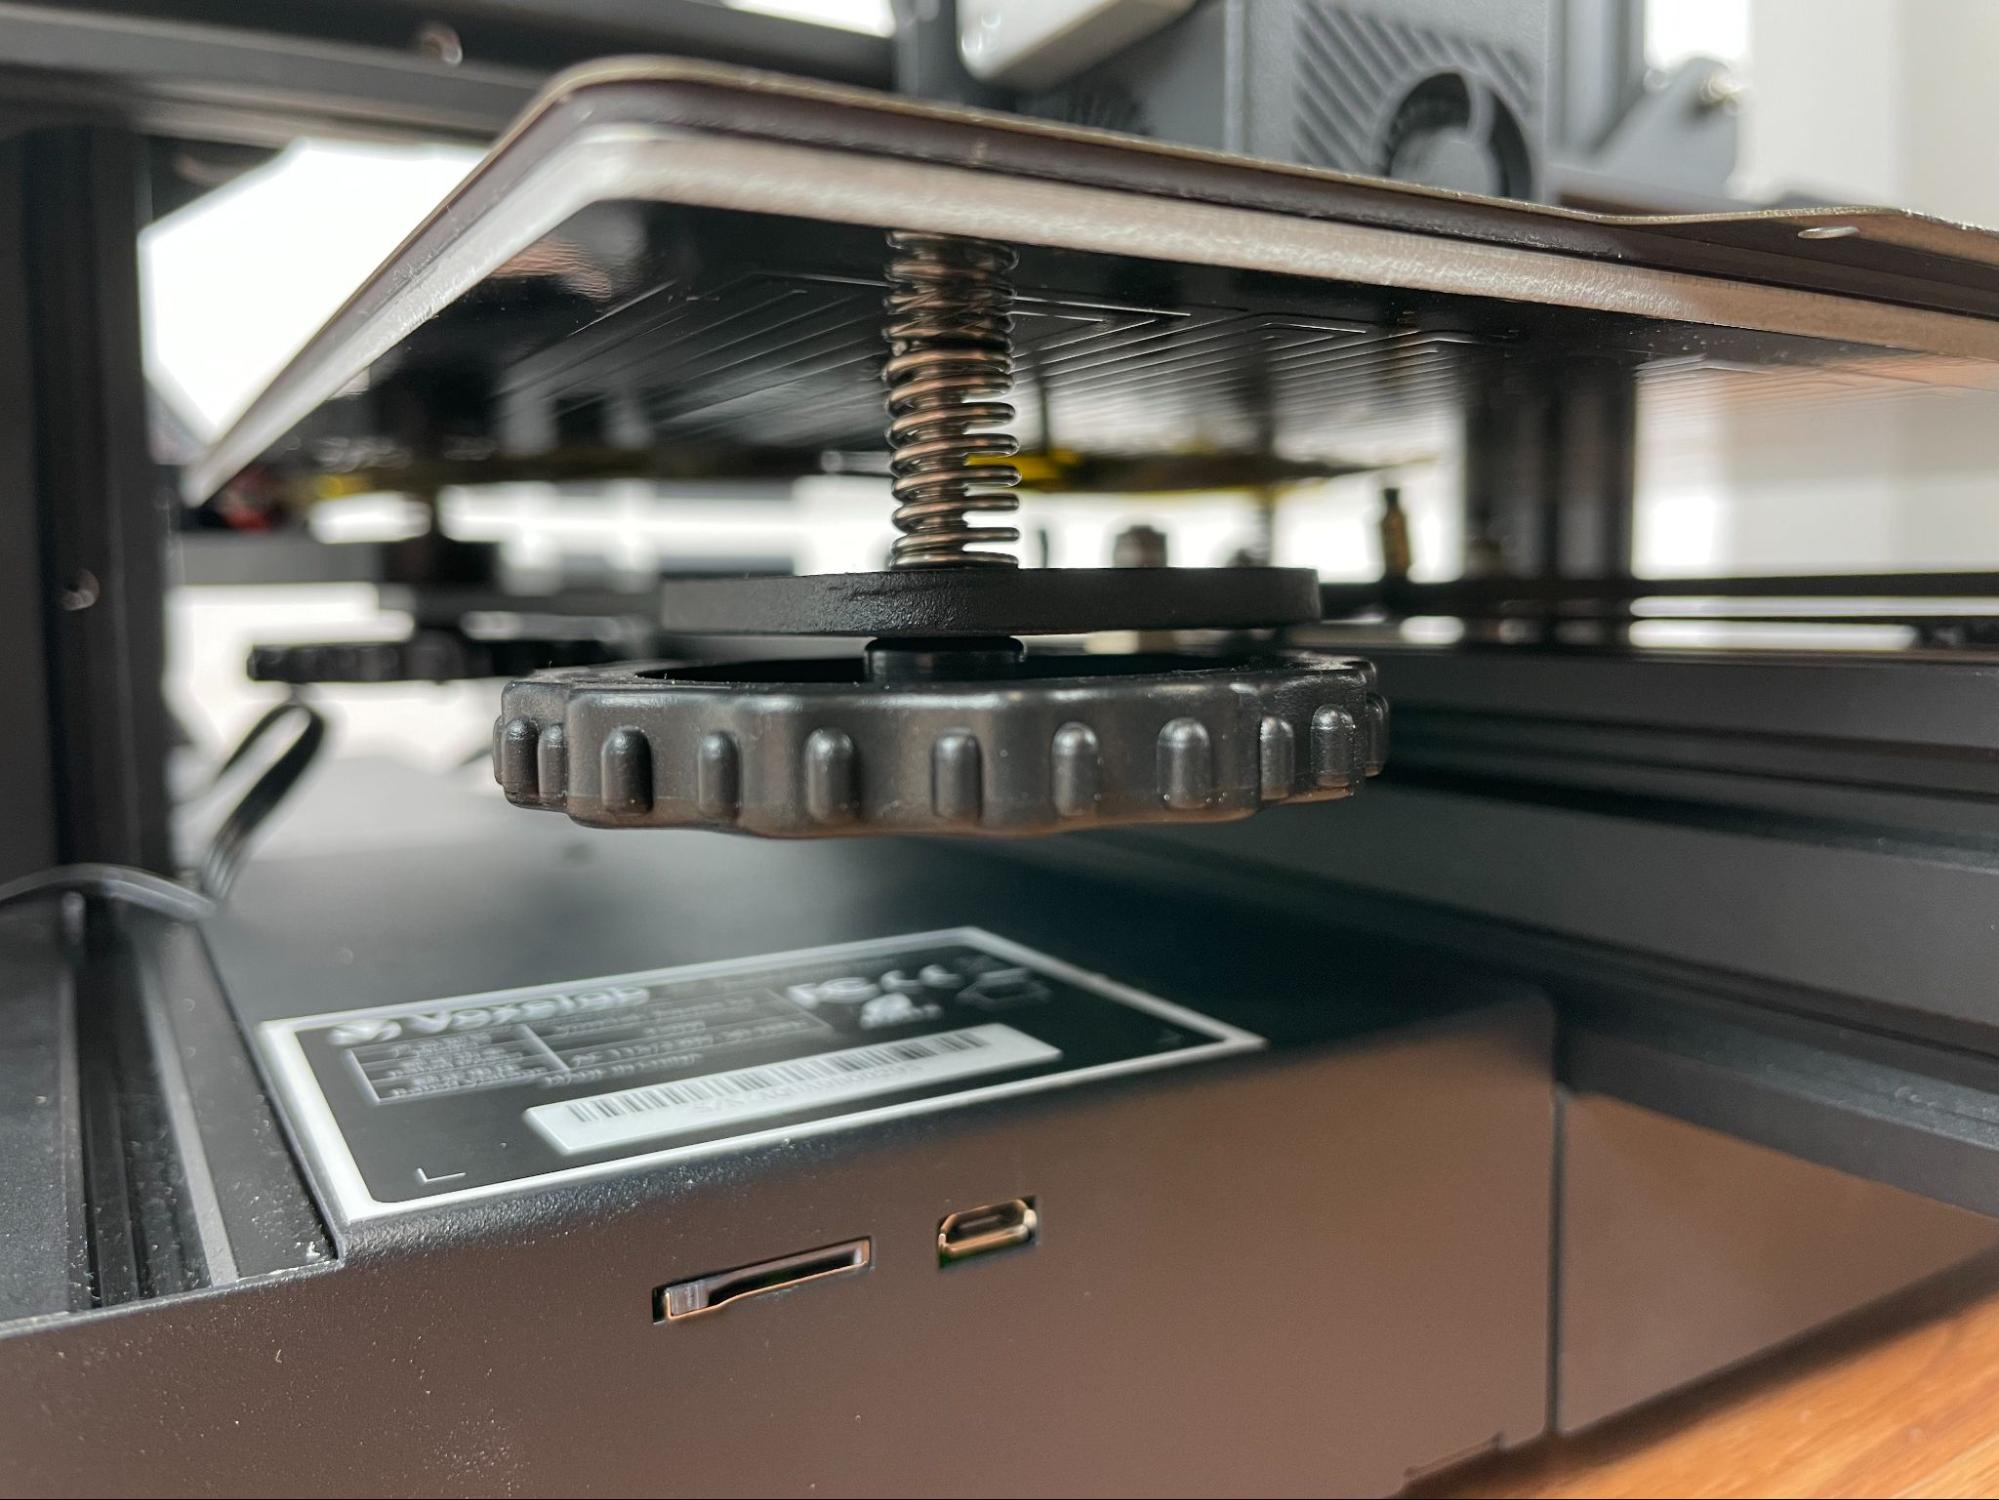
This printer still uses large knobs on the underside of the print bed for manual leveling, but purchasing a separate automatic bed leveling sensor and installing it yourself is an optional upgrade path and it can dramatically ease the setup and maintenance for new users. I’ll cover the bed leveling procedure in more detail further down in the bed leveling section.
This printer is able to handle higher temperature filaments. One of the ways that this is accomplished is the larger than standard sized aluminum nozzle block, allowing it to keep the hotend at a consistent heat easily. Unfortunately, this also meant I was unable to fit a standard silicon sock onto the nozzle and would have helped prevent the nozzle blob I experienced during one of the printing tests I performed. However, I have given this feedback to Voxelab and they will fix this issue by including a sock with the Aquila S2 in the near future.
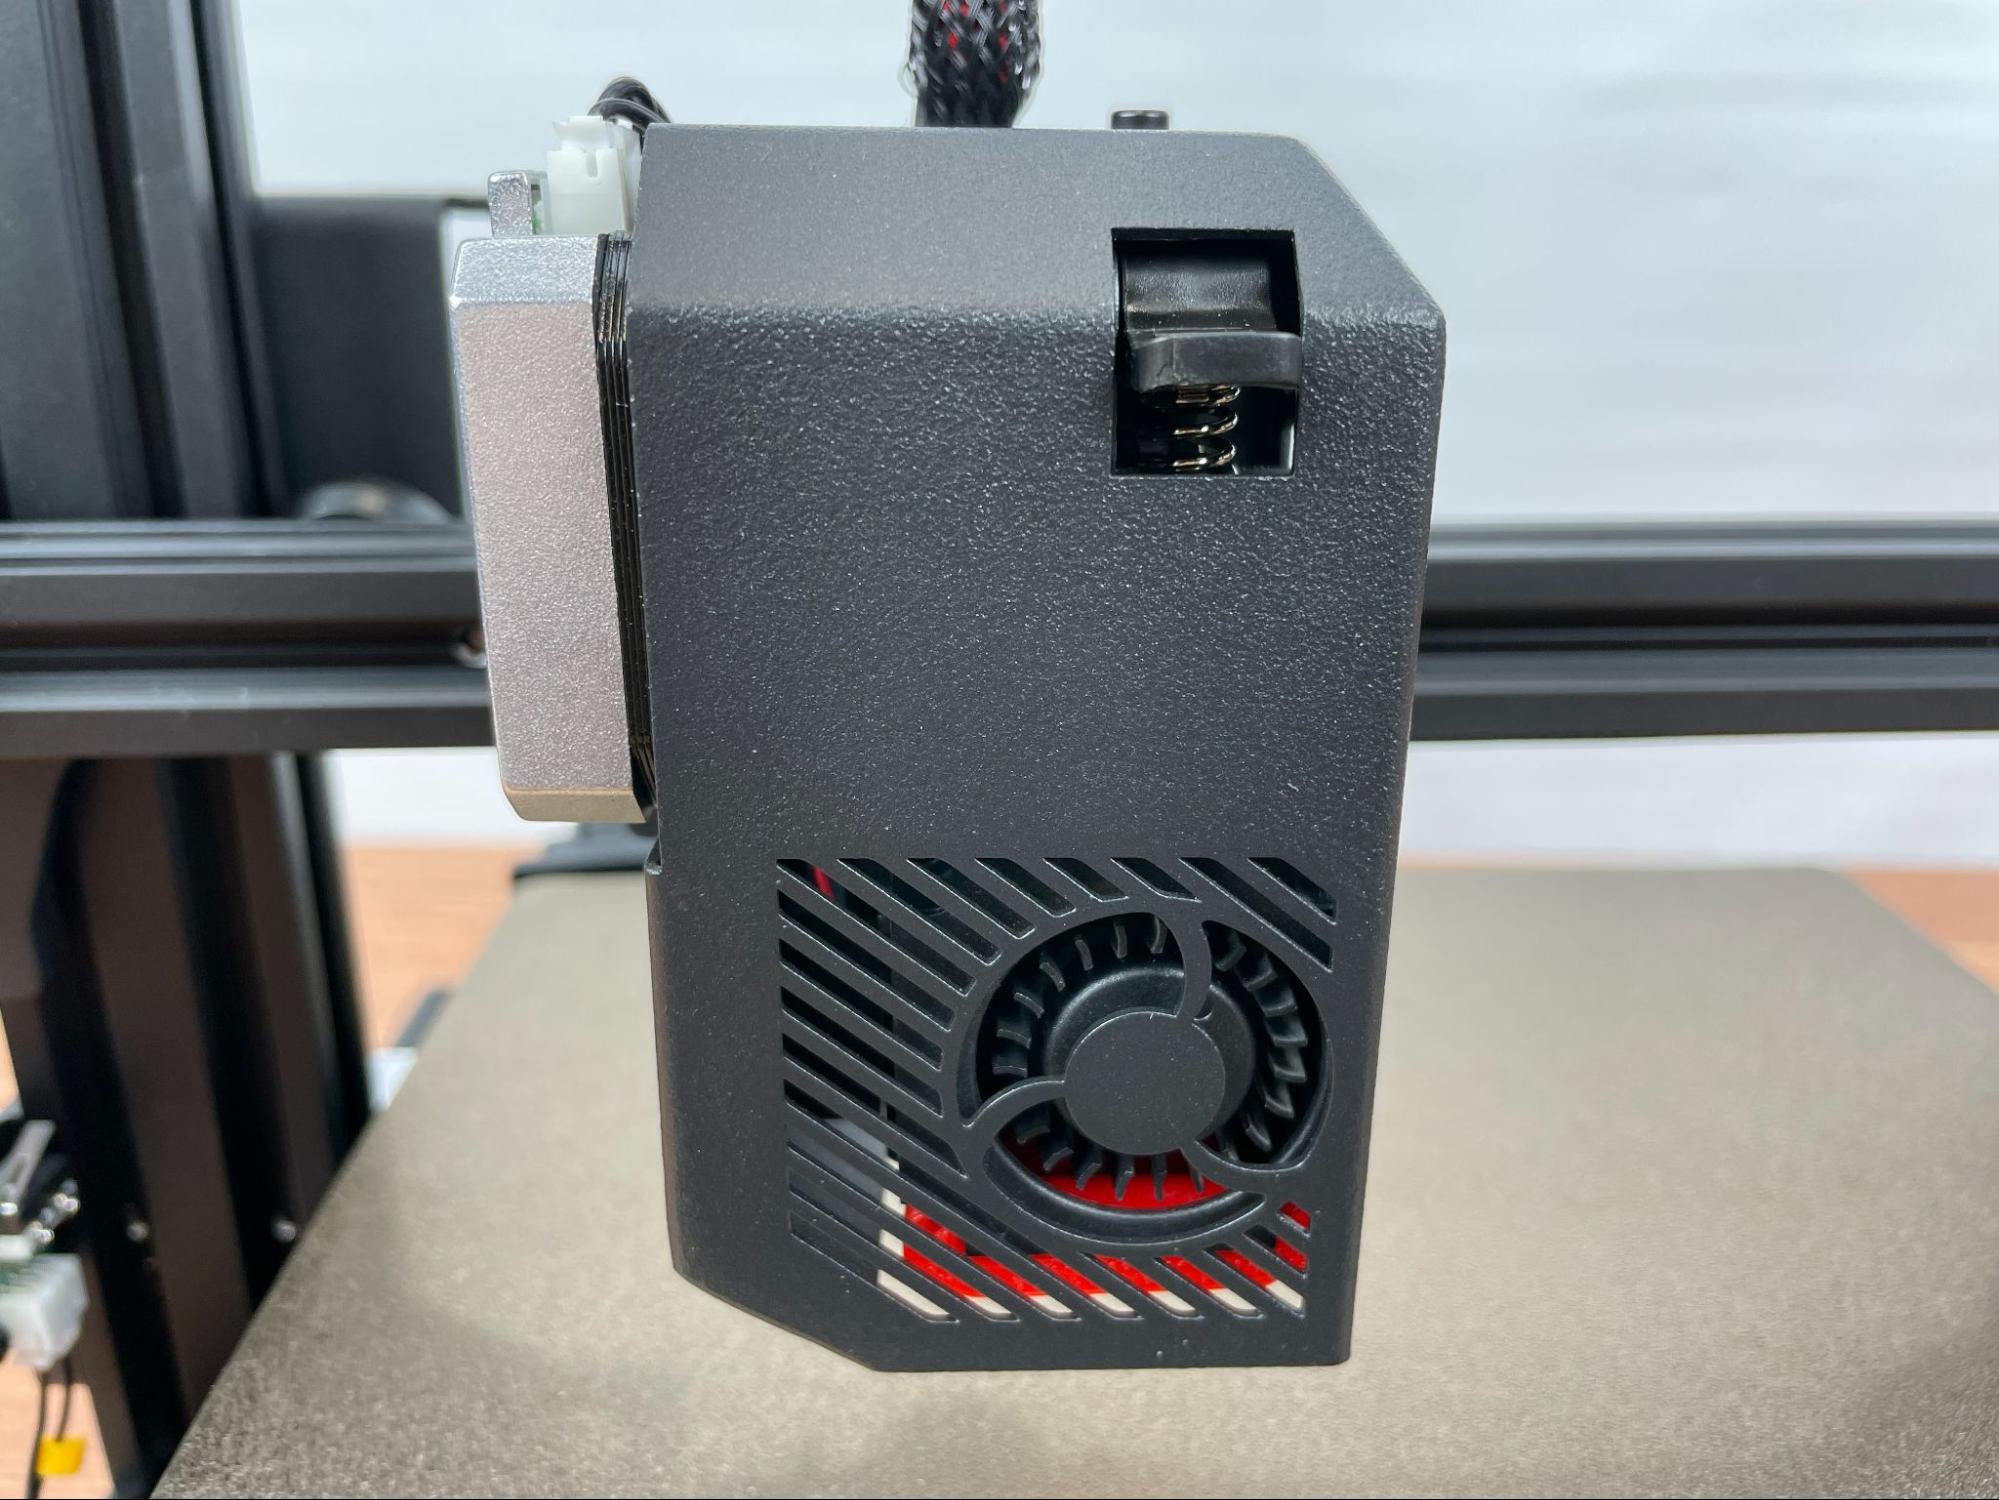
The printer has a direct drive extruder in a sleek vertical package. The advantage to having a direct drive motor is that there is a much shorter path between the heating element and the extruder motor, which is necessary for certain filaments such as NinjaFlex or other TPU filaments due to their flimsiness. It also has the advantage of reducing stringing among prints because retraction works better. For the higher temperature filaments such as nylon, this also means it has a shorter path in which to pick up moisture from the air.
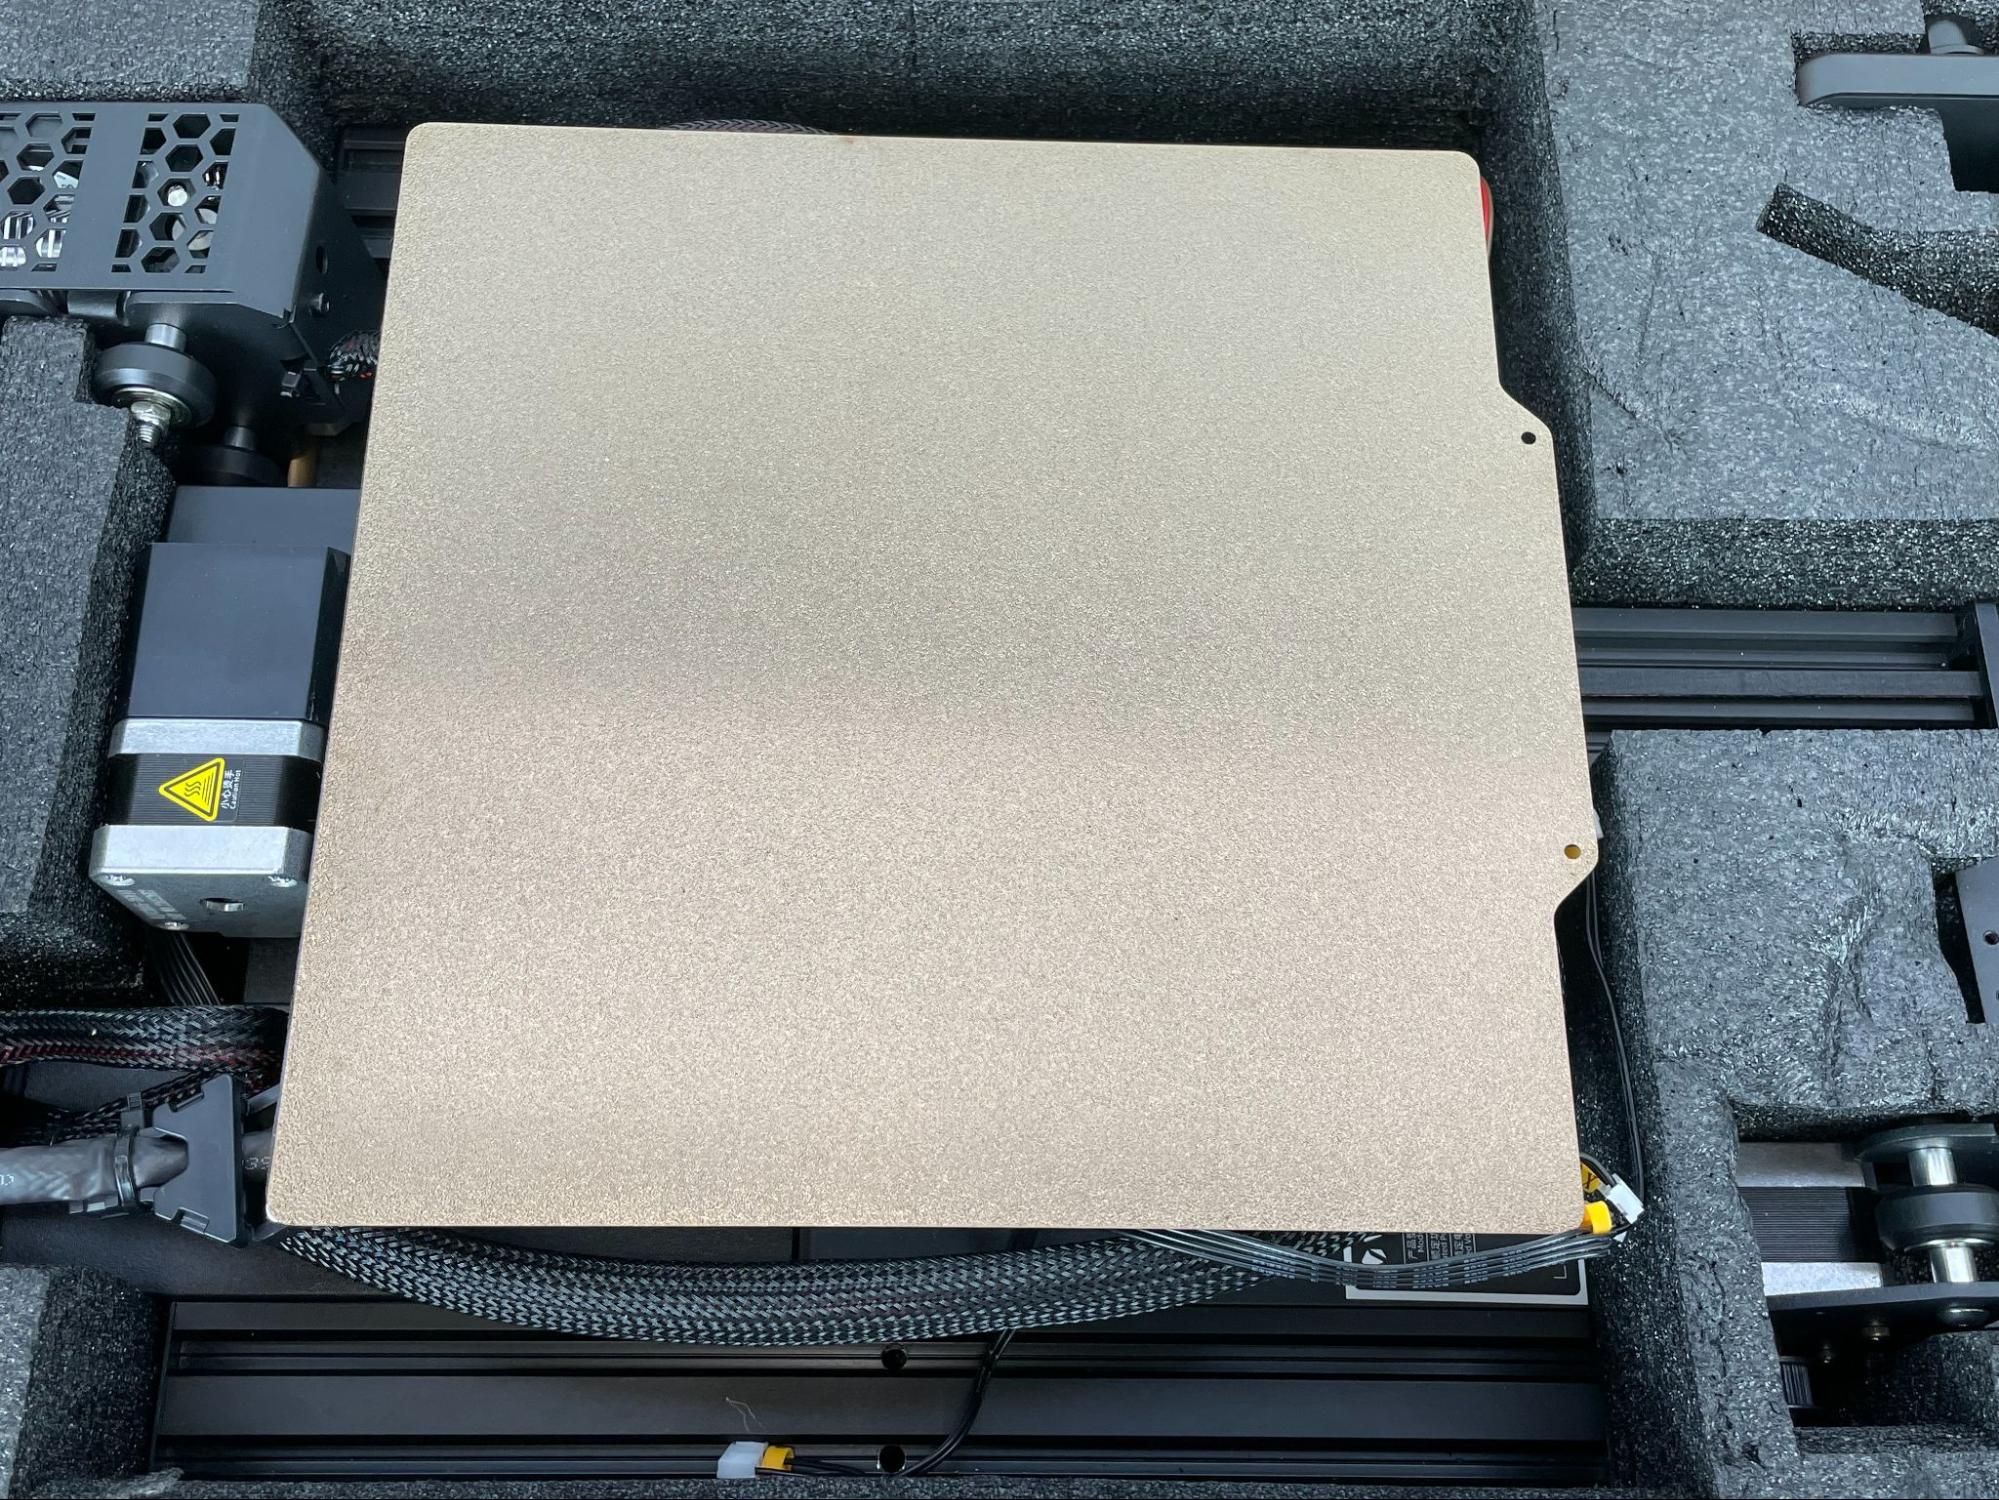
One of the things I am really happy to see on this printer is the addition of a flexible magnetic build plate. This is a part which I normally replace on printers that don’t come with them, as I consider it essential to good printing. The texture of this build plate is similar to that of the Ultistik line of build plates, which I have found to work very well.
The build plate comes installed with the textured side up, but there is also a smooth side on the bottom that can be used for a smoother finish on your prints. I tried using this and found it was having more difficulty adhering to the surface without any assistance. Fortunately, there are many products that you can apply to the surface to assist with adhesion, or if you’re feeling brave, you could just use some steel wool to scuff up the surface a bit.
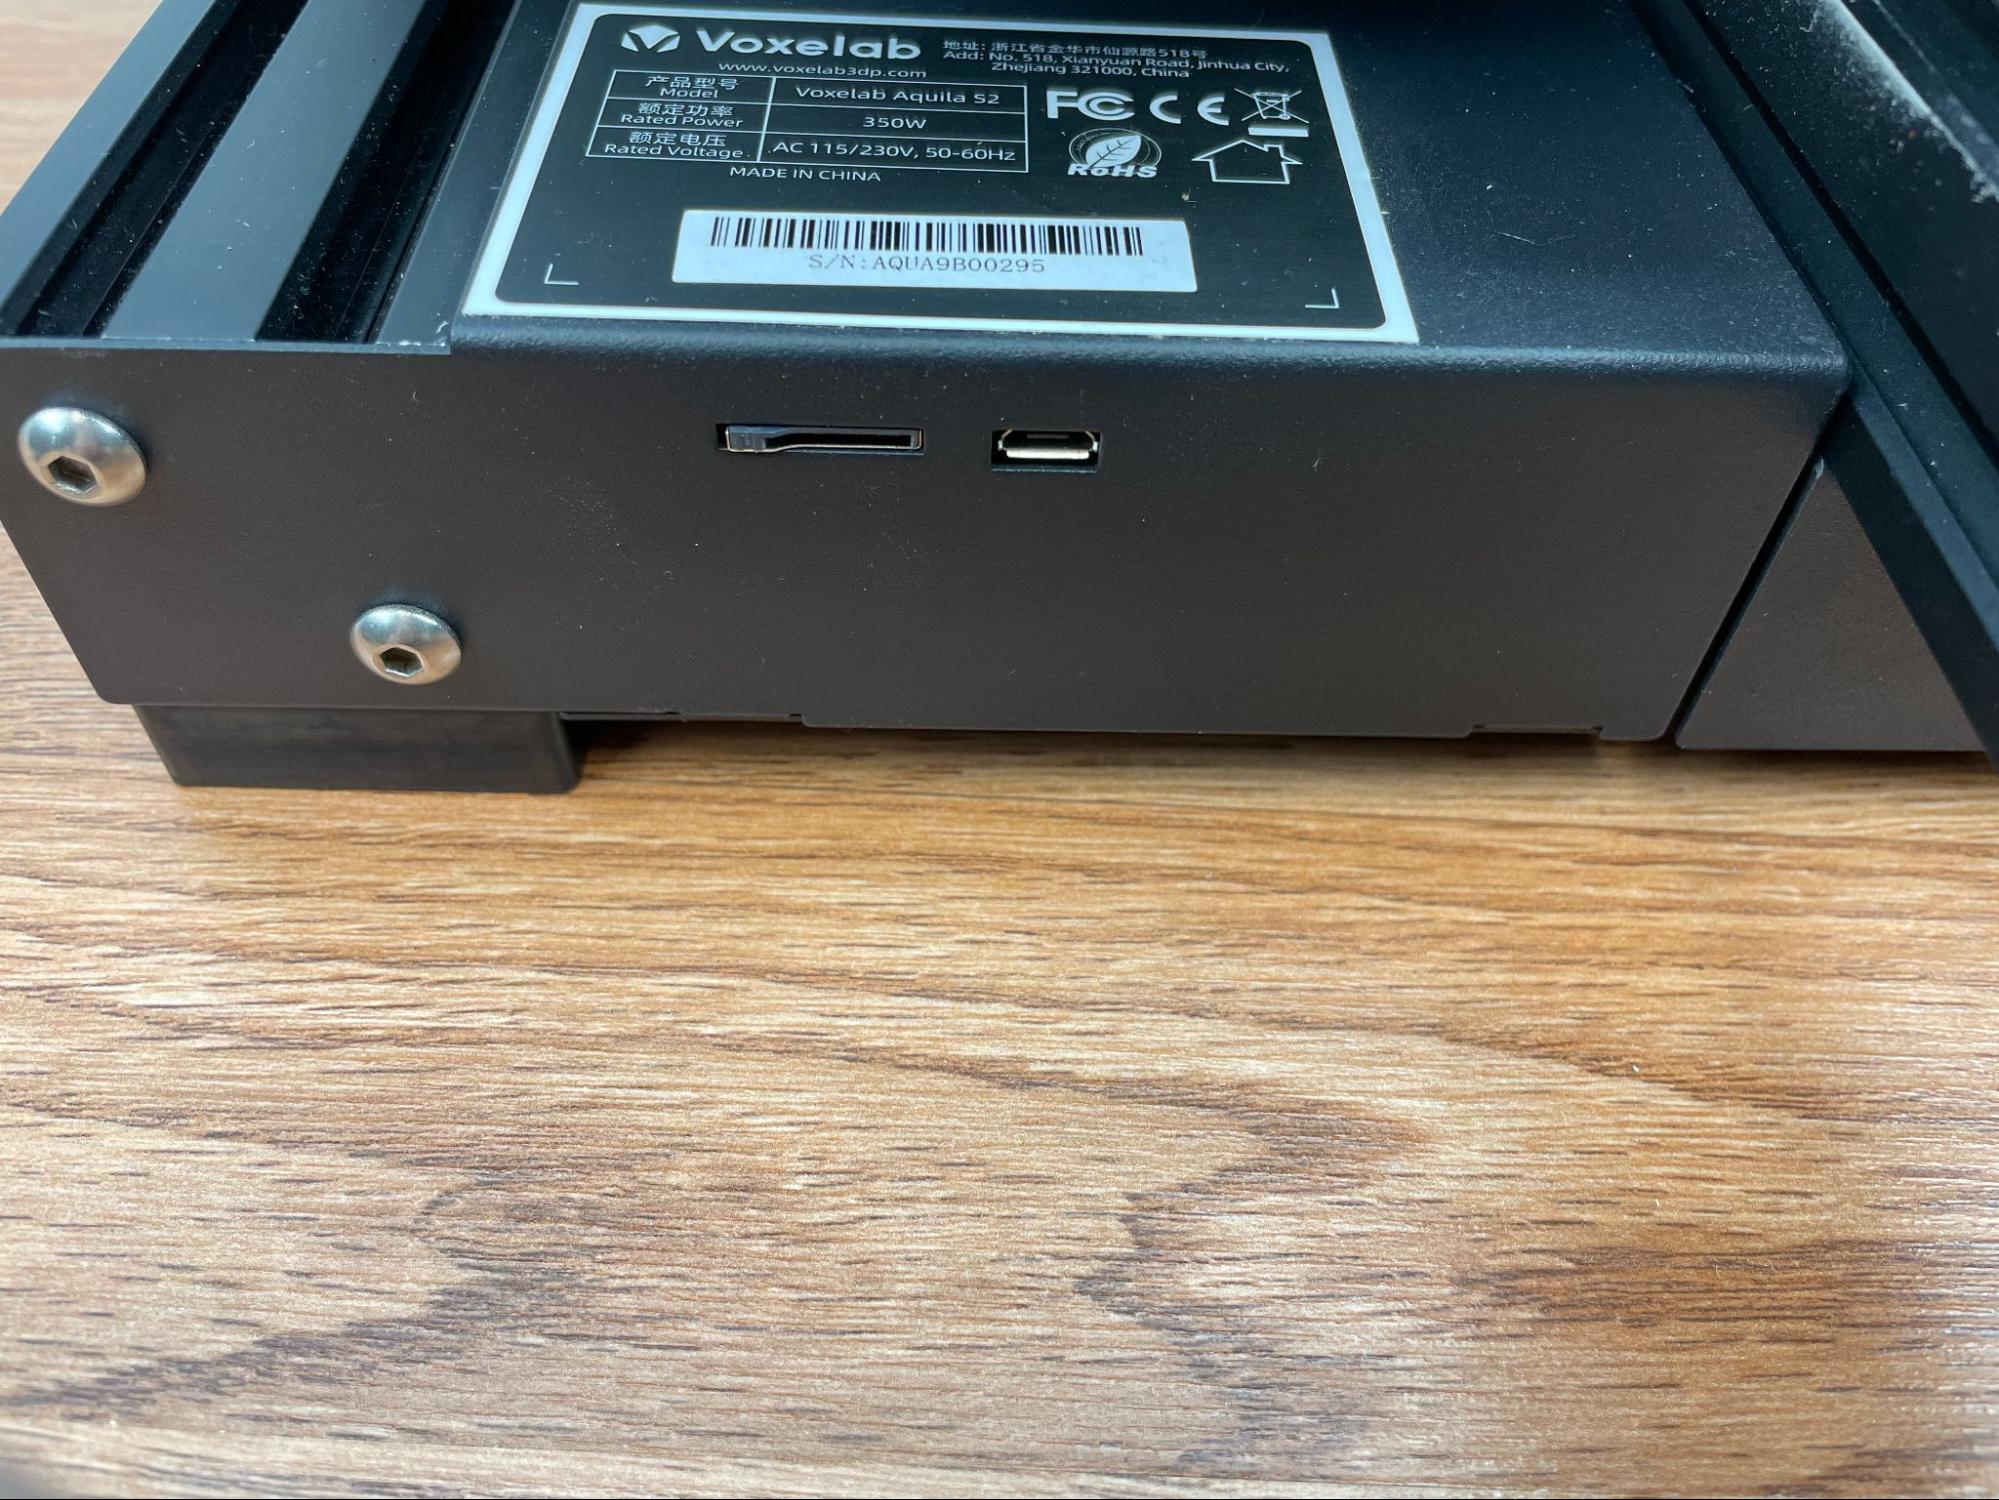
For ports and slots, this printer has a single microSD card slot for printing away from a computer as well as a micro USB cable port for connecting it directly to a computer.
Setup of Voxelab Aquila S2
Assembly of the printer is fairly straightforward and I found the manual to be well written. There were a few extra screws included in case anything was missing. The bottom build platform is already assembled, so it was more a matter of going step-by-step and attaching the various pieces of extrusion in the correct order. The screws came sorted in plastic, so everything was very easy to find.
The trickiest part of the assembly was the X-Axis because the directions have you flip it in various orientations while the belt is loose and woven through various slots, which can be a bit confusing if you’re not paying attention. Fortunately there are enough unique looking pieces that following along is pretty simple. While assembling, I opted to keep several of the screws loose and at the end, I went through and tightened up everything. This helped with getting everything to be square and lined up.
Leveling the Build Platform on the Voxelab Aquila S2
This printer features a manual bed leveling system out of the box, but Voxelab claims that automatic bed leveling is supported. This is most likely if you plan on purchasing an automatic bed leveling sensor and installing it on the printer yourself. For the purposes of the review we will be using the manual bed leveling to keep the experience as close to out of the box as possible.
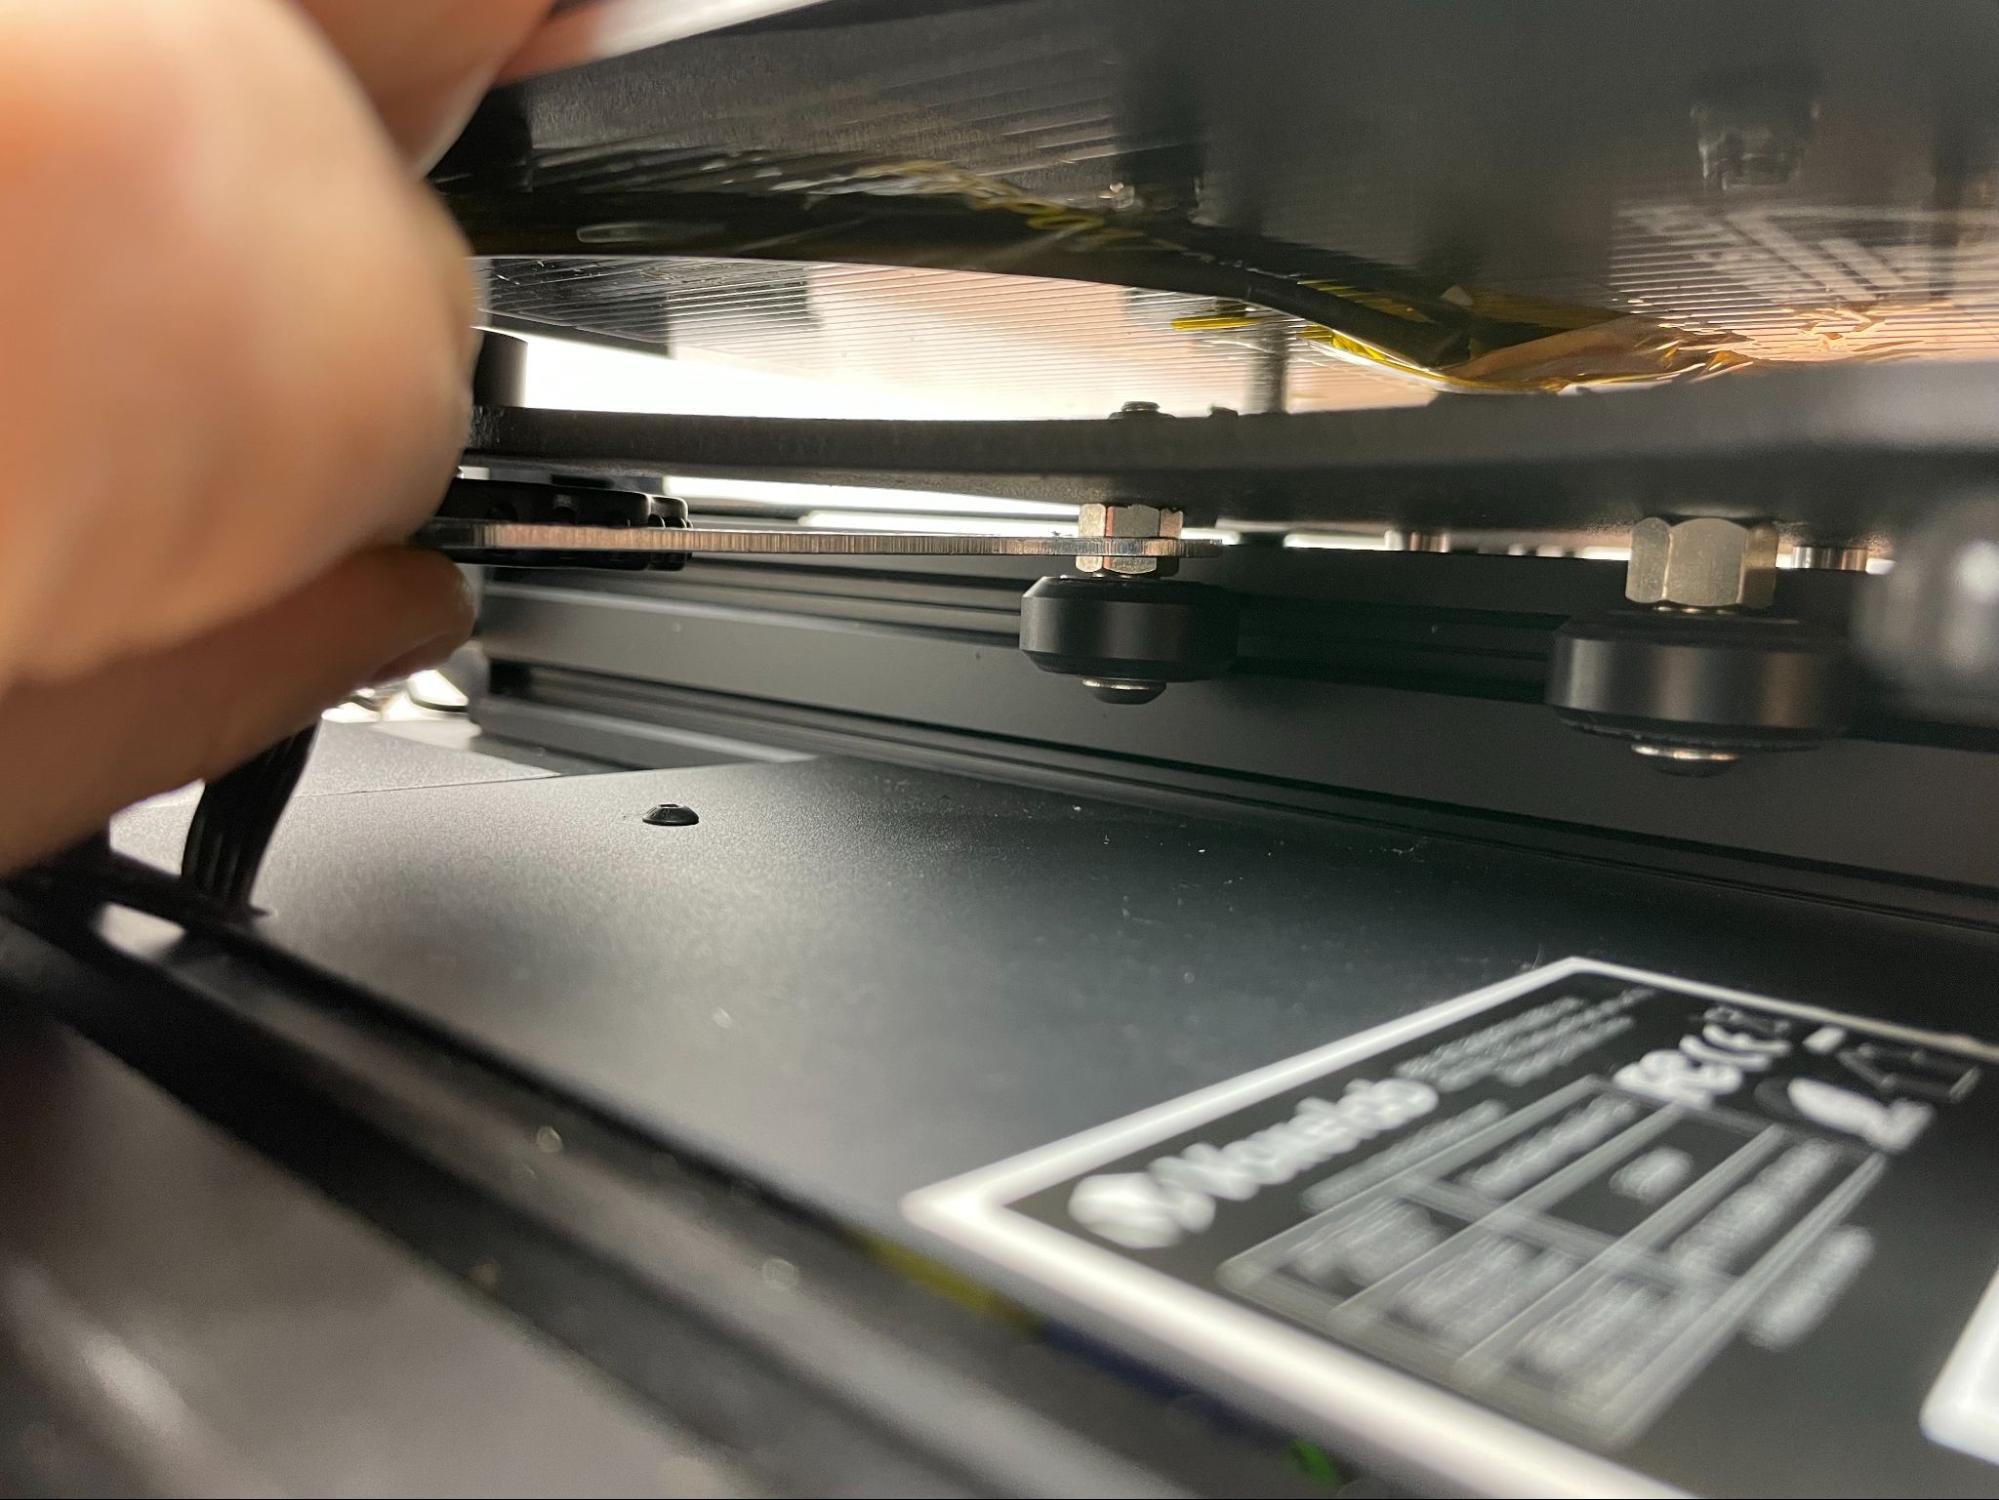
First I started by using the included wrench to make sure the bed was not wiggling at all. There are a pair of eccentric nuts on one side of the printer that move the wheels closer or further from the track as you turn them, so no more than a half a turn should be necessary. If it feels like turning it one direction is loosening it, you will want to turn the nut the other direction.
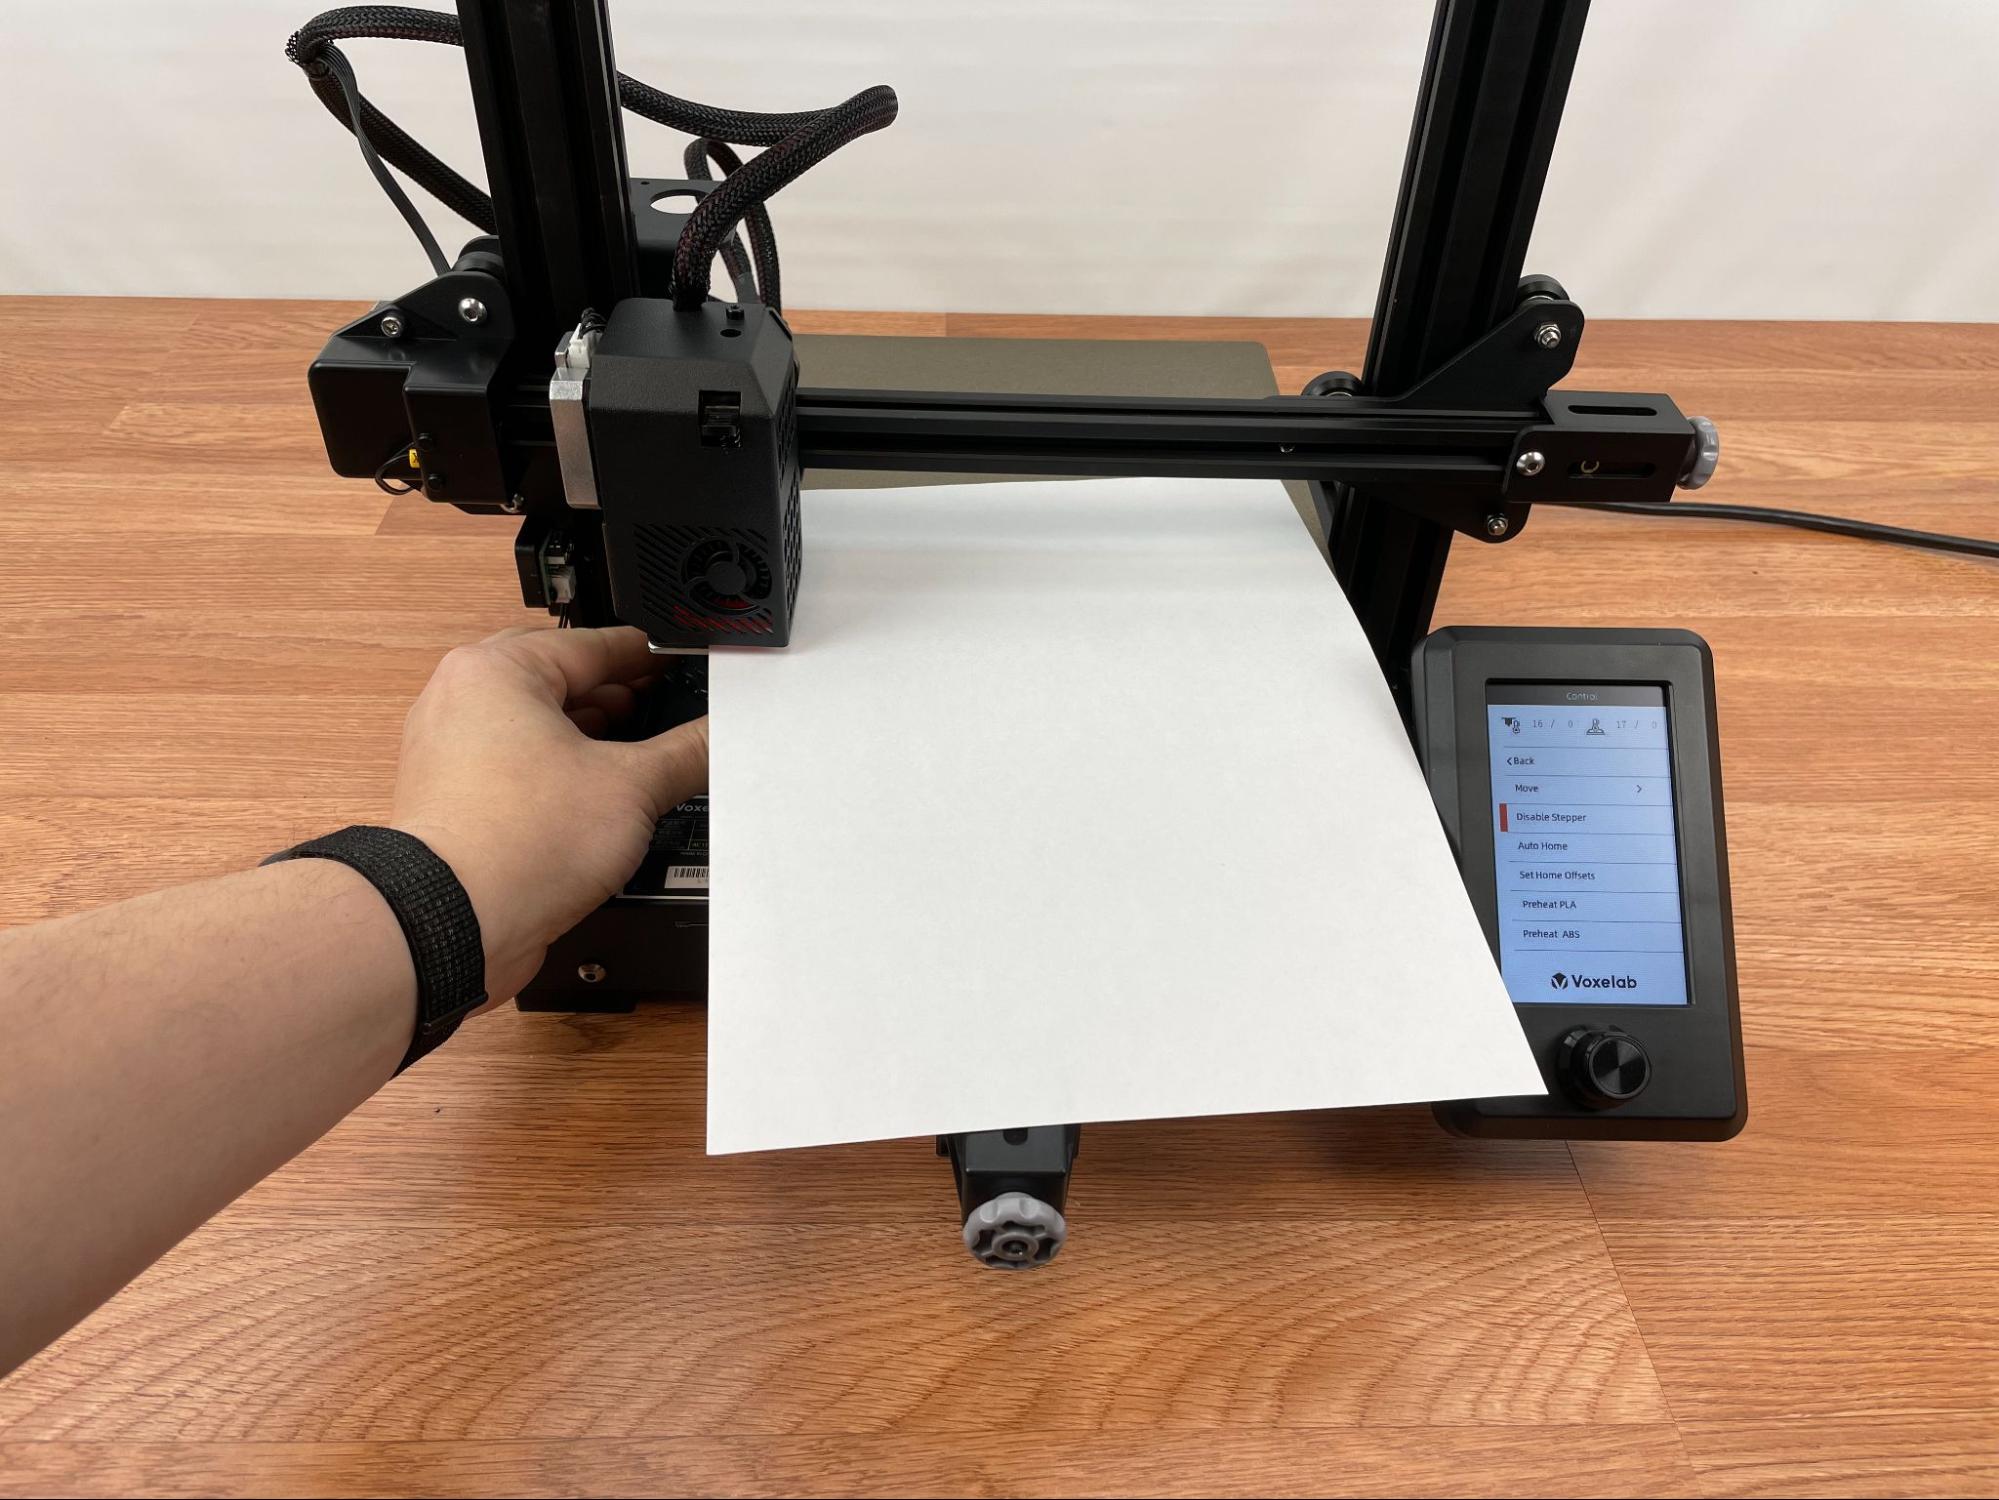
Once the bed feels secure, you will want to use the control pad to move the nozzle to the home position, and then disable the steppers. Then you’ll want to turn the knobs on the bottom in a counter-clockwise direction to move the bed away from the nozzle if it scrapes as you move it.
Once you can move the nozzle above all four knobs without scraping, you’re supposed to take a piece of printer paper and use that as a guide to tighten the knobs so that you barely feel resistance as you attempt to drag the paper between the nozzle and the bed.However, I had more success by just eyeballing it so there was just a tiny gap between the nozzle and the build plate. Keep going between each of the knobs. Remember that adjusting one knob can affect previously adjusted knobs. Once everything feels good, move the nozzle to the center of the bed and check that there is a gap there and that it isn’t too wide.
Printing Included Test Prints on Voxelab Aquila S2
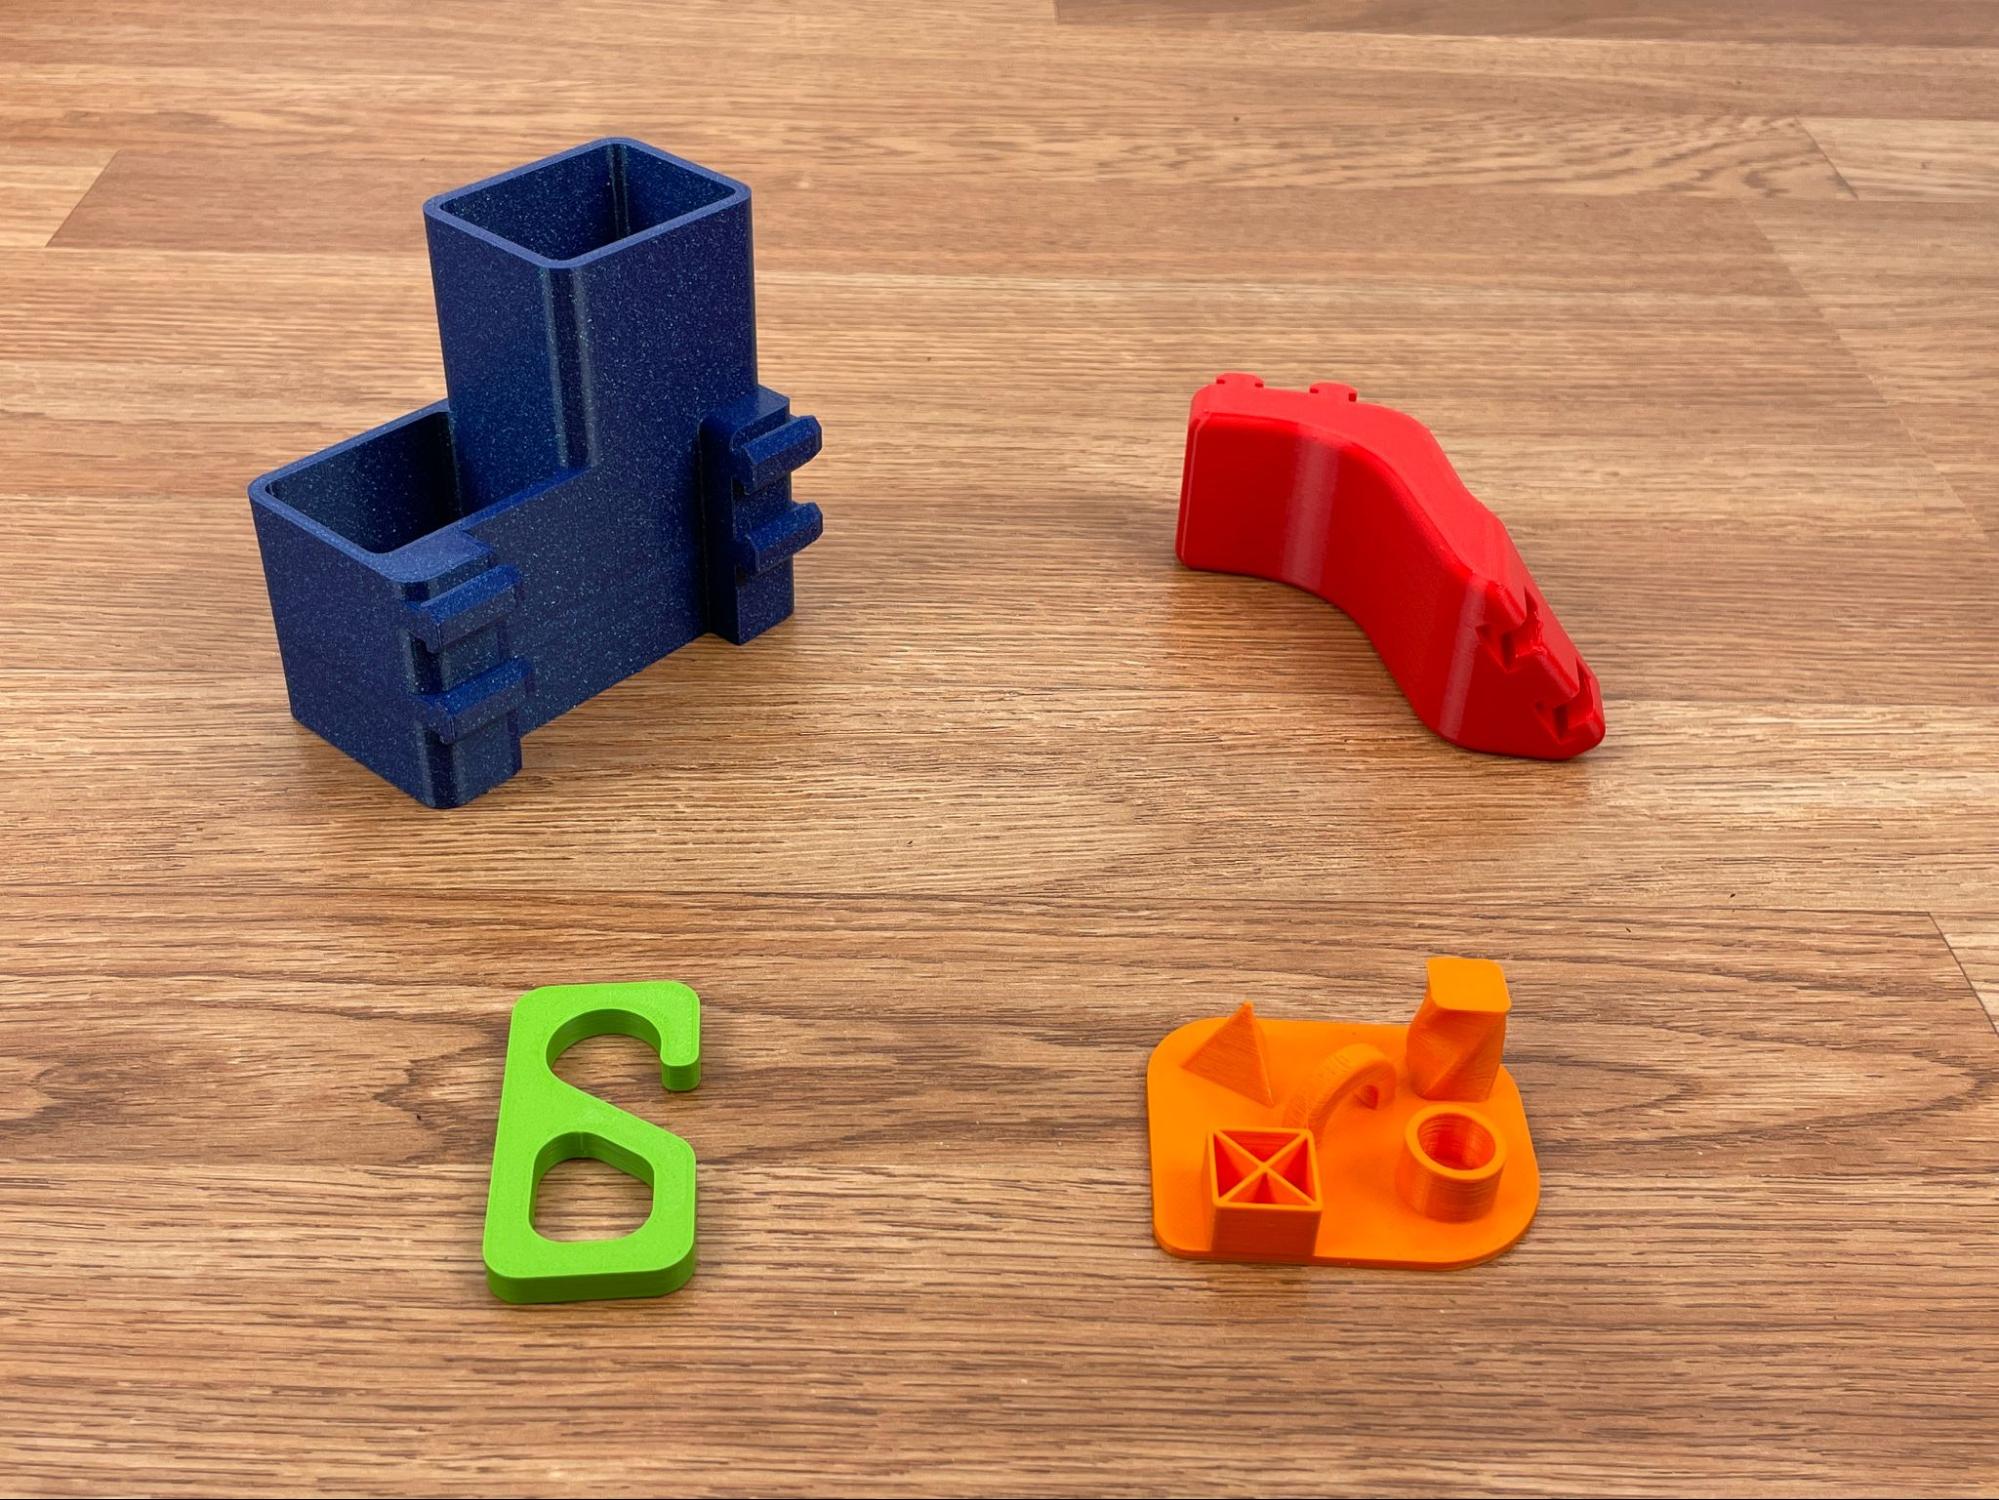
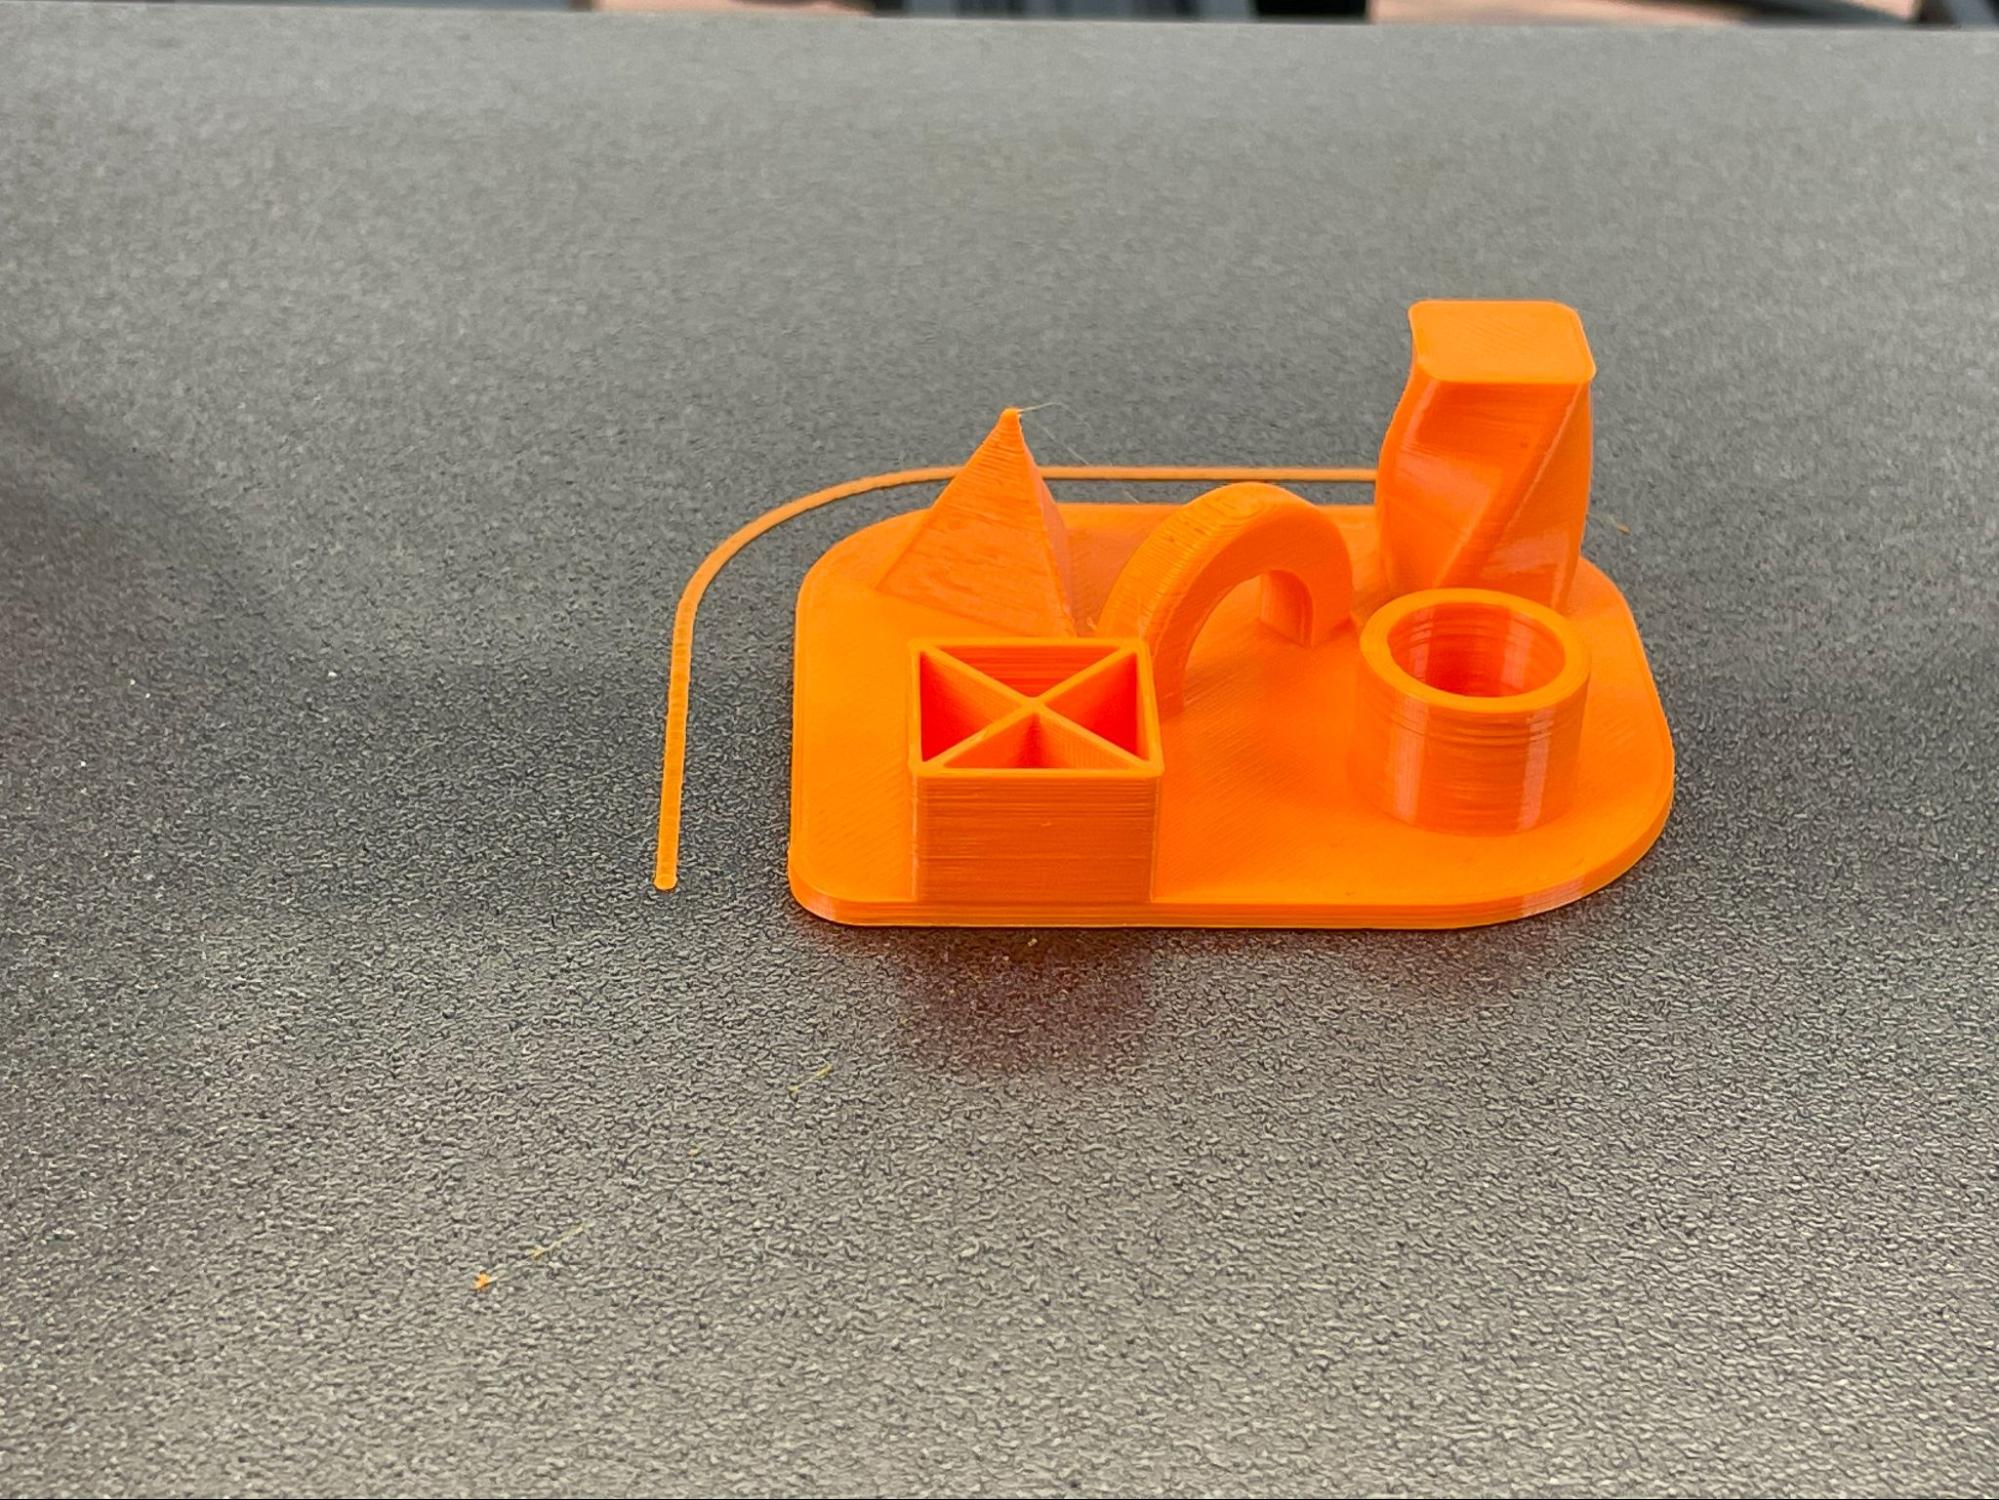
There were four test prints included with the printer that I received and I went ahead and printed them all. All test models were pre-sliced for printing using PLA, which I found by opening the GCode files in a text editor. Every print came out successful on the first try once I had the build plate properly leveled. The first test print I performed was using the Aquila Test Model. This was a small platform with various shapes on it that may prove to be difficult on some printers. This printed very cleanly and looked great.
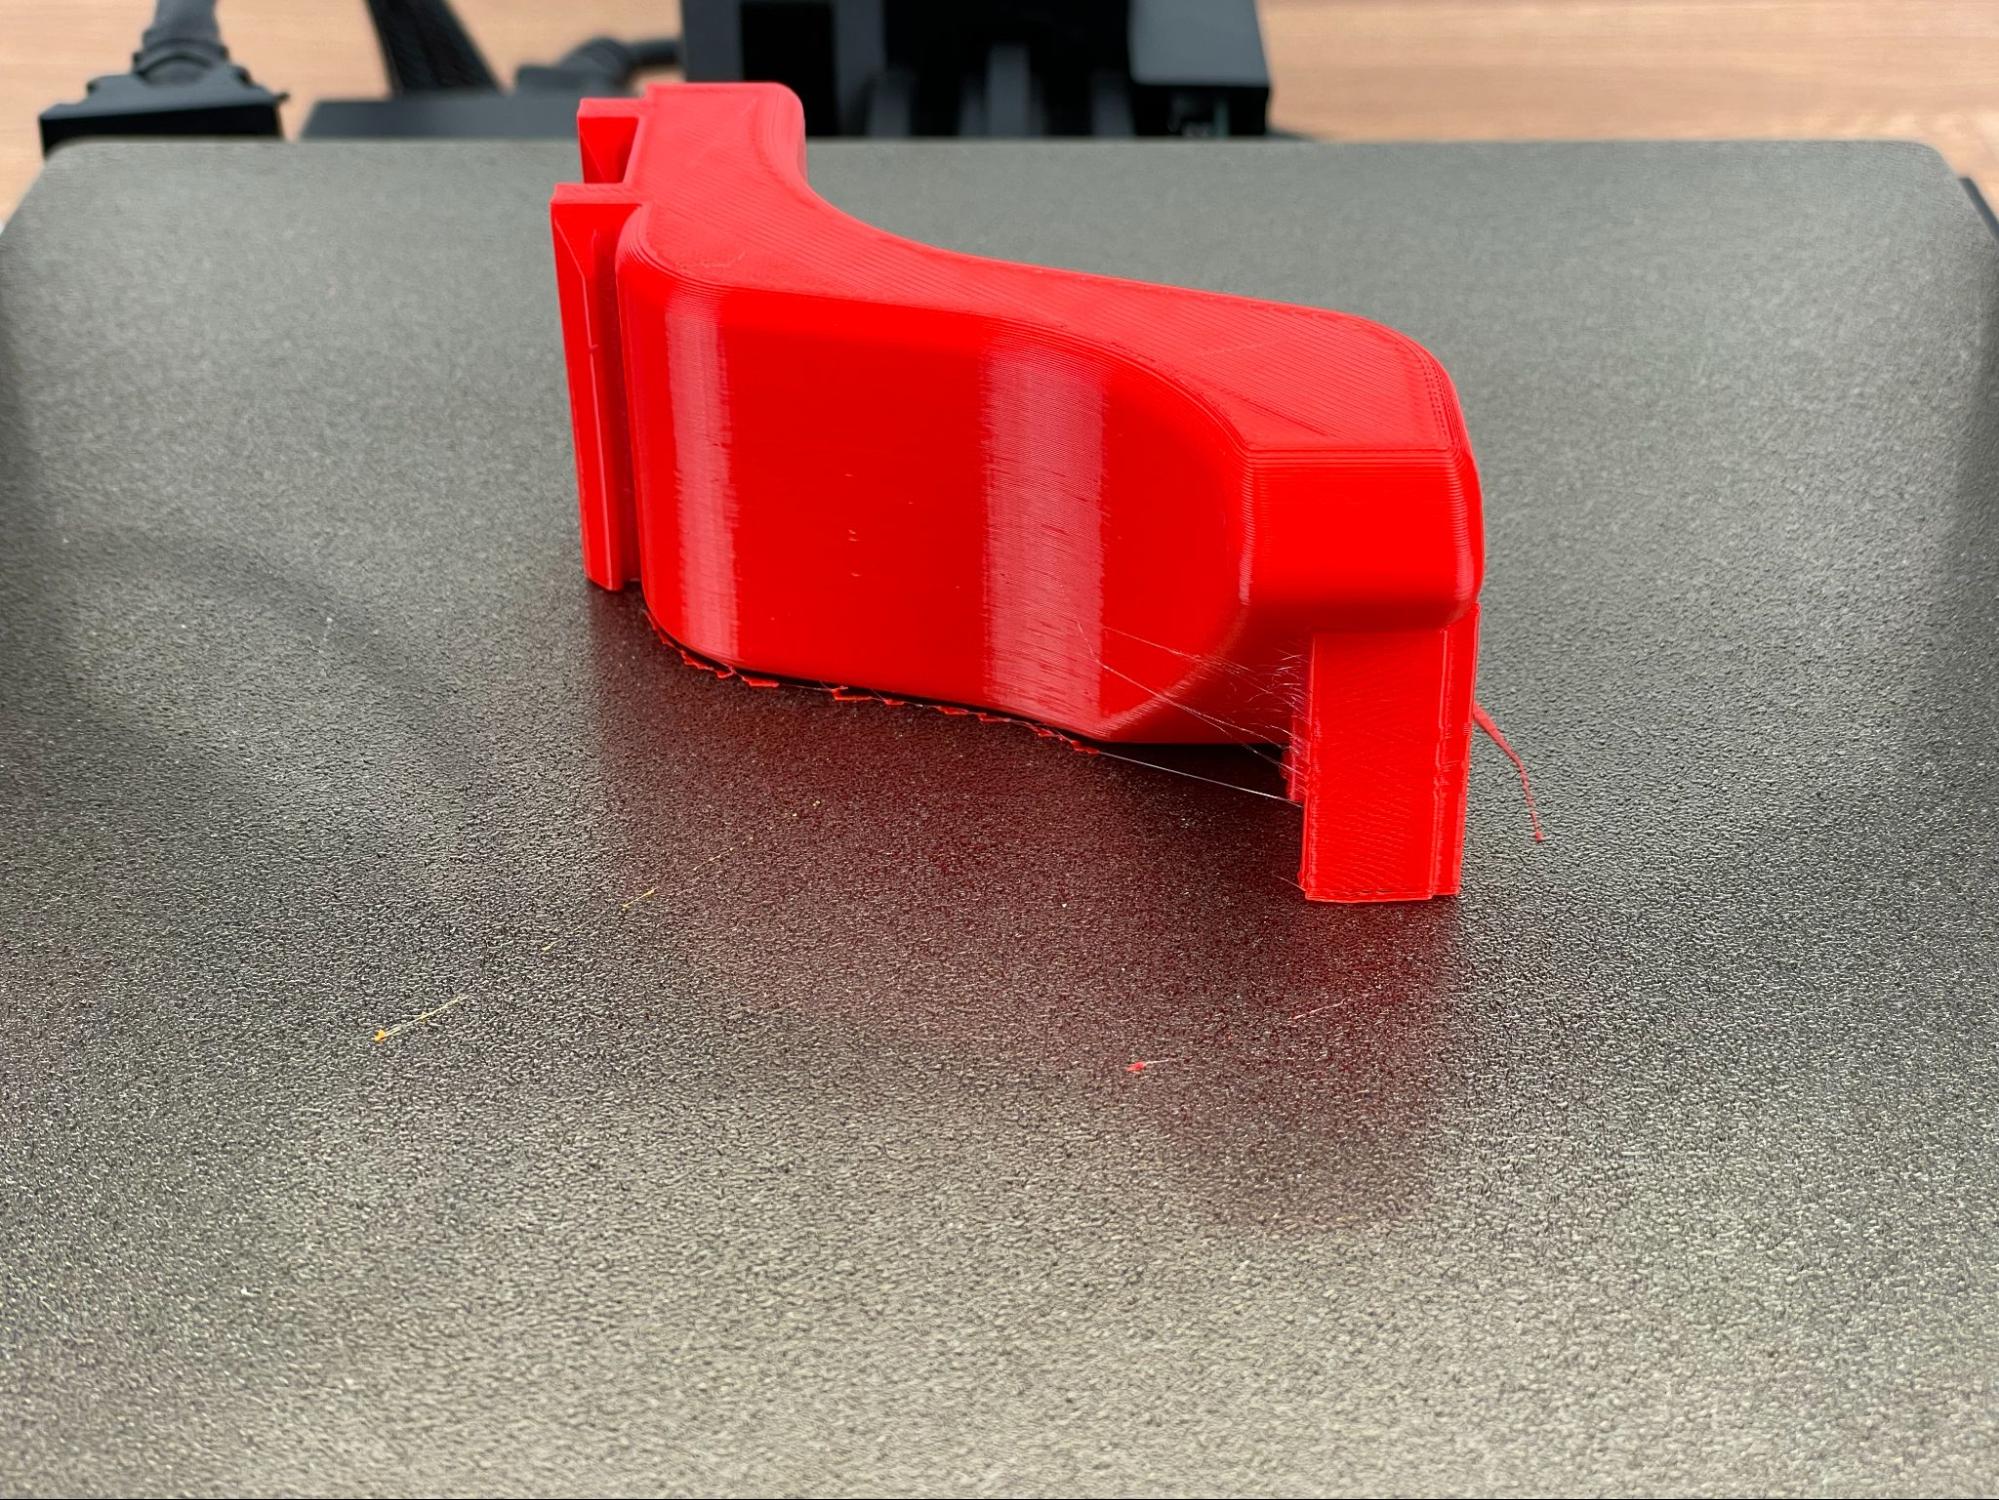
The only one of the test prints that was a bit odd was the one called Filament Spool Bracket because there didn’t seem to be any way to attach it to the printer. Perhaps it was originally created for another model of printer. It appeared to print a bit messy, but once the supports were removed and the model was cleaned up, it looked much better.
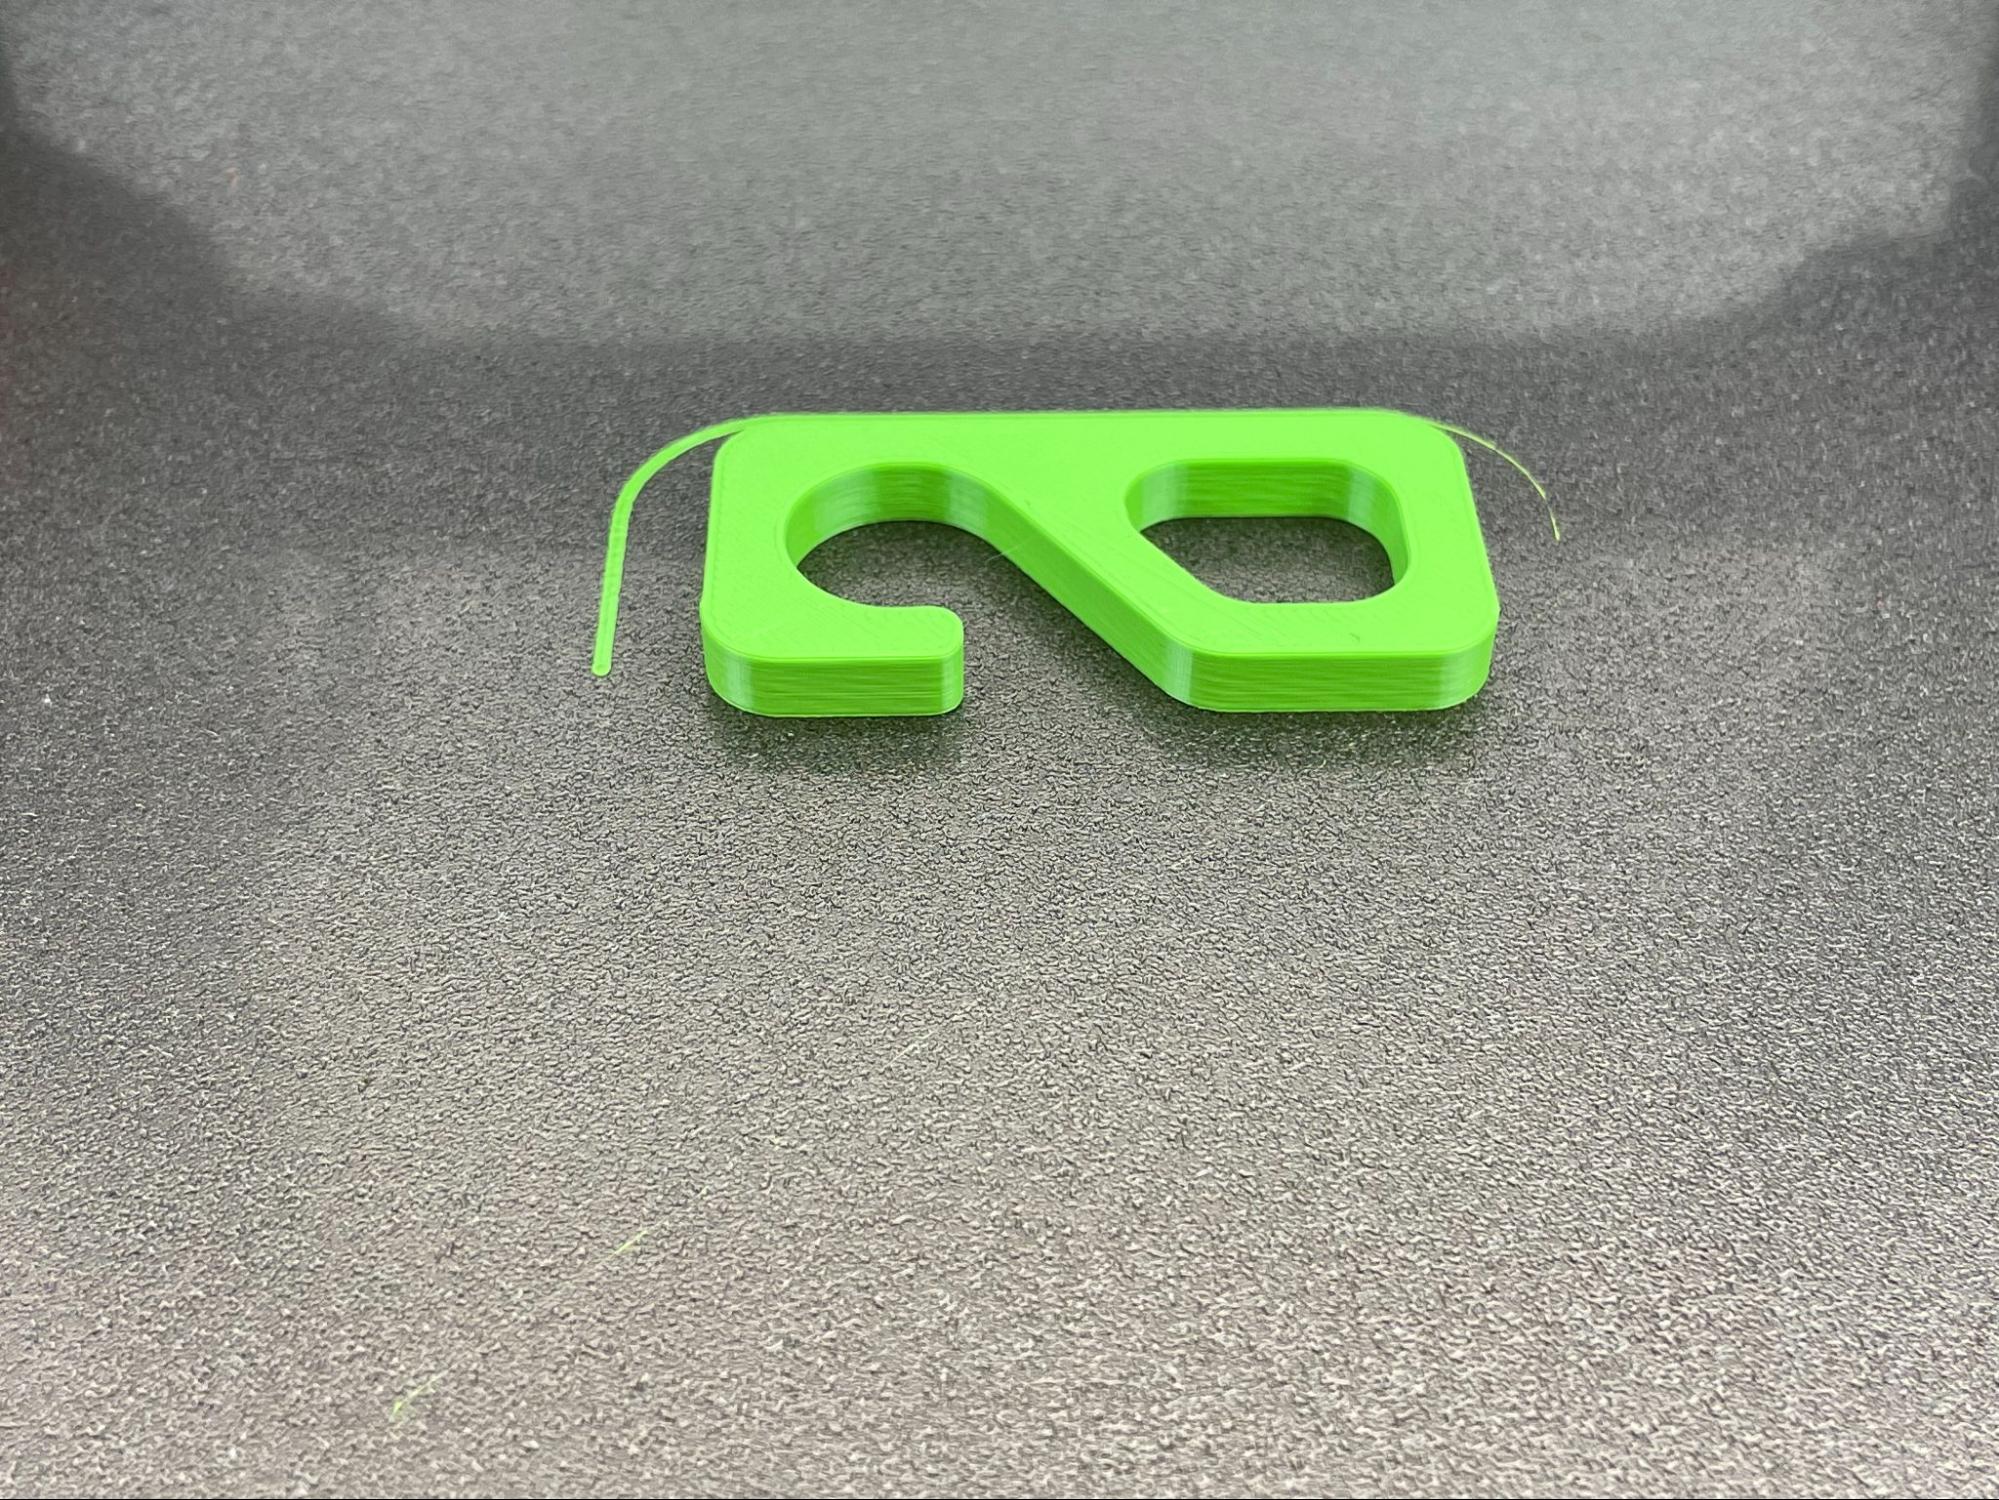
The next model that I printed off was a test hook. This appears to be a type of hook that can be used for testing the print quality of different filaments, which makes sense because of the wide variety of filaments this printer can make use of. This printed off fairly quickly and also came out clean.
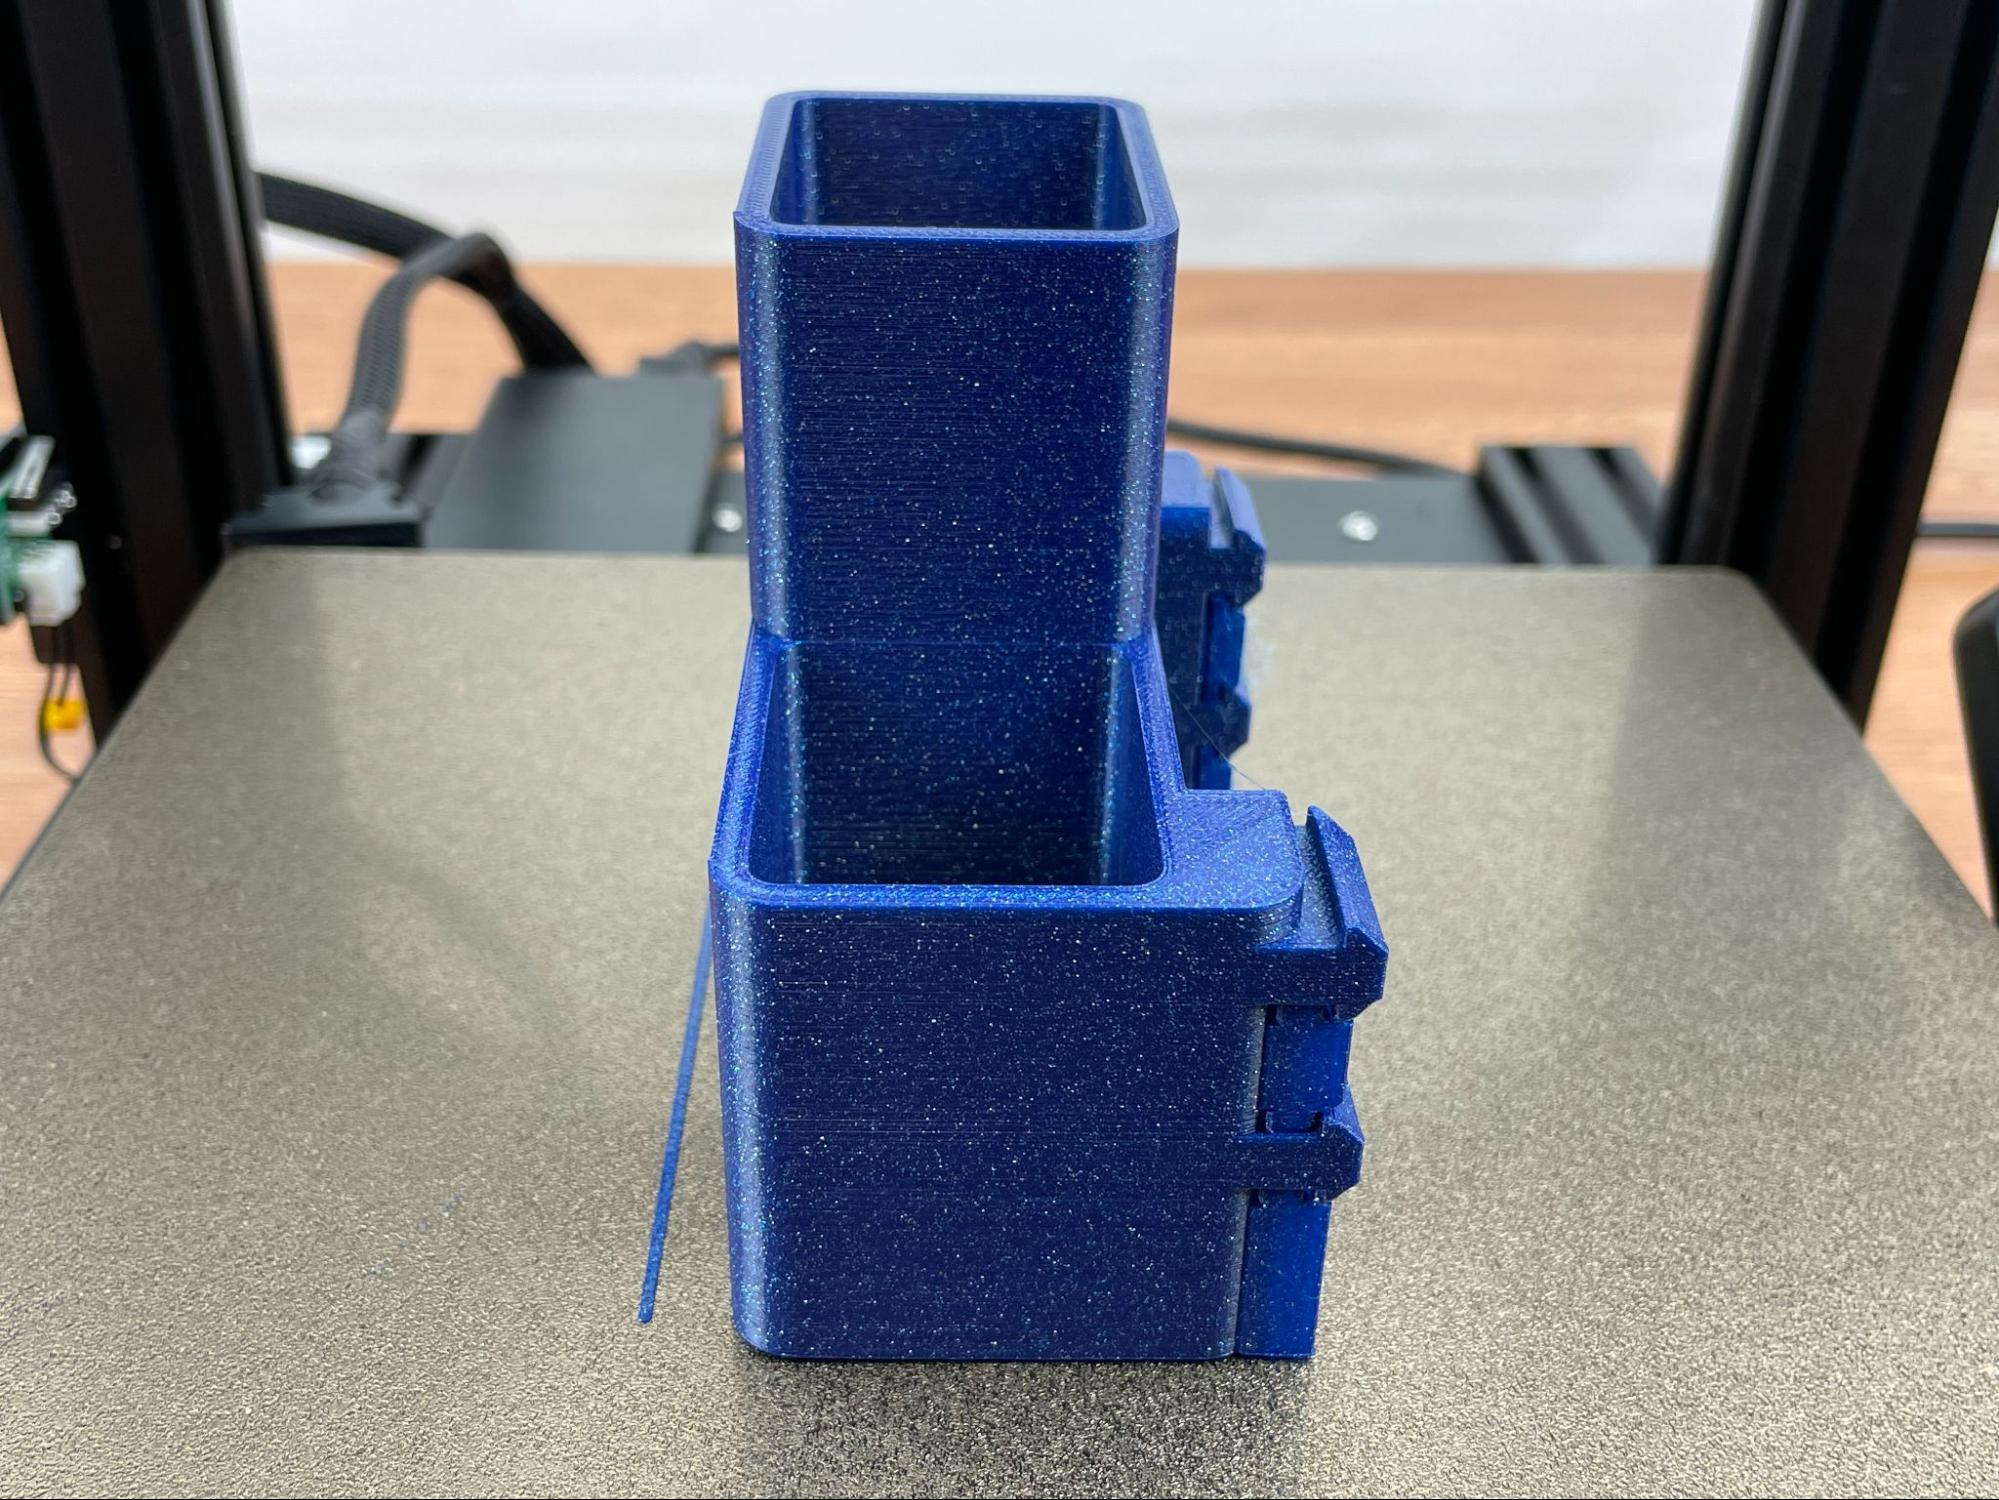
Finally, I found the last print was probably the most useful. This one is a little tool holder that can be attached to the extrusion on the side of the printer, which gives you a place to put your 3D printer tools such as flush cutters, a spatula, or even your wrenches. Overall, this printer has been a joy to use with just the test prints. All models come with the STL file so if you wanted to reslice them to print with other filaments, then it’s pretty easy to do.
Software for Voxelab Aquila S2
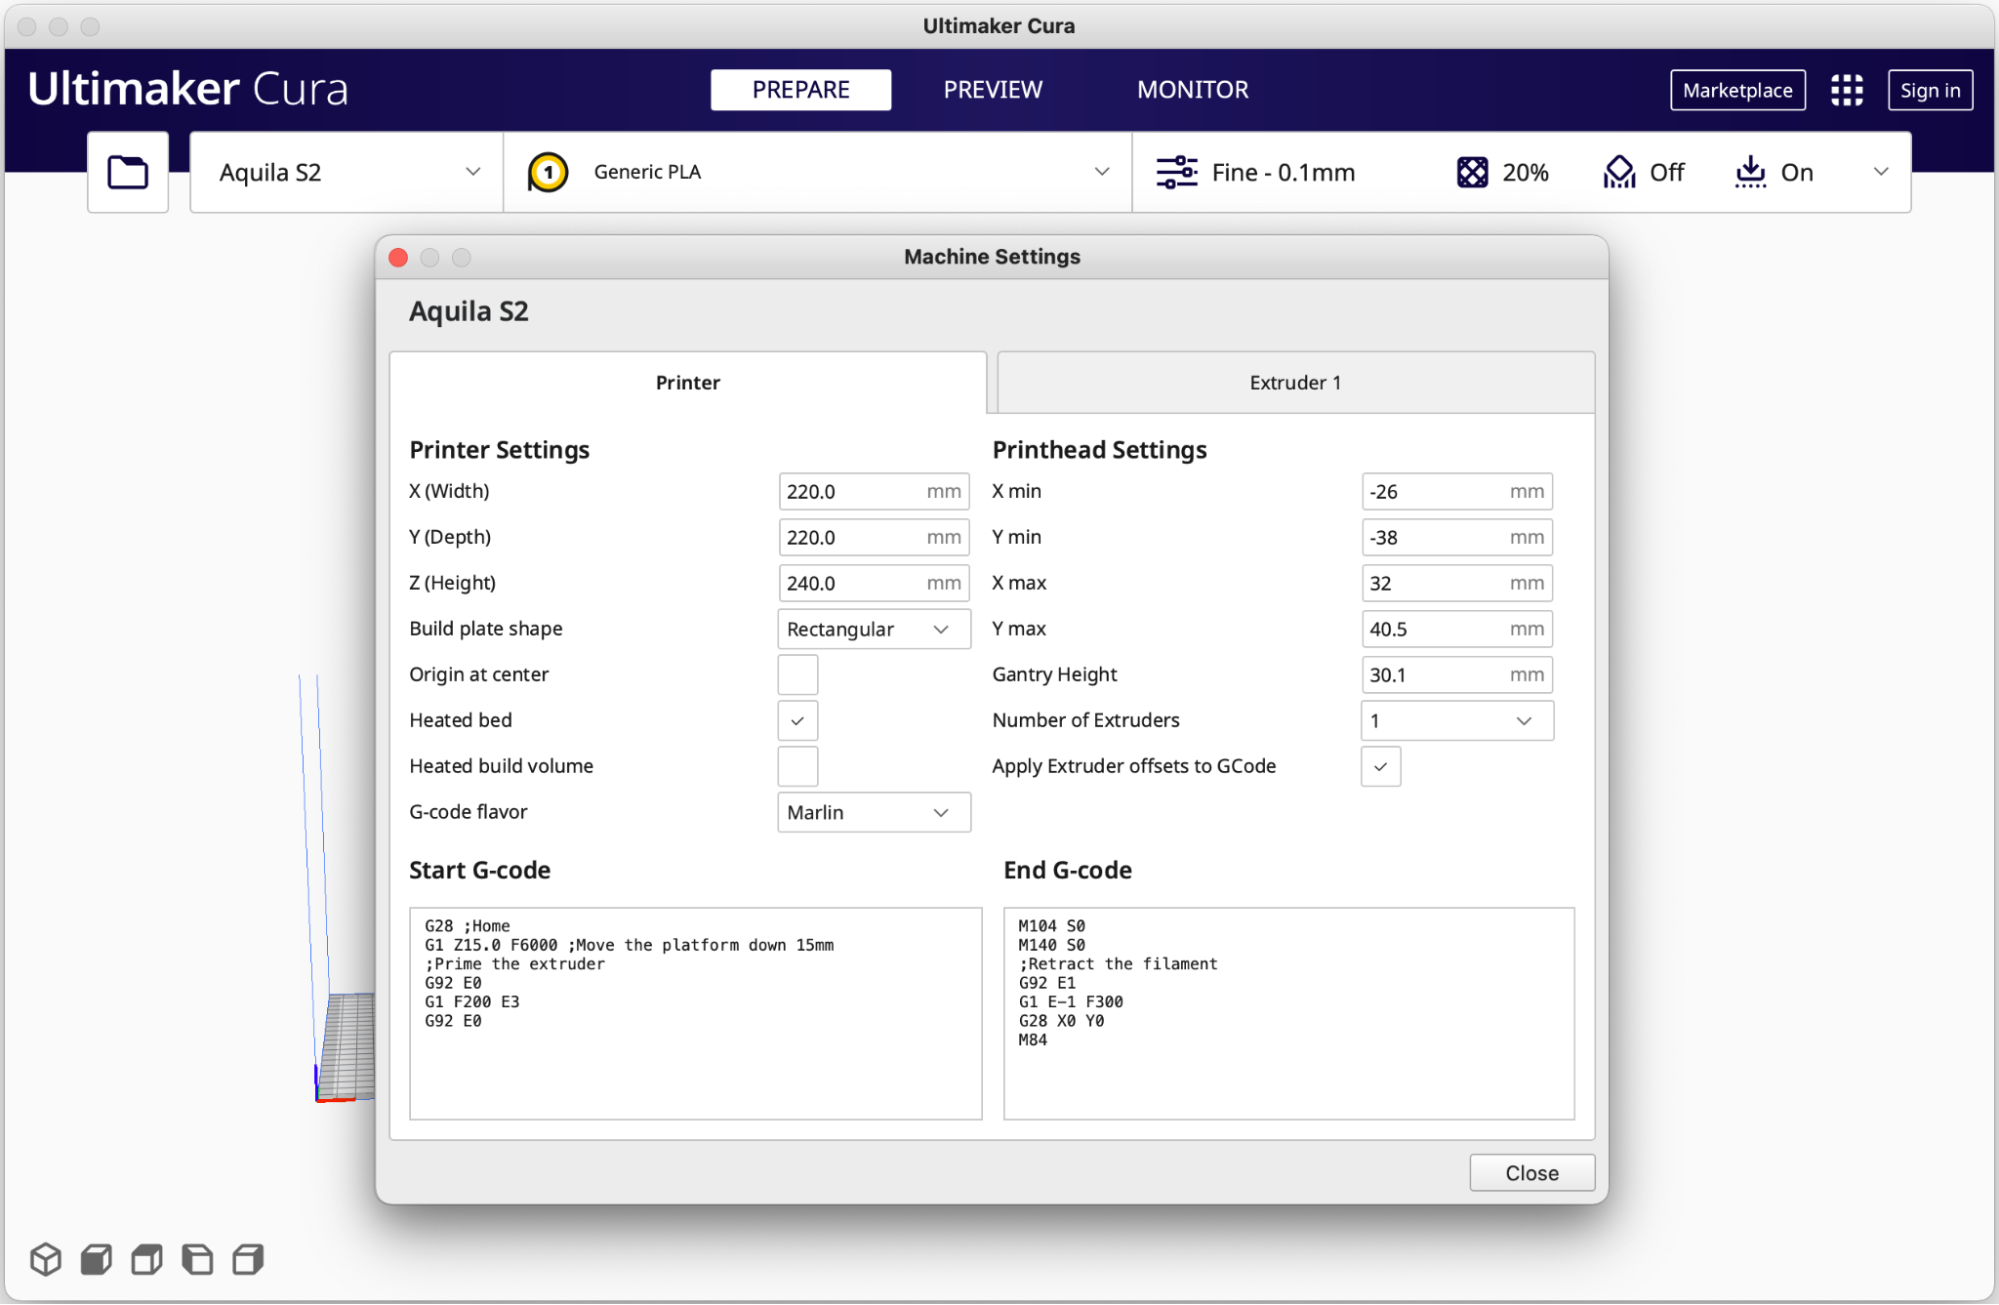
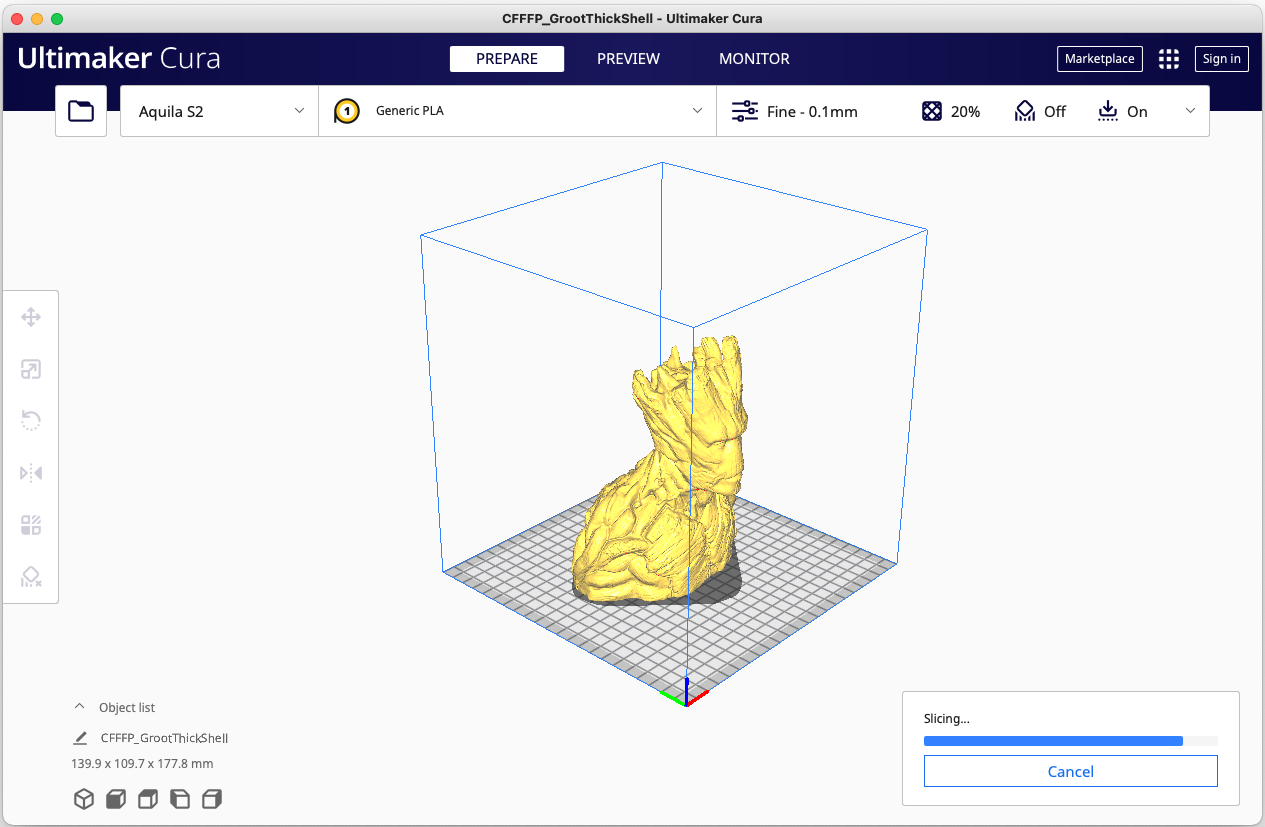
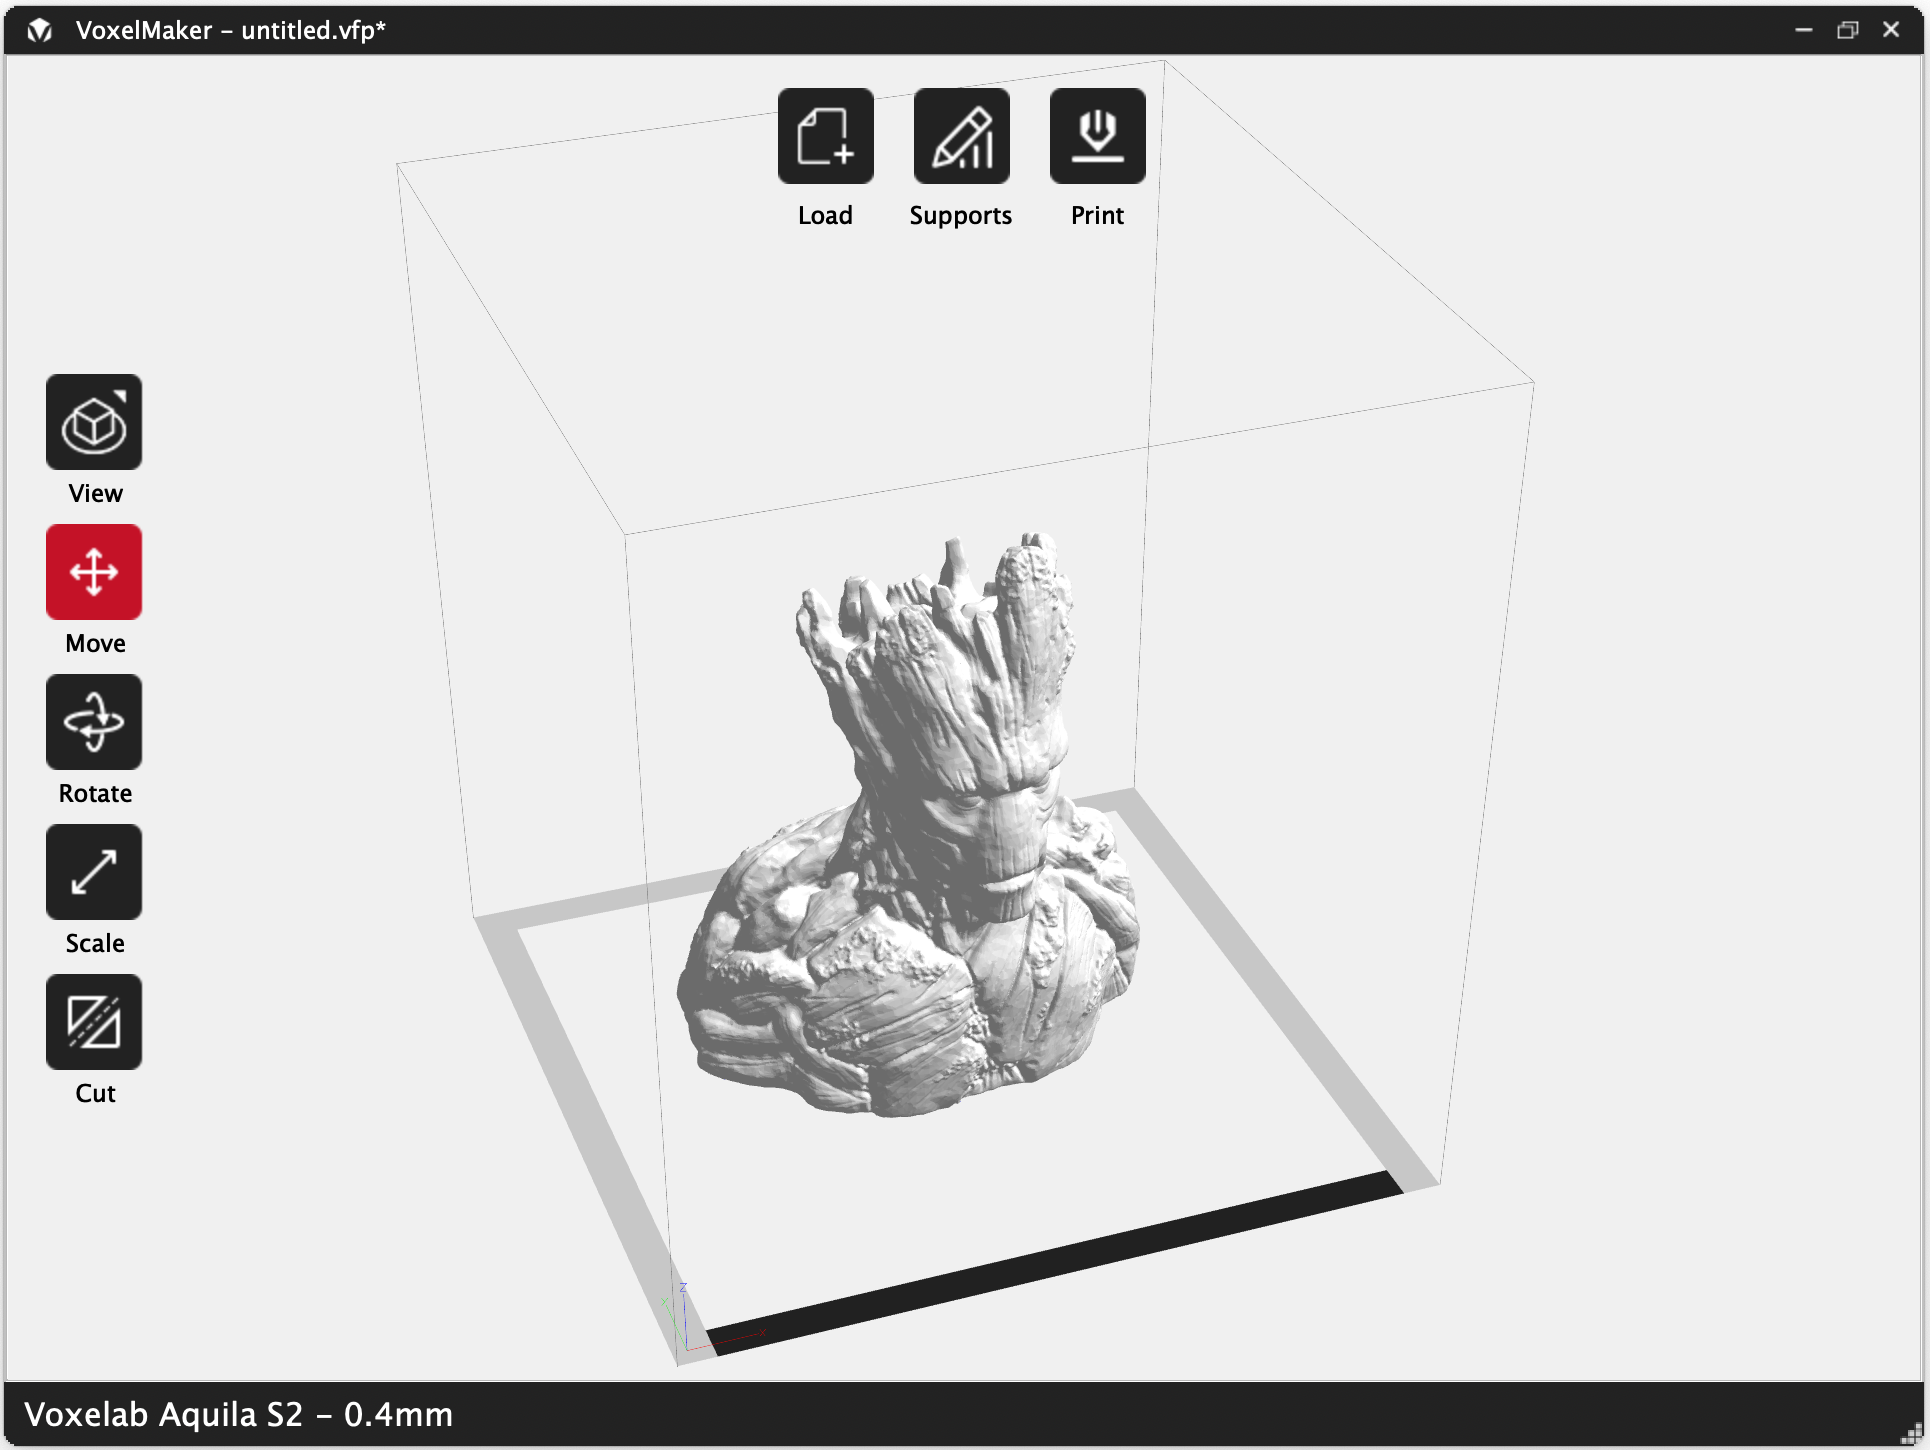
There are two different slicer apps that come with the printer. The first is Ultimaker Cura along with the necessary settings and Cura Profile to set up the printer. The second piece of software is called VoxelMaker. We’ll go over both of those.
First, we’ll start with Cura, which is arguably the most popular slicer app on the market. The version of Cura that comes with the printer is an older version, but the settings diagrams that come with the printer were taken with the older version. To use the correct settings with the latest version, you may need to search for the right settings because they may be in a different spot.
For testing out the printer, I decided to use the latest version of Cura and find the settings myself, which at the time of writing this, was version 4.13.0, so there is a bit of initial setup with adding a new printer that you will need to do, but it only takes a few minutes.
Once you have the new printer setup, then it's time to slice a model. Load up the model that you want to print by opening a new file. Make any adjustments that you'd like to make to the model such as scaling it up or down. Once you are happy with it, click the Slice button to convert it to G-Code.
It may take a few minutes to slice depending on the size of your model and once it is finished, you can save it to the microSD card and move it over to the printer. Once you start printing, this printer usually seems to require no intervention.
I also had an opportunity to use the other piece of software that came with the 3D printer, VoxelMaker. It is a fairly straightforward piece of software and has a simple interface, but also hides many features that you would expect in a more mainstream slicer. One of the main advantages of using this software is that it already has all of the settings for the Voxelab lines of printers, so there isn’t really any setup to do to get going.
Once you play around with the software, you’ll realize it has plenty of features to slice your model to your liking. One feature I liked is that it allows you to position the model down to your build platform, though this behavior isn’t automatic. Another feature that I am happy to see is that it will handle plenty of different model formats by default, including 3MF files. One of the features that I would have liked to see is the ability to snap the rotation to 45 degree increments, but it does allow you to type in the angle, so that isn’t a big concern.
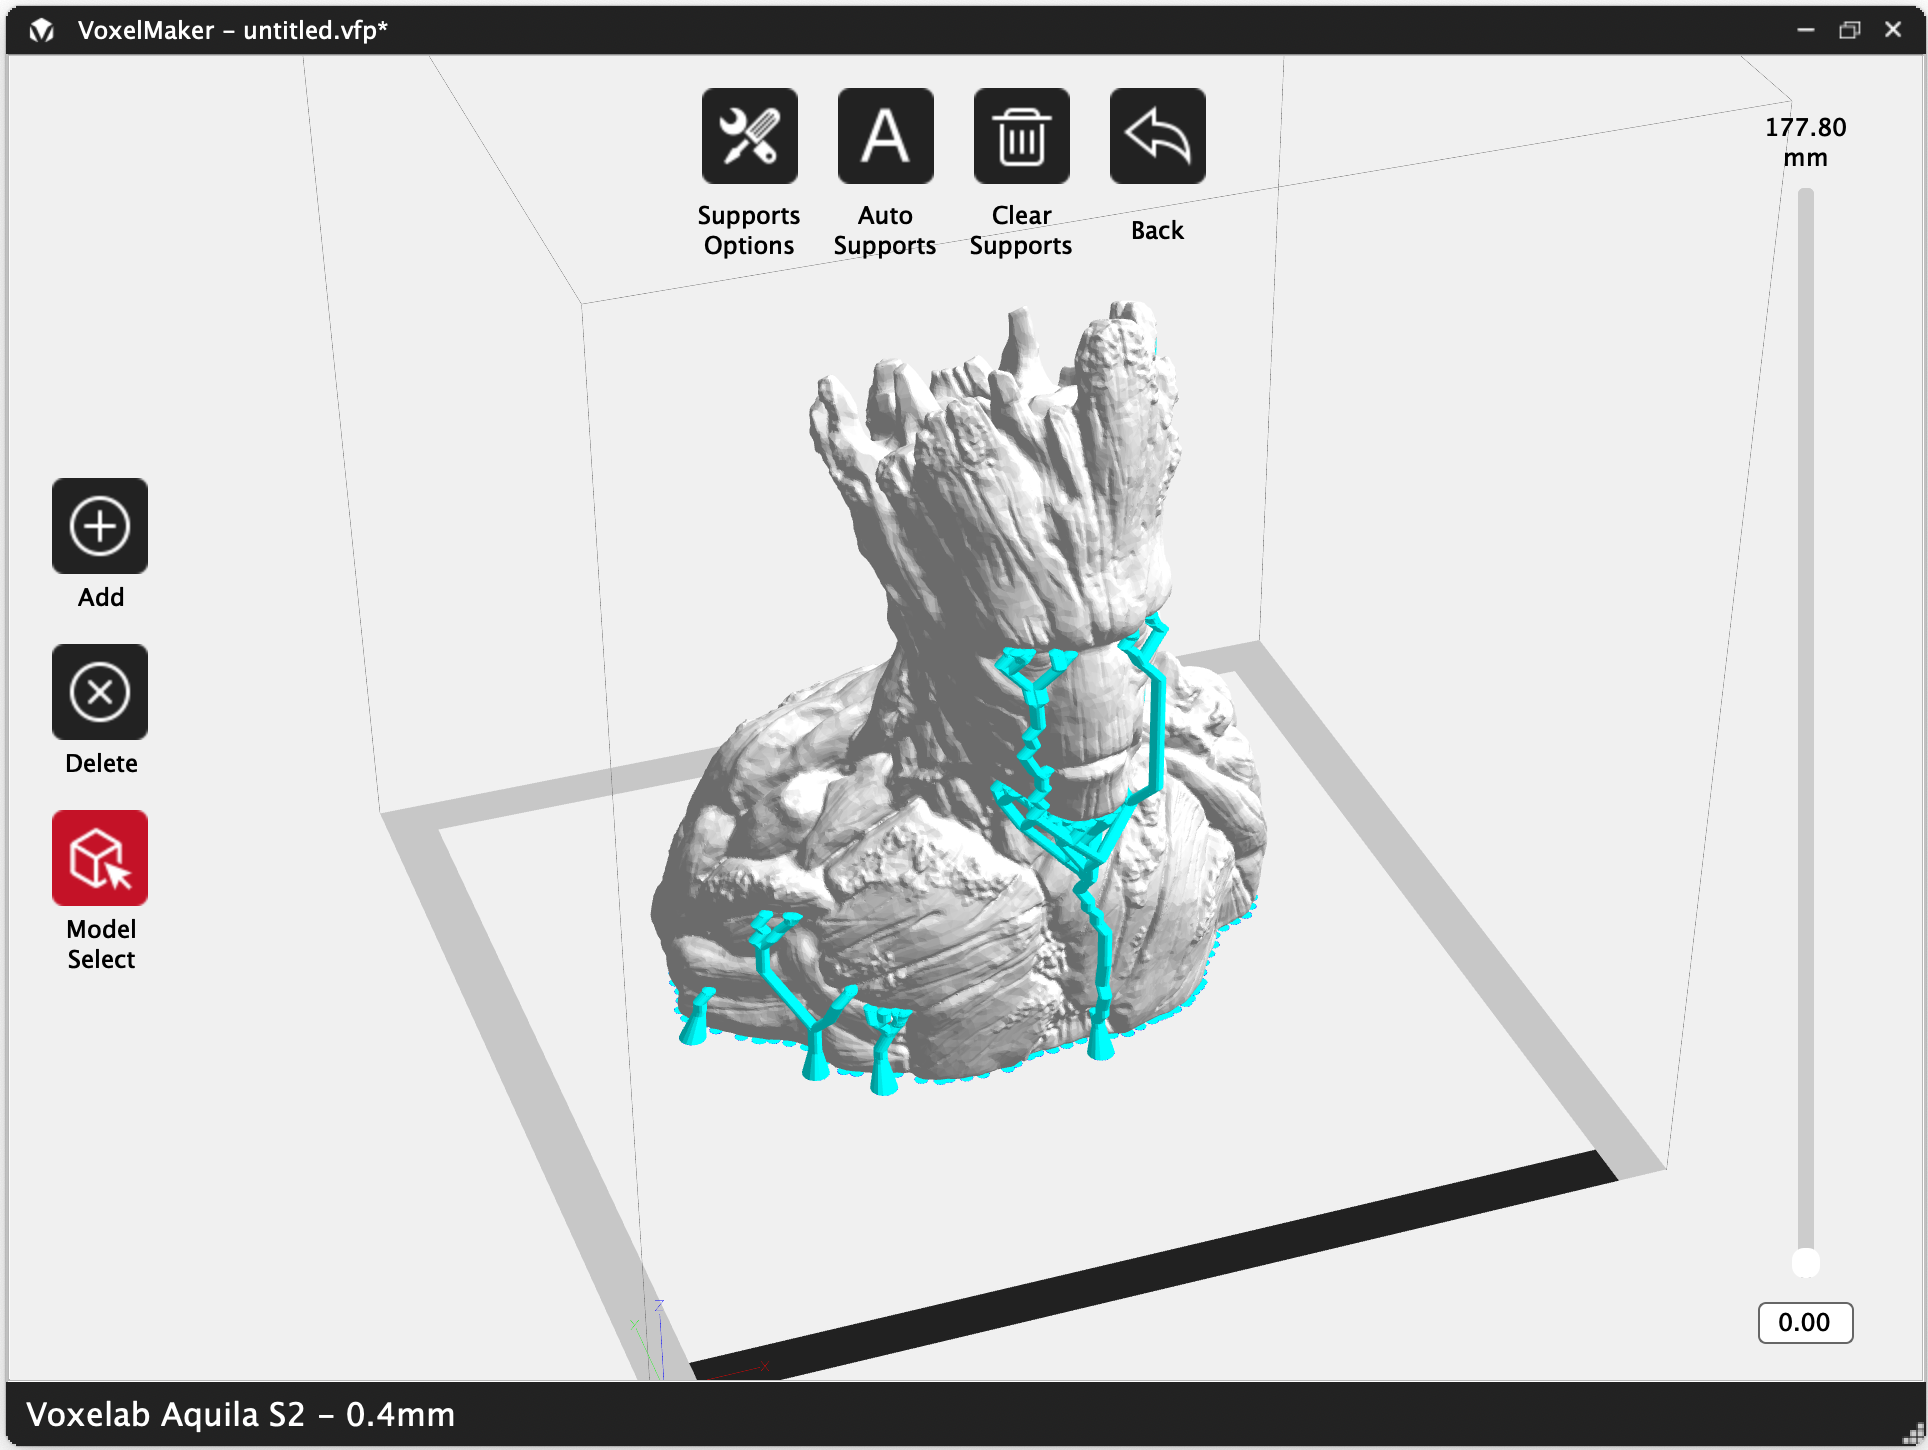
One of the unique things about this piece of software is the supports that are generated. Whereas a slicer like PrusaSlicer will generate pretty uniform supports which can end up using a lot of filament depending on the model, this software can automatically generate supports which are reminiscent of a bare tree. These are similar to what you would see on a resin printer and as such they tend to use much less filament.
VoxelMaker will also allow for printing directly to the printer over USB, but that requires a computer to be connected the entire time. This is more useful if you have a dedicated computer for this purpose such as a Raspberry Pi running Octoprint.
Printing Detailed Models on the Voxelab Aquila S2
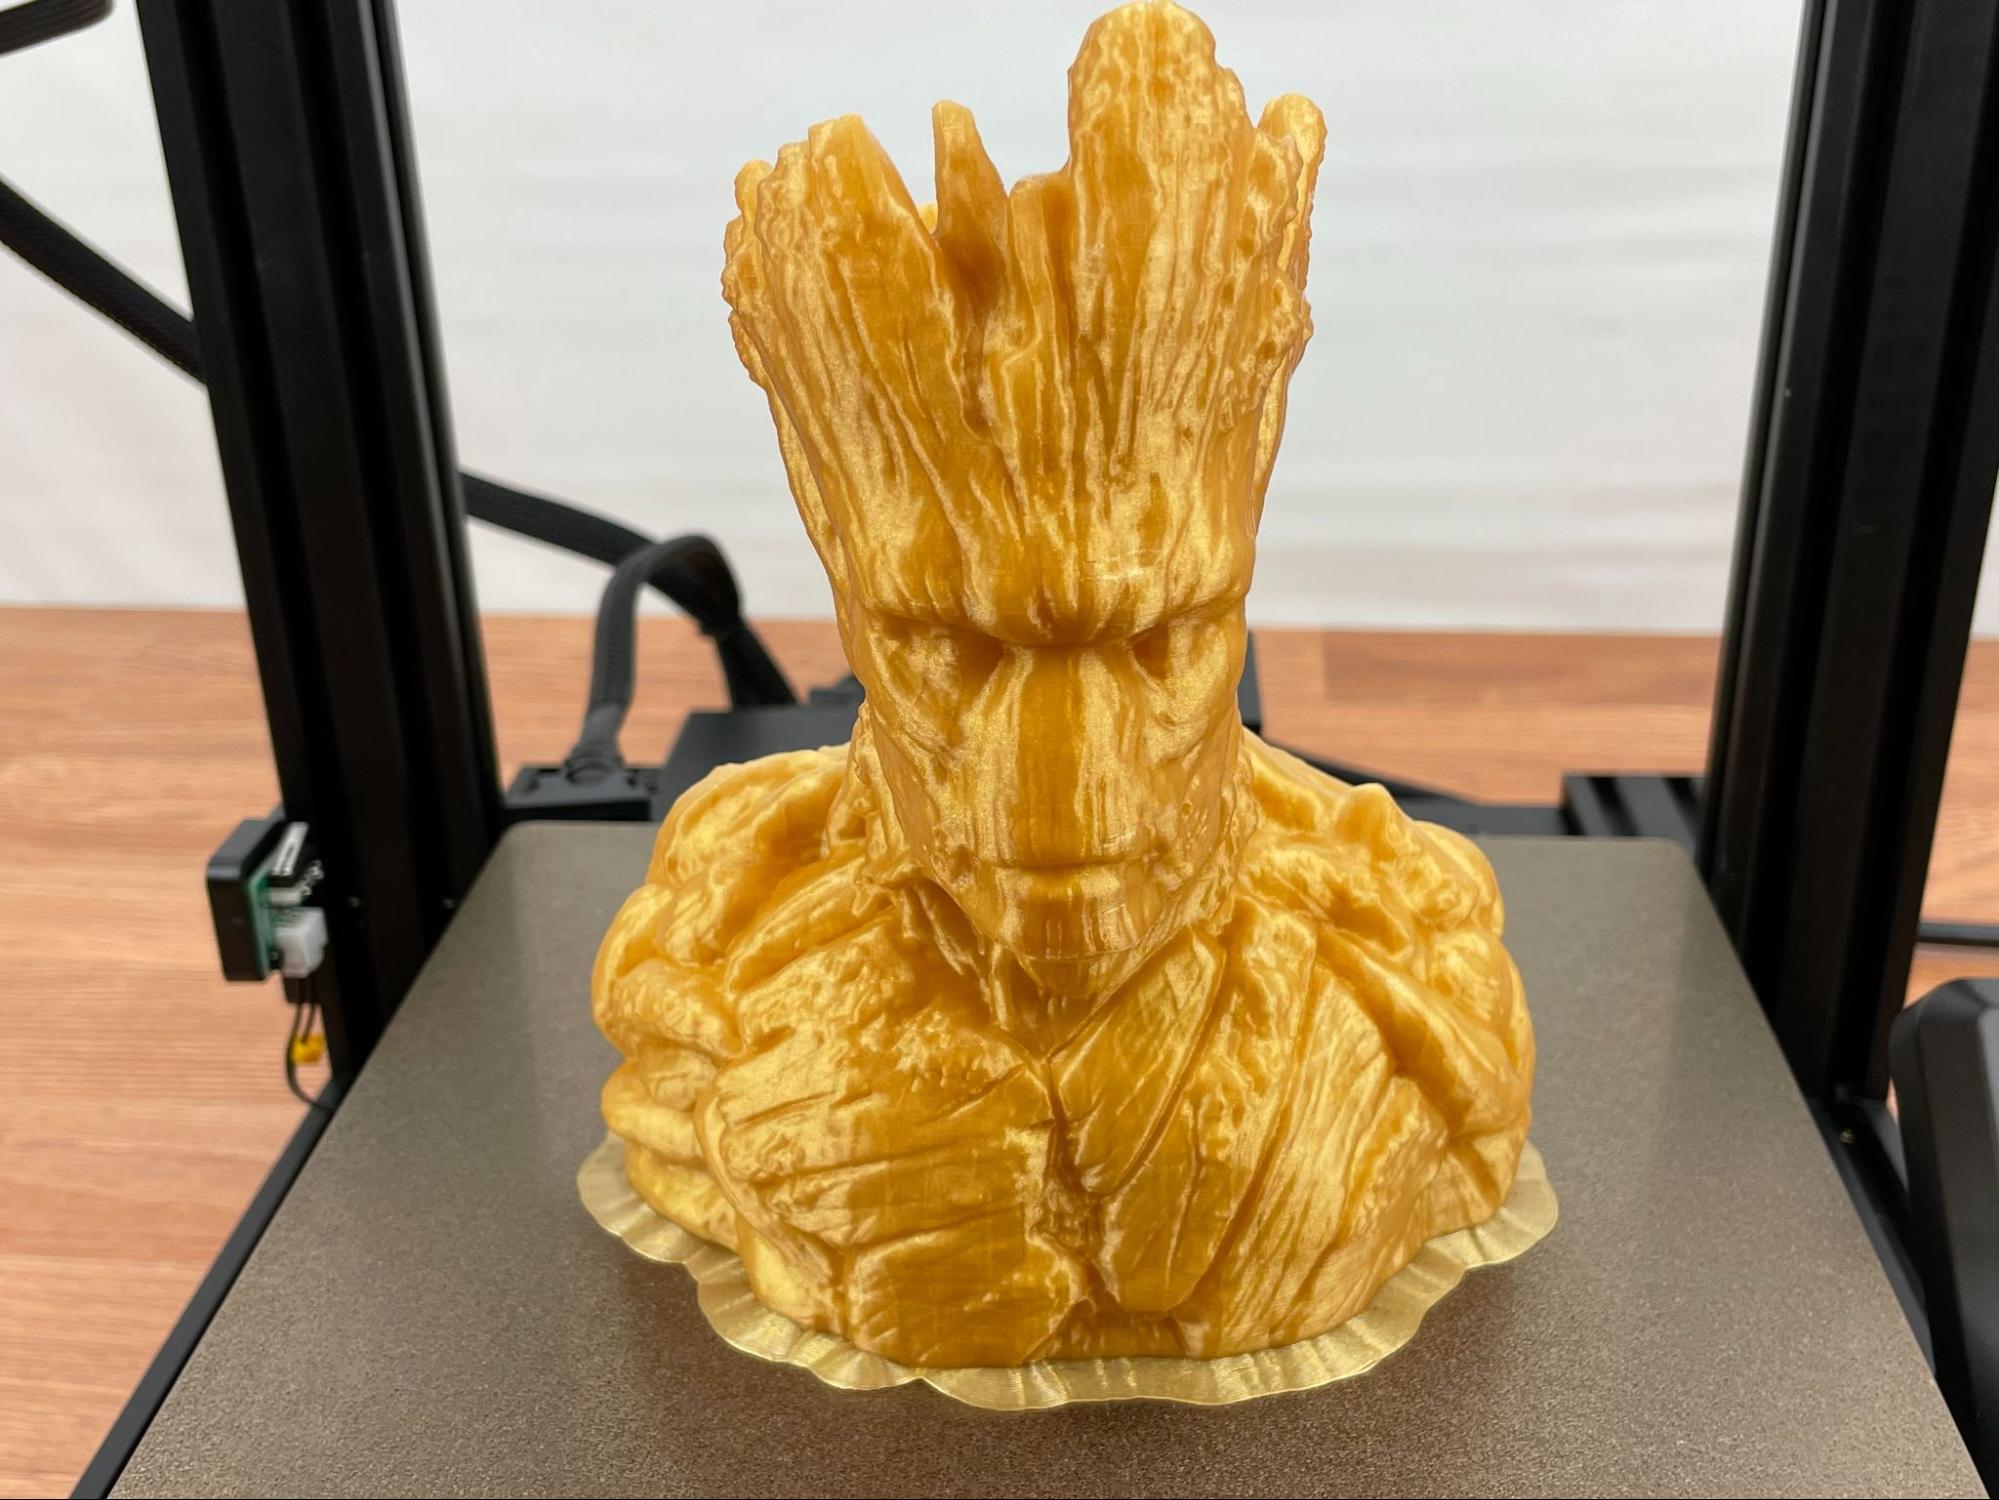
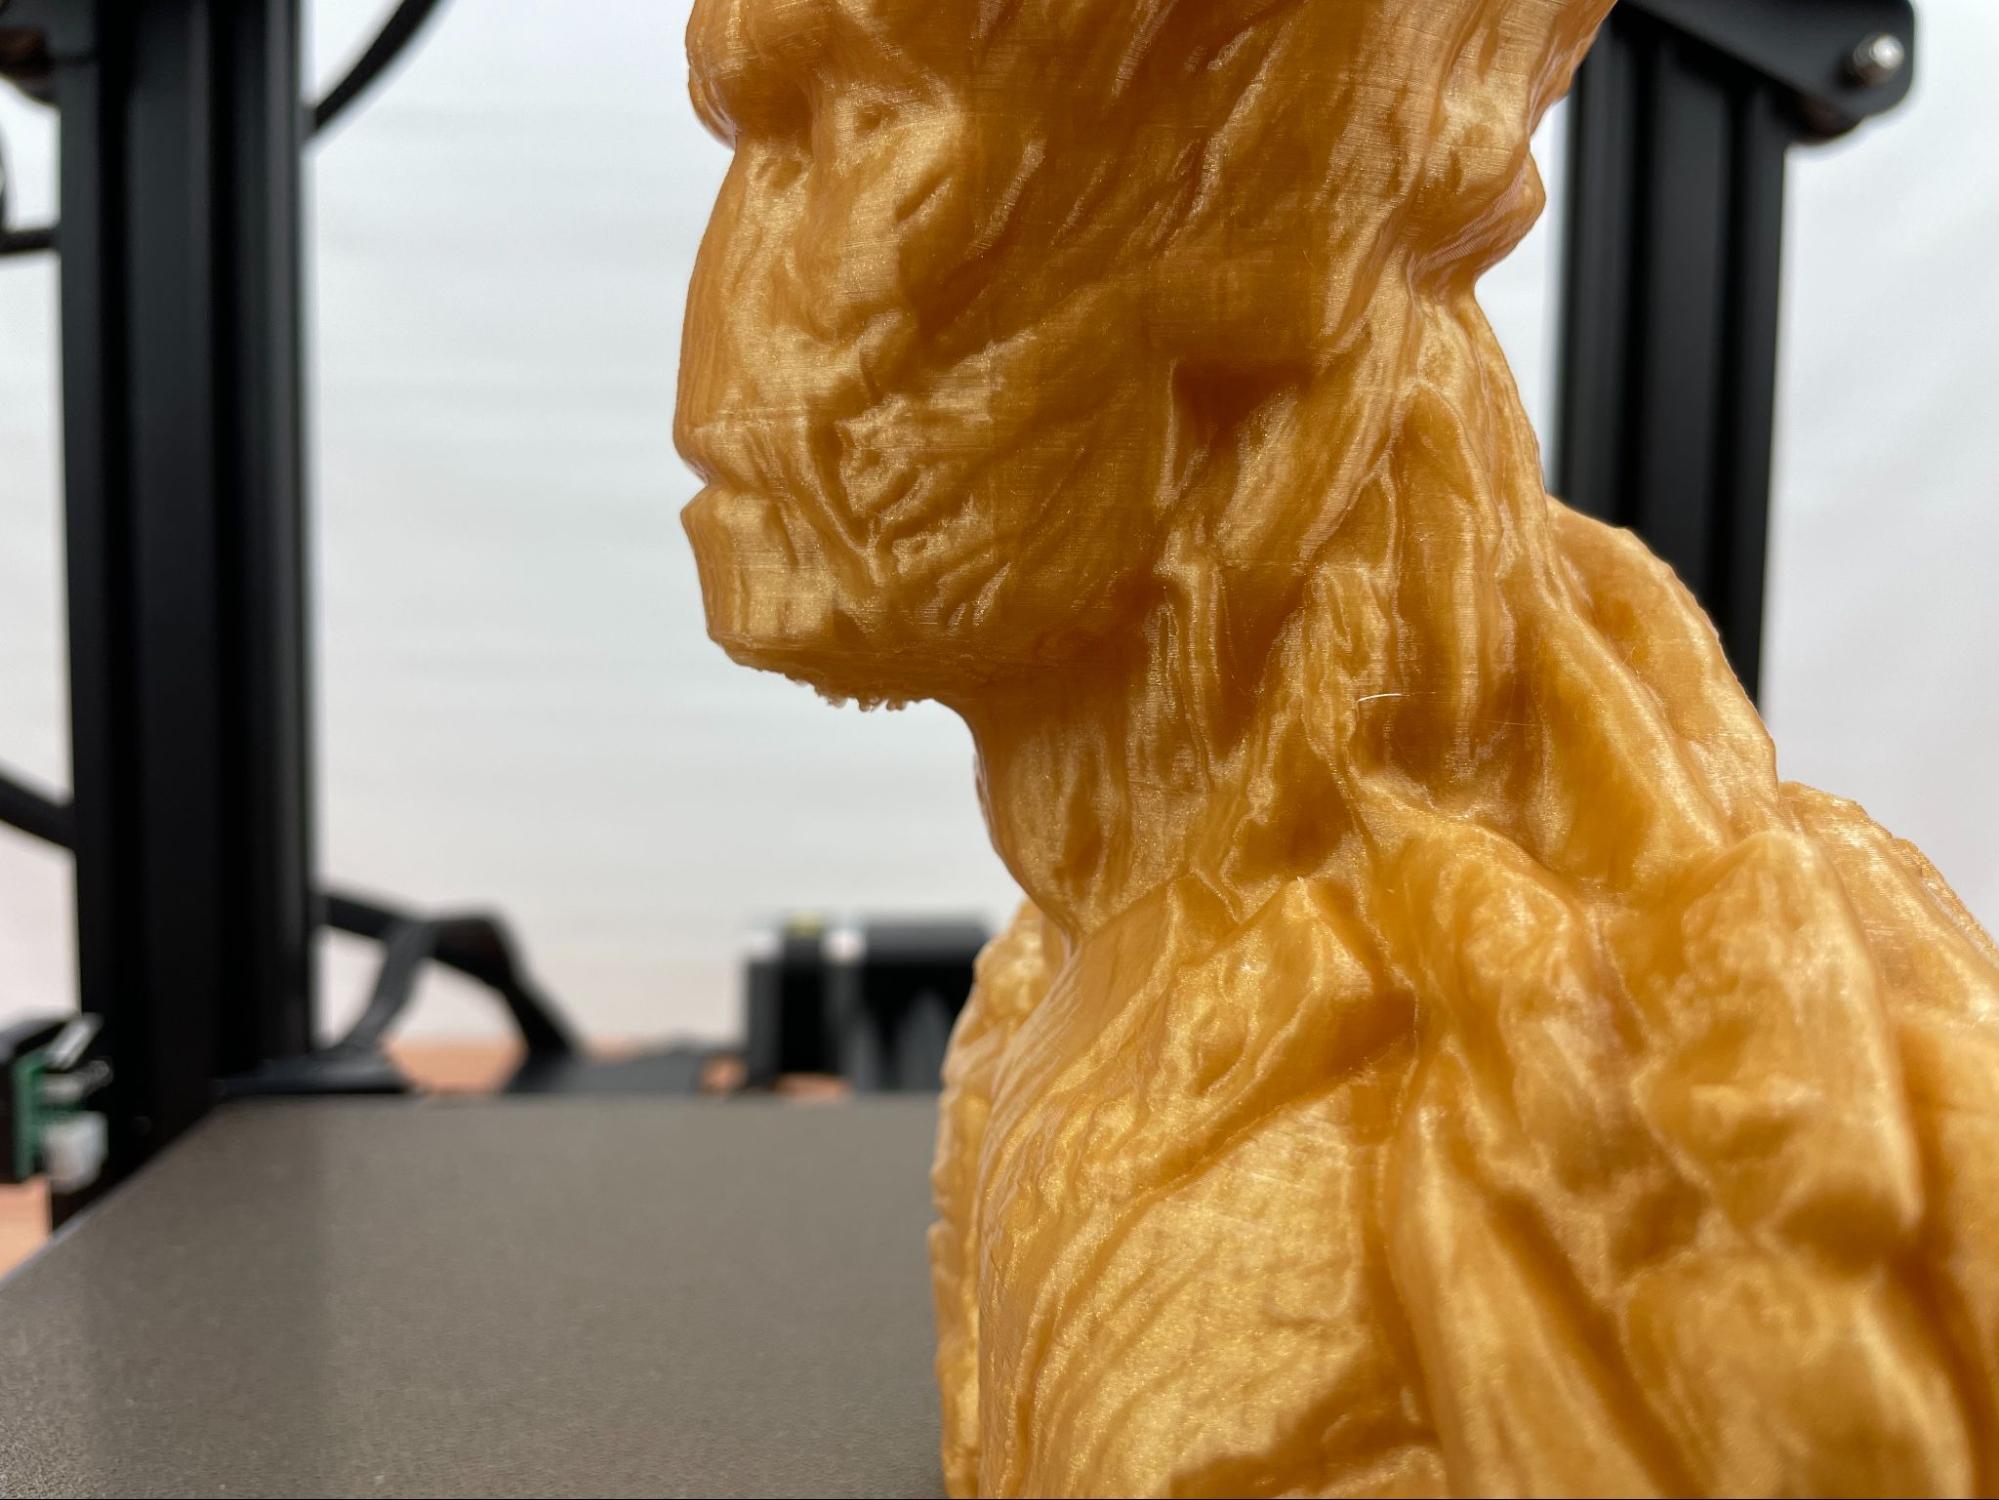
I started out by printing a bust. For the model that I chose, which is a Groot Bust Sculpture by Doodle_Monkey, it was printed at a 0.1mm layer height and took over 24 hours at a 200 percent scale, but it printed beautifully on the first try. I also decided to forego using any supports so I could see how well the printer performed. For this print, I used a Gold PLA Pro Select filament by FilamentOne since it was the closest to wood that I had and I thought it would look nice in Gold.
The quality of the print turned out really good and there were only a few minor blemishes as you would expect with just about any 3D printer, most notably in the chin overhang. However, considering the amount of overhang and the fact that no supports were used, the printer did a very impressive job.
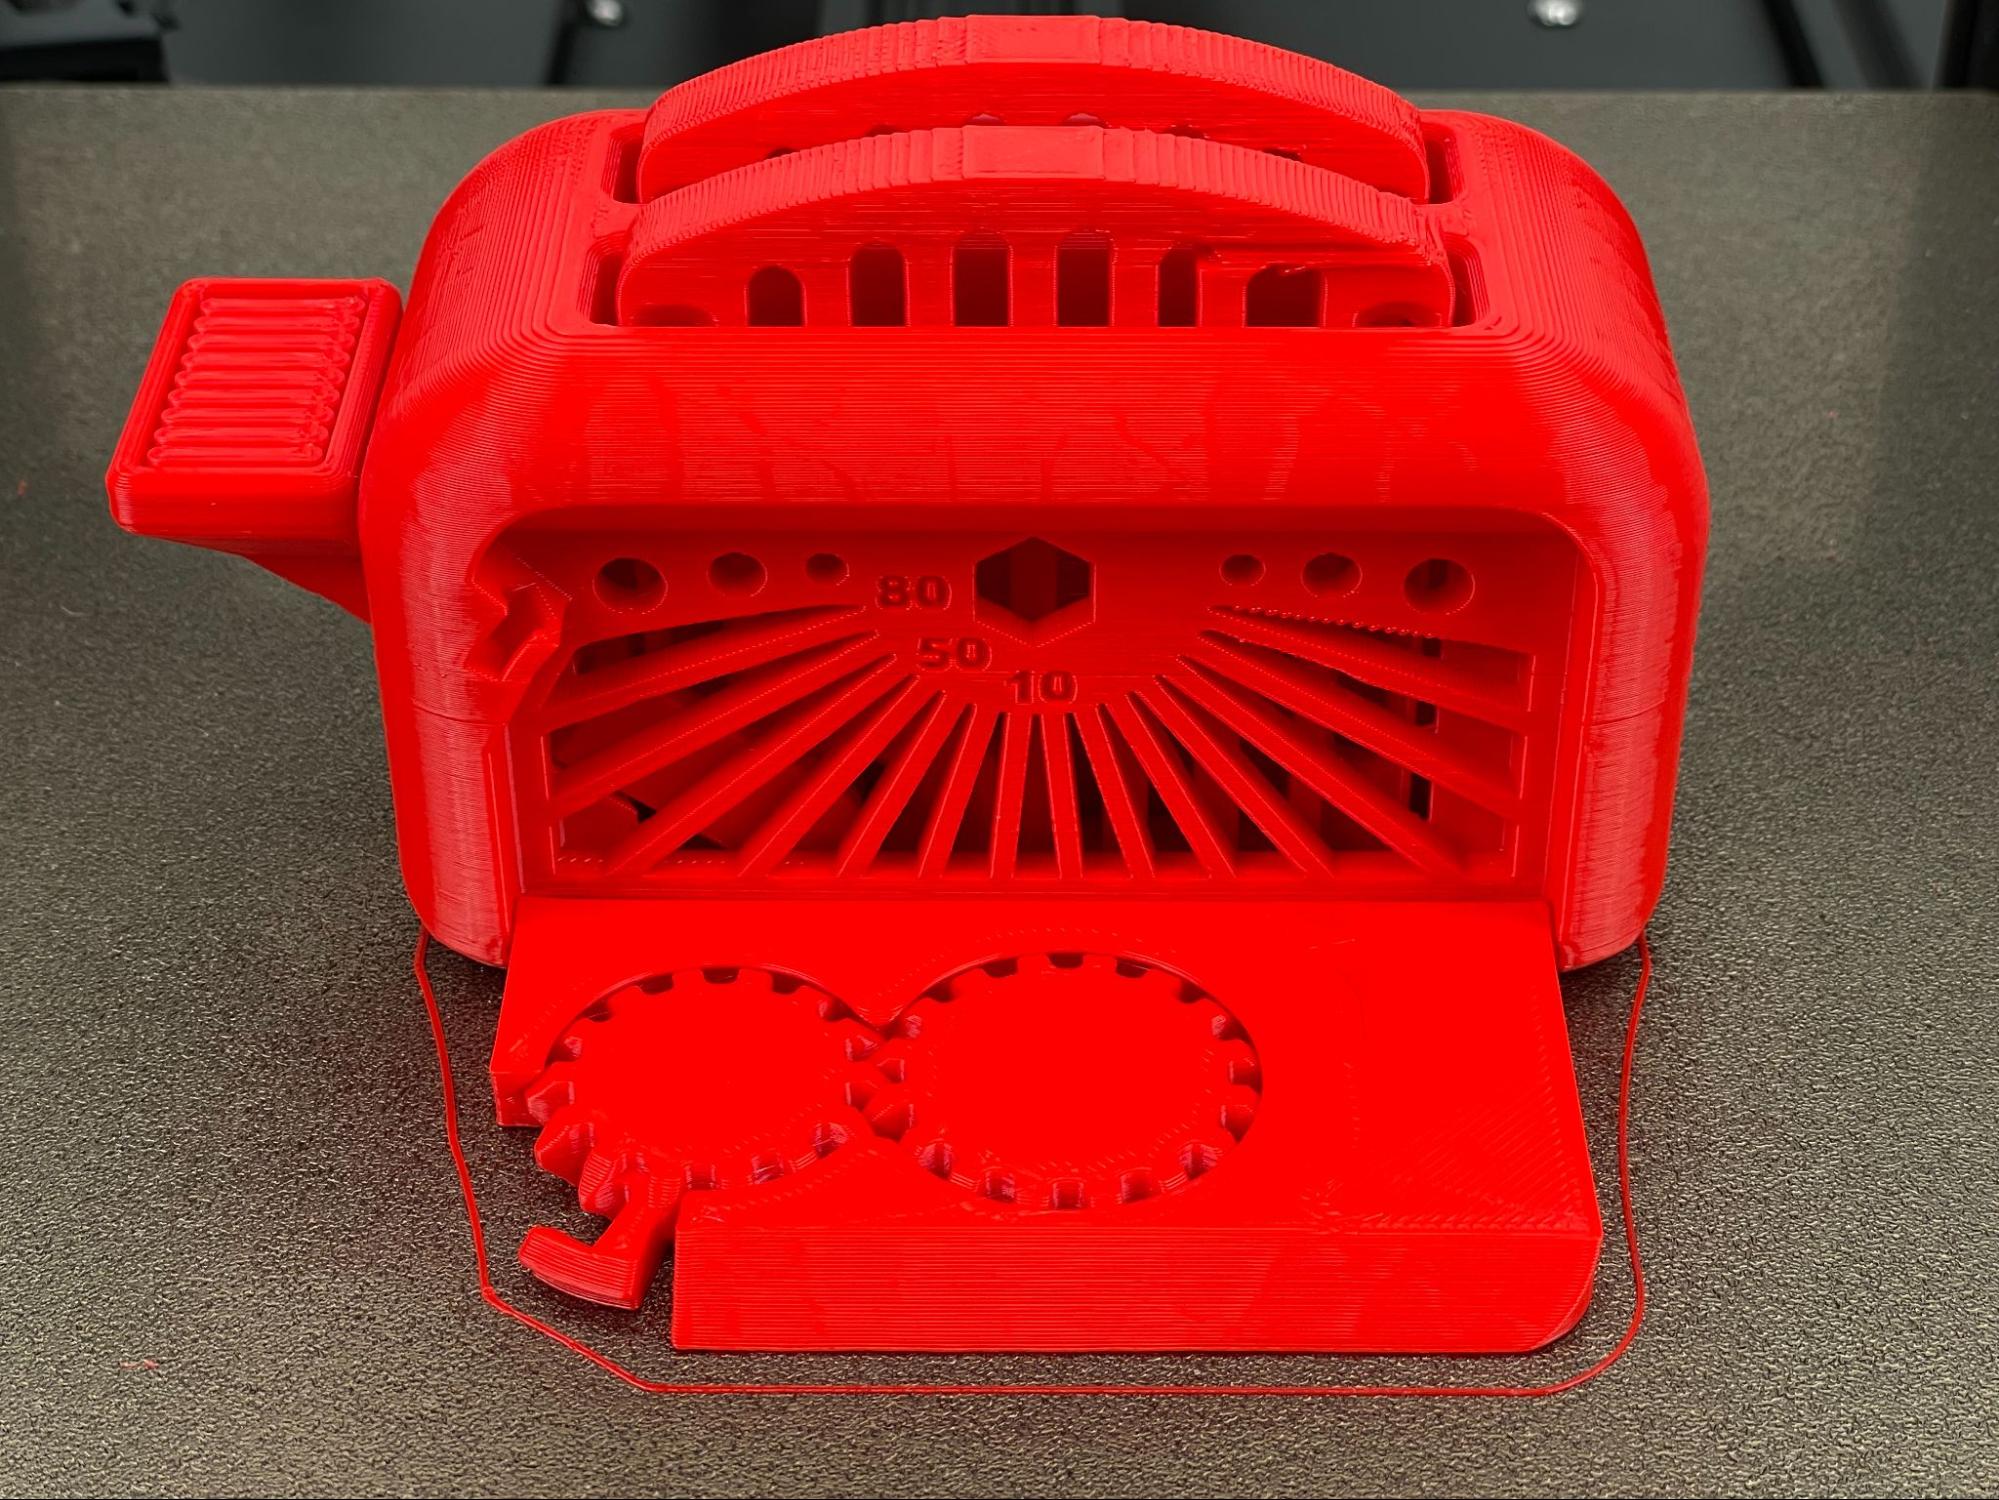
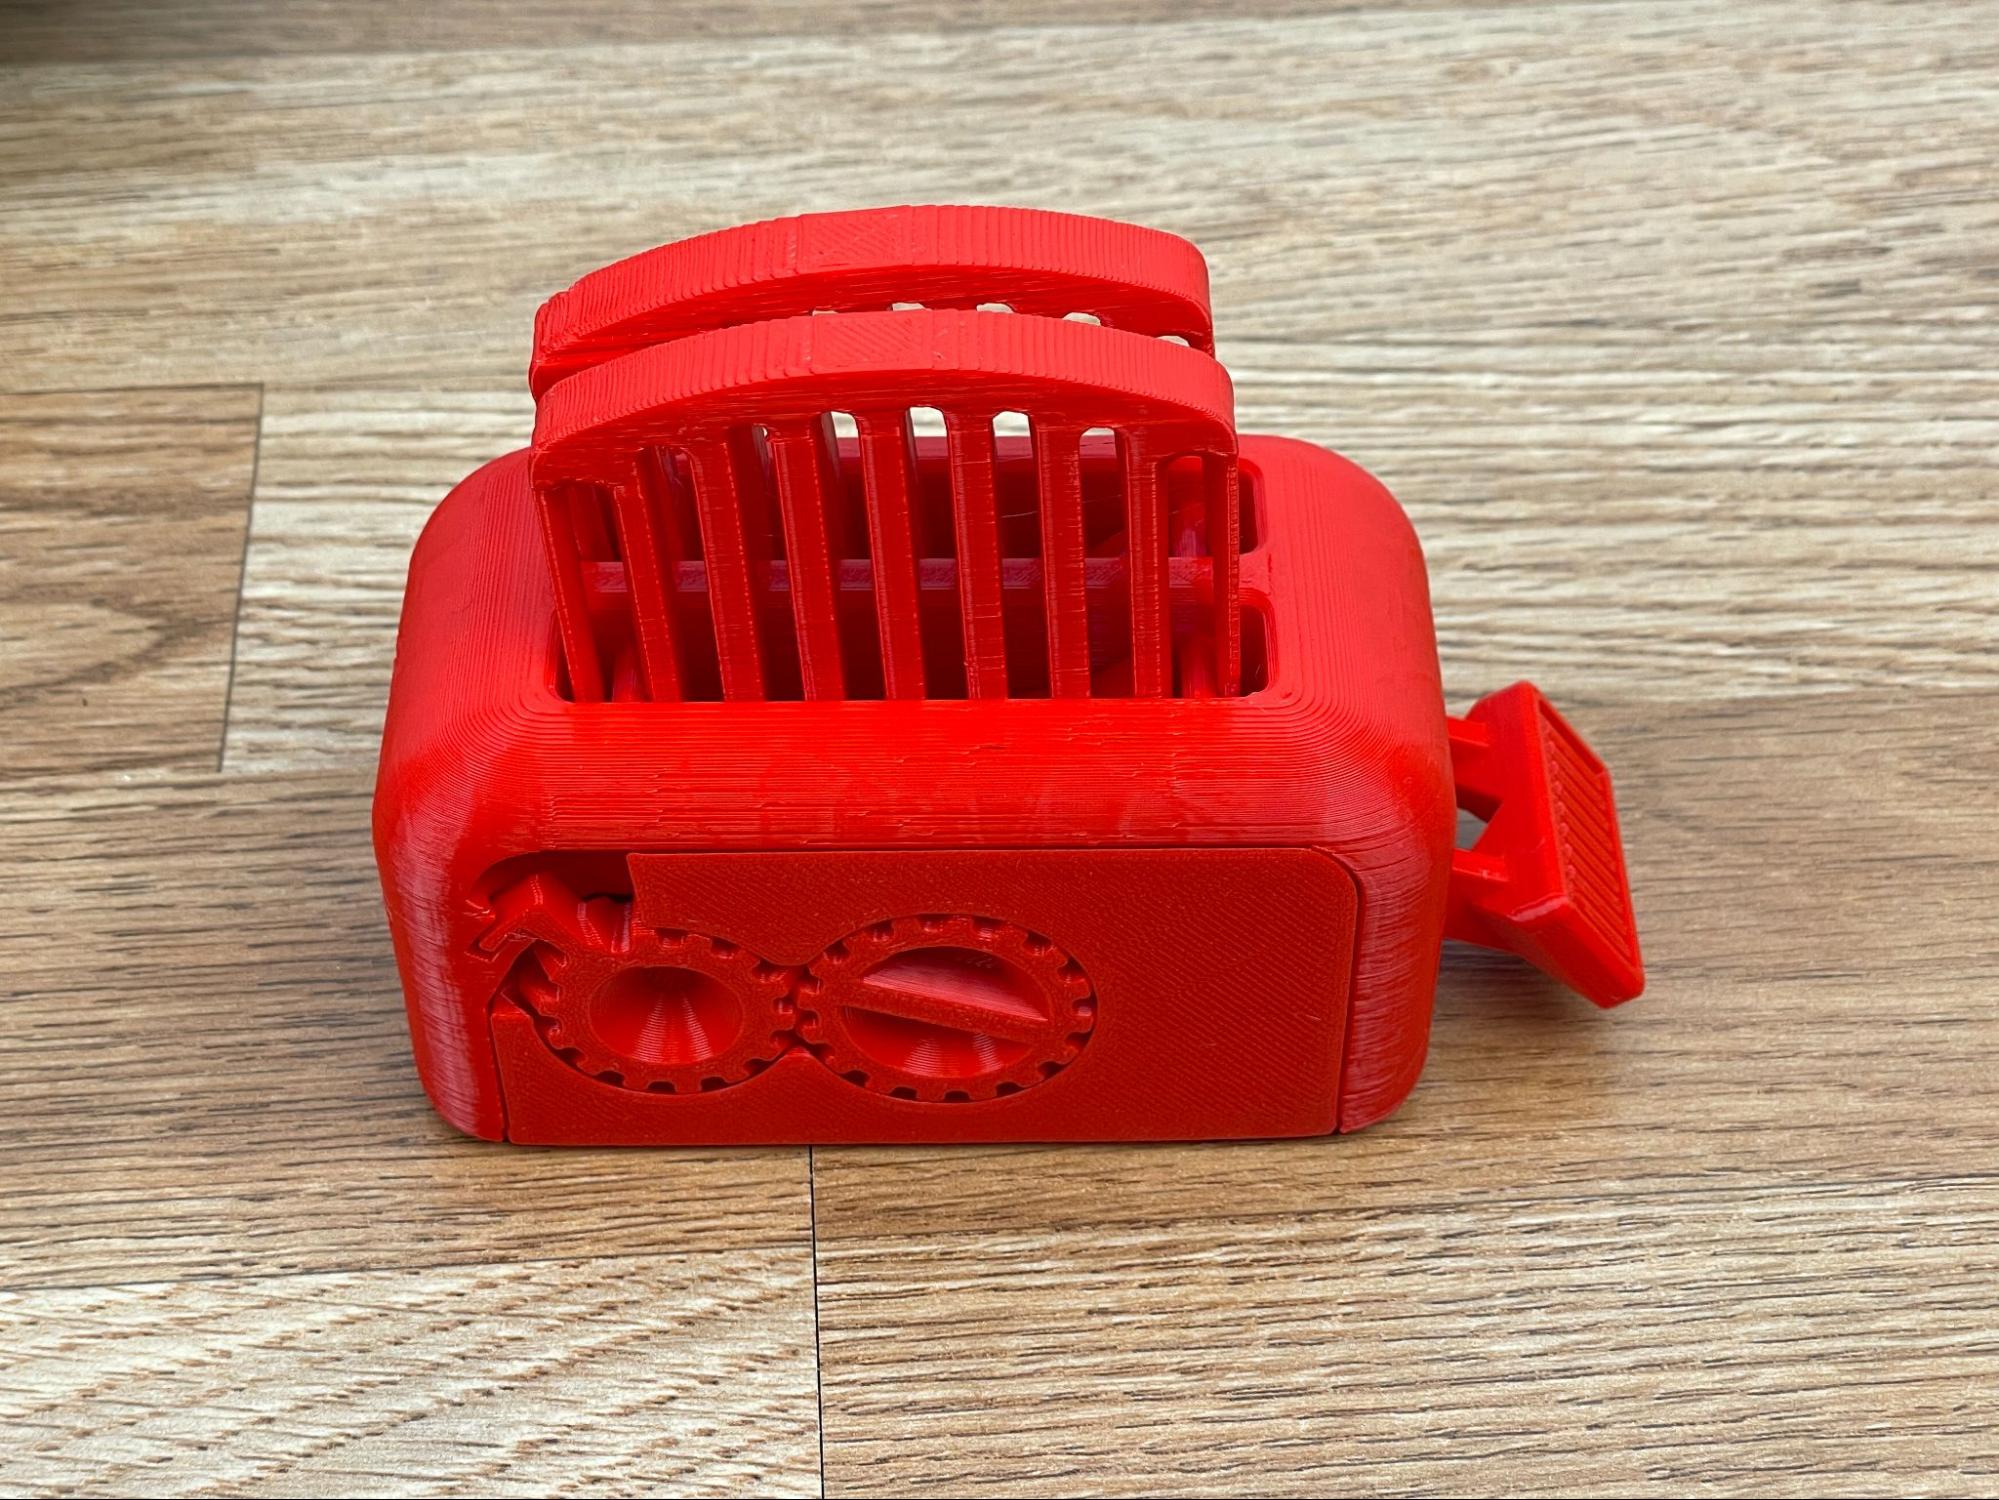
Next I decided to try printing the Torture Toaster by Clockspring3D. This is a print with very tight tolerances that is meant to provide a challenging test to even the best of setups. With the printer handling all of the print jobs I had thrown at it so far with such ease, I thought this might be kind of fun.
To get the Torture Toaster printing, I had to really dial in the printer’s settings. During one of my earlier attempts, I ended up with a large blob of filament covering the nozzle. I ended up removing the hotend cover and fans, which was actually quite easy. I heated up the nozzle to a PLA temperature and removed portions of the blob, being extremely careful to avoid the wires. I finished up removing most of the remaining bits with the nozzle cooled down, but there was a tiny bit still left. I replaced any Kapton tape I had removed in the process with some I had on hand and it was good to go.
After that, I tried all sorts of things including modifying the printer’s G-Code to create a prime line, getting the initial layer height just right, using the smooth side of the flexible print bed, and adjusting the retraction distance. I probably attempted to print this a dozen times before I finally got a good print out of it.
There was a little bit of elephant footing that occurred on the print, which means the first layer perimeters were a little closer together than they were with the higher layer perimeters and fused in some places, but it wasn’t too bad. This is where an automatic bed leveling system would have really helped.
To get it into the folded up toaster position required a little bit of force, but I did manage to break apart the melted together parts and got the toast to pop up. Some additional tuning on the initial layer height would probably fix the issue, but I was just happy it finished printing successfully.
Printing High-Temperature Filaments with the Voxelab Aquila S2
The Voxelab Aquila S2’s main selling point is its ability to print high-temperature filaments with its all-metal hotend such as nylon (PAHT or Polyamide High Temperature) and carbon fiber embedded filaments, so of course I needed to test those filaments. Voxelab was kind enough to send me a few filament samples to demonstrate how well the printer can handle them. For a printer in this price range, the ability to handle high-temperature filaments is very unusual, so I was a bit skeptical.
One thing to keep in mind when printing with nylon is that it will absorb moisture from the air, which will cause printing issues. I was a bit disappointed to see the lack of a secure way to connect a PTFE tube in order to keep the filament protected from air moisture, but the hotend cover had a large enough hole that I was able to get a PTFE tube to go right up to the extruder intake.
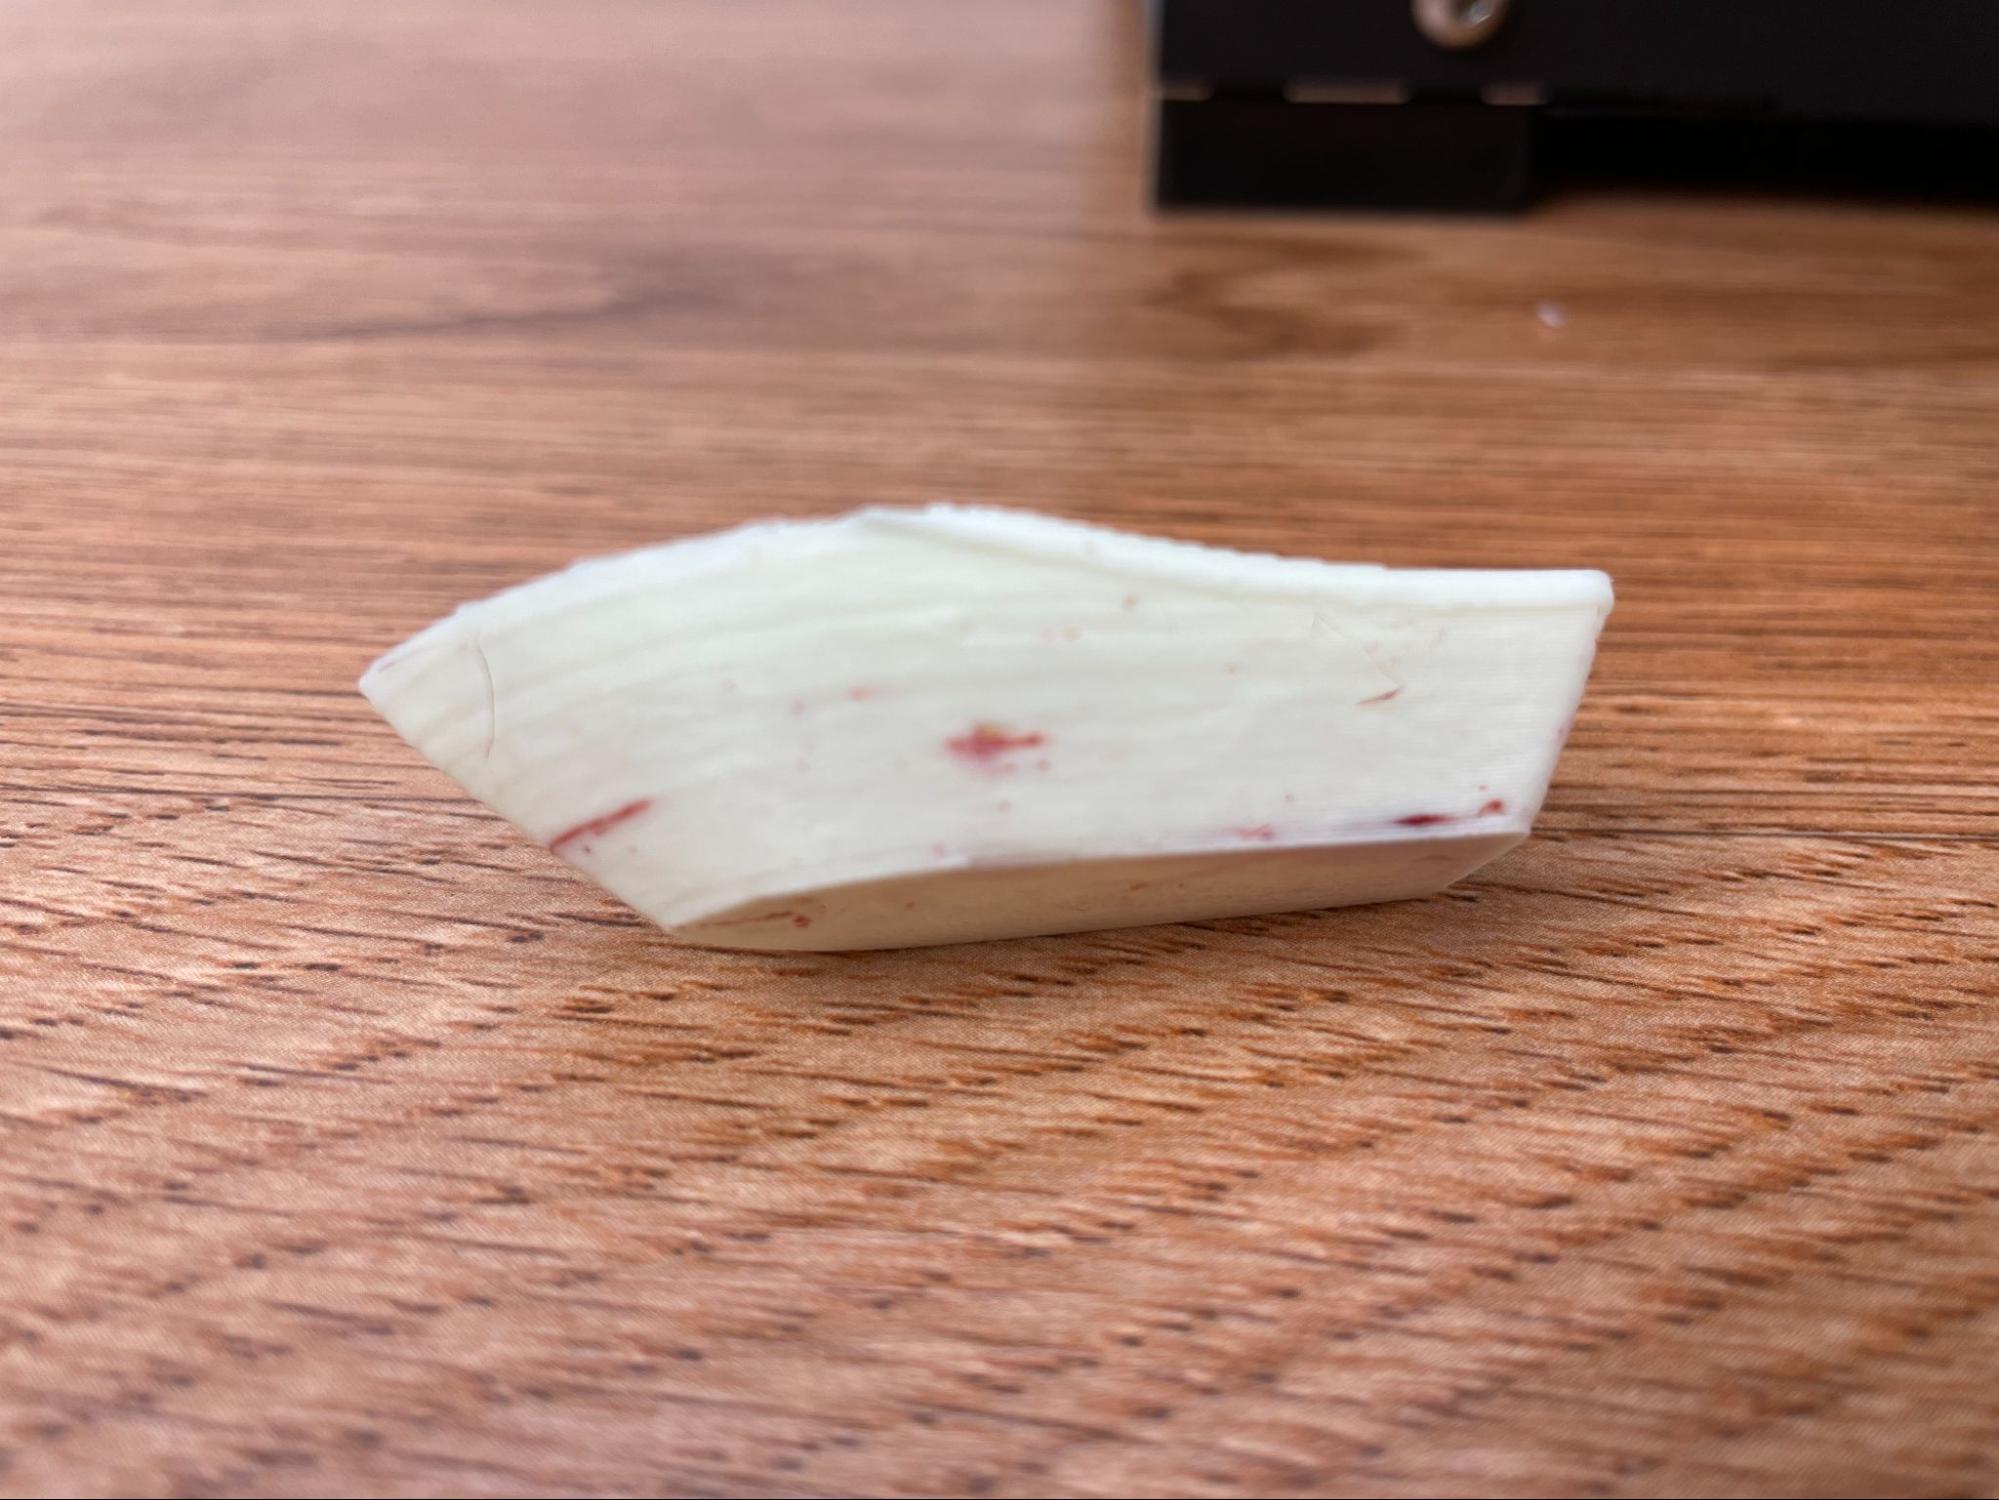
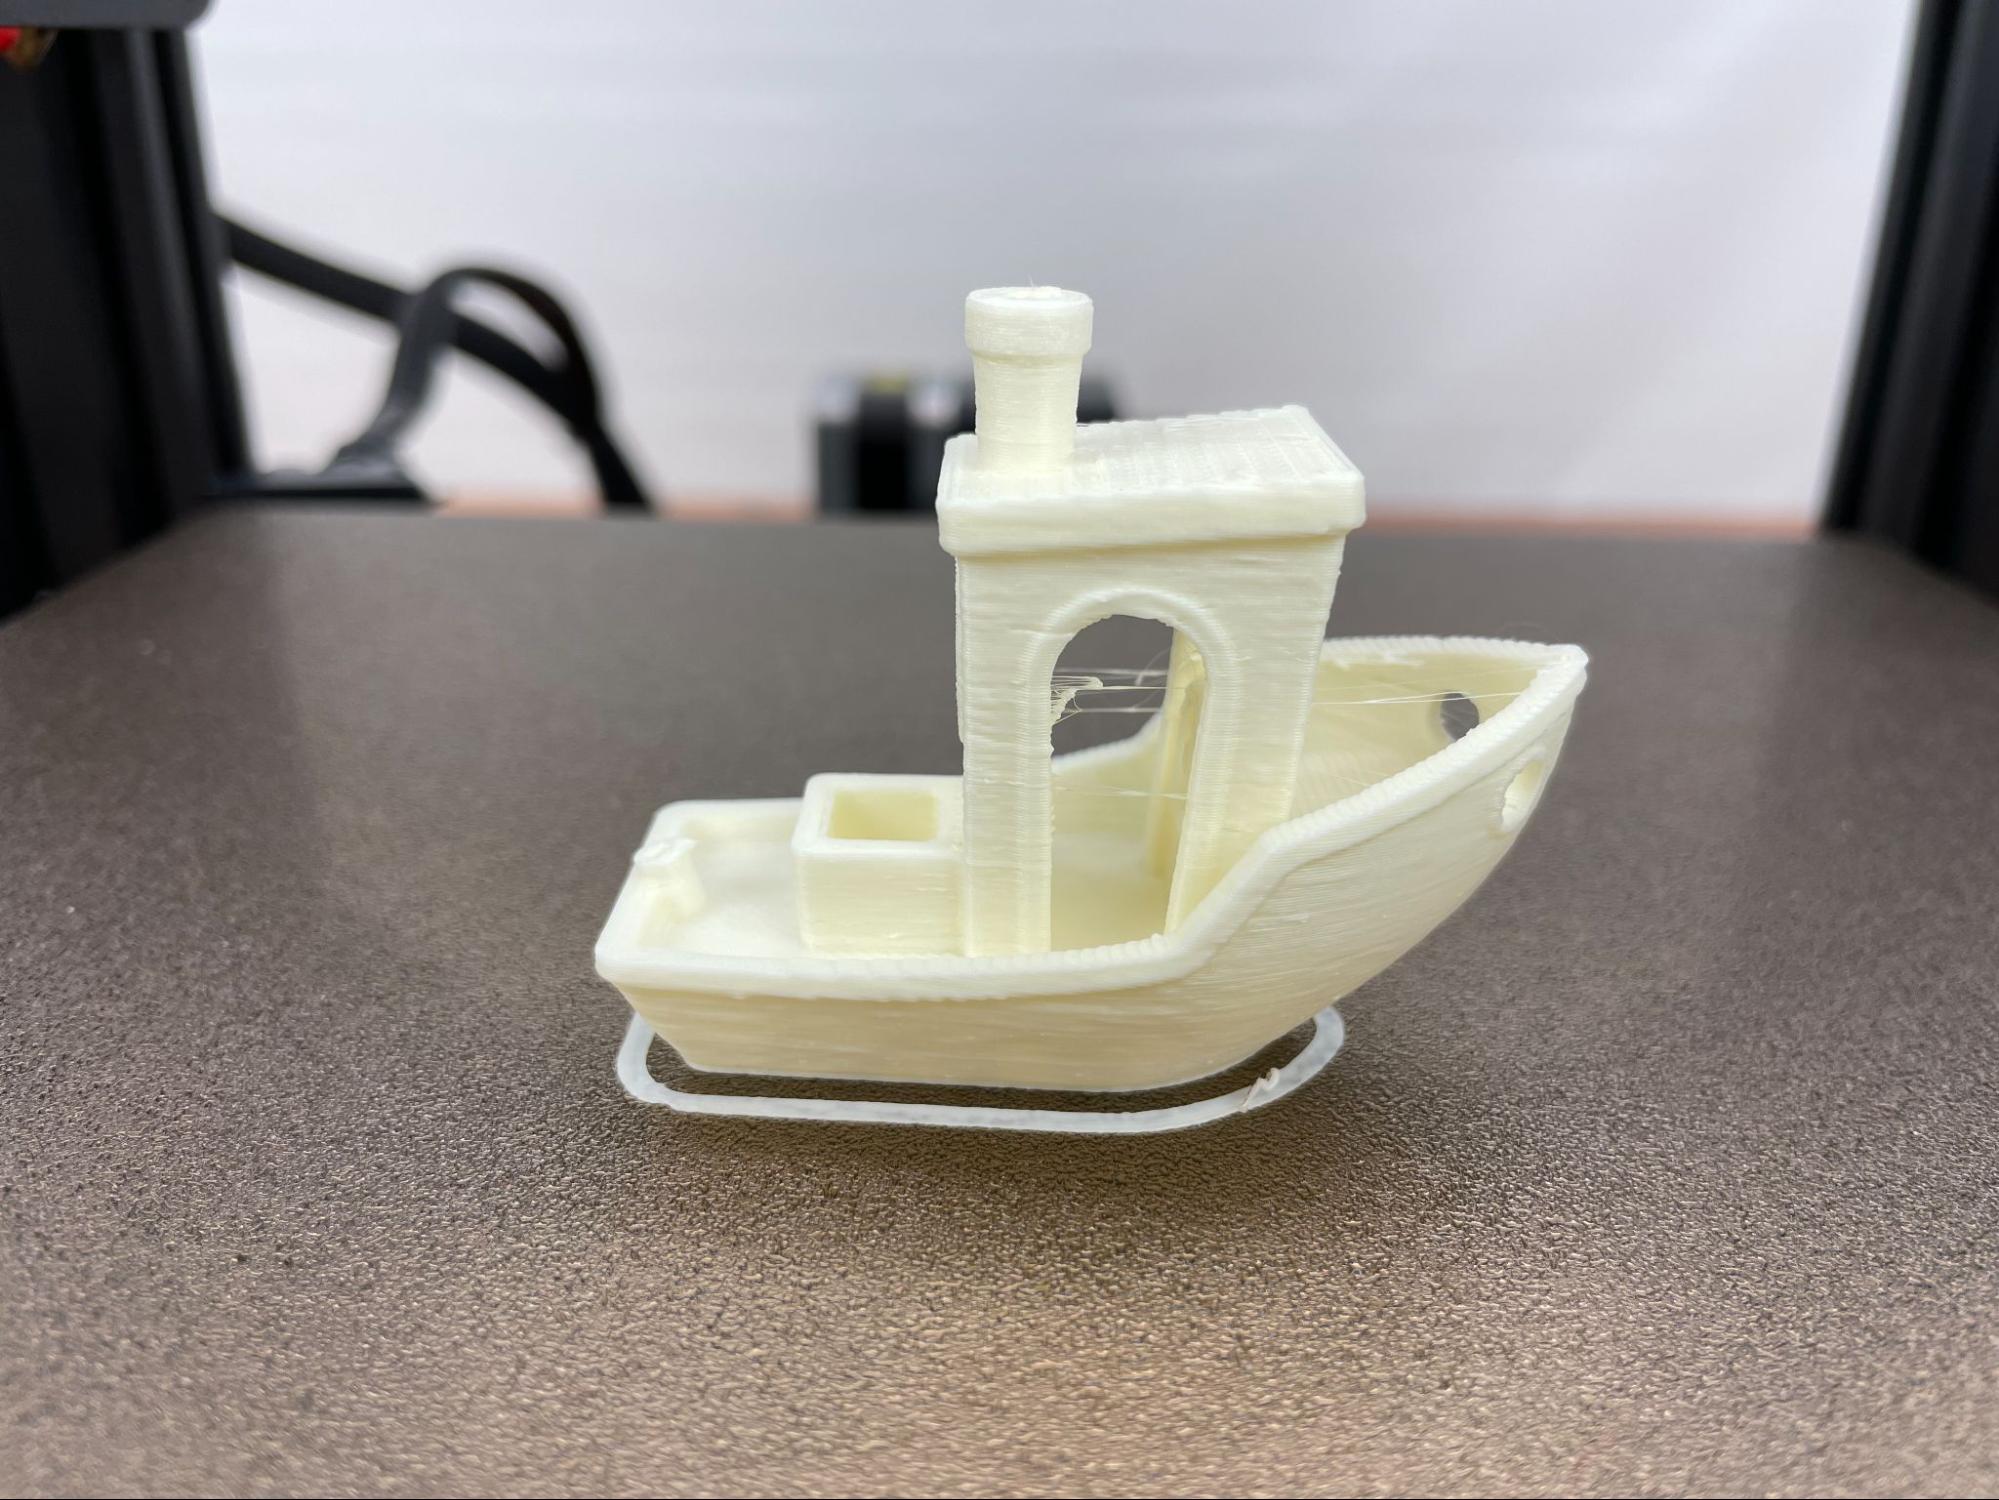
For this one, I hadn’t used high-temperature filaments before, so I was a bit nervous because I had heard printing with nylon was so challenging. Since I only had a small sample of filament, I decided to go with Benchy, a common test print that I had done many times before, so that I knew what the successful output should look like. For this filament, I printed at 270 degrees Celsius, which was right in the middle of the sample’s recommended temperature range. On the first attempt, it started to print successfully. However some of the red filament left over from cleaning the blob seemed to have leached into the print while printing at higher temperatures.
A quick scrub with a brass brush while the nozzle was heated took care of the remaining filament. On the second attempt, it printed out a great benchy. There was some mild stringing, but it did not experience any warping, bed adhesion issues, or filament moisture issues which were the issues I was most concerned about. I’m definitely impressed with the nylon printing and have no concerns about it being able to handle other easier-to-print filaments such as carbon fiber embedded PLA or PETG.
Bottom Line
If you need to print with high-temperature filaments such as those containing nylon or cabon fiber, you’ll find no more affordable option than the Voxelab Aquila S2, one of the best budget 3D printers we've tested thus far. The printer also includes some great features such as a direct drive extruder and a flexible magnetic bed, which go a long way in assisting with more complex prints. And, most importantly, the quality of the output is really good.
Because the Voxelab Aquila S2 is a budget printer, it is missing some nice features, such as automatic bed leveling, which would really enhance the user experience. Overall, the printer is well-built, and once it is tuned, it performs well for most printing tasks.
If you are looking for a similar style of FDM printer, but don’t have the need to print high-temperature filaments, you may want to consider going with the Ender 3 Pro, which is cheaper and better supported, or an Elegoo Neptune 2 which retails for less than $200.
MORE: Best 3D Printers
MORE: Best Budget 3D Printers
MORE: Best Resin 3D Printers

Melissa is a Freelance Reviewer for Tom’s Hardware US covering 3D printers.
