Tom's Hardware Verdict
The CrowPi2 is a great introduction to Raspberry Pi. Going through the projects will definitely get your creative juices flowing, but some minor documentation flaws and missing hardware may hinder the learning process and dampen the fun.
Pros
- +
Out-of-the-box demos
- +
Complete Raspberry Pi coding environment
- +
Easy-to-build Scratch programs
- +
Utilizes Python 3 coding standard
Cons
- -
Occasionally unclear documentation
- -
Batteries and microUSB cable not included in kit
Why you can trust Tom's Hardware
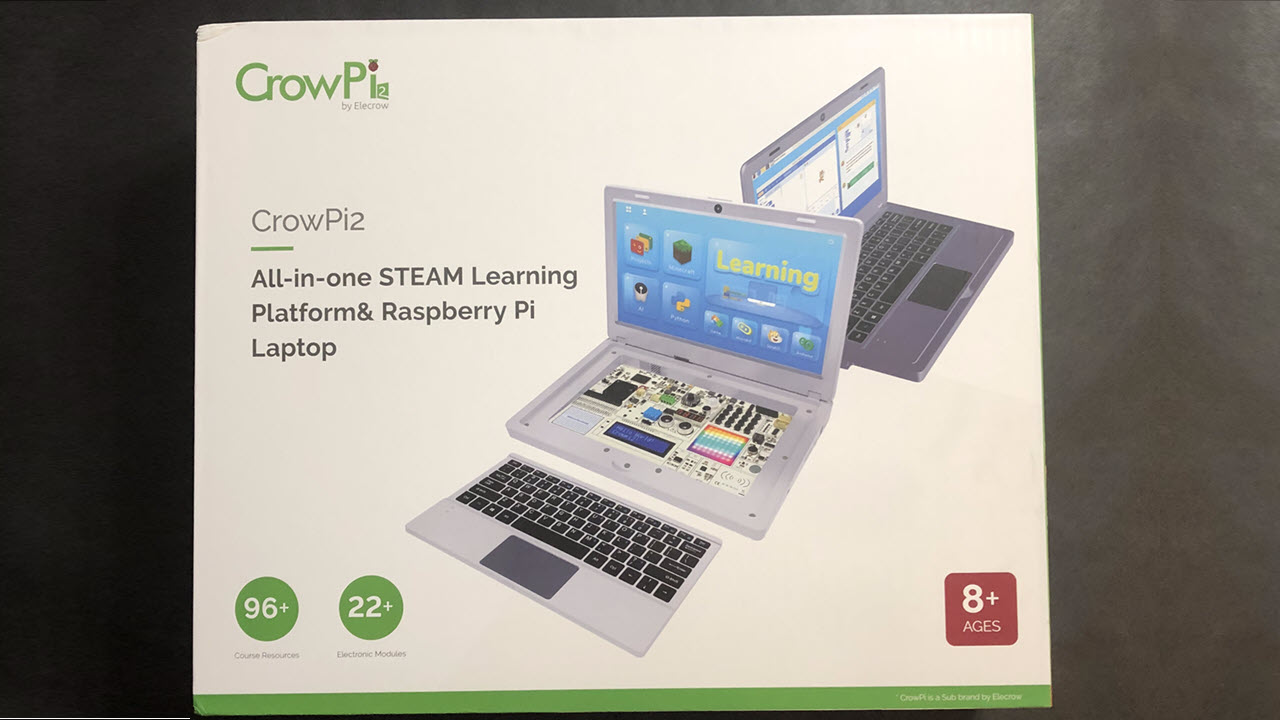
If you or your kids ever wanted to use Raspberry Pi to create cool projects, learn how to code, program games, or conduct scientific experiments, then the CrowPi2 may be the perfect learning platform for you. The all-in-one kit comes with a Raspberry Pi 4 4GB-based laptop, complete with a screen, a wireless keyboard and mouse, and a smorgasbord of sensors, motors, connectors and components that connect to the single-board computer’s all-important GPIO pins.
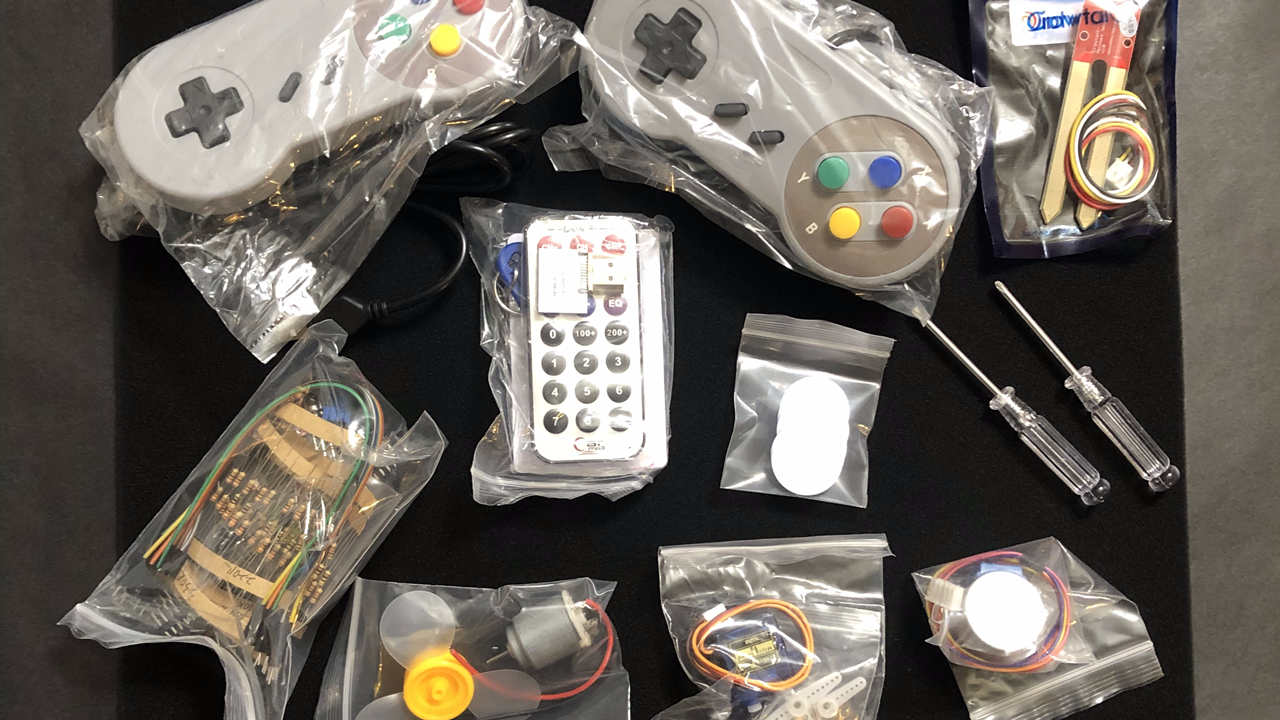
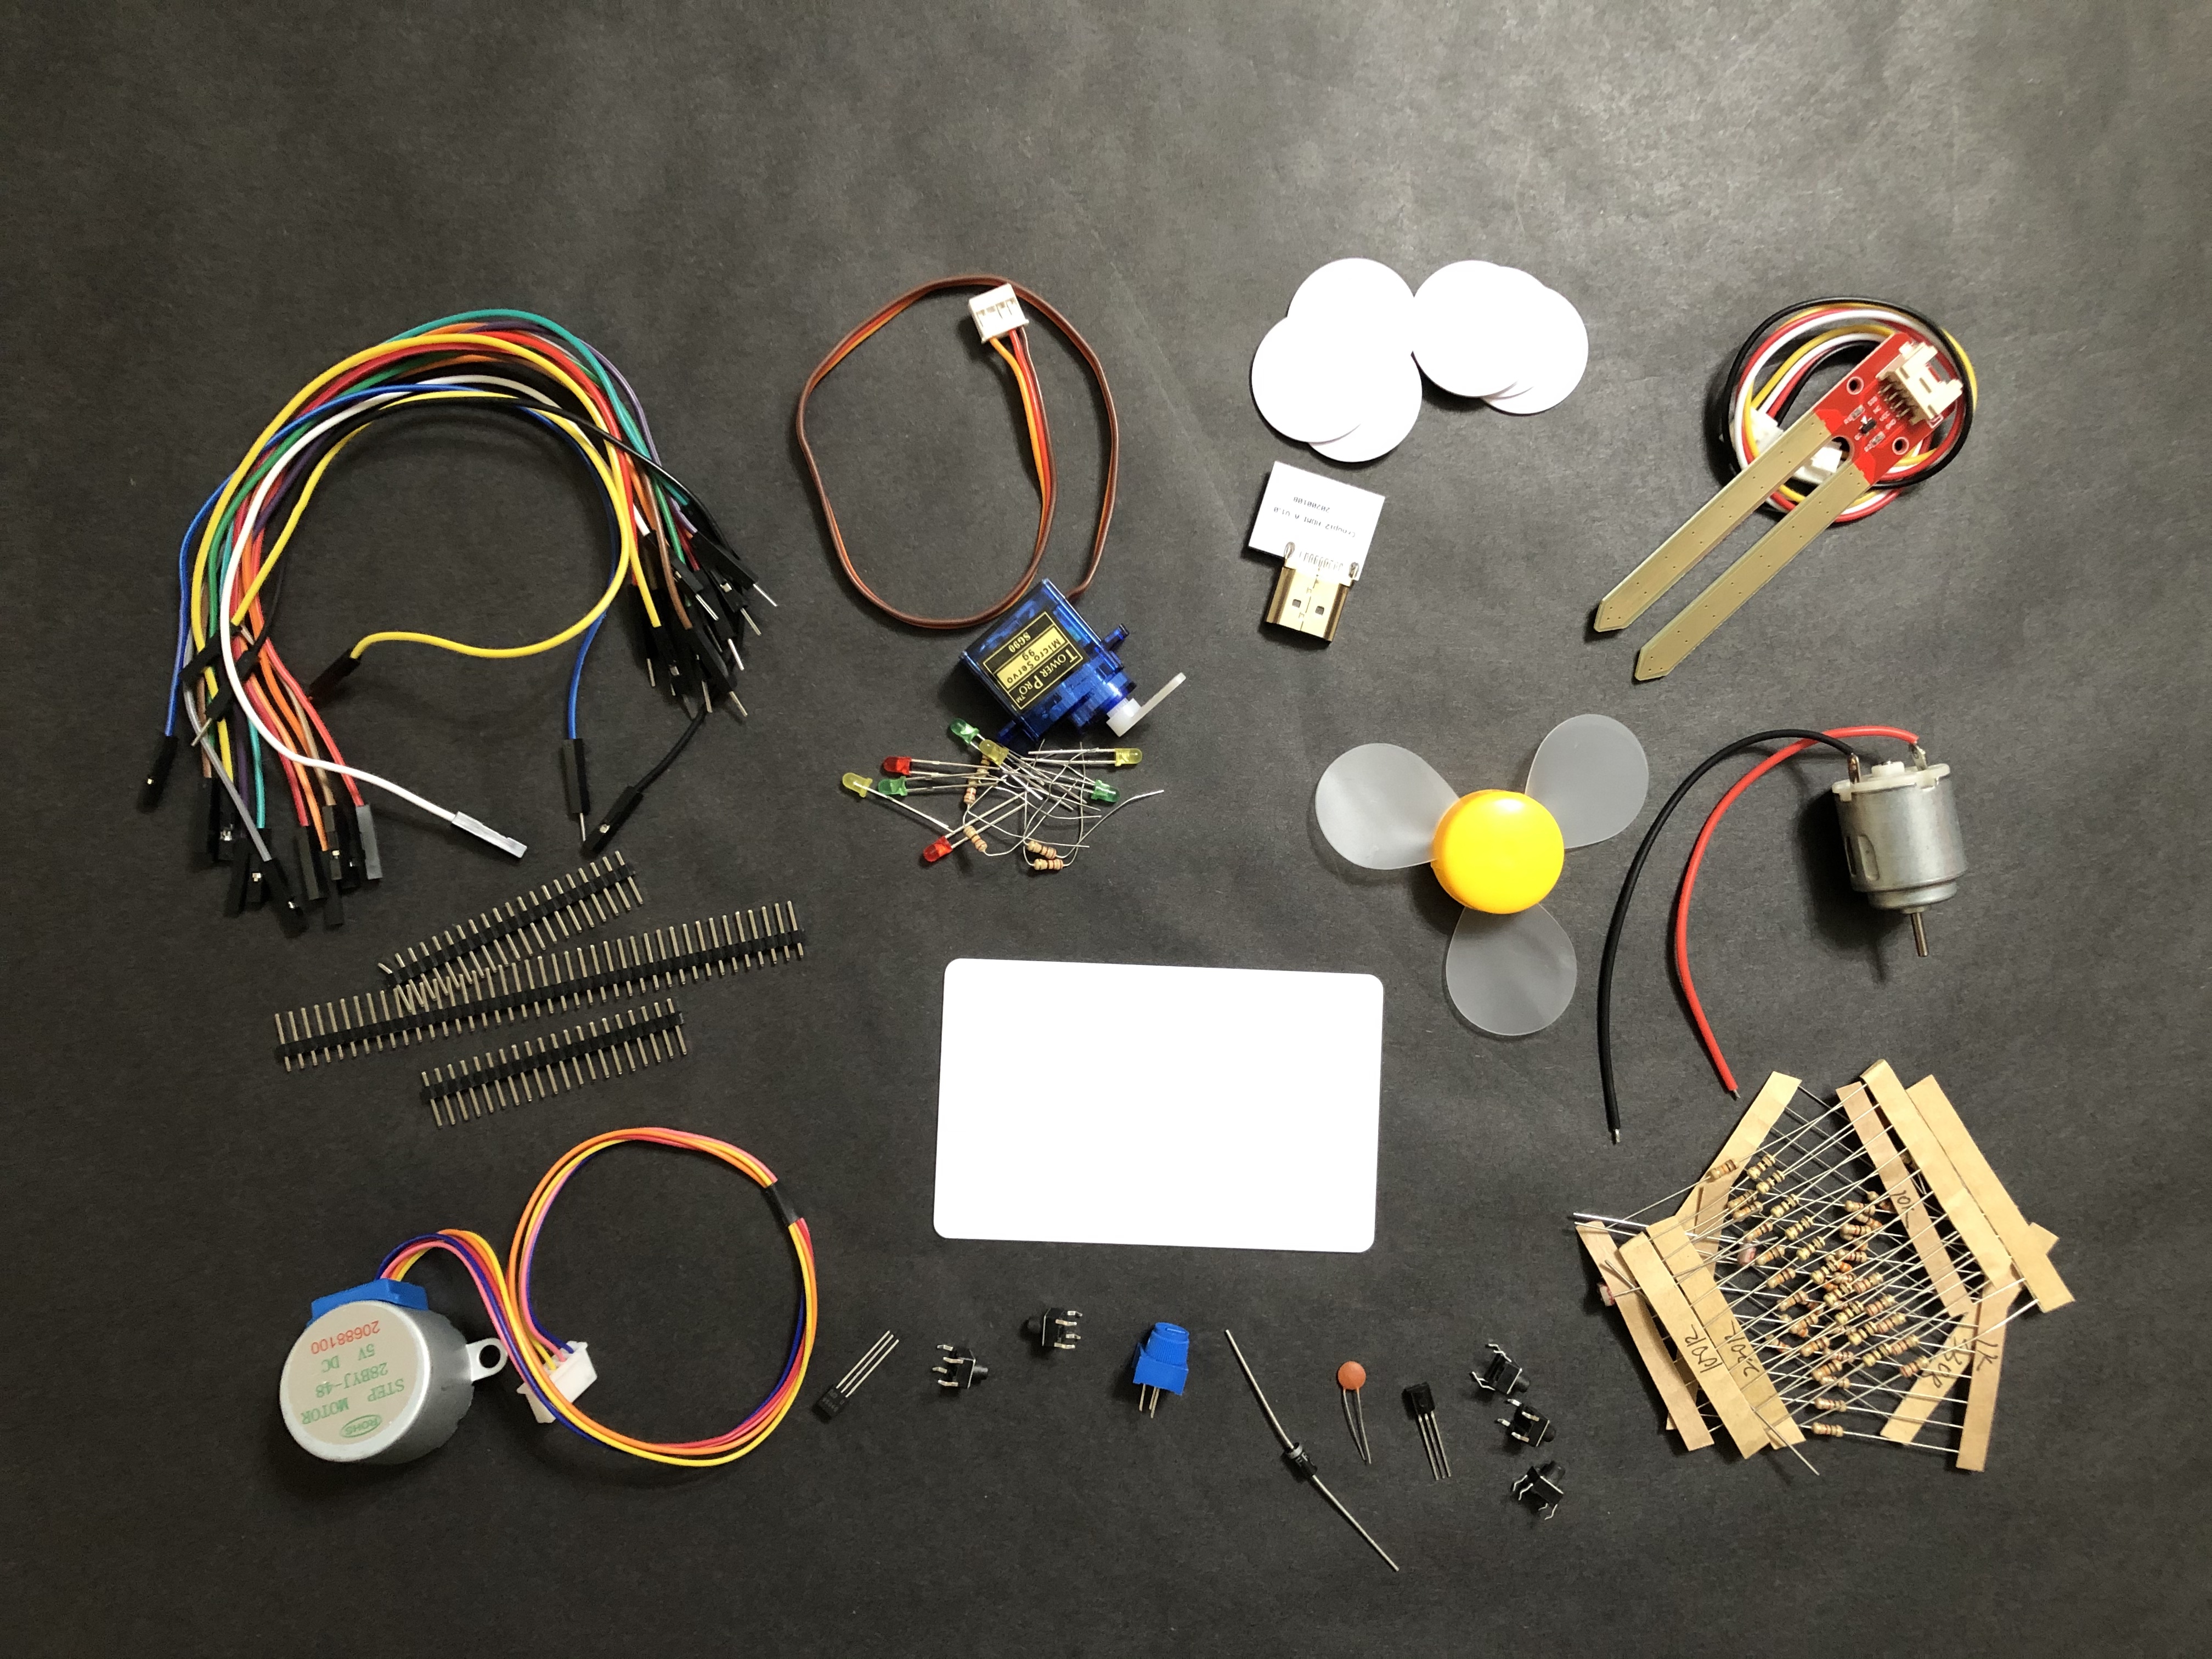
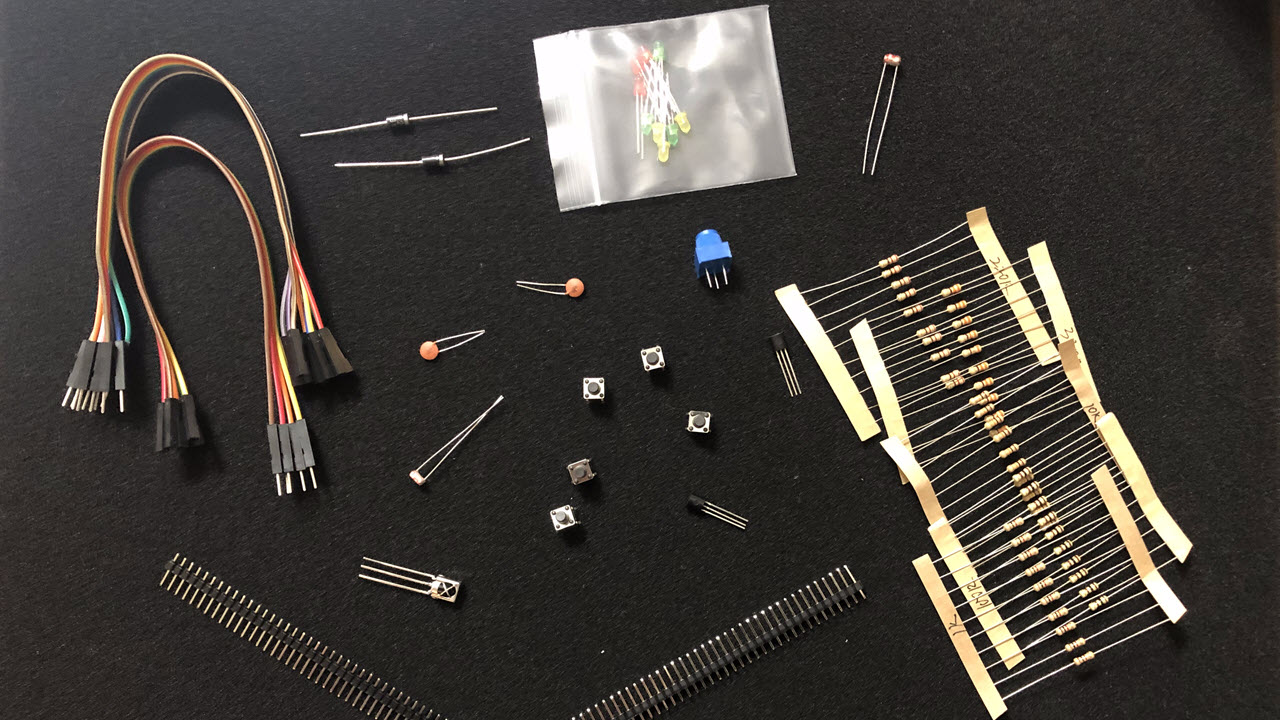
You can get the CrowPi2 laptop in silver or space gray. It is also available in three models: Basic, Starter and Advanced. At $170, the Basic model contains just the minimum sensors and components, but does not ship with a Raspberry Pi, forcing you to bring your own. The $260 Starter kit comes with additional modules, a Raspberry Pi 4 with 4GB RAM, and a 32GB microSD card for $260. The most expensive option is the Advanced kit at $330, which includes even more sensors and an upgrade to a 128G microSD card.
| CrowPi2 Basic - $170 | CrowPi2 Starter Kit - $260 | CrowPi2 Advanced Kit - $330 |
|---|---|---|
| CrowPi2 (without Raspberry Pi) x 1 | CrowPi2 x 1 | CrowPi2 x 1 |
| - | Raspberry Pi 4B 4GB x 1 | Raspberry Pi 4B 4GB x 1 |
| 32GB microSD card with Customized system x 1 | 32GB microSD card with Customized system x 1 | 128GB microSD card with Customized system x 1 |
| 12v power supply x 1 | 12v power supply x 1 | 12v power supply x 1 |
| Micro HDMI connector x 1 | Micro HDMI connector x 1 | Micro HDMI connector x 1 |
| Standard HDMI connector x 1 | Standard HDMI connector x 1 | Standard HDMI connector x 1 |
| IR remote controller x 1 | IR remote controller x 1 | IR remote controller x 1 |
| IR receiver x 1 | IR receiver x 1 | IR receiver x 1 |
| Stepper motor x 1 | Stepper motor x 1 | Stepper motor x 1 |
| 9G servo x 1 | 9G servo x 1 | 9G servo x 1 |
| DC motor with mini fan x 1 | DC motor with mini fan x 1 | DC motor with mini fan x 1 |
| Screwdriver x 1 | Screwdriver x 1 | Screwdriver x 1 |
| RFID card + tag x 1 | RFID card + tag x 1 | RFID card x 1 |
| User manual x 1 | User manual x 1 | User manual x 1 |
| Components pack x 1 | Components pack x 1 | Components pack x 1 |
| Crowtail- Moisture sensor x 1 | Crowtail- Moisture sensor x 1 | Crowtail- Moisture sensor x 1 |
| microSD card reader x 1 | microSD card reader x 1 | microSD card reader x 1 |
| - | Scratch Programming book x 1 | Scratch Programming book x 1 |
| - | Python Programming book x 1 | Python Programming book x 1 |
| - | Minecraft carton paper x 10 | Minecraft carton paper x 10 |
| - | NFC card x 10 | NFC card + tag x 10 |
| - | Game controller x 2 | Game controller x 2 |
| - | 32G microSD card with RetroPie system x 1 | 32G microSD card with RetroPie system x 1 |
| - | - | Storage bag x 1 |
| - | - | 5V/ 3A power bank x 1 |
| - | - | Crowtail- Gas Sensor 2.0(MQ2) x 1 |
| - | - | Crowtail-IIC HUB x 1 |
| - | - | Crowtail-PULSE sensor x 1 |
| - | - | Crowtail- MPU6050 Accelerometer & Gyro 2.0 x 1 |
| - | - | Crowtail- IR Reflective Sensor x 1 |
Please note that the pricing information mentioned above are from Elecrow’s Kickstarter page and will not be final pricing for the kits. The pricing is expected to go up a little after launch.
There are just a few more days left for the campaign. Elecrow’s Kickstarter for CrowPi2 will end on August 15, 2020.
Elecrow CrowPi2 Design
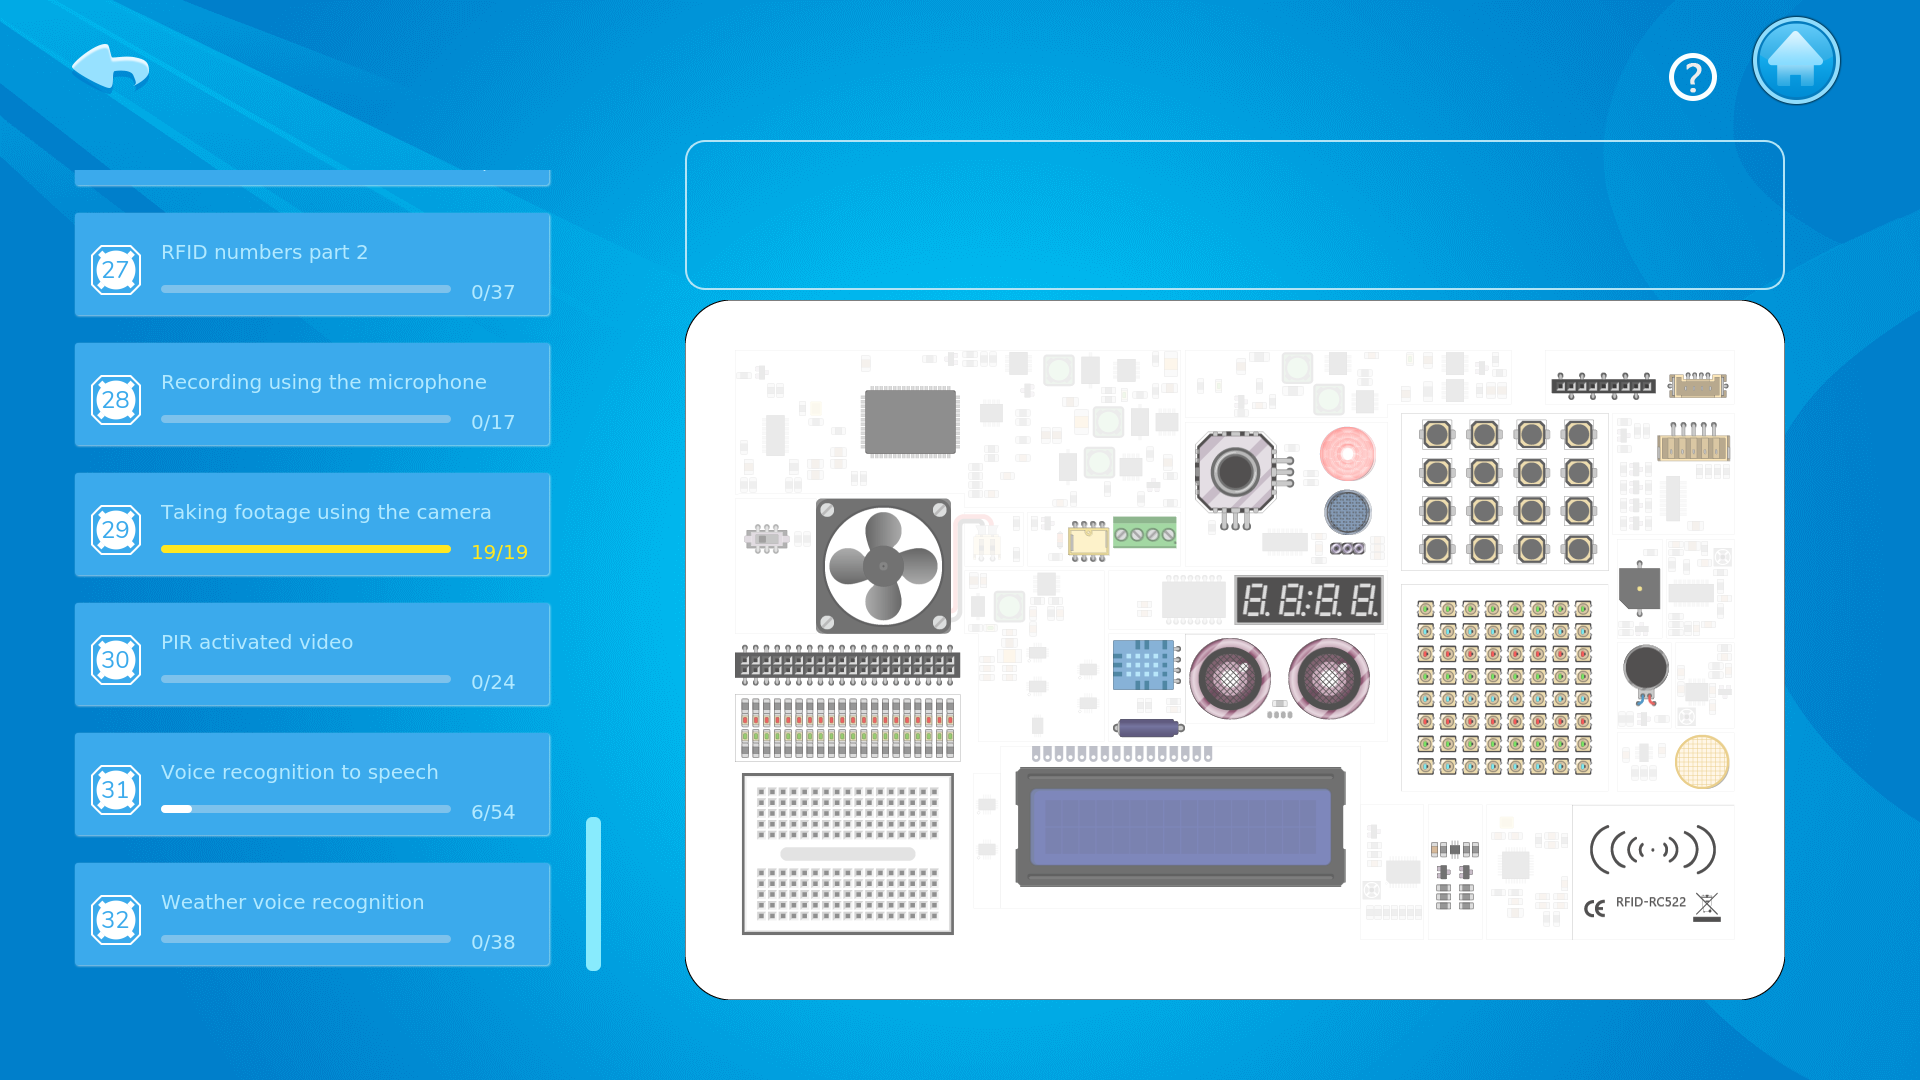
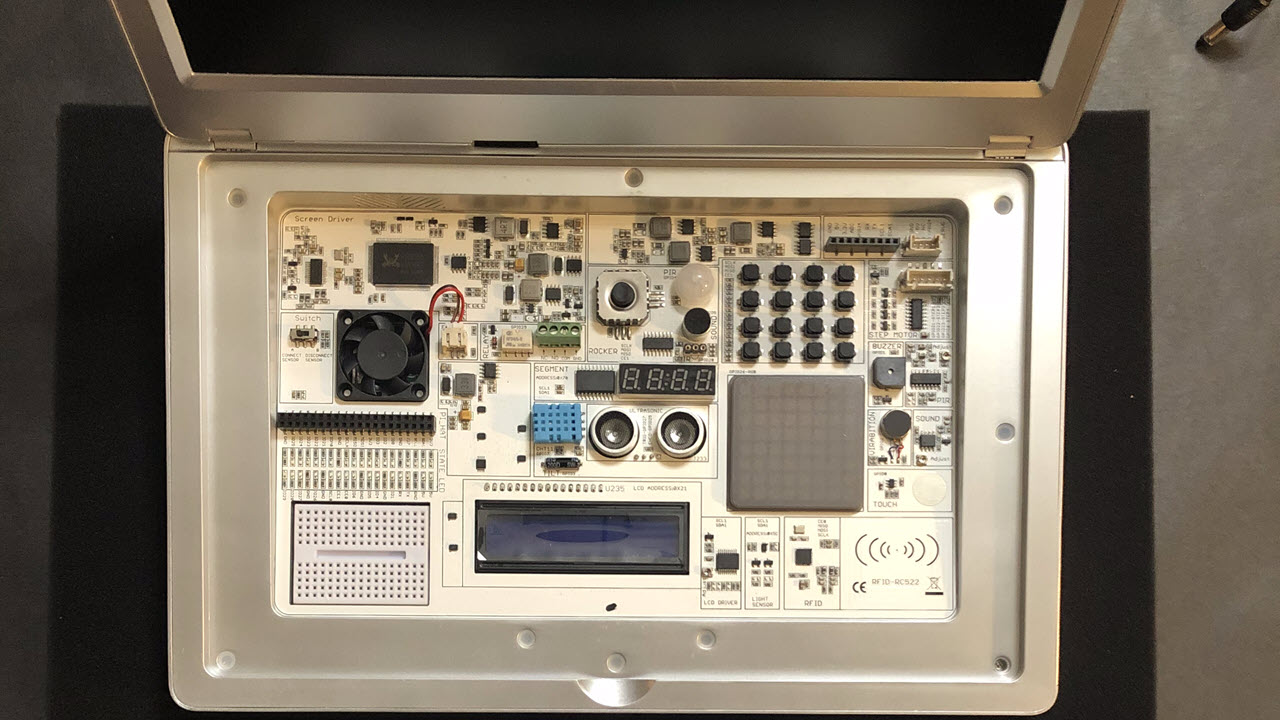
What’s unique about the CrowPi2 design is the Development Board that sits under the wireless keyboard. Seeing the array of sensors readily available and organized all in one place is quite impressive and very convenient especially for new learners.
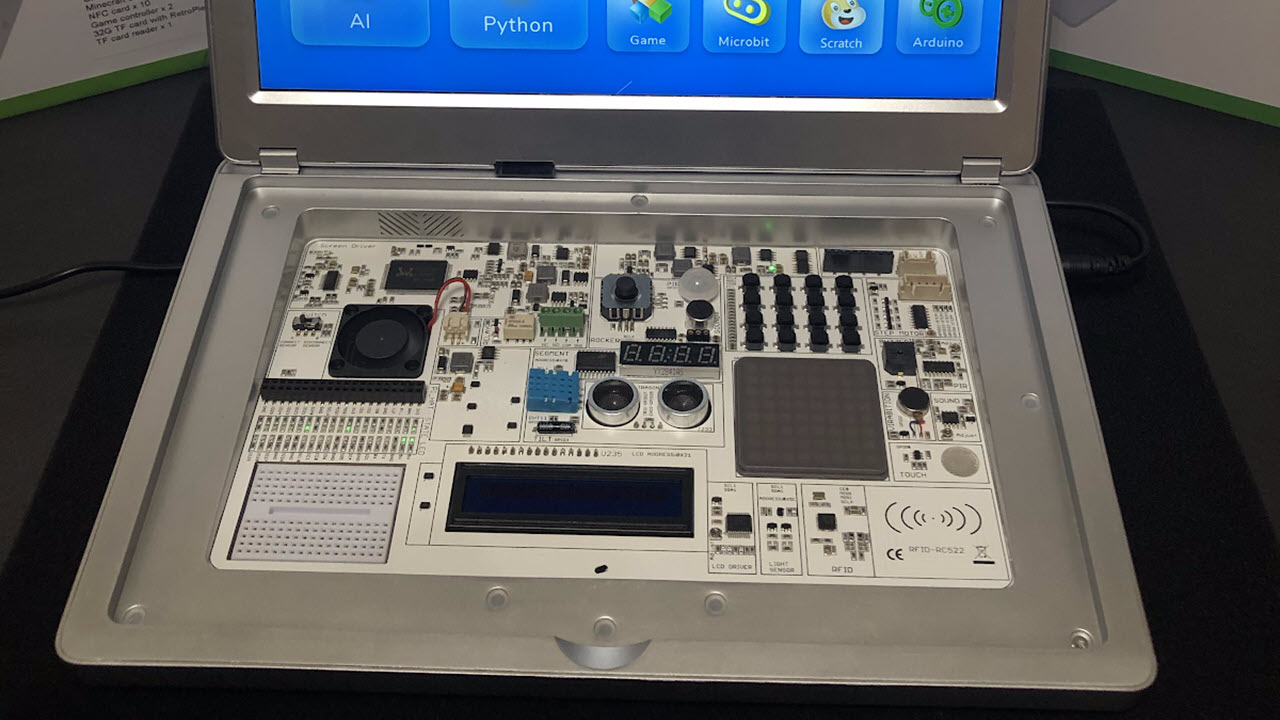
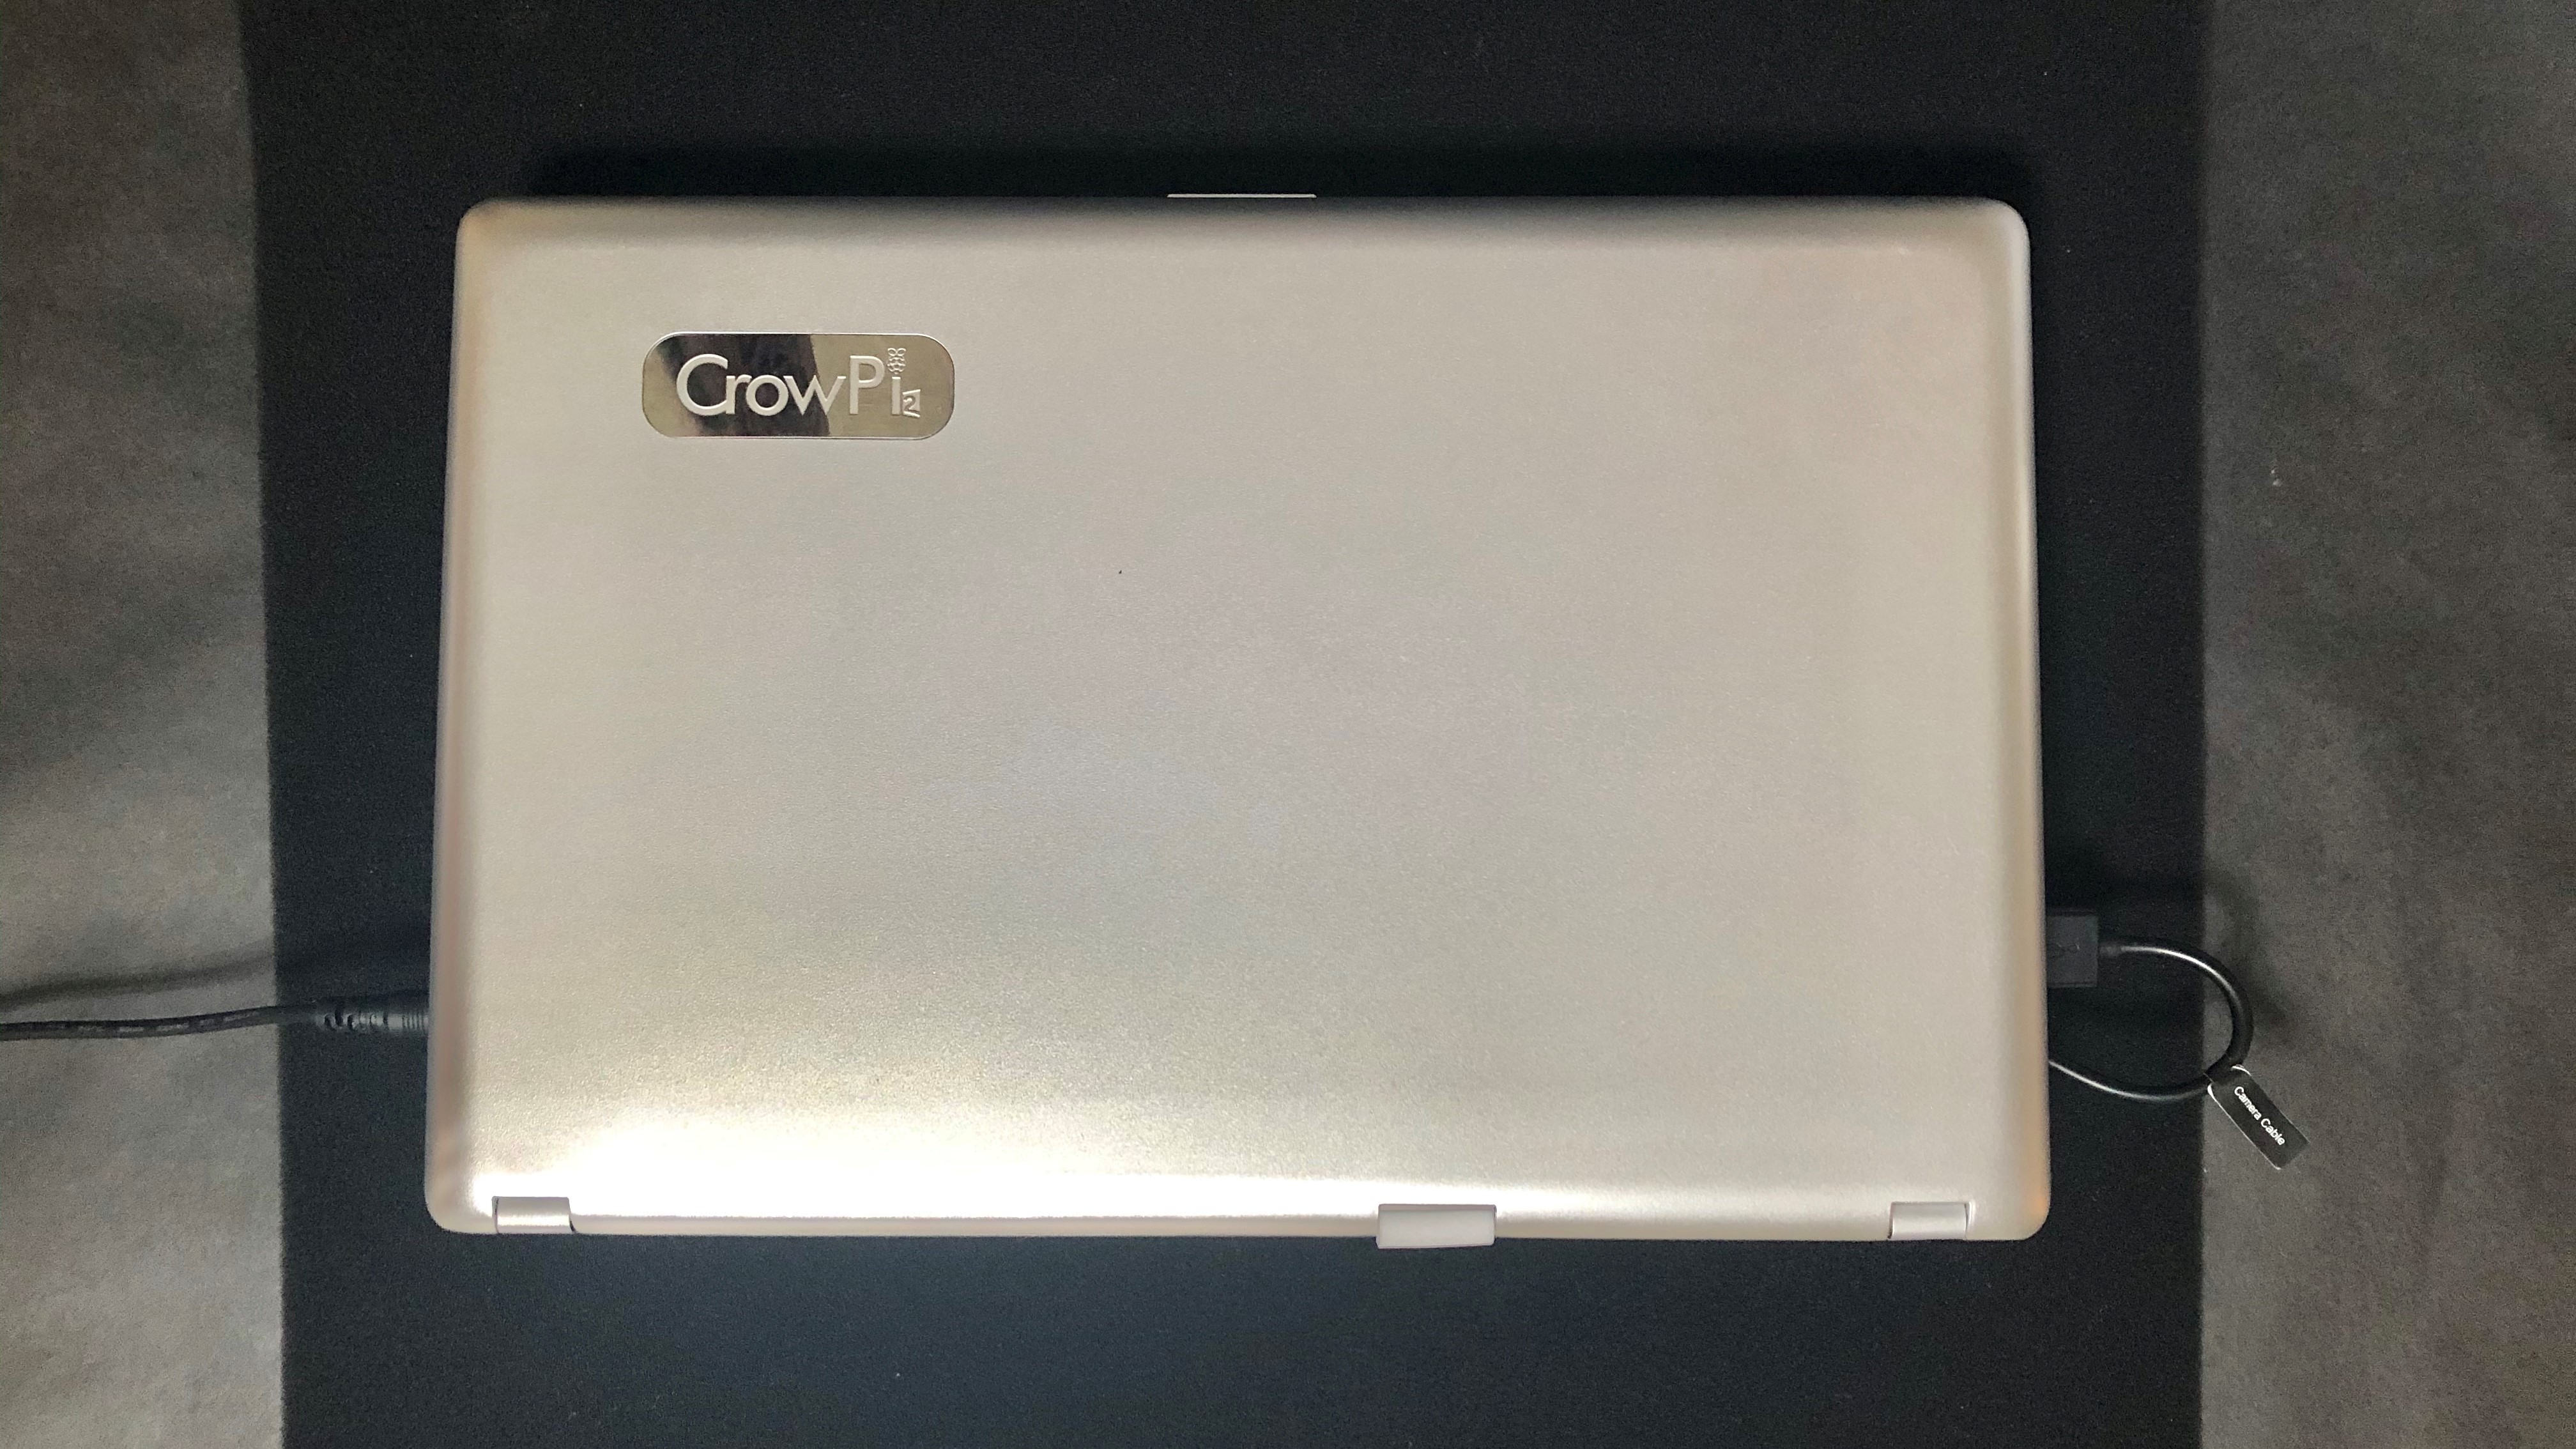
While the original CrowPi comes packed in a briefcase with handle, the CrowPi2 has been reimagined with a clamshell laptop design. Though it may not be built for heavy computing, you can use it as a regular laptop for writing documents or creating spreadsheets (via LibreOffice apps) and browsing the internet (via Chromium). We even tried using it to do a quick video chat and the experience was decent considering we are only using a 2MP camera and as long as you can ignore the sound of the fan in the background.
For an IPS 11.6-inch screen with 1080p resolution, the image quality on the CrowPi2 is great. It’s a small screen size, but the images appear clear and crisp and the colors are bright which makes it enjoyable for watching videos and playing the built-in retro games in the system. Unfortunately, it does not support touch, which the previous version did.
Get Tom's Hardware's best news and in-depth reviews, straight to your inbox.
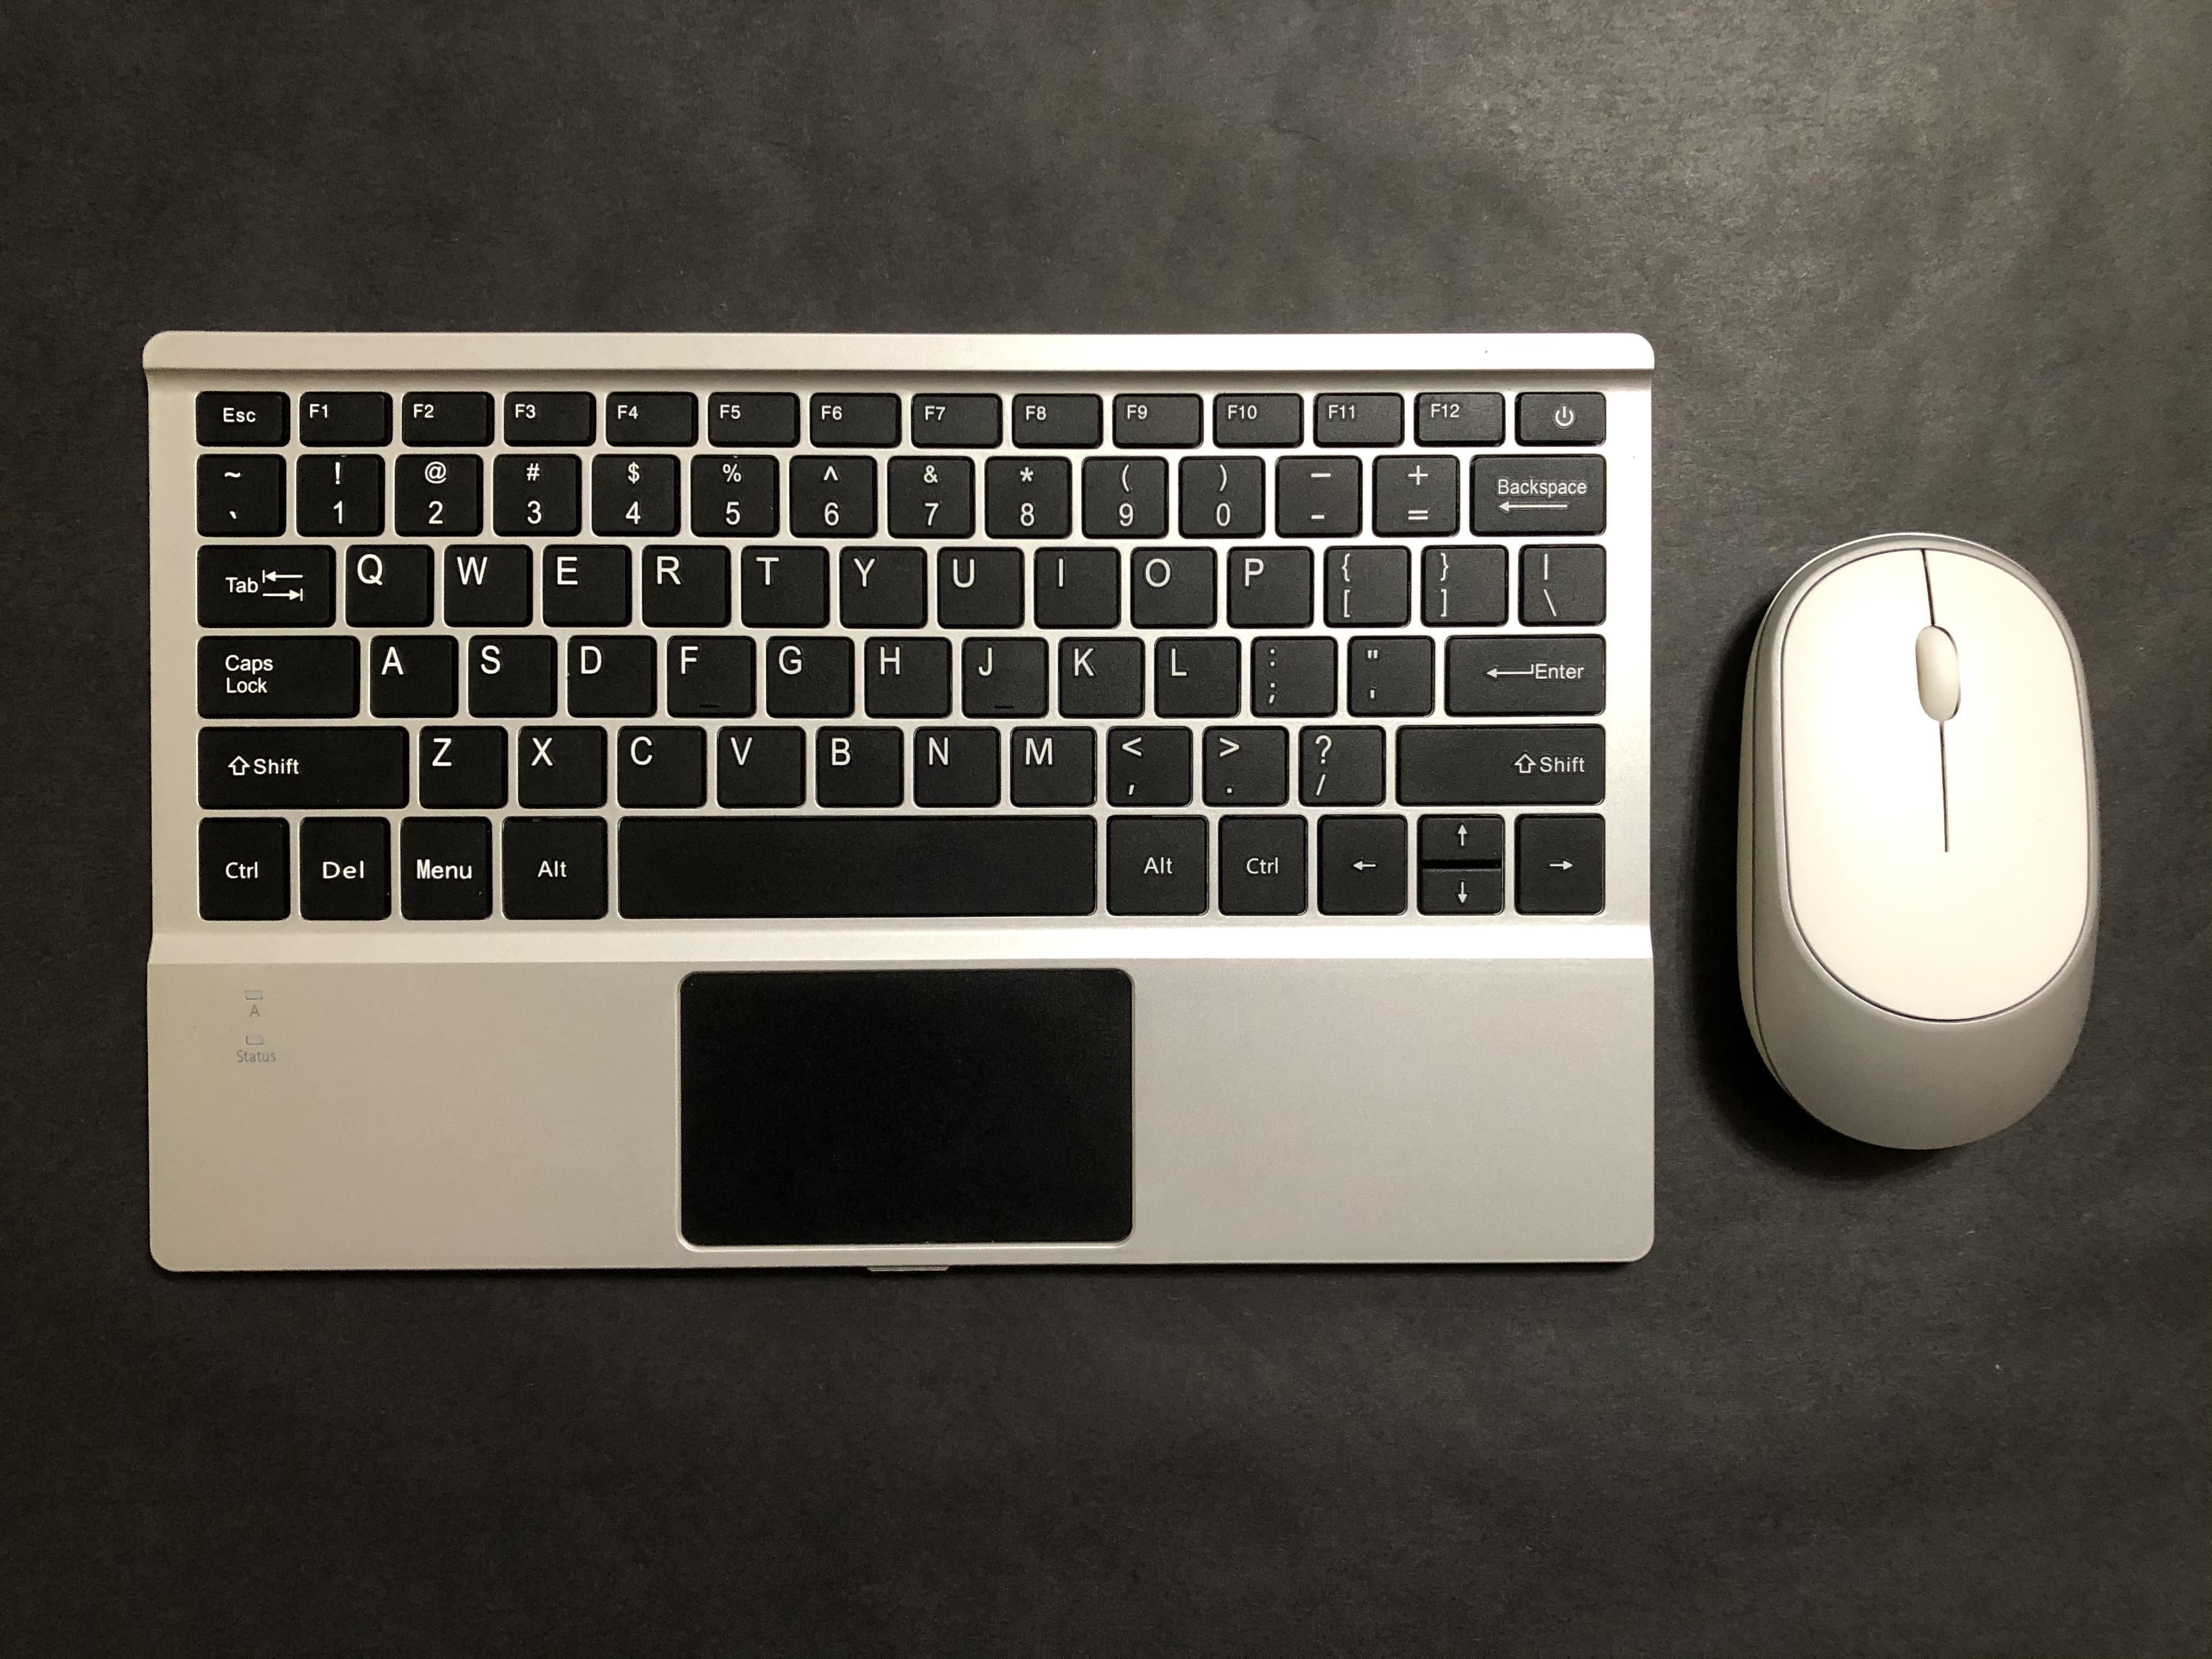
The kit comes with a mouse and keyboard that connects wirelessly through the same USB receiver. You can take out the keyboard easily through a latch and slides back quite easily and is held in place by magnets. You may want to type rather gingerly because the keyboard is quite thin and felt rather flimsy. I would have to say that the wireless connection wasn’t all that great either, I have to constantly try to turn the devices off and on, wiggle or change batteries, or change to a different USB connector to get traction.
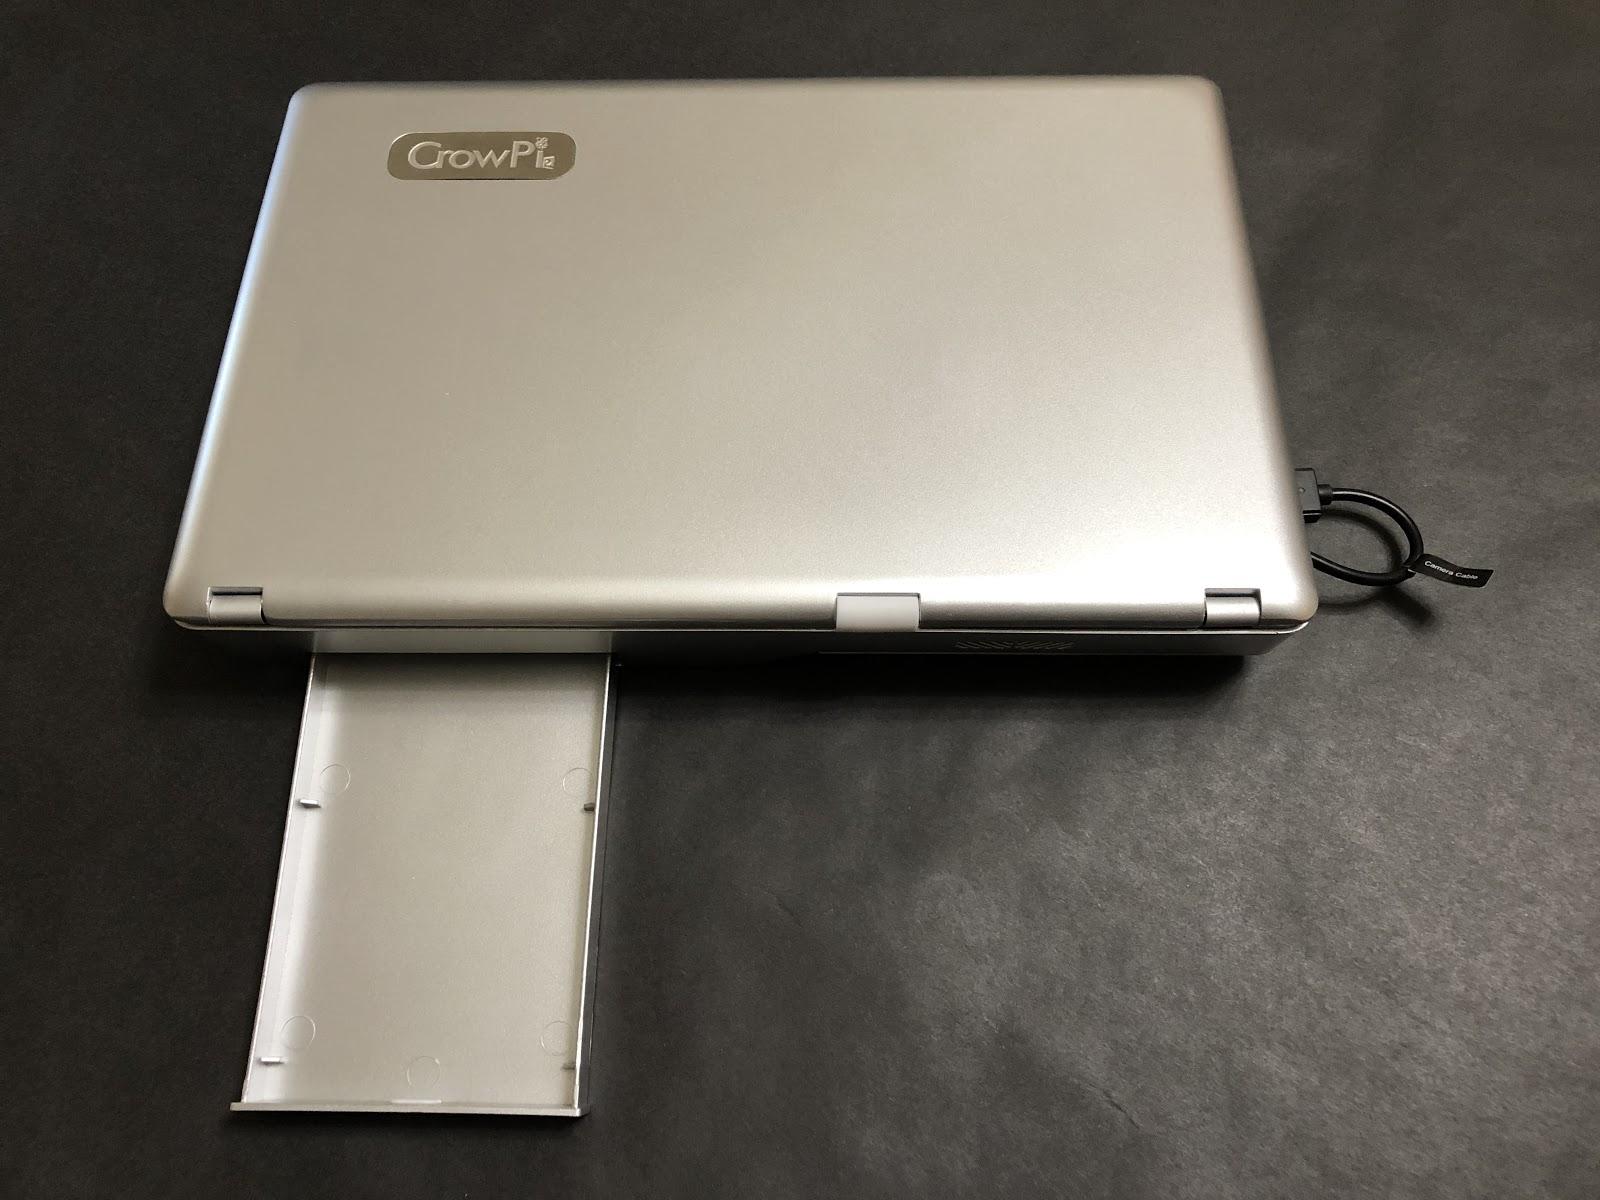
Another design feature worth mentioning is a not-so-secret drawer located at the back of the laptop. This is meant to store the optional 5V USB battery for mobility, but could double as storage for jumper wires, resistors (see resistor color codes) and LEDs. To open the drawer, you just push it in and the tray pops right out. Unfortunately, the evaluation unit we received did not come with the optional battery pack, so we weren’t able to test or make use of this feature. You can purchase a battery pack for Raspberry Pi 4B at Amazon for $23.95.
Aside from the missing internal battery, the kit also needed, but did not include:
- 1 button cell battery for the remote control
- 1 AA battery for the mouse
- 1 micro USB cable to charge wireless keyboard
Elecrow CrowPi2 Specifications
| Compatibility | Compatible with Raspberry Pi 3B, 3B+ or 4 |
|---|---|
| Display | 11.6-inch 1920x1080 IPS screen |
| Networking | Raspberry Pi network port |
| Ports | 4x Raspberry Pi USB ports, 5V USB power supply port, 3.5mm headphone jack |
| Camera | 2MP camera with built-in microphone |
| Battery | 5V 3A USB battery for portable use (not included) |
| Power Adapter | 12V DC |
| Dimensions(WxDxH) | 291 x 190 x 46mm (11.46 x 7.5 x 1.8 inches) |
| Weight | 1.3kg (2.9 pounds) |
Elecrow CrowPi2 Setup
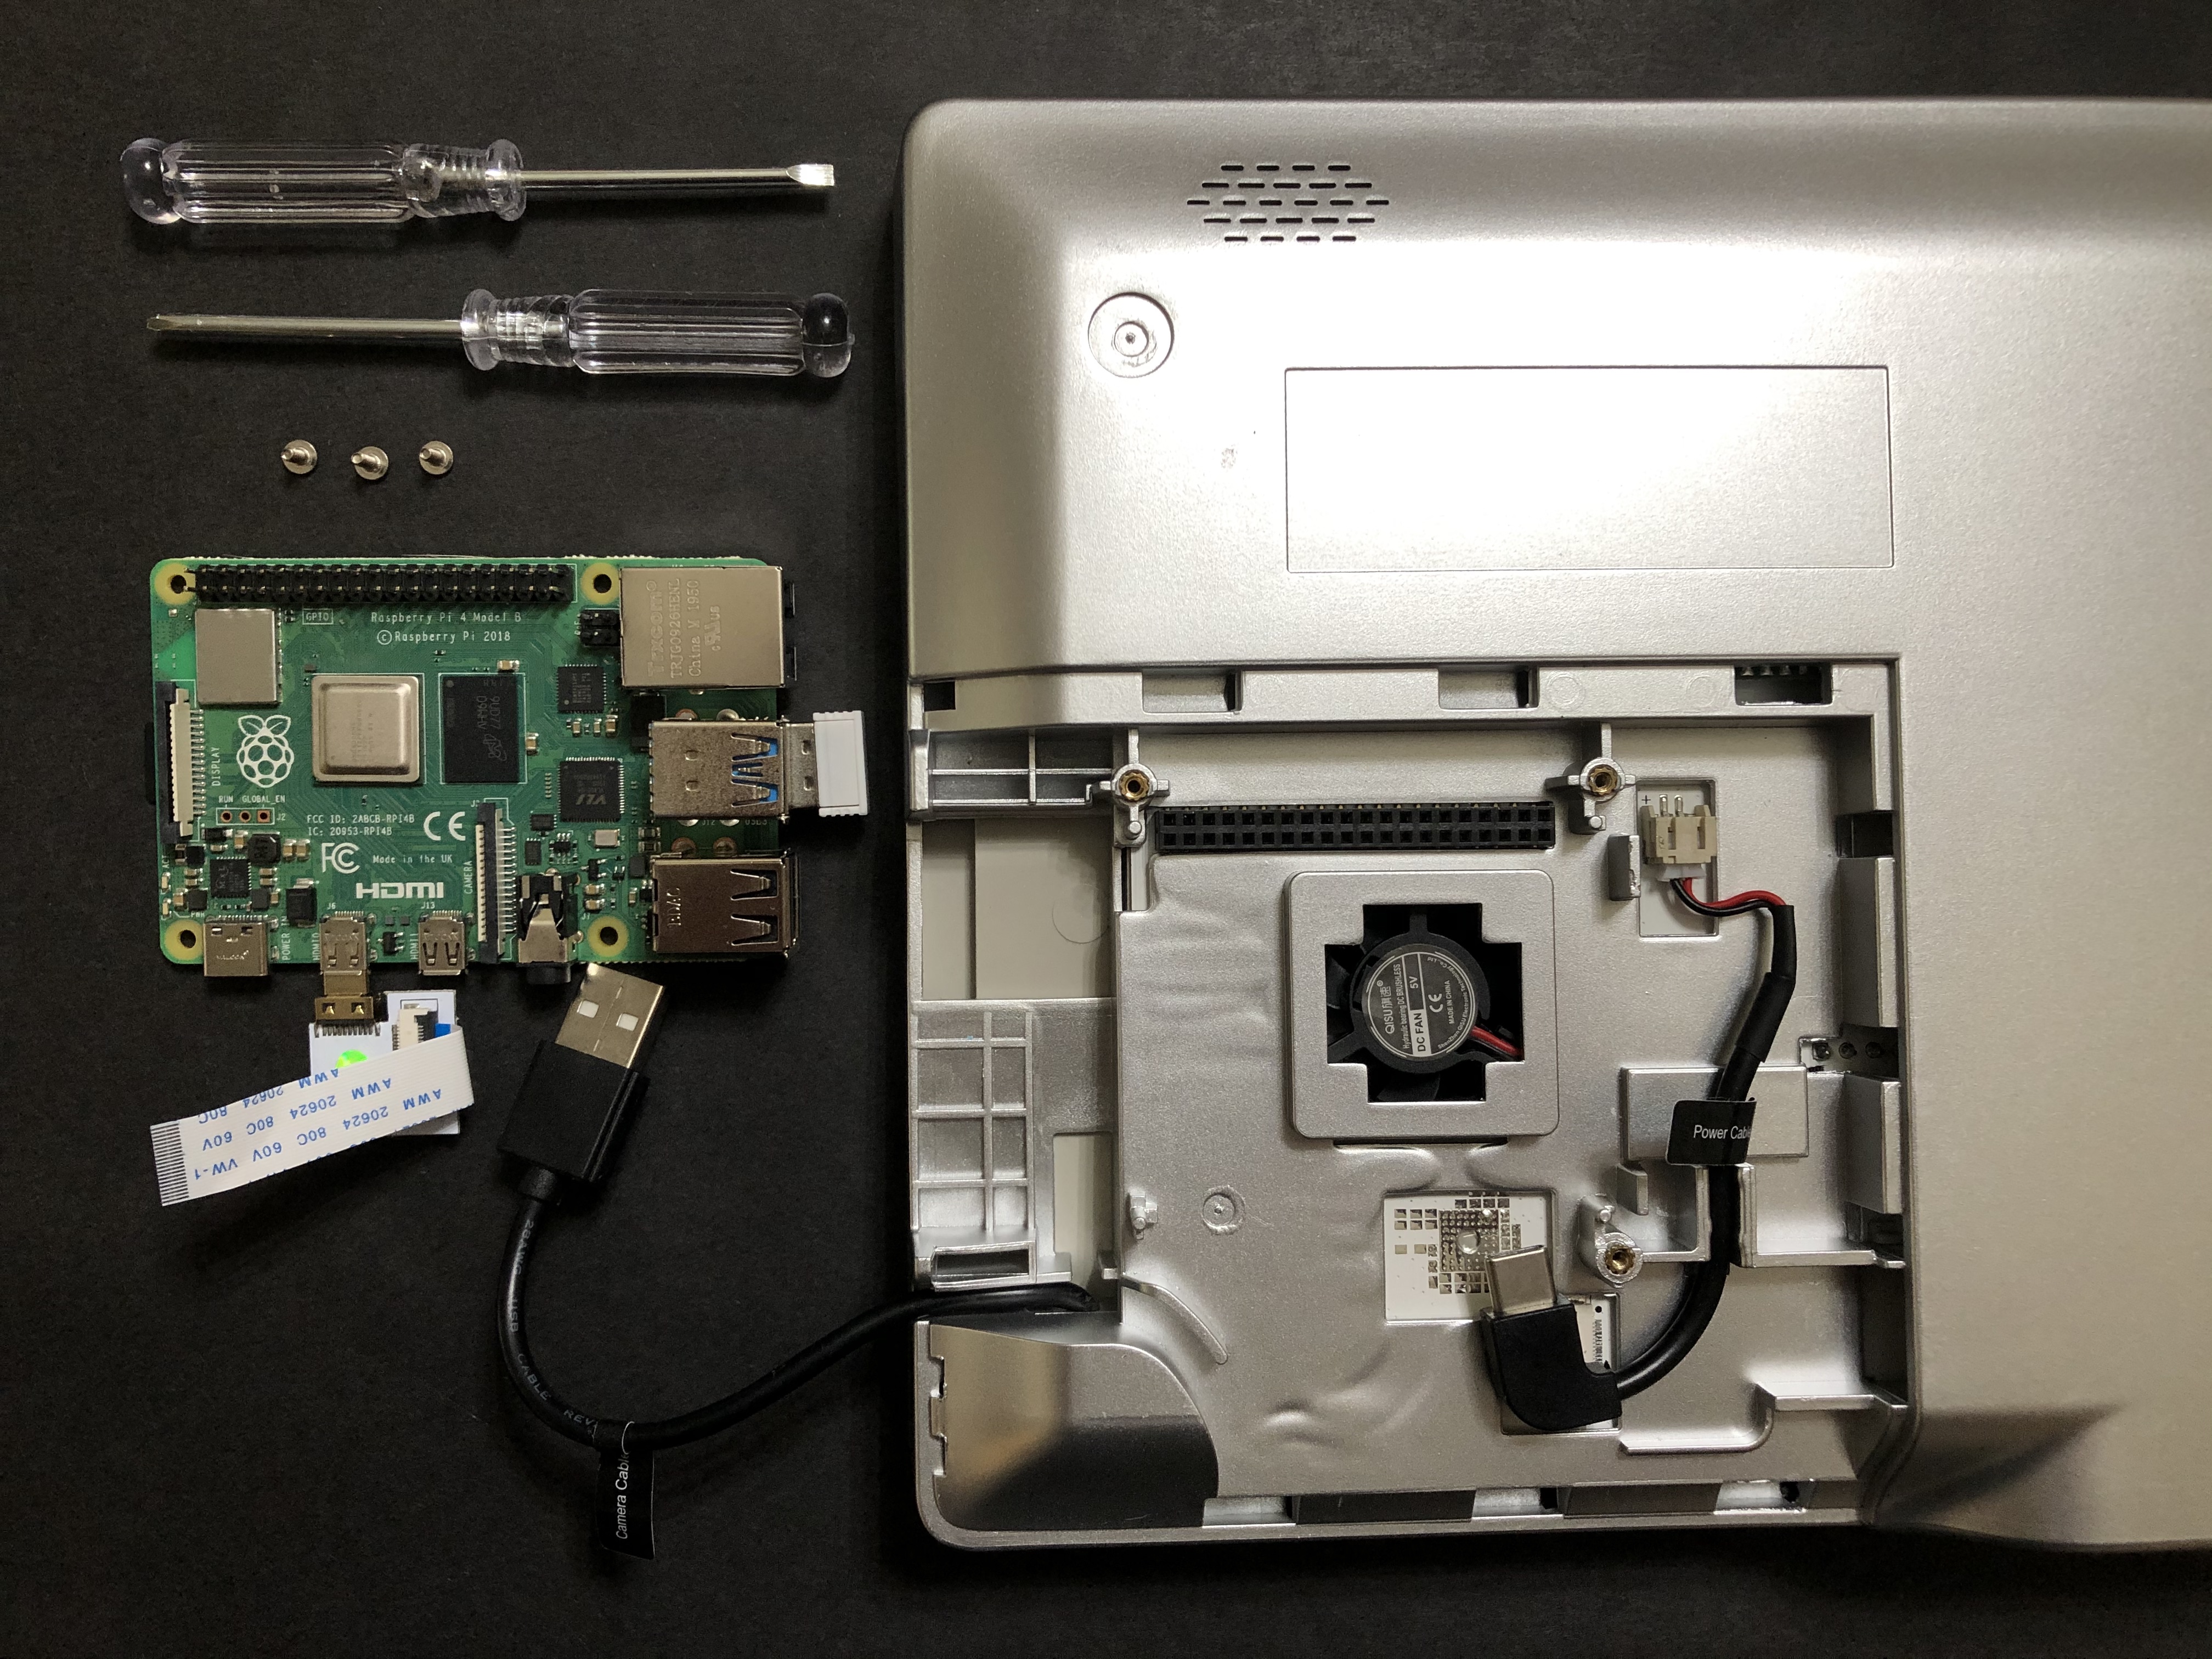
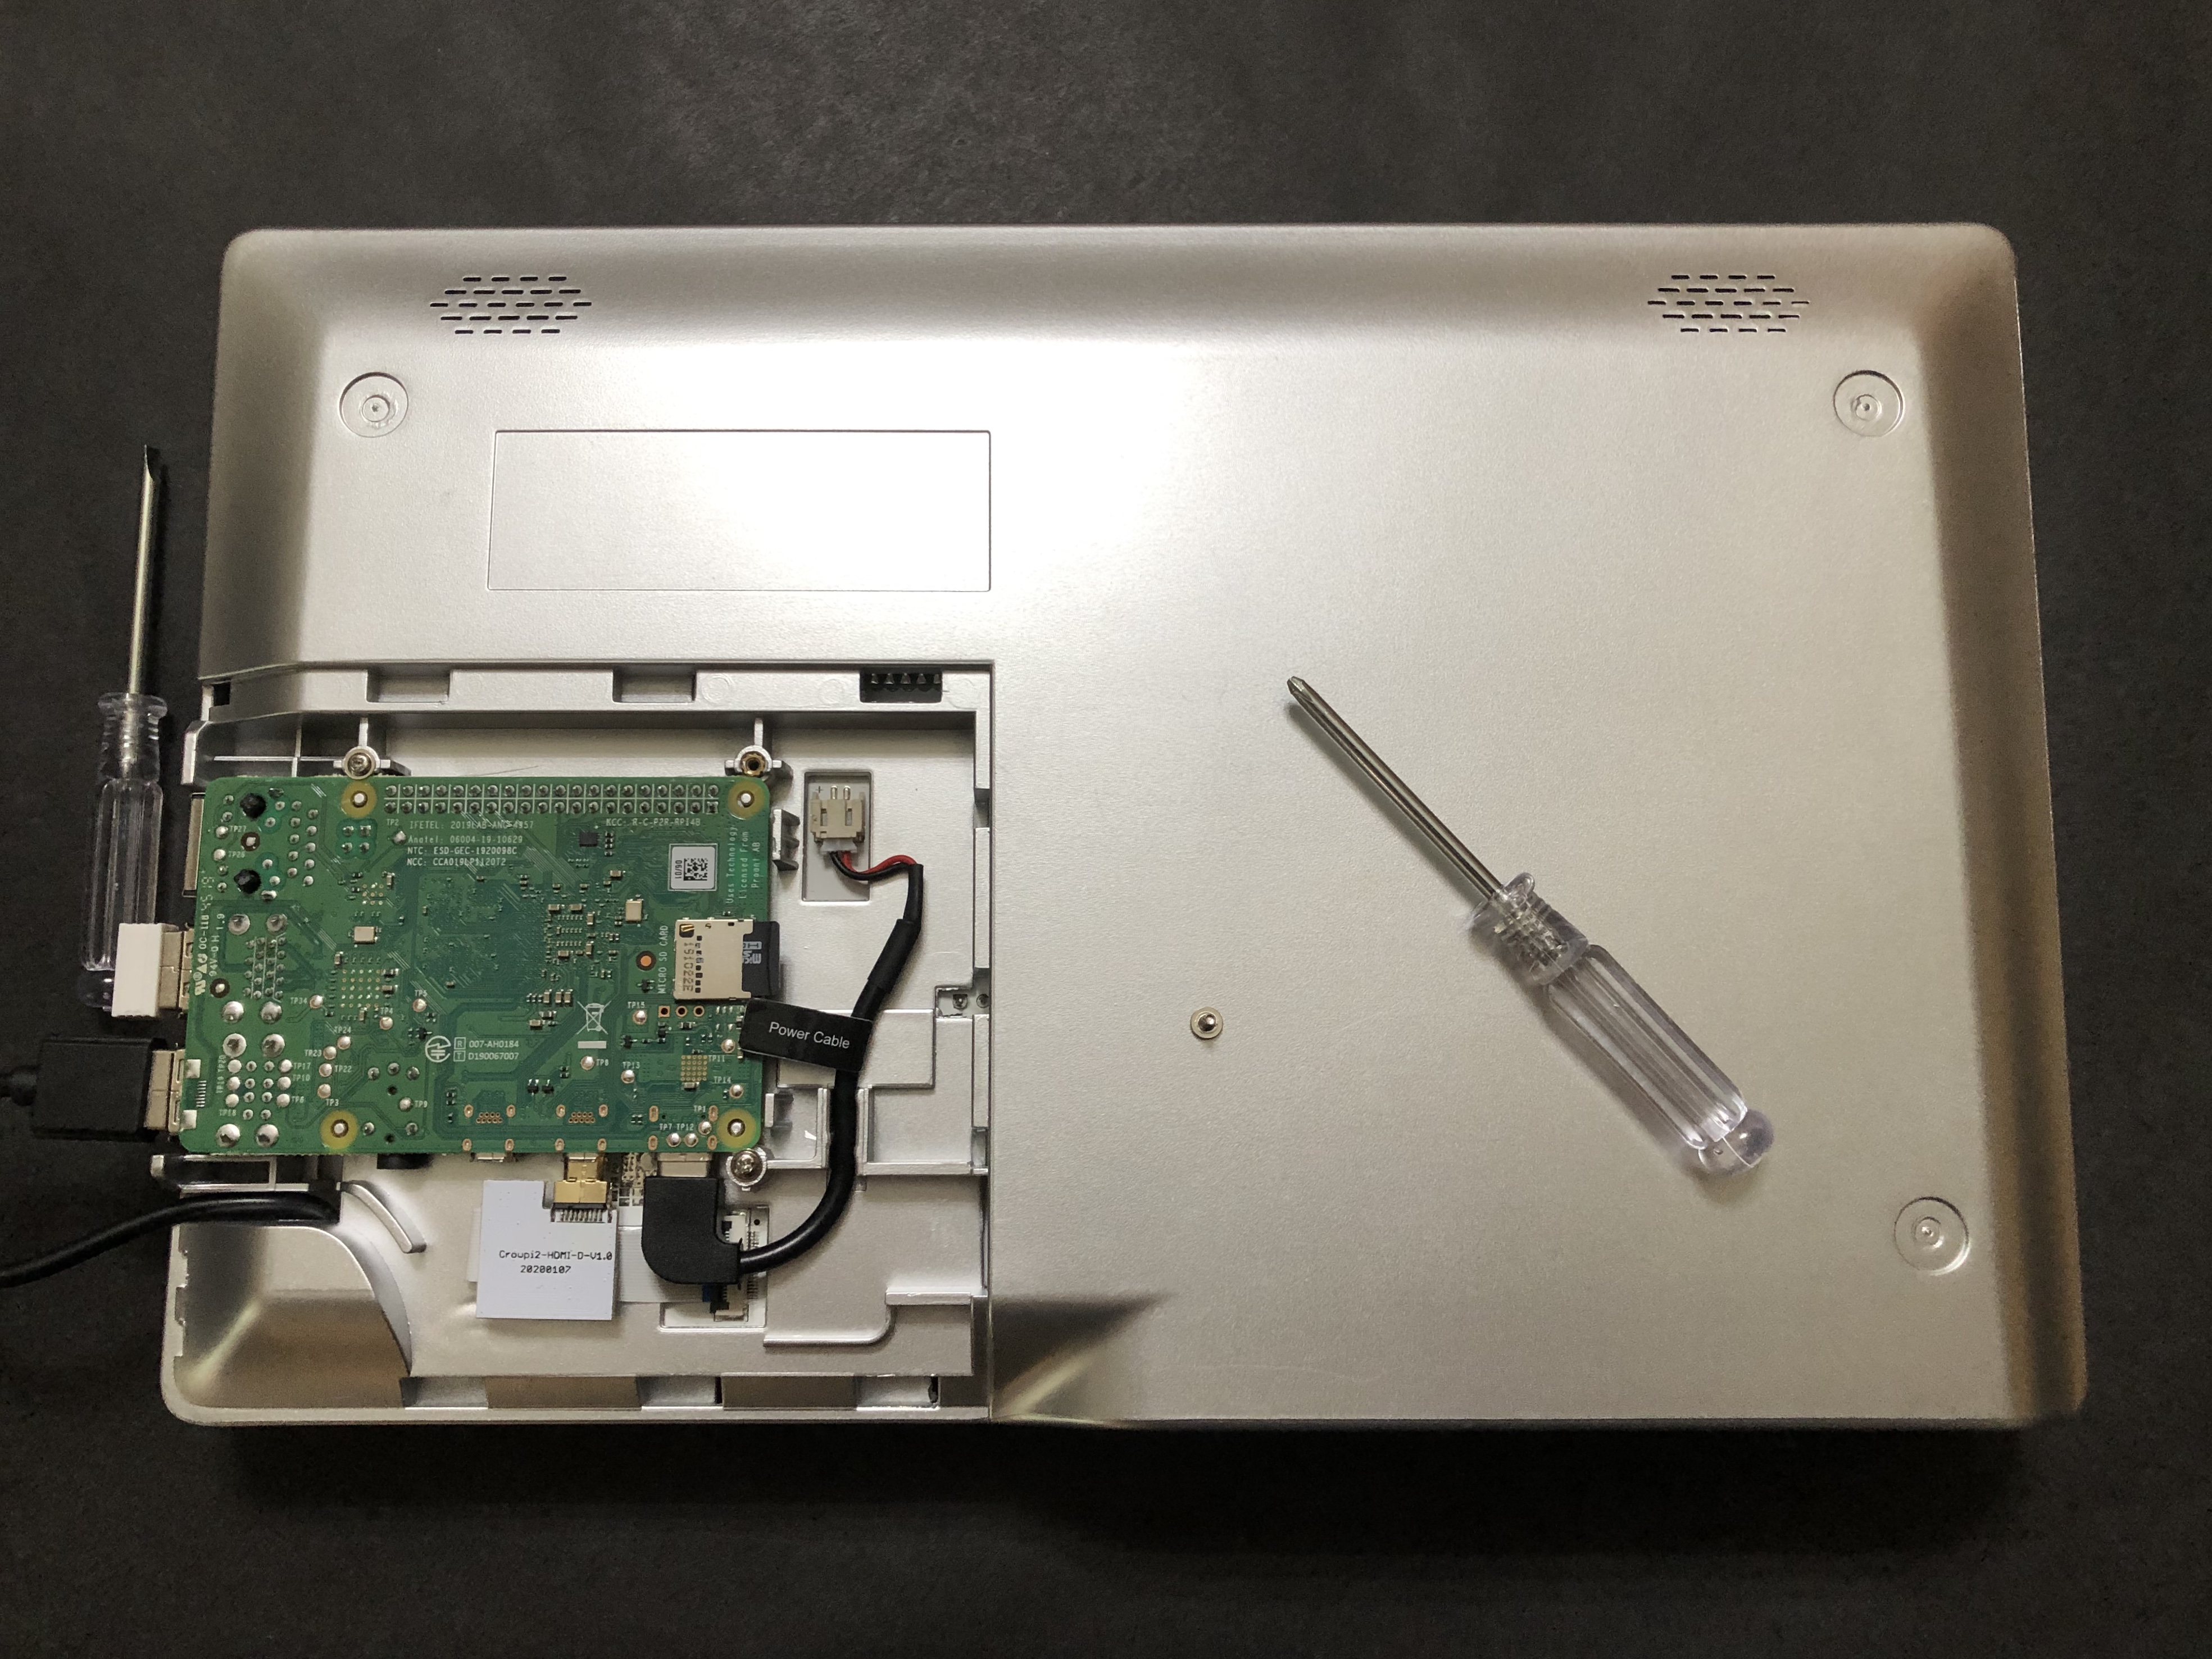
Setting up the CrowPi2 was relatively easy and each cable was labeled to eliminate any guess work. The evaluation unit we received came with the Raspberry Pi already mounted. But for testing purposes, we took out the Raspberry Pi and had no issues with reassembly by following the directions in the manual. Make sure to pull out the USB cable that is tucked away in the bottom compartment and connect it to the USB port to activate the camera and microphone. This was a step we missed initially.
Operating System and Software
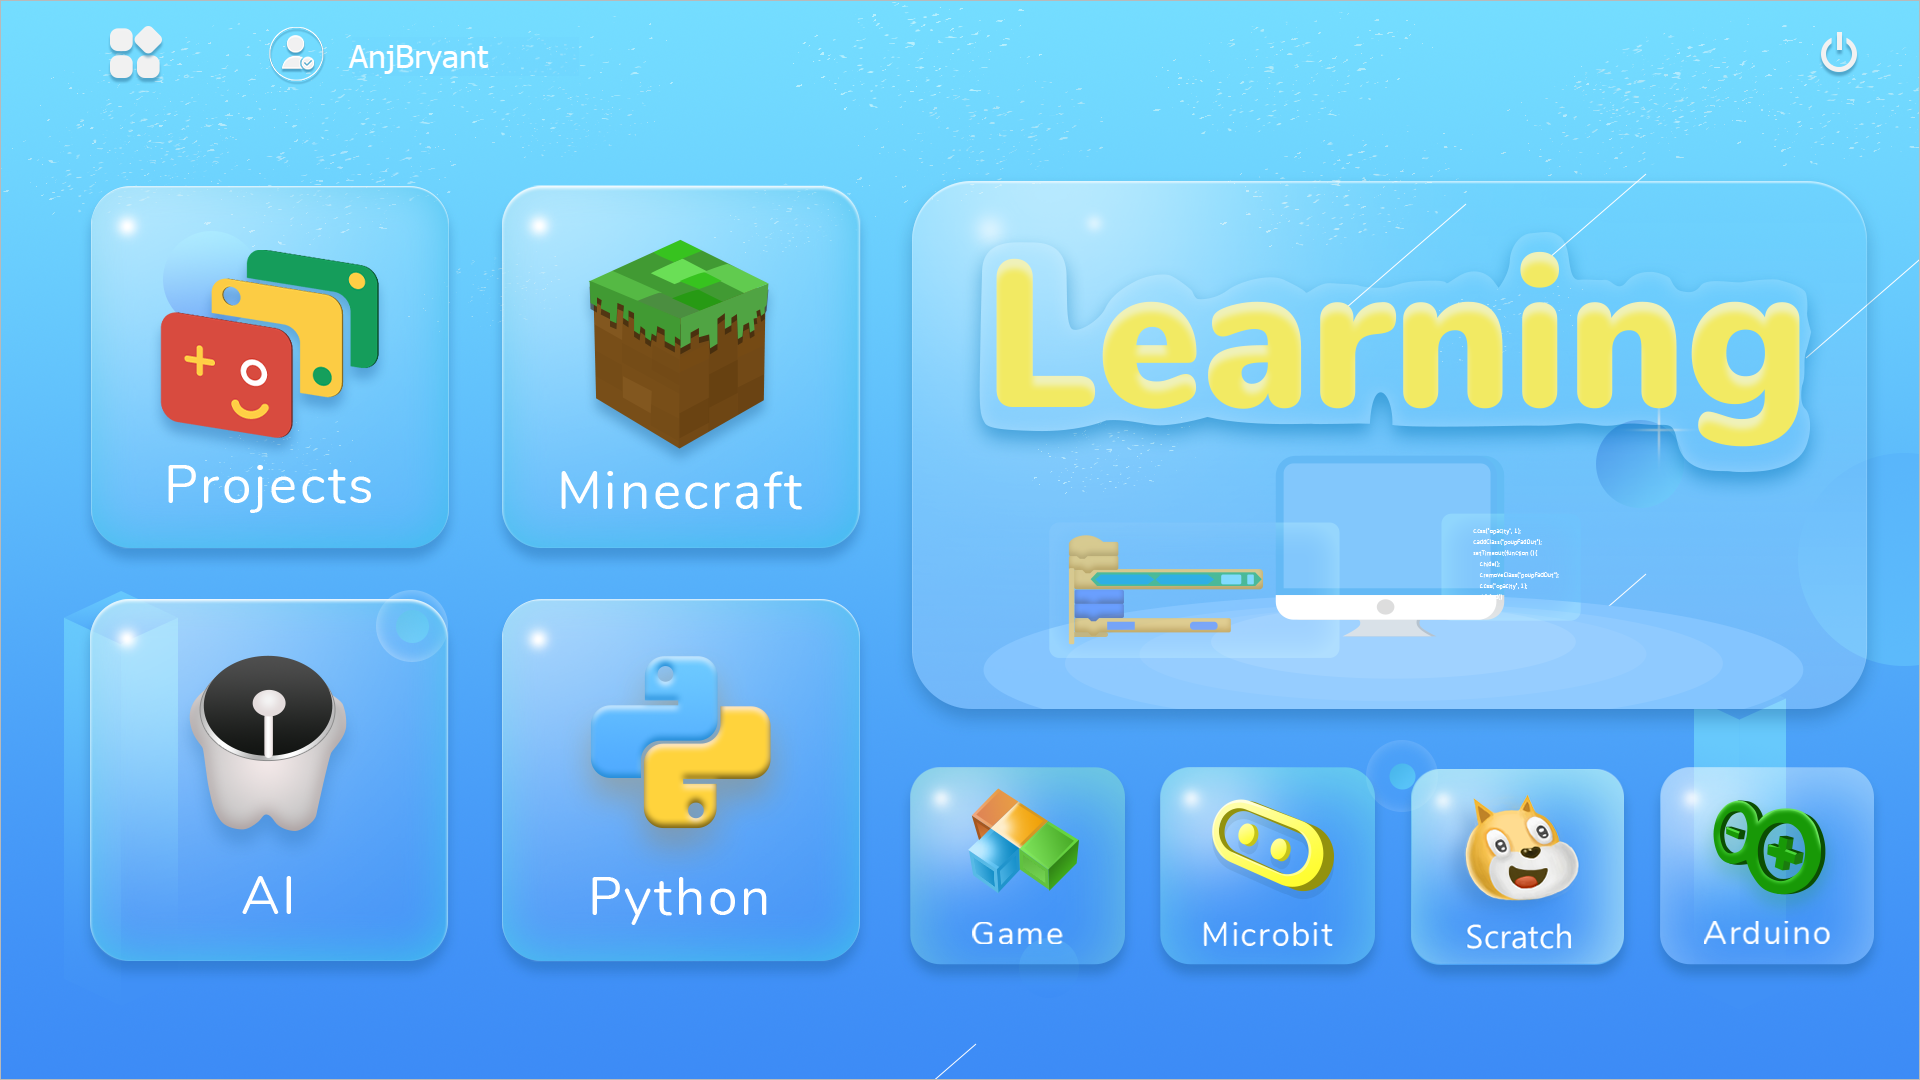
Our evaluation unit of CrowPi2 included a Raspberry Pi 4B board with a microSD running Raspbian OS 10. Elecrow preloaded a series of custom apps with the lessons geared toward STEAM Learning.
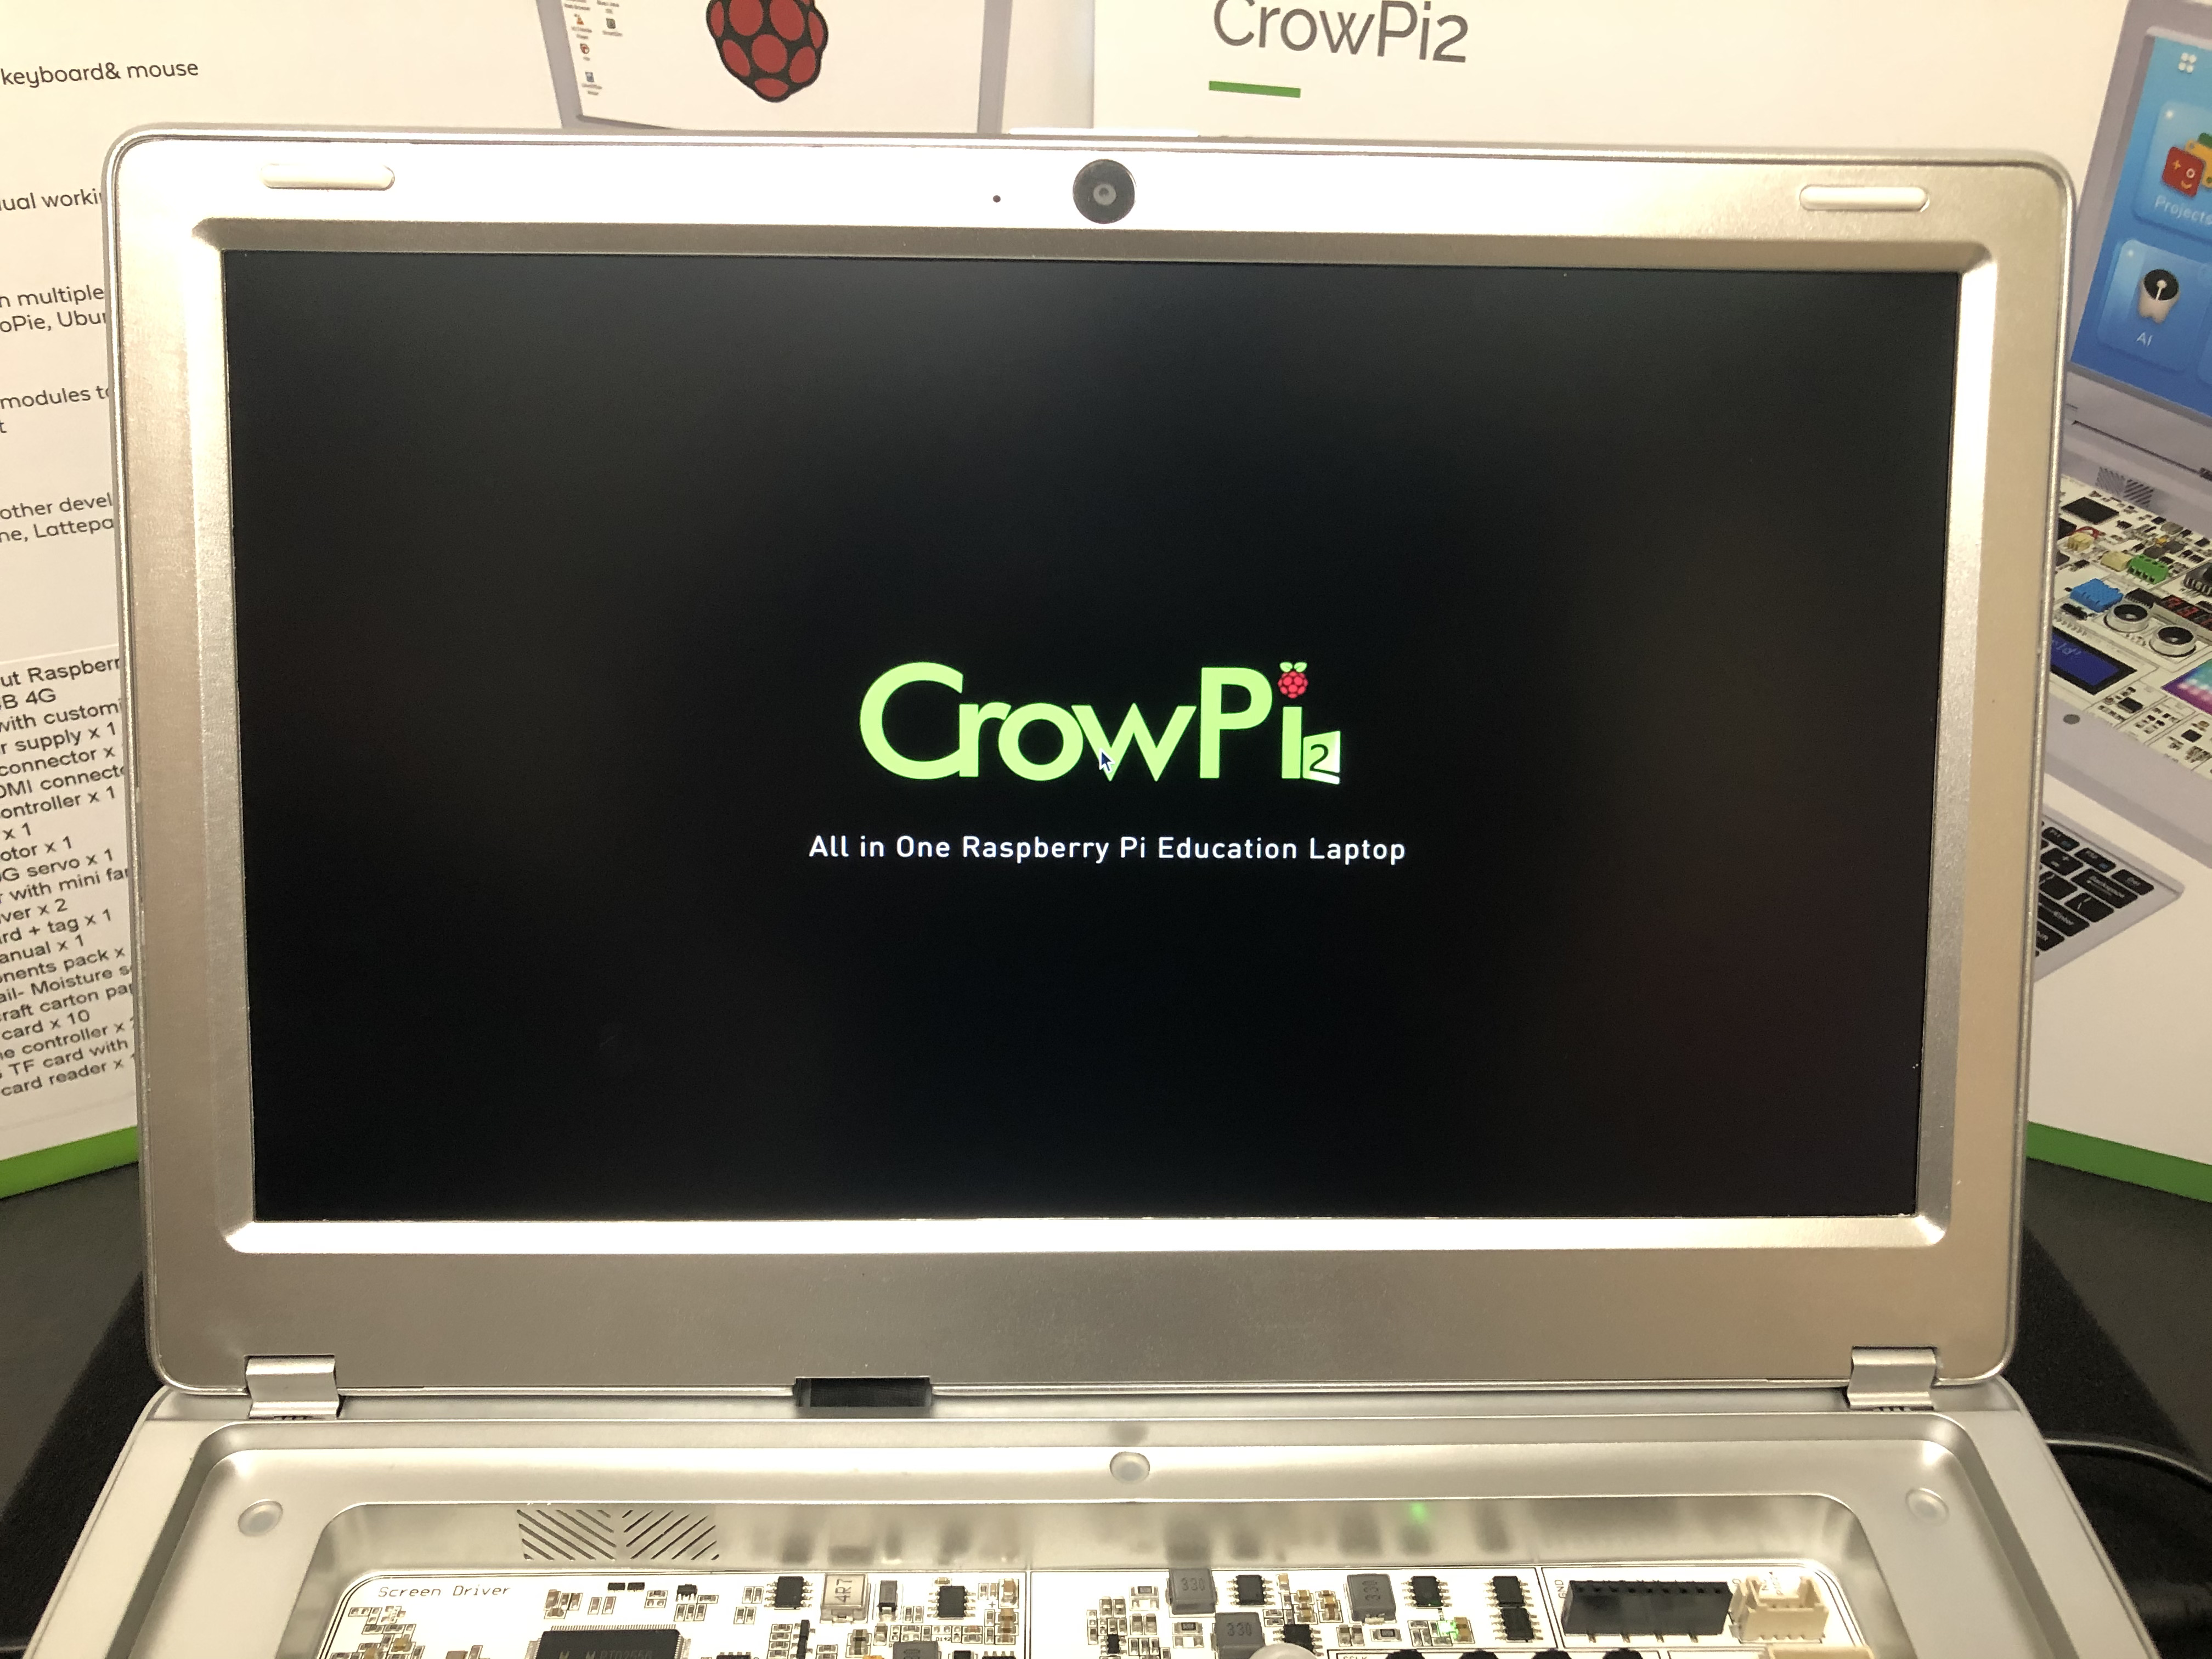
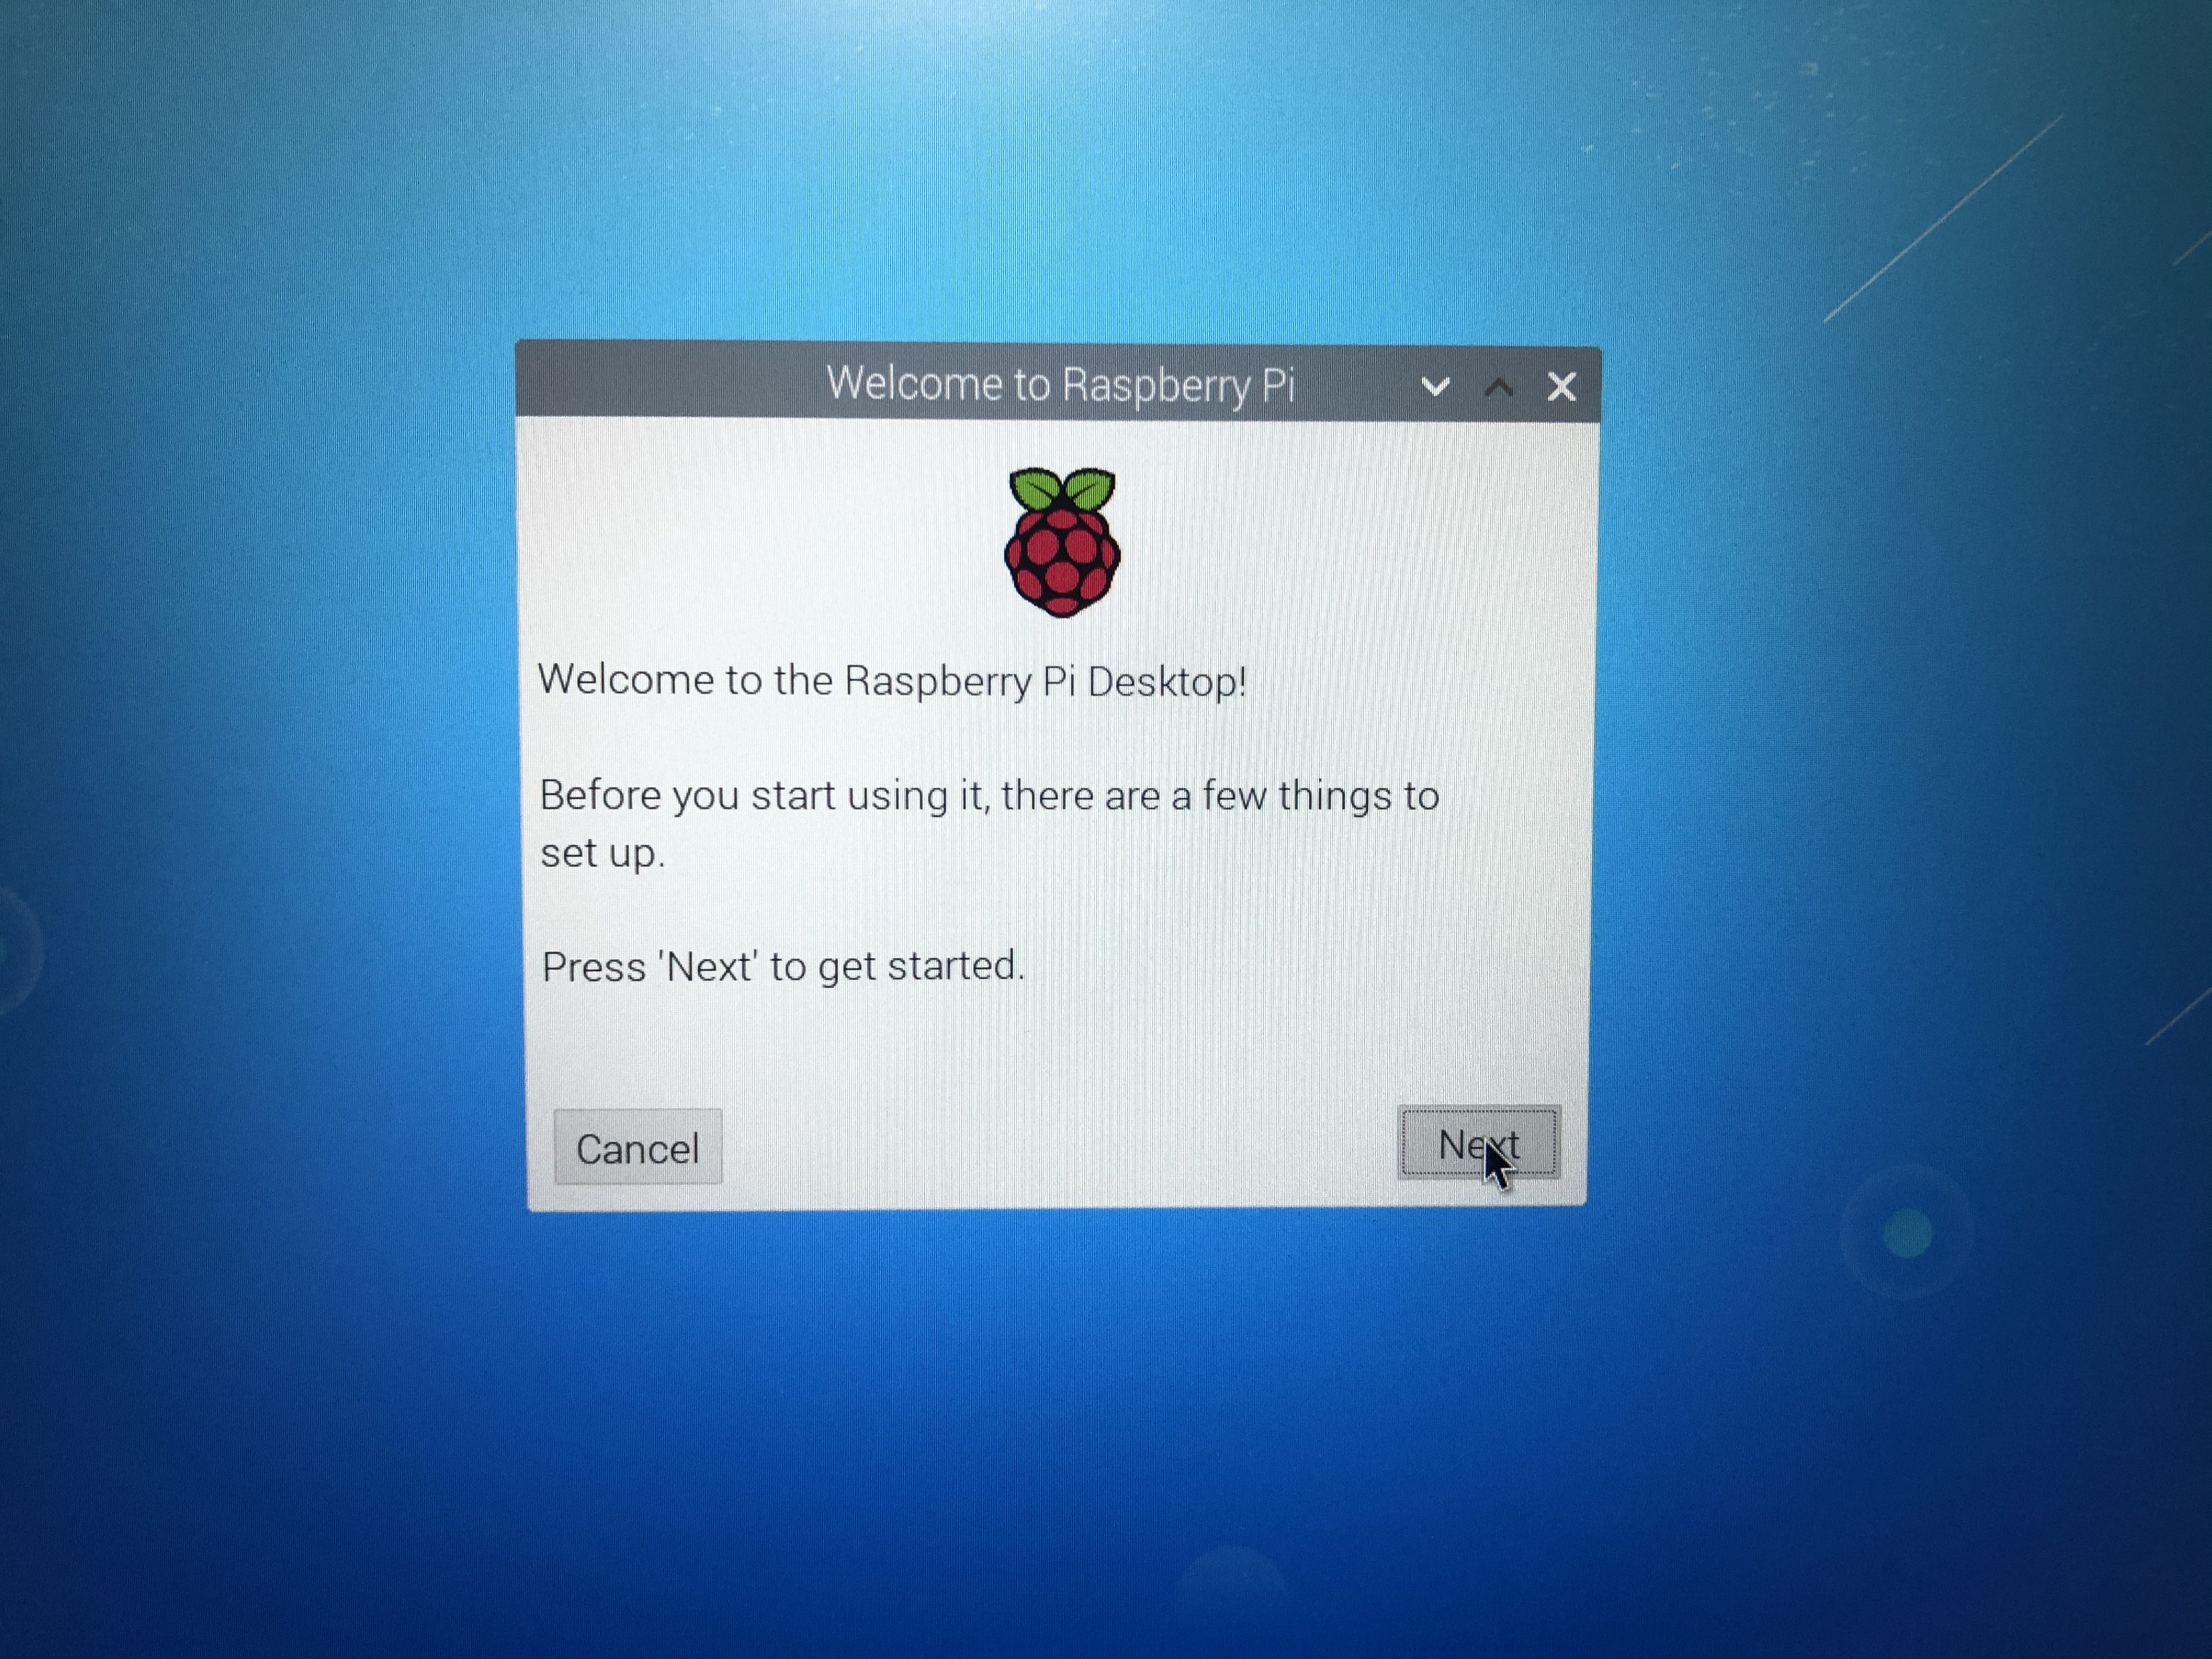
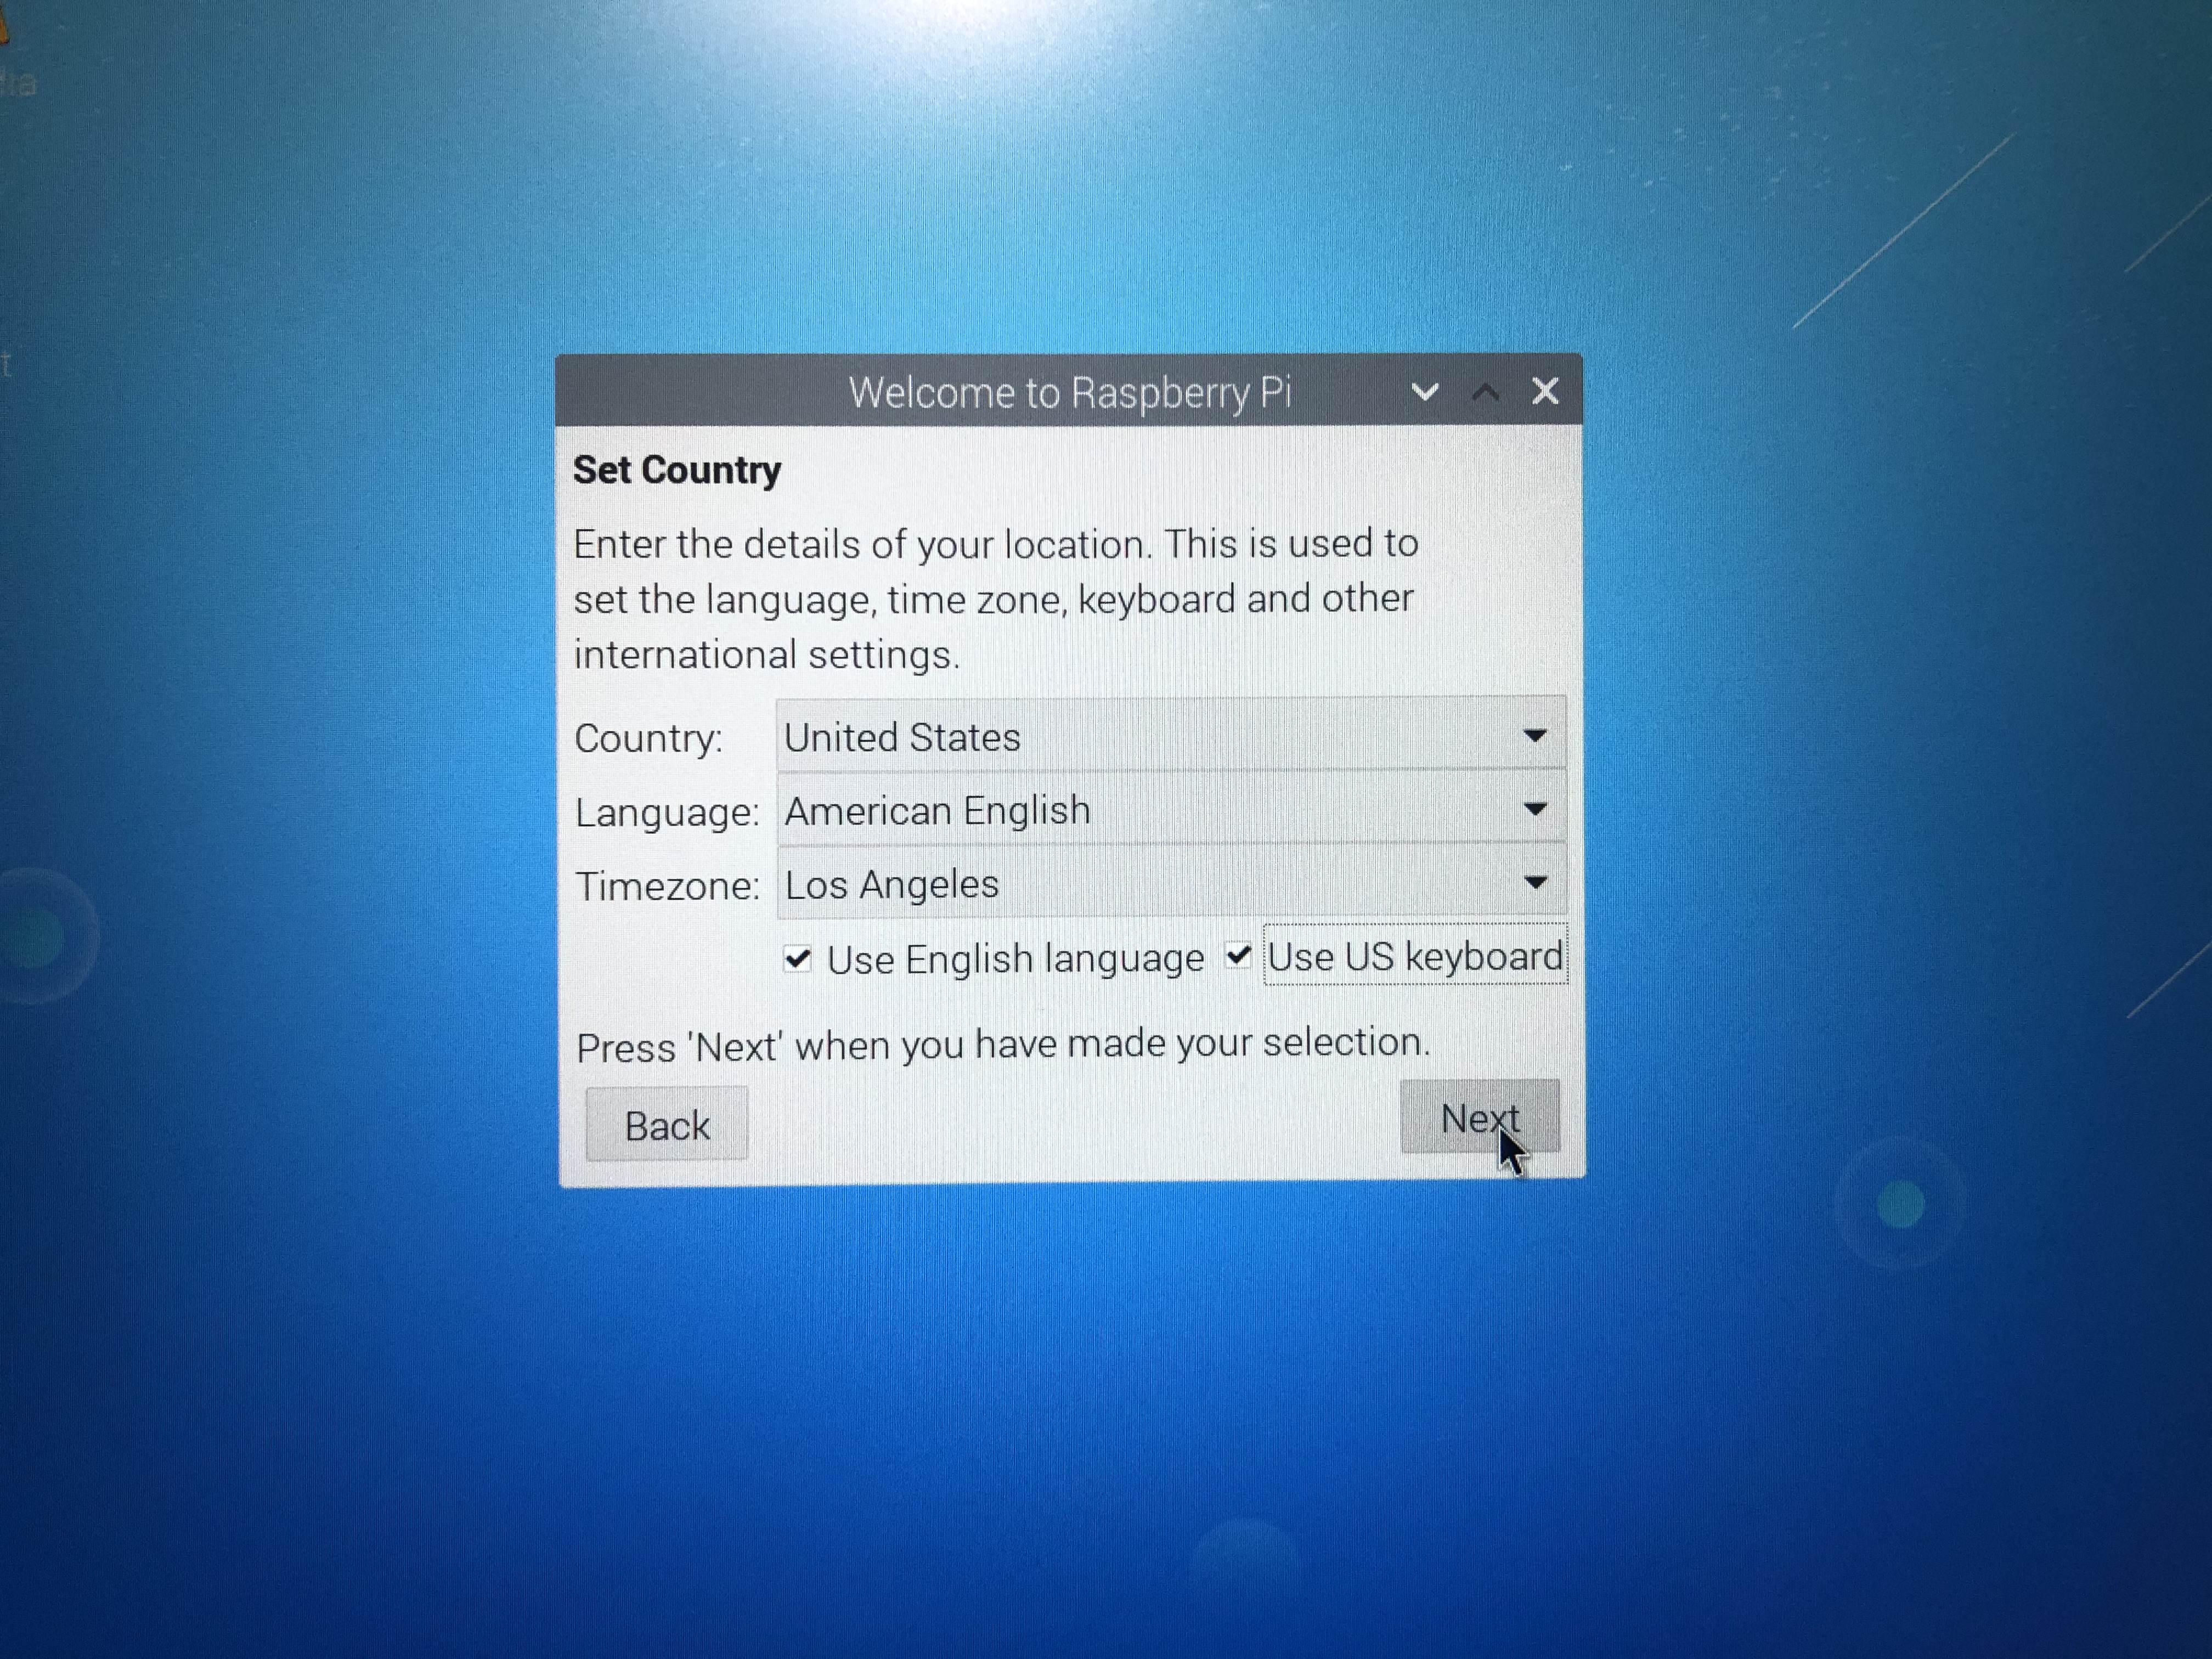
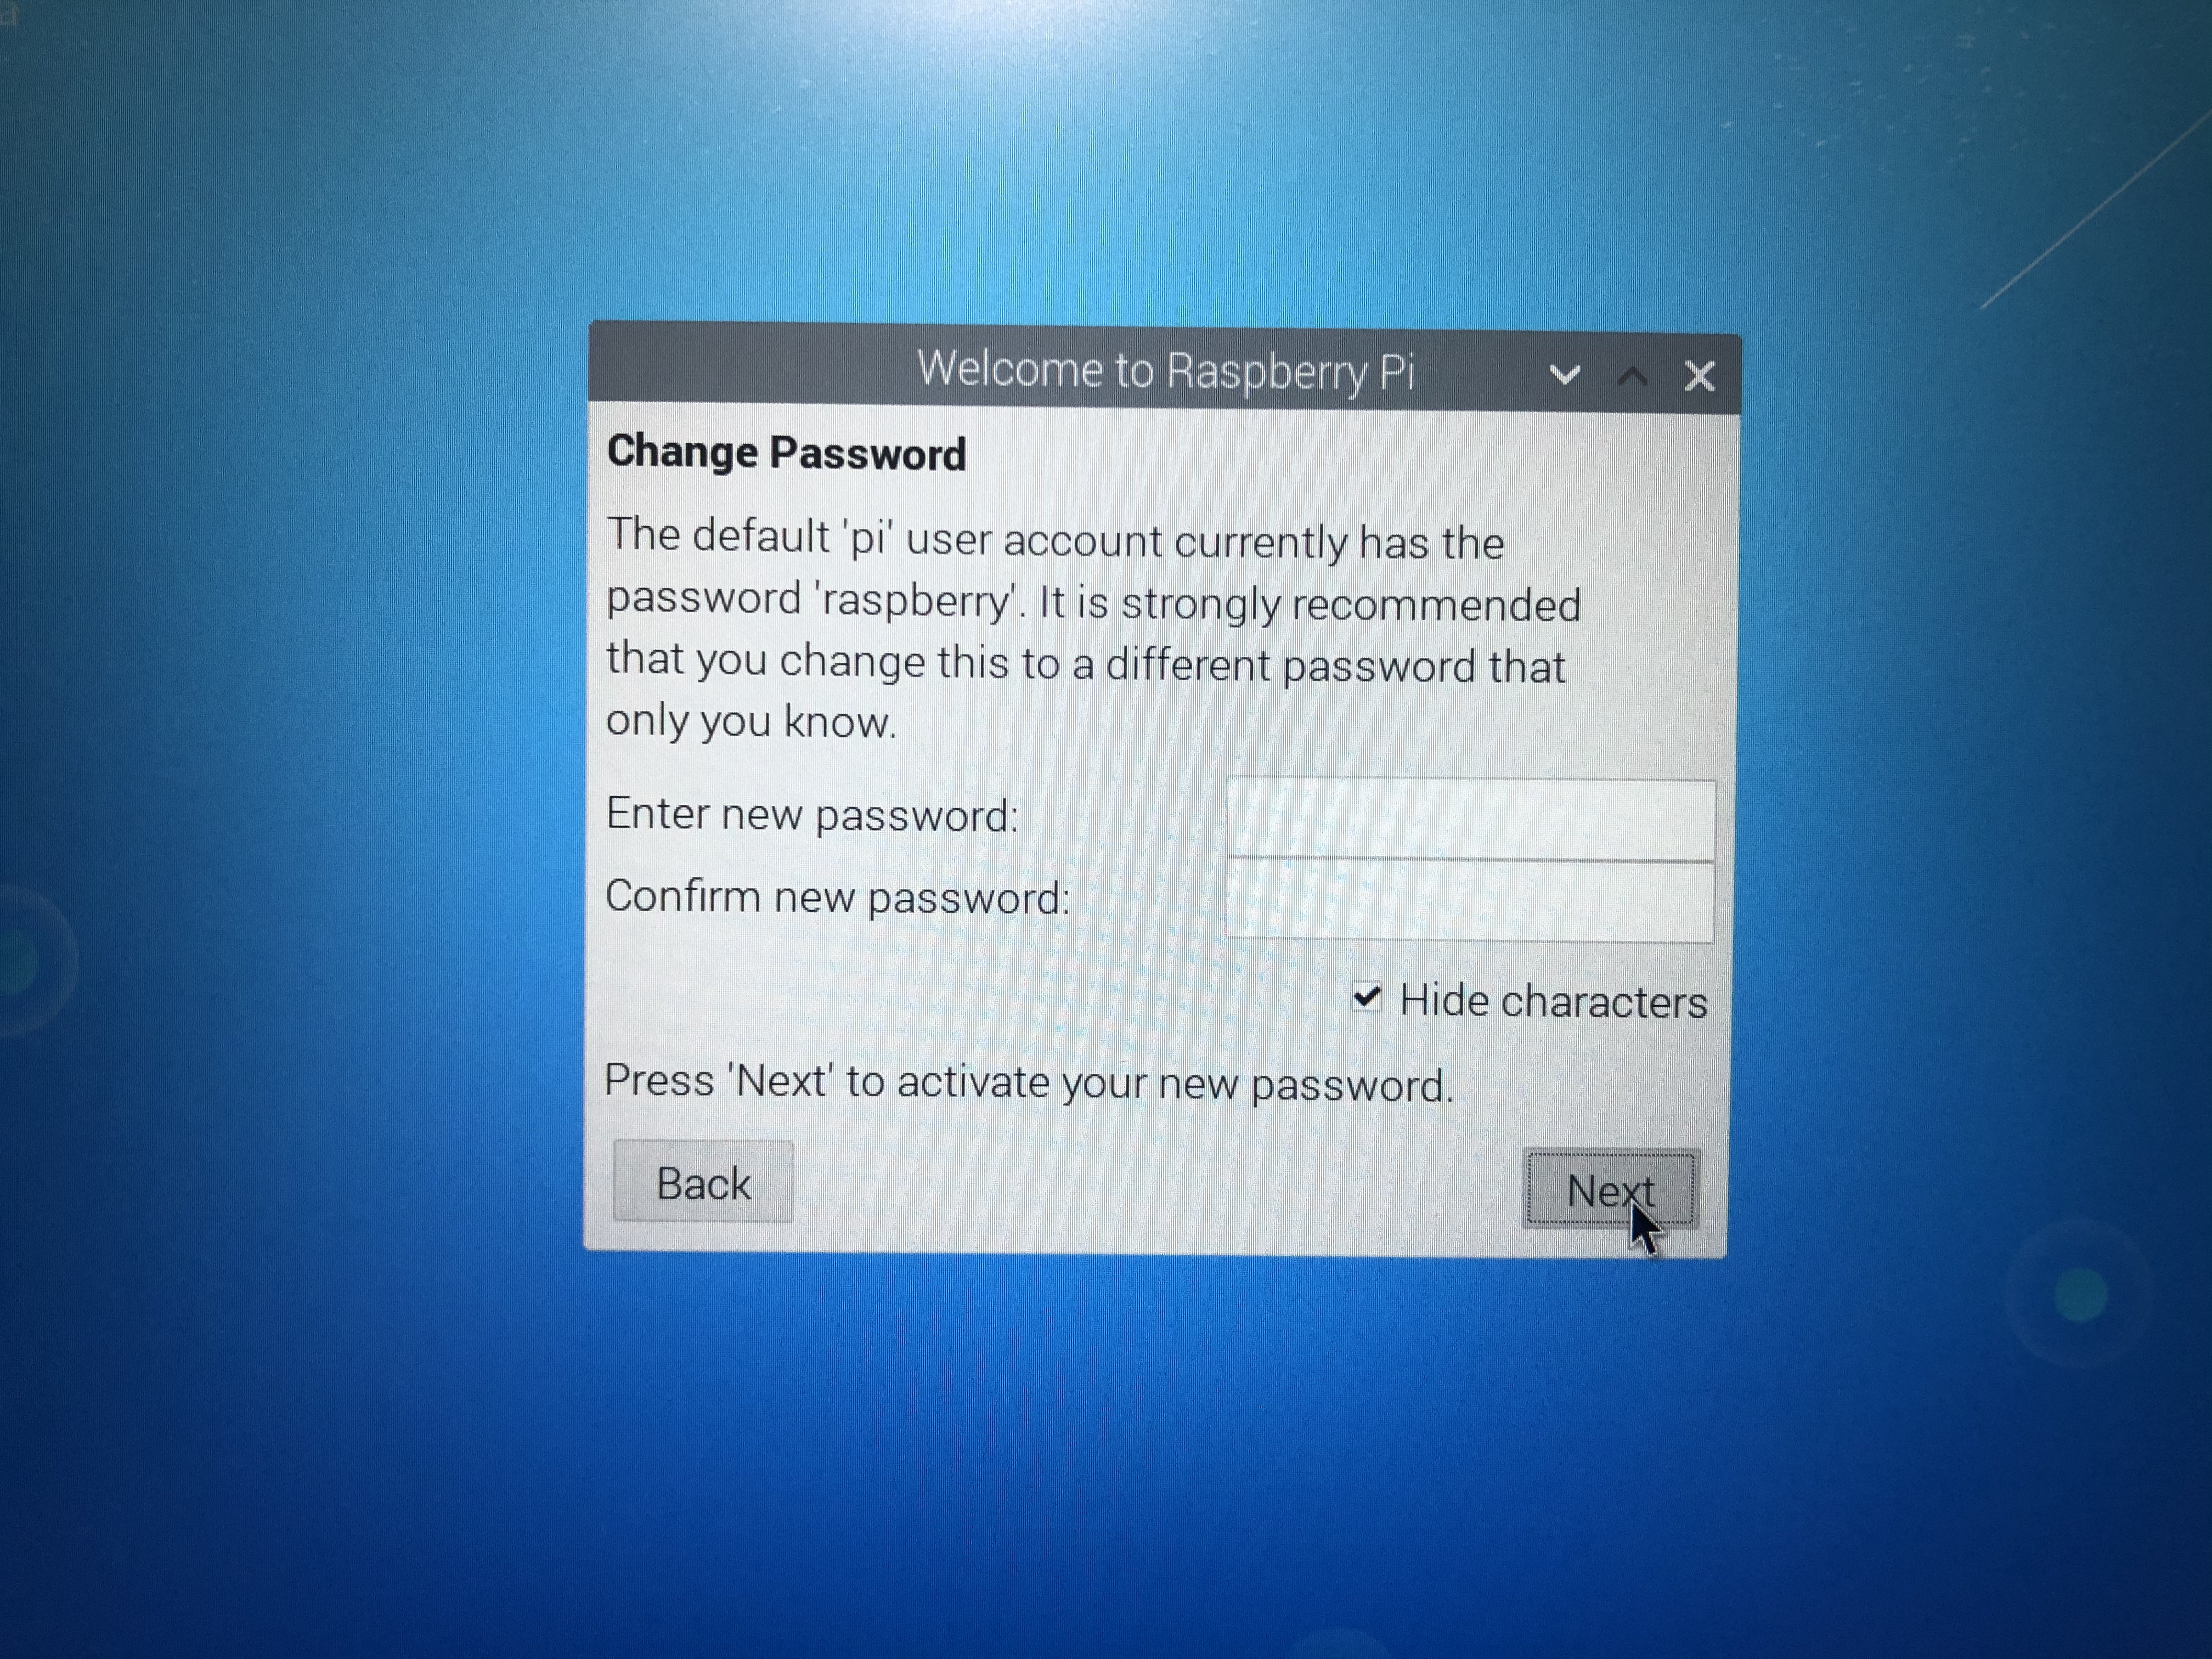
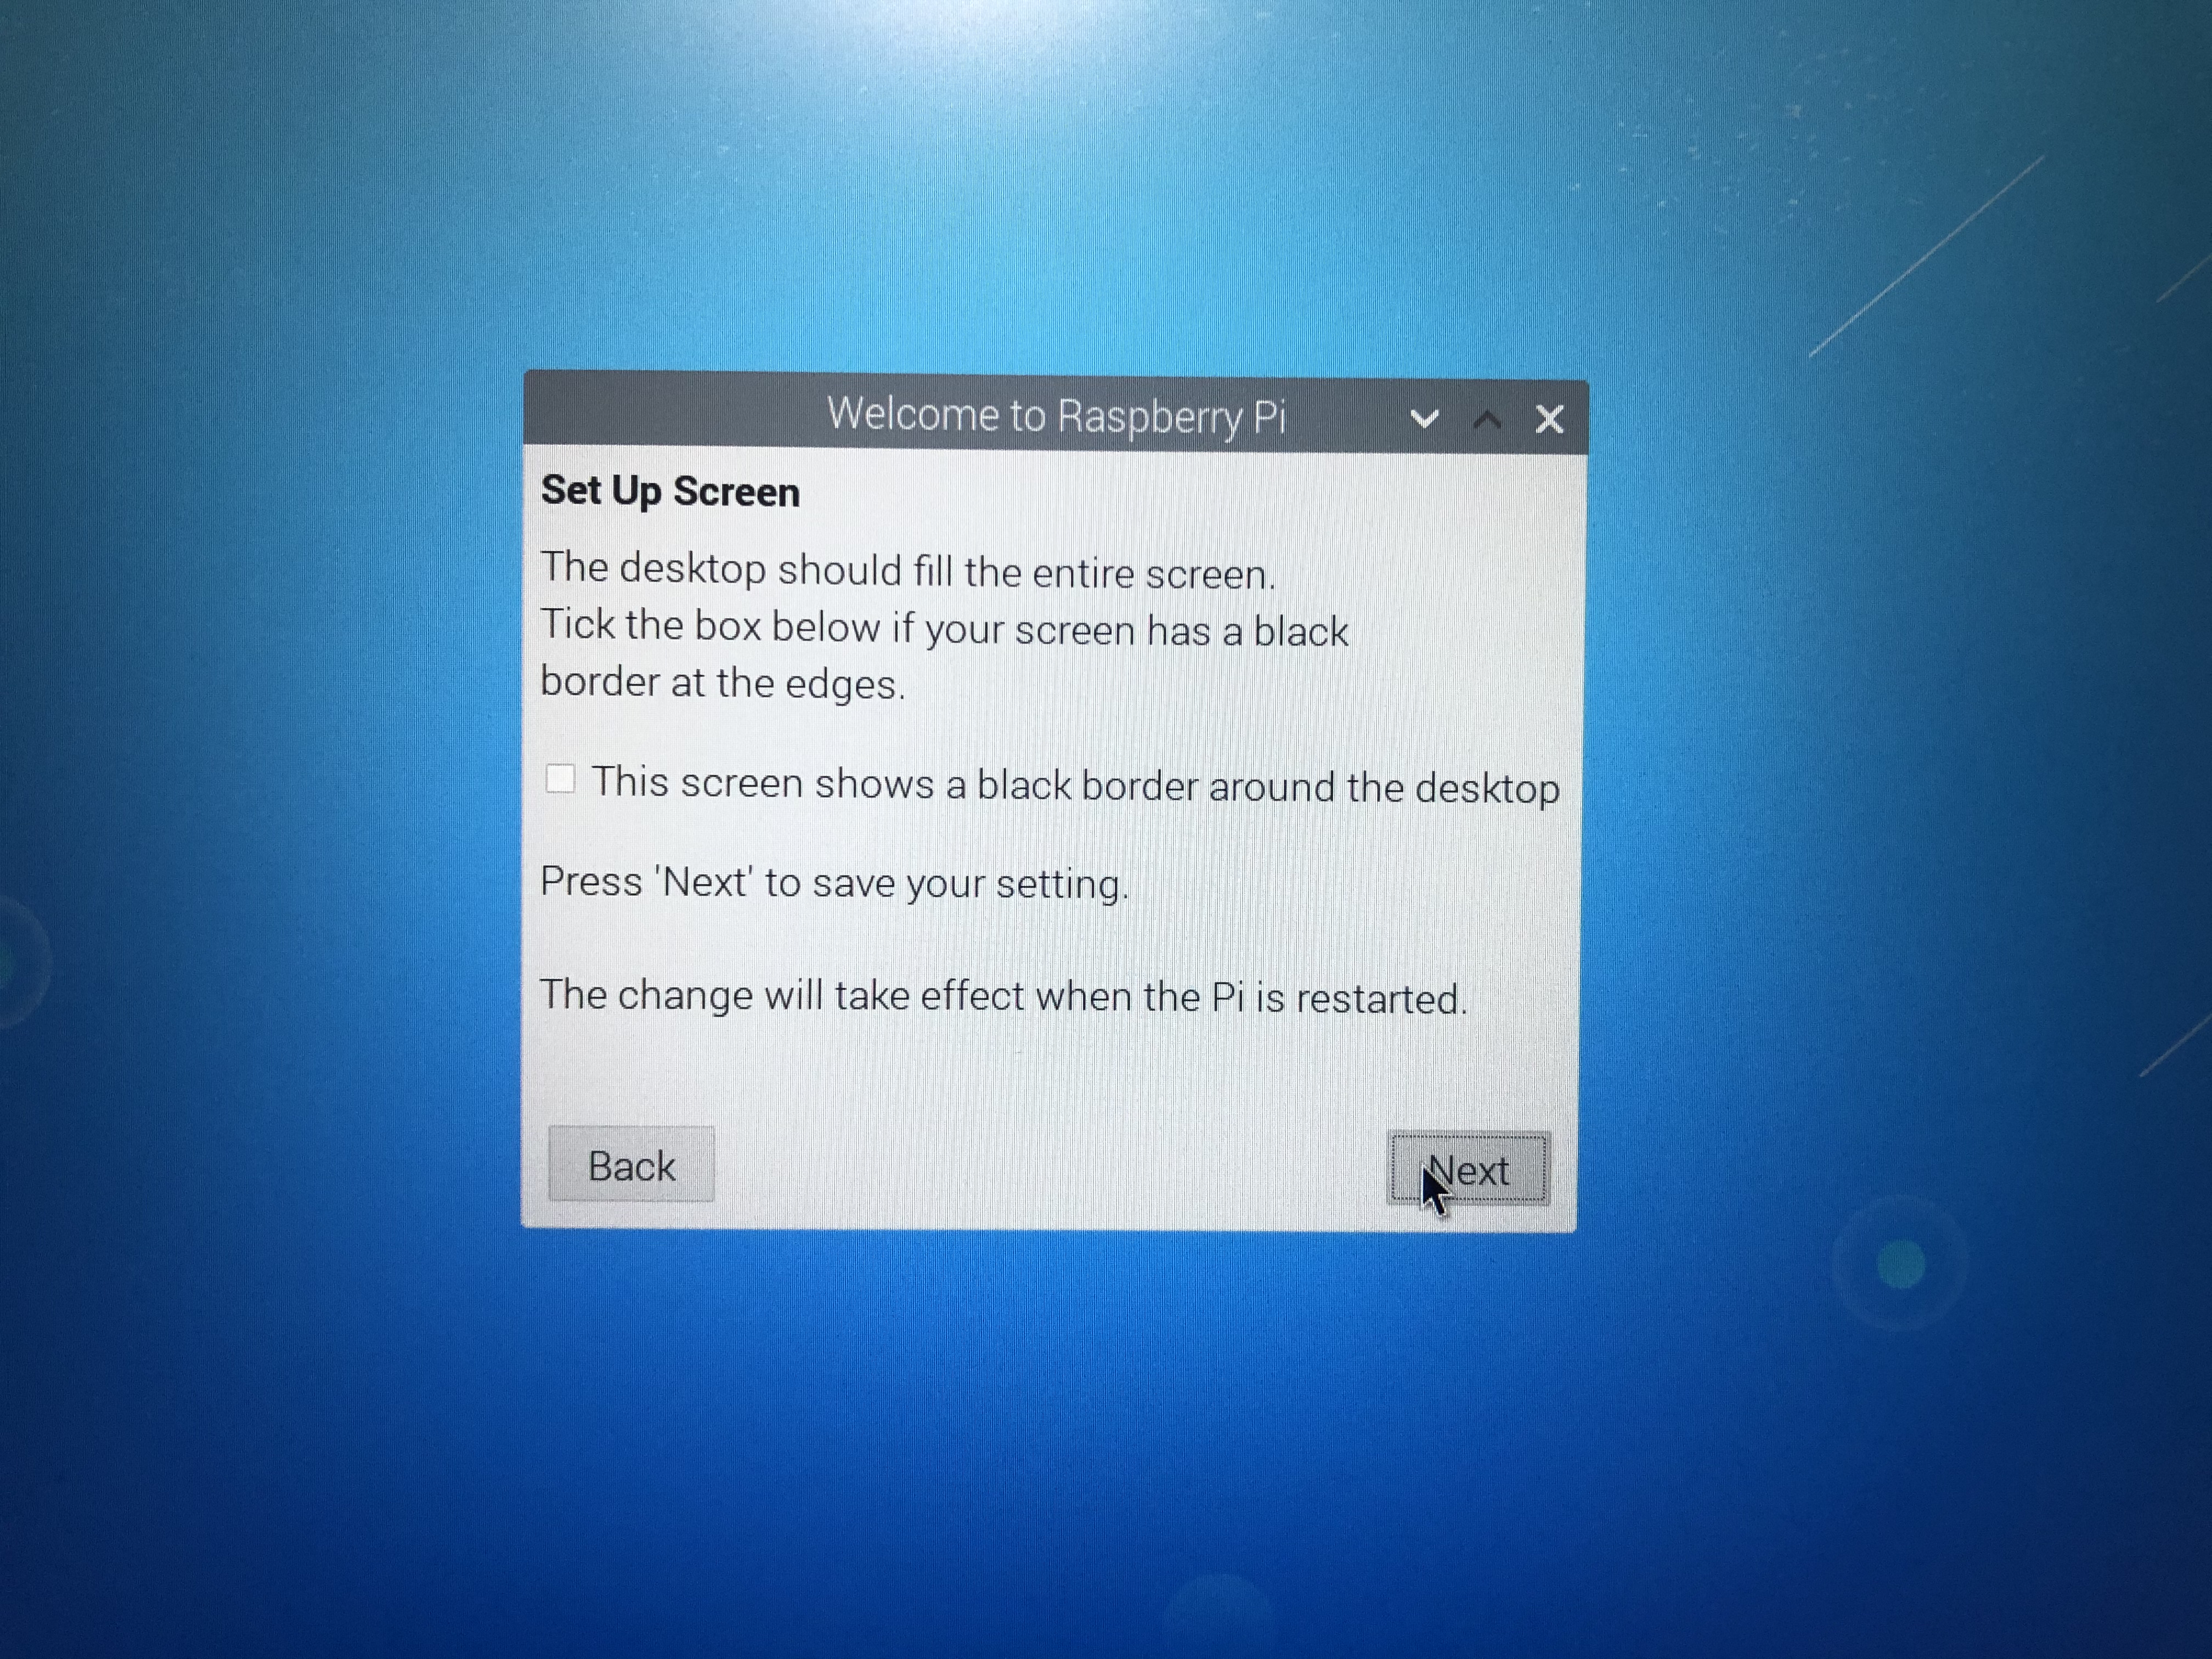
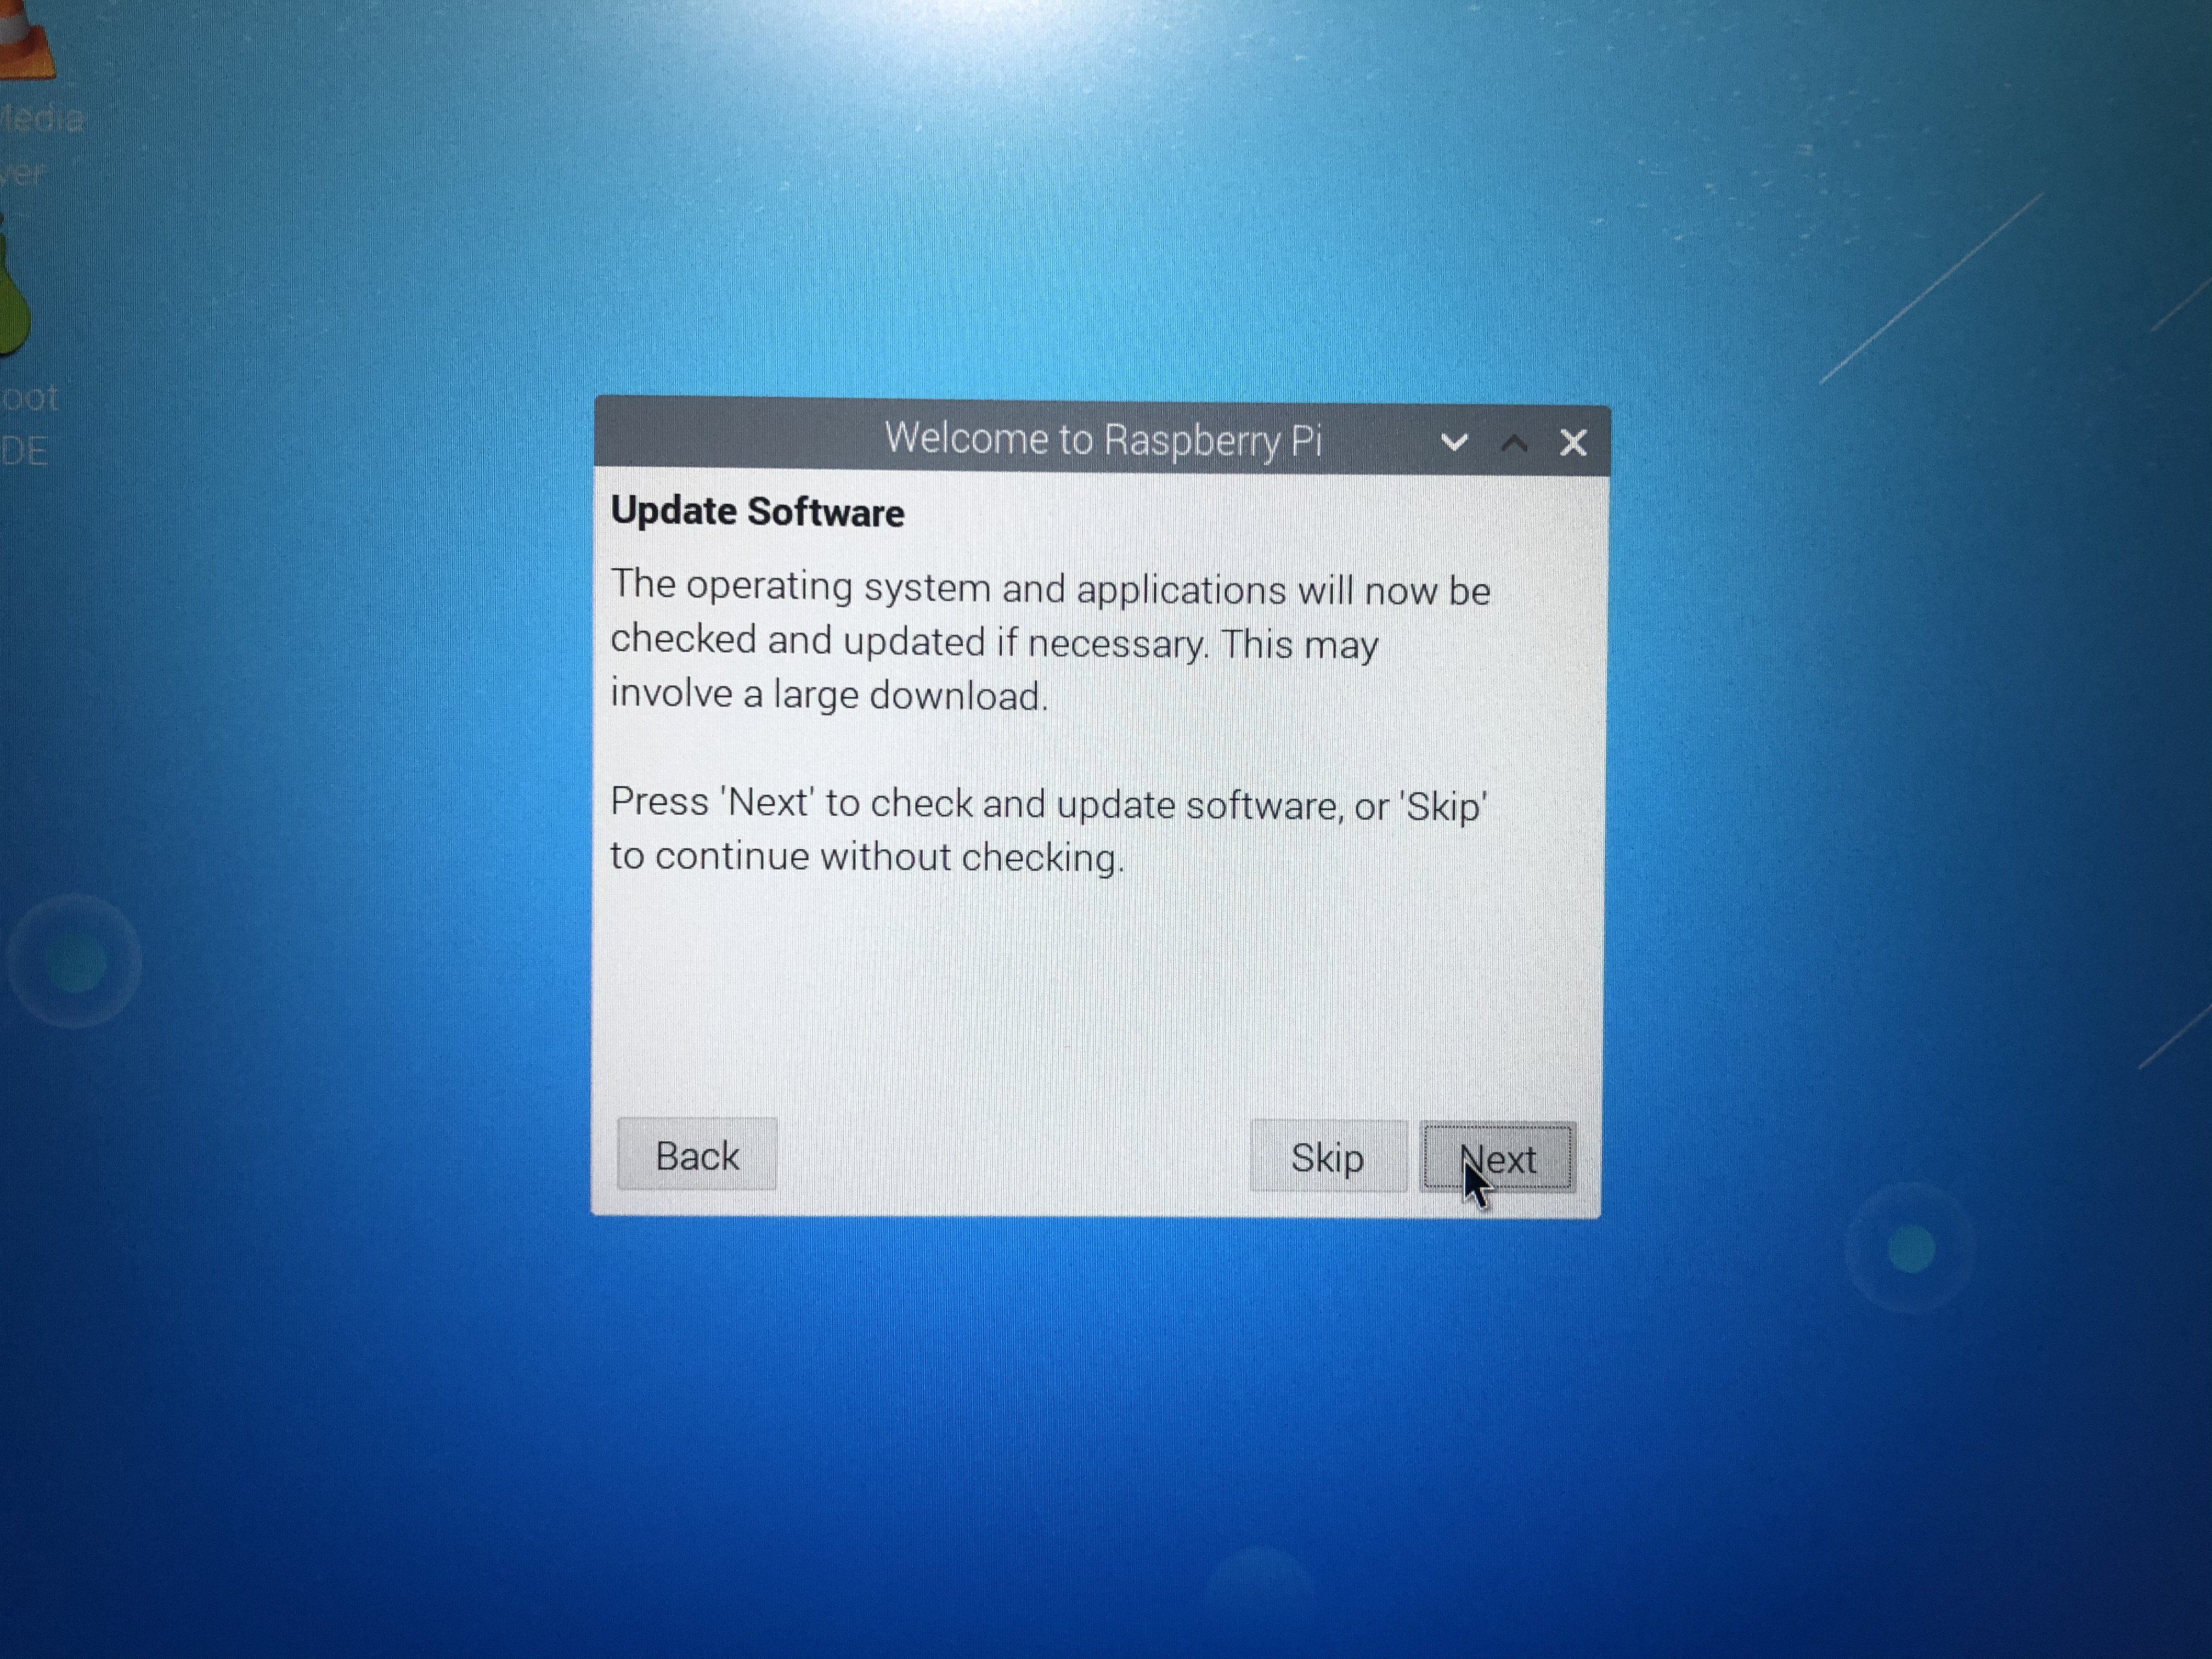
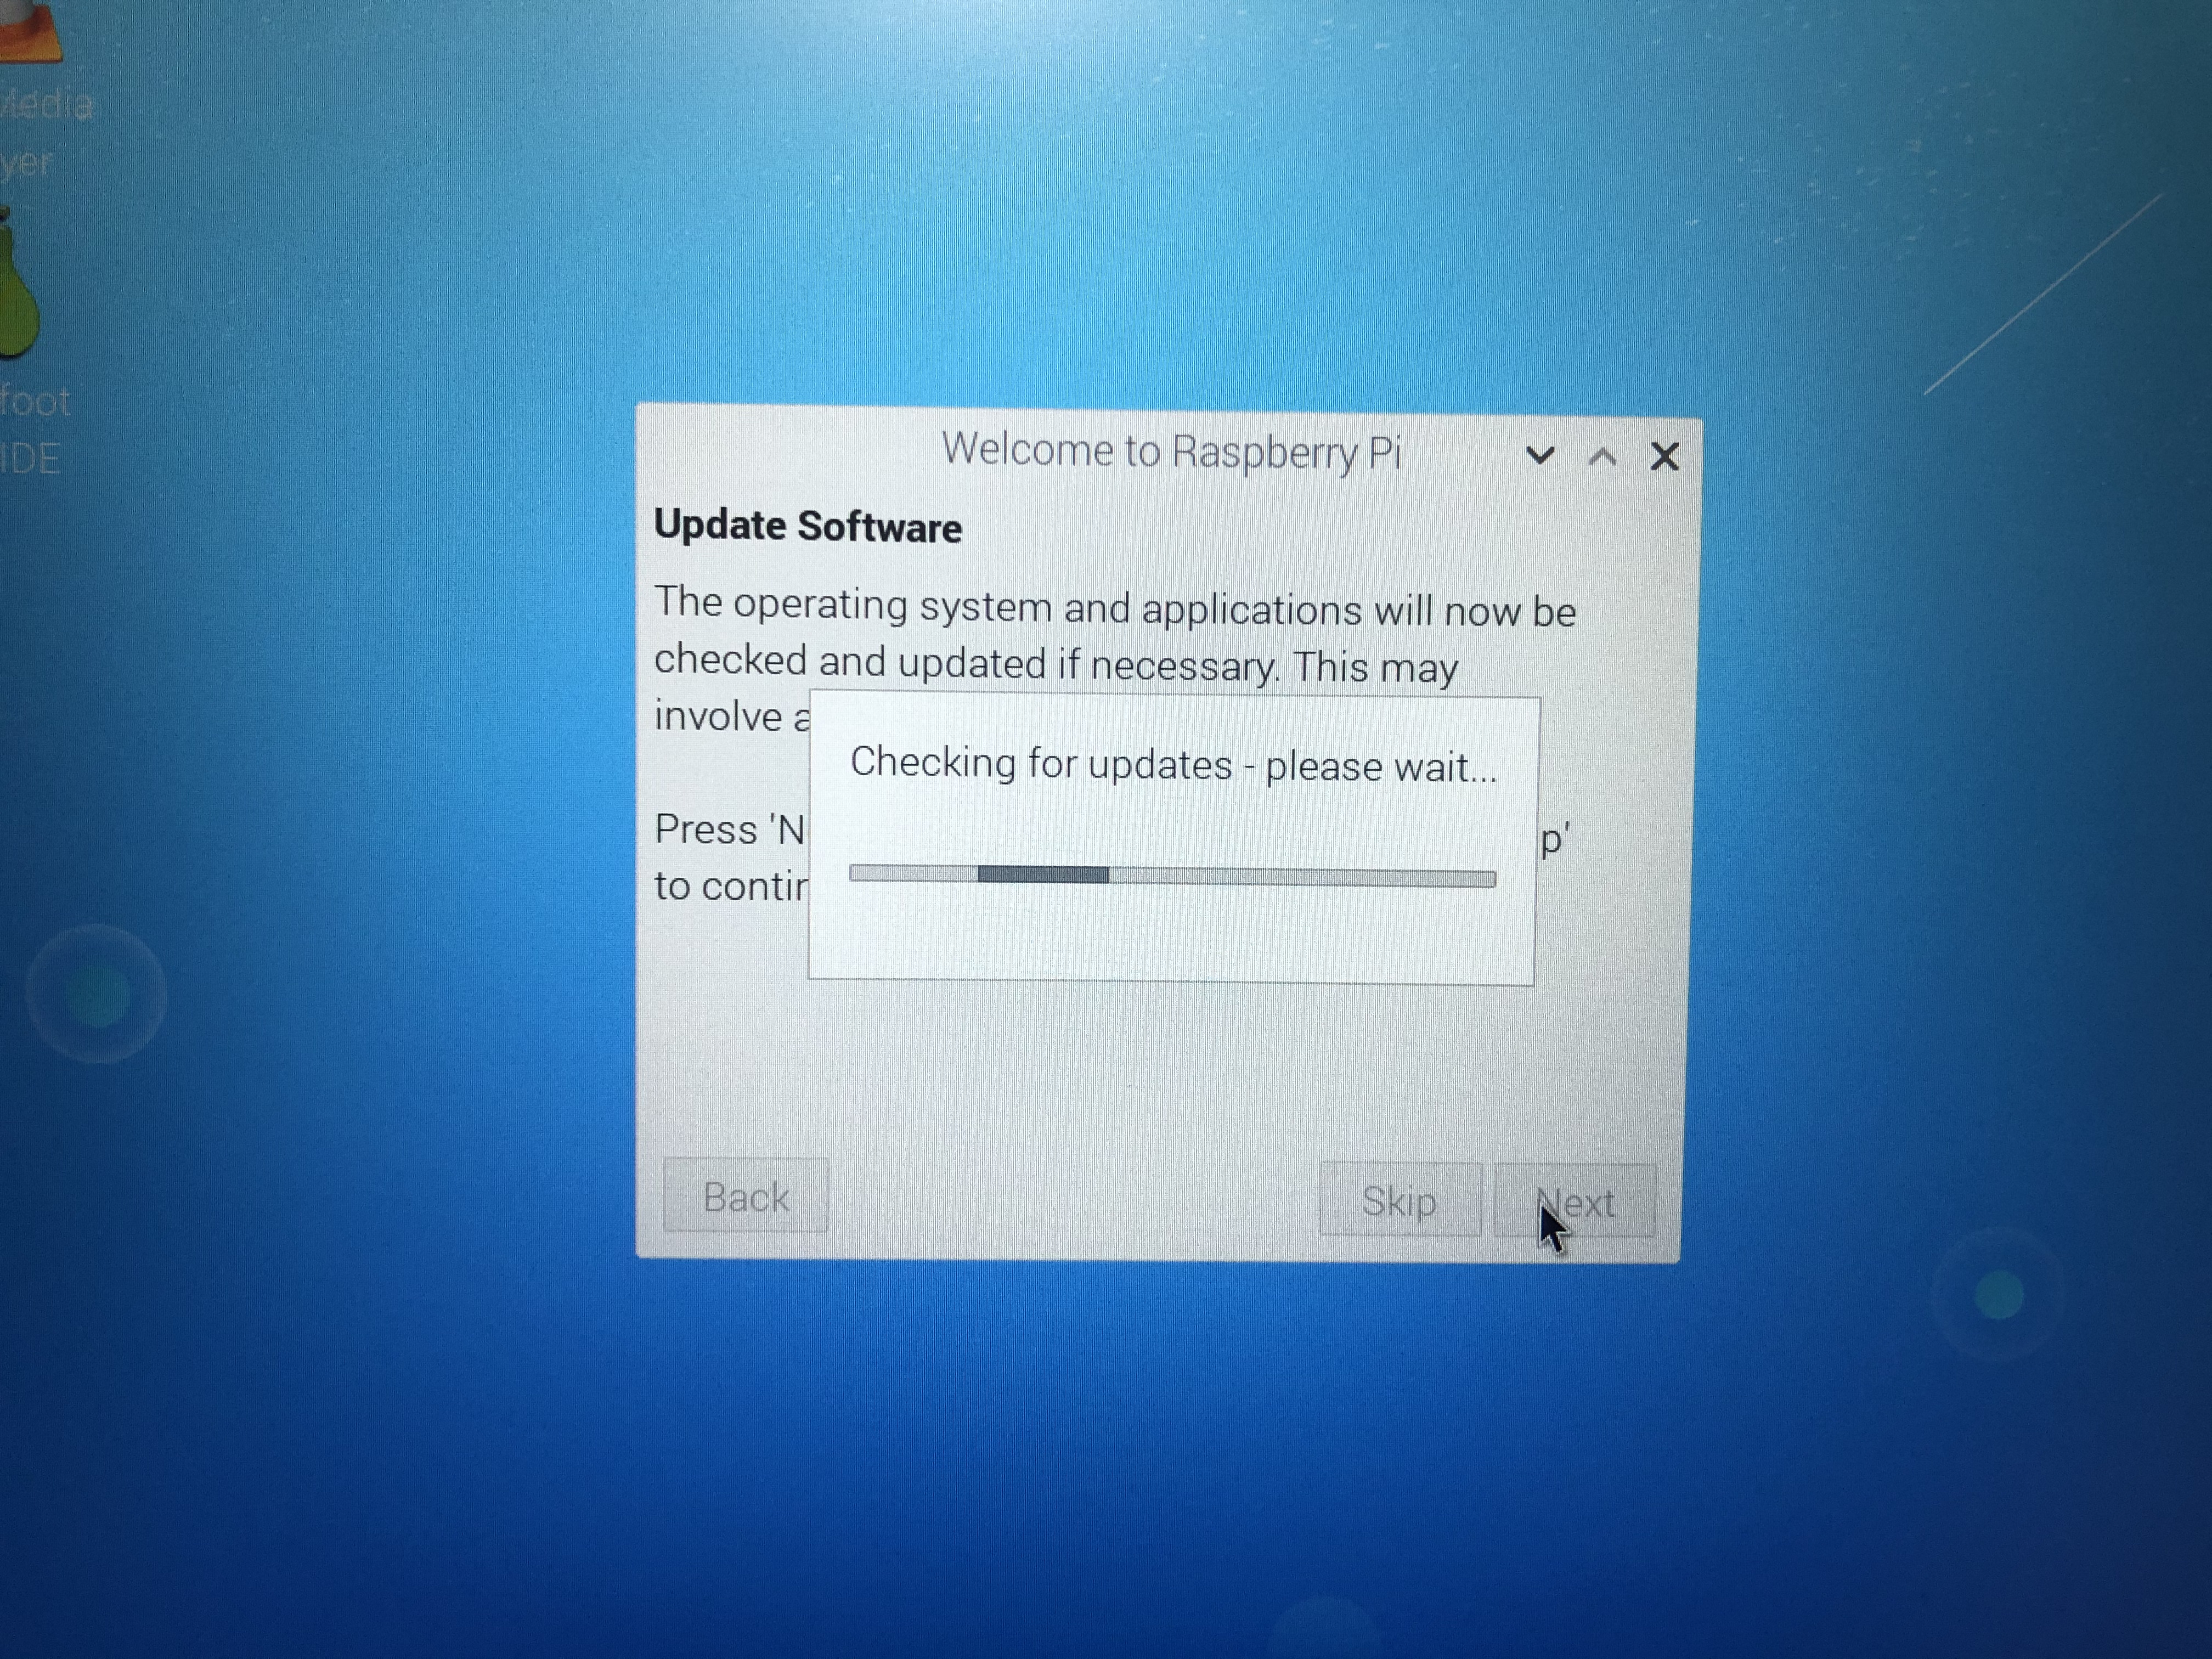
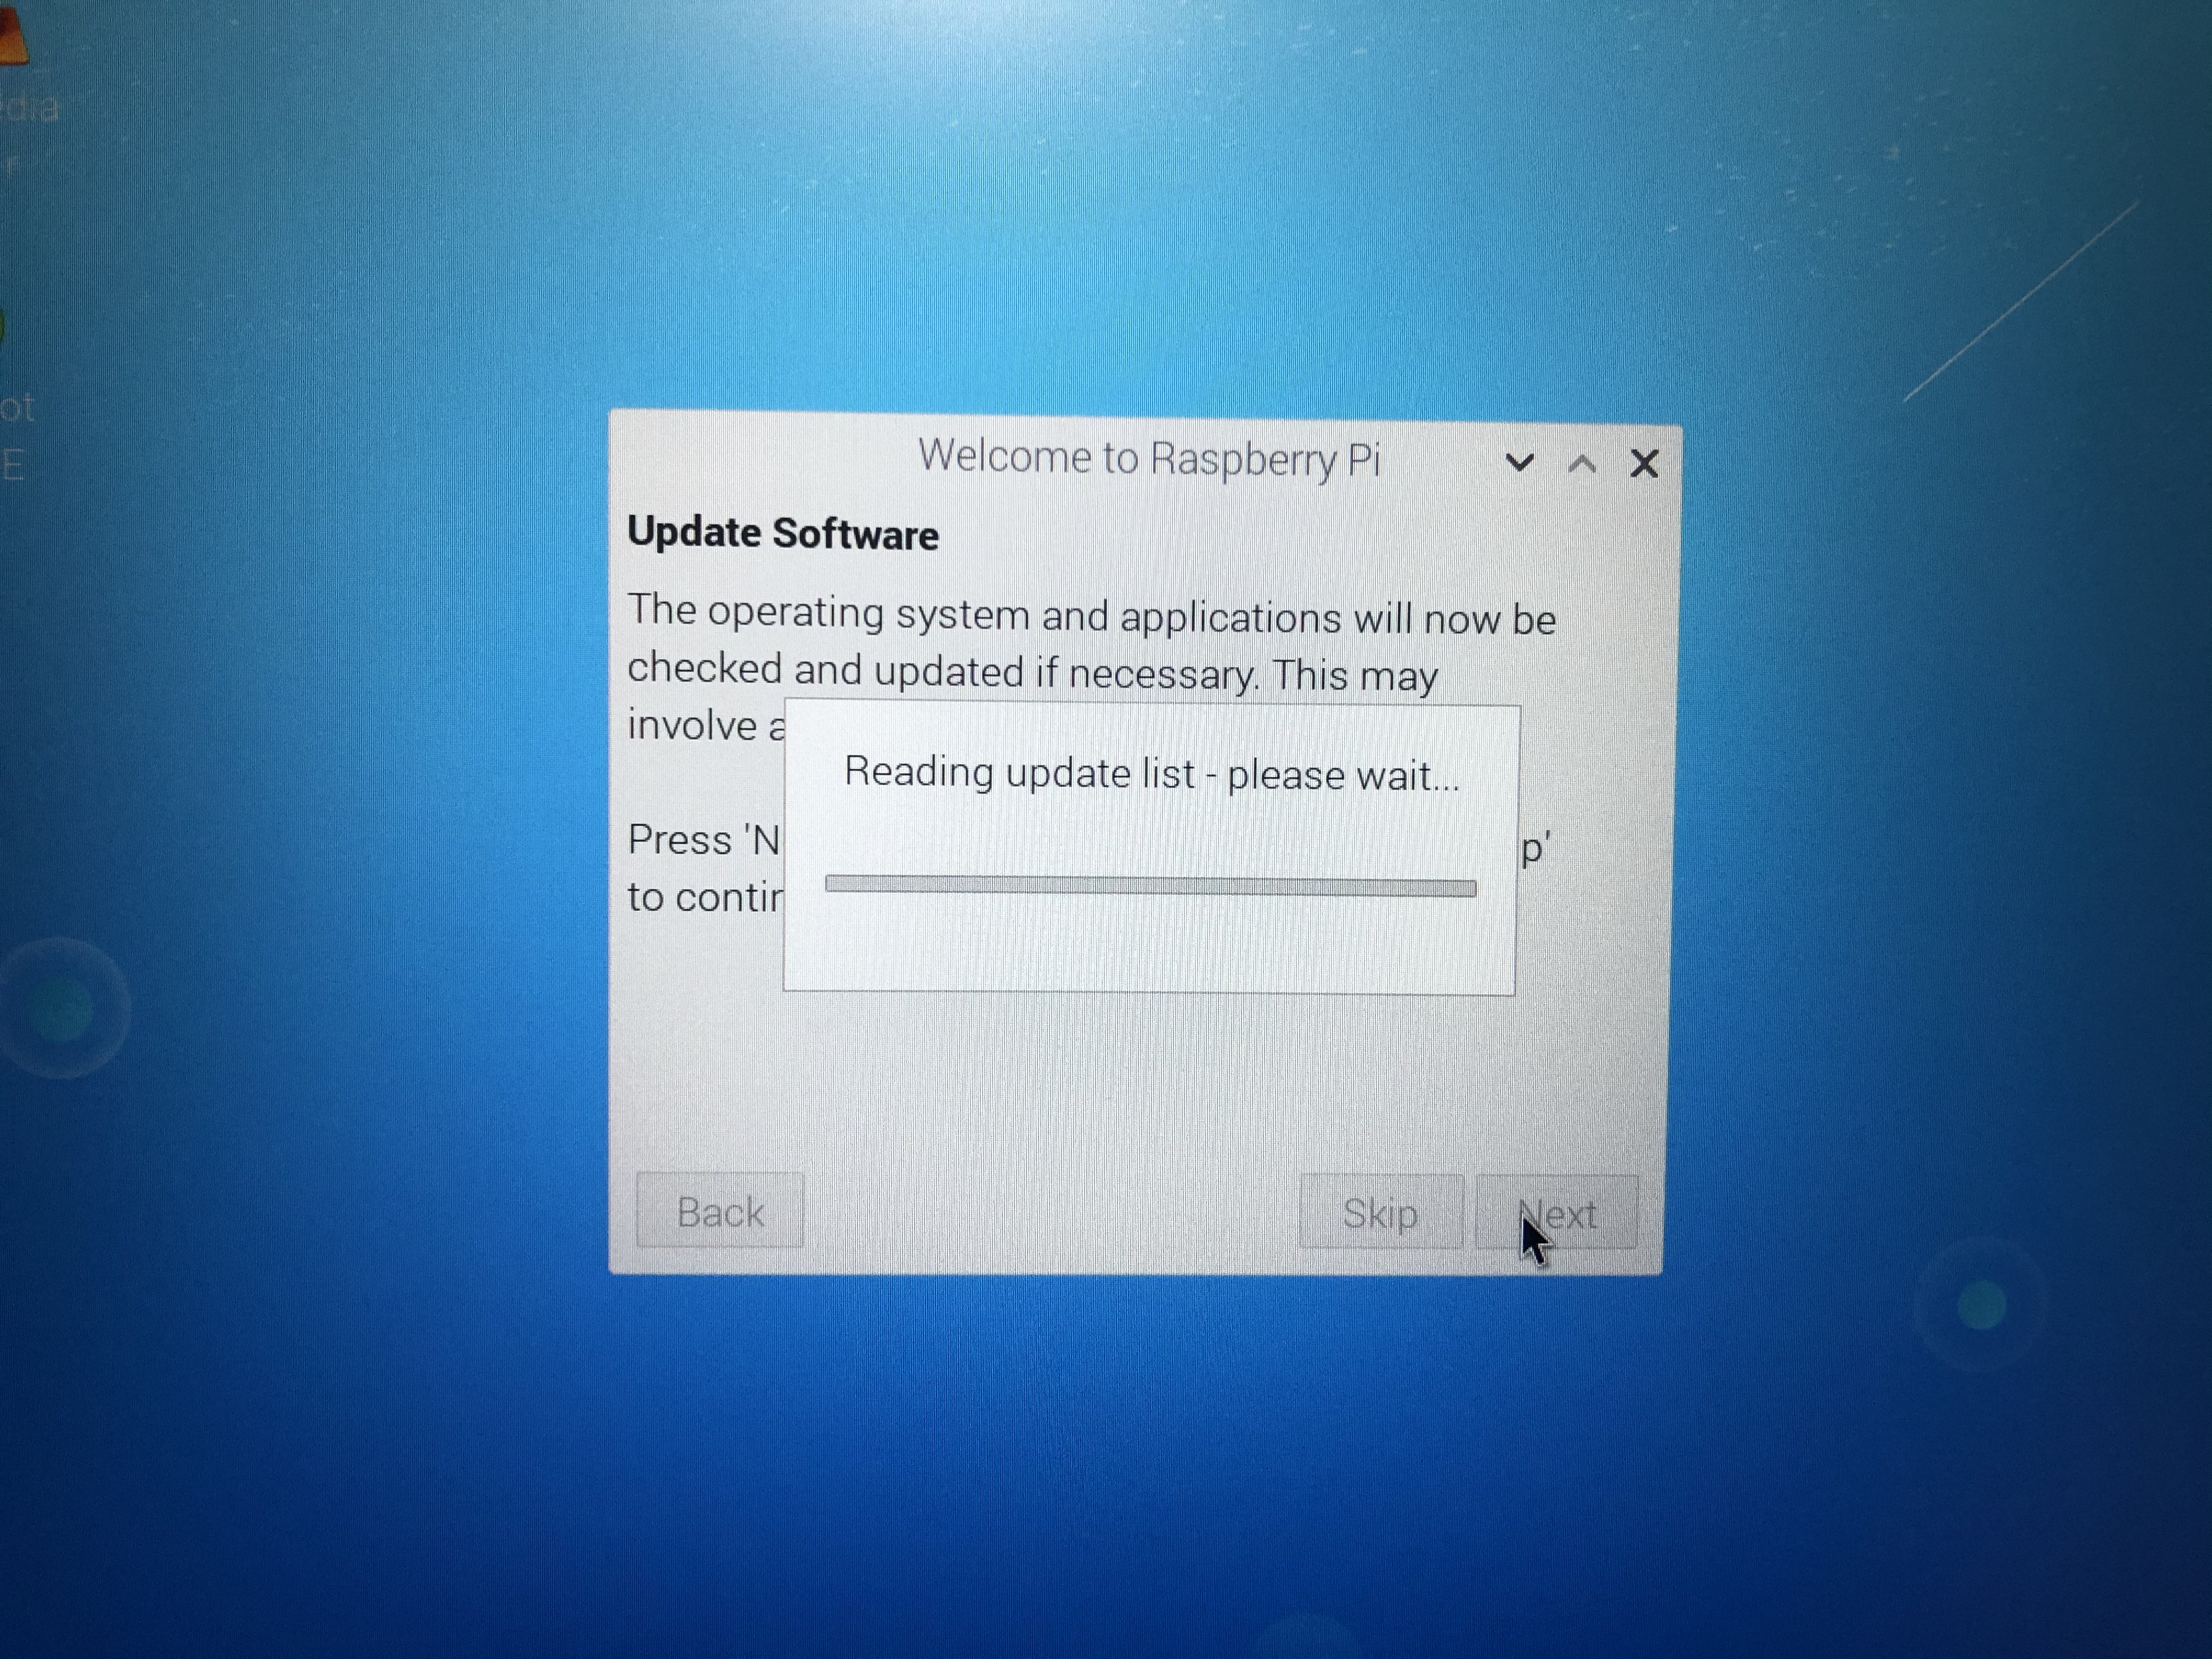
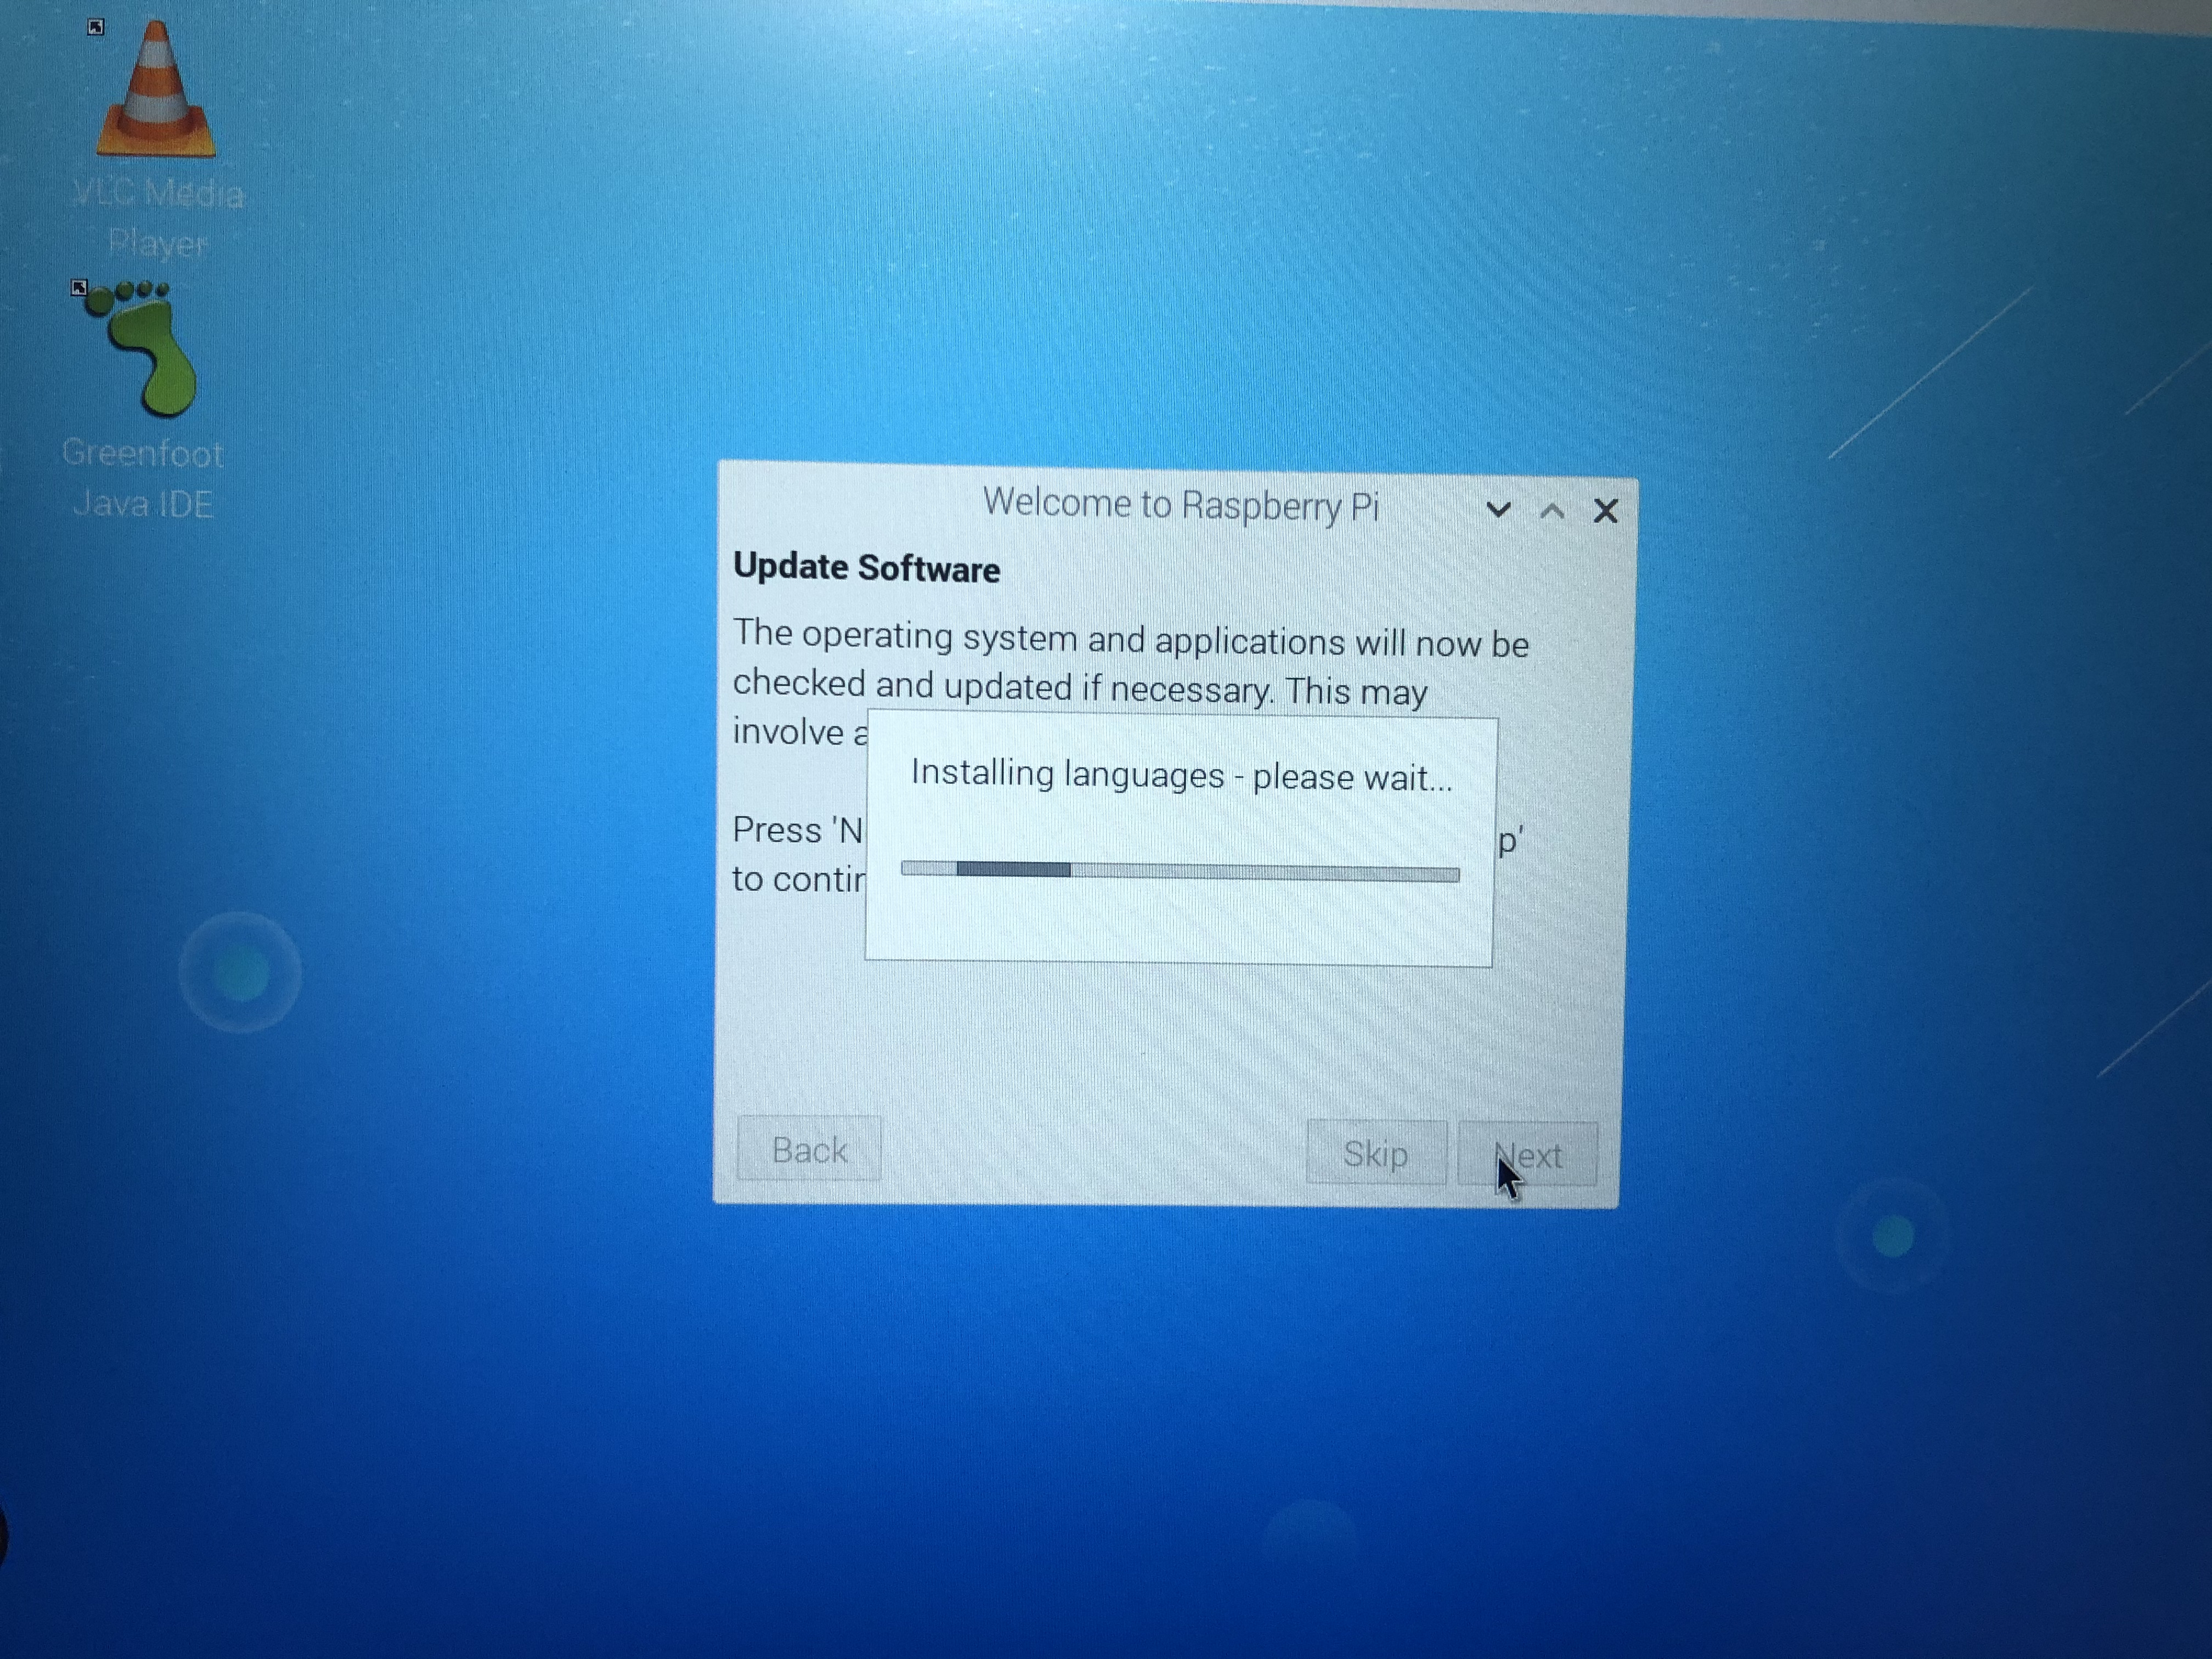
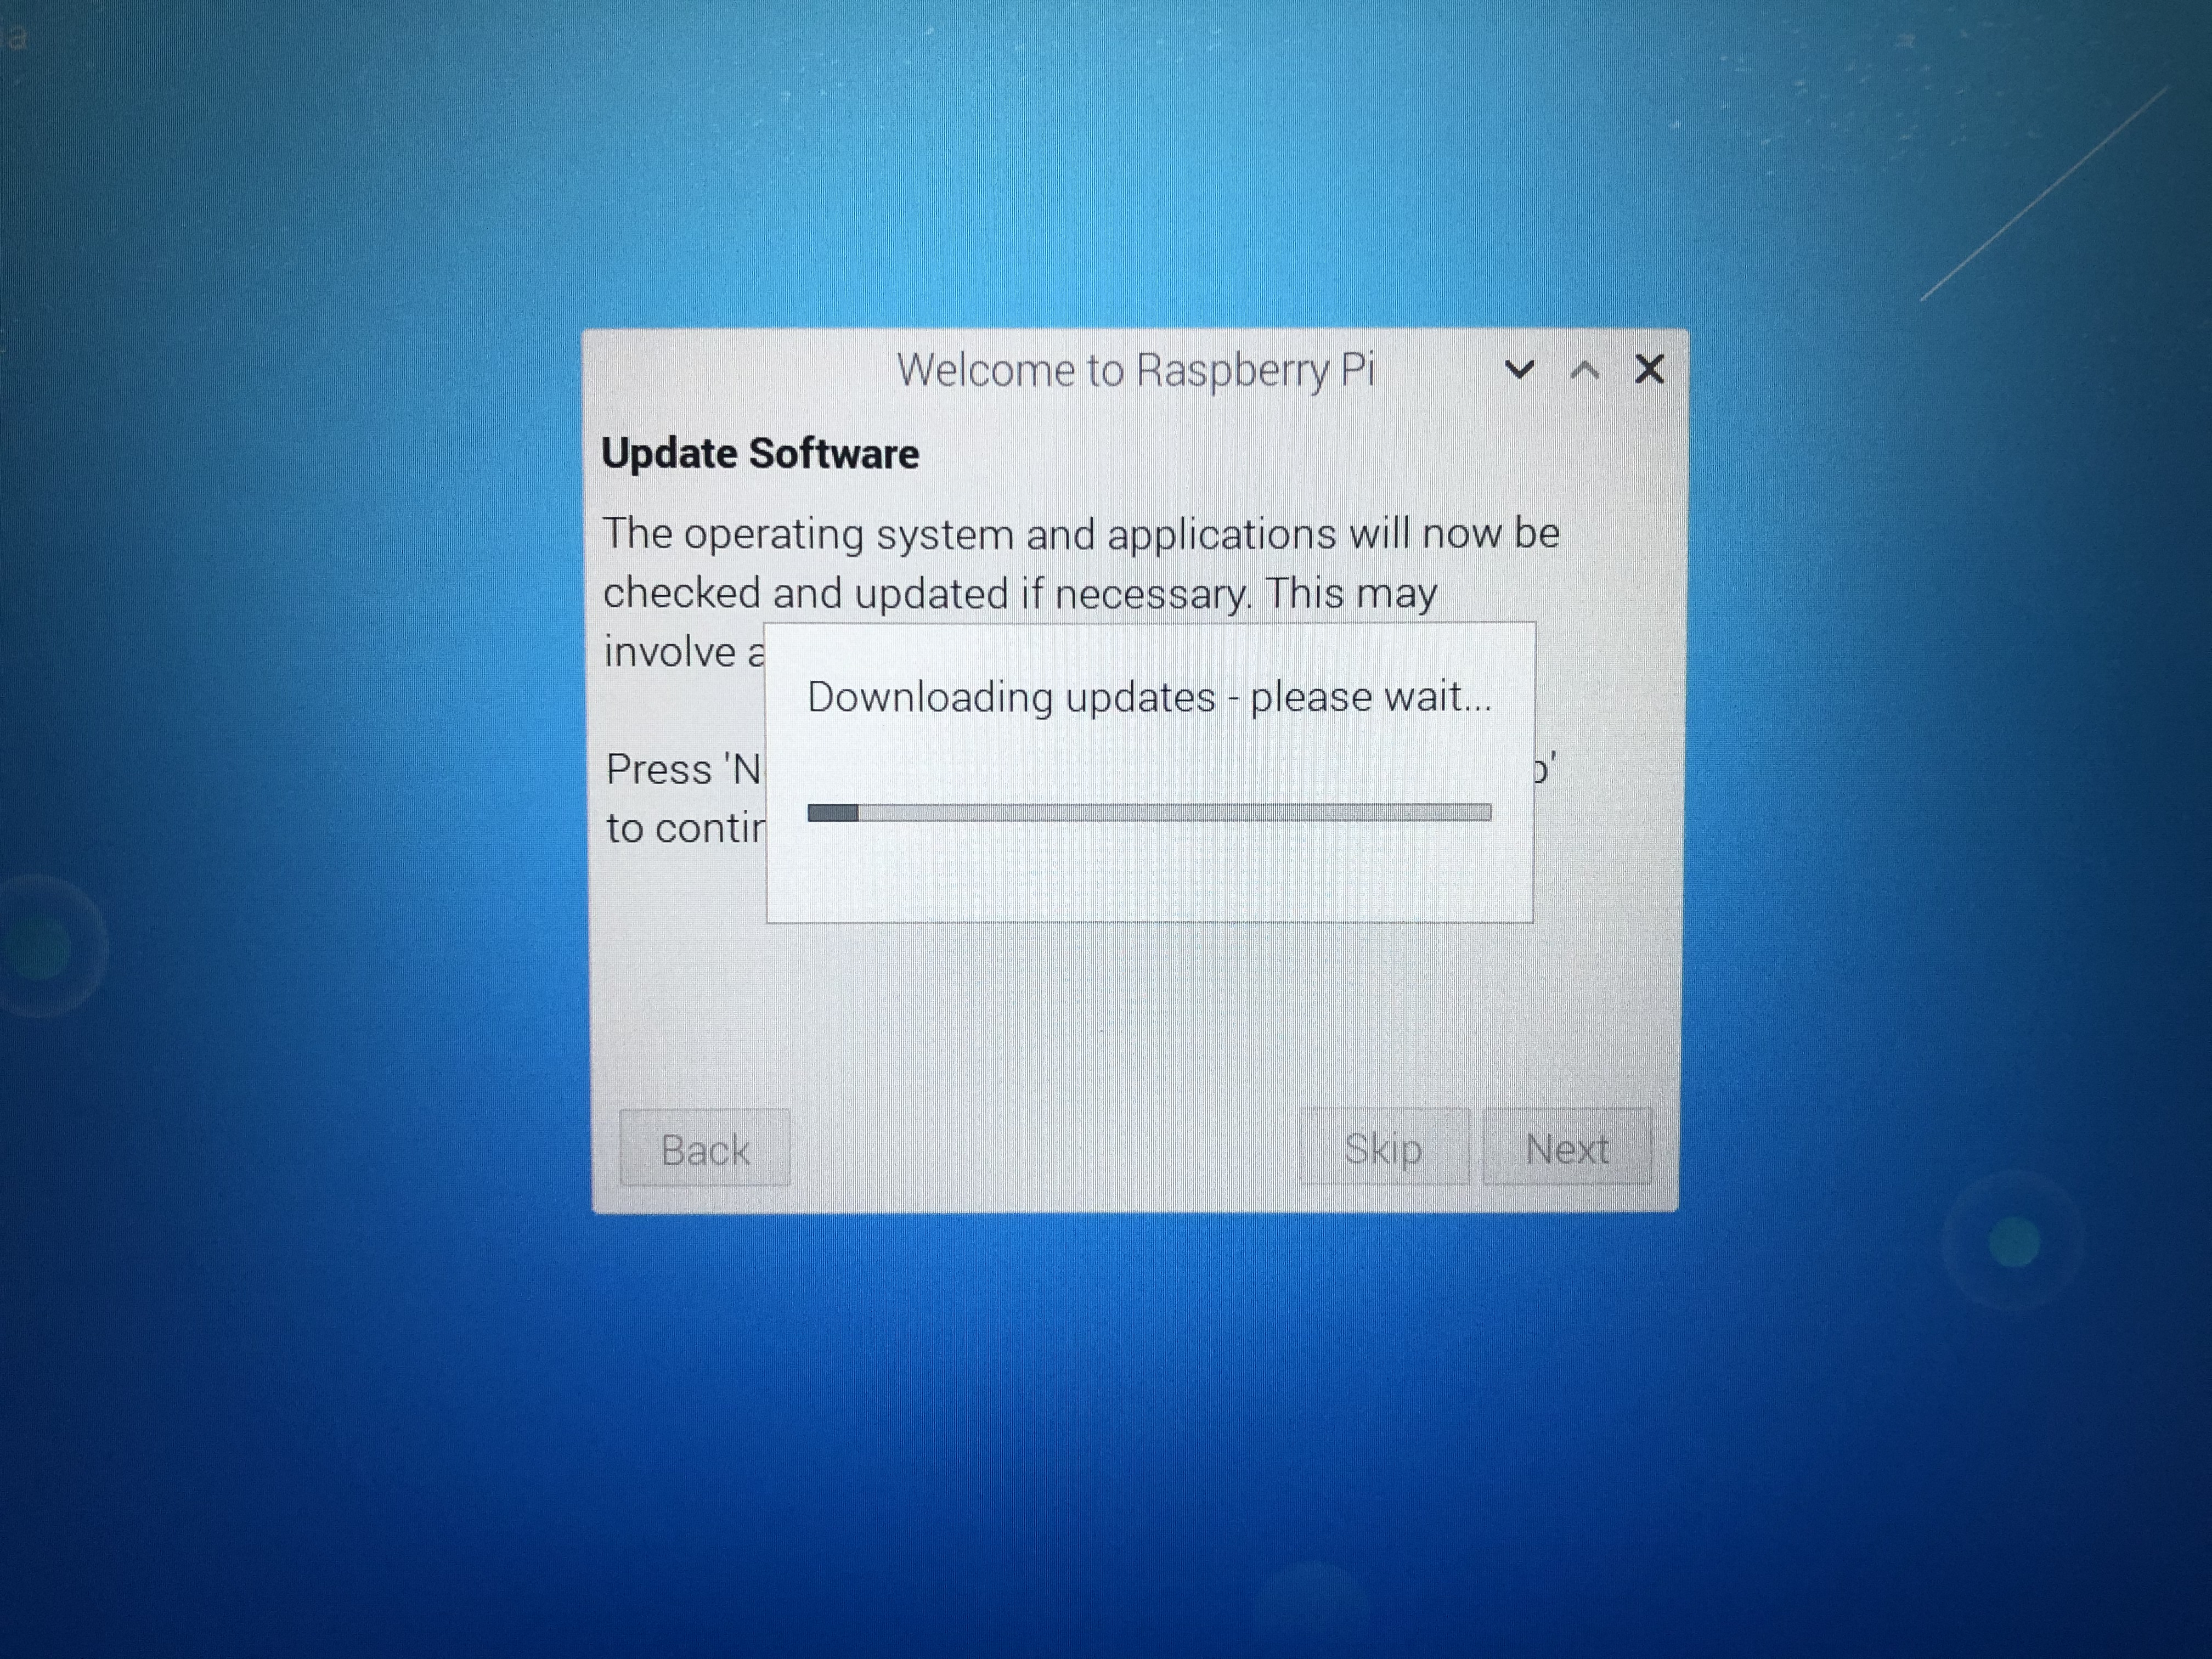
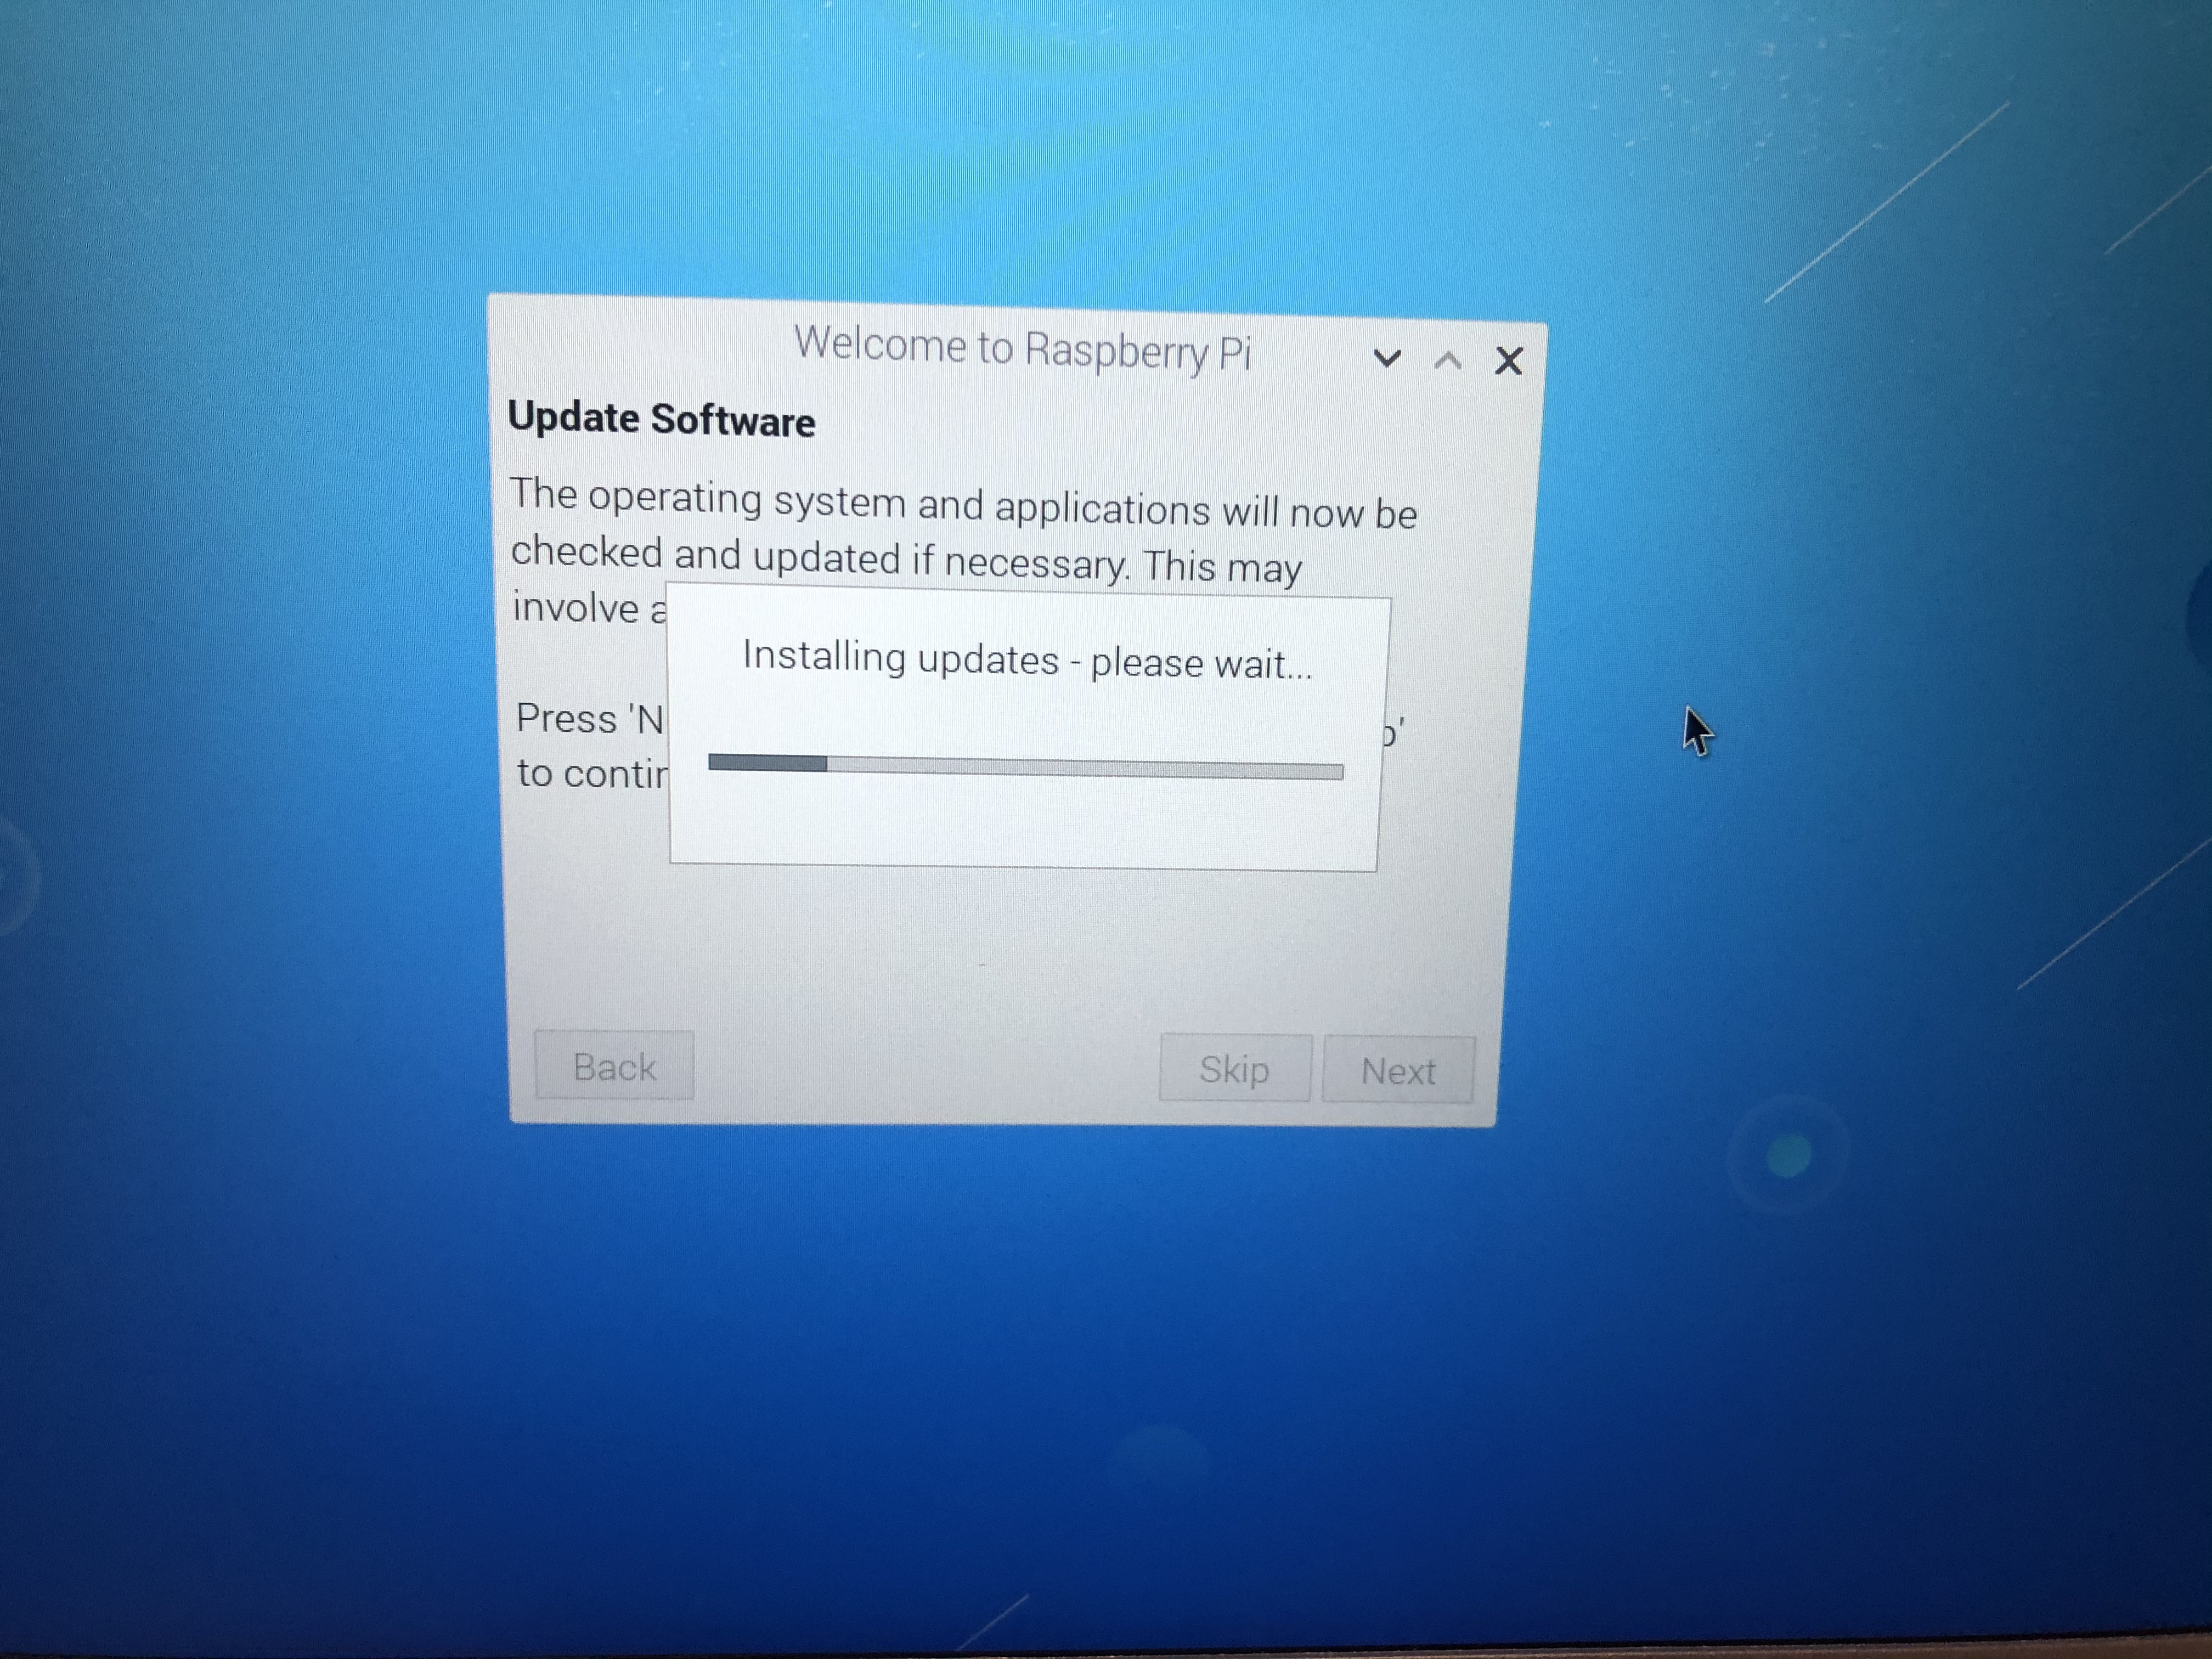
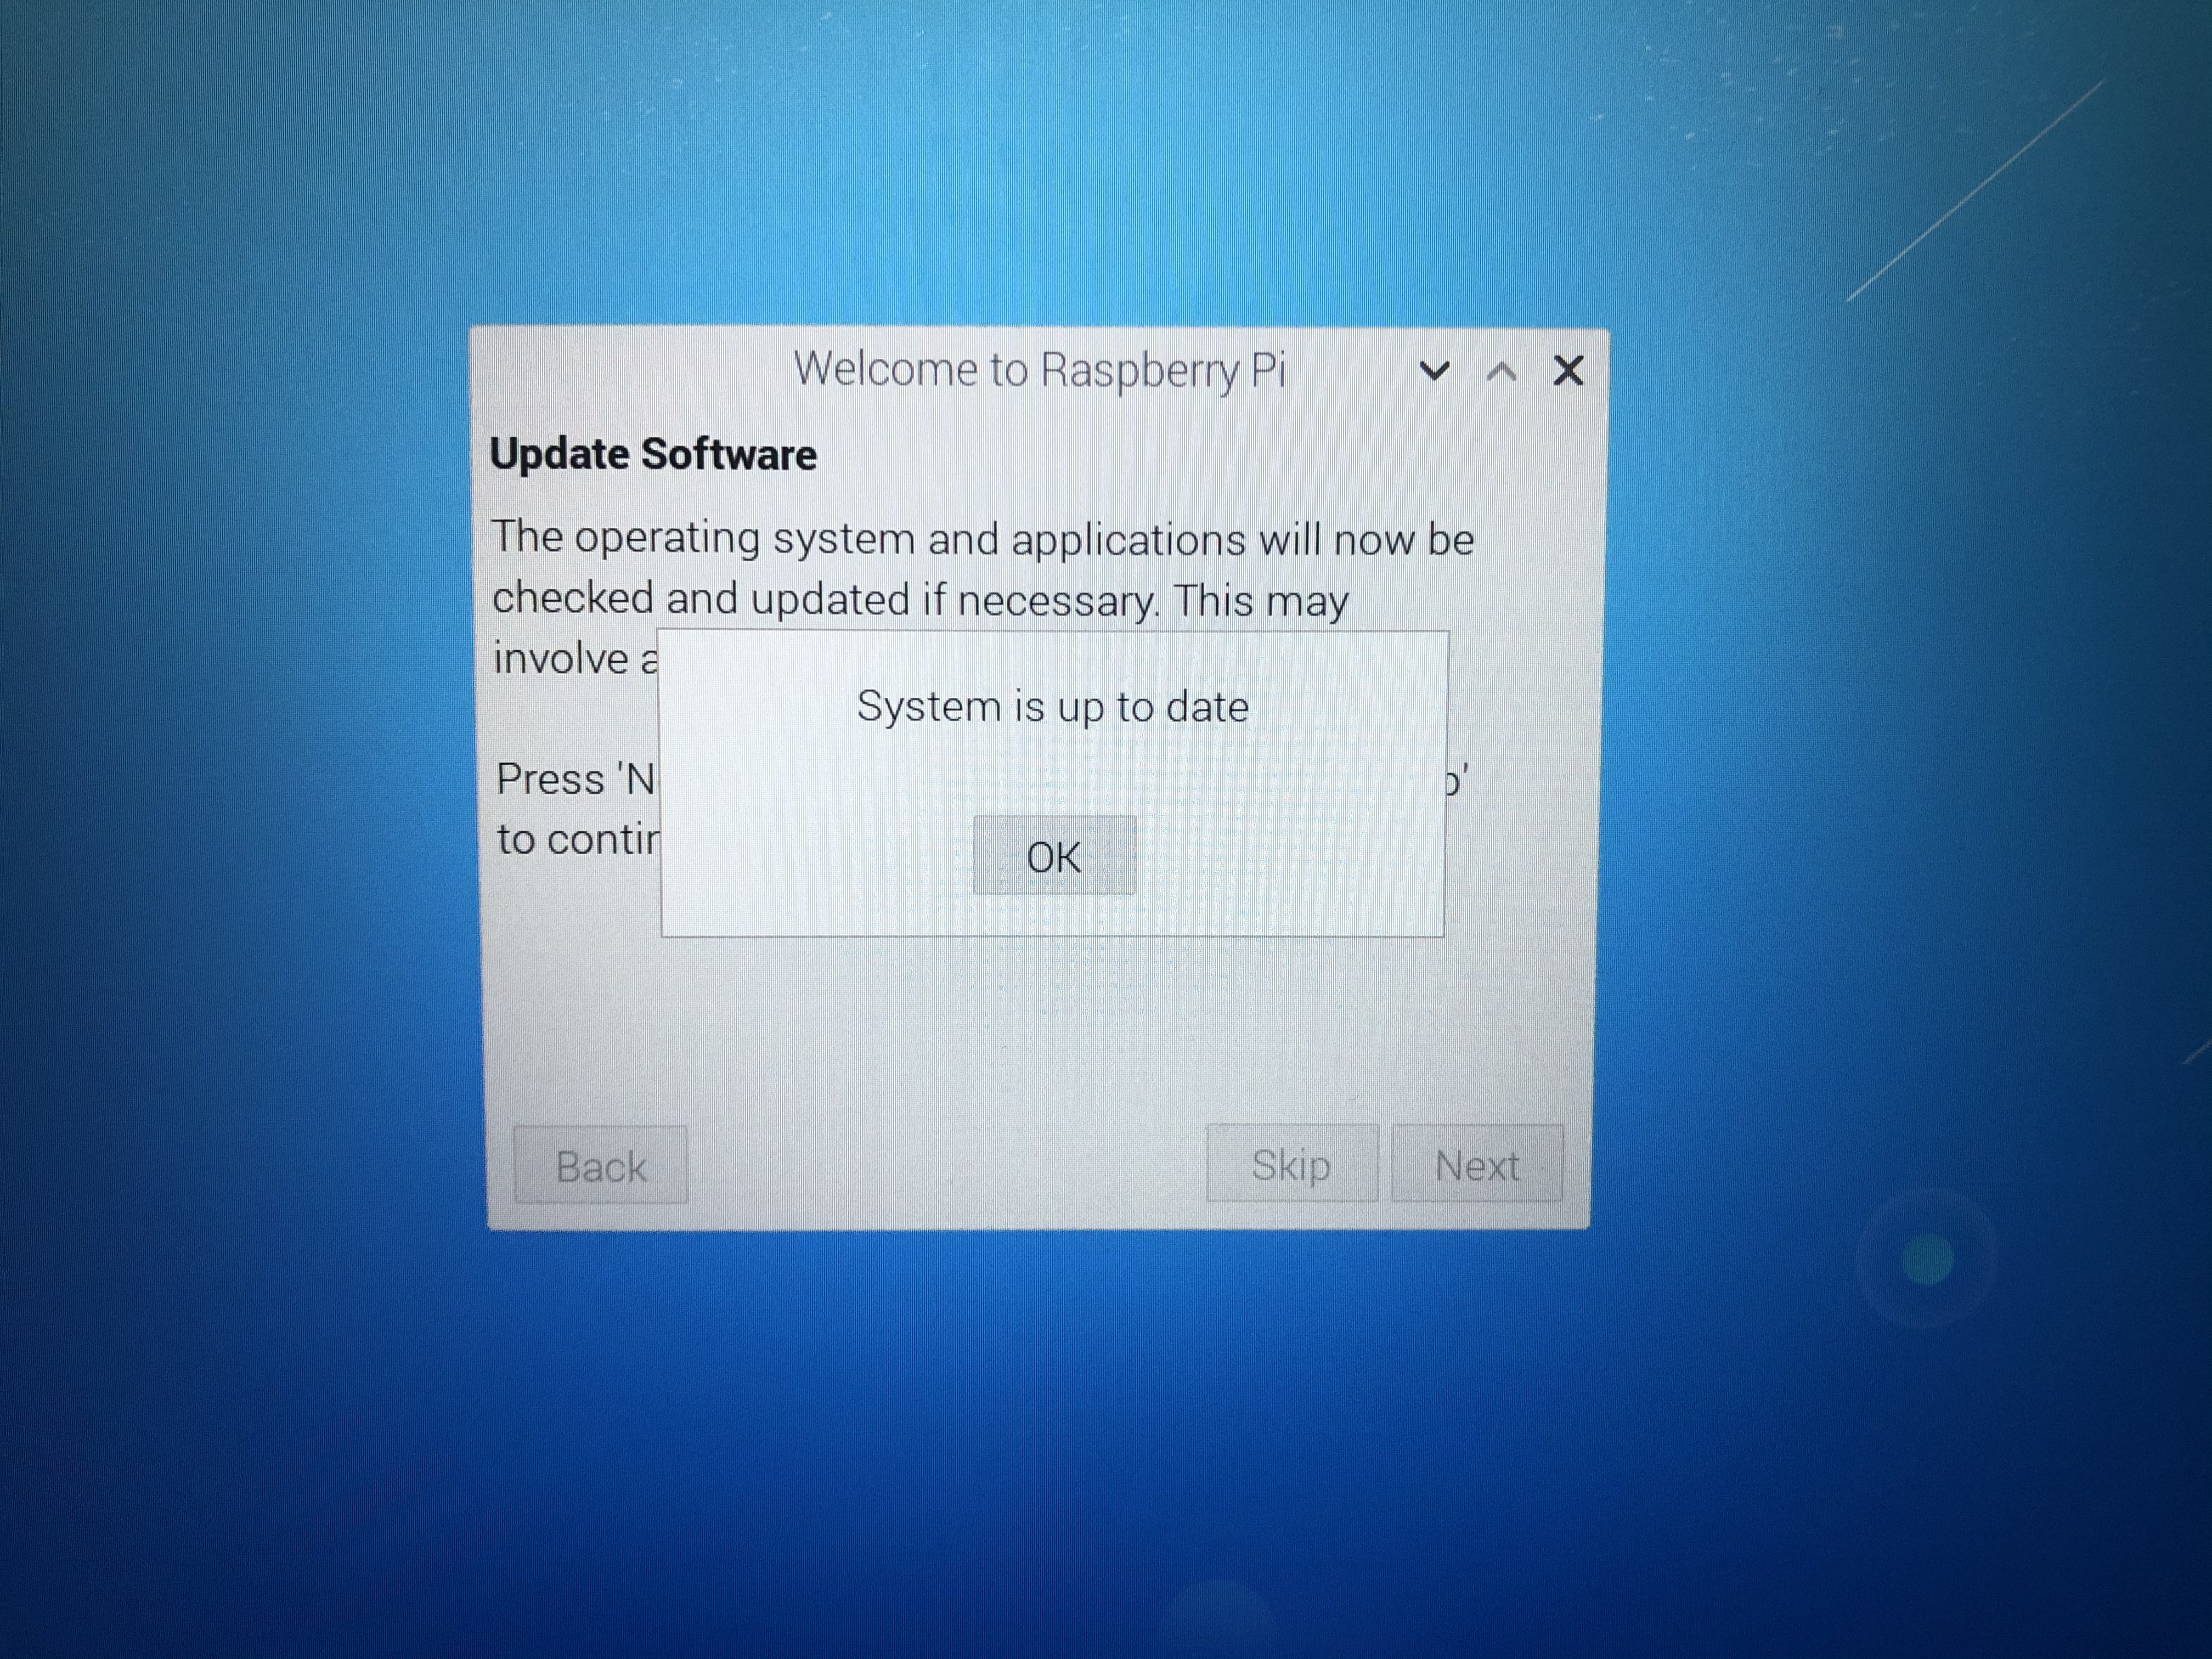
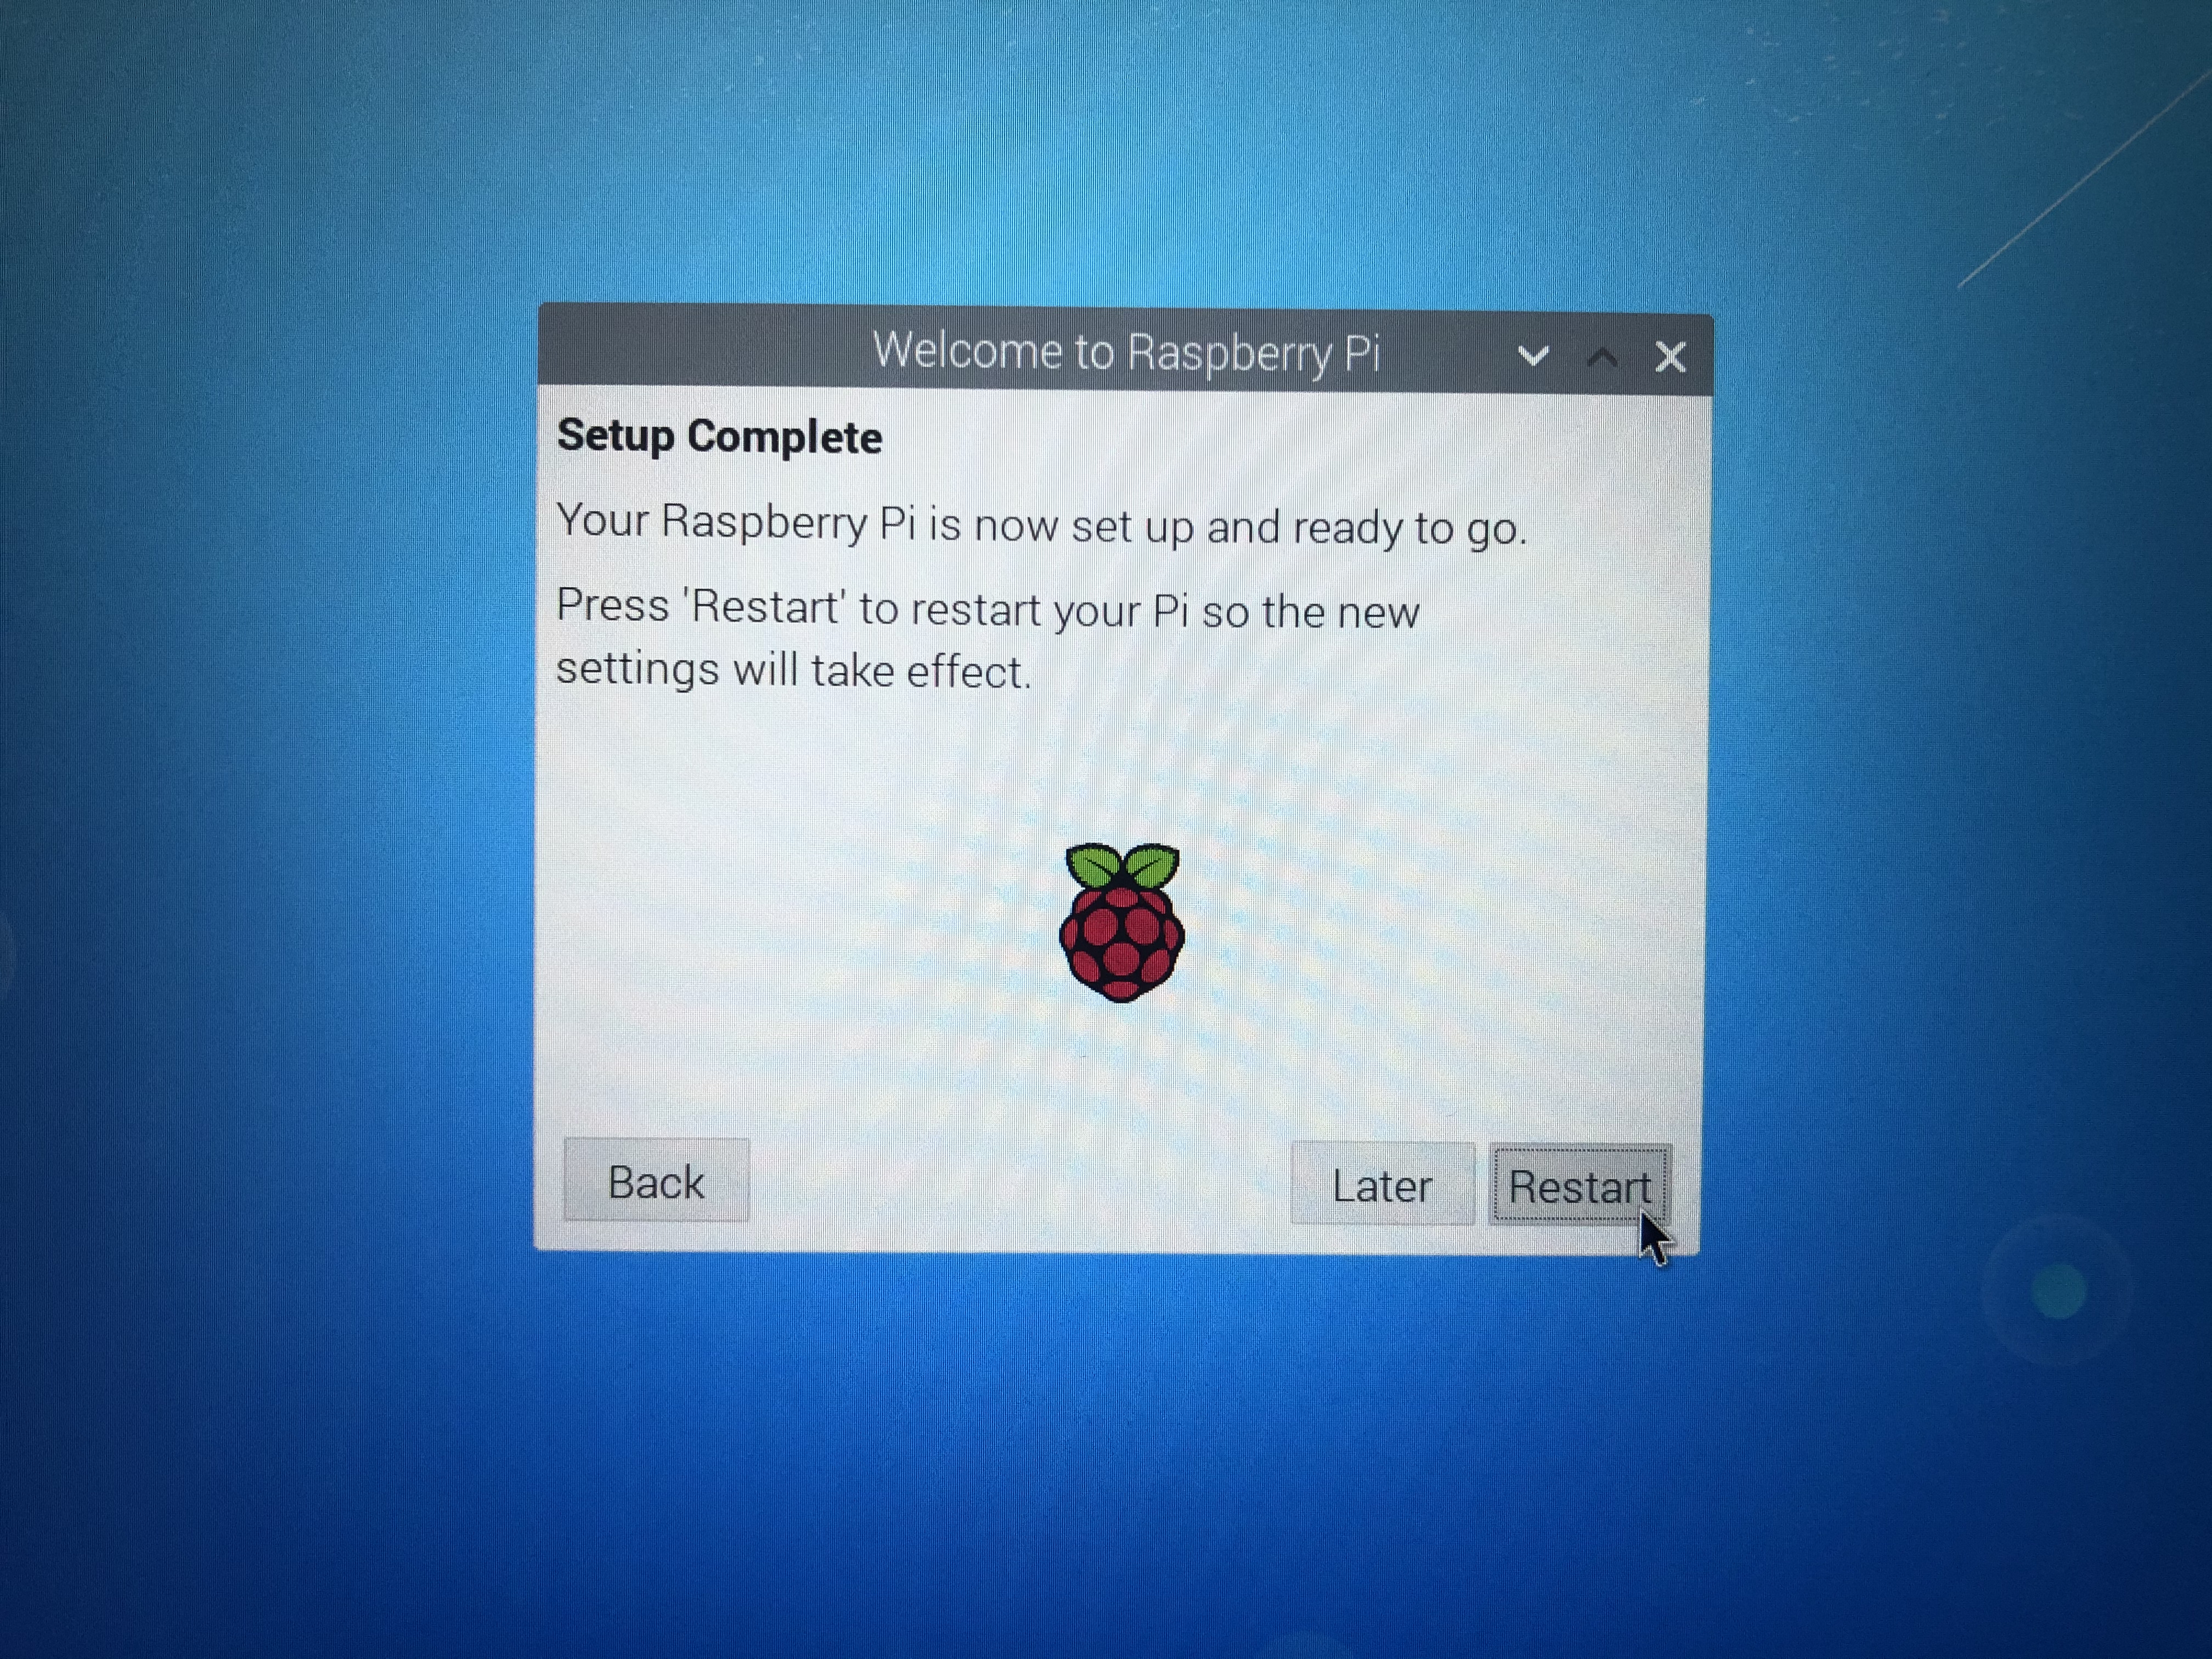
When you boot for the first time, you will be greeted by the Welcome to Raspberry Pi Desktop dialog that will guide you through the initial setup process.
Setup includes:
- Localization Settings
- Change password for default Pi user account
- Screen setup
- Network connectivity
- Software Updates
Learning with CrowPi2
Once you’re up and running there’s a lot to do and take in. Our review experience started with creating separate login accounts for my tween and 7 year old to keep track of which projects they have done.
My tween took on the more challenging Python projects and my 7 year old programmed in the block-based Scratch language. What’s great is that both languages are industry standards that are very well supported and used everywhere. That’s a huge plus when you consider how many STEAM learning kits force kids to learn proprietary programming languages that they’ll never see anywhere else.
Projects on CrowPi2
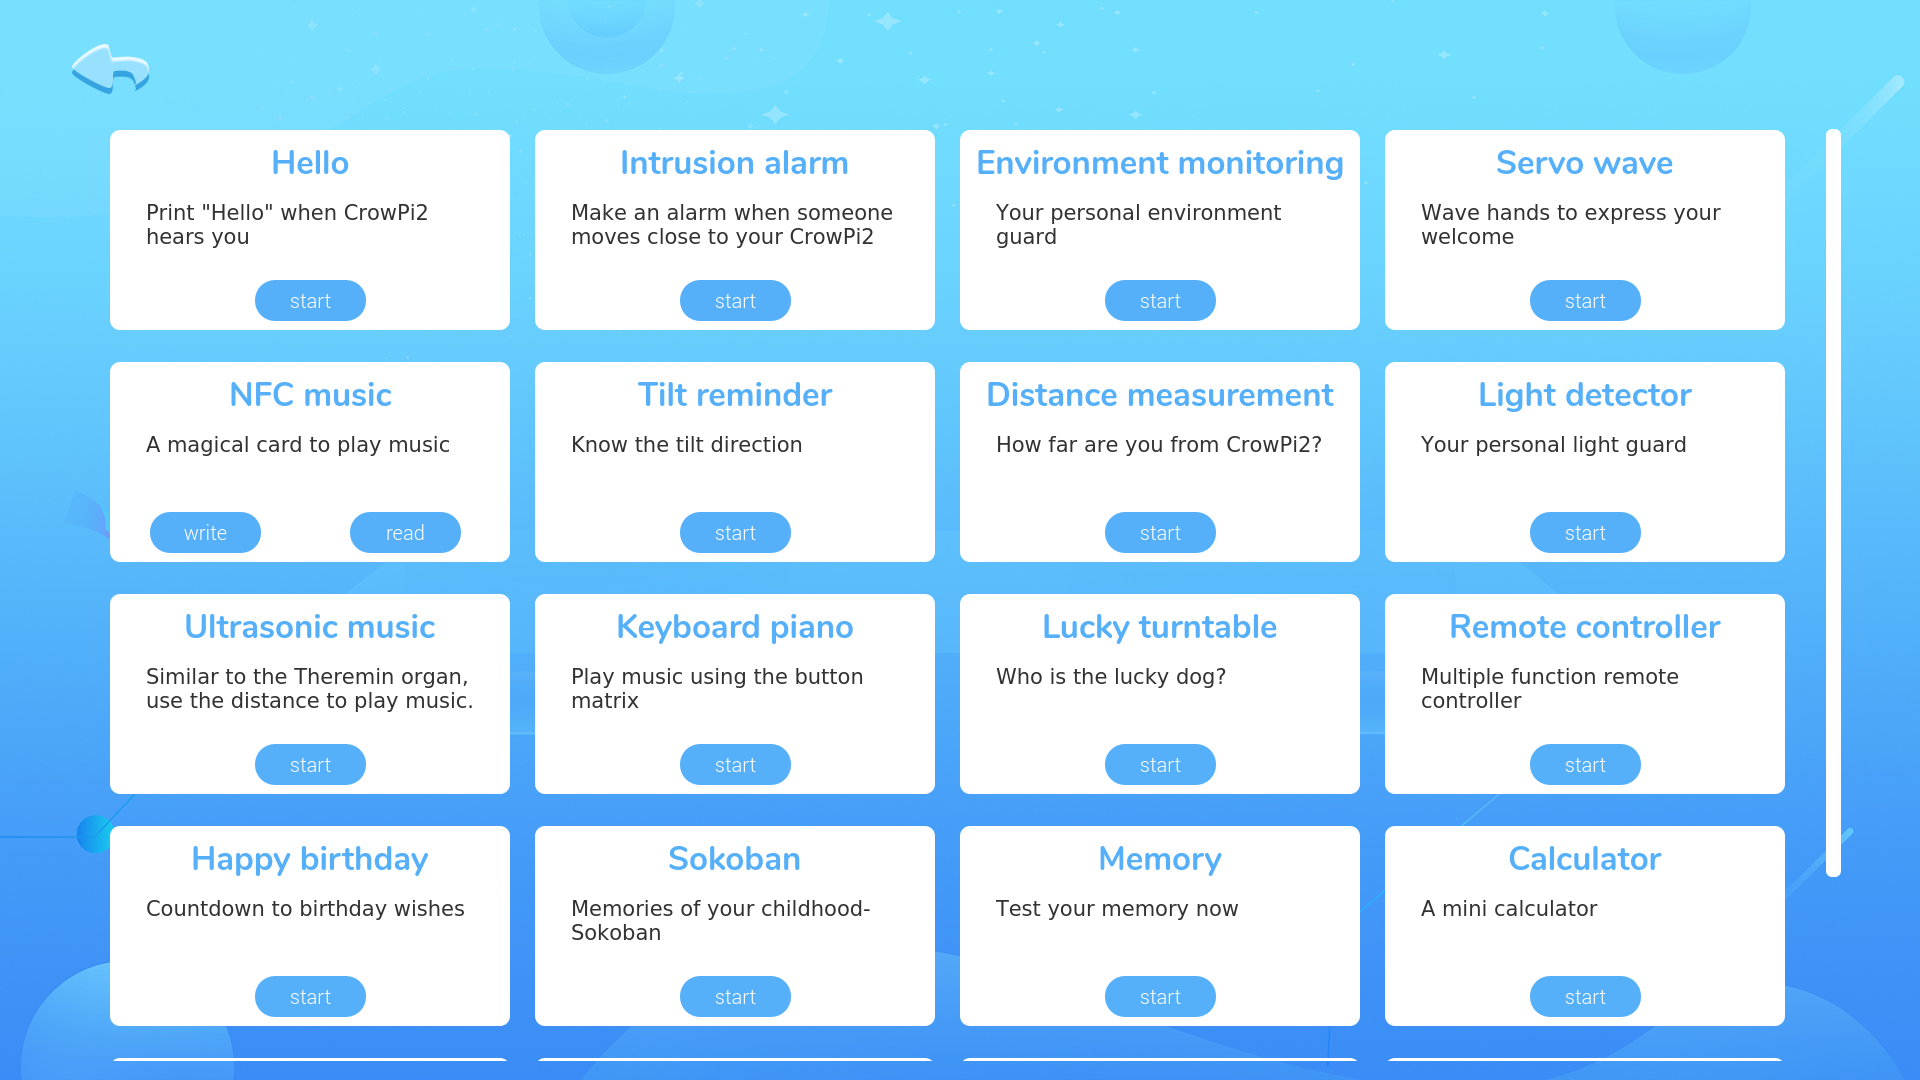
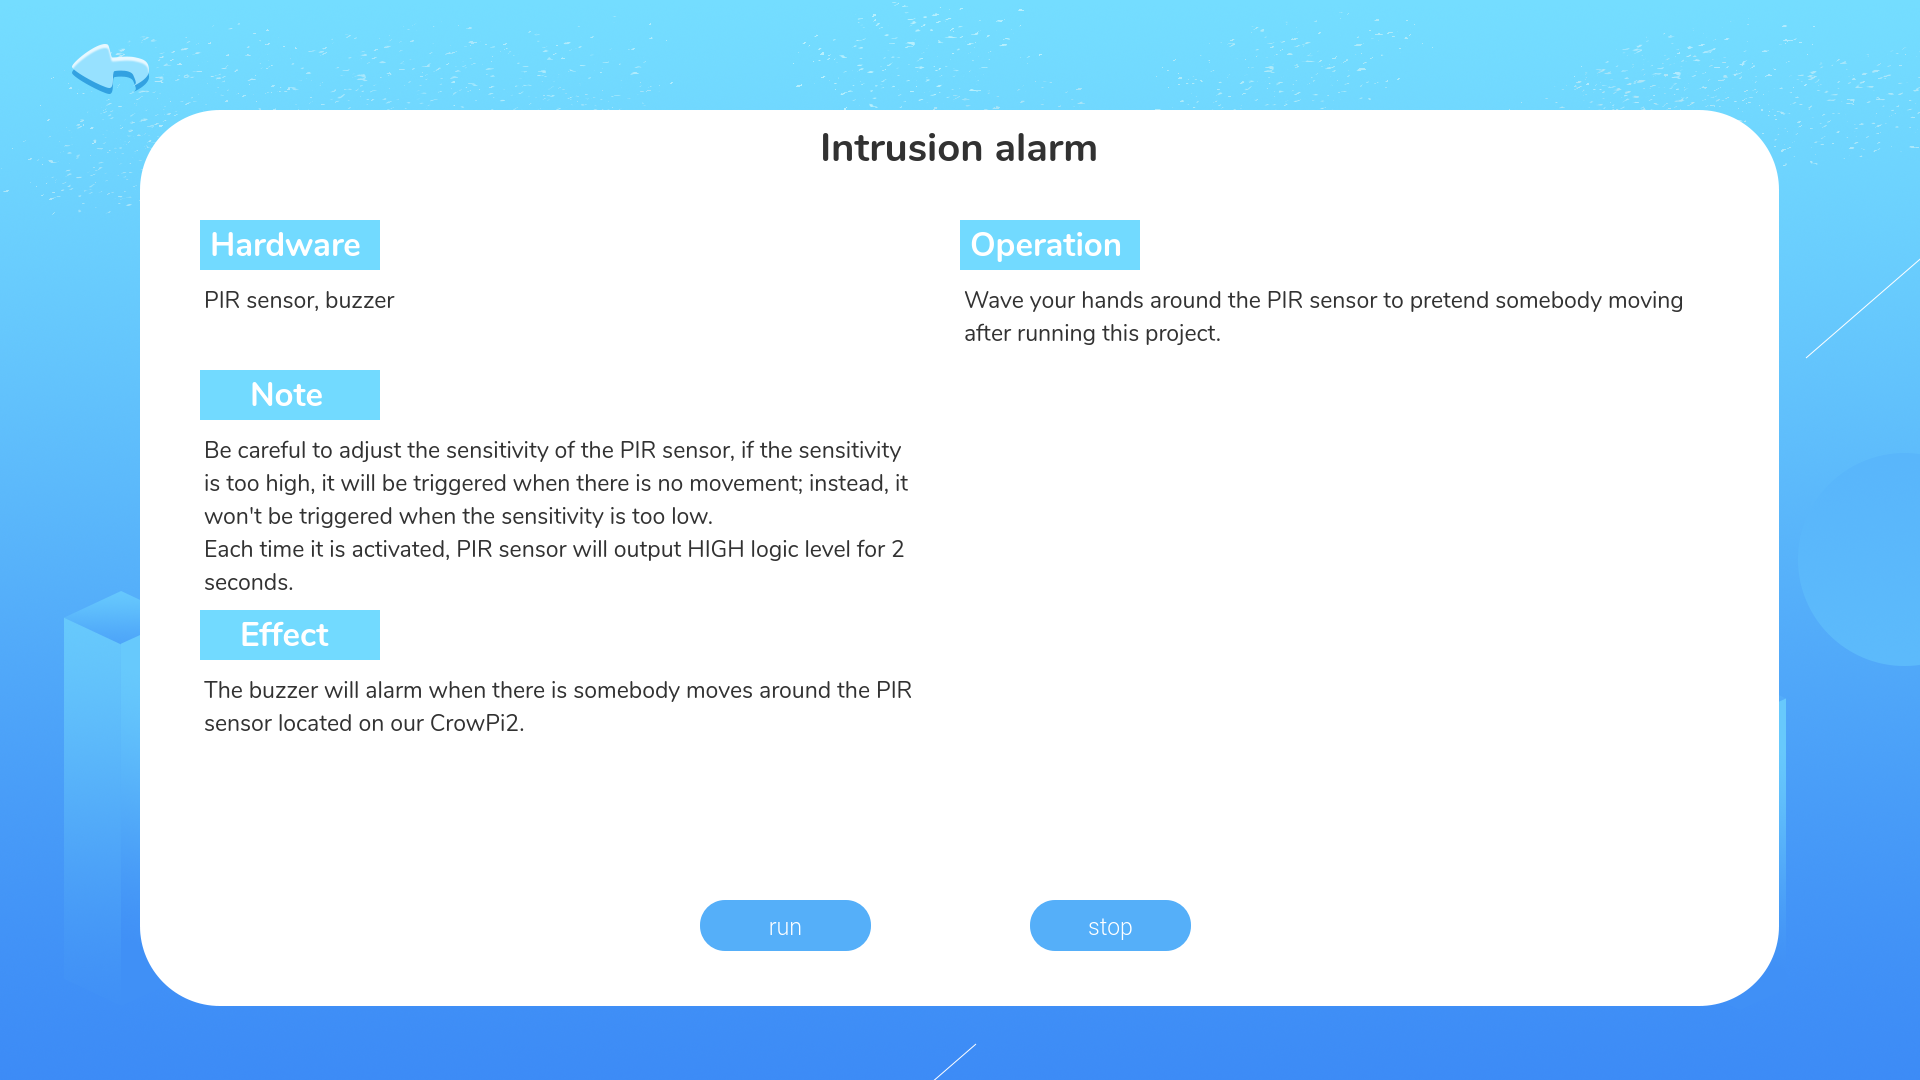
The Projects section is a good starting point to see what the CrowPi2 can do and get some inspiration built up for the learning ahead. You just run the programs and follow the activity instruction - no coding required here.
Included in this section are pre-built apps like an intrusion alarm, light detector, remote controller, environment monitor, voice and face detector, and Passive Infrared Sensor (PIR) activated video. While my tween wanted to jump right into Minecraft, going through these projects was the key to coaxing my 7 year old to try out the system. It took a few tries to get it to work, but the voice and face recognition apps ended up being her favorite projects.
Learning Activities: Scratch vs Python
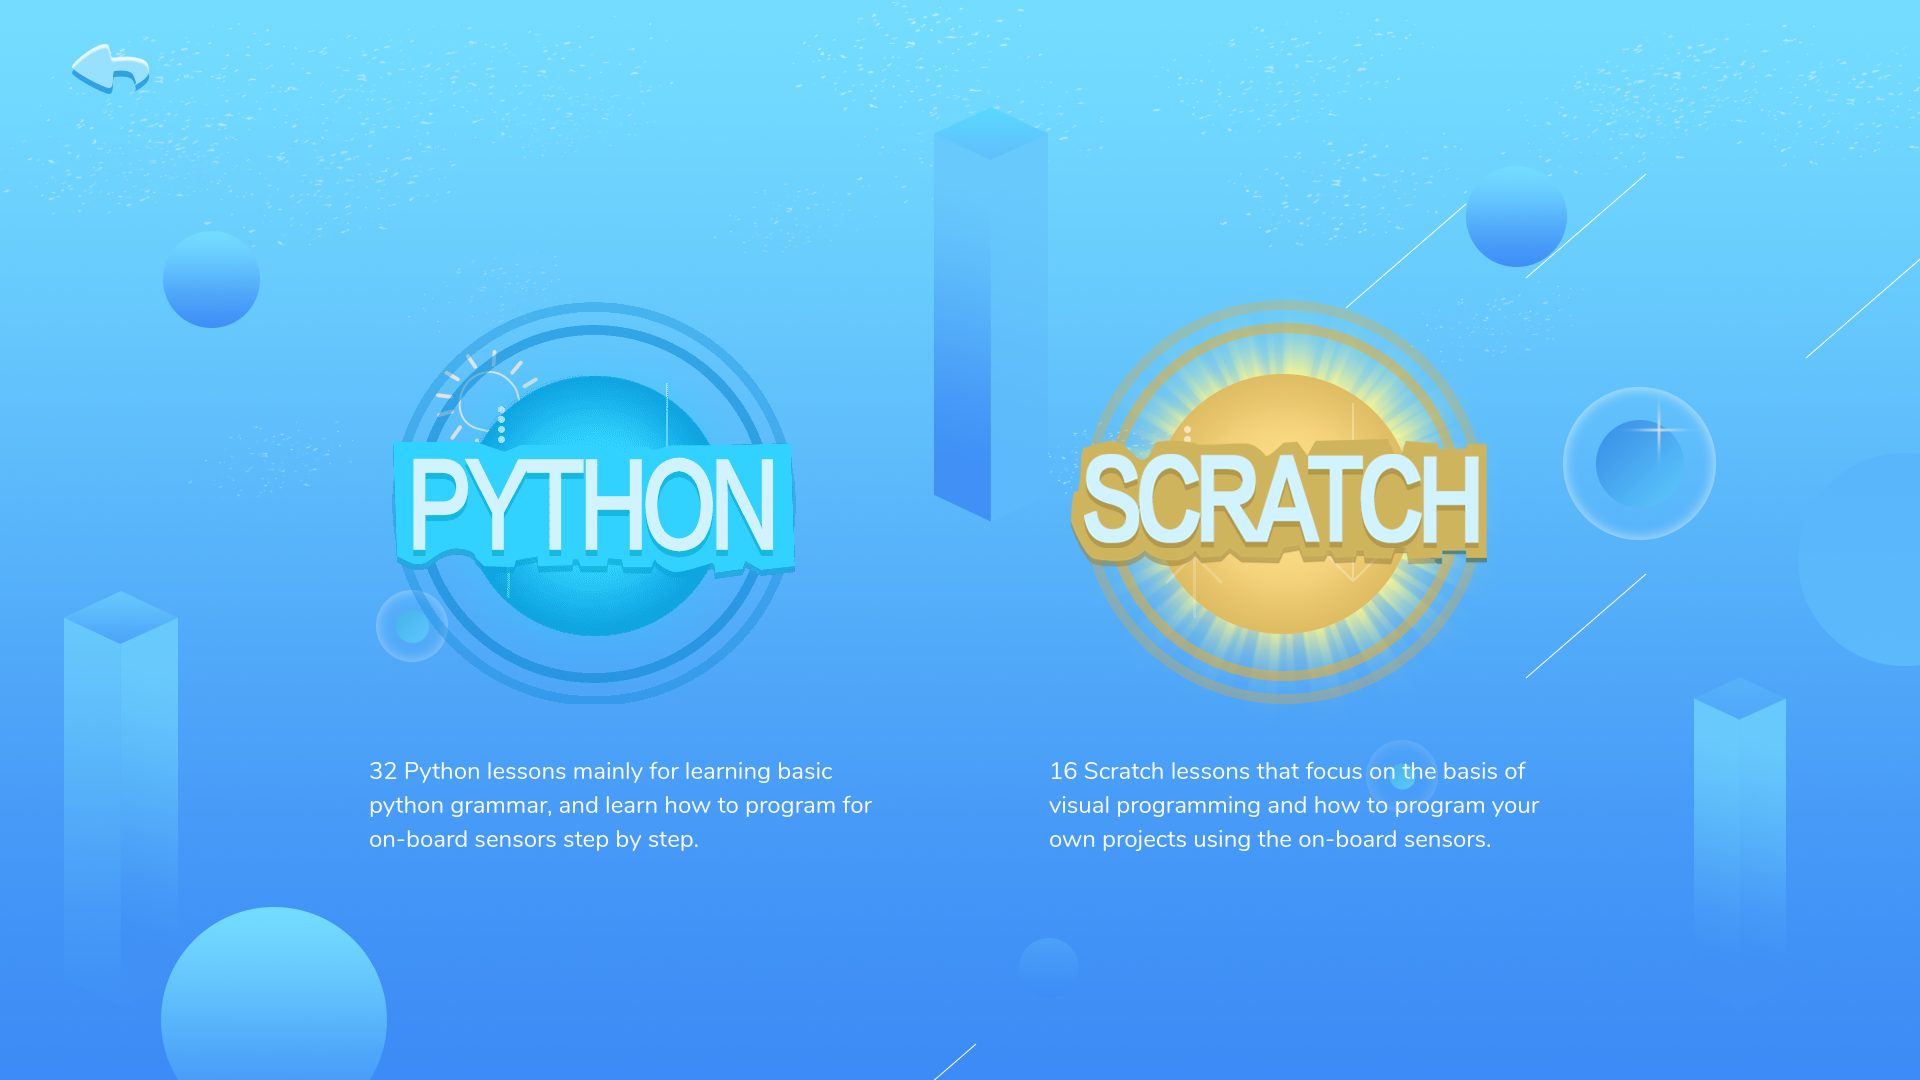
CrowPi2 offers learning opportunities using both Scratch and Python. There are fewer lessons in Scratch and they are also quicker to get through. This is partly due to Scratch, a block-based programming language, being geared towards young coders. While Scratch gets you to the finished program quicker, it does not involve writing of actual code.
Python, on the other hand, is a programming language that is easy to read and write. Regardless of your learning level, Python might be a good place to start if you are interested in serious Raspberry Pi programming. Python is one of the most popular programming languages for development of Raspberry Pi software and it’s used on a variety of other platforms as well.
Scratch Programming on CrowPi2
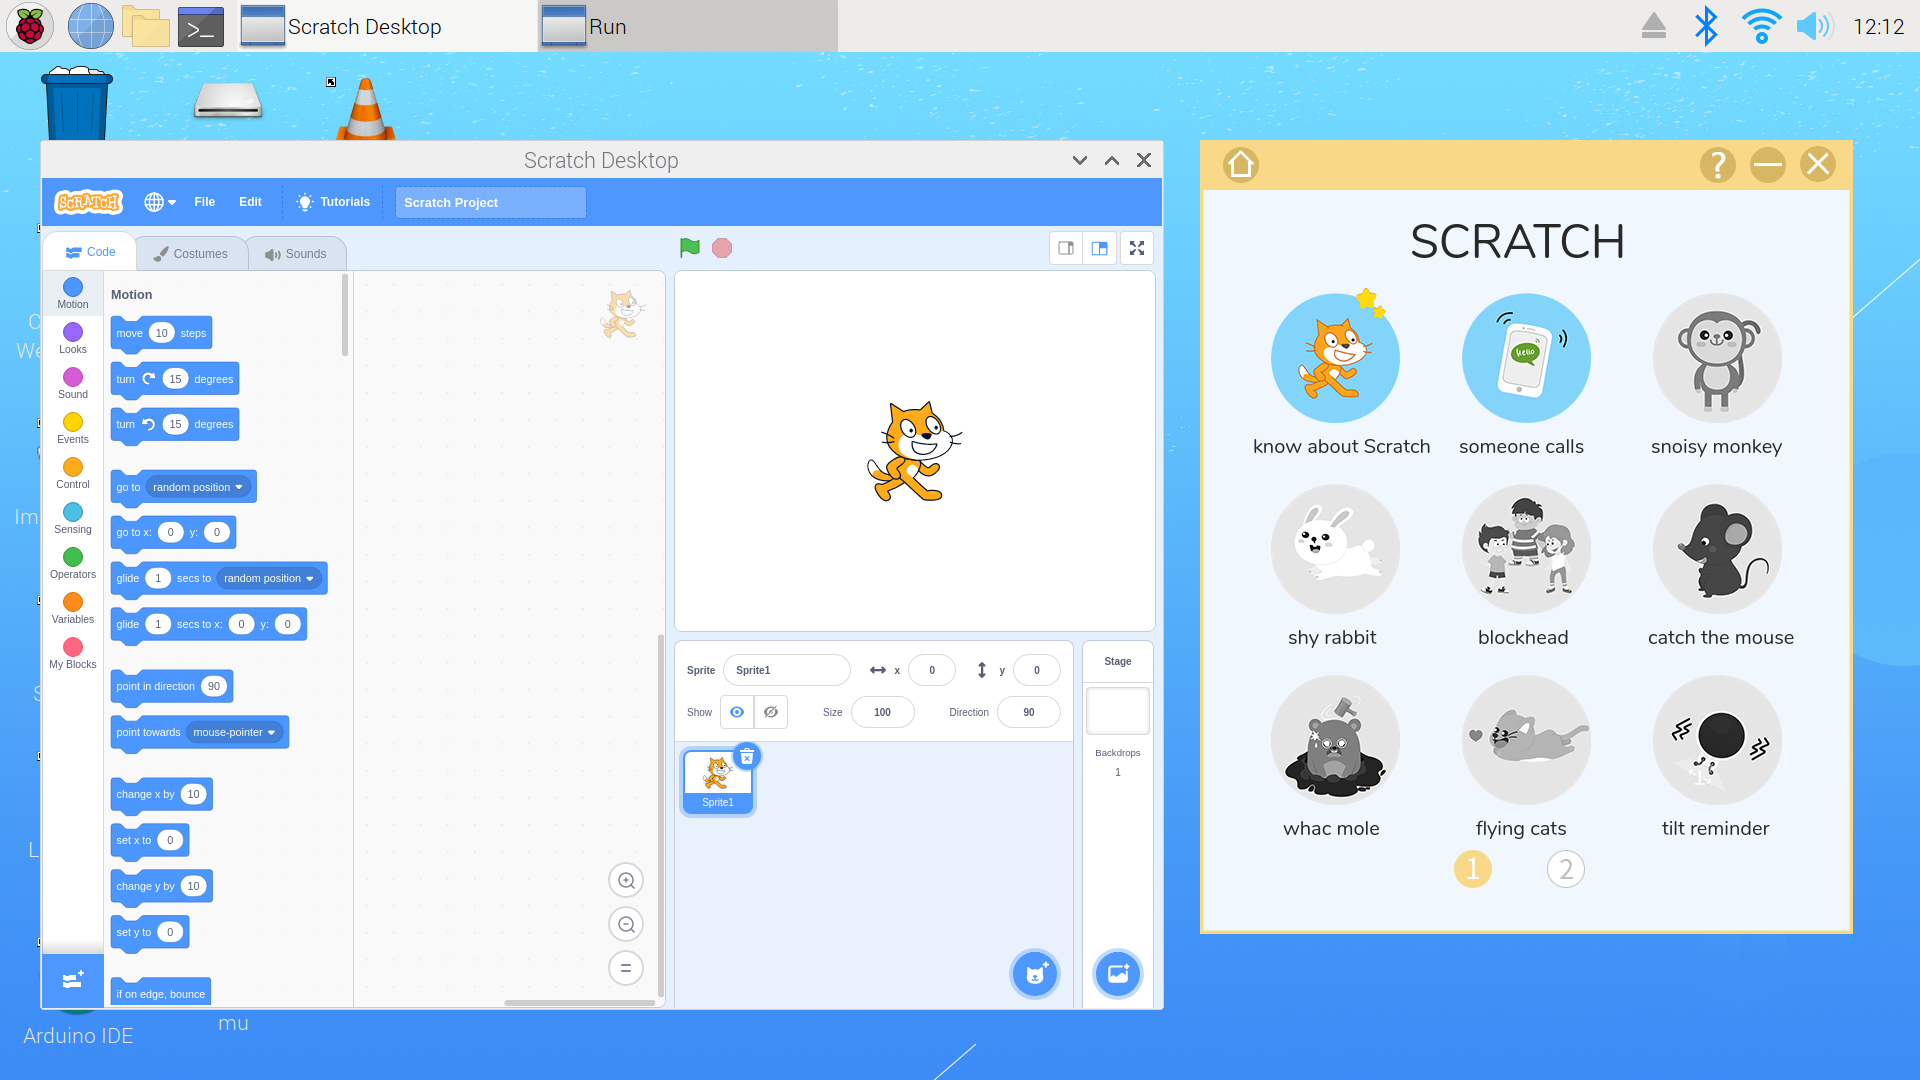
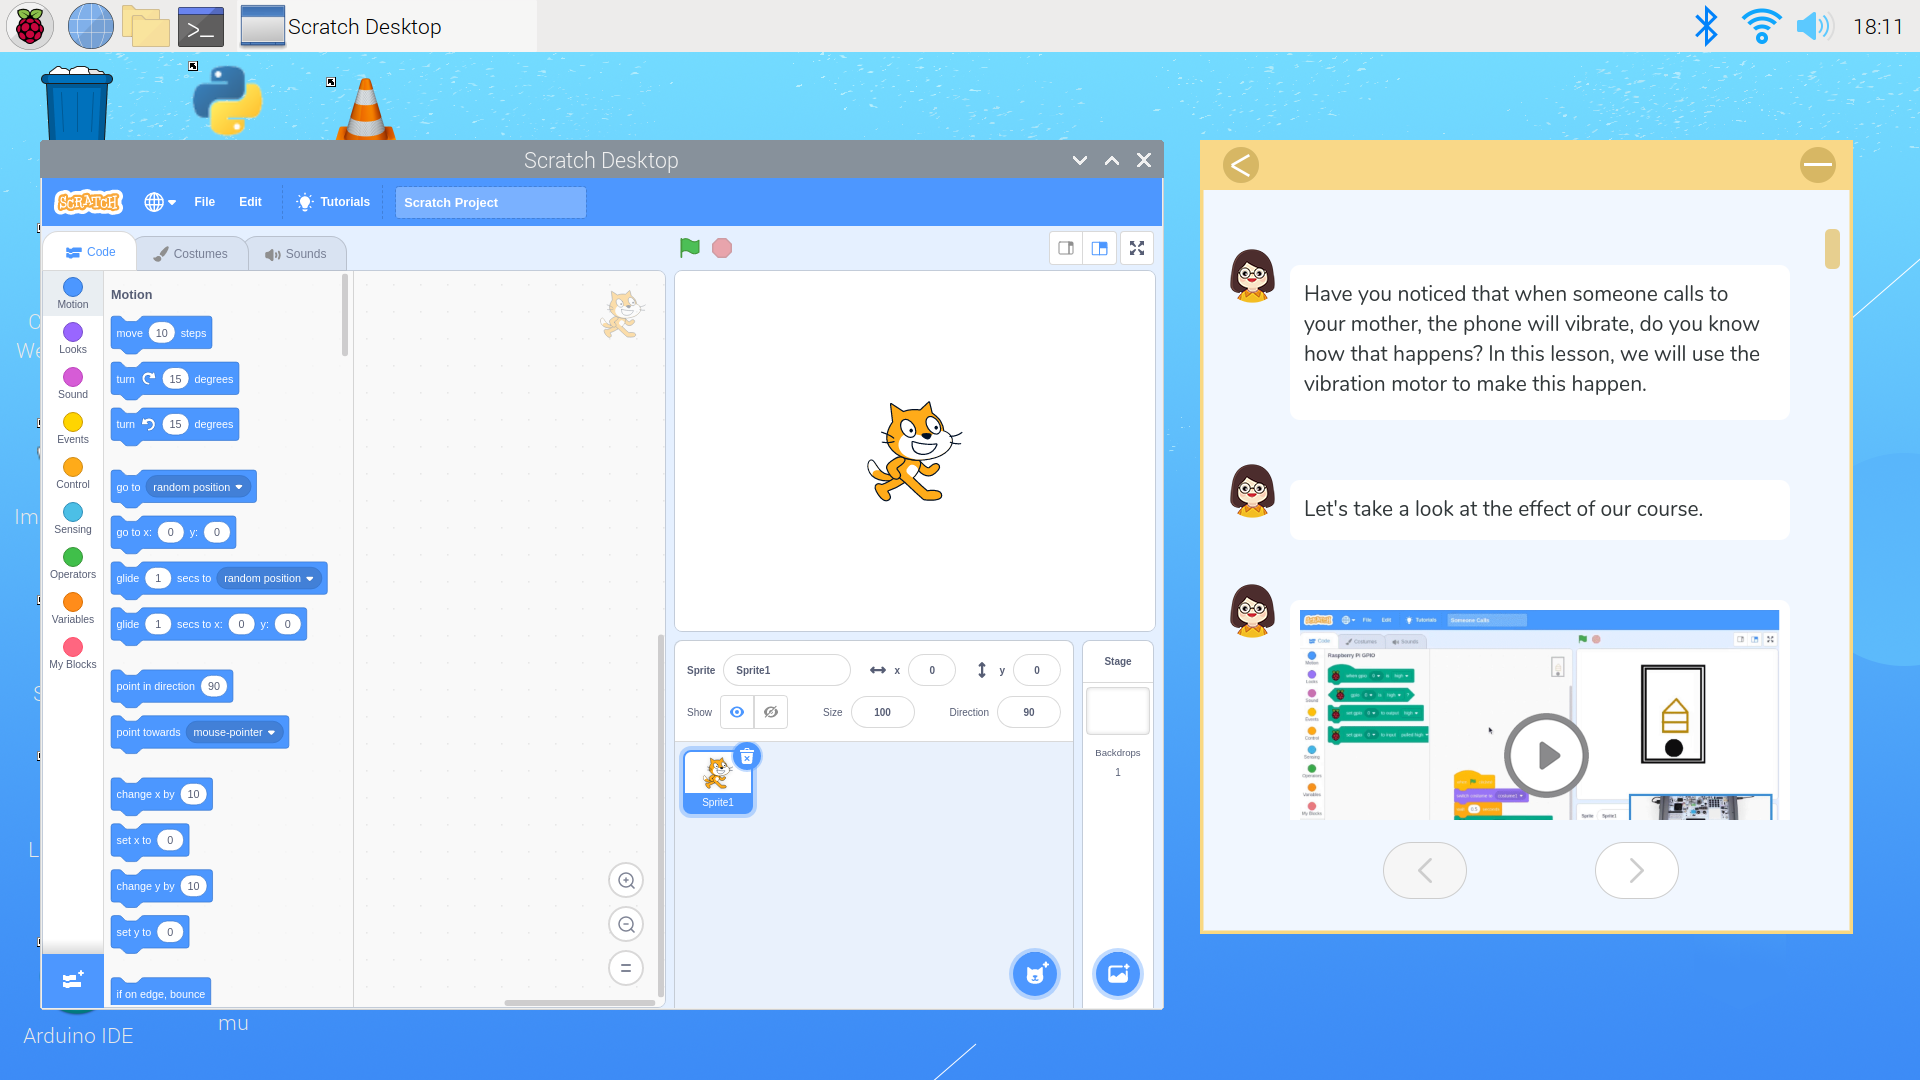
Scratch is a free block-based visual programming language that is geared towards young learners. There is a reason that it is popular in learning systems and that is its fun factor and accessibility. The difference here is that Scratch is set up with loads of lessons that leverage the full set of features in CrowPi2 and if you’re somewhat new to making and programming, you may want to start here for near-instant satisfaction as you create sprites and use block programming to do cool stuff. Lessons include how to make an automated fan, flashing LED, morse code, tilt-activated light and some games.
The Scratch lessons in CrowPi2 are progressive, so you must finish the first lesson before you can access the next. You cannot skip ahead because the rest of the lessons will be grayed out. That’s pretty much like leveling up when playing games to unlock the next challenge.
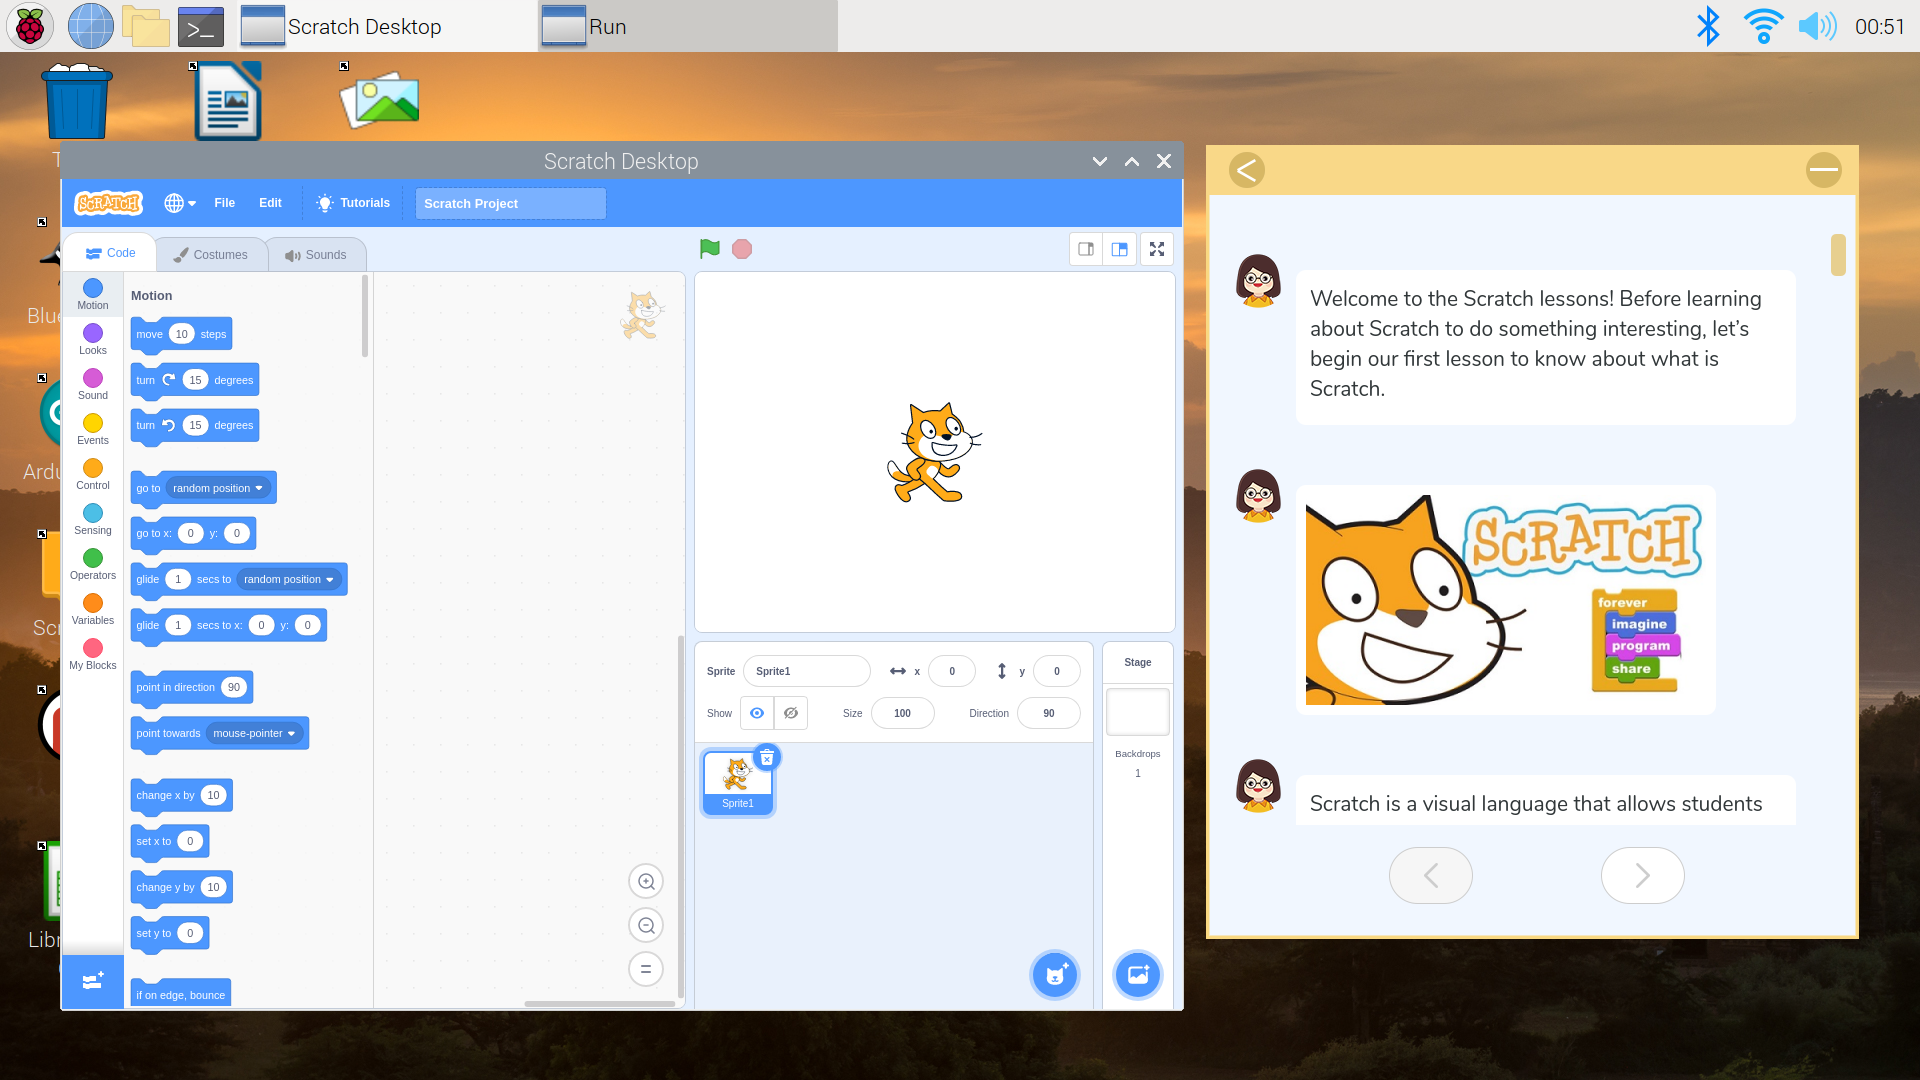
The very first lesson provides an introduction to the program and a detailed guide to the main elements of Scratch - the stage, sprites, the script, the program board and what each block module does depending on the color of the block. It then goes to an explanation of the Raspberry Pi GPIO, its functions and how to use it when programming with Scratch.
The beginning concepts are quite dry and little ones may likely lose interest, but with a little encouragement they should be fine. The lesson does pickup interest once the action starts to happen and the guide starts going into an example that your child can follow. There is a video for each step (which is very helpful) so the kids can still follow along if the instructions were not clear enough. It would’ve also been more helpful, though, if the videos had audio.
Once you get to the end of the lesson, you move on to the next. The program does not check your work.
Python on CrowPi2
Older kids or adults will benefit most from the Python projects as Python is the main language used by real Raspberry Pi developers. Python 2 and Python 3 are preloaded on the system, and while the system default is Python 2 the projects all use Python 3, which the IDE Thonny points to by default.
While it might be tempting to leap straight into Minecraft, the Python lessons really open up the CrowPi2’s feature list and set the stage for more advanced maker projects, including the last couple of Minecraft projects. The Python section on CrowPi2 has 32 available lessons and explores activities such as:
- Making a buzzer alarm
- Using the vibration module
- Using the tilt sensor
- Breadboarding a circuit
- Controlling a step motor
- Powering an 8x8 RGB LED*
- Detecting motion with a PIR sensor
- Controlling an LCD display*
- Using the sound sensor
- Detecting light with the light sensor
- Using an ultrasonic sensor
- Using the DHT11 sensor (humidity+temperature)
- Using an IR receiver
- Morse code translator*
- Plant water level monitoring
* These are my tween’s top 3 Python projects.
We finished most of the lessons and it was a blast moving through the maker kit and exploring all the sensors onboard and accessories included in the bundle. The key thing about the lessons here is that each one gives you important Pythons skills that you’ll need for the next one.
While you aren’t forced to do the CrowPi2’s projects in a particular order, we recommend following the order to start small and work your way up. Similar to Scratch the first lesson lays down the basics of Raspberry Pi GPIO and Python 3. But unlike Scratch, there are no videos provided for Python tutorials.
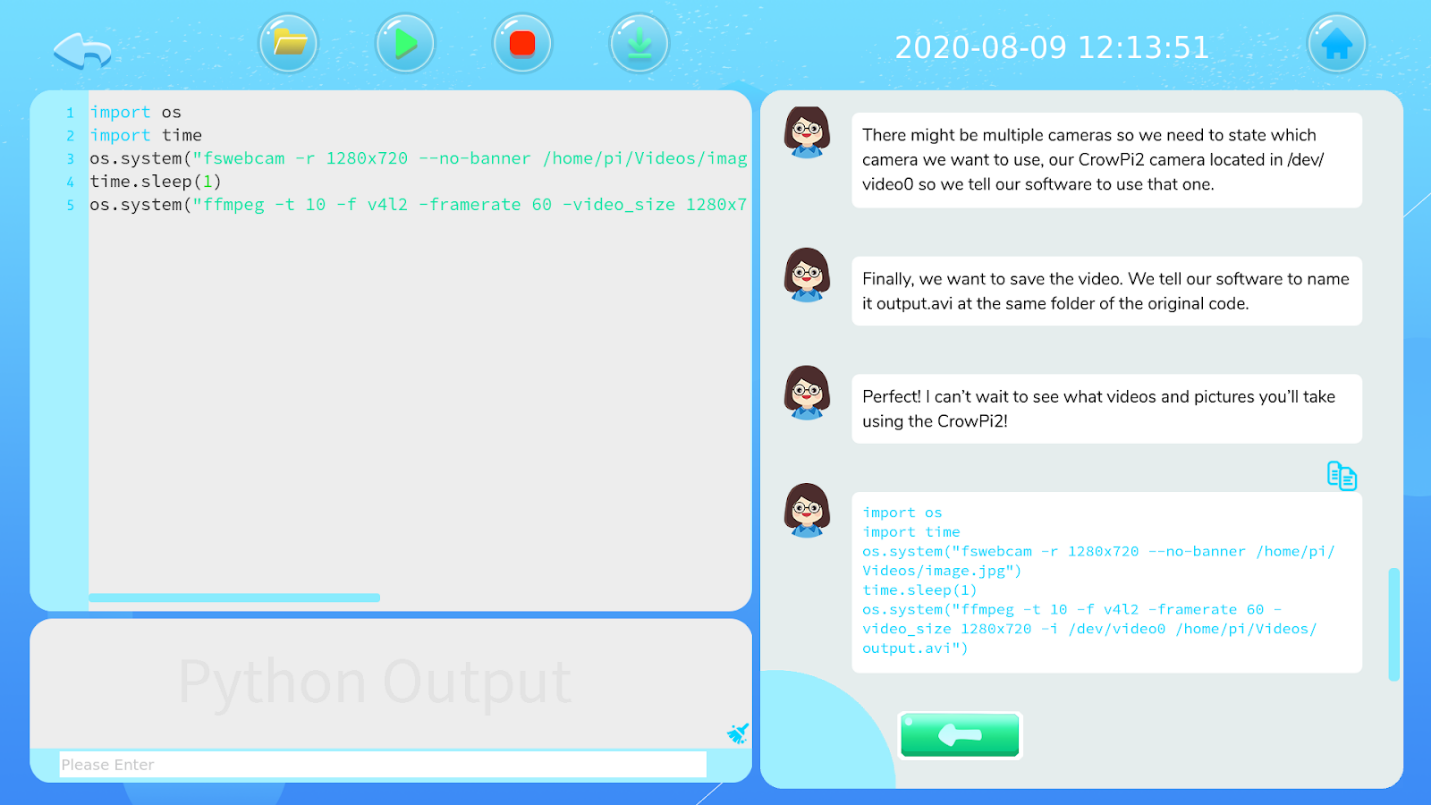
Once you start a new lesson in Python, the guide (Emma) will provide an overview of the lesson/module, starting from the concept, definitions and even include diagrams. We found these details to be very helpful, minus the occasional grammar errors and misspellings. You can go at your own pace and click on the arrow button when you are ready to go to the next step. Emma breaks down the code by section and explains why it is being used. You can copy and paste the code into the editor or type it in yourself. As the lessons progressed, our tween just started typing the codes in herself even before the code was presented on the page - it was a great moment! This was when I knew she was definitely understanding the lessons and learning the basics of coding.
At the end of each lesson, the entire code is shown as a recap where you can double check your work or you can just copy and paste the entire code. Then you click the green arrow button at the top of the editor to execute your program. Any errors will show at the bottom section and you can begin the wonderful task of troubleshooting or debugging. If the code is done correctly then the program will execute producing the expected results.
Some of the areas of Python explored include:
- Understanding the Python interpreter and IDE
- Control flow tools
- Data structures
- Writing and installing modules
- Input and output
- Errors and exceptions
- Classes
- Standard Library
- API Libraries
Minecraft Pi on Elecrow CrowPi2
If the Projects were the starting line, for many the Minecraft portion of the CrowPi2 would be the finish line. Kids, teens and adults will all have fun with this section and may be surprised at how much they can do with Minecraft once they learn how to code Python and get an insider’s view into one of the most popular maker-style games out there.
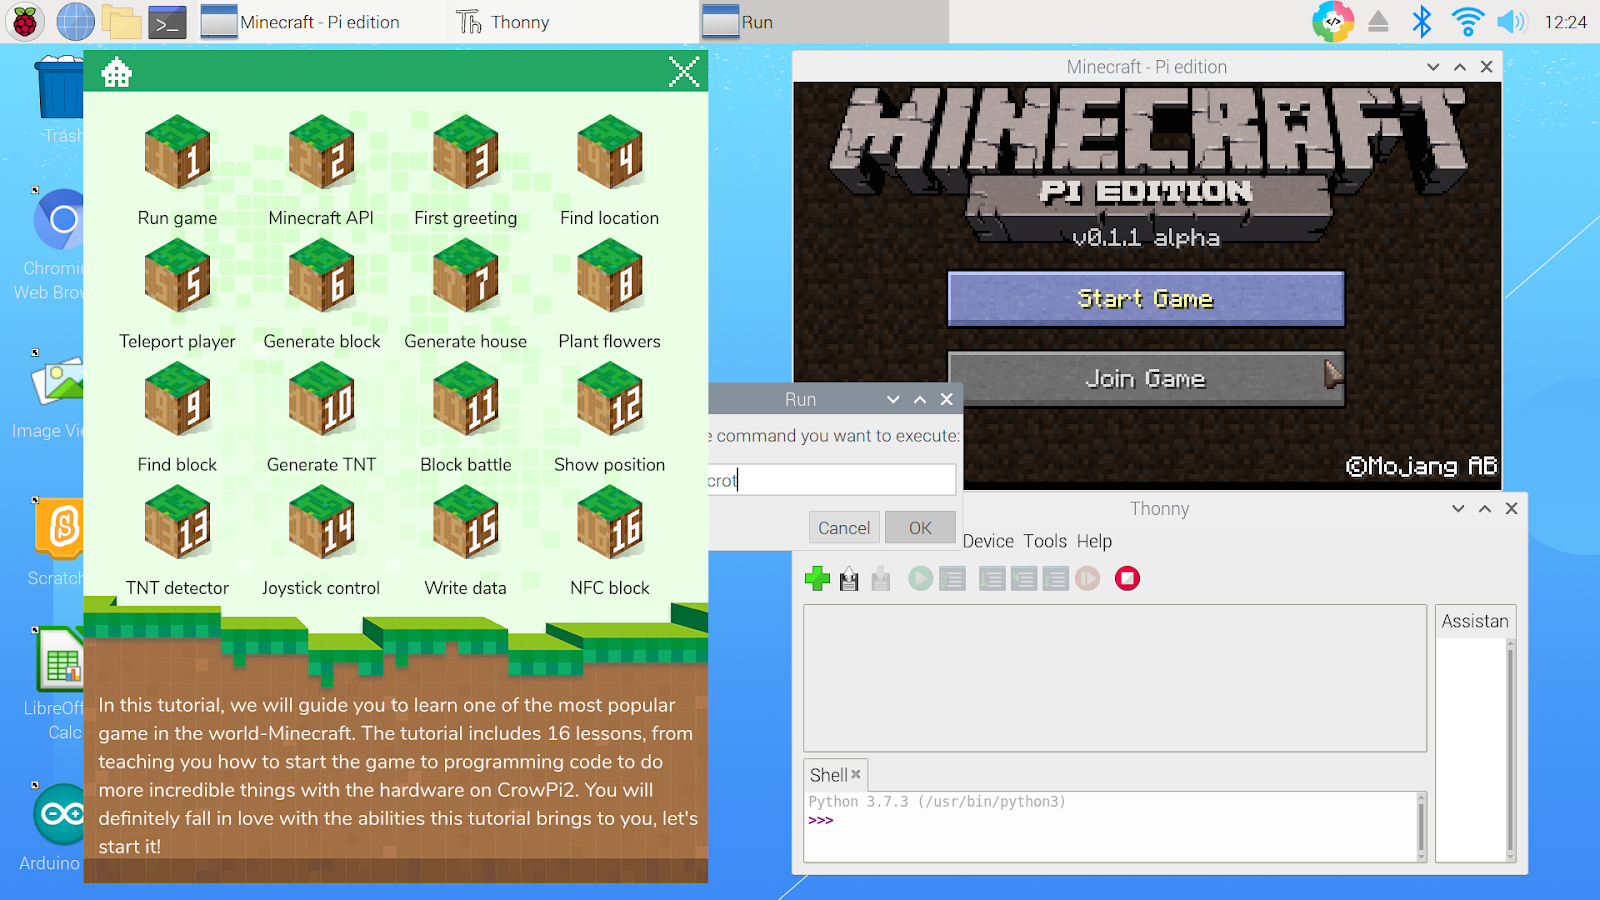
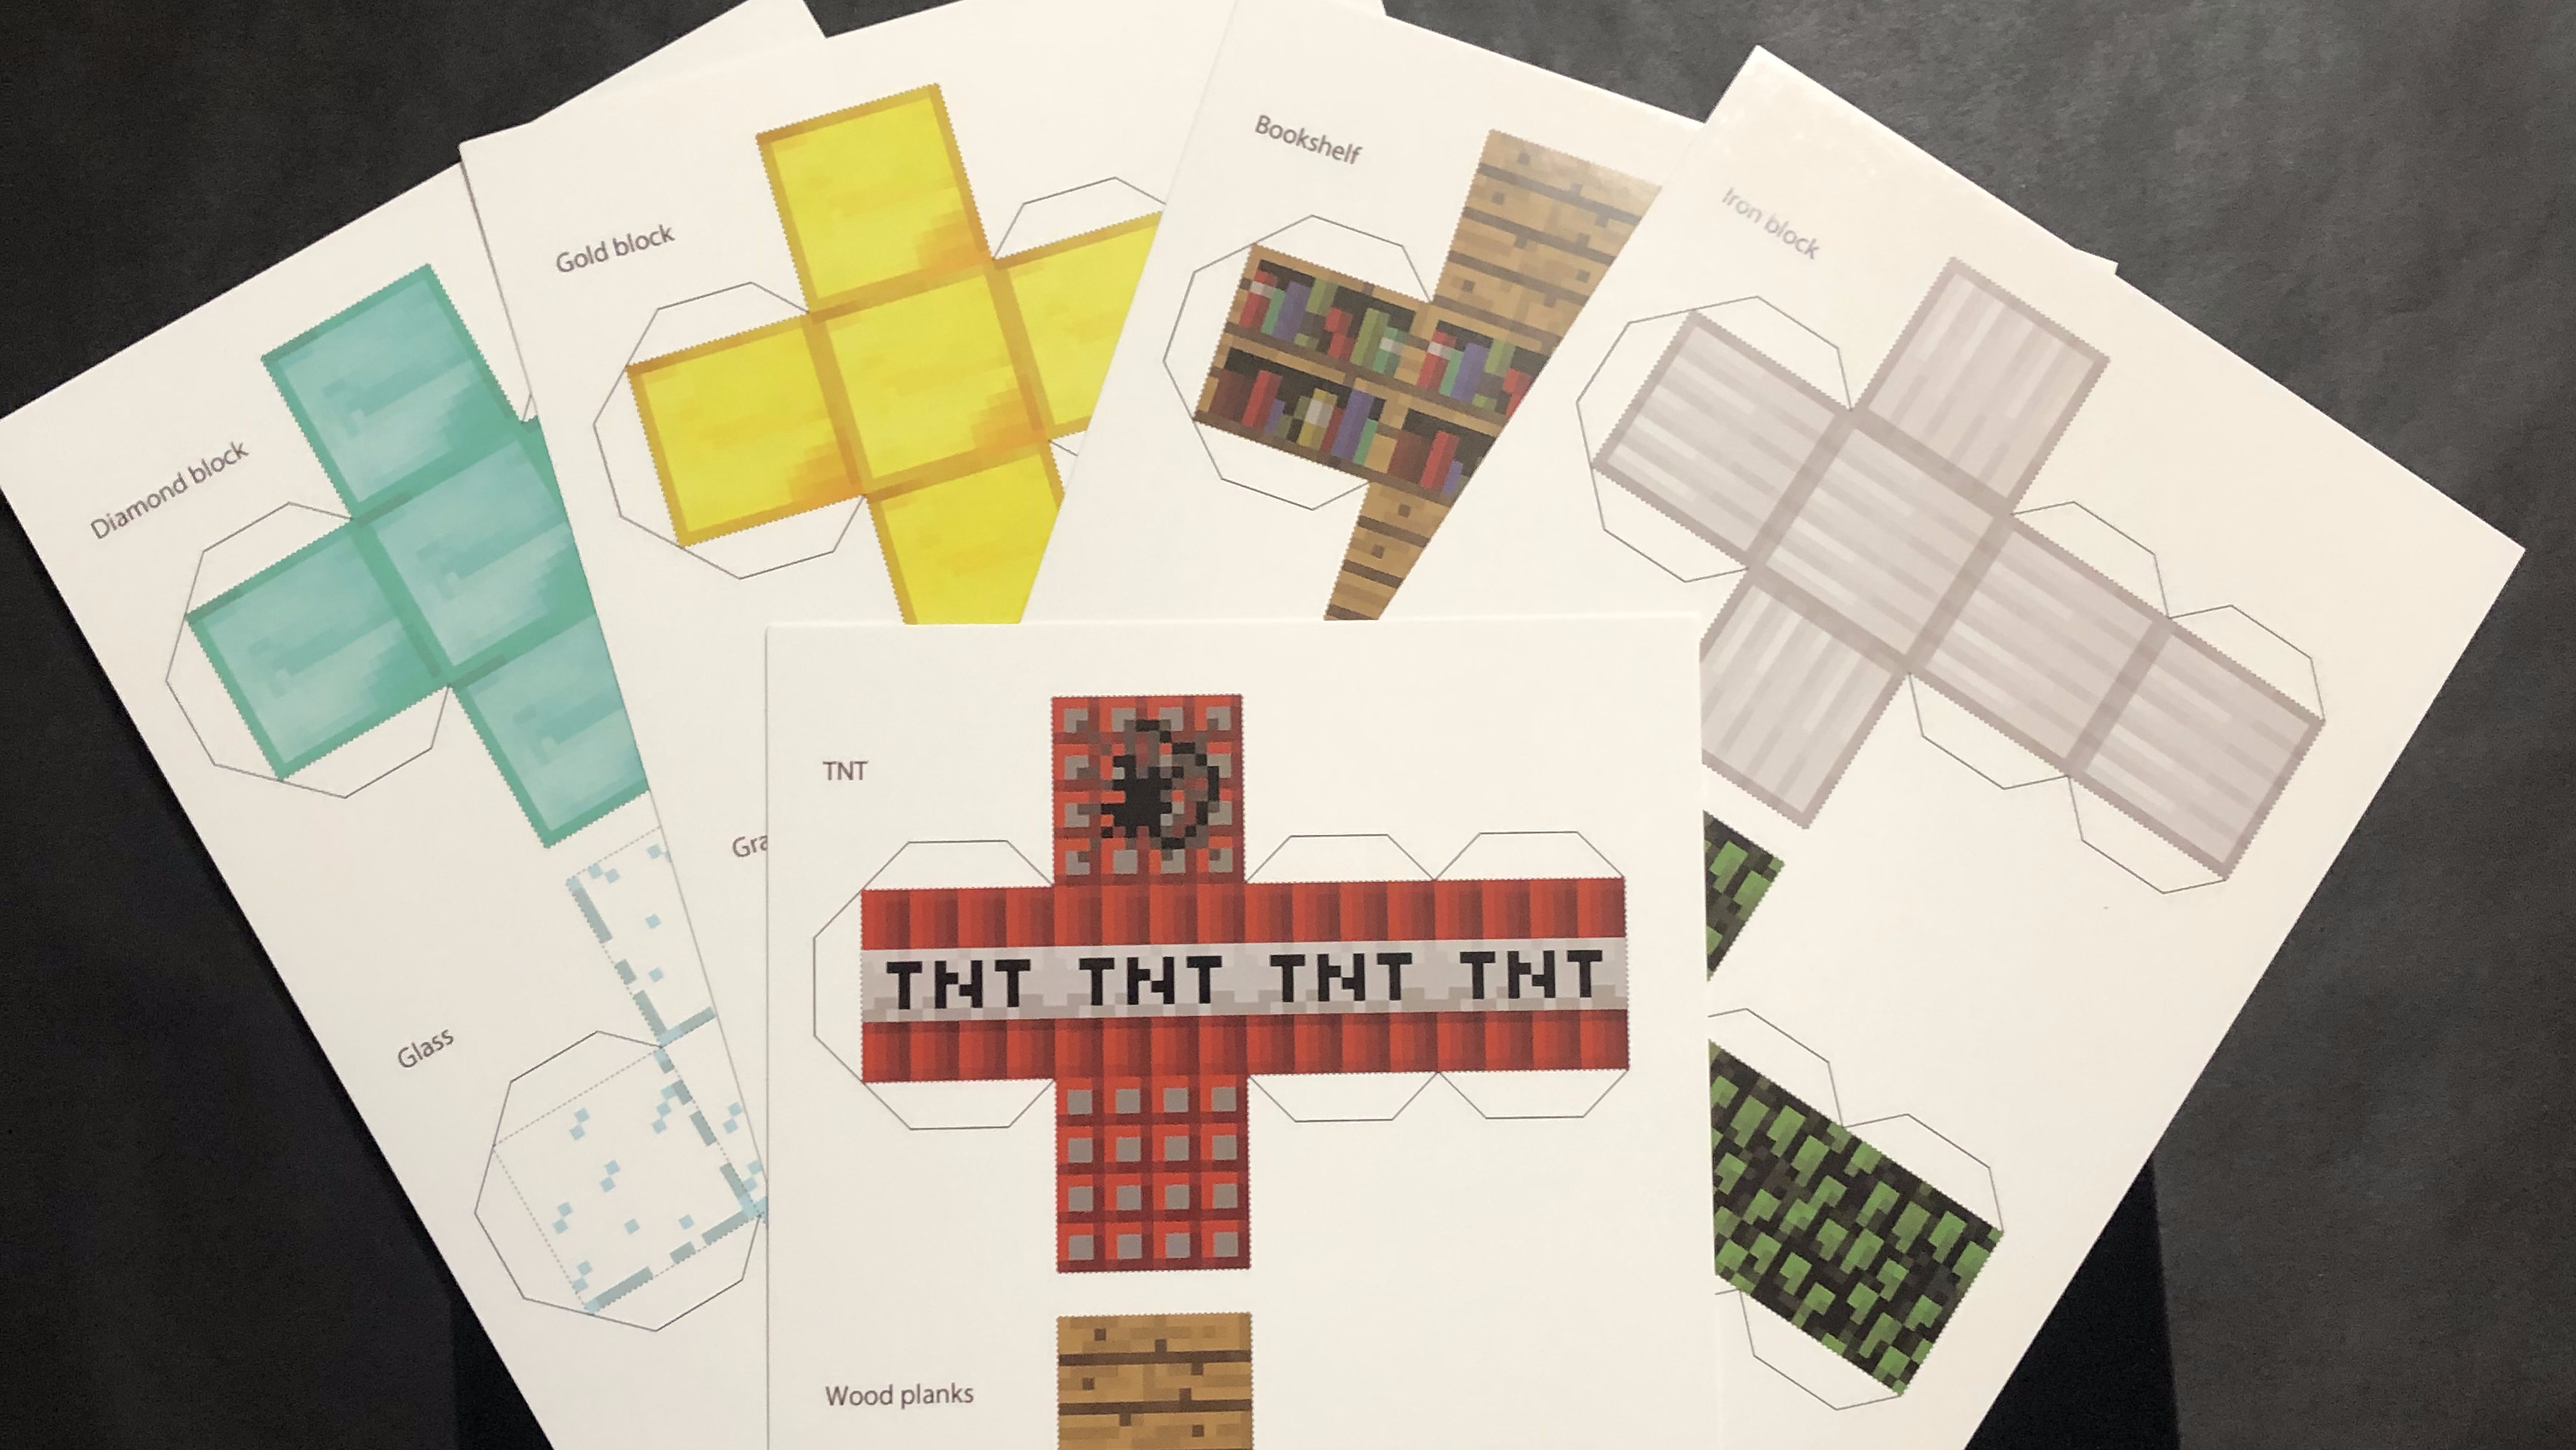
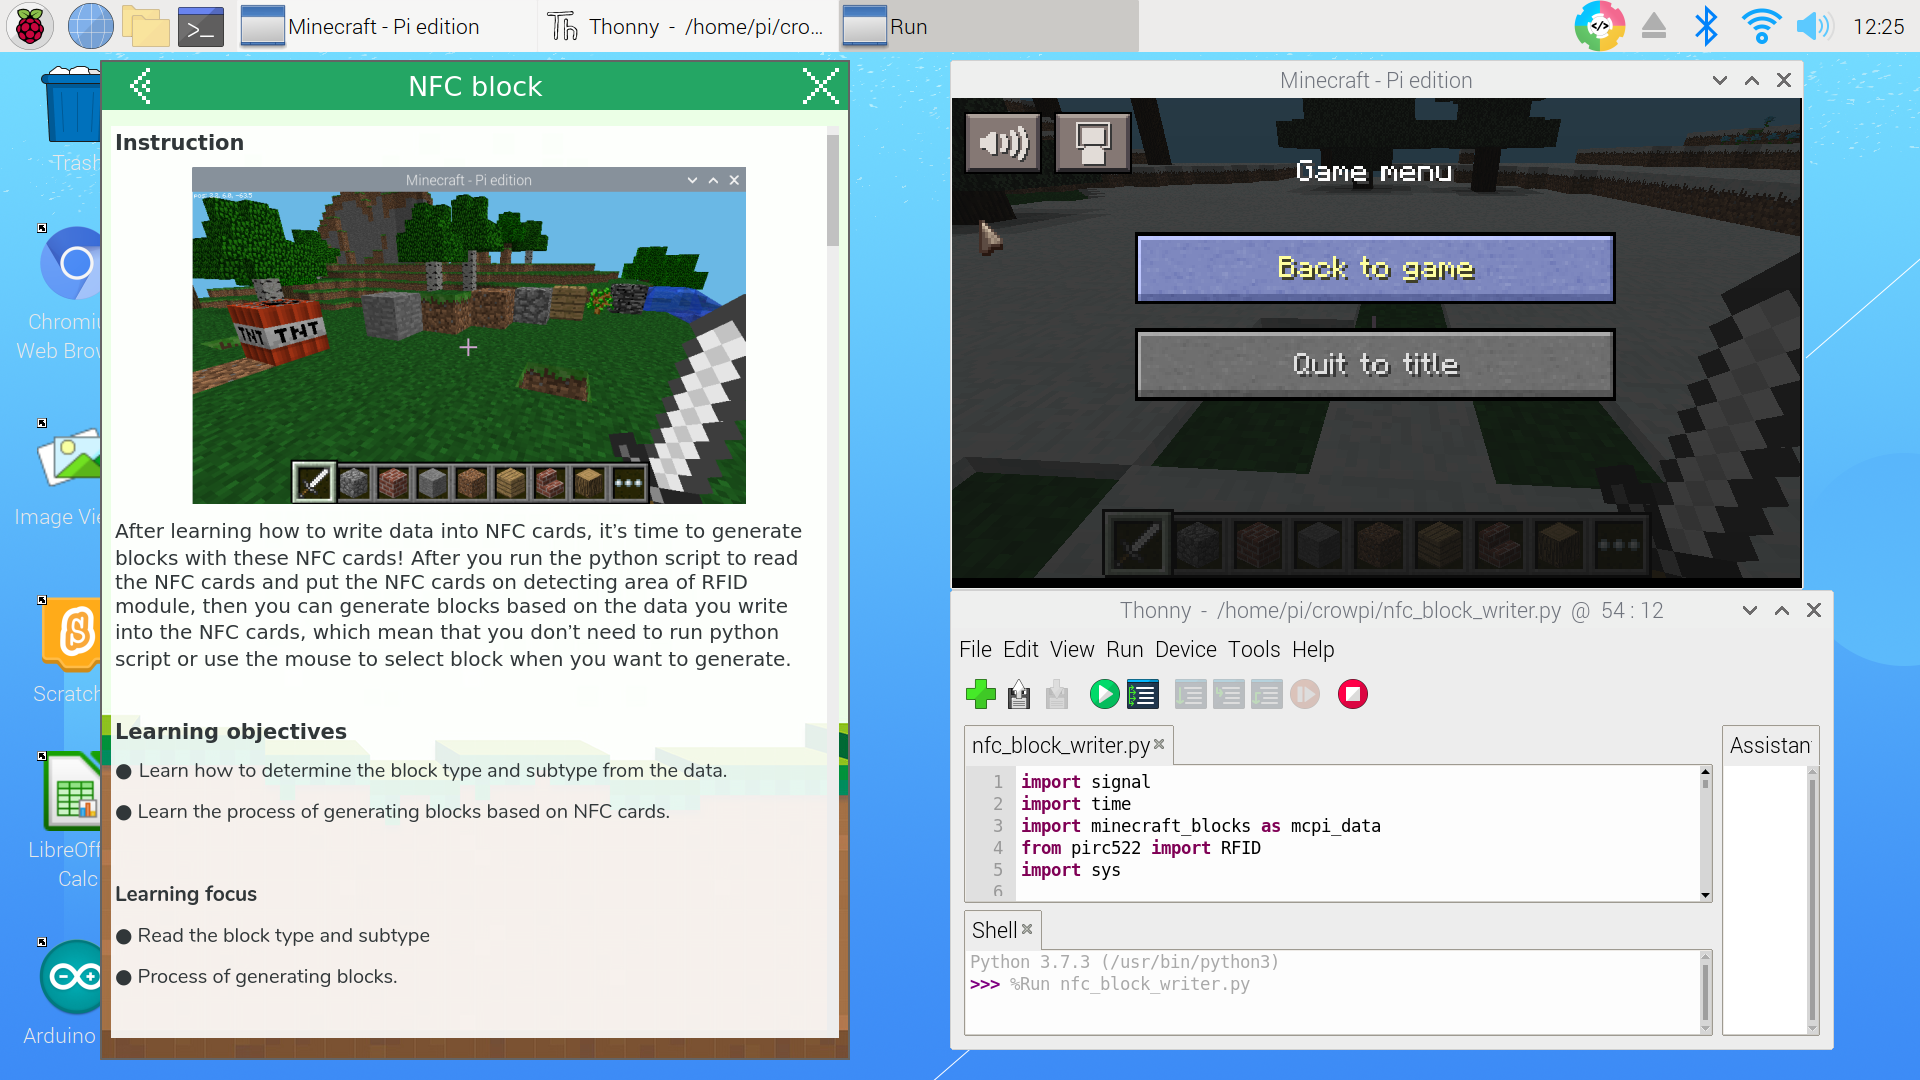
CrowPi2 comes with Minecraft Pi Edition, Mojang’s free version of Minecraft built especially for Raspberry Pi with a revised feature set and support for multiple programming languages. Using the CrowPi 16 lesson set, players will understand everything from how to start the game to using the hardware to interact with customized Minecraft environments. CrowPi2 comes with five tagboards that have Minecraft block cut-outs especially made for one of the coolest lessons below, generating blocks with NFC cards. Warning: The blocks were hard to cut out and there were many sore fingers afterward!
After these lessons, Learners will:
- Understand the Minecraft API for Python
- Be able to create objects to control the game
- Get positions of players
- Change player positions
- Generate, manipulate and position blocks
- Use the onboard LCD module with Minecraft
- Use the onboard buzzer module with Minecraft
- Integrate the game controller and onboard joystick module with Minecraft
- Use the RFID module to write data to NFC cards
- Generate blocks based on NFC card date using block cutouts
For my tween especially, programming for Minecraft Pi on the CrowPi was the learning experience that opened new doors. As an experienced Minecraft user, she was introduced to some great skills that gave a new appreciation for the game.
The great thing about this learning area is the integration of Minecraft game programming with the onboard modules. While we didn’t investigate the possibility of integrating the NFC card data with her Mac gaming environment, it’s something CrowPi users might have fun looking into. An important note is to read the lessons carefully. We had an issue getting Lesson 15 to work for the longest time, until we realized that it was because we had named our Python module “minecraft_block.py” per the documentation, but in fact the code itself was looking for “minecraft_blocks.py” with an “s”. Some minor grammatical errors in the lessons also require careful reading to avoid mistakes.
AI Learning on Elecrow CrowPi2
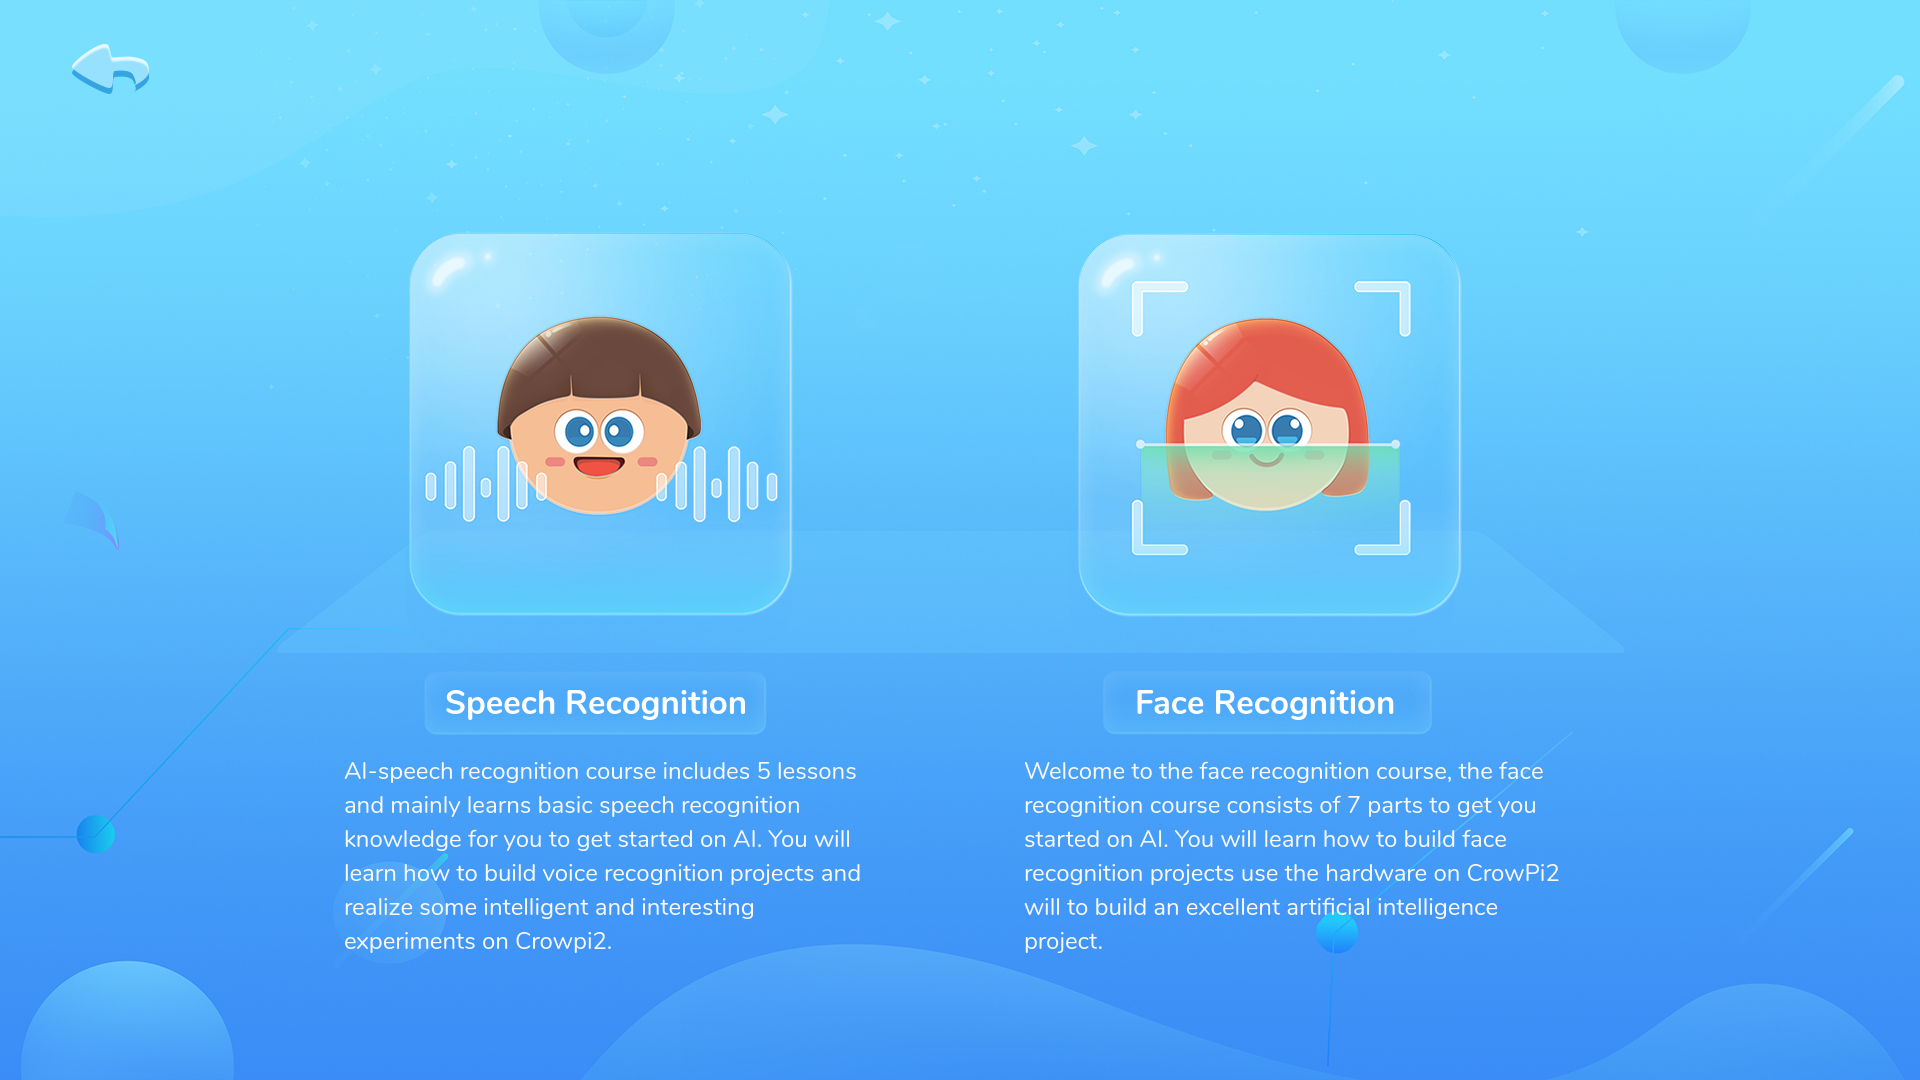
There are guided lessons available under the AI header for Speech Recognition and Face Recognition which unfortunately we were unable to test at this time.
Learning areas include:
Speech Recognition
- Waking up CrowPi2 with speech
- Asking for weather information
- Activating onboard RGB lights with speech
- Asking for ambient conditions
- Telling CrowPi2 to run a self-check
Face Recognition
- Working with OpenCV, a real-time computer vision library
- Coding with LBPH (Local Binary Patterns Histogram) to train face recognition
- Activate hardware and animation using face recognition
- Move objects with face movement tracking
- Organize and ID tag face library for advanced ID checking via face recognition
Arduino and micro:bit
The Arduino and micro:bit IDEs are preloaded, but you can only use them if you have the corresponding boards. Considering that one can always install these applications on one’s own, having them preloaded isn’t much of a benefit.
Gaming on Elecrow CrowPi 2
Here’s an overview of the games CrowPi2 ships with.
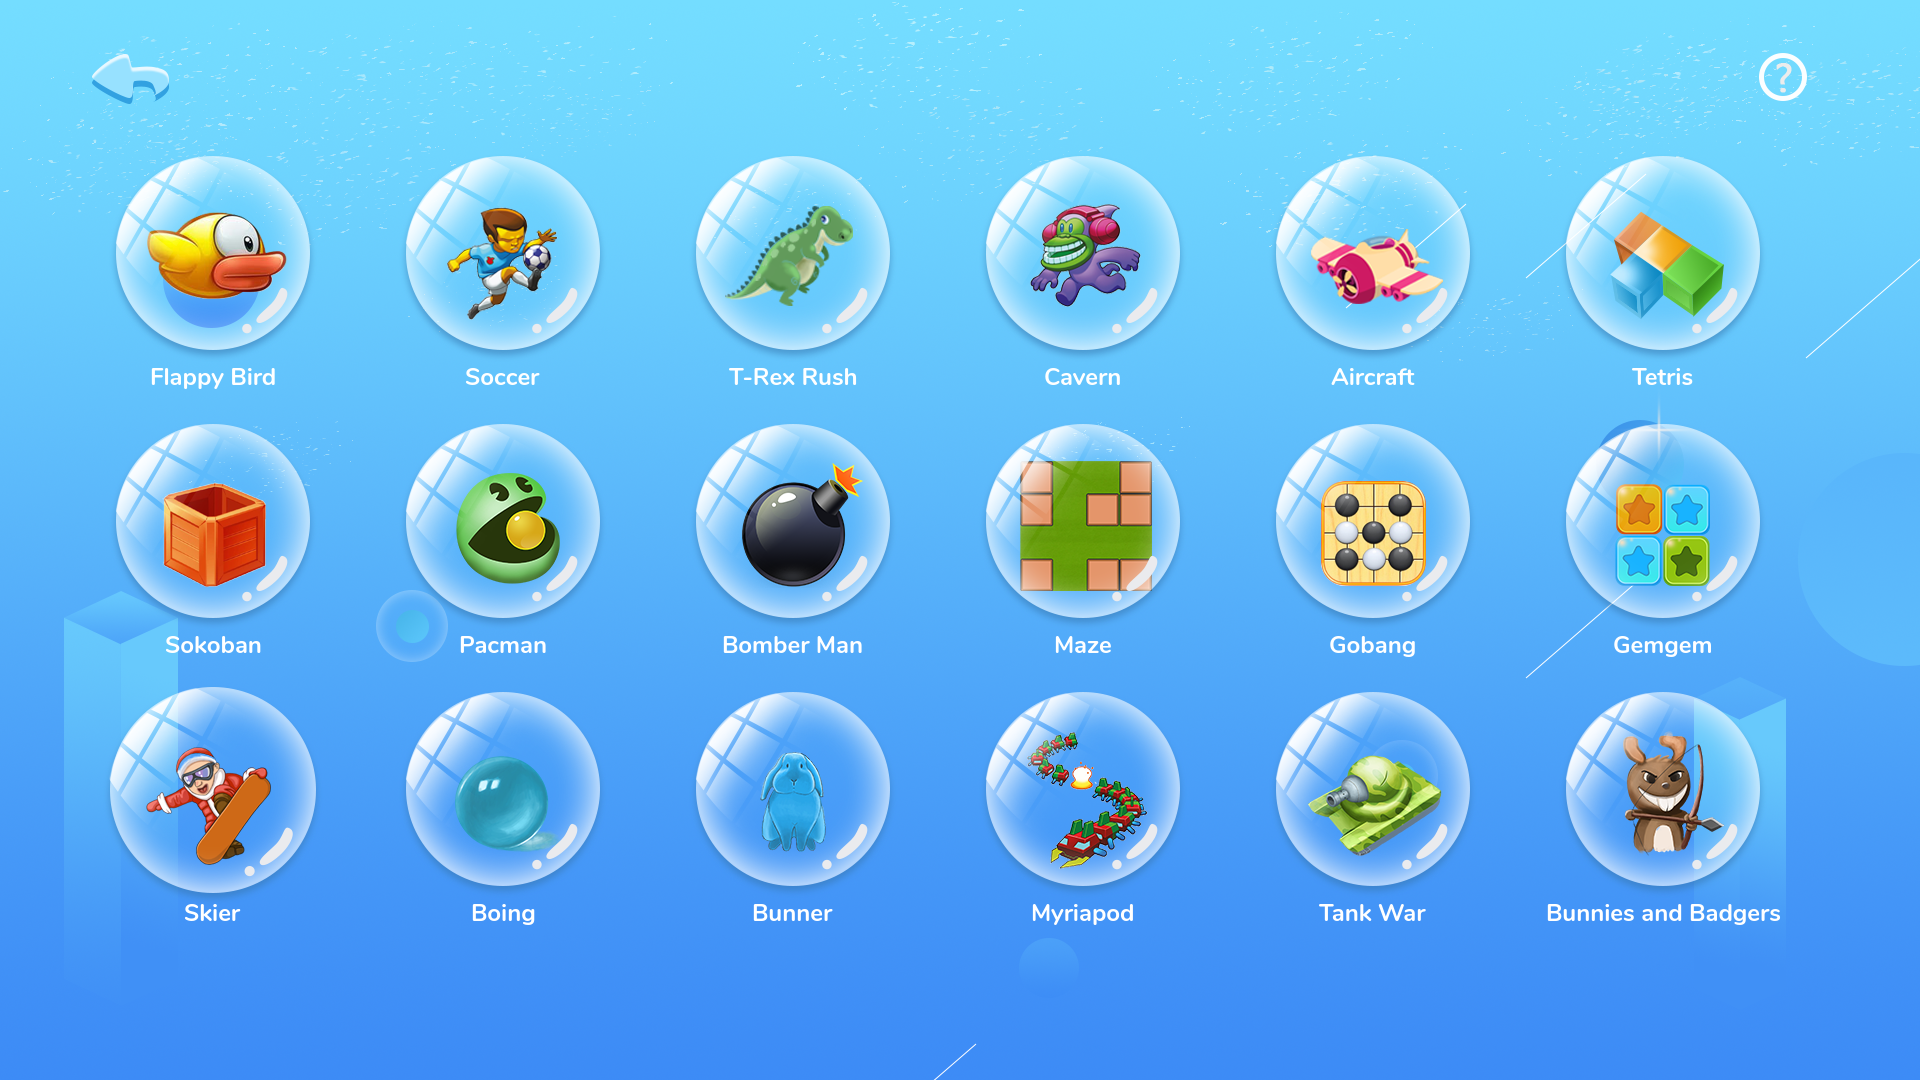
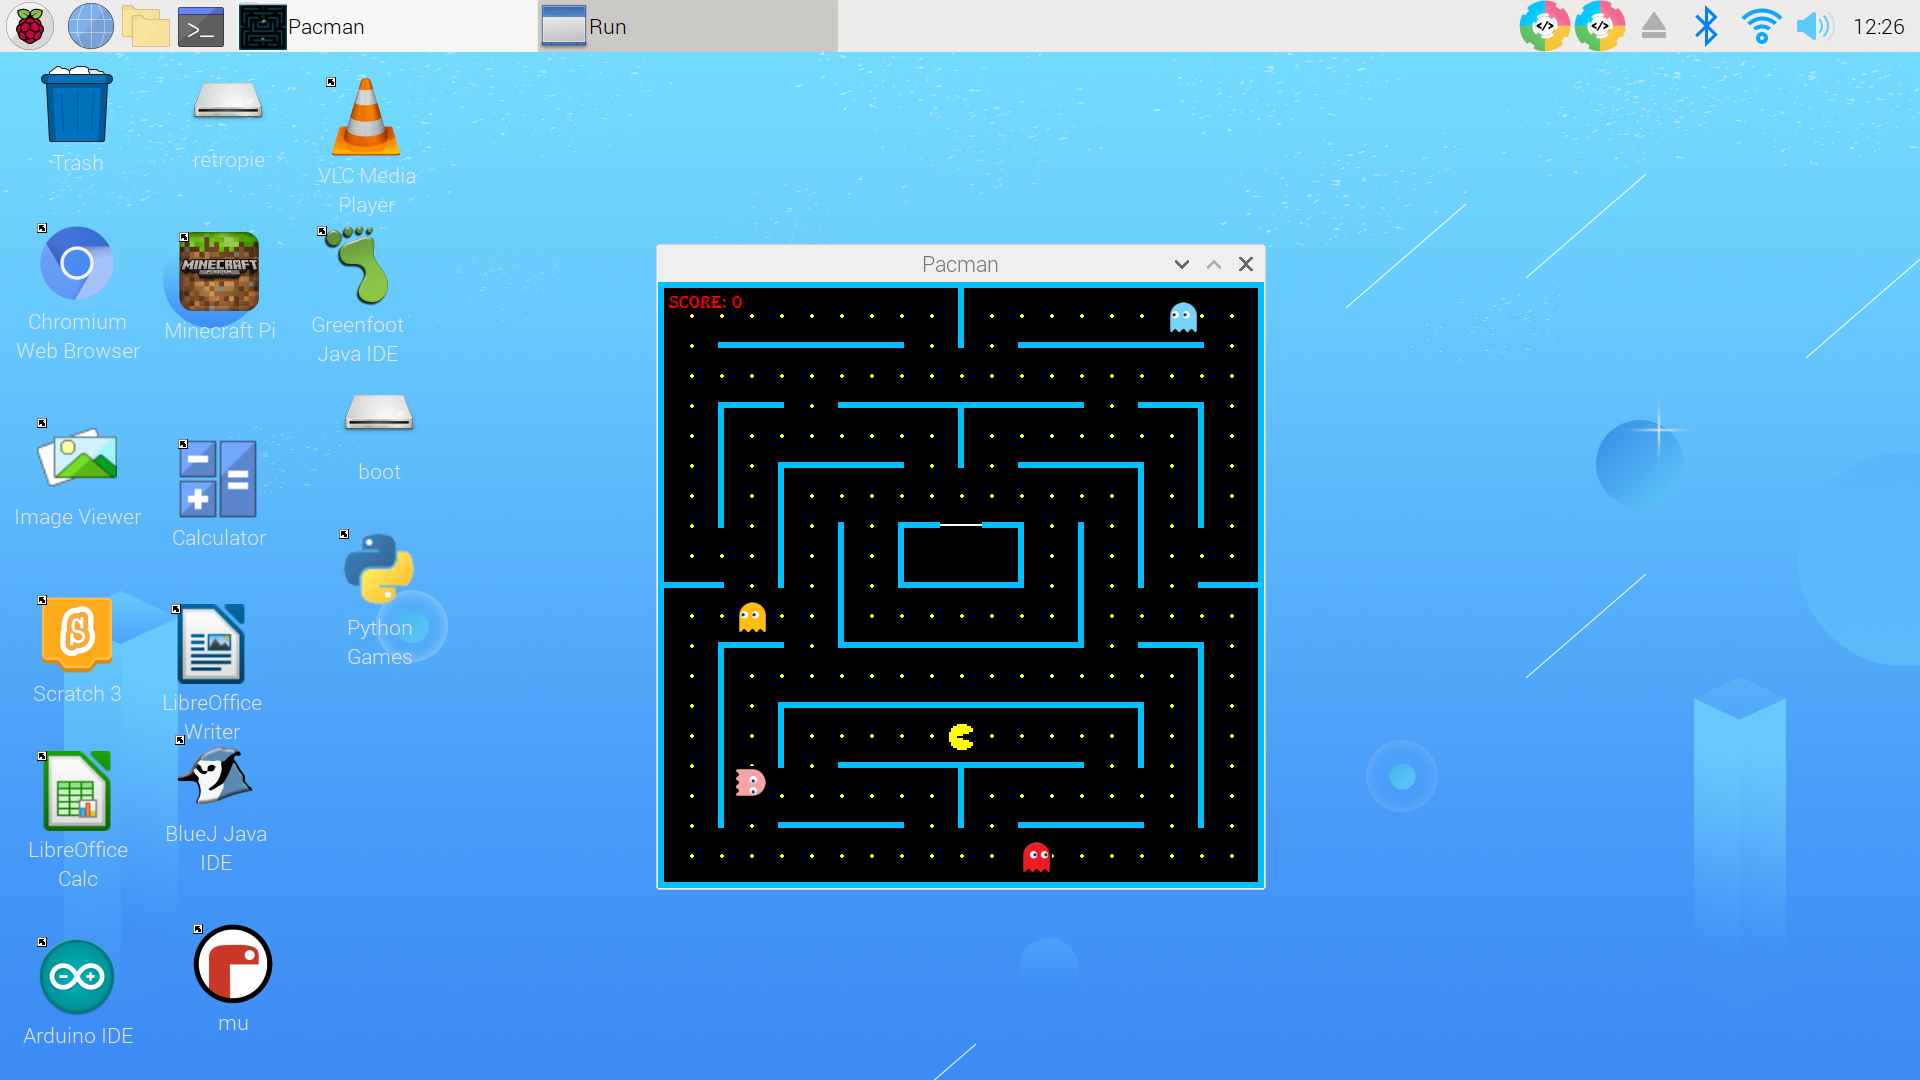
Retro - There are a variety of retro games available in CrowPi2. We tried playing some of the games despite the small window size and interesting background music pairings, they definitely were quite entertaining.
Retro games include some familiar titles like:
- Sokoban
- Pacman
- Bomber Man
- Maze
- Tank War
- Tetris
Minecraft - While we’ve talked about Minecraft already from the coding perspective, you can still enjoy playing Minecraft Pi edition if you just want to practice building things in creative mode. You can also check out the Minecraft Pi website for more information on what you can and can’t do in this version.
Bottom Line
Out of the box, this all-in-one Raspberry Pi laptop and STEAM kit pretty much lived up to its promises. While we did encounter a few hiccups mainly due to minor deficiencies in documentation, we should also note that overcoming challenges through research and community interaction is part of the experience anytime you use a Raspberry Pi.
The Elecrow CrowPi2 is a perfect system to dive into as a kid, teen or adult who is eager to learn how to code and use Raspberry Pi as the tools are there for you to accomplish each project, and once you’ve overcome any hurdles, the rewards will be worth the work. Whatever your background, if you’ve little experience either in coding or with Raspberry Pi you’re sure to come out more knowledgeable and ready to tackle your own maker projects.

Anj Bryant is the Assistant Managing Editor at Tom's Hardware. She provides content layout and development support, and coordinates editorial initiatives for all the talented groups of freelancers, contributors, and editors in the team.
