Tom's Hardware Verdict
The Phrozen Sonic Mini 4K resin 3D printer offers high resolution ideally suited for making finely detailed models but utilizes a tedious calibration process that has a few quirks.
Pros
- +
Fast setup
- +
High resolution
- +
Software integration with ChituBox
Cons
- -
Difficult leveling process
- -
Build platform has sloppy machining
Why you can trust Tom's Hardware
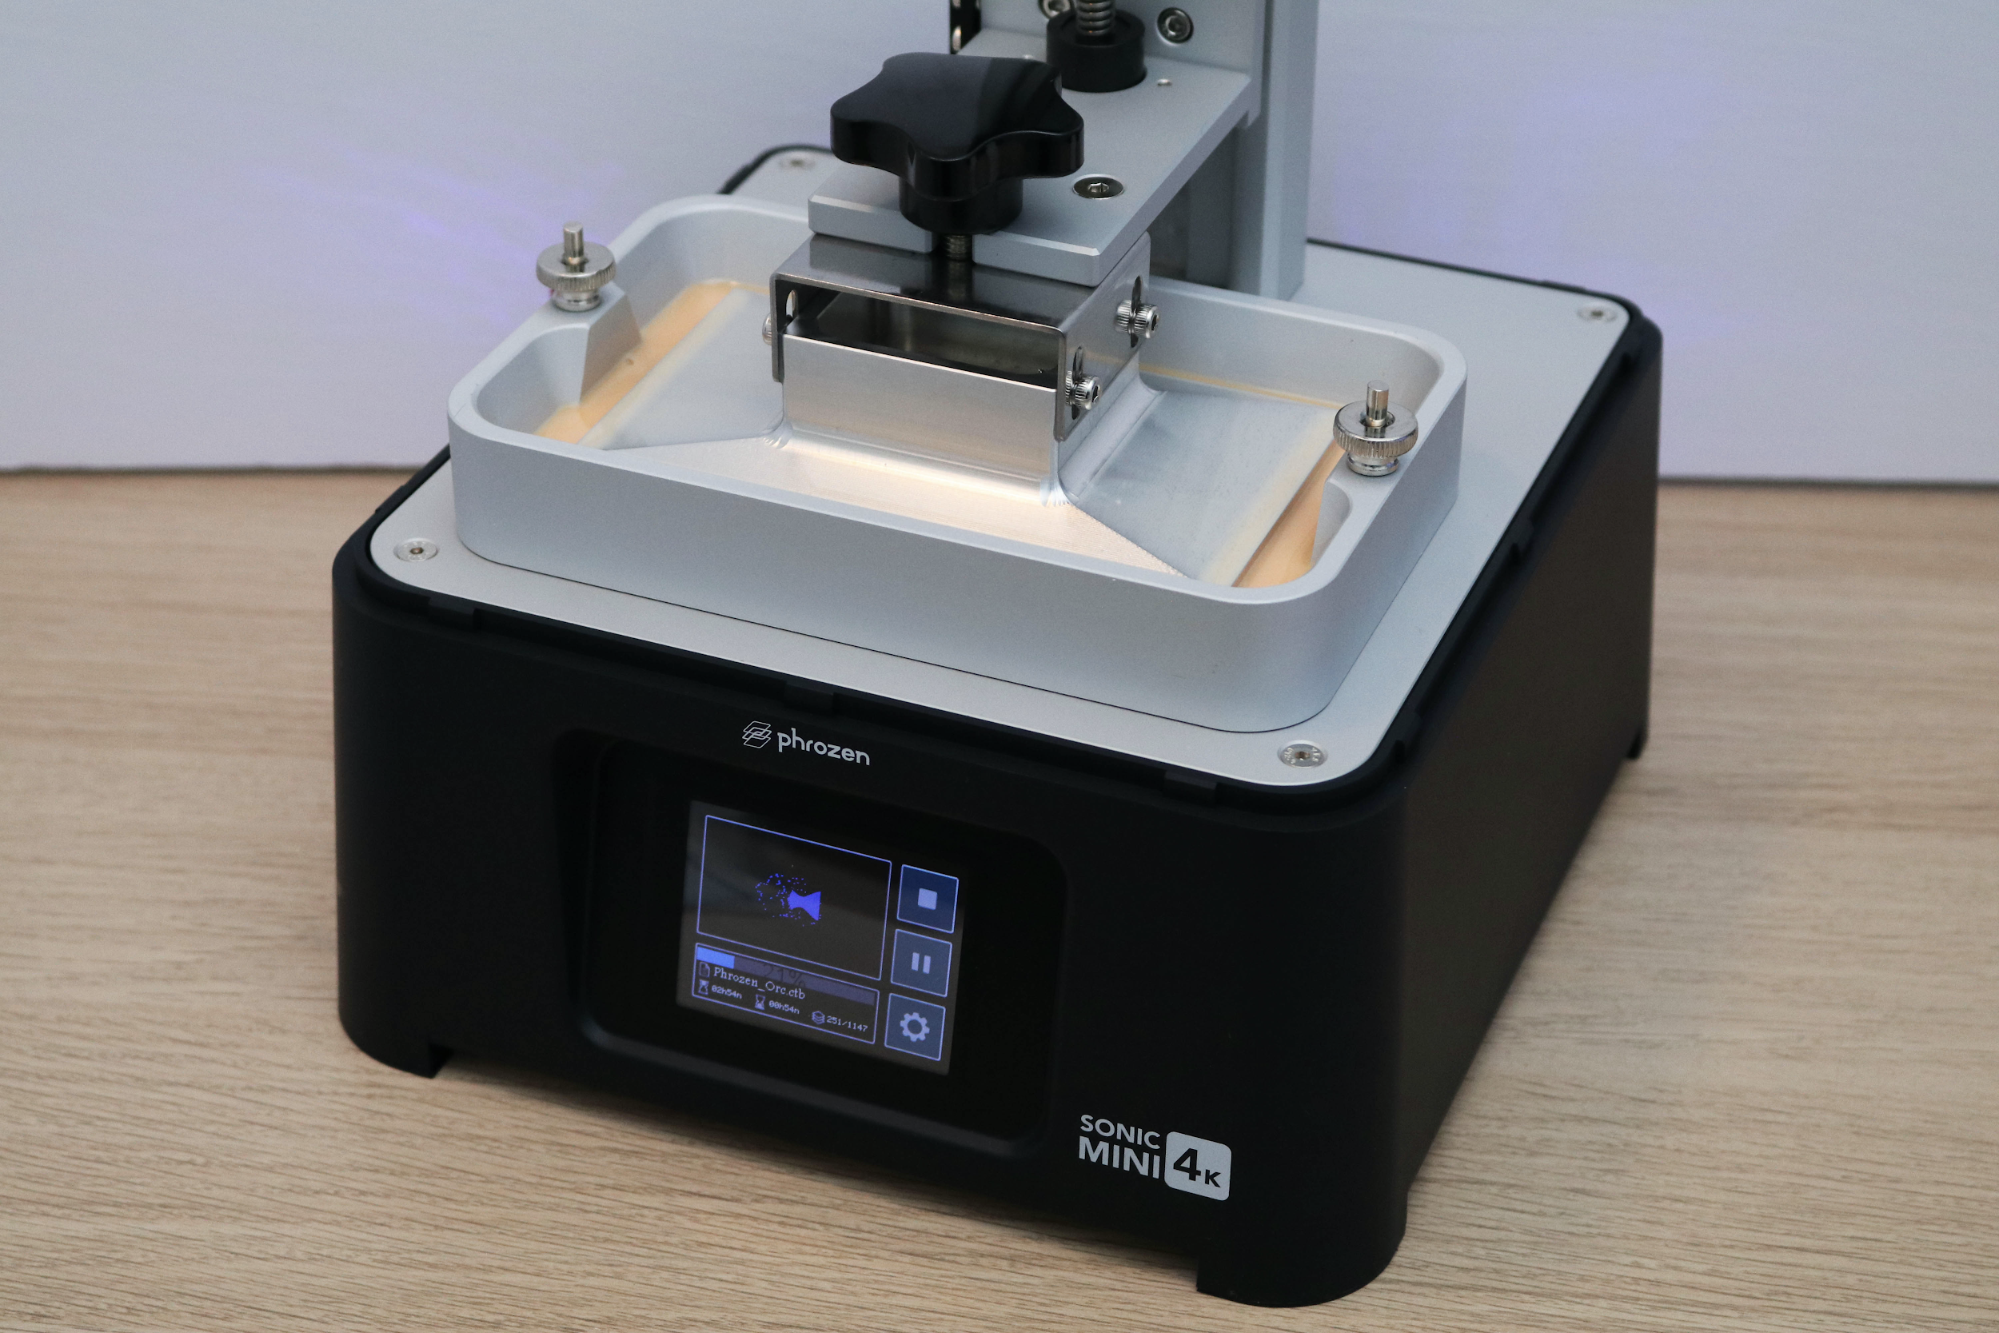
The Phrozen Sonic Mini 4K is an affordable entry in the increasingly-competitive resin 3D printer market which offers high resolution at a low cost. If you’re interested in printing small models or objects and capturing as much fine detail as possible, the Phrozen Sonic Mini 4K is a machine that may work for your application. The build volume of the Sonic Mini 4K is typical for resin machines in this price range, but the high Pixels-Per-Inch density makes this one of the best budget 3D printers you can buy.
Specifications
| Machine Footprint | 9.8" x 9.8" x 12.9" (24.9cm x 24.9cm x 32.8cm) |
| Build Volume | 5.2" x 2.9" x 5.1" (13.2cm x 7.4cm x 13.0cm) |
| Resin | DLP Photopolymer Resin |
| UV Light | 405nm ParaLED Matrix 2.0 |
| Masking LCD Resolution | 3840 x 2160 |
| Masking LCD Size | 6.1" |
| Screen | 2.8" LCD Touchscreen |
| XY Axis Resolution | .035 mm |
Phrozen Sonic Mini 4K: Included in the Box
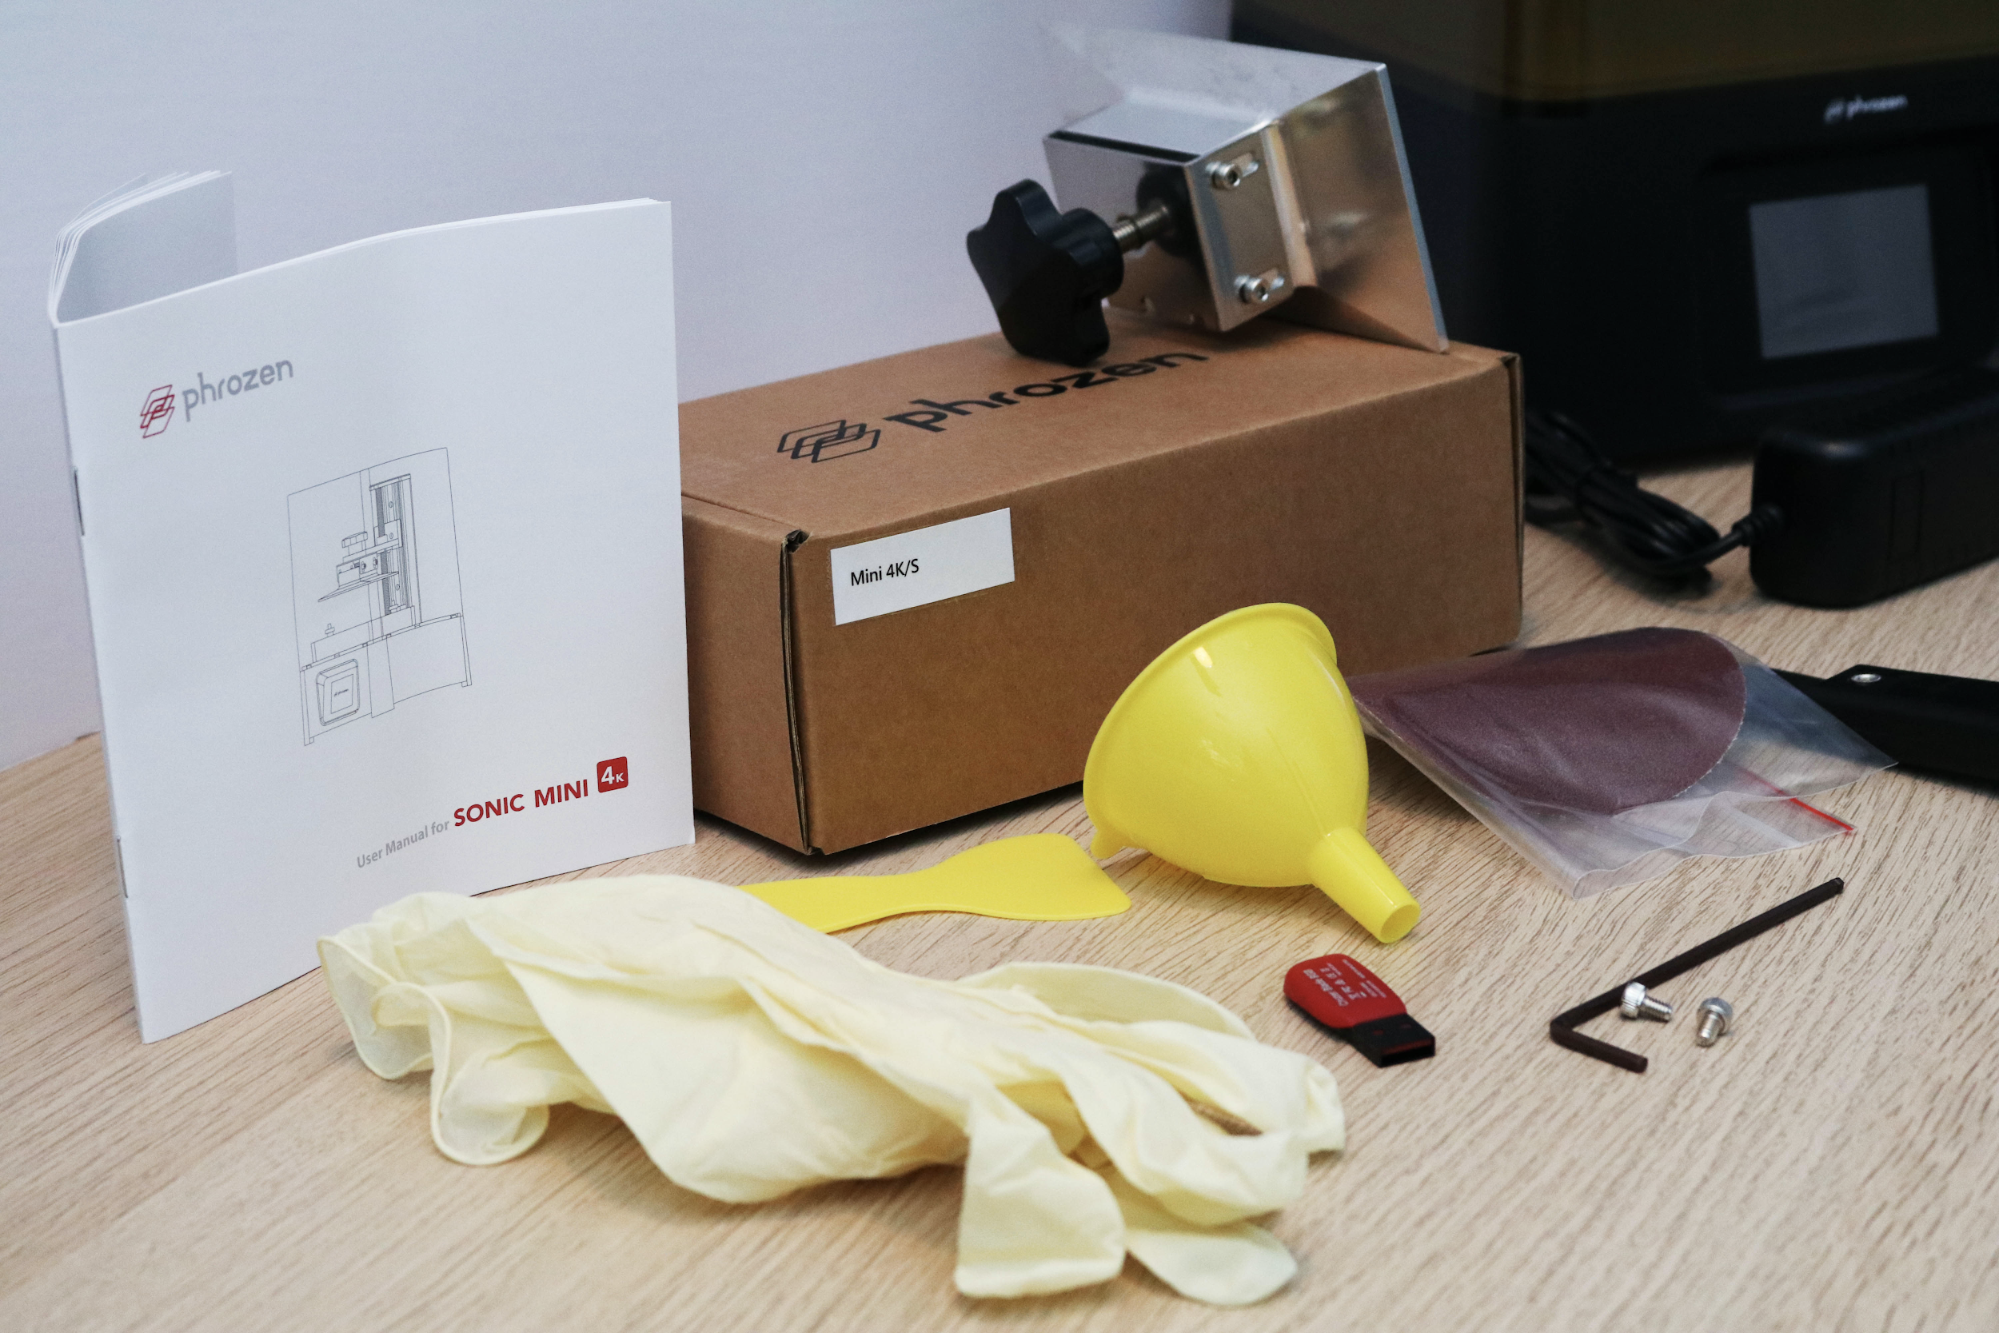
The SM4K includes all of the accessories required to get the printer up and running, as well as a few of the consumables that you’ll need to process and clean printed parts. You get a USB thumb drive preloaded with ChituBox 1.7.1, an Allen key for adjusting the build plate, a plastic scraper for the FEP film, disposable gloves for handling uncured resin, a metal scraper for the build plate, and some sandpaper for roughing up the build surface. The included user manual covers the entire calibration and setup process as well as the default settings for common resin types.
Printing Safety with Phrozen Sonic Mini 4K
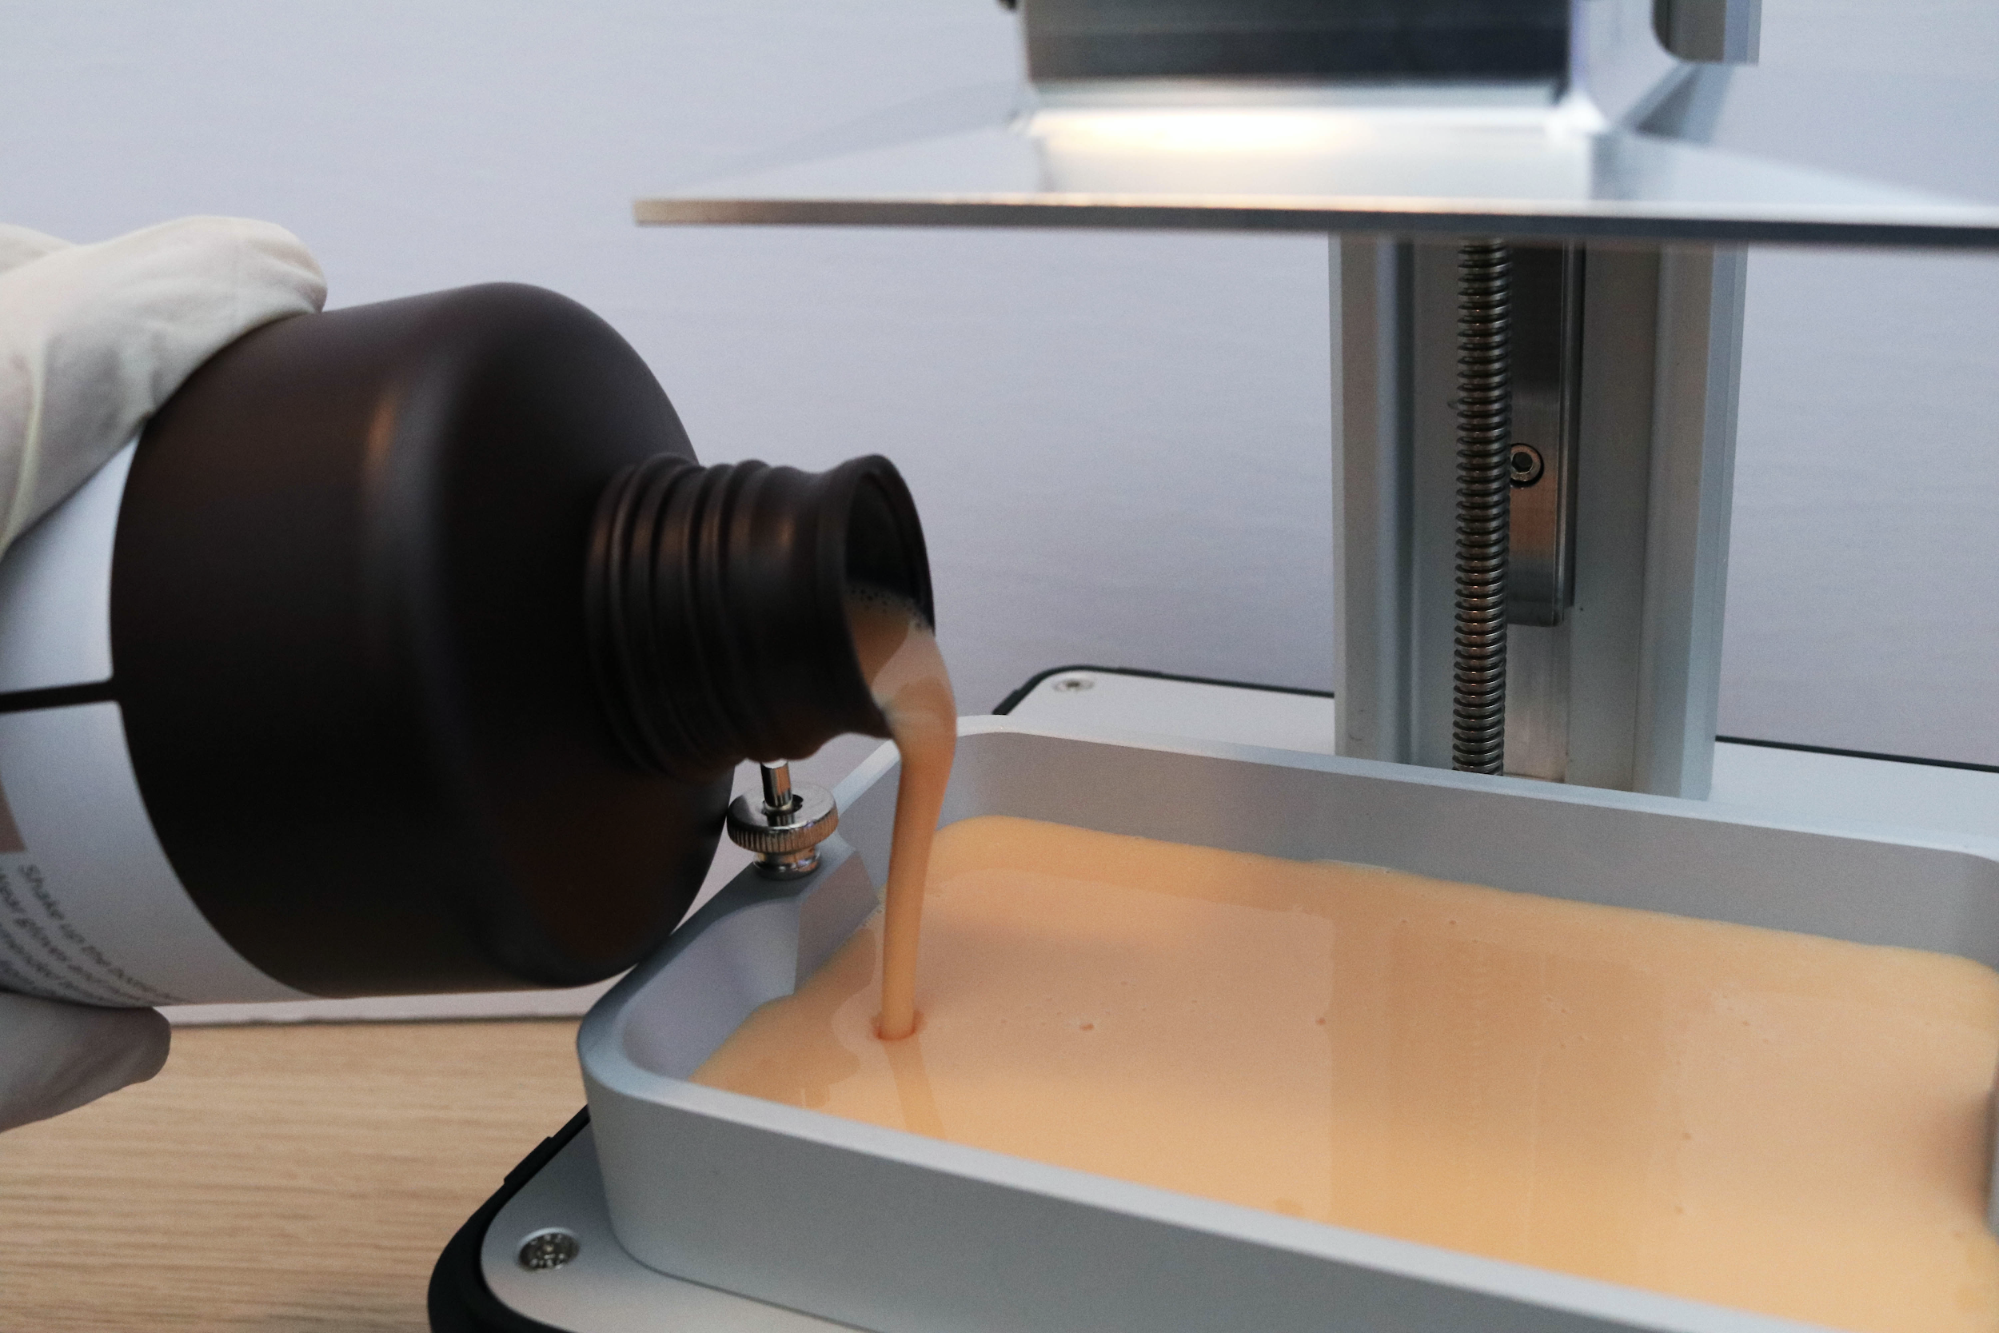
As with all resin 3D printers, you need to be careful when using the Sonic Mini 4K. Uncured resin can be dangerous , so you must wear gloves and eye protection when pouring it or handling parts that have uncured resin on them.
Make sure you use the printer in a well-ventilated room to minimize the danger from inhaling fumes. Any spills or uncured resin stuck to a surface should be cleaned using 99% Isopropyl Alcohol and the container for the resin should be kept closed and secured when not actively pouring material.
Assembling the Phrozen Sonic Mini 4K
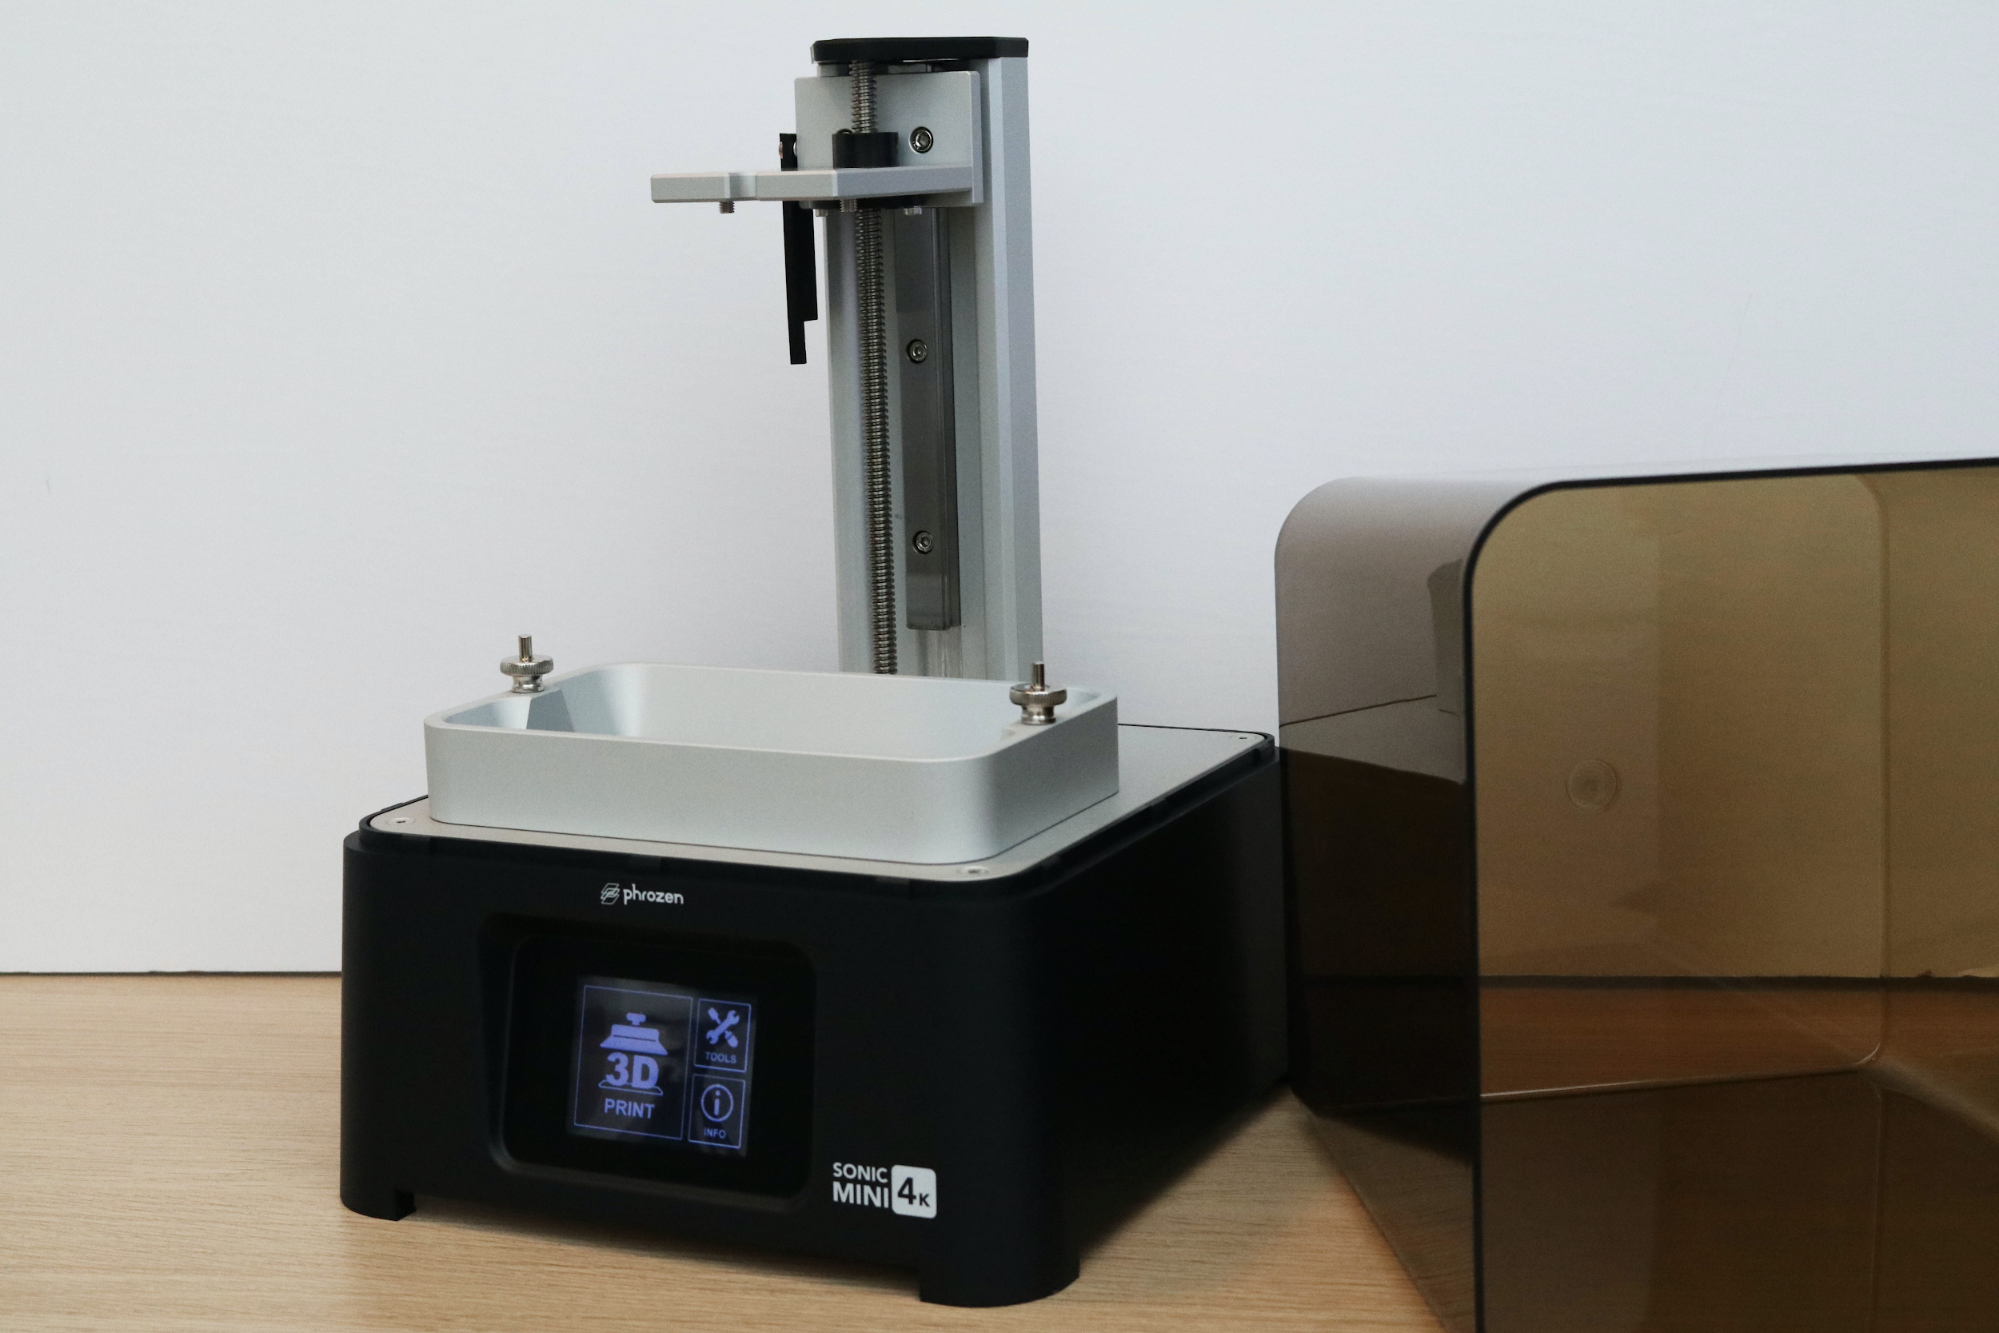
It took me less than an hour to get the printer assembled and printing, which is typical for a resin printer like this one. The external power supply plugs into the back of the printer, and the cover simply sits on top of the base of the unit. The build platform slides into place on the Z axis gantry and is calibrated as a separate step.
Calibrating the Build Plate on the Phrozen Sonic Mini 4K
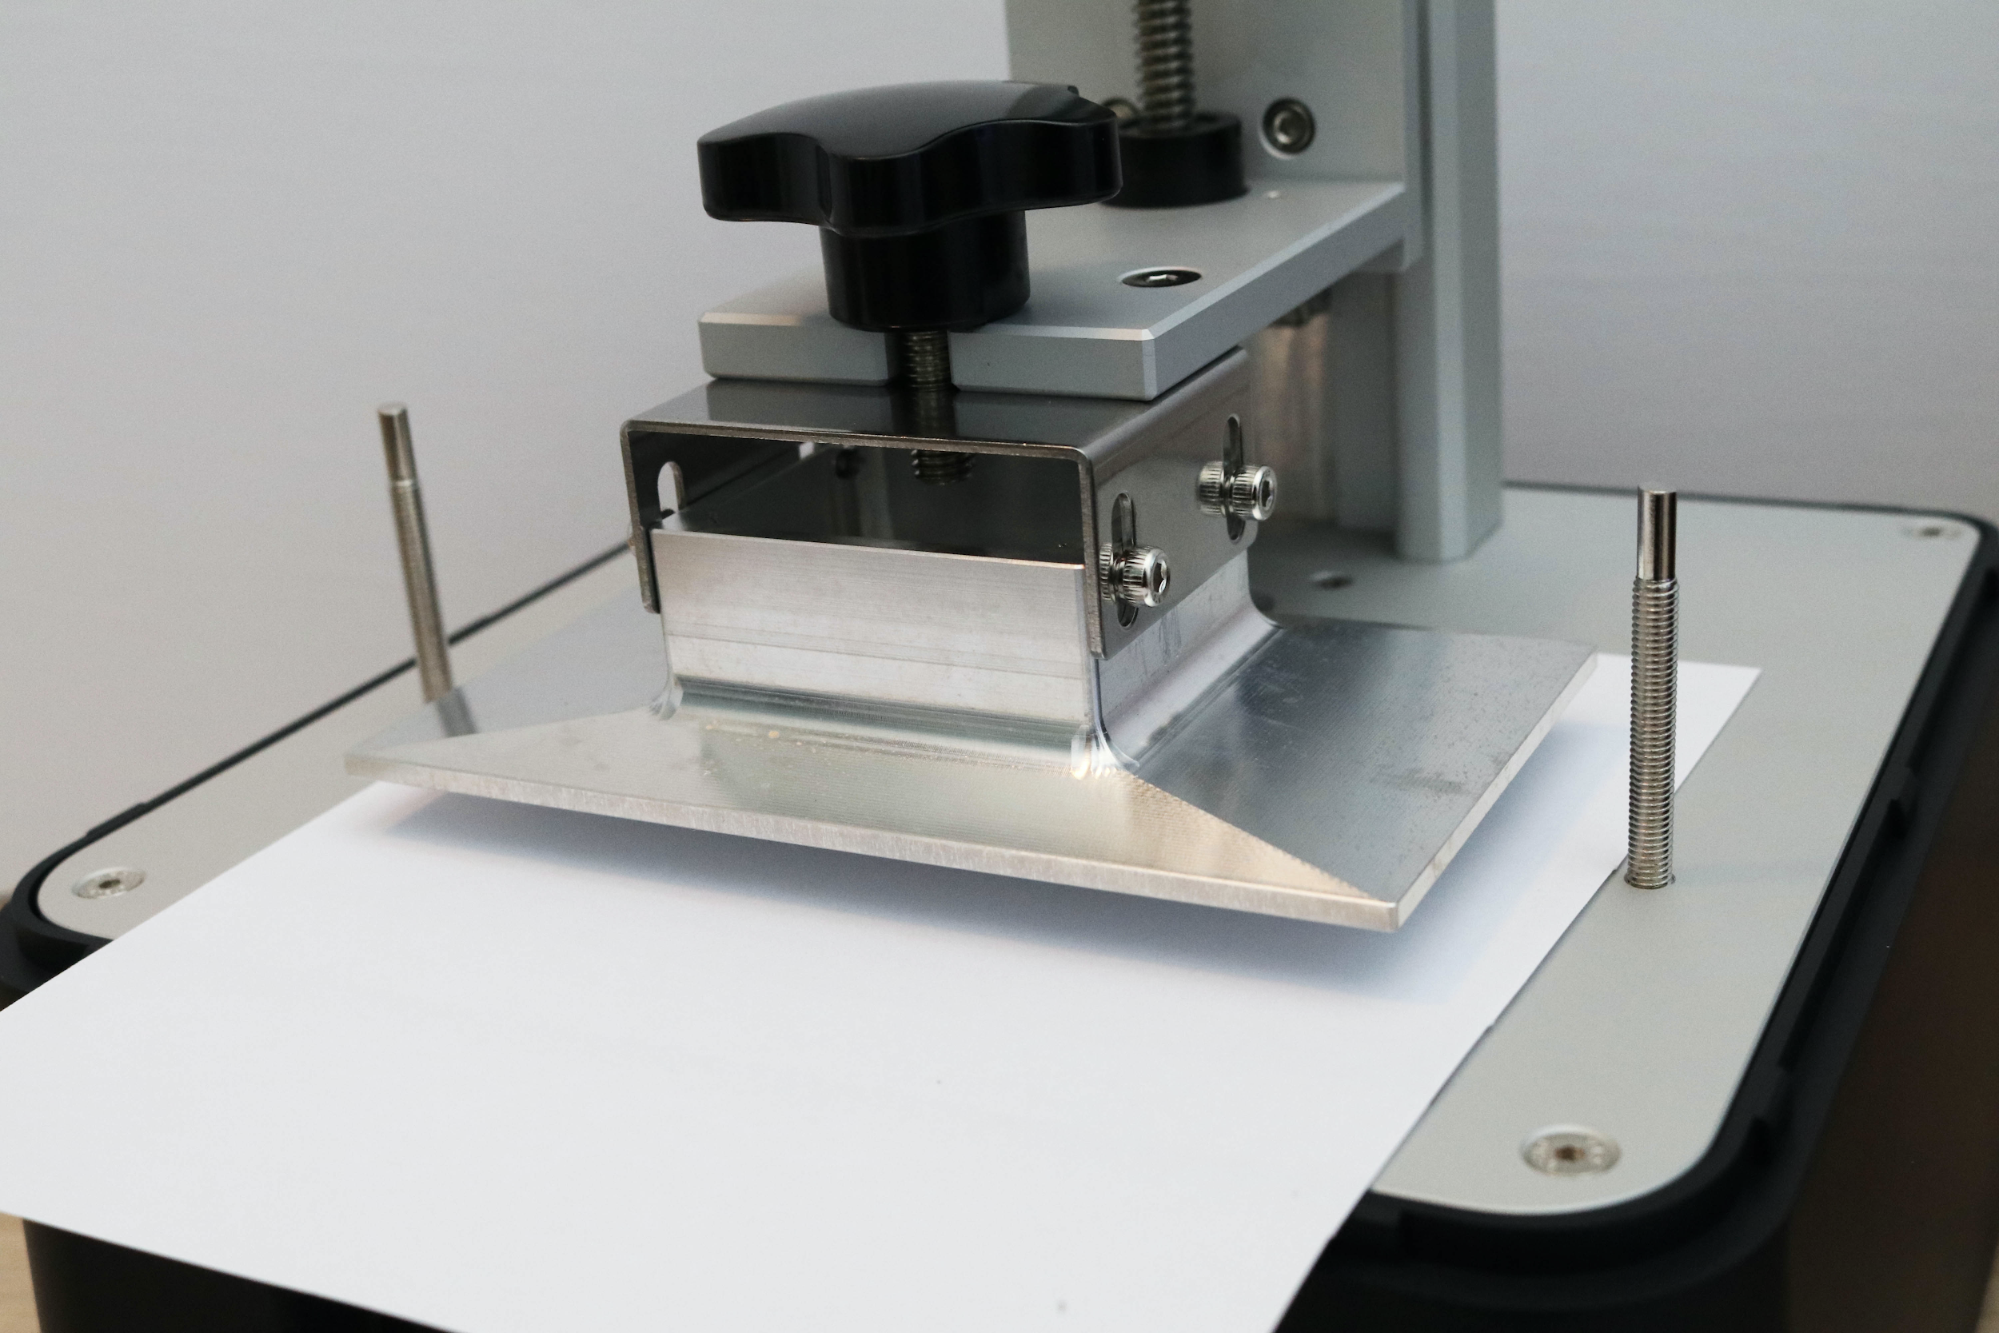
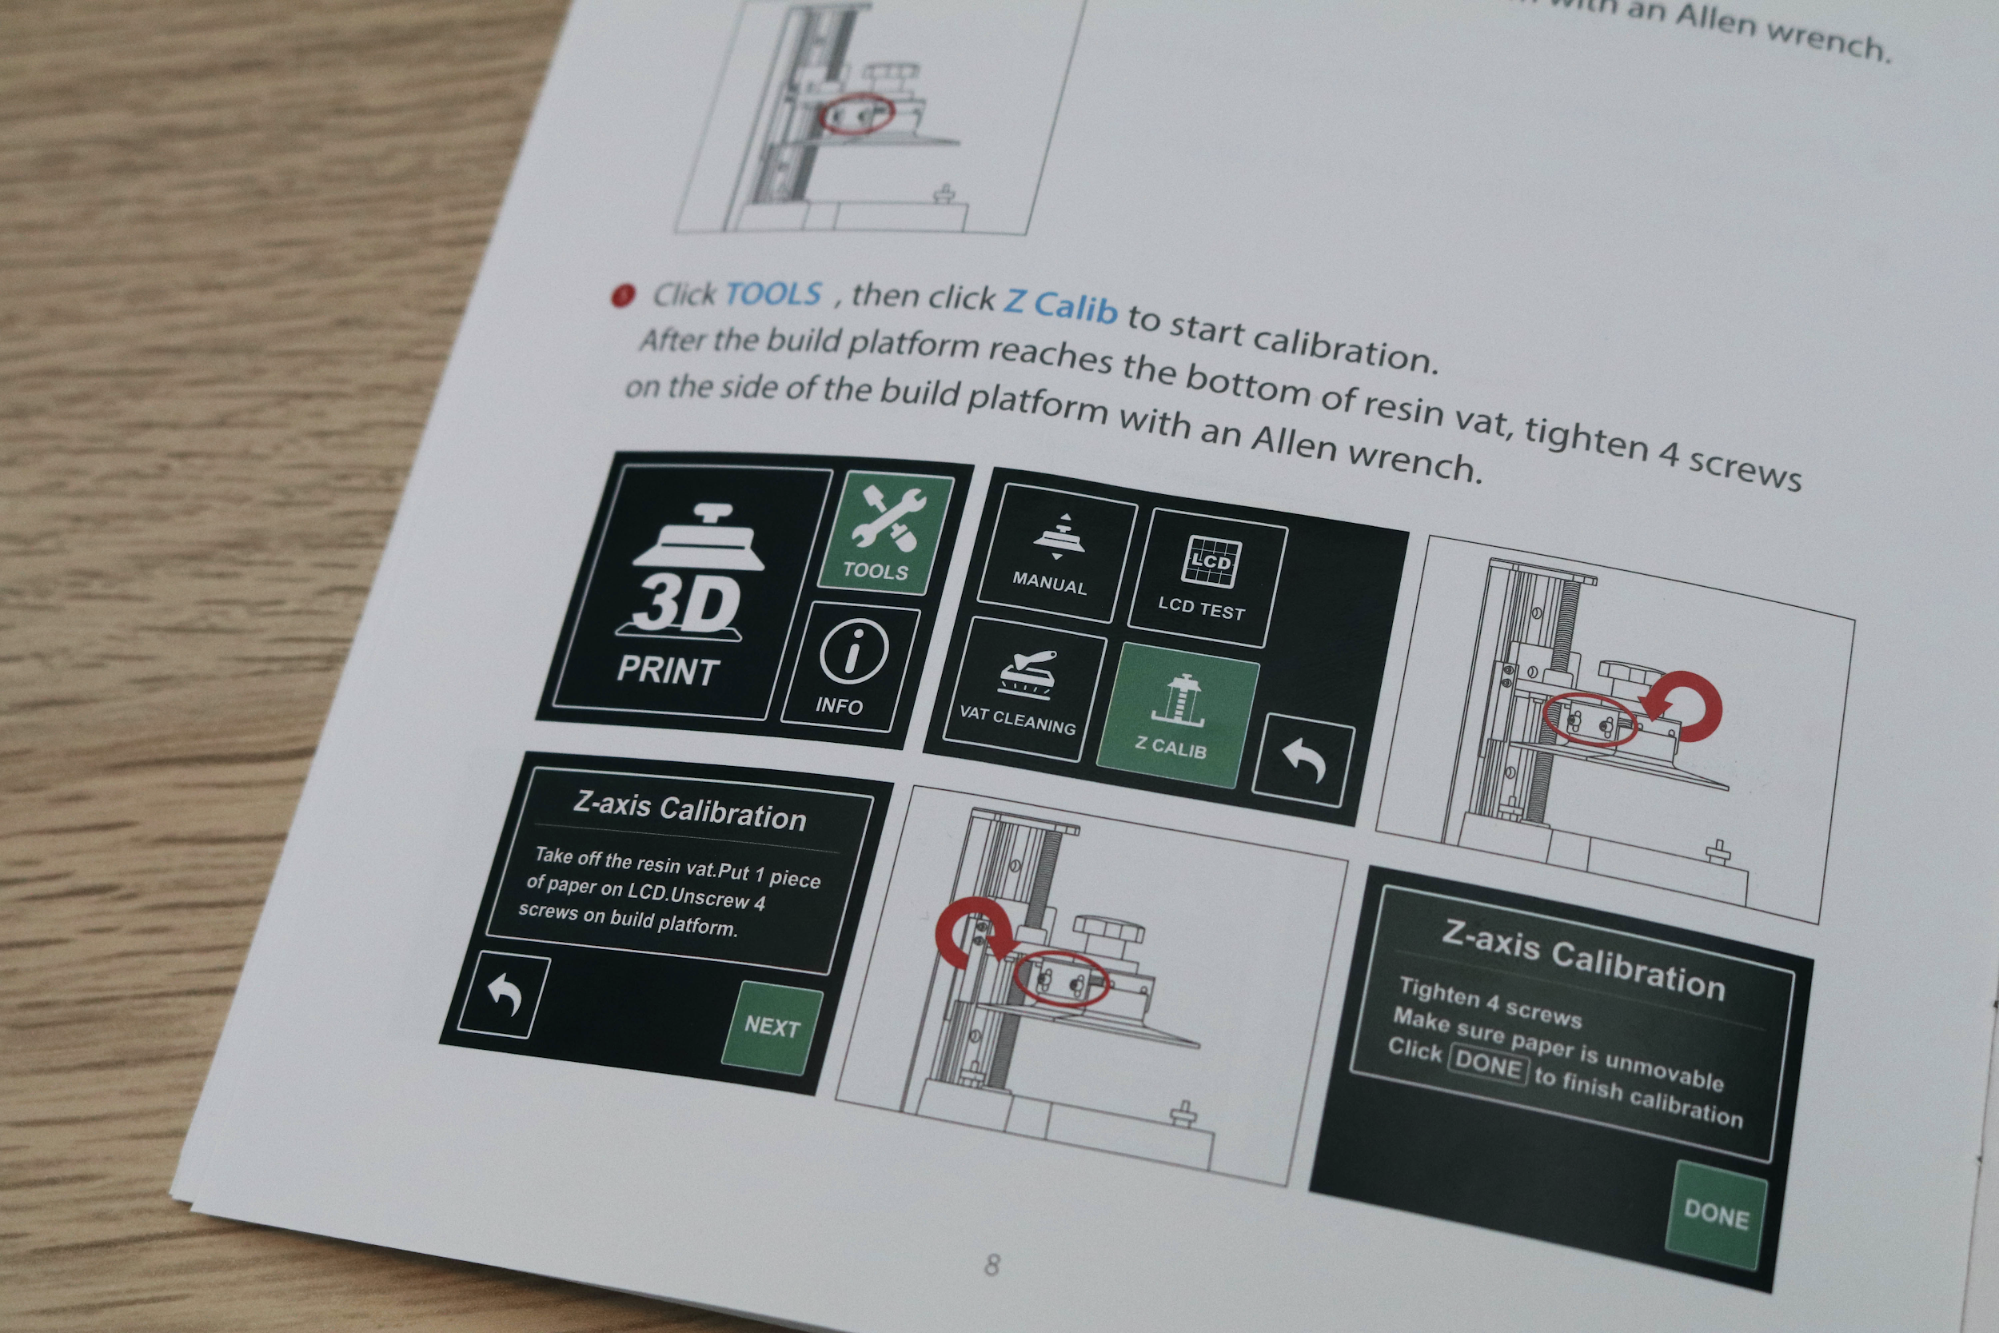
Similar to FDM 3D printers, the build platform on a resin 3D printer requires calibration to create an even surface. The Sonic Mini 4K uses an adjustable build platform with four screws to offset the surface and compensate for any uneven surfaces.
The calibration process is more involved than on a printer like the Elegoo Mars 2, because there’s no ball and socket design on the platform. A ball and socket design allows the platform to be leveled using only two screws and offers a high level of accuracy, as opposed to a four screw system which is easier to manufacture but harder to adjust. Adjusting the corners of the platform is difficult due to the tension put on the platform from the mounting bracket and the configuration of the bolts makes it difficult to make any adjustments while leveling.
Get Tom's Hardware's best news and in-depth reviews, straight to your inbox.
The interface of the printer indicates that the vat should be removed during leveling, but the user manual says that the vat should be left in during leveling. Leveling with the vat installed can potentially damage the delicate FEP screen, so this may cause confusion and frustration for users inexperienced with leveling the build platform on a resin 3D printer. A piece of coarse 80-grit sandpaper is included for roughing up the build surface, but this can also lead to problems with the FEP being punctured if the platform is unevenly sanded or scuffed.
Printing Workflow on the Phrozen Sonic Mini 4K
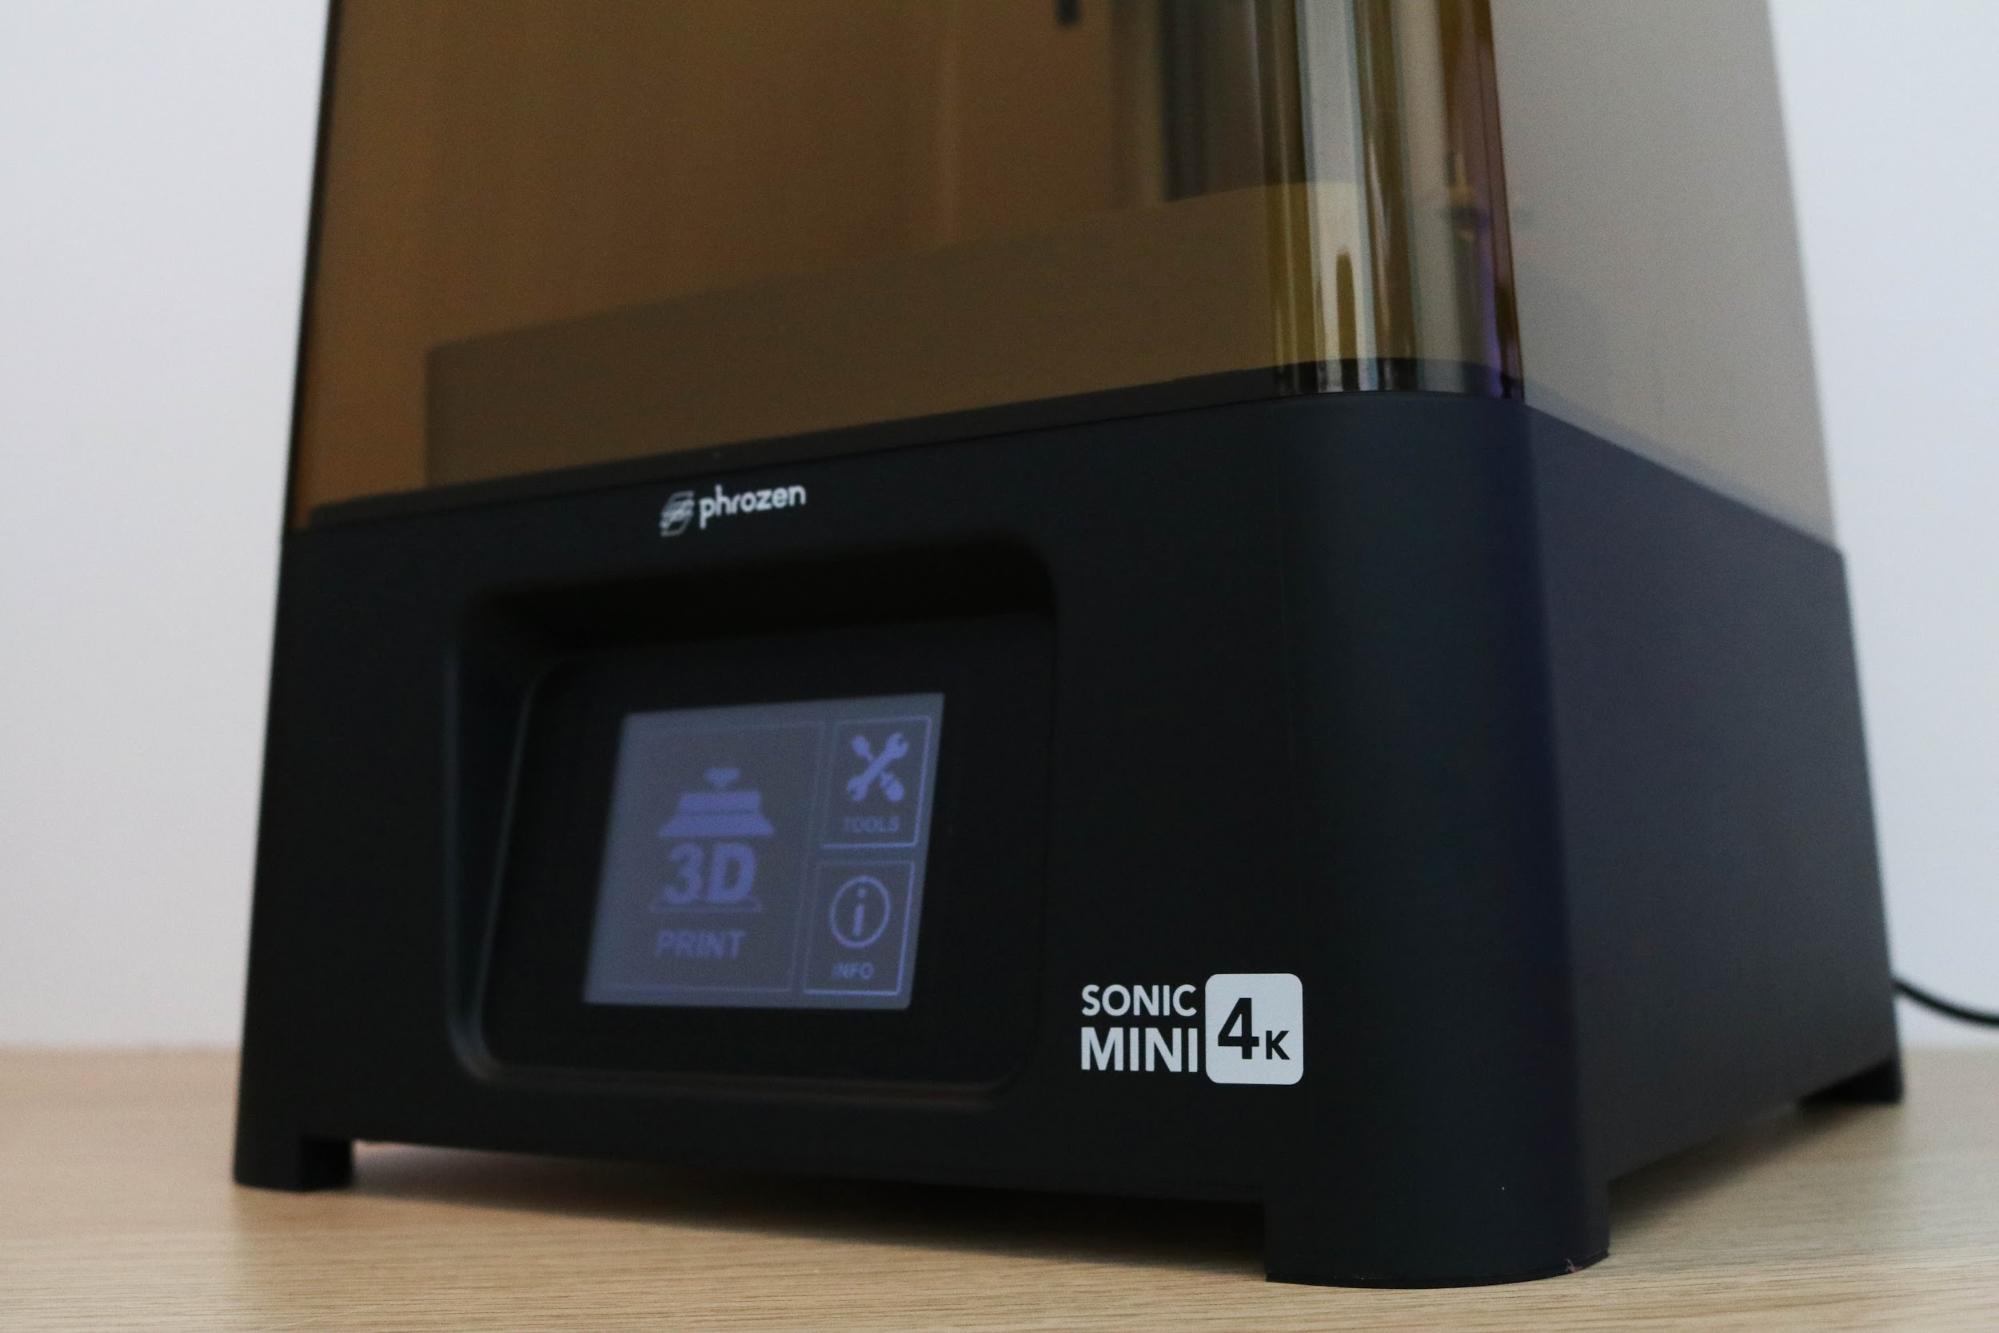
The typical workflow for printing a part on a resin printer is generally a bit more involved than doing the same on a filament printer. Phrozen has added a profile for the Sonic Mini 4K to the popular software ChituBox, which allows for out-of-the-box compatibility. The ChituBox software can hollow a model, add drain holes, add support structures, and output a file compatible with the printer using the .CTB file format. The Sonic Mini 4K uses a USB thumb drive for file storage, and the touchscreen UI allows you to select a file, see a thumbnail preview, and start the print.
Printing the AmeraLabs Calibration Test on the Phrozen Sonic Mini 4K
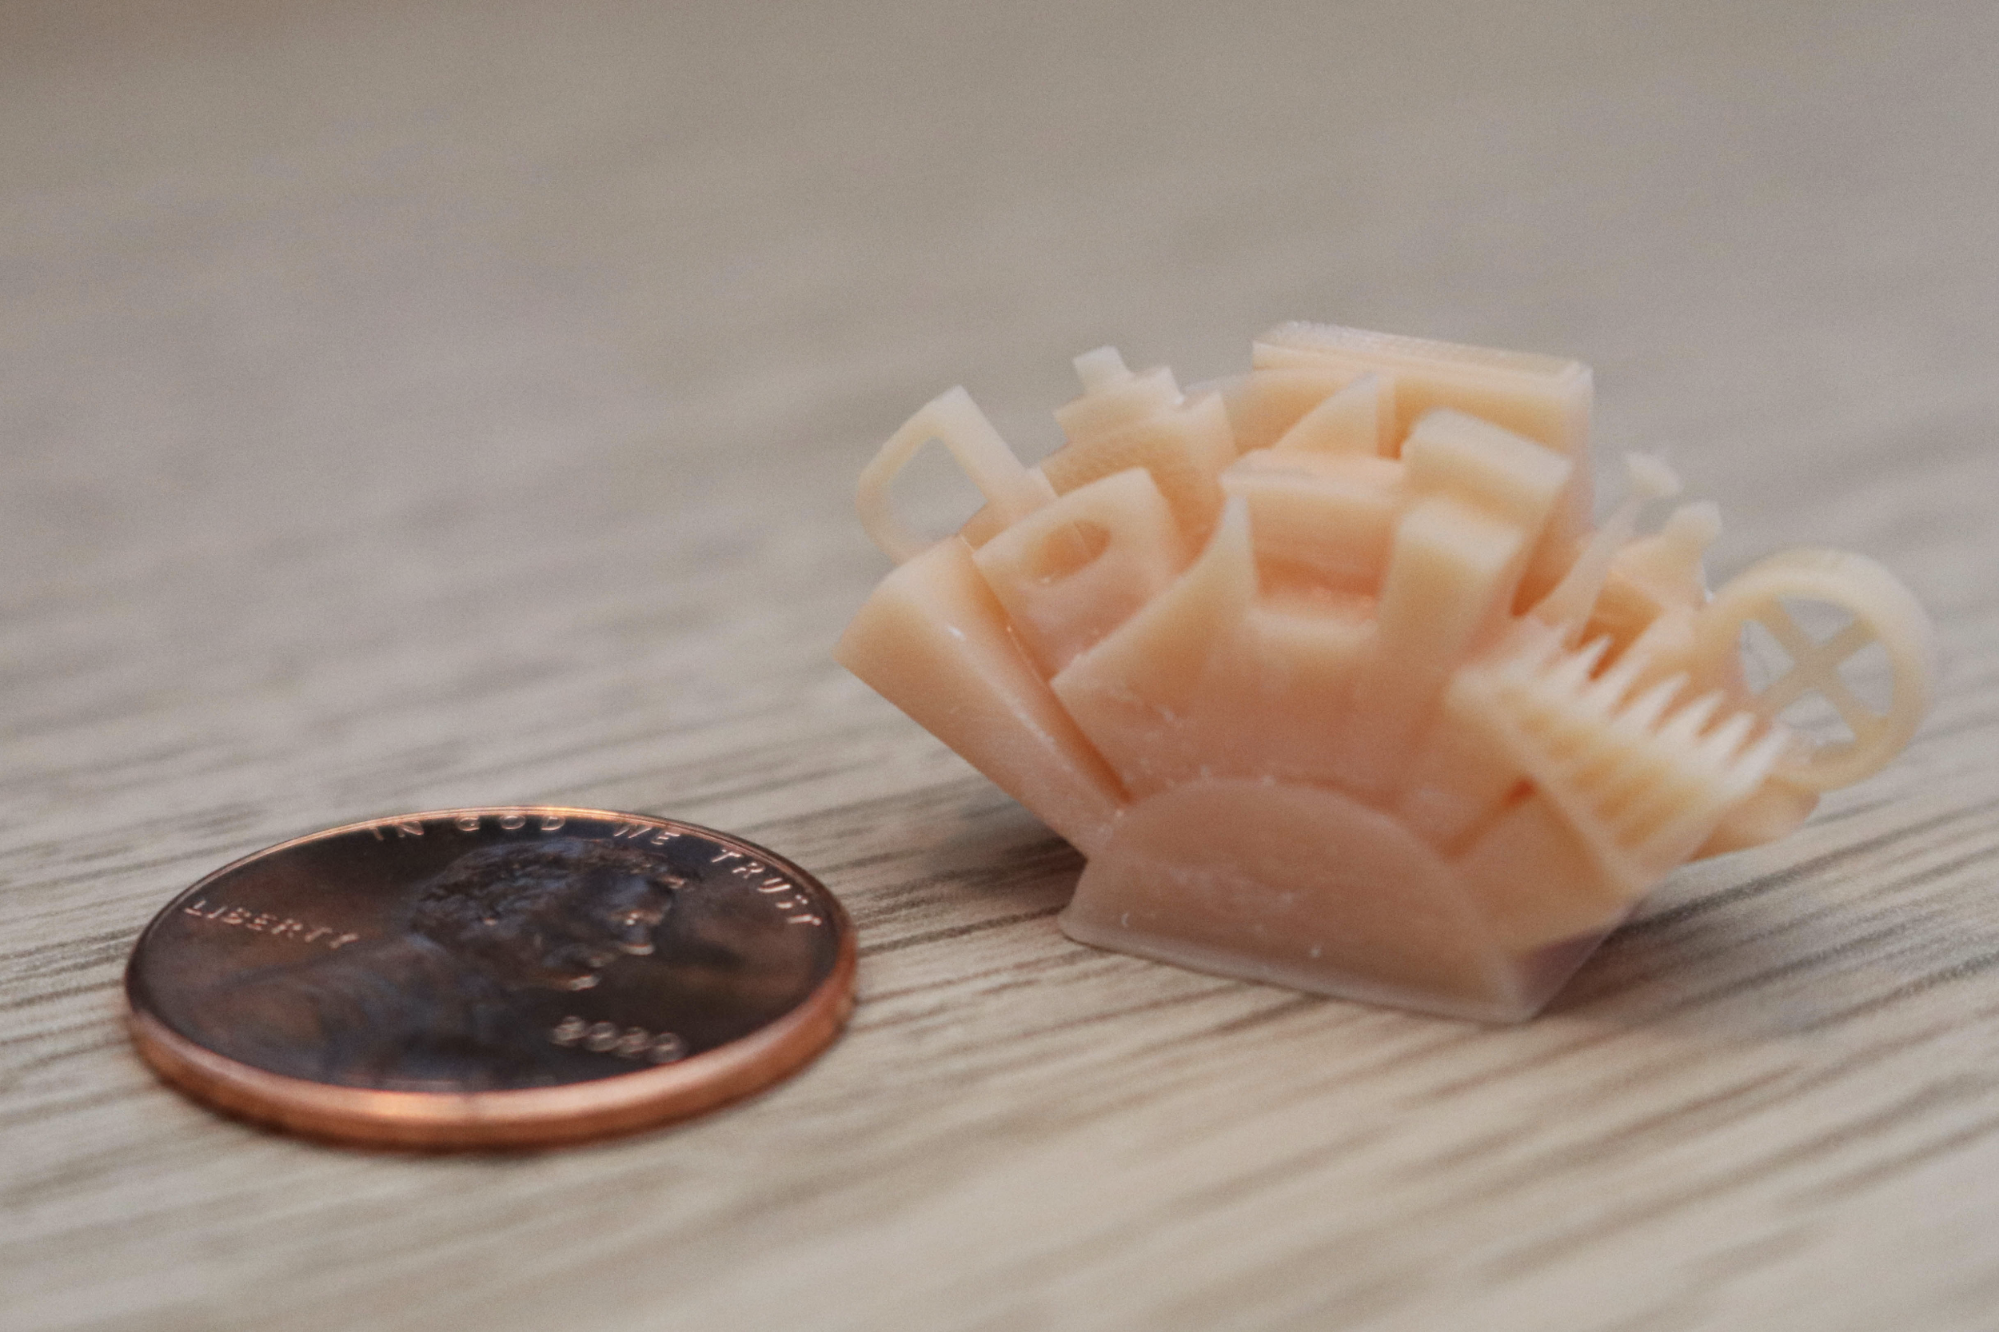
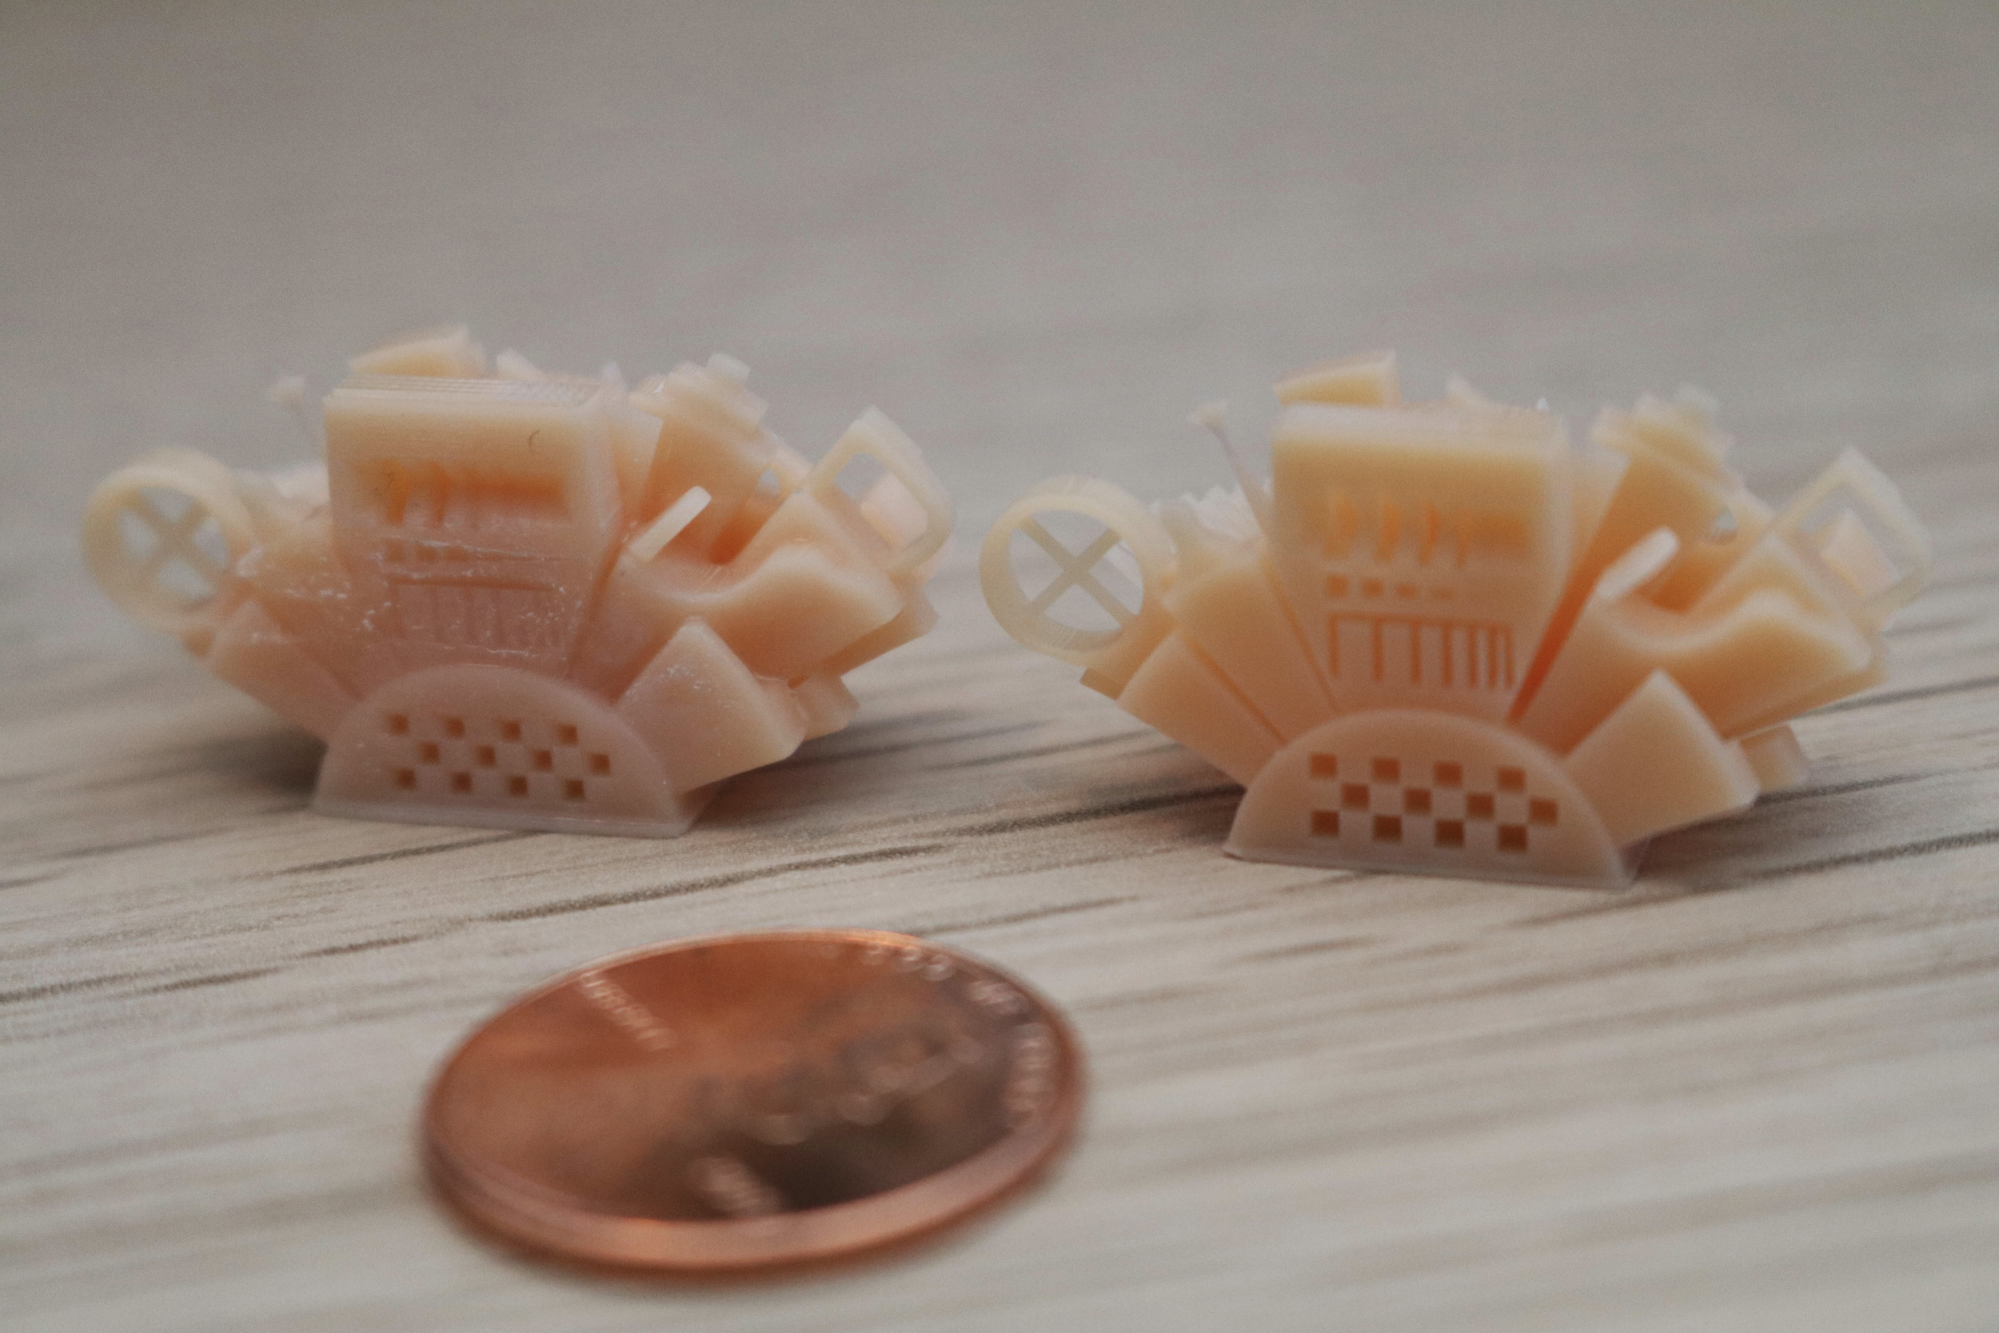
For testing the fine features that are printable on resin printers, resin manufacturer Ameralabs has created a test part called Ameralabs Town that has very fine posts, holes, text, and other details. I made this calibration print using the default settings from Chitubox and Elegoo Beige Standard Resin. Unfortunately, the initial output was disappointing, because the difficulty I had getting the build platform level led to the first few layers being compressed and a loss of some of the small detail.
Settings
| Layer Height | 0.05 mm |
| Bottom Exposure Time | 25 seconds |
| Exposure Time | 2.2 seconds |
| Bottom Layer Count | 6 |
Machining issues on the Phrozen Sonic Mini 4K
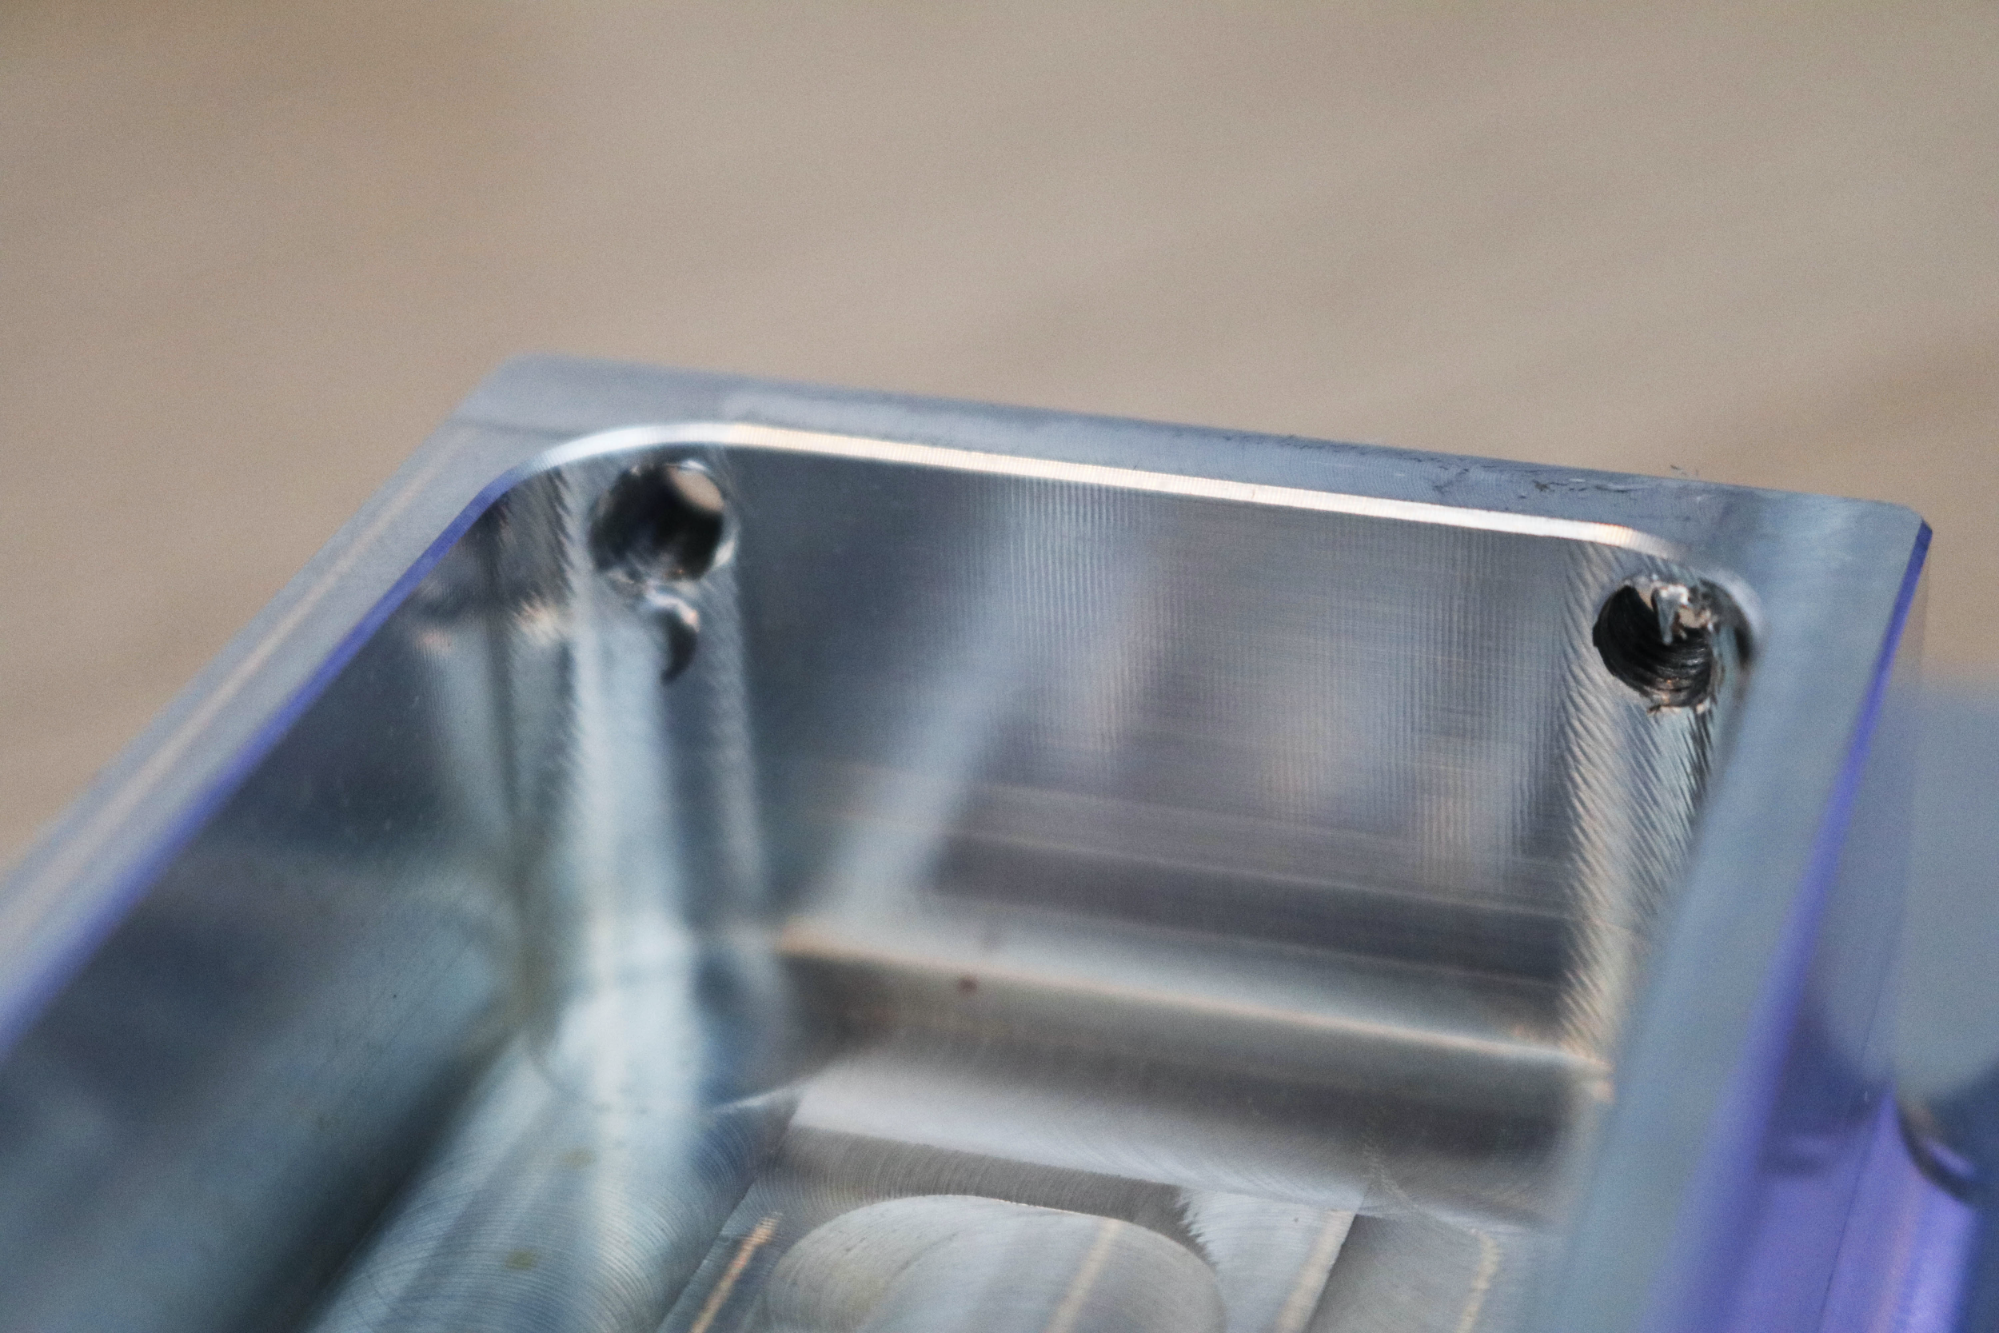
After fully disassembling the build platform, it became apparent what the issues were. The bracket that holds the platform had not been bent properly, and the holes for the screws had not been machined properly and had metal shavings that were falling out. Given that this component sits directly above the thin and delicate FEP vat, this is a serious oversight that could potentially lead to a piece of metal piercing the film.
After I manually bent the bracket, cleared the threaded holes, and releveled the platform, the second print showed substantial improvement. Phrozen should have detected and resolved these non-trivial build issues at the factory. While experienced users could diagnose and rectify these problems, they would prove frustrating to a new user who could inadvertently damage the machine.
Printing busts on the Phrozen Sonic Mini 4K
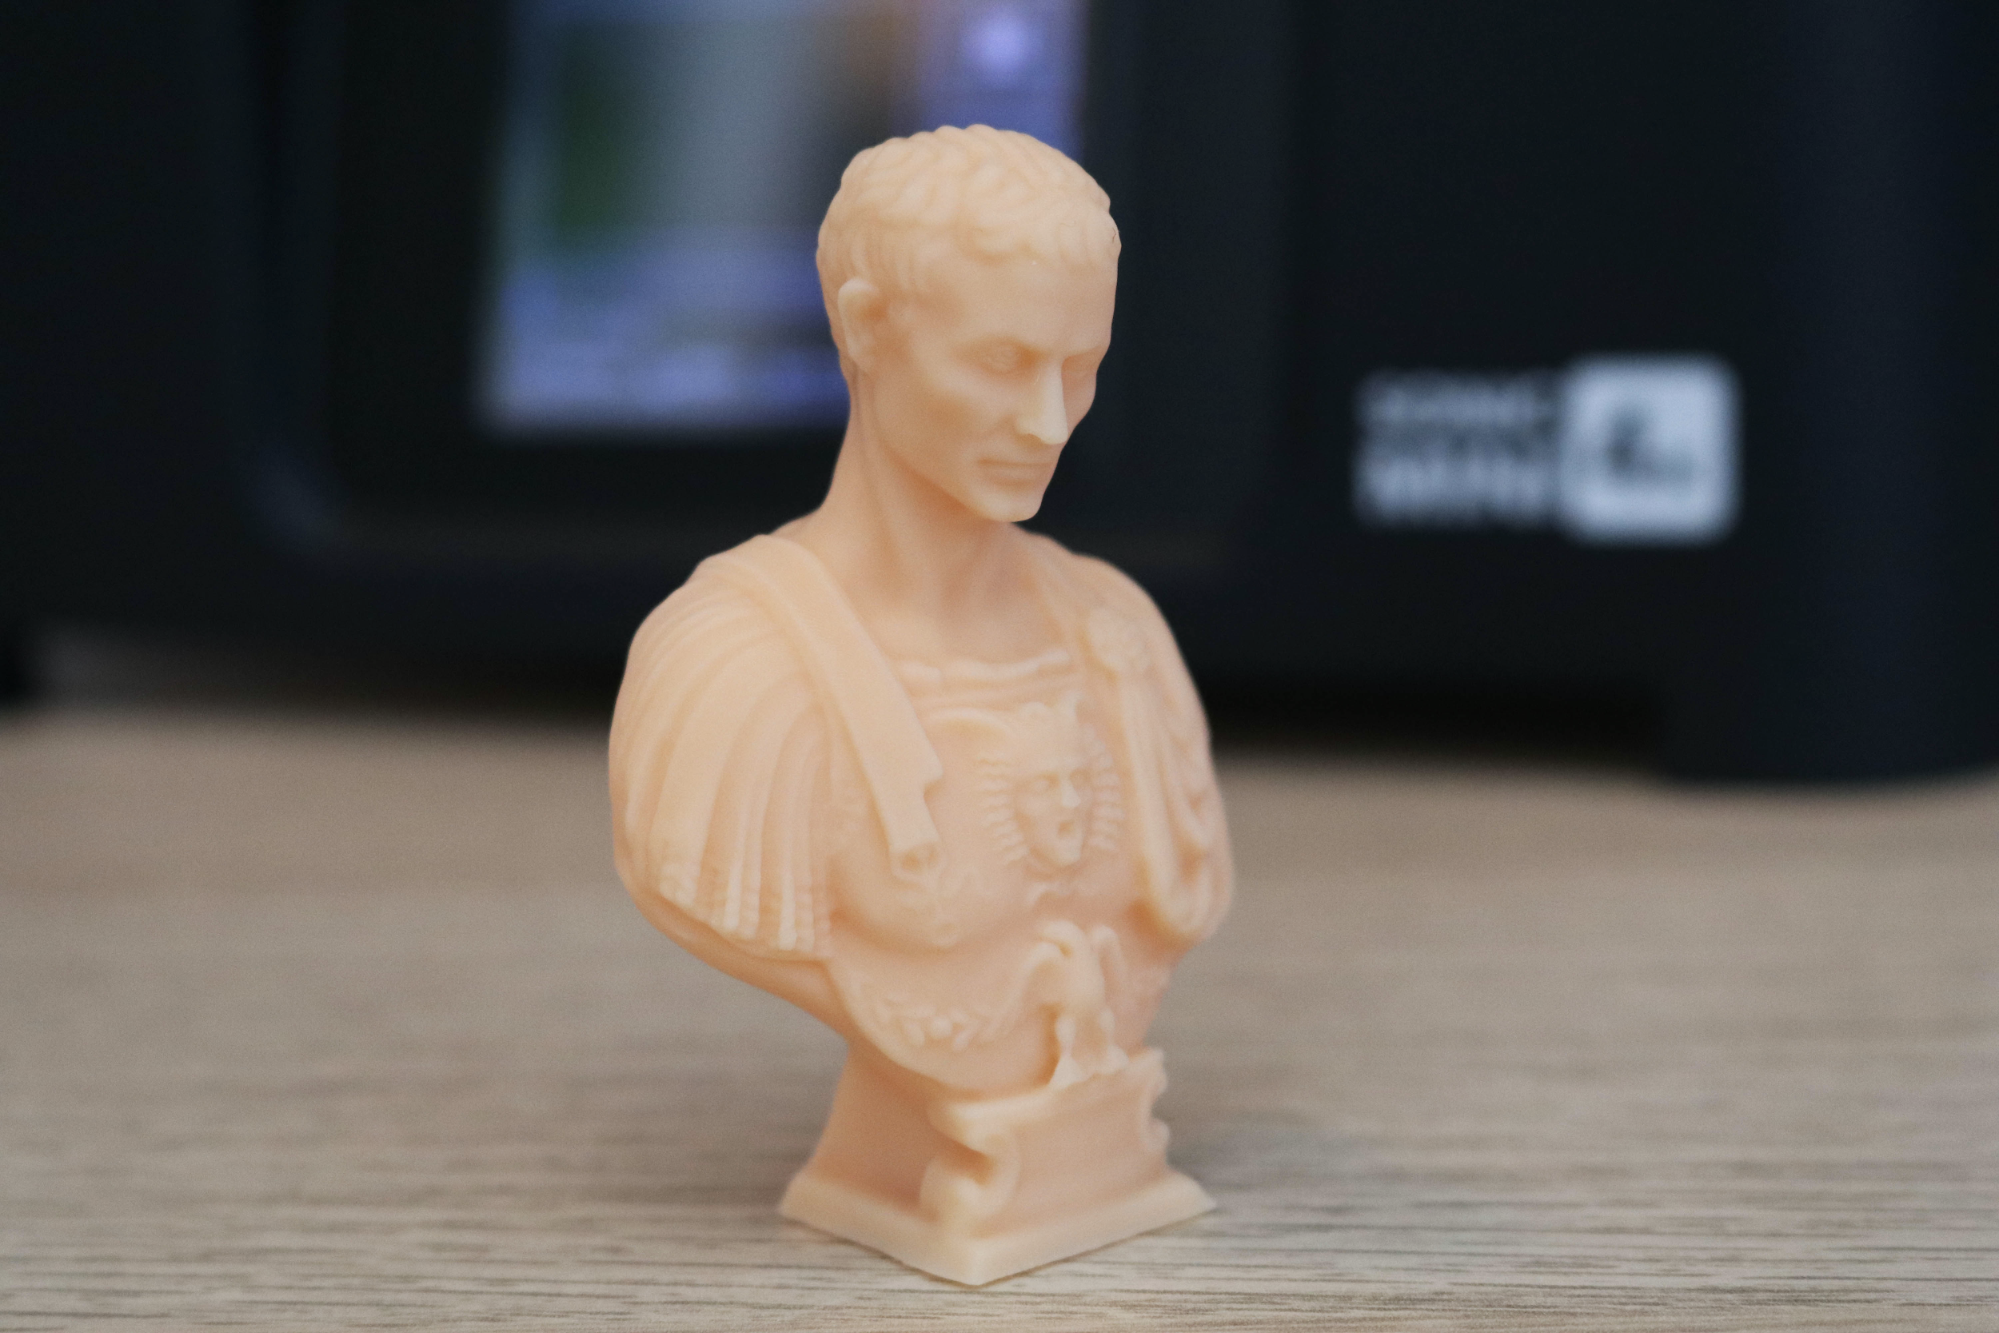
To test out the detail on larger parts, after recalibrating, I printed this bust of Julius Caesar from The Metropolitan Museum of Art. The detail on the model is crisp and sharp, with the layer lines only barely visible under harsh directional light.
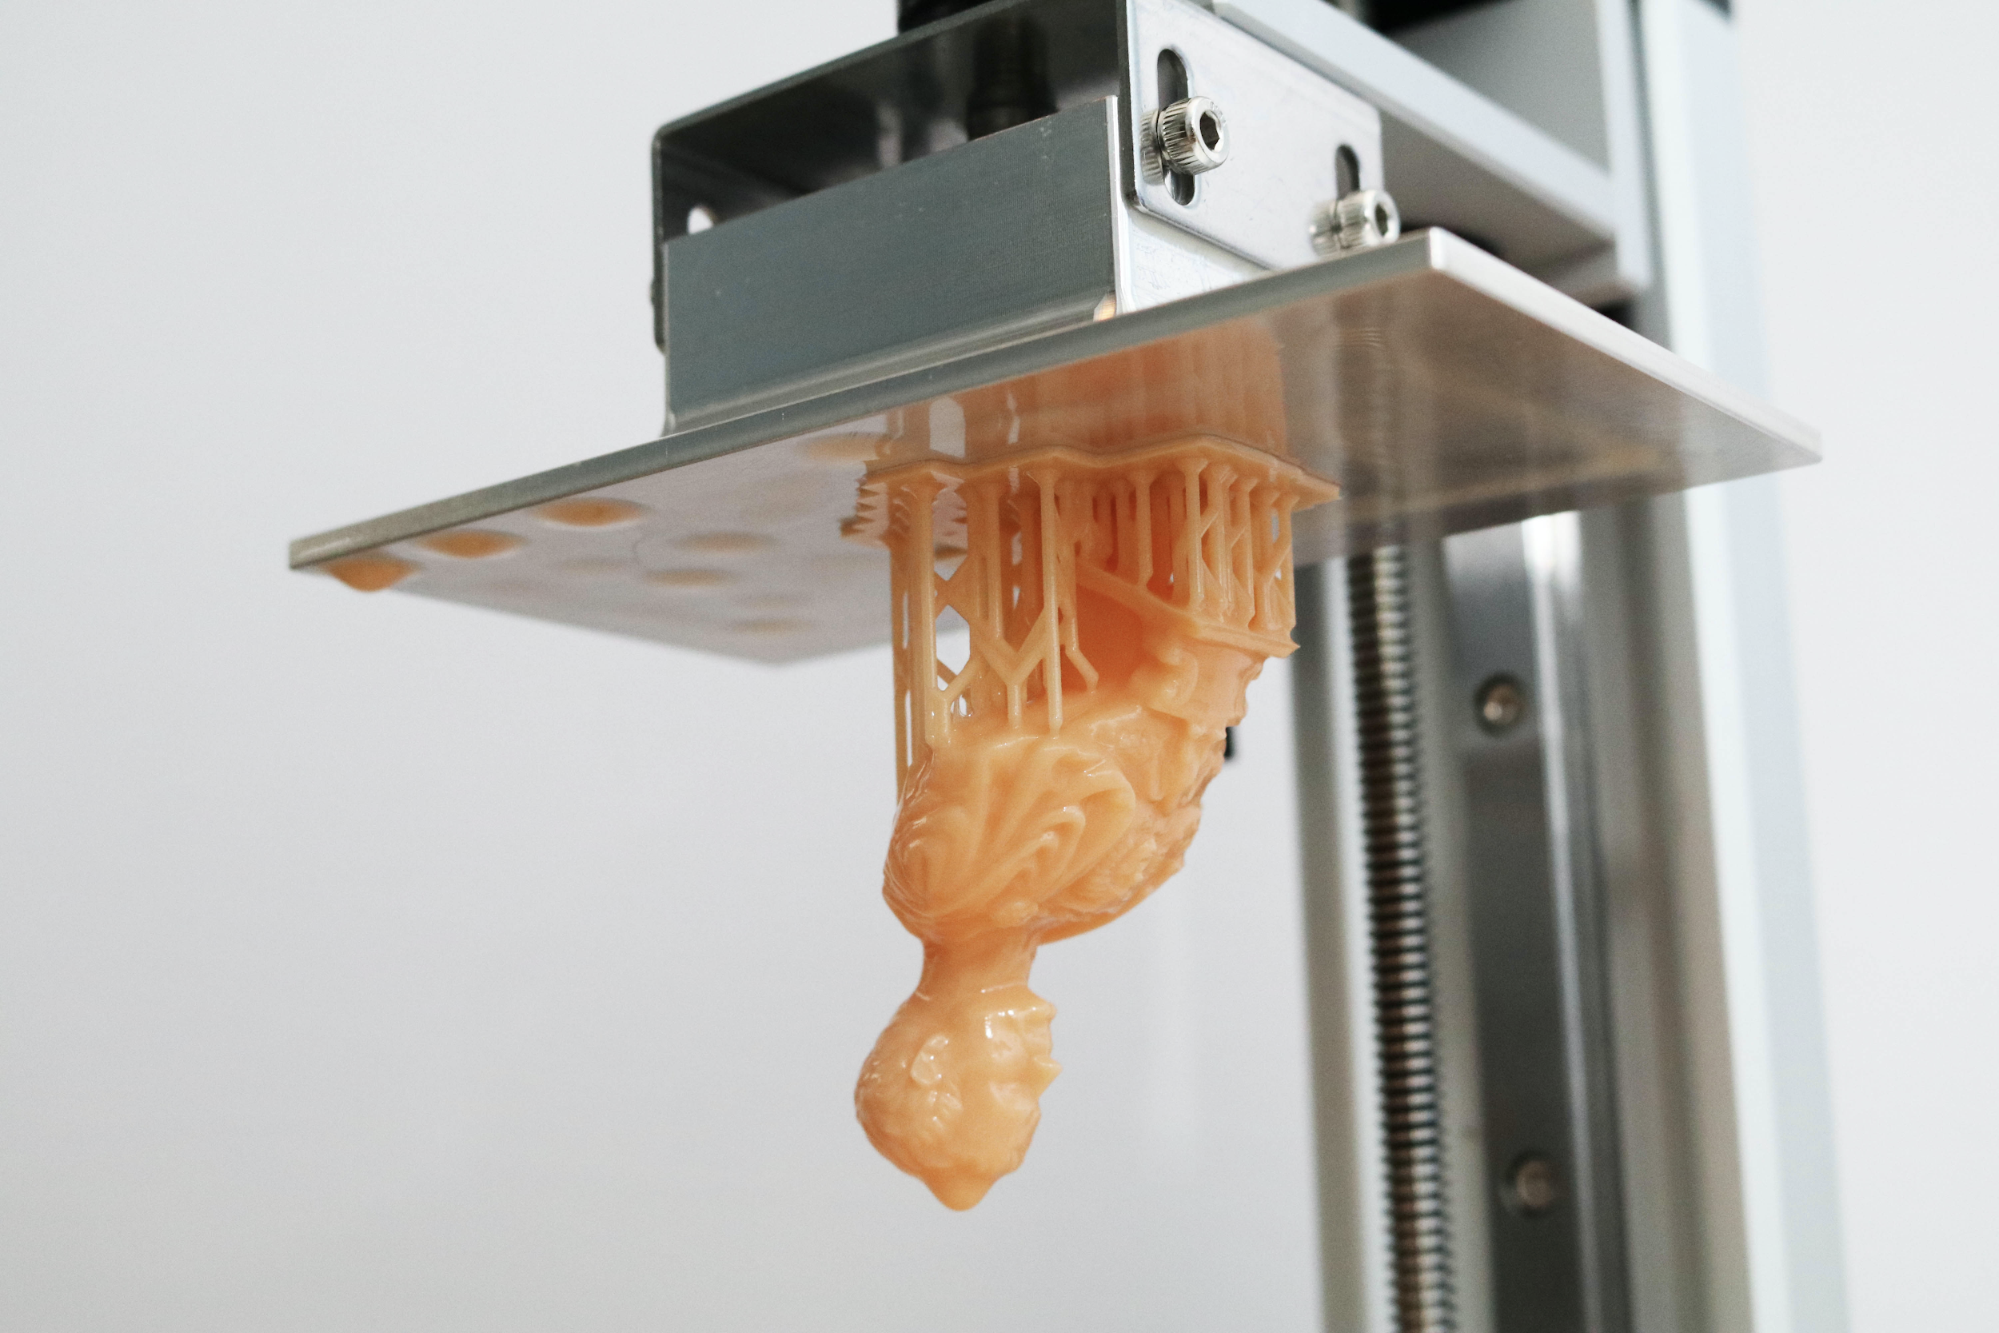
The support structure detached without much effort, and left only small marks where it had attached to the model. The uncured resin inside the model drained through the holes in the bottom of the base and the sharp detail of the model (especially around the eyes, which have visible pupils) came into focus after I dried and cured the model. Considering this level of detail was possible using the default settings, it’s certainly worth considering the level of detail one could achieve after dialing the machine in to a specific resin.
Bottom Line
For the price, the Phrozen Sonic Mini 4K offers very high resolution, a modest build volume, and plug-and-play software compatibility. For an experienced user who isn’t afraid of troubleshooting the calibration process of the Z axis, this 3D printer is a great choice for making highly detailed miniatures and other small models. However, beginners looking to get into resin printing would benefit from a machine with a simpler calibration process, such as the Elegoo Mars Pro.
MORE: Best 3D Printers
MORE: Best Budget 3D Printers
MORE: Best Resin 3D Printers

Andrew Sink first used a 3D printer in 2012, and has been enthusiastically involved in the 3D printing industry ever since. Having printed everything from a scan of his own brain to a peanut butter and jelly sandwich, he continues to dive ever more deeply into the endless applications of additive technology. He is always working on new experiments, designs, and reviews and sharing his results on Tom's Hardware, YouTube, and more.
