ATi TV Wonder USB 2.0 Offers Portable TV
Installation
For our review, we installed the TV Wonder USB 2.0 on a cleanly imaged ABS PC Mayhem G3 laptop . The installation does take a fairly long time and requires you to keep clicking "Continue Anyways" buttons, which pops up courtesy of Microsoft Windows.
Selecting the typical installation will install the drivers and software for the Remote Wonder, which doesn't make too much sense as the Remote Wonder is not included with the TV Wonder USB 2.0. If you select Custom Install, you can deselect any applications/drivers that you don't need.
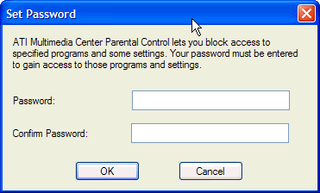
During the install, you are asked if you want to set a Parental Password. This allows parents to set a password to stop their kids from watching certain content.

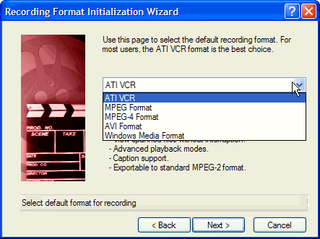
You can also pick your recording format during installation. Back in the old days, ATi cards could only record in their proprietary format, but no longer. Now you can record in ATi's VCR format, MPEG 1/2/4, AVI, or Windows Media formats. This provides you with great flexibility if you want to edit the video later.

Another quirky thing about the install is that an error box will pop up saying that the ATi TV Wonder is not attached. While the printed instructions say that you will be prompted to connect the unit during the install, we did not see such a window. Thankfully, the install continues if you click OK at the error window.
Your system will restart after the install. When you connect the TV Wonder USB 2.0, Windows will go through its USB detection gyrations and ask you several times to click "Continue Anyways". Mercifully, you won't have to do this again, as long as you plug into the same USB port. To ATi's credit, this is Microsoft's fault and not ATi's.

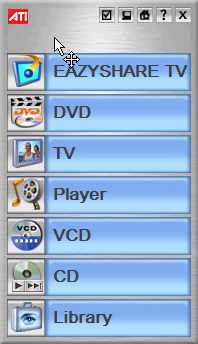
If everything goes well, you are rewarded with the MultiMedia Center menu
Stay on the Cutting Edge
Join the experts who read Tom's Hardware for the inside track on enthusiast PC tech news — and have for over 25 years. We'll send breaking news and in-depth reviews of CPUs, GPUs, AI, maker hardware and more straight to your inbox.
Most Popular


