How to Split an Object for 3D Printing
Easily Split Large Files to Fit in your 3D Printer bed
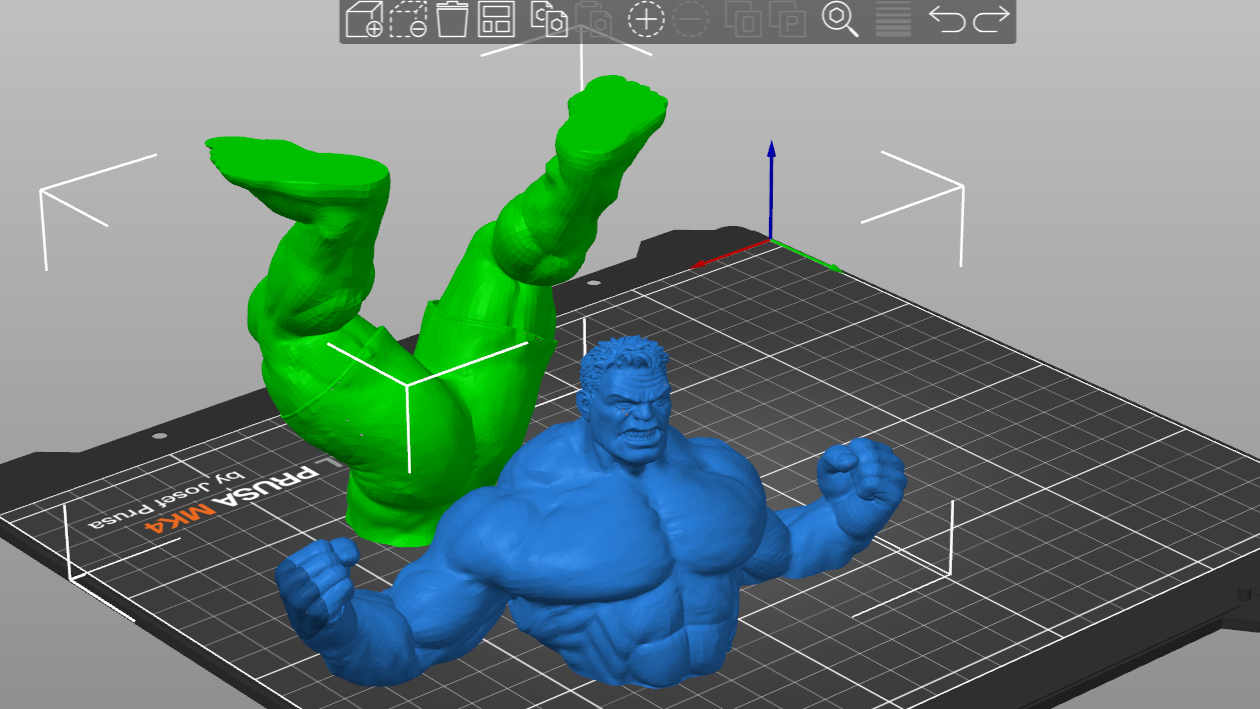
A common limitation in the majority of the best 3D printers is the small size of the build plate which makes printing large designs in a single 3D printing job challenging. However, this should not discourage you as you can 3D print large parts by first splitting them into several files, print them separately and then assemble afterward. You may also choose to split a large file because of other factors such as when you don’t want to use supports when printing complex parts. Also, you can split it when you want to make multicolor 3D prints without using a multi-color 3D printer. You can use various tools to achieve this, and we will look at the main ones.
Using Meshmixer to Split Objects for 3D Printing
In addition to being used for slicing designs, a 3D slicer can also be a tool for splitting your files. The best 3D printer slicers like Meshmixer and PrusaSlicer have dedicated tools for dividing a 3D model into various sections. To achieve that in Meshmixer, you can follow the steps below.
1. Visit Meshmixer website and download the version for your operating system then launch it.
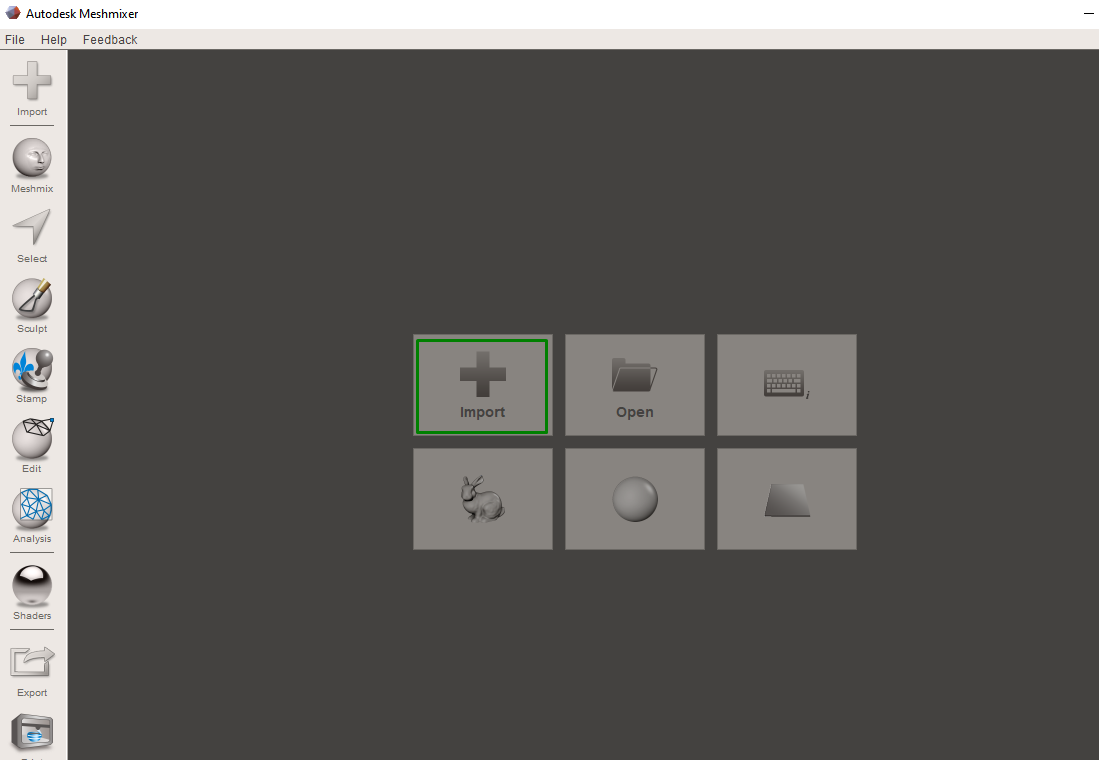
2. Import the file you want to split by clicking on the Import option.
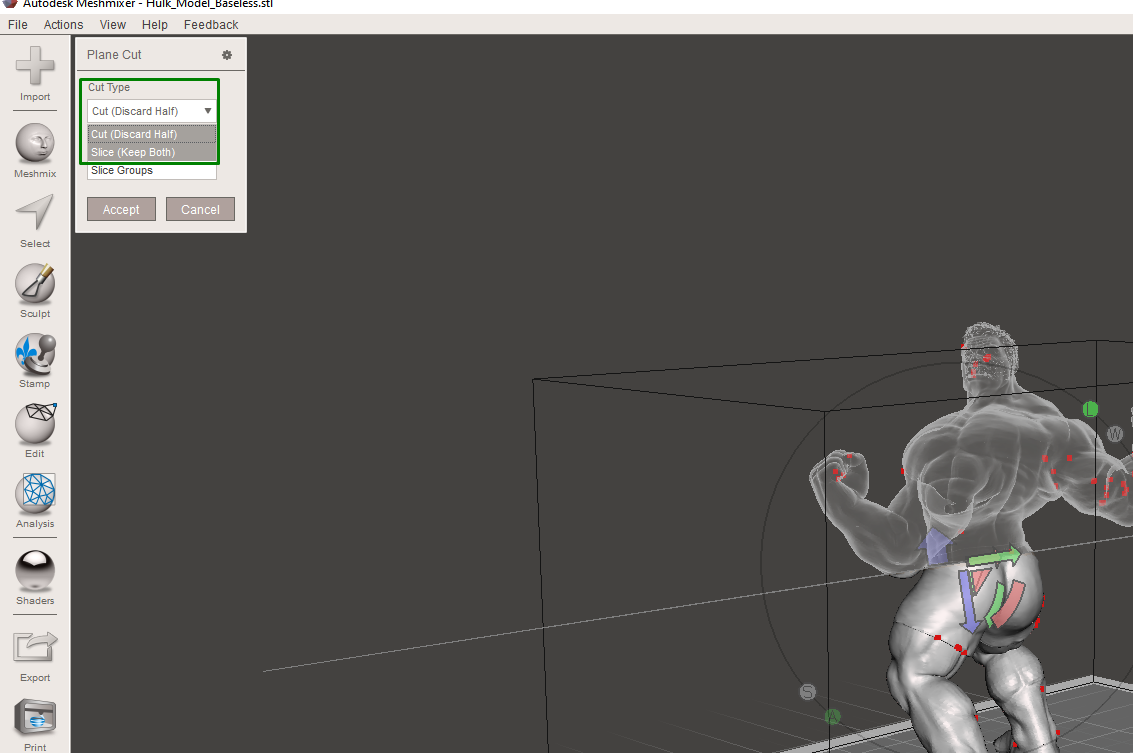
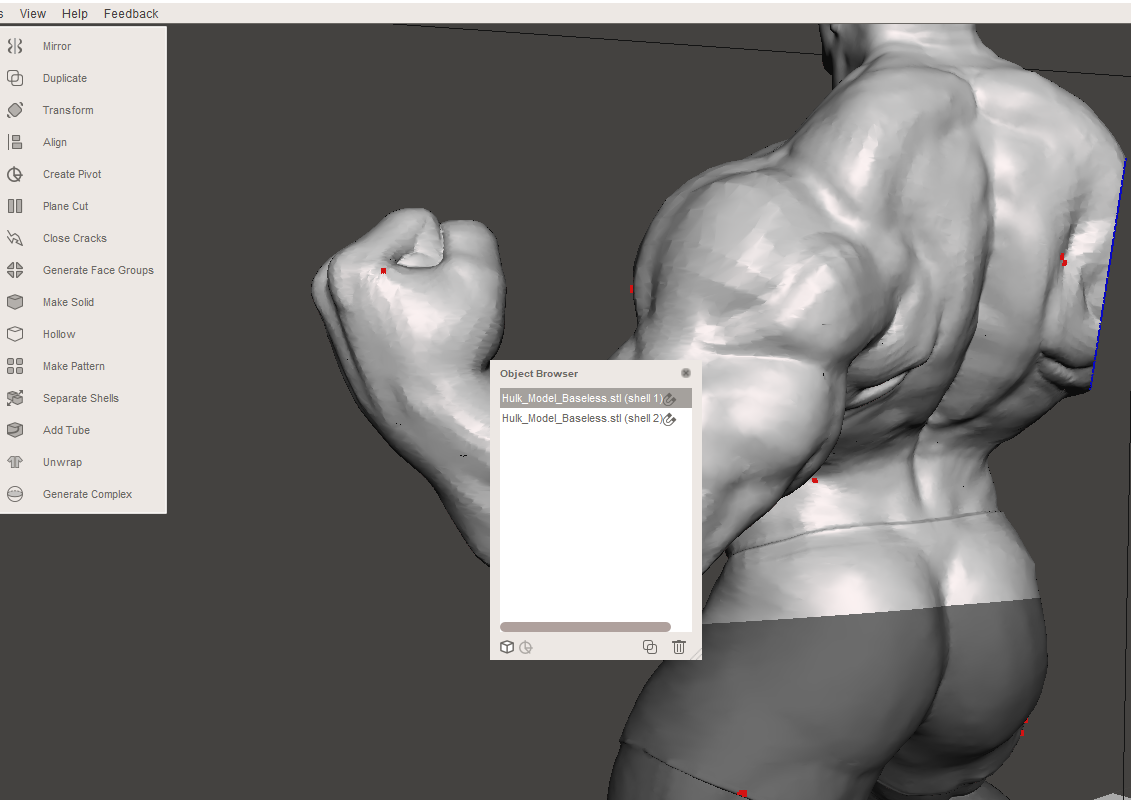
3. Go to Edit > Plane Cut and you will see a plane appearing which you can move to select the area you would like to split your model using the colored points.
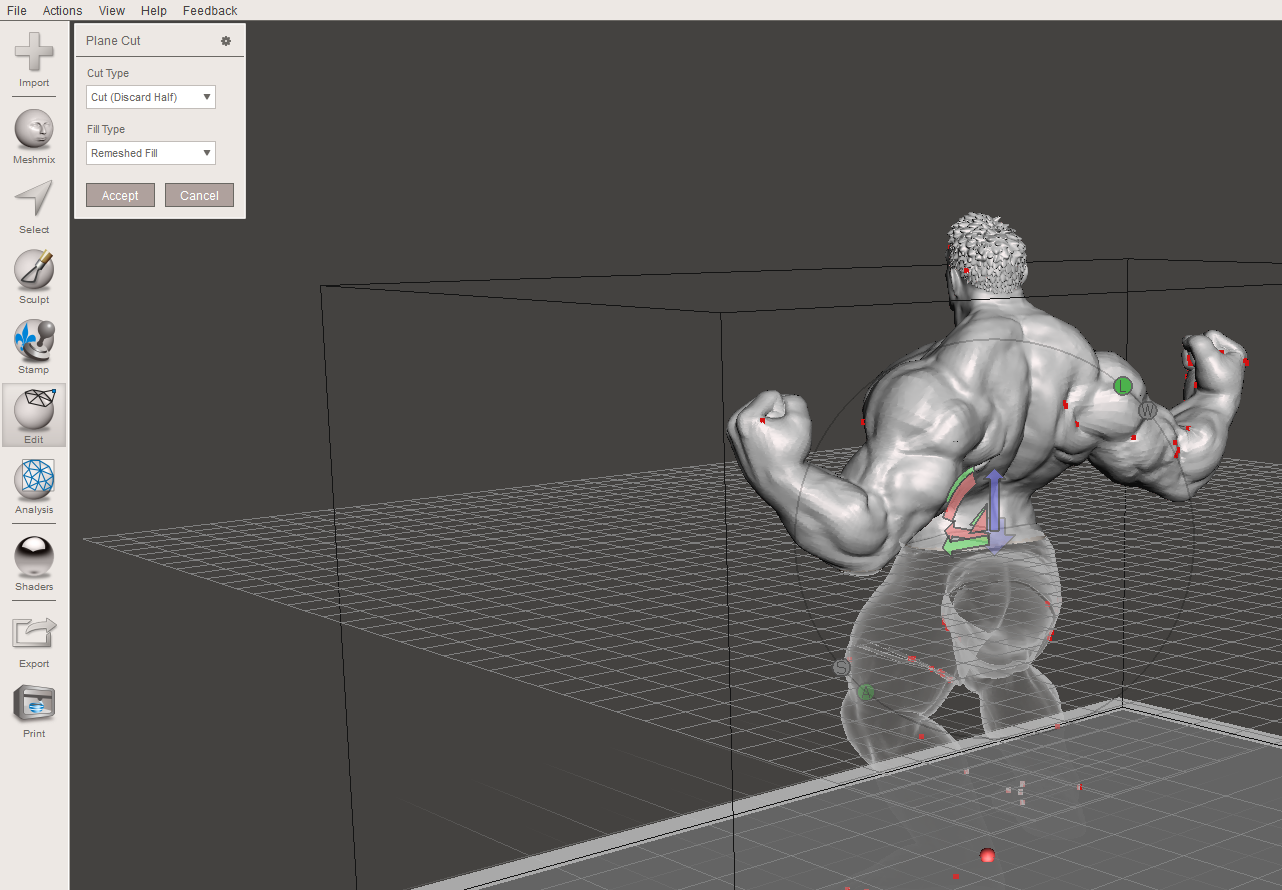
You can also select the section to split by holding the left mouse button and then dragging it.
4. Select whether you want to keep both halves or only one from the Cut Type section.
Get Tom's Hardware's best news and in-depth reviews, straight to your inbox.
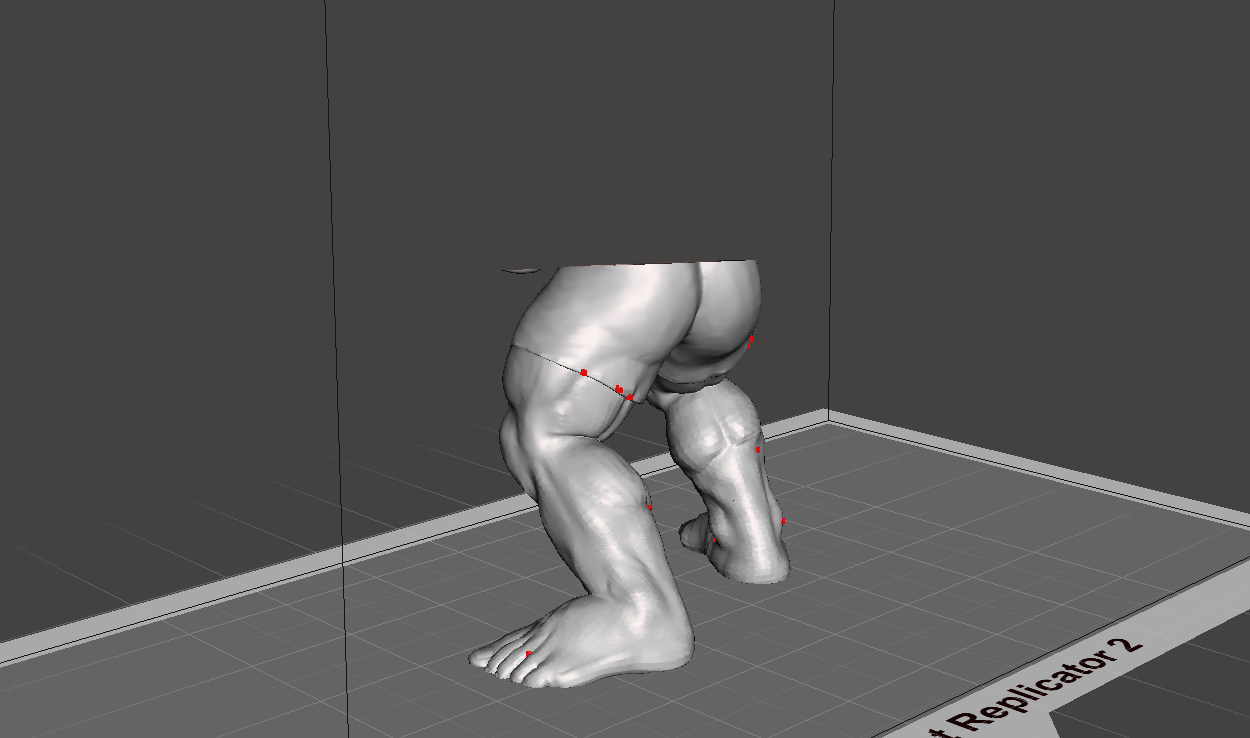
If you choose to discard half, you will see only half of the part remaining.
If you select Slice (Keep Both), you will not see the parts separated, but you can separate them by following the next step.
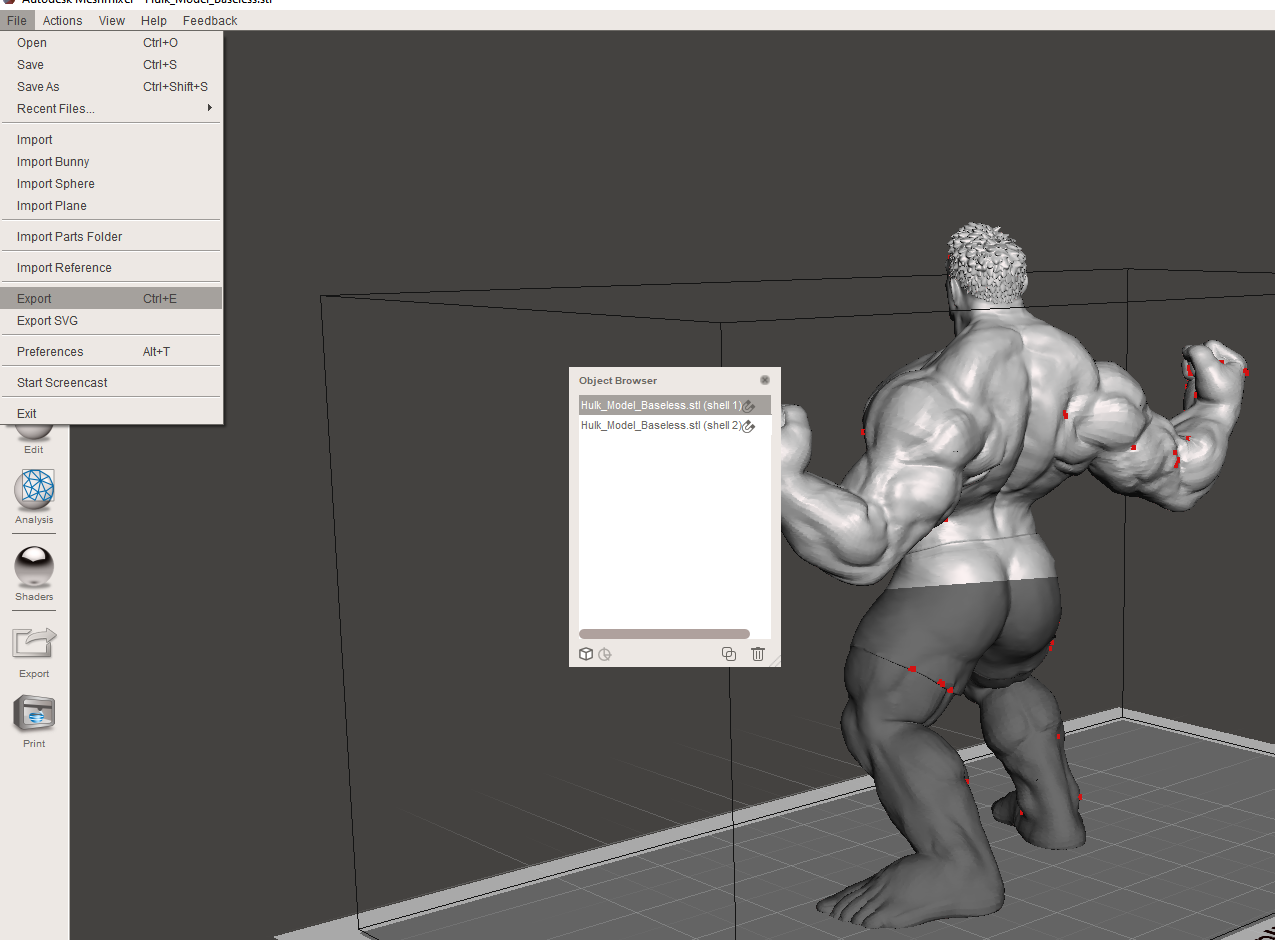
5. Go to Edit > Separate Shells to create individual models, then select one of the halves and go to Export, and save your file. You can repeat the same process with the other half.
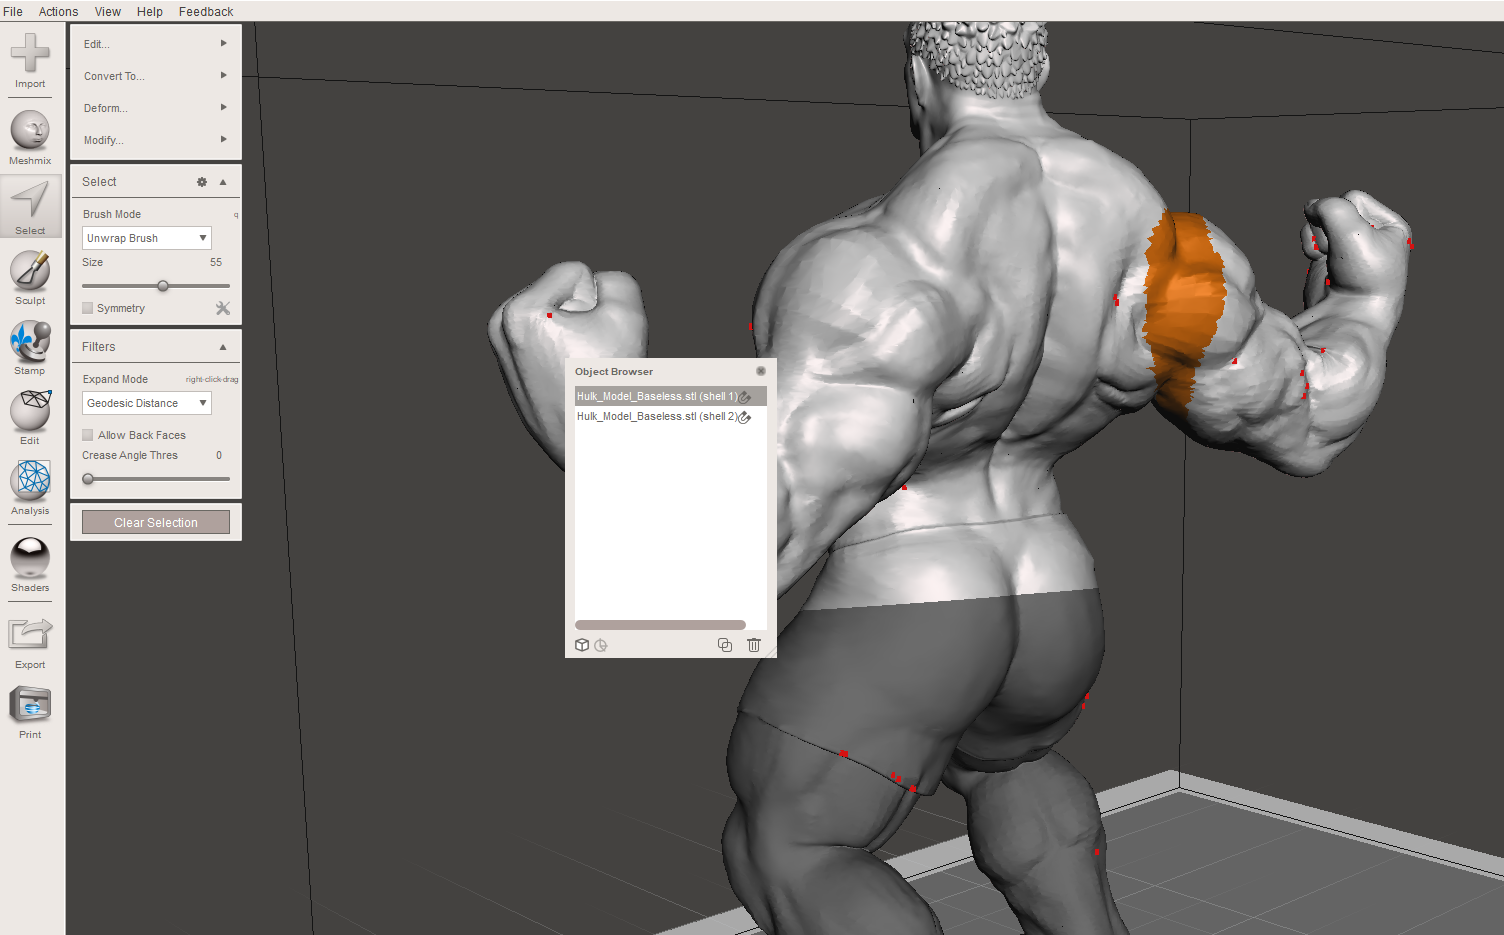
To avoid cutting unwanted areas when using the plane cut tool, you can select a small area affected by the cut by drawing a curve or loop using the Lasso tool found in the select tool. When you hold the left mouse and select an area, you will see it highlighted, as shown below.
When you use the plane cut tool again, even if the selection is not perfect, any other part won’t be affected except the areas that you highlighted.
Using PrusaSlicer to Split Objects for 3D Printing
In addition to using Meshmixer, you can also use PrusaSlicer to split your designs. Follow the steps below to achieve that.
1. Download PrusaSlicer from the official website, launch it, and import your file
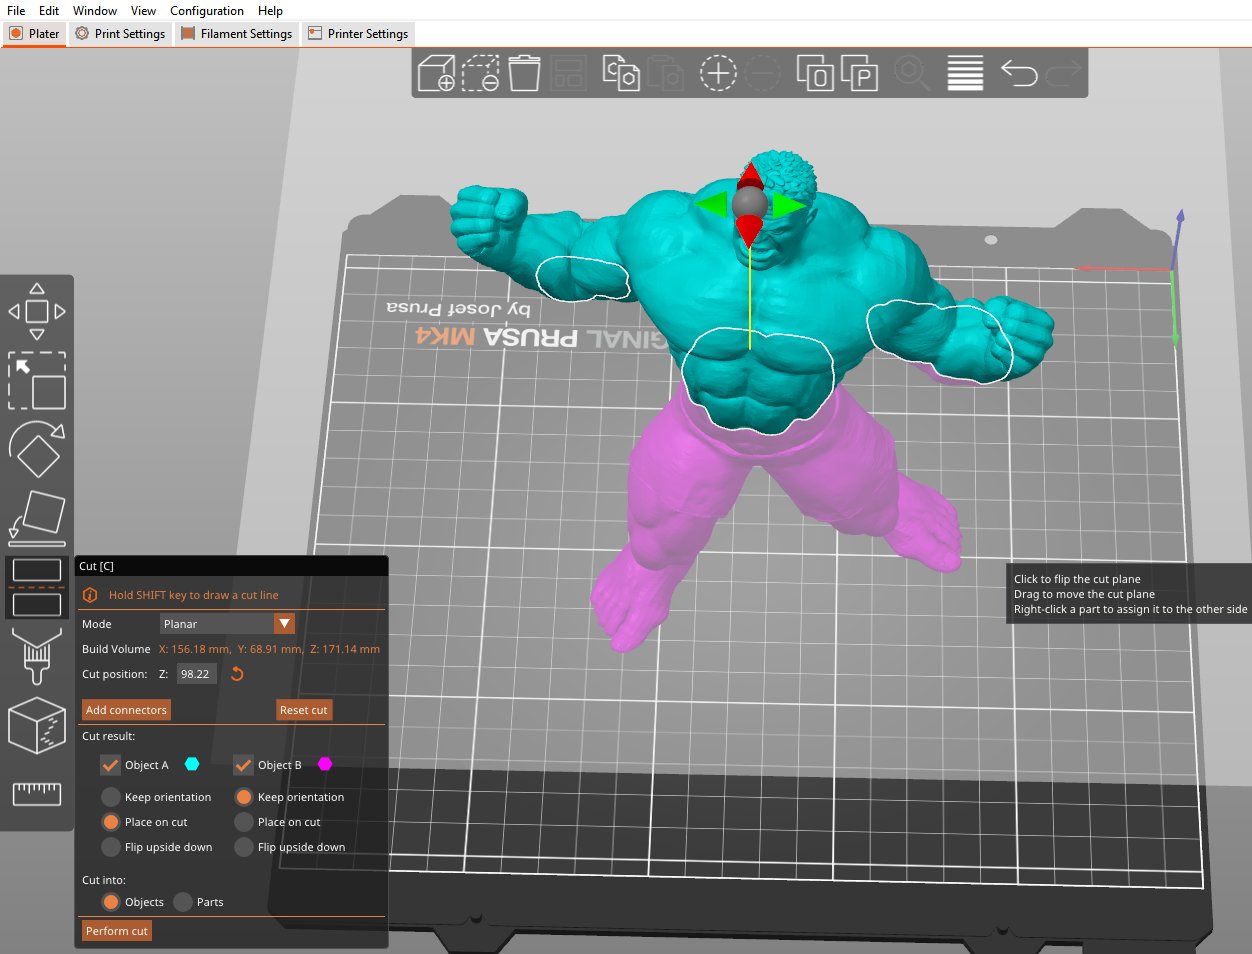
2. Click on the cut tool from the left section of the workspace and you will see a context menu appearing.
3. Drag the mouse to select the position of the cutting plane. You can also enter values in the context bar. The arrows on the top of the gizmo are useful for changing the rotation of the cutting plane. There are other important options that you can choose on the context bar when splitting your object.
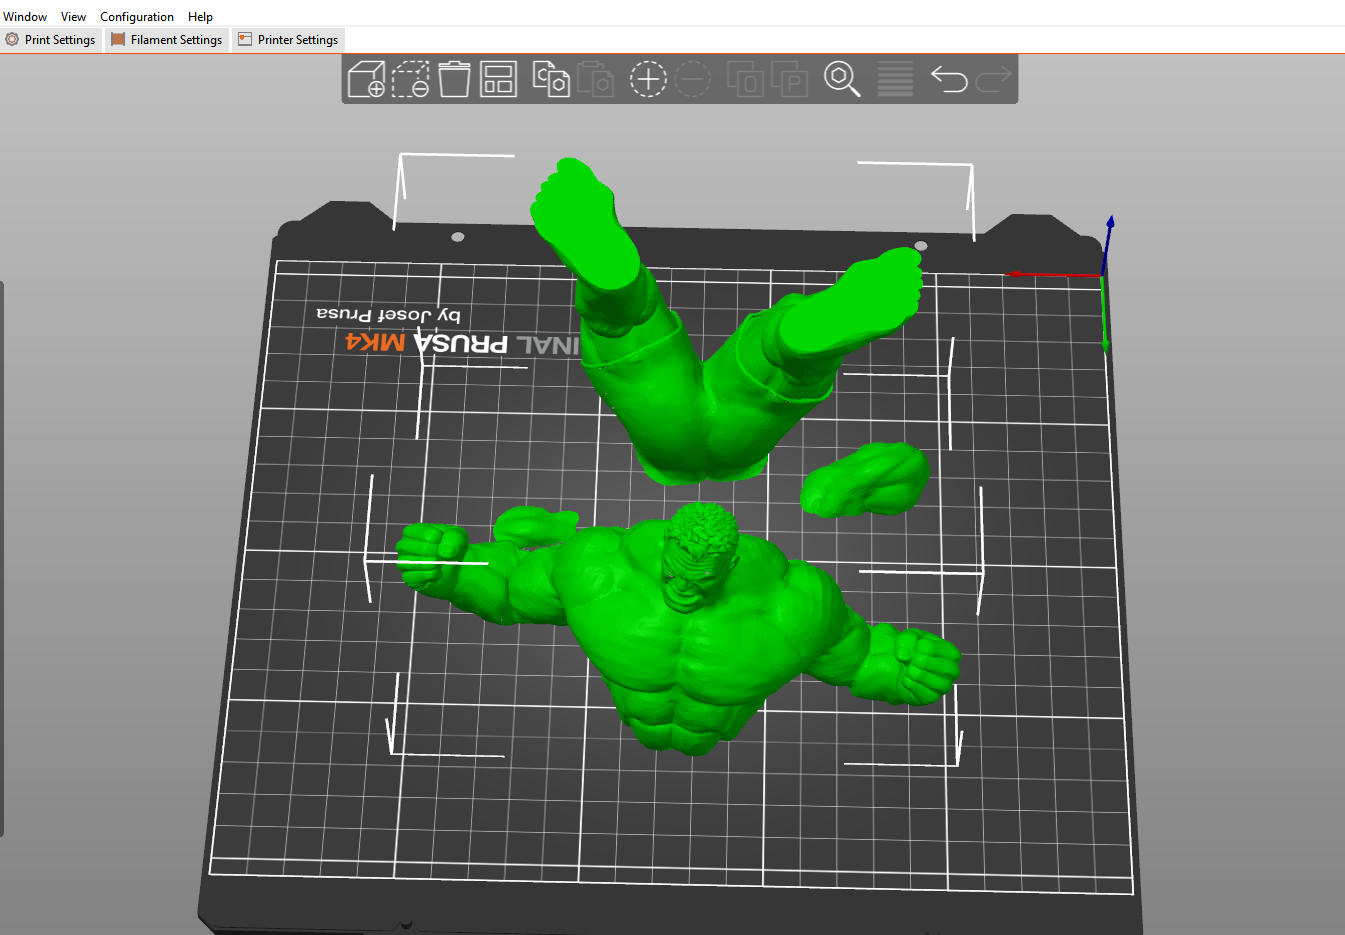
You can choose to keep the orientation of the top and bottom parts, rotate the parts so that they align appropriately with the 3D printer bed or you can choose to rotate the design upside down after cutting. For my case, I selected Place on cut so that they align with heat bead after cutting and then I clicked Perform cut and got the results below.
When using a 3D slicing and mesh editing software, you should also consider adding connectors before slicing to make it easier to assemble the parts together after 3D printing. Another option for splitting 3D models is by using a 3D modeling software like Blender and 3D shape builder.
Using Blender to Split 3D Models
Blender is a free and open-source 3D design software that you can use to split your files easily. Follow the steps below to use it.
1. Download Blender, launch it, and import your file.
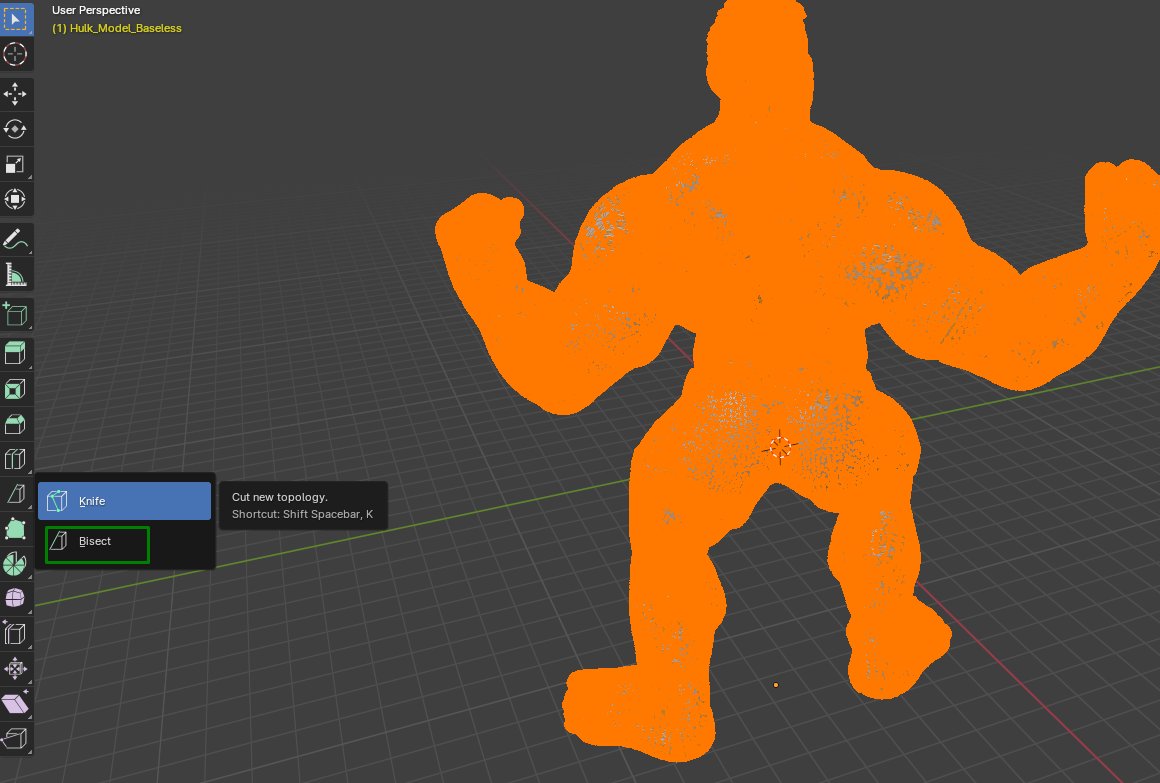
2. Go to Object Mode > Edit Mode and then select the Bisect tool by holding and dragging the Knife tool. Alternatively, you can also press Shift + 8 and then select Bisect.
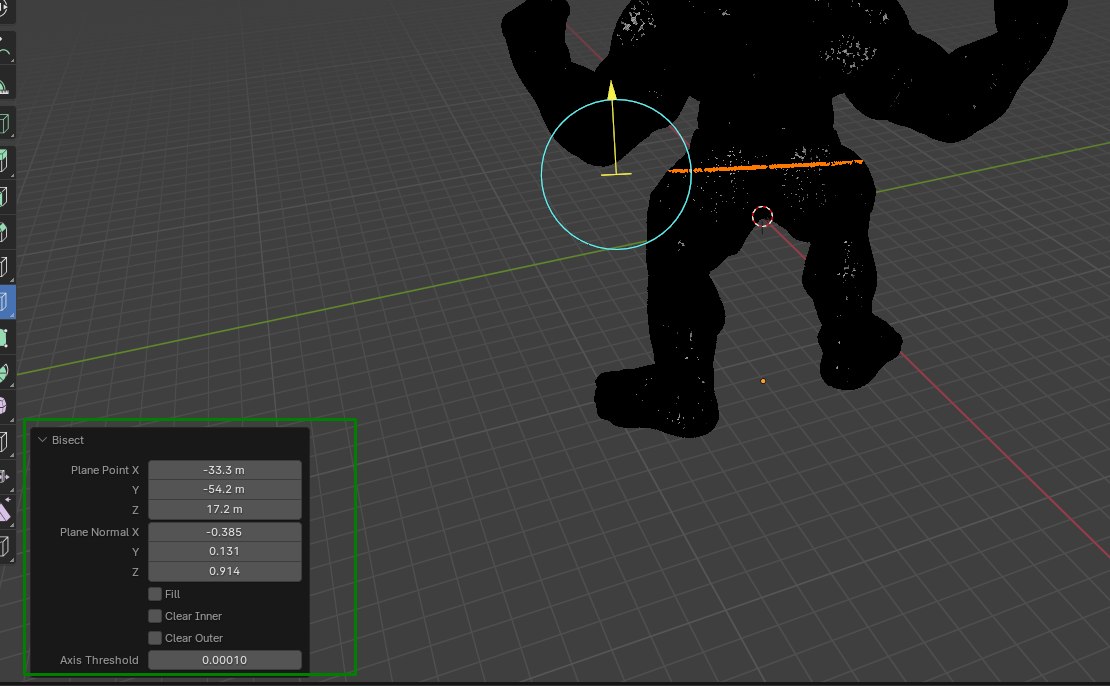
2. Select the mesh, then draw a line on the section you want to cut by clicking the end and dragging. You can use the menu bar that appears on the bottom left section of the workspace to adjust details like the cutting plane angle. You can also choose whether to fill the design or not.
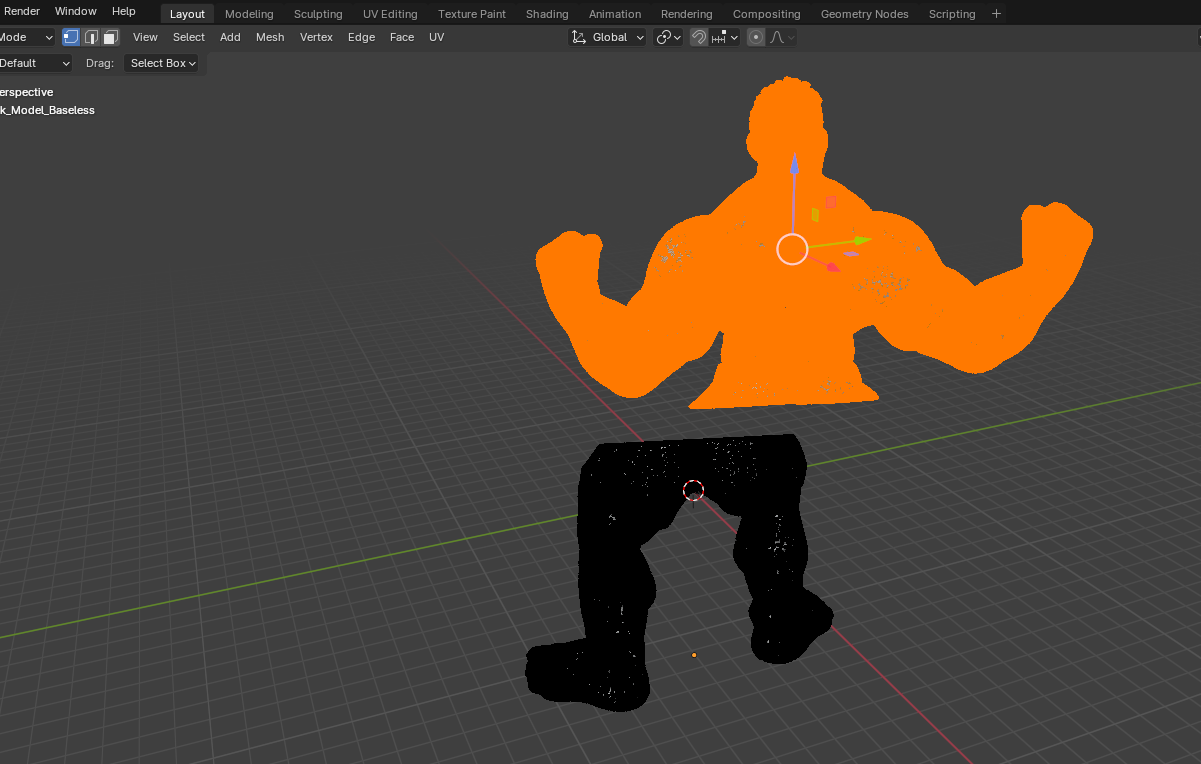
3. Go to Vertex > Rip Vertices or press the V key. Then, to separate the parts, go to Select > Select Linked > Linked. You will realize that you can move the parts apart.
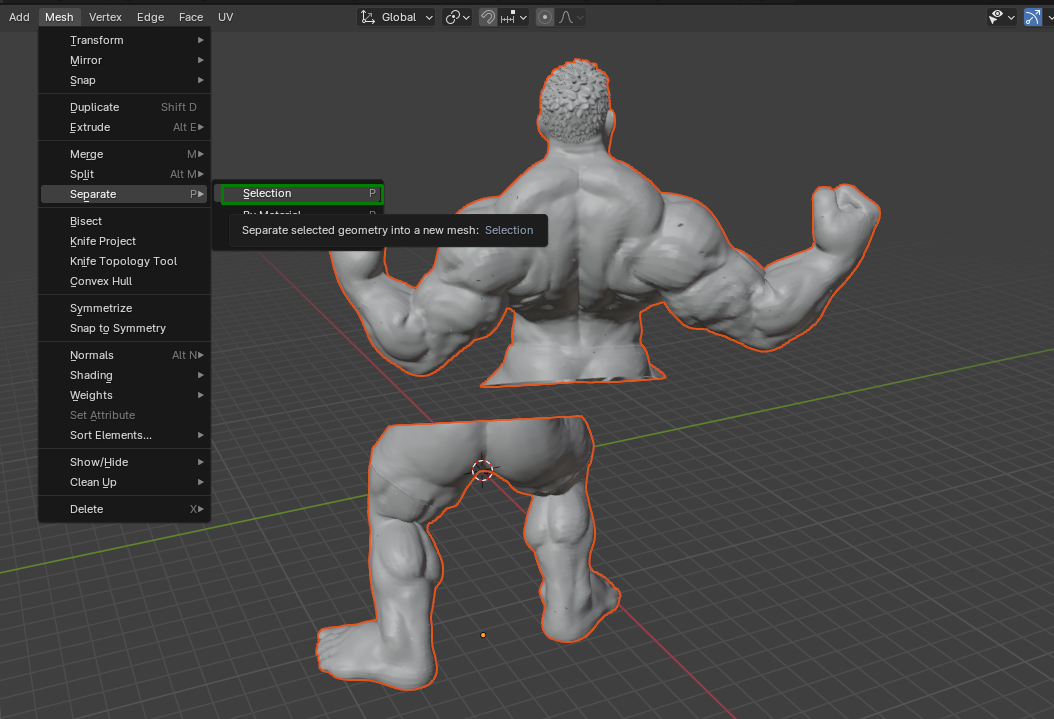
4. Select all the files again and then Go to Mesh > Separate > Selection so that they become two separate files.
You can then fill in the faces and export them individually.
Using 3D Builder to Split Objects for 3D Printing
In addition to using Blender, you can also use another 3D modeling software like 3D Builder to split your designs. To use it, follow the steps below.
1. Download 3D Builder, launch it, and import the file you would like to split to the software.
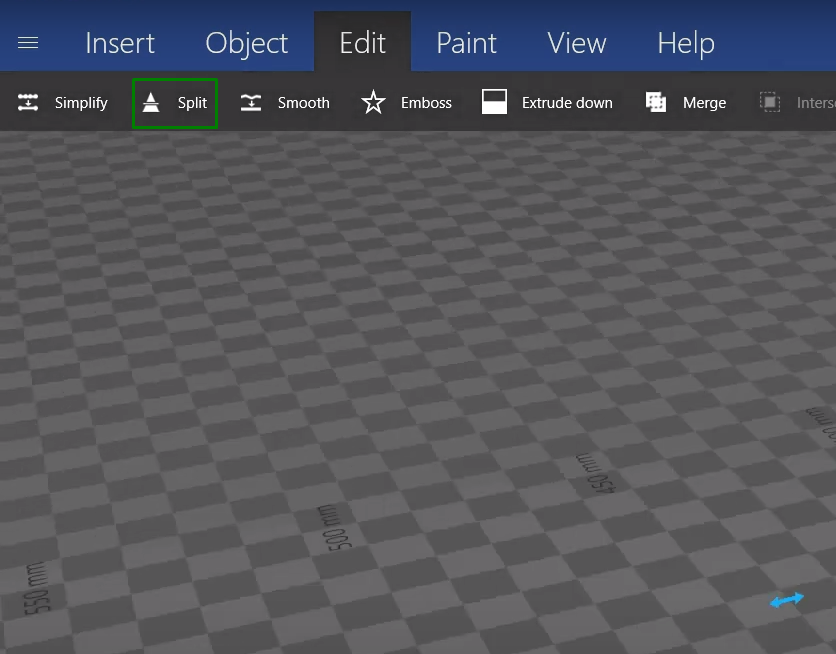
2. Select the file then go to Edit > Split in the taskbar. This tool is helpful in dividing your file.
3. Position the cutting plane based on the exact angle and location you would like the split to be using the rotation icons.
4. On the taskbar, you will see there is an option to keep the top or bottom or keep both parts. Select keep both parts to retain all the sections, then click Split to initiate the cutting process. You can then save your files as STL files.
More 3D Printing Tutorials
👉 5 Ways Fix Z Banding in 3D Printing
👉 How to Use FreeCAD for 3D Printing
👉 How to Convert OBJ Files to STL Files for 3D Printing
👉 How to Use PrusaSlicer: A Beginners Guide
Sammy Ekaran is a freelancer writer for Tom's Hardware. He specializes in writing about 3D printing tutorials and guides. You can find more of his work on various publications, including Makeuseof, All3dp, and 3Dsourced.
