Building Project Menhir: A Vertical Case Made of Aluminum and Wood
In-depth look at how this one-of-a-kind modern build was designed and fabricated.
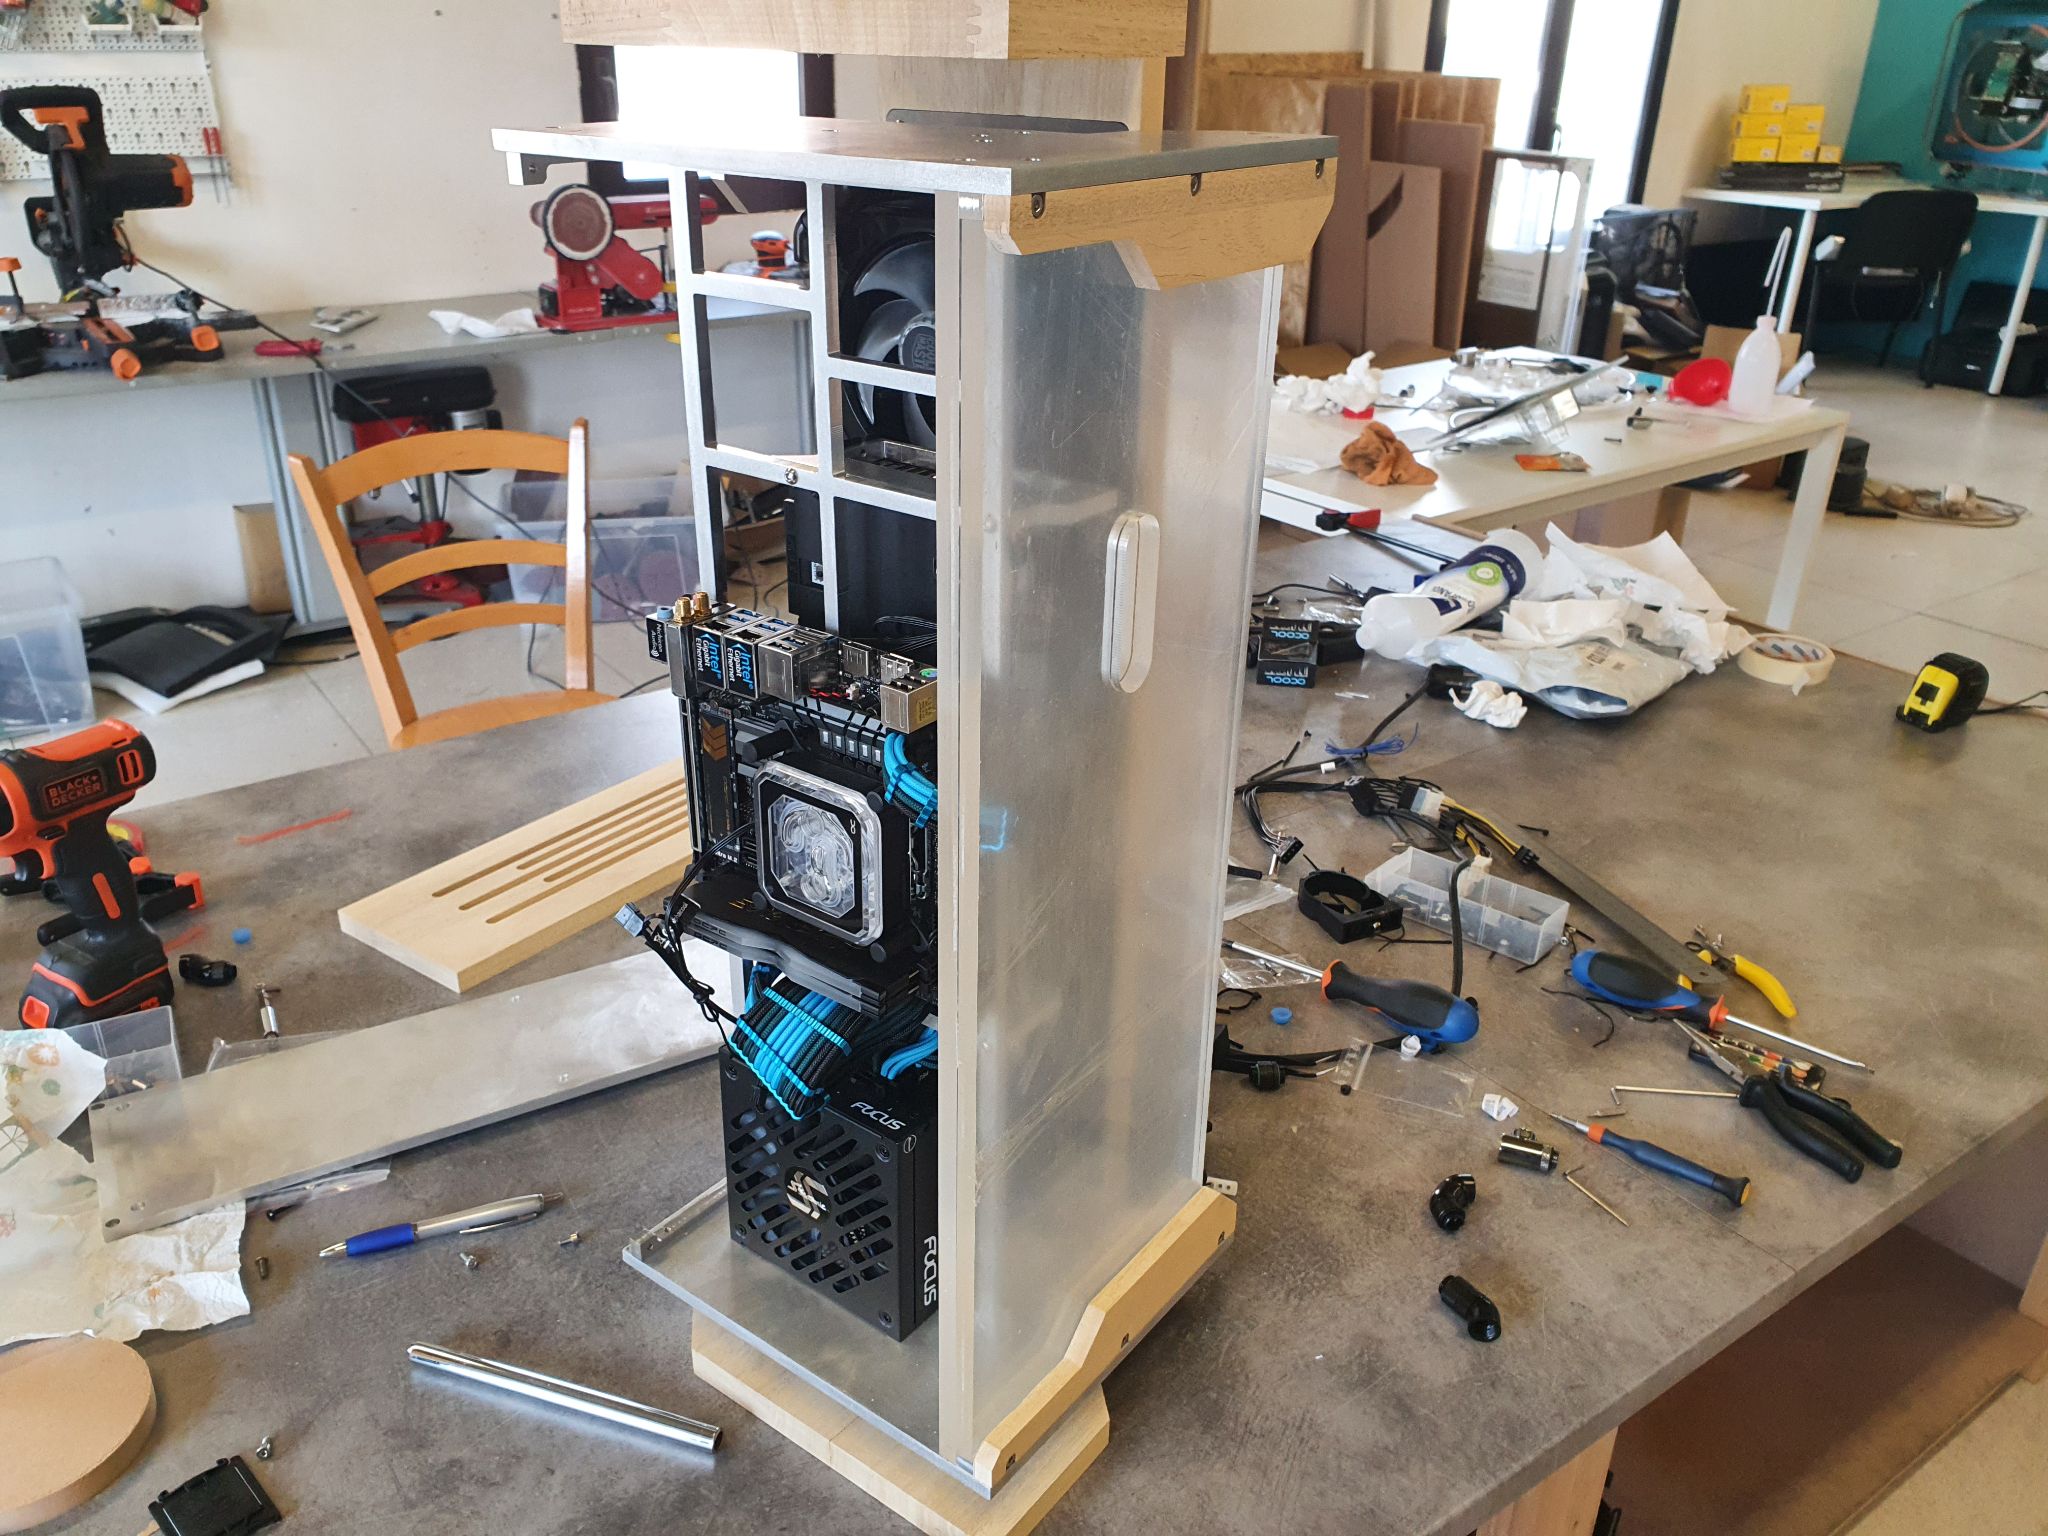
Mounting Radiators and GPU
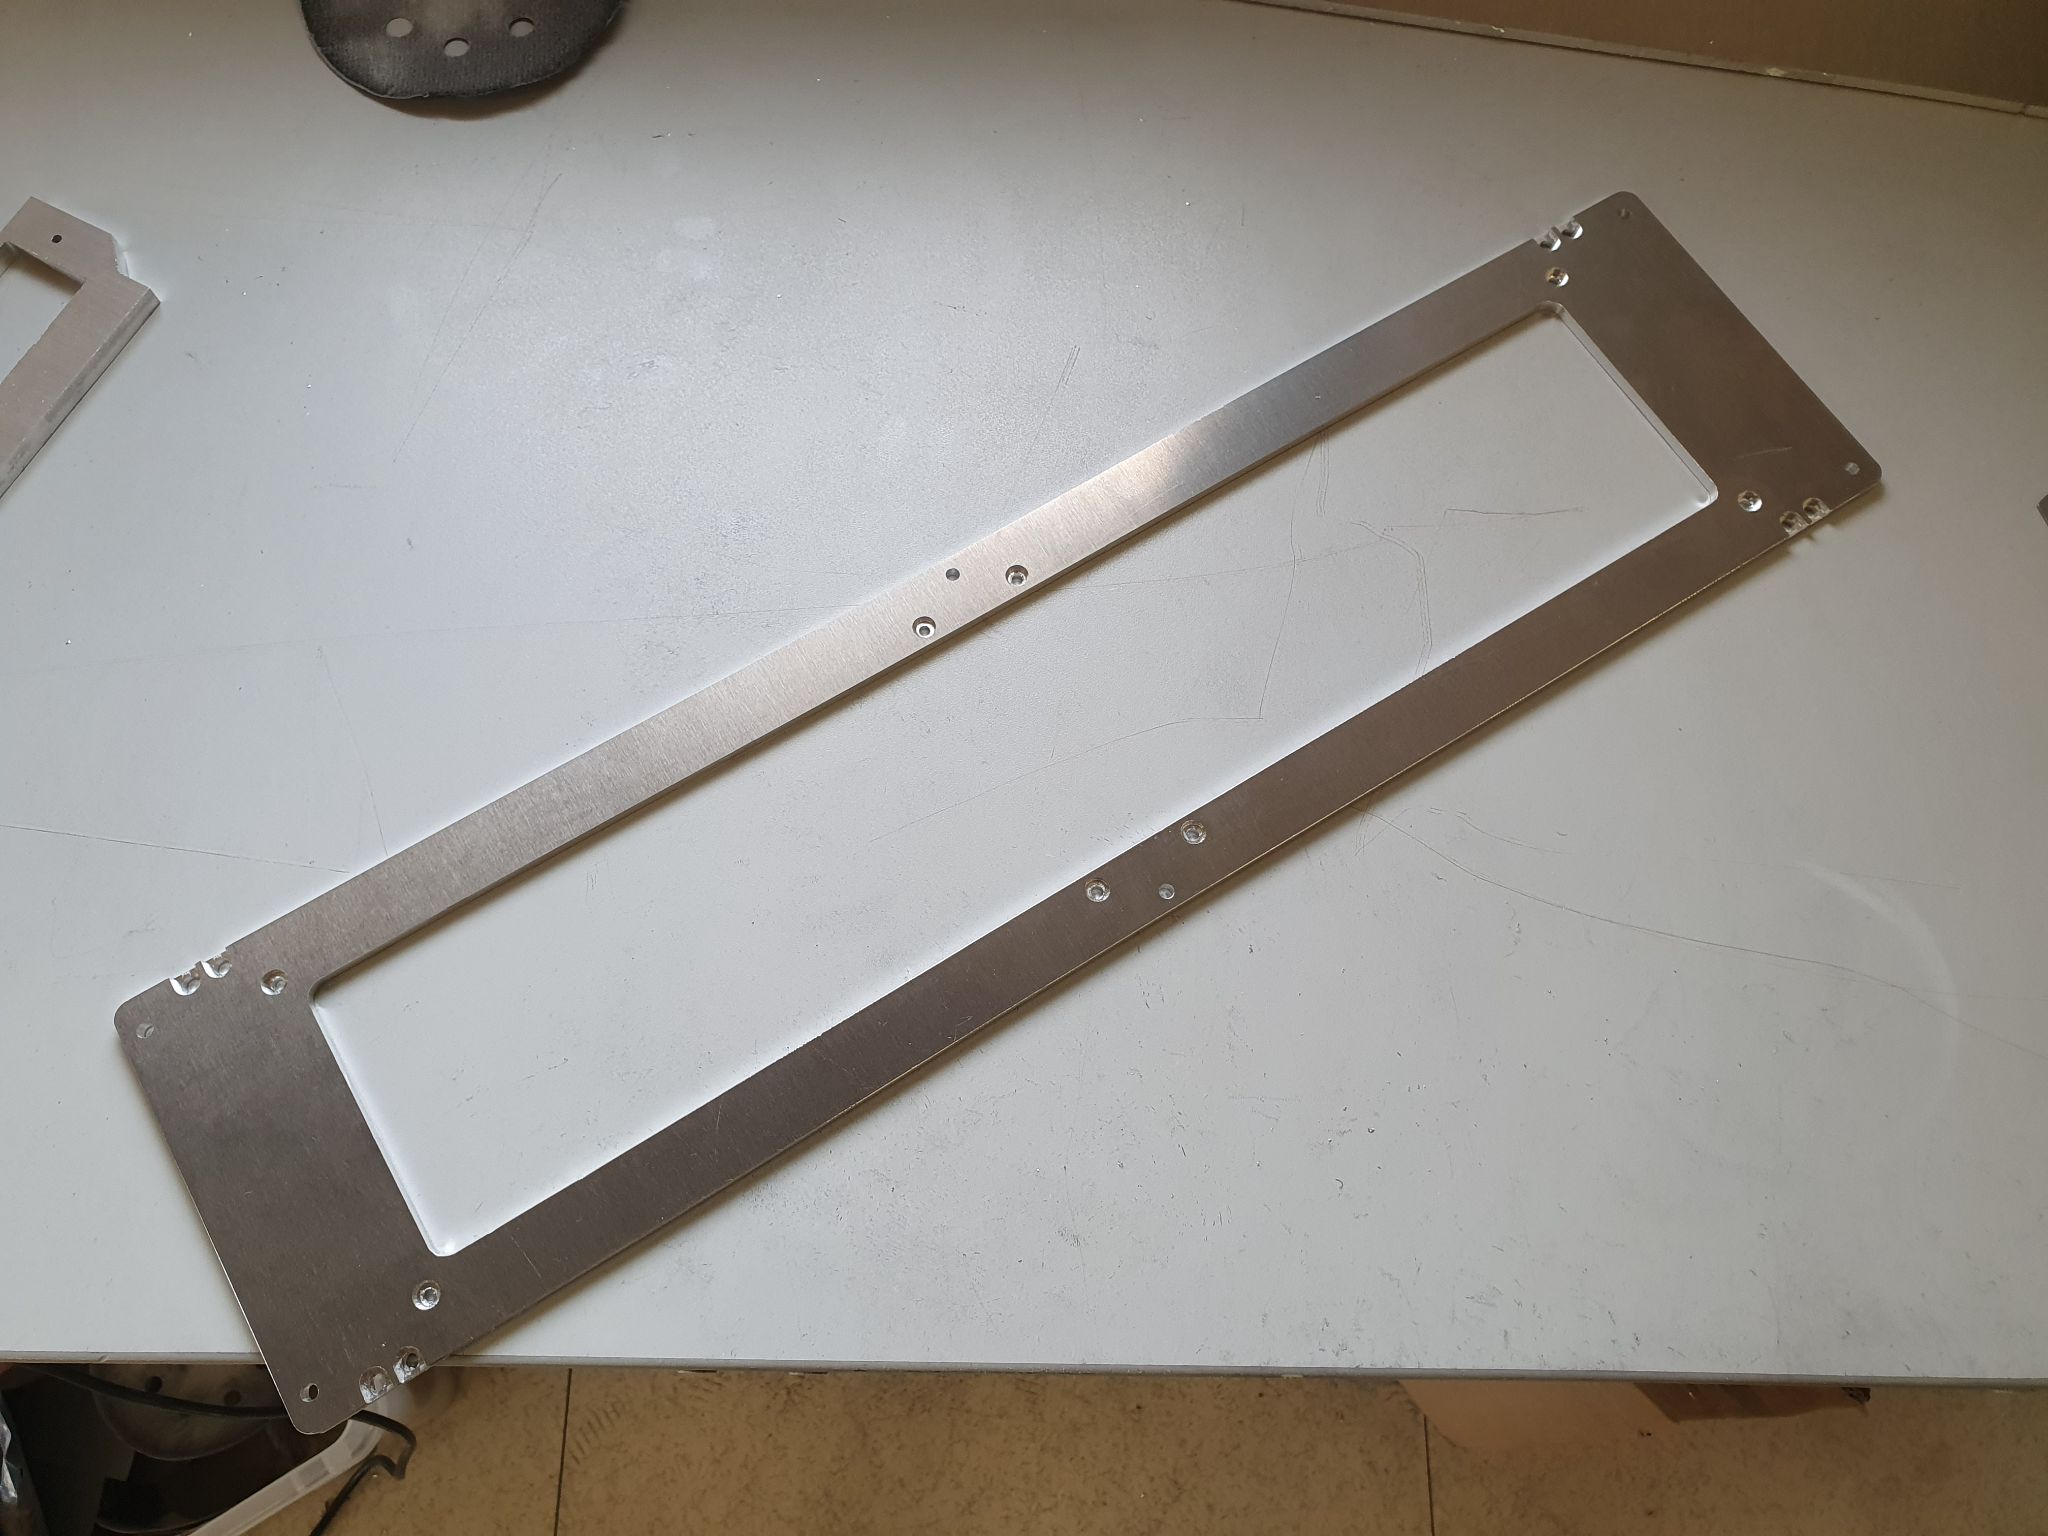
The mounting plate for the radiators had to be cut from 5mm aluminum and it also served to connect the main 8mm frame to the wooden shell, so it had to be well thought out to hold the weight.
Four 8mm brackets were previously made to mount this radiator plate. After I drilled and threaded the edge holes on these as well, I proceeded to fix them to the top and bottom panels.
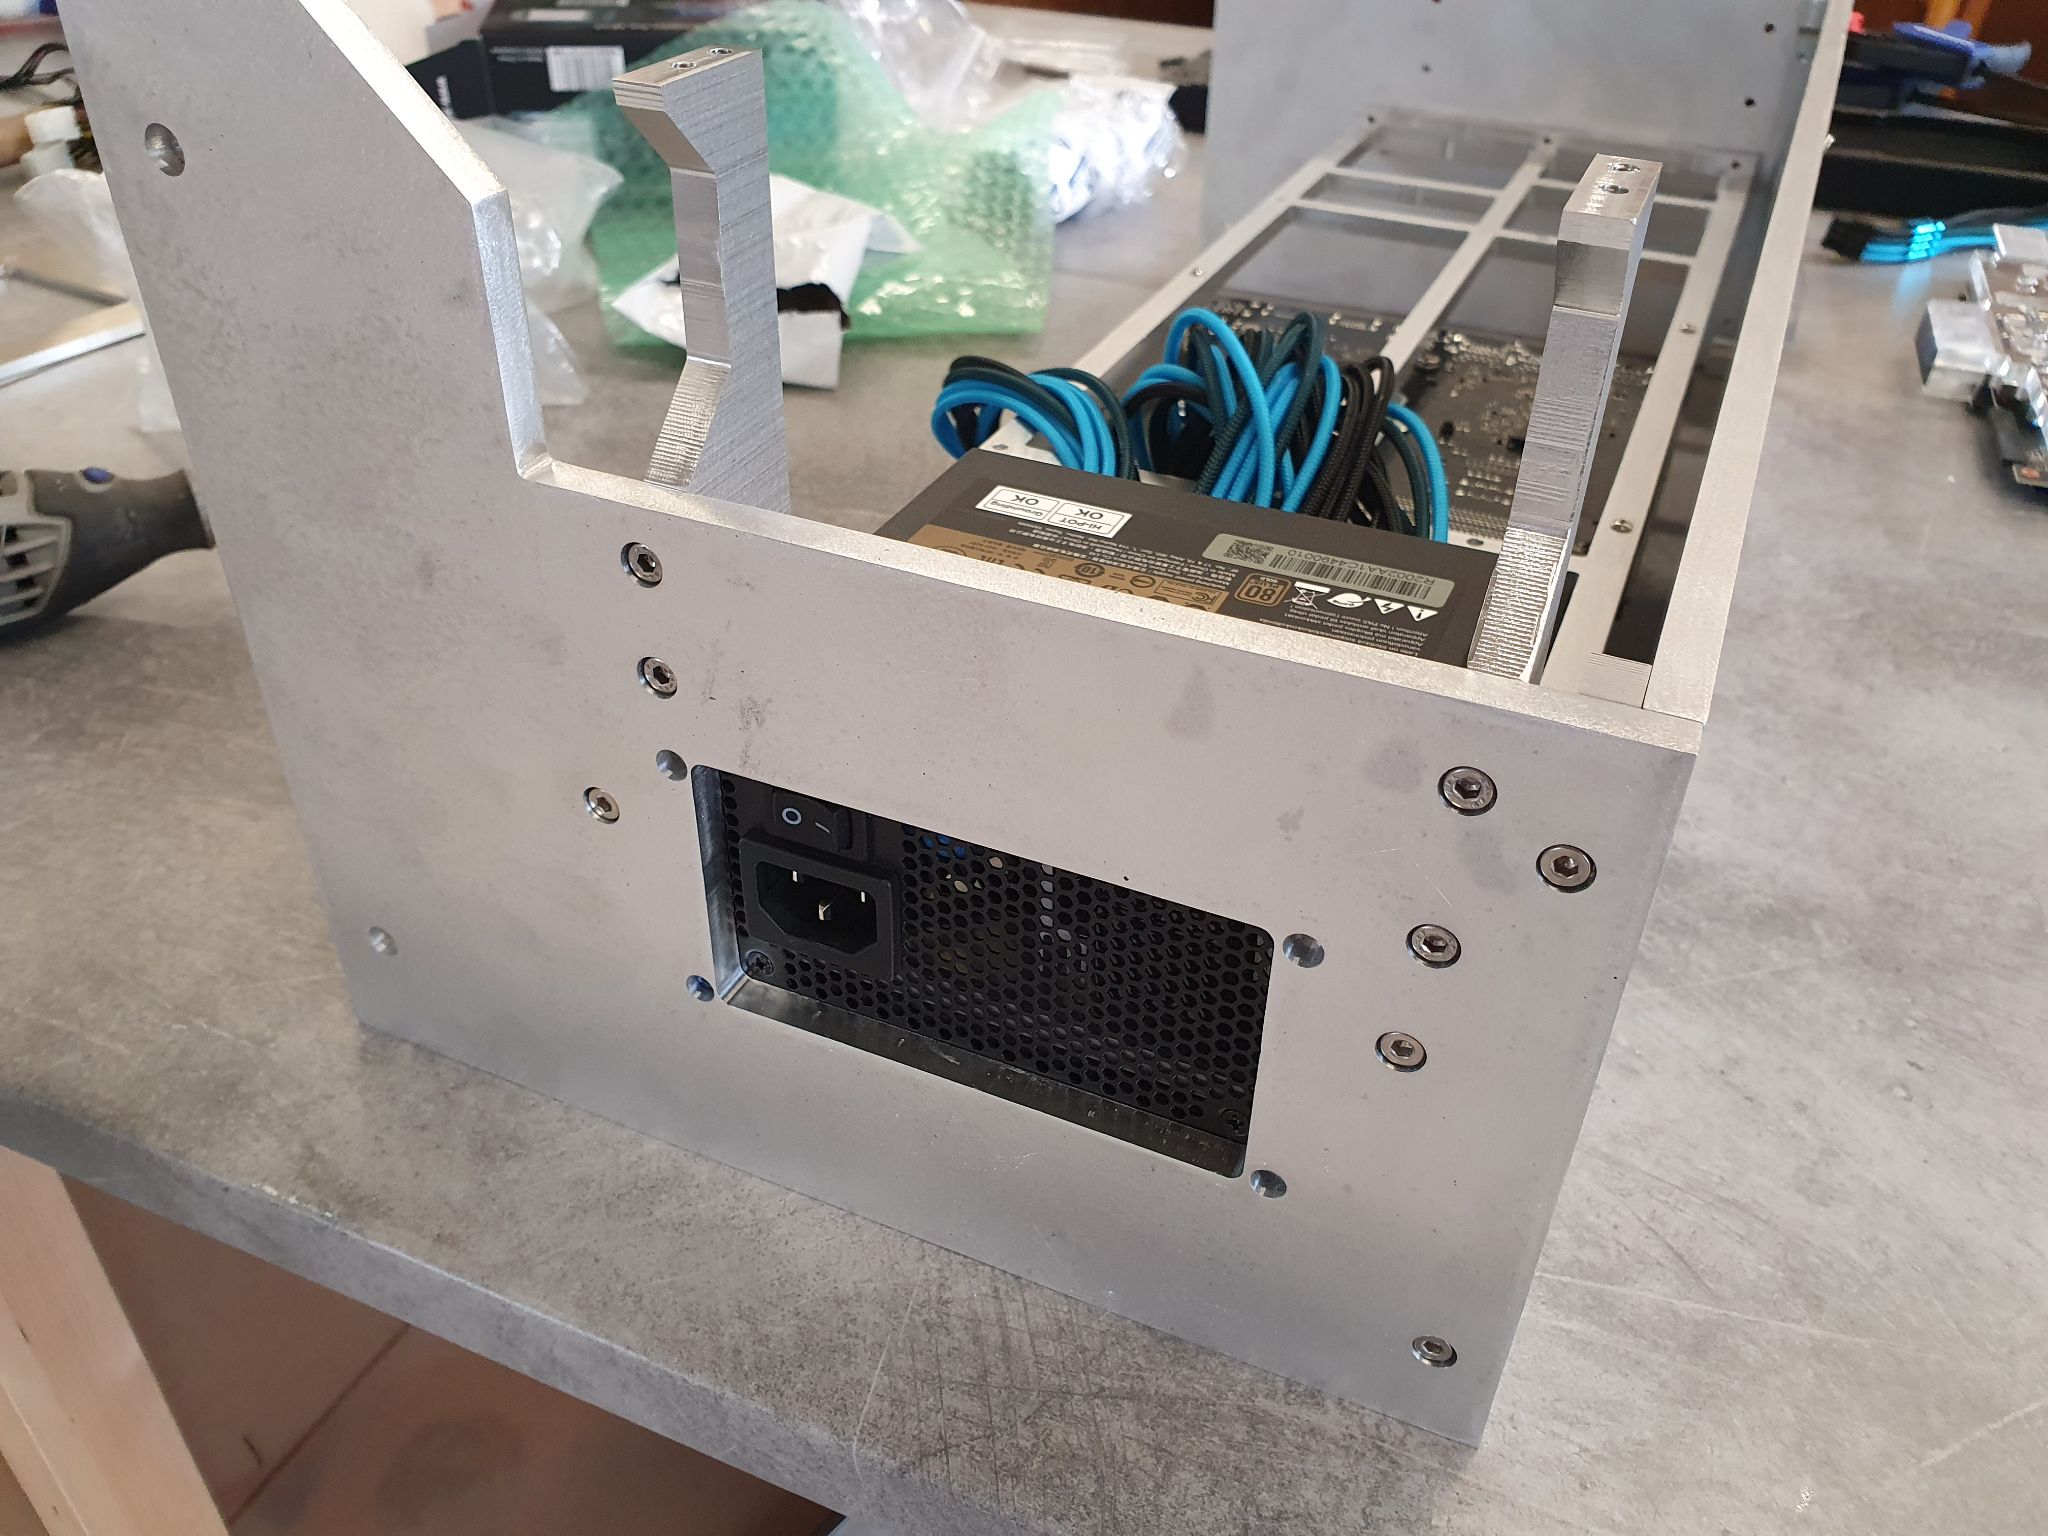
The radiator panel was then cut and fixed to the brackets thanks to more edge holes.
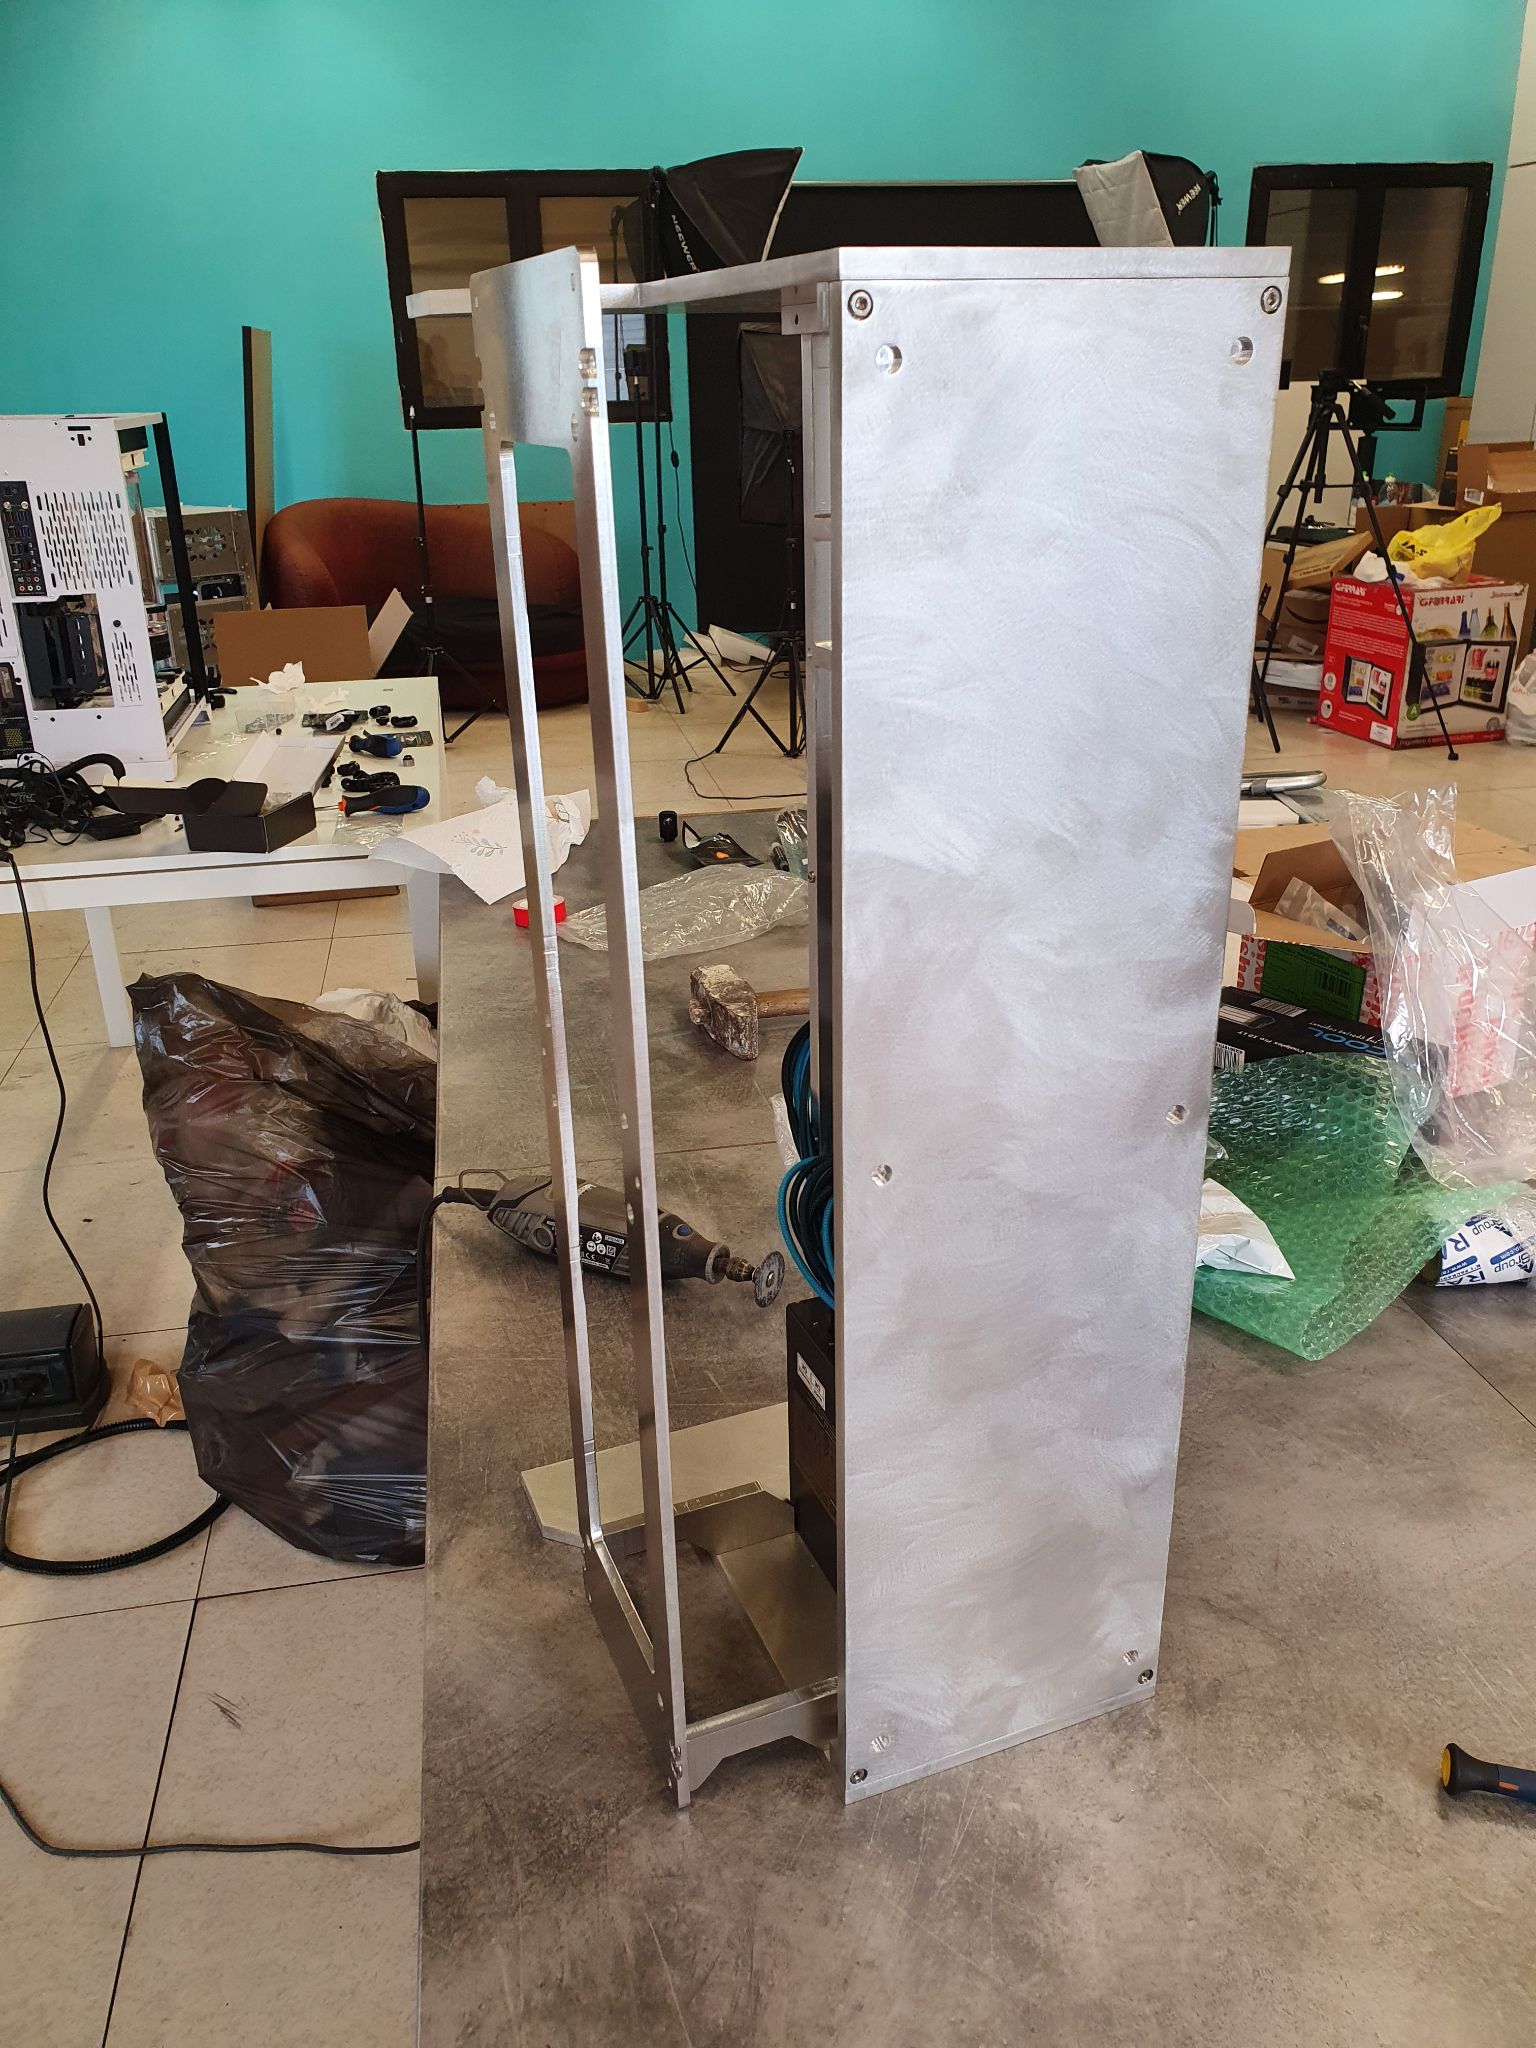
Test fit with radiators and fans.
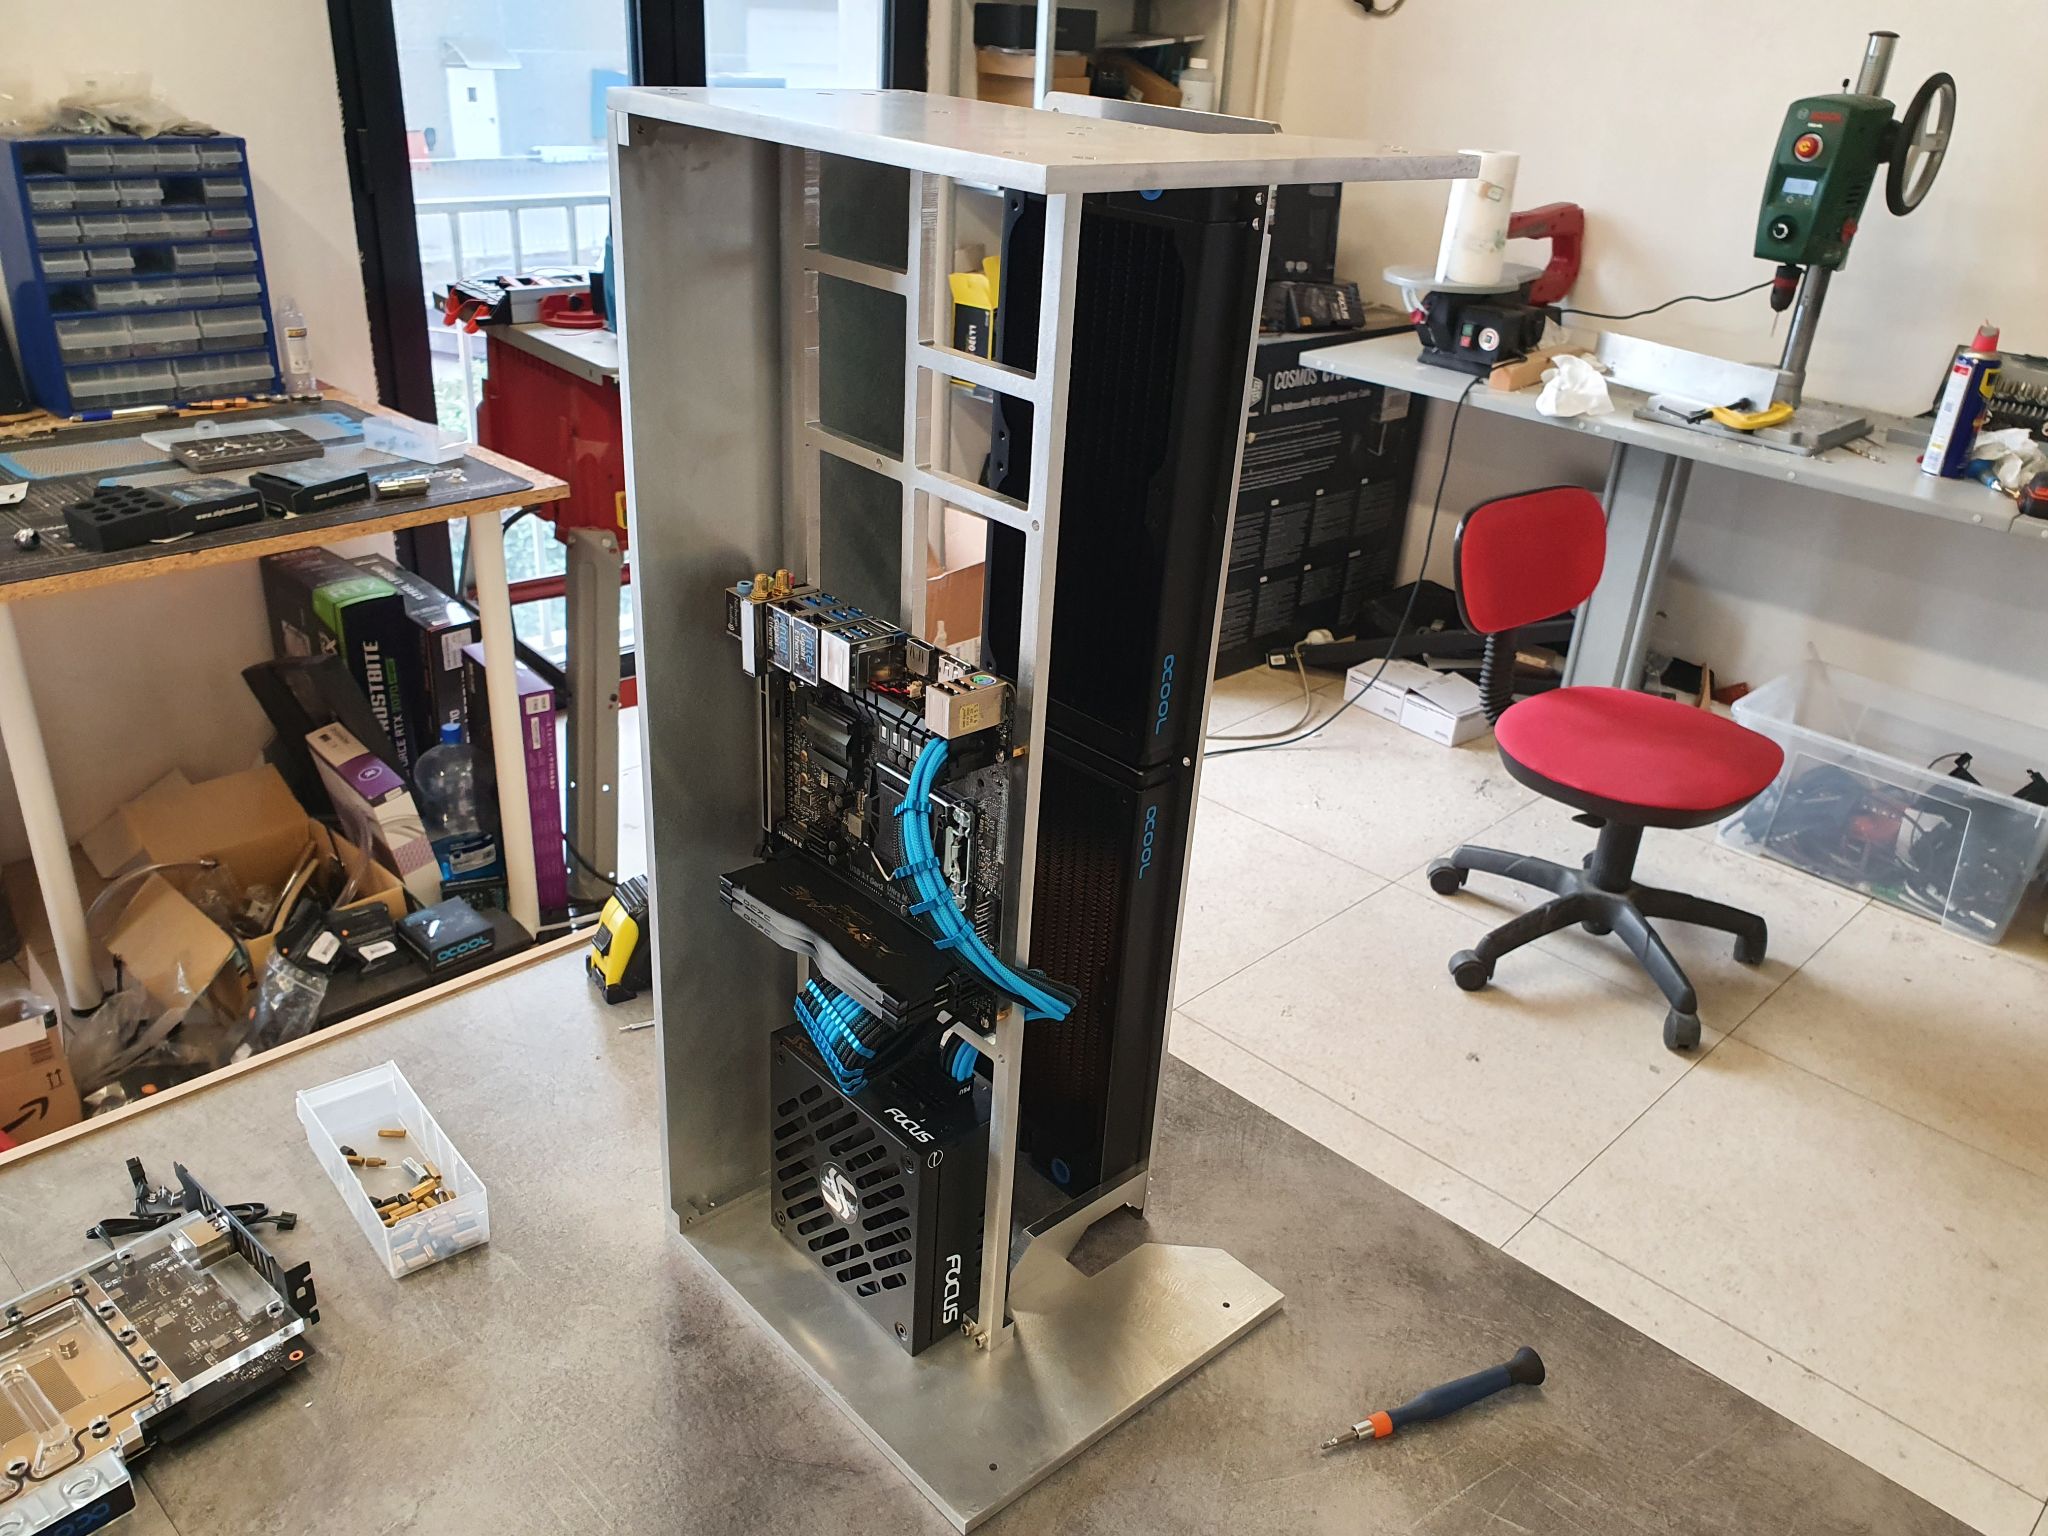
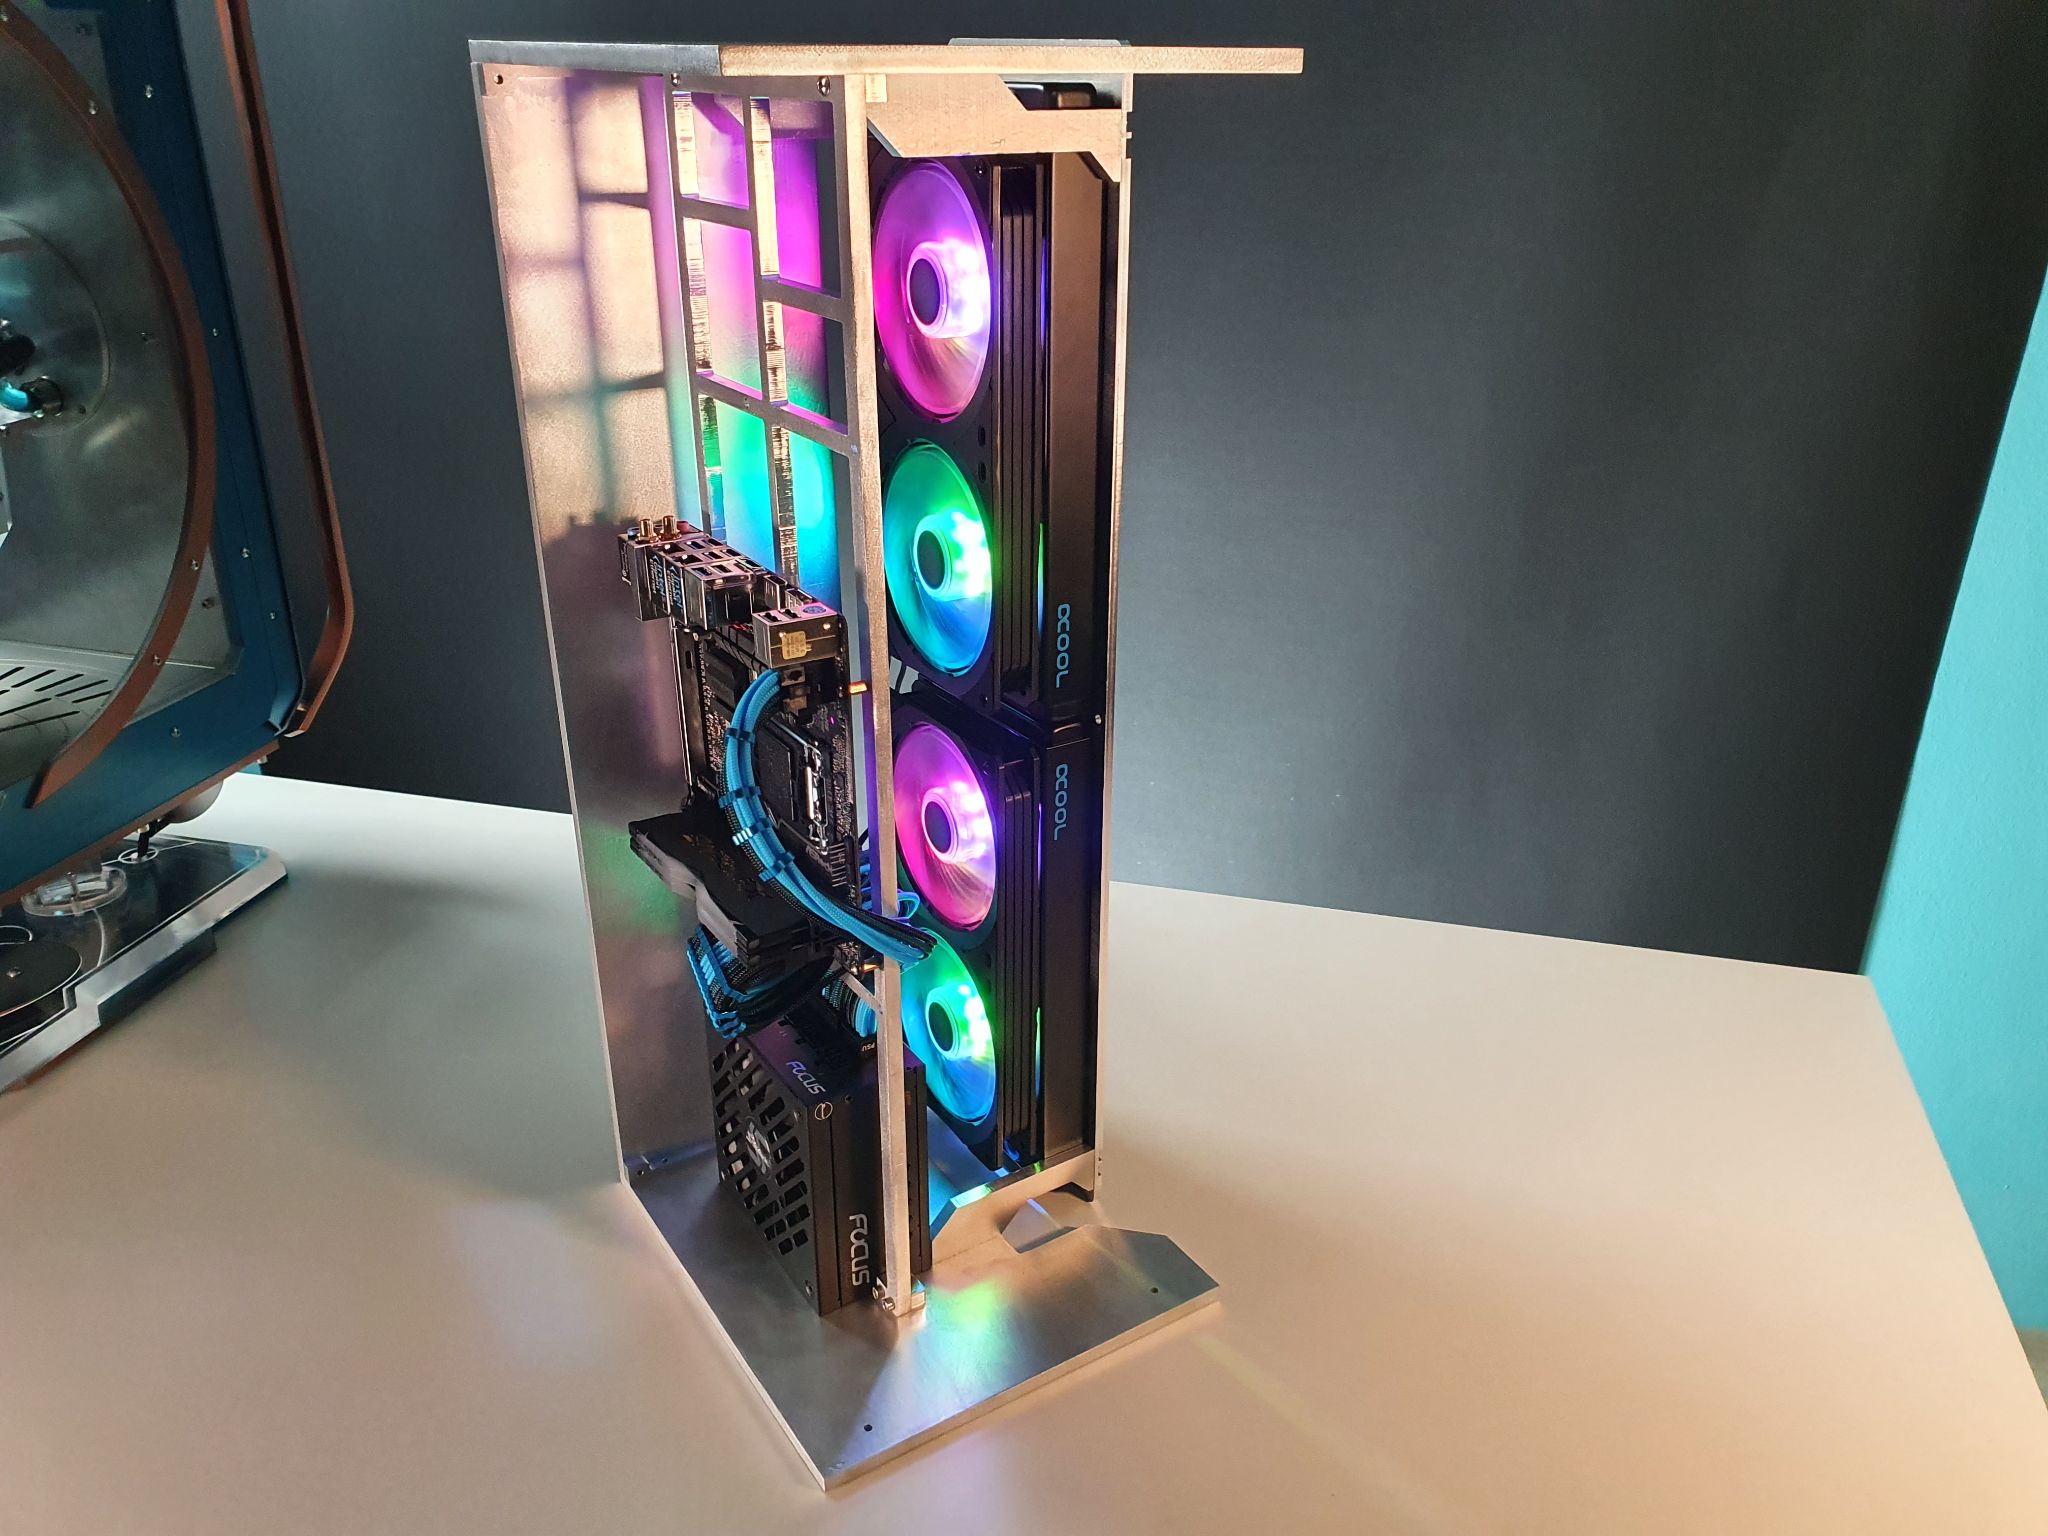
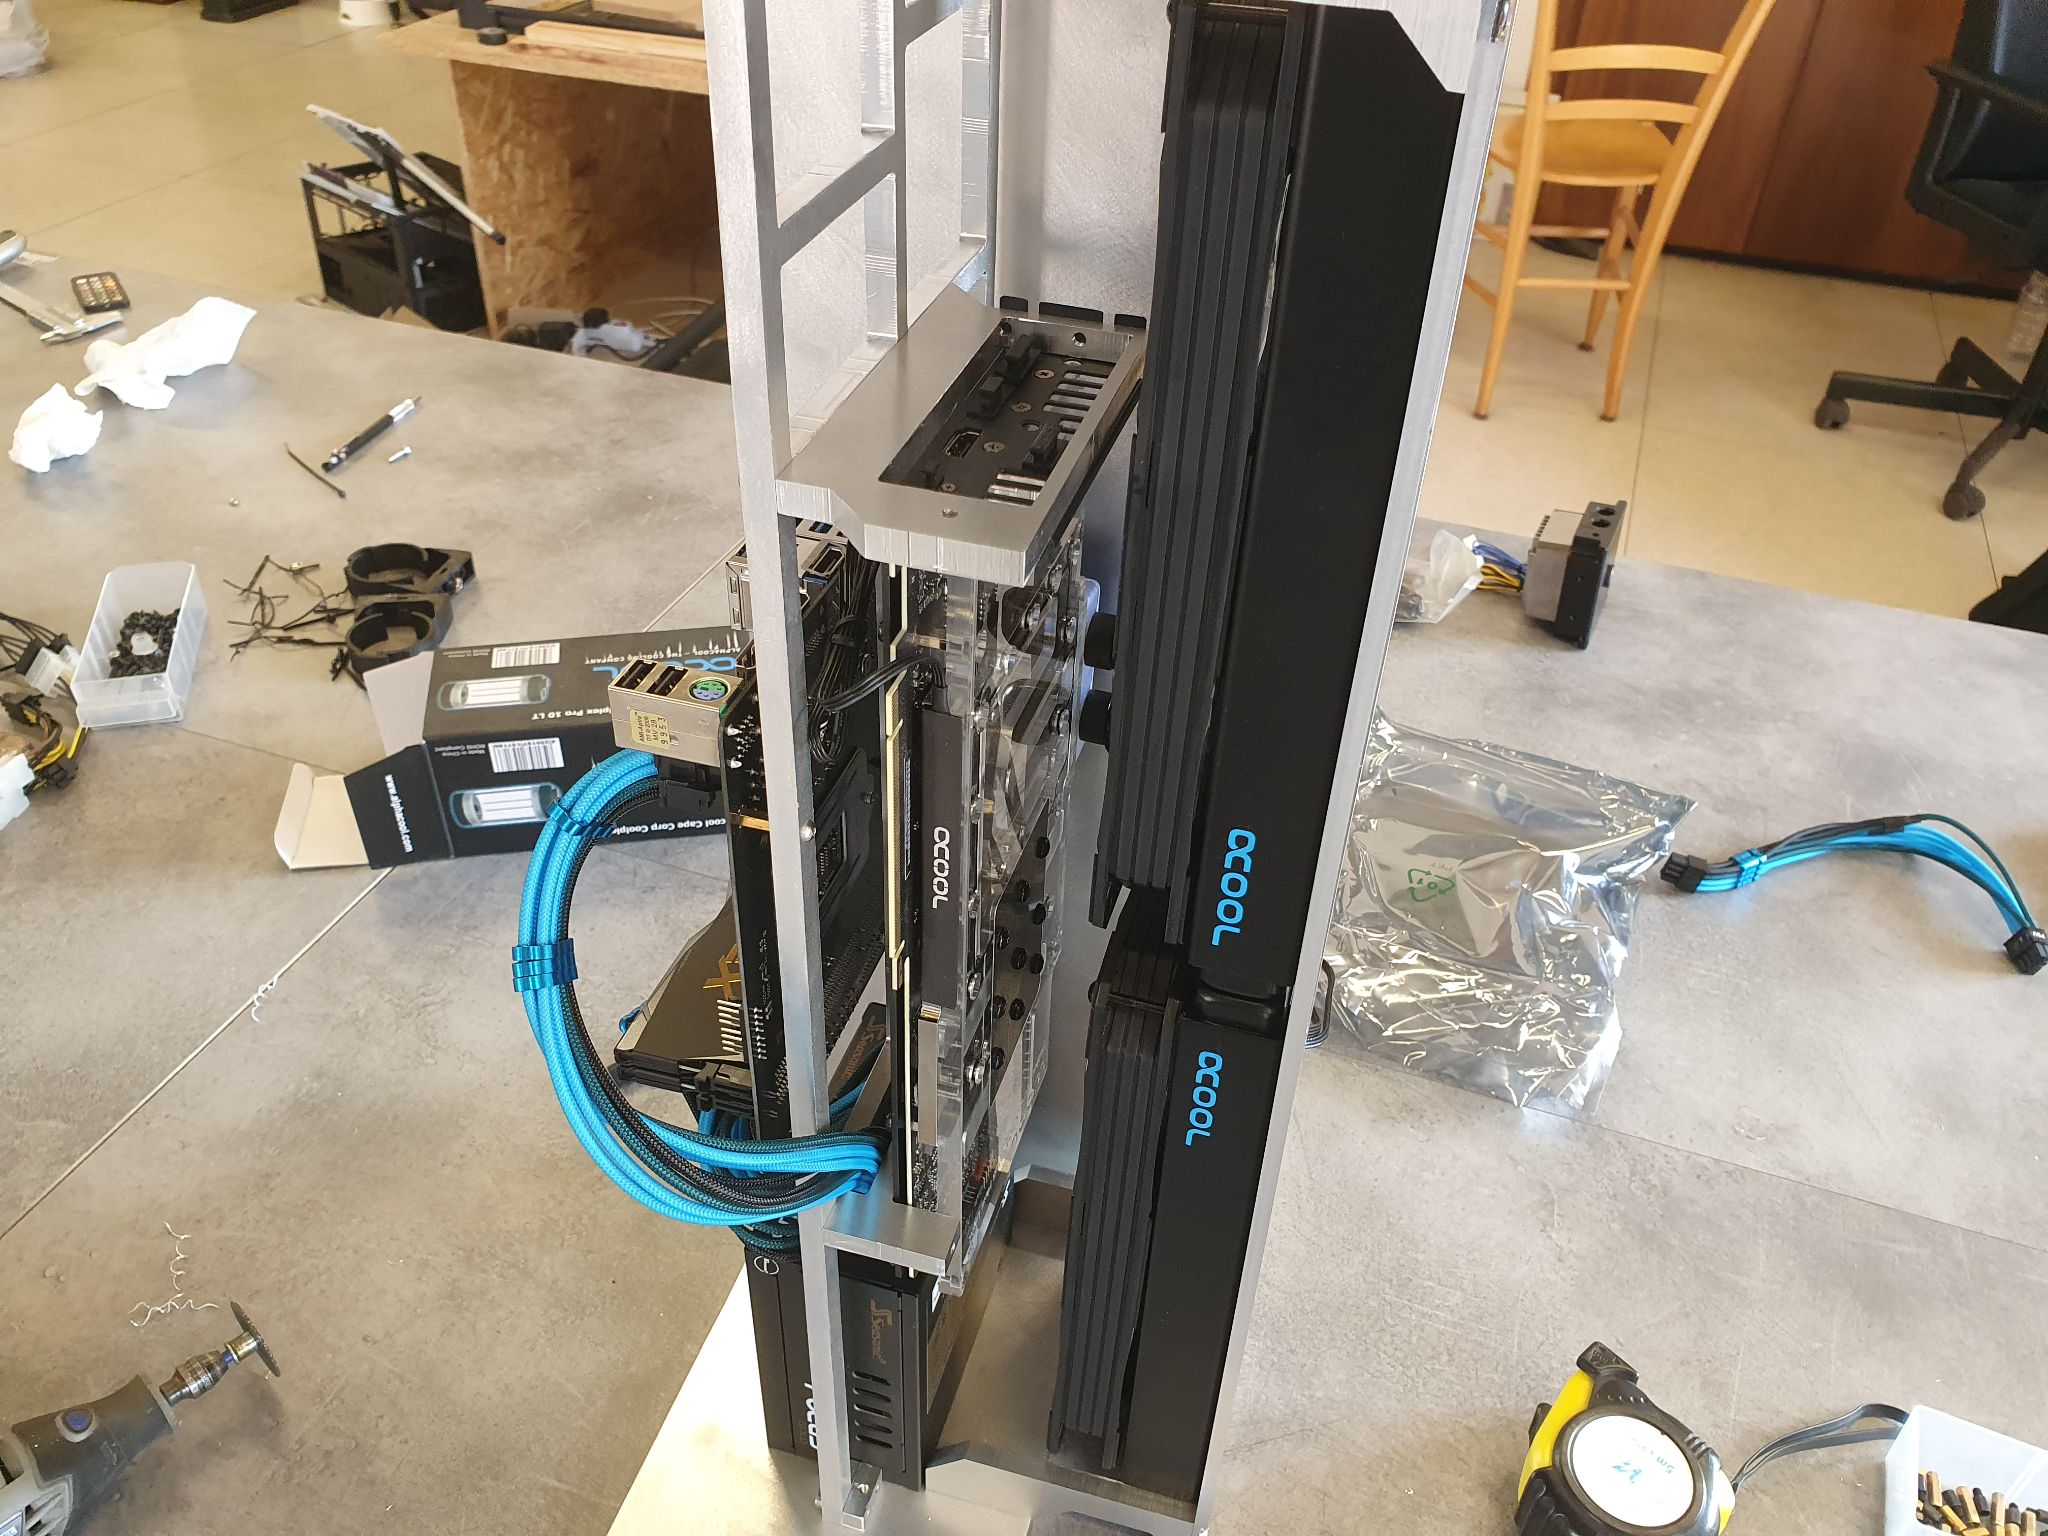
The GPU was mounted following the same principle, so edge holes onto the two mounting brackets. This is why I used 8mm aluminum, which might sound like overkill for the structure of a computer case, but it’s super useful when you want holes on the edges, because there’s plenty of space for M4 threads and even M5 ones.
Making the Wood Parts
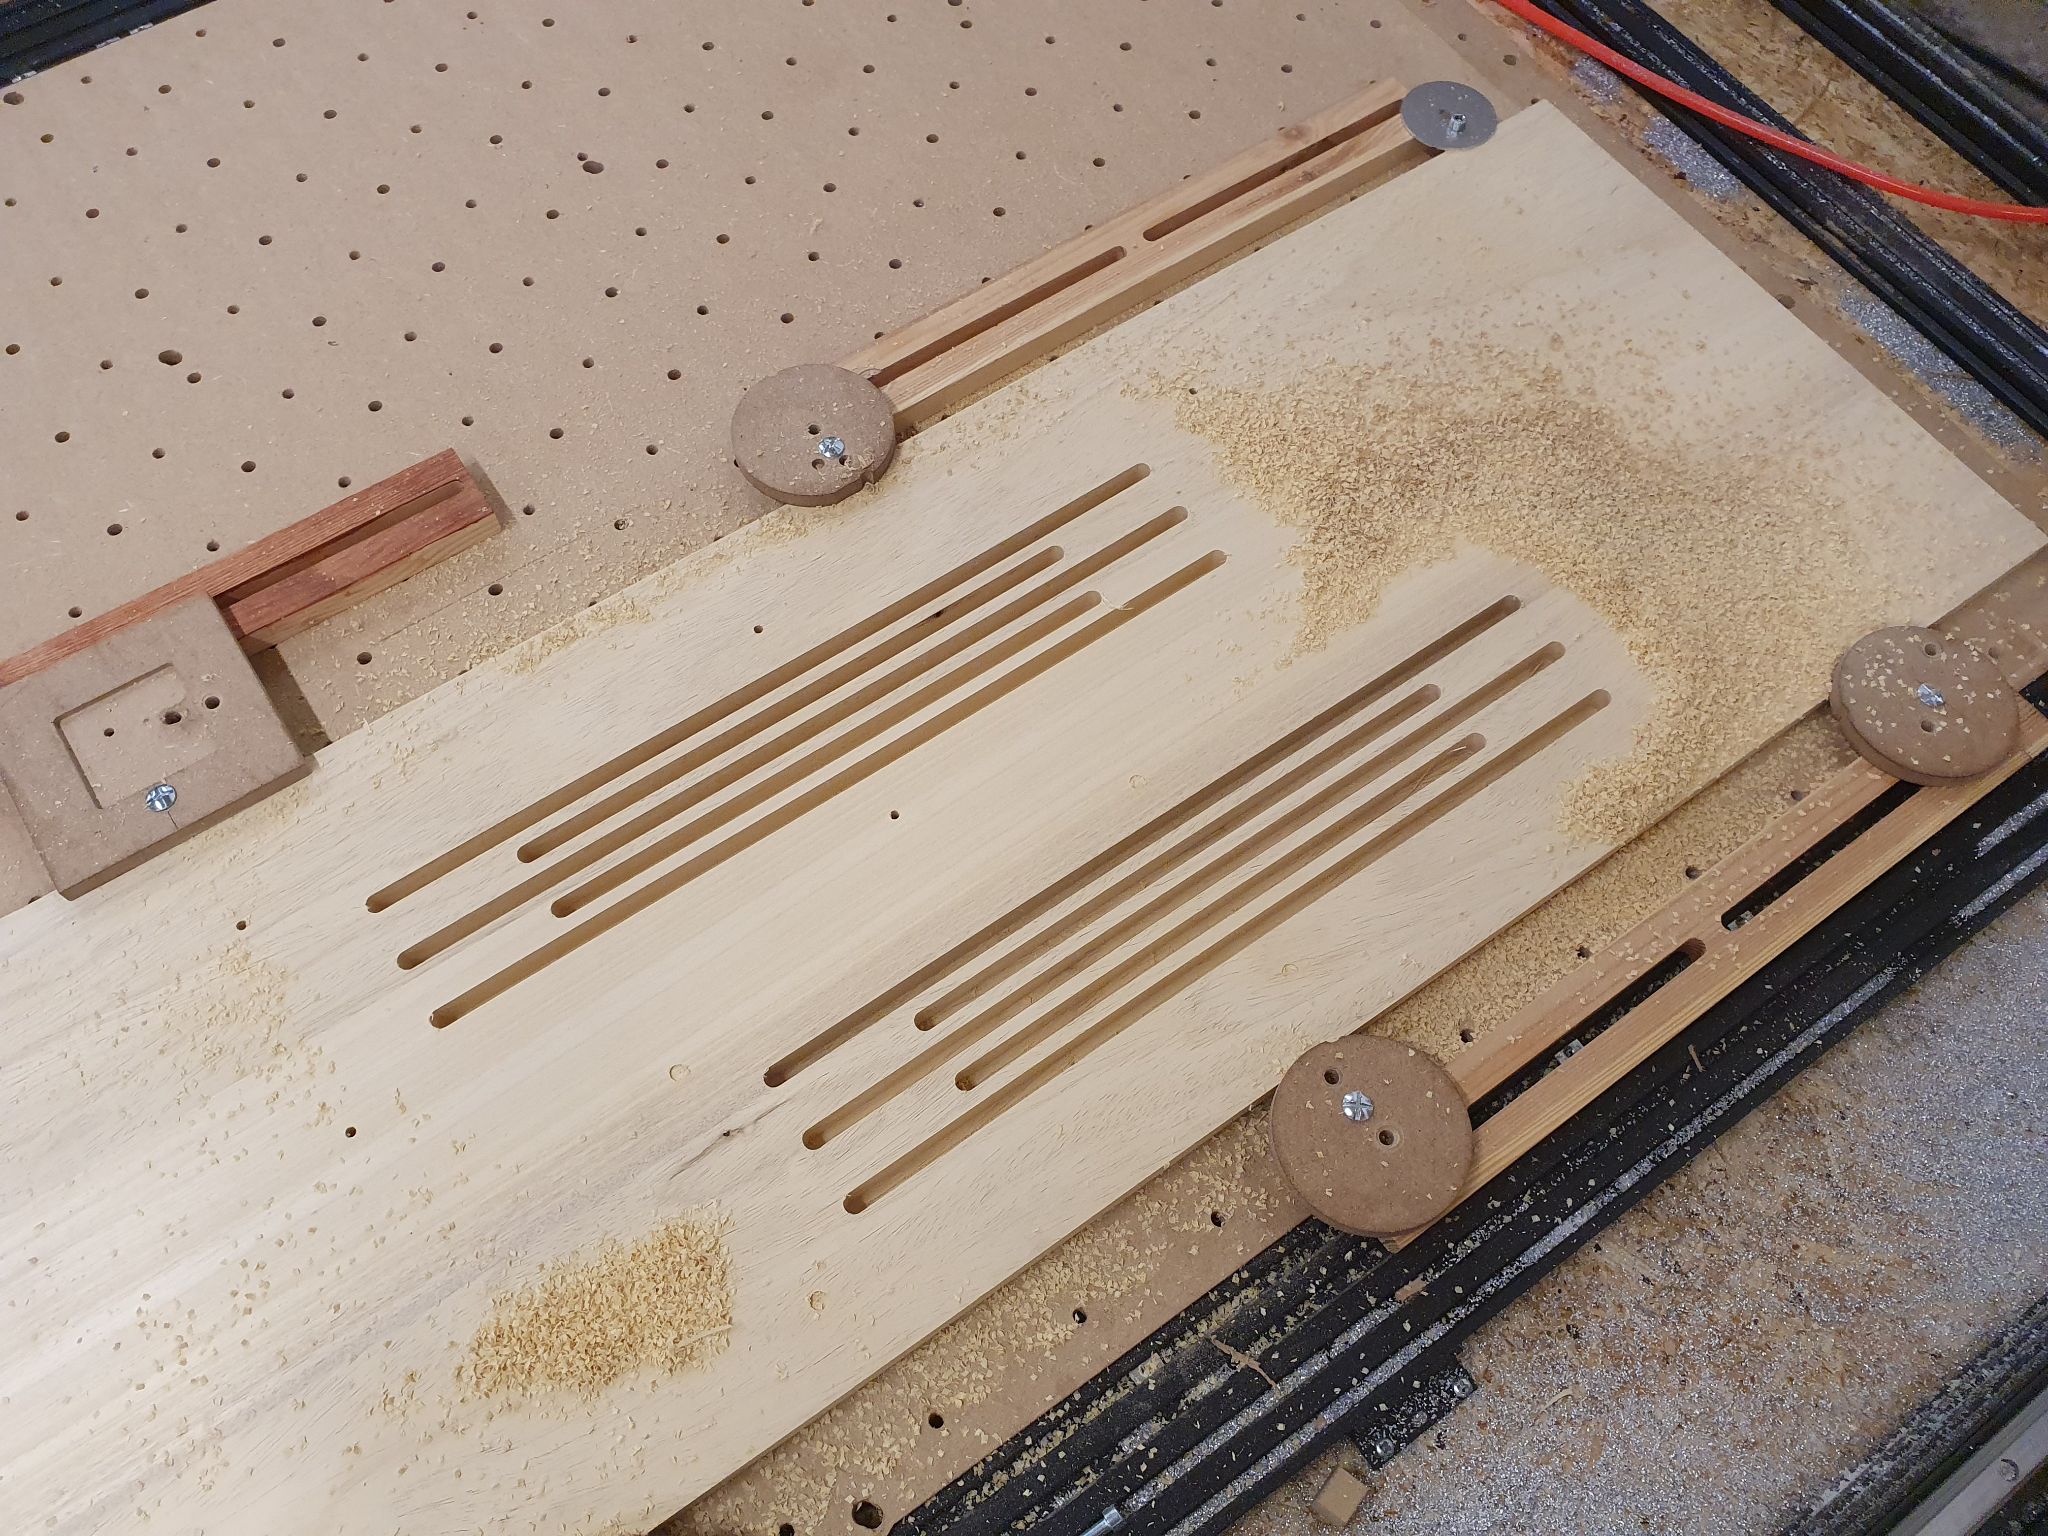
I’m still looking for a good supplier for more exotic -- and expensive -- woods, so for now I have to stick with what I find in hardware stores here in Italy, which is mostly pine and fir, as well as ugly plywood and OSB. Luckily, they recently added a few more options, which are beech, oak and ayous. This time I chose ayous wood because it had a really nice looking grain.
So I set up the sheet on the CNC and started cutting.
Get Tom's Hardware's best news and in-depth reviews, straight to your inbox.
After all the parts were done, I glued top and bottom panels using Titebond II glue.
One thing I added to the main part of the outer shell was a 5mm pocket where the radiator plate could fit inside, in order to give it a seamless look. I added threaded inserts to the wood beneath the aluminum plate, so that I could run M4 screws through and fix everything this way.
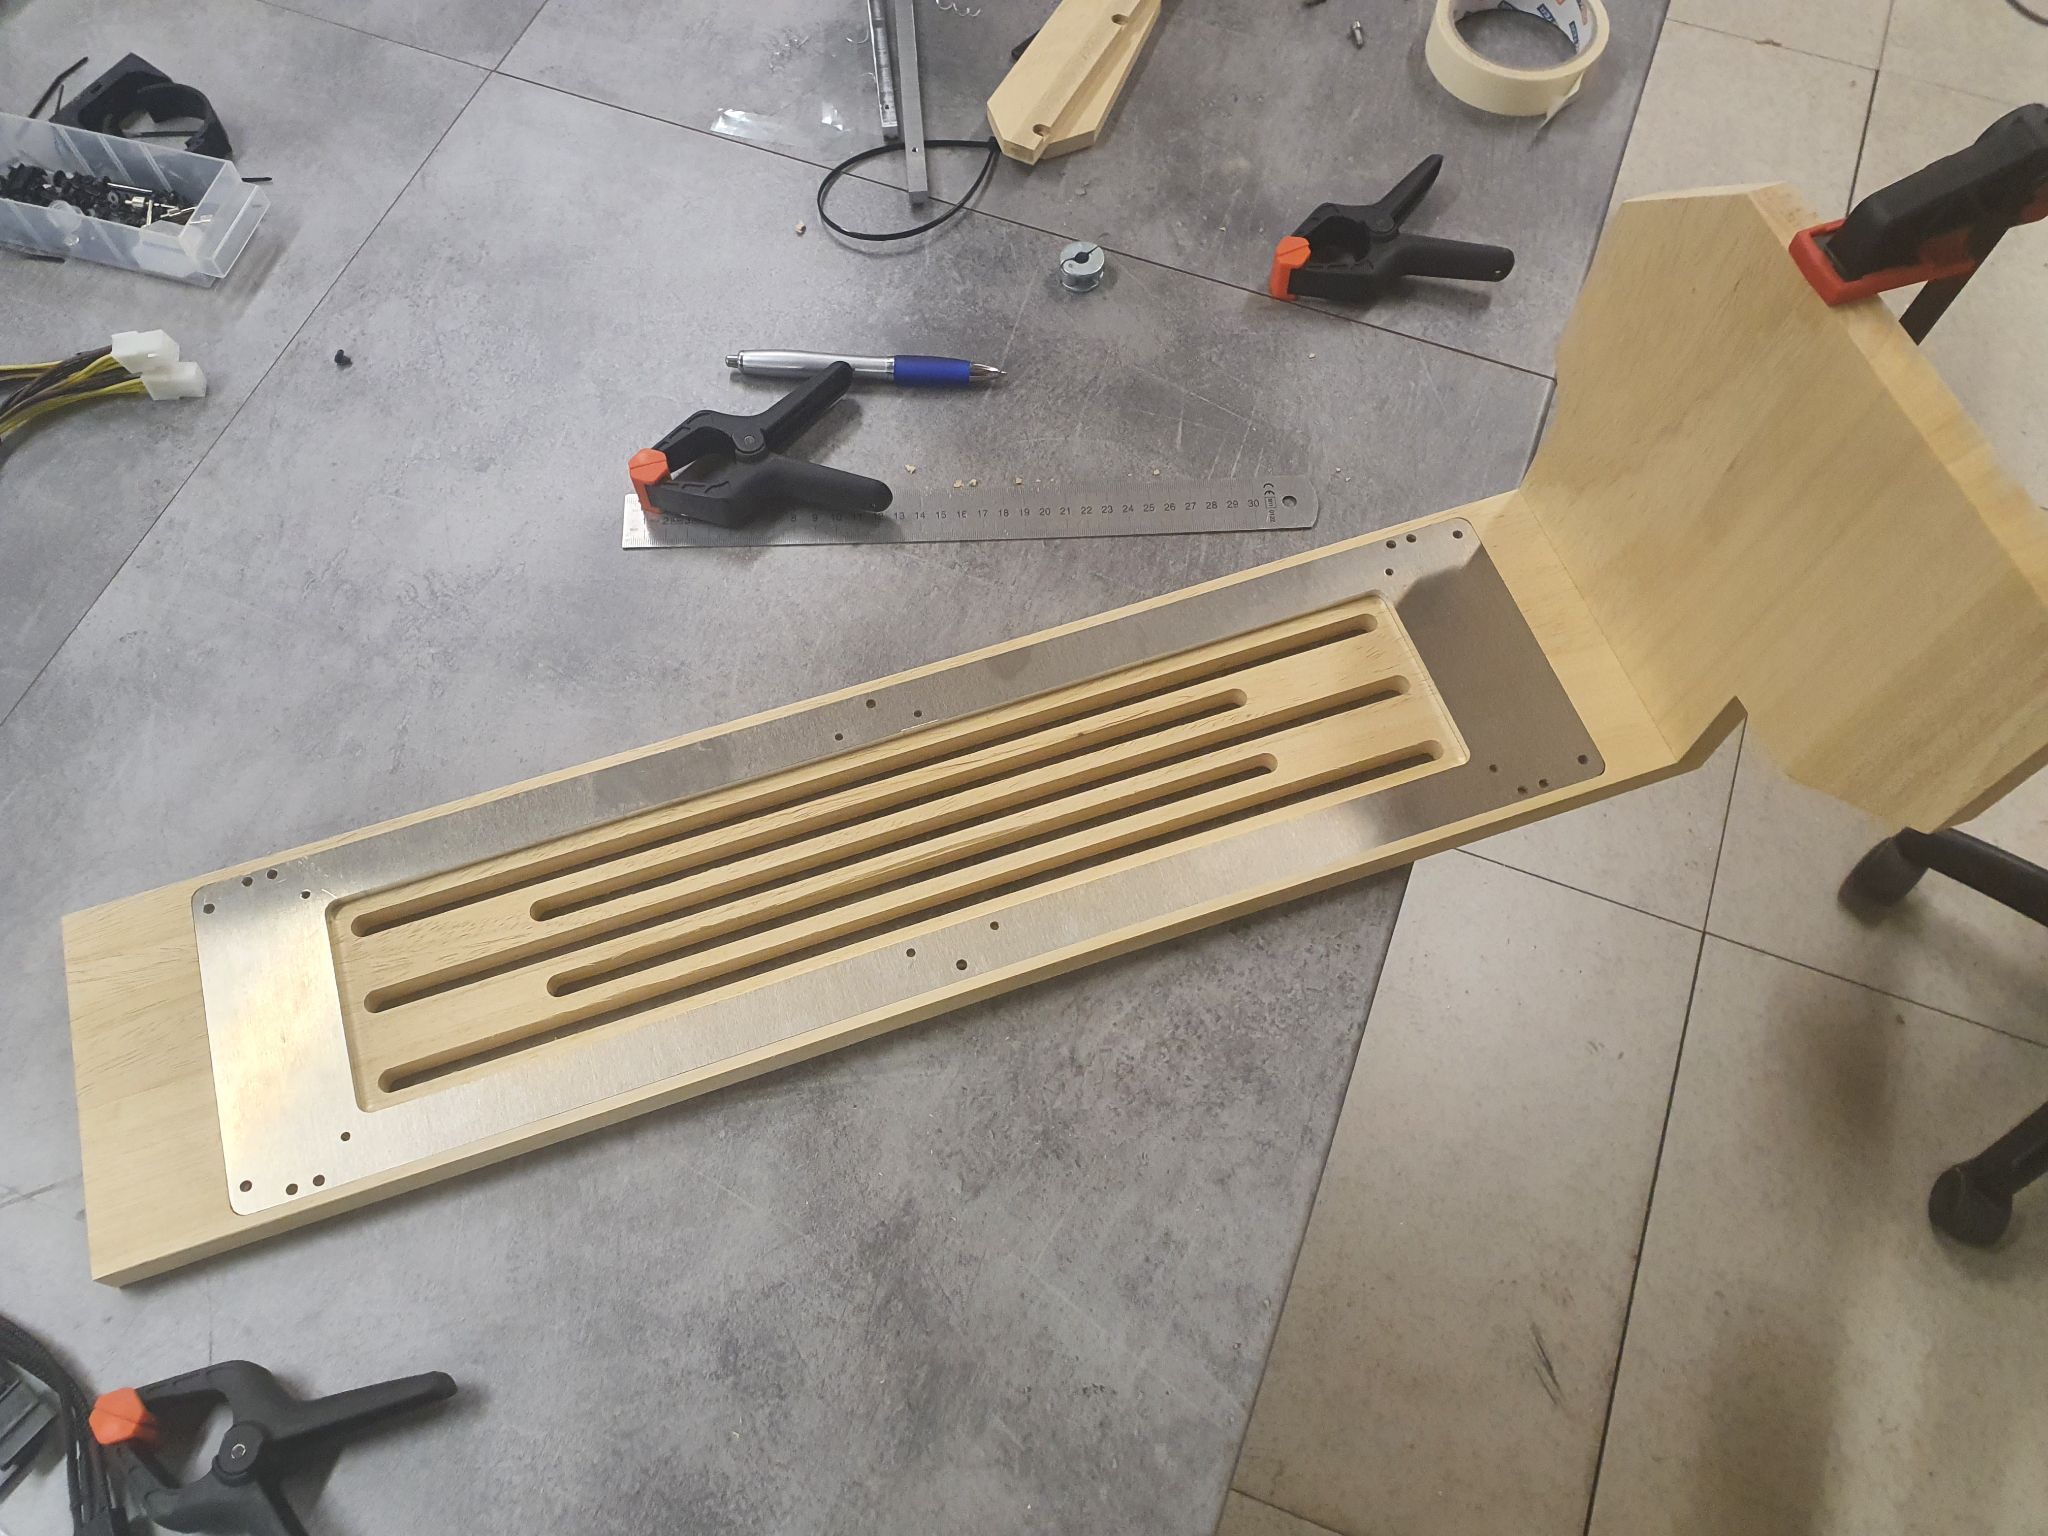
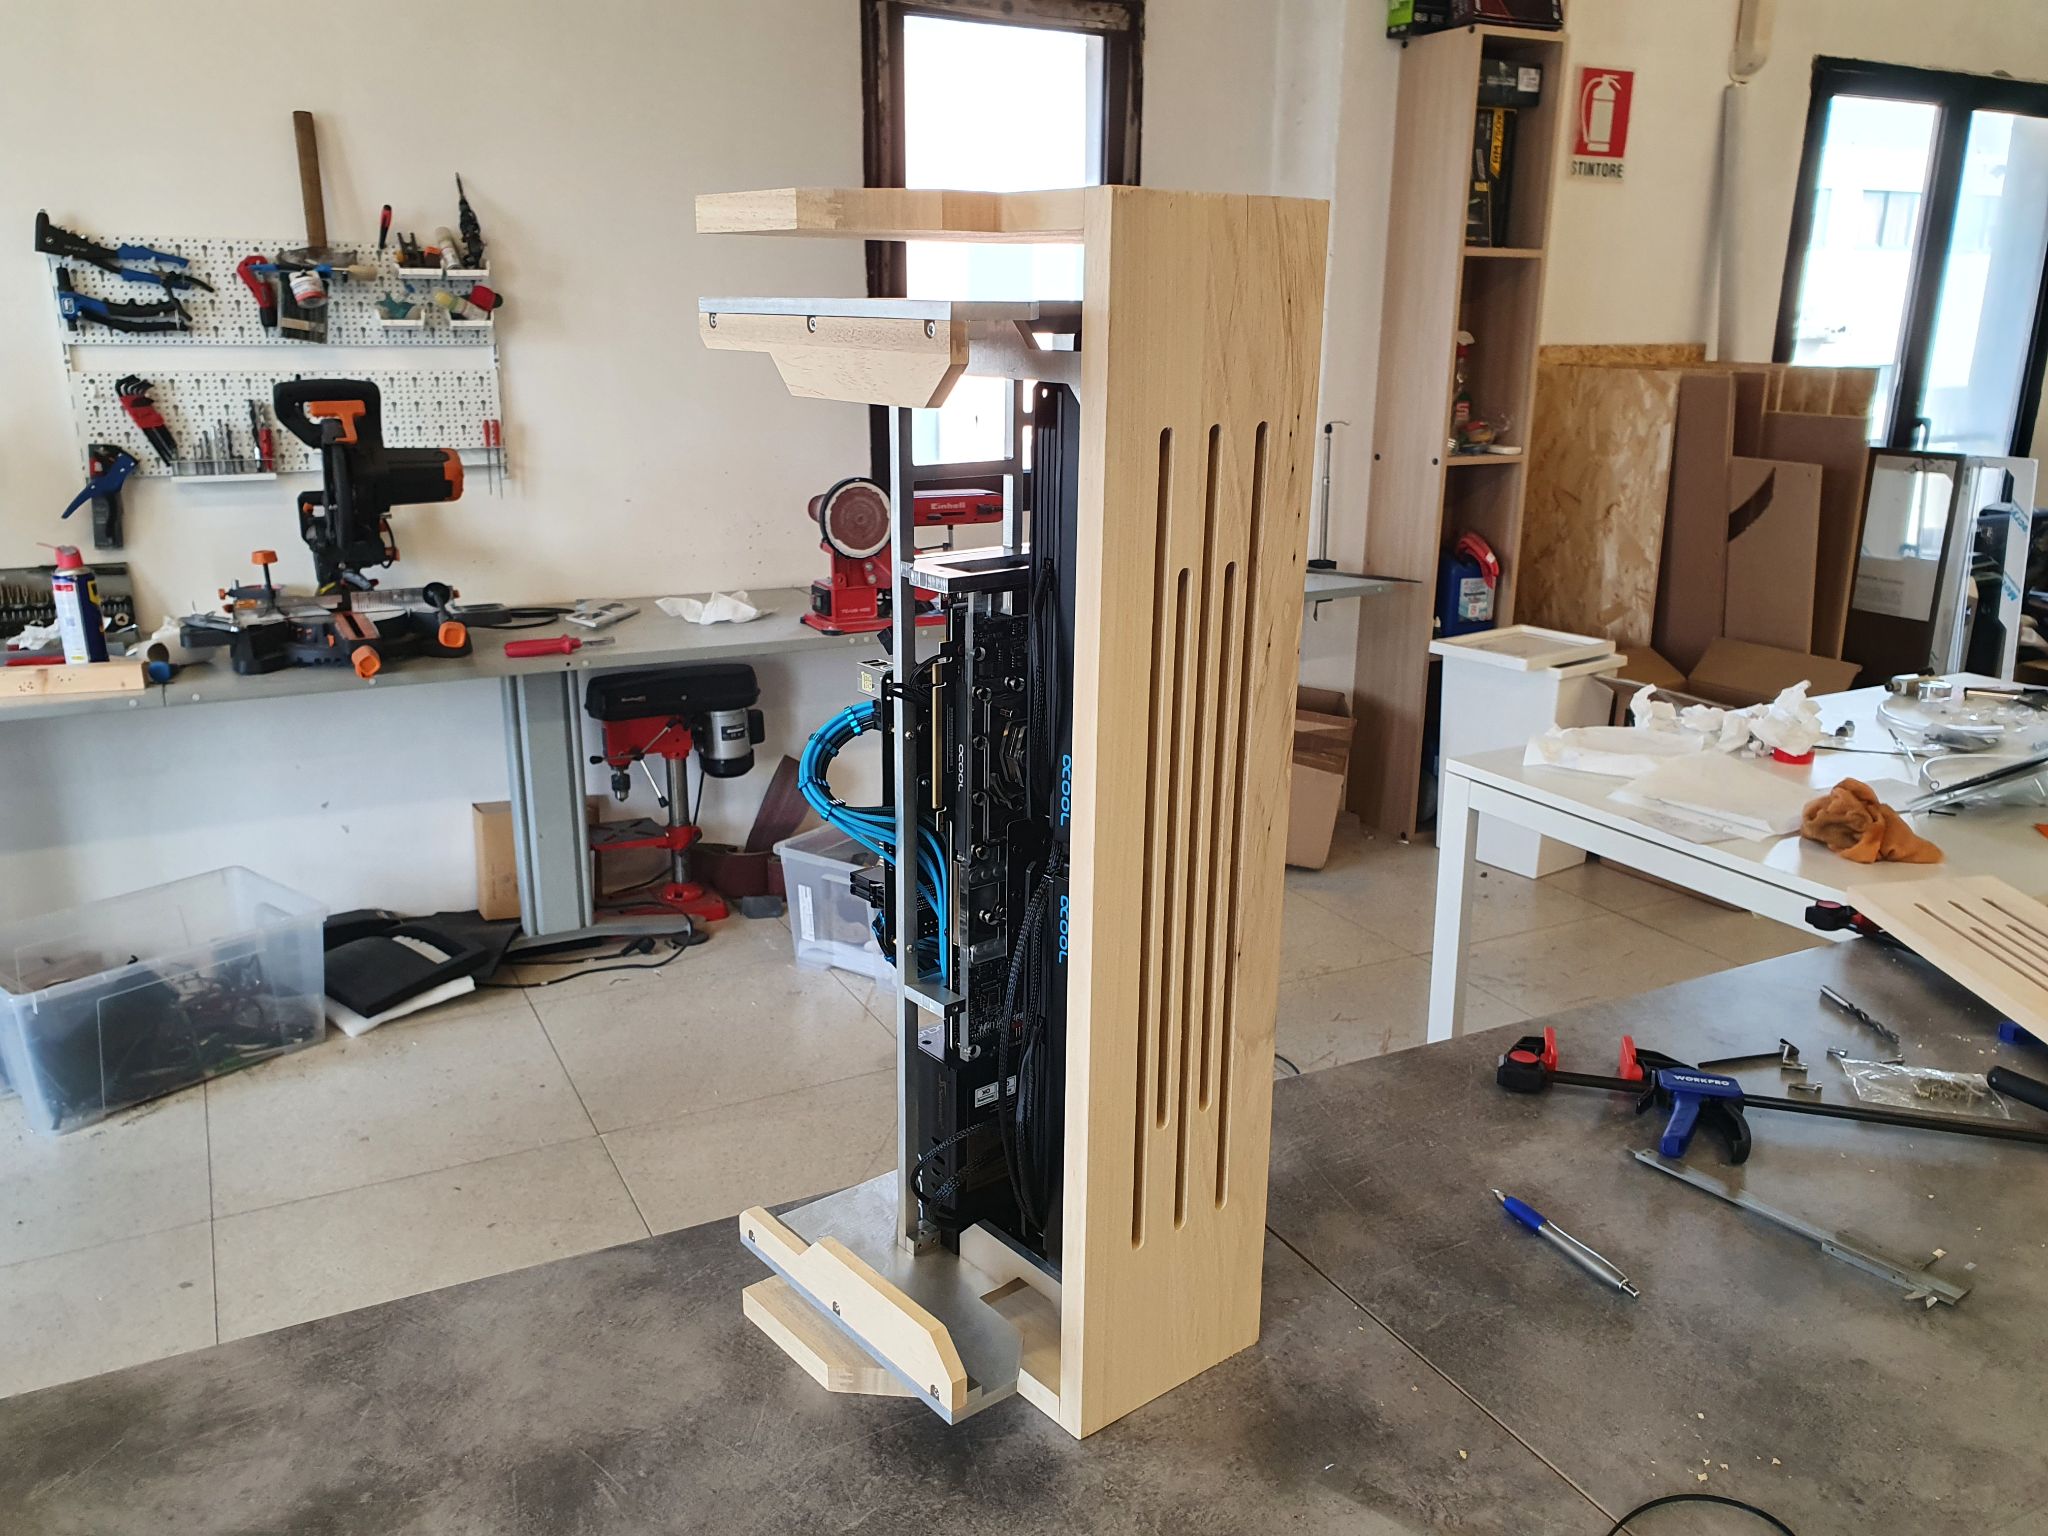
I temporarily clamped the front wood panel to see how it all looked. I originally planned to mount that front panel using magnets but I quickly realized my machine isn’t precise at all and didn’t get the tolerances right for the pockets to fit the magnets in, so I came up with a more standard solution later, using threaded inserts and M4 screws.
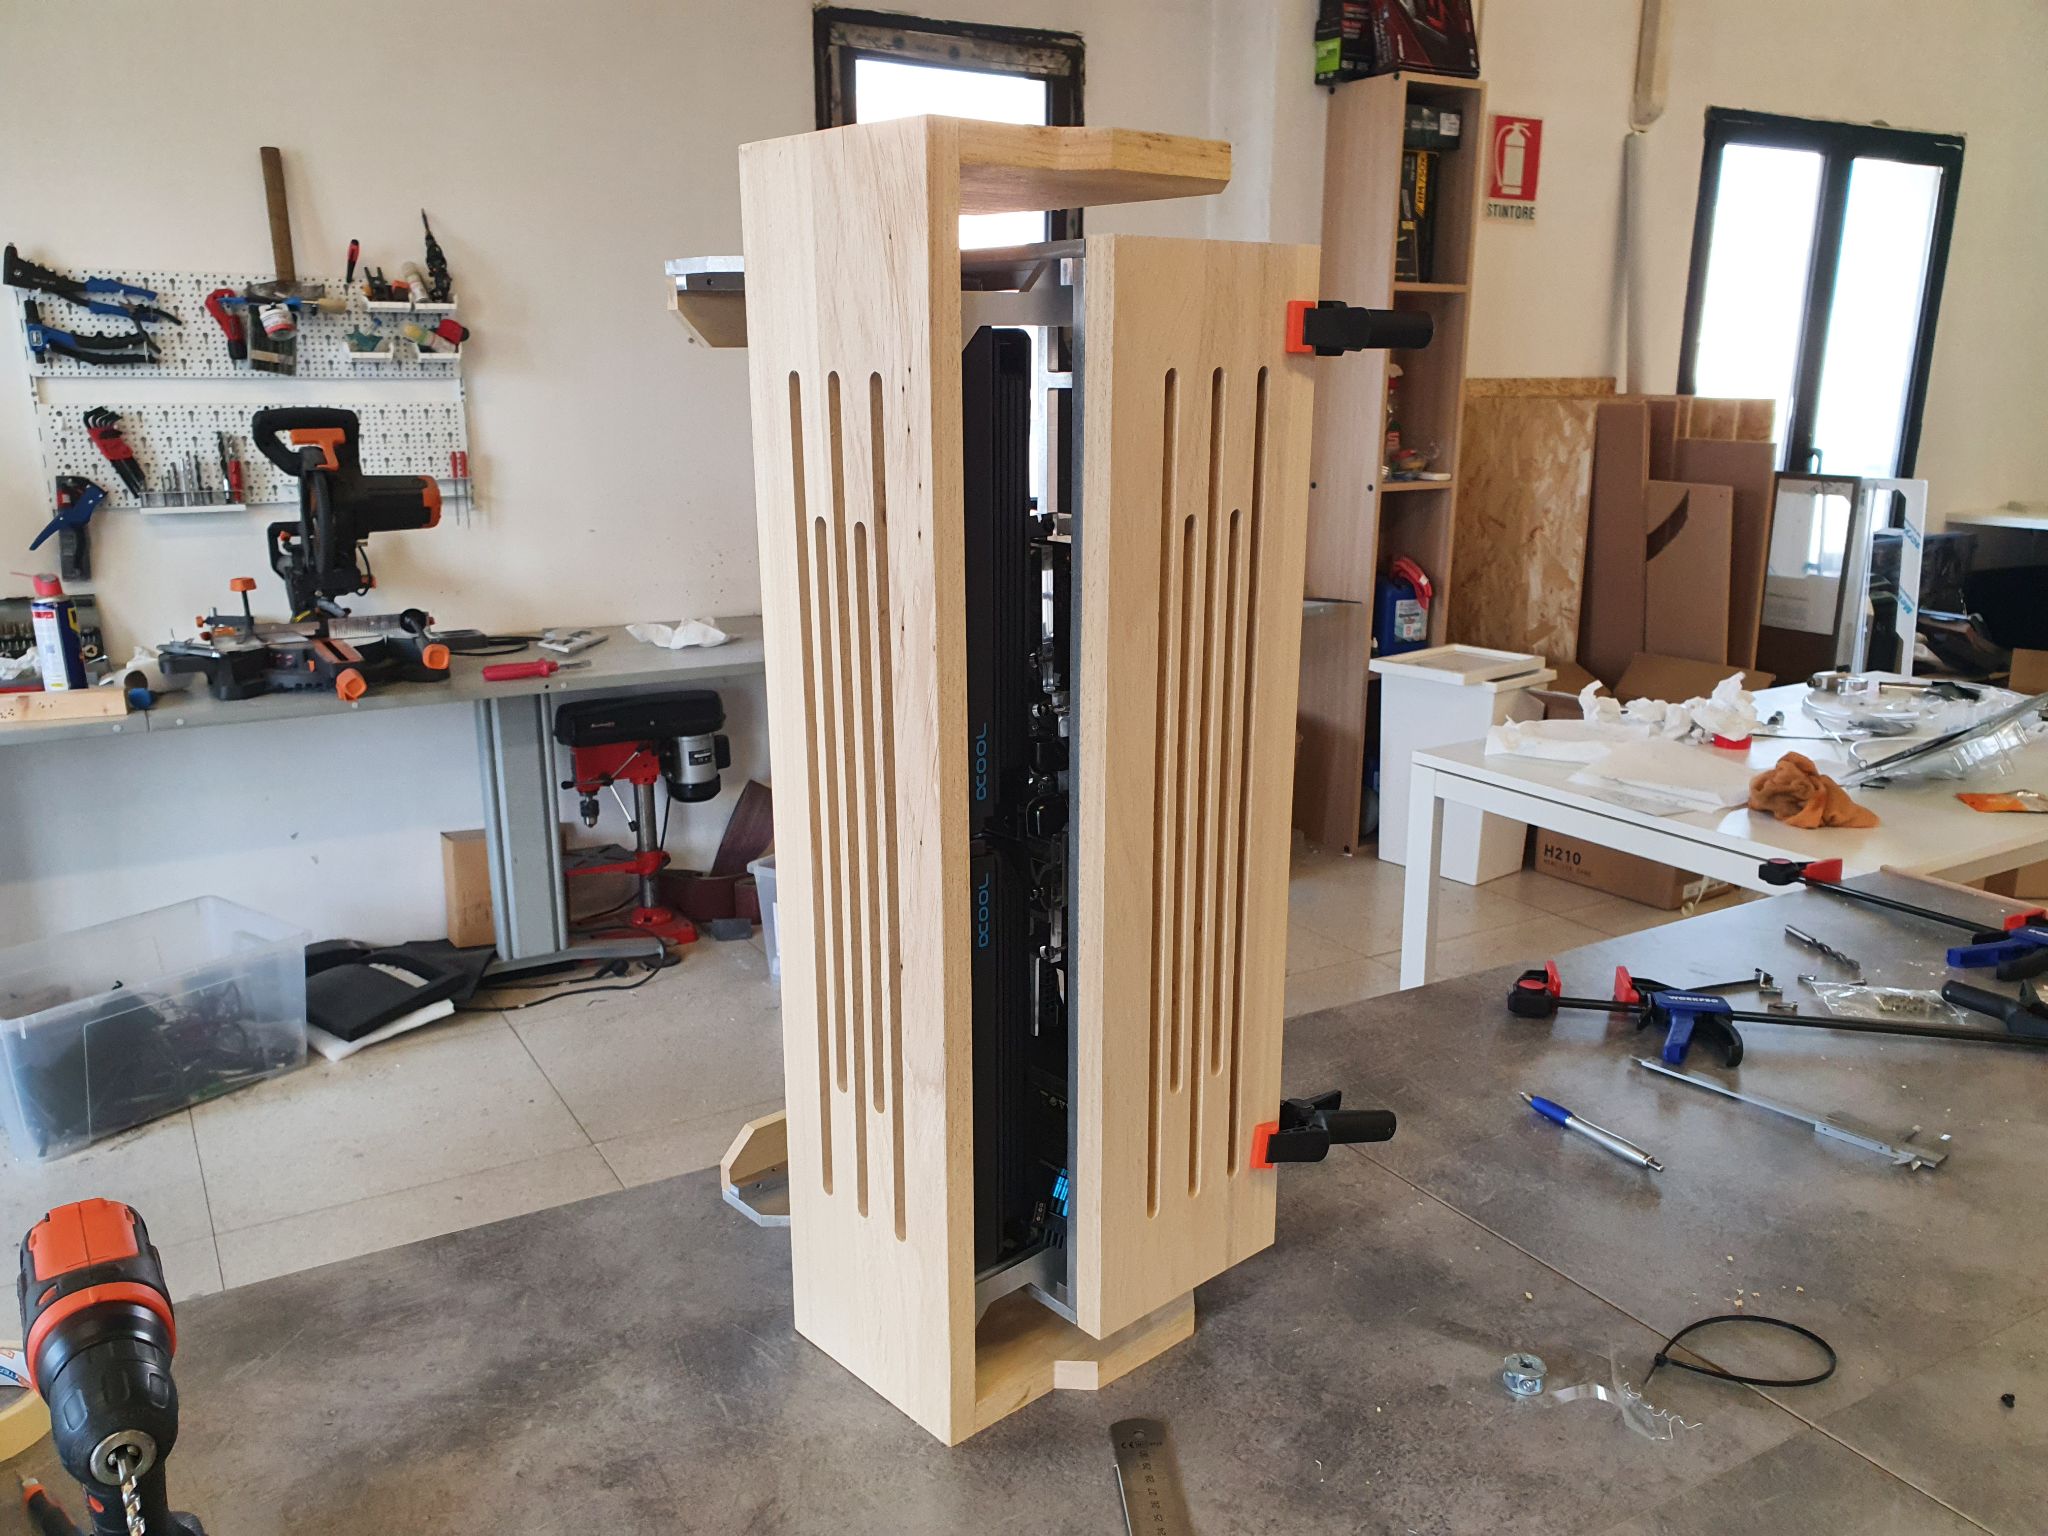
I added two round pockets on the bottom wooden part, so that I could fit two acrylic cylinder blocks that help distribute the weight of the whole case, without putting too much strain on the outer shell.
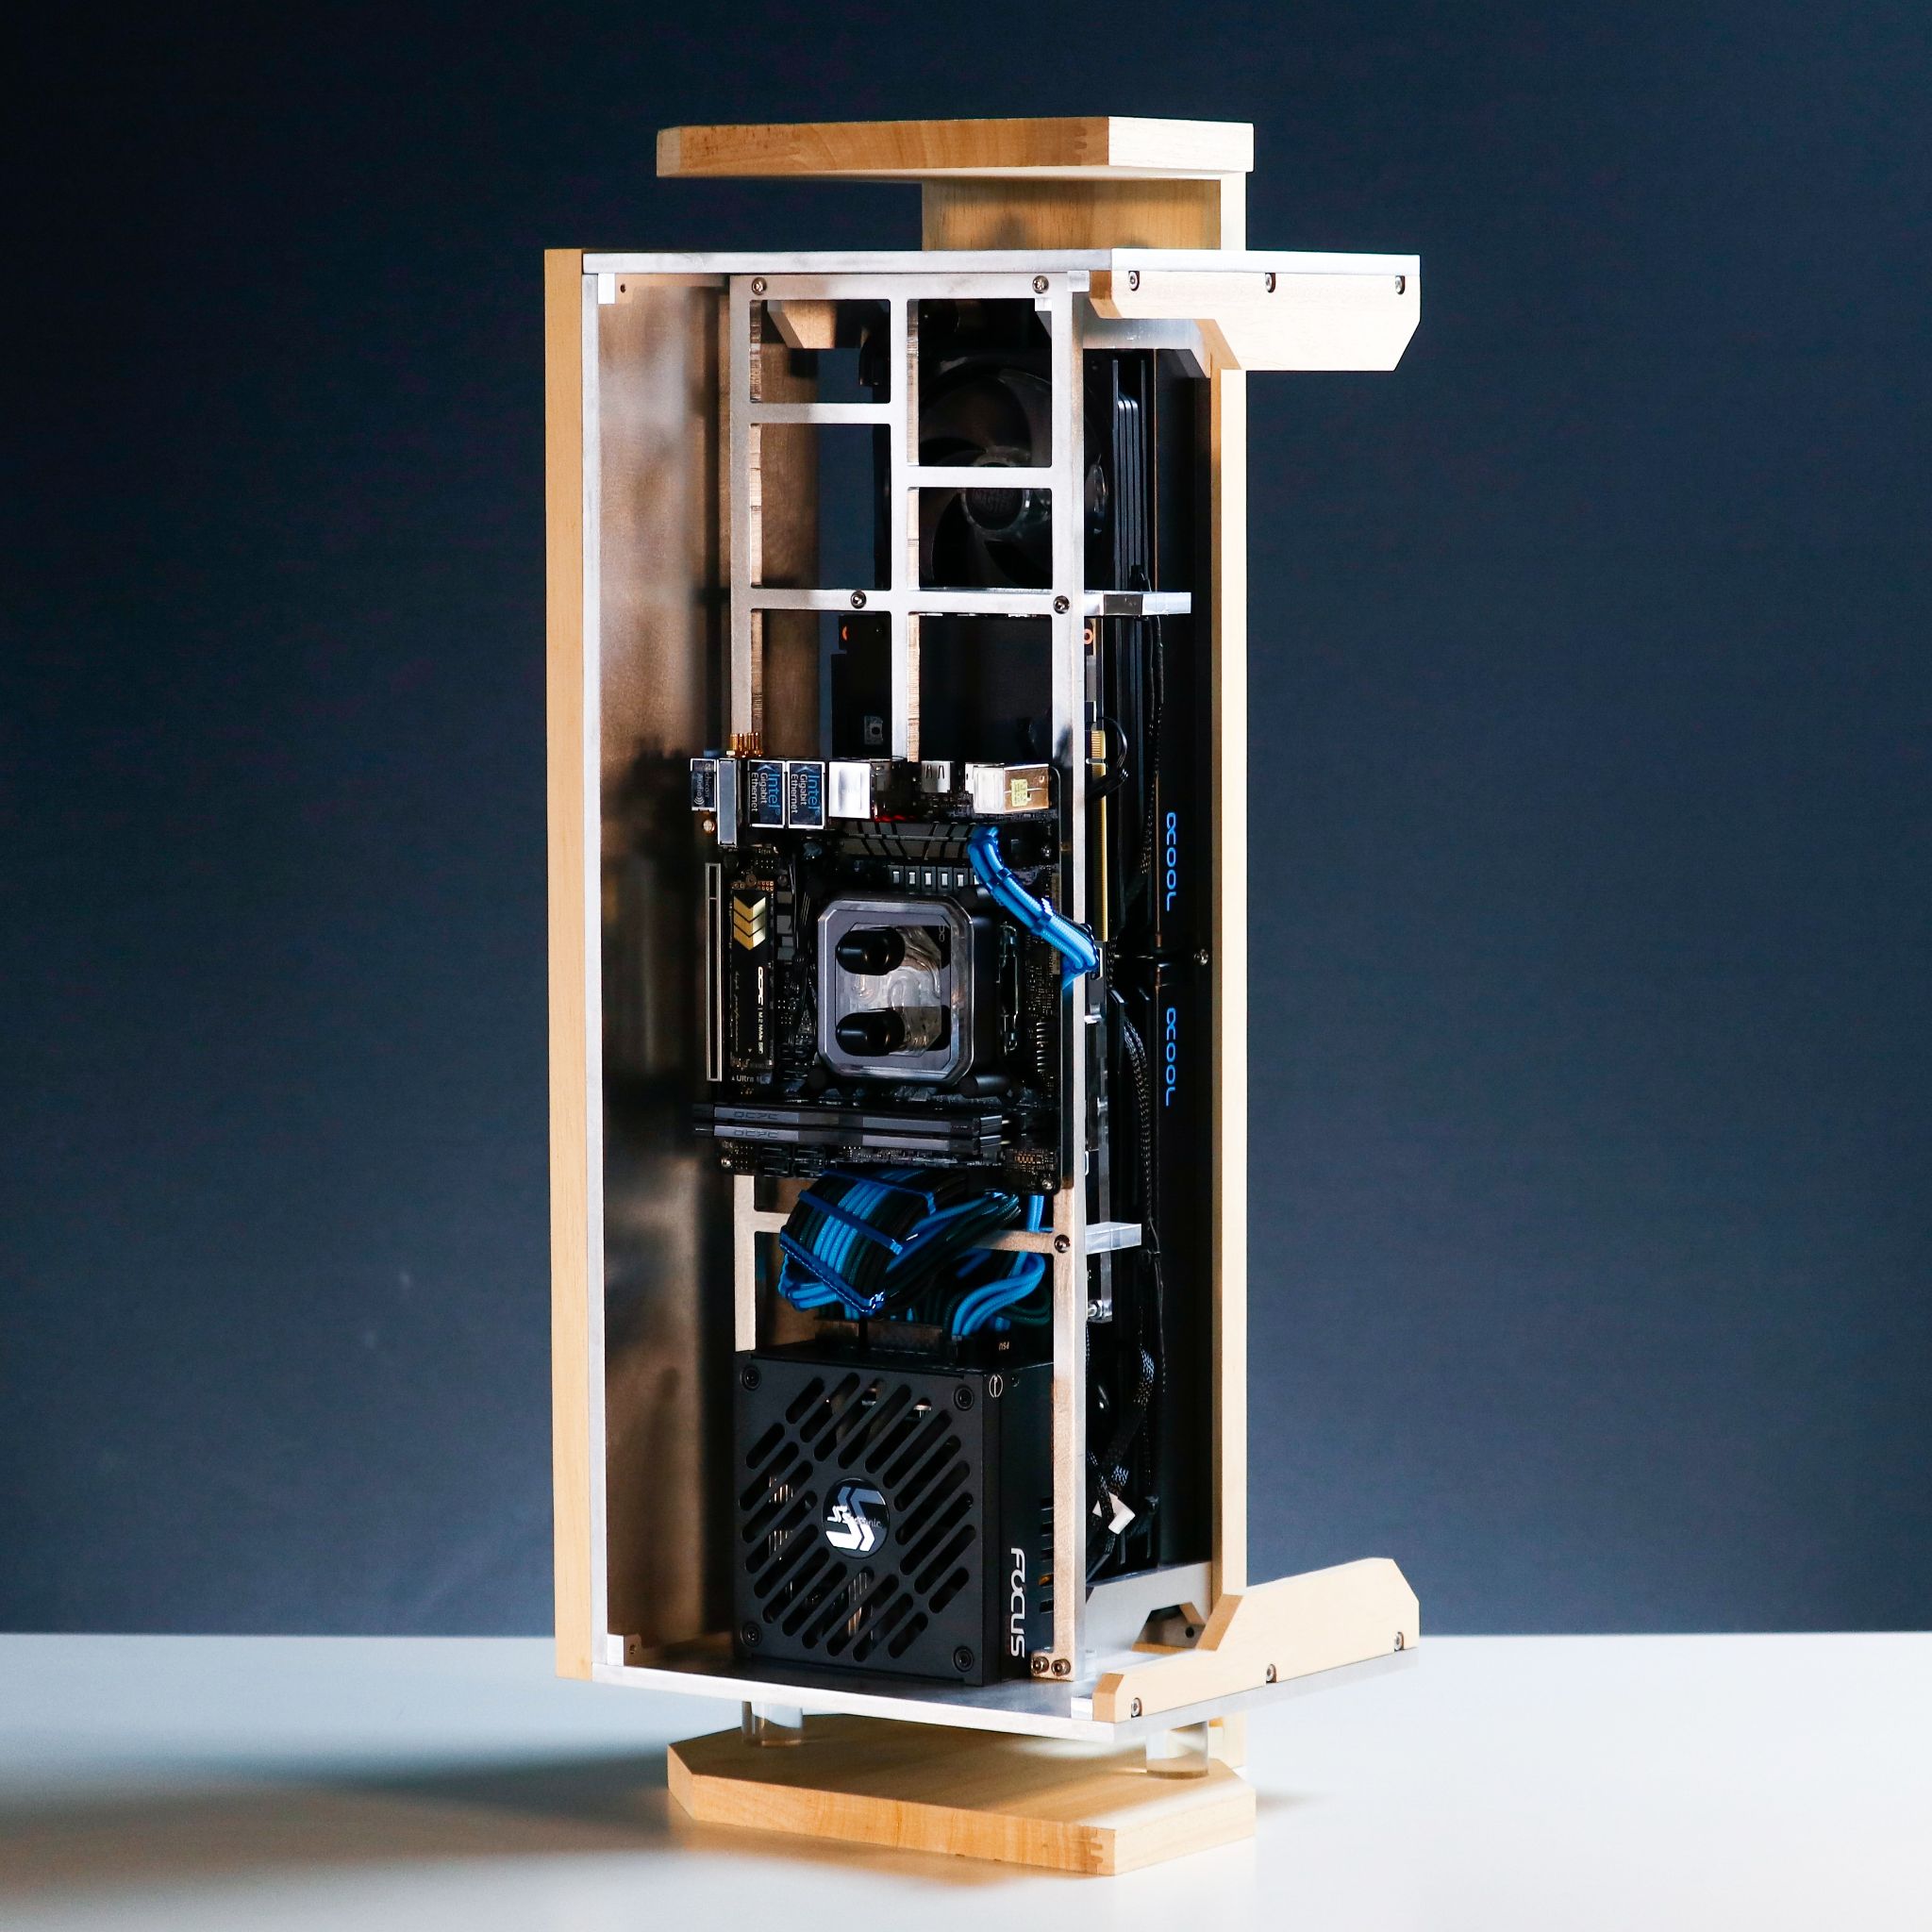
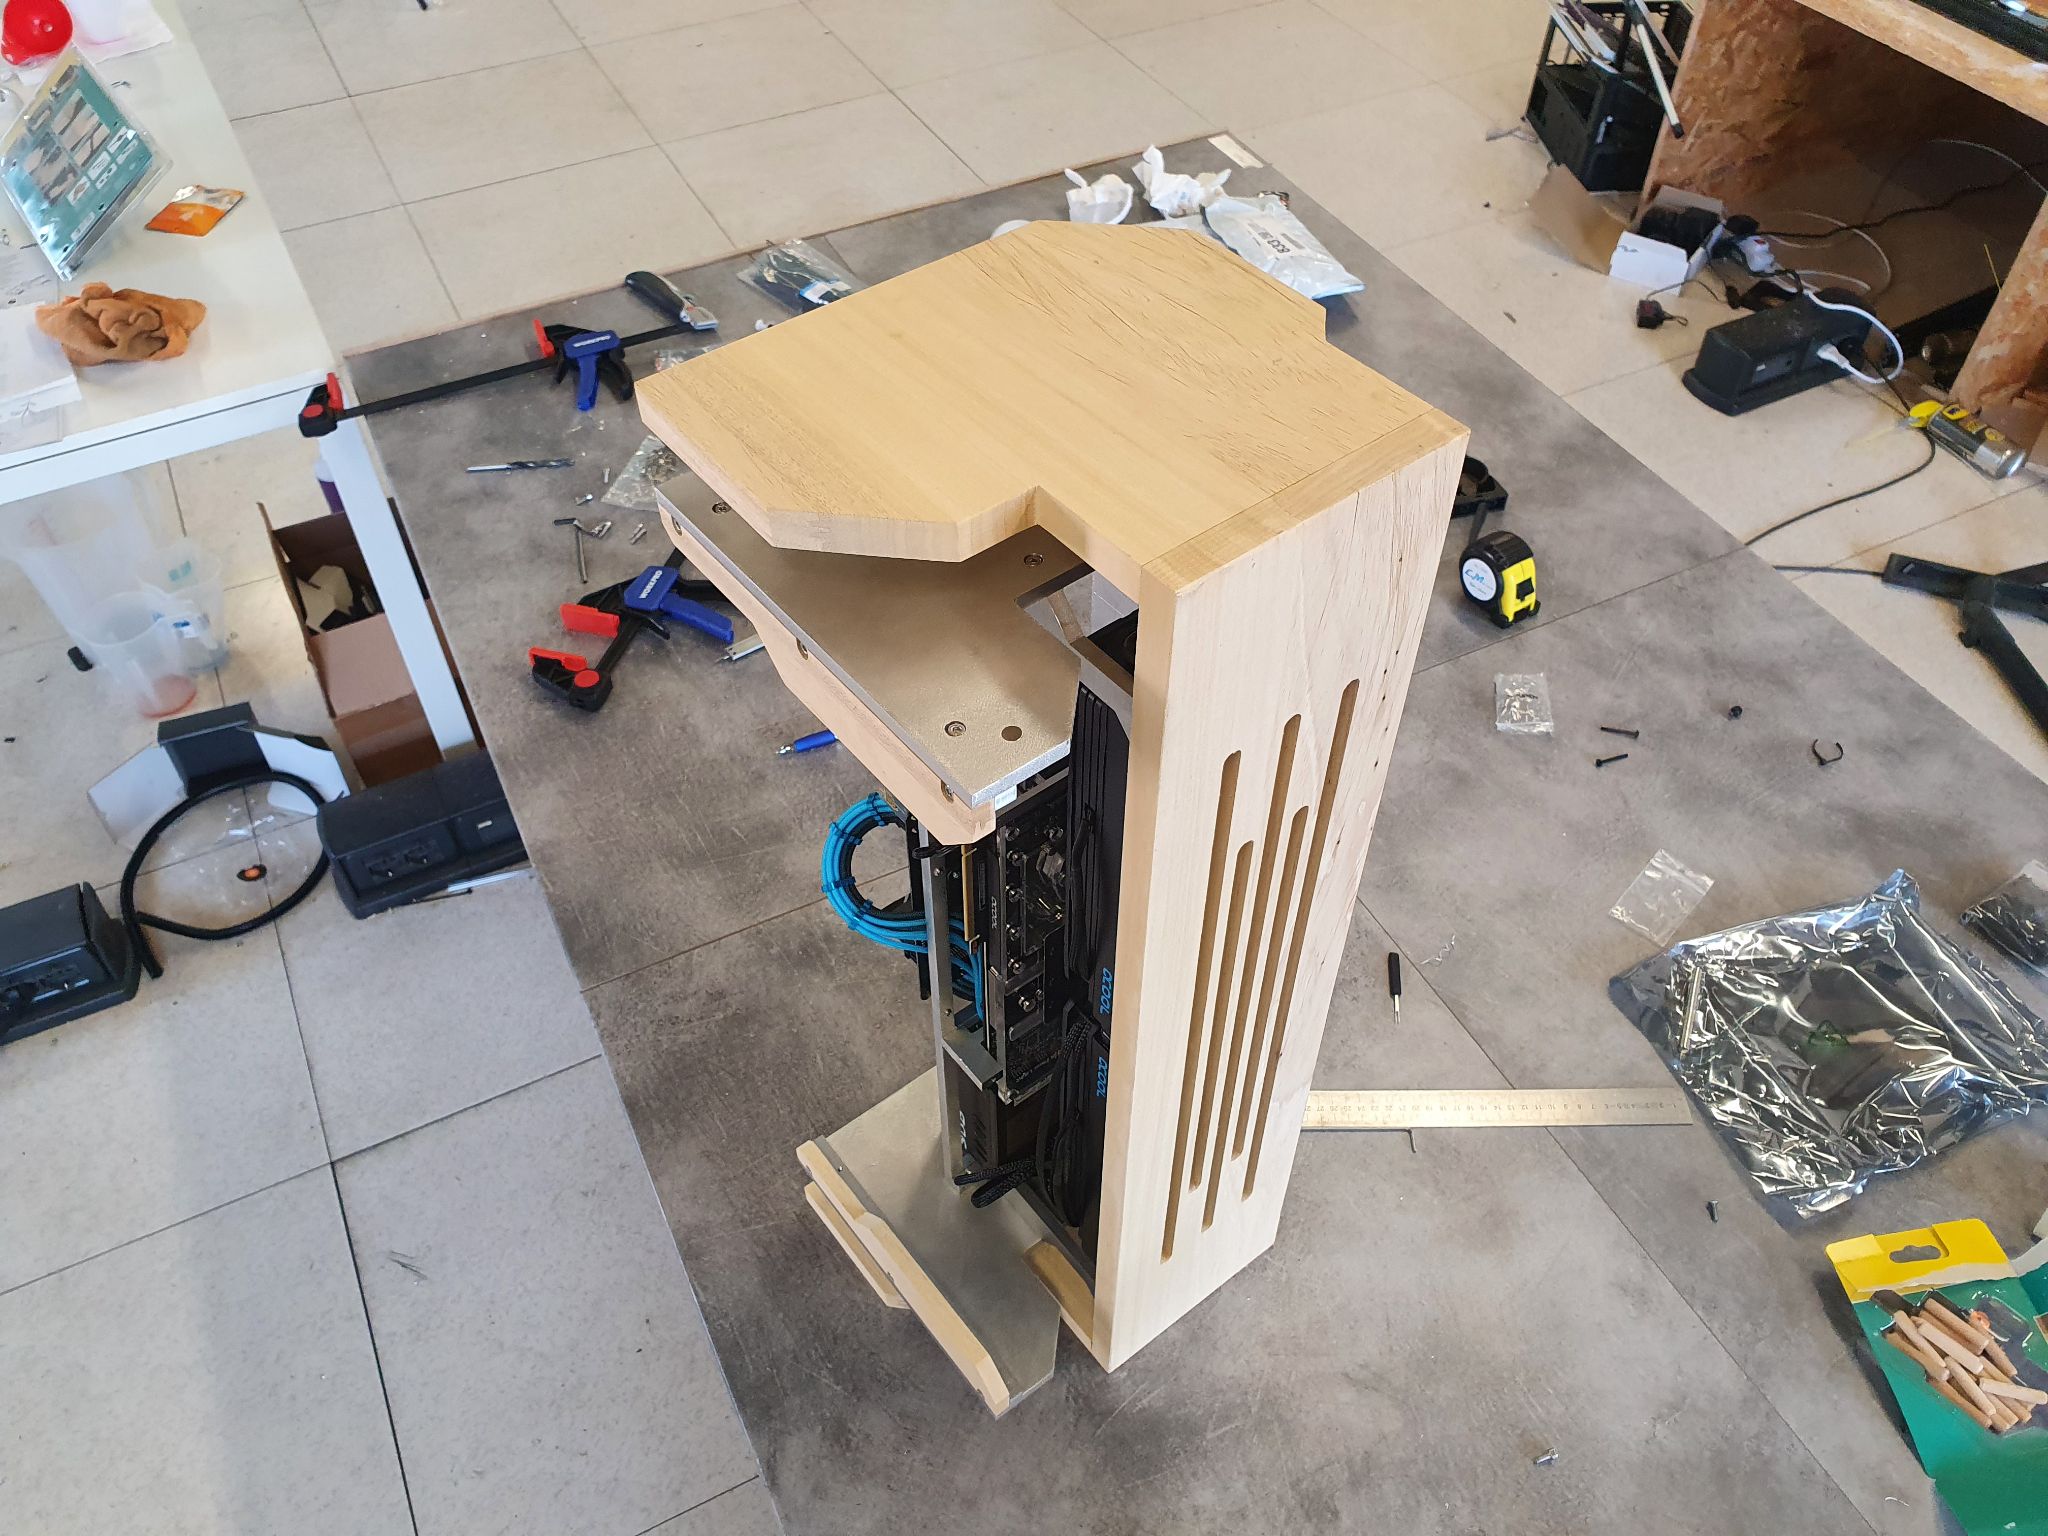
The top view is one of my favourite angles of this build because the shape of the frame and outer shell blend together really well, making it look like they’re almost wrapping around each other.
Making the Custom Reservoir/Distro plate
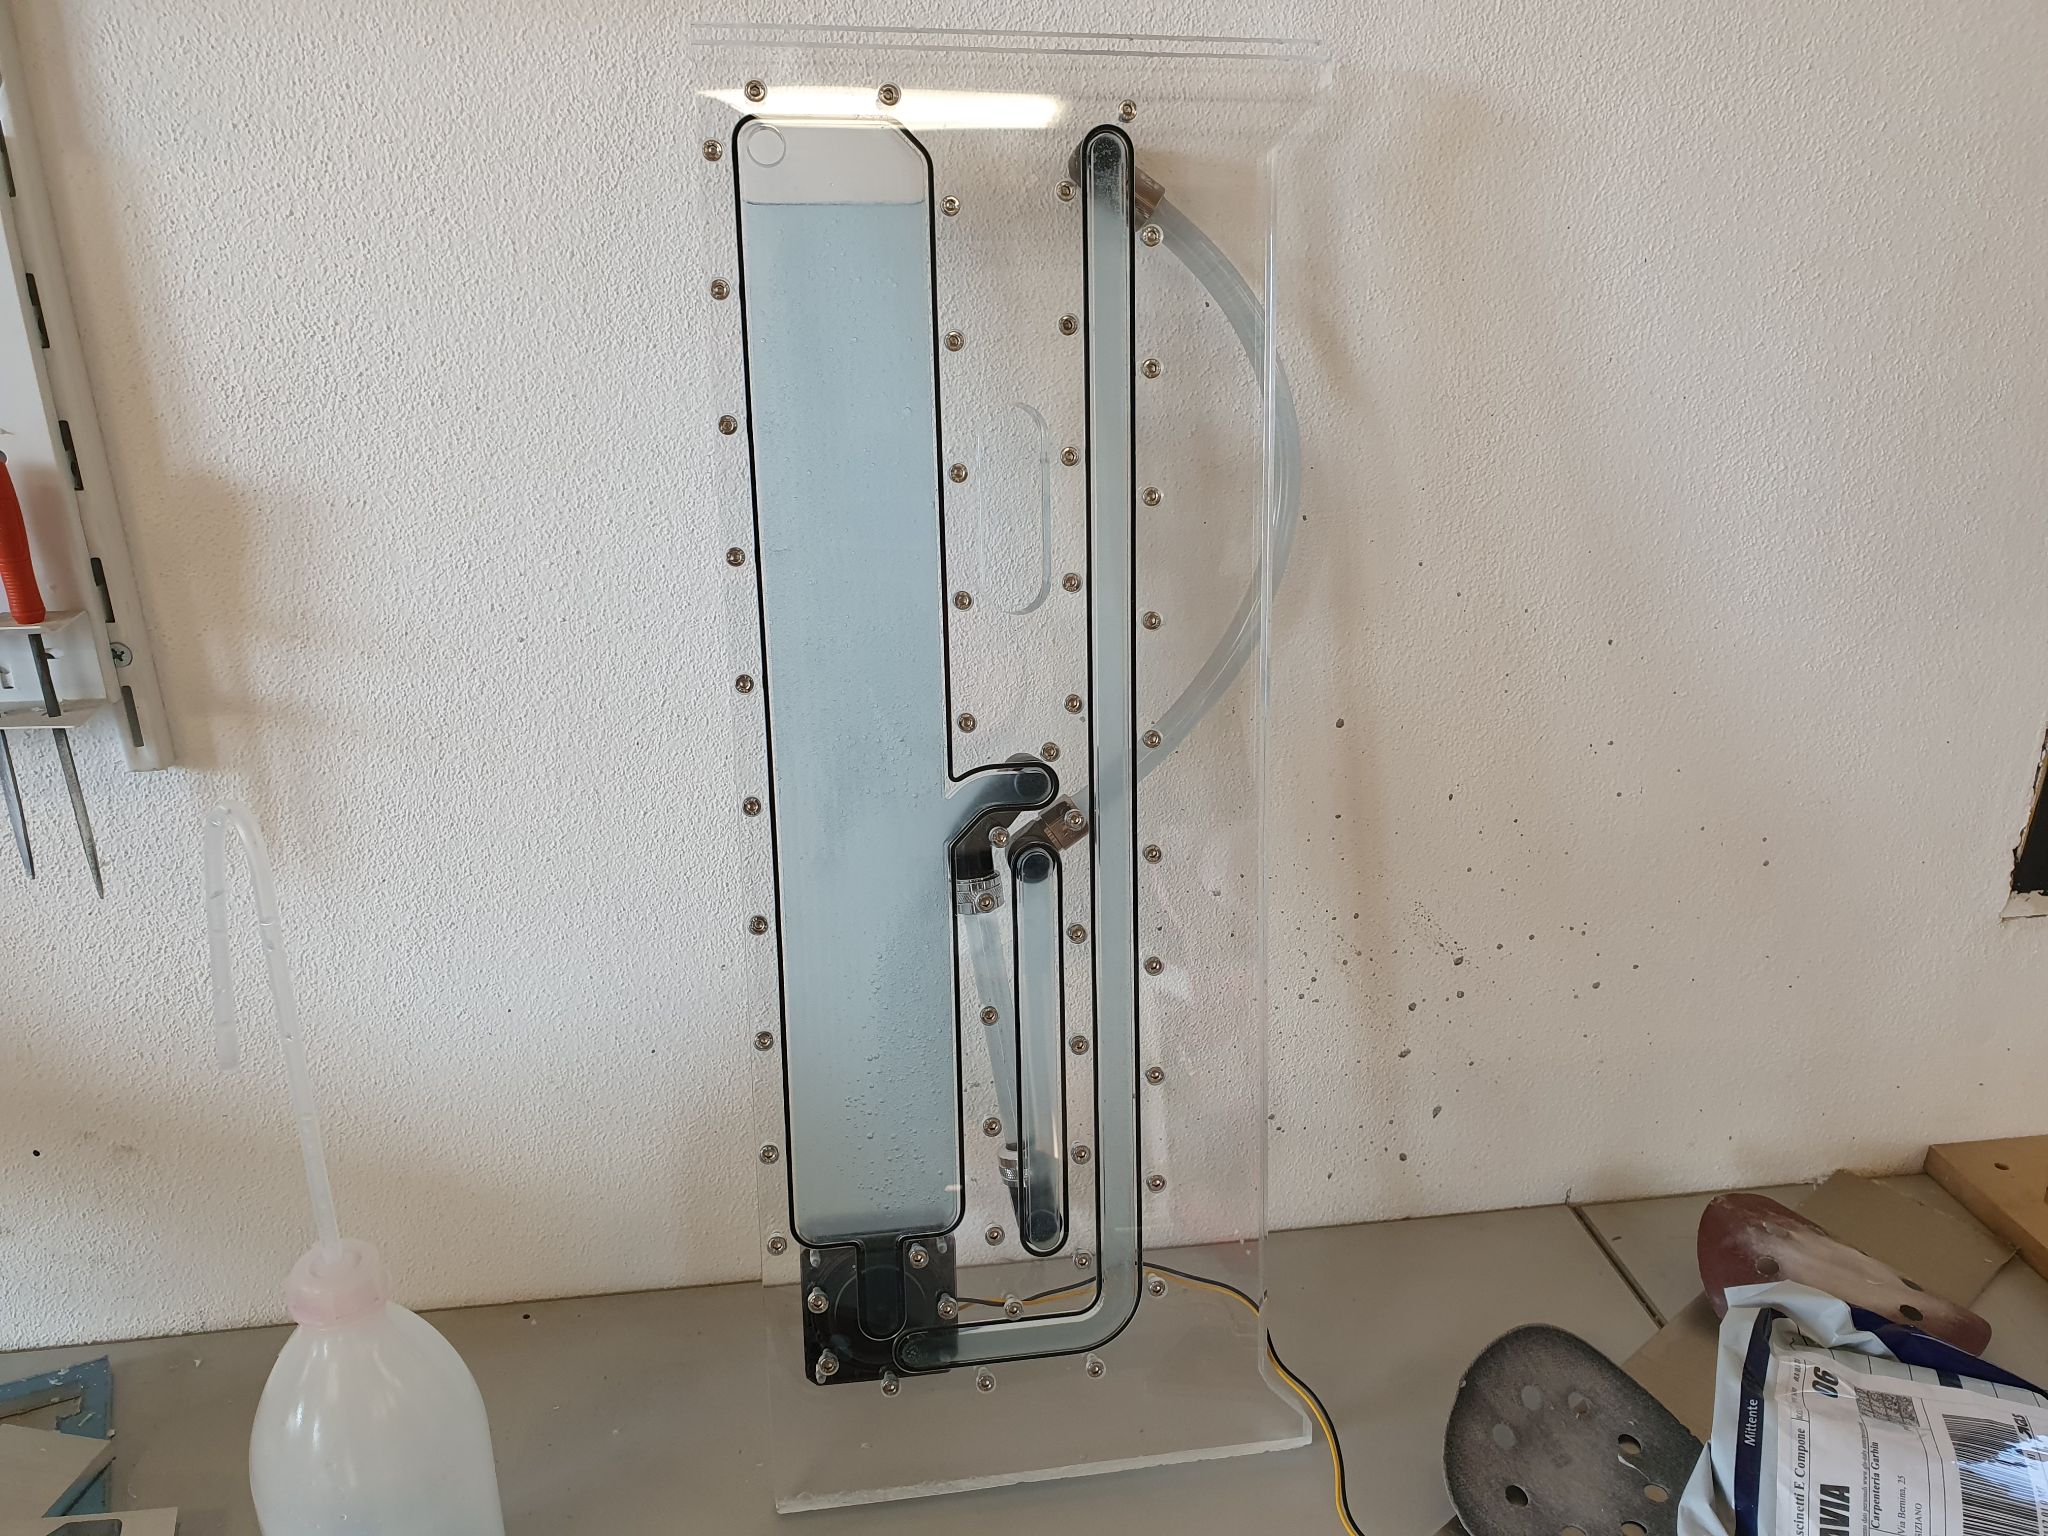
The case has such a unique shape and layout, that I was having a very hard time trying to find a good routing for the tubing. I was initially planning to only make a custom flat reservoir to embed in the clear acrylic panel that was going to be mounted at the back of the case, but then I realized that the only good way to route the tubing was by making a distroplate, so using the back acrylic panel to make additional water channels, placed conveniently to allow for short and tidy tubes. While I was at it, I also decided to integrate the DDC pump into the custom plate.
So I started by cutting the two 10mm acrylic plates on which I will cut all of the channels.
The two plates required CNC operations to be made on both sides, so I cut a custom fixture plate out of MDF, to have the same reference corner for the four times I placed a new part for cutting.
After that, I fixed the first panel in place and started by cutting the o-rings channels, needed to create a water-tight seal. The 5mm deep water channels were milled out as well.
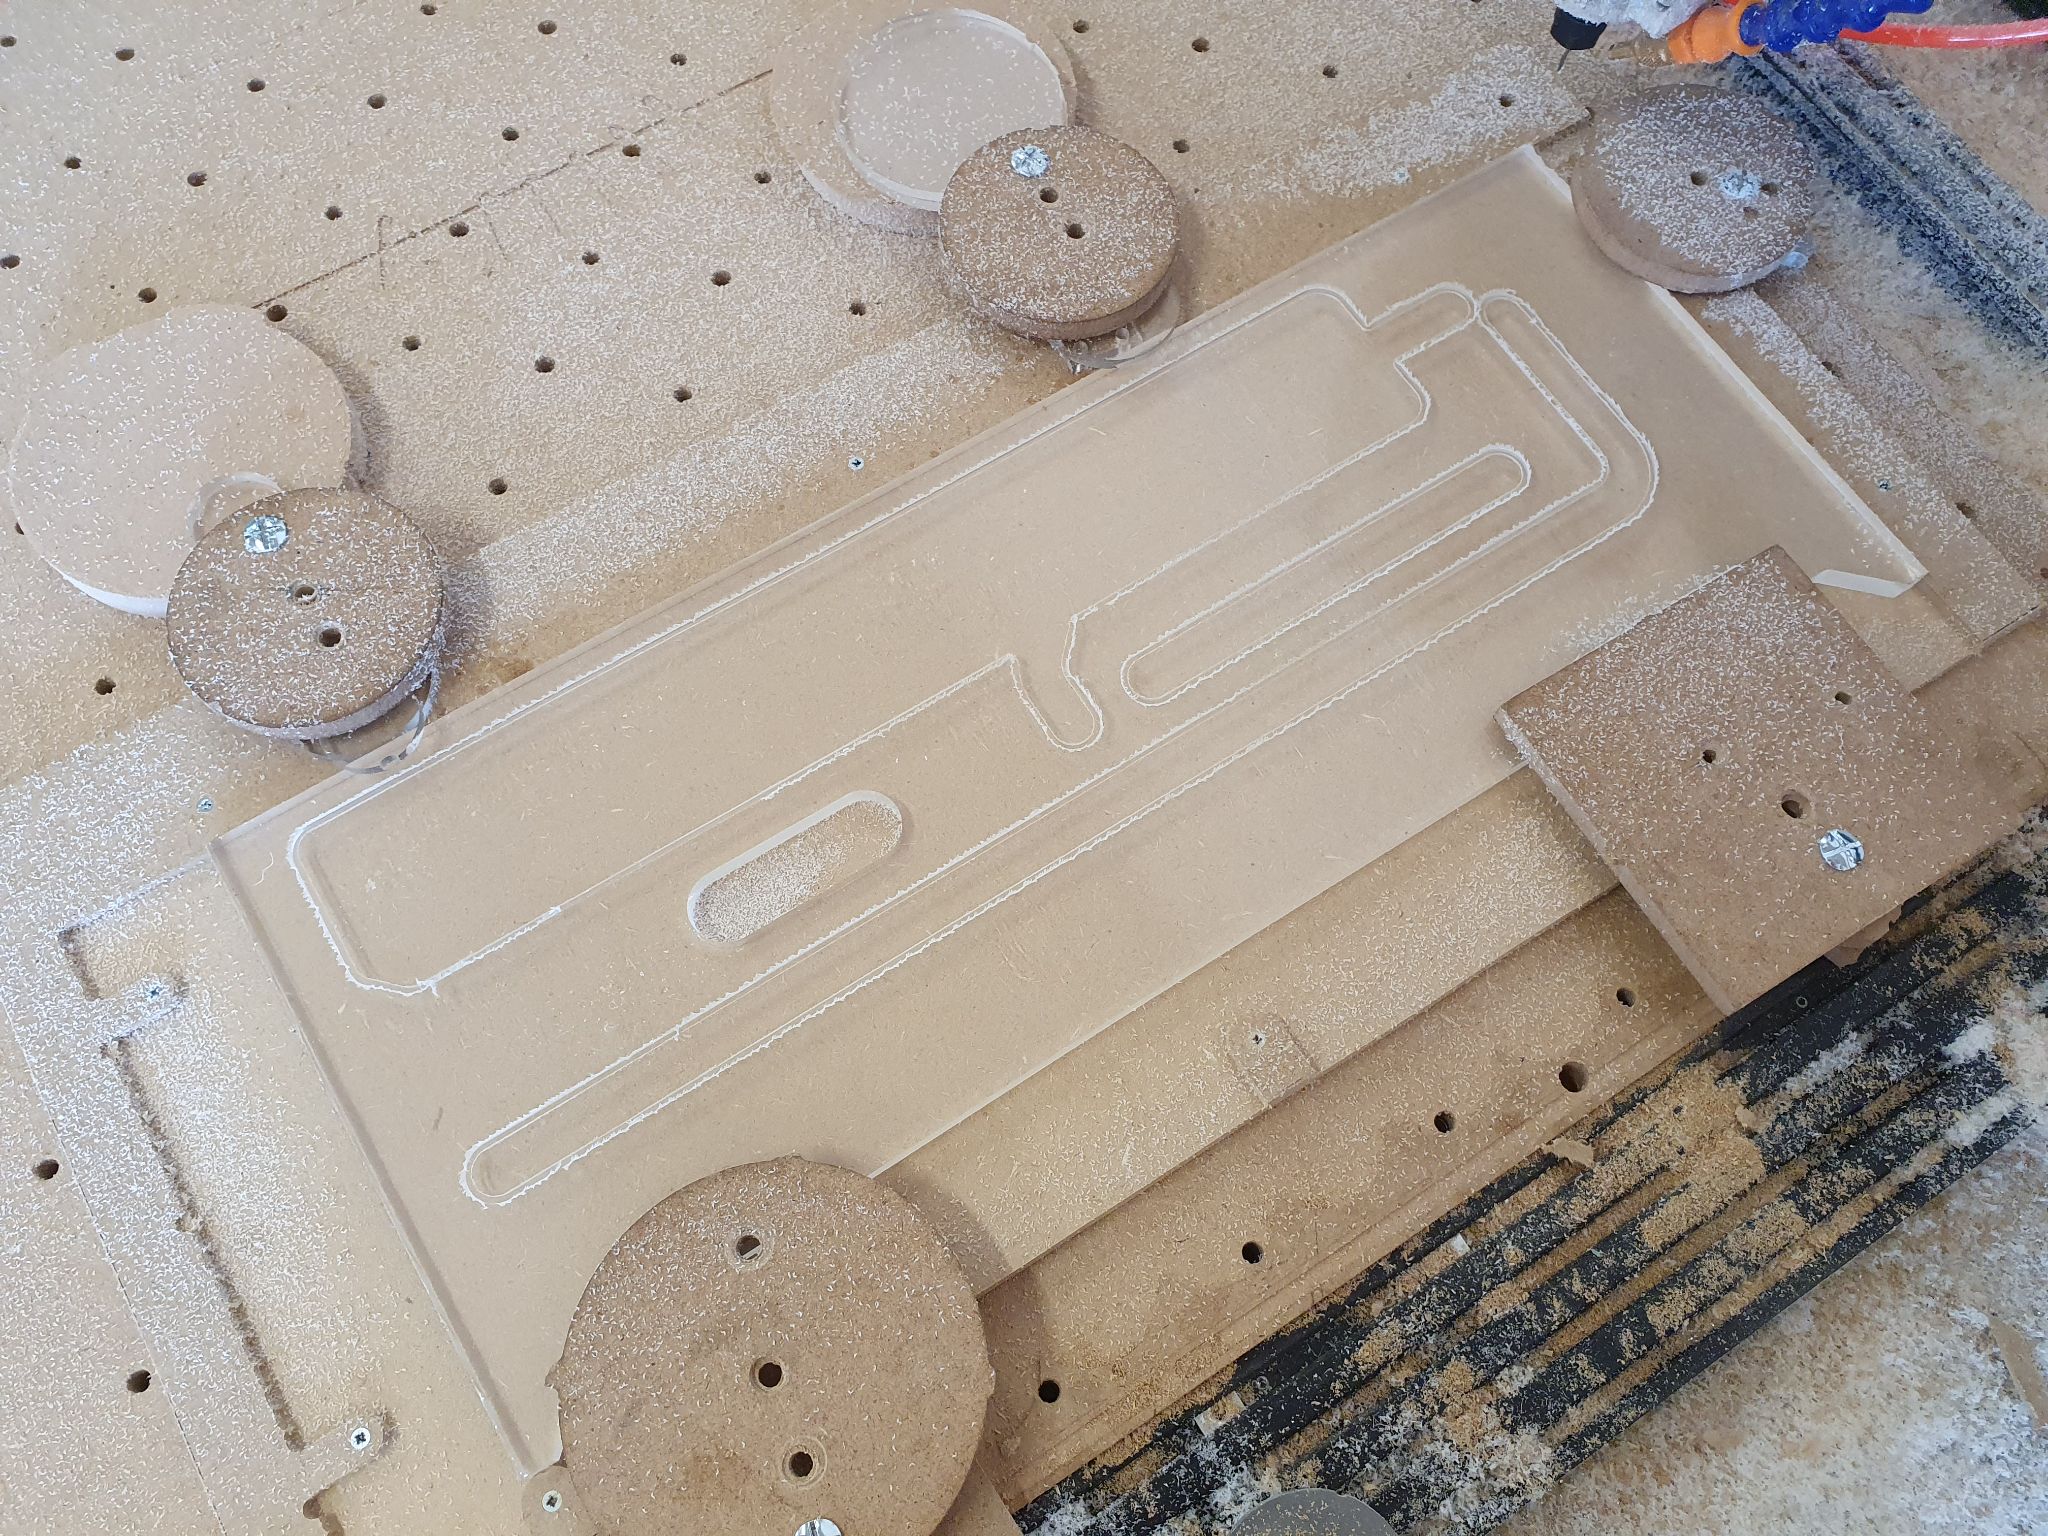
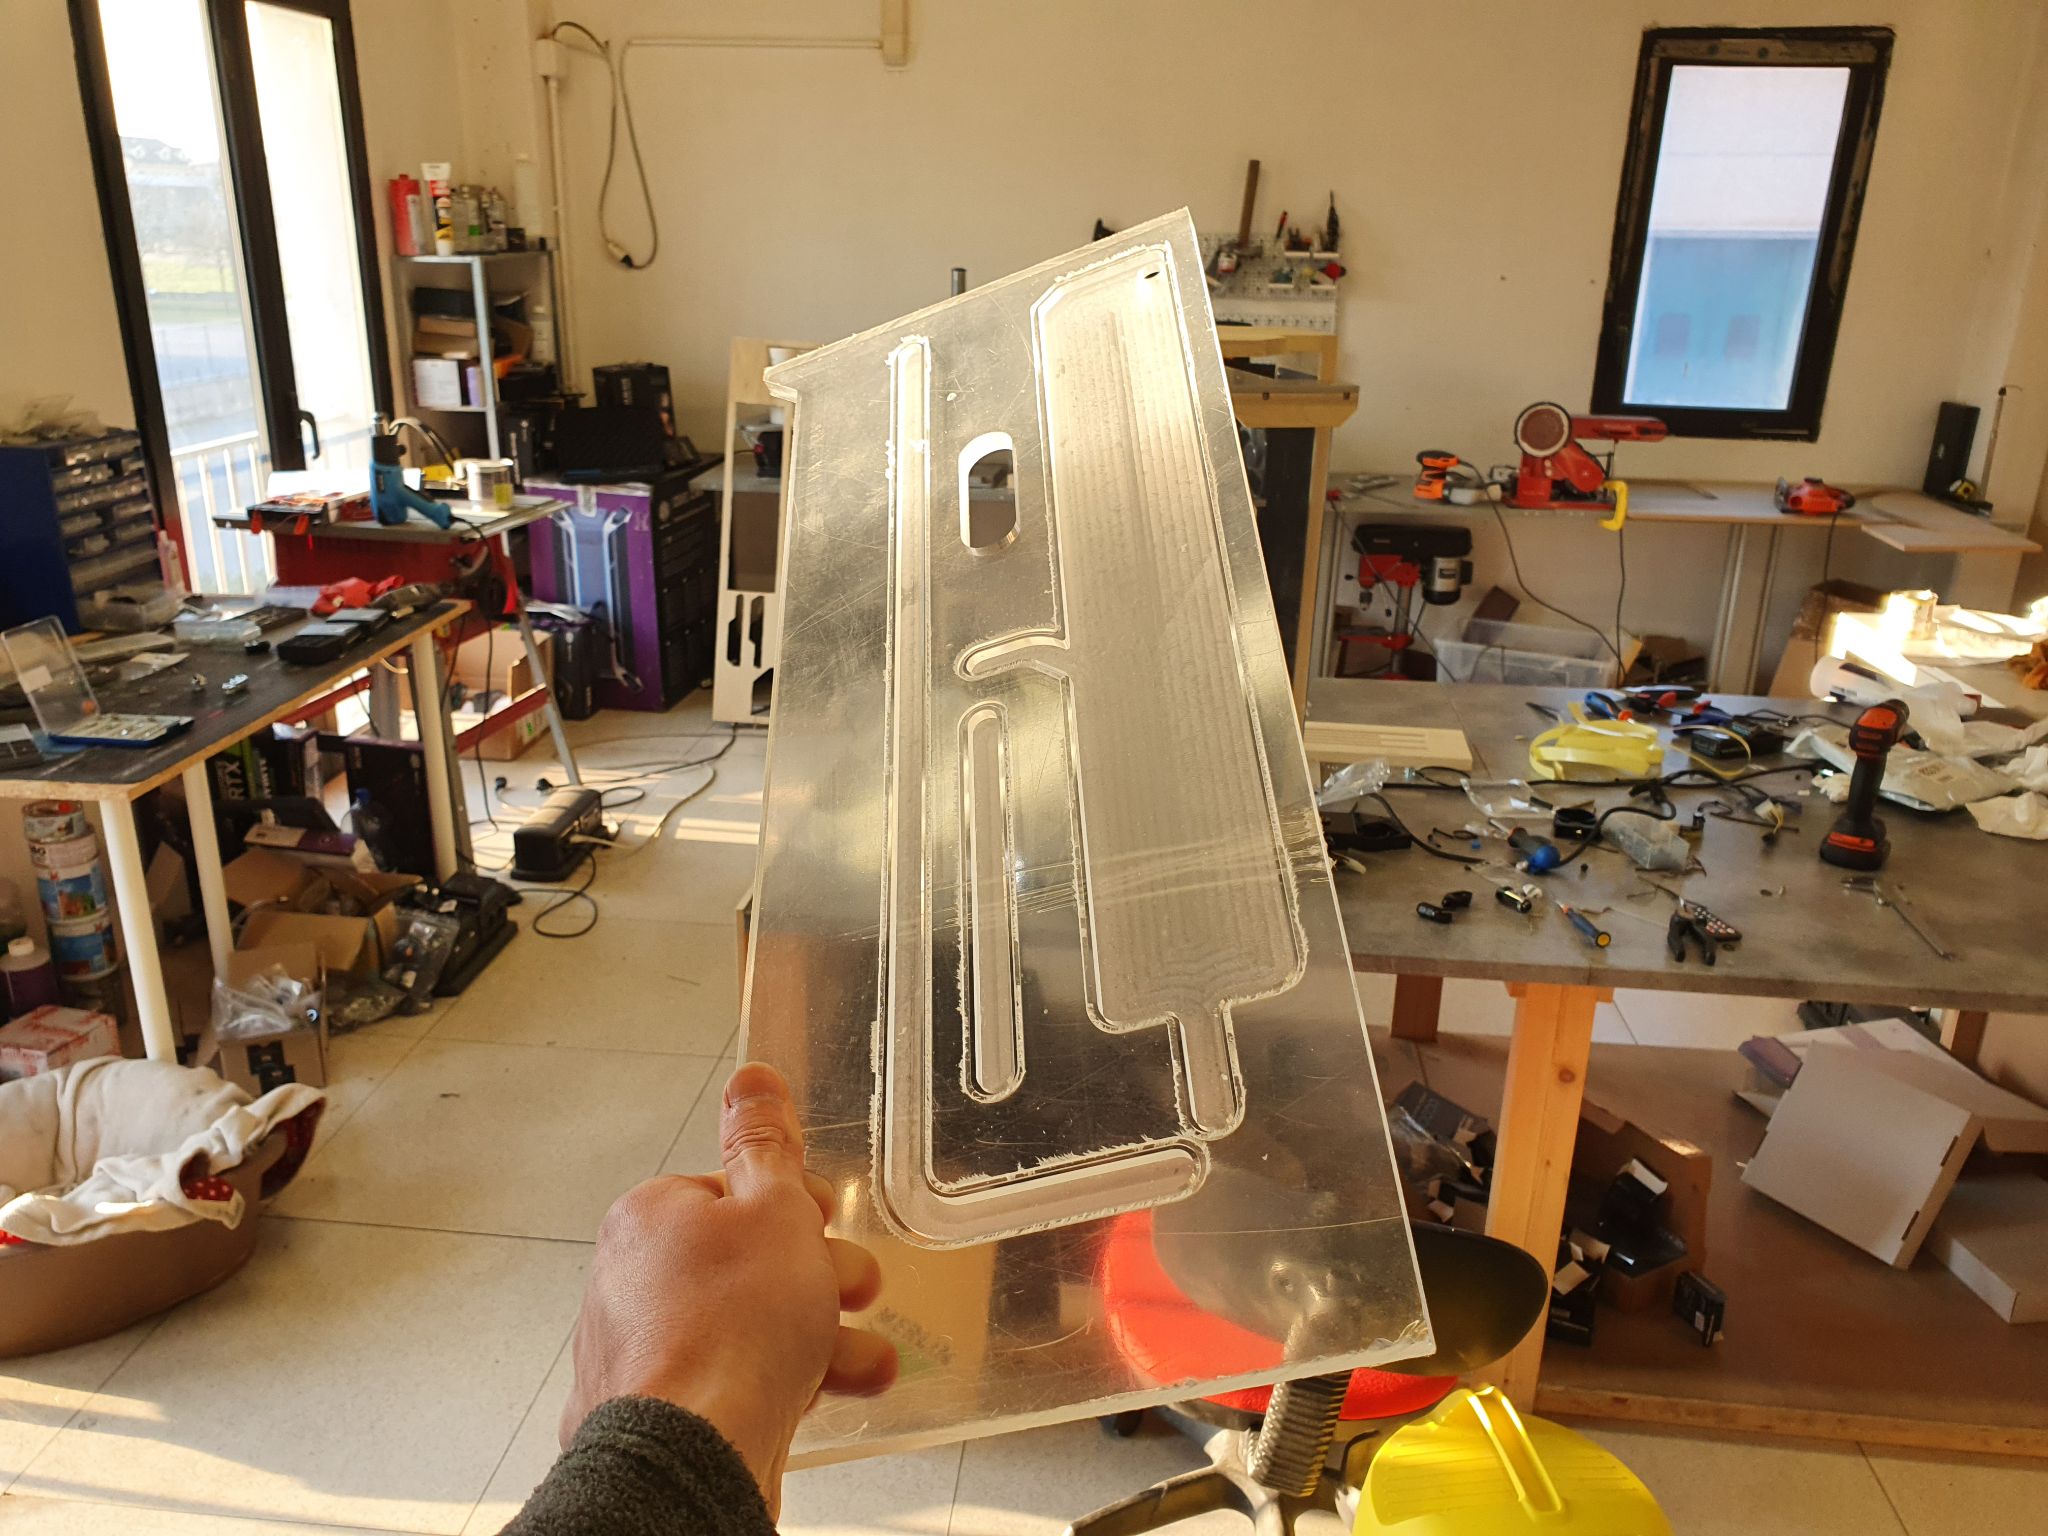
I took the part out of the machine to flip it on the other side and drill the screw holes with counterbore holes, so that the screw heads sit flush with the surface of the acrylic.
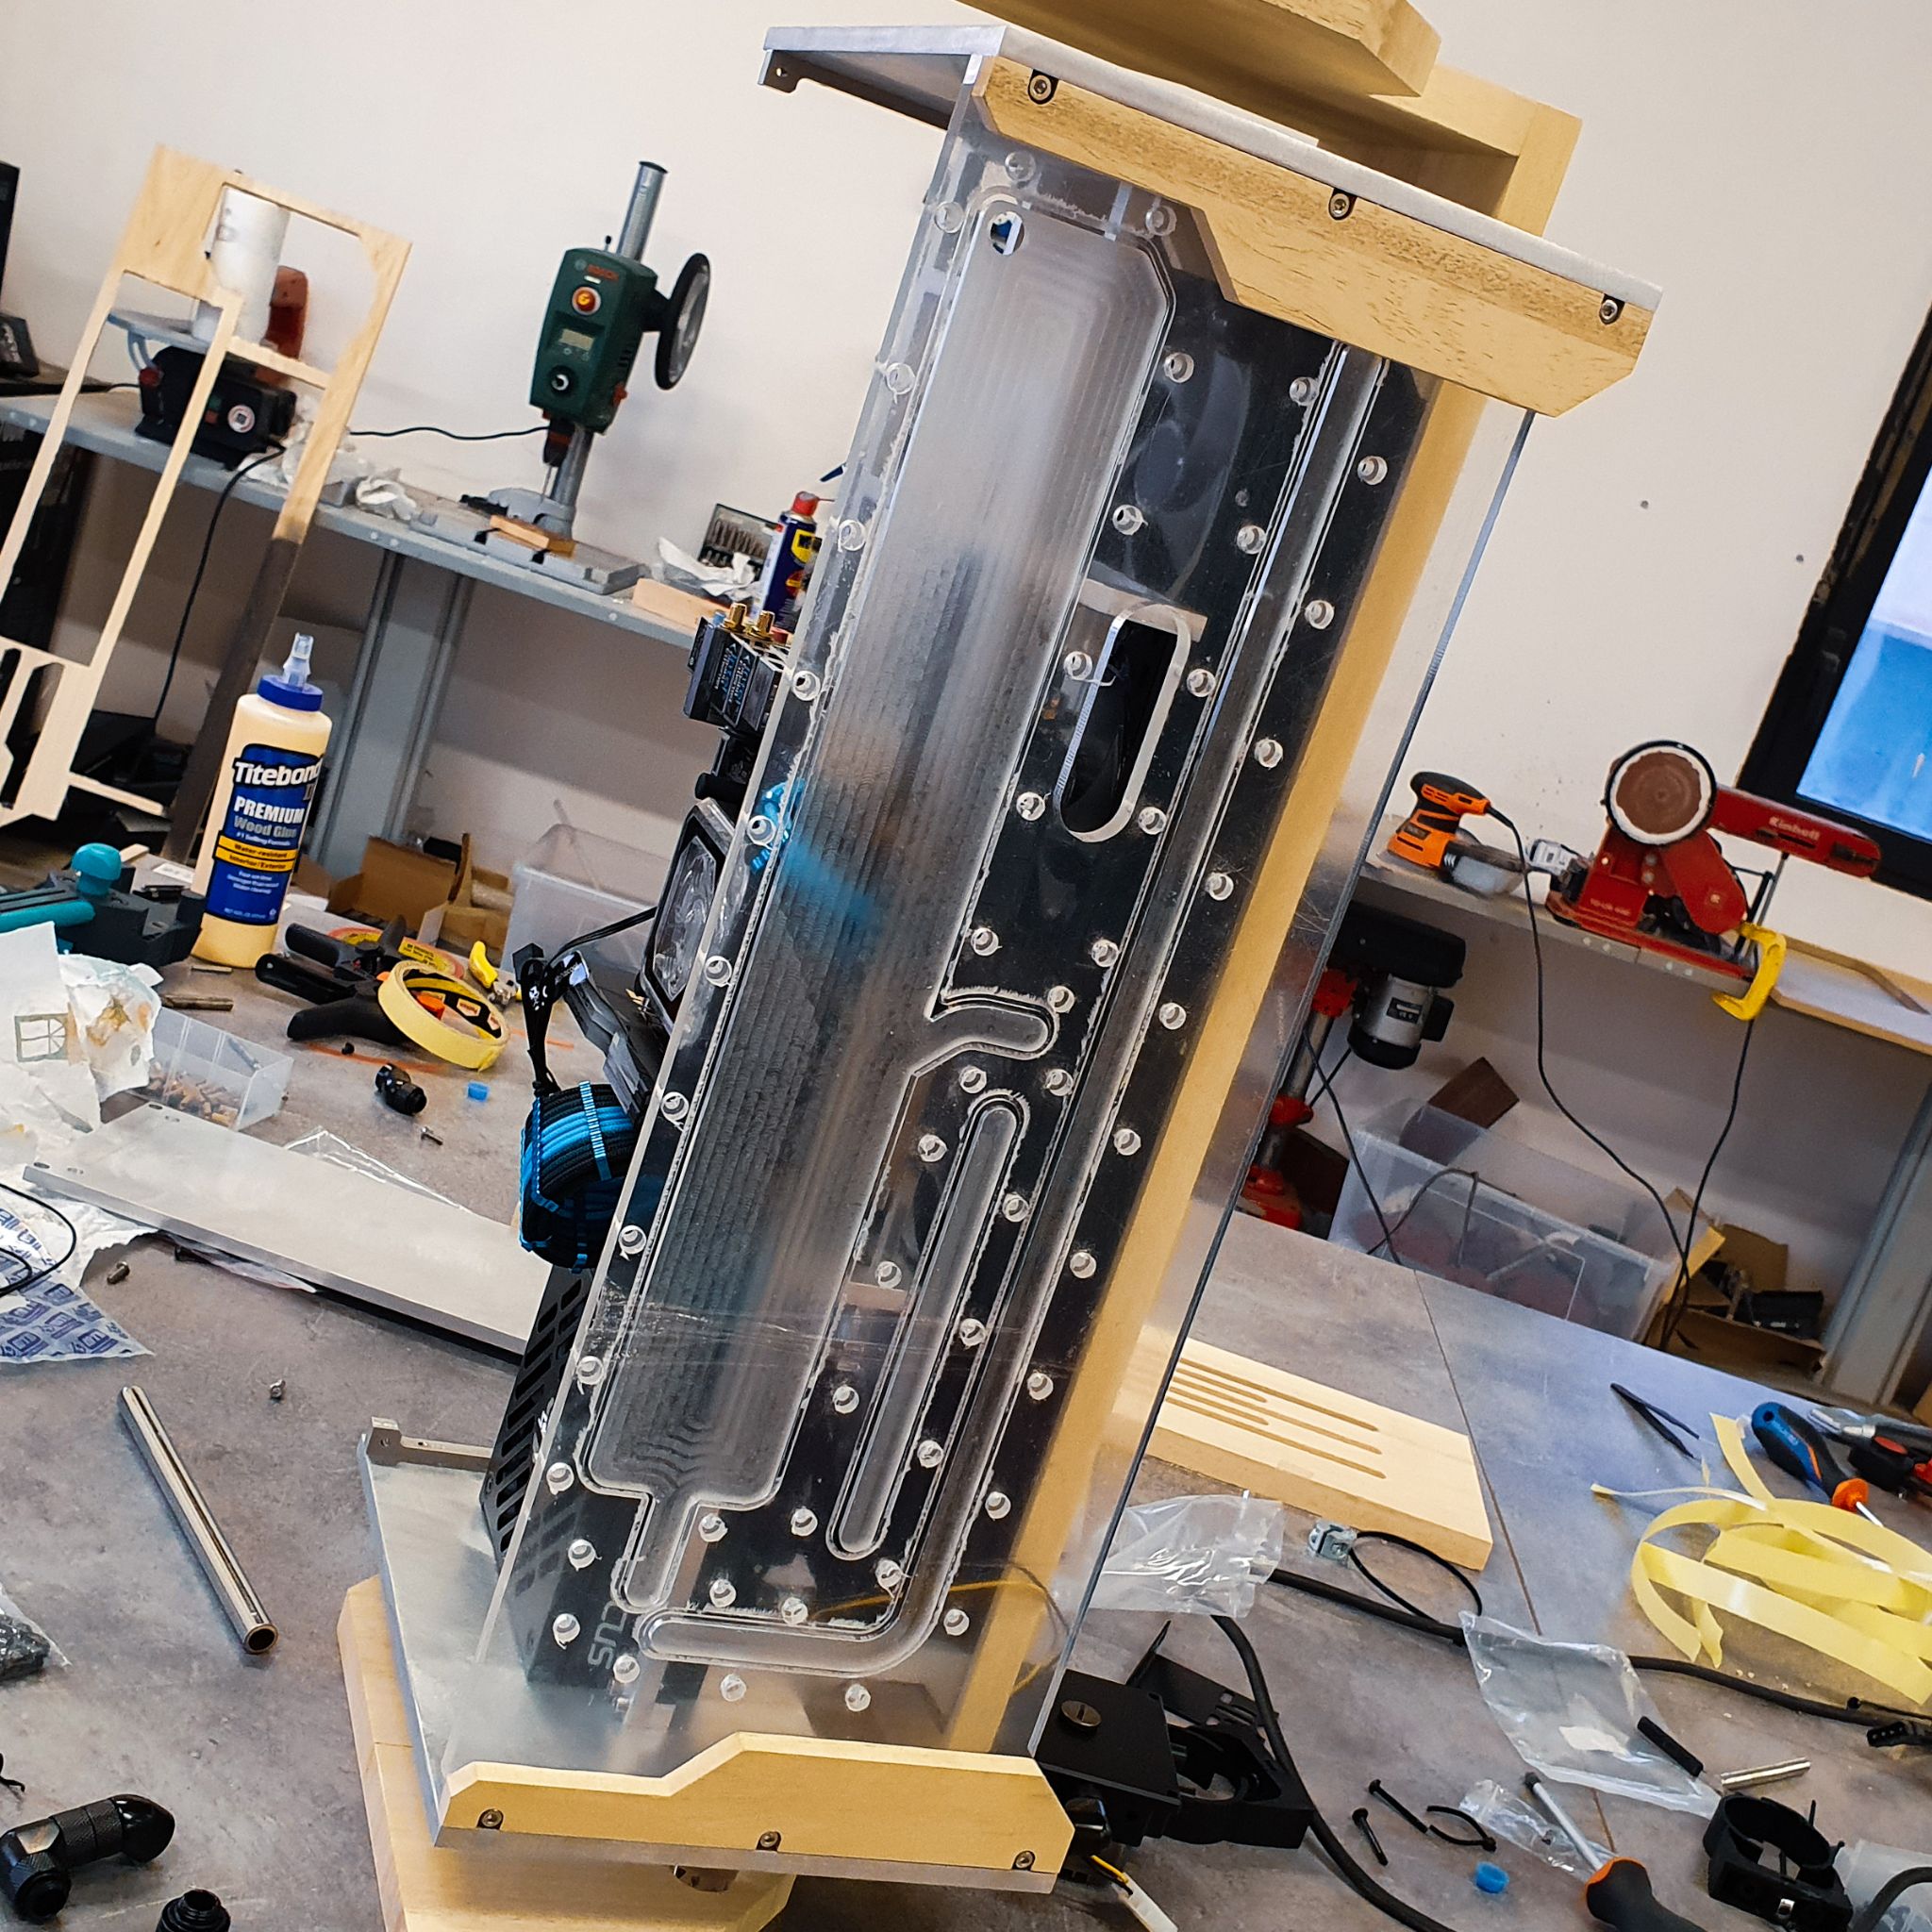
After this, it was time to work on the other panel. This didn’t require the o-ring channels to be made since they only needed to be on one side, but I had to make the pump mounting, as well as screw holes and 5mm water channels.
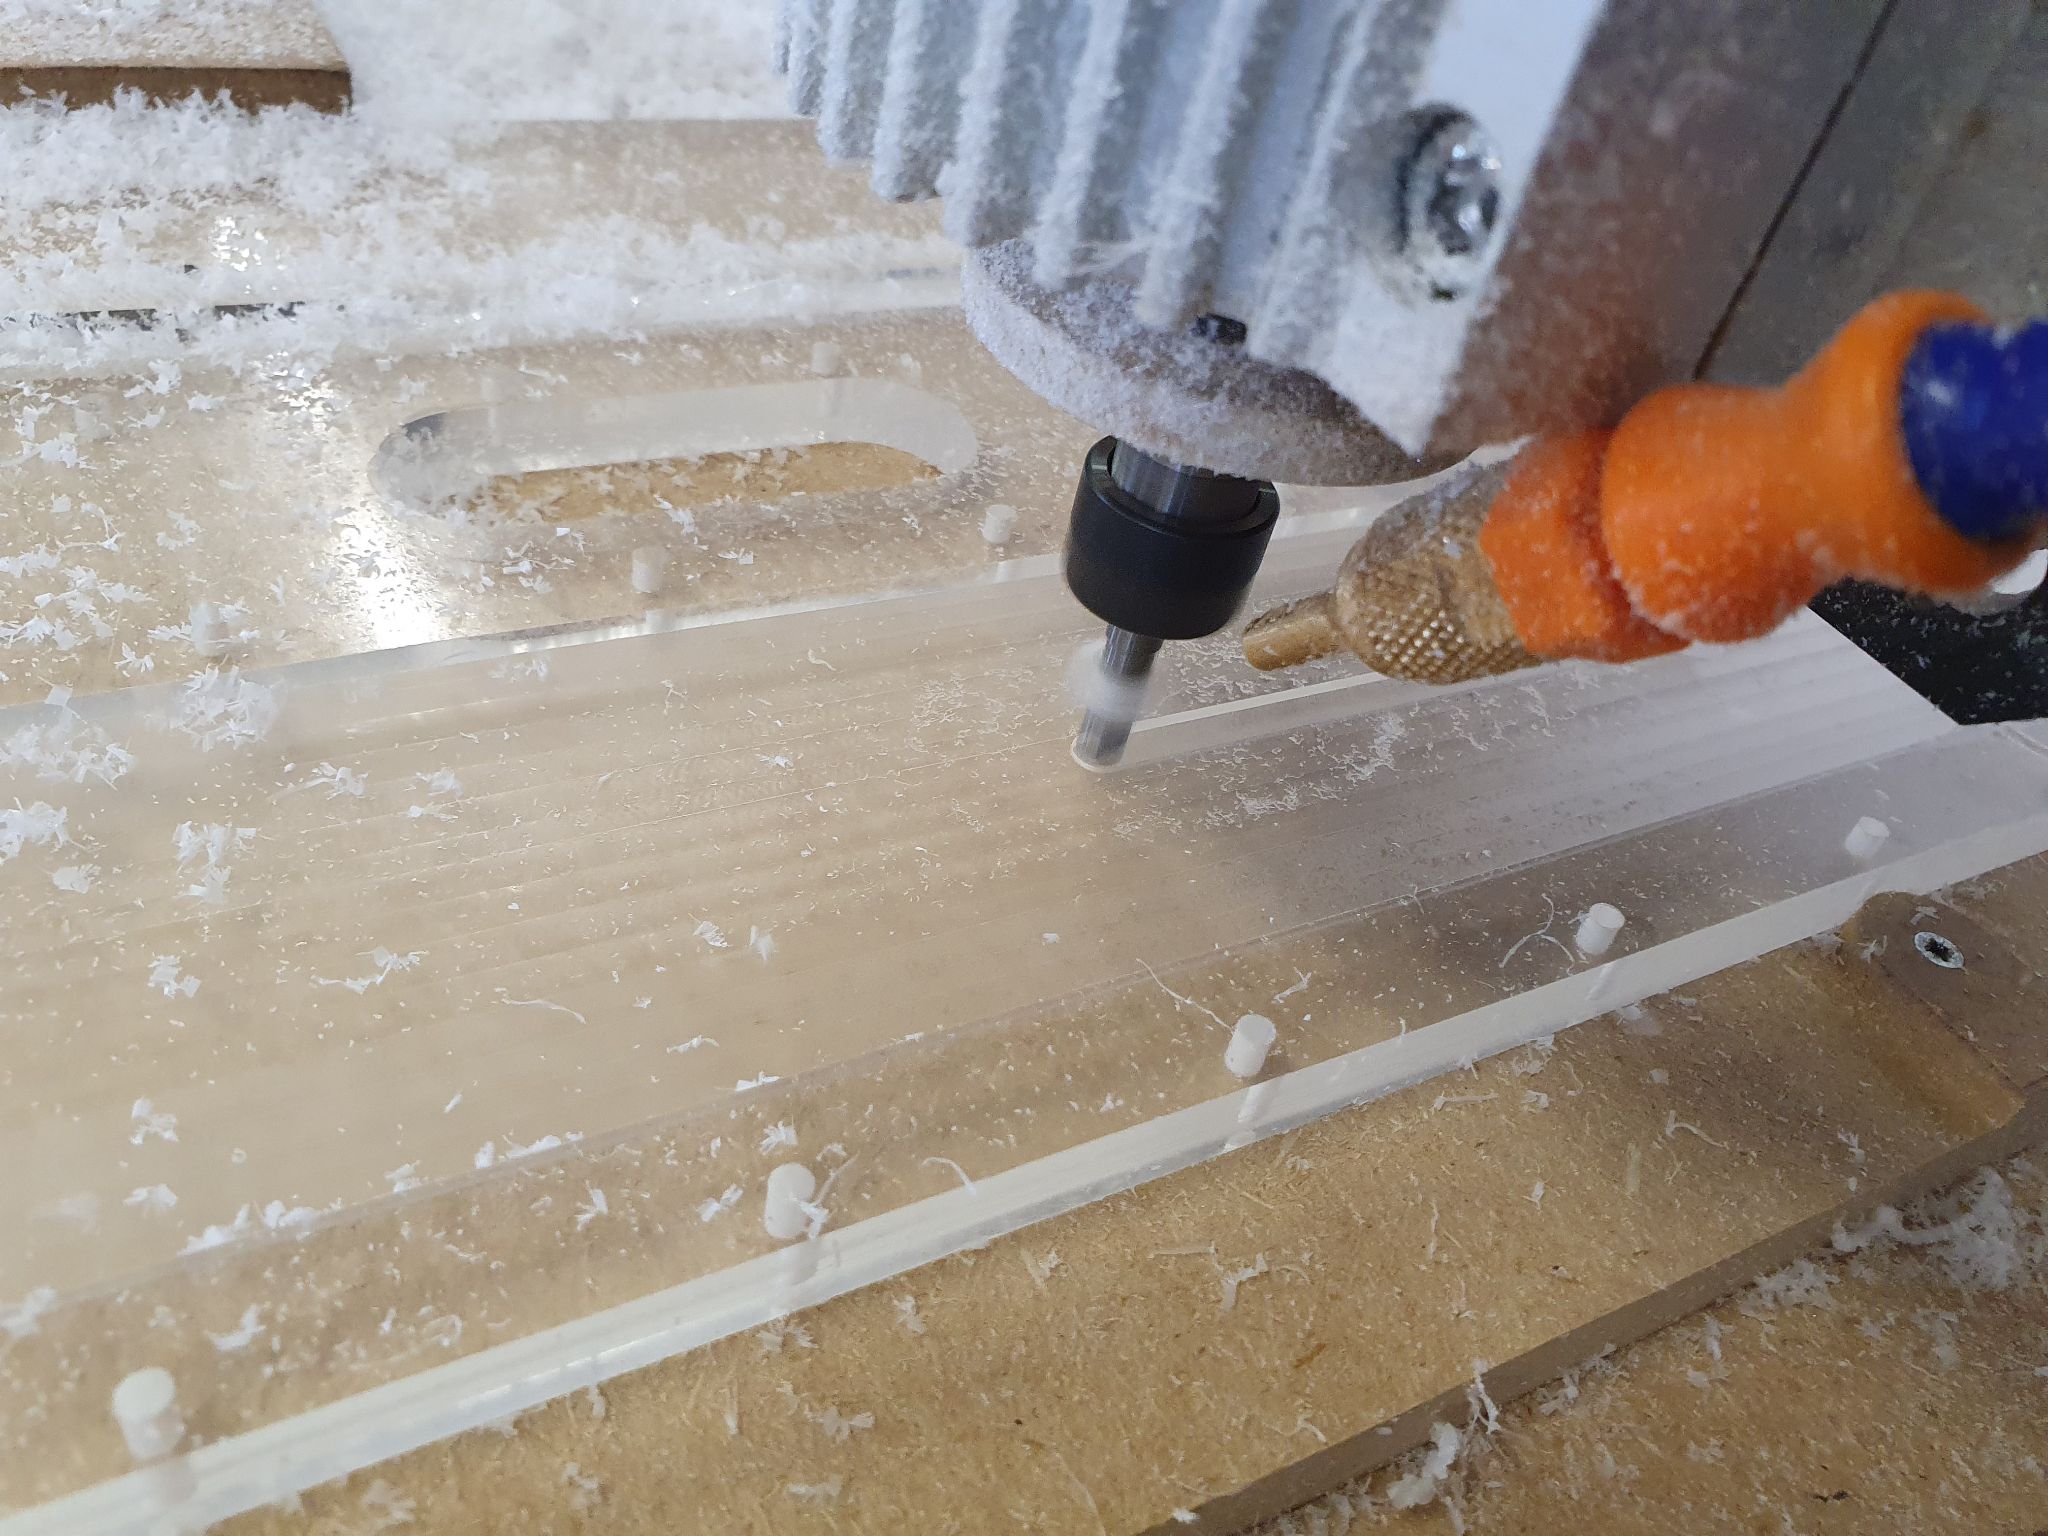
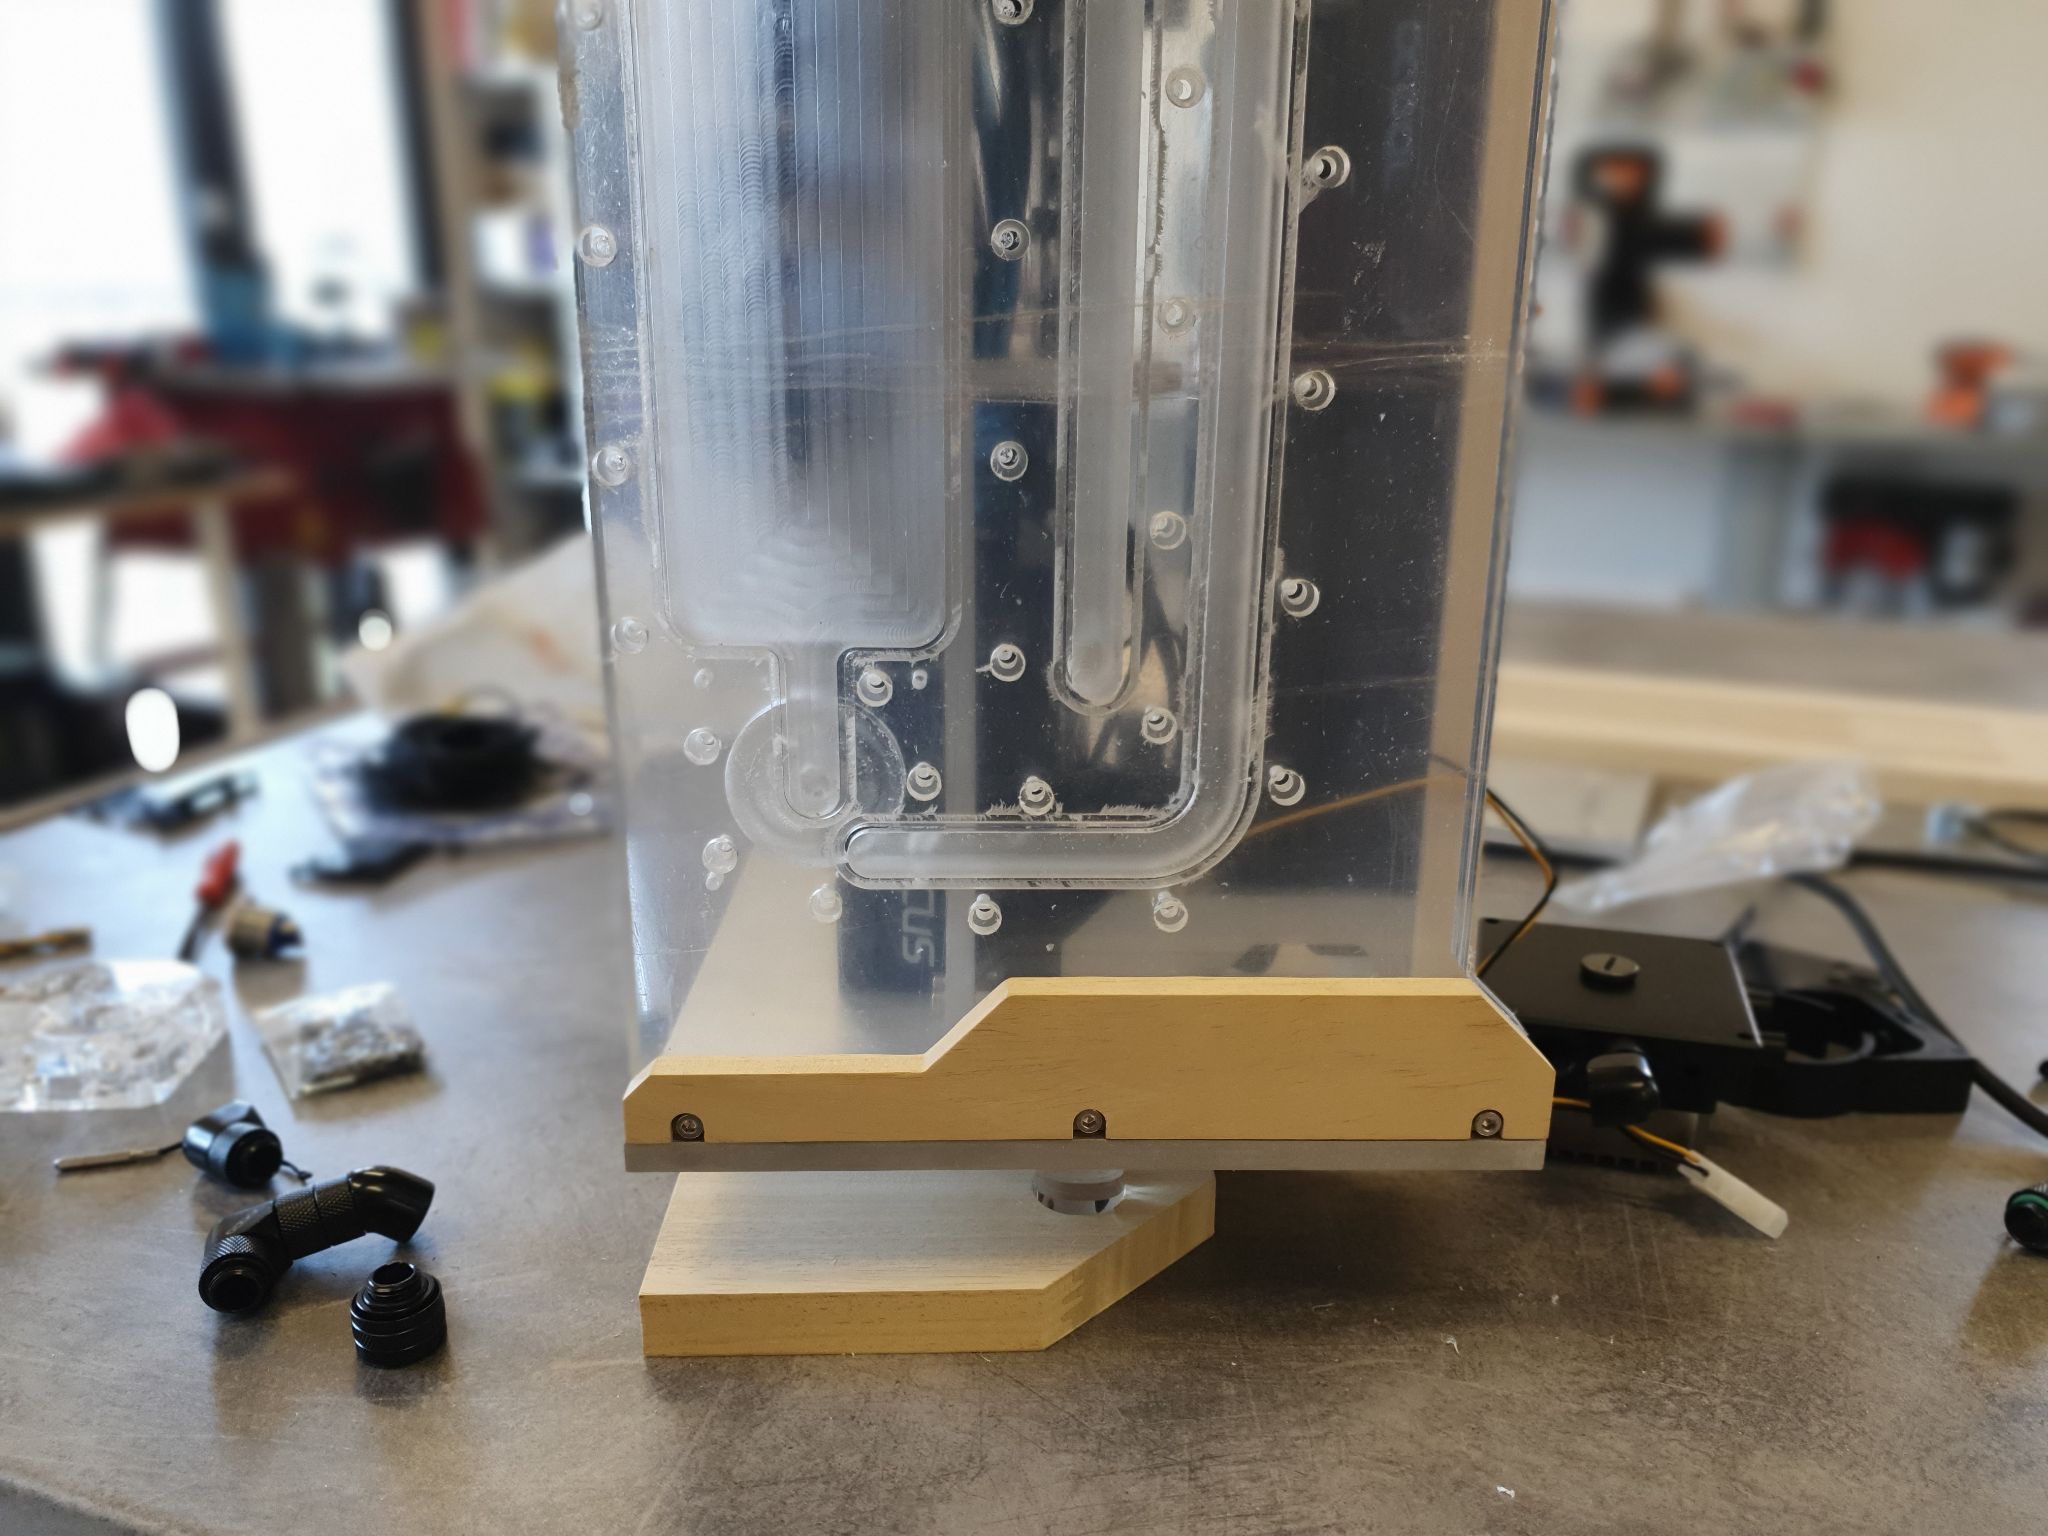
The two parts were now done and I only had to add the M4 thread to every hole of the panel with the pump mountings (a total of 54 holes to tap) and polish the edges.
I proceeded to do that and then I washed the parts before making the custom o-rings.
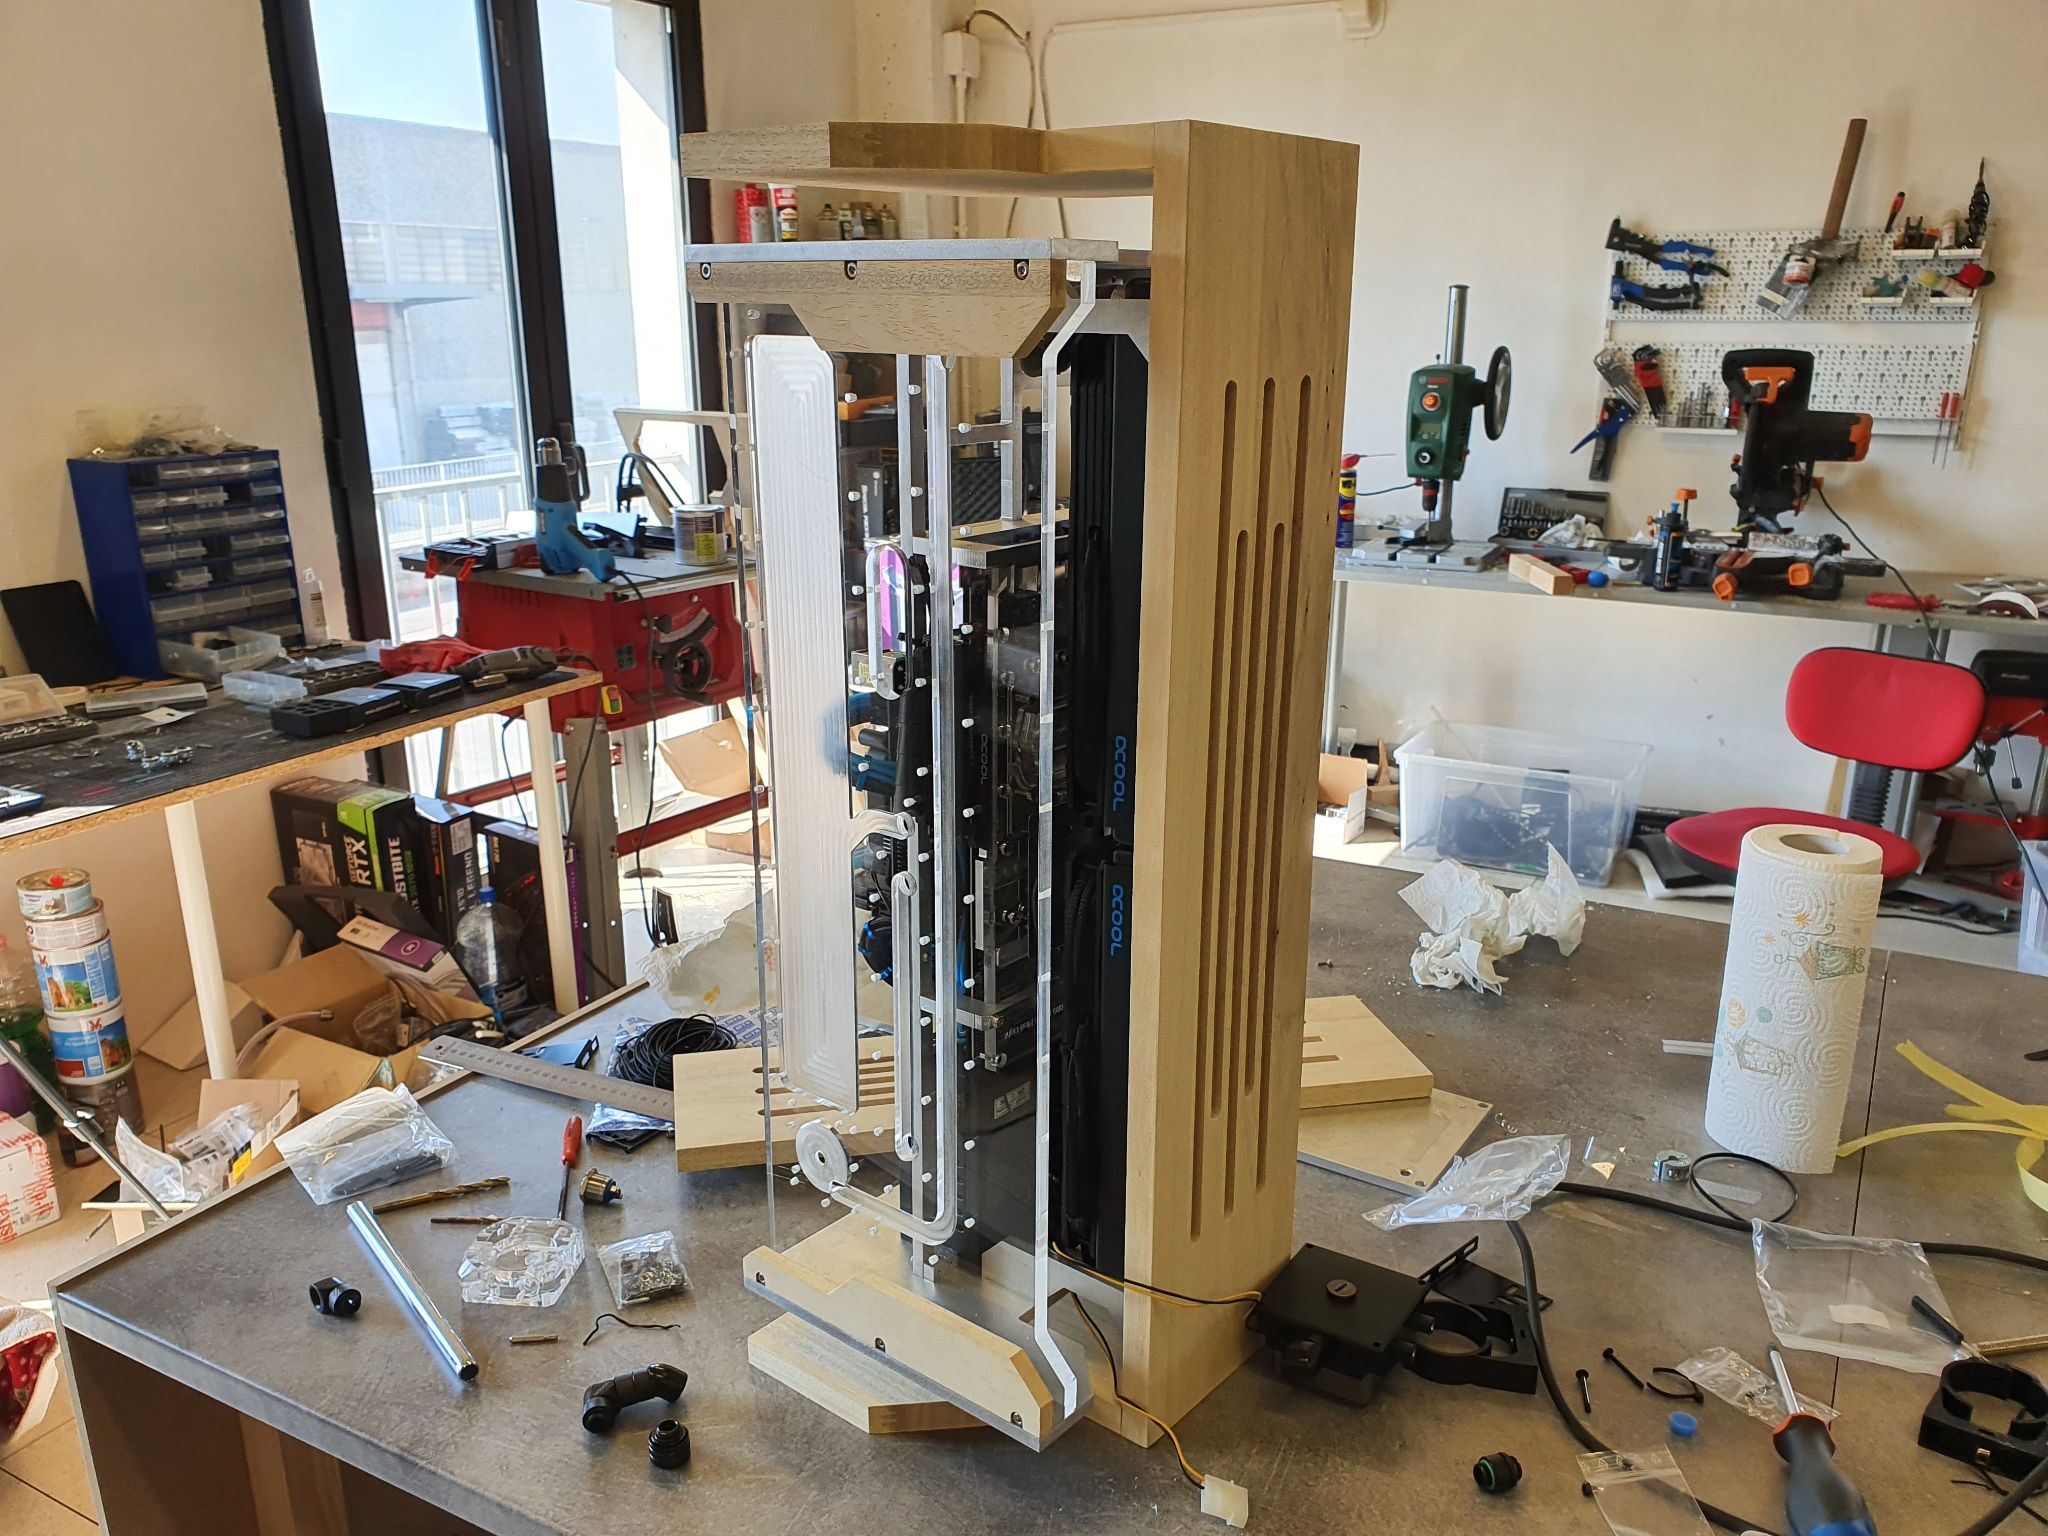
Custom O-rings and Fixing a Leak
This was my first time making a custom distro plate and o-rings, so there was room for rookie mistakes.
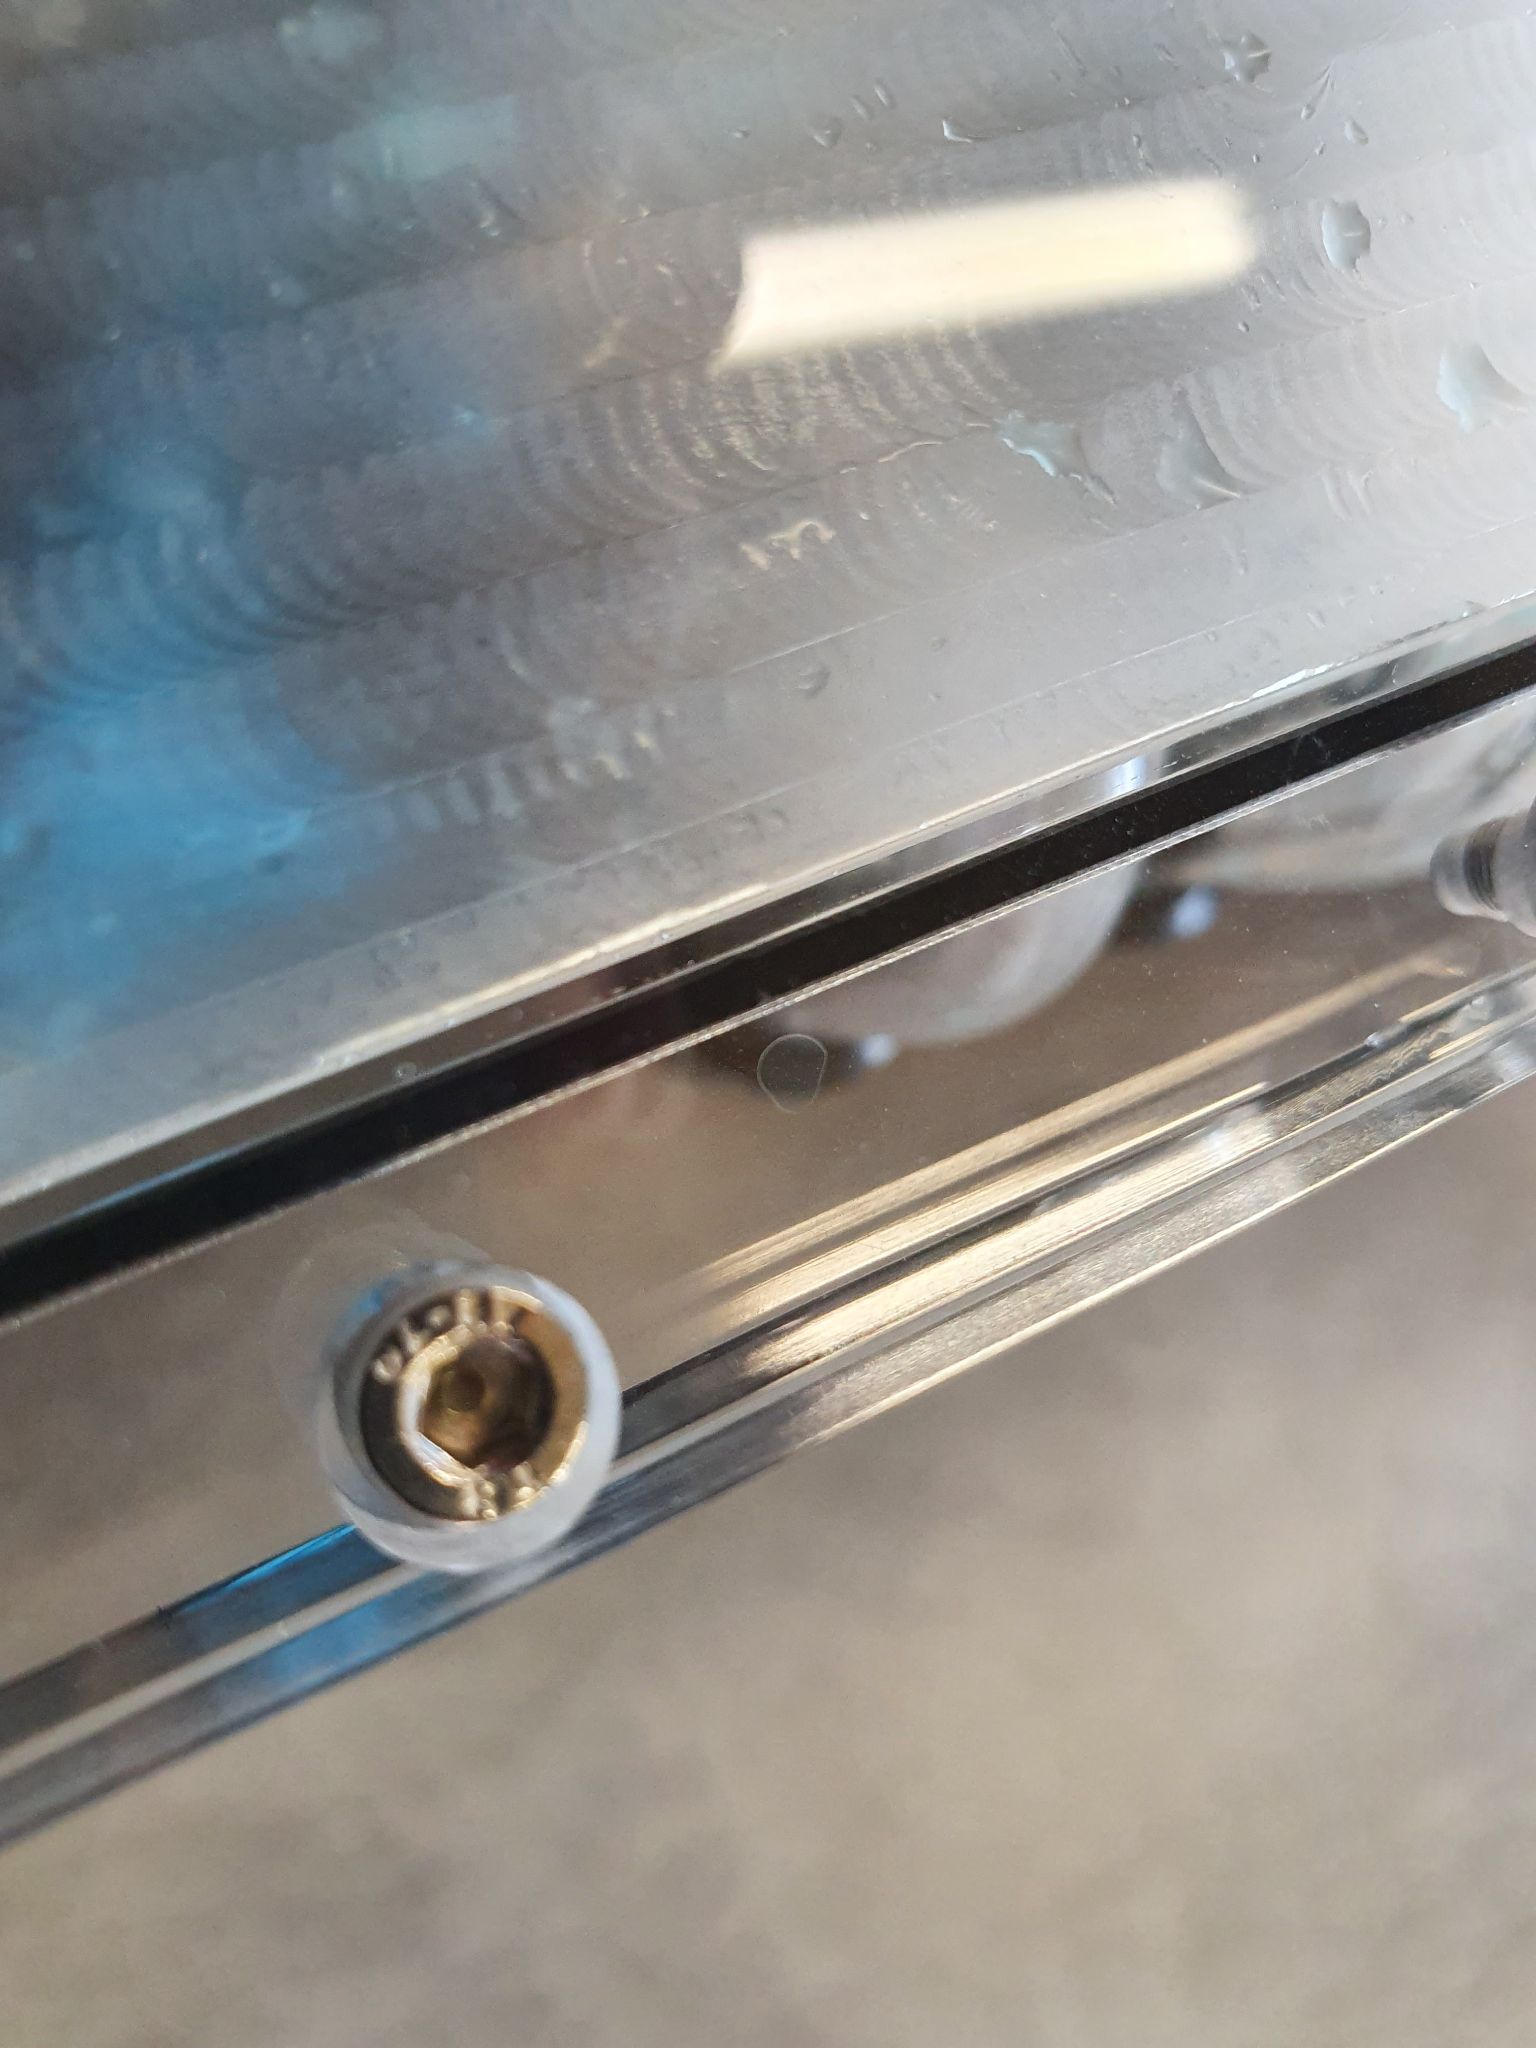
Custom o-rings are made by cutting the cord to length and joining the two ends using super glue. I had the Loctite Precision glue at hand and I used that one to glue the ends. Unfortunately, it made the glued section too rigid and it was making a seal. I realized it when I saw micro-leaks from the area where the joints were.
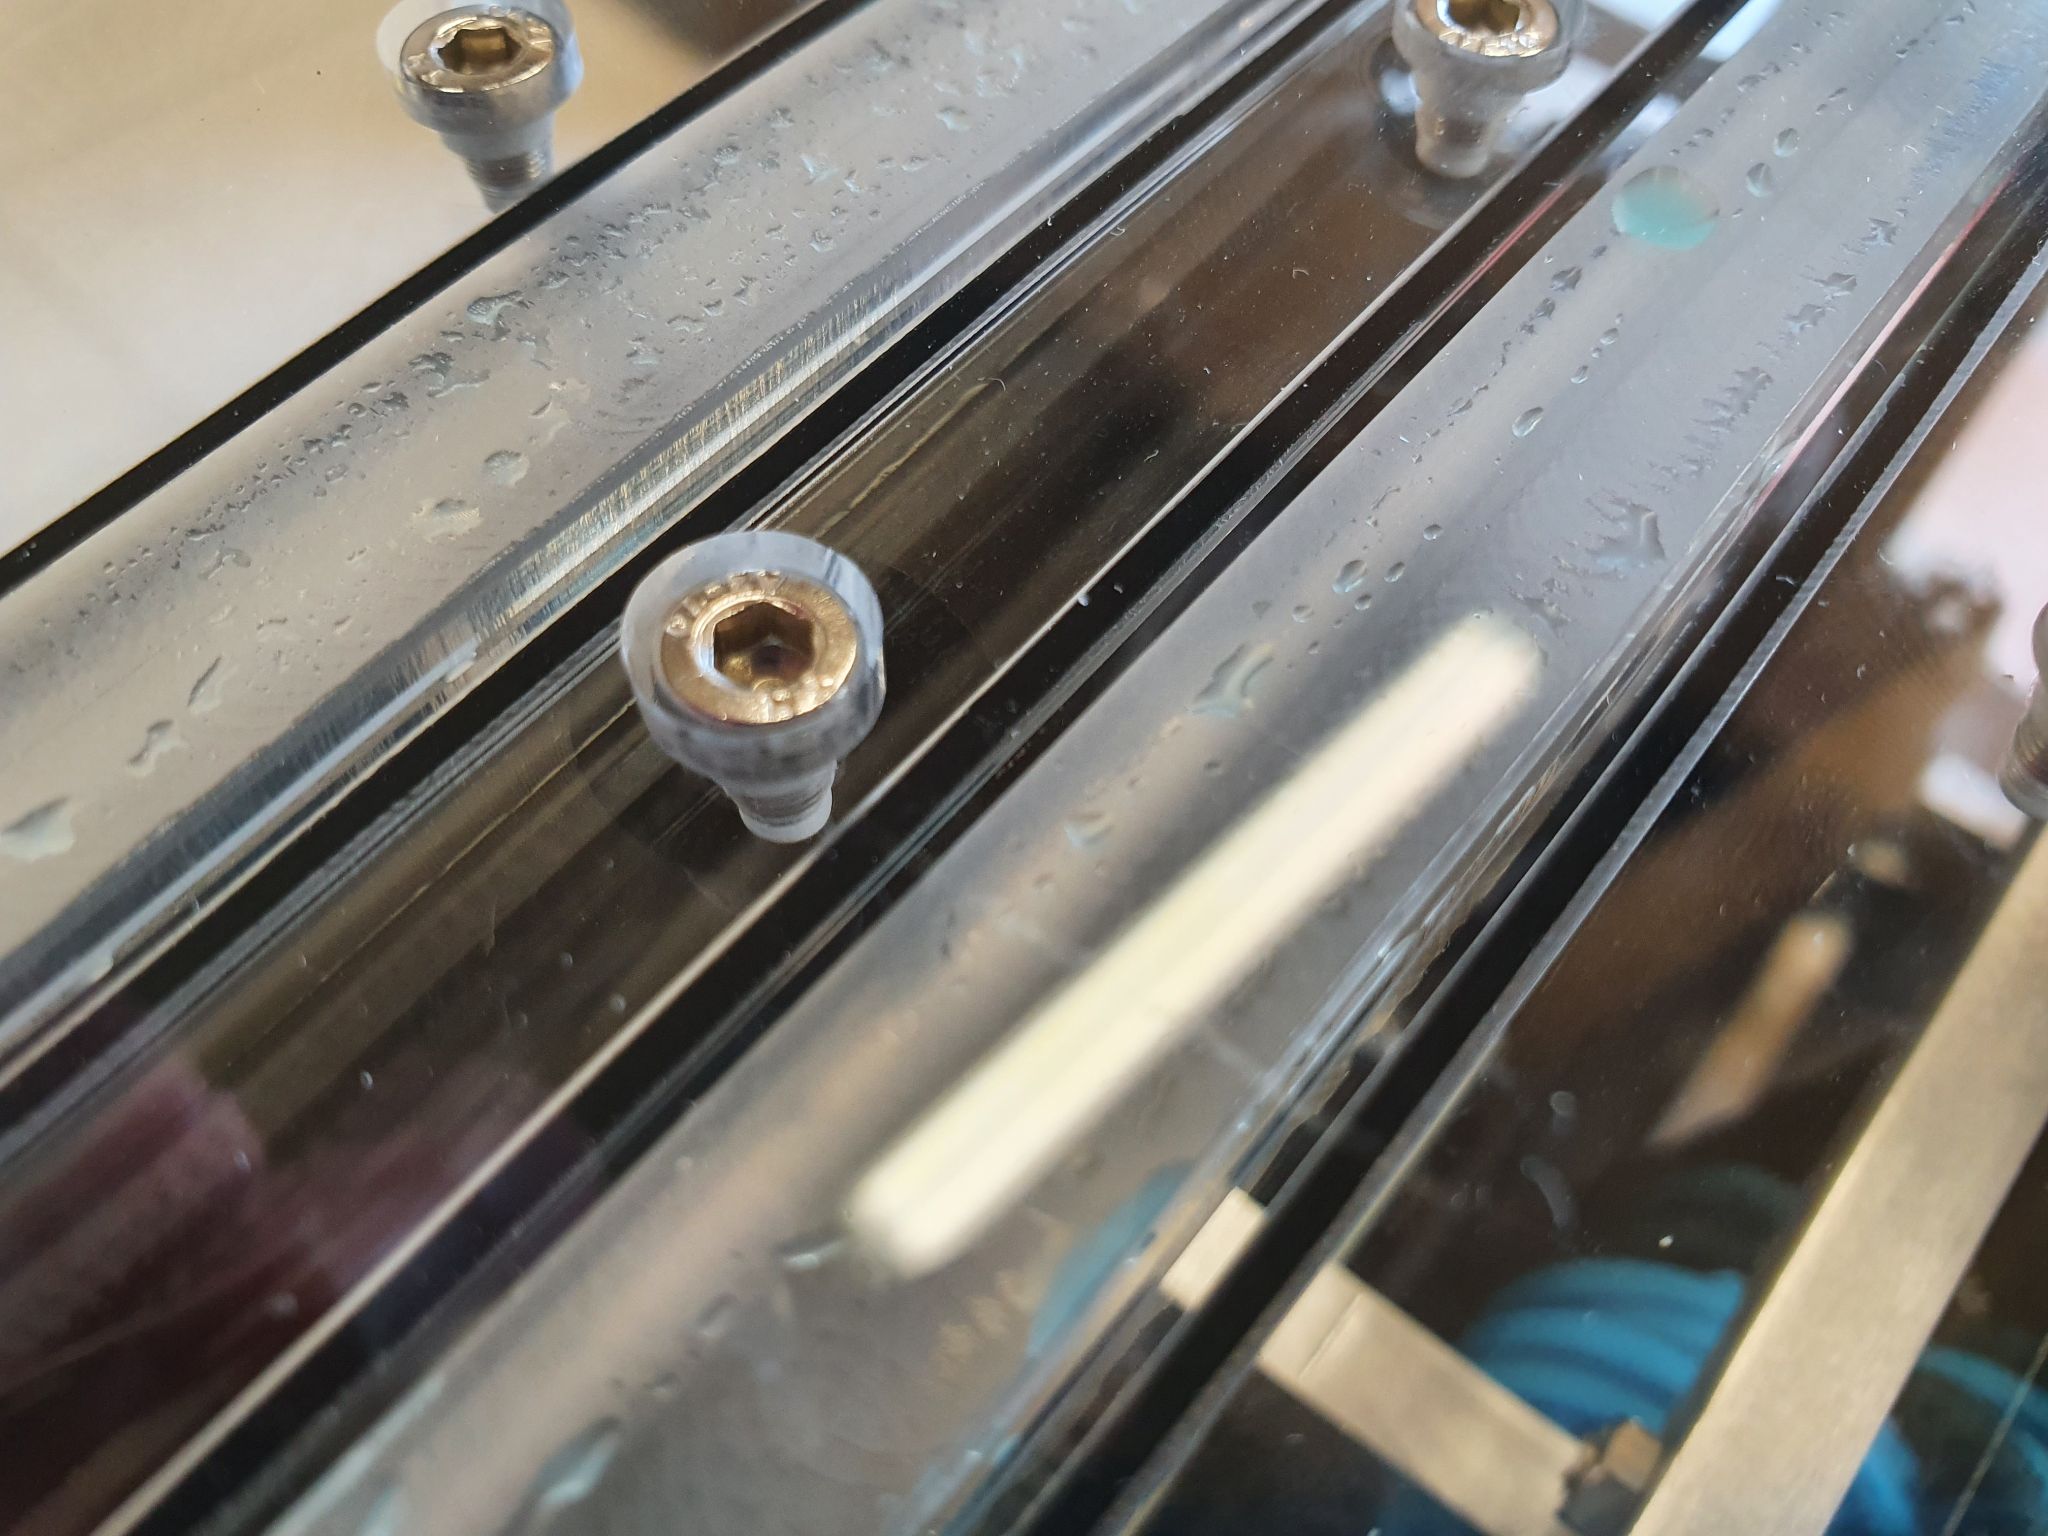
Another reason could be that the two glued ends weren’t very straight since I held them with my shaky hands. So I took an old acetal pump top and milled a channel that I could use as a guide to keep the ends straight while glueing them up. It also works as a jig to cut the cord straight.
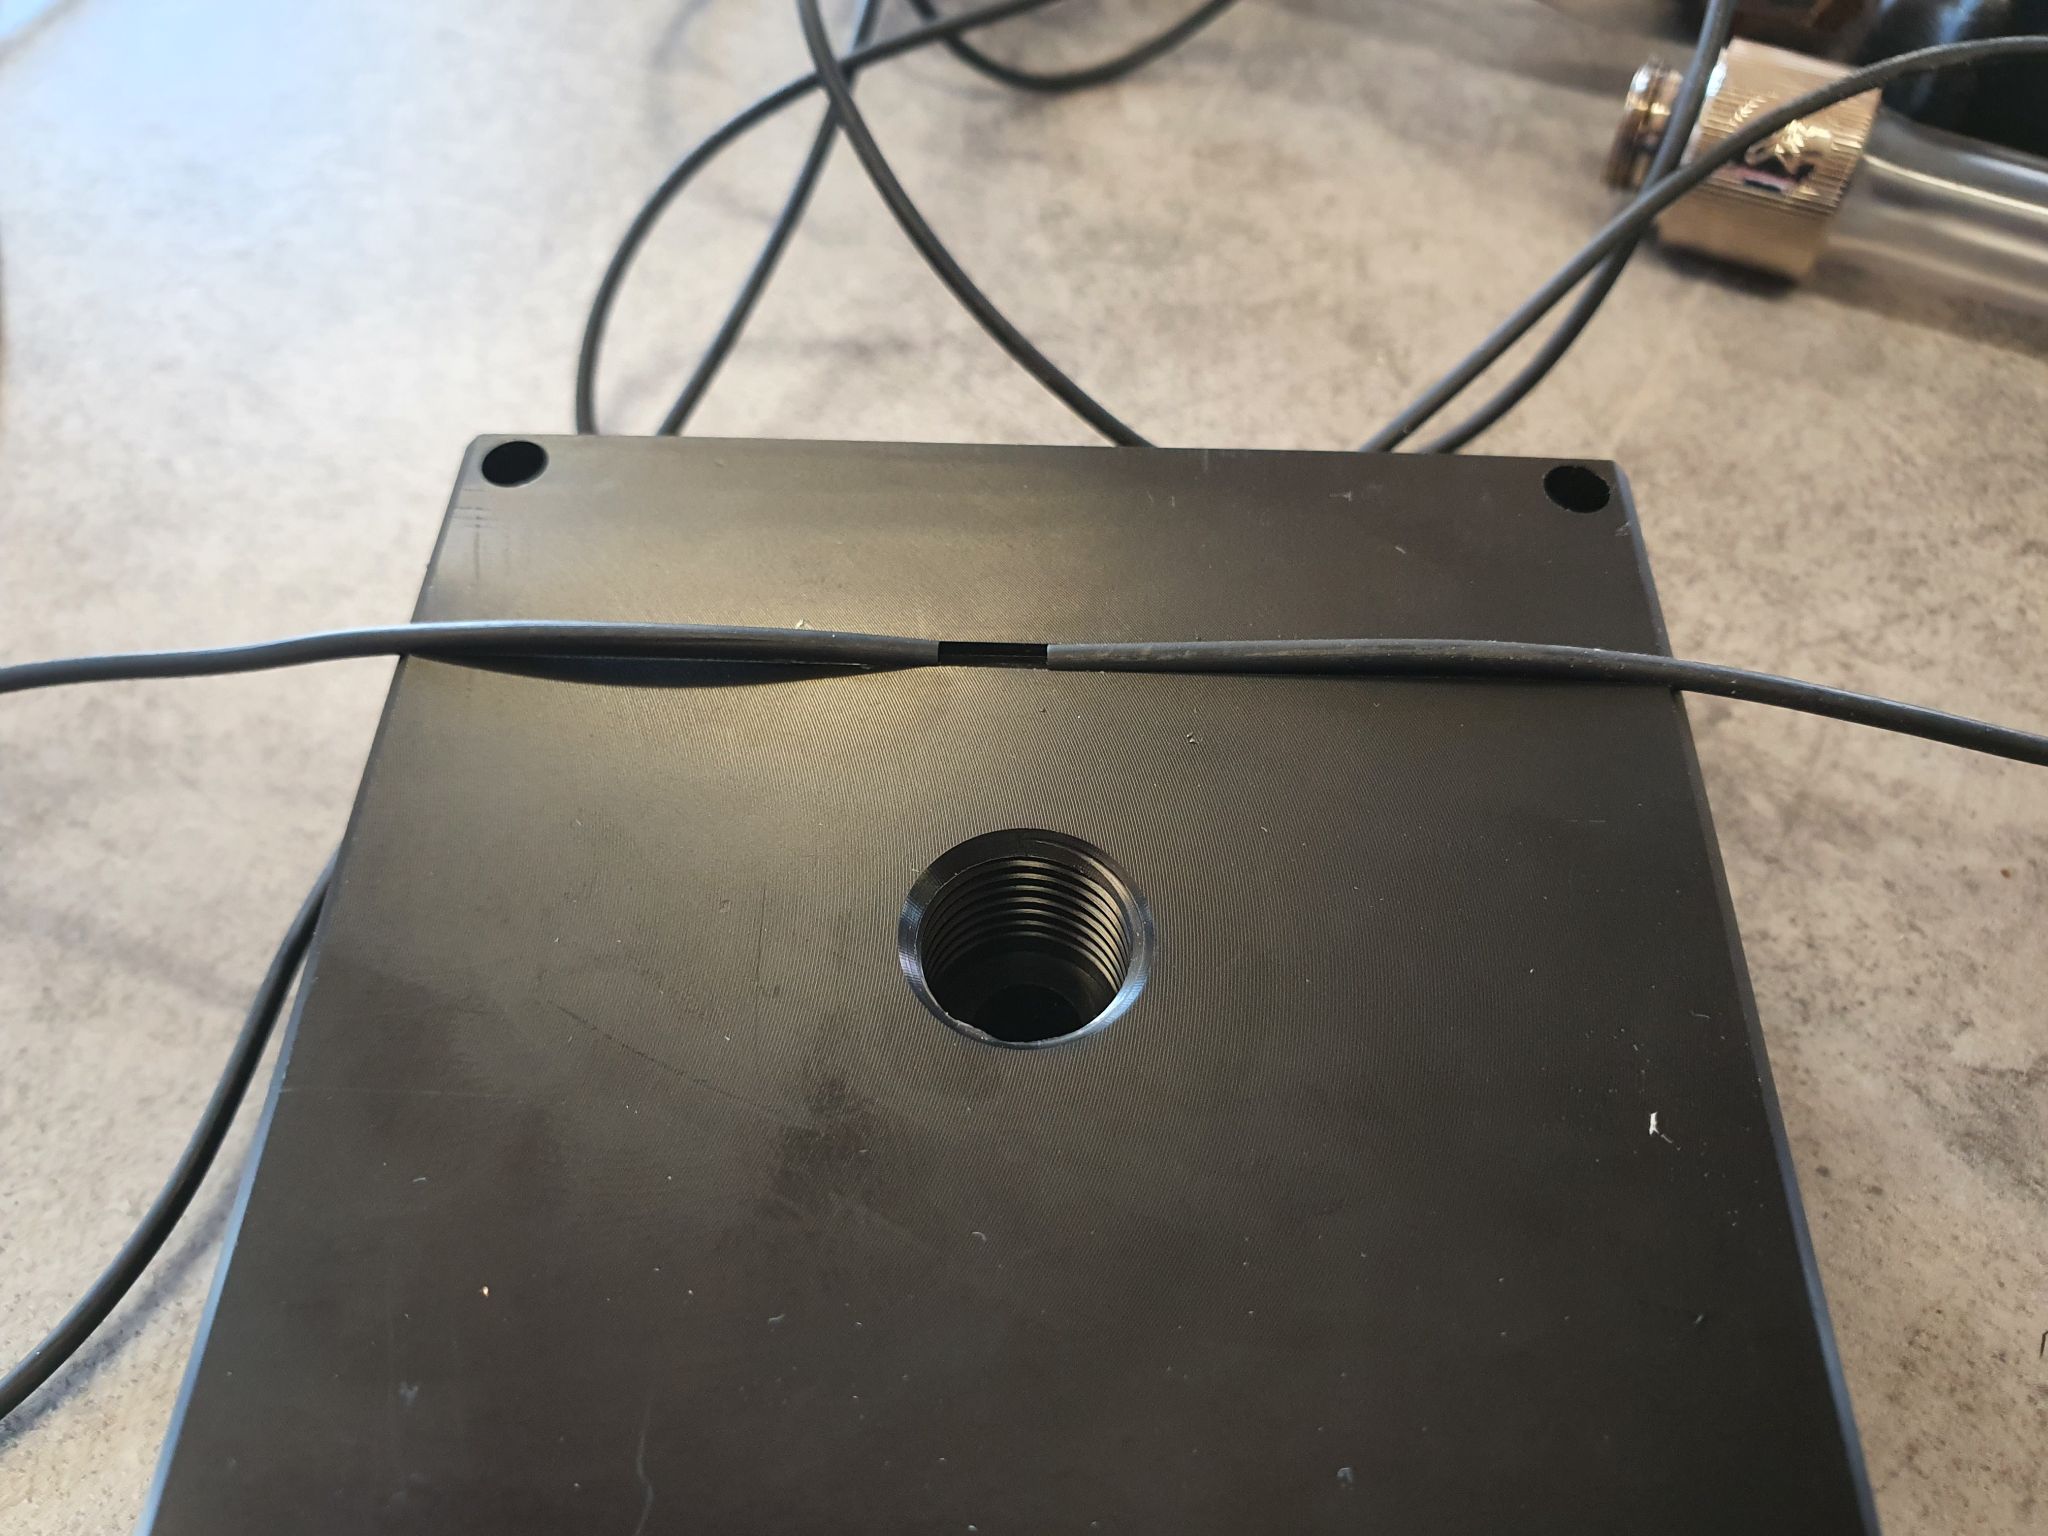
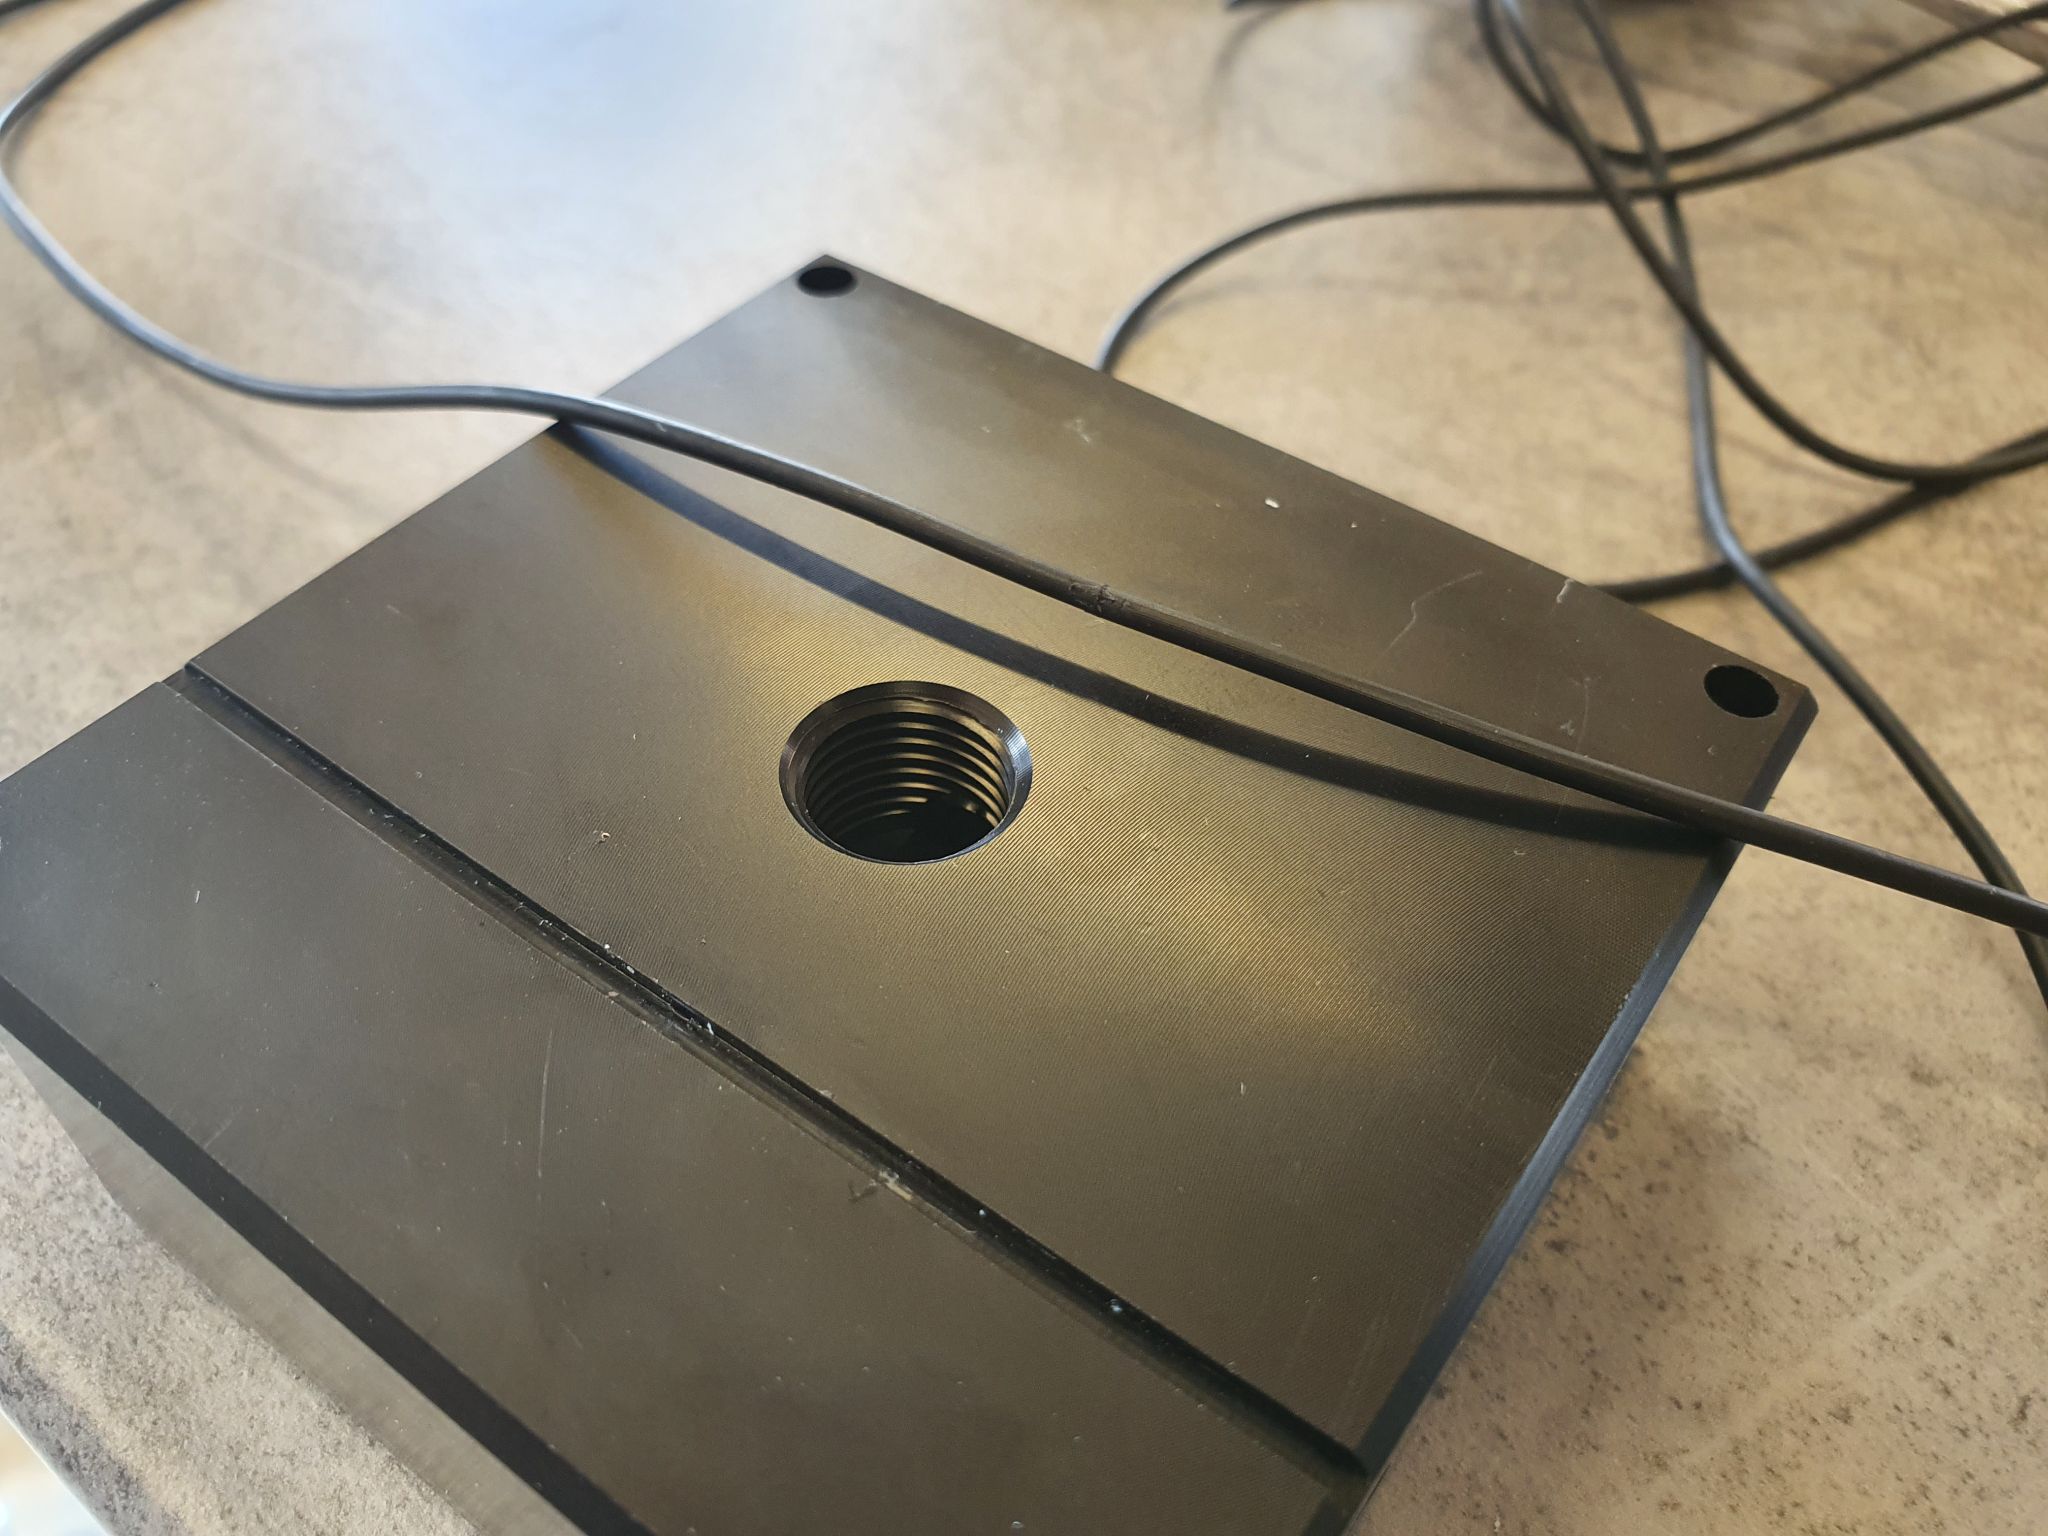
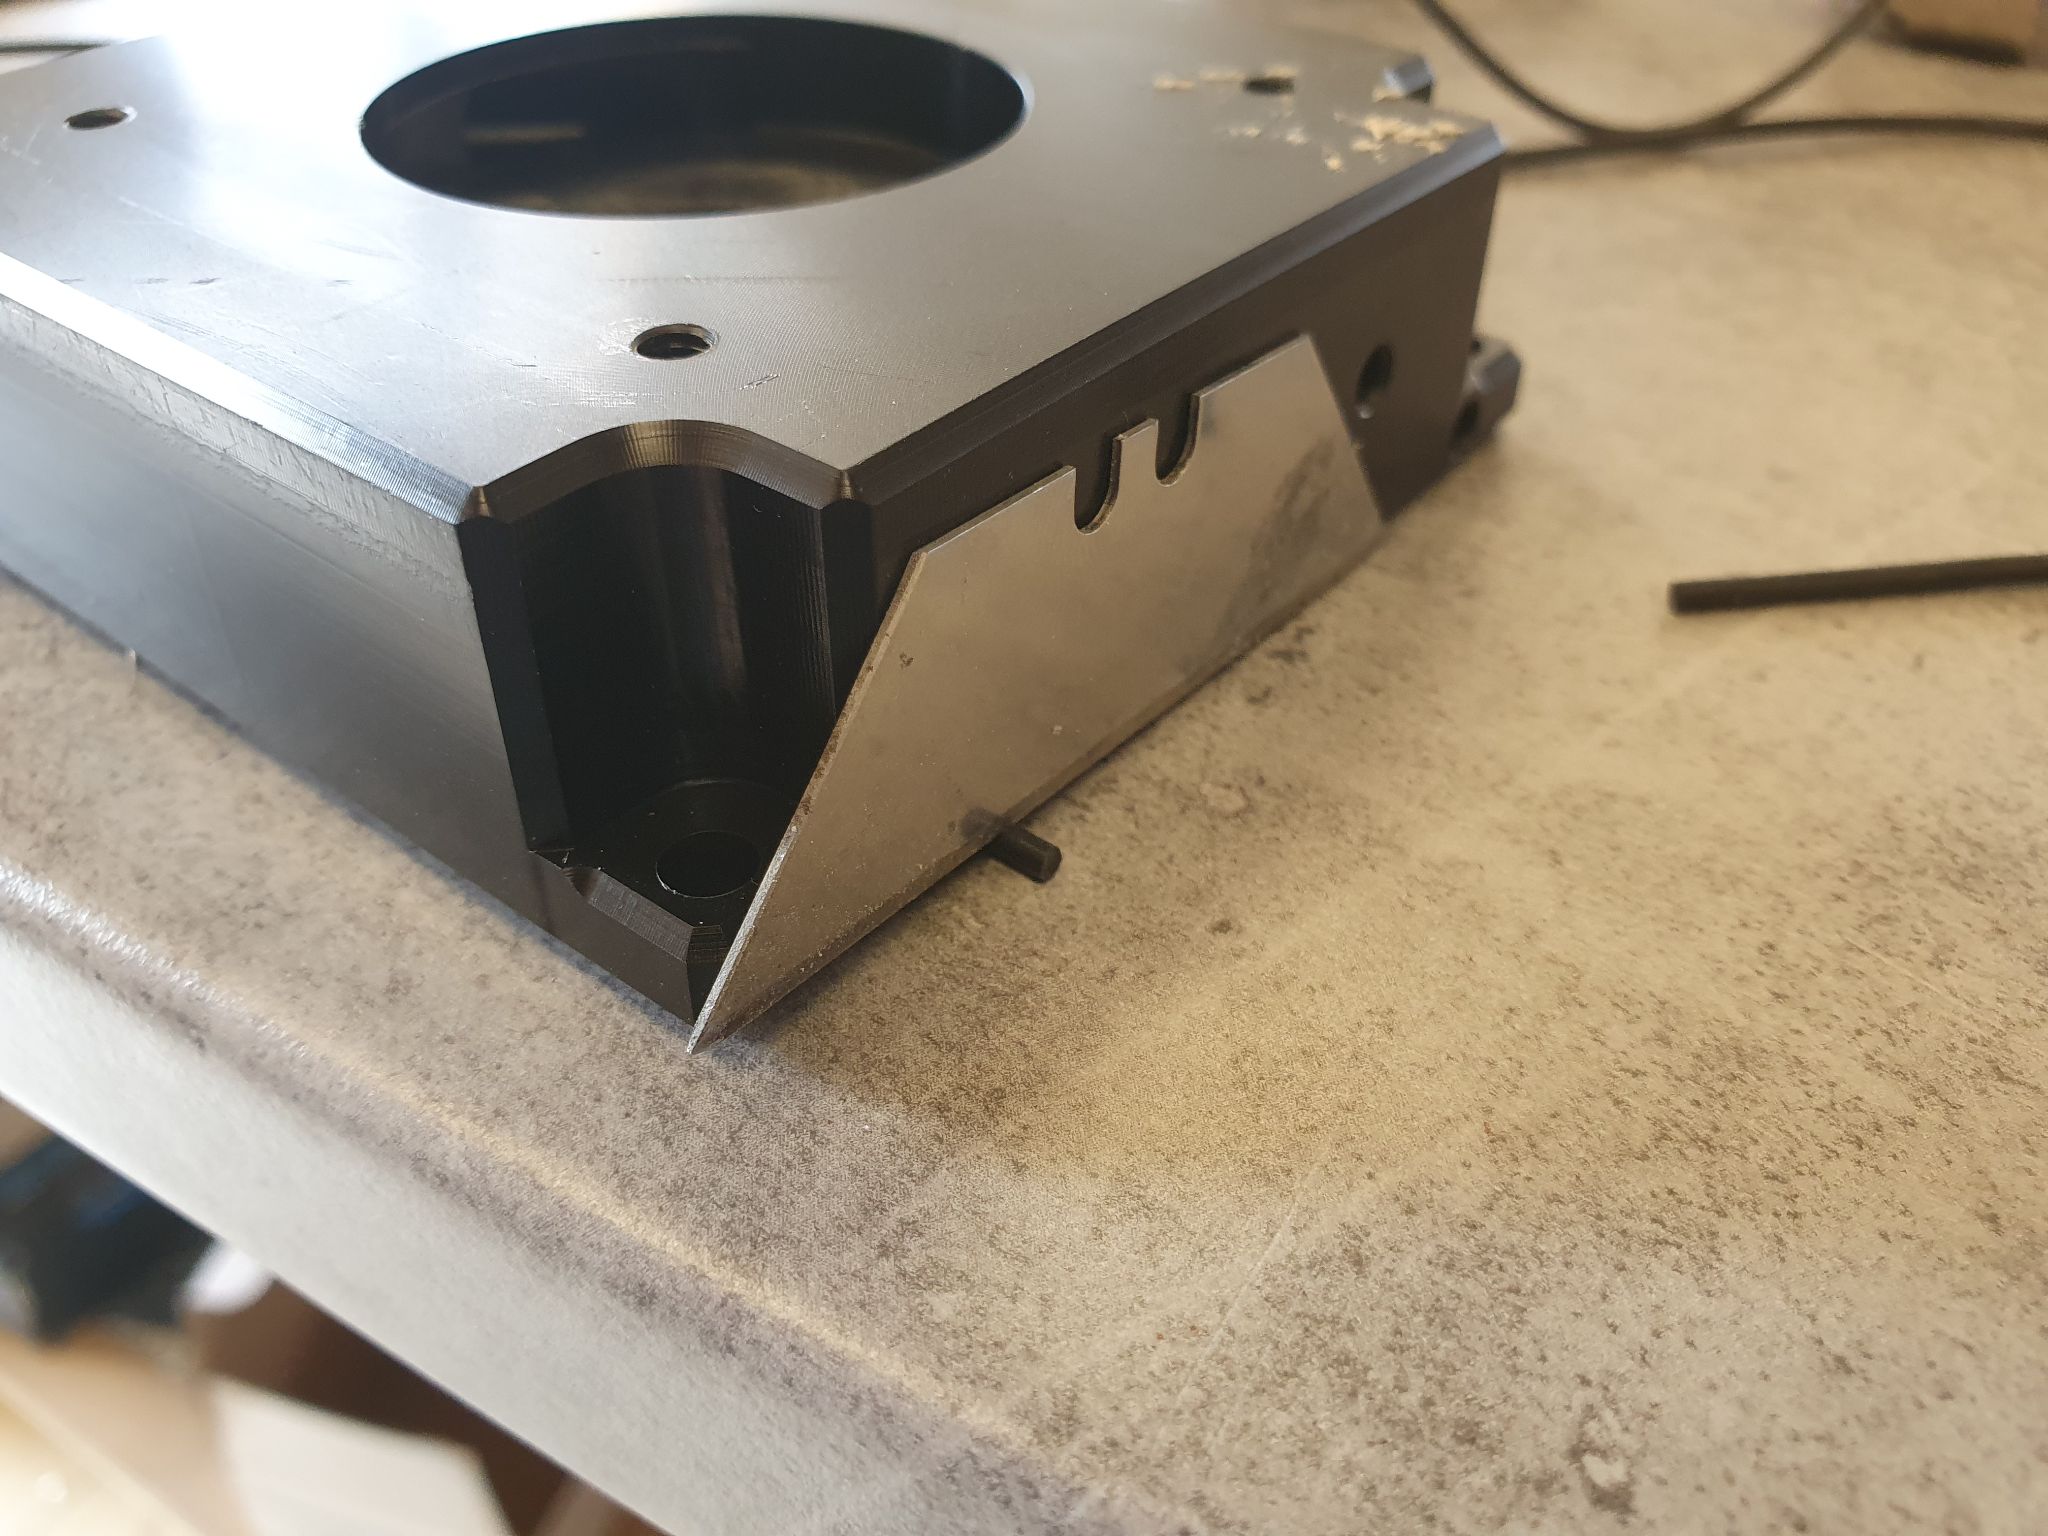
As for the glue to use, I ordered the Power Flex version of Loctite, which is a more flexible type thanks to the gel used in the recipe. This allows the o-ring to retain its sealing properties. My second attempt was successful!
-
JoBalz What a beautiful custom case! I love the look of the wood against the aluminum. The decision to stain the wood instead of painting the wood black was the right choice. Otherwise, why bother using wood just to paint it!Reply -
passivecool Hey Allessandro, may i suggest Robinia pseudoacacia ? grown in SE Europe, extremely hard, quick growing, nice structure, low warping etc and I have very good results in fine cnc milling structures. I admire your work and would be interested in creating environmentally friendly and visually striking cases. Will send an email.Reply