Building Ikigai, My Award-Winning Wooden PC Mod
Here’s how I built a unique mod, combining CNC with hand woodworking.
Watercooling
I chose 12mm clear PETG for this case, using some bends also. I hadn’t done any bending before so this was a new challenge and I have more respect for people who do this often, because it's not easy.
I first laid out all the fittings to see where they'd need to go.
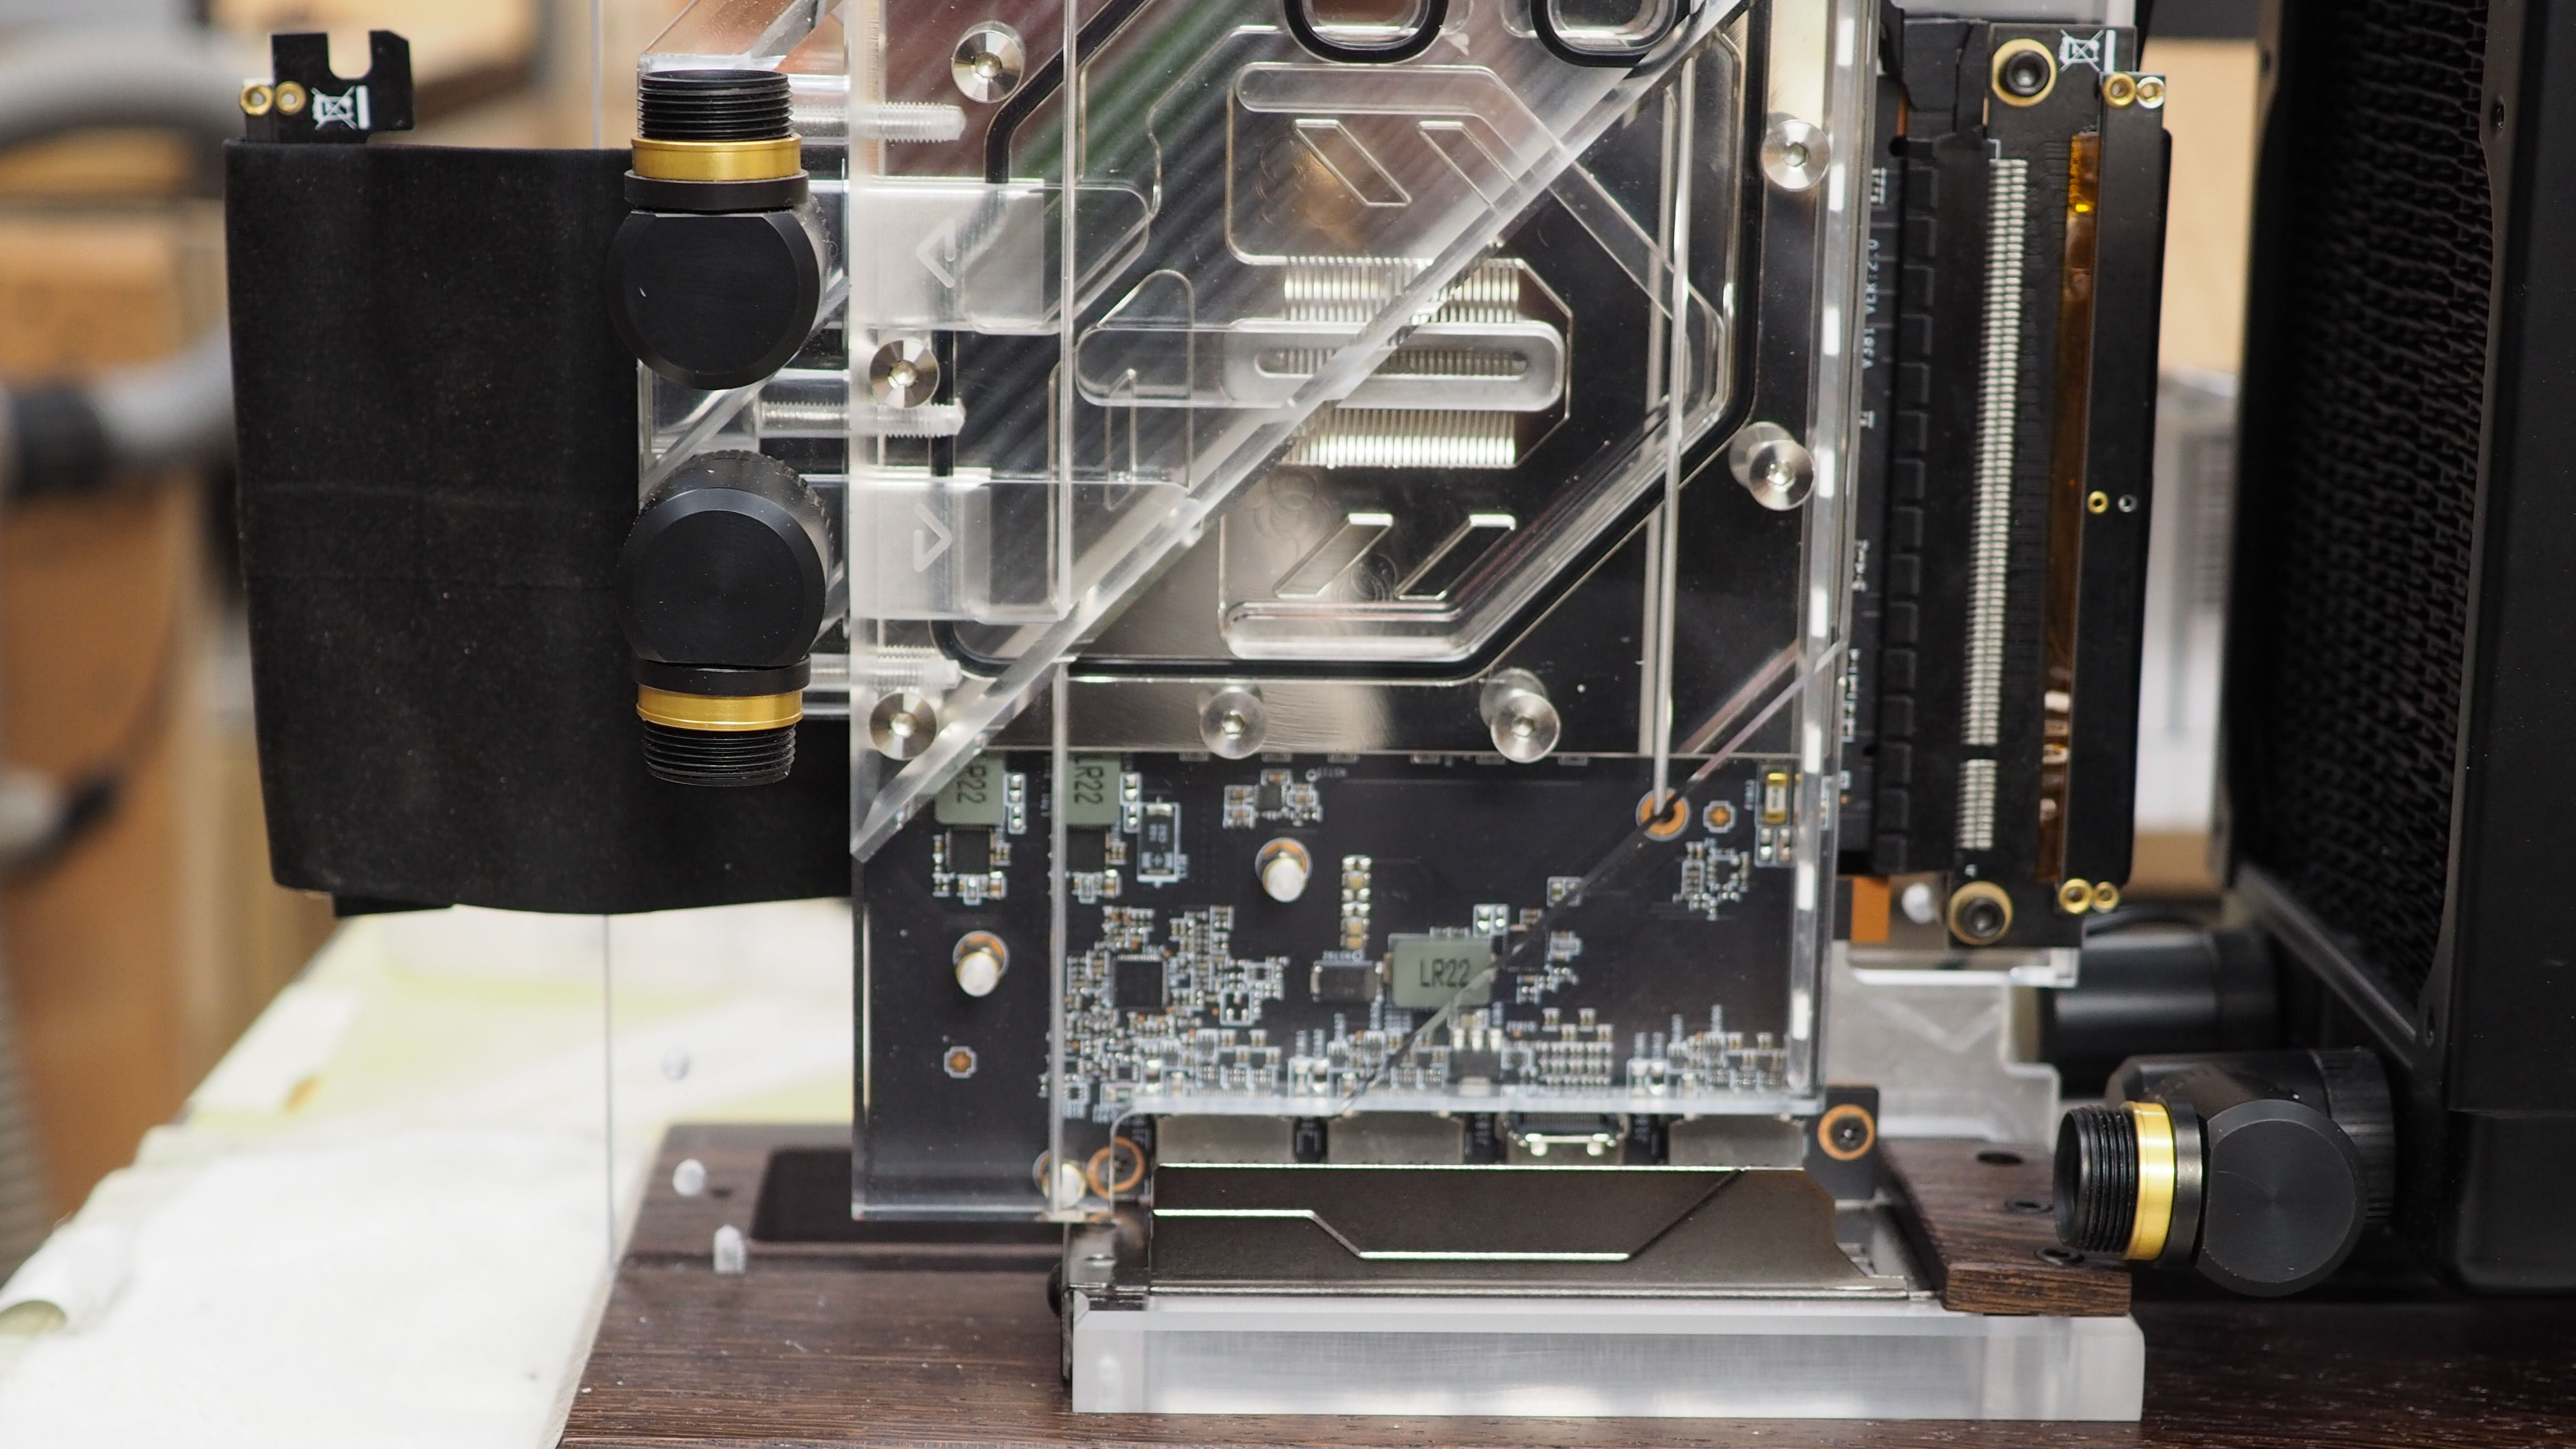
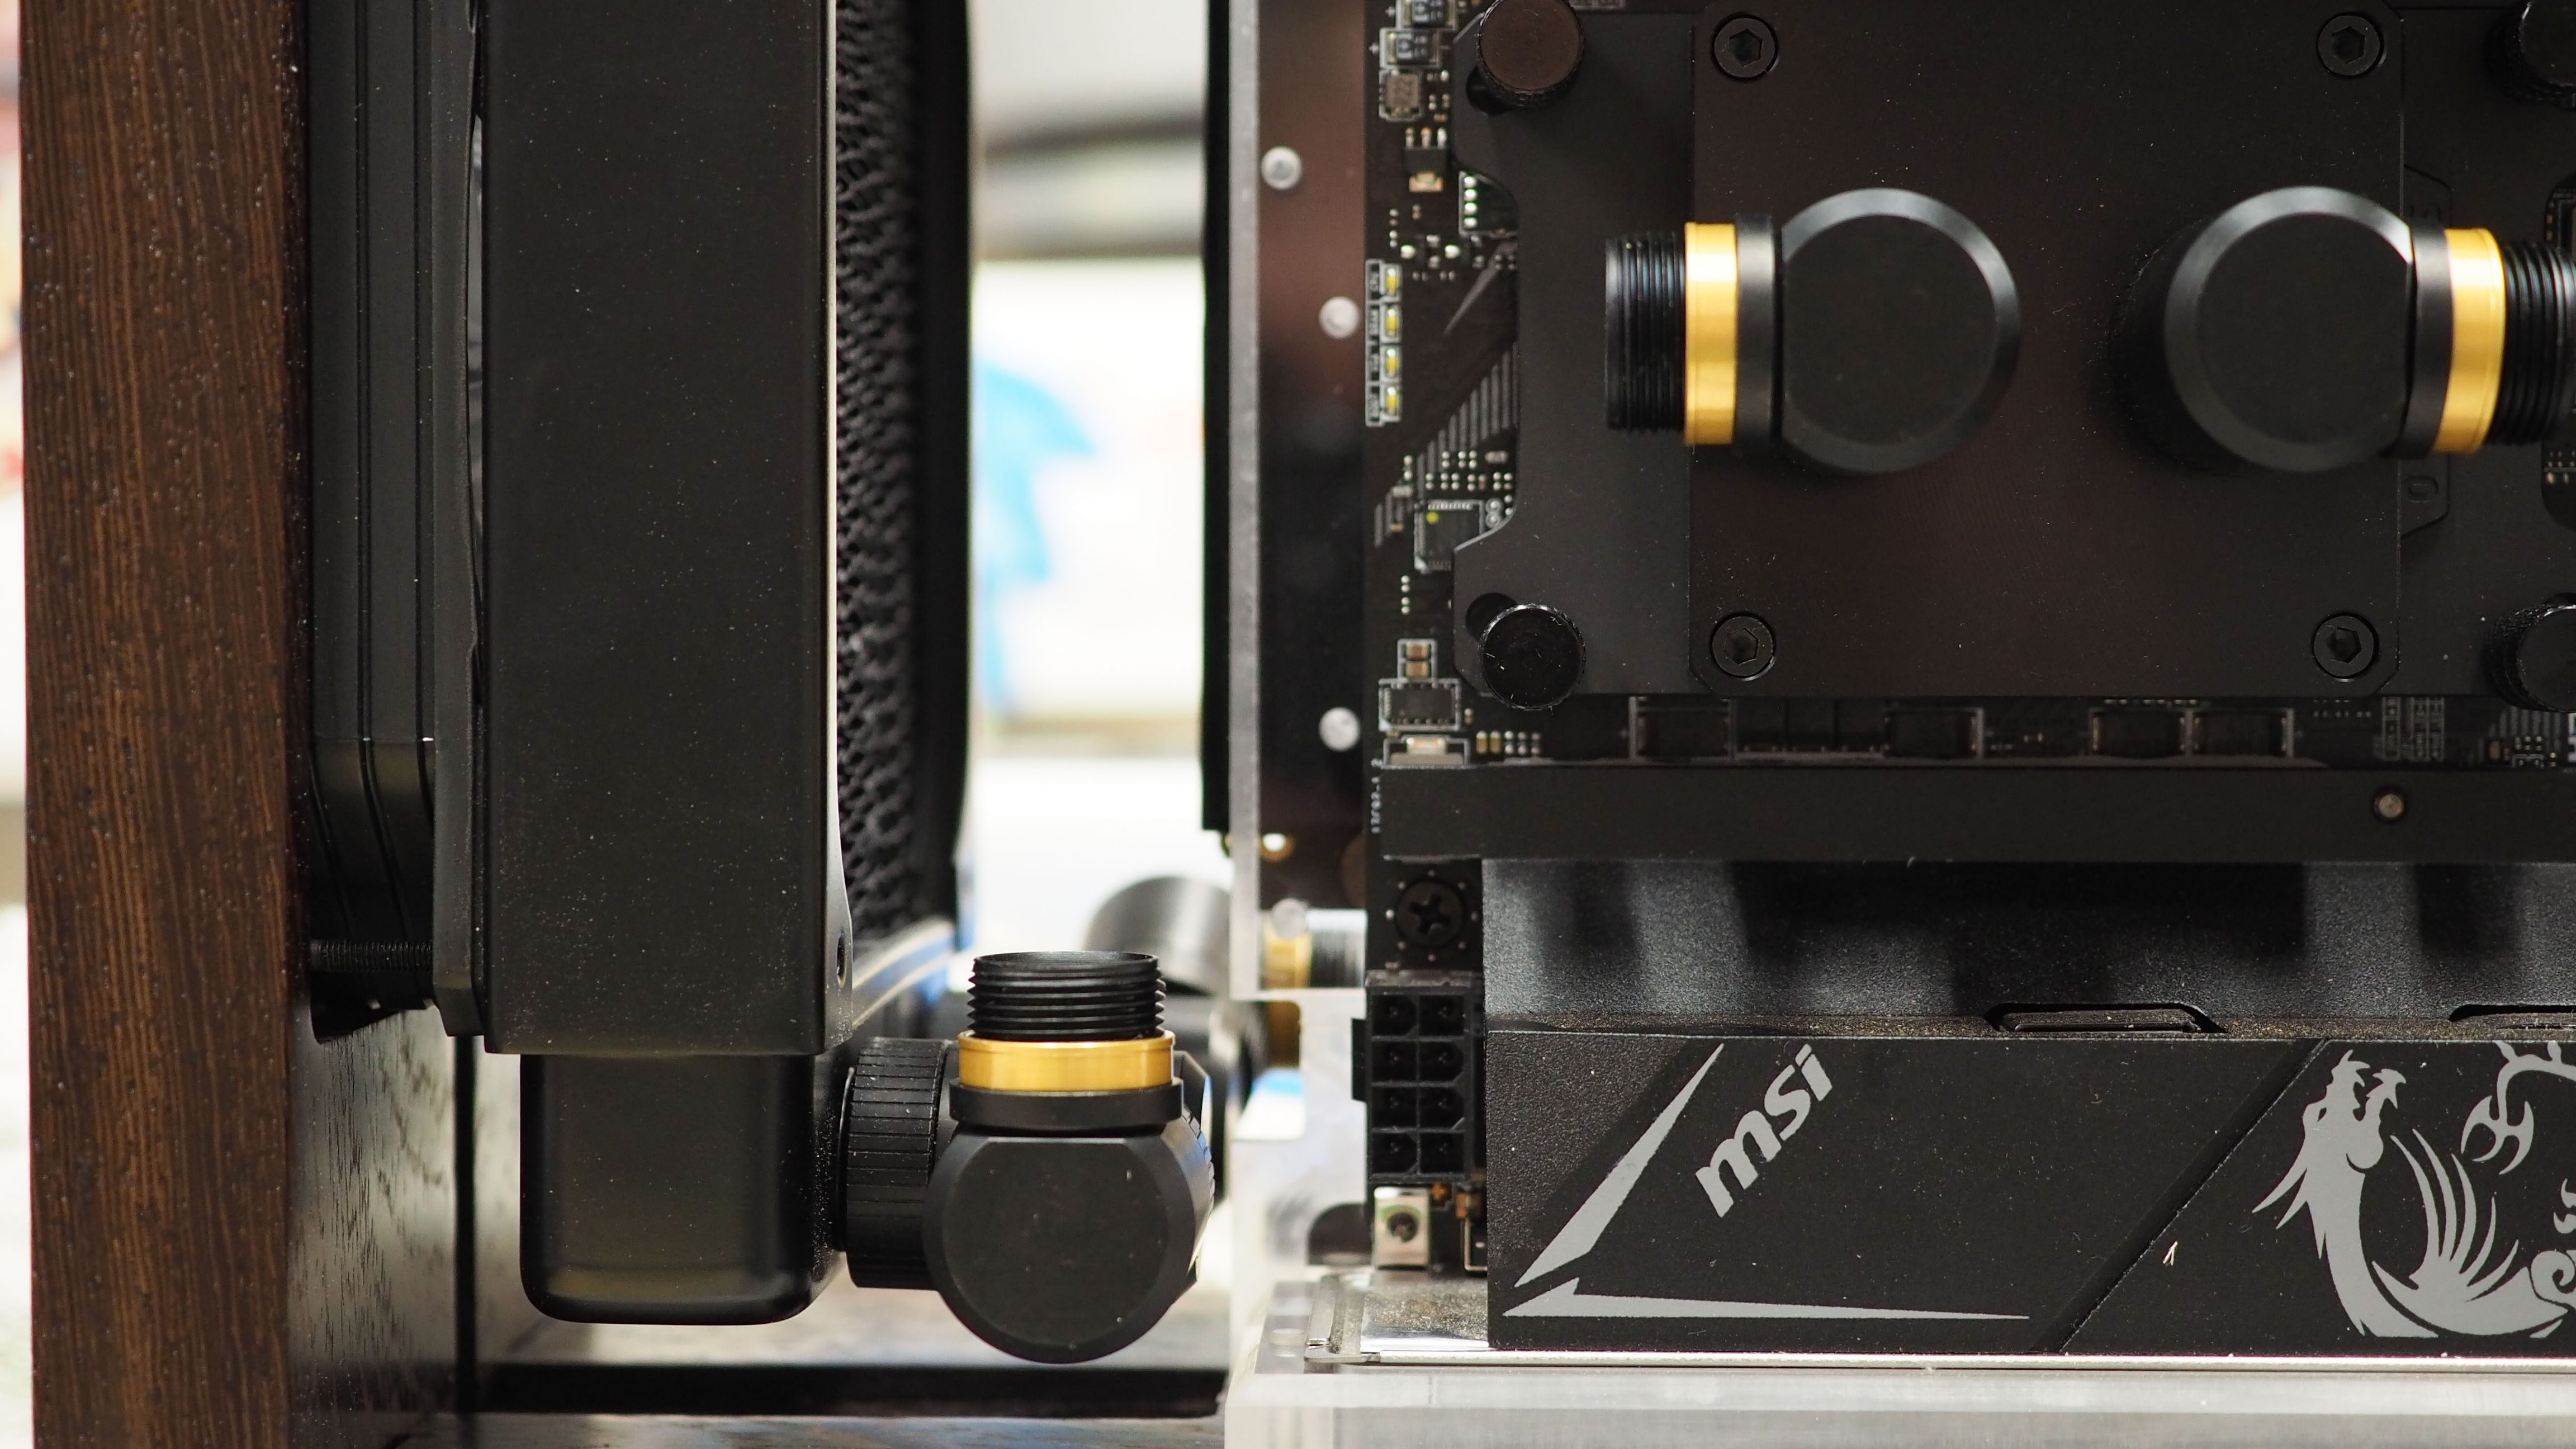
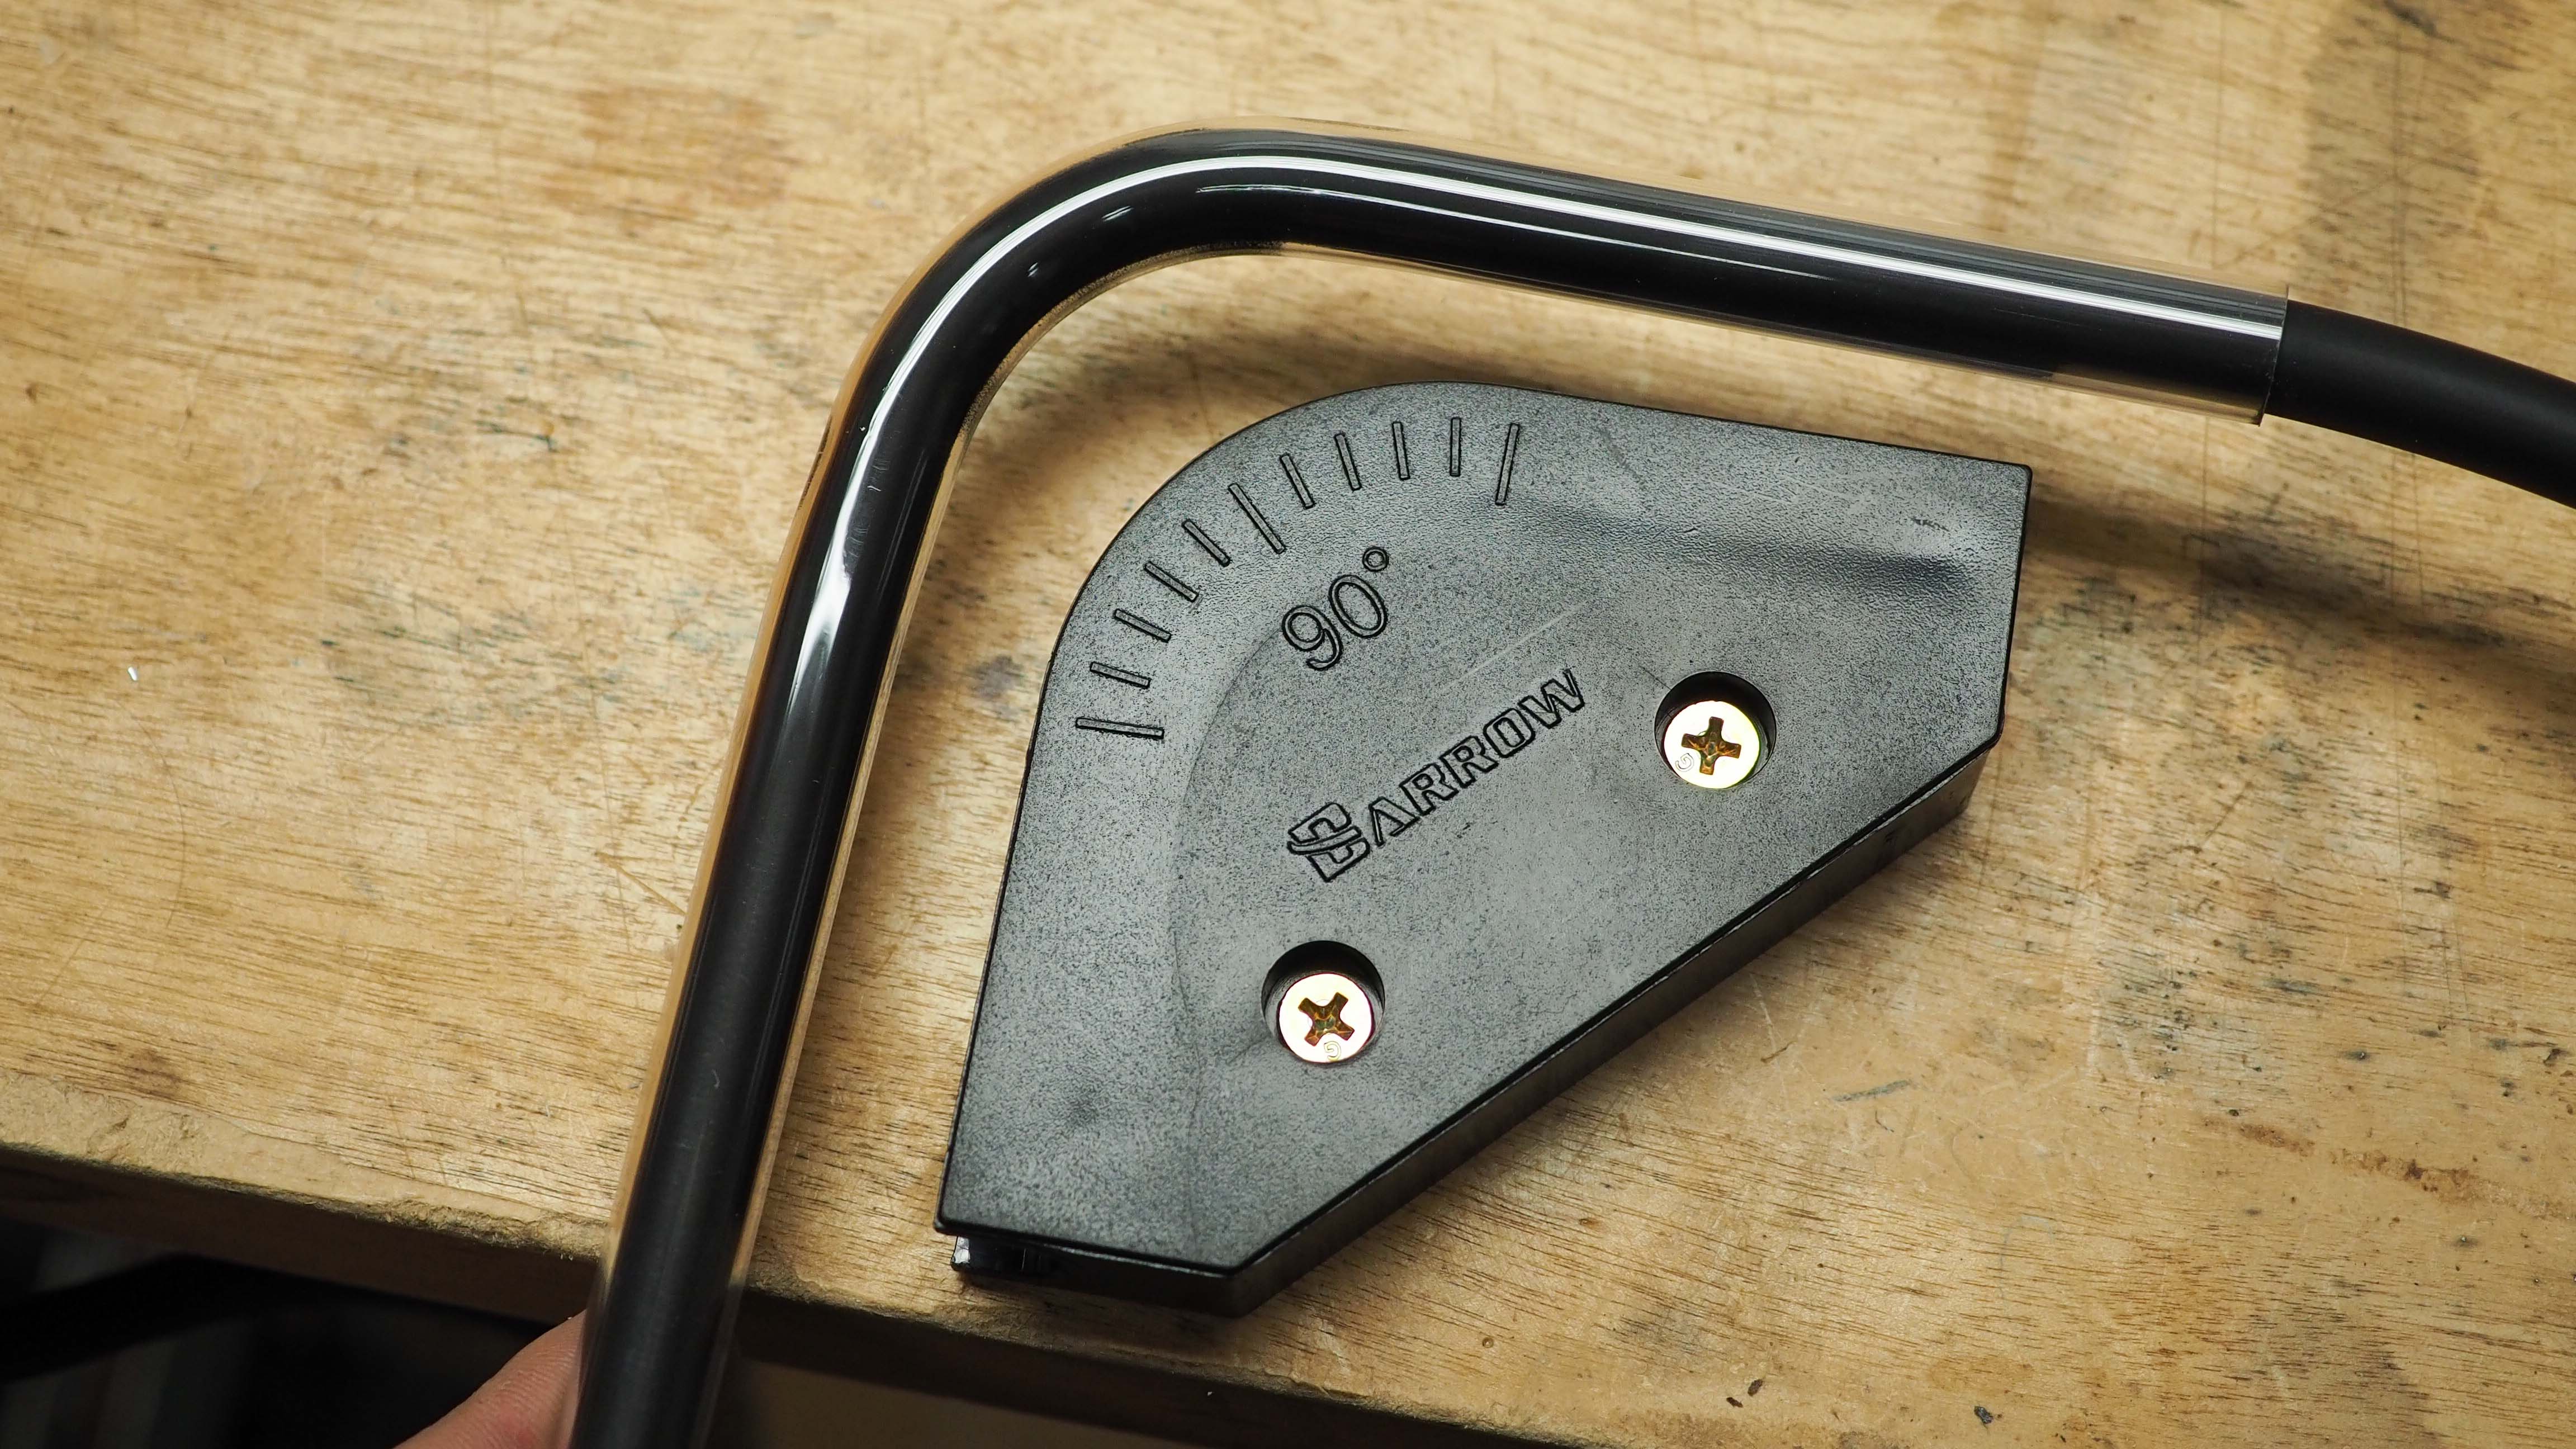
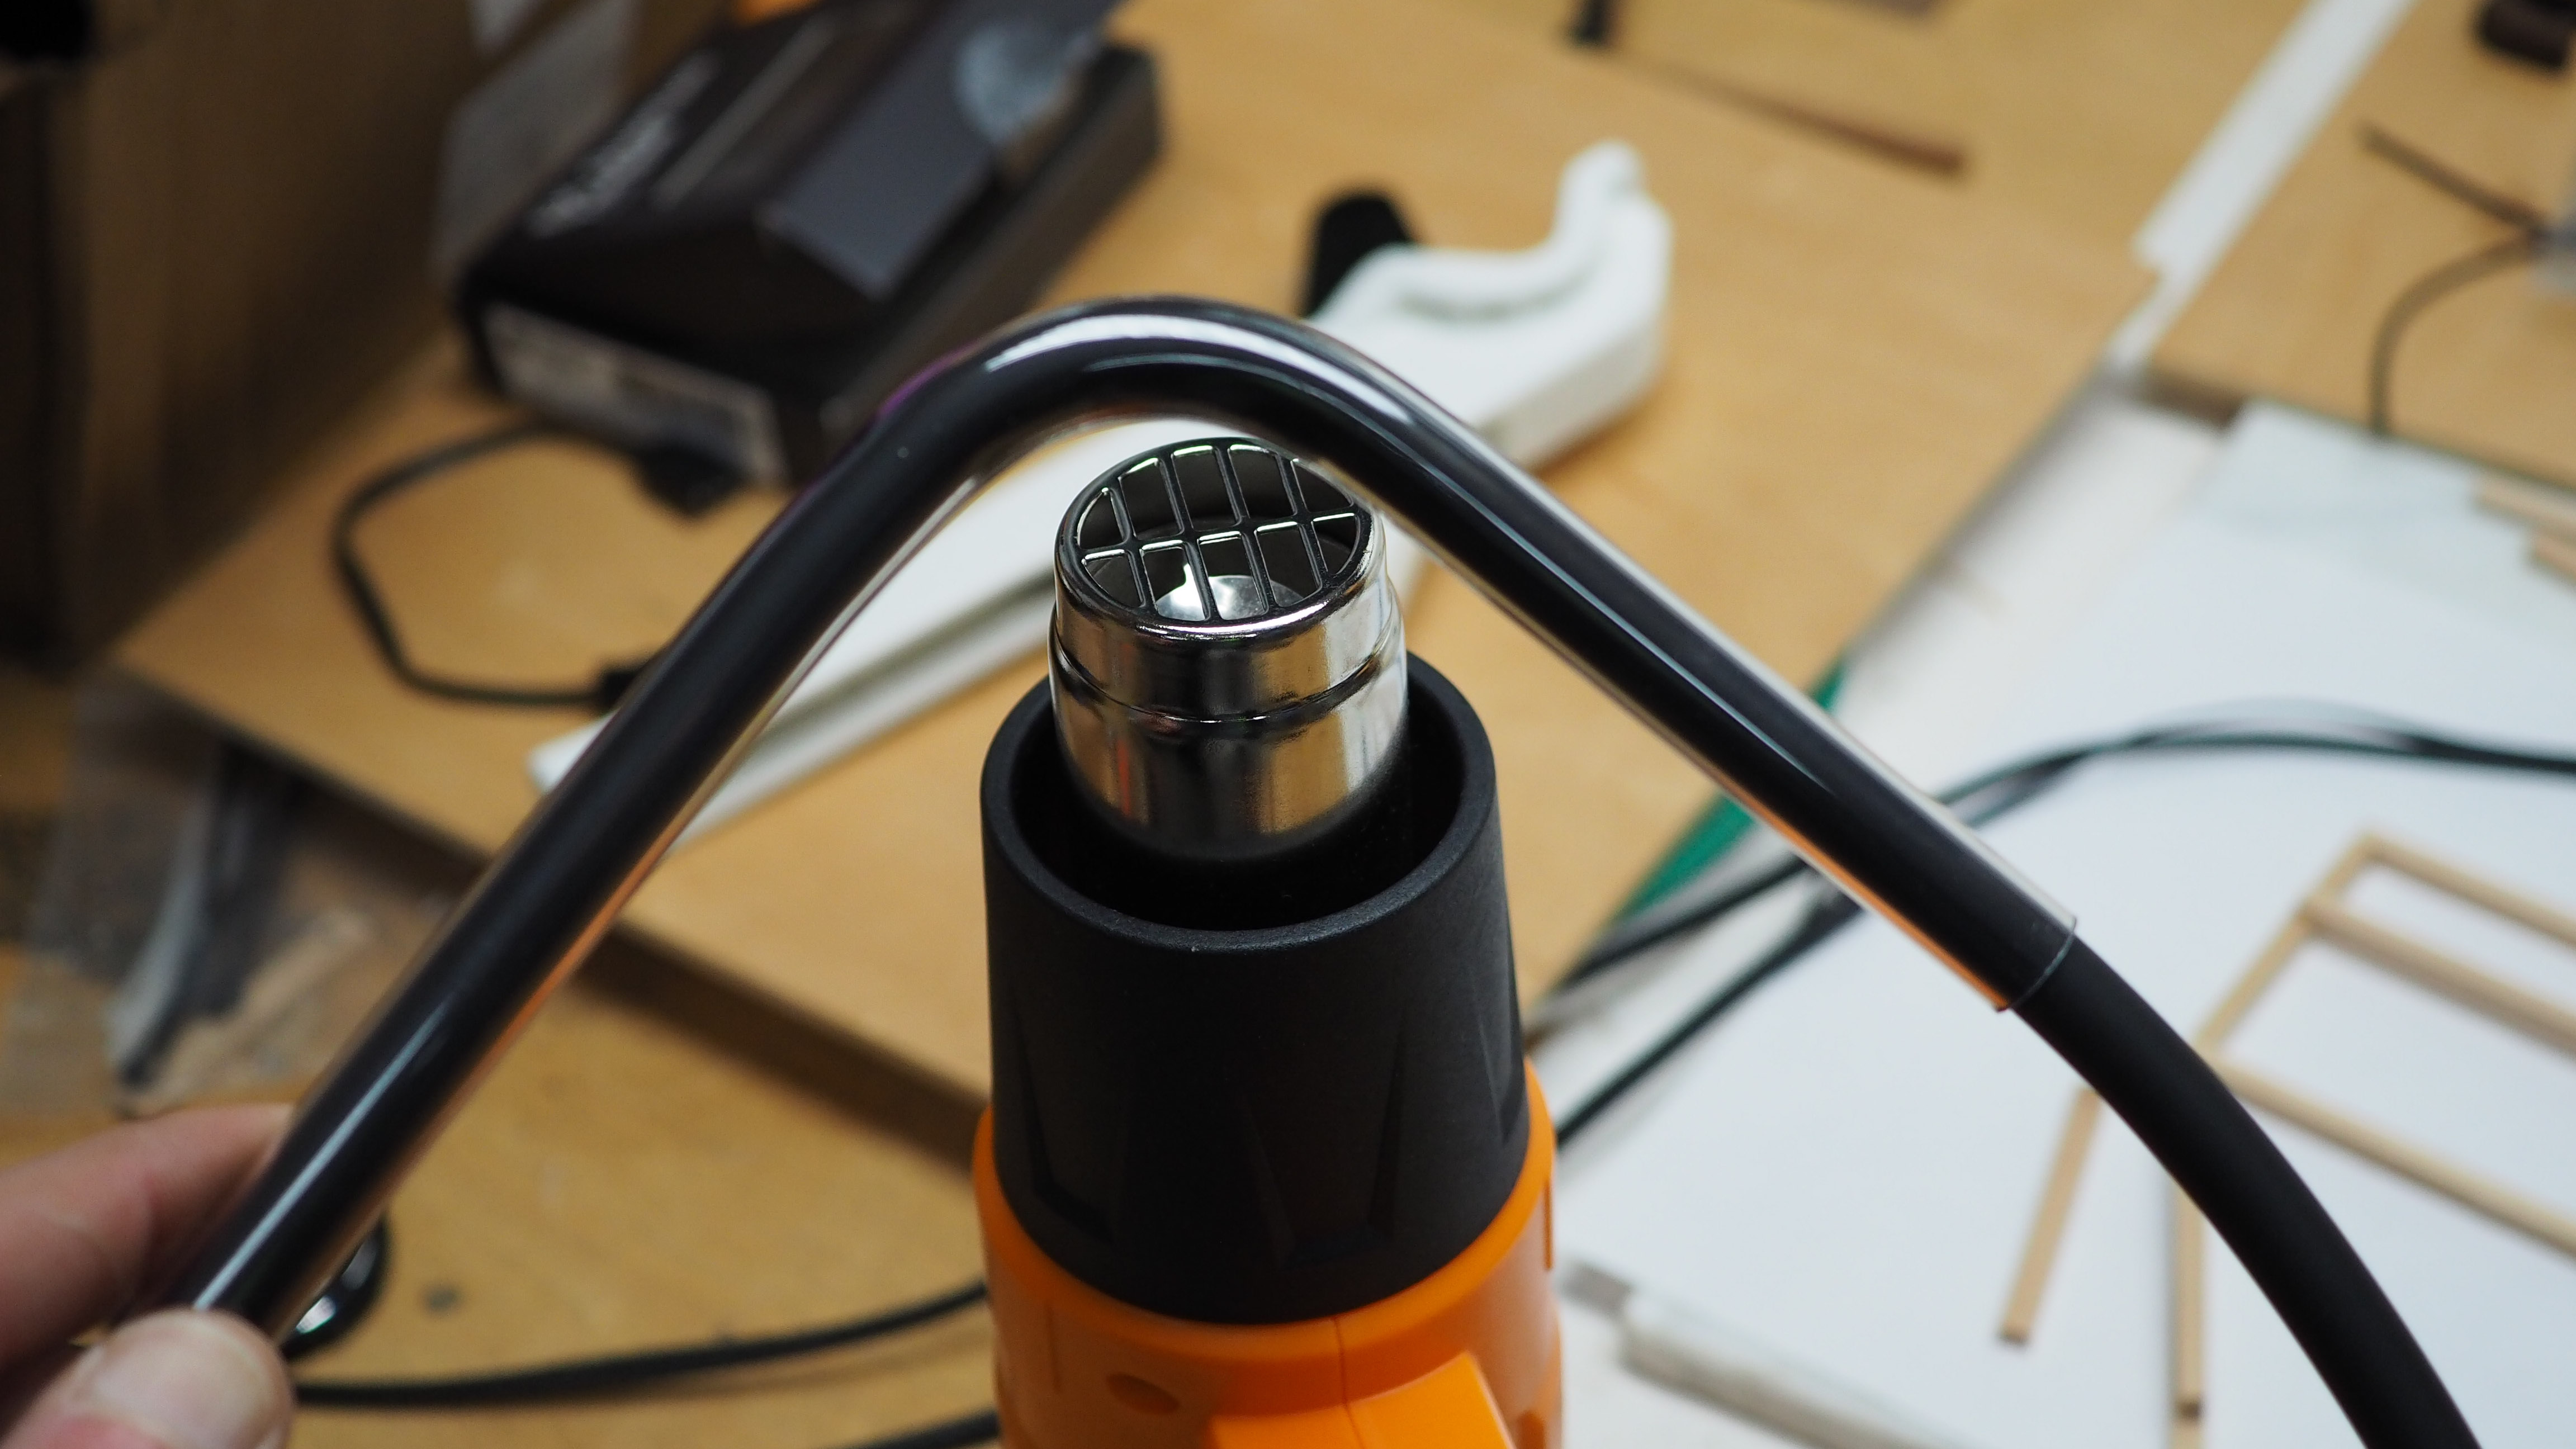
The tools I used are a heat gun and a bending guide to help get 90-degree angles. There is also a silicon rod that goes into the tubing and prevents it from kinking when I am bending it.
Heating the tubing evenly and completely is the hardest part. I did a bunch of test bends to get my bearings. Luckily I bought double the amount of tubing I actually needed, because this part is not typically my strong suit.
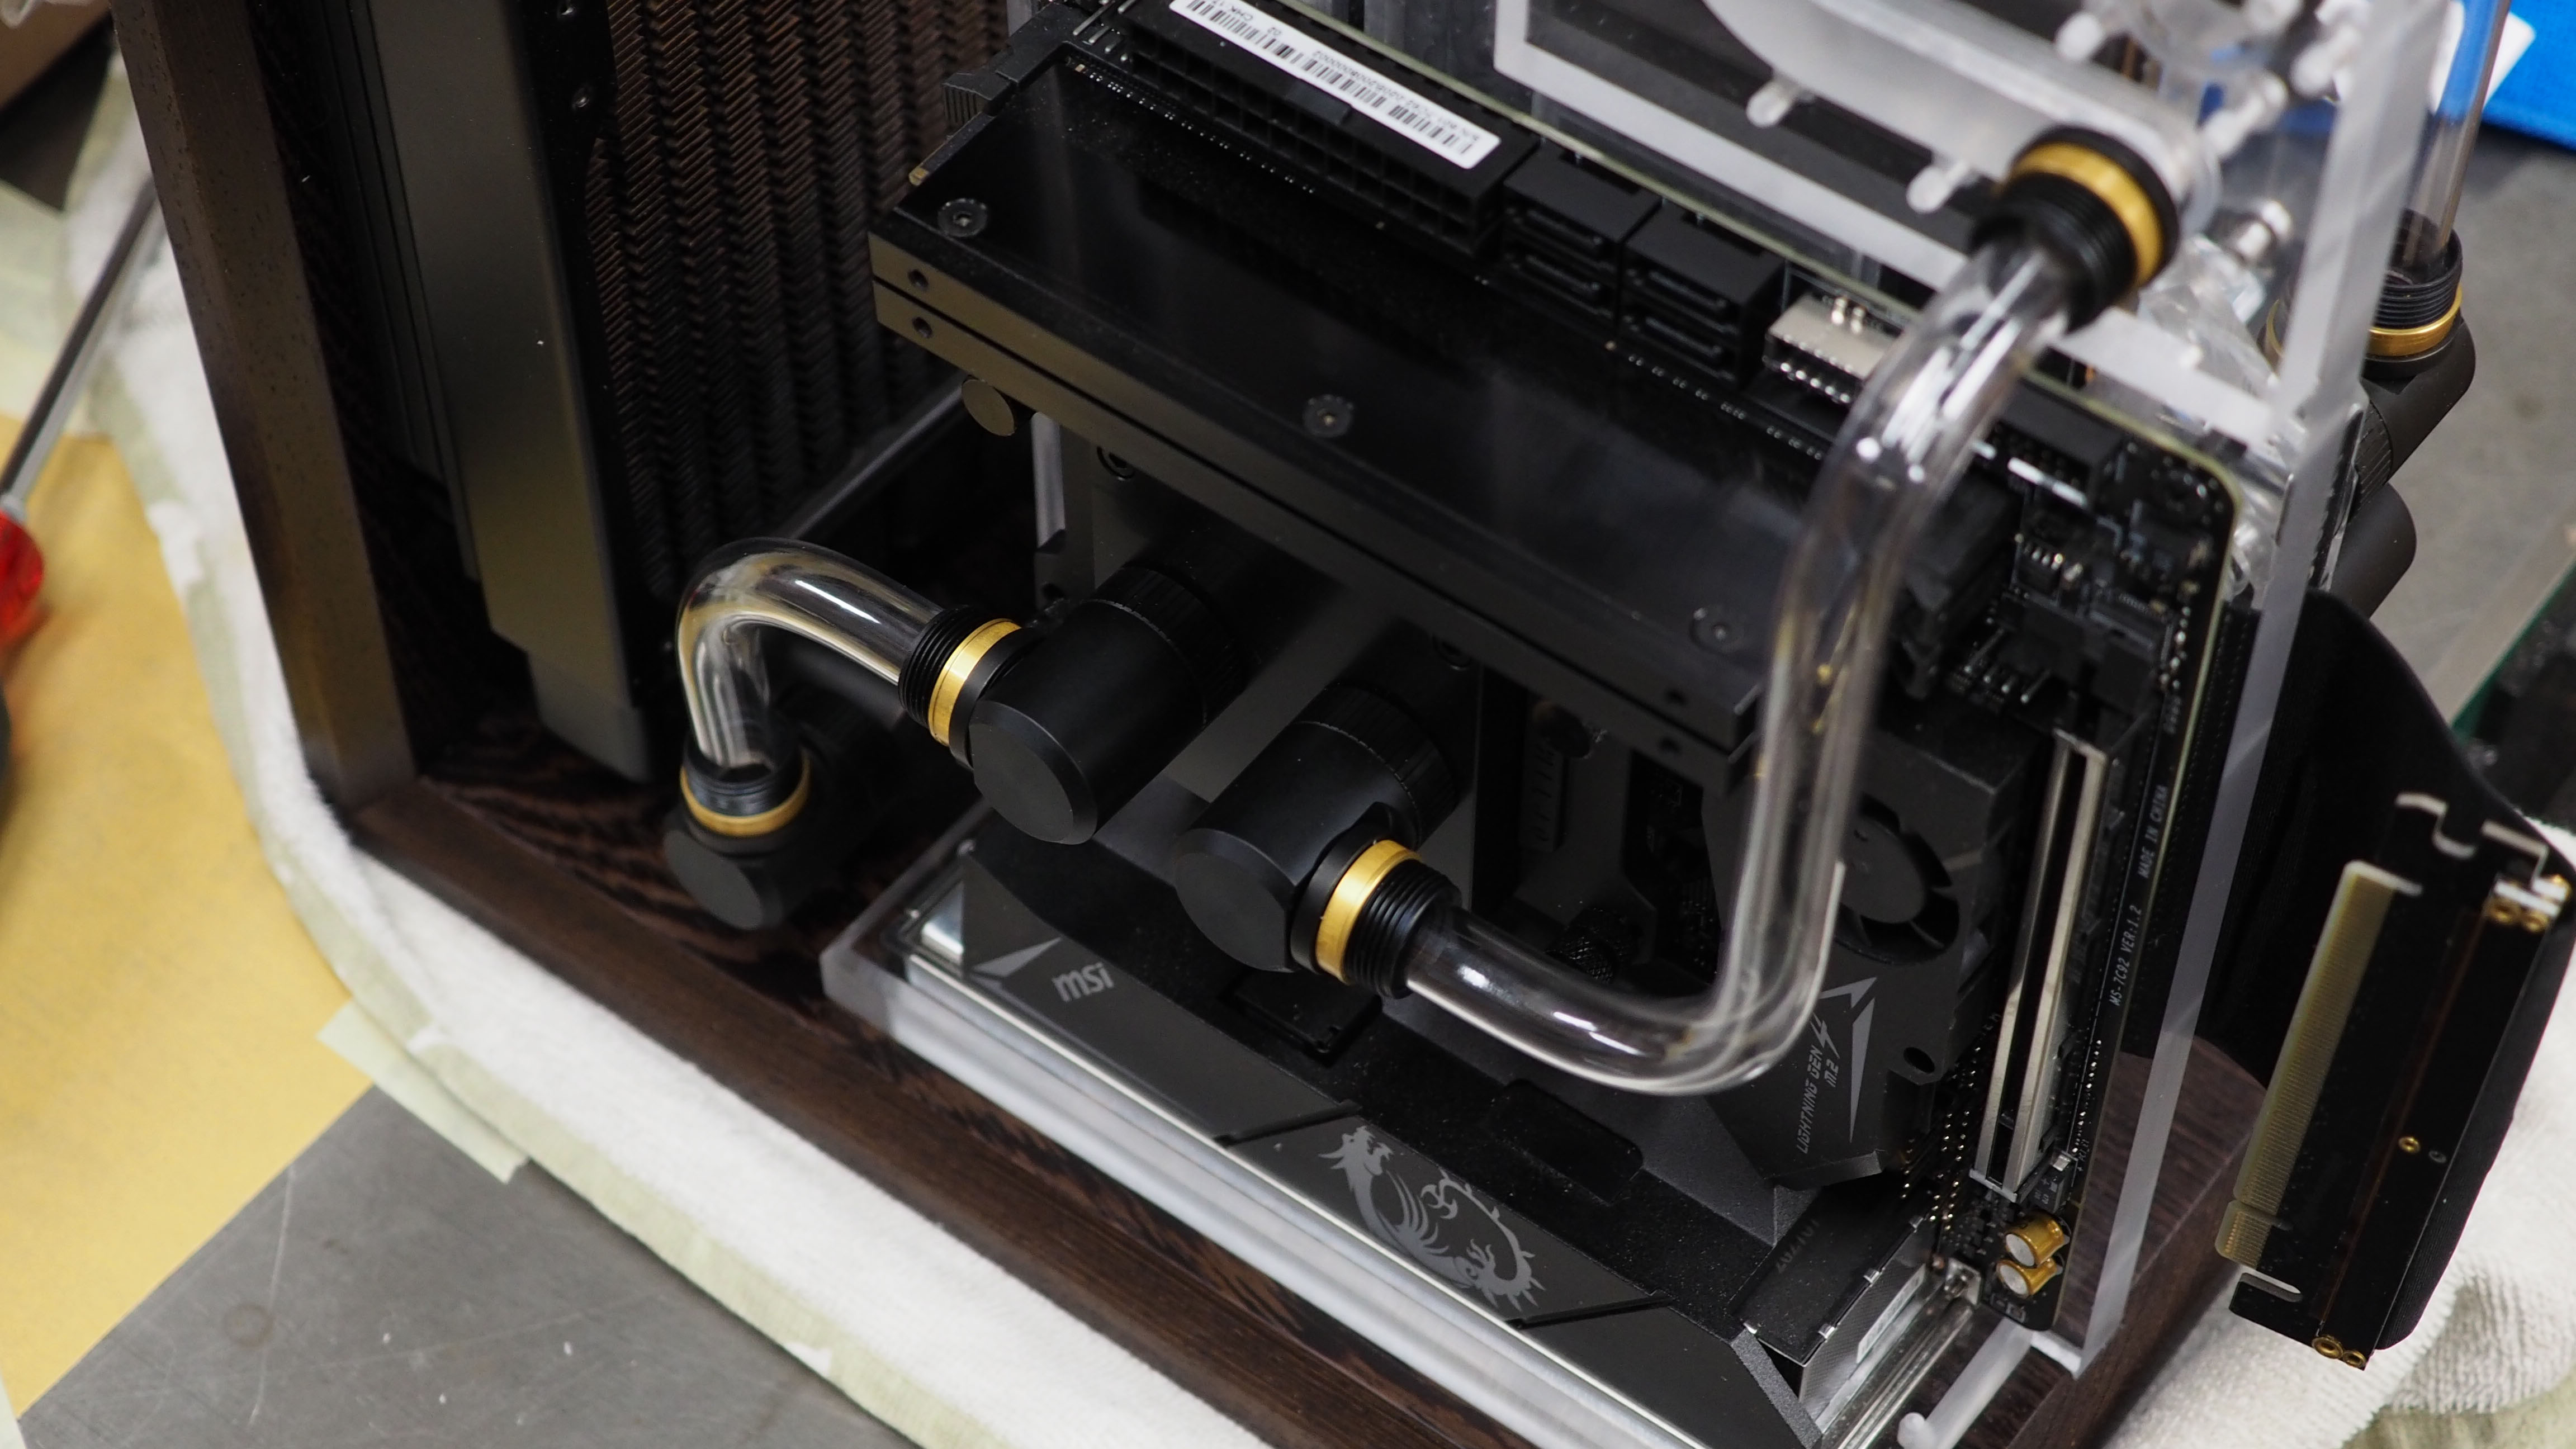
I used a Barrow tubing cutter and a Primochill tube trimmer to get all the tubes dialed. With some patience as well as trial and error, I got most of the tubing bends done.
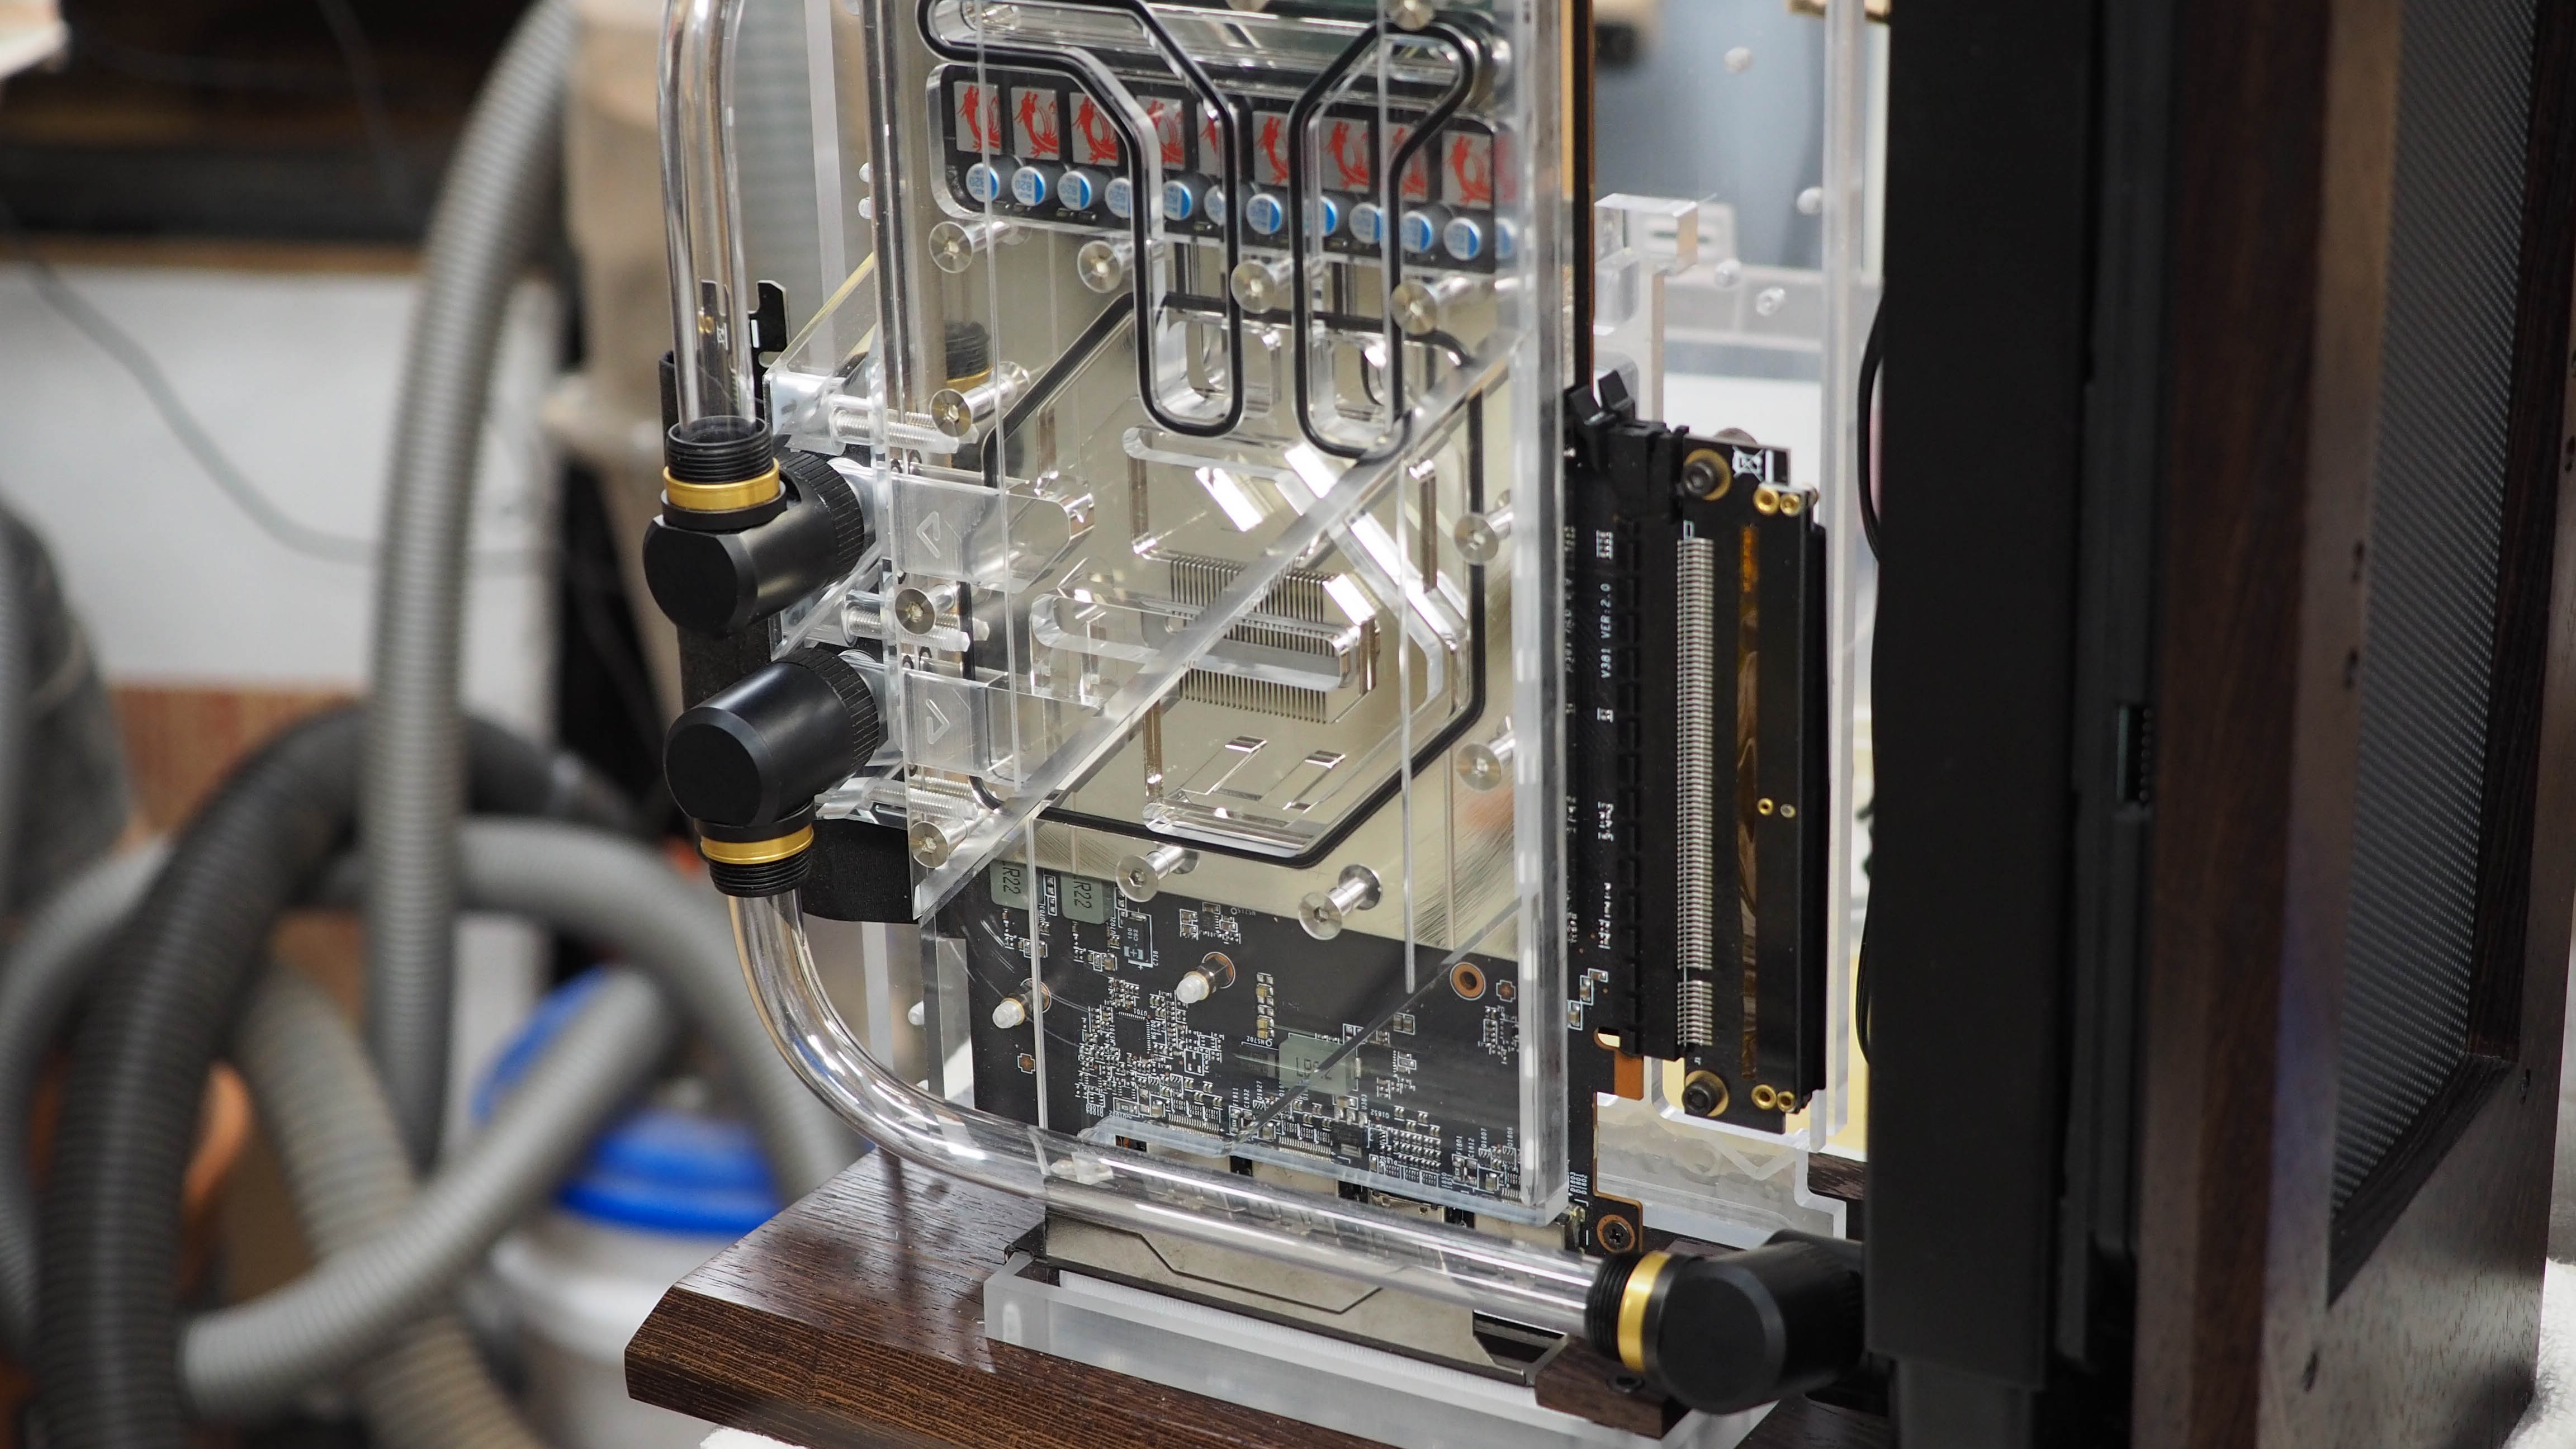
The hardest one was the double 90-degree bend going from the Pump Distro to the CPU block. This took a few tries to get the lengths and bends just right.
RAM Cover
Another simple mod was a cover for the RAM modules. I used the EK RAM blocks made out of black aluminum, but instead of water cooling these, I will make a Wenge cover for them to fit into the theme.
Get Tom's Hardware's best news and in-depth reviews, straight to your inbox.
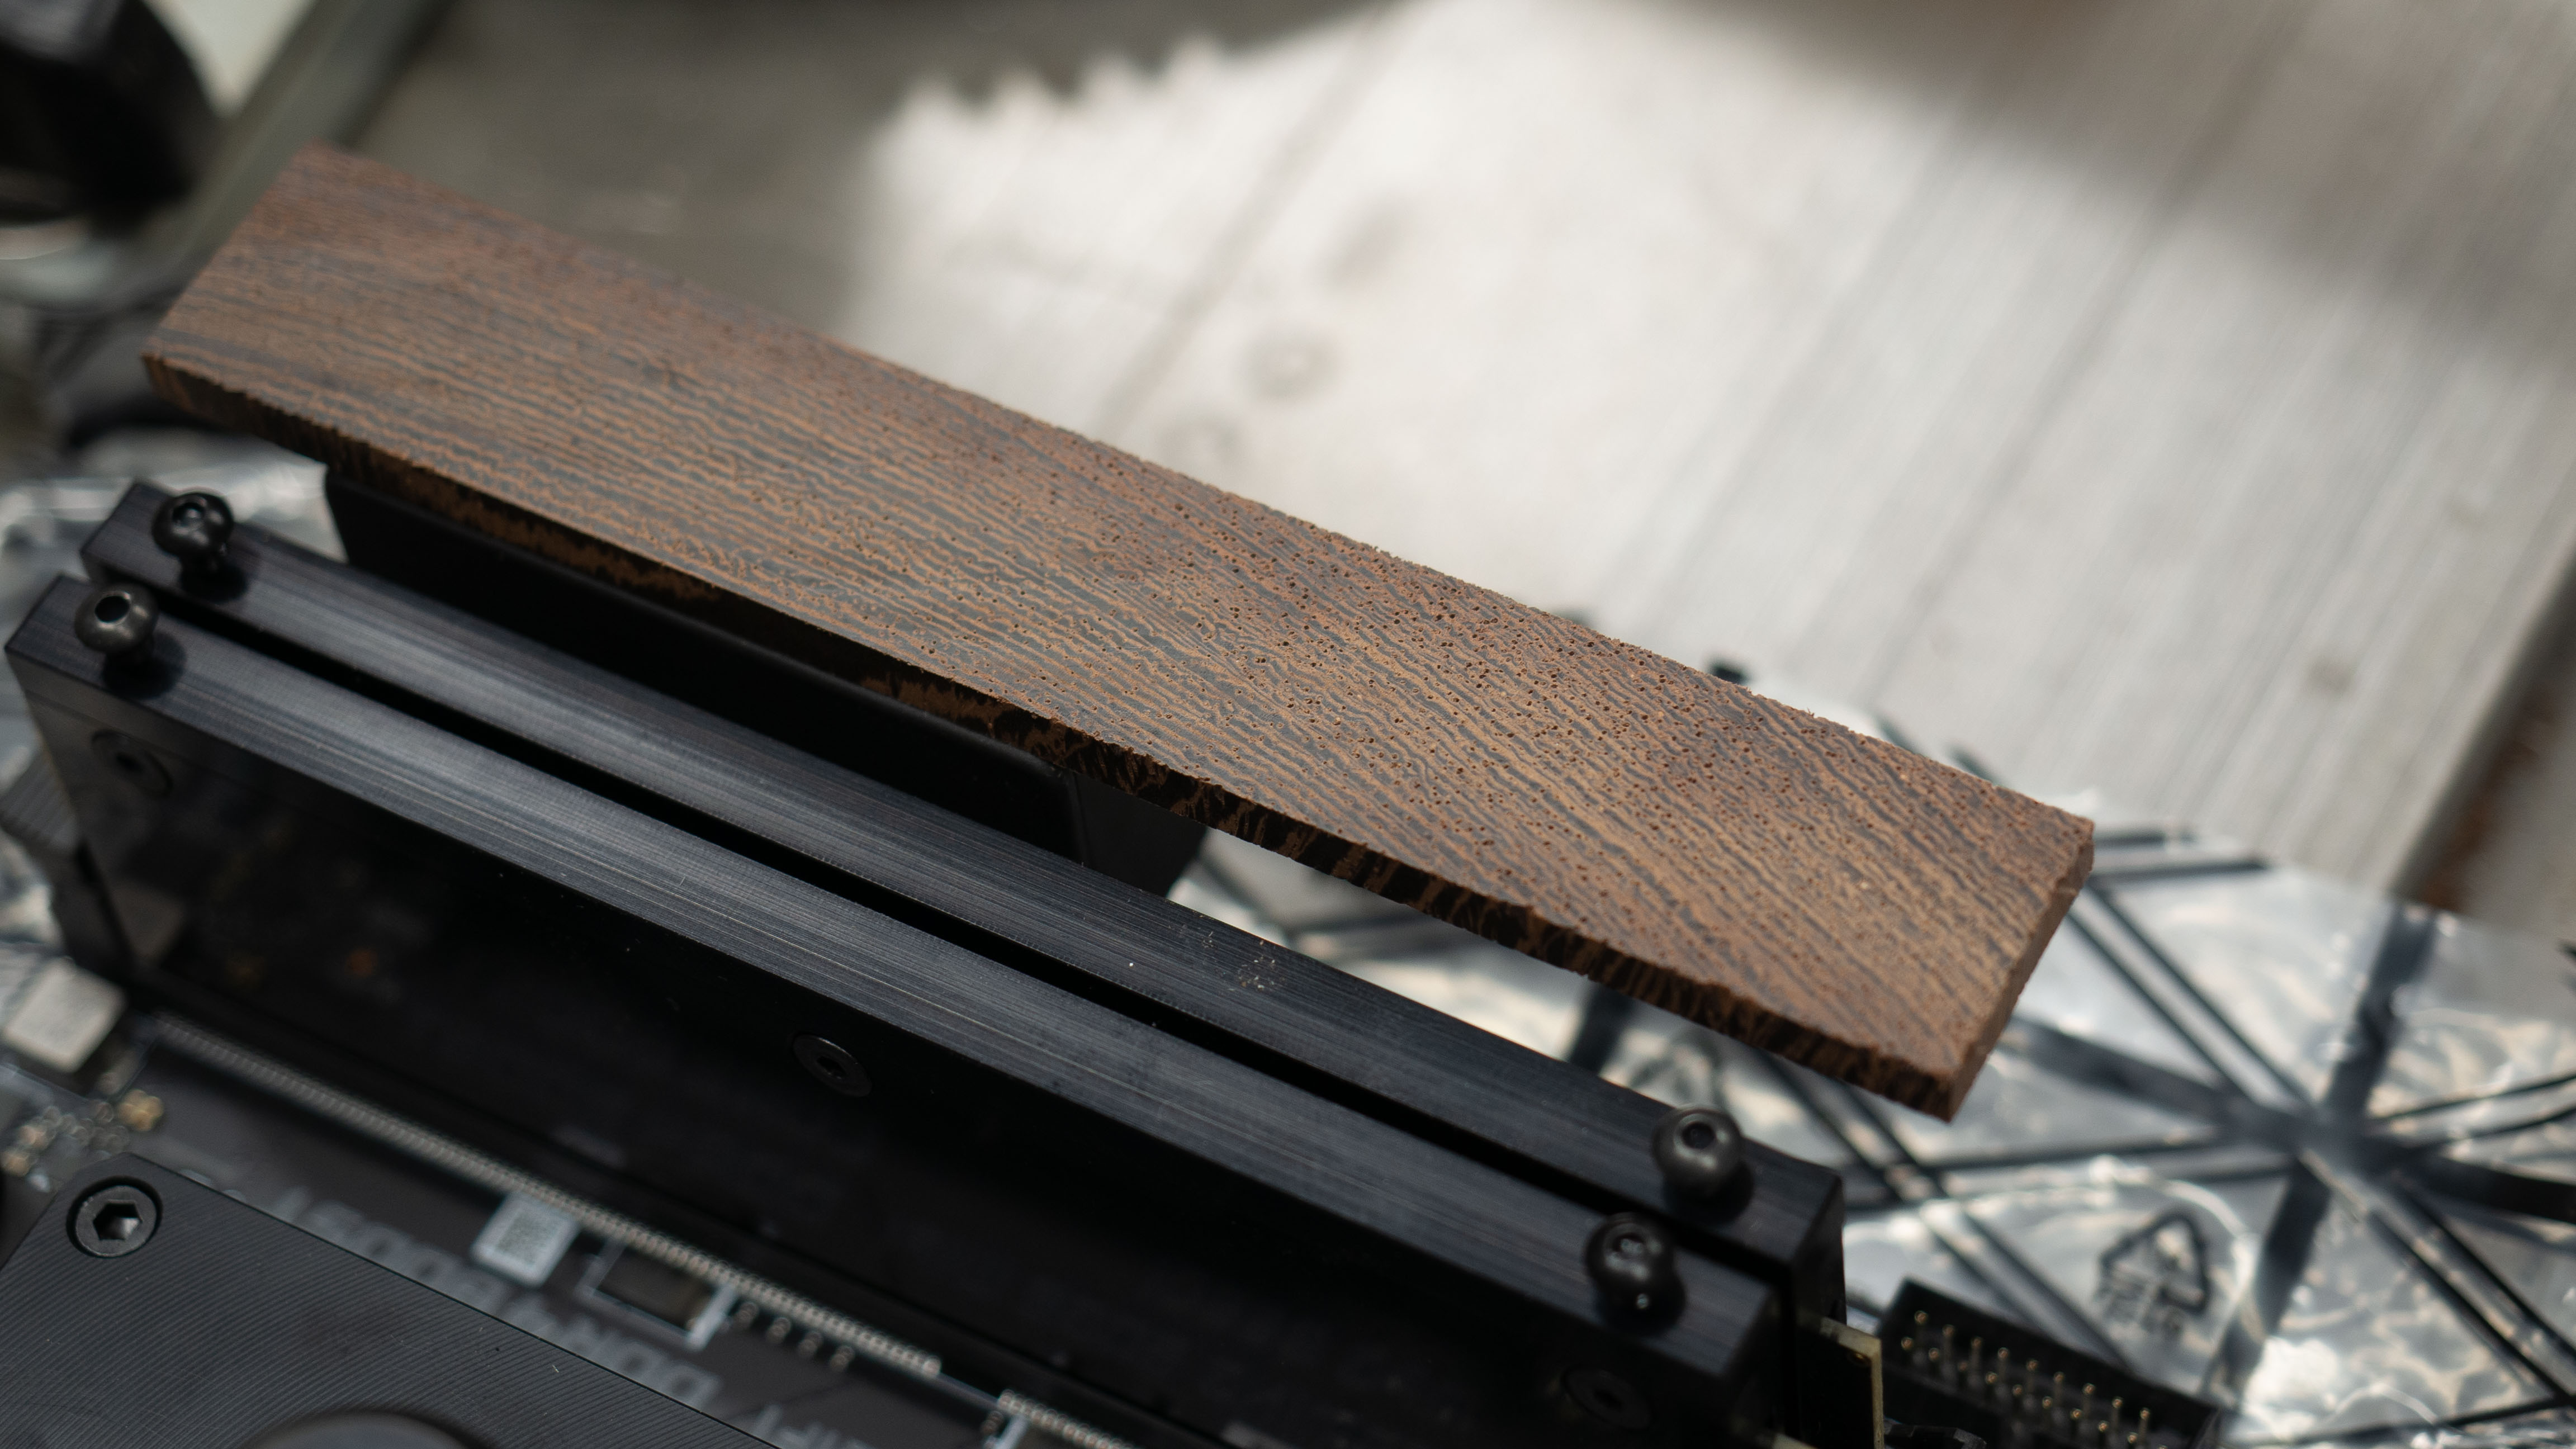
This was a pretty precise fit using small screws, but it turned out well.
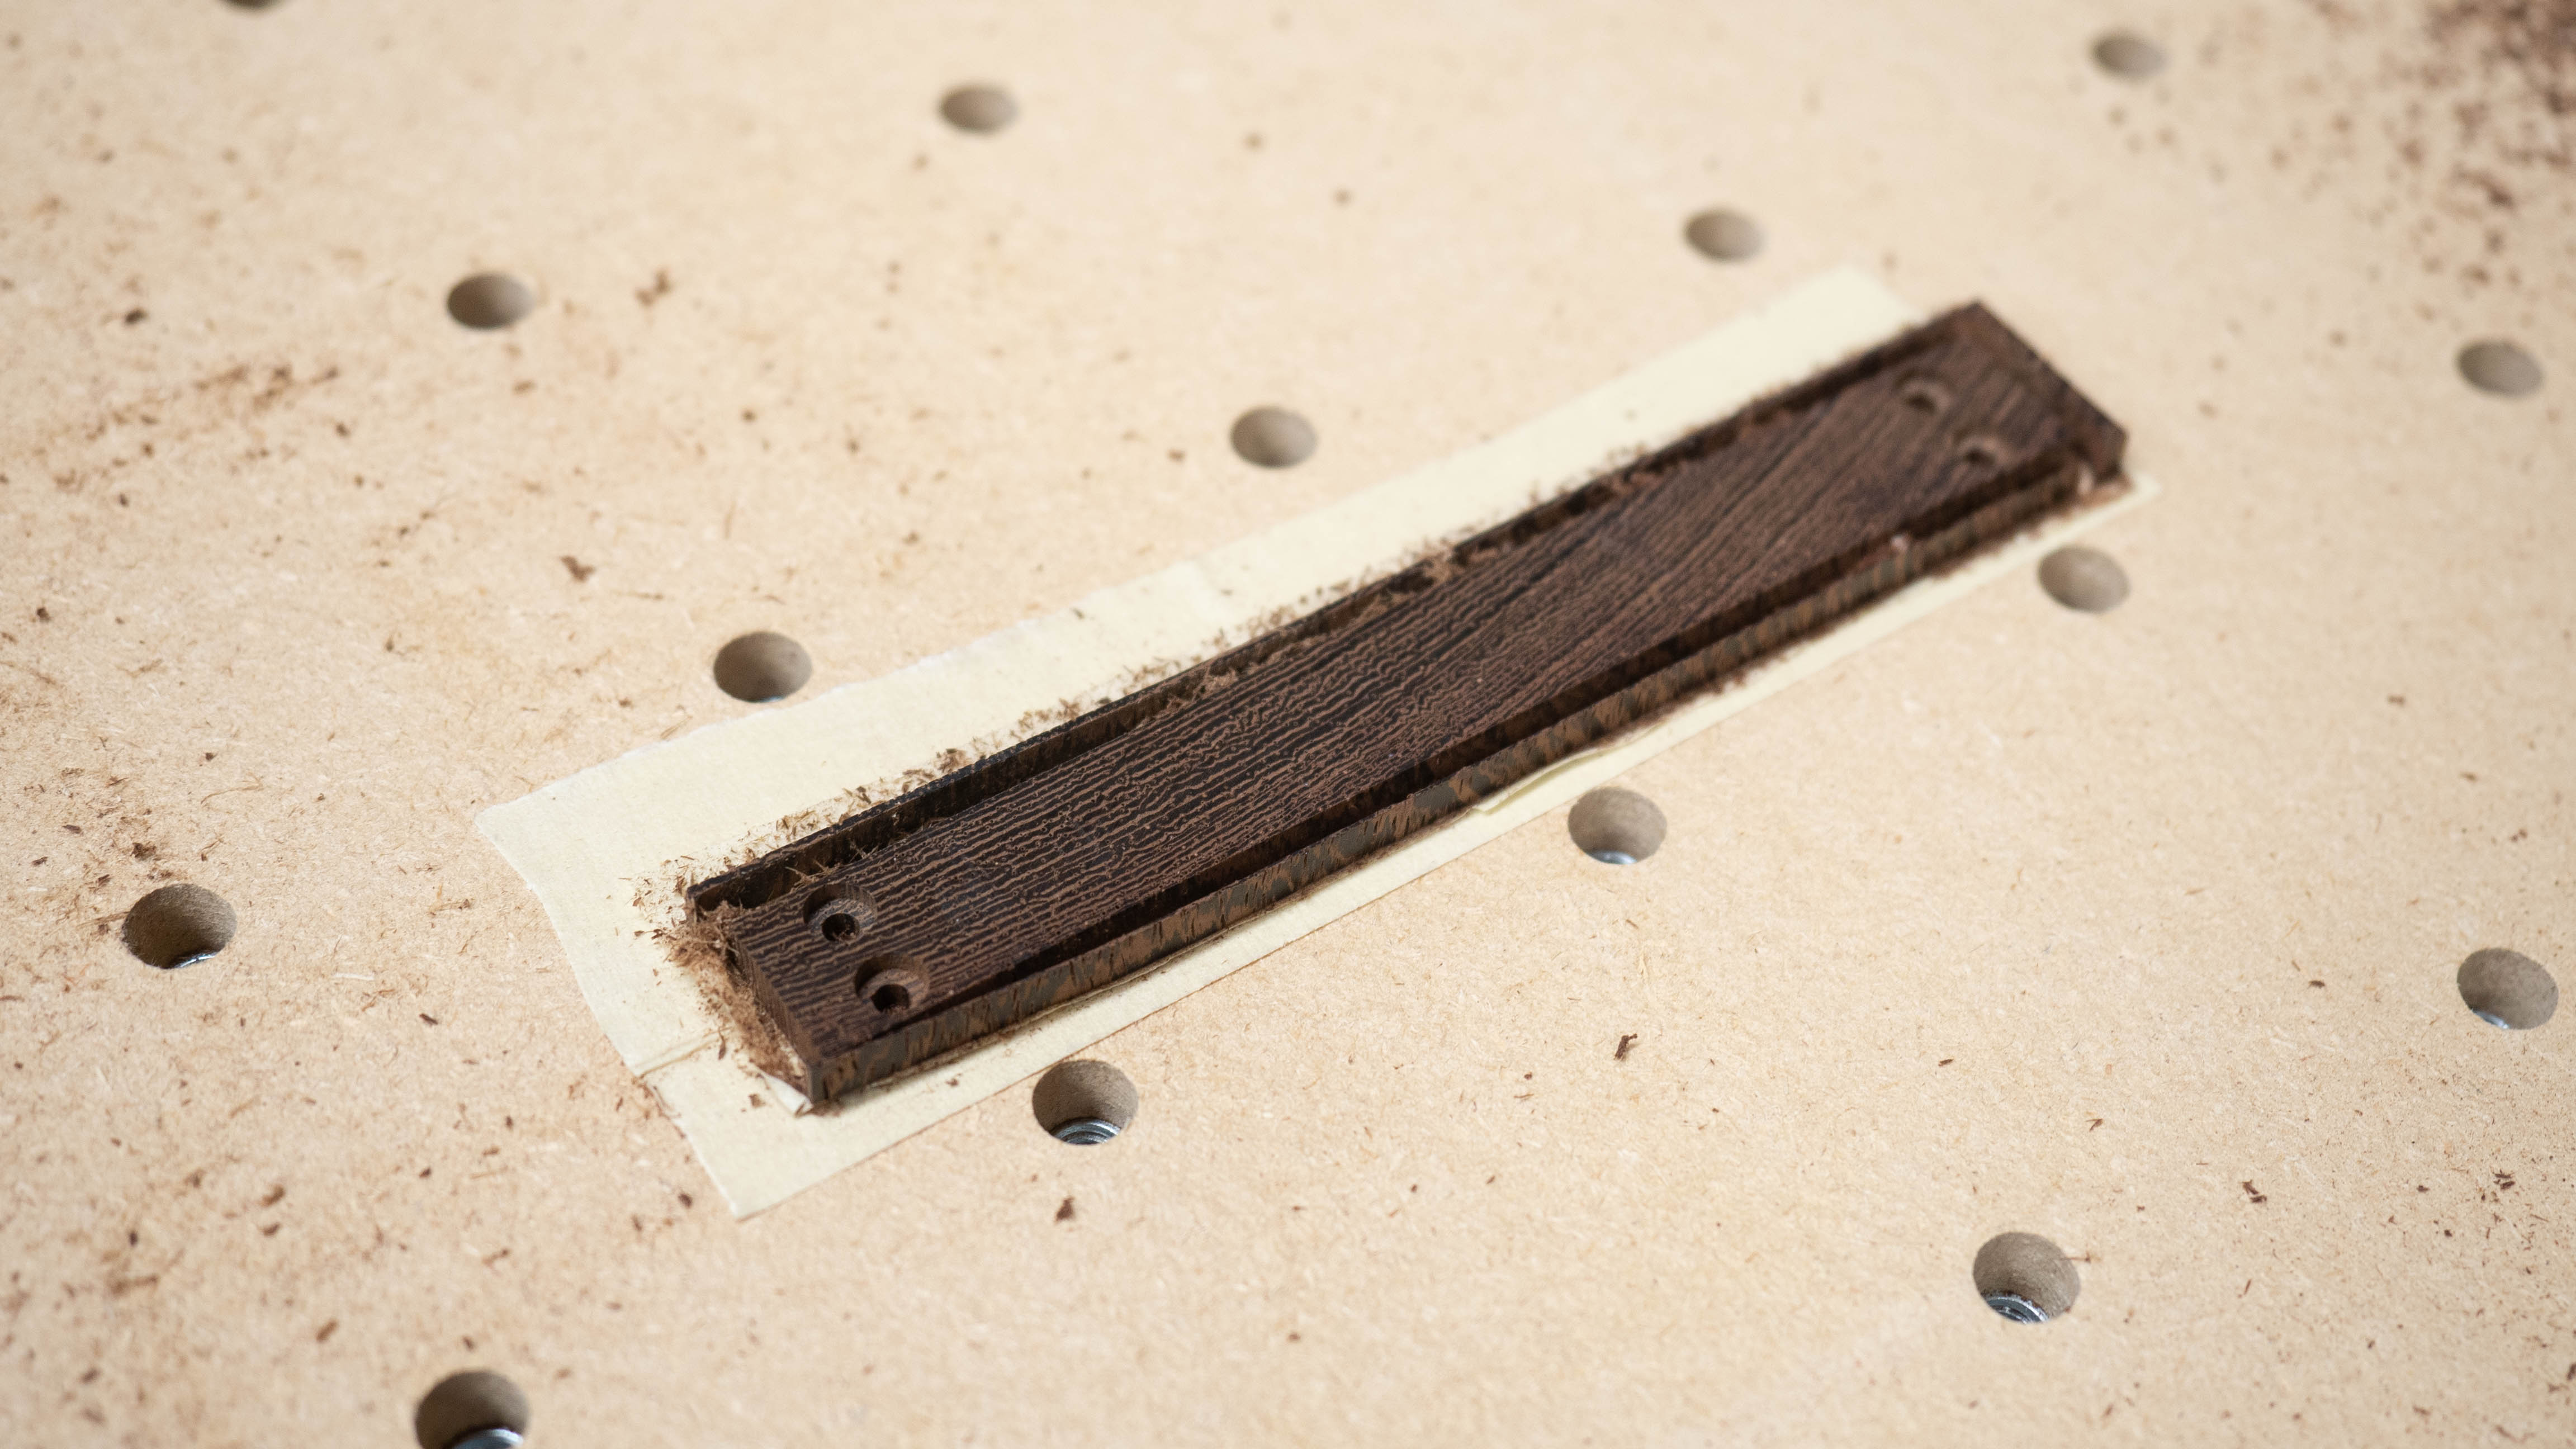
I will make similar pieces for the rest of the motherboard to help it match the theme of the case.
Wiring
Wiring is easily my least favorite part of the modding process, so I wanted to make it as easy as possible in this case by planning ahead. I made many models of the wiring and mocked it up as much as I could before embarking on the real thing.
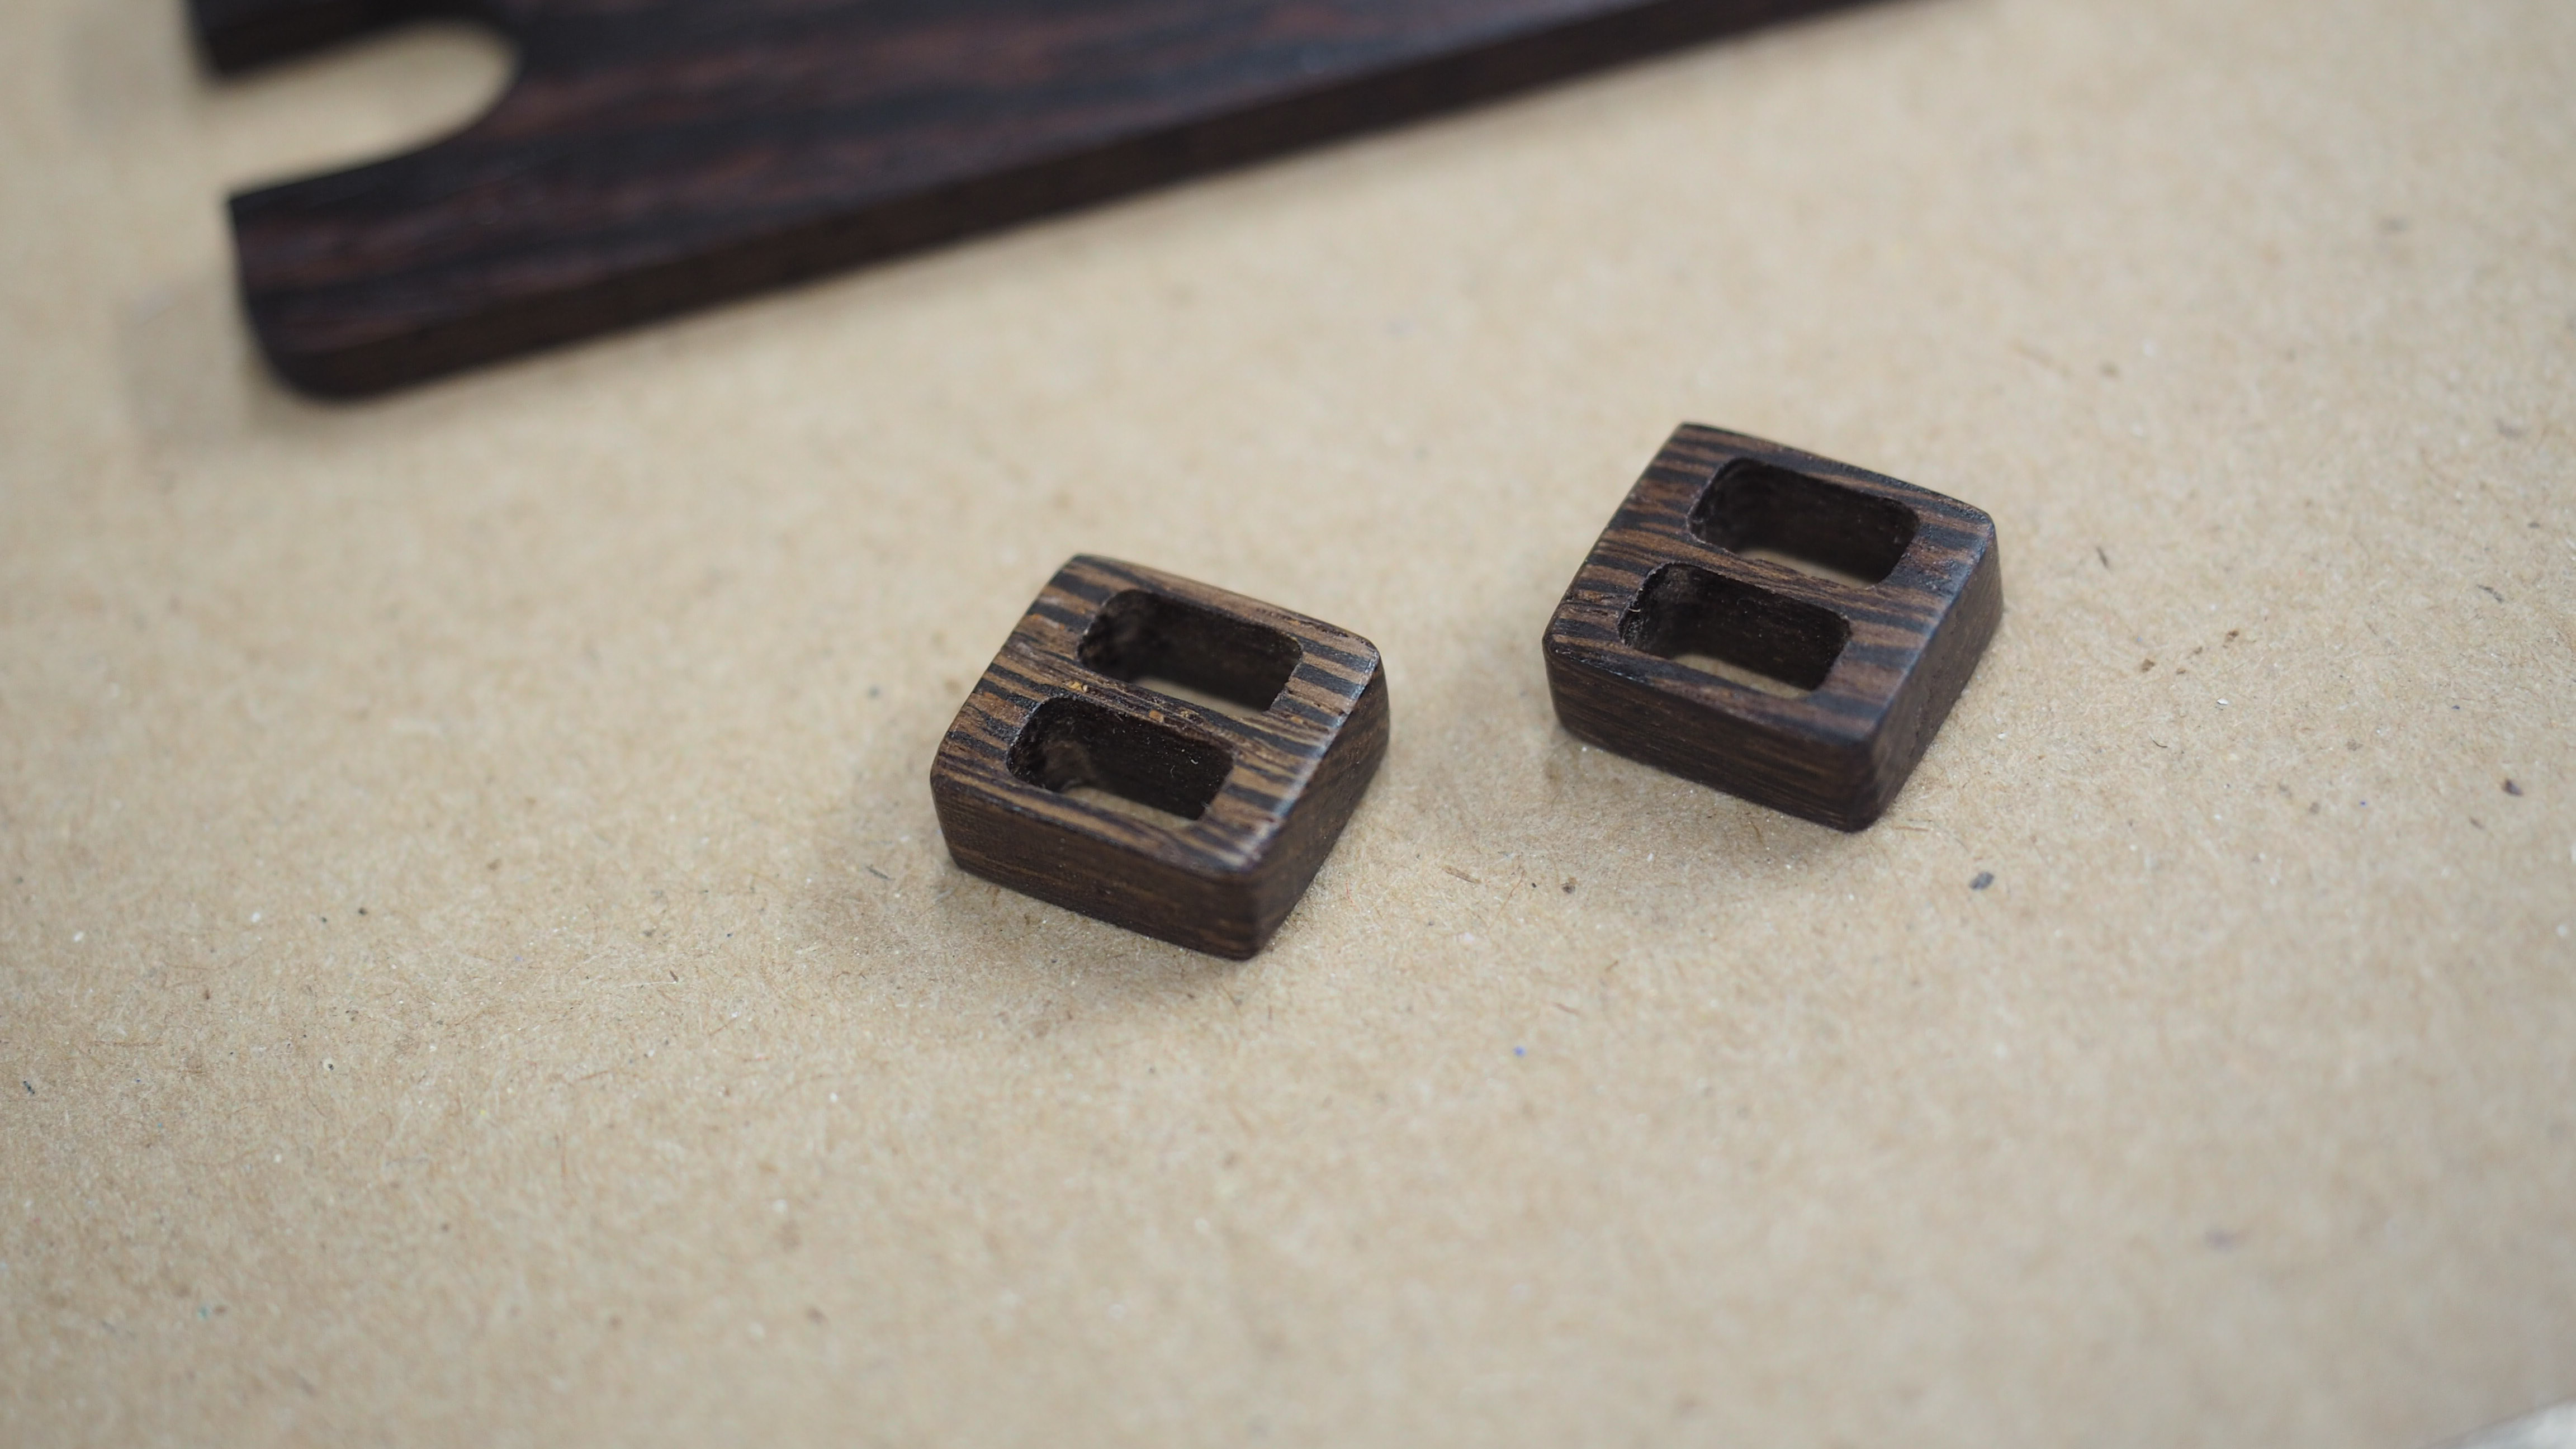
The cables that came with the Cooler Master SFX PSU were also really nice, so this made it easier, although I still ended up making most of the cables myself. I chose to go with bare wires without sleeving to keep the smallest footprint possible. I also made my own cable combs to keep the wires tidy when they were exposed.
Here is the special cable comb that routes the wires going into the 8-pin motherboard cable.
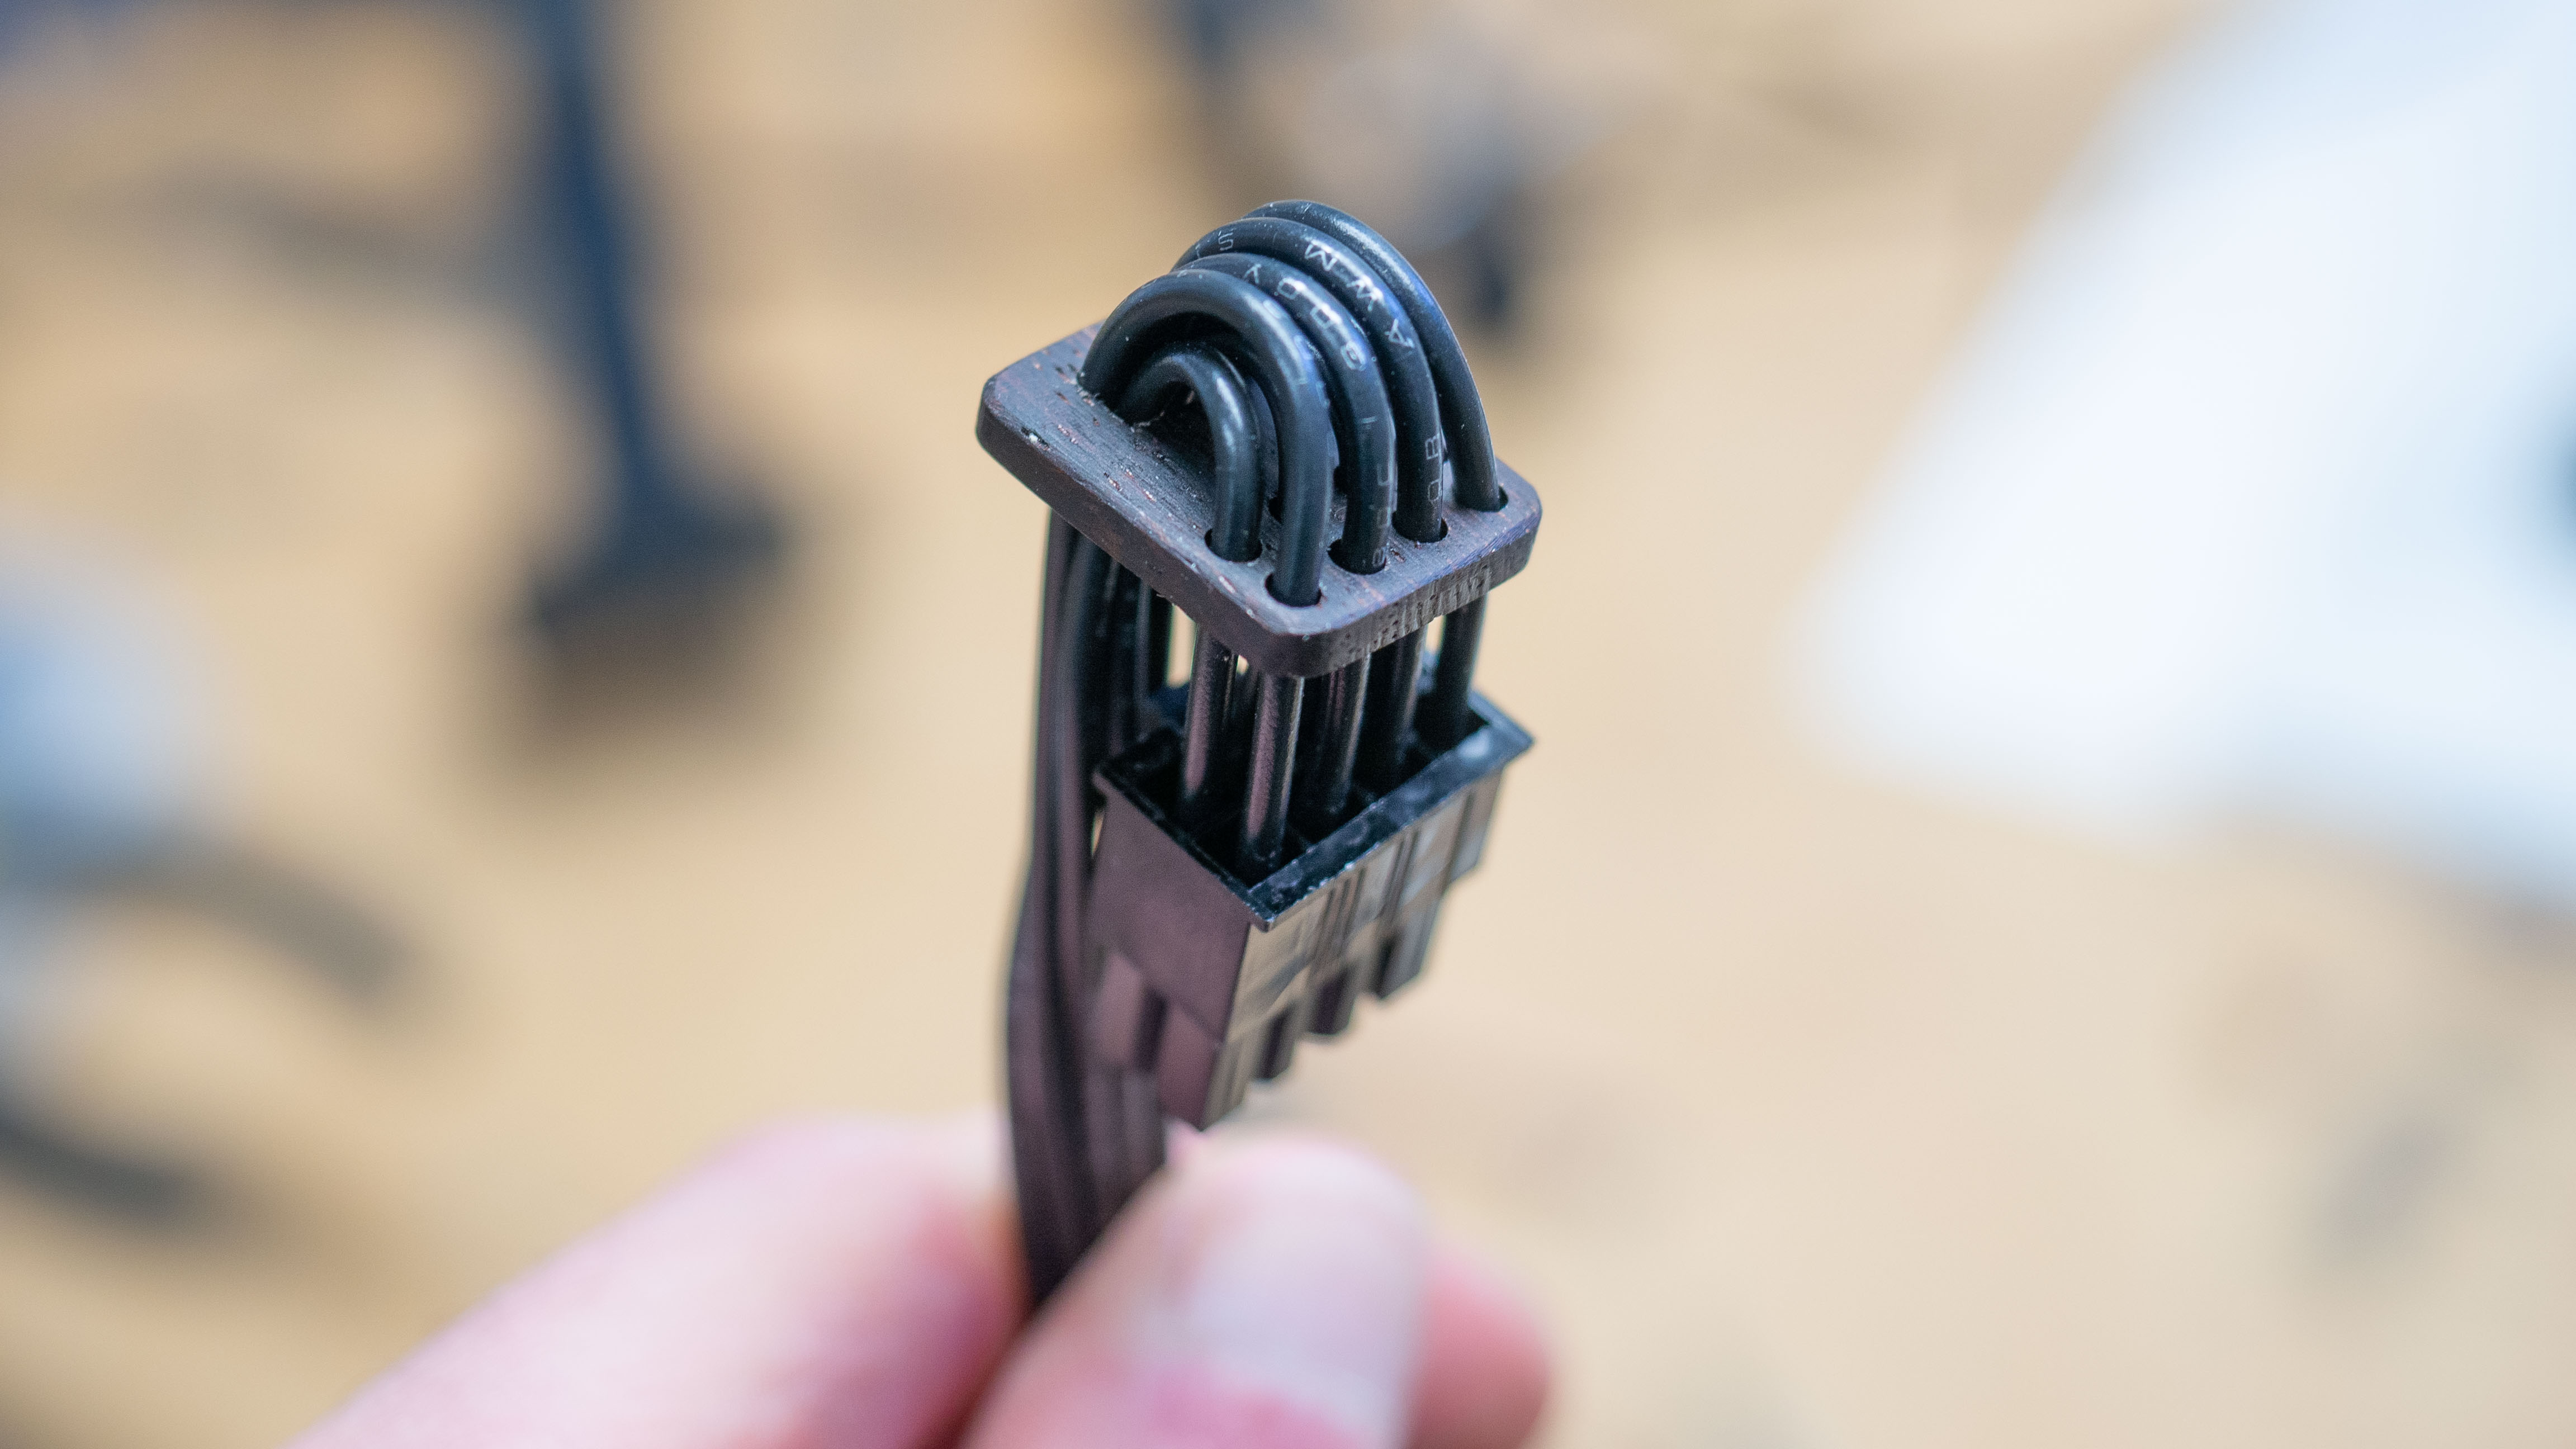
I used a to make double 8 pin cable combs out of wenge.
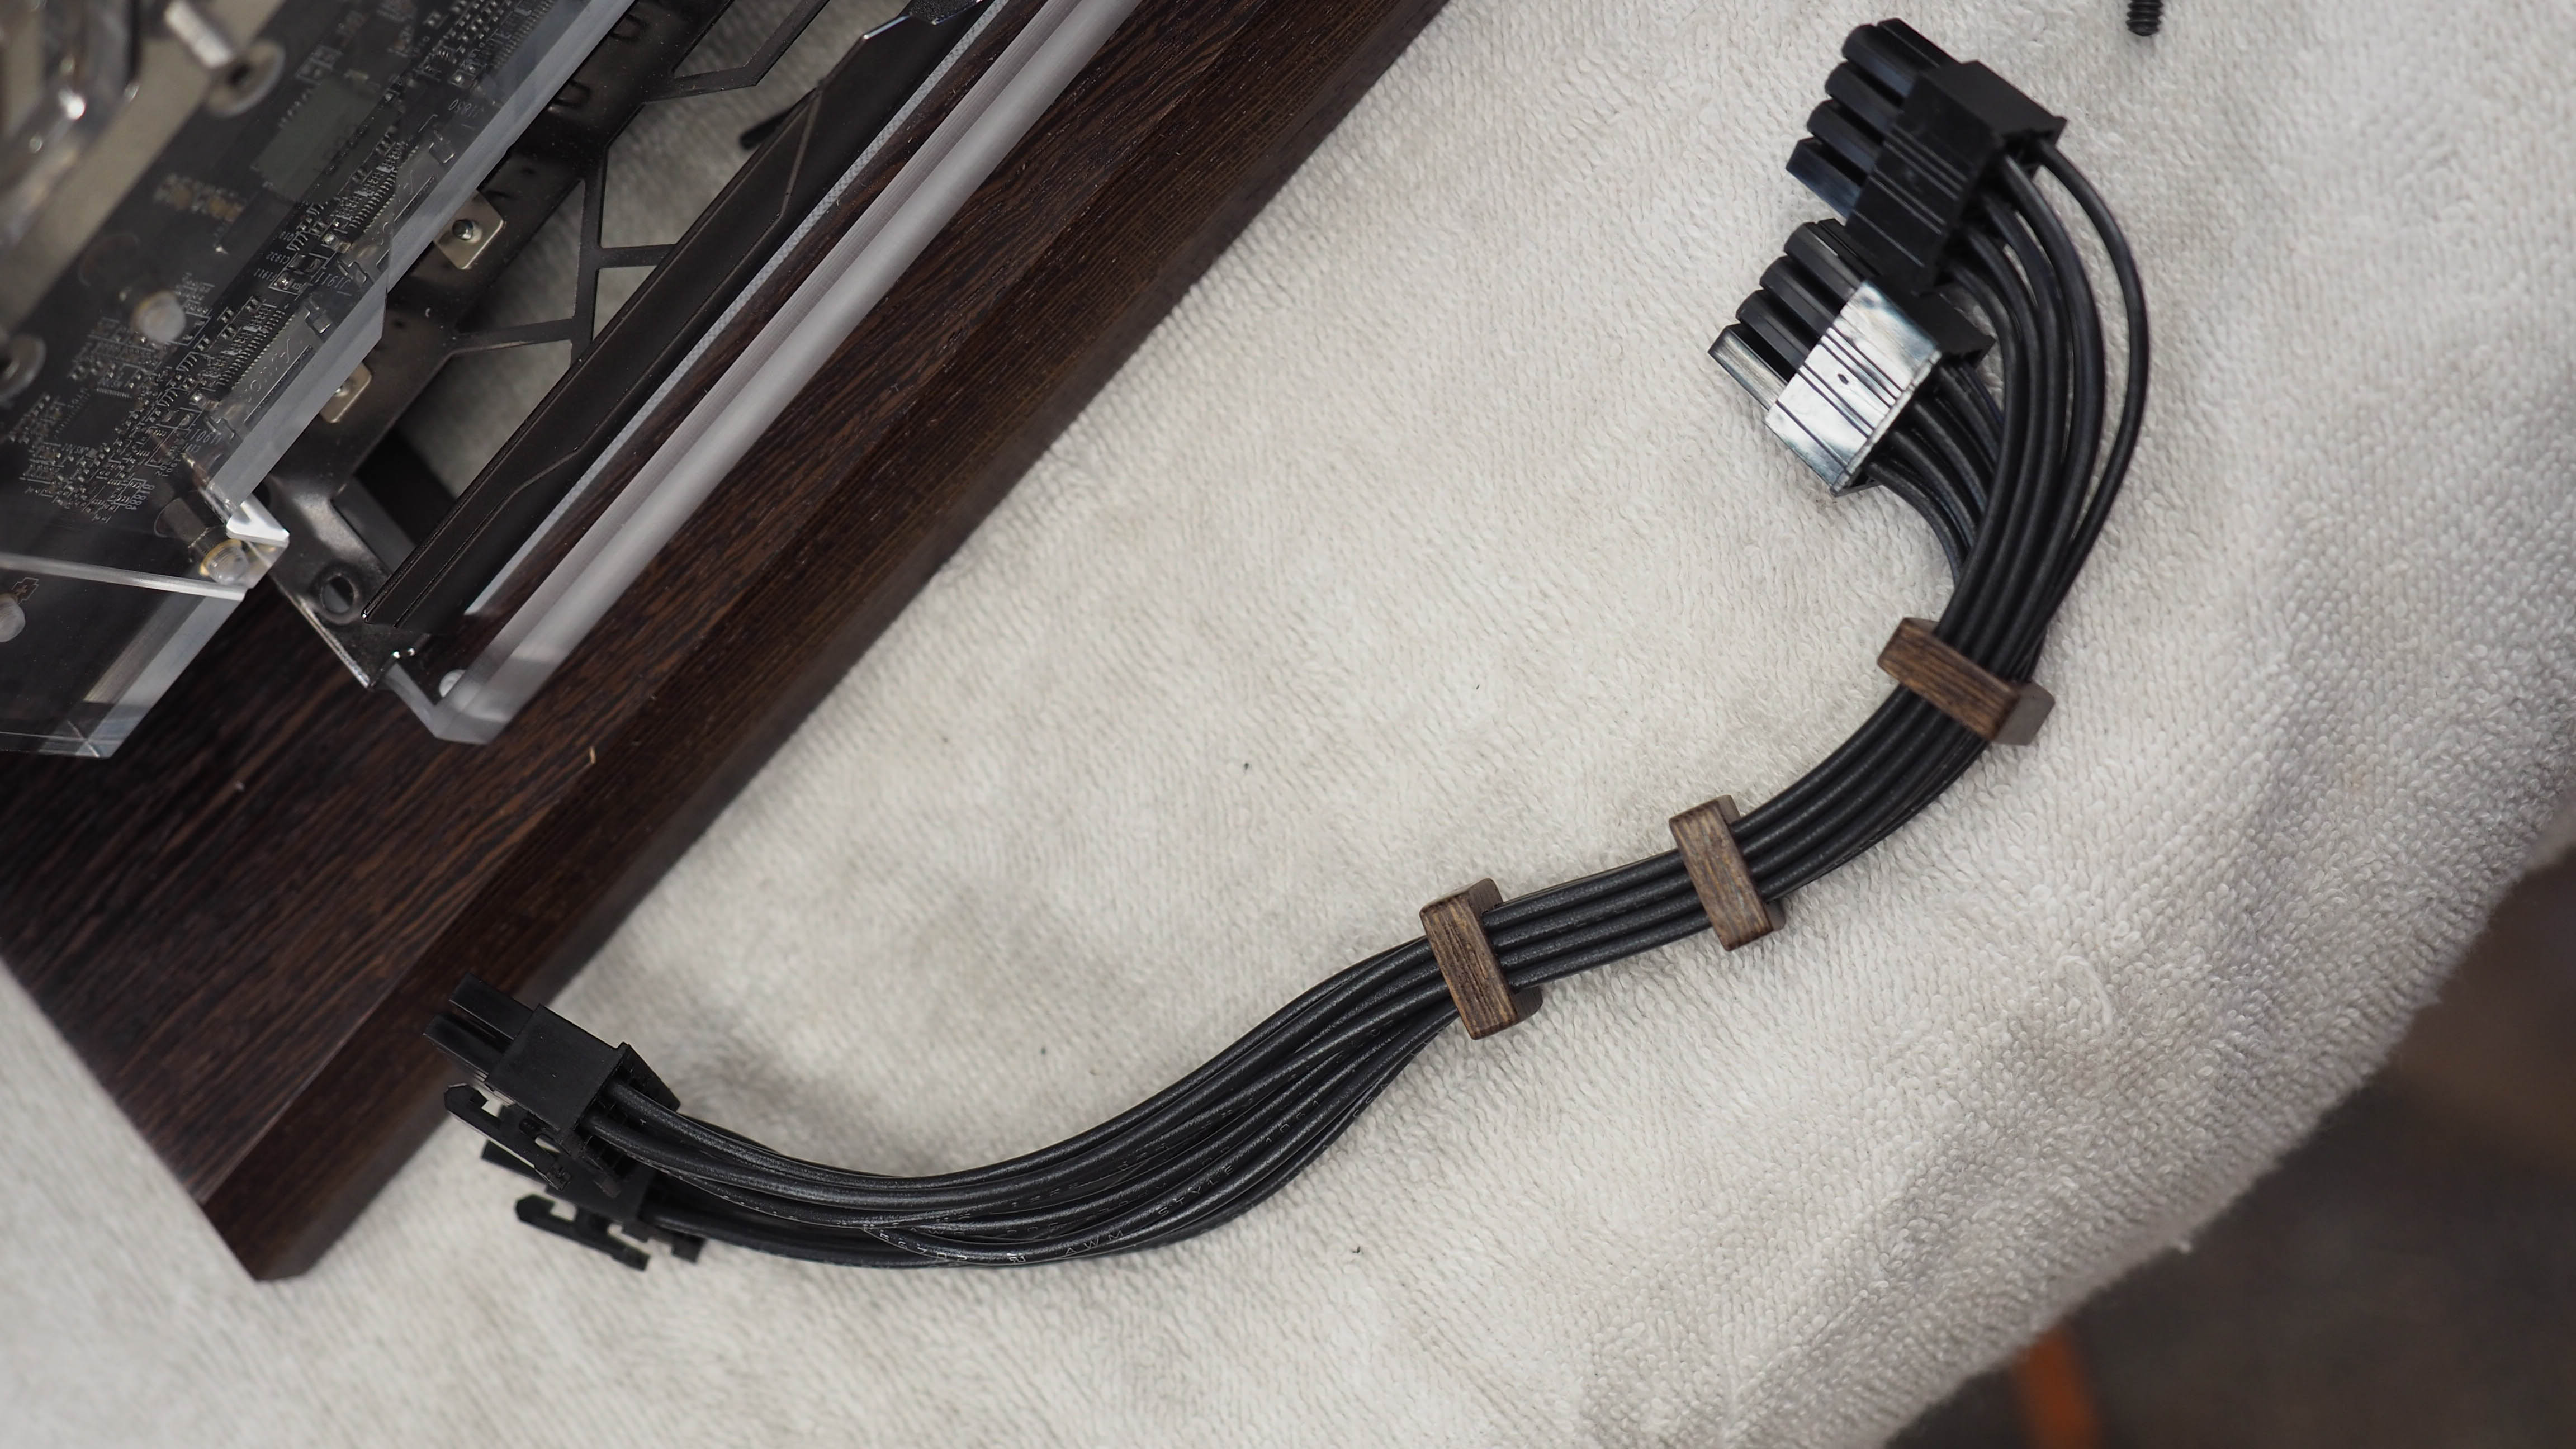
After the 8-pin CPU cable was done, I moved on to the 16 pin GPU cable. This had a lot of wires so keeping them straight was a challenge.
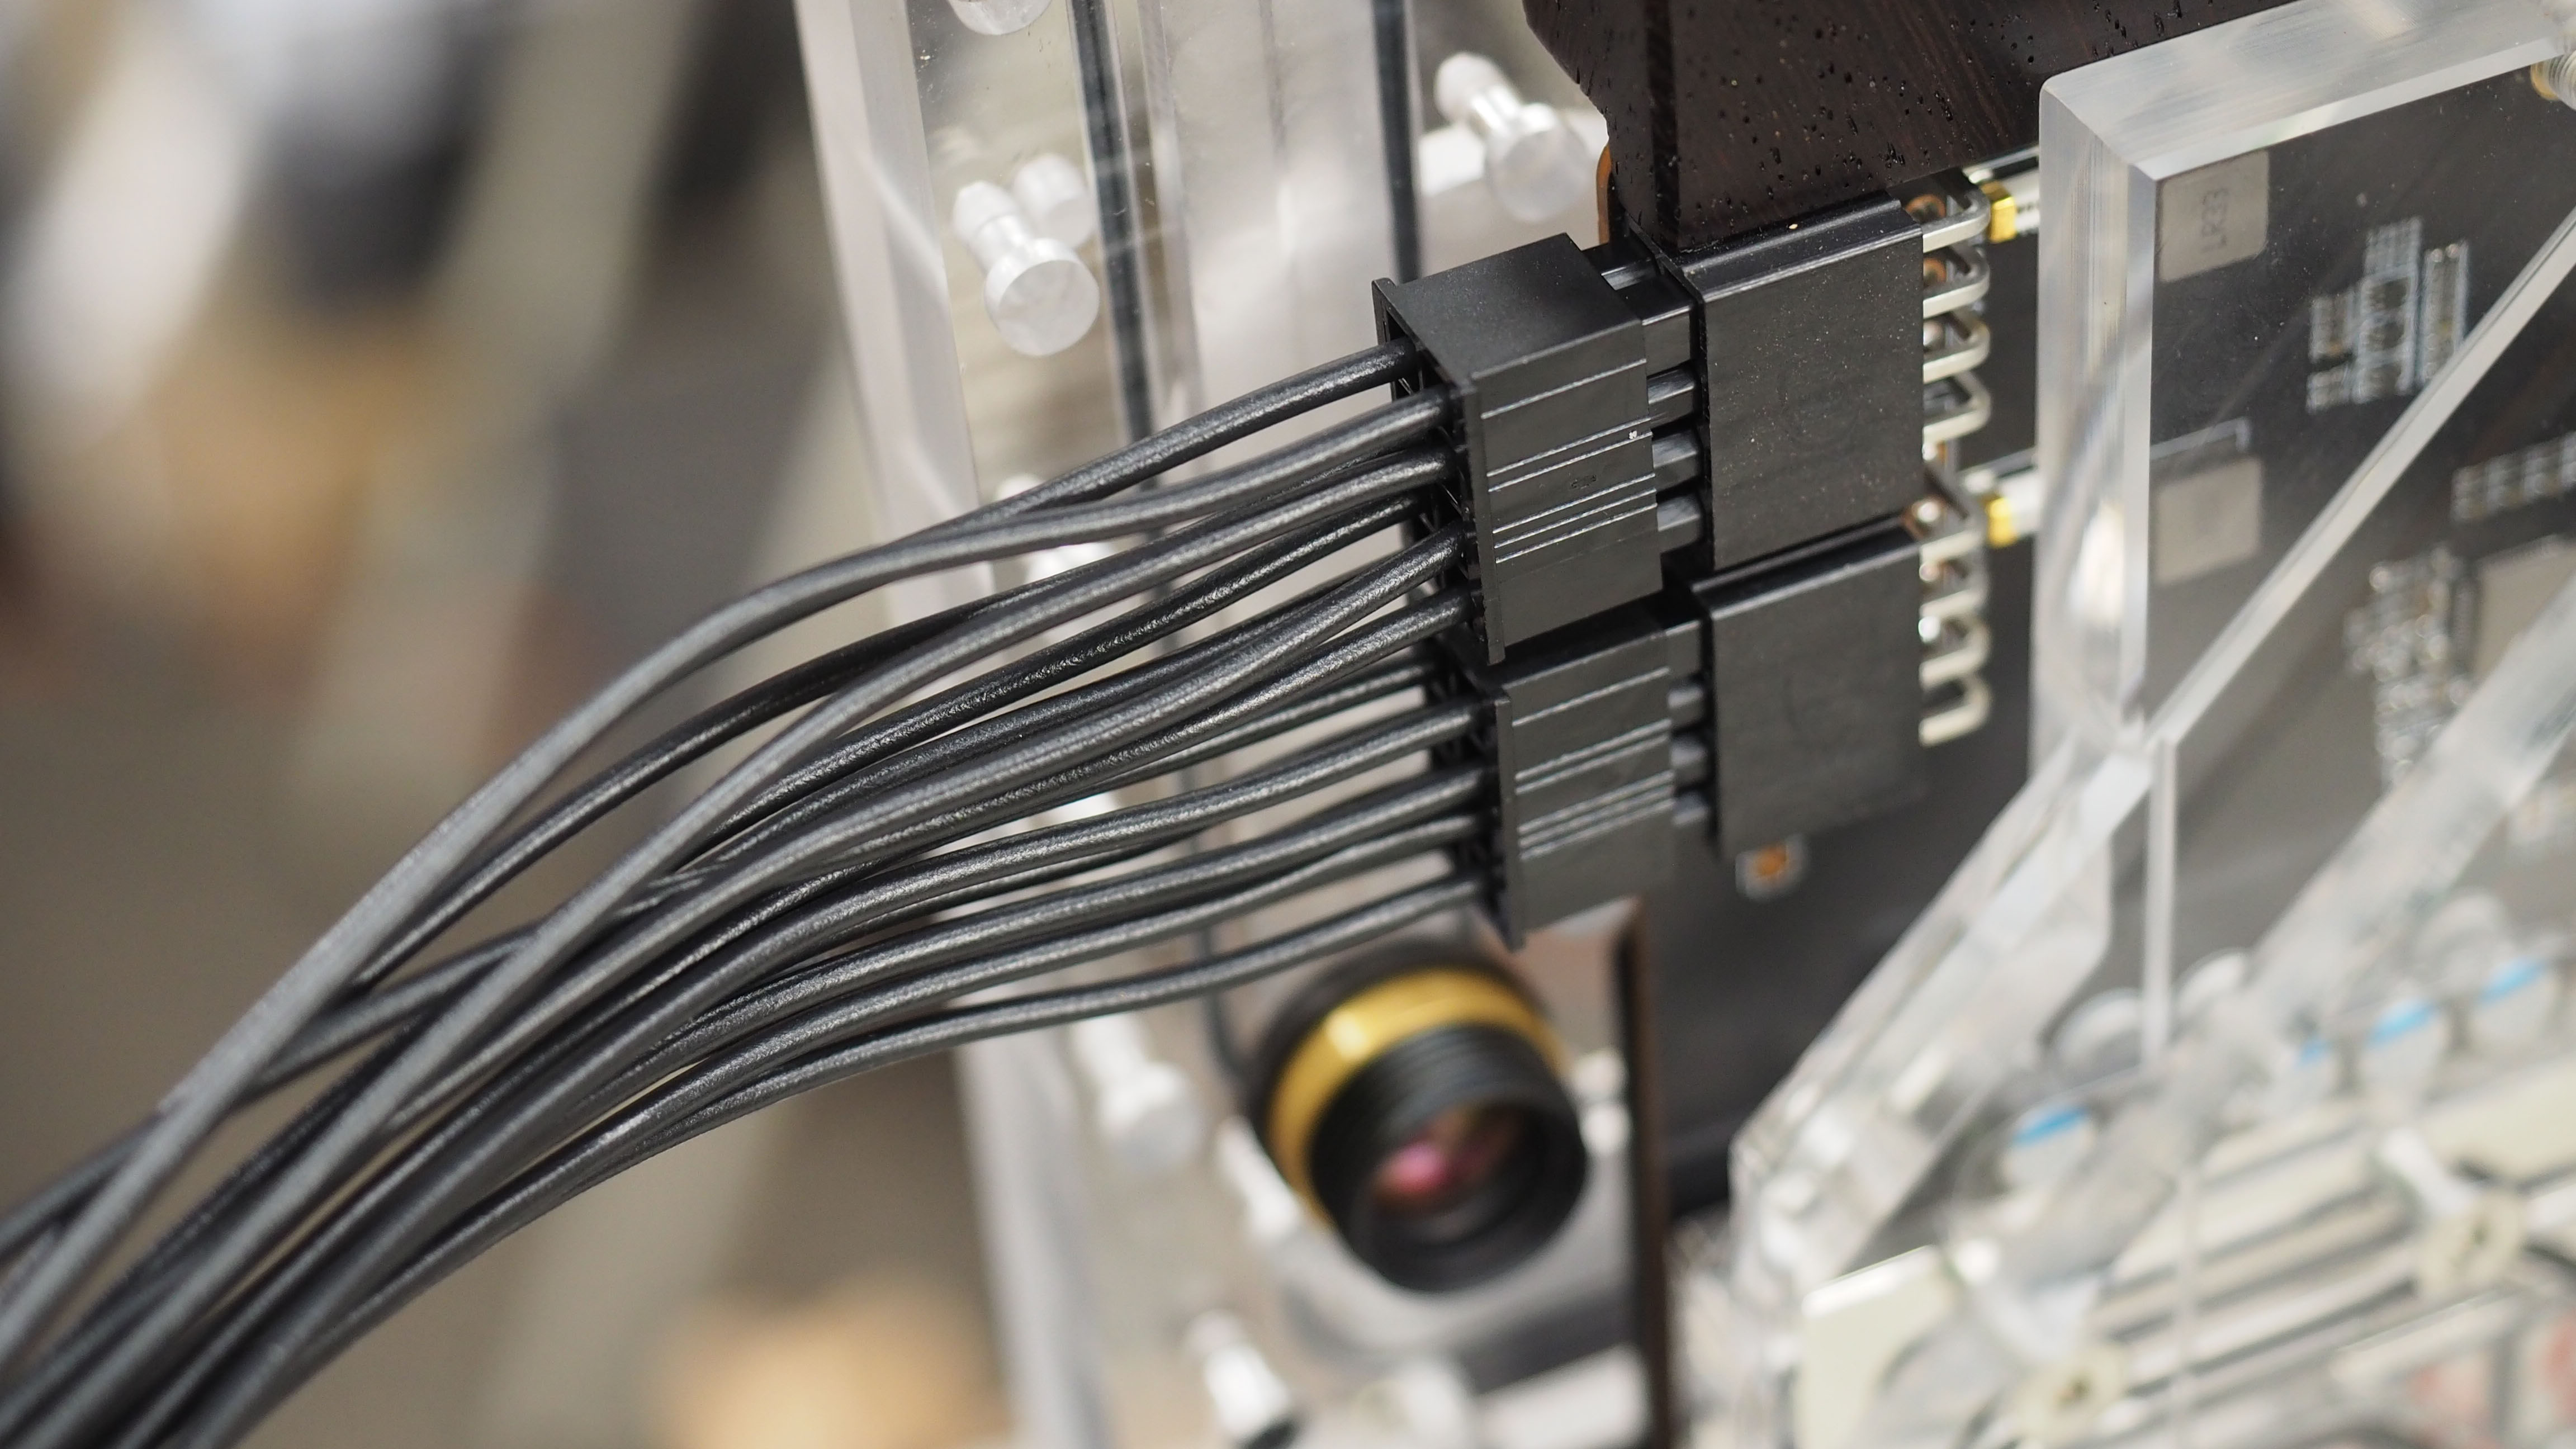
The cable combs keep everything organized so I could cut the wires to the approximate length.
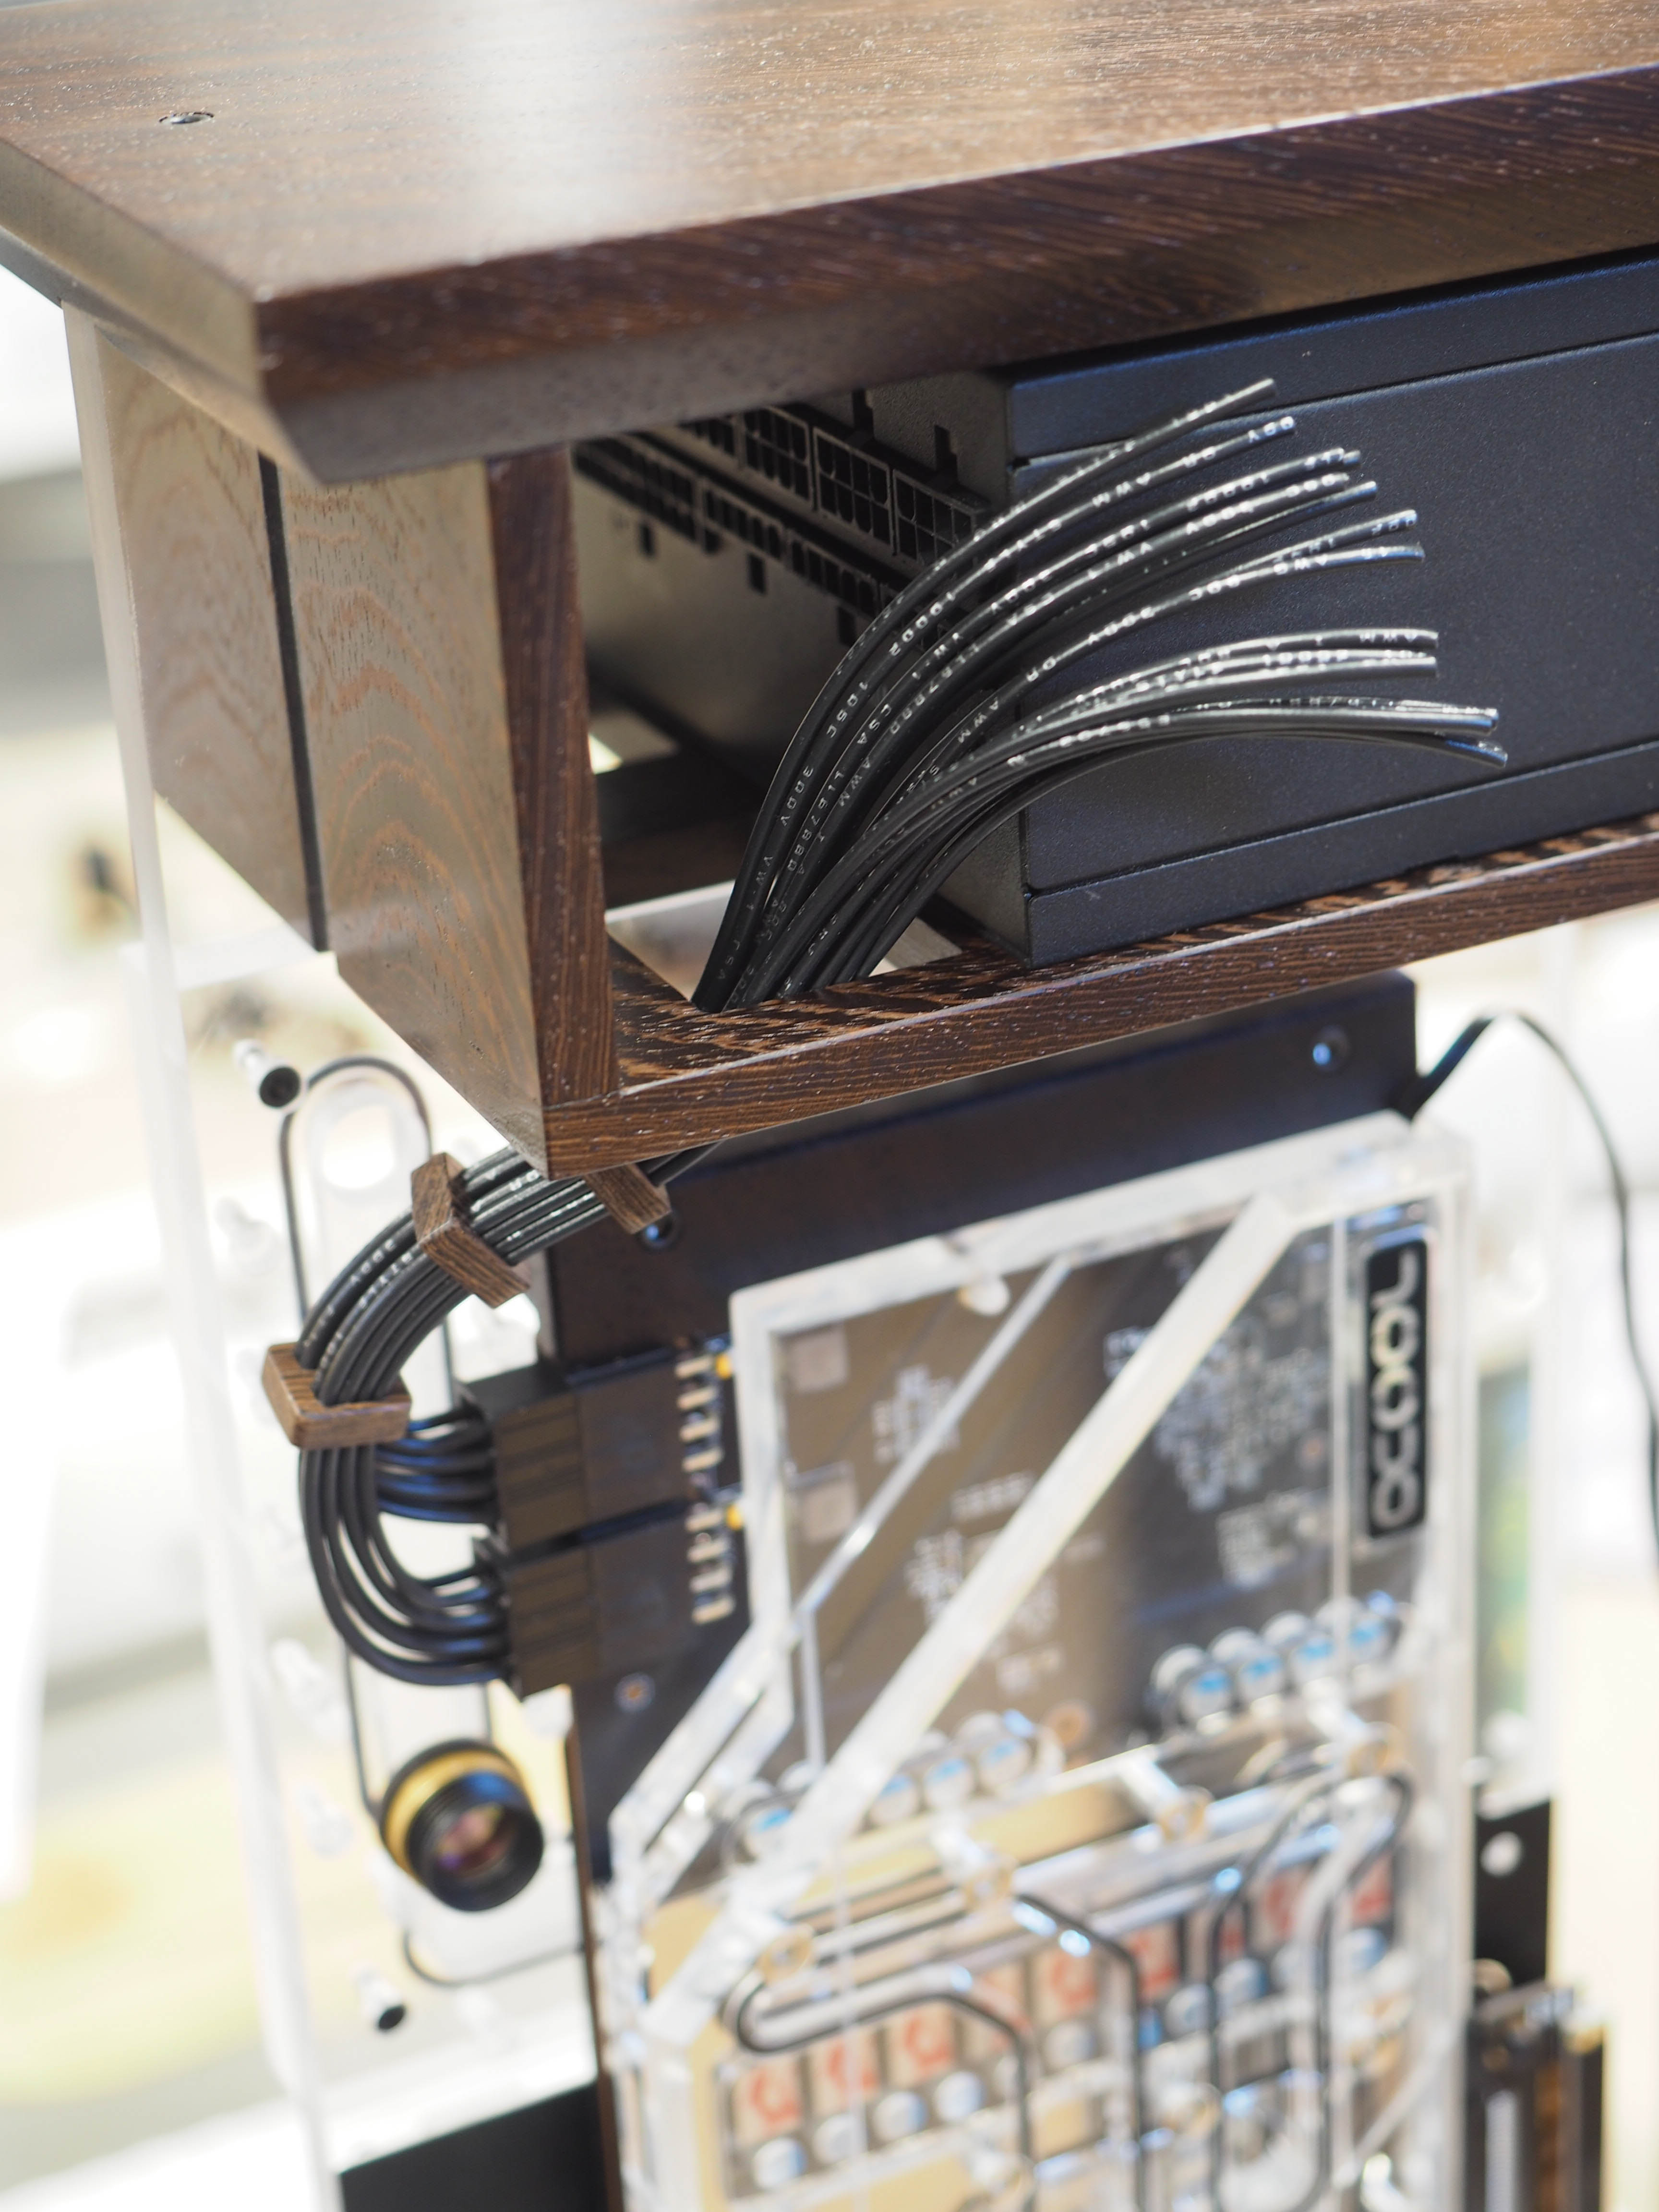
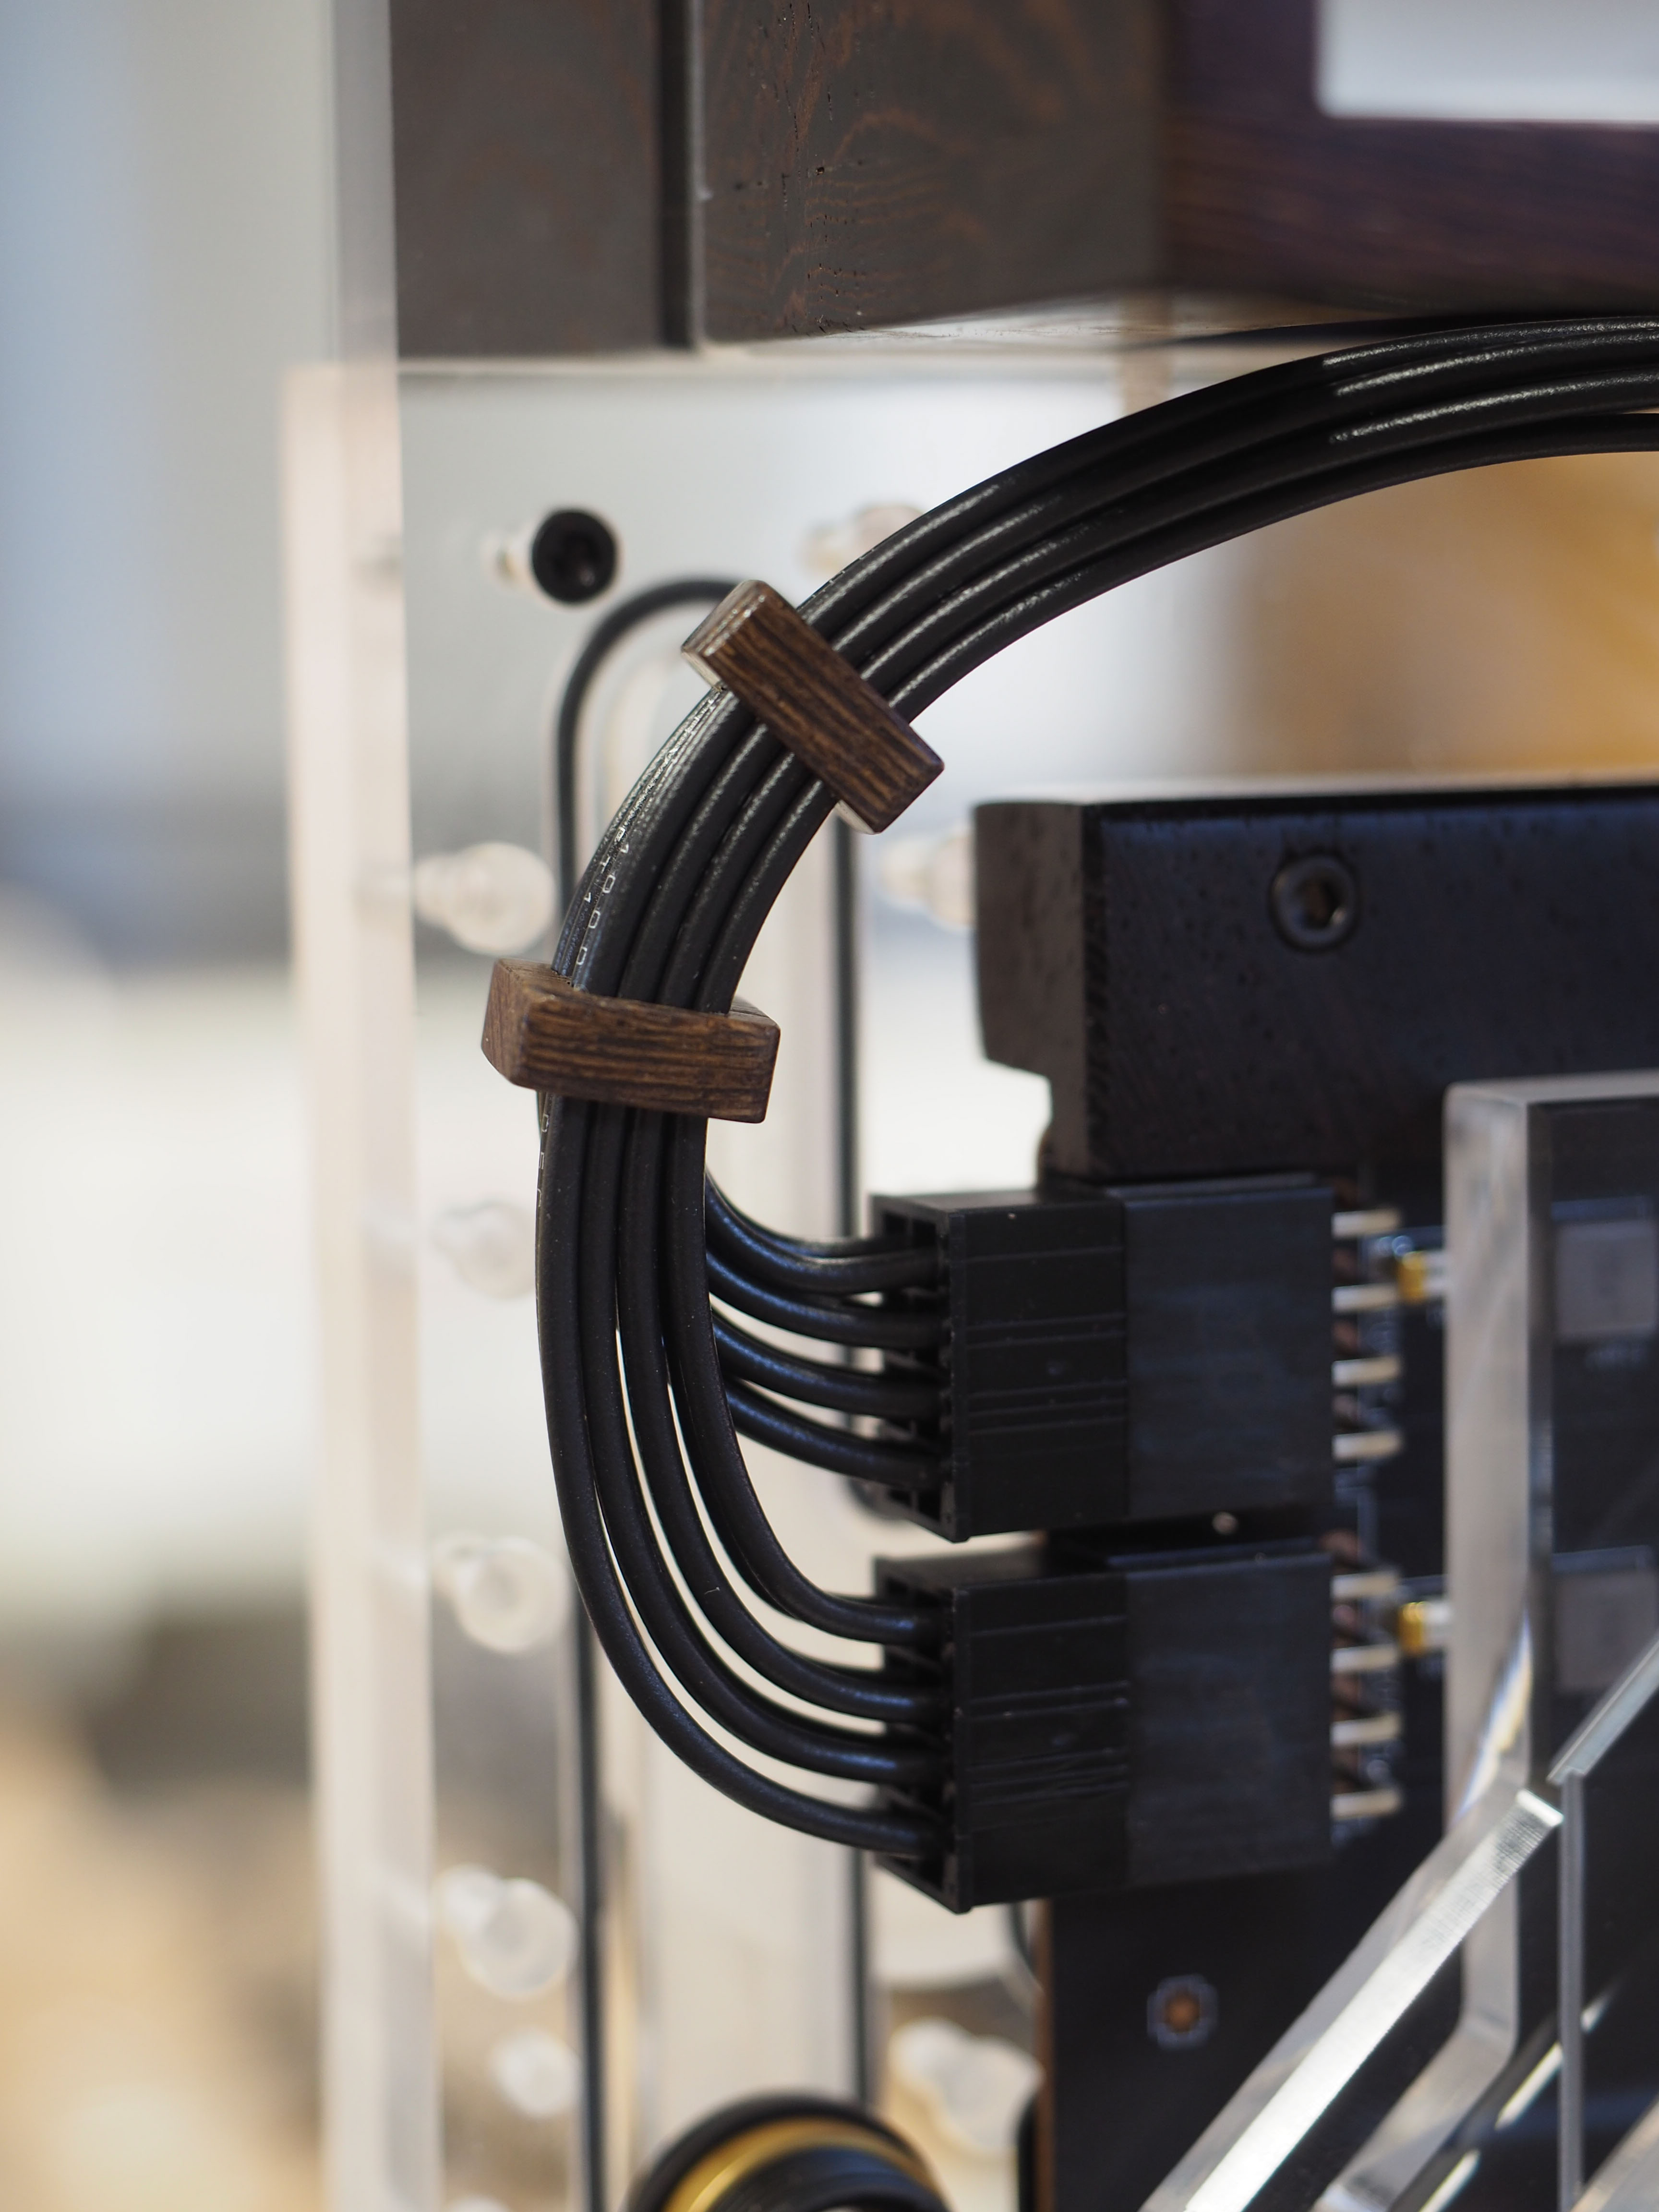
It is also super important to make a pinout diagram of the original cables before making your own since they can be different for different power supplies. I’ve almost learned that the hard way a few times. Here is the finished 16 pin GPU cable.
Most of the cabling is hidden in the acrylic panel, including the lighting which is connected to an RGB splitter.
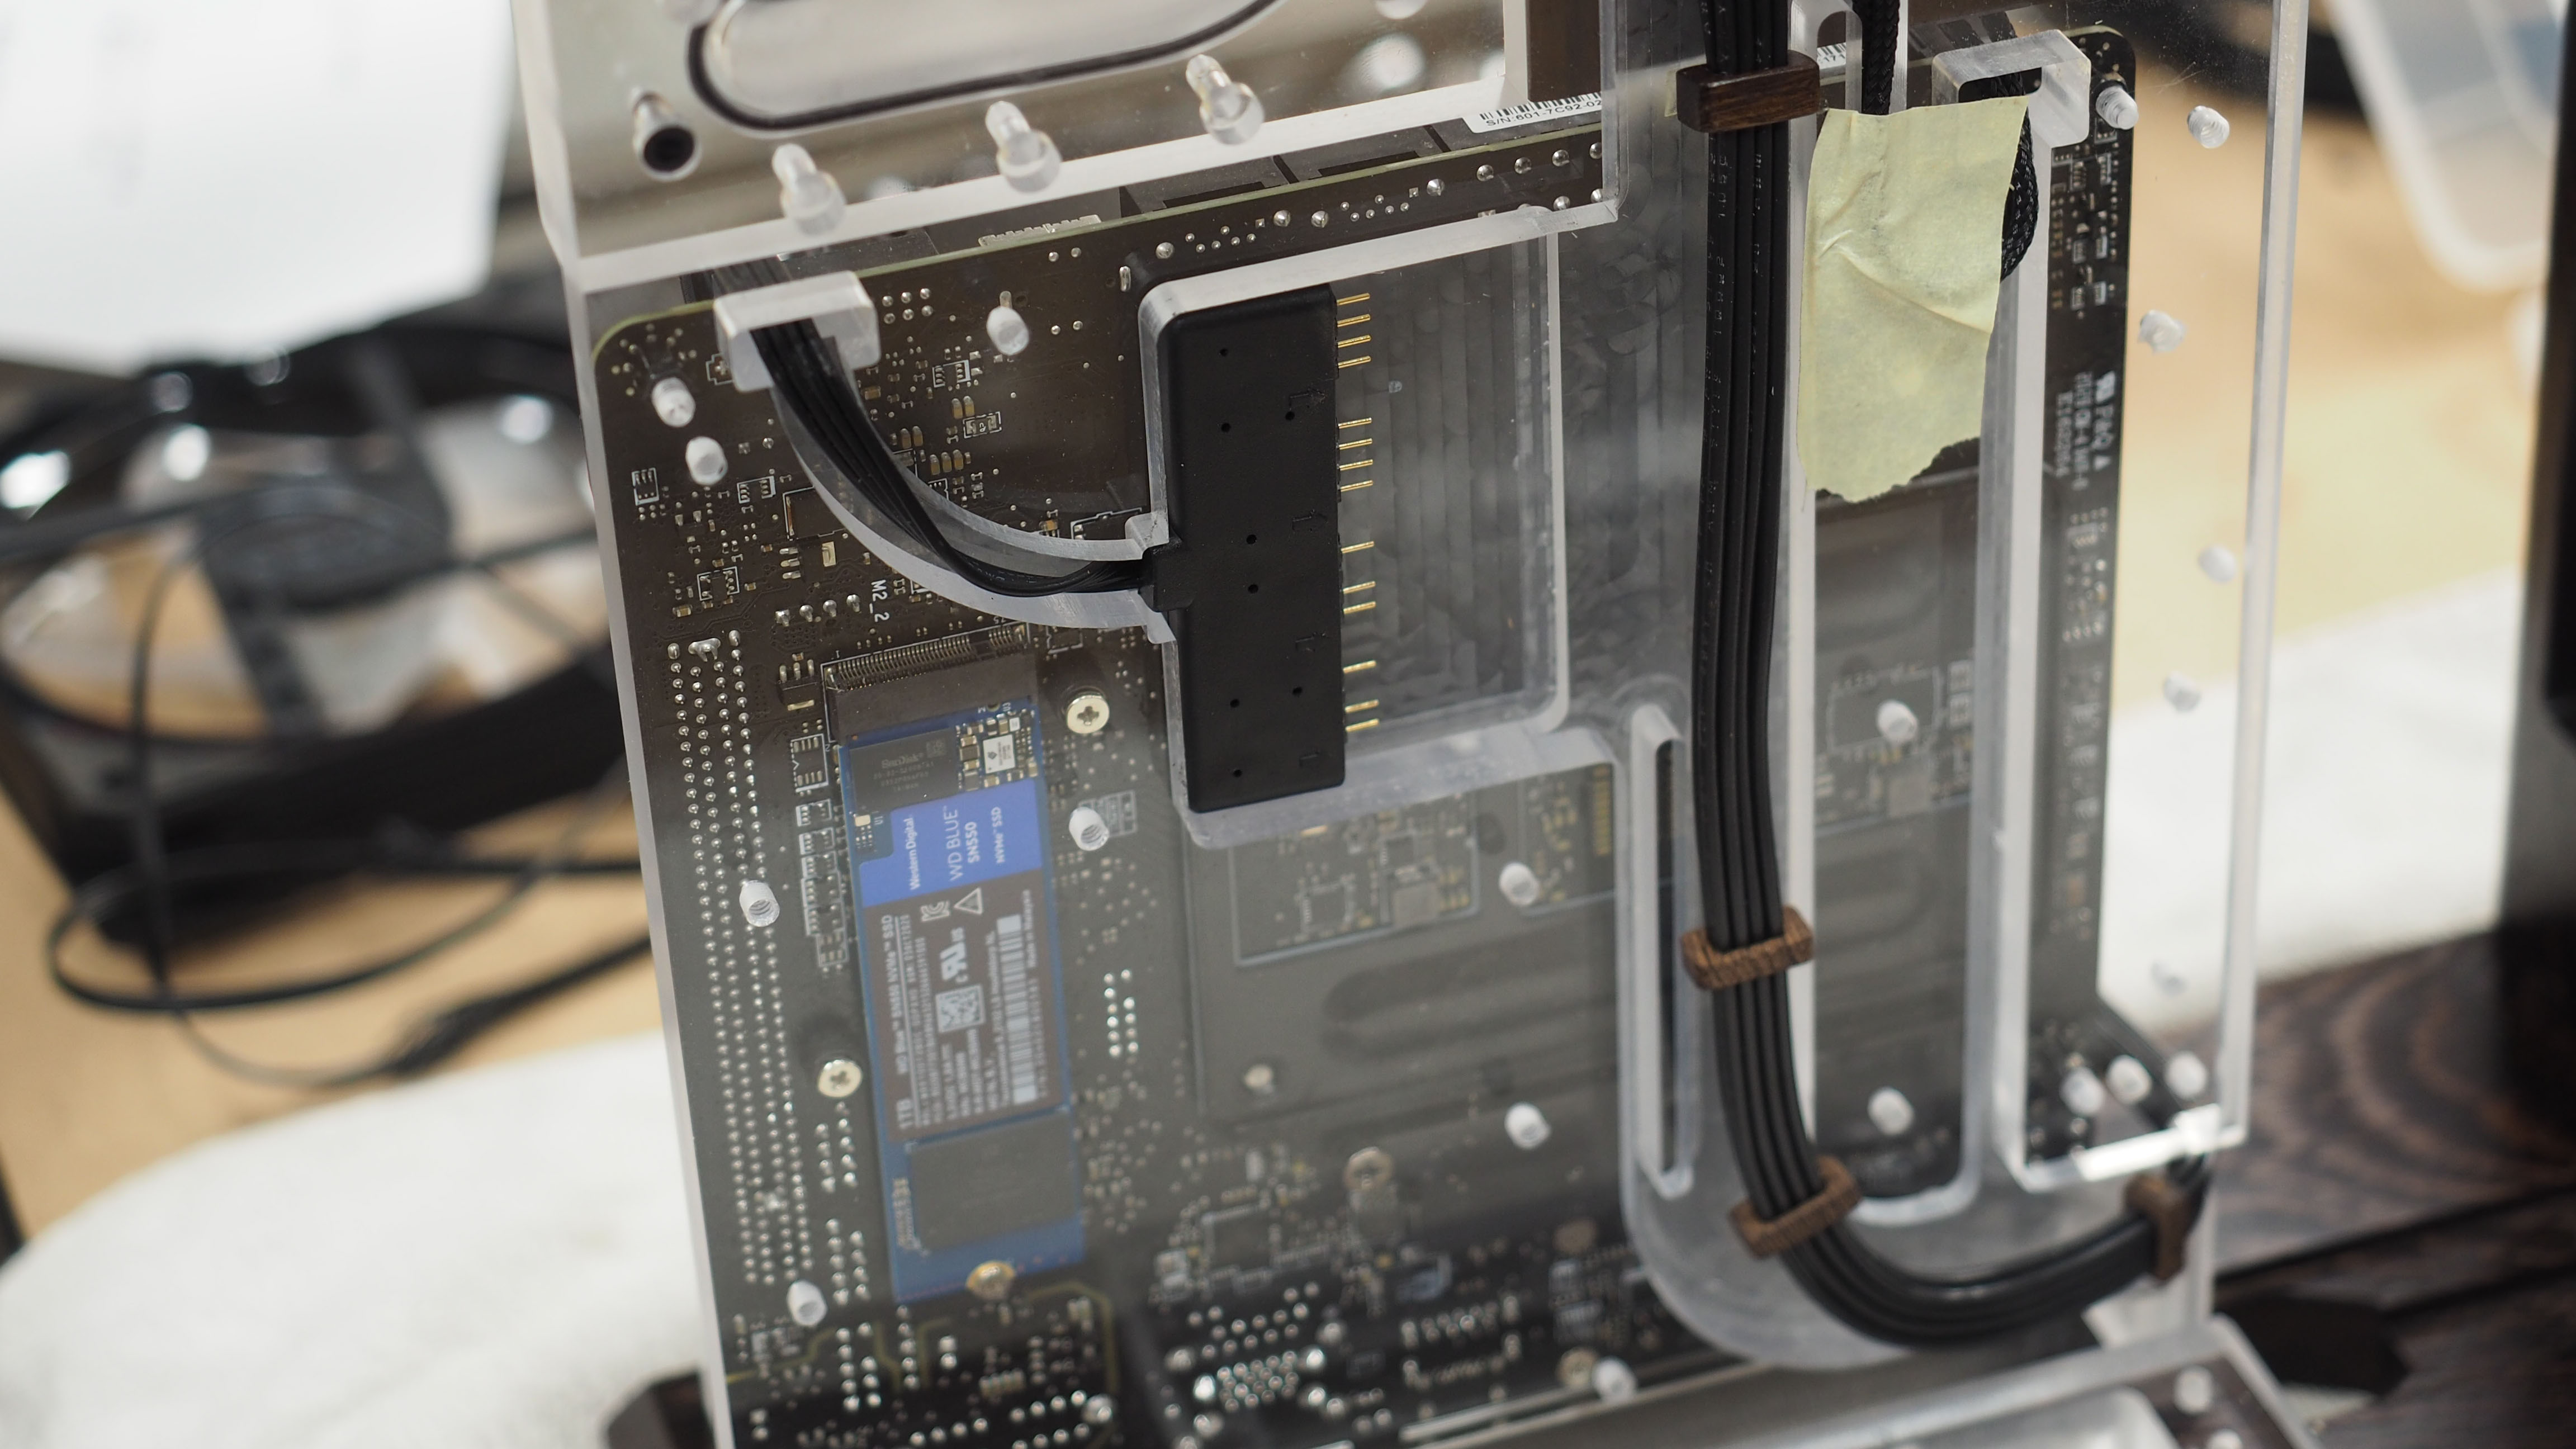
Cable combs keep things tidy in here too, although things are getting a little more crowded once I start adding the lighting and fan cables. The pump cables still need to go through here as well.
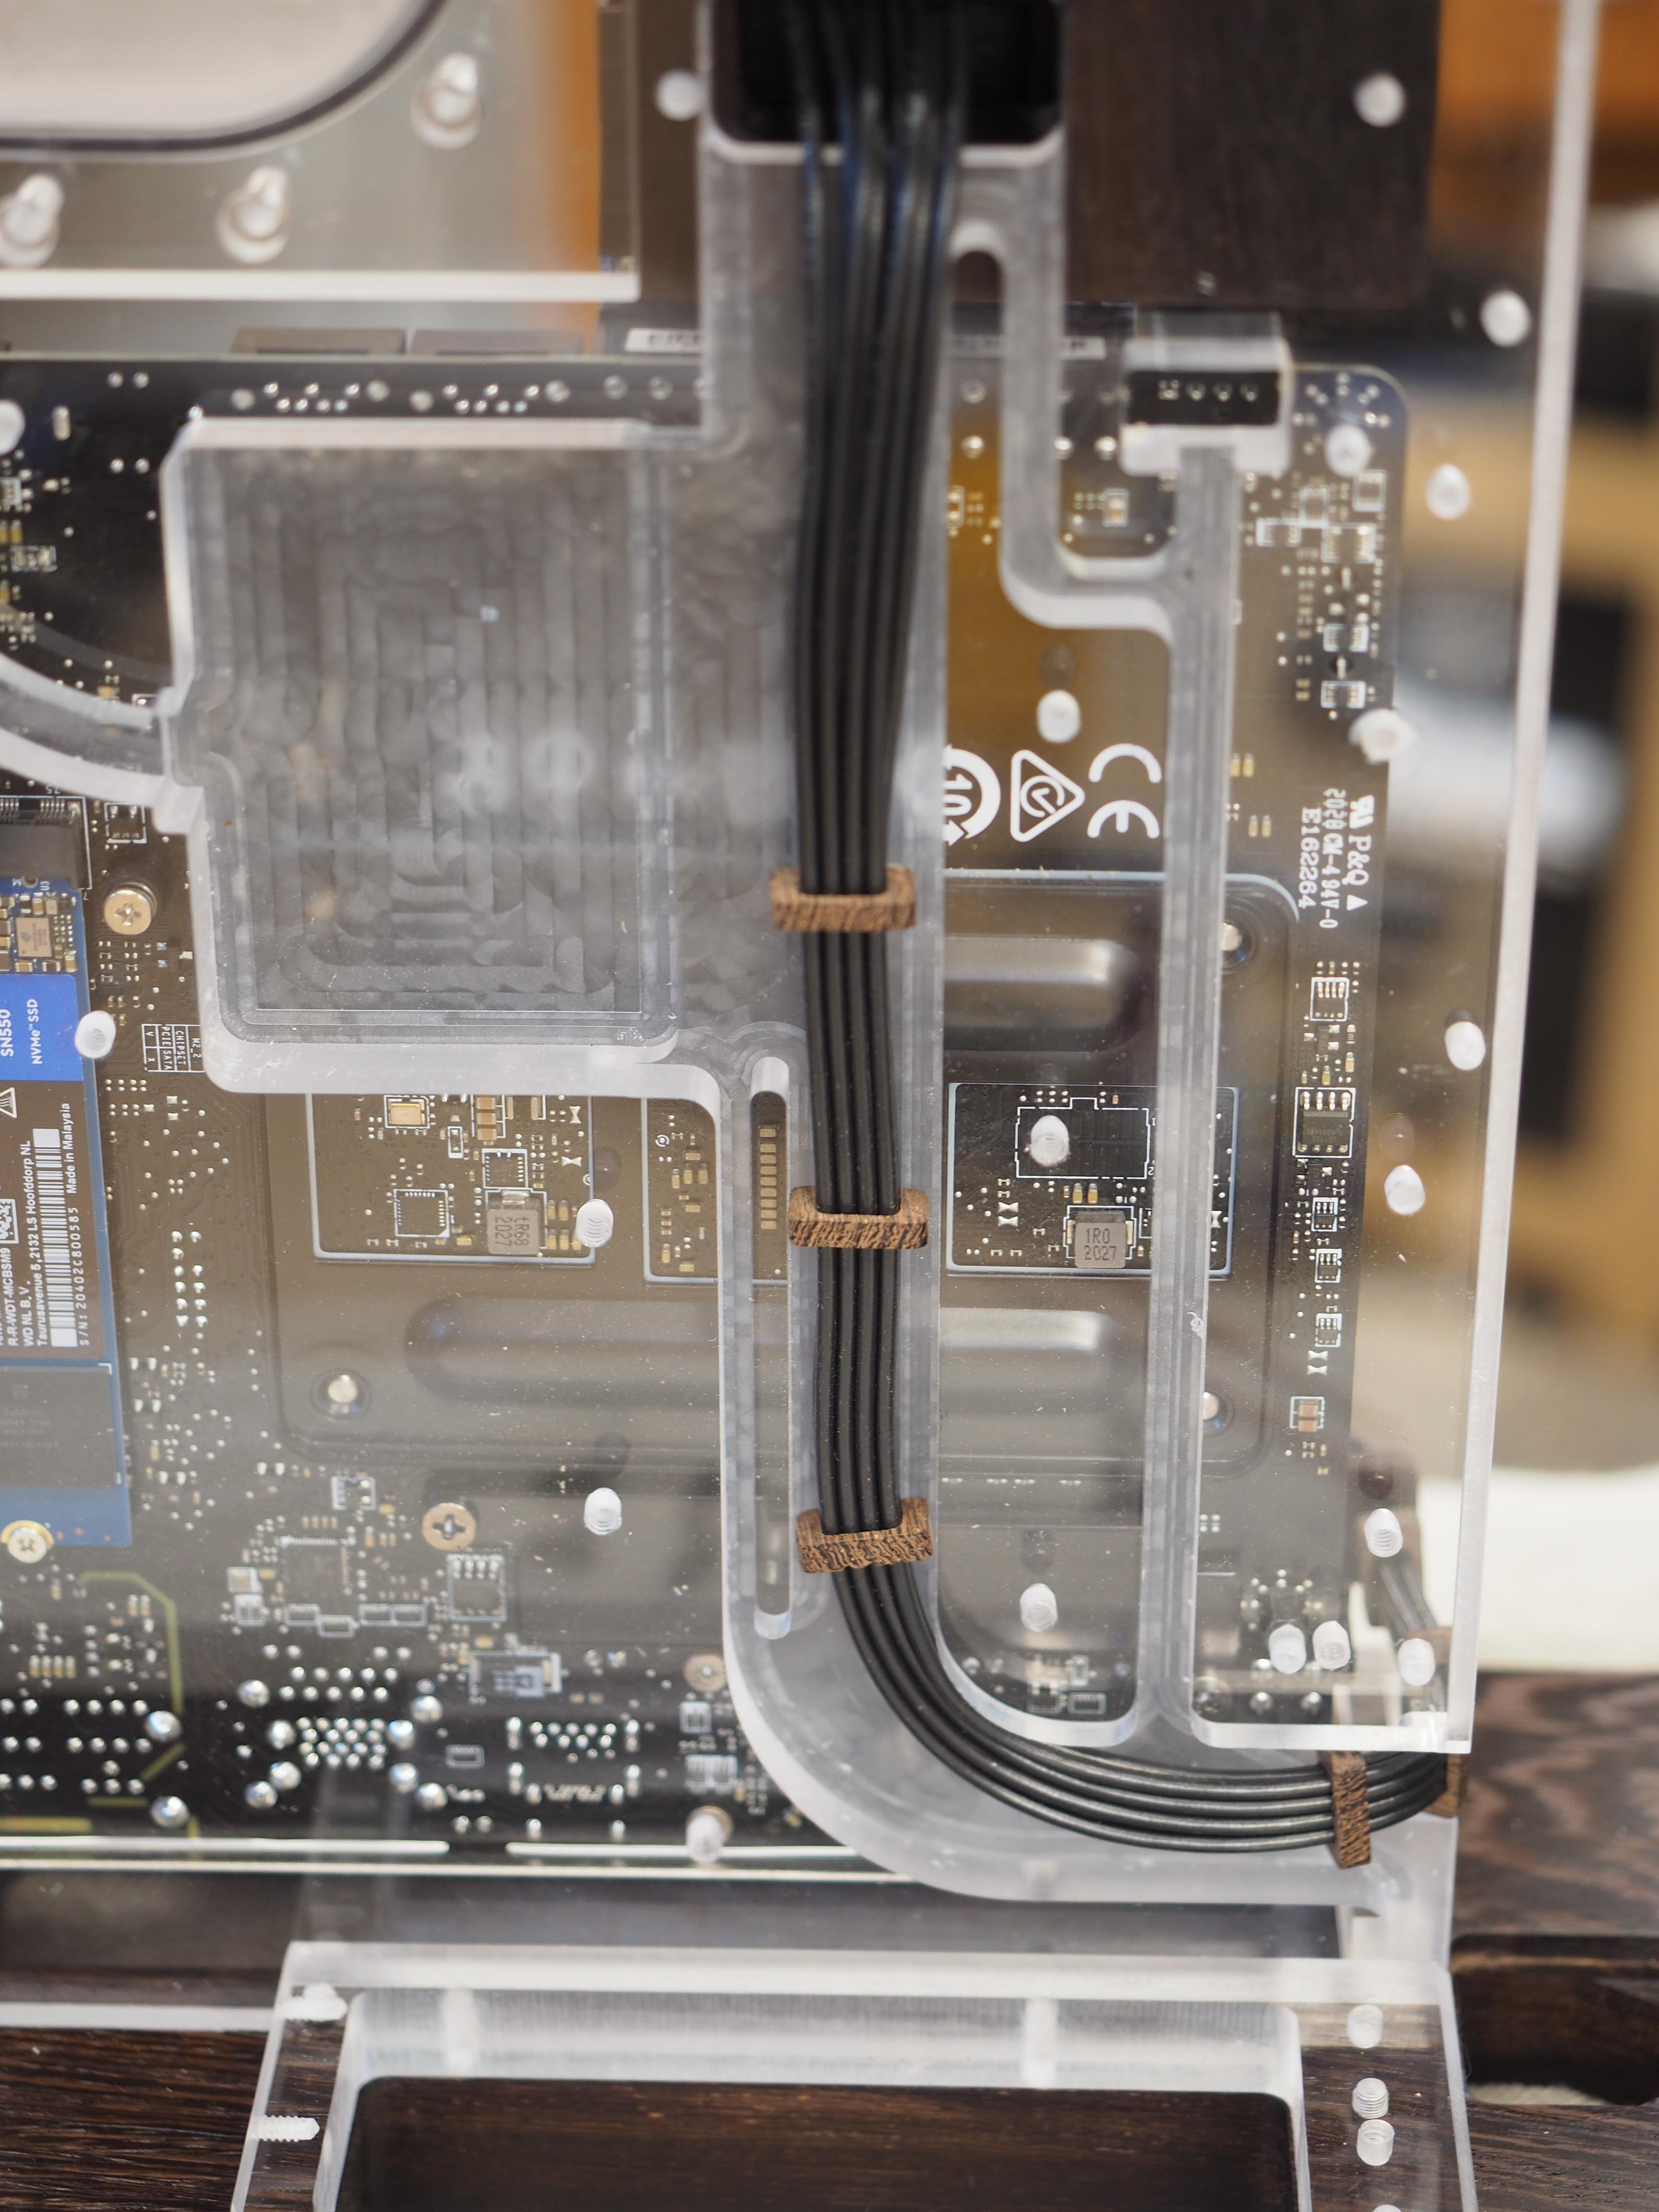
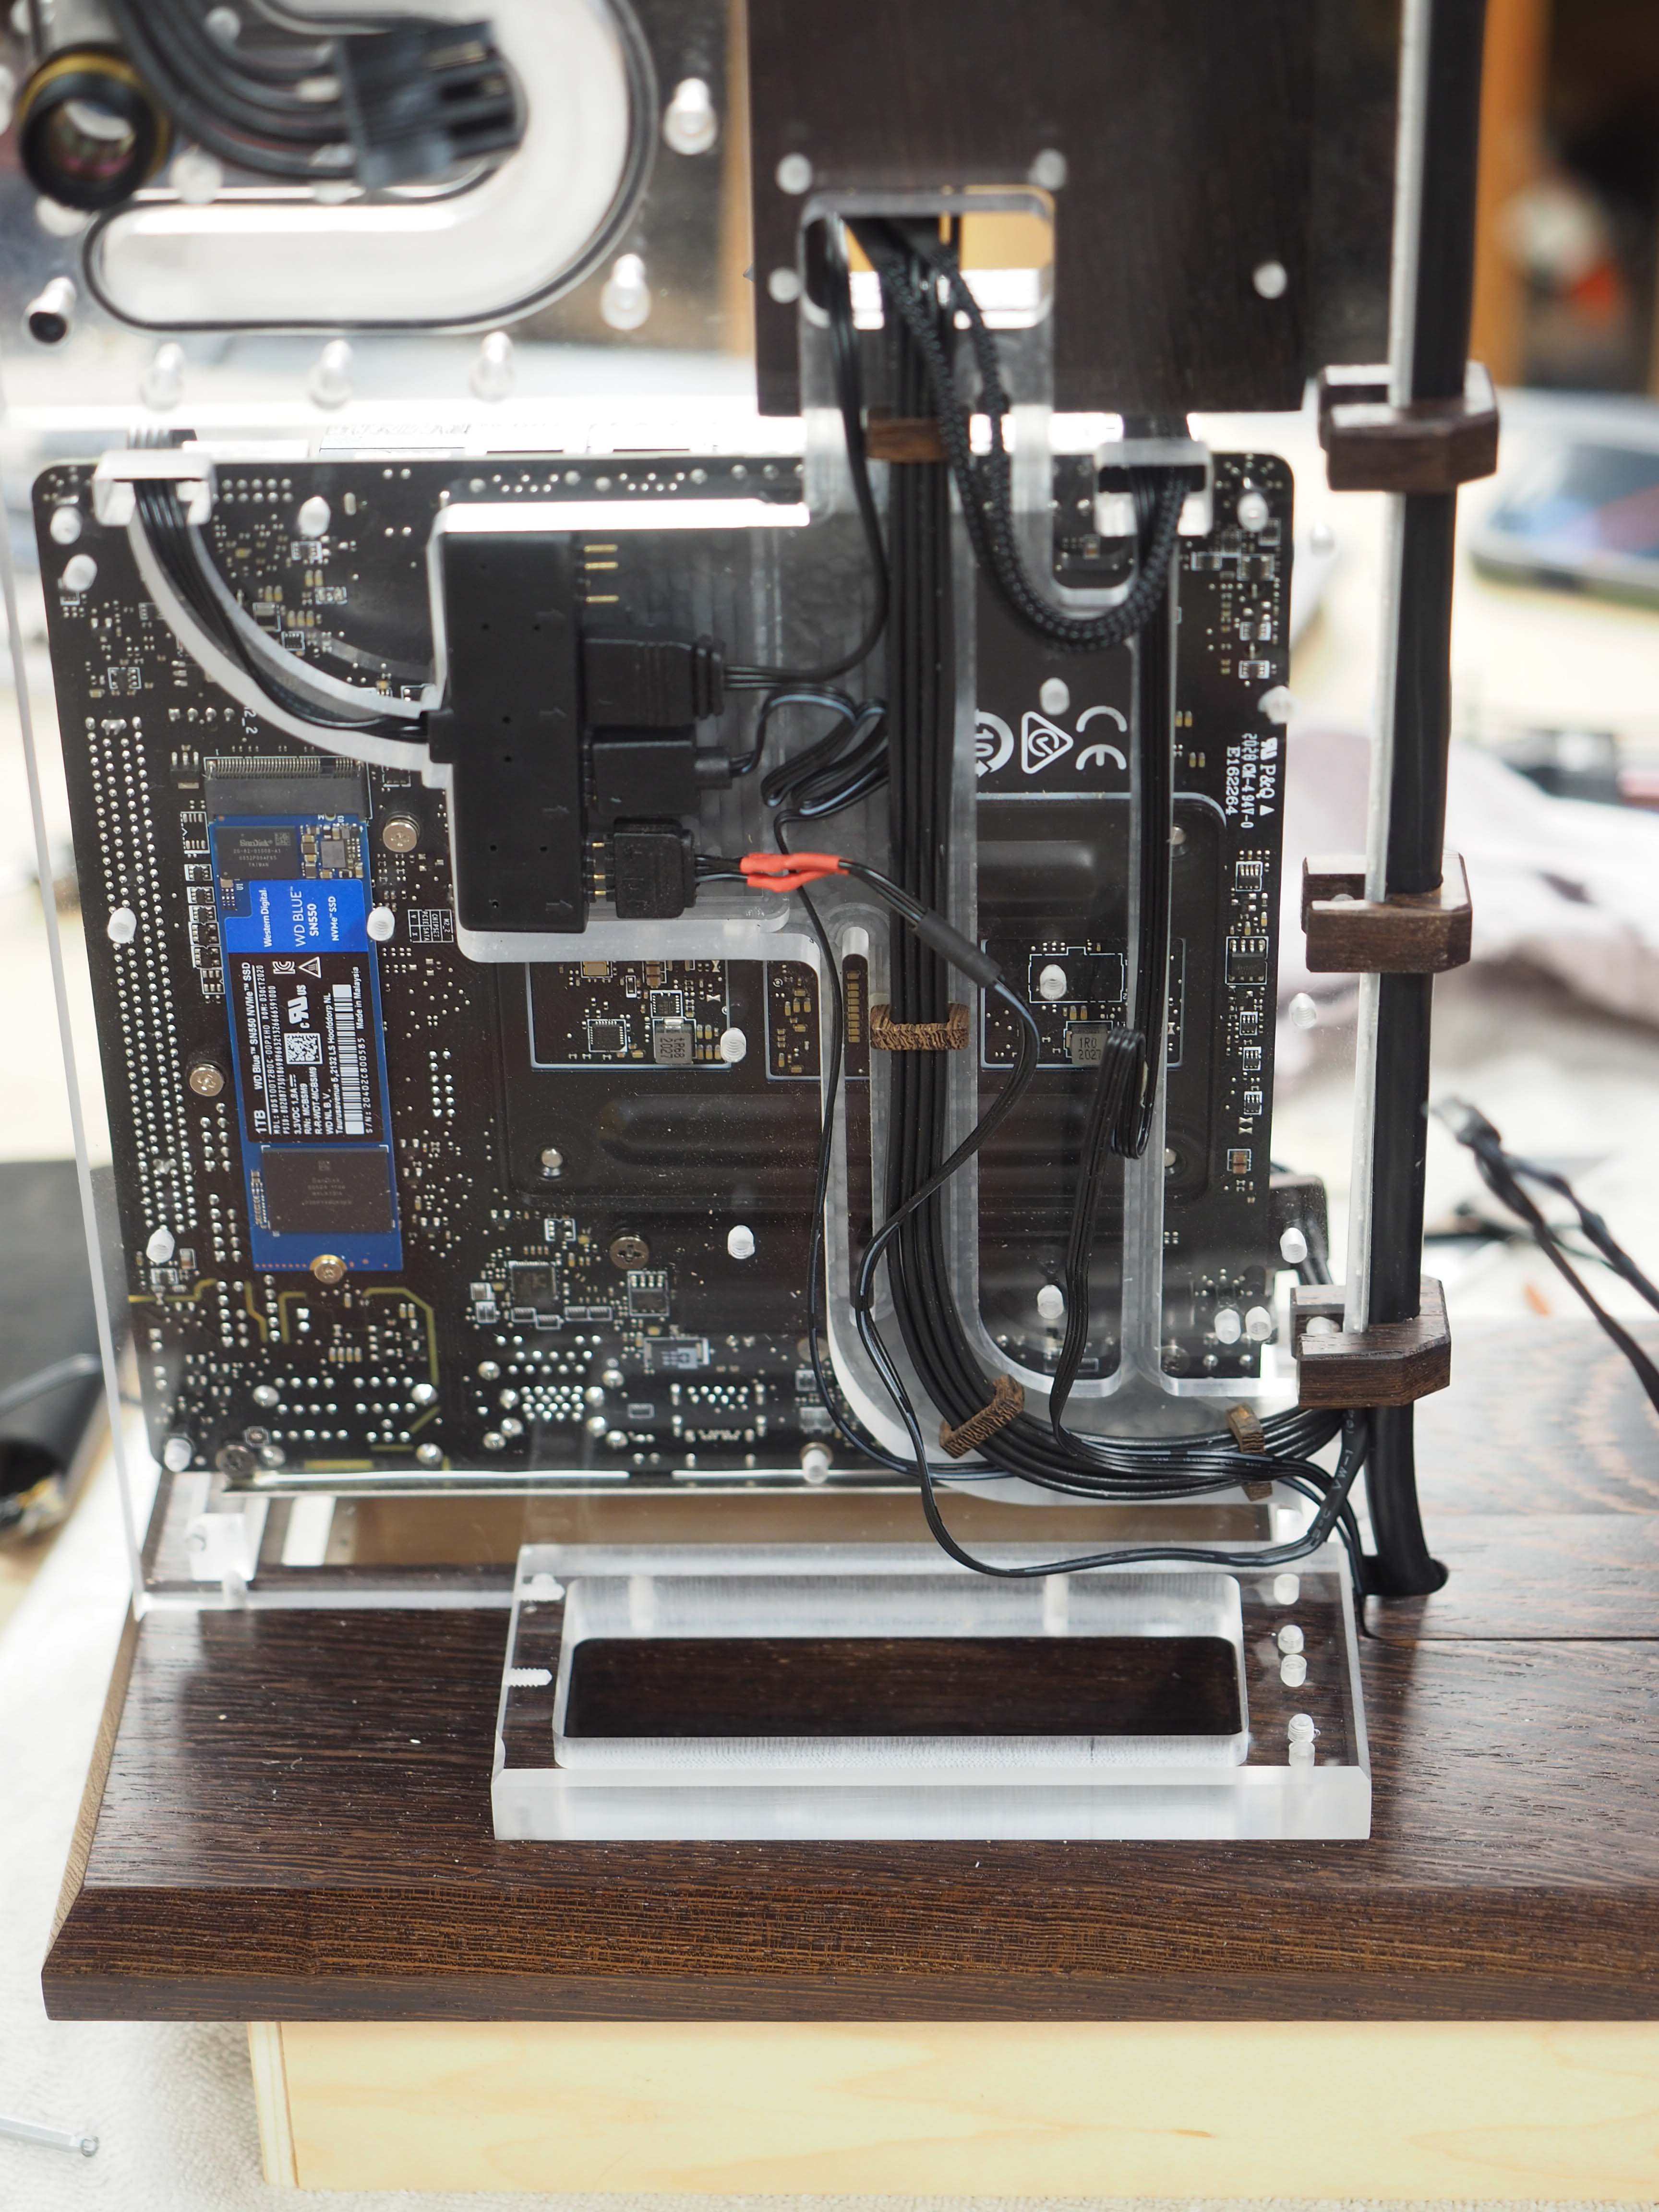
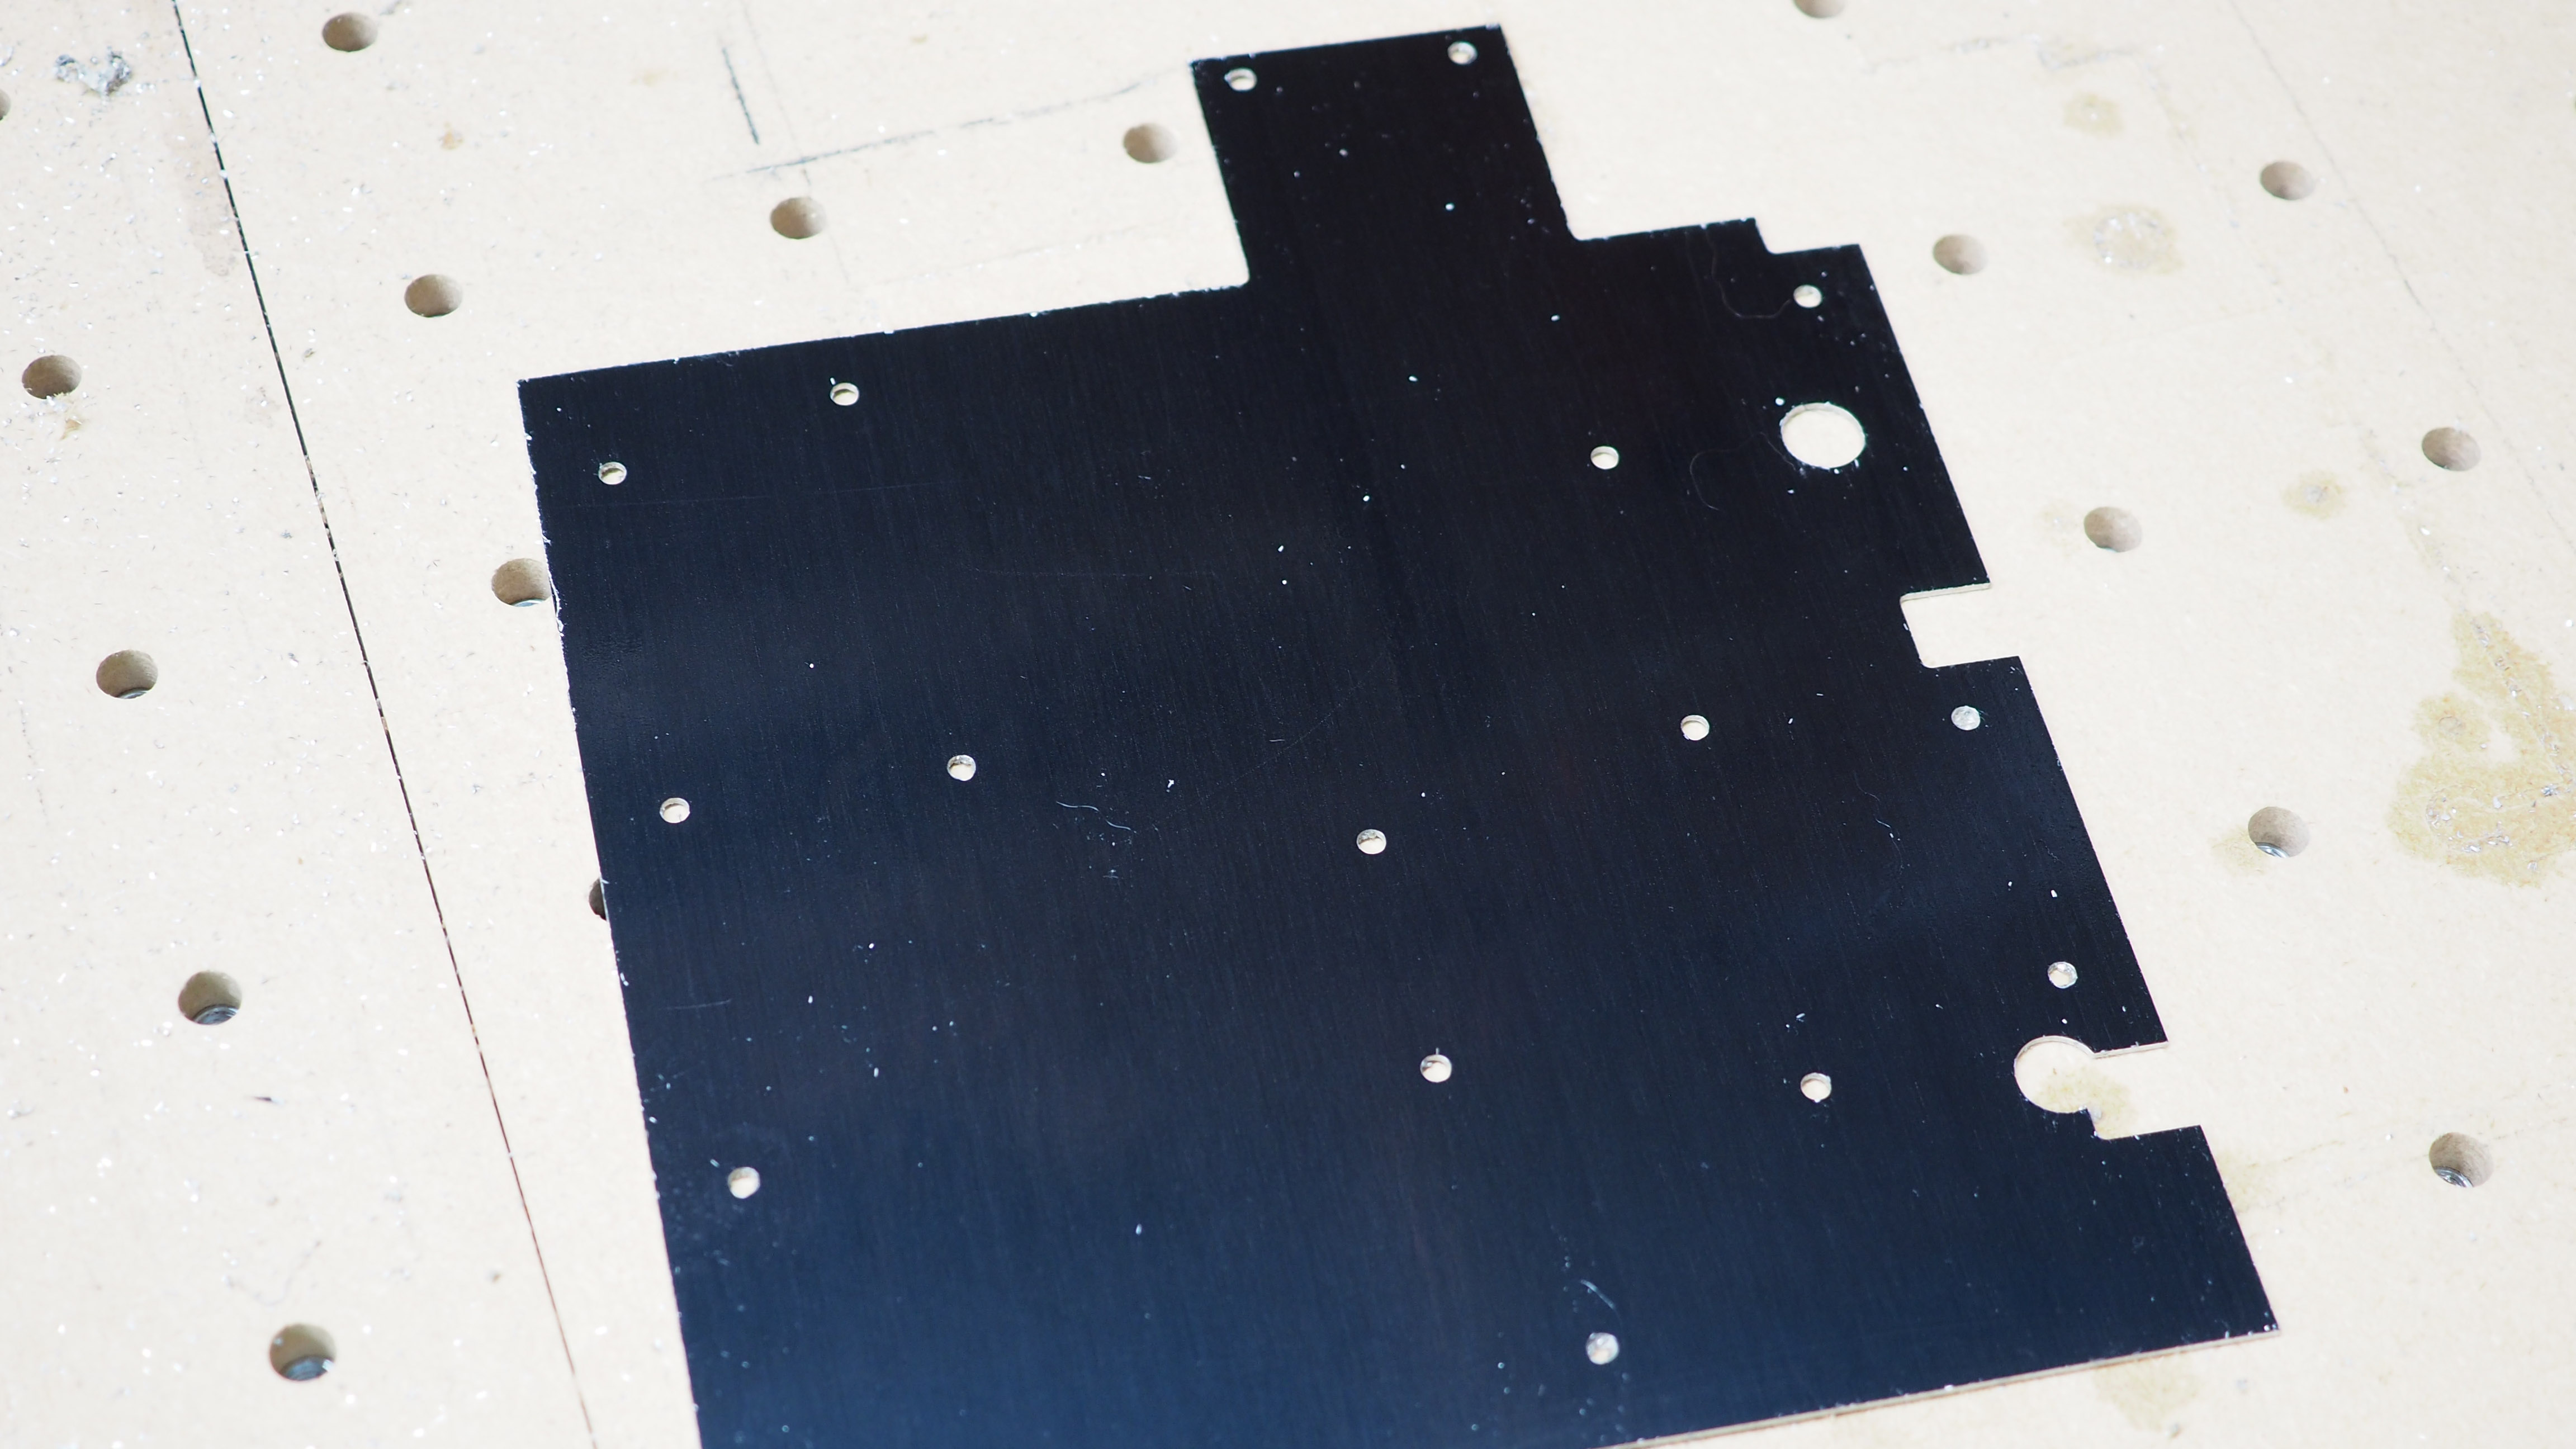
To hide all of the wires and keep them flat so the GPU actually fits, I made an aluminum panel from brushed black aluminum.
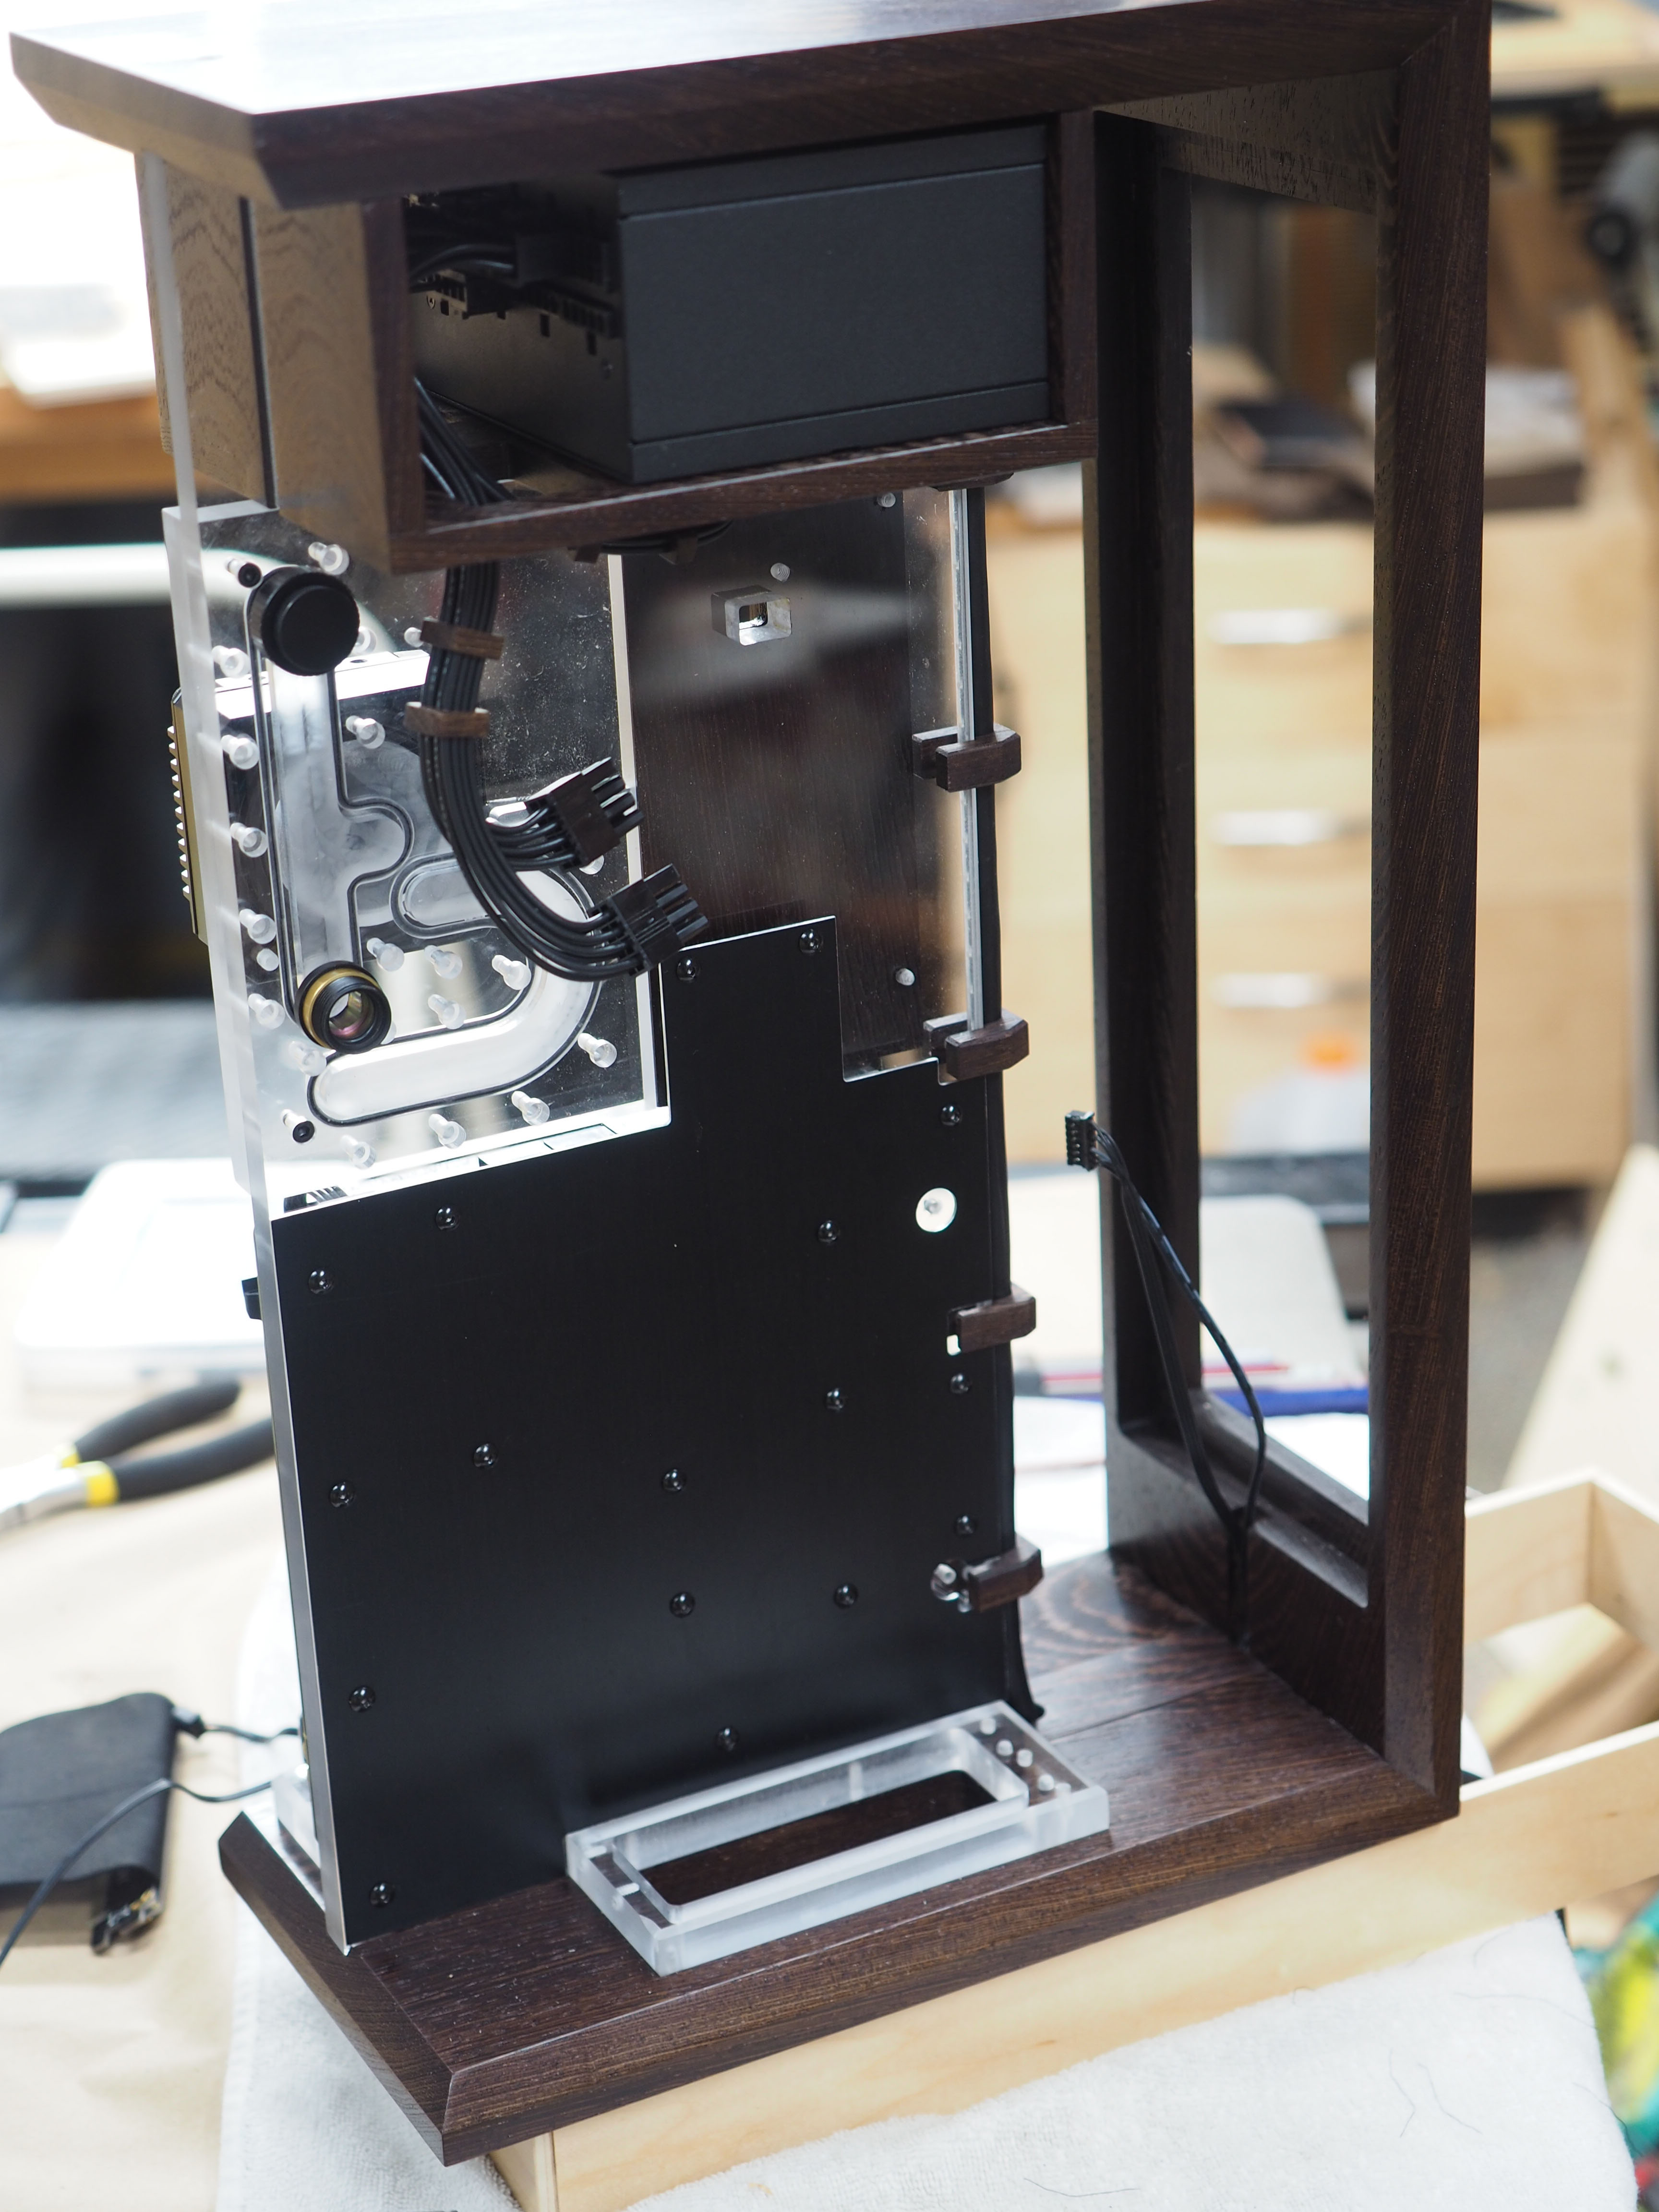
With the cover plate on, the GPU side looks nice and tidy. The rest of the connections will be made on the motherboard side inside of the Wenge wiring box.
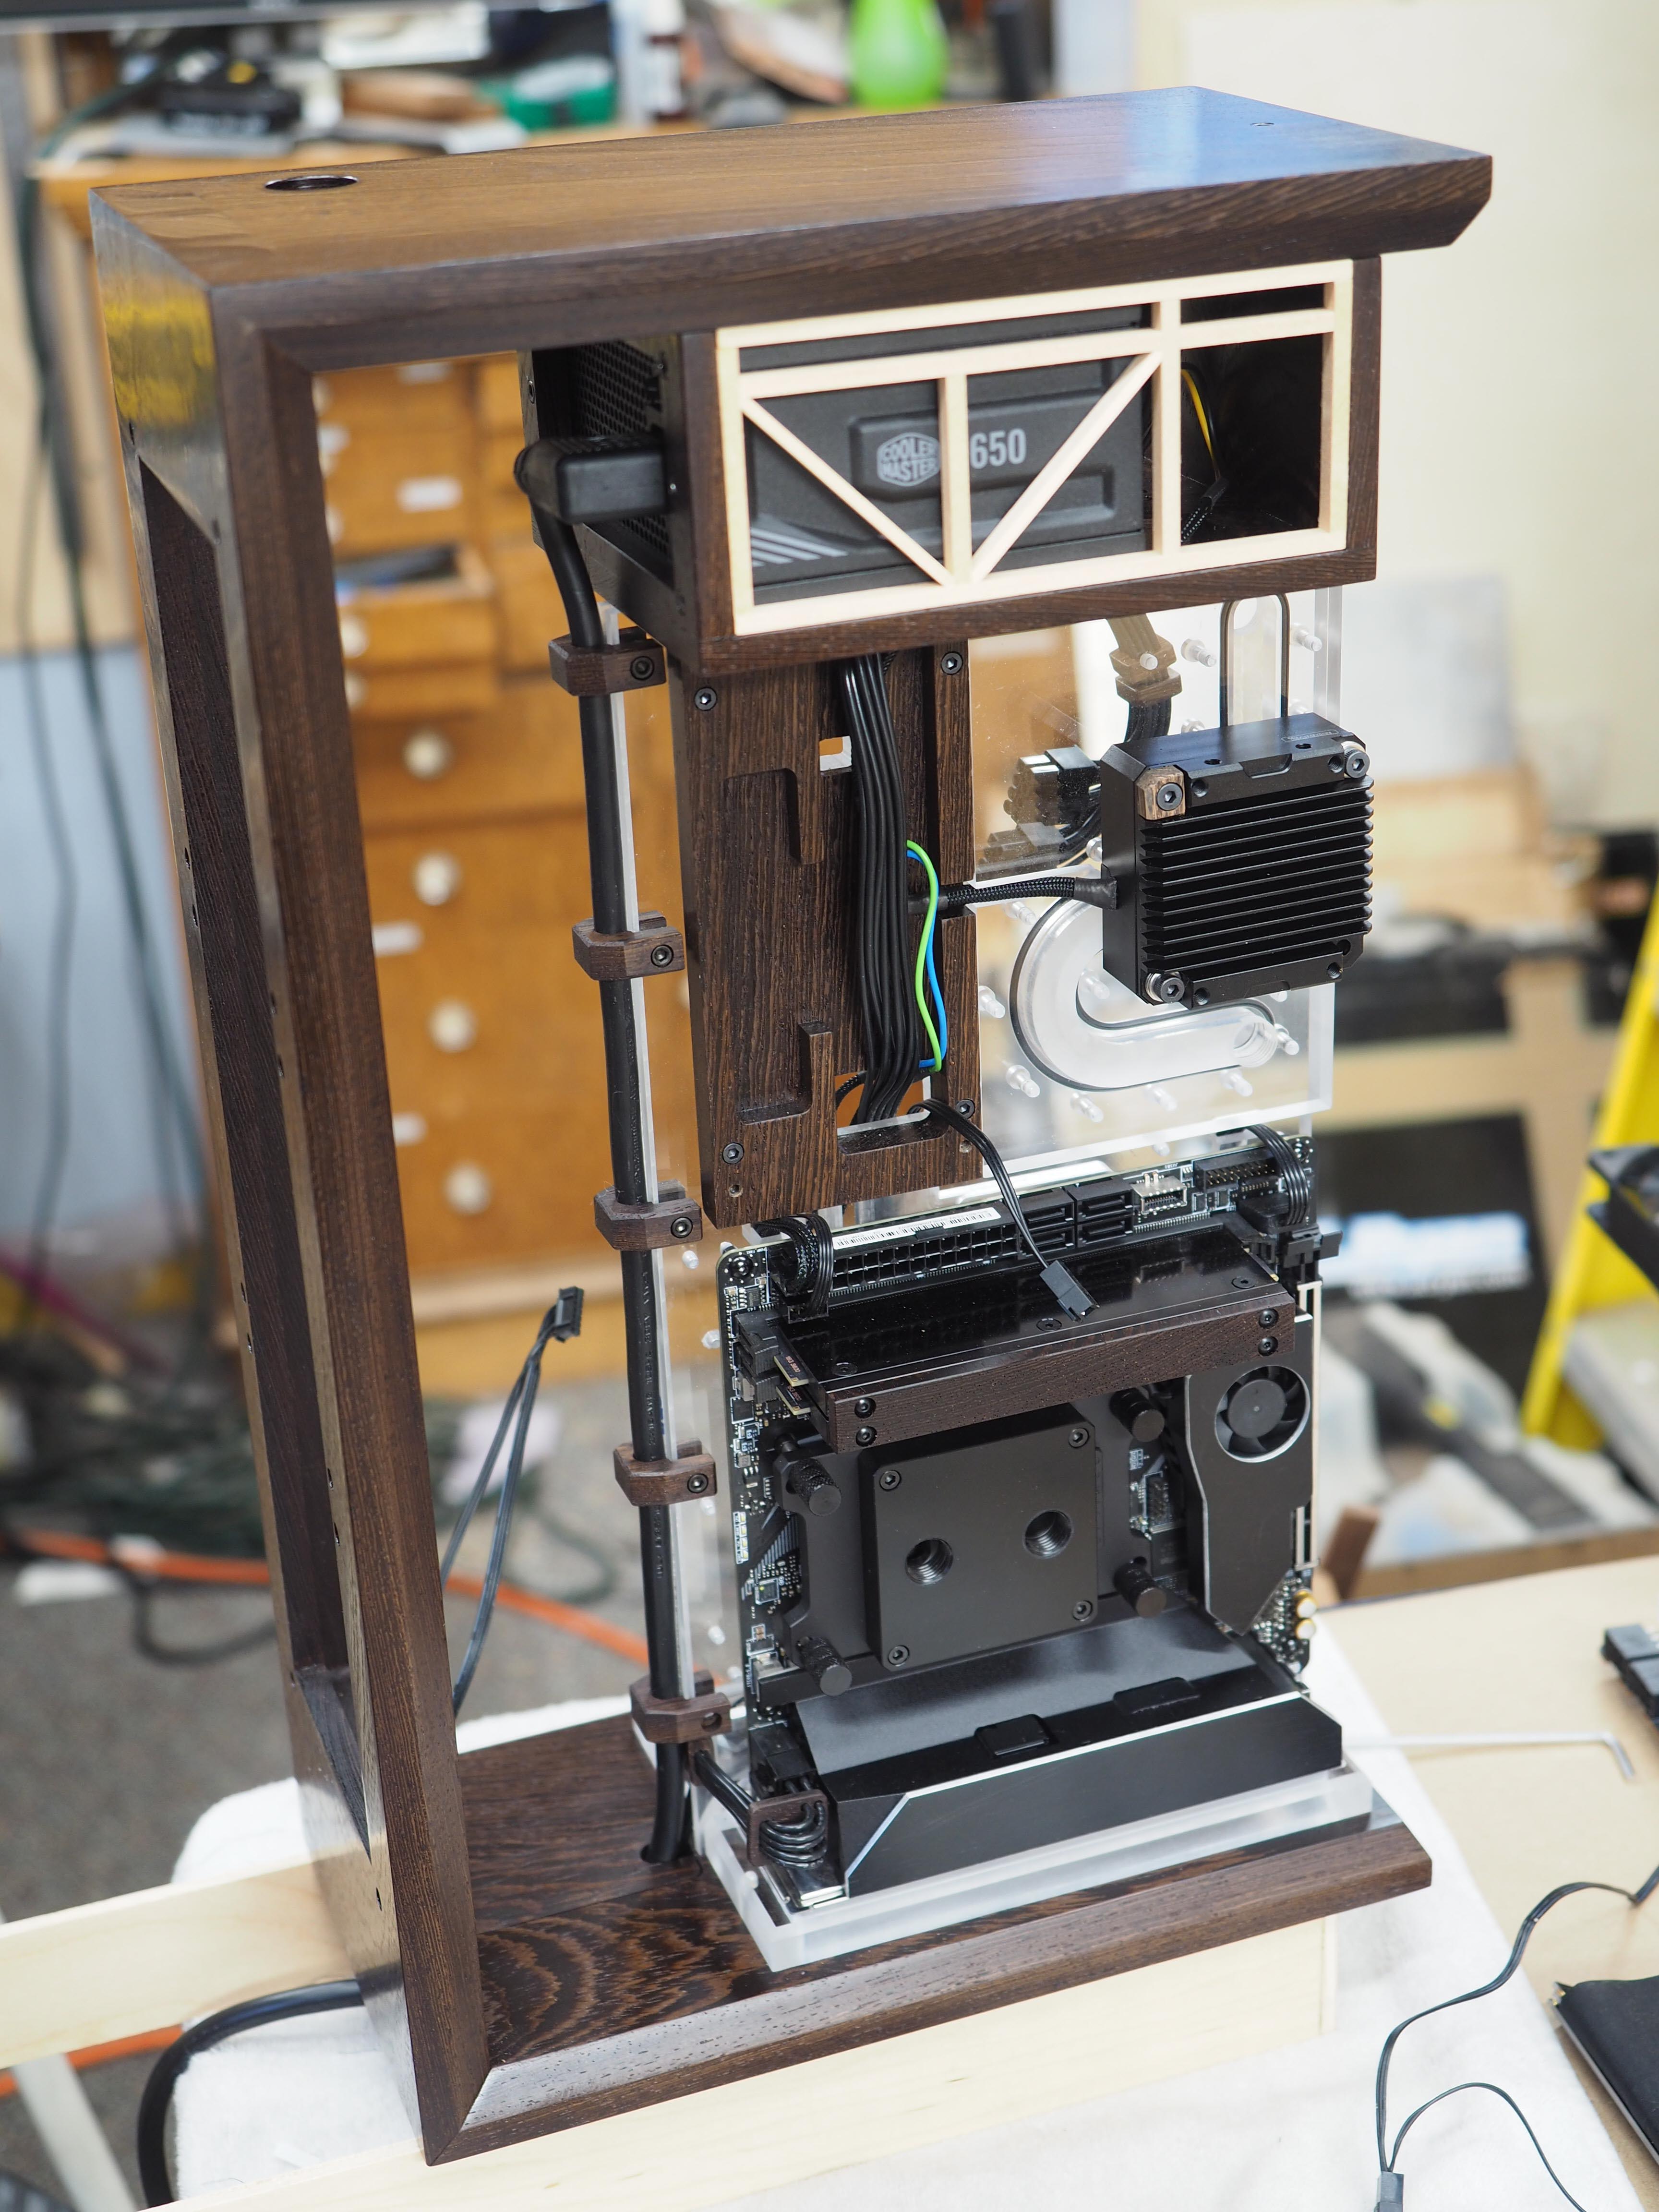
The pump gets a bit of sleeving and some Wenge “washers” to help tie it into the theme.
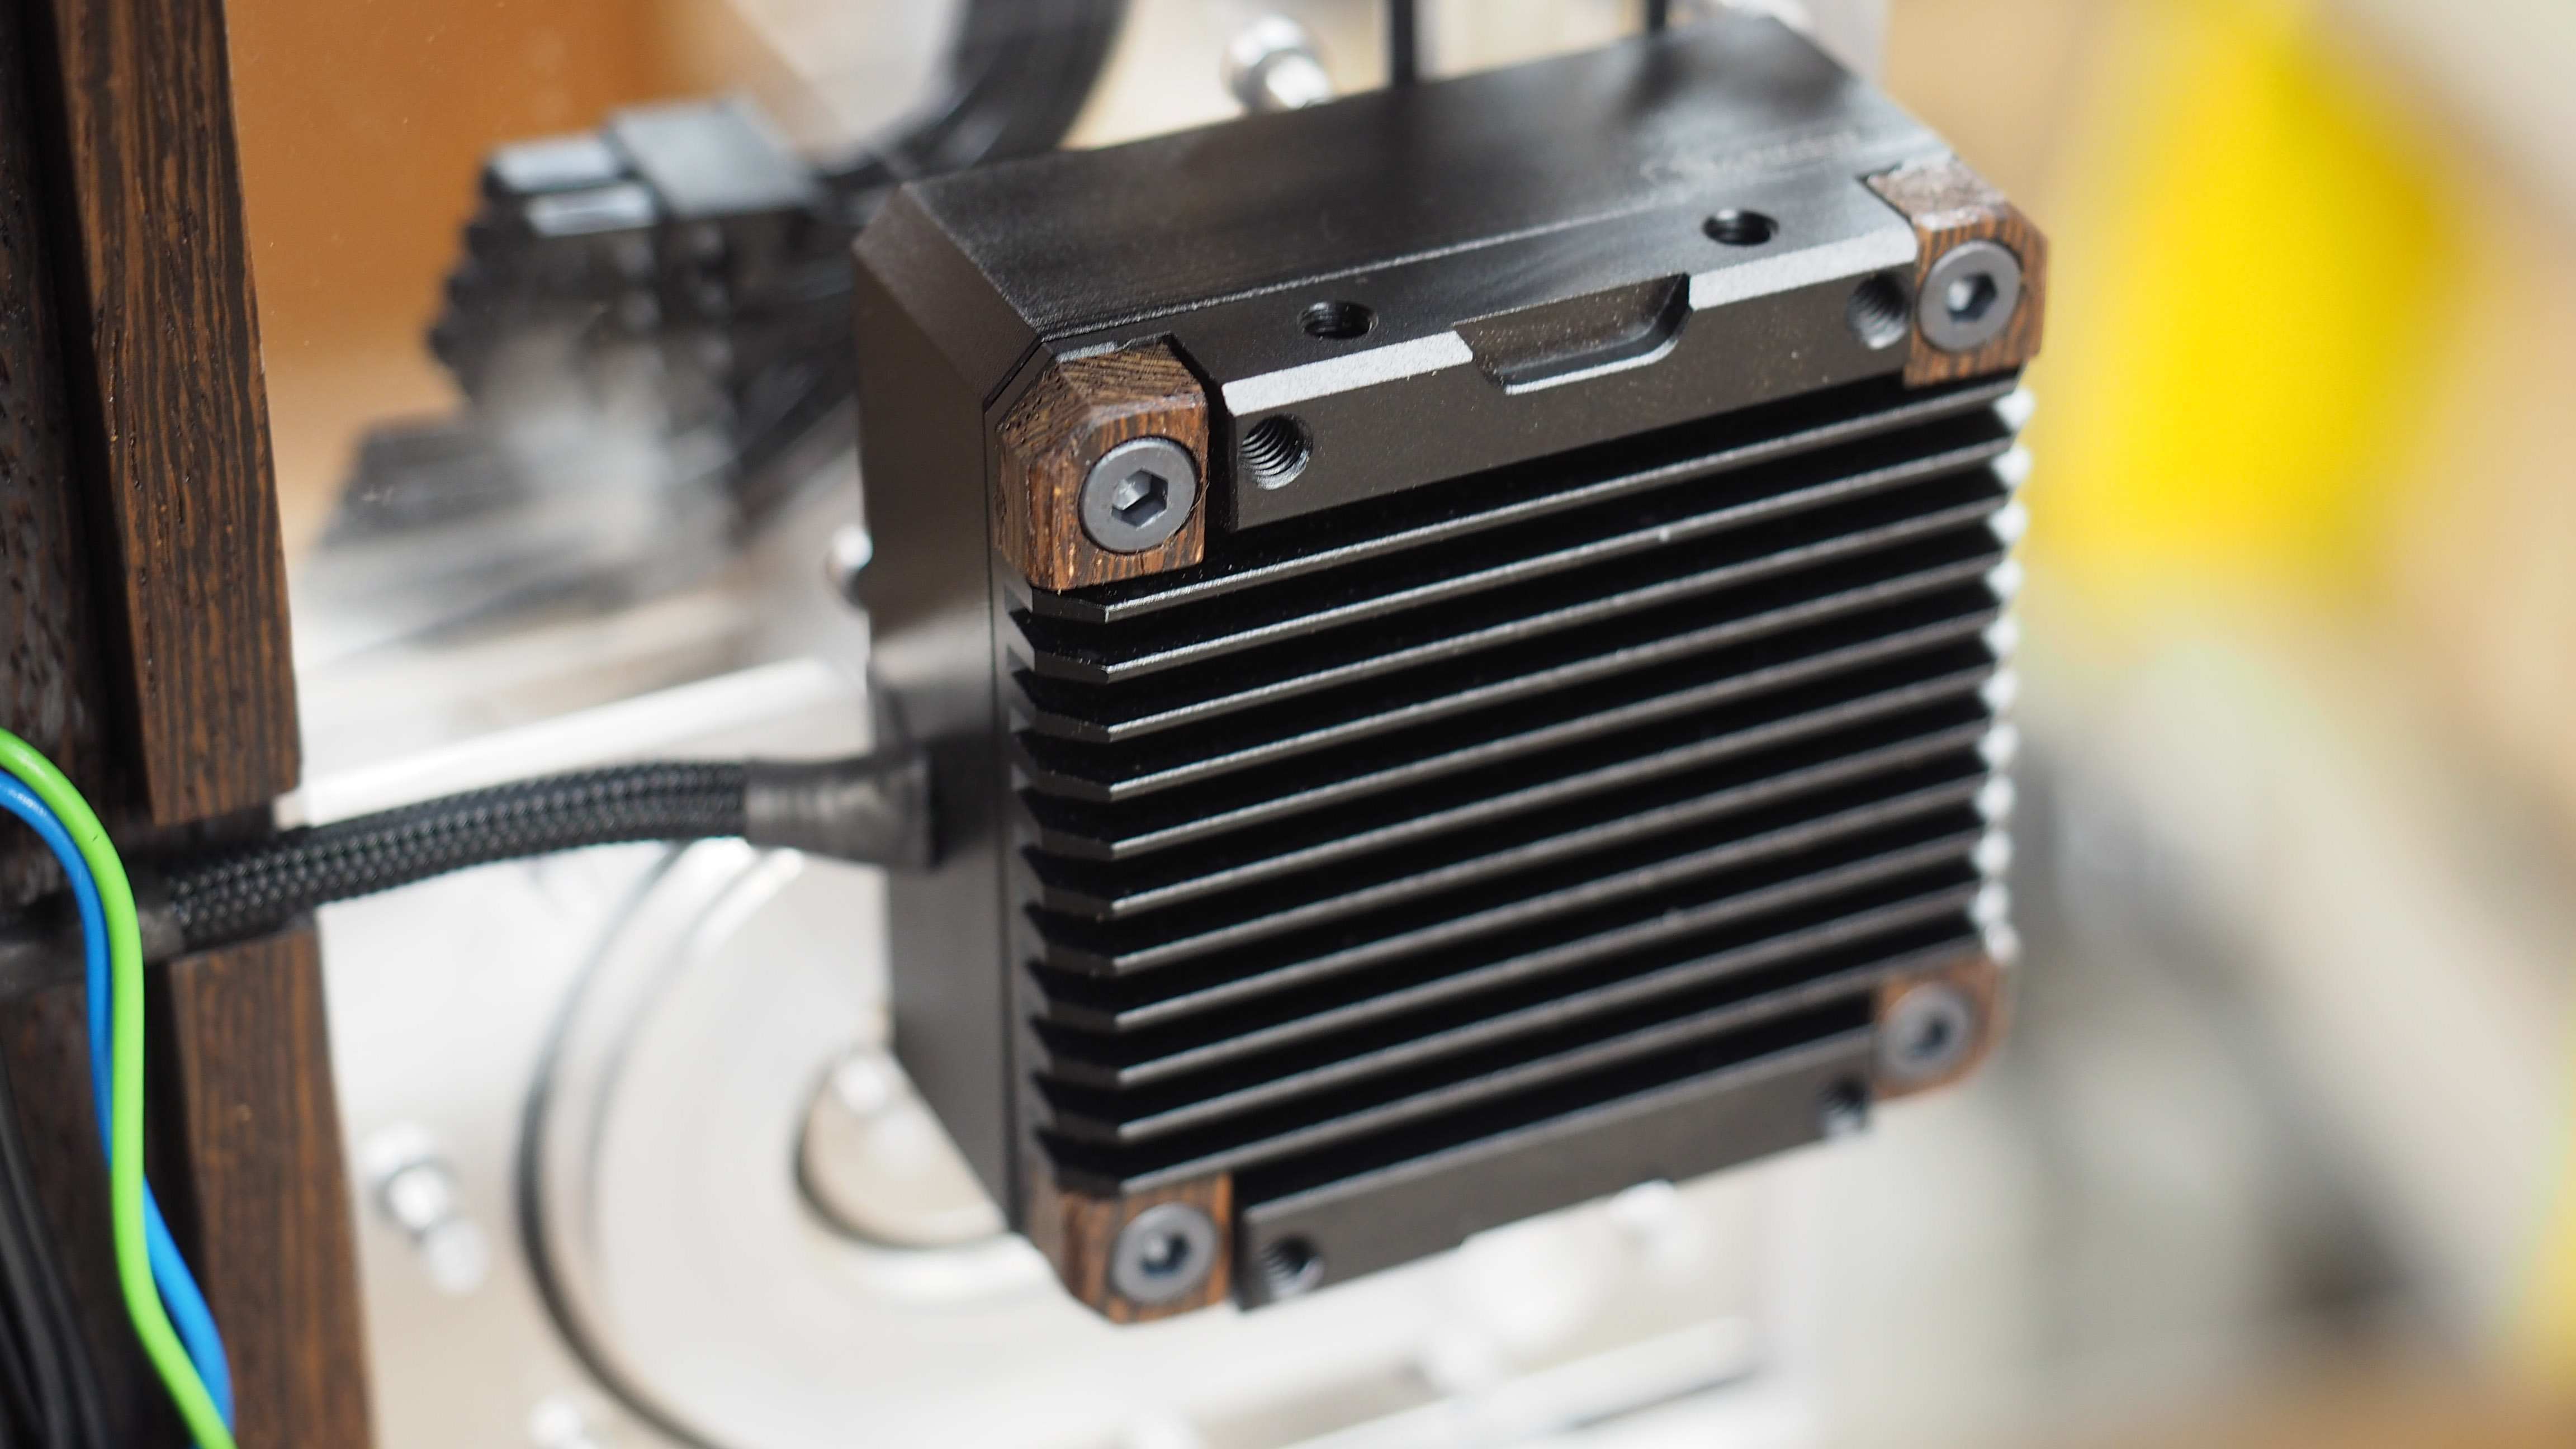
It's about time for the power cord to be installed with the brackets I made earlier.
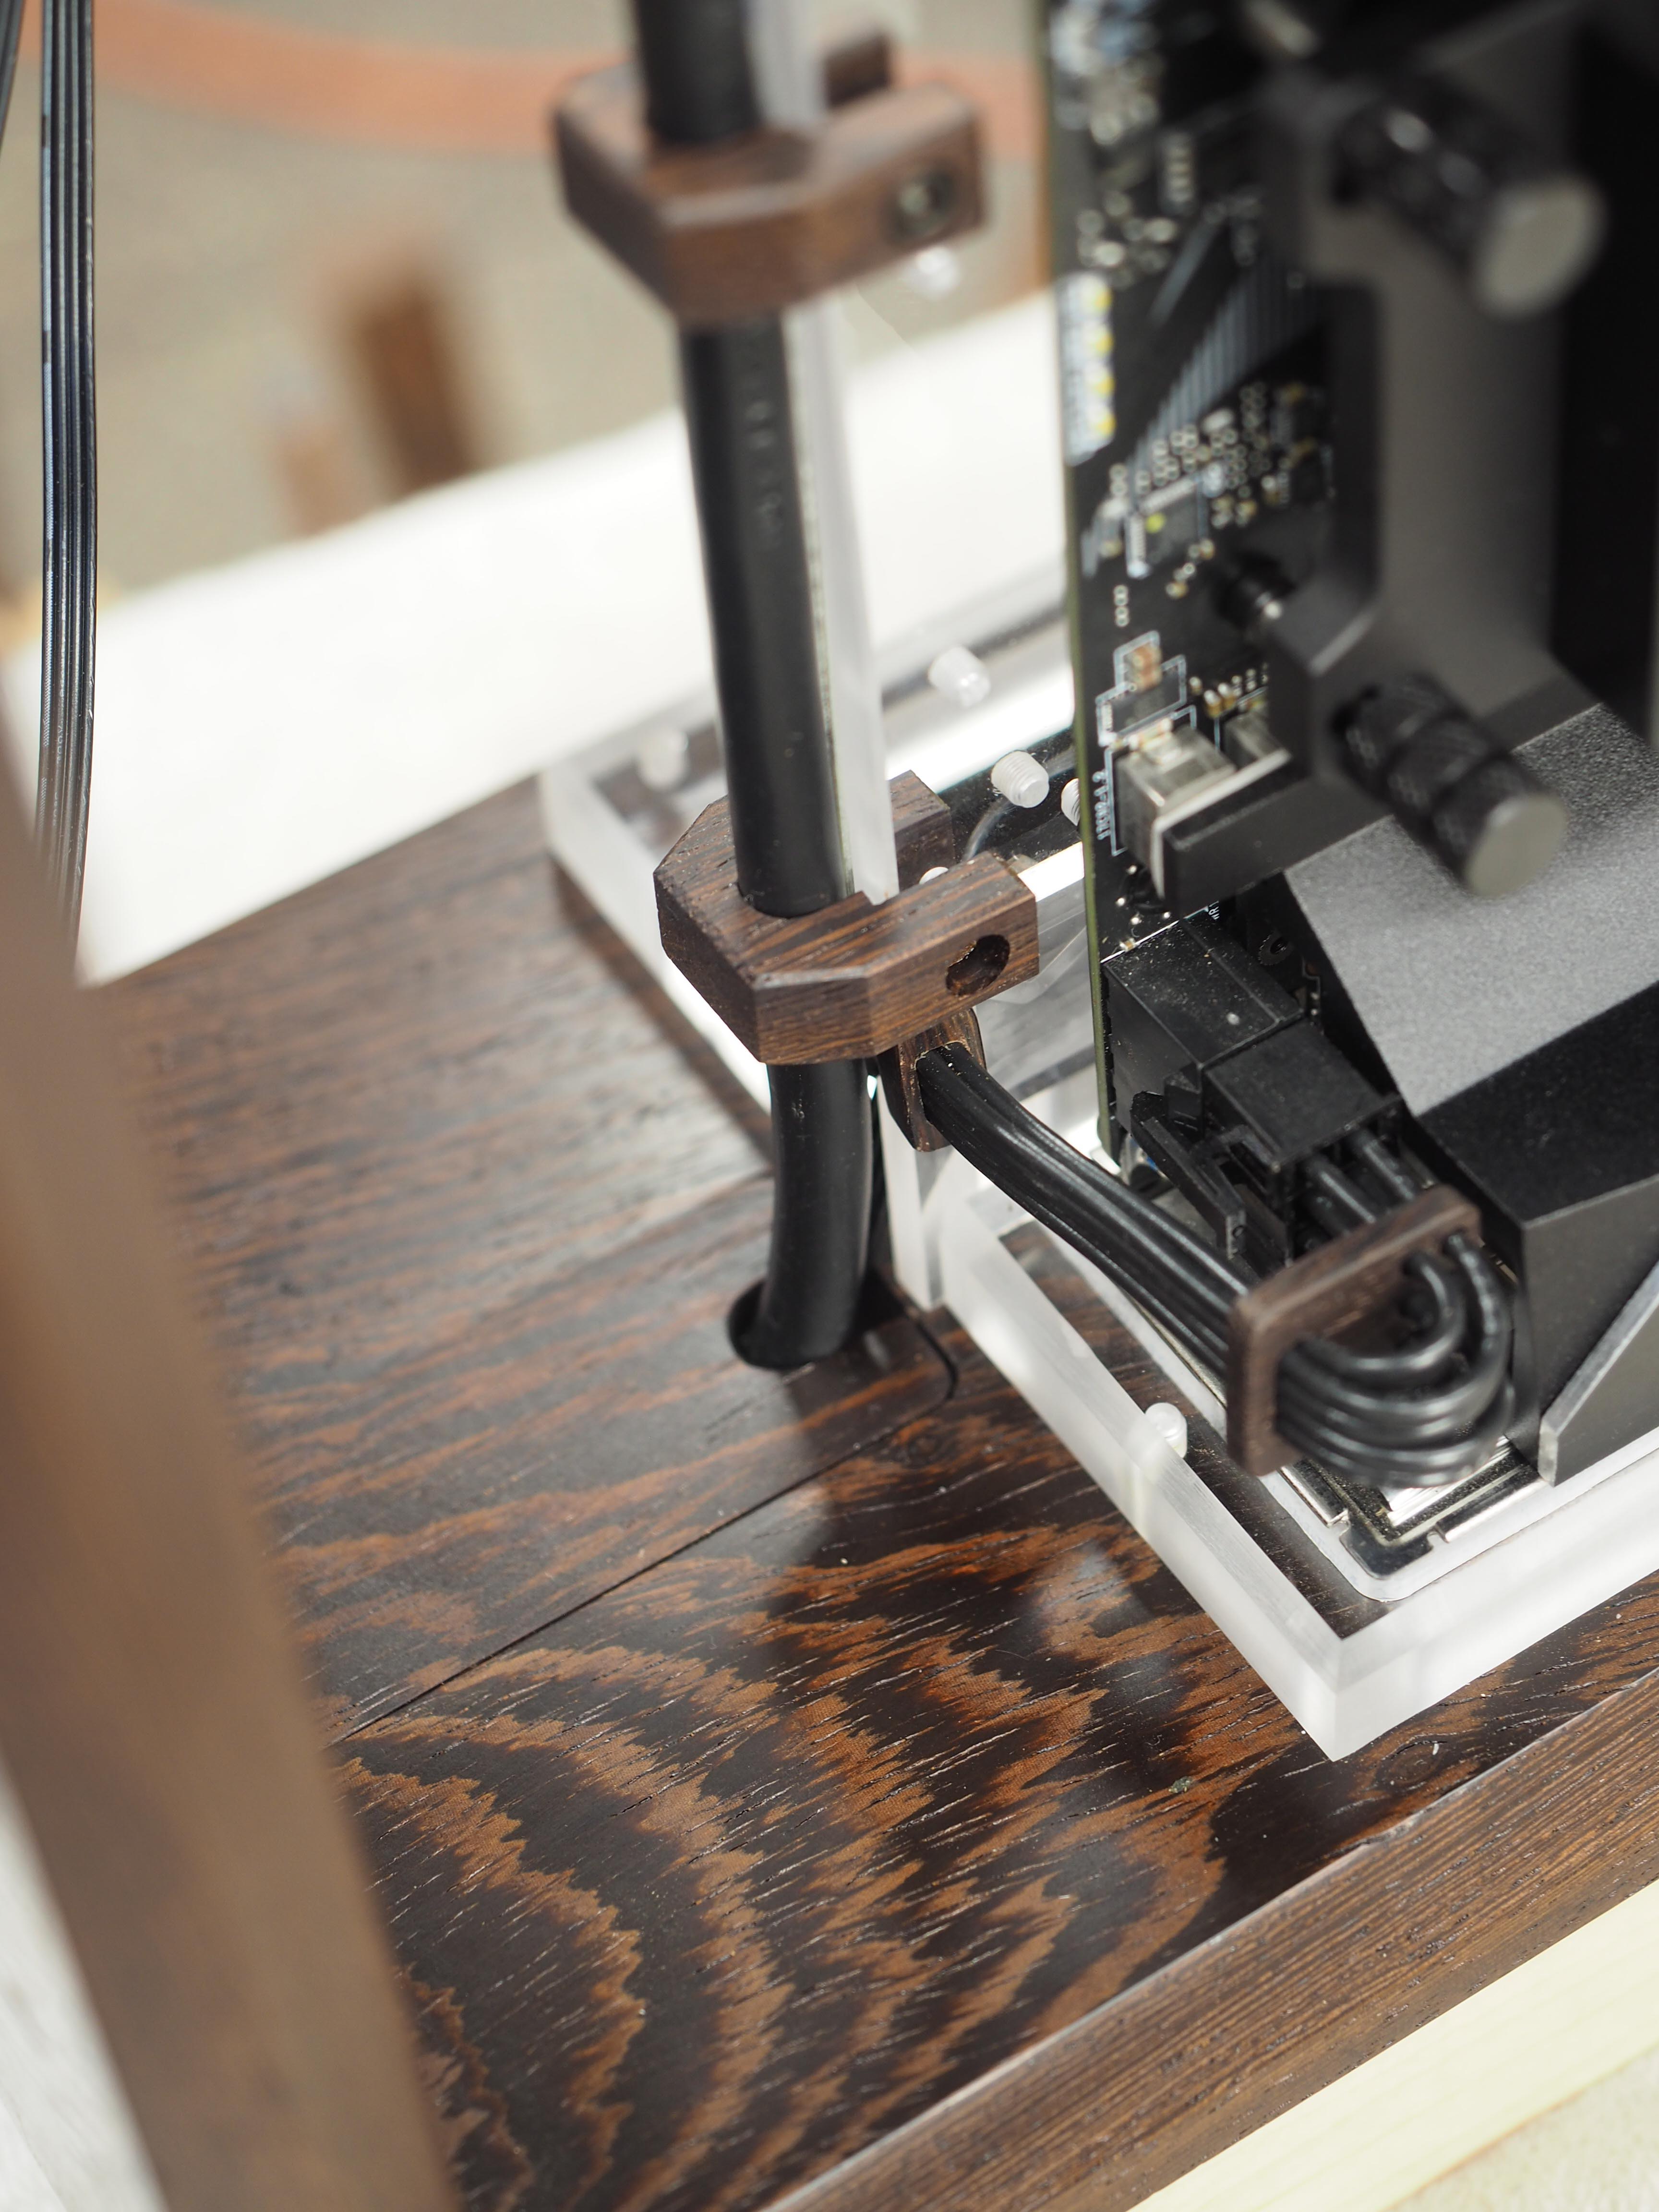
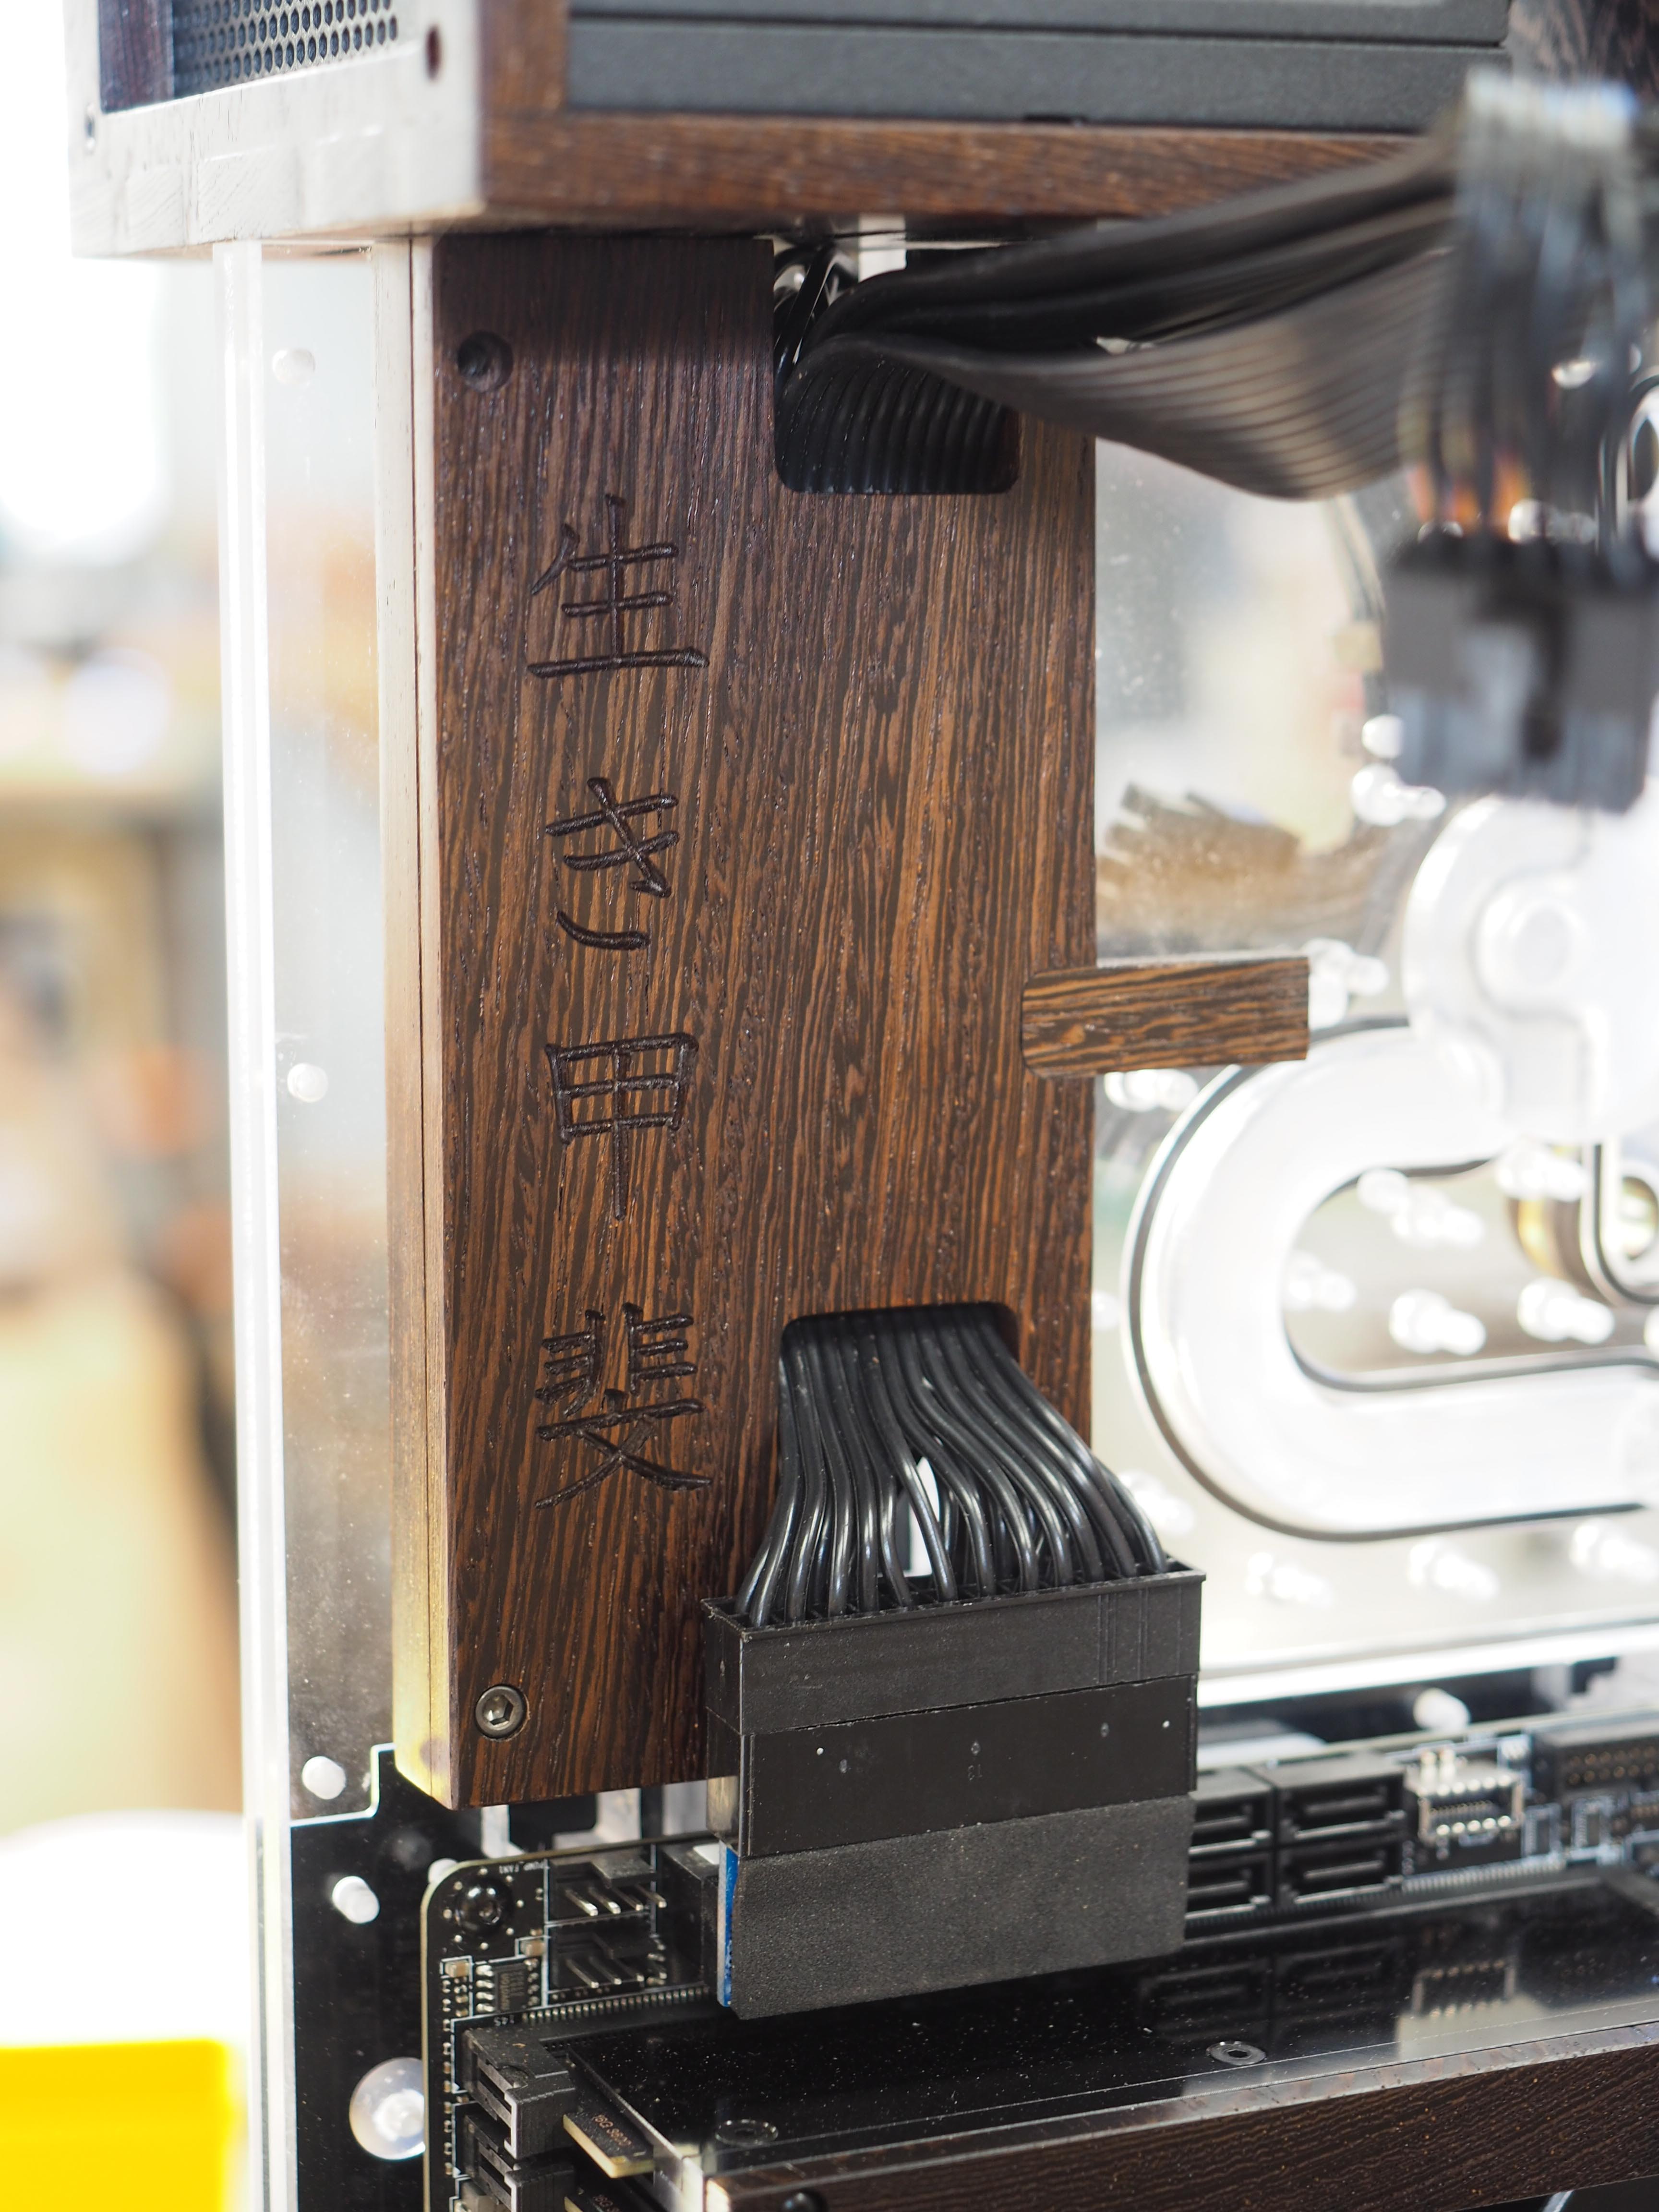
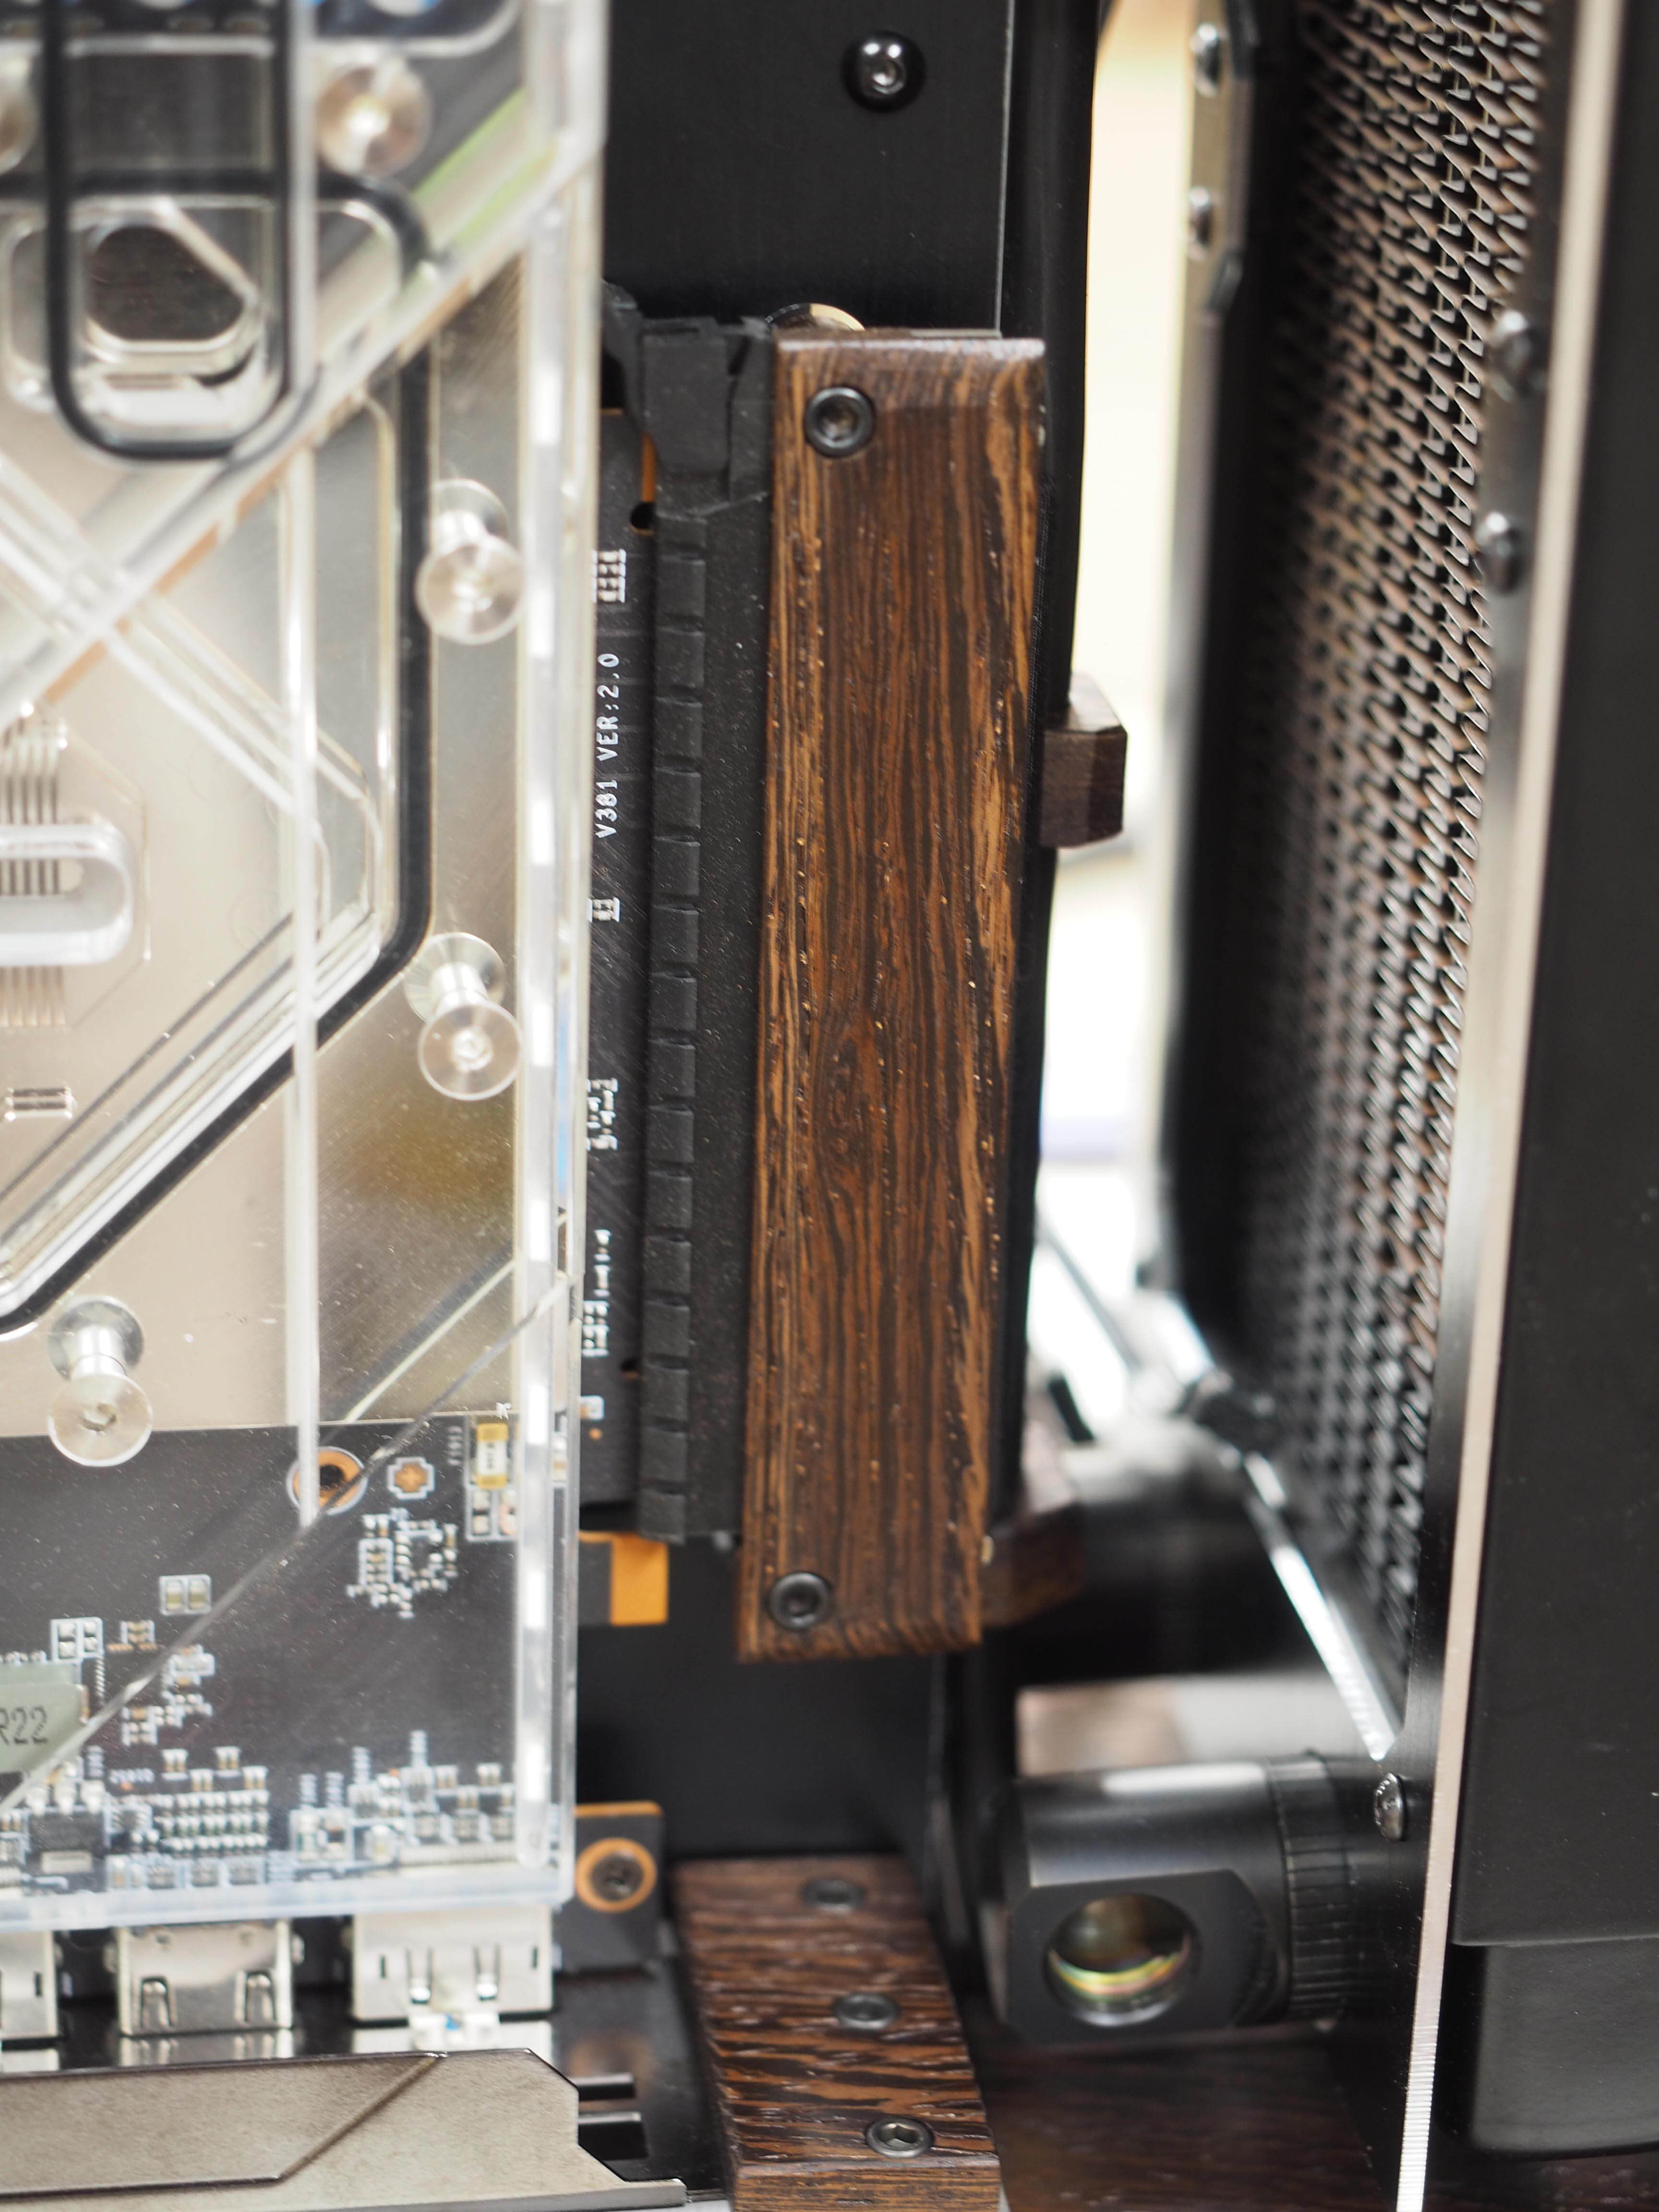
The riser cable for the GPU also gets a bit of Wenge trim to hide the PCB.
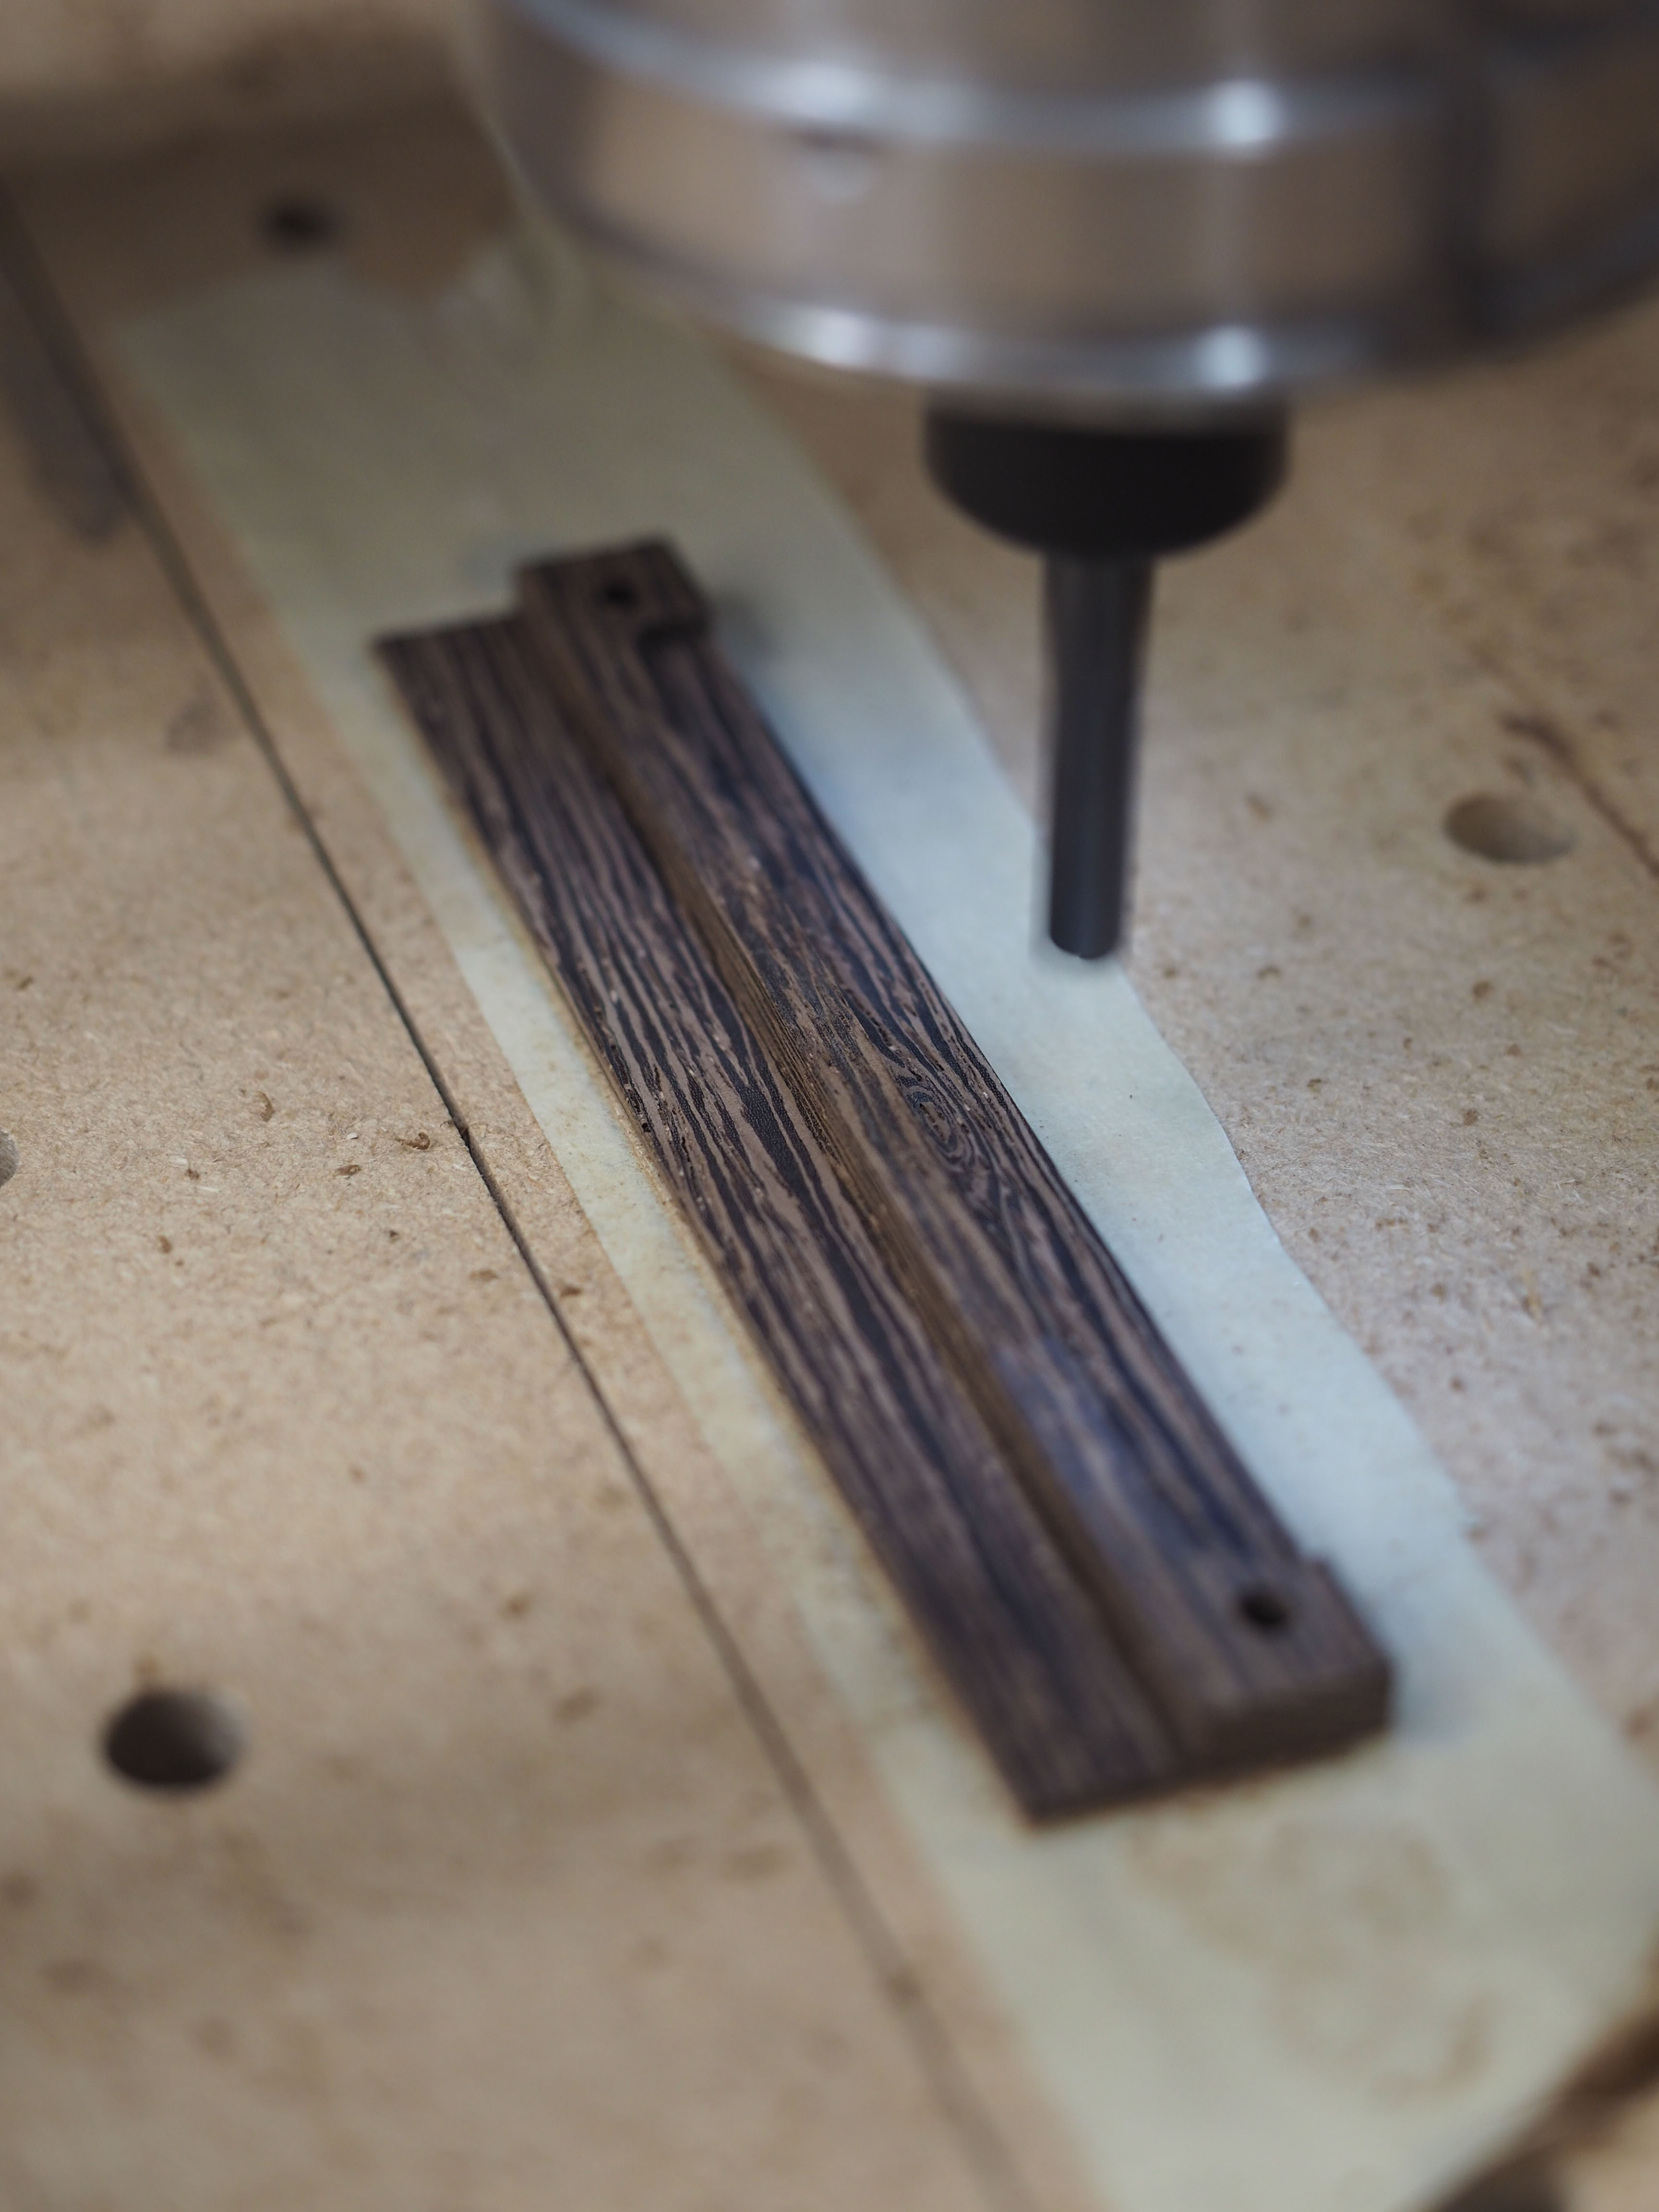
Power Supply Compartment Kumiko
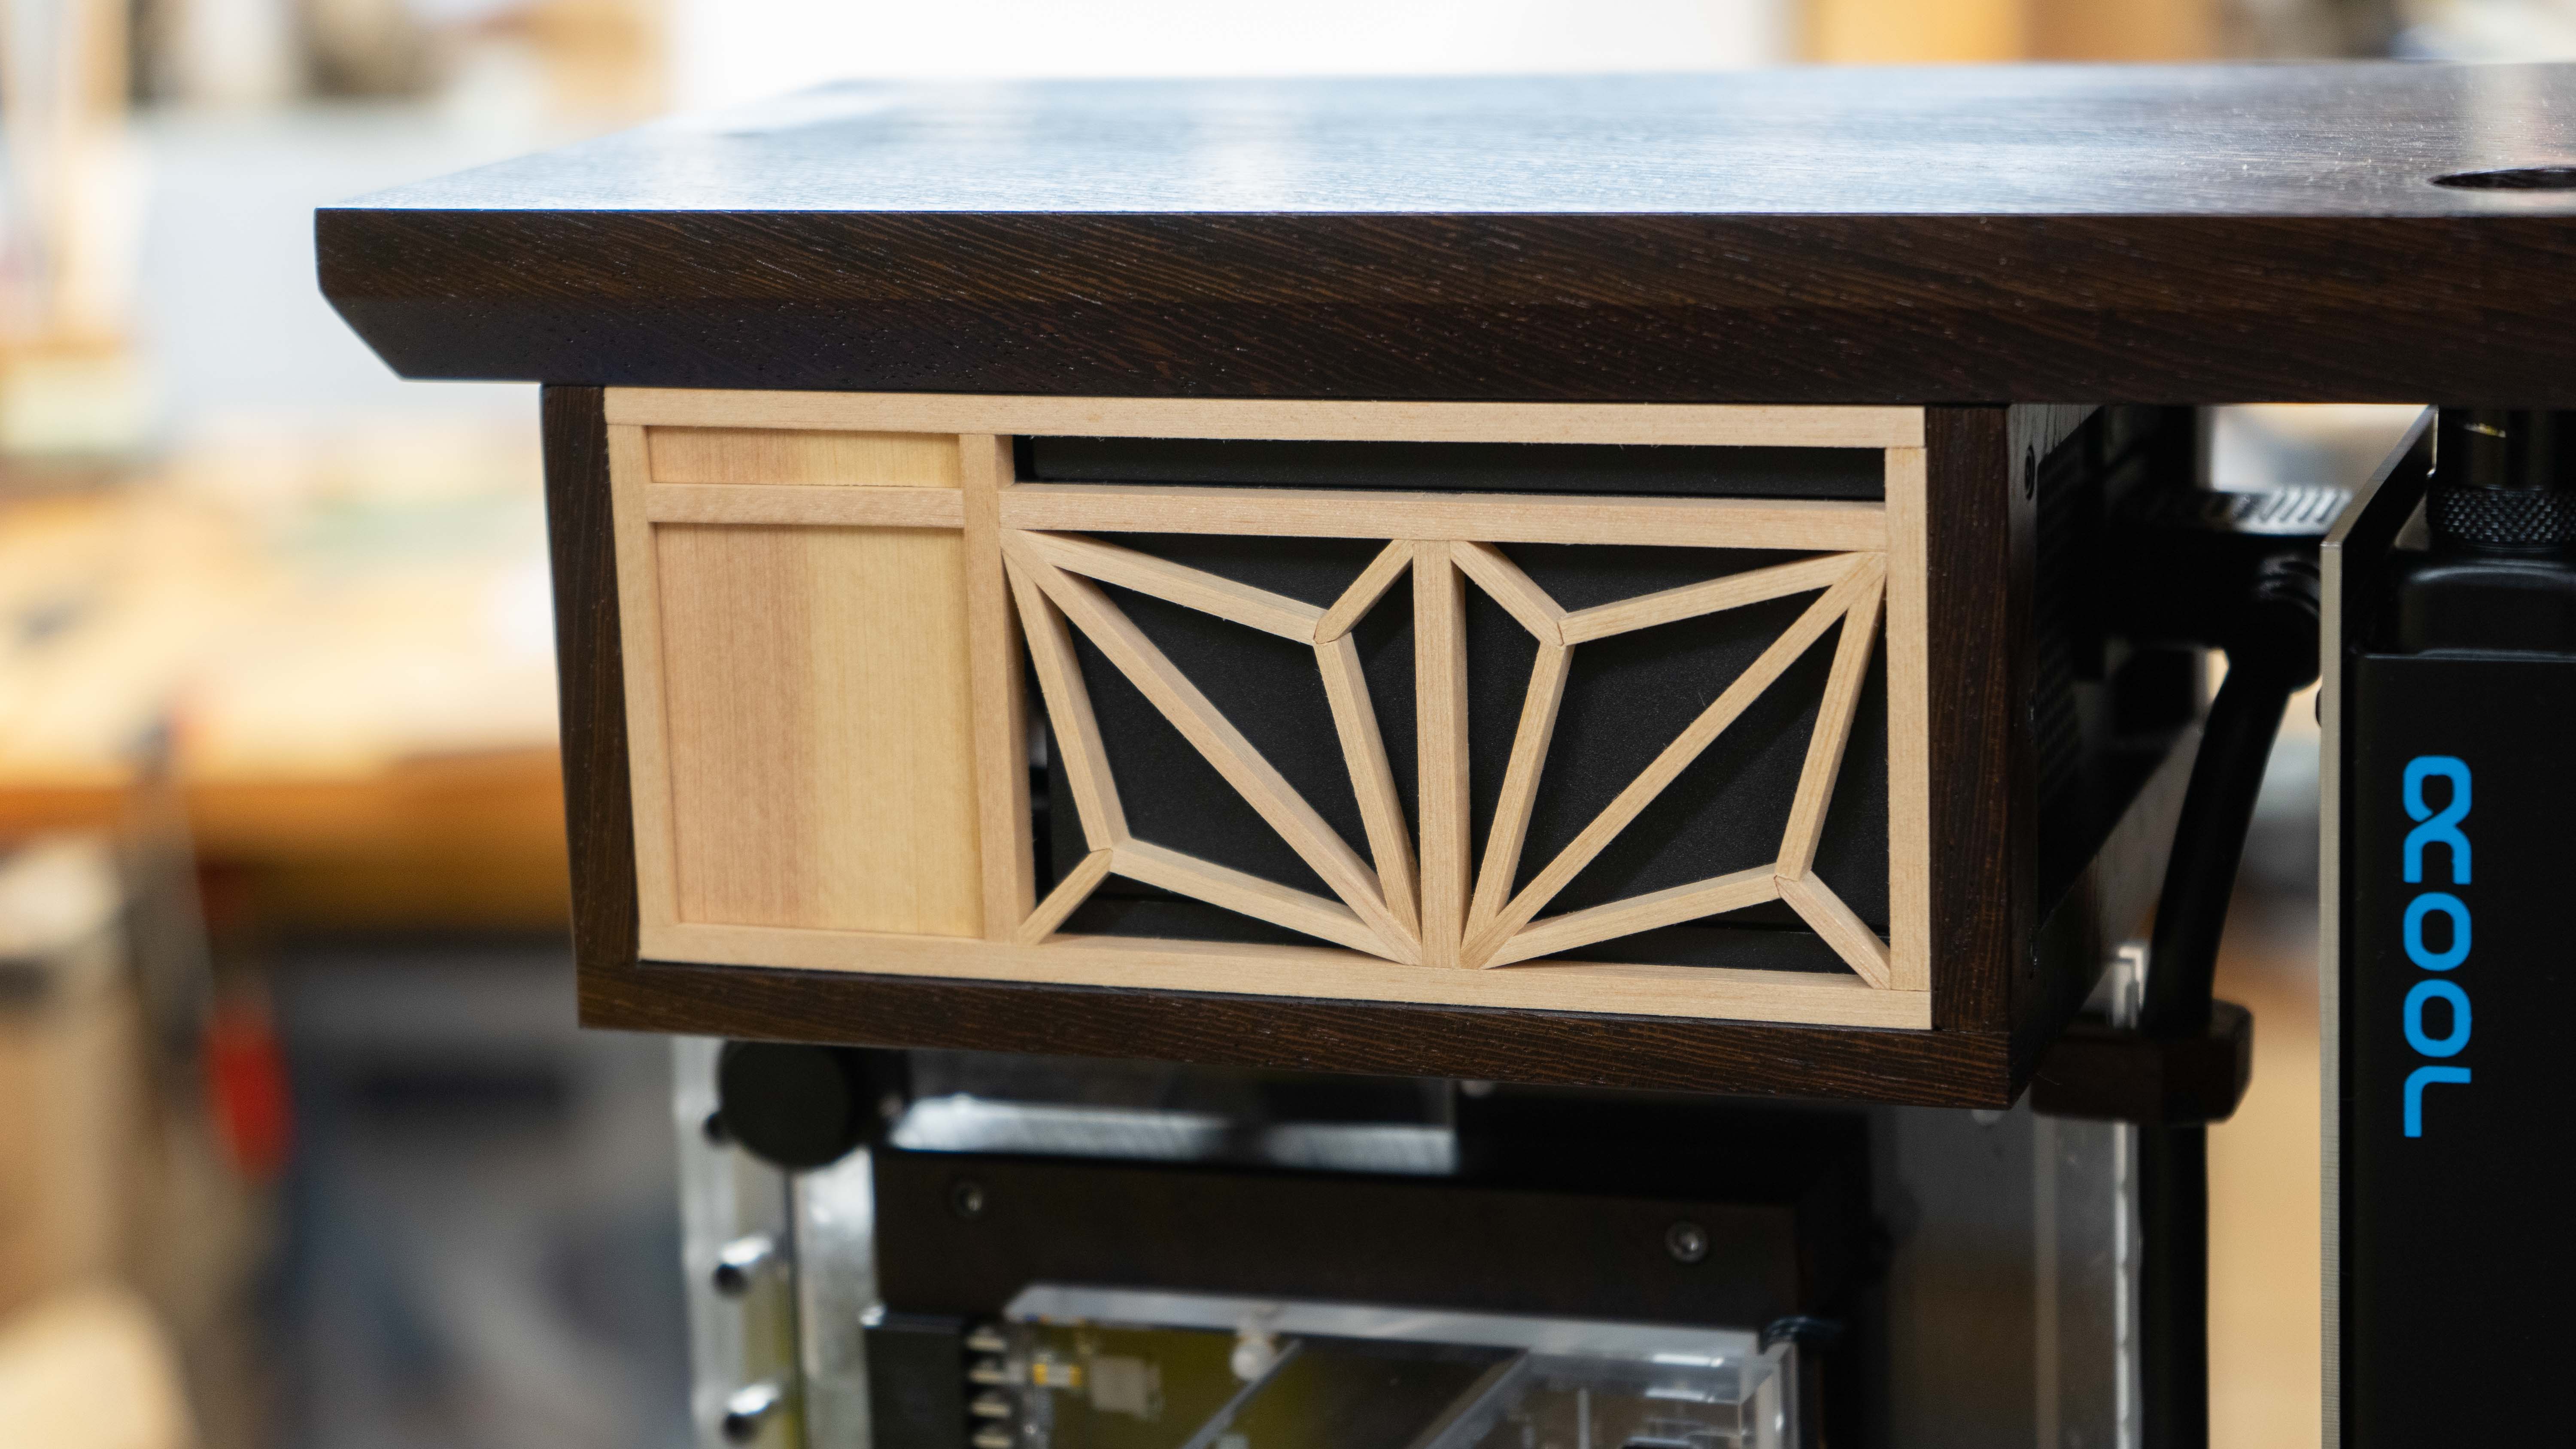
As beautiful as this power supply is, I wanted to dress it up, adding balance to the case with some more Kumiko.
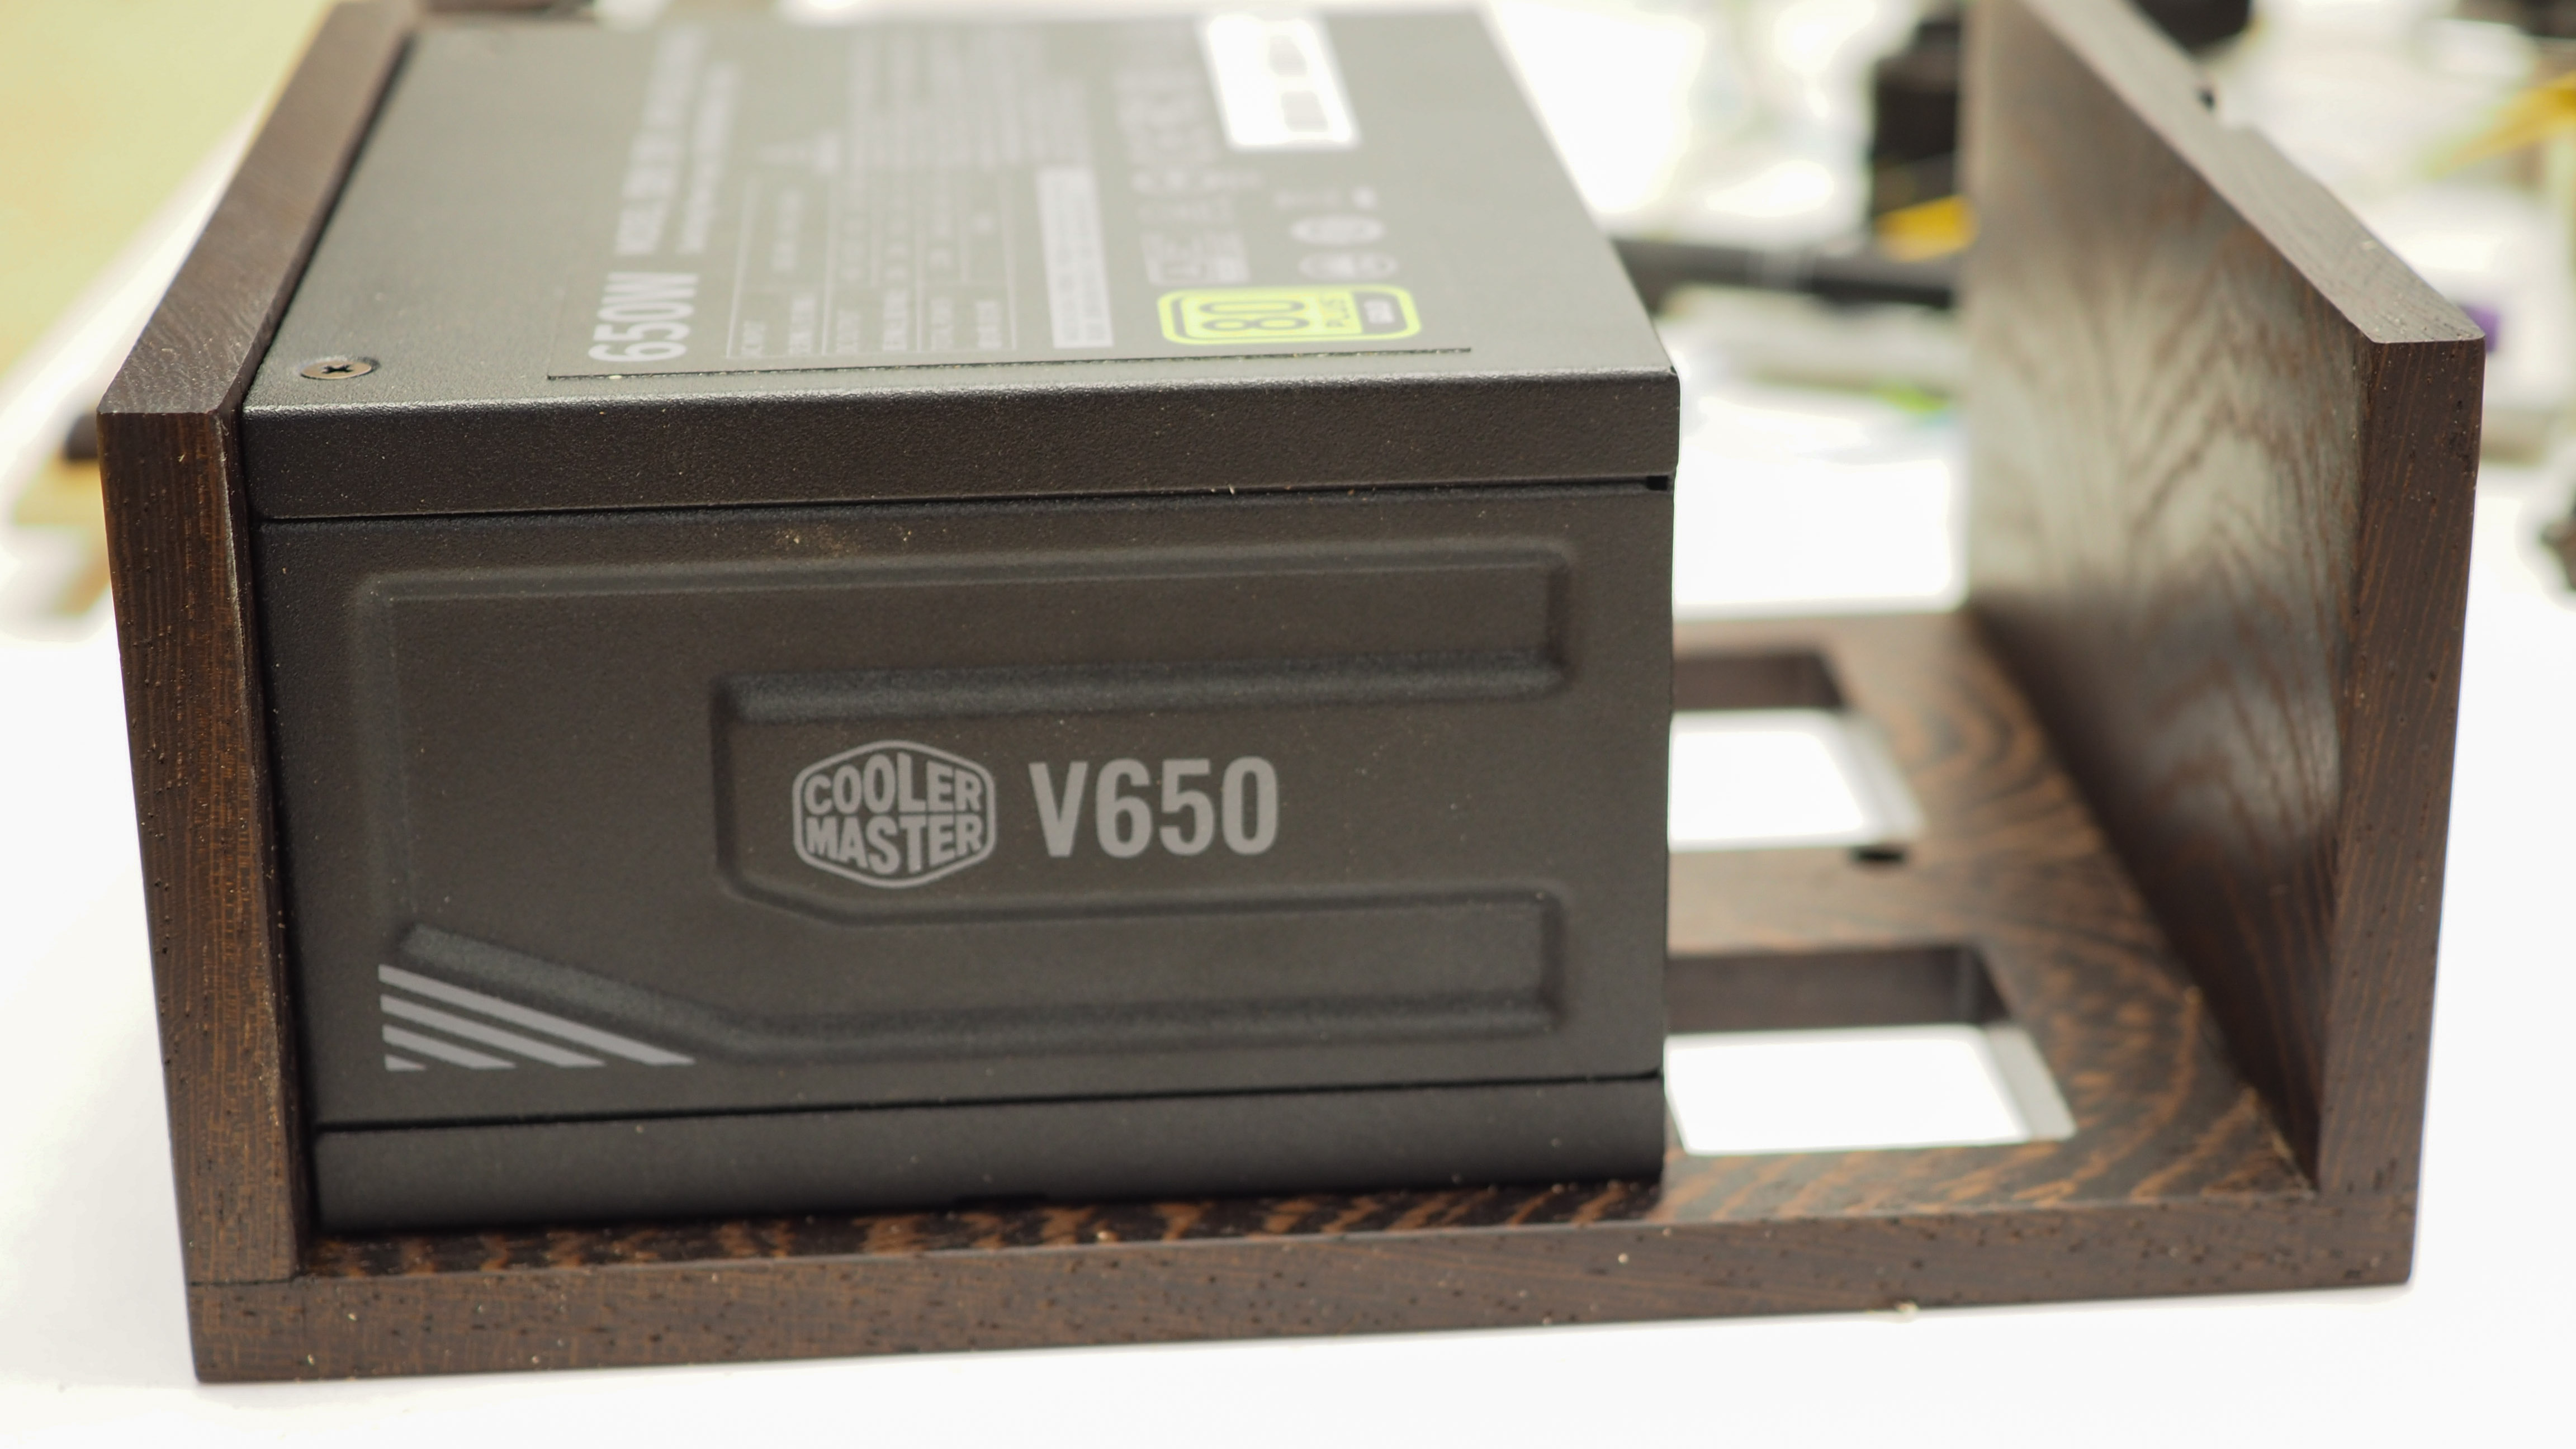
I did a mockup with some scrap pieces to figure out the best design.
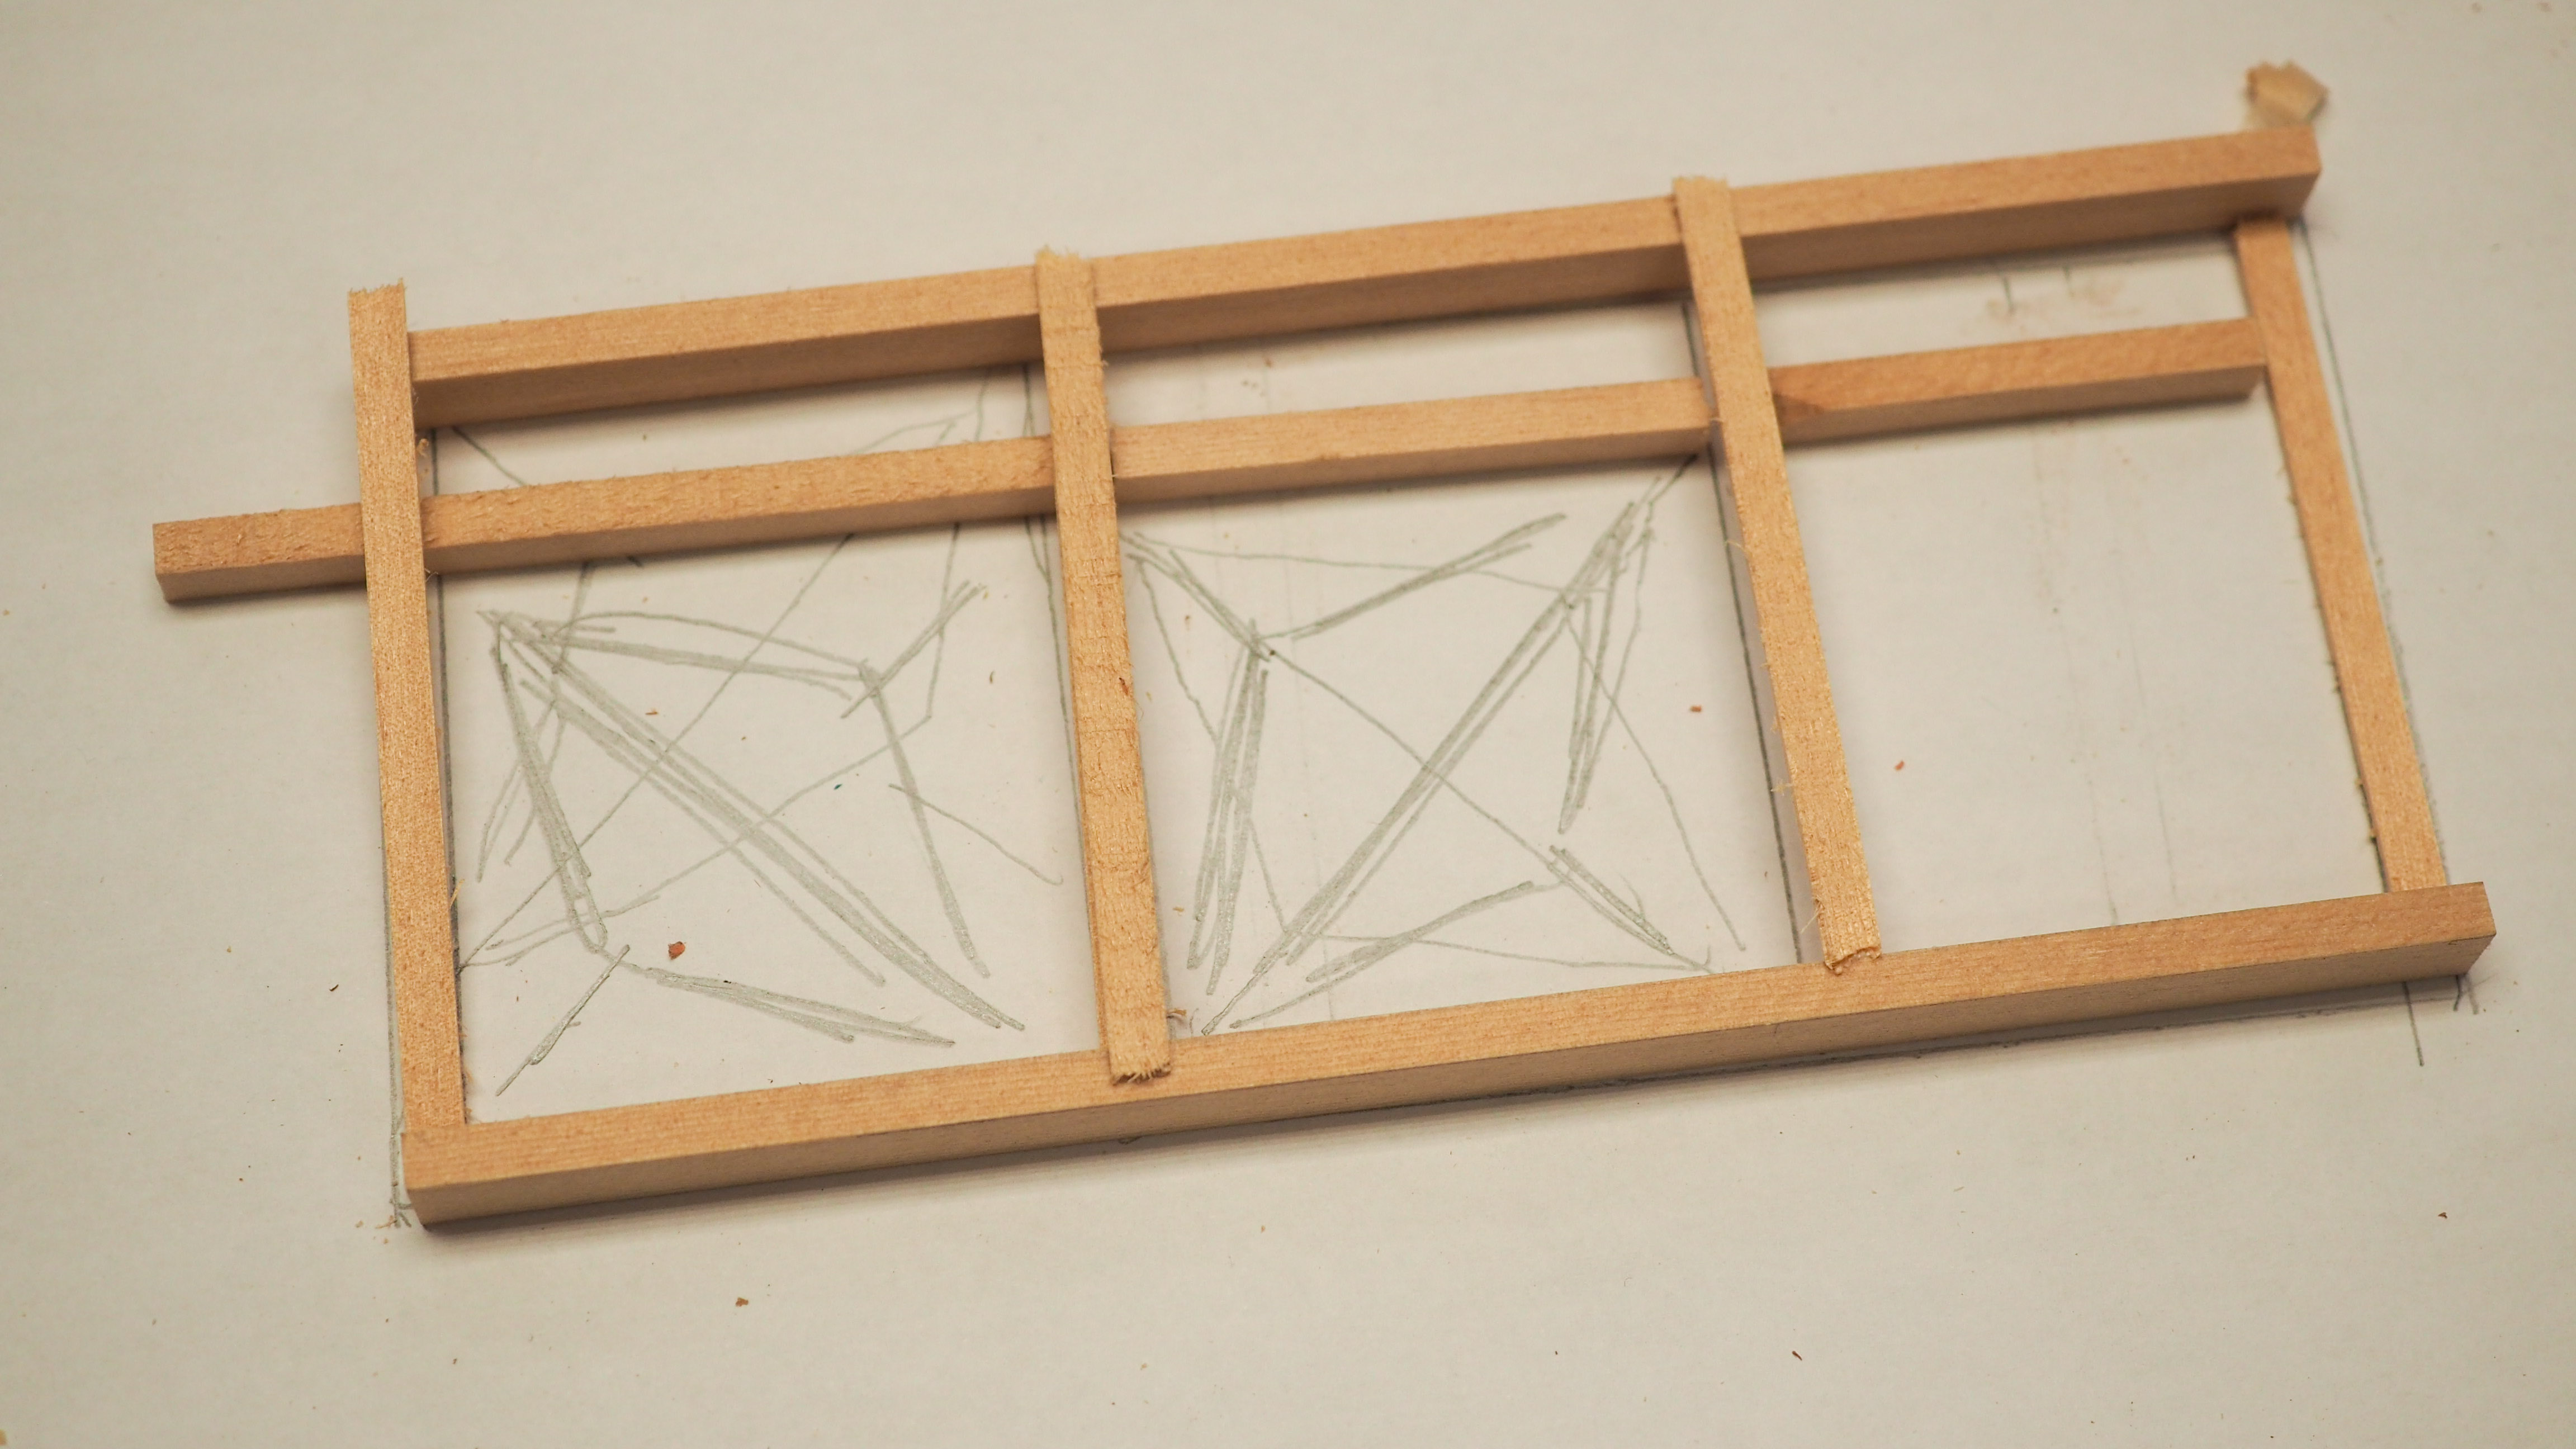
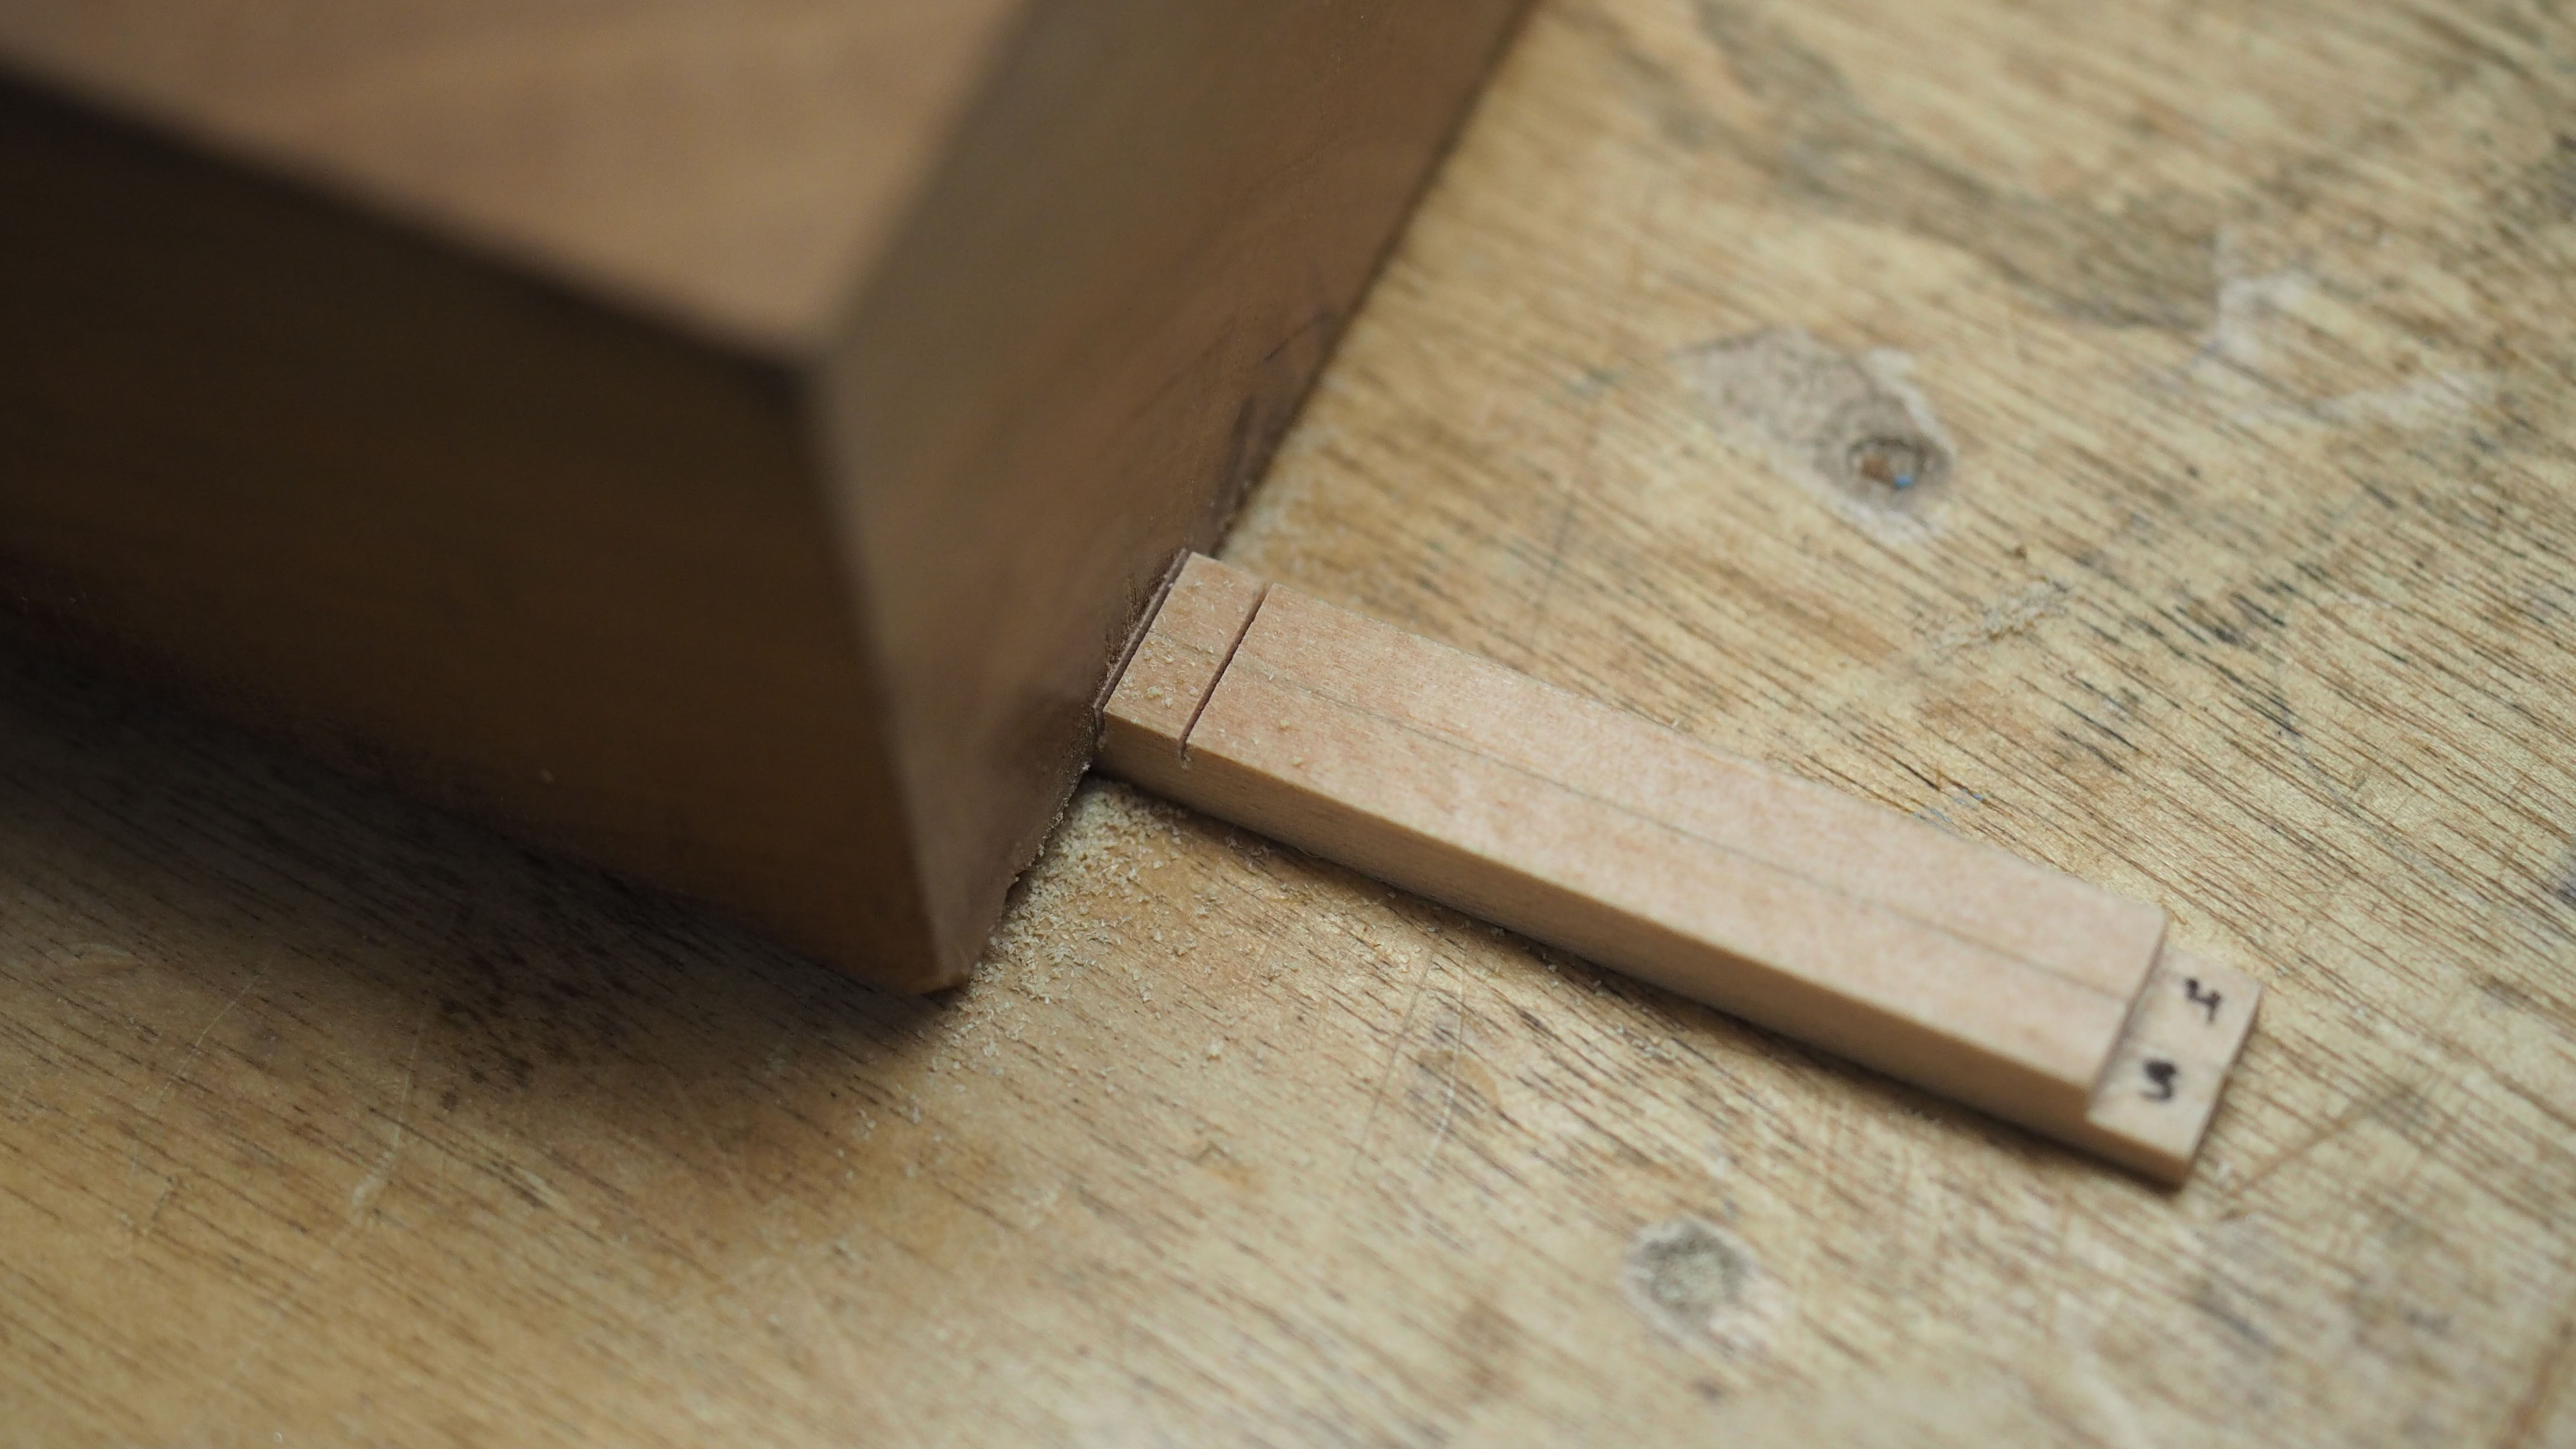
I’m also using the same jig from earlier to batch cut the Kumiko pieces.
At this point, I’m making progress on the grid pattern. Two of these will get the hemp pattern and one will receive a solid pattern to cover the wires.
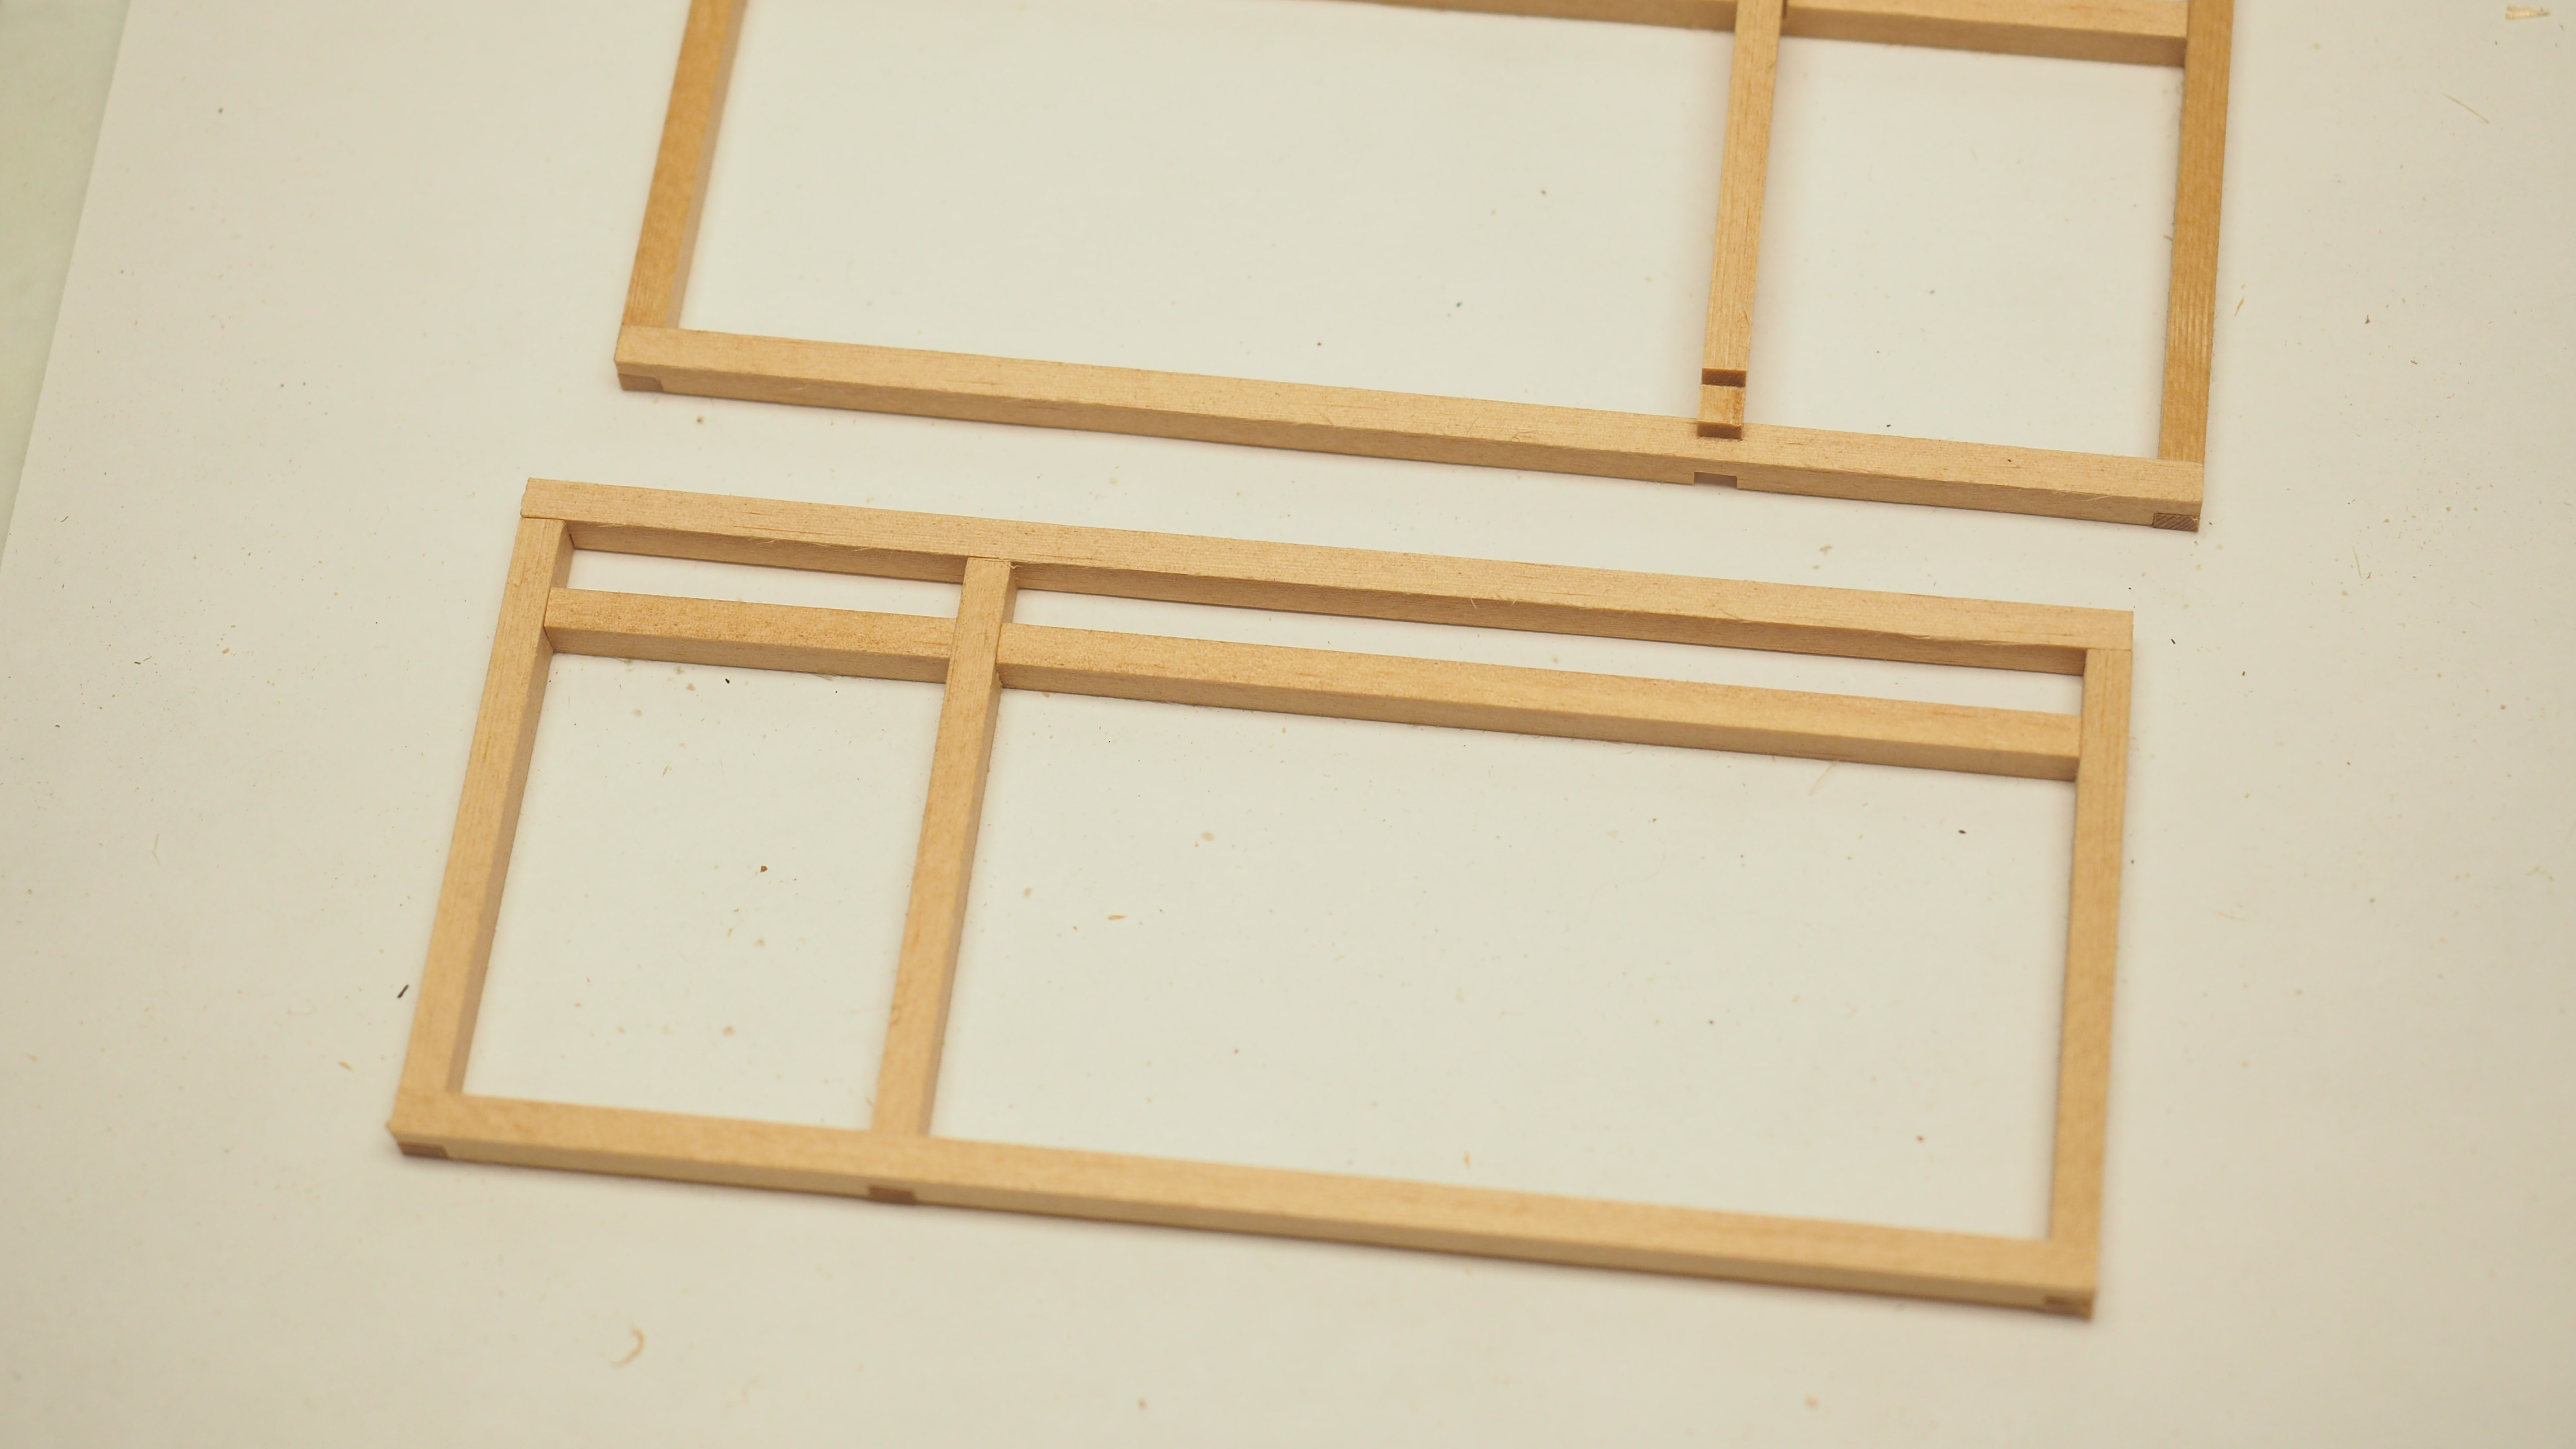
With the grid complete, I moved on to the diagonals and then the small pieces. Just like on the big panel, I have to cut just enough until they bend but not break.
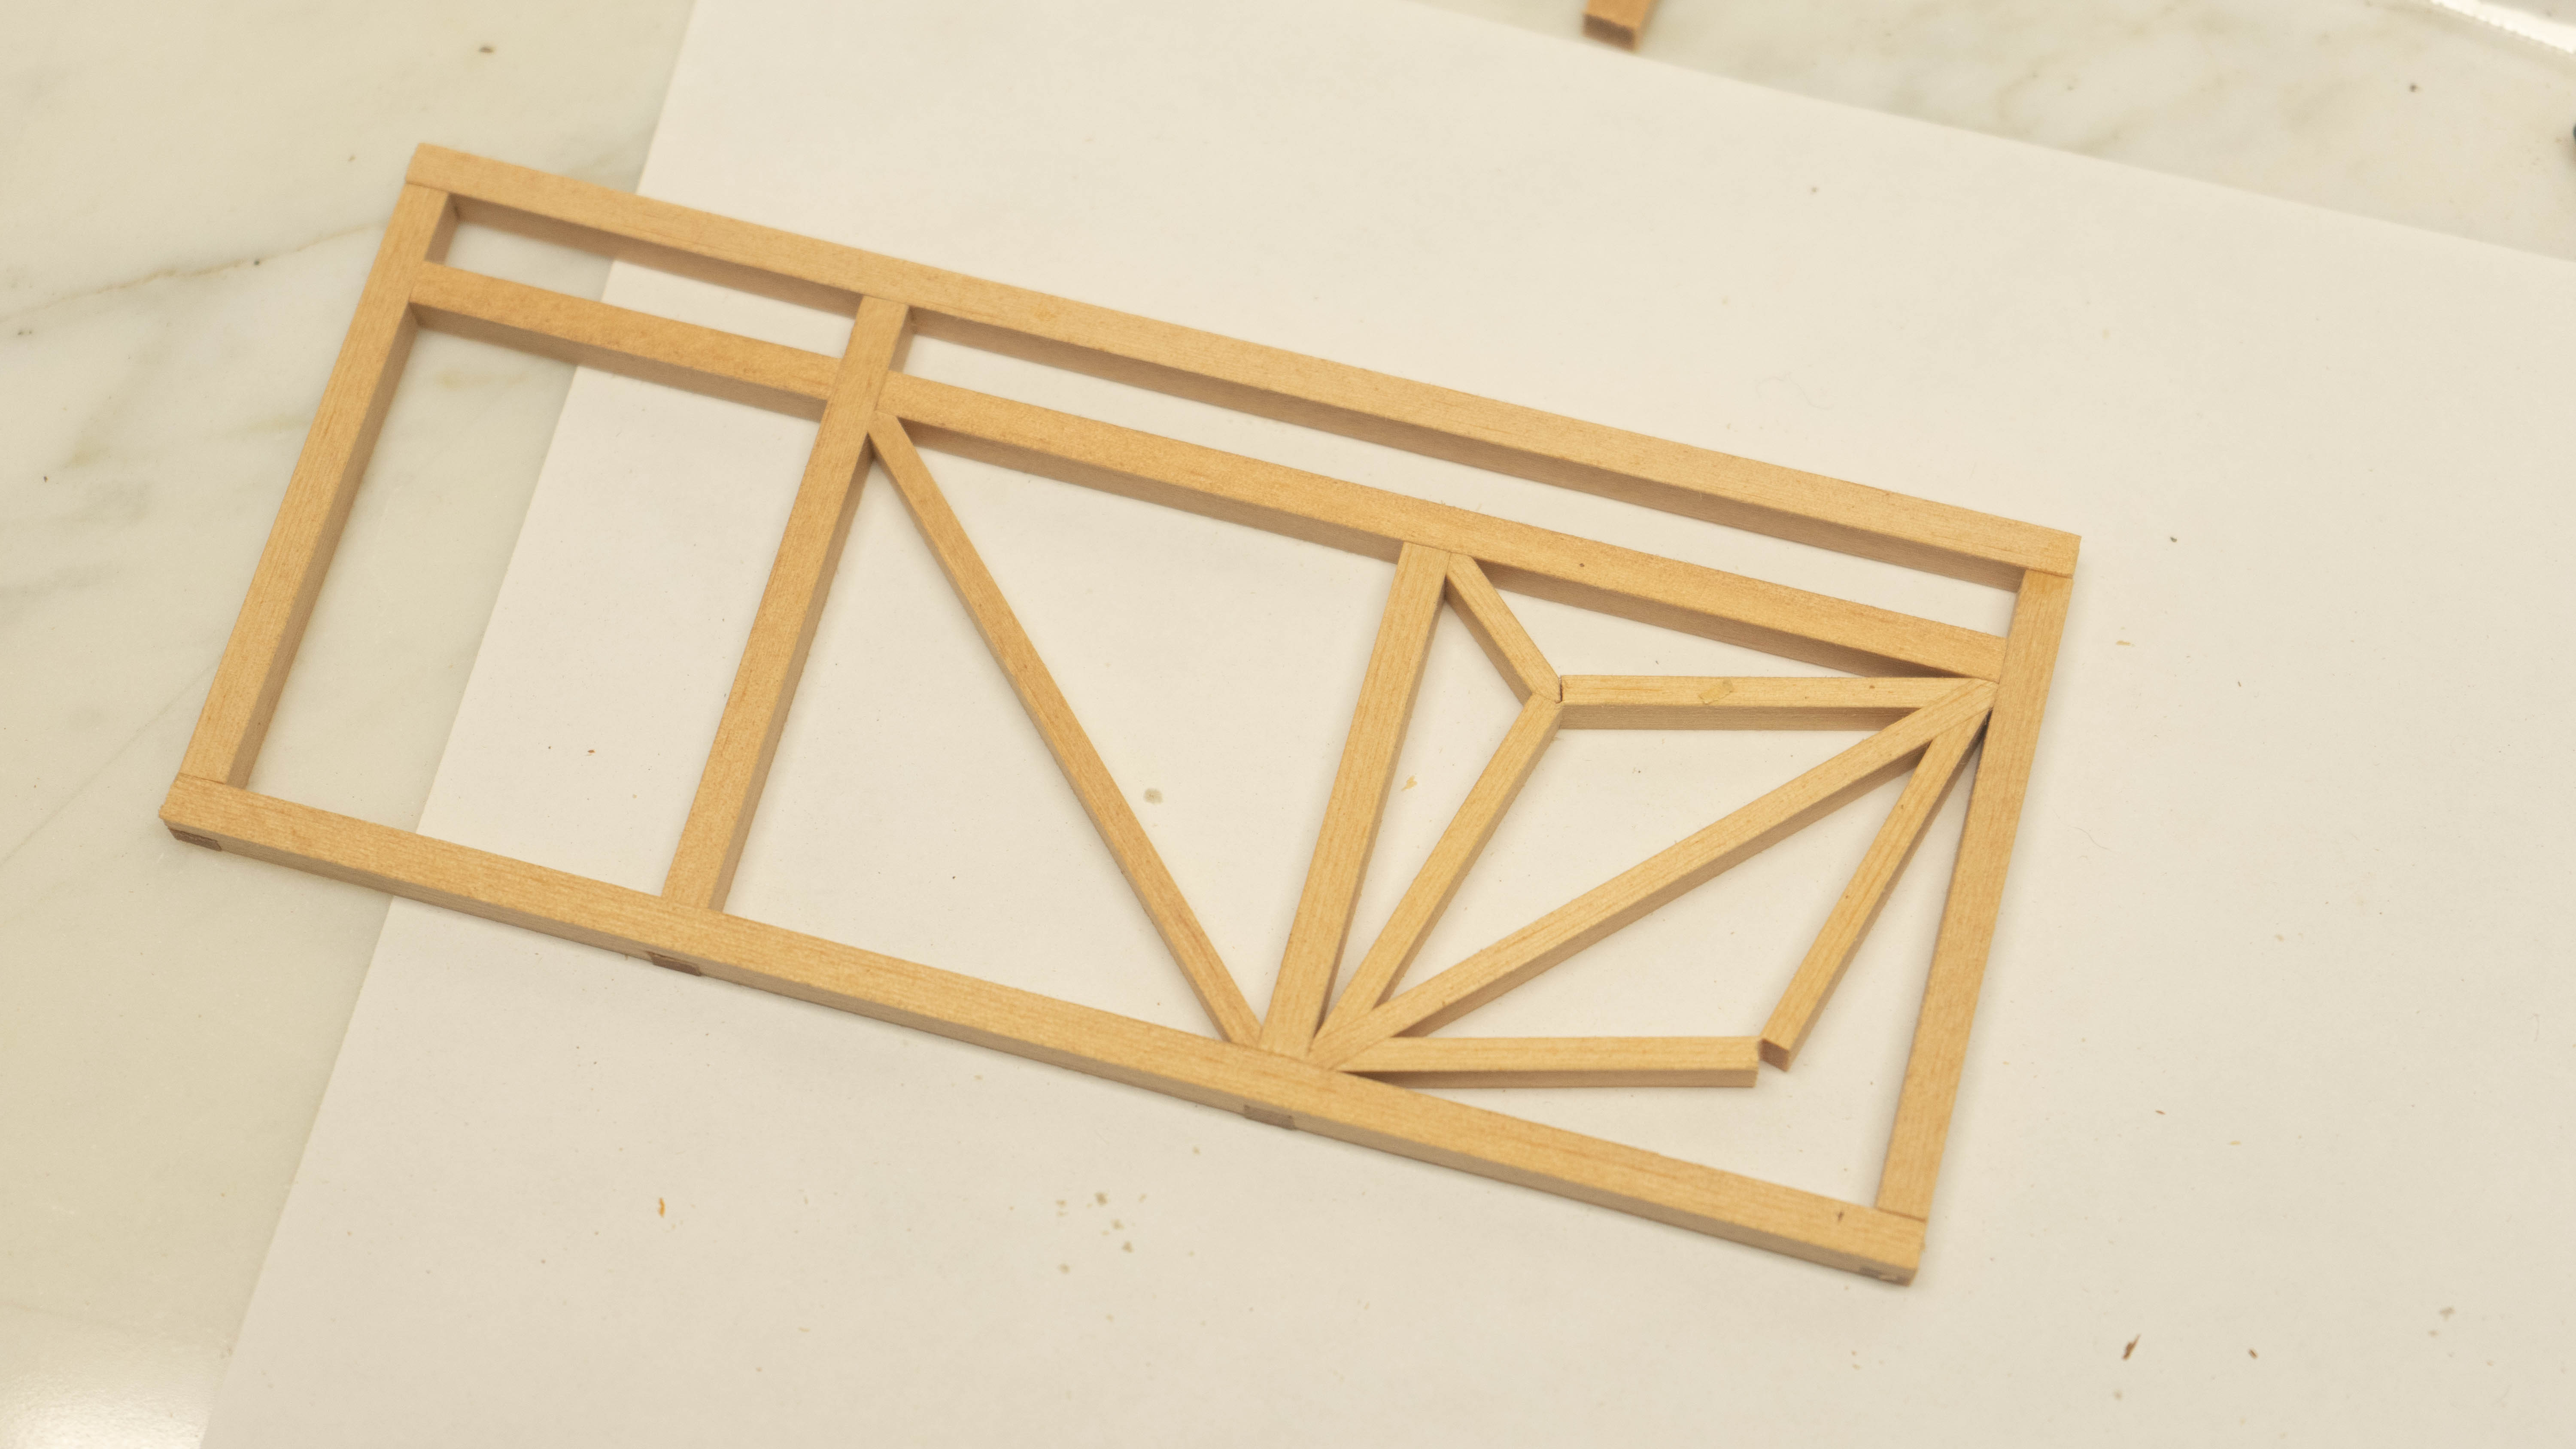
I see success with the leaf pattern, so now it is time for the solid panel.
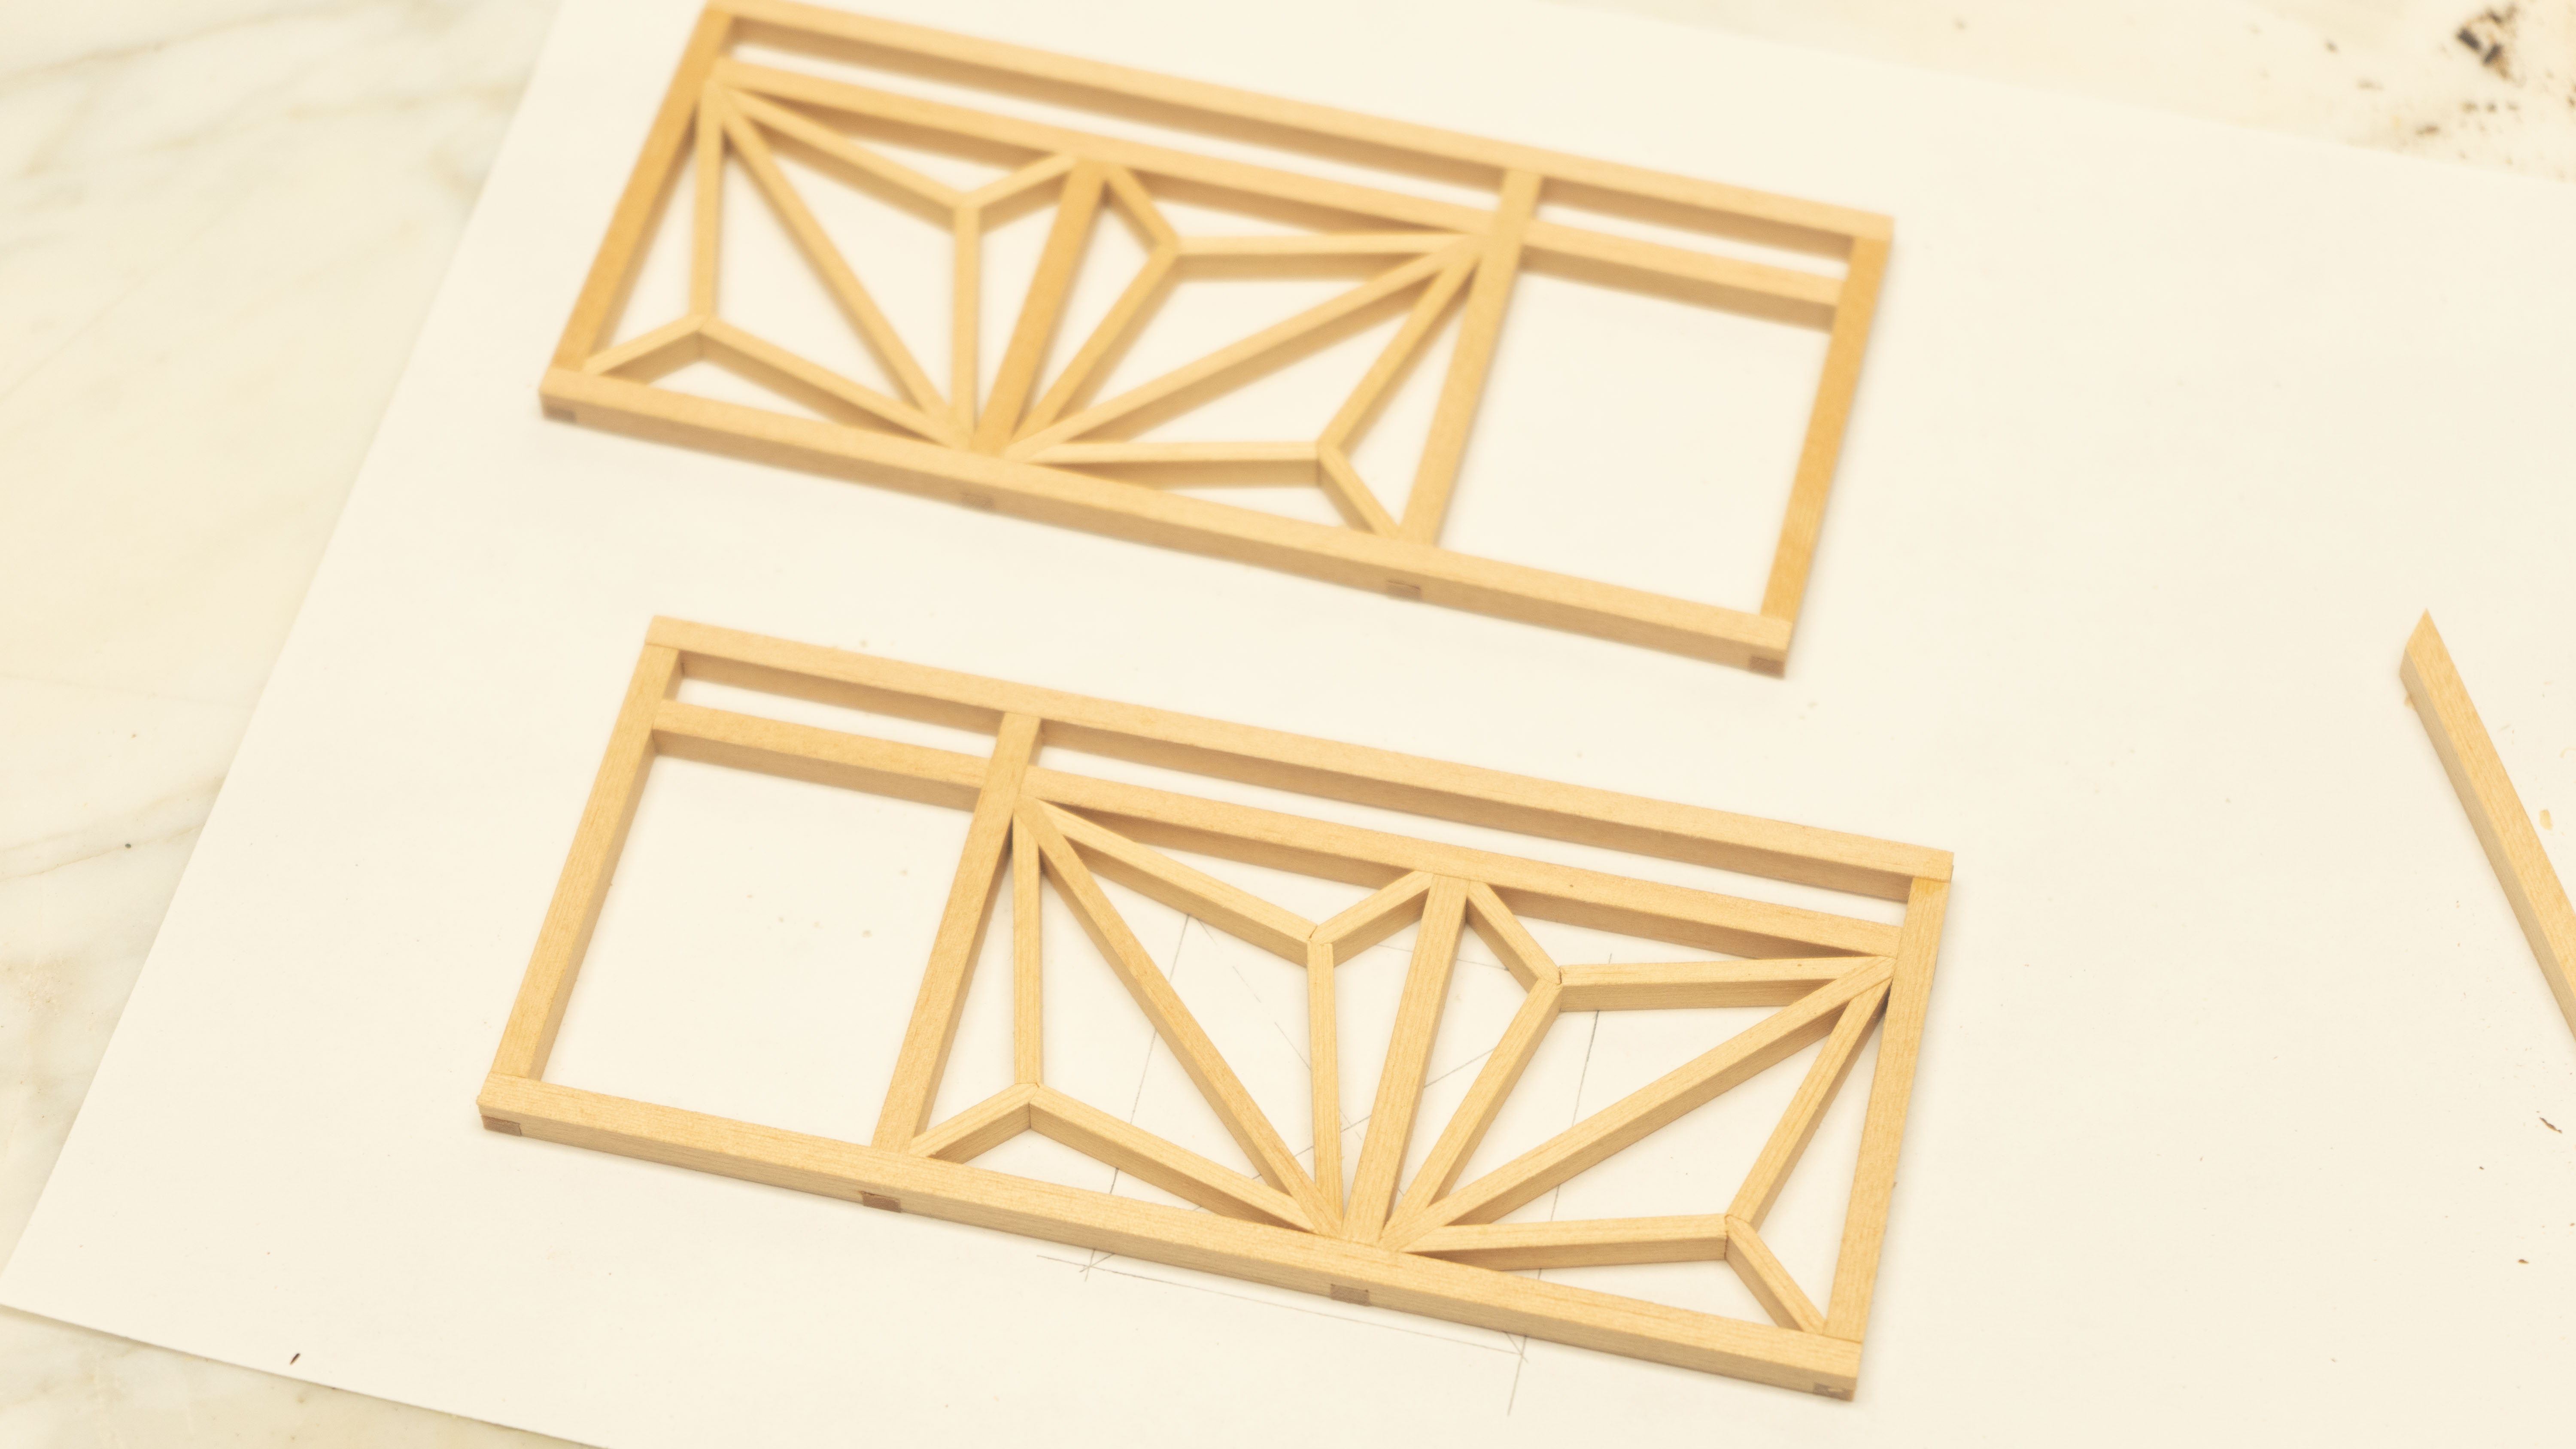
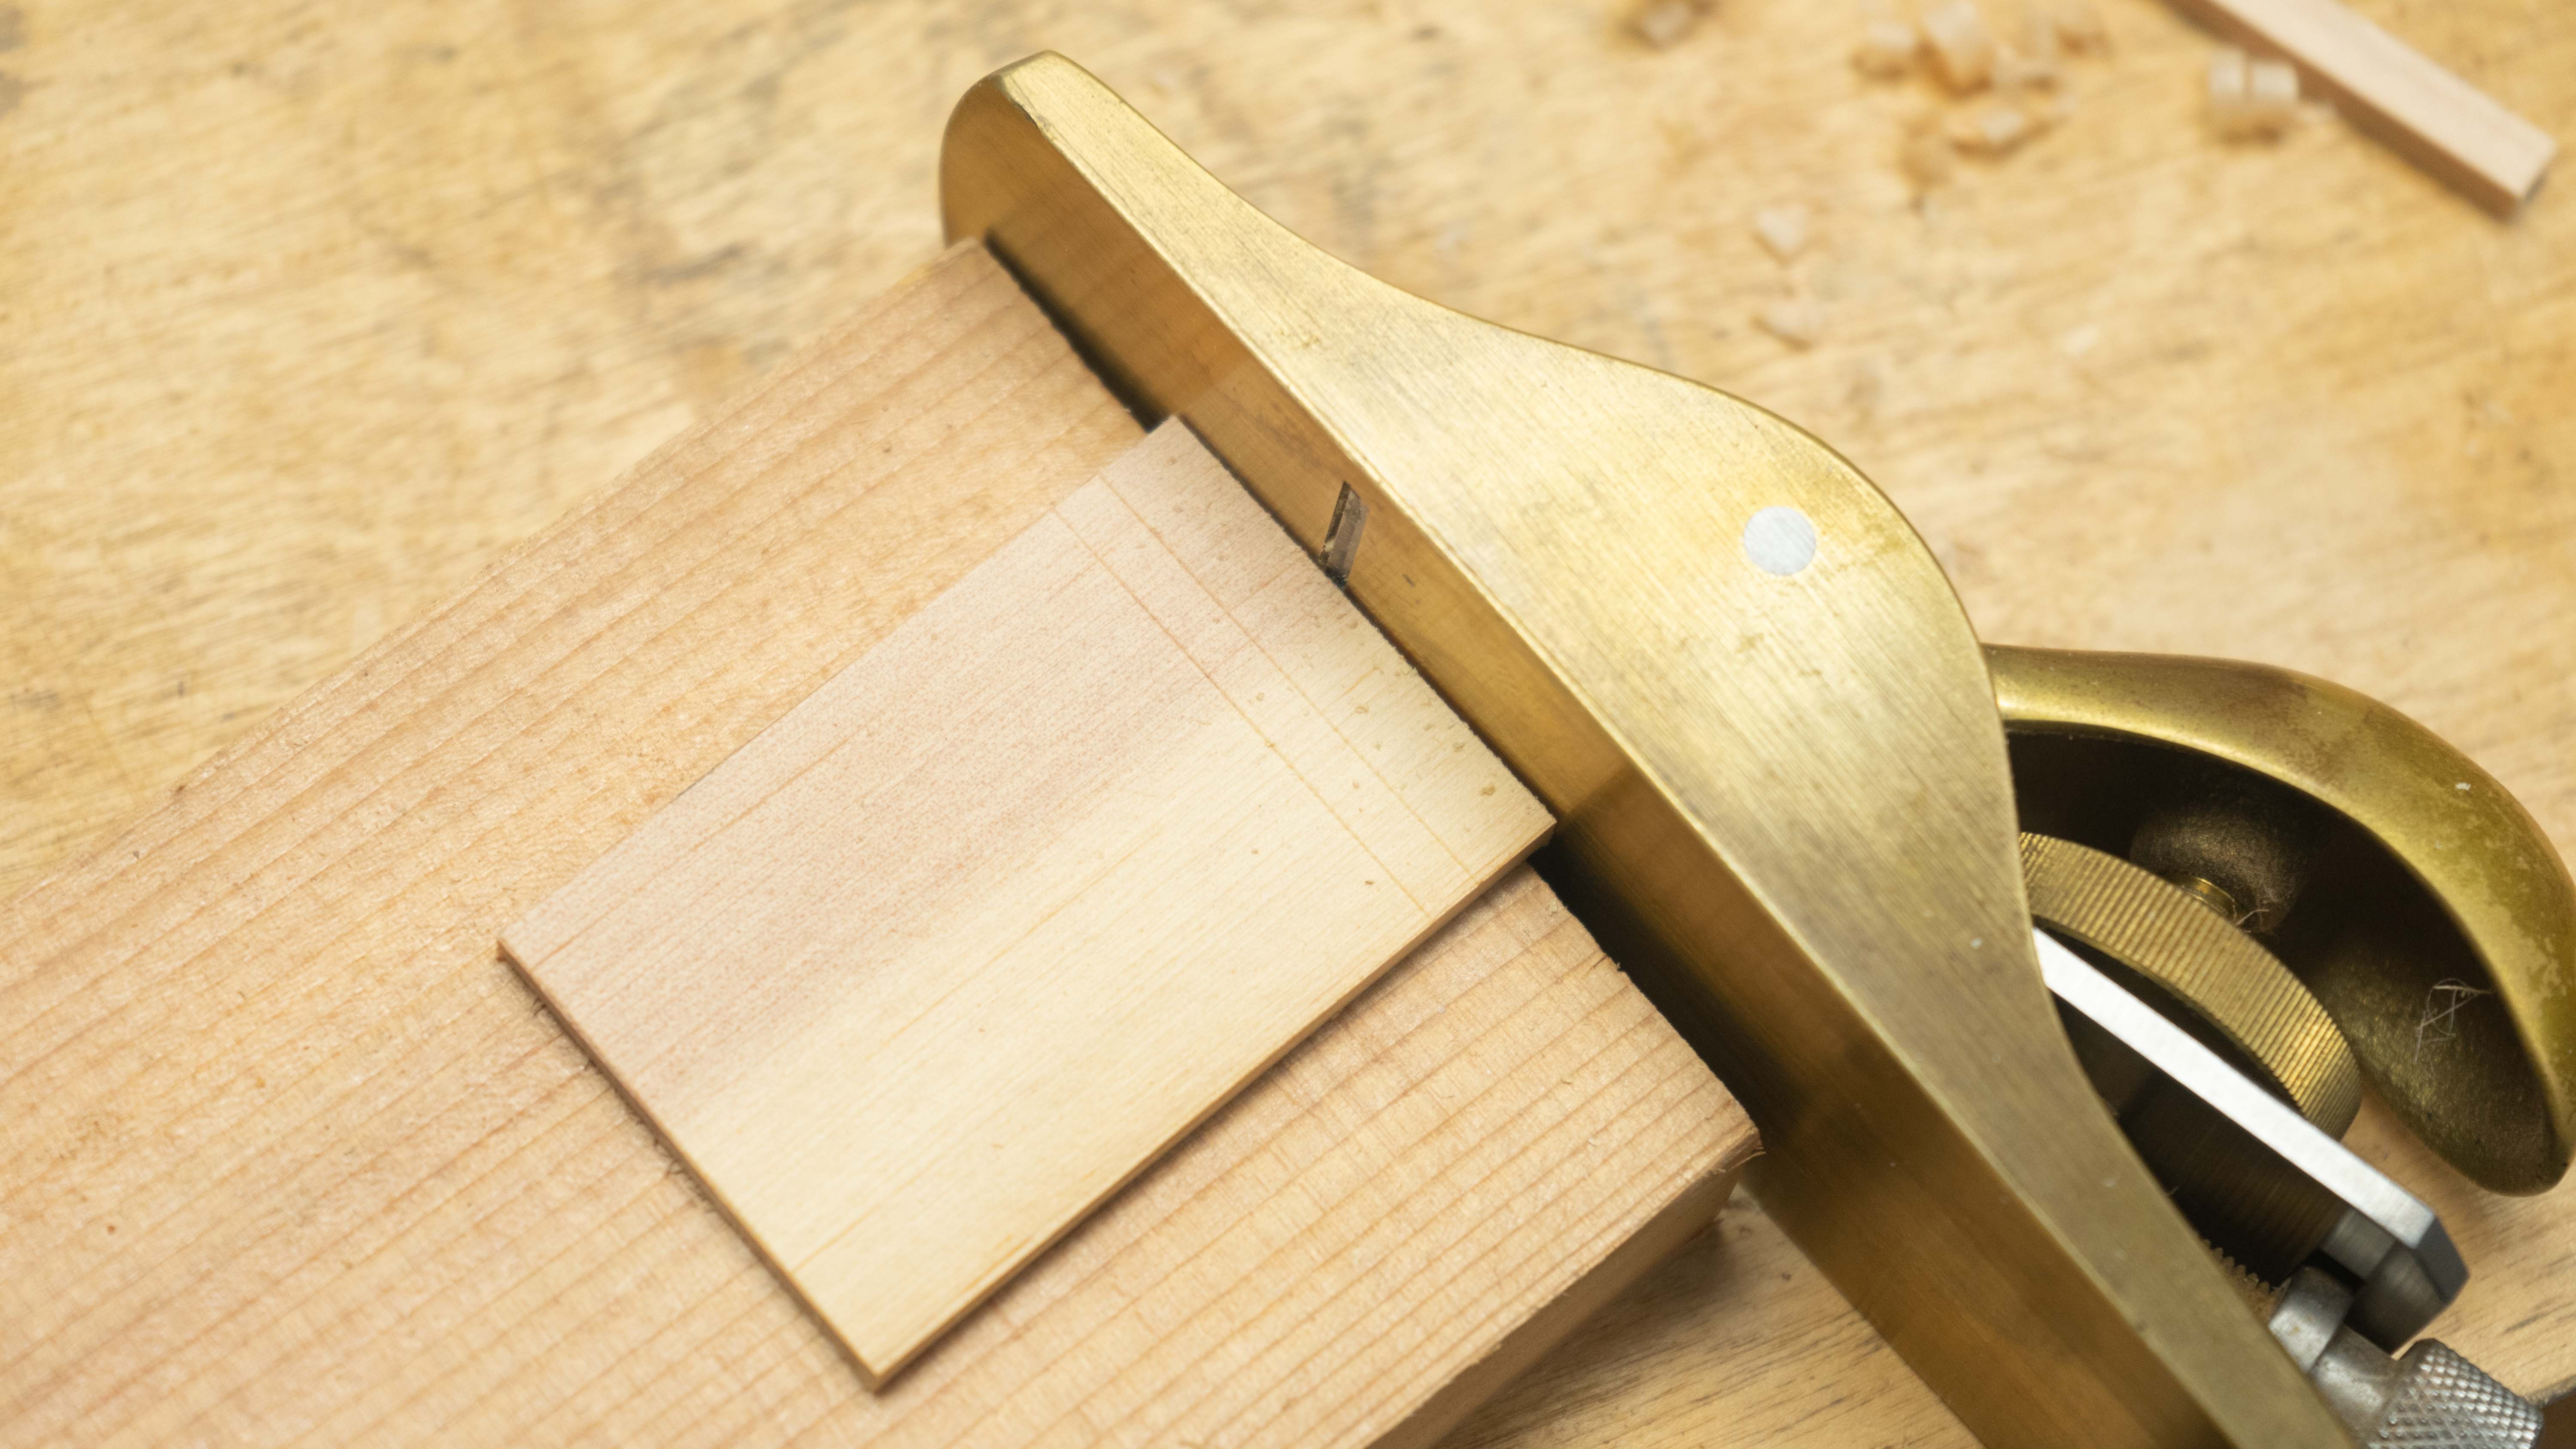
I milled a small piece of Spruce for this. I will cut it to fit, keeping the grain matching from top to bottom.
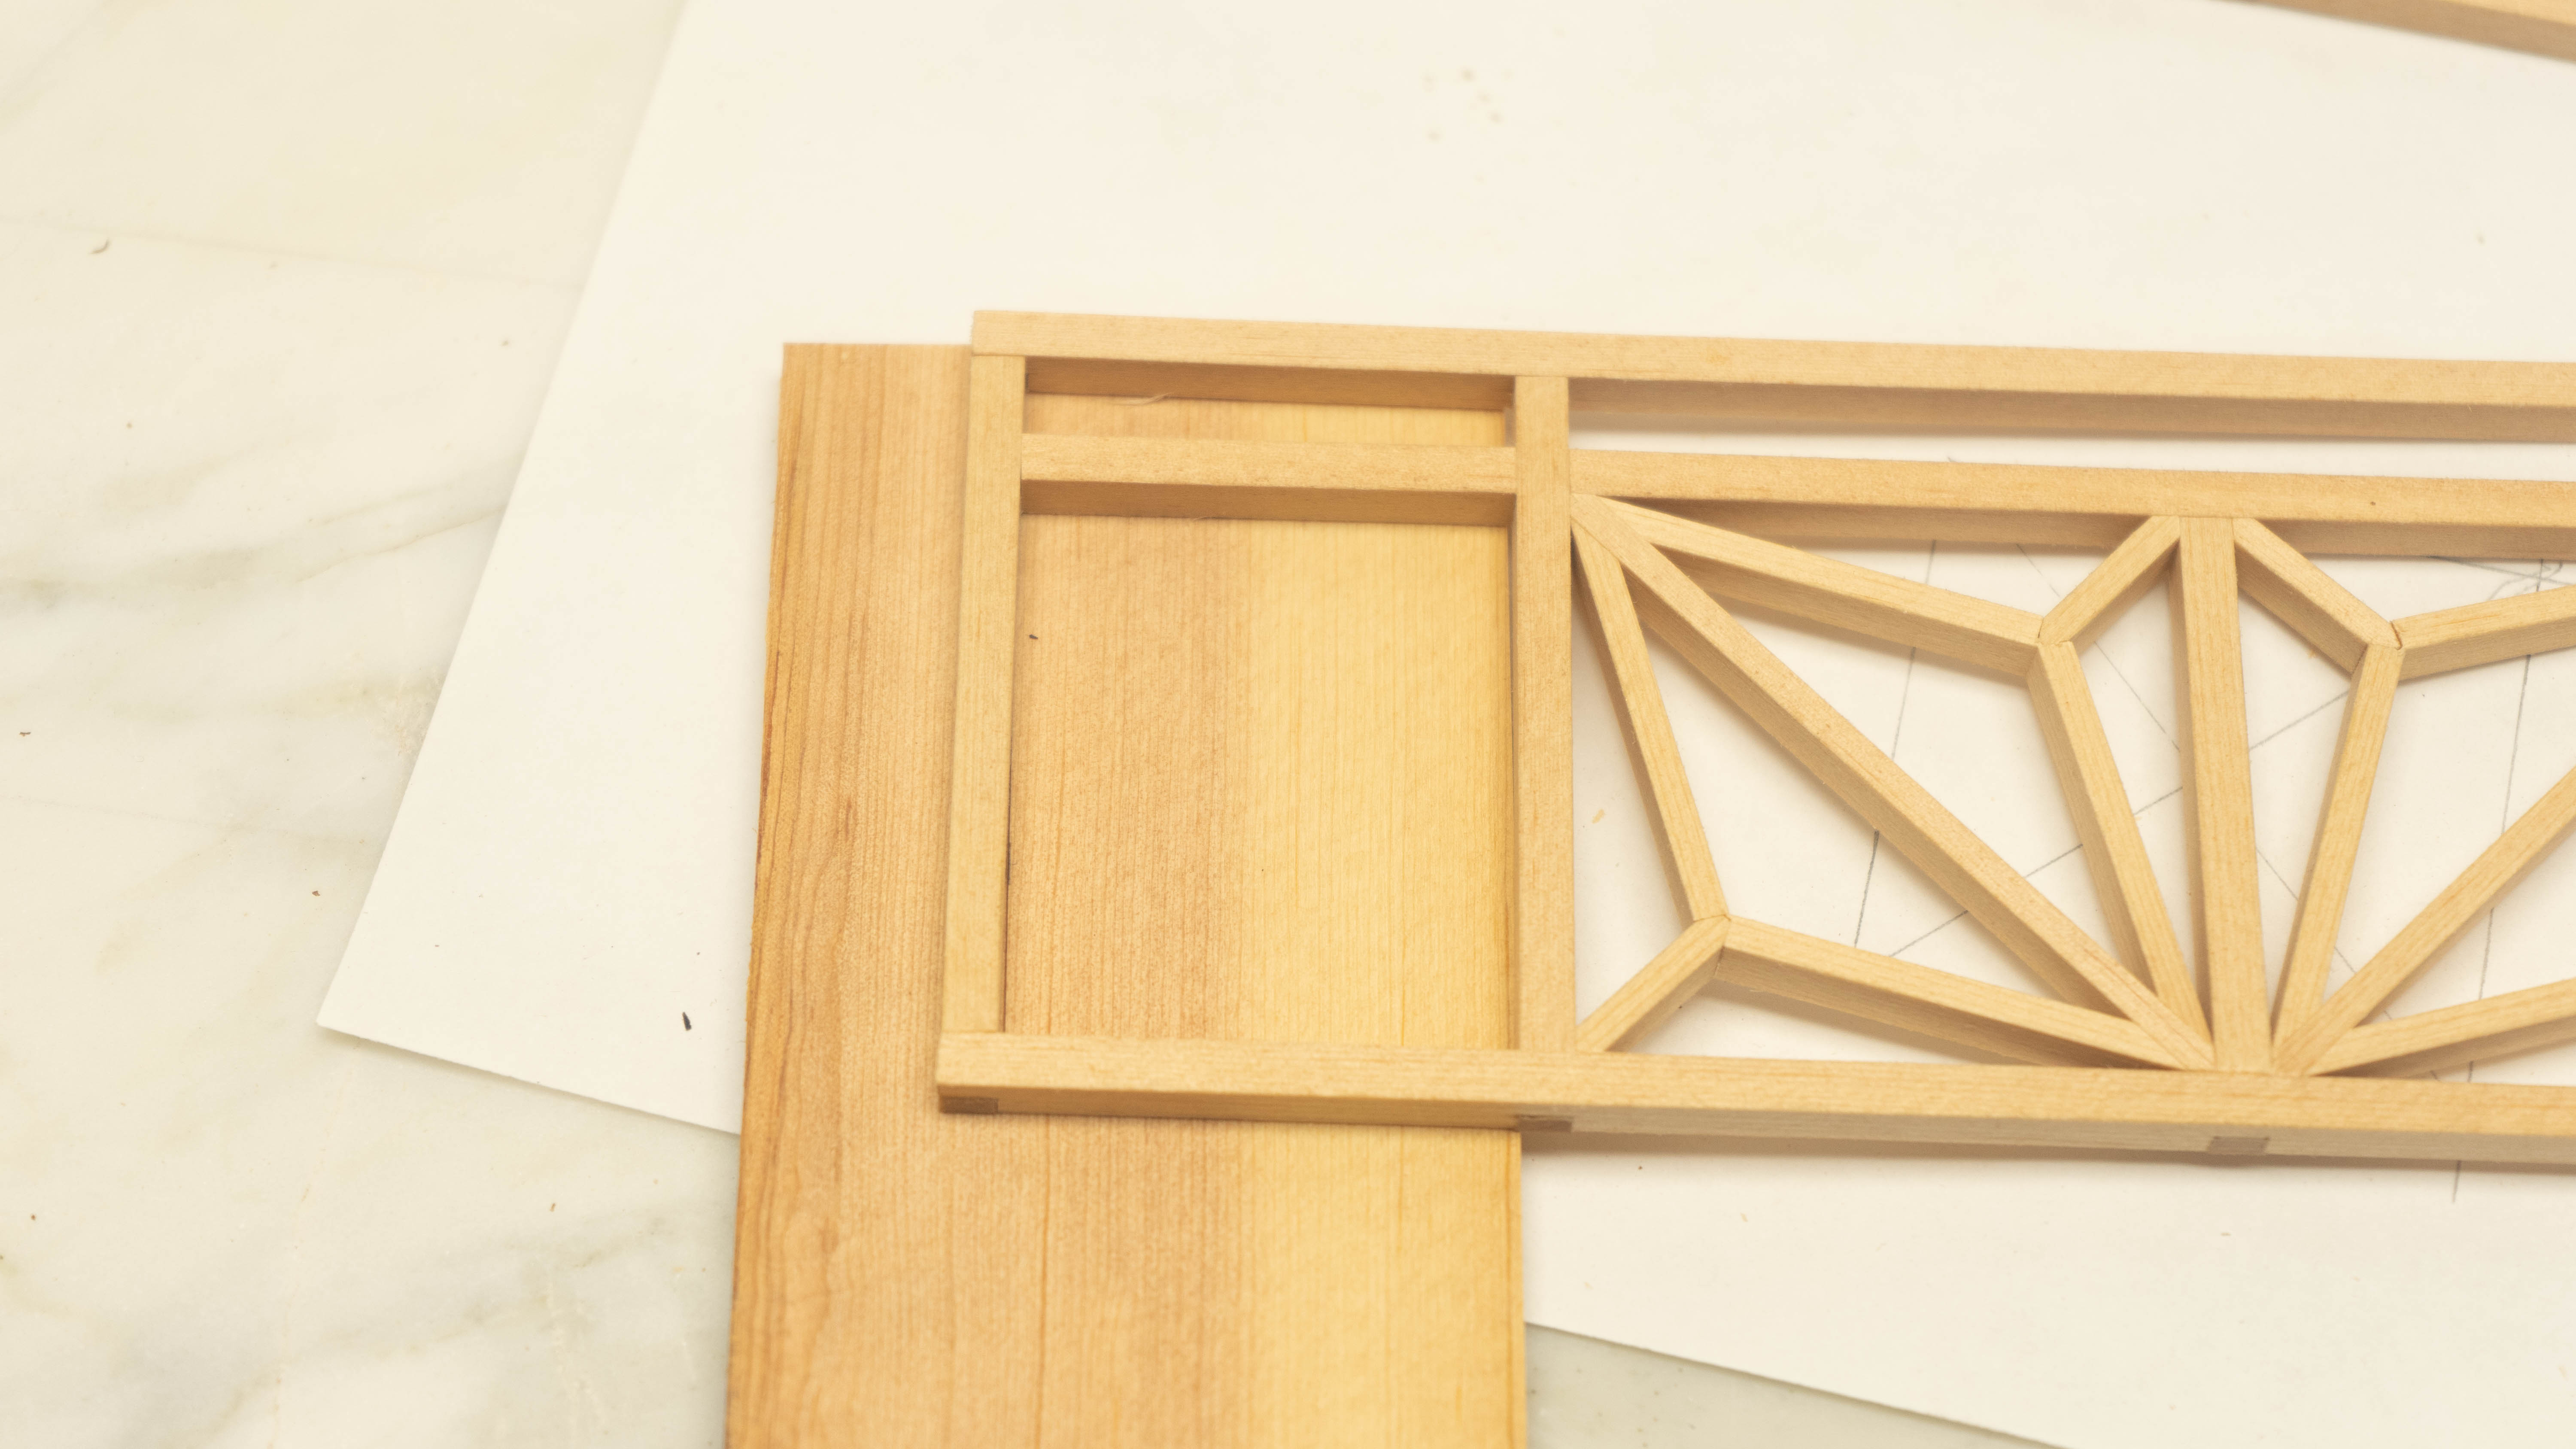
I then started cleaning up the ends and sides with a hand plane.
These are friction fit in place and sit flush with the power supply compartment.
-
waltc3 Incredible, masterful...my head began to throb just looking at all the disparate steps and preparations...;) Bravo.Reply