Building Ikigai, My Award-Winning Wooden PC Mod
Here’s how I built a unique mod, combining CNC with hand woodworking.
First CNC Cuts
After making the dovetail joints, I started the nerve-wracking task of cutting the first of many holes in the Wenge. I did test cuts of everything, but you never know when a gremlin will ruin your day.
First up is the fan/radiator holes including countersinks for the socket head screws. I did the countersinks first with a 2mm single flute bit:
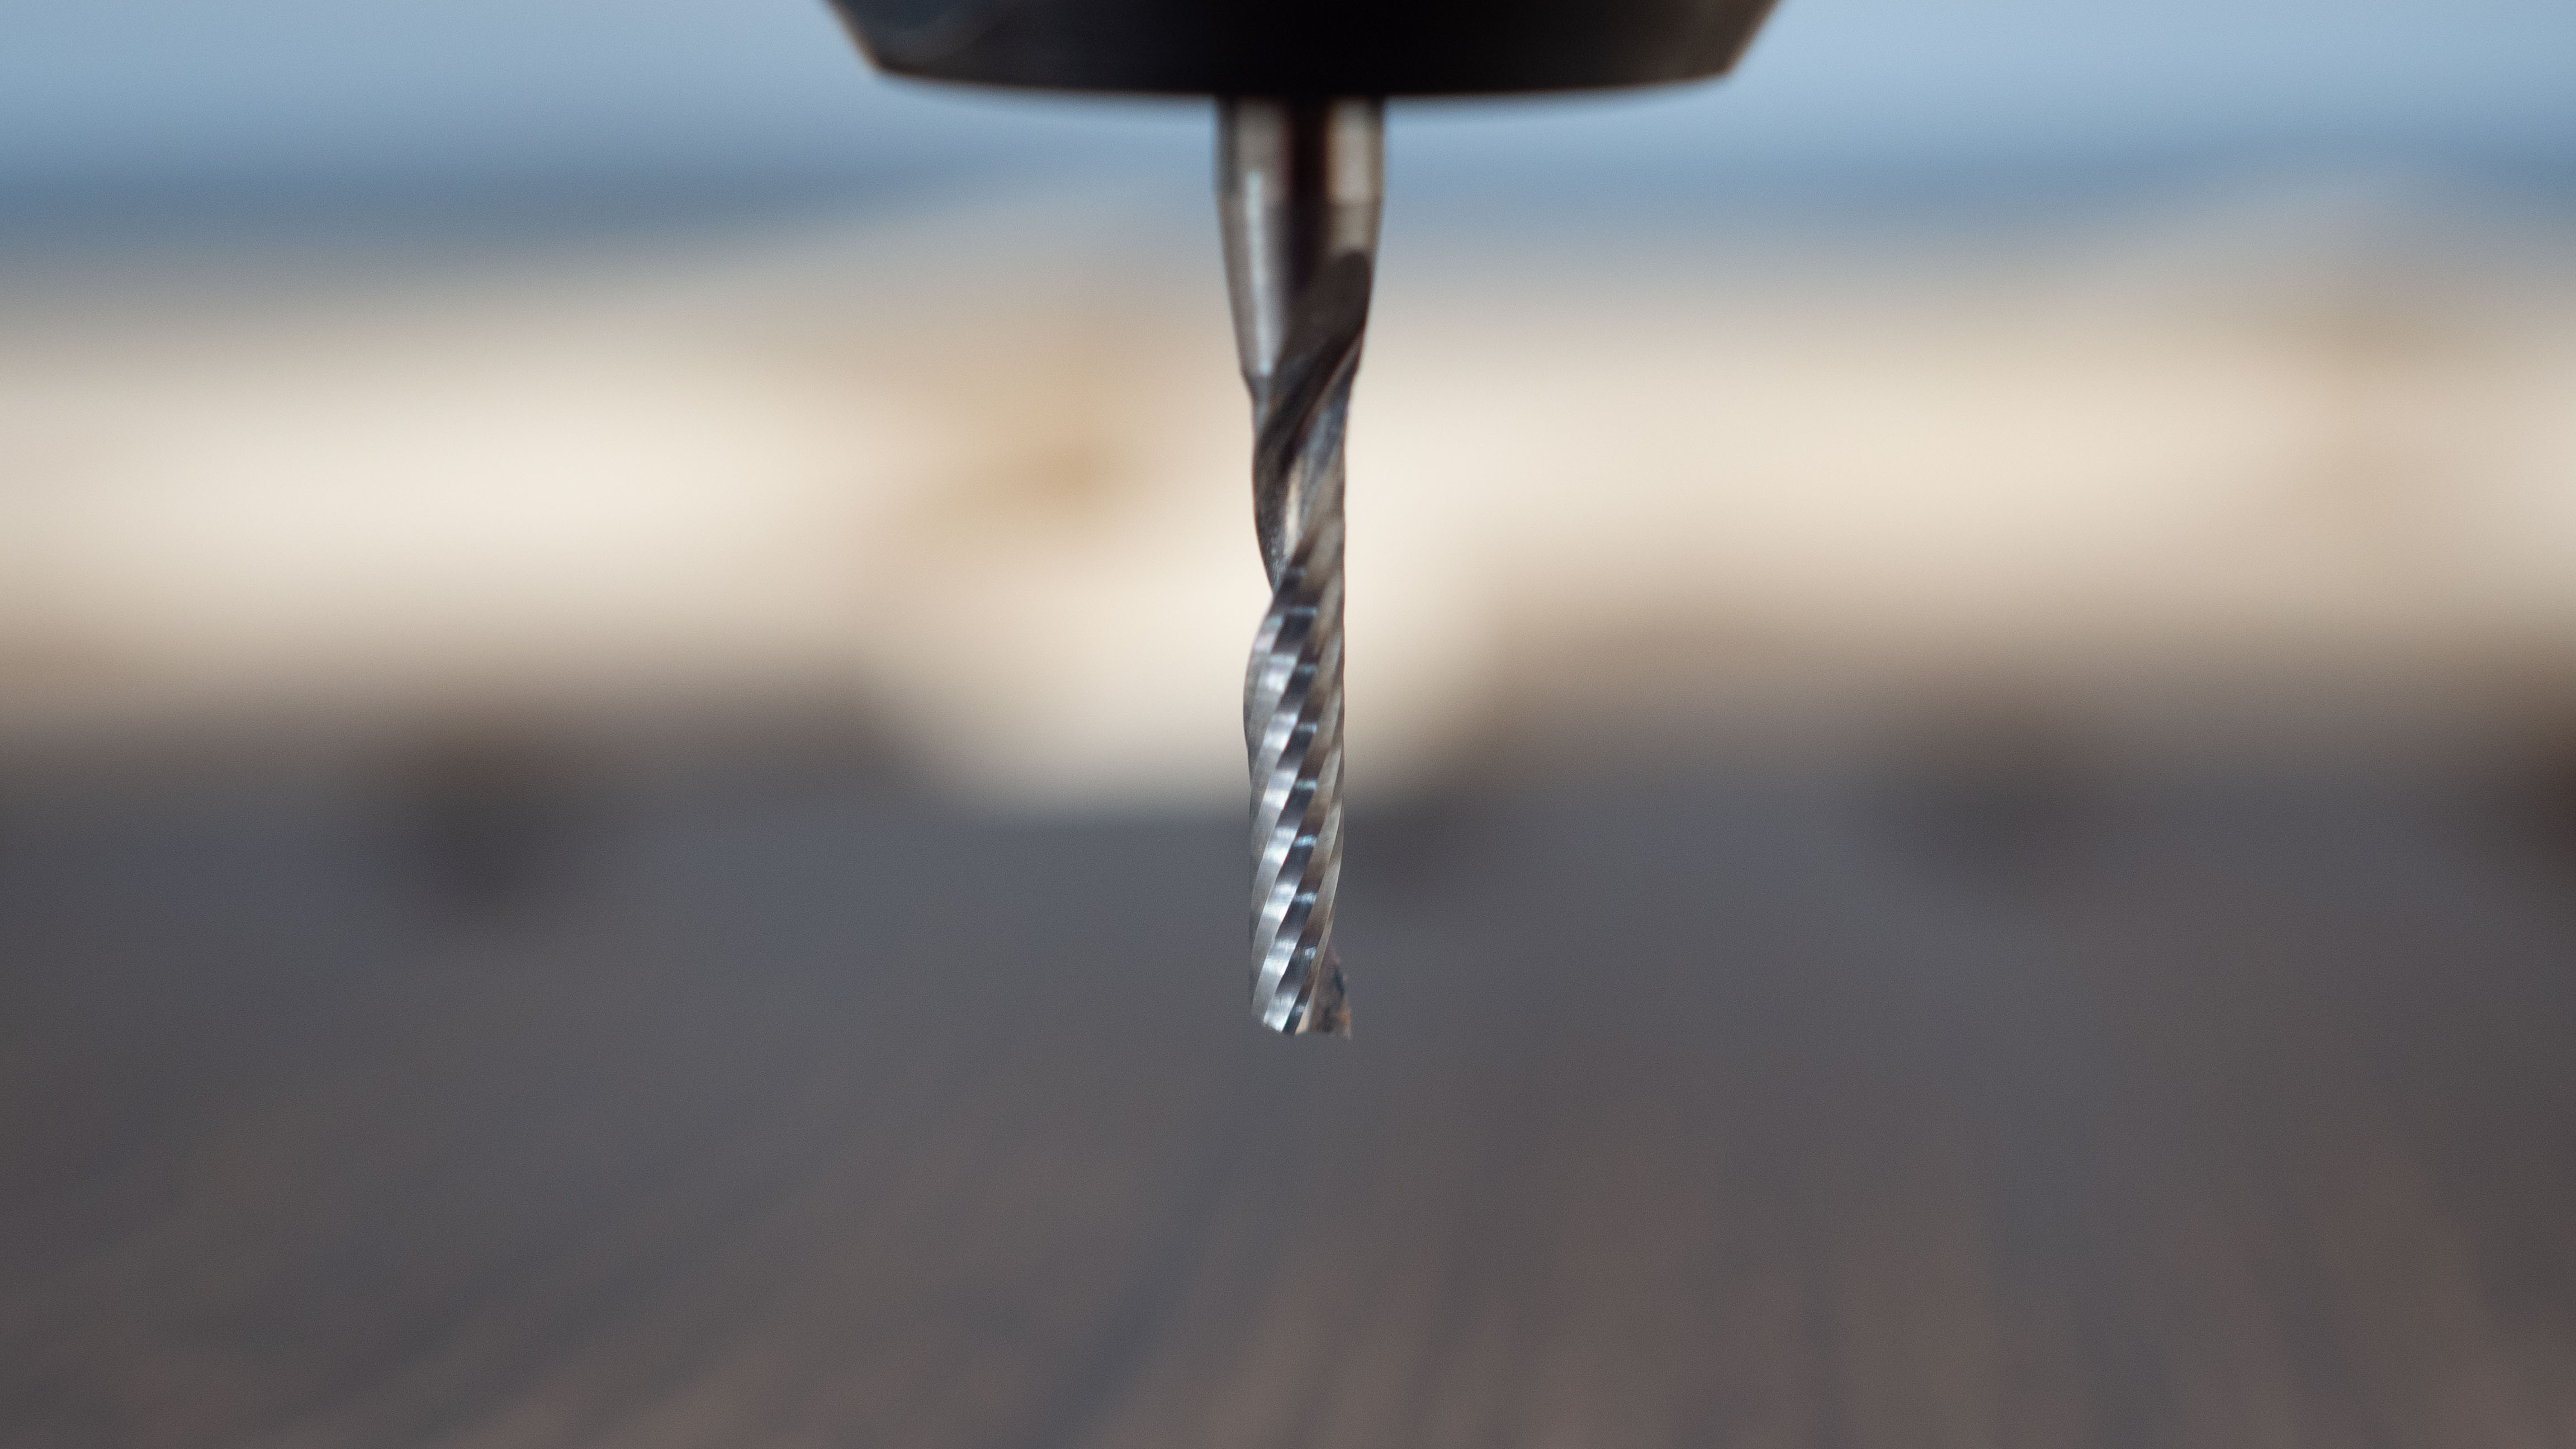
These are the countersunk holes for the bolts that will hold the fan and radiator assembly.
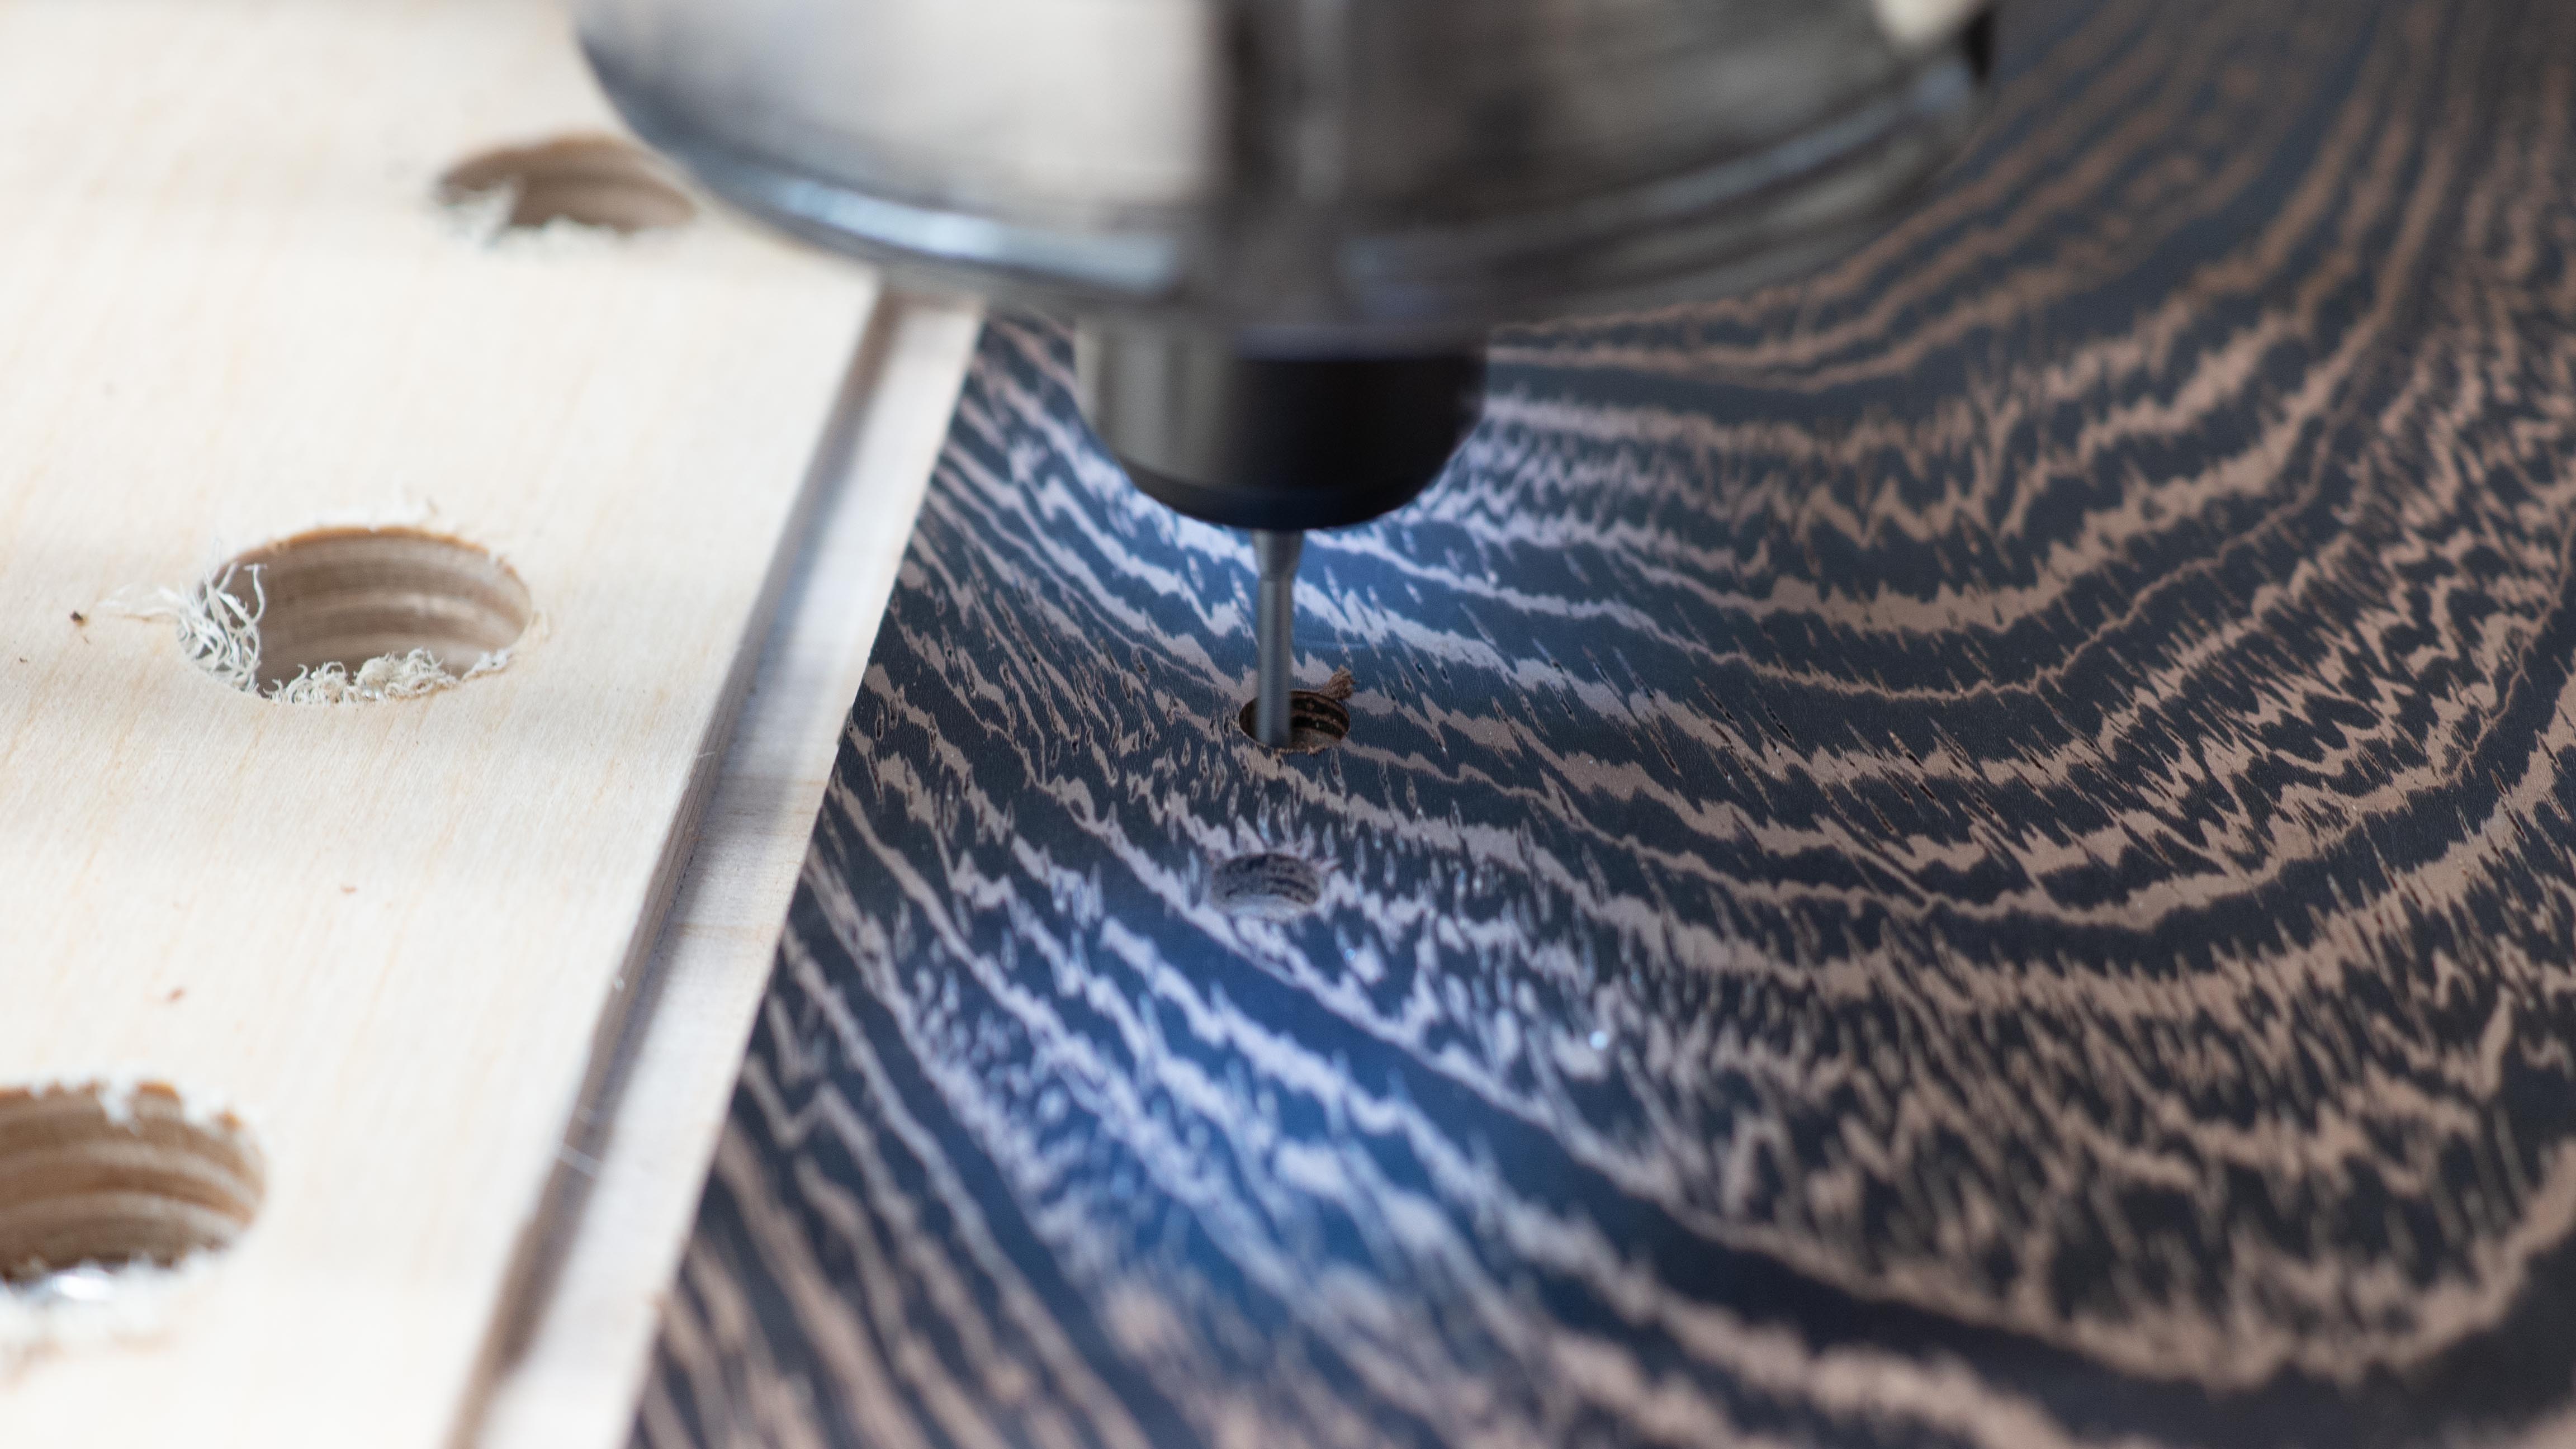
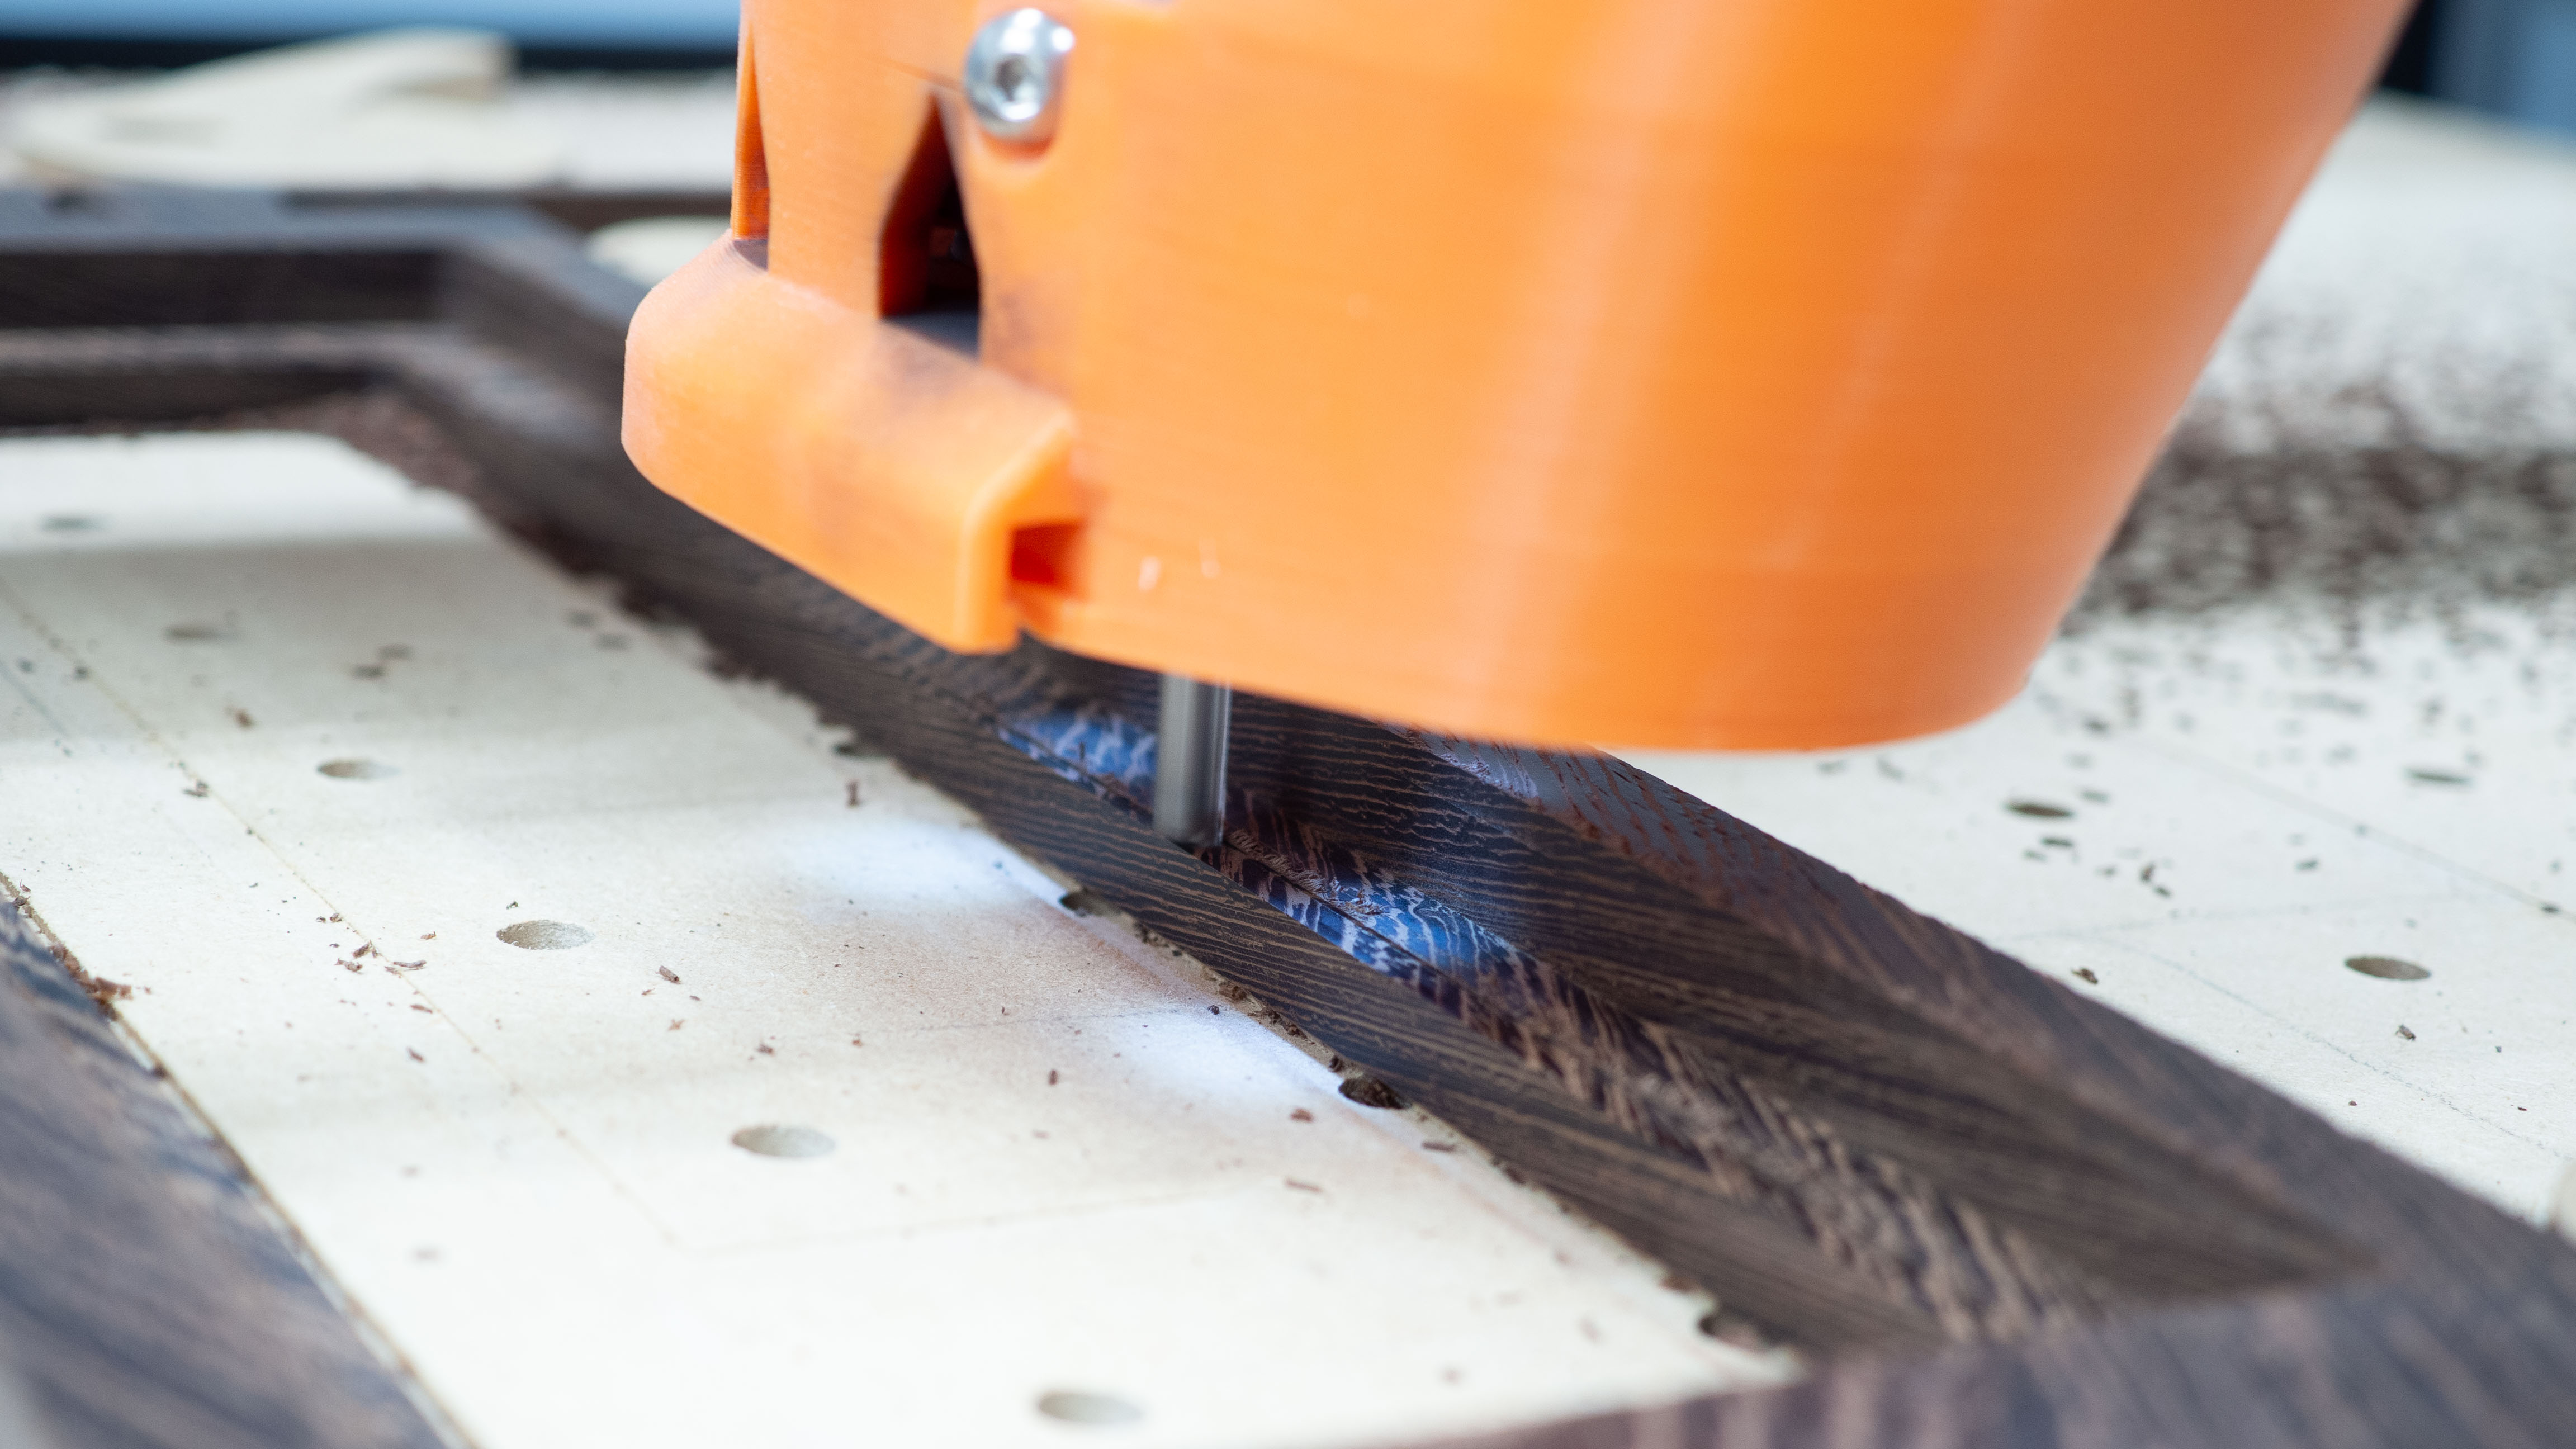
Next, I flipped the piece over and used a double flute 1/4inch bit to do the main cutout:
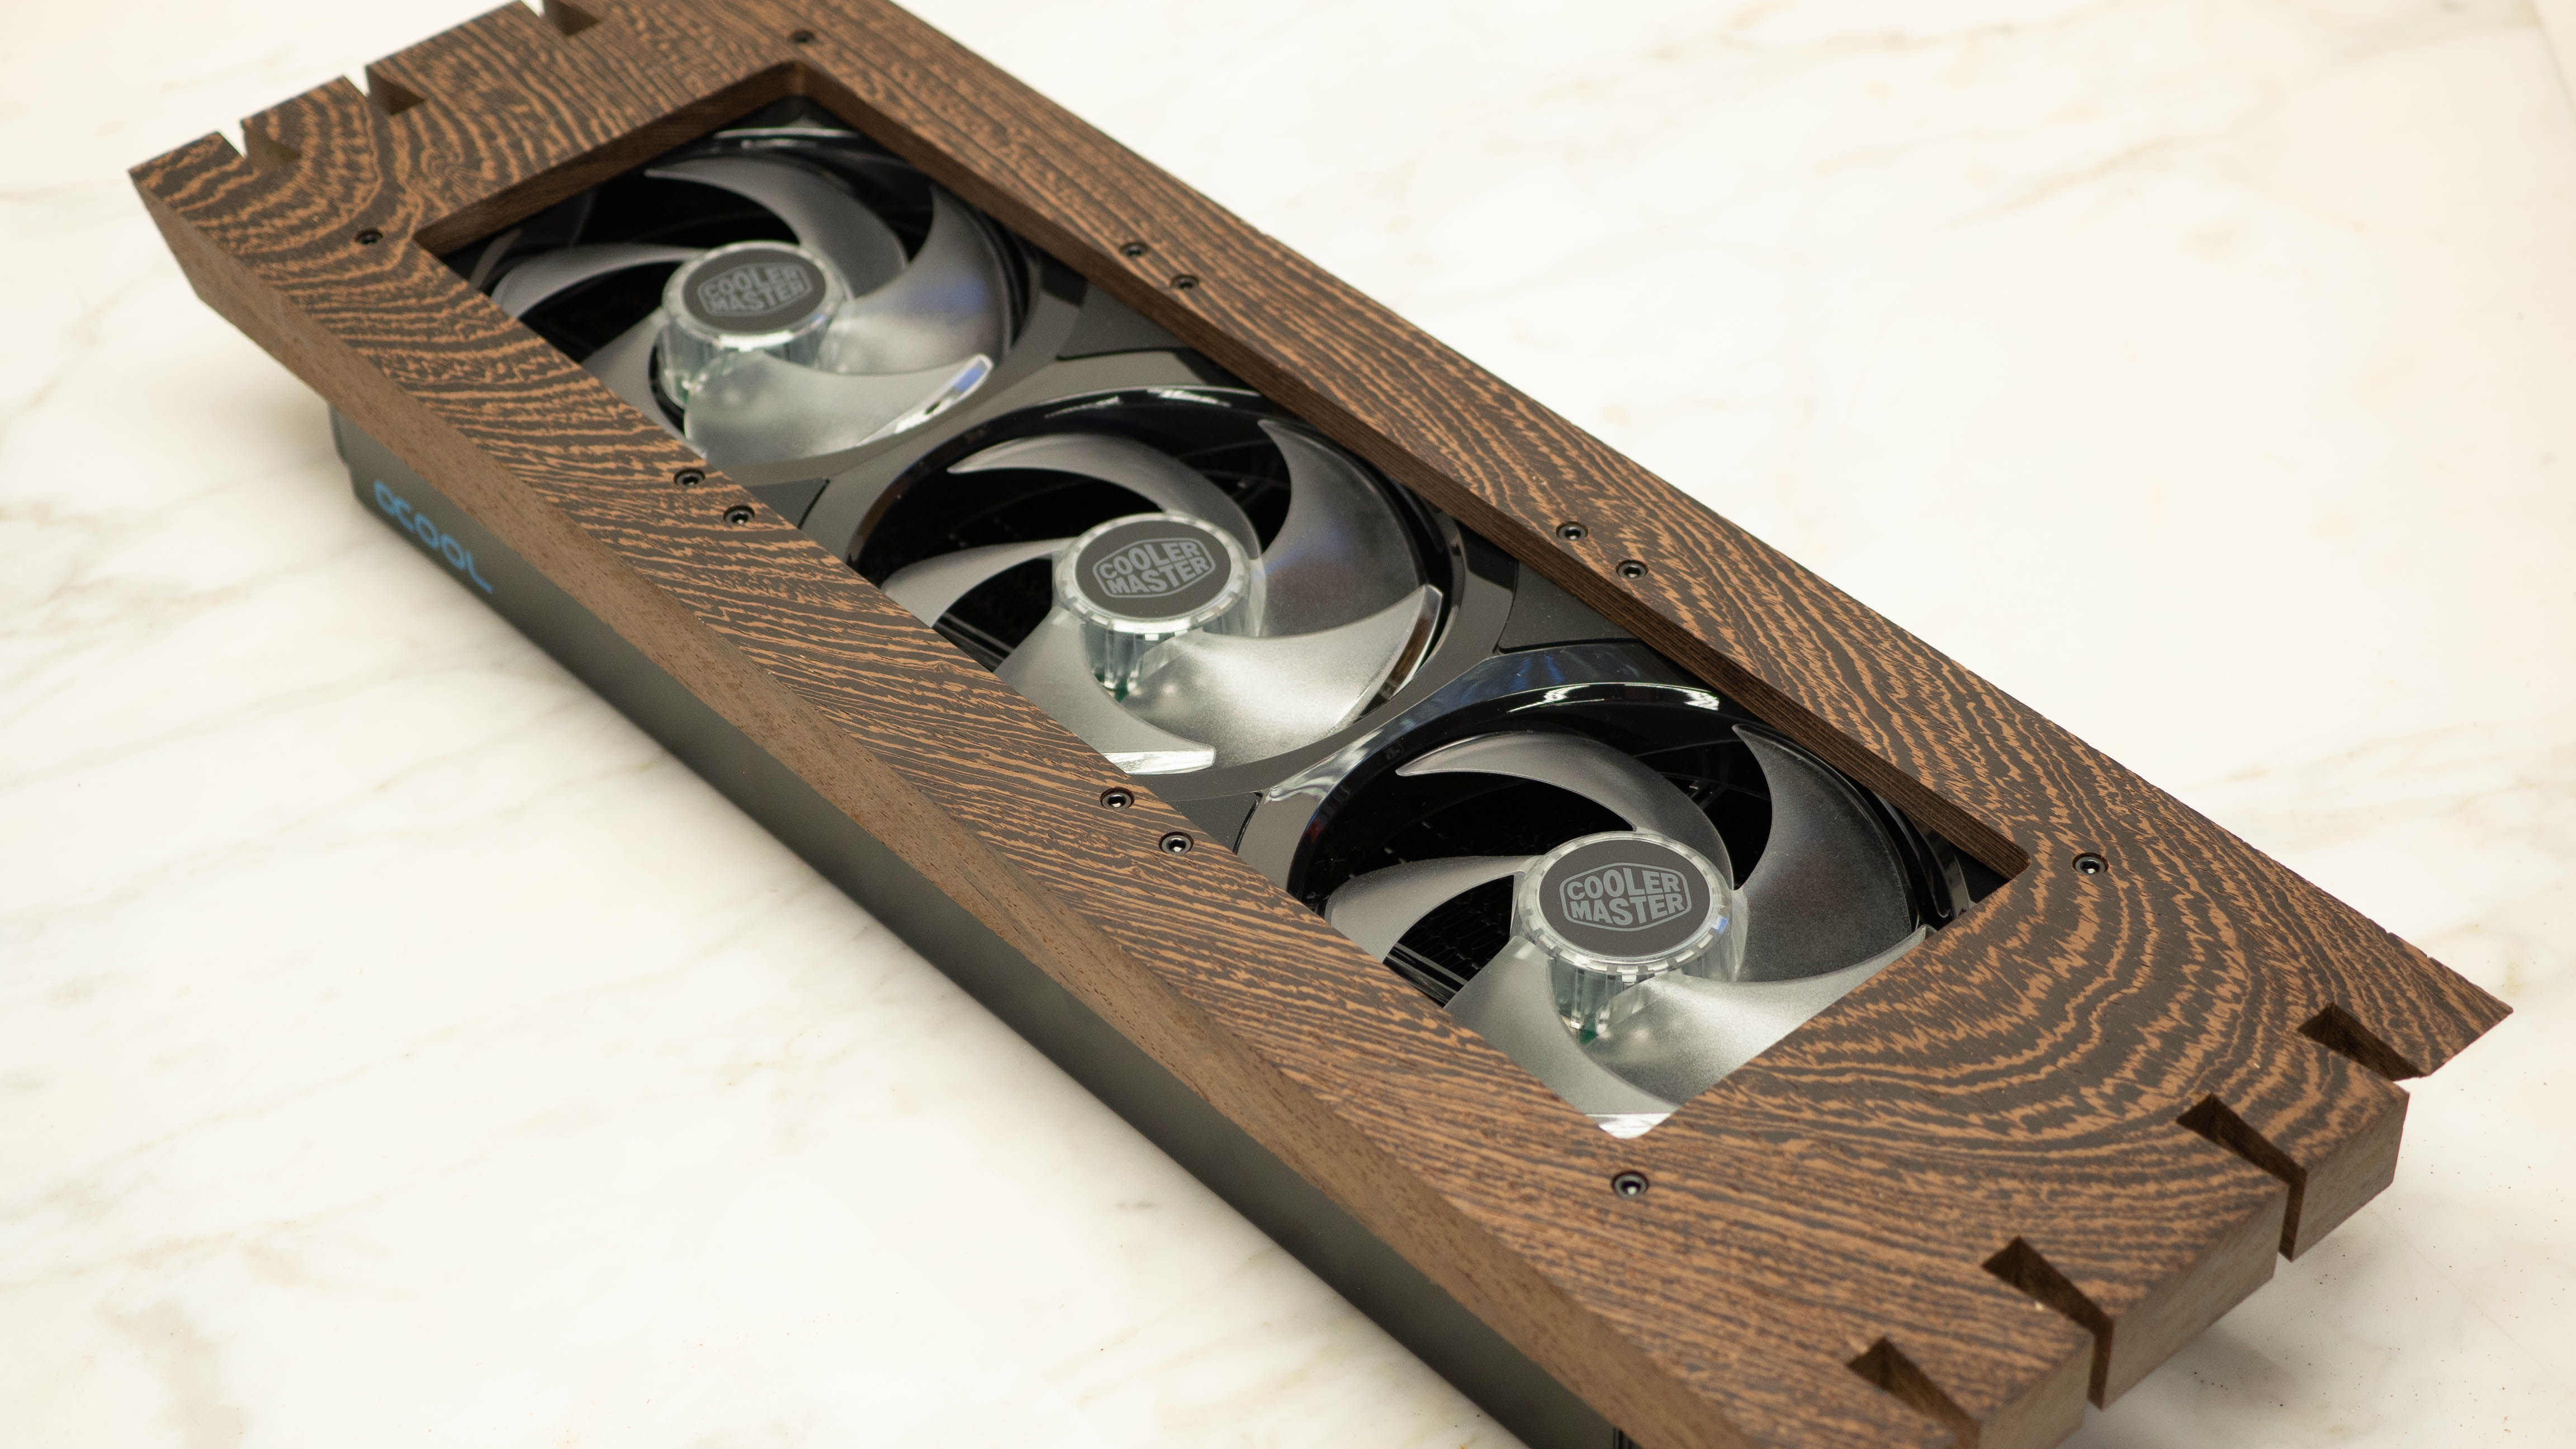
An important step is to check to make sure everything fits tight, but not too tight. The wood will still move a bit due to temperature fluctuations and, if it's too snug, some things might crack.
Kumiko
The design narrative of this case was to combine modern CNC technology with traditional hand tool woodworking. The first step was making the dovetail joints, but I also wanted to bring in some Japanese Kumiko design work as well, something I’ve done a good amount of in the past, but not recently. I chose to make a traditional Hemp flower design made from unfinished Sitka Spruce.
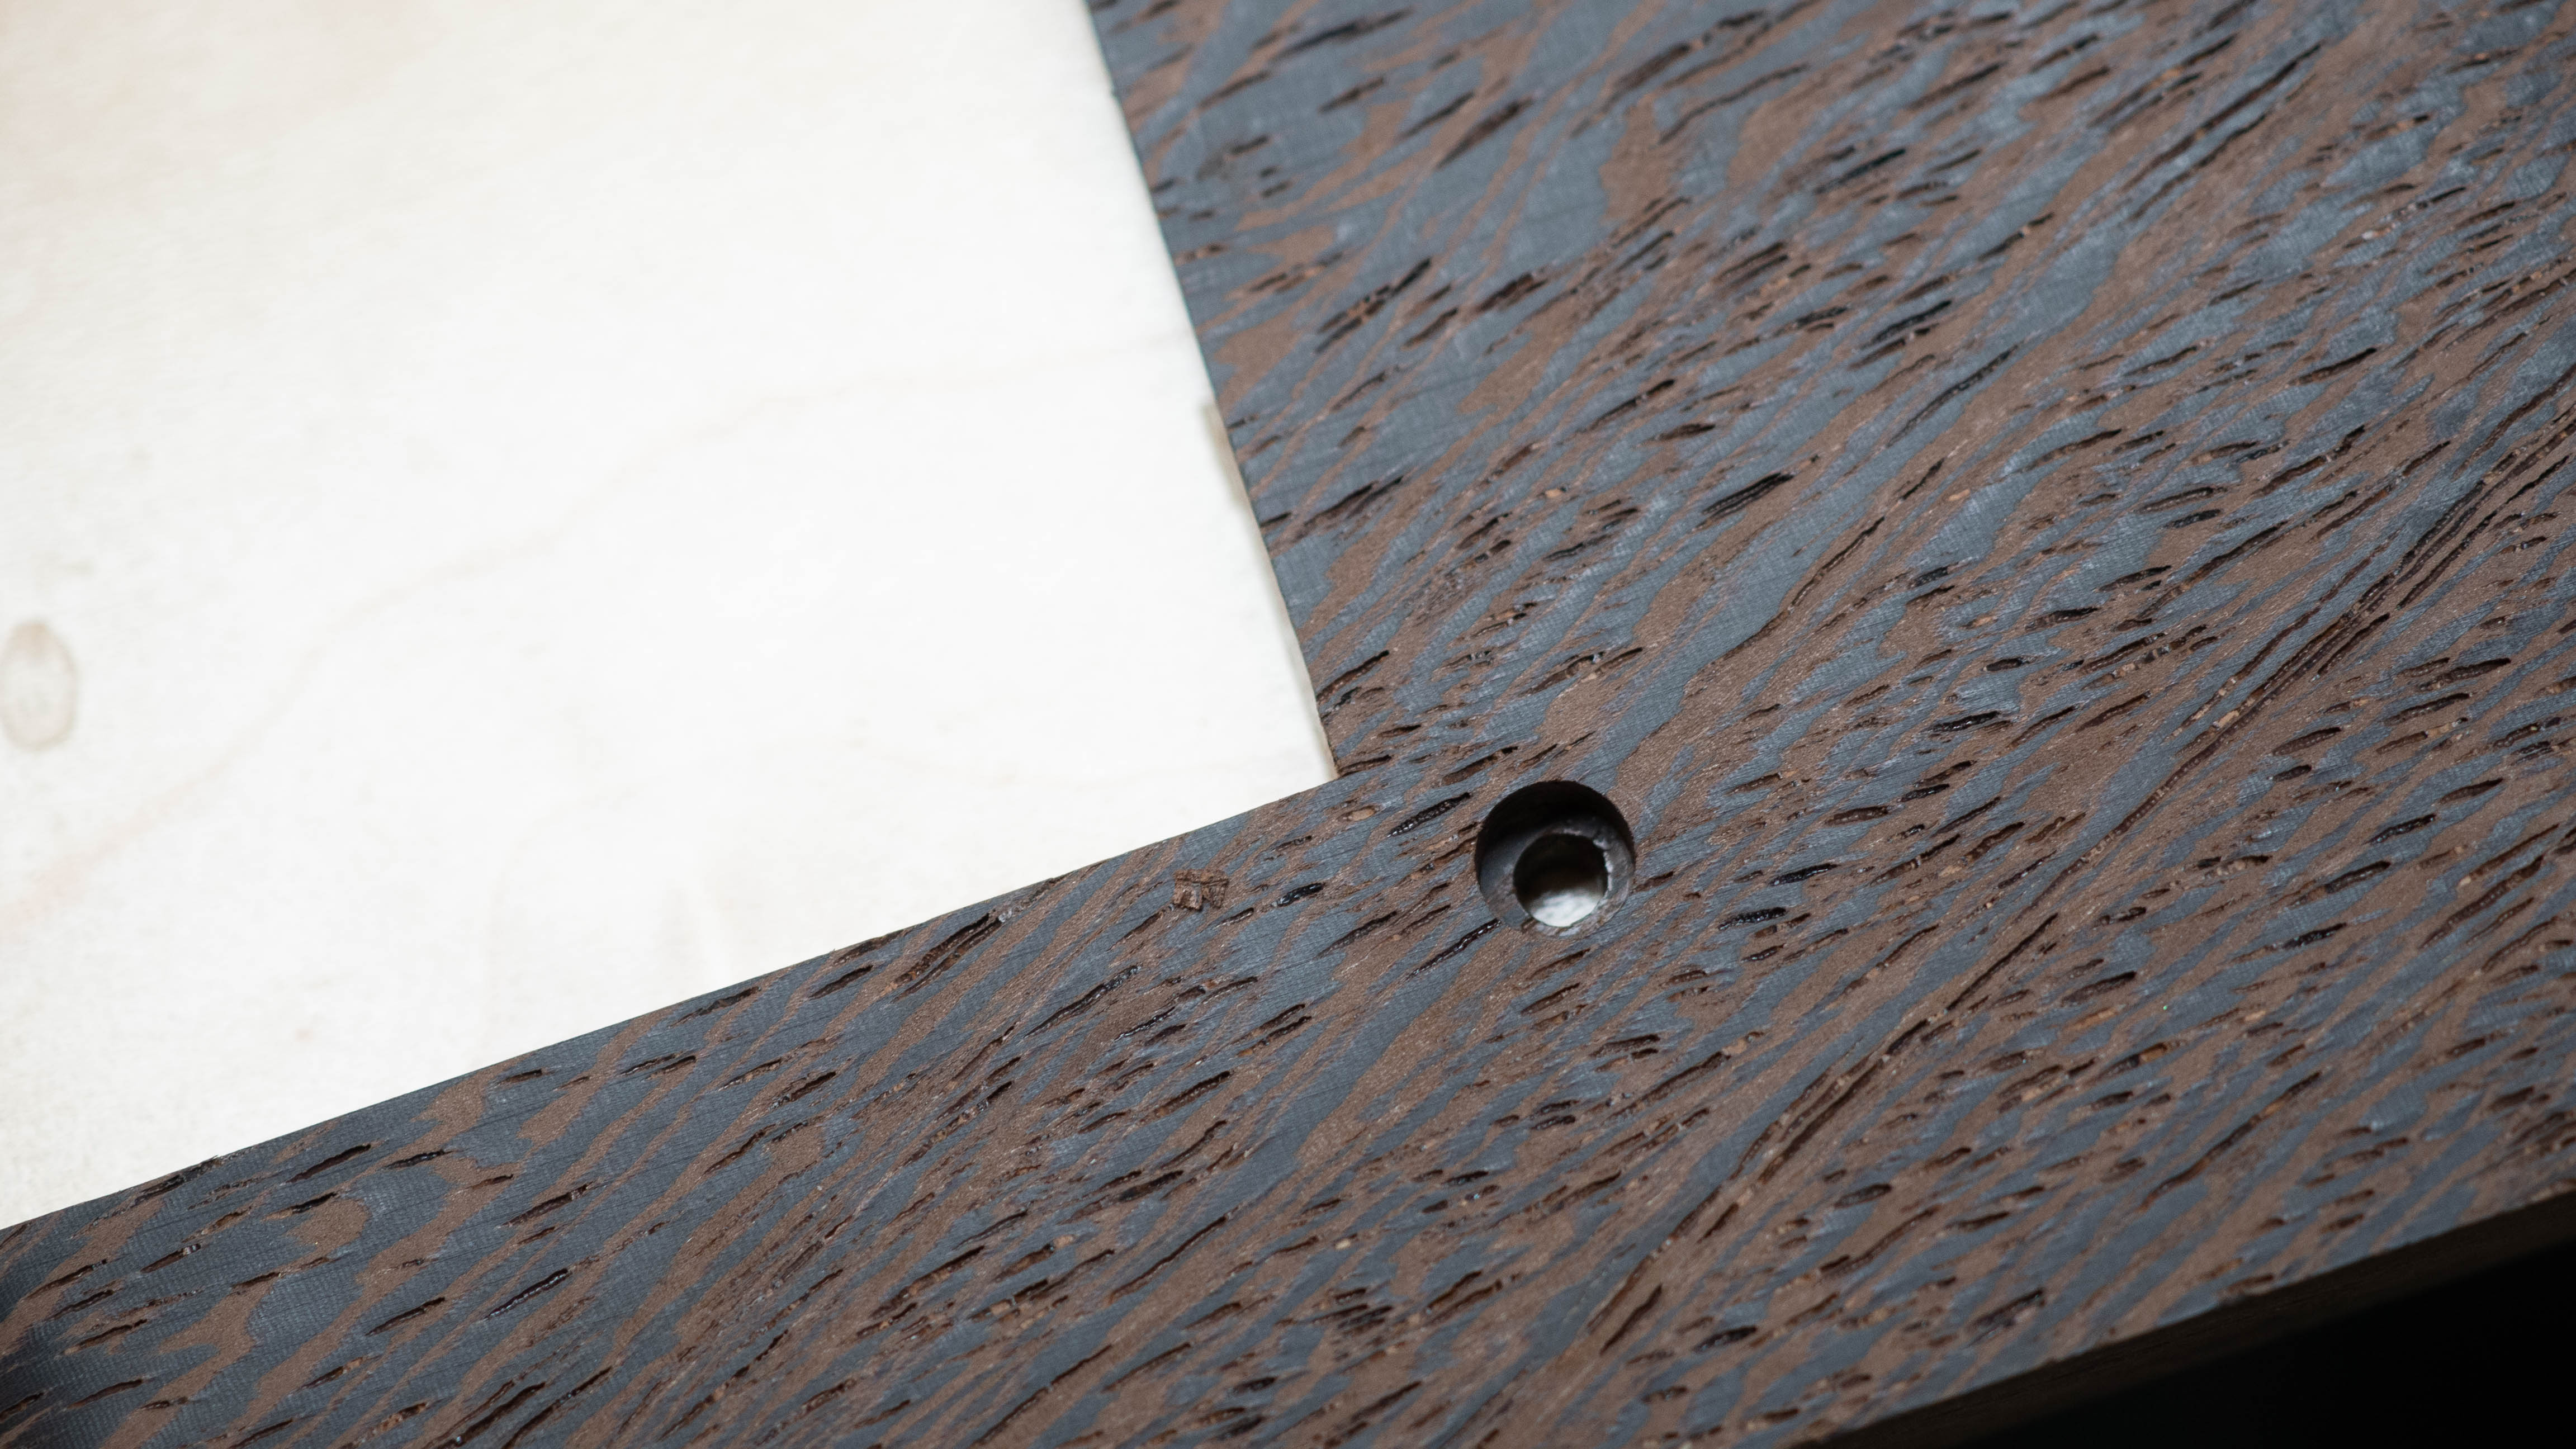
Step one is squaring off the rounded corners left by the CNC router using a sharp chisel.
Get Tom's Hardware's best news and in-depth reviews, straight to your inbox.
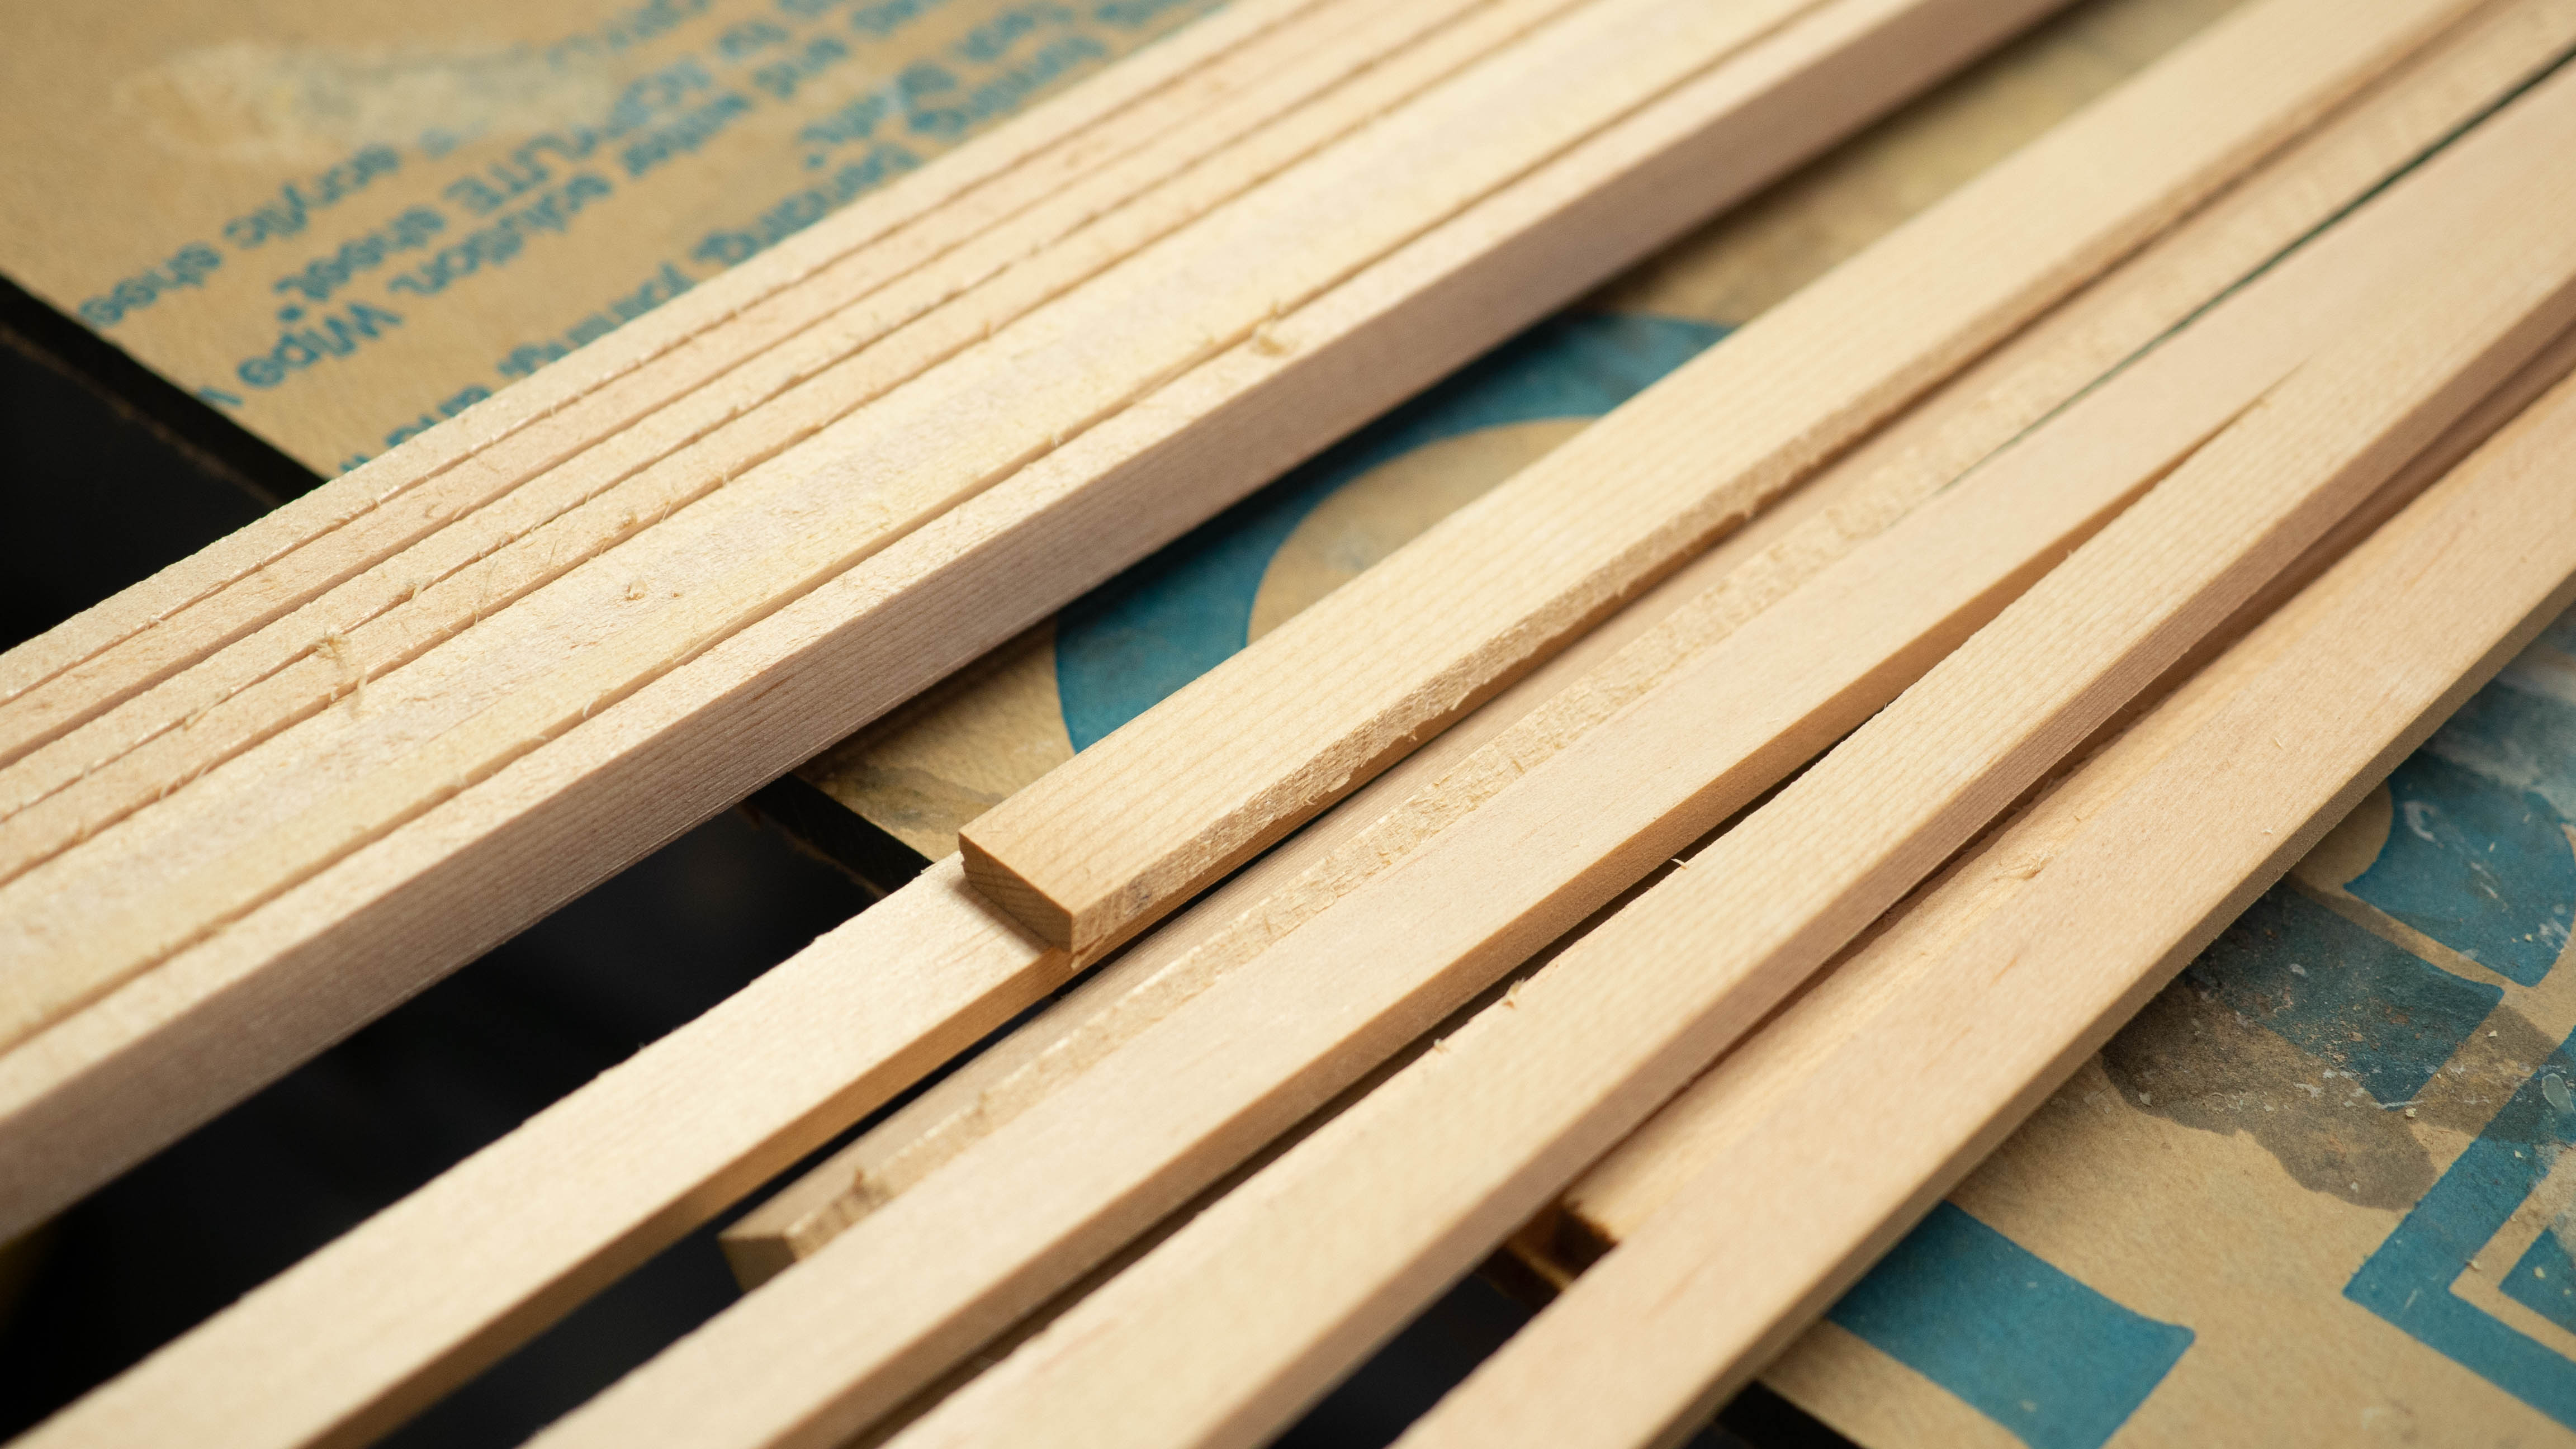
Next, I took some Sitka Spruce stock left from another project and ripped it down on the bandsaw to width, using a planer to get them smooth and to uniform dimensions.
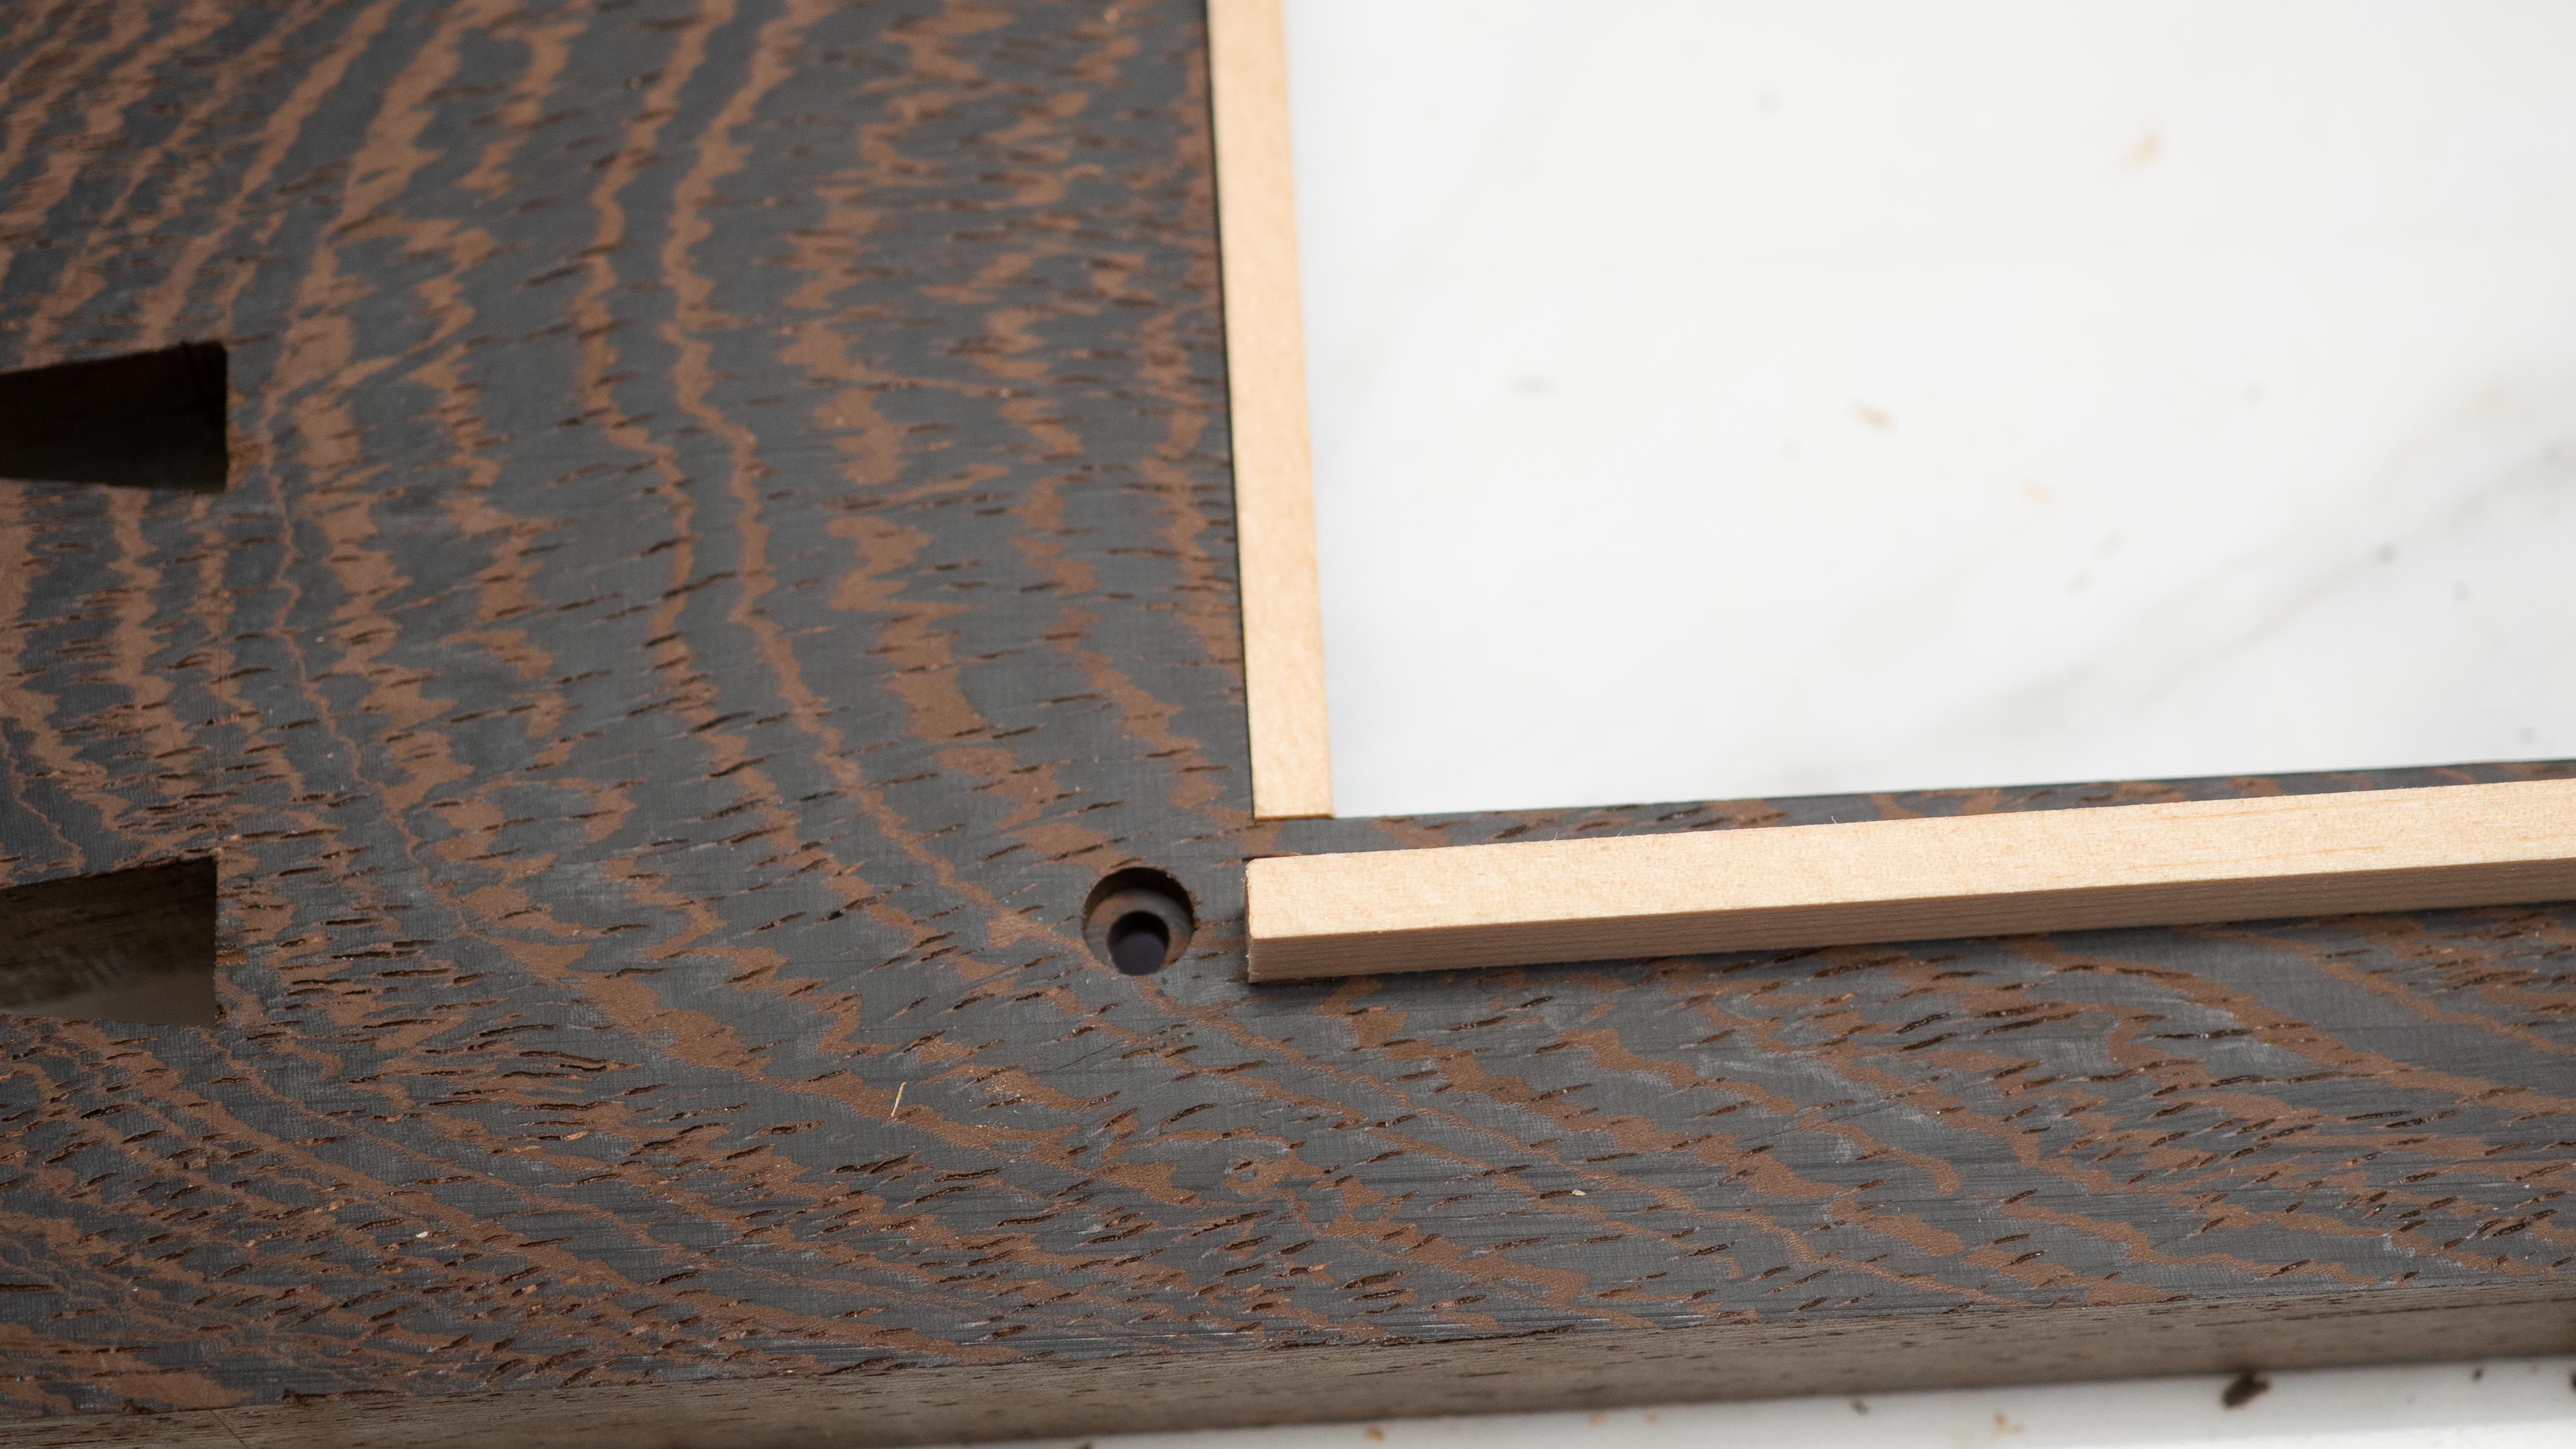
Now it was time to start cutting the Kumiko pieces, beginning with a border.
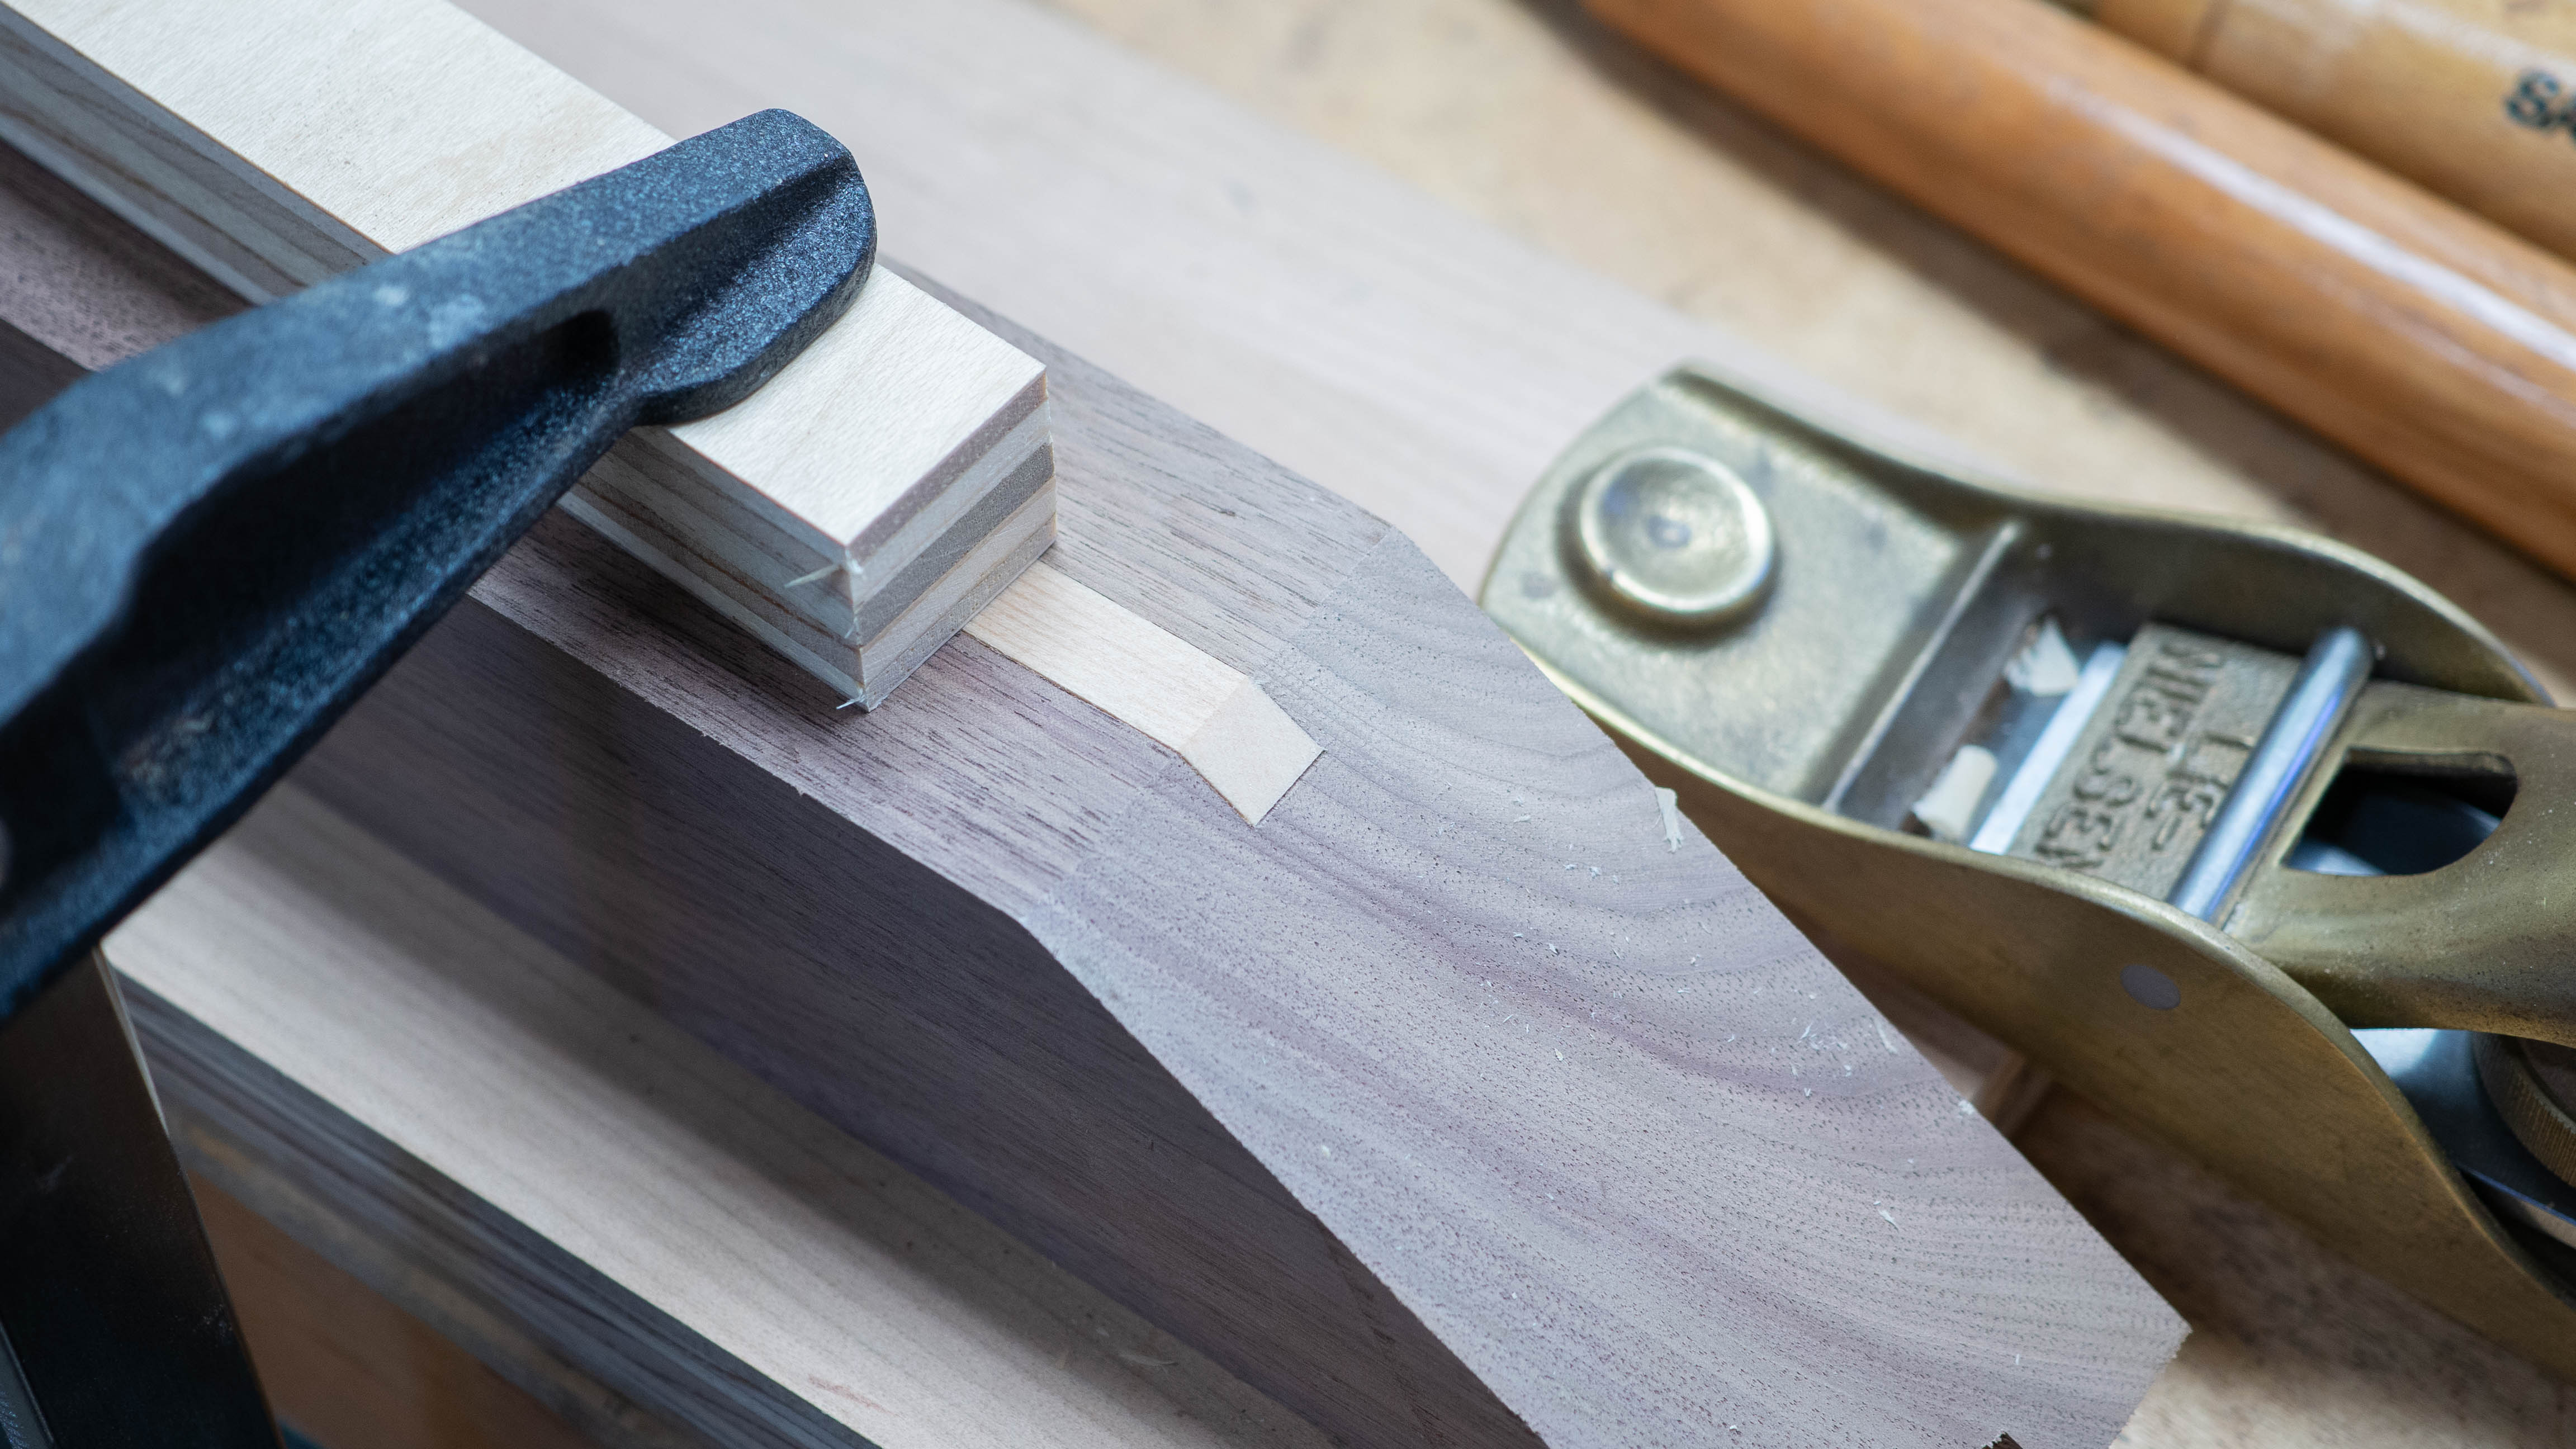
To make most of the angled joinery, I made a couple more guides at different angles, using a hand plane to get a perfect fit.
I used a simple mitered half lap joint for the corners. This will be the only part of this whole Kumiko panel that gets any glue. The rest is all friction fit.
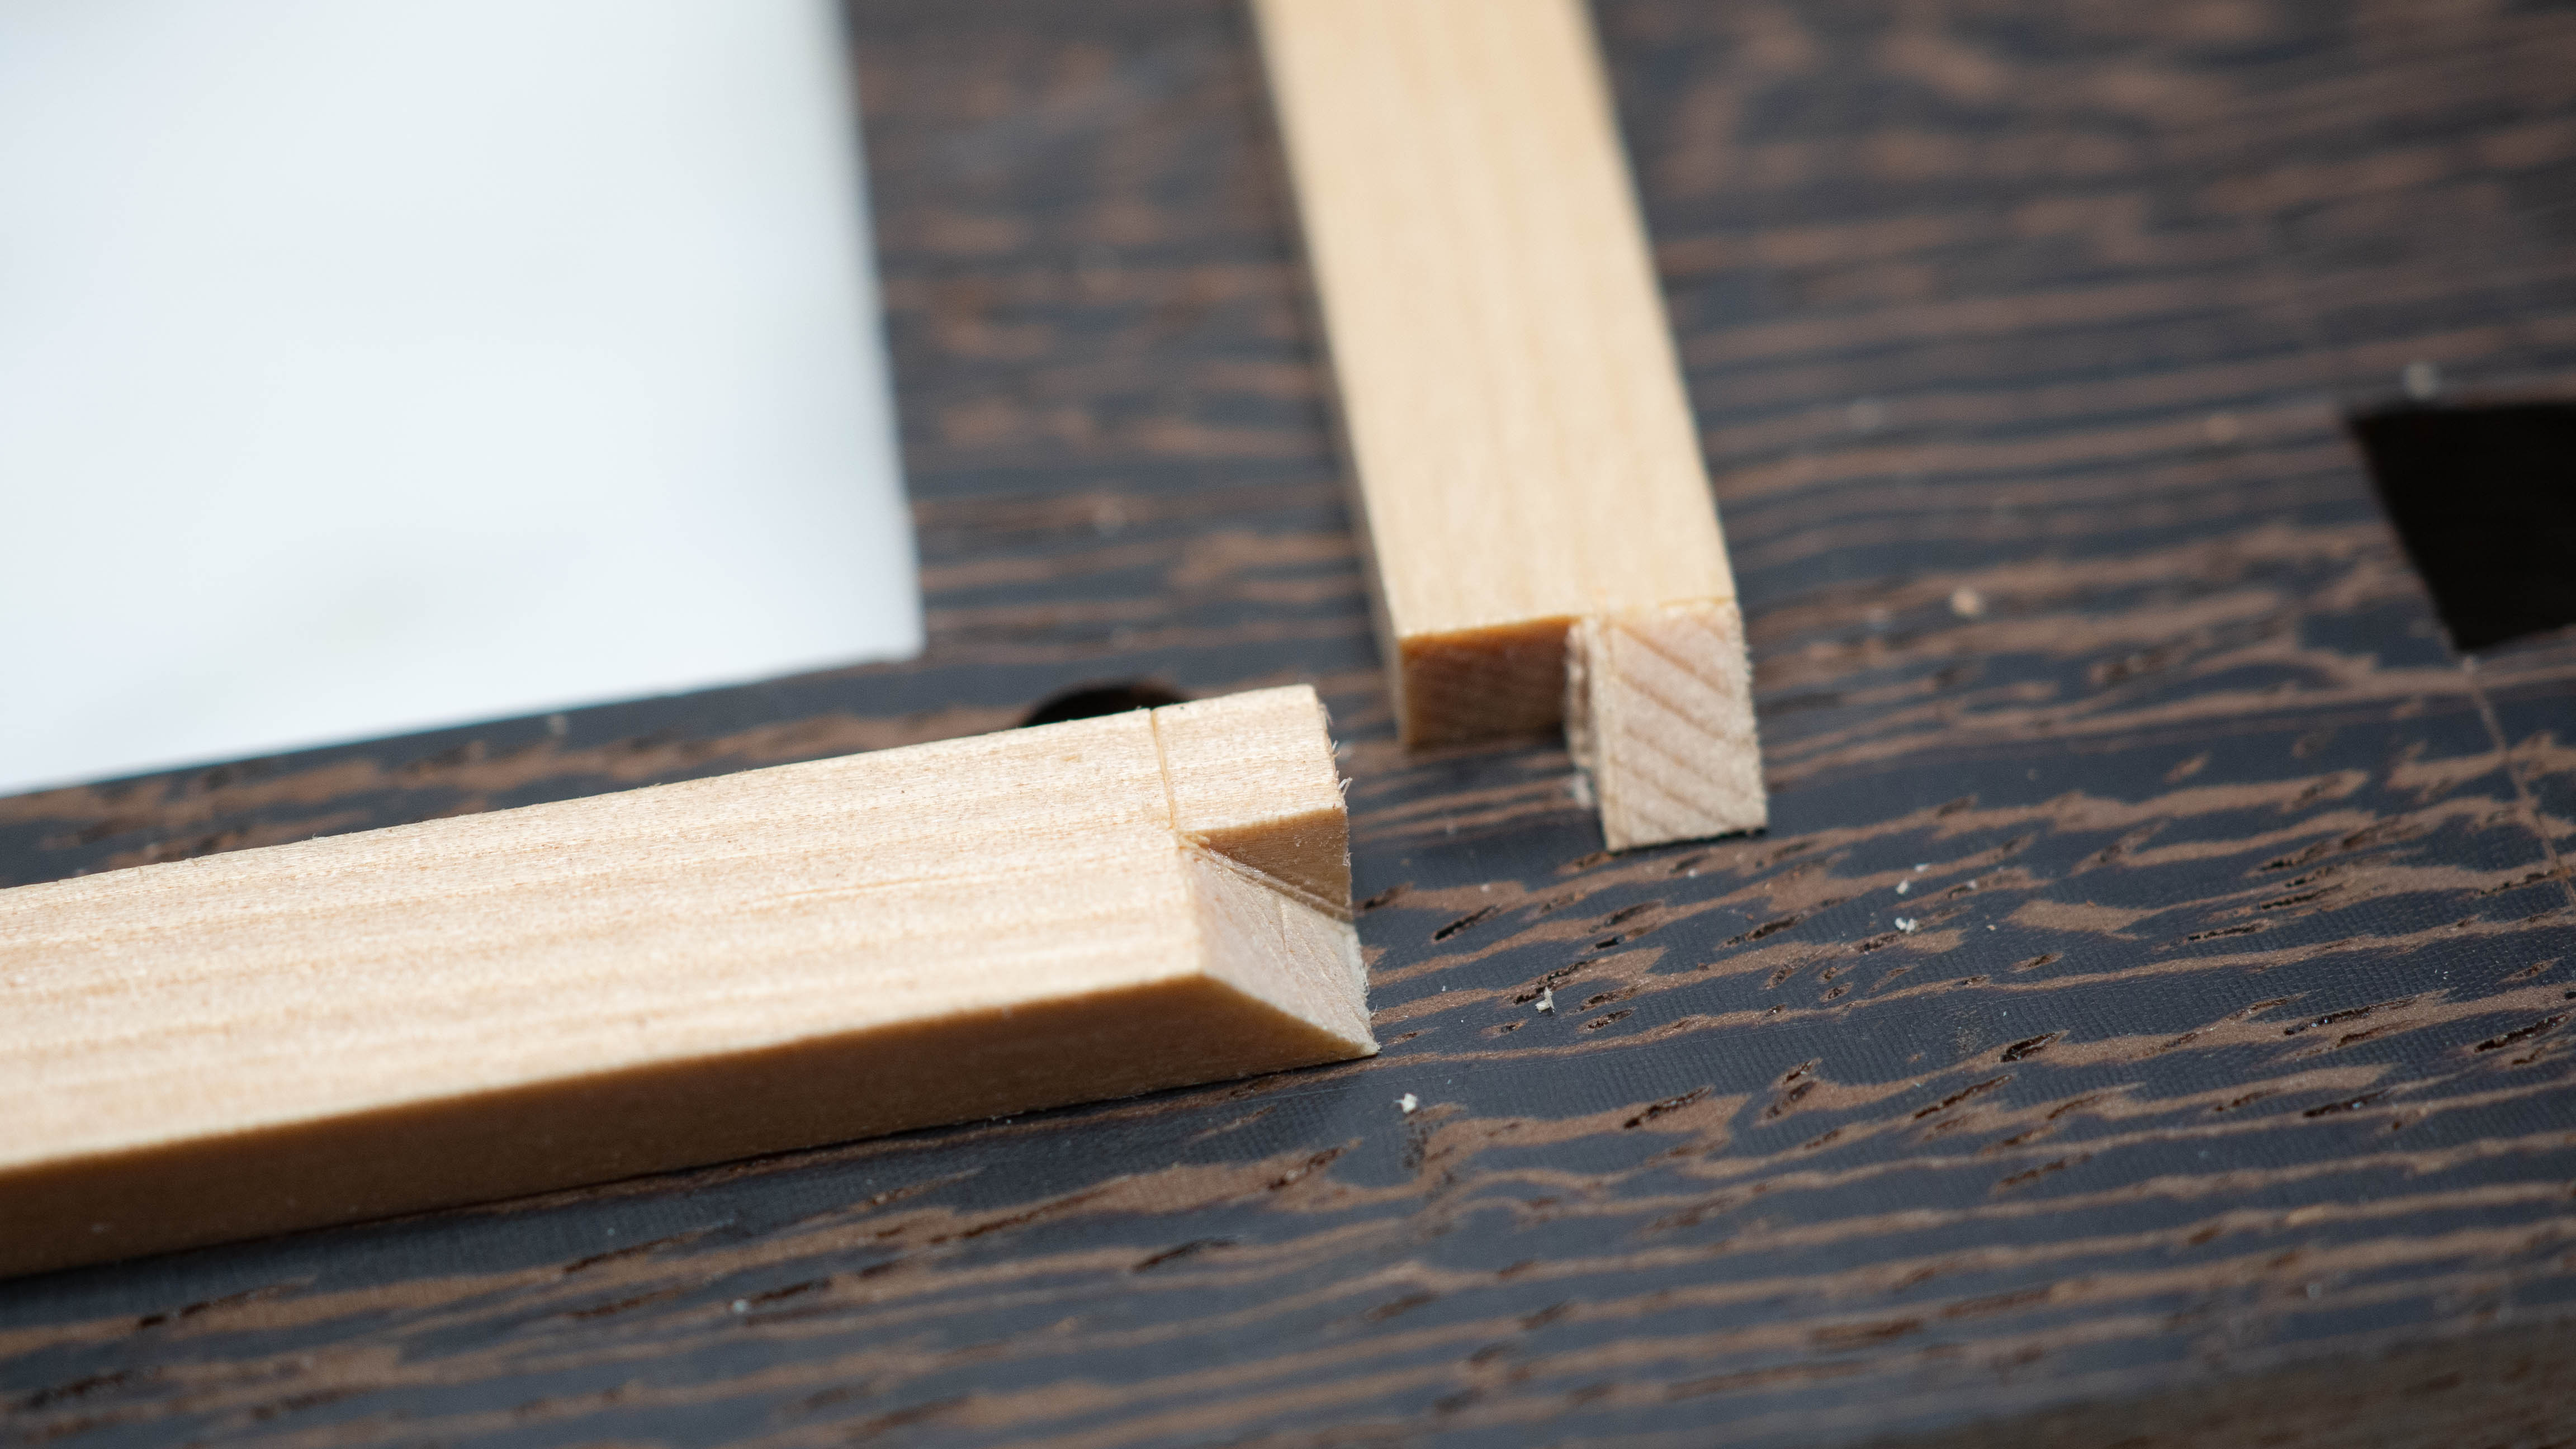
With the border done, I started filling in the vertical and horizontal Kumiko pieces. I used another block jig to keep everything aligned and make cutting easier:
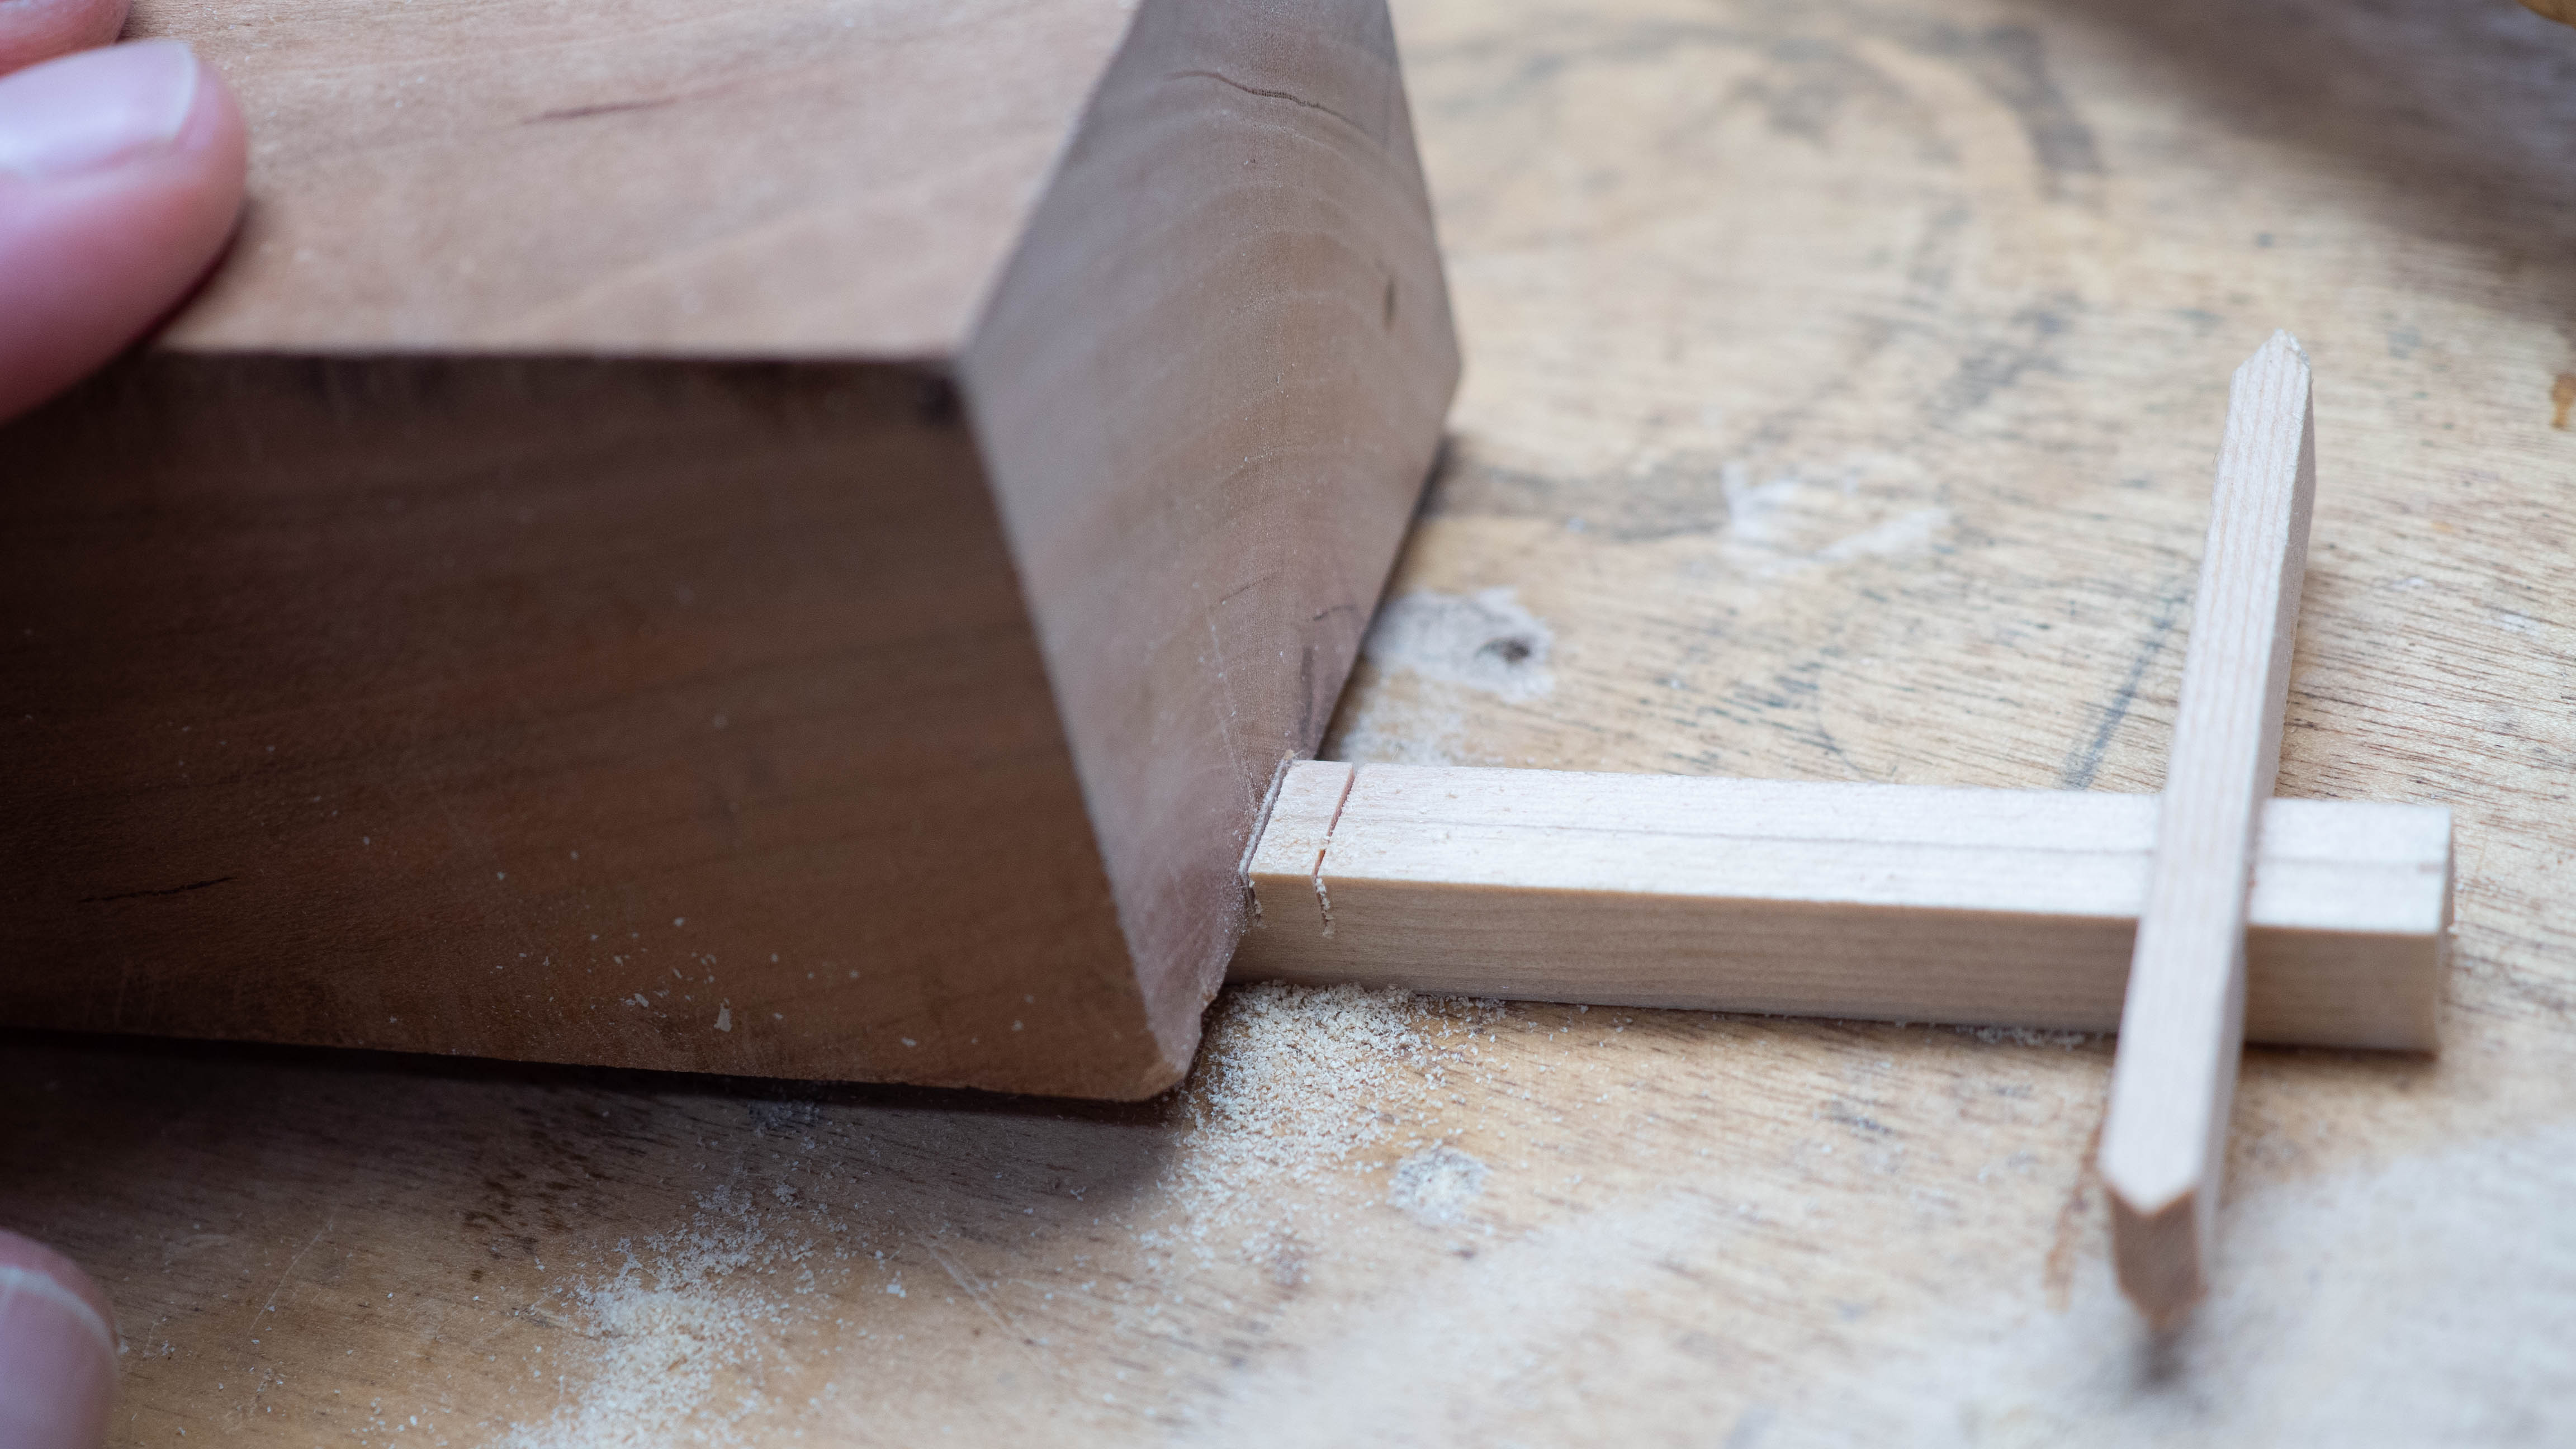
Using jigs instead of measuring saves time and produces a more accurate result.
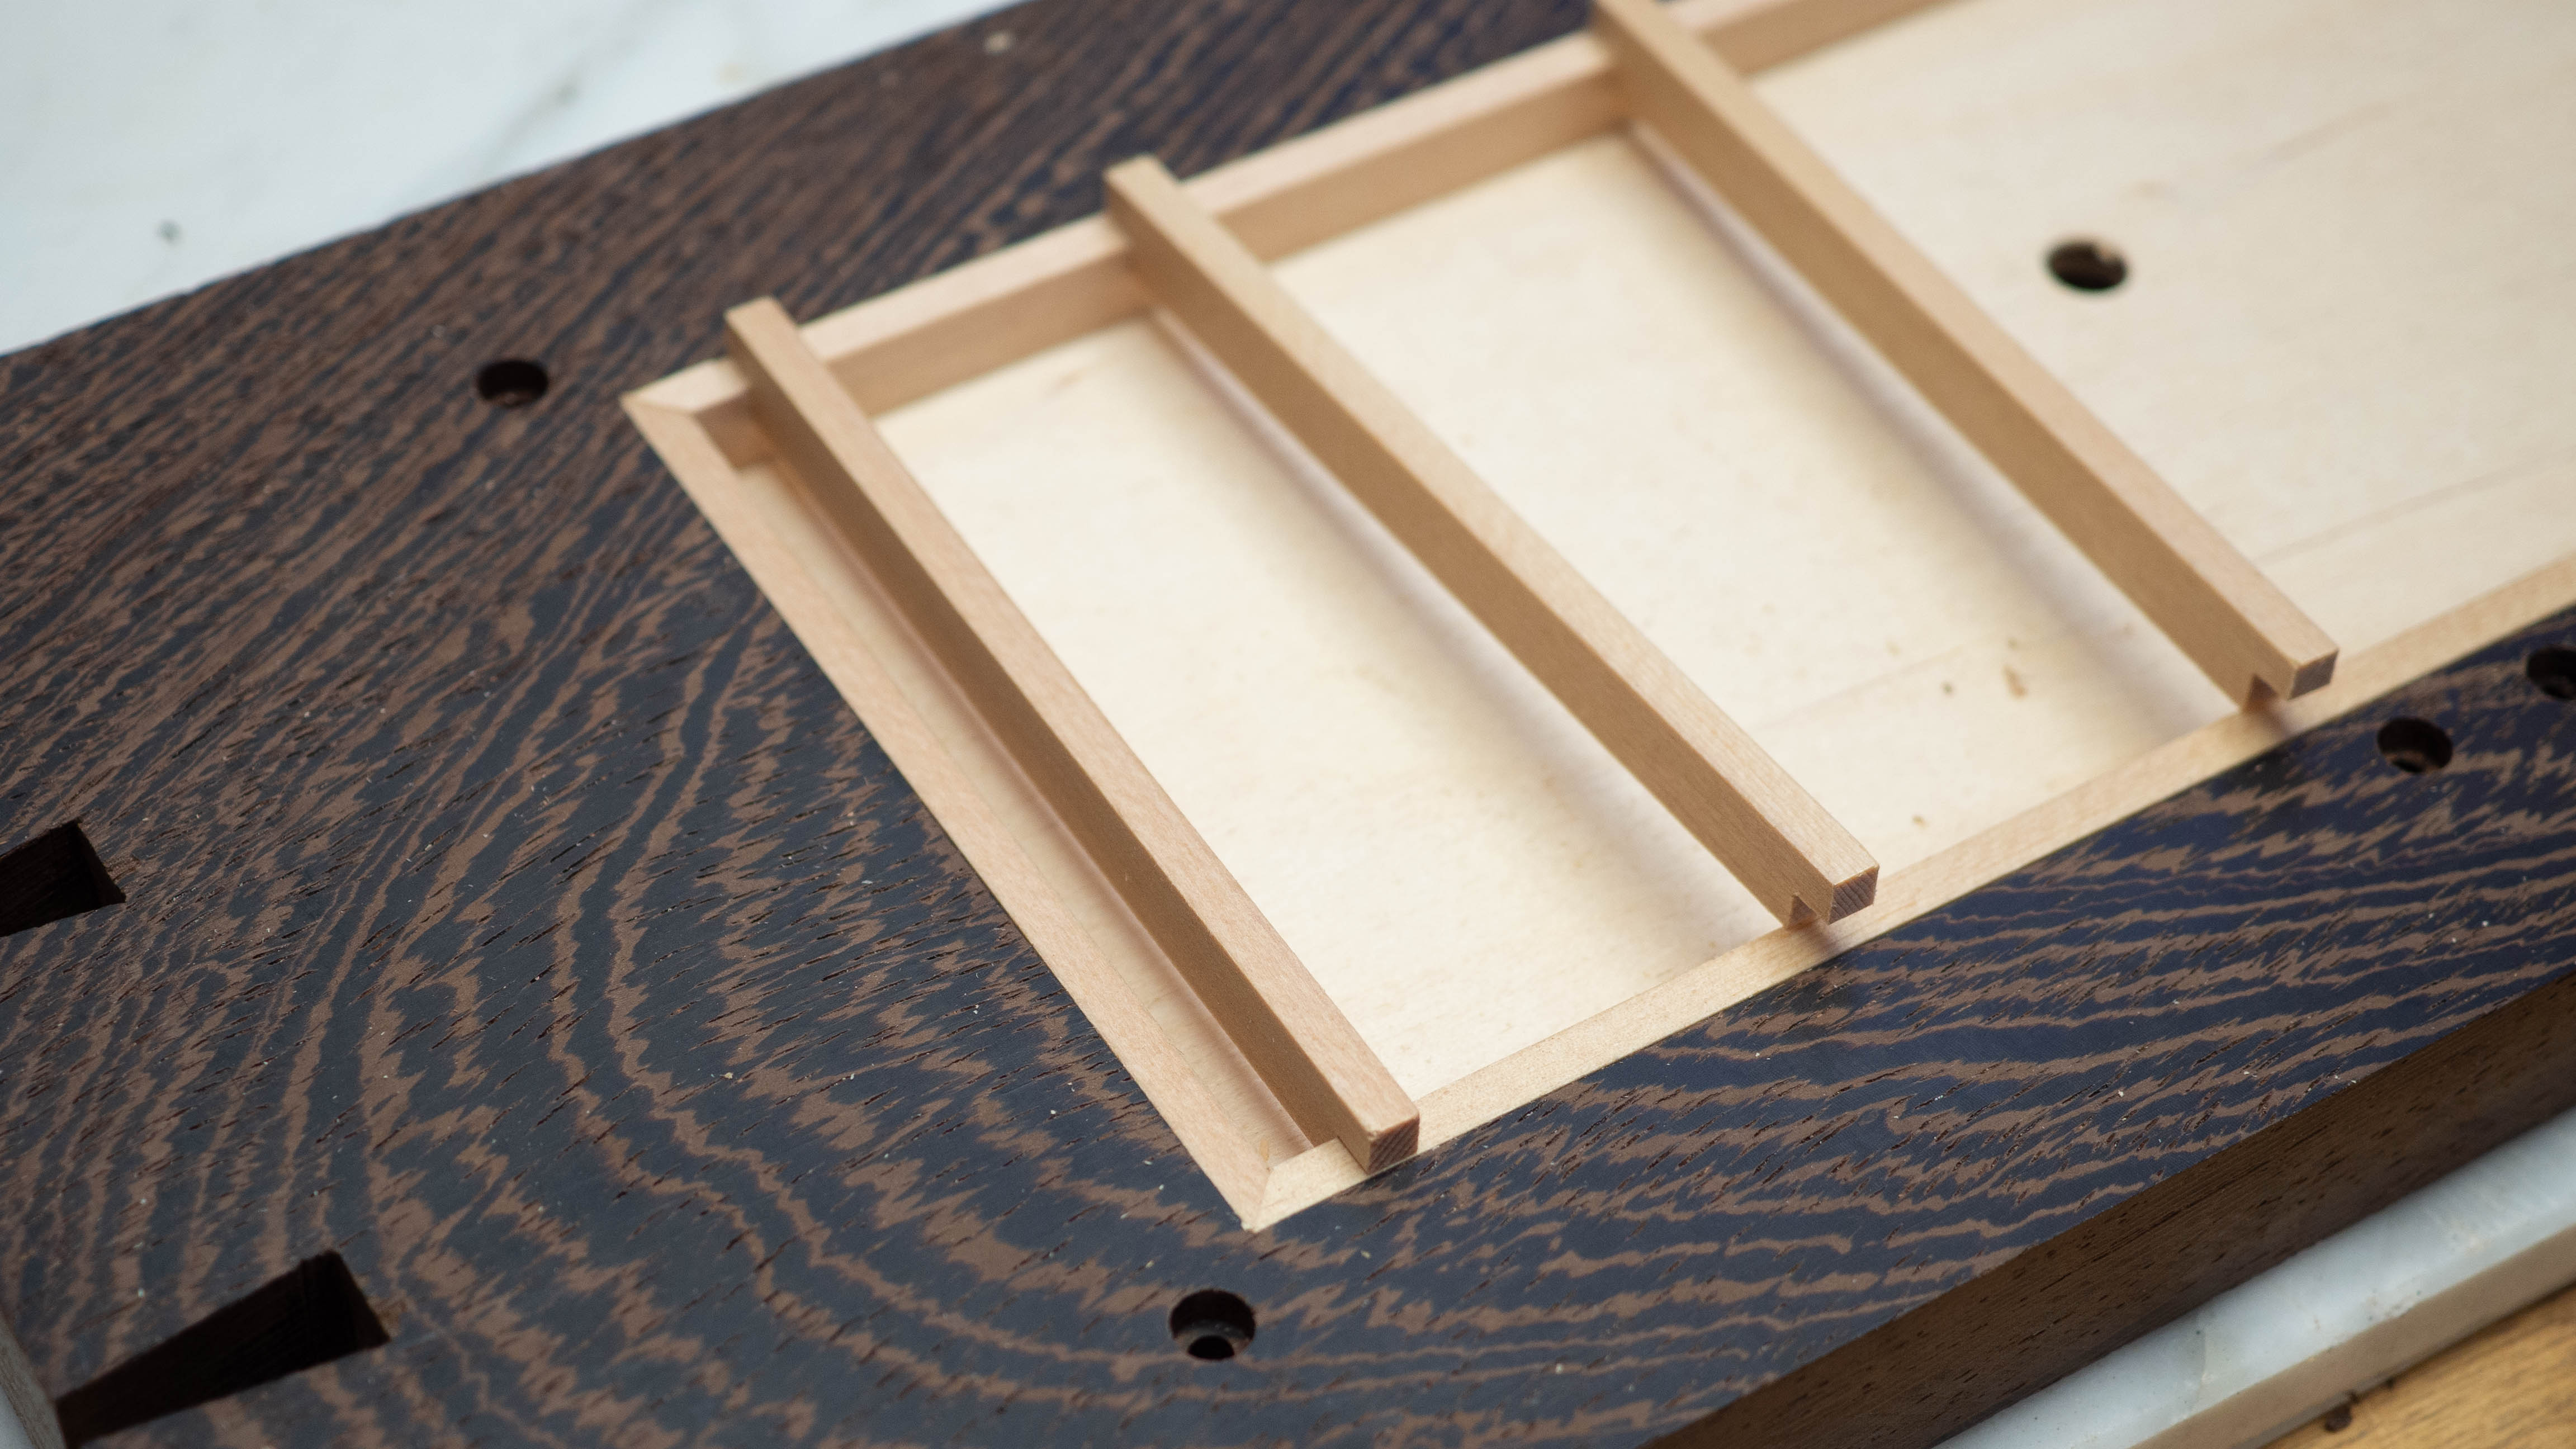
Soon, the grid was complete and I could start working on the diagonal pieces. I’m doing two different sizes of the Kumiko pattern in these panels so there's two different sized squares.
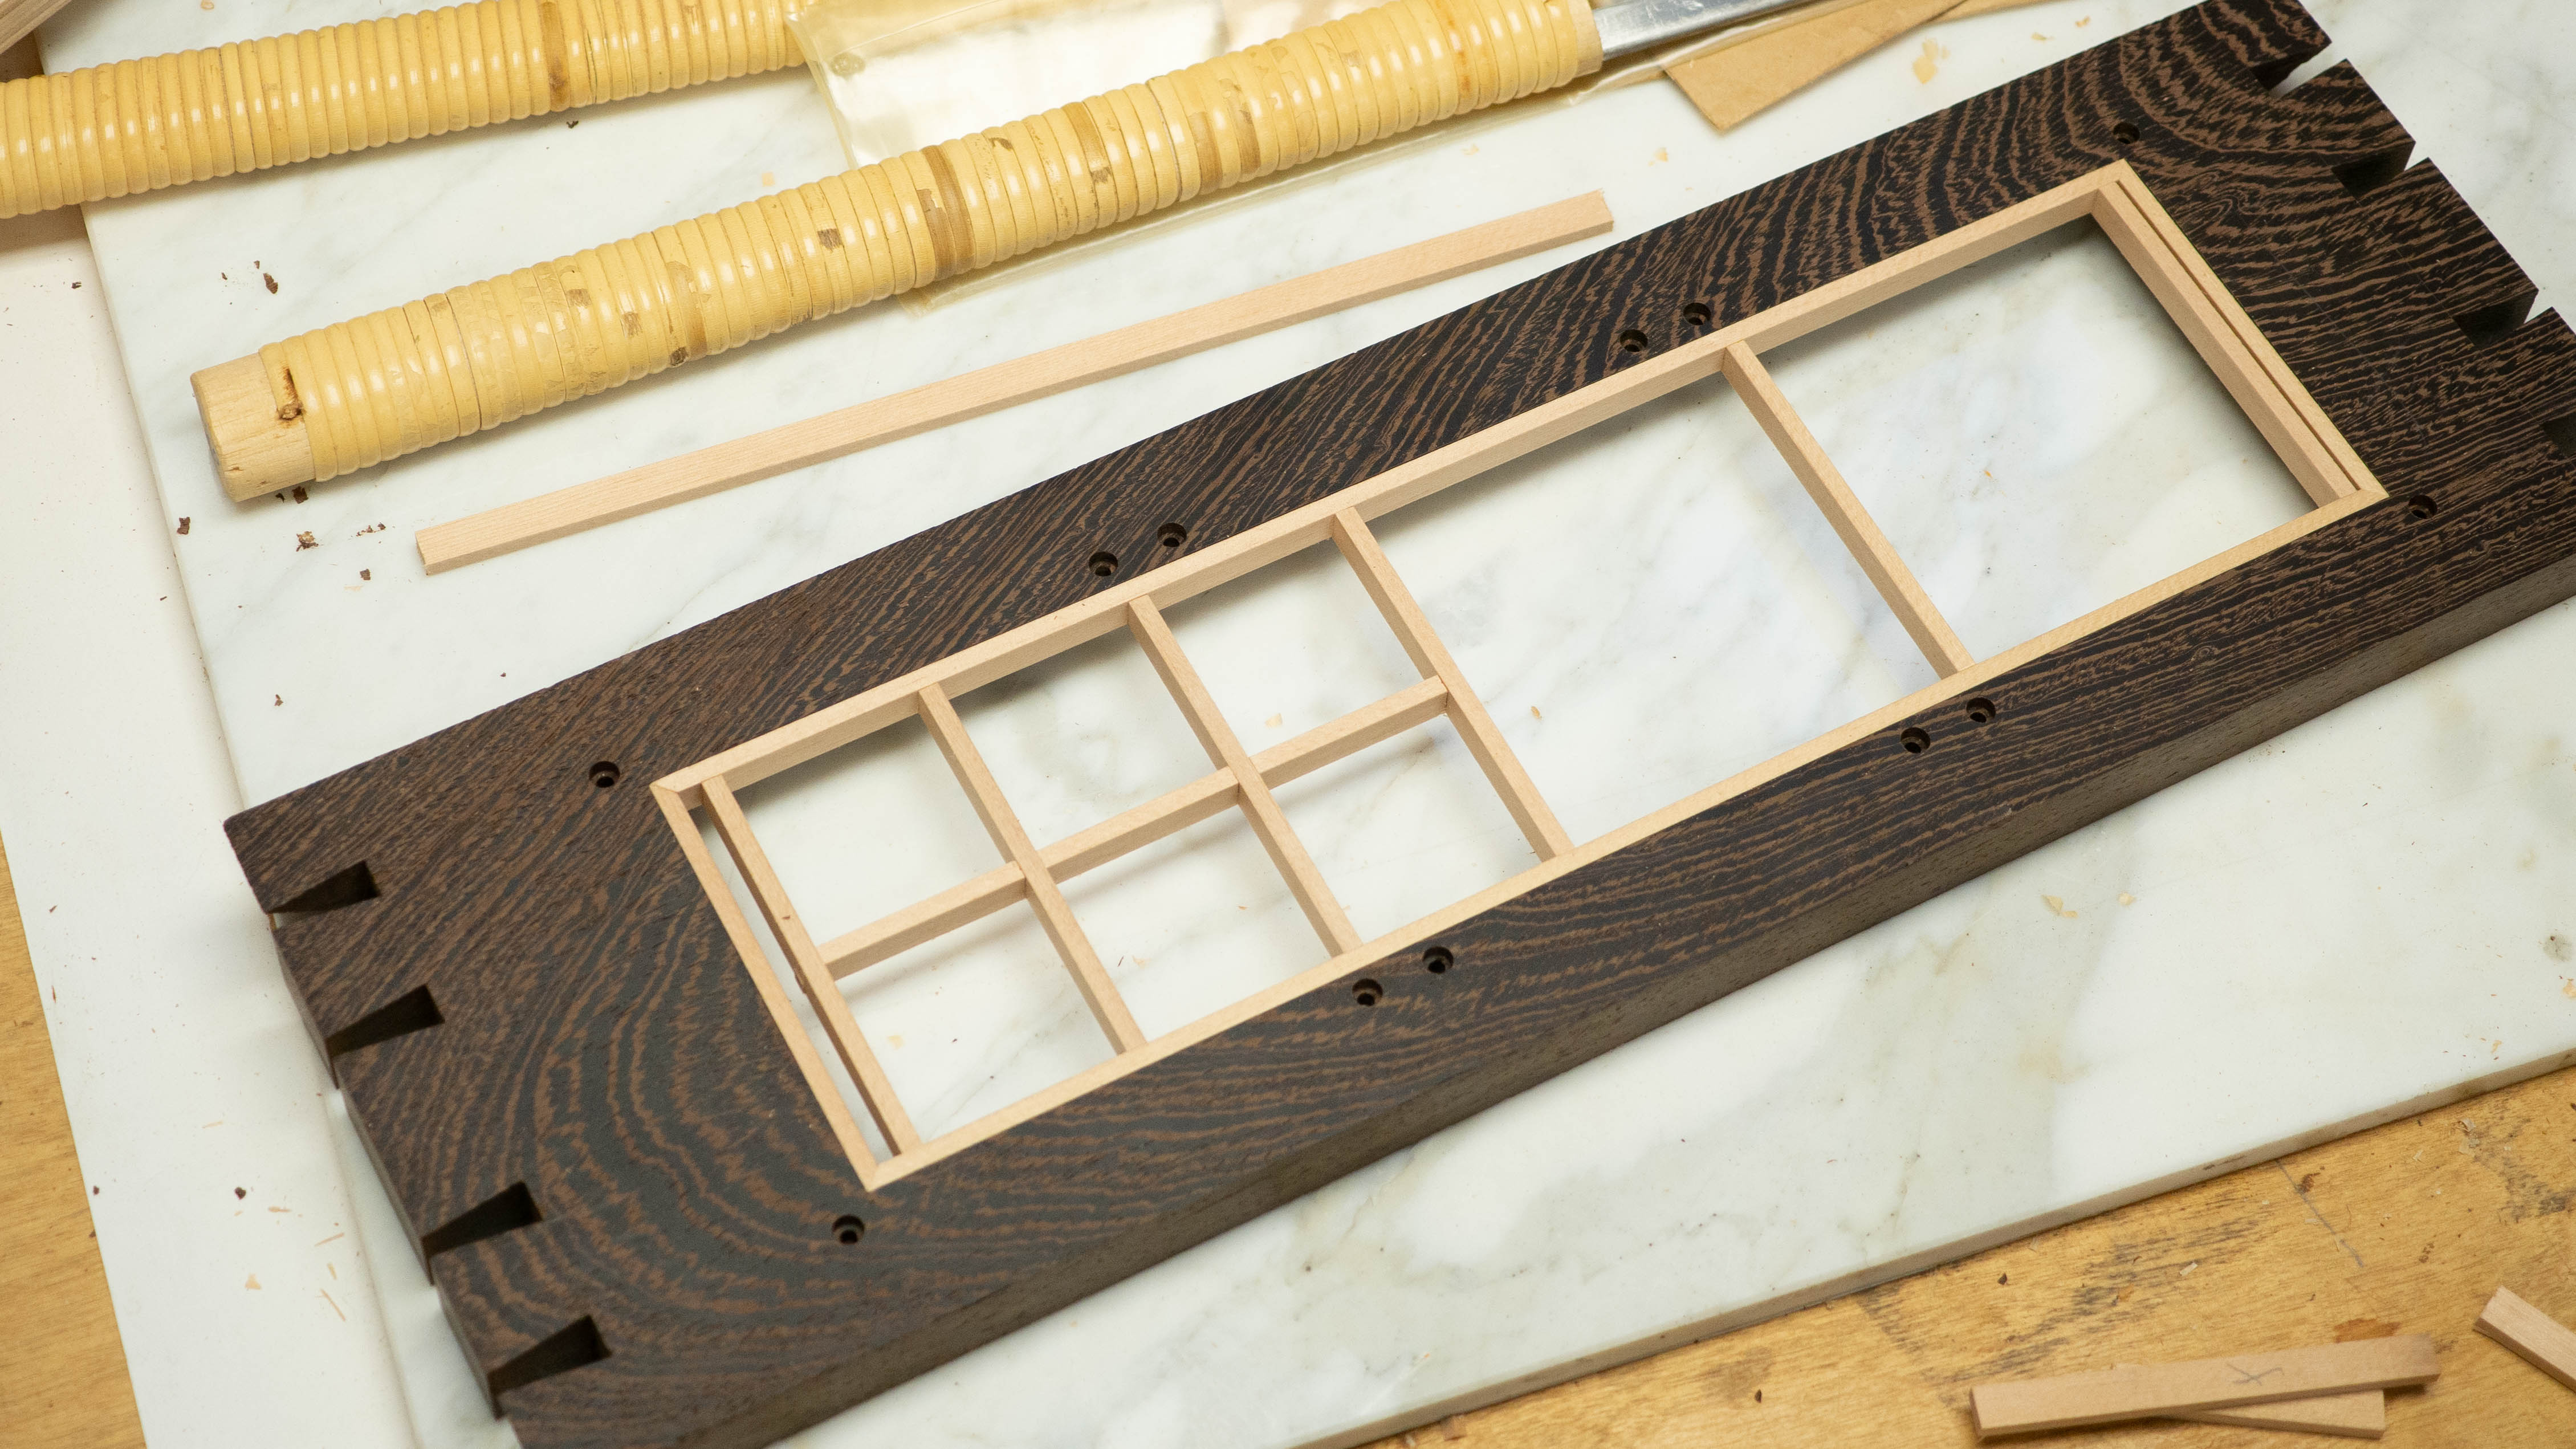
For the diagonal pattern, I started with the 45 degree pieces, cutting the squares in half.
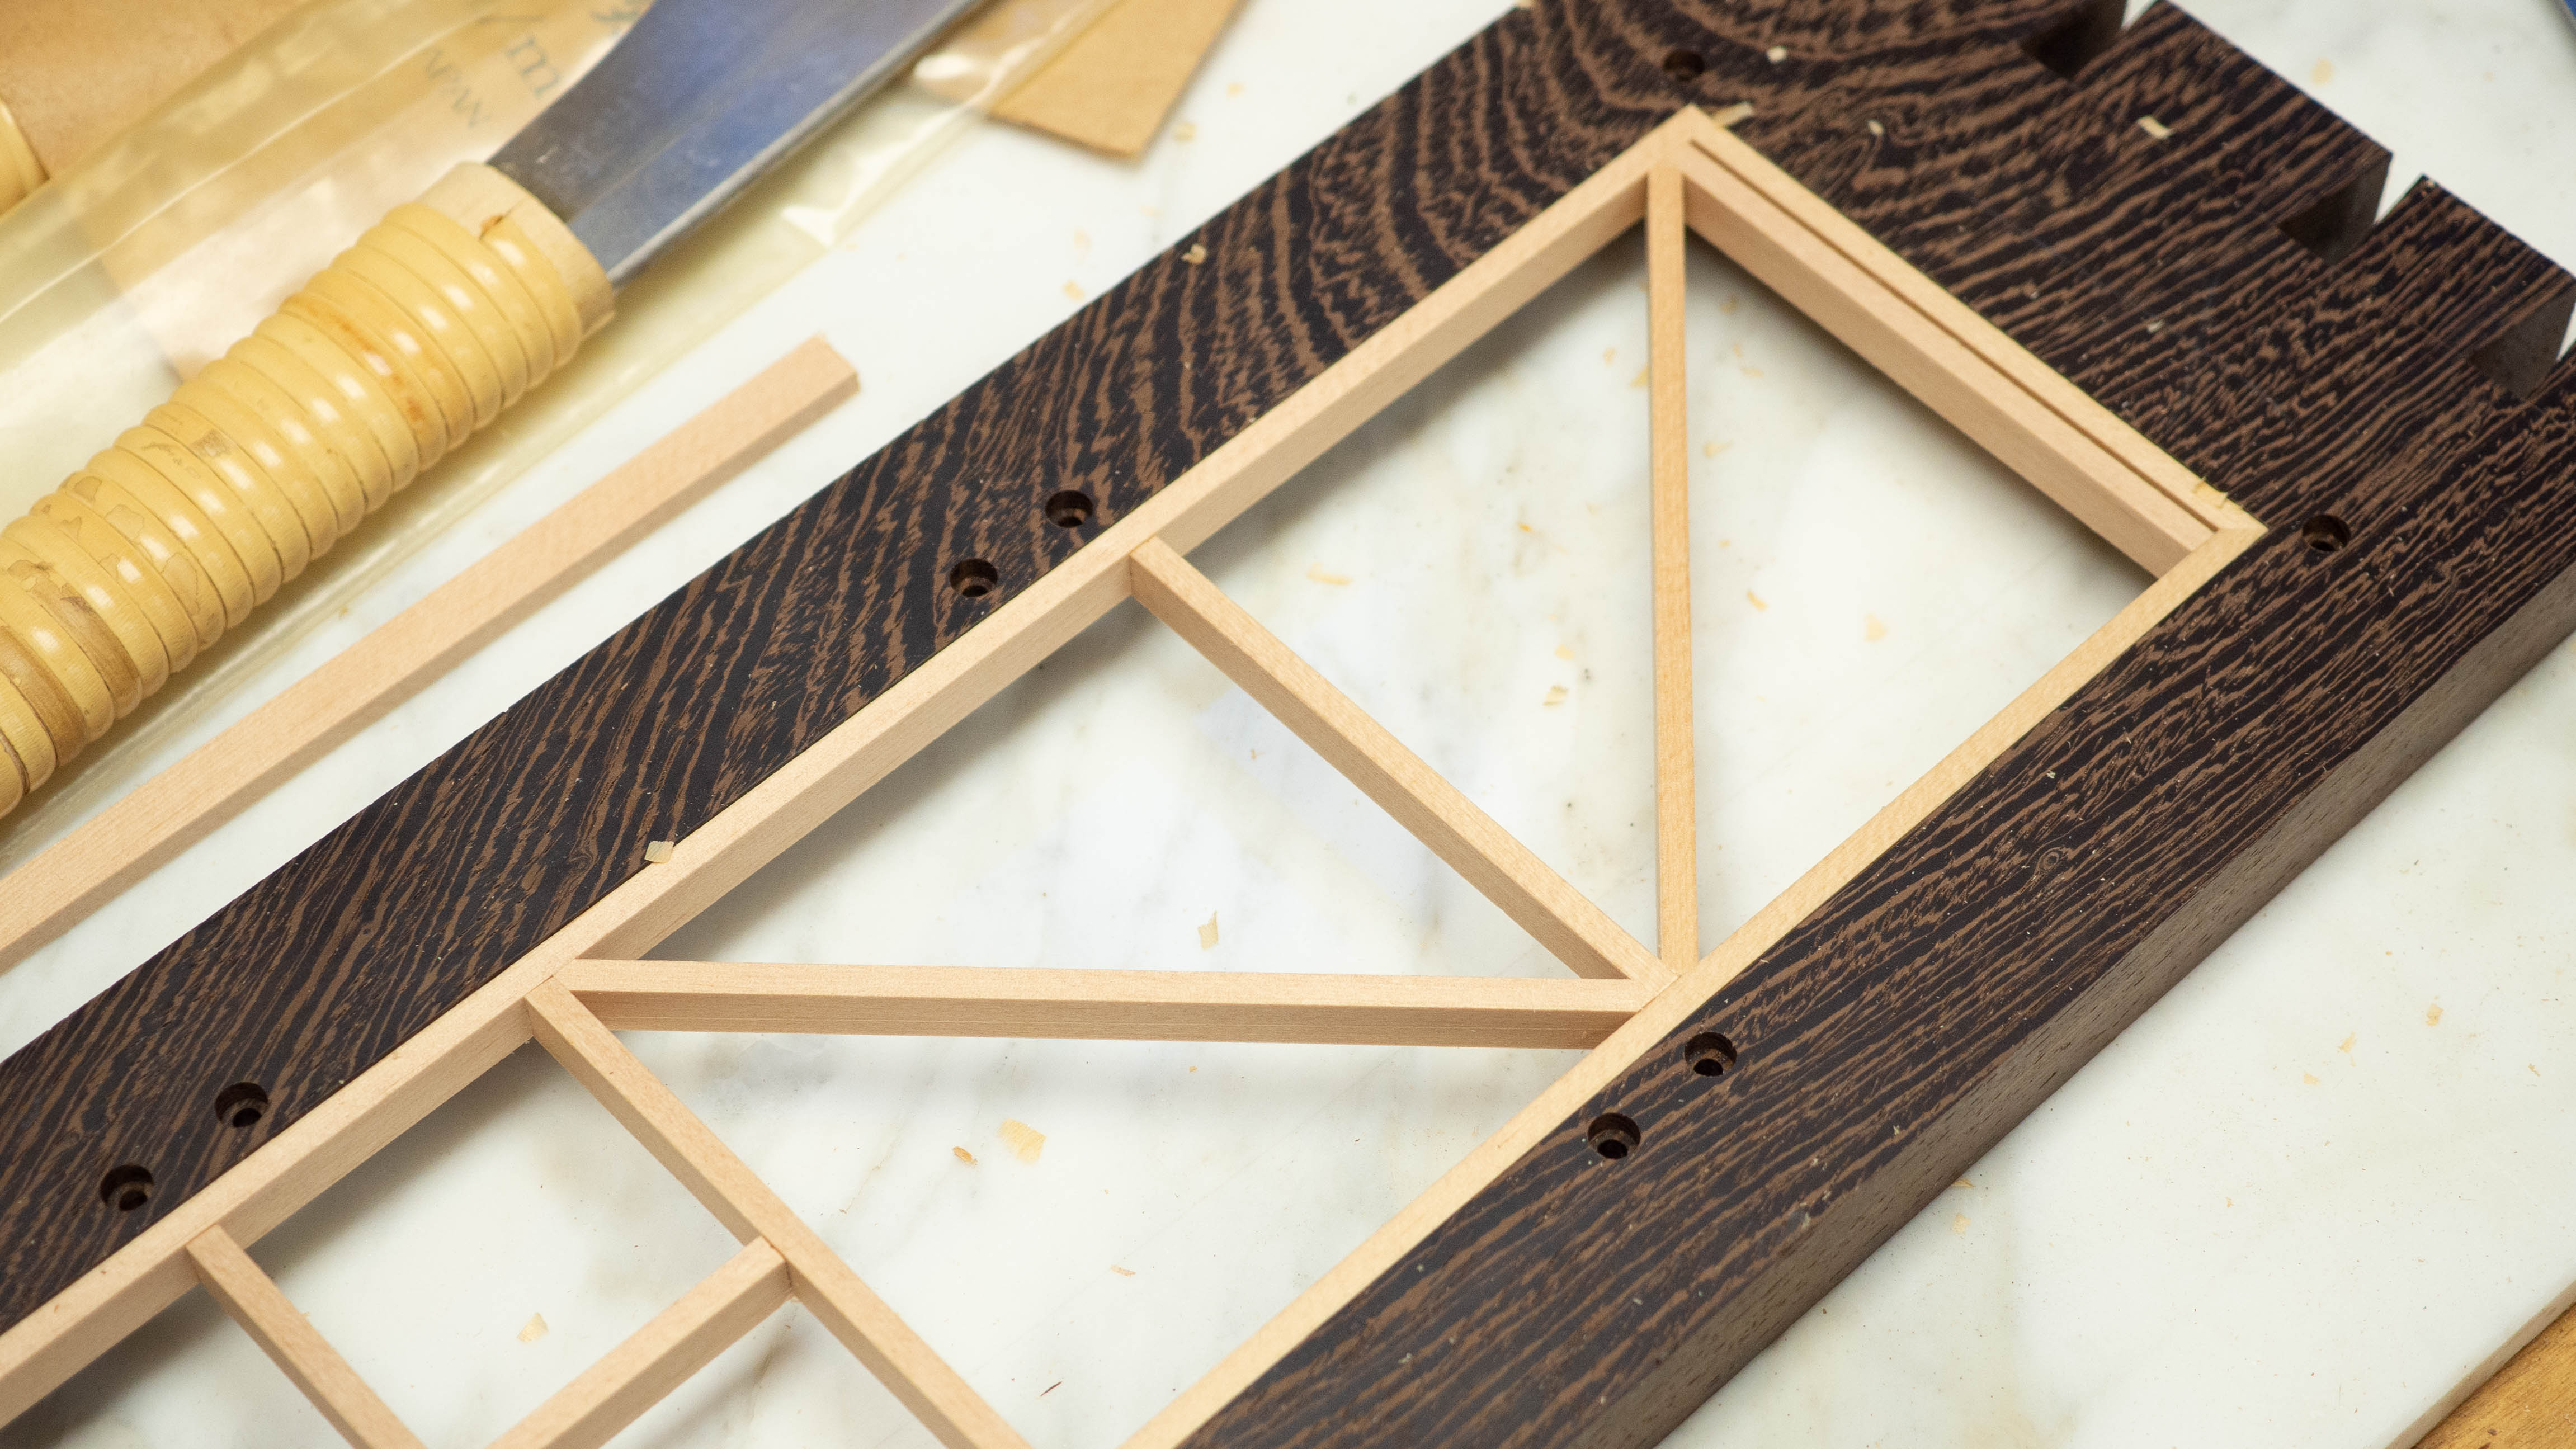
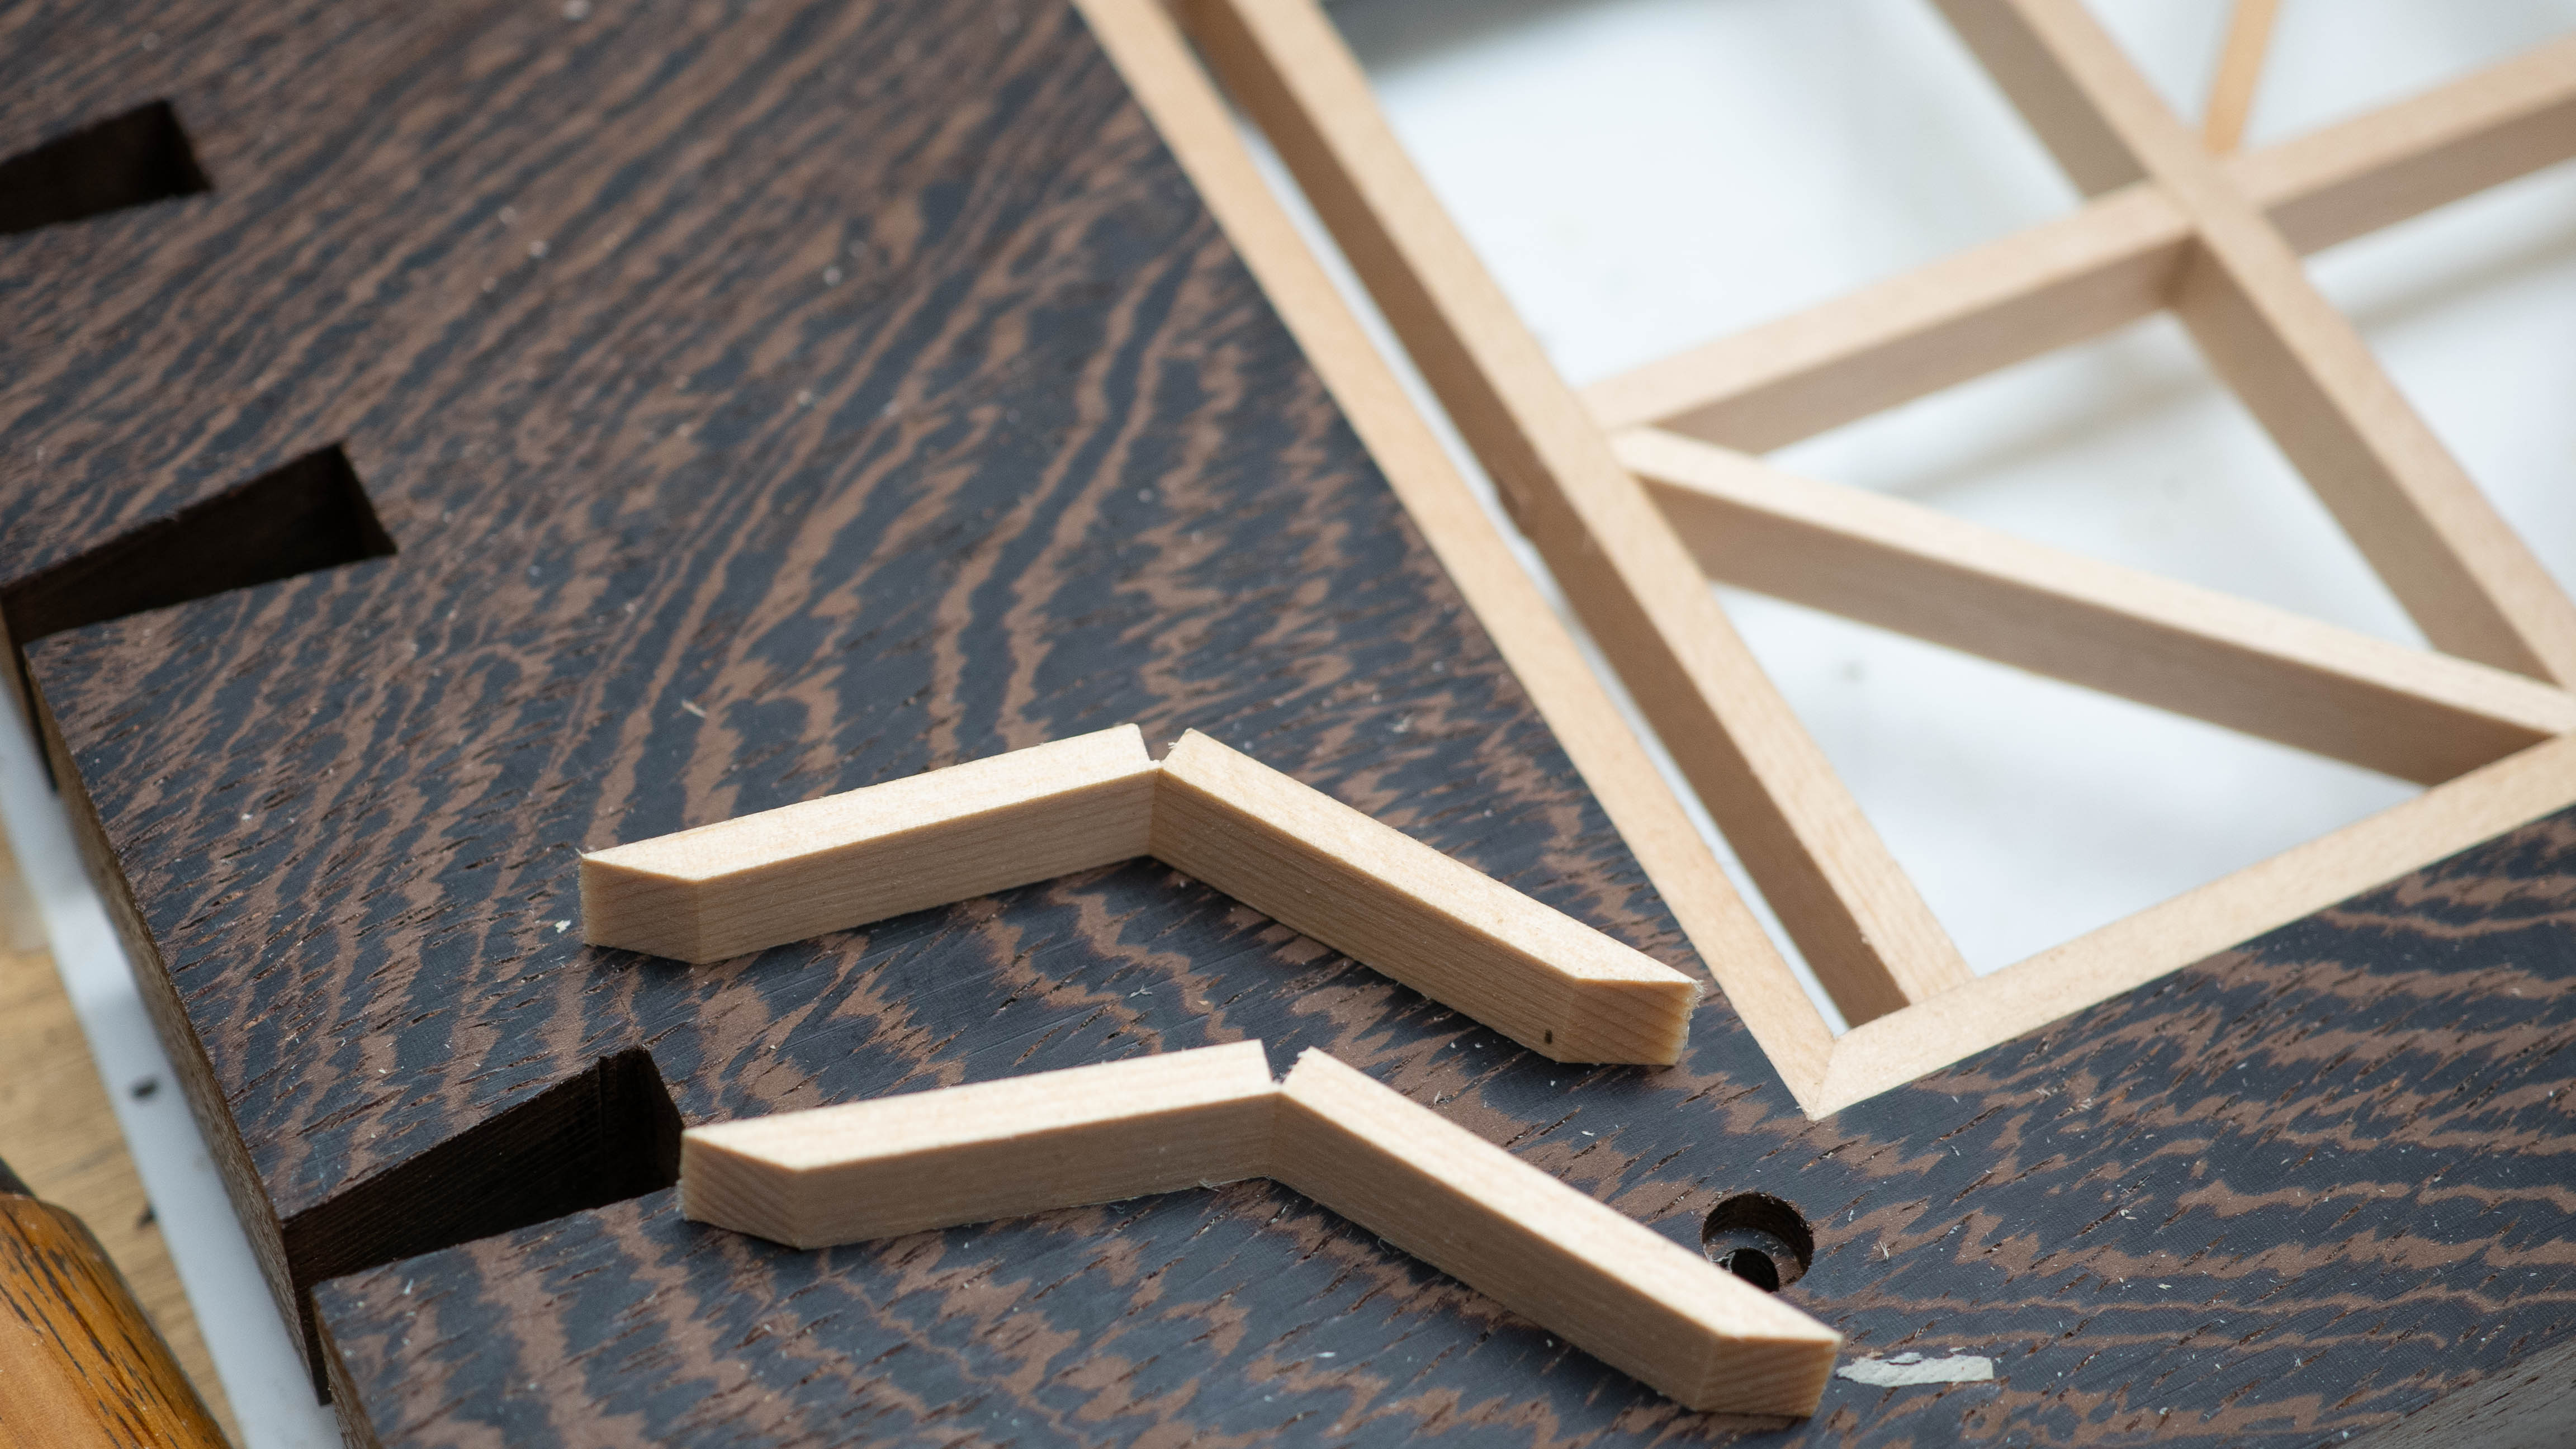
Now, here is the tricky part. For the second part of the pattern, I needed to cut almost all the way through the piece but not enough to cut it in half. This would receive angle cuts on either end then be bent in half at the cut mark. Then, another small piece can be made that locks it all in place:
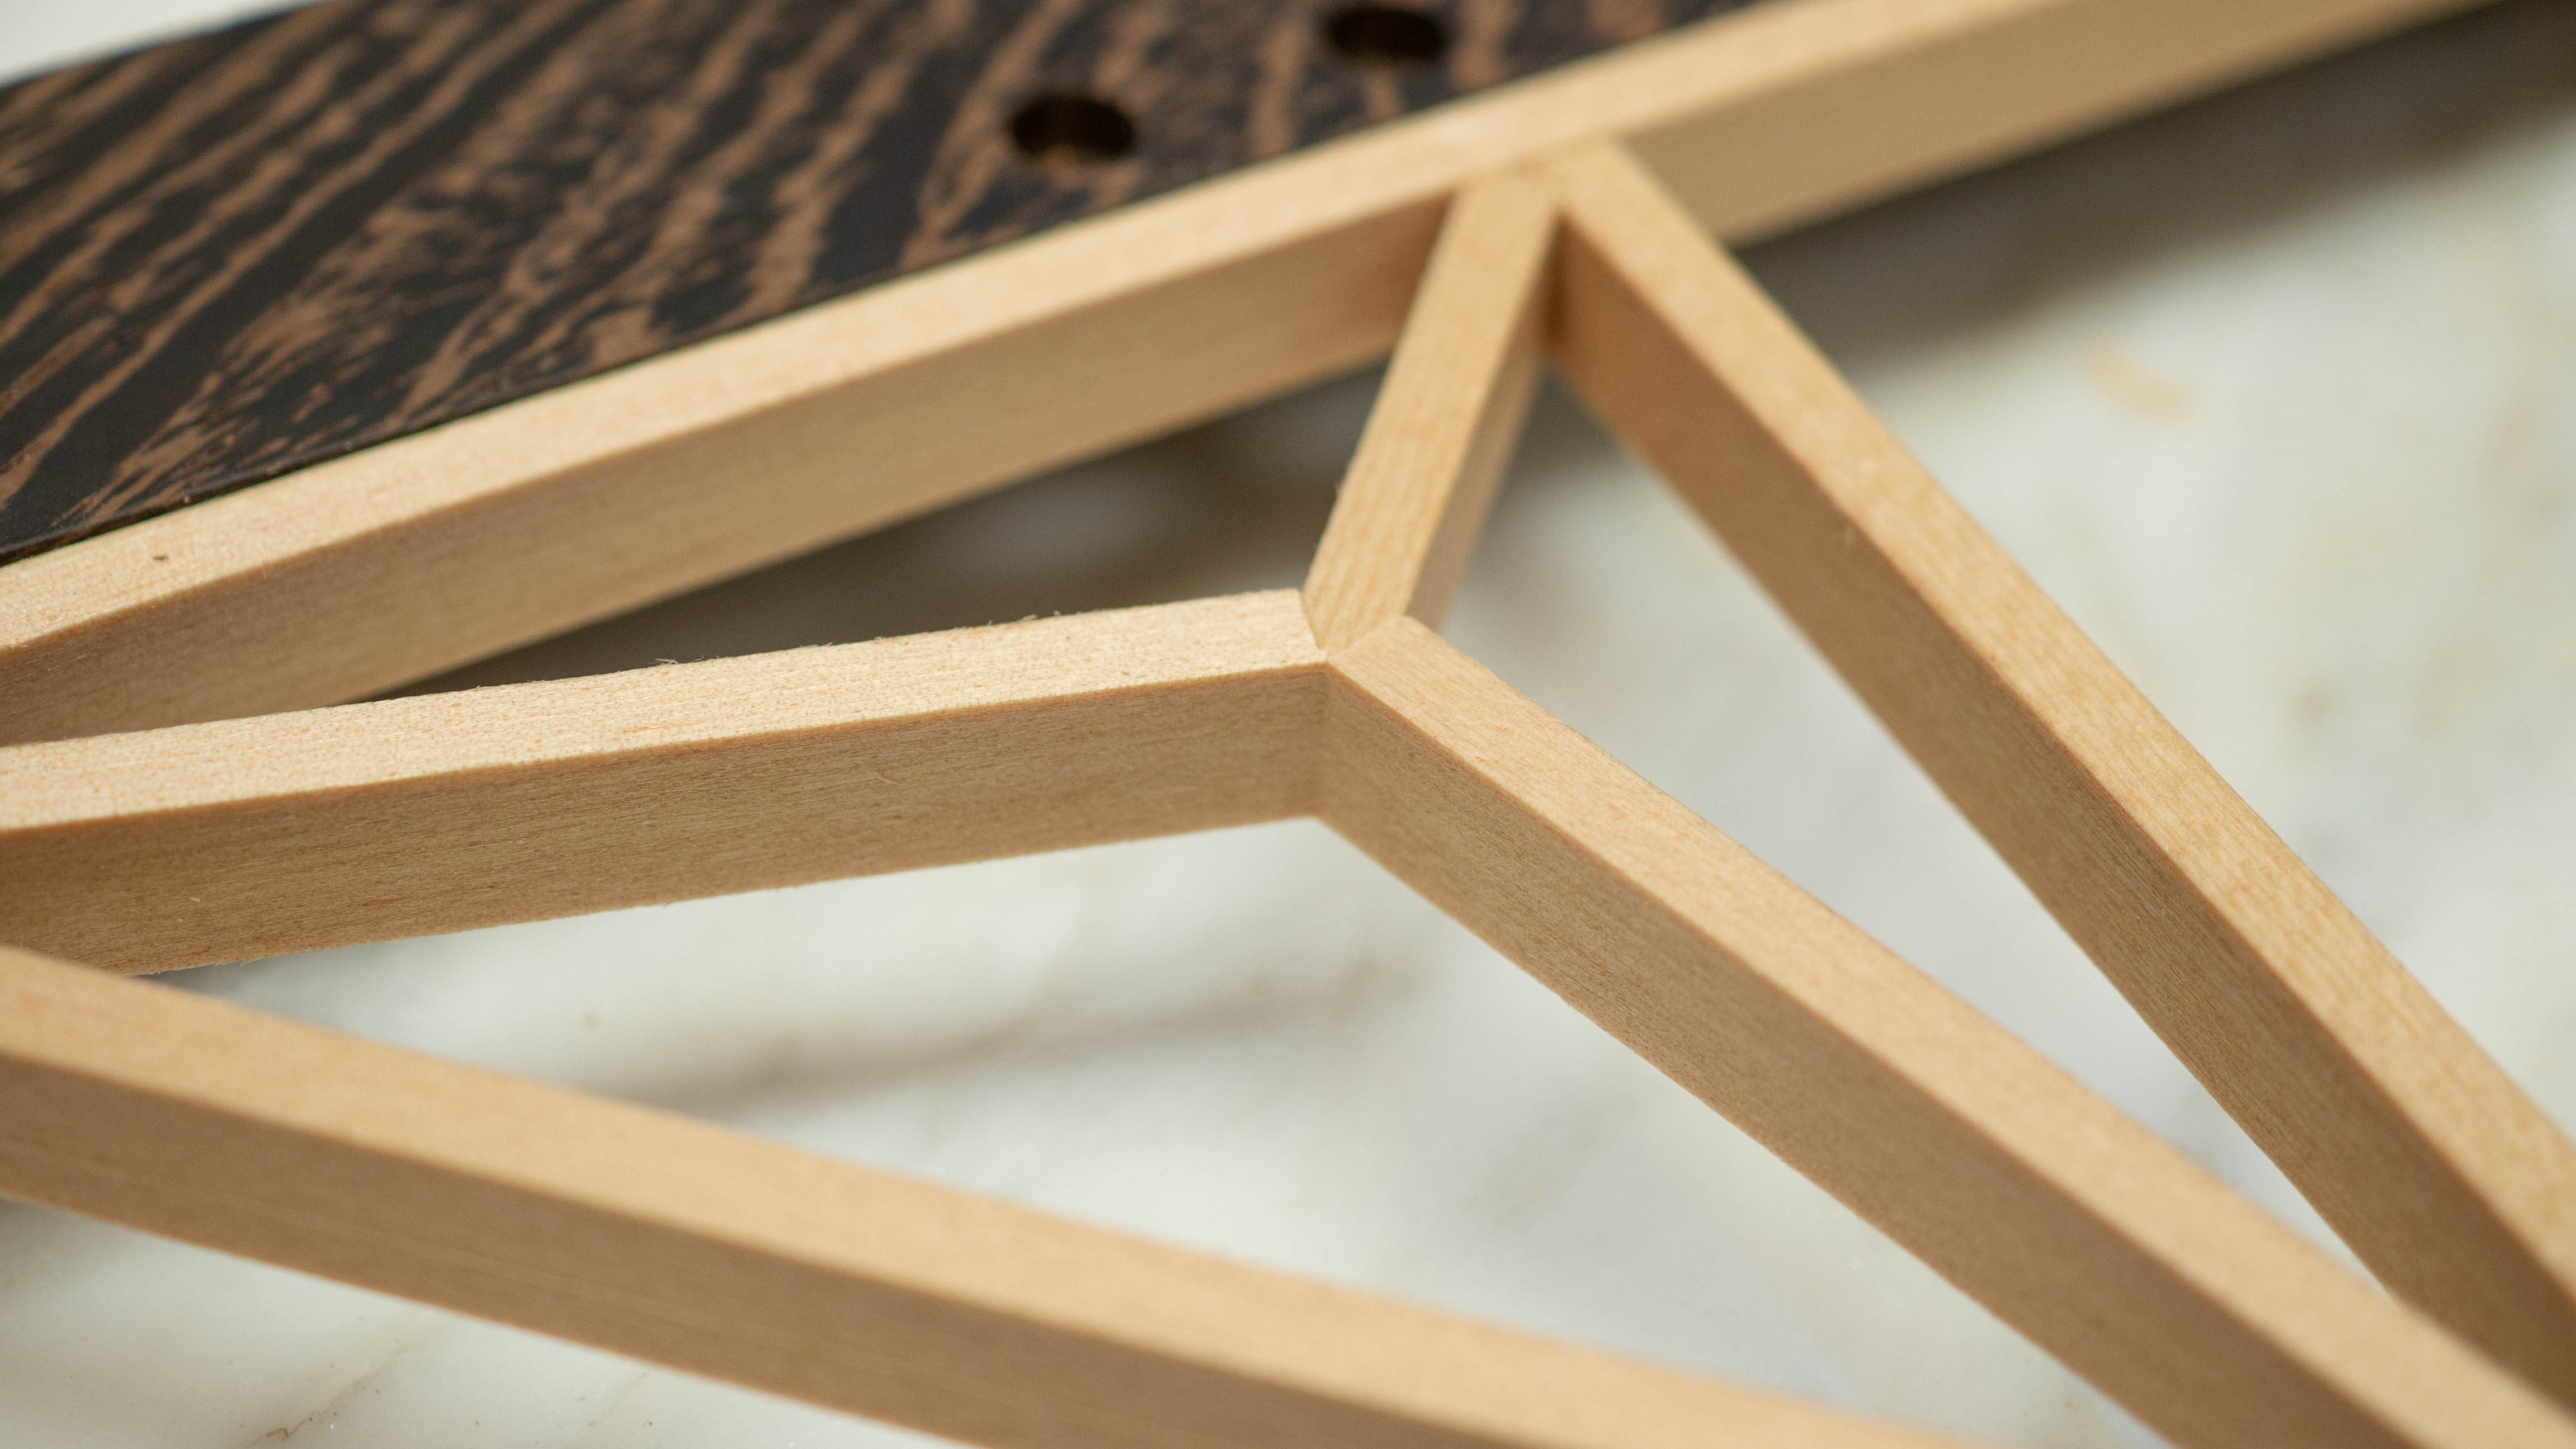
After some trial and error, I figured out how long each piece needed to be and where to make the center cut so I could batch these pieces as well.
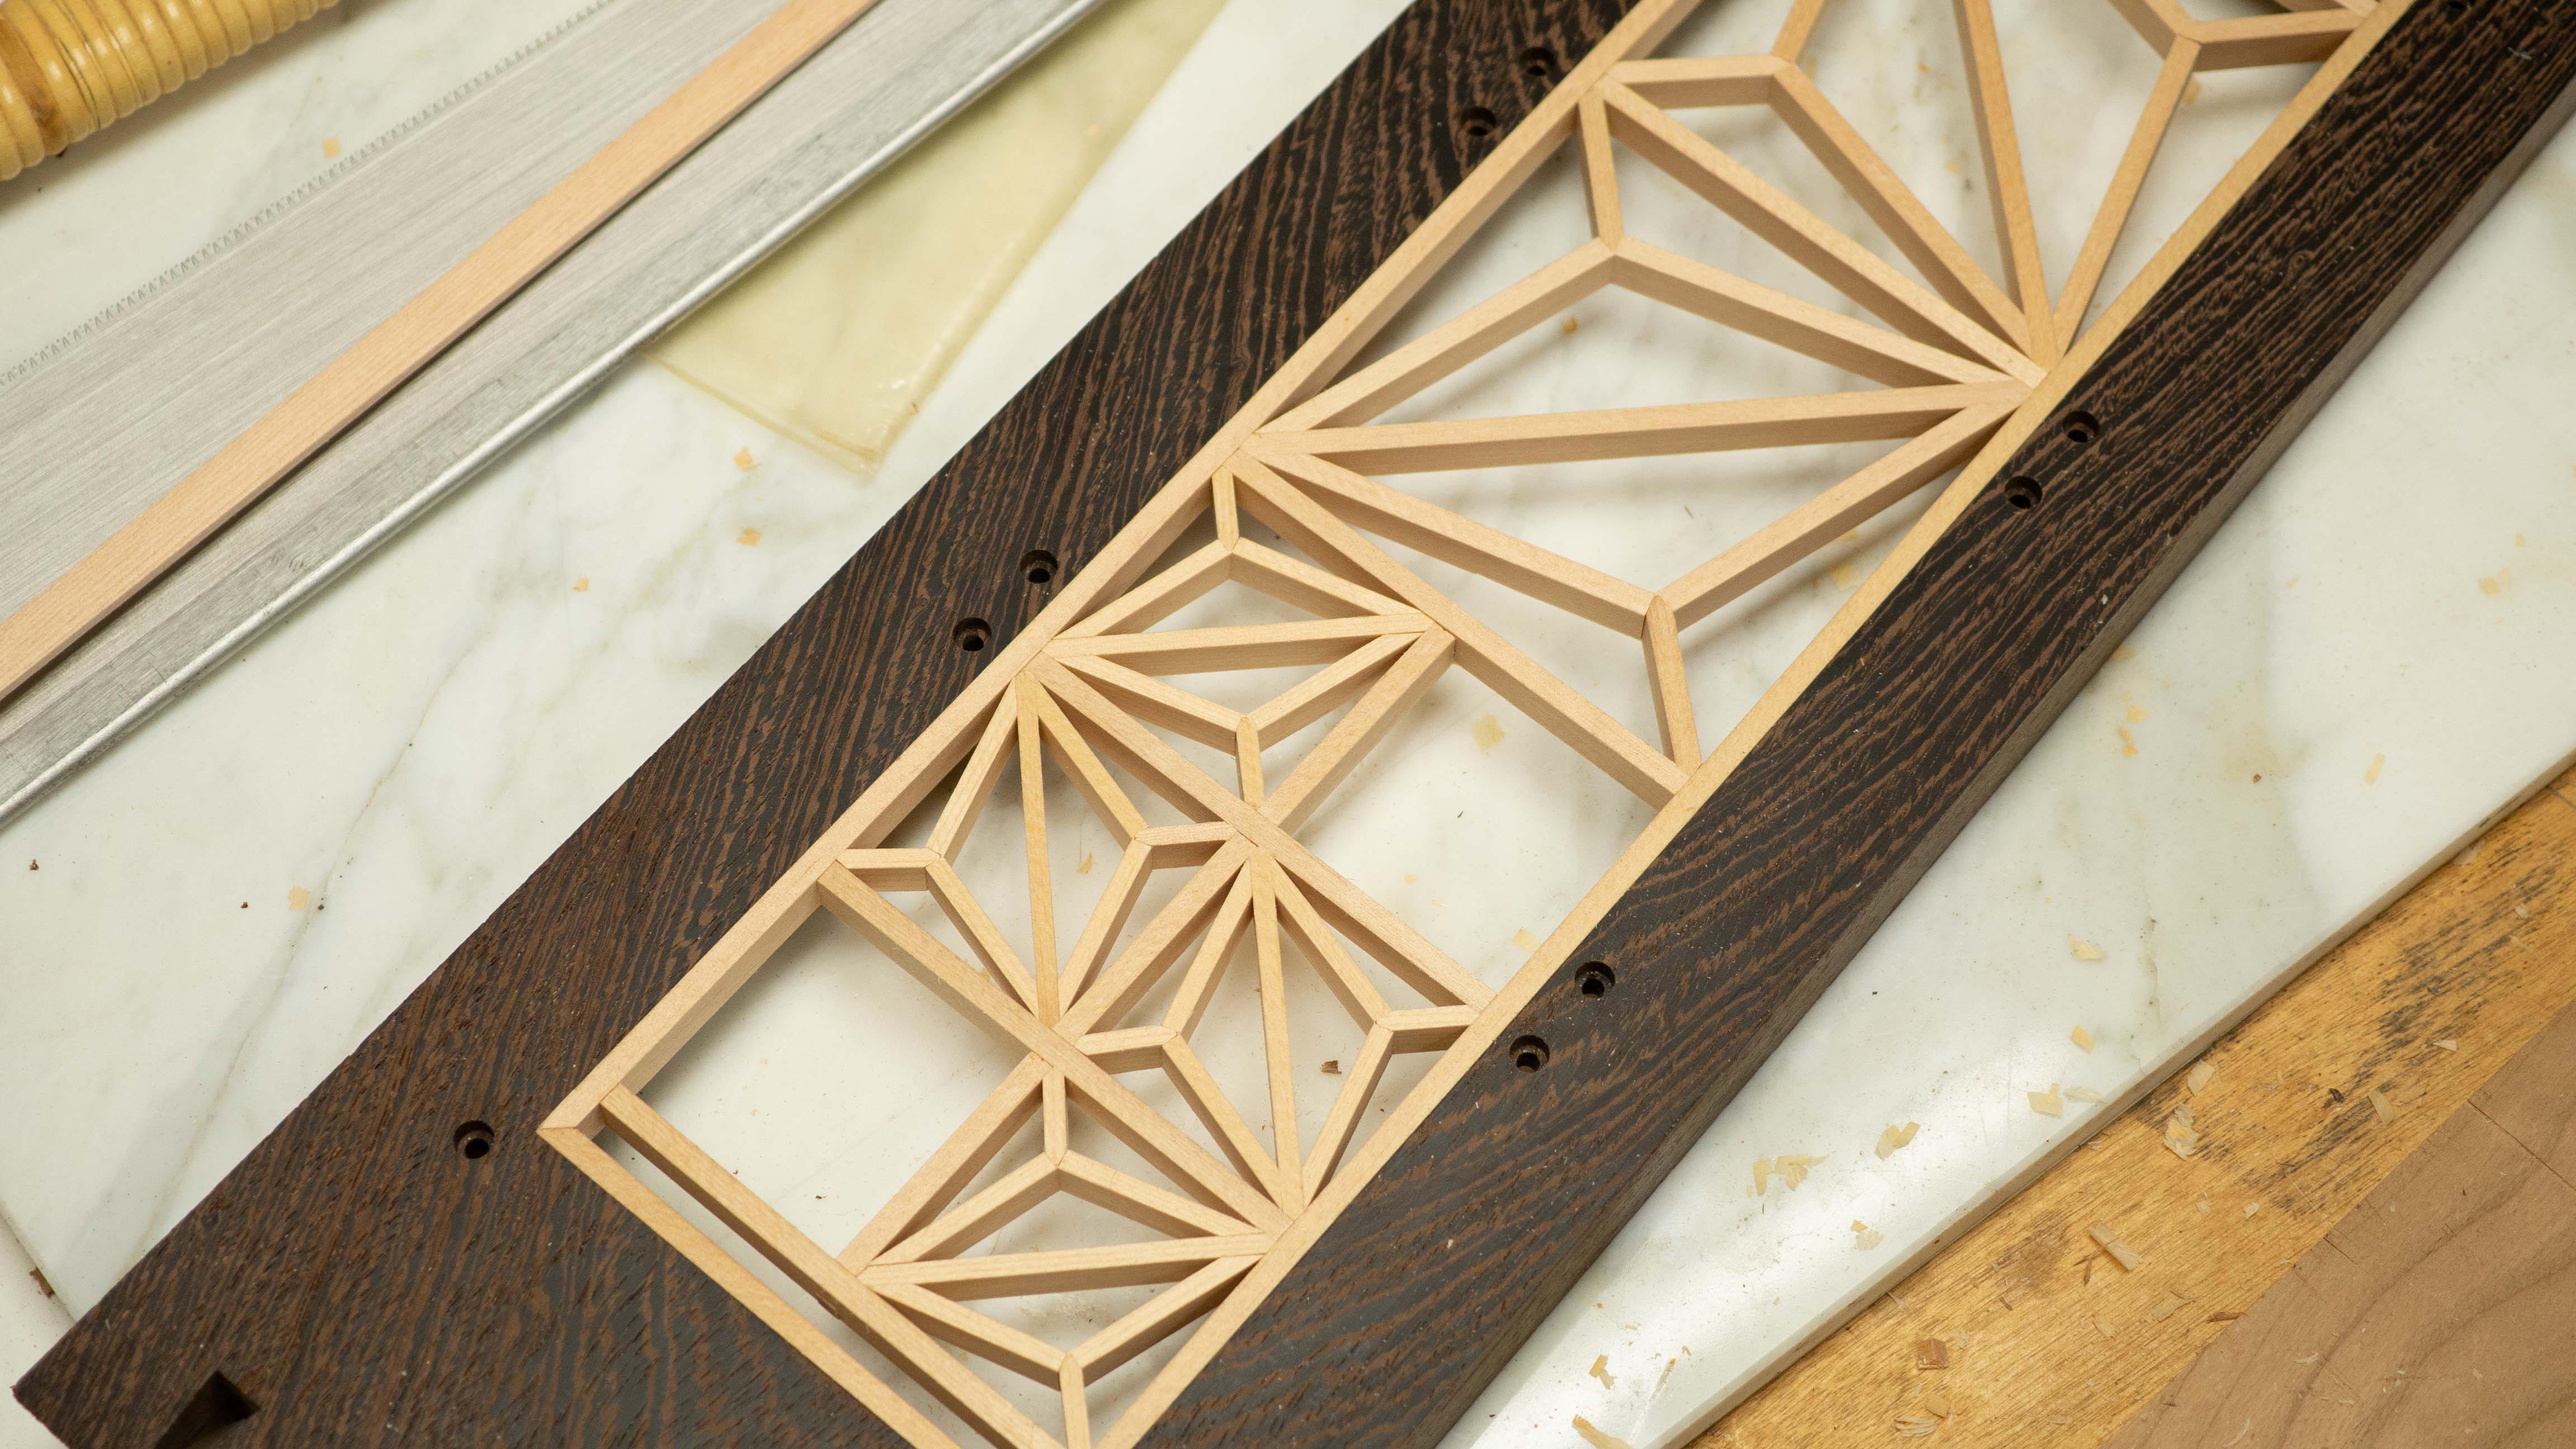
After a few hours, I had the pattern completed. Remember, there was no glue used on this, except for the corners.
-
waltc3 Incredible, masterful...my head began to throb just looking at all the disparate steps and preparations...;) Bravo.Reply