Building Ikigai, My Award-Winning Wooden PC Mod
Here’s how I built a unique mod, combining CNC with hand woodworking.
After that, I needed a break from the handwork and I wanted to take some time to work on figuring out the distribution/pump section of the central panel. I also made many versions of the central panel that holds everything with the distribution/pump section changed a few times.
After the many iterations, I finally settled on this mostly final version. I would use the CNC router to cut all the channels and holes but I would still need to tap the smaller holes. For the larger holes, I used a thread mill which also took a bit of practice to get used to.
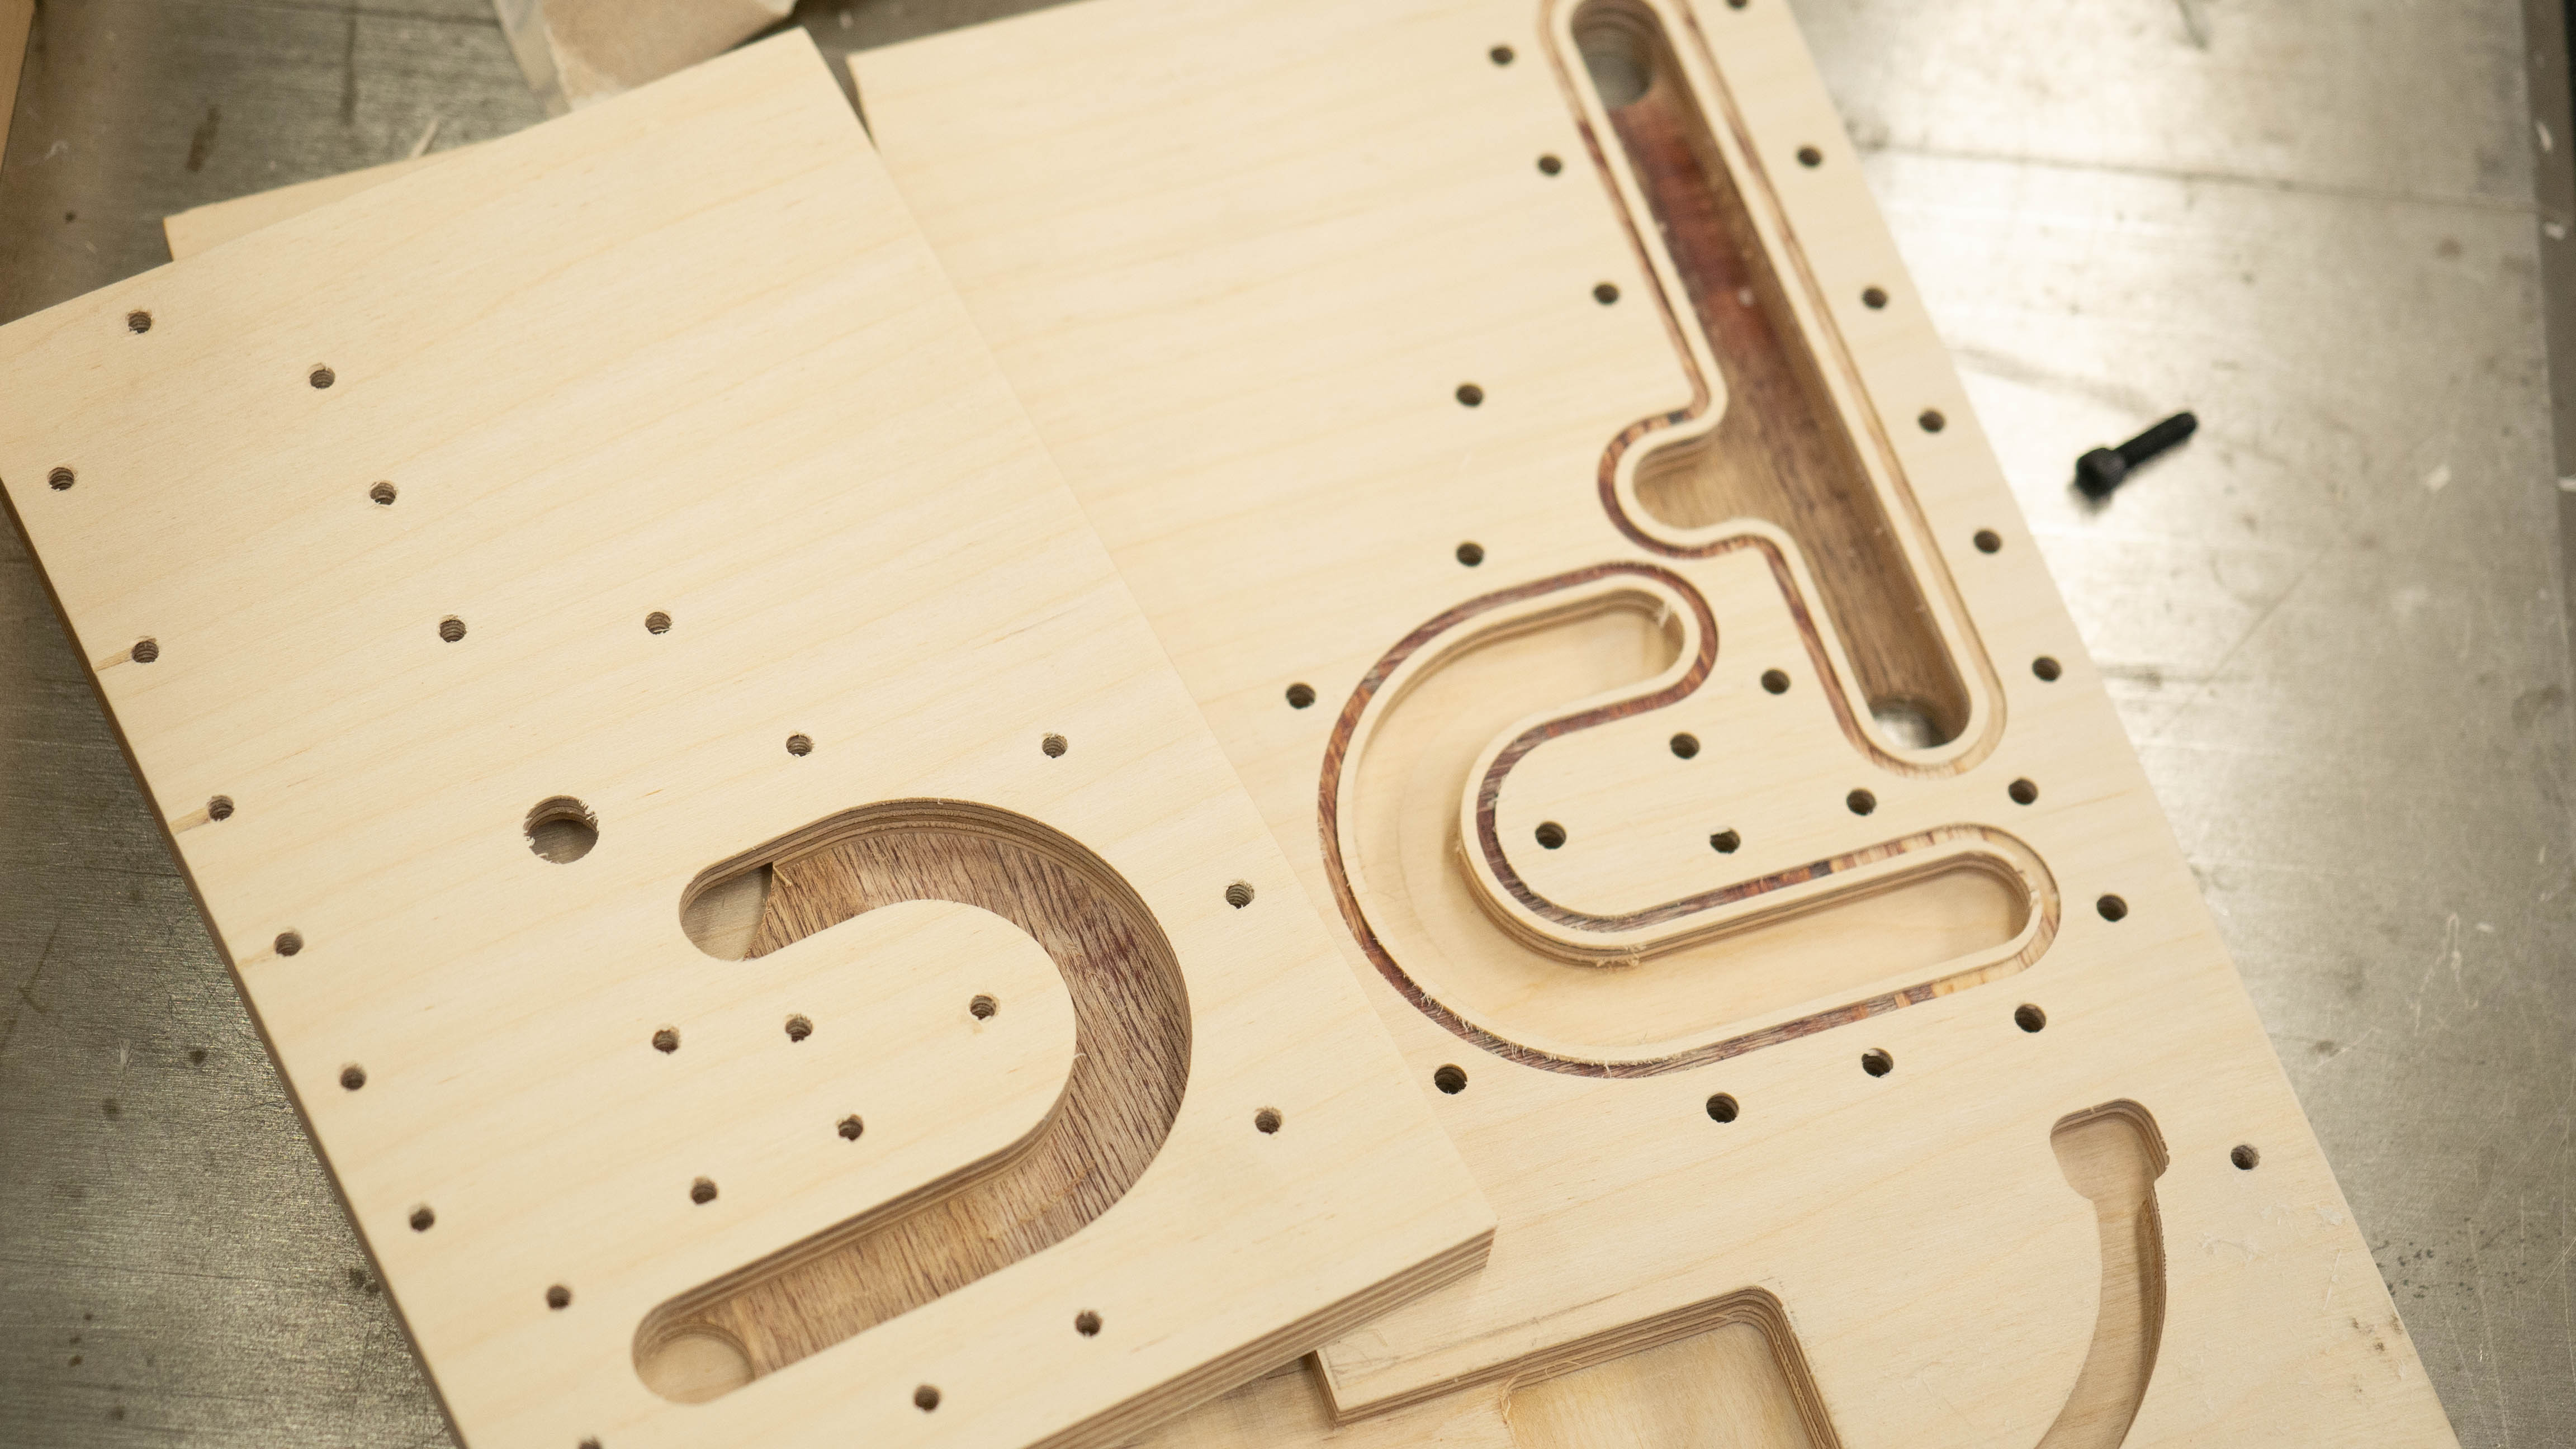
It took a few tries to get a recipe for the thread cutting, but eventually I figured it out and saved the settings for later use. This would accept standard G1/4 watercooling fittings:
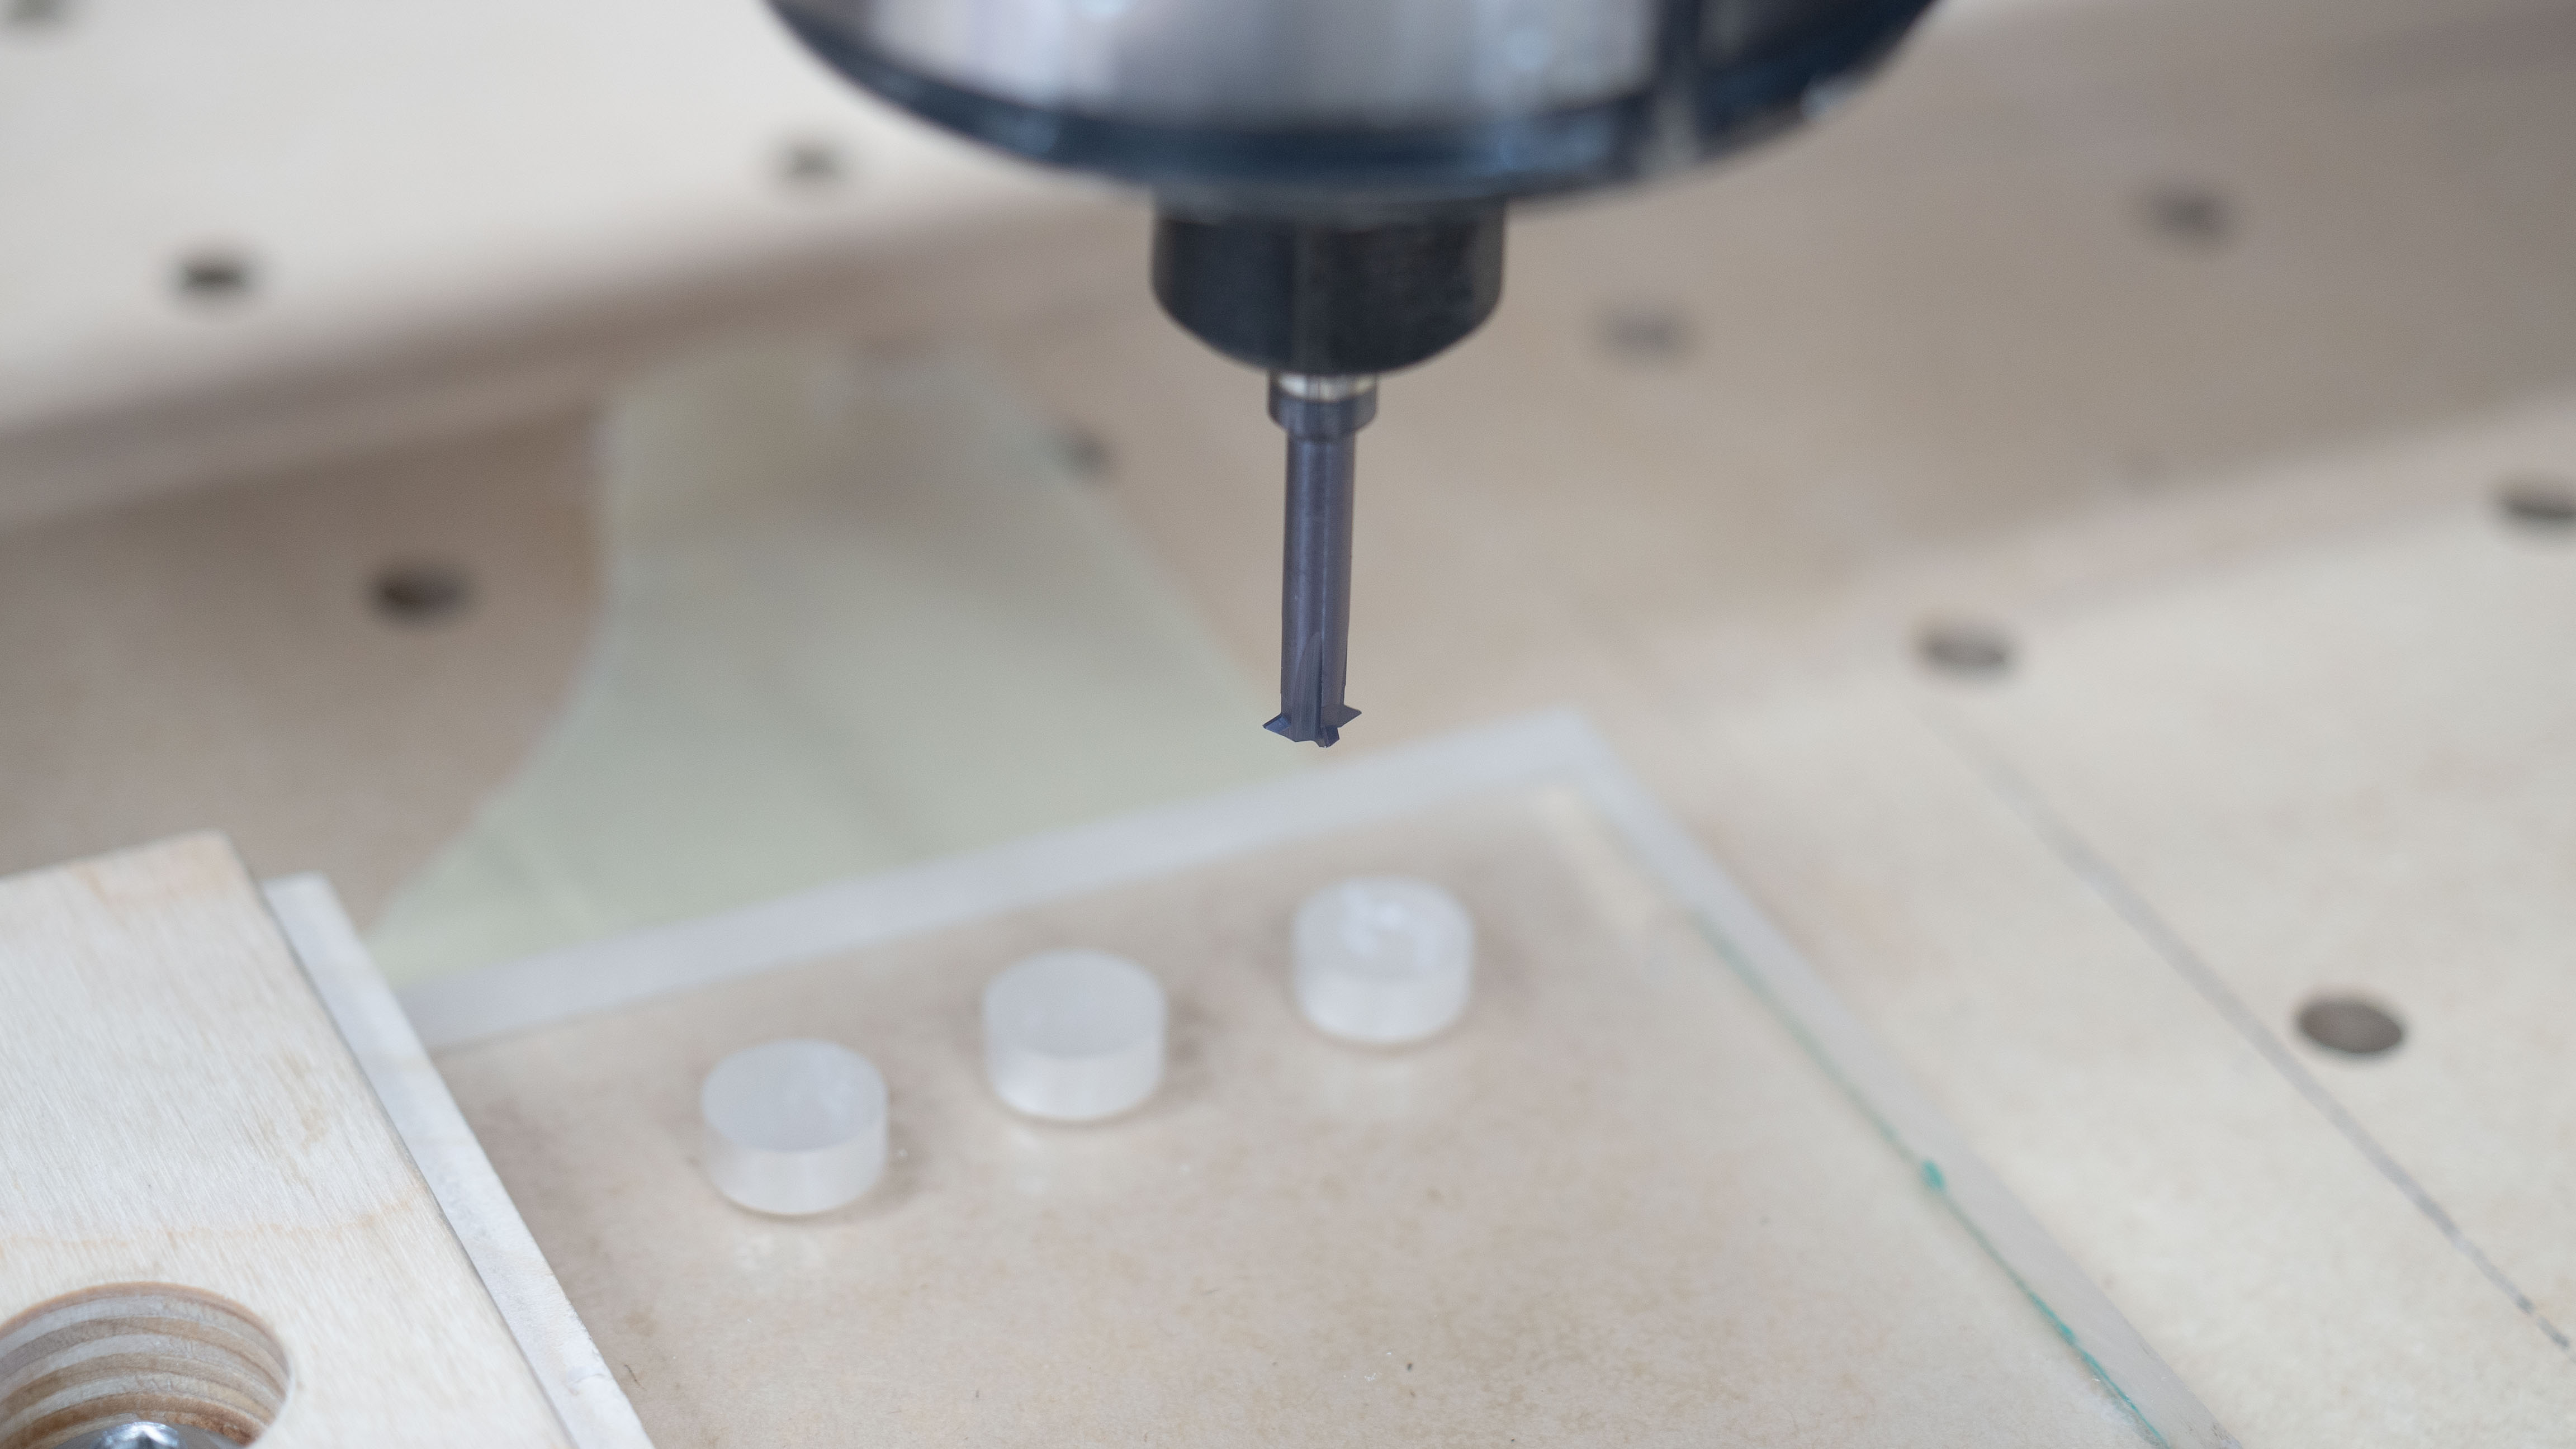
I decided to start on the smallest part in case there was user error and I needed to start over. For each of these cuts, I used a single flute bit, 1/4 inch, 1/8 inch or 2mm.
Here goes nothing! This will hold the pump and will be the outlet for the cooling loop going into the CPU block. This will get flipped over to bore all of the holes on the other side.
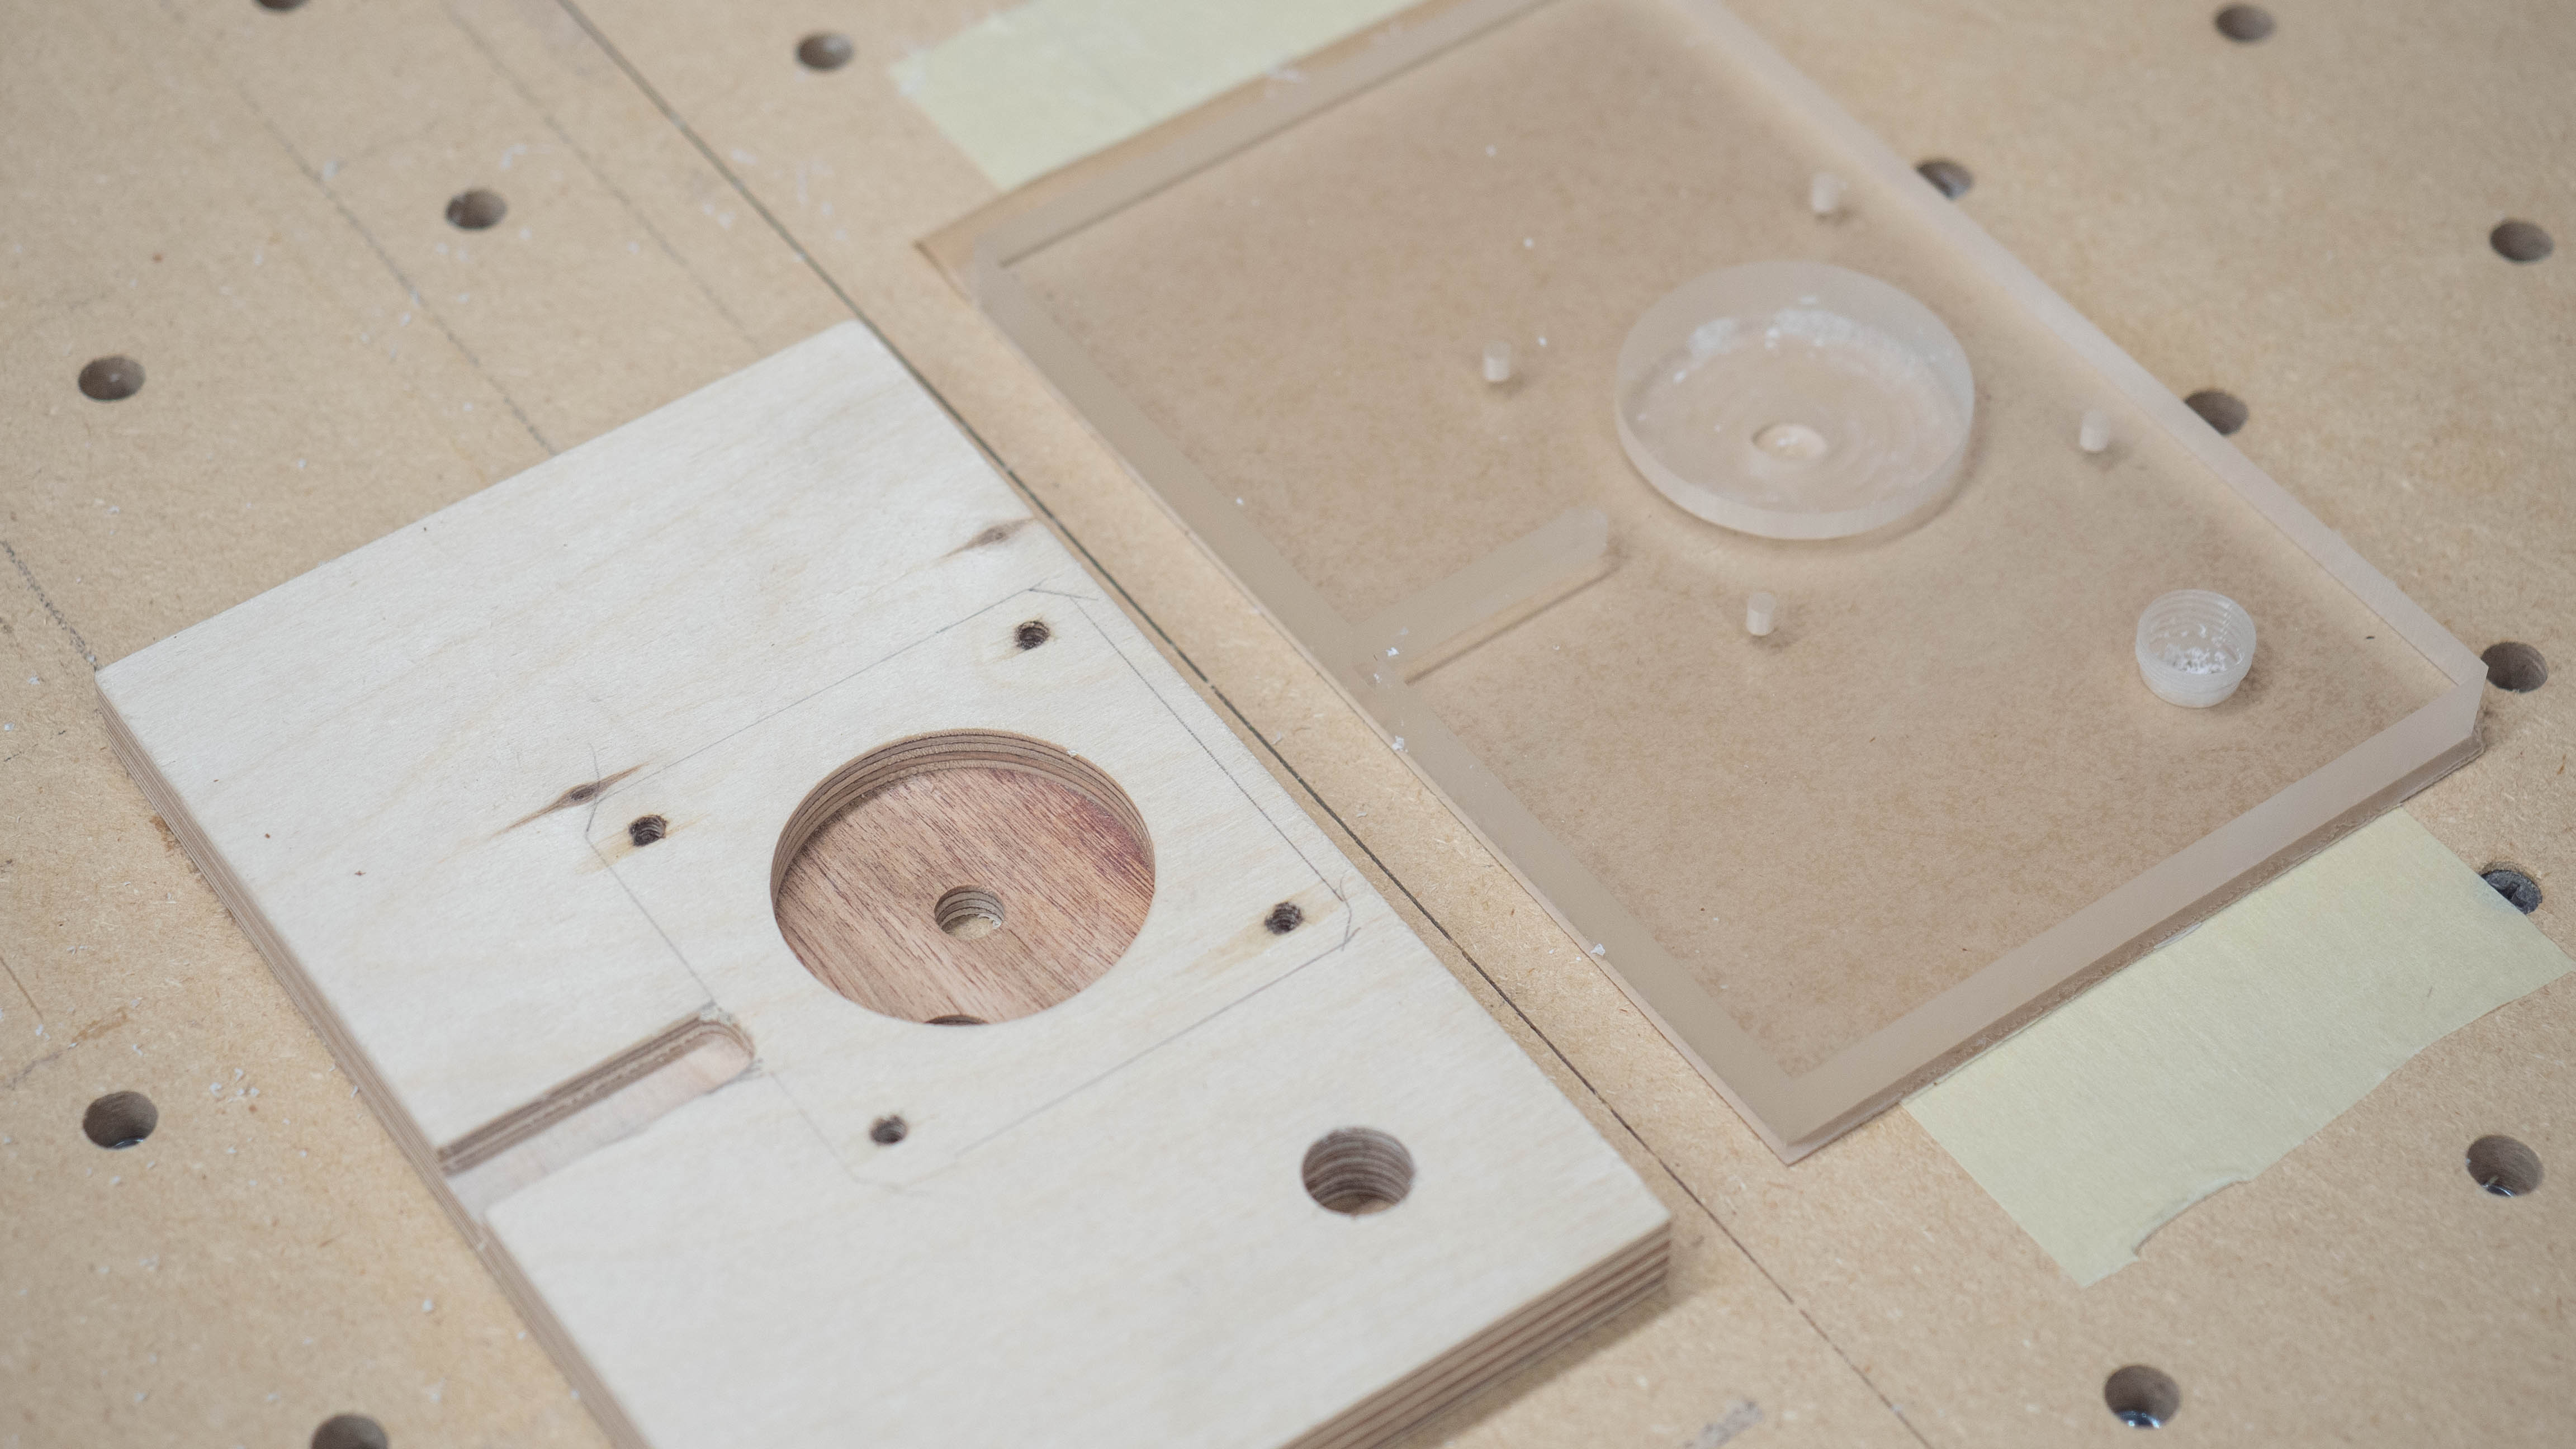
Here’s the finished piece with all of the holes routed.
This is a little out of order but it will all make sense later. I was going to put wiring access on the motherboard side, but figured out that it made more sense to put it on the GPU side. I did many iterations of this design that I used for mockups but more on that in the wiring section. However I decided to cut the wiring channels while also doing the water cooling part of the distro plate minimizing setups:
Get Tom's Hardware's best news and in-depth reviews, straight to your inbox.
I used a 2mm single flute bit and a ¼ inch single flute bit to do all of the machining. Quite a while into it, we have it looking like this. Most of the holes are machined.
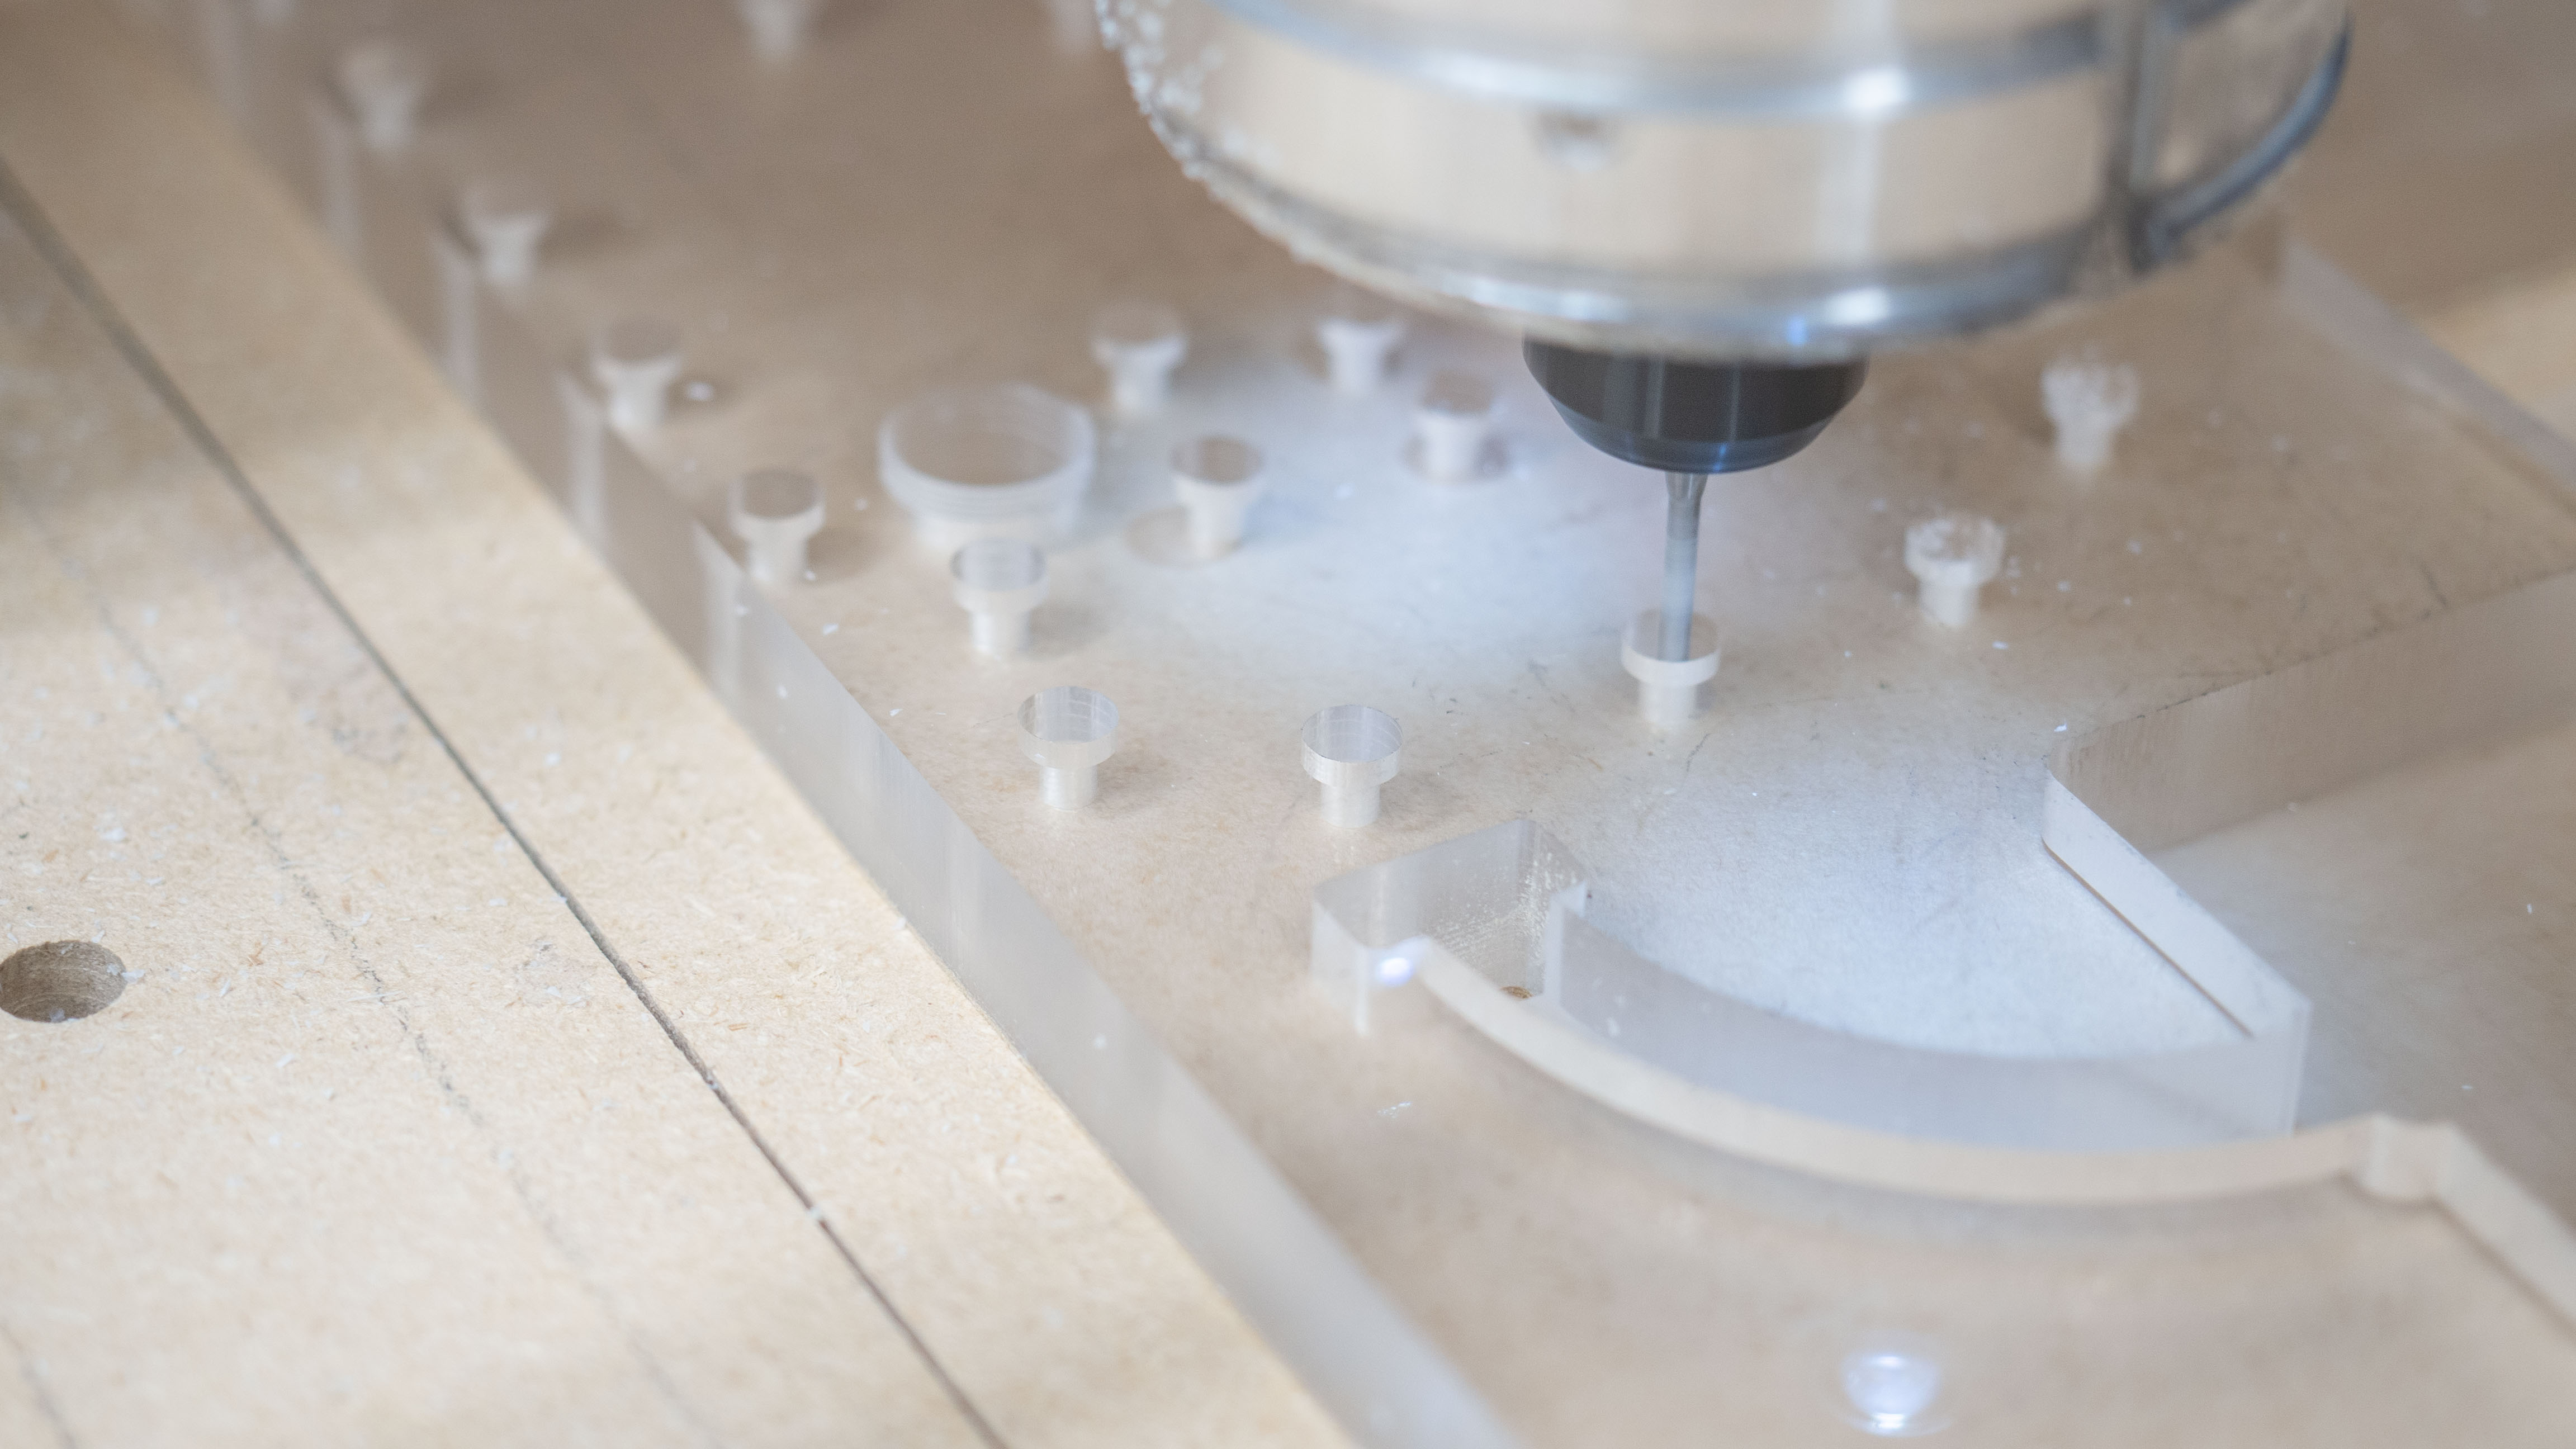
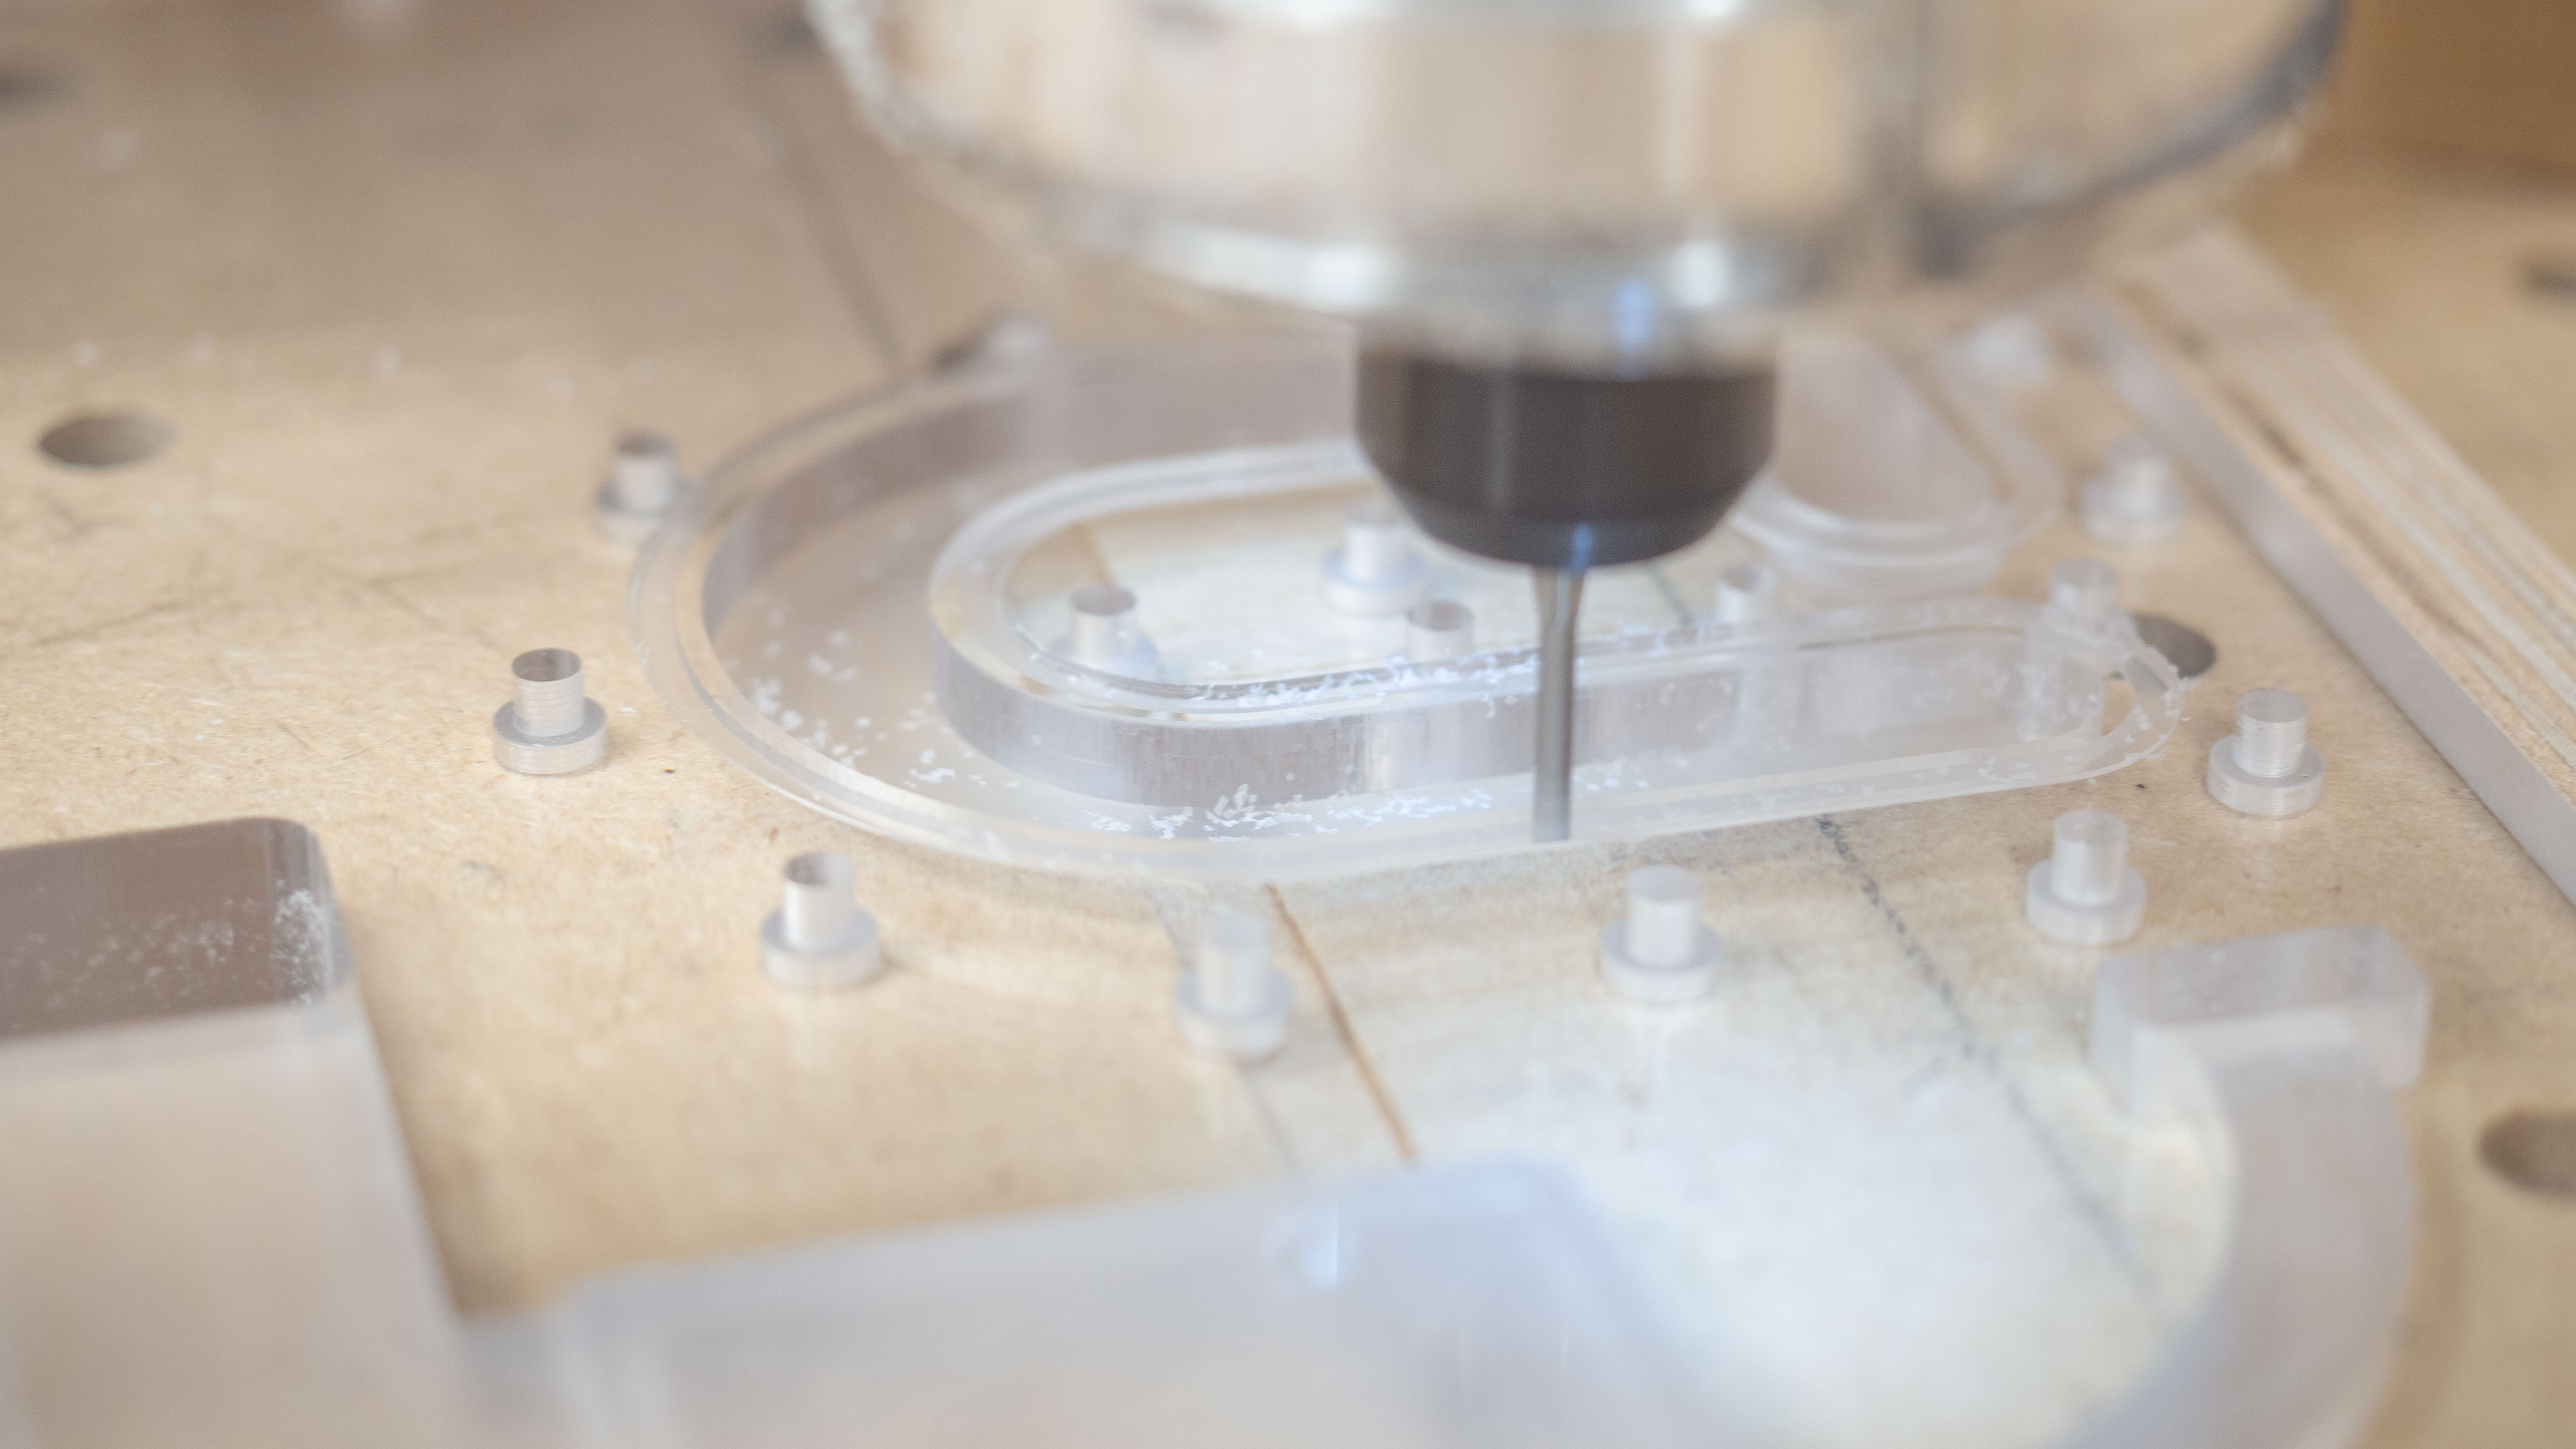
One of the last steps is to machine the O-ring grooves for the distribution plate. Getting these right is crucial, otherwise it’s more of a water feature than a water-cooled computer case.
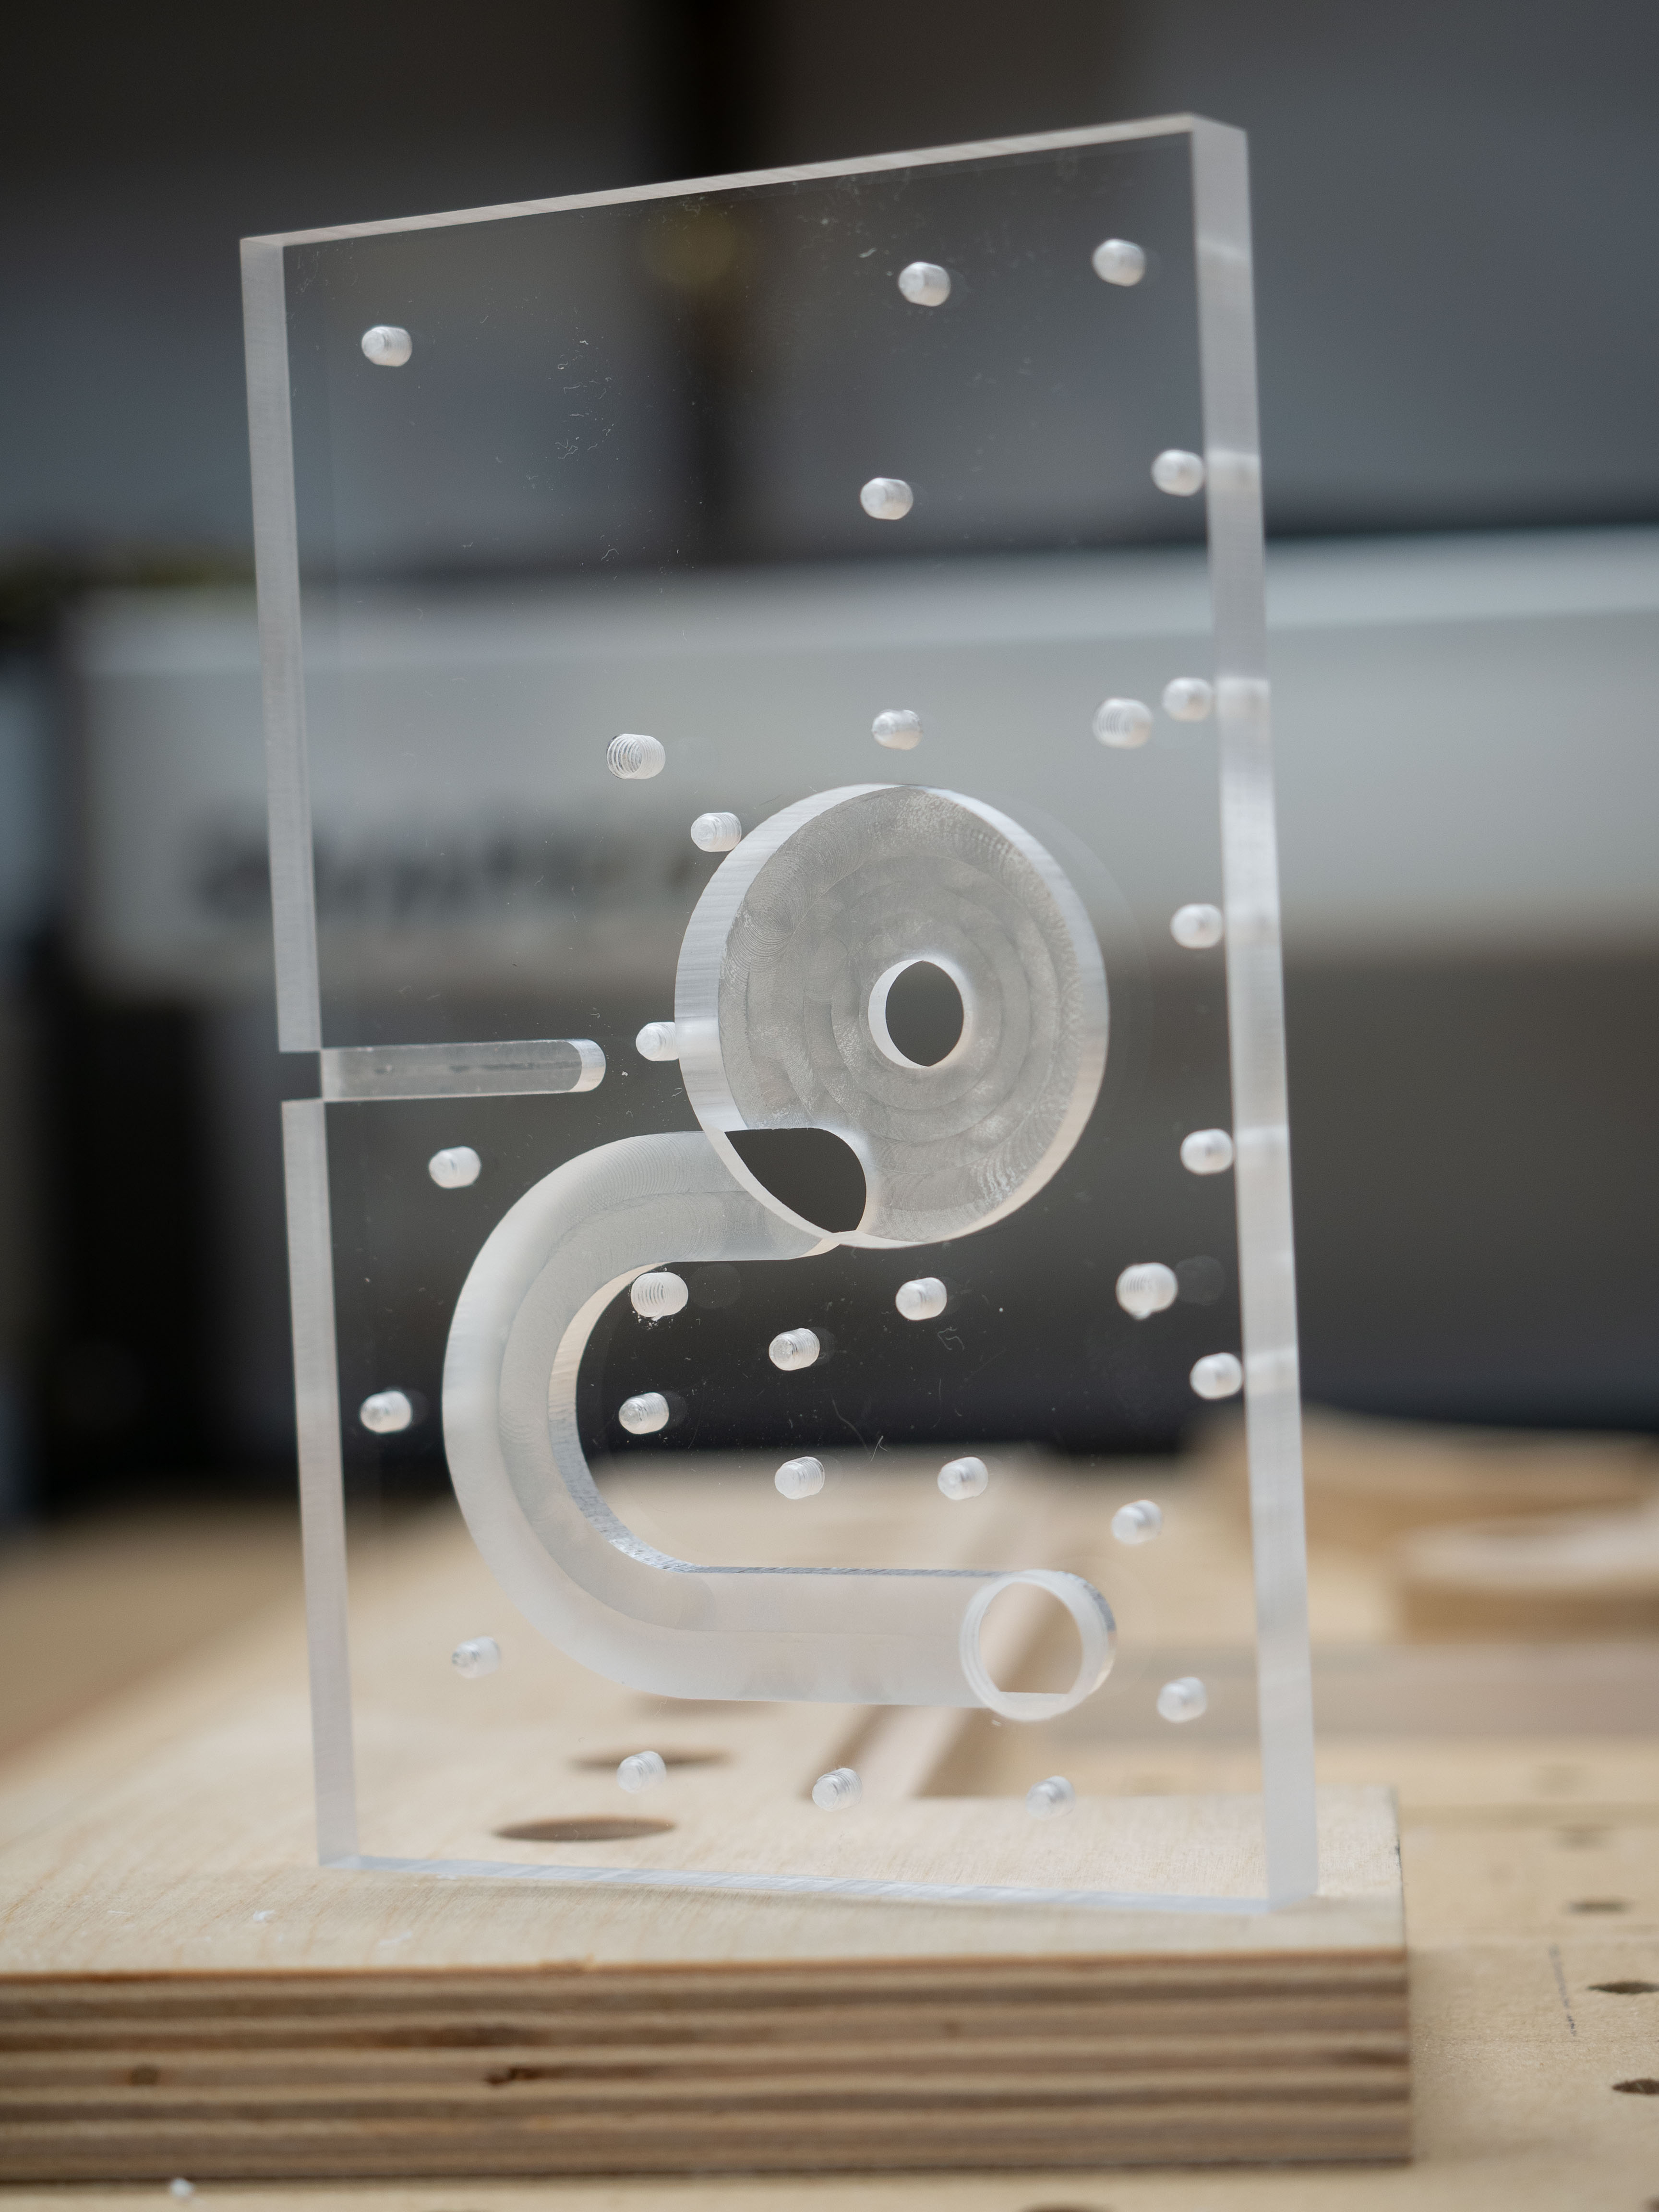
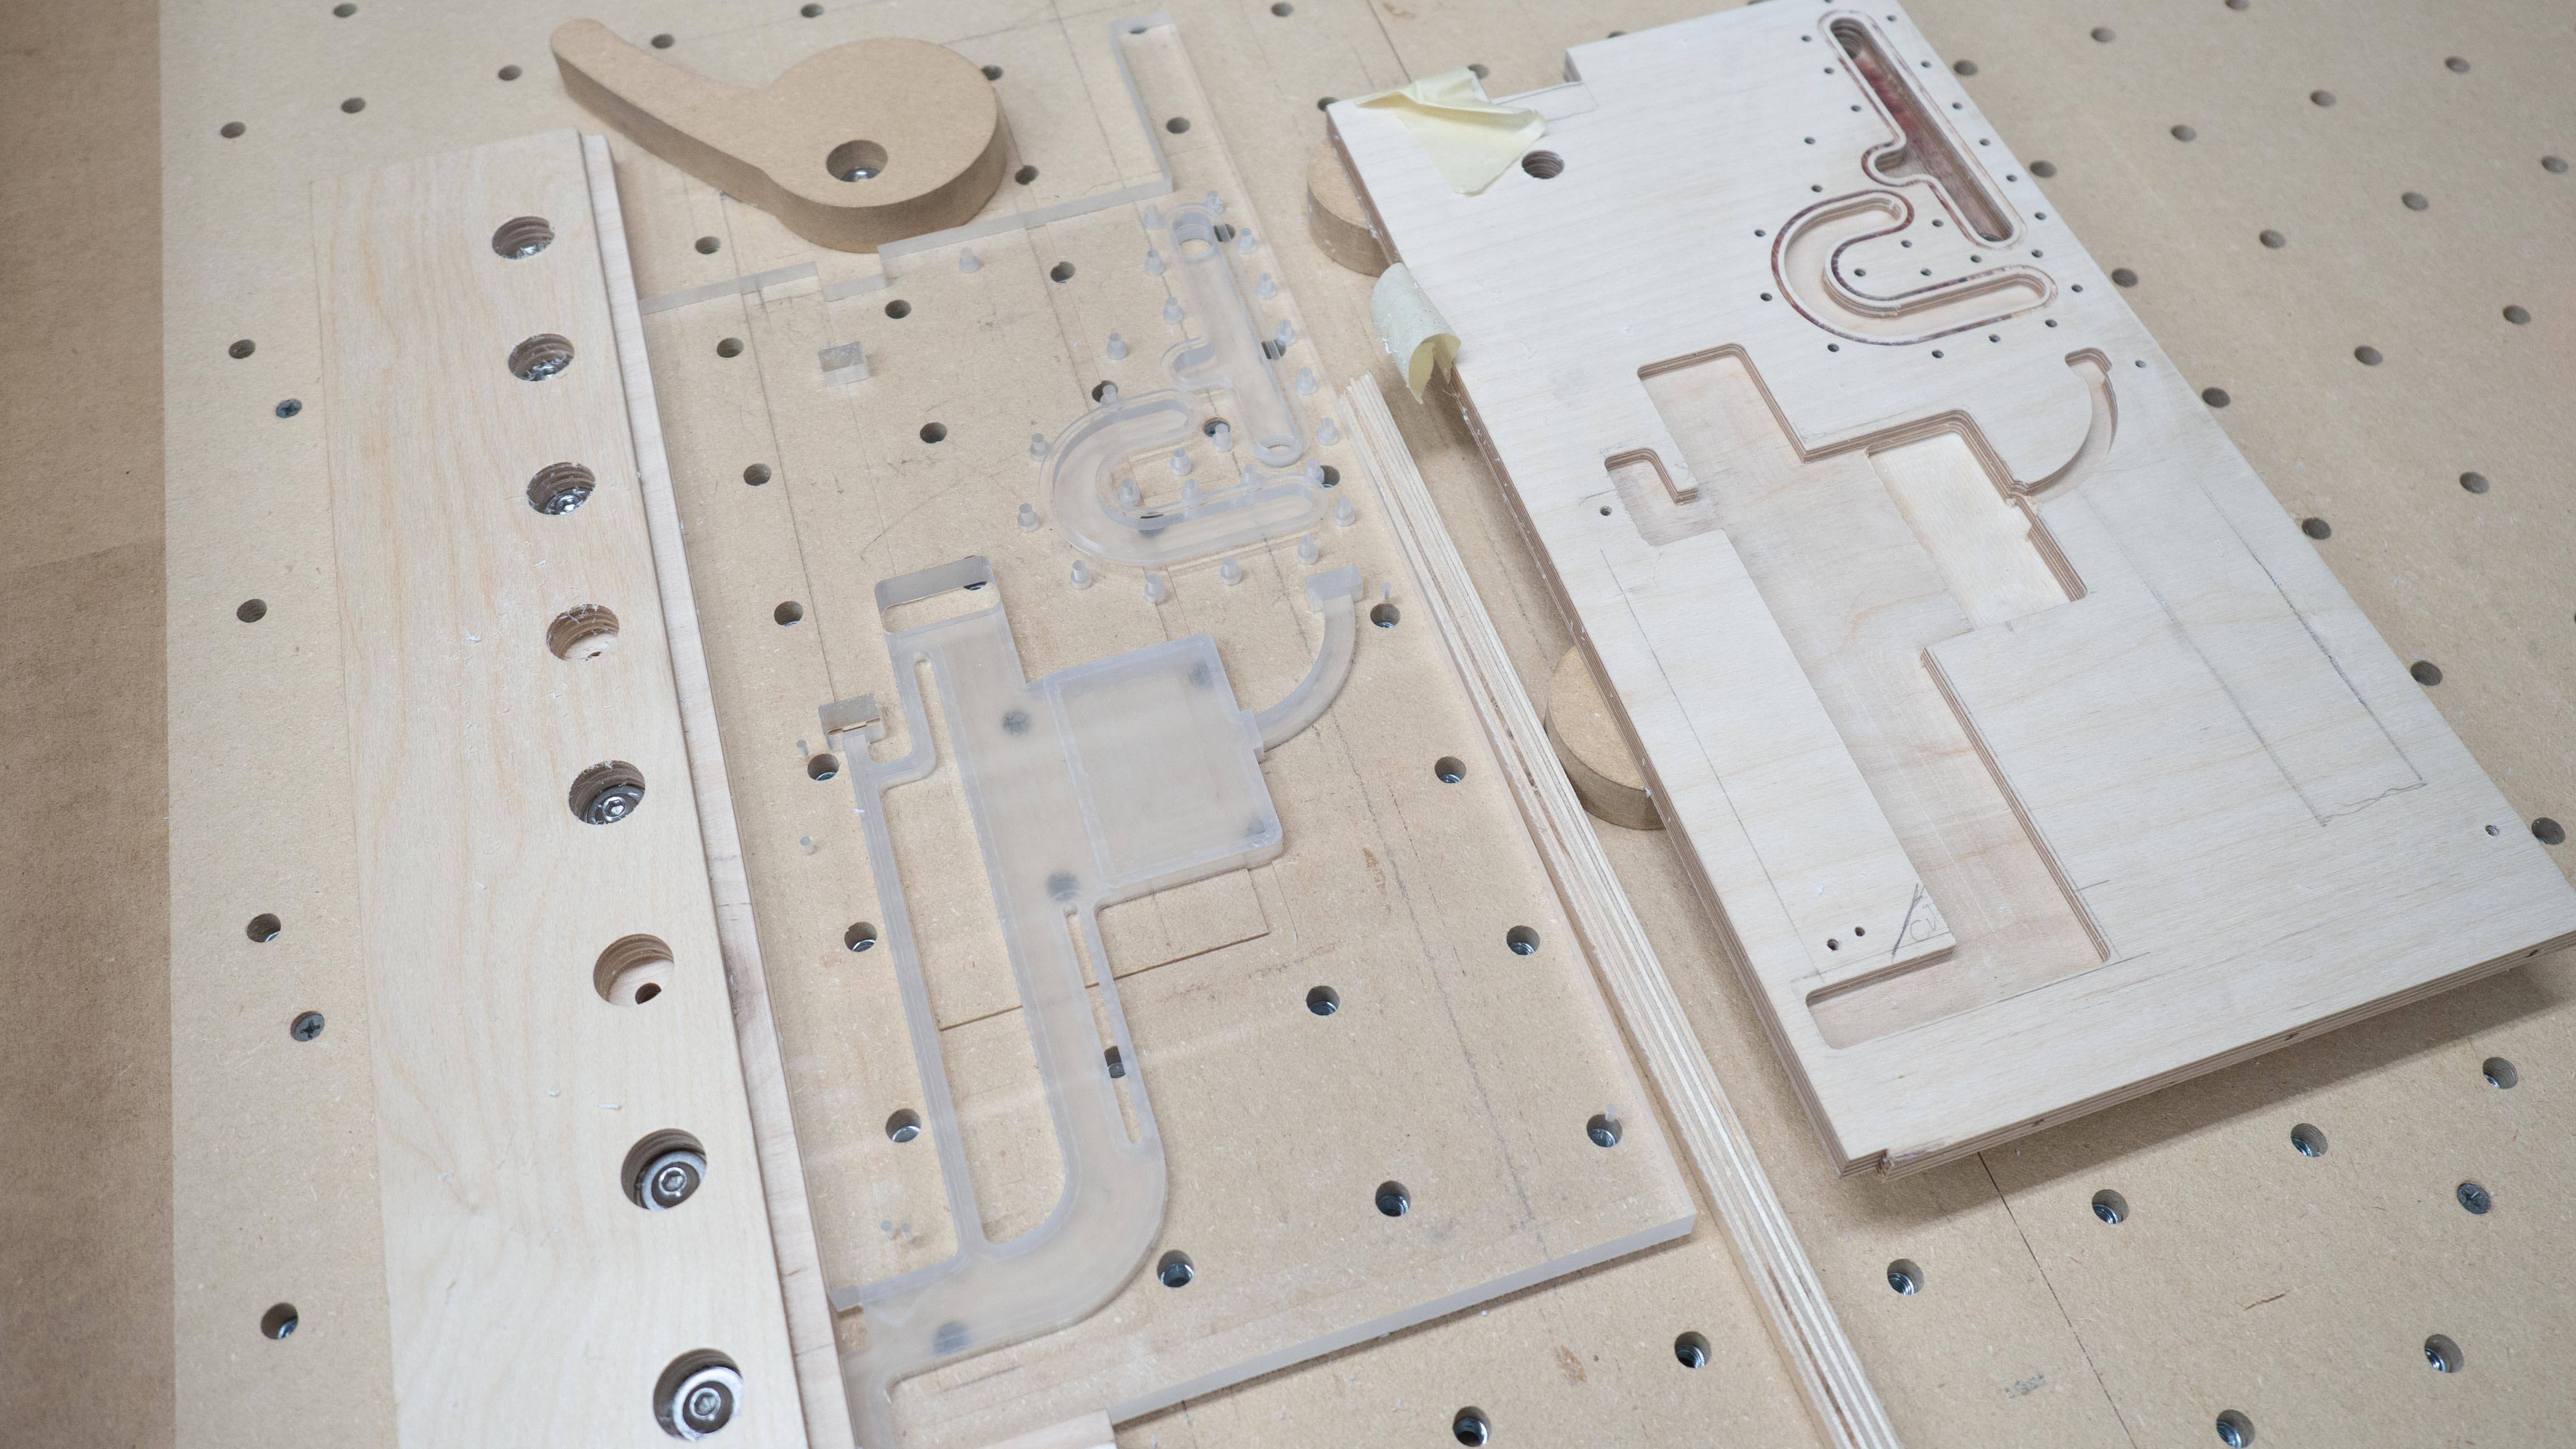
This plate is all done for now. Here we can see the final version versus the practice one. The practice versions are important to do to check that the CNC is going to do what I think it is. They can also help for doing mockups later when I don’t want to use final pieces.
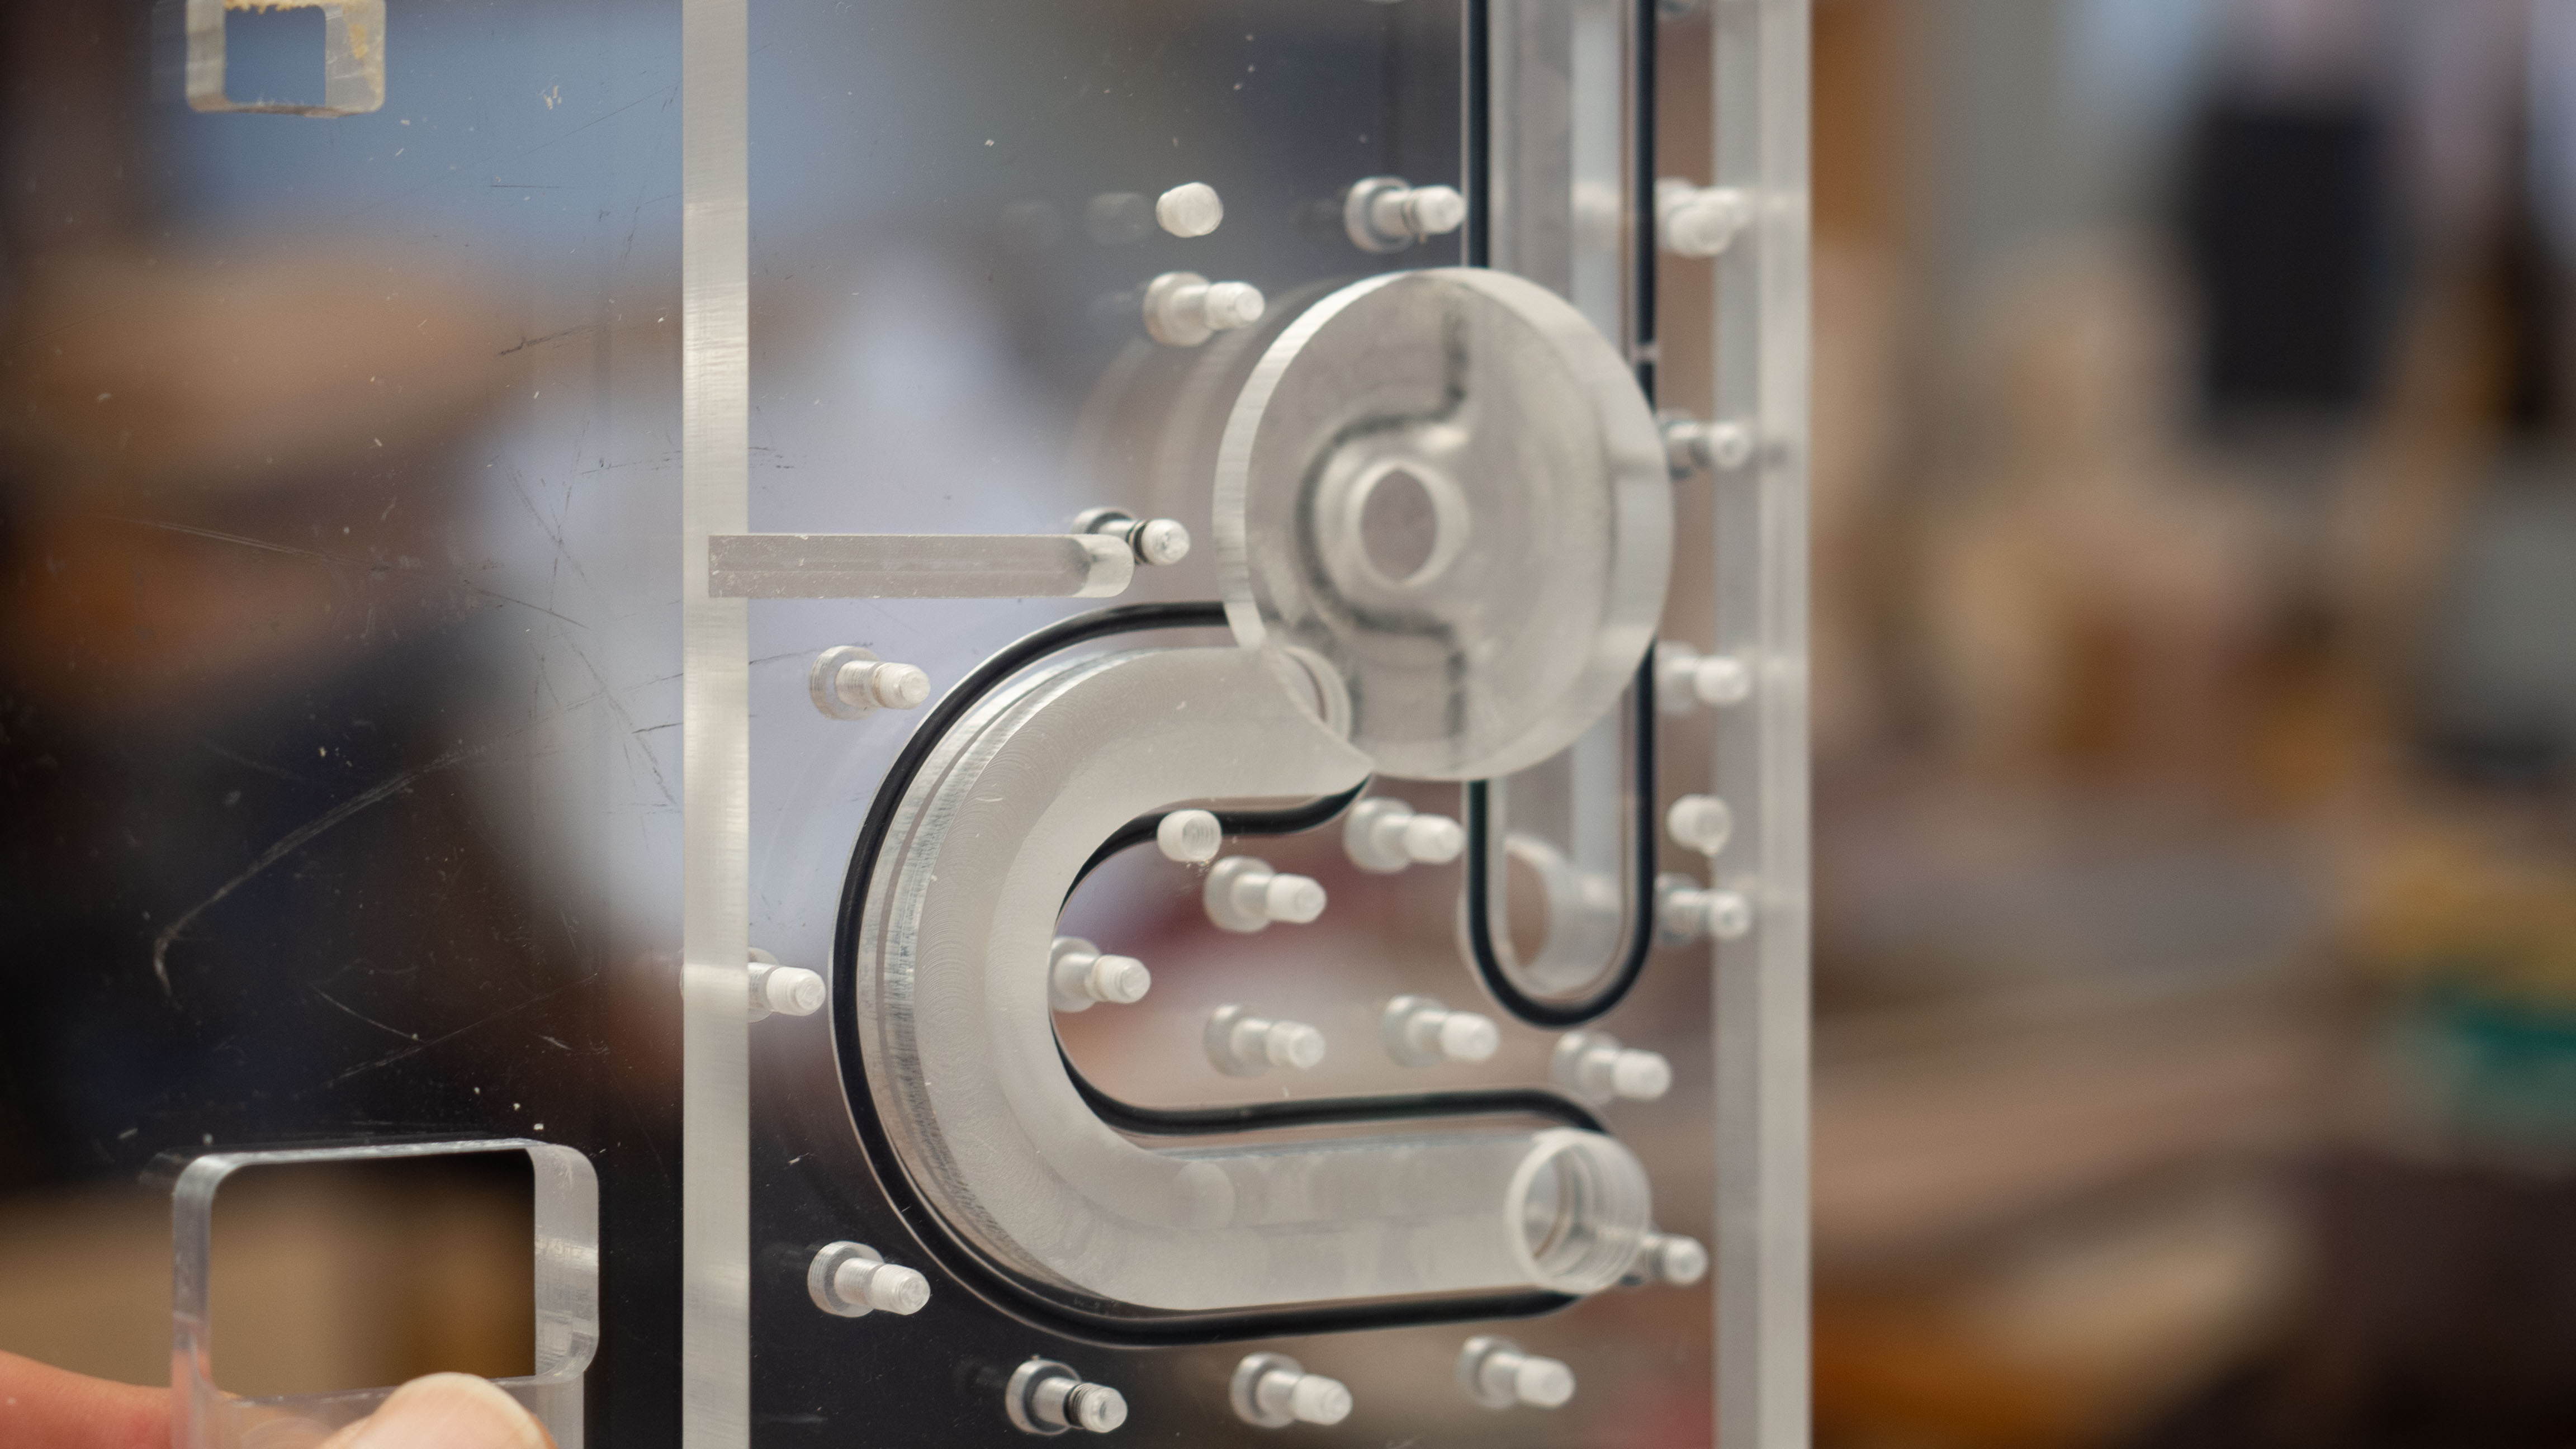
Then I checked the fitment of the O-ring channel and everything looked good.
Current page: Distribution Plate Watercooling
Prev Page CNC Machining Next Page Power Supply Compartment-
waltc3 Incredible, masterful...my head began to throb just looking at all the disparate steps and preparations...;) Bravo.Reply