Building Ikigai, My Award-Winning Wooden PC Mod
Here’s how I built a unique mod, combining CNC with hand woodworking.
Case Floor
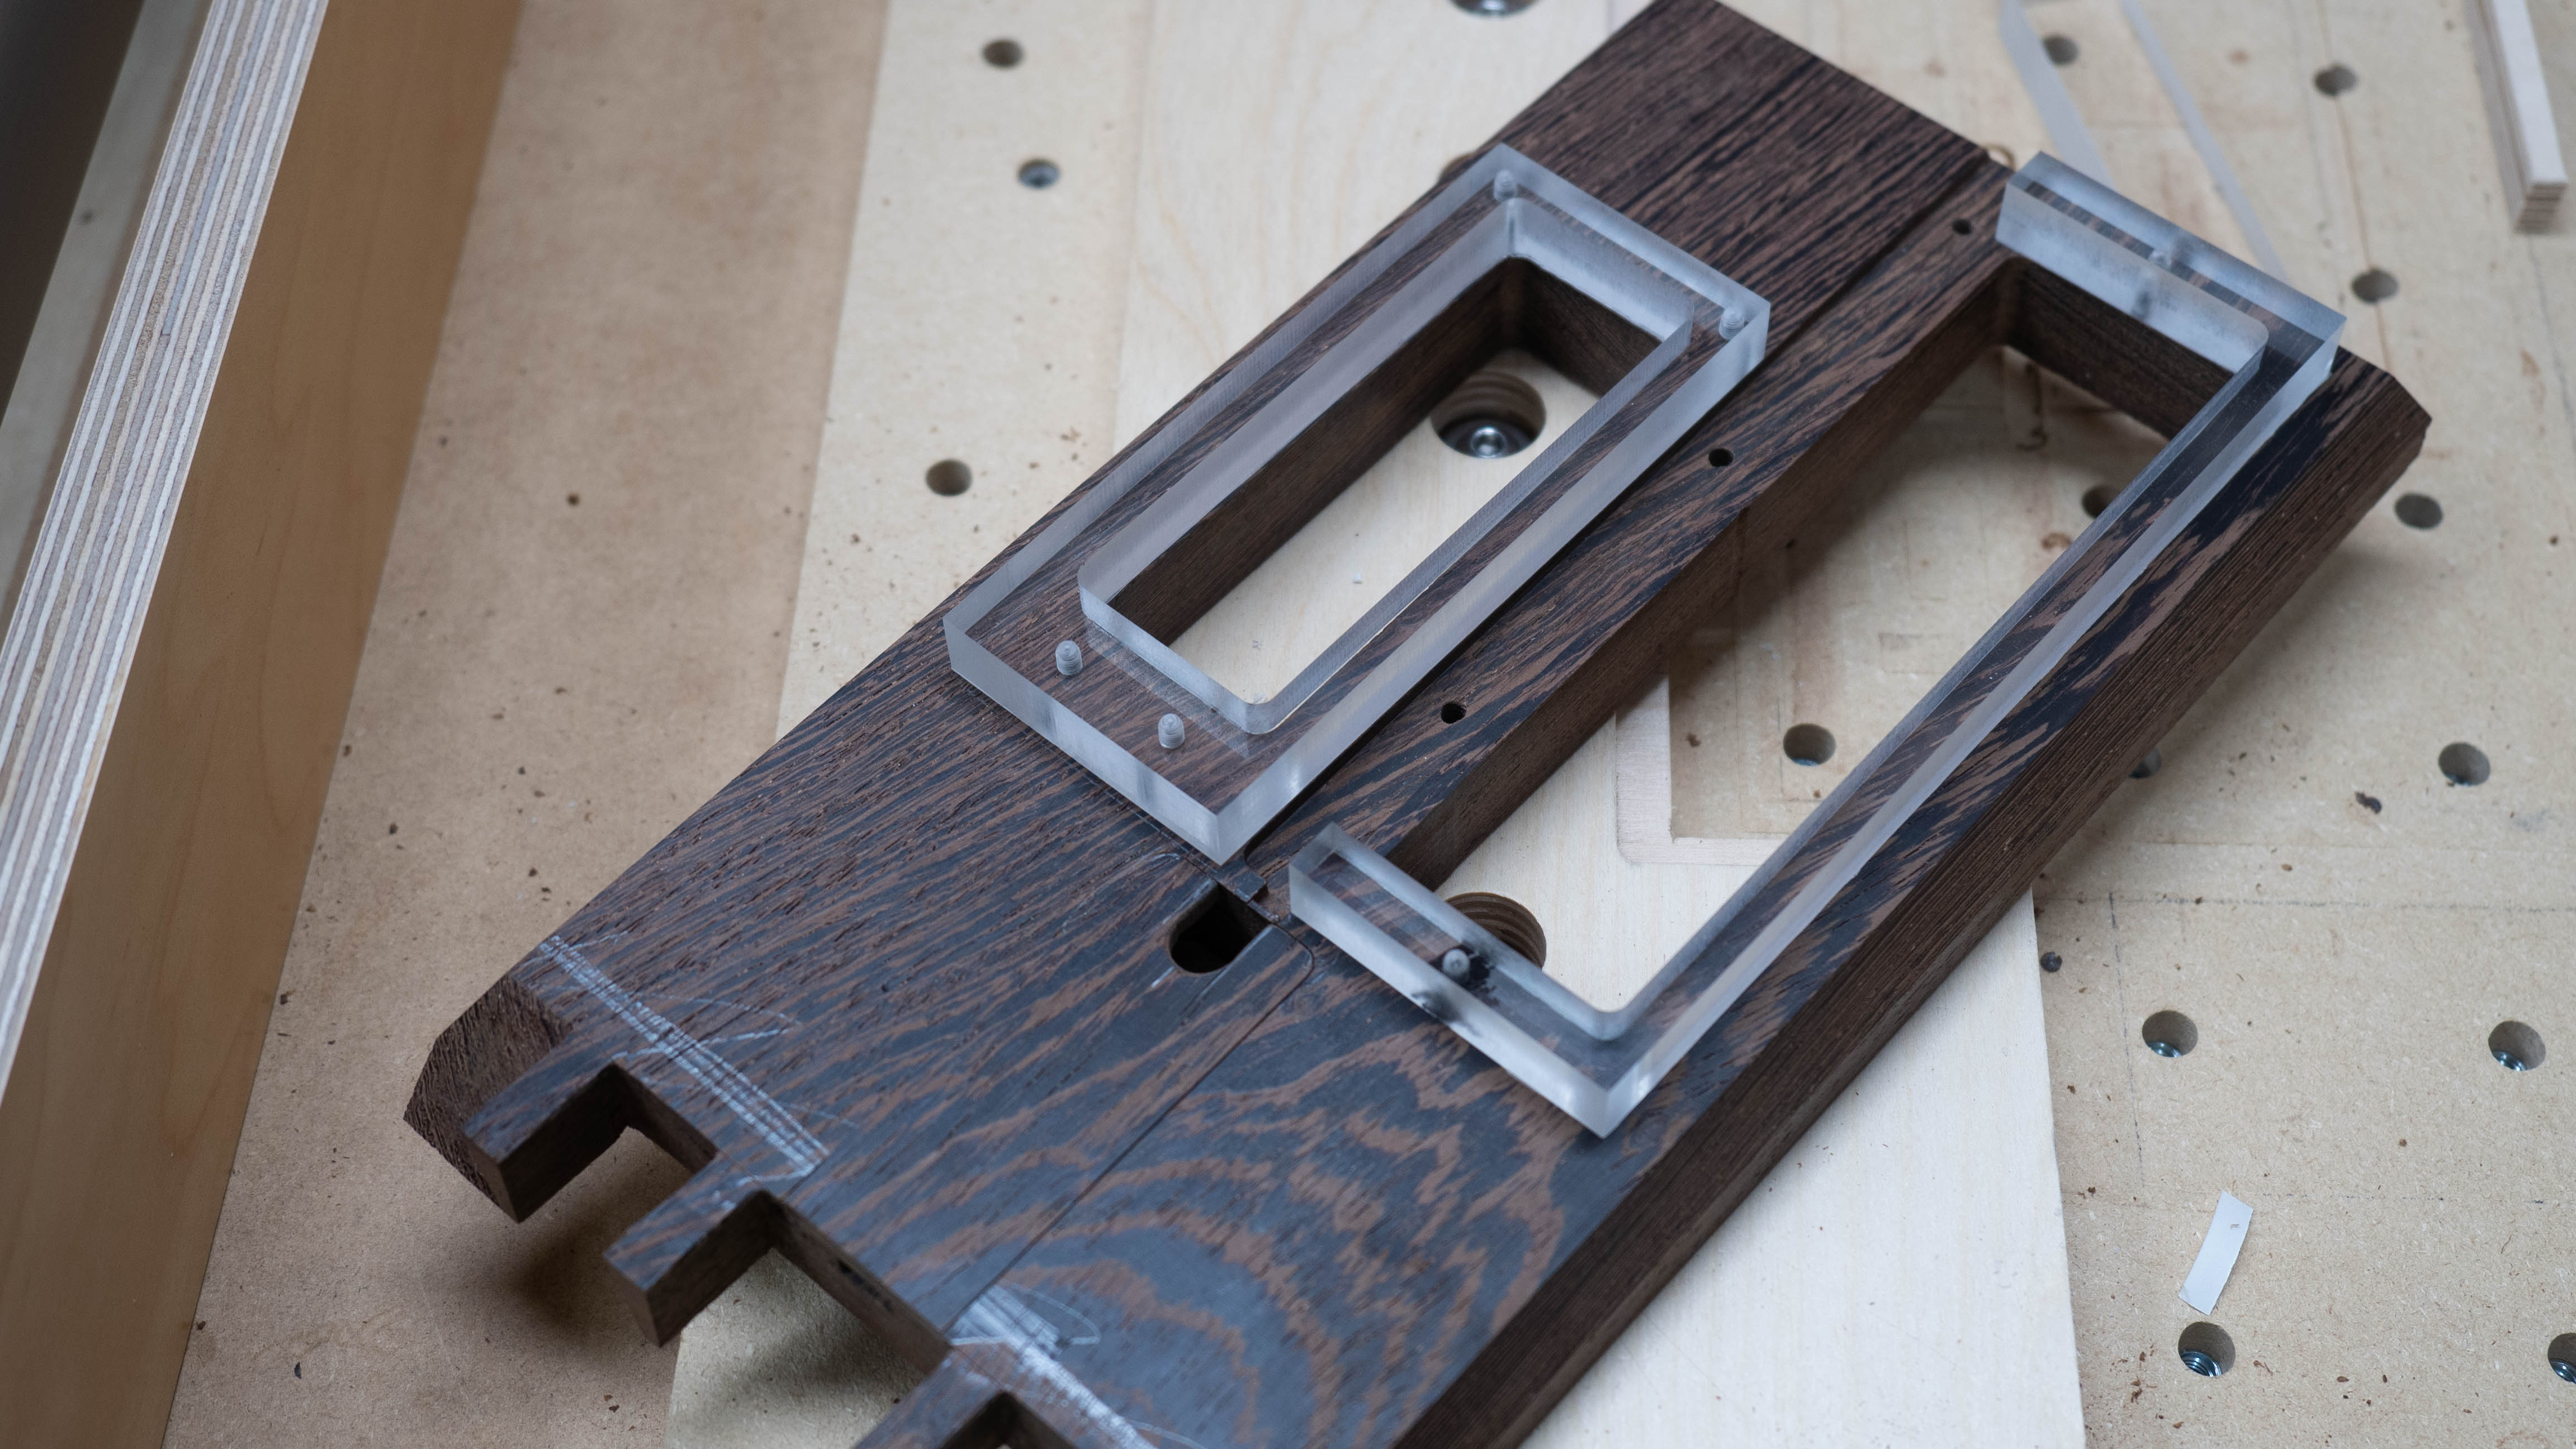
I decided to make a shroud out of acrylic for the motherboard and GPU. This would bring them both up a little off of the bottom of the case, enabling for easier access to the ports on the bottom. As always, I made a mockup of this before doing the final part.
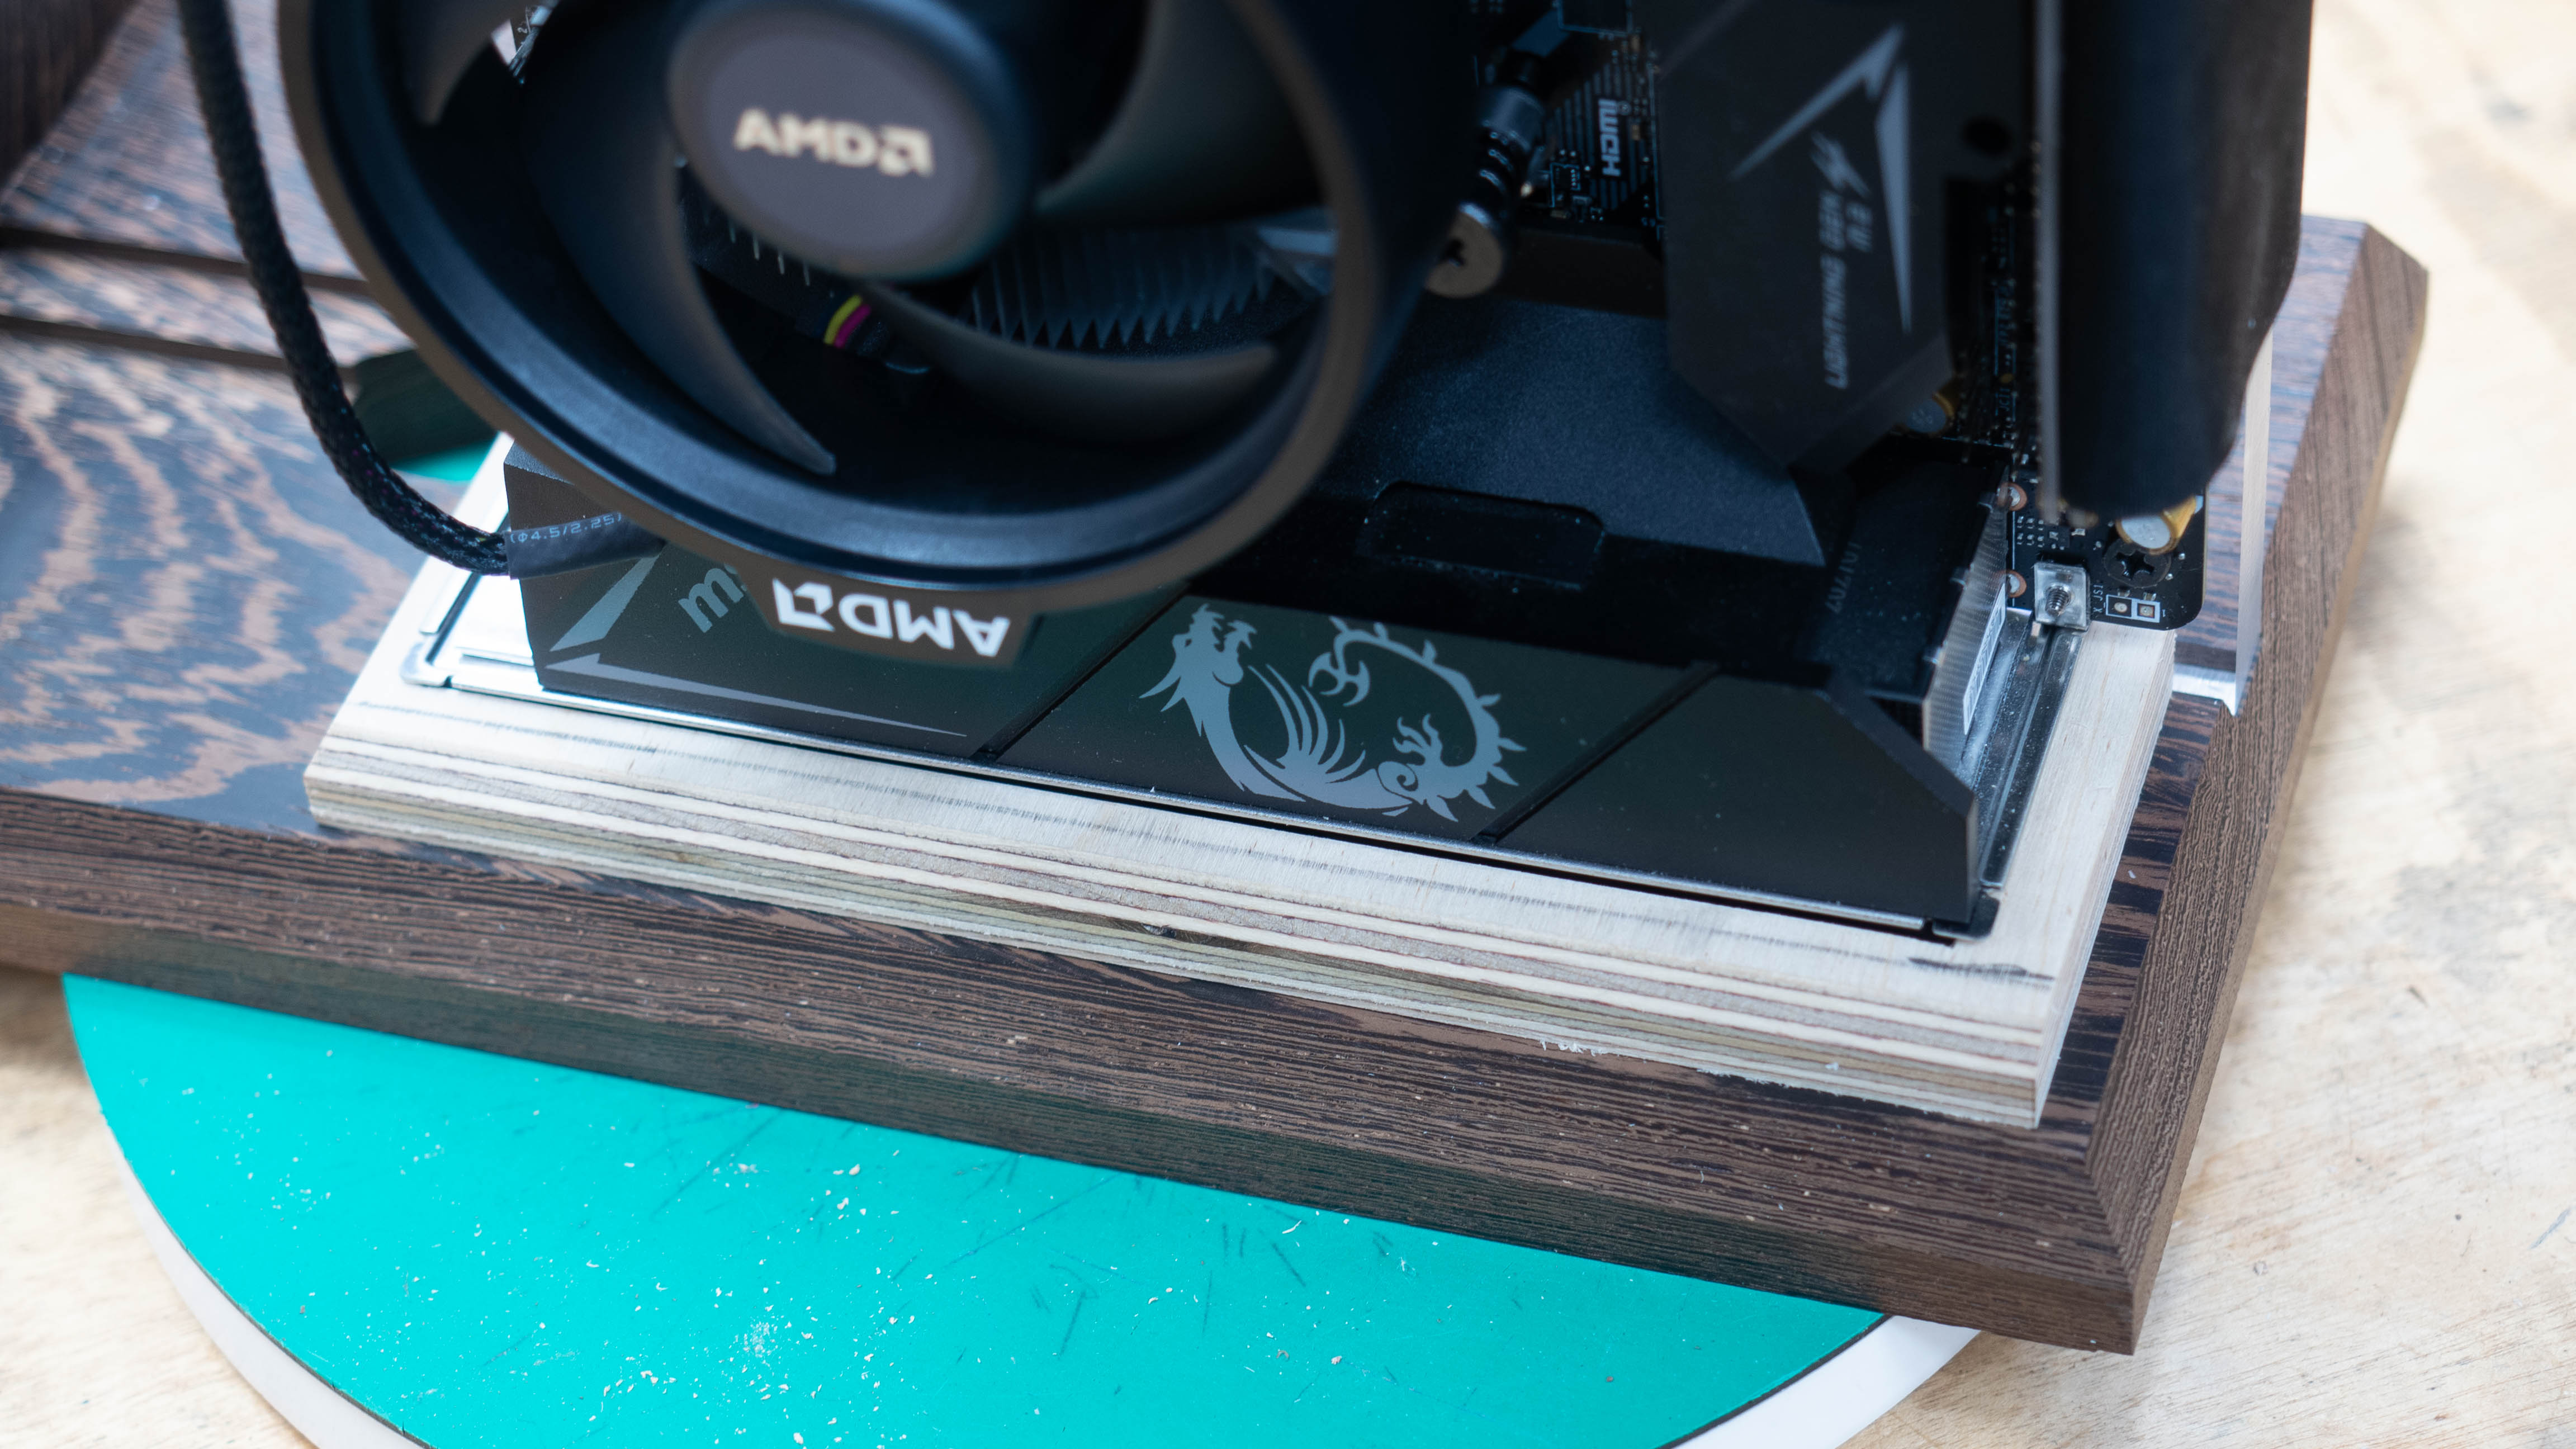
Satisfied that this was the size I wanted, I made acrylic versions for both the GPU and motherboard.
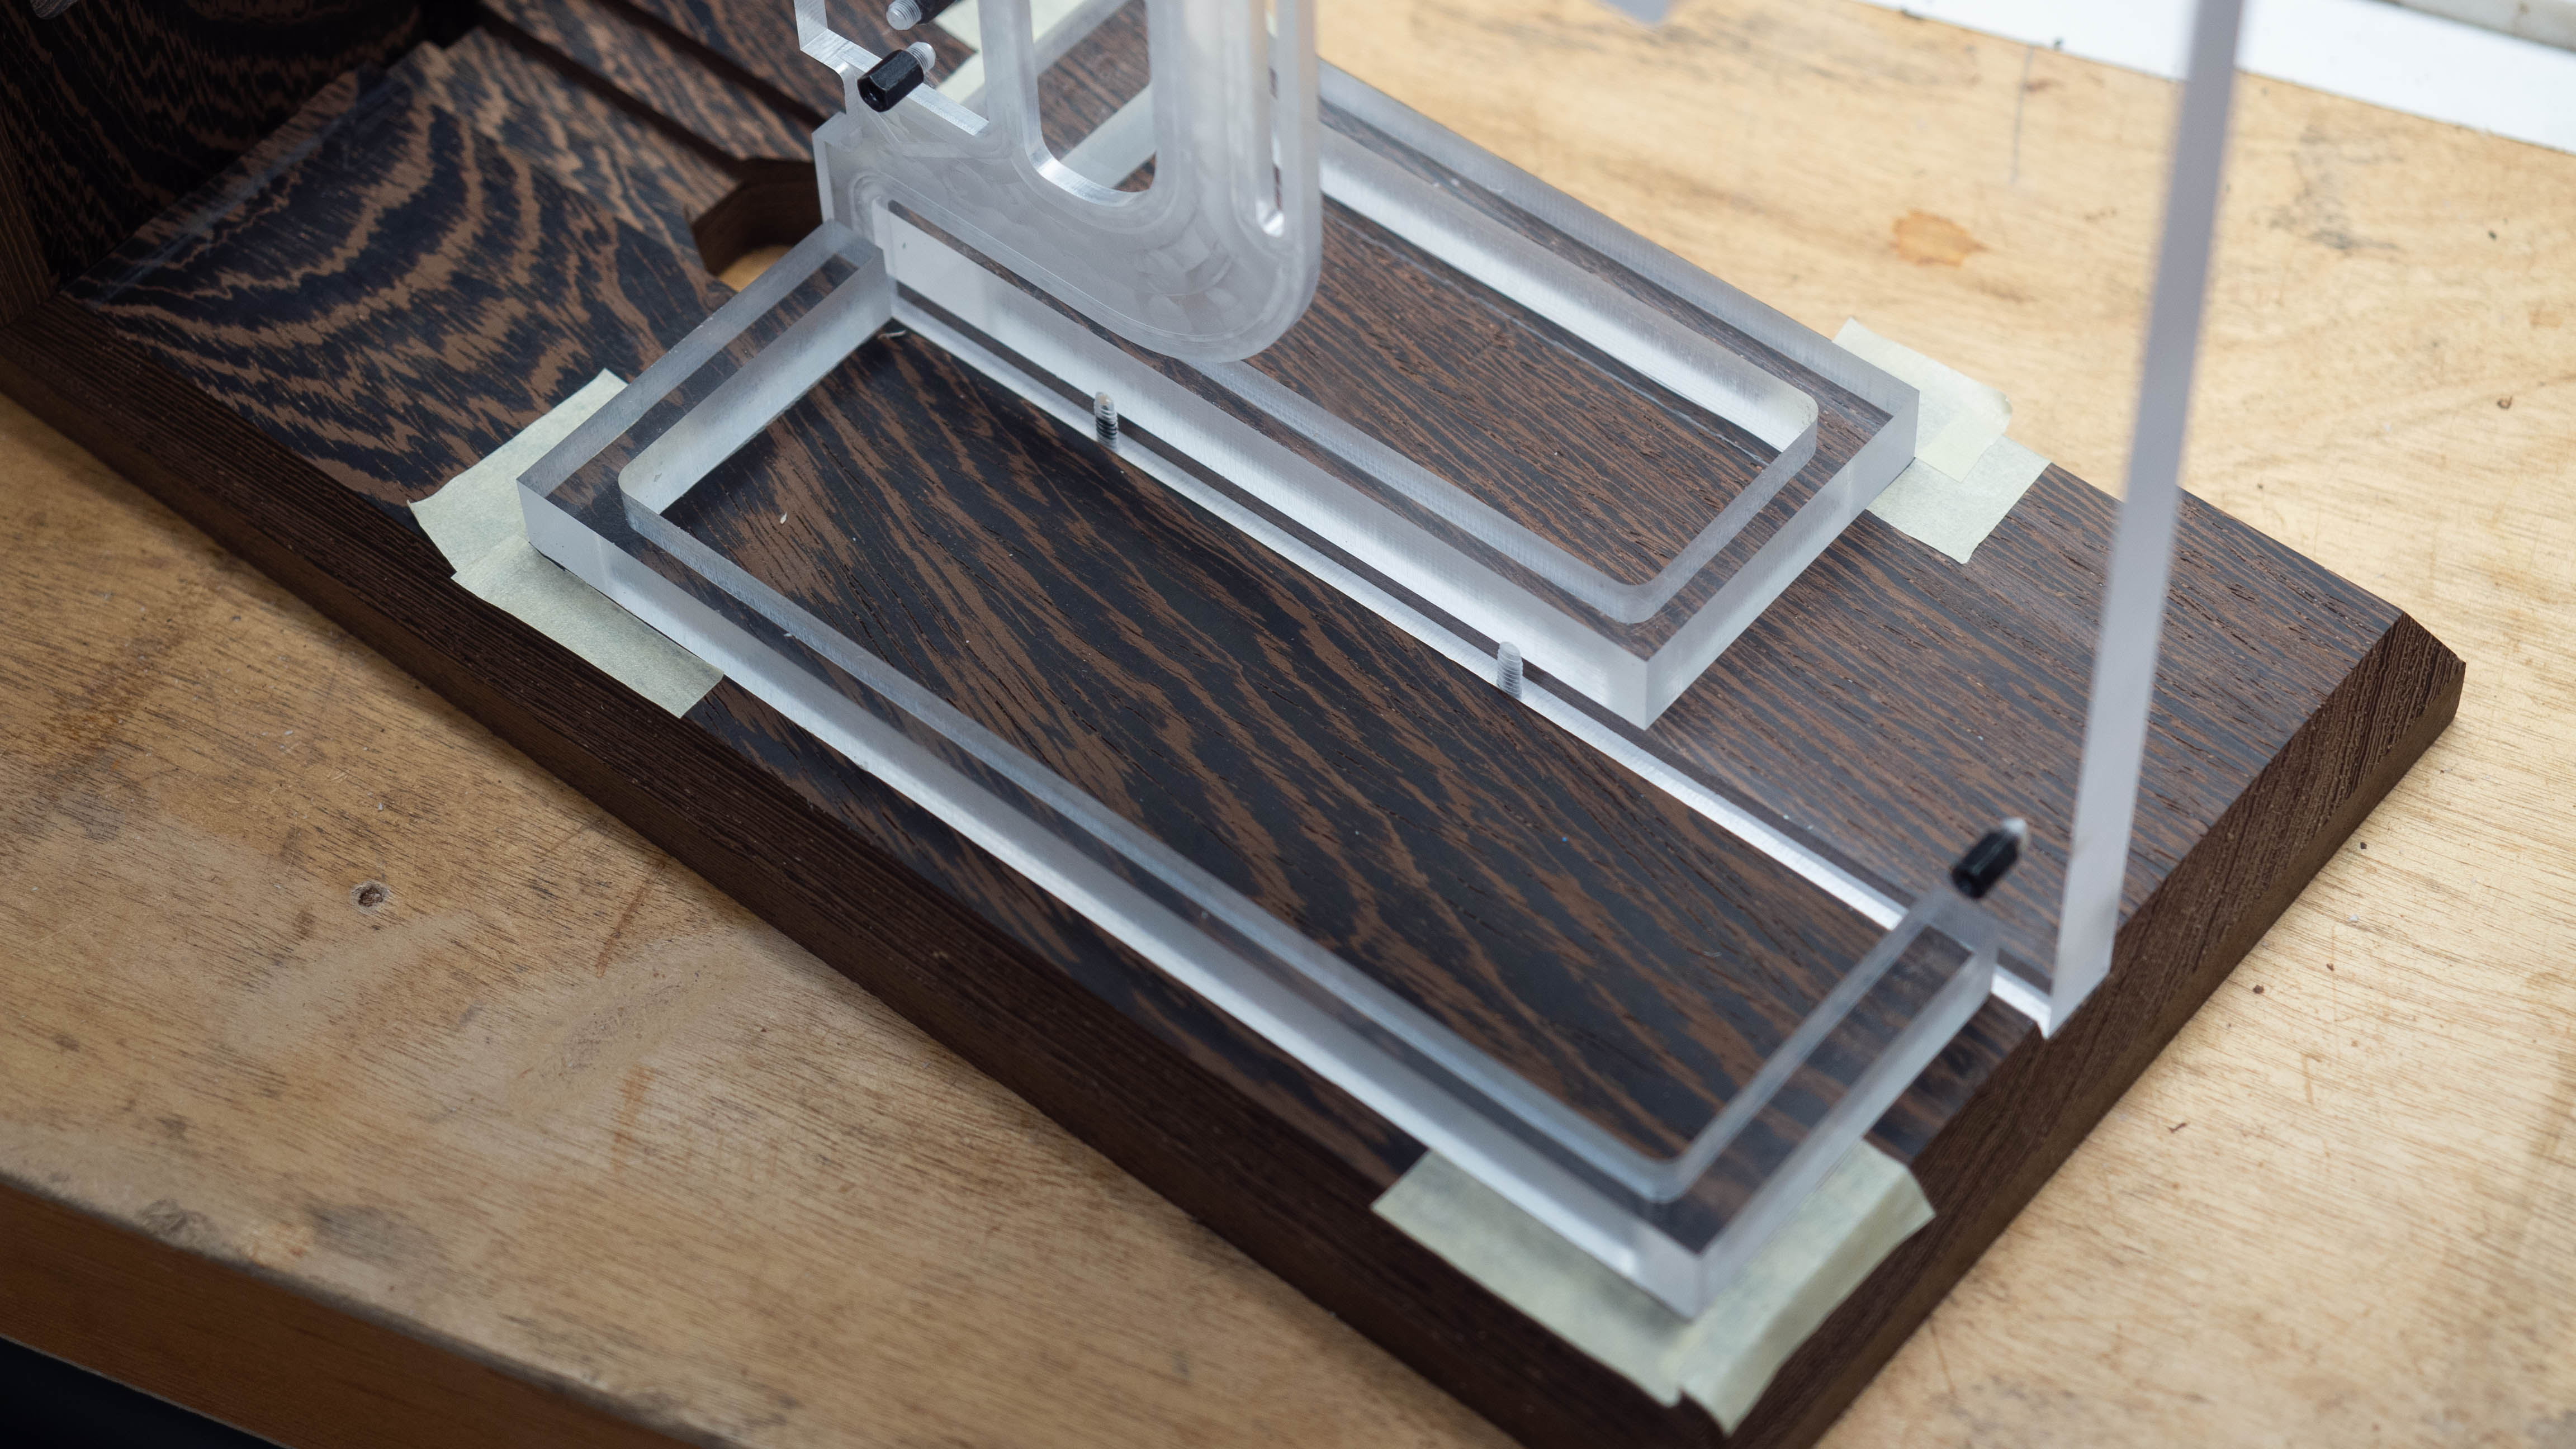
From there, I could mark and cut where the holes line up in the Wenge bottom of the case.
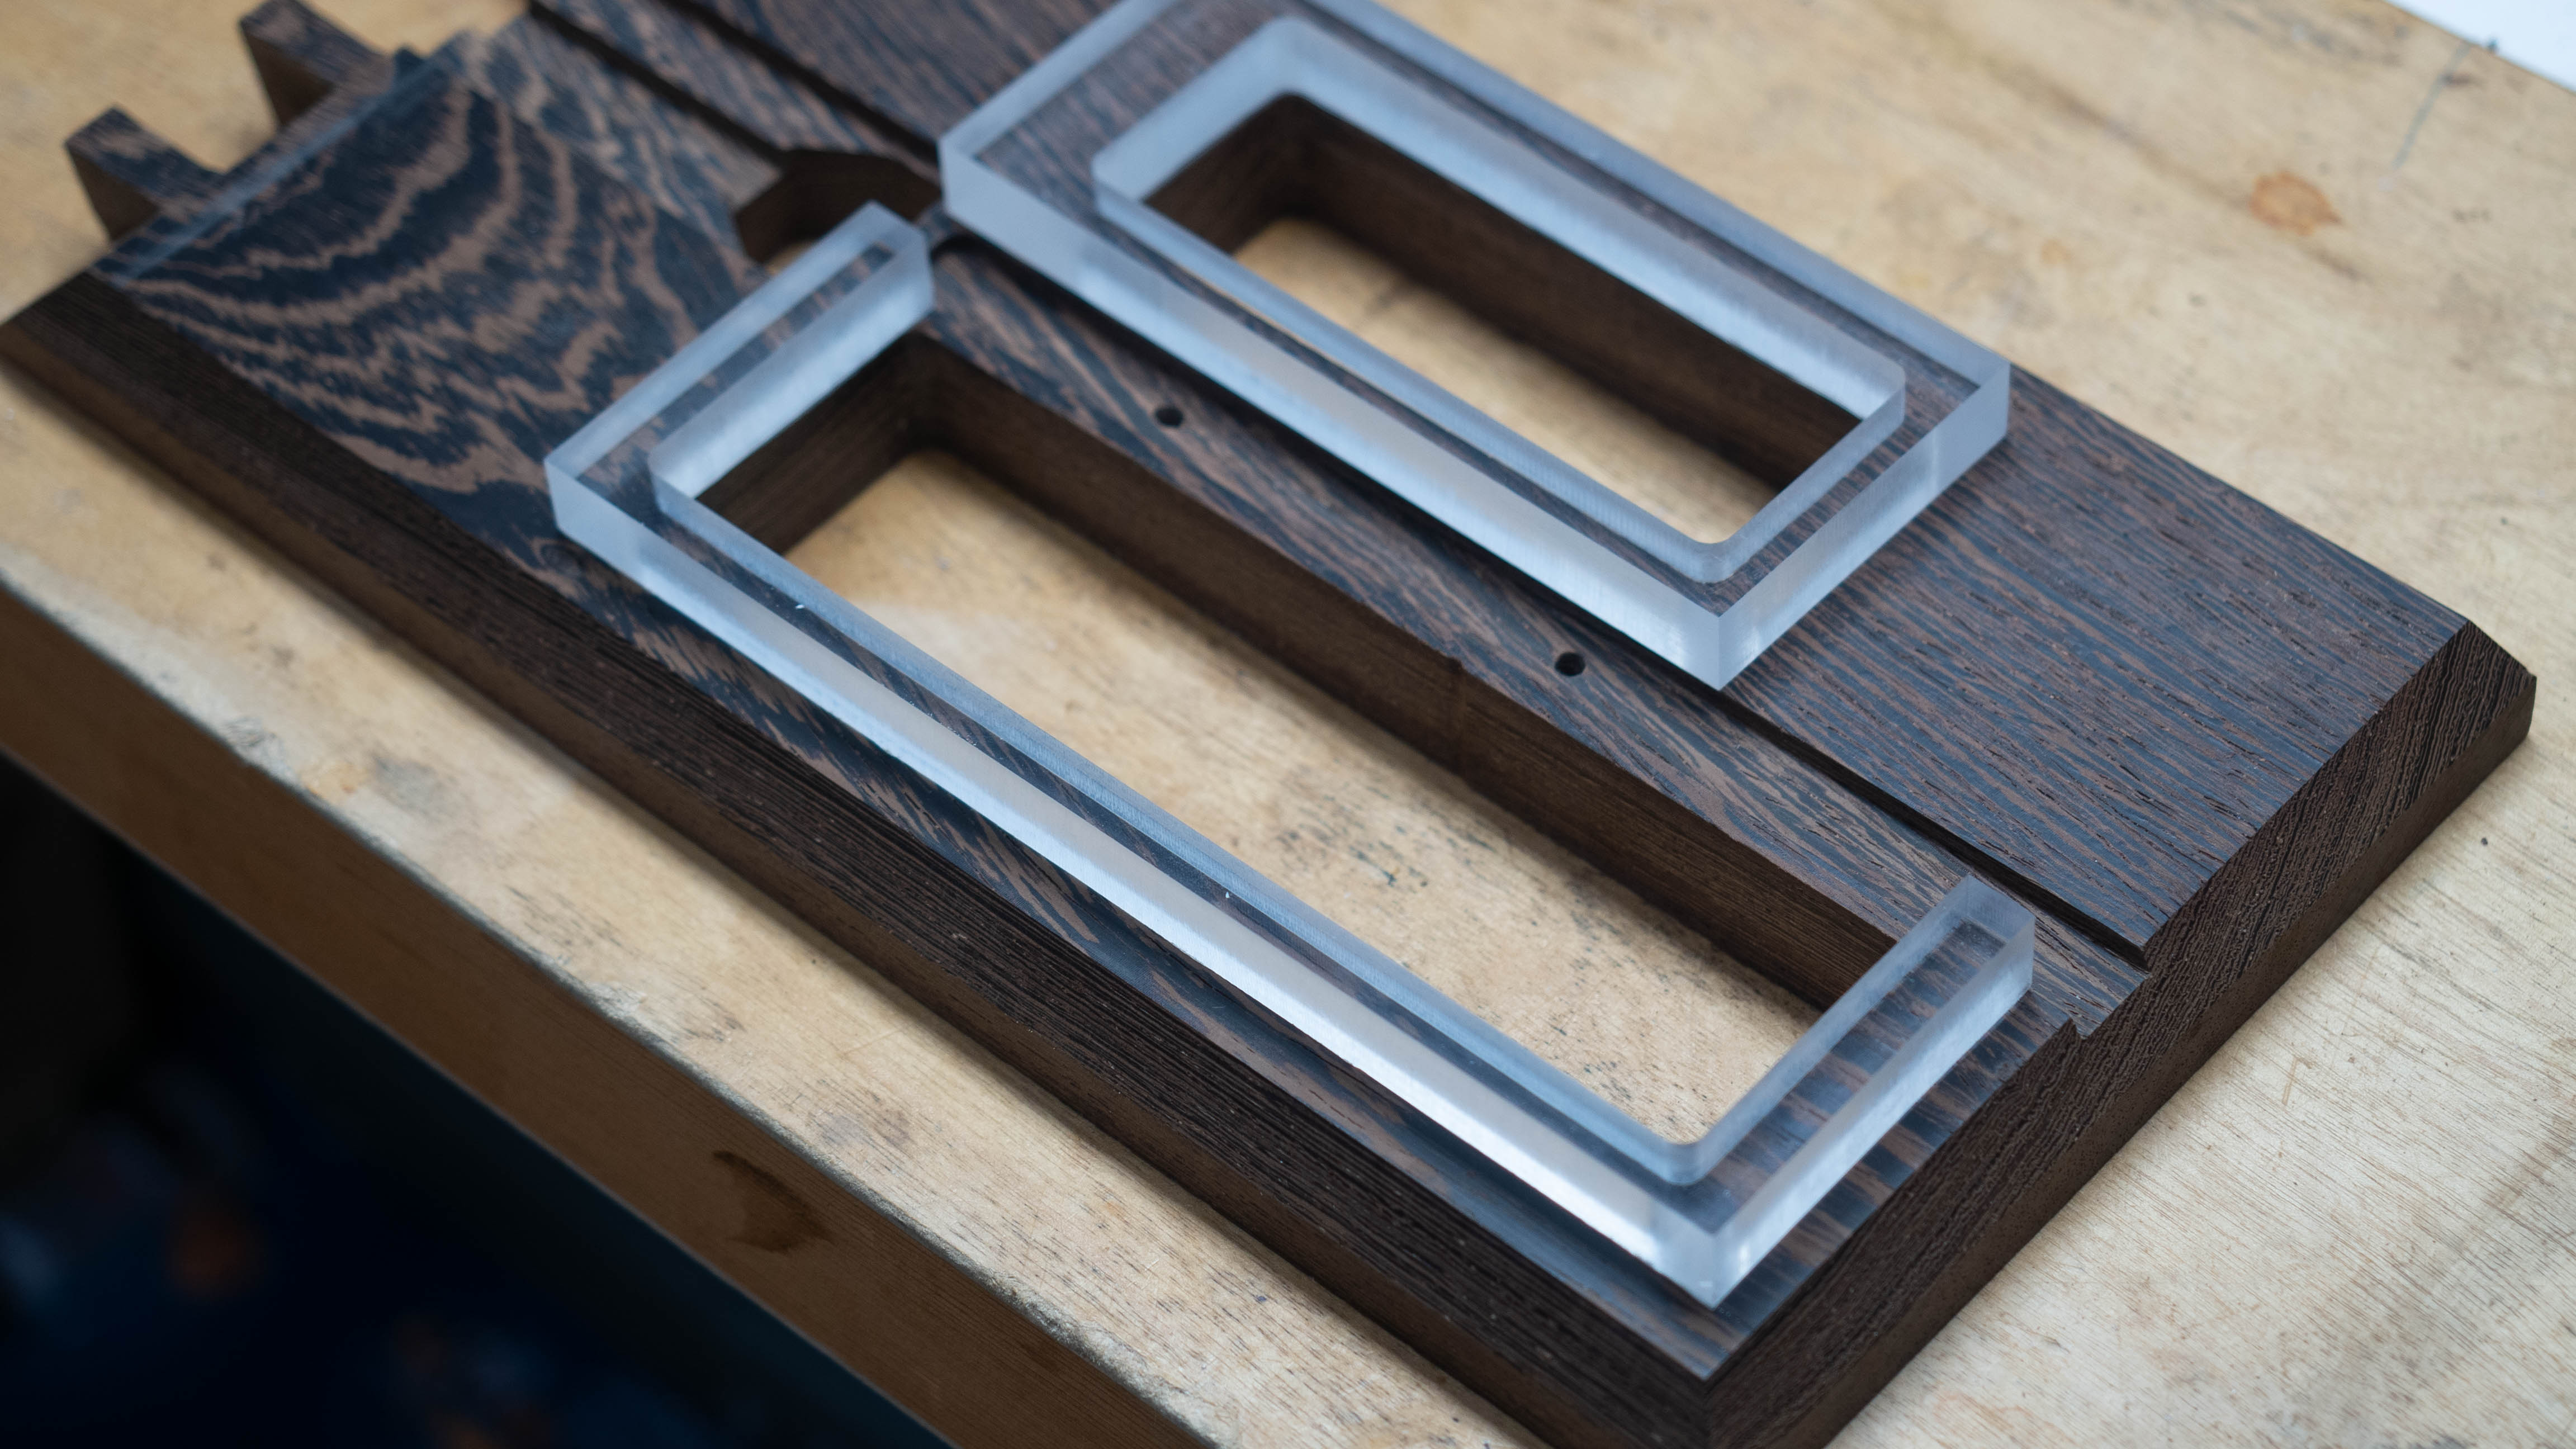
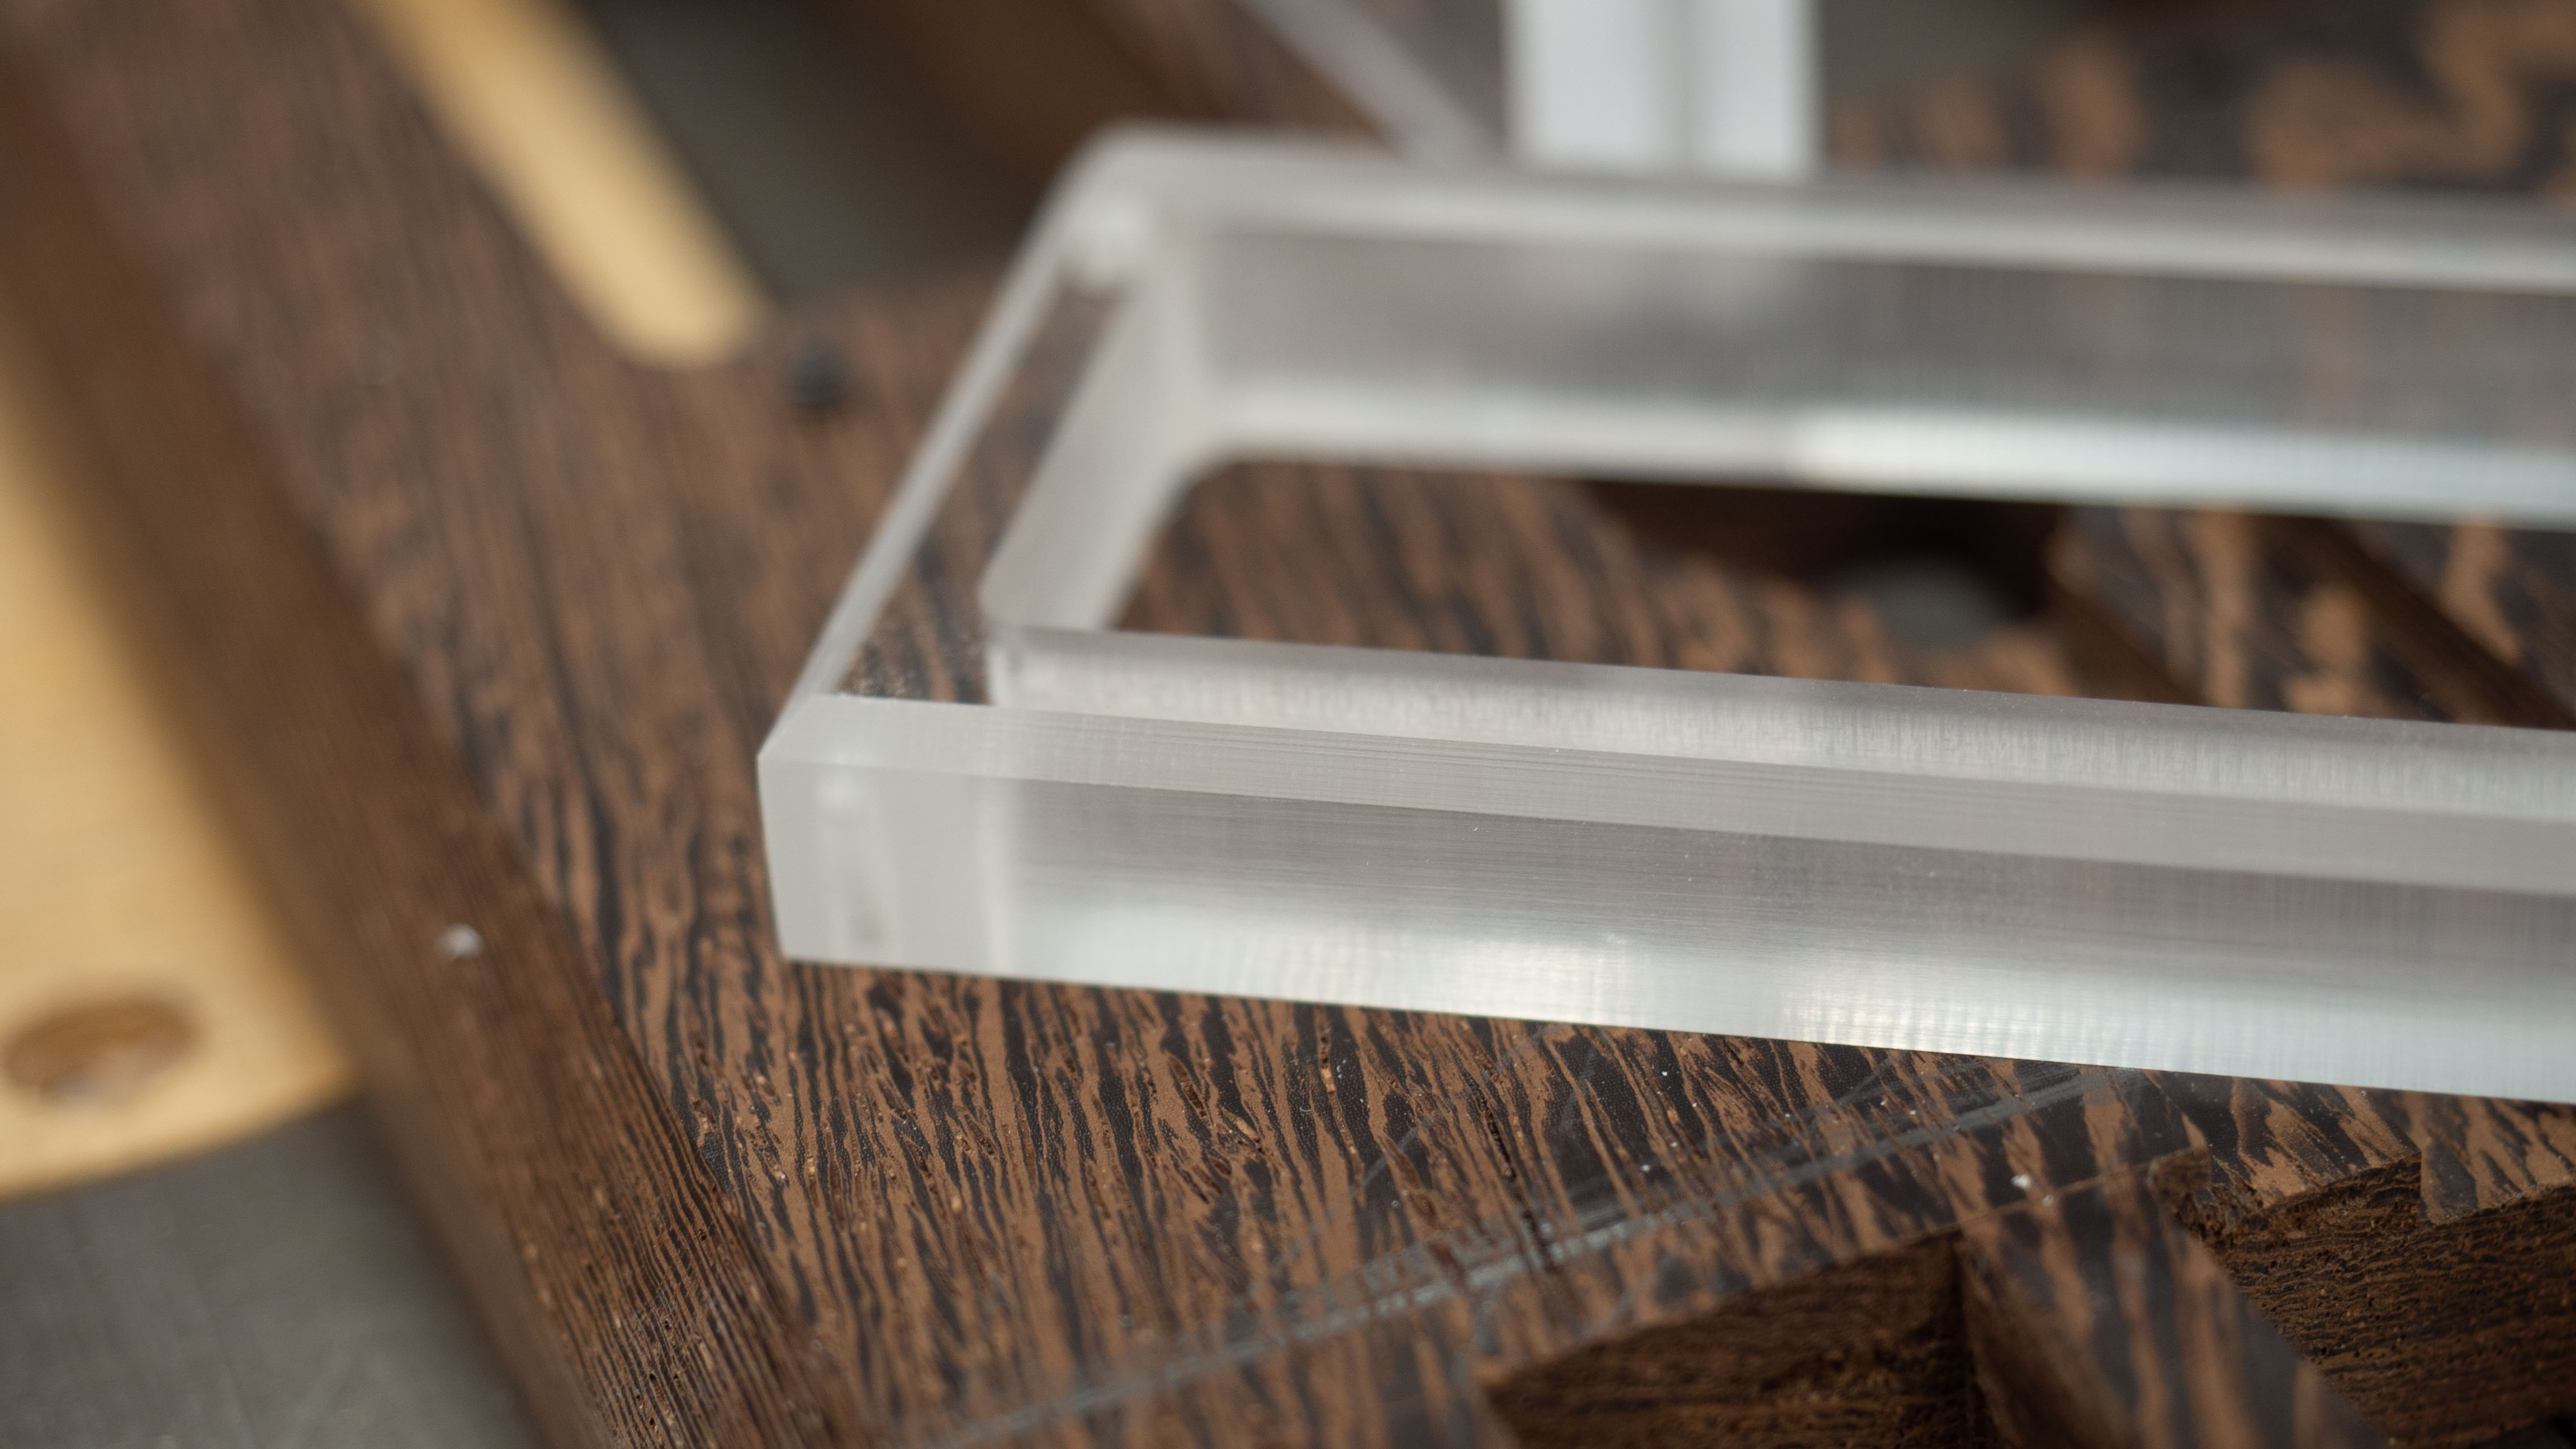
Lastly, I attached the acrylic from the bottom with more bolts then put a significant chamfer on the acrylic.
I needed to make sure there were no more holes to be made in the Wenge before gluing everything up. One of the last things to do was make a hole for the power supply cord, a channel for the fan cables, and since I wanted a clean look so I made a Wenge cover plate.
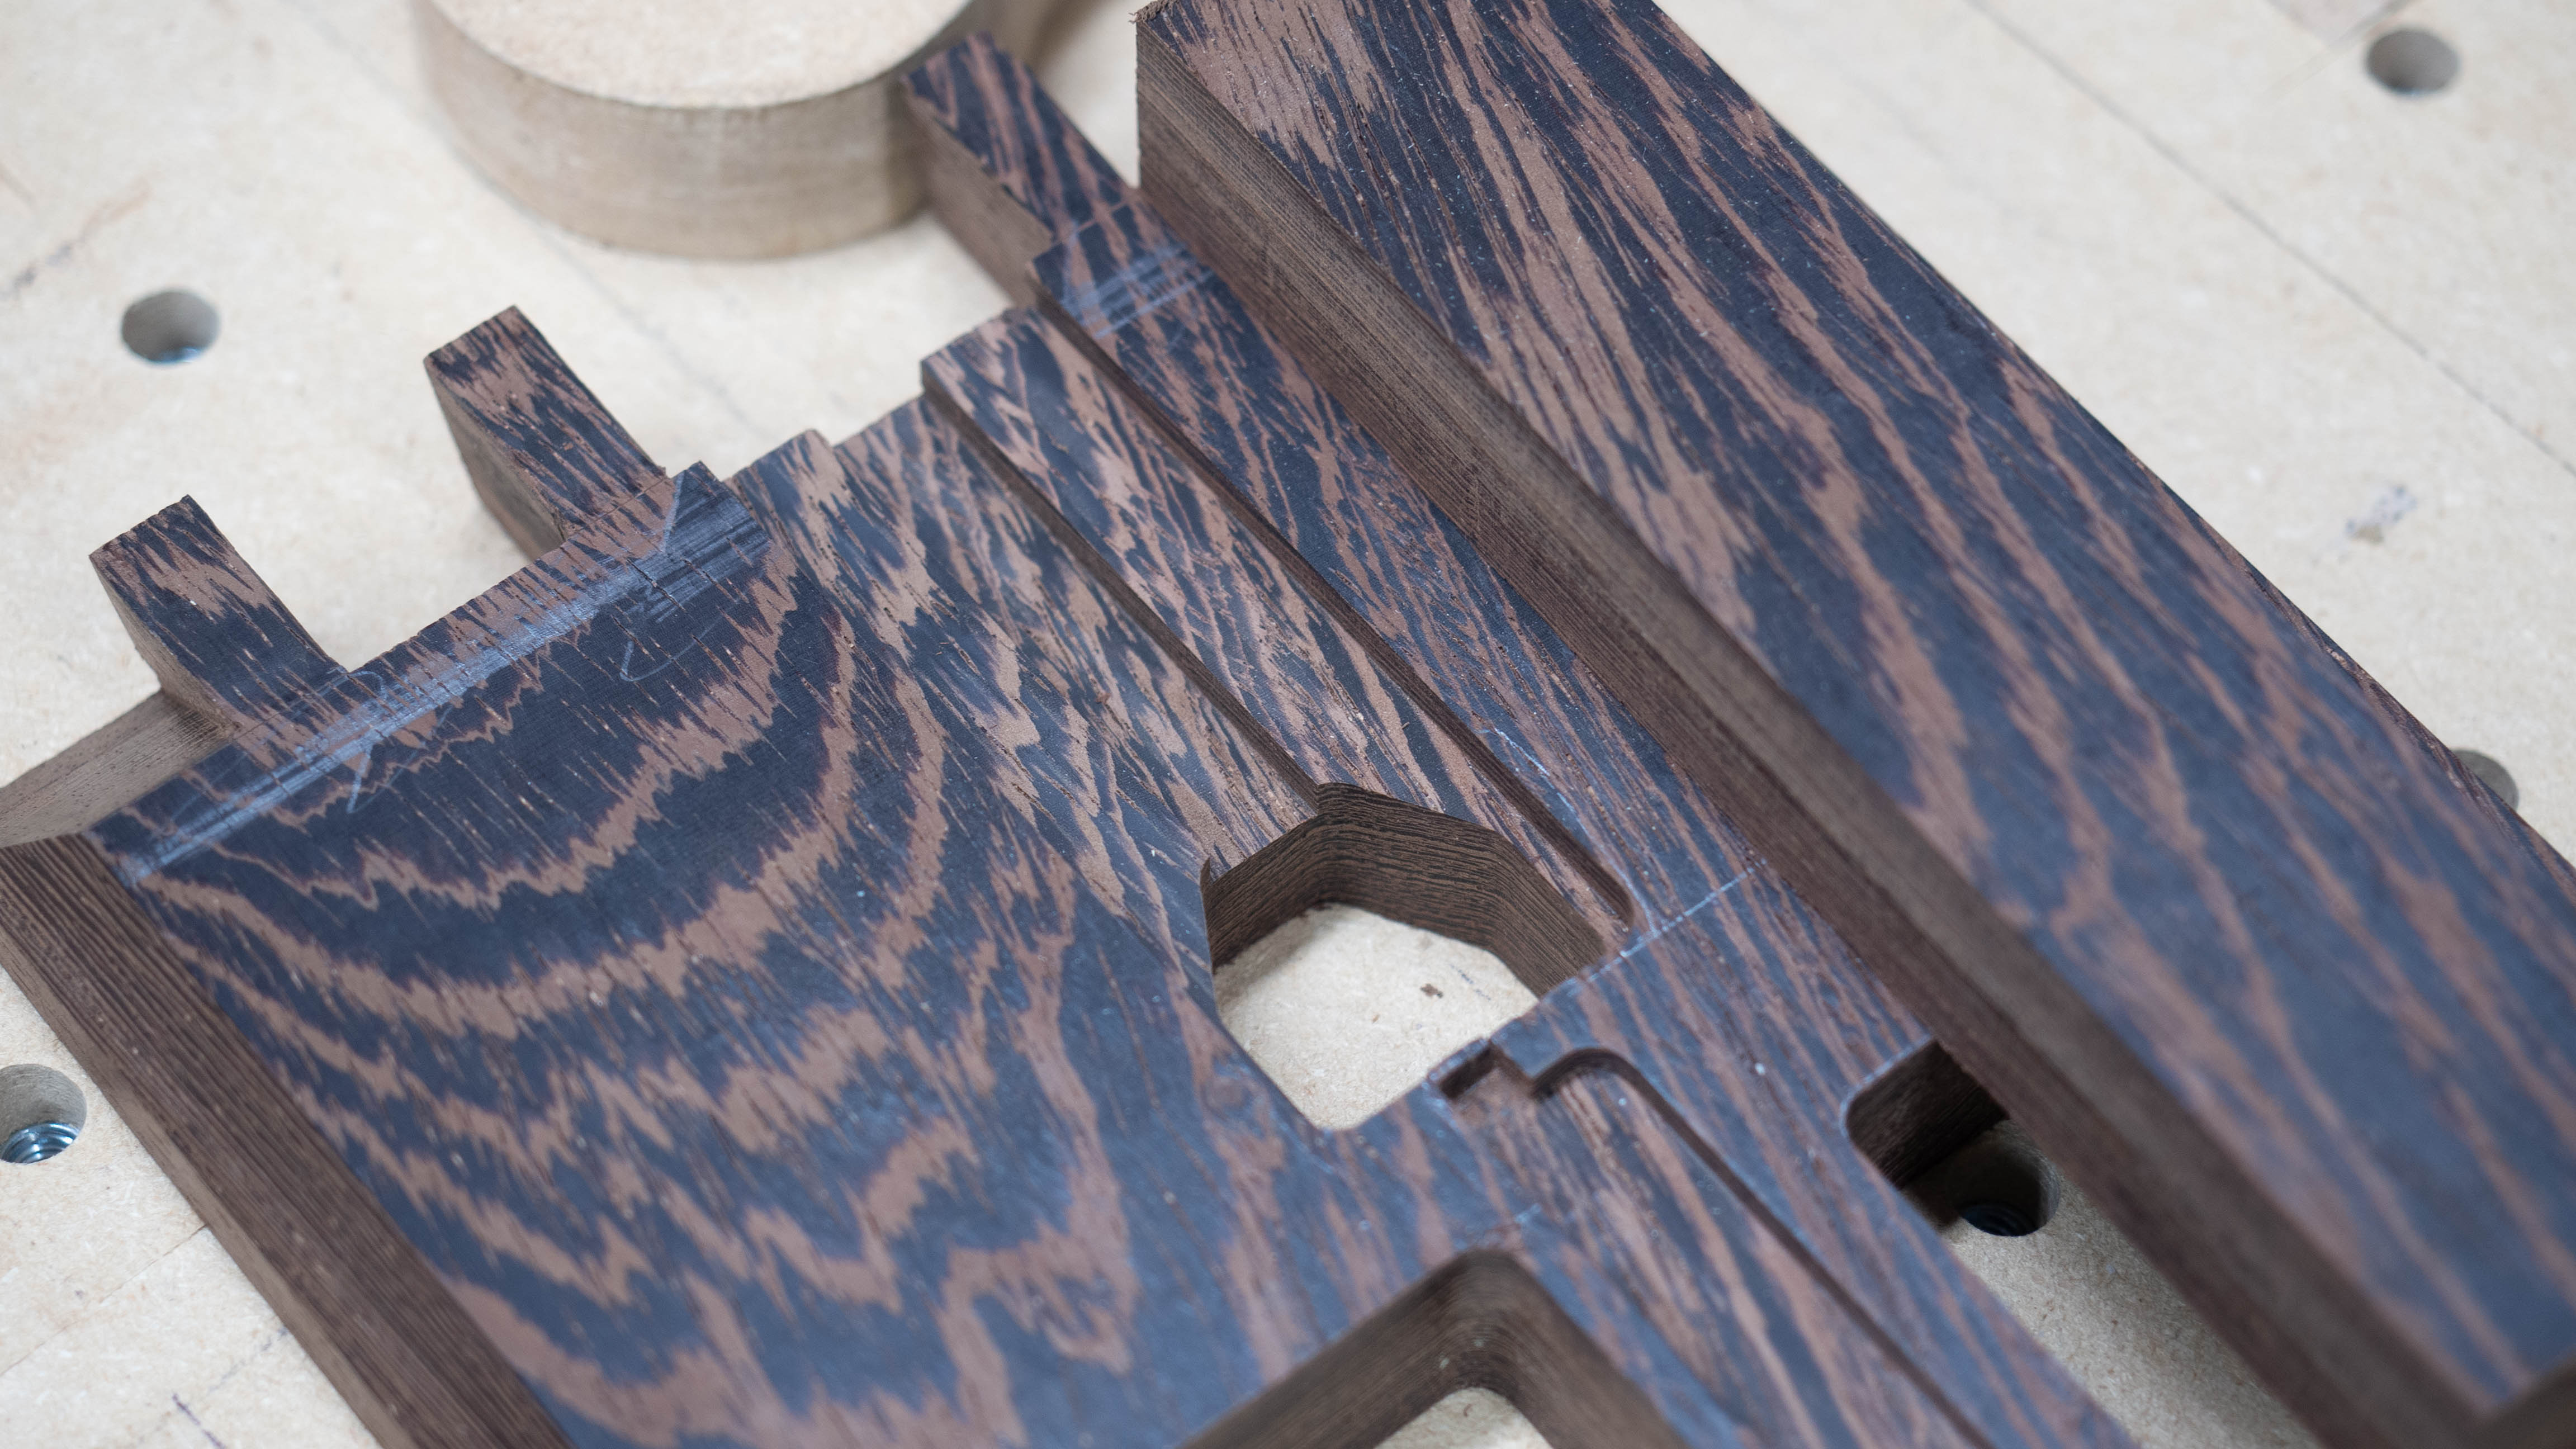
The fitment was a bit of trial and error and sneaking up on the perfect fit.
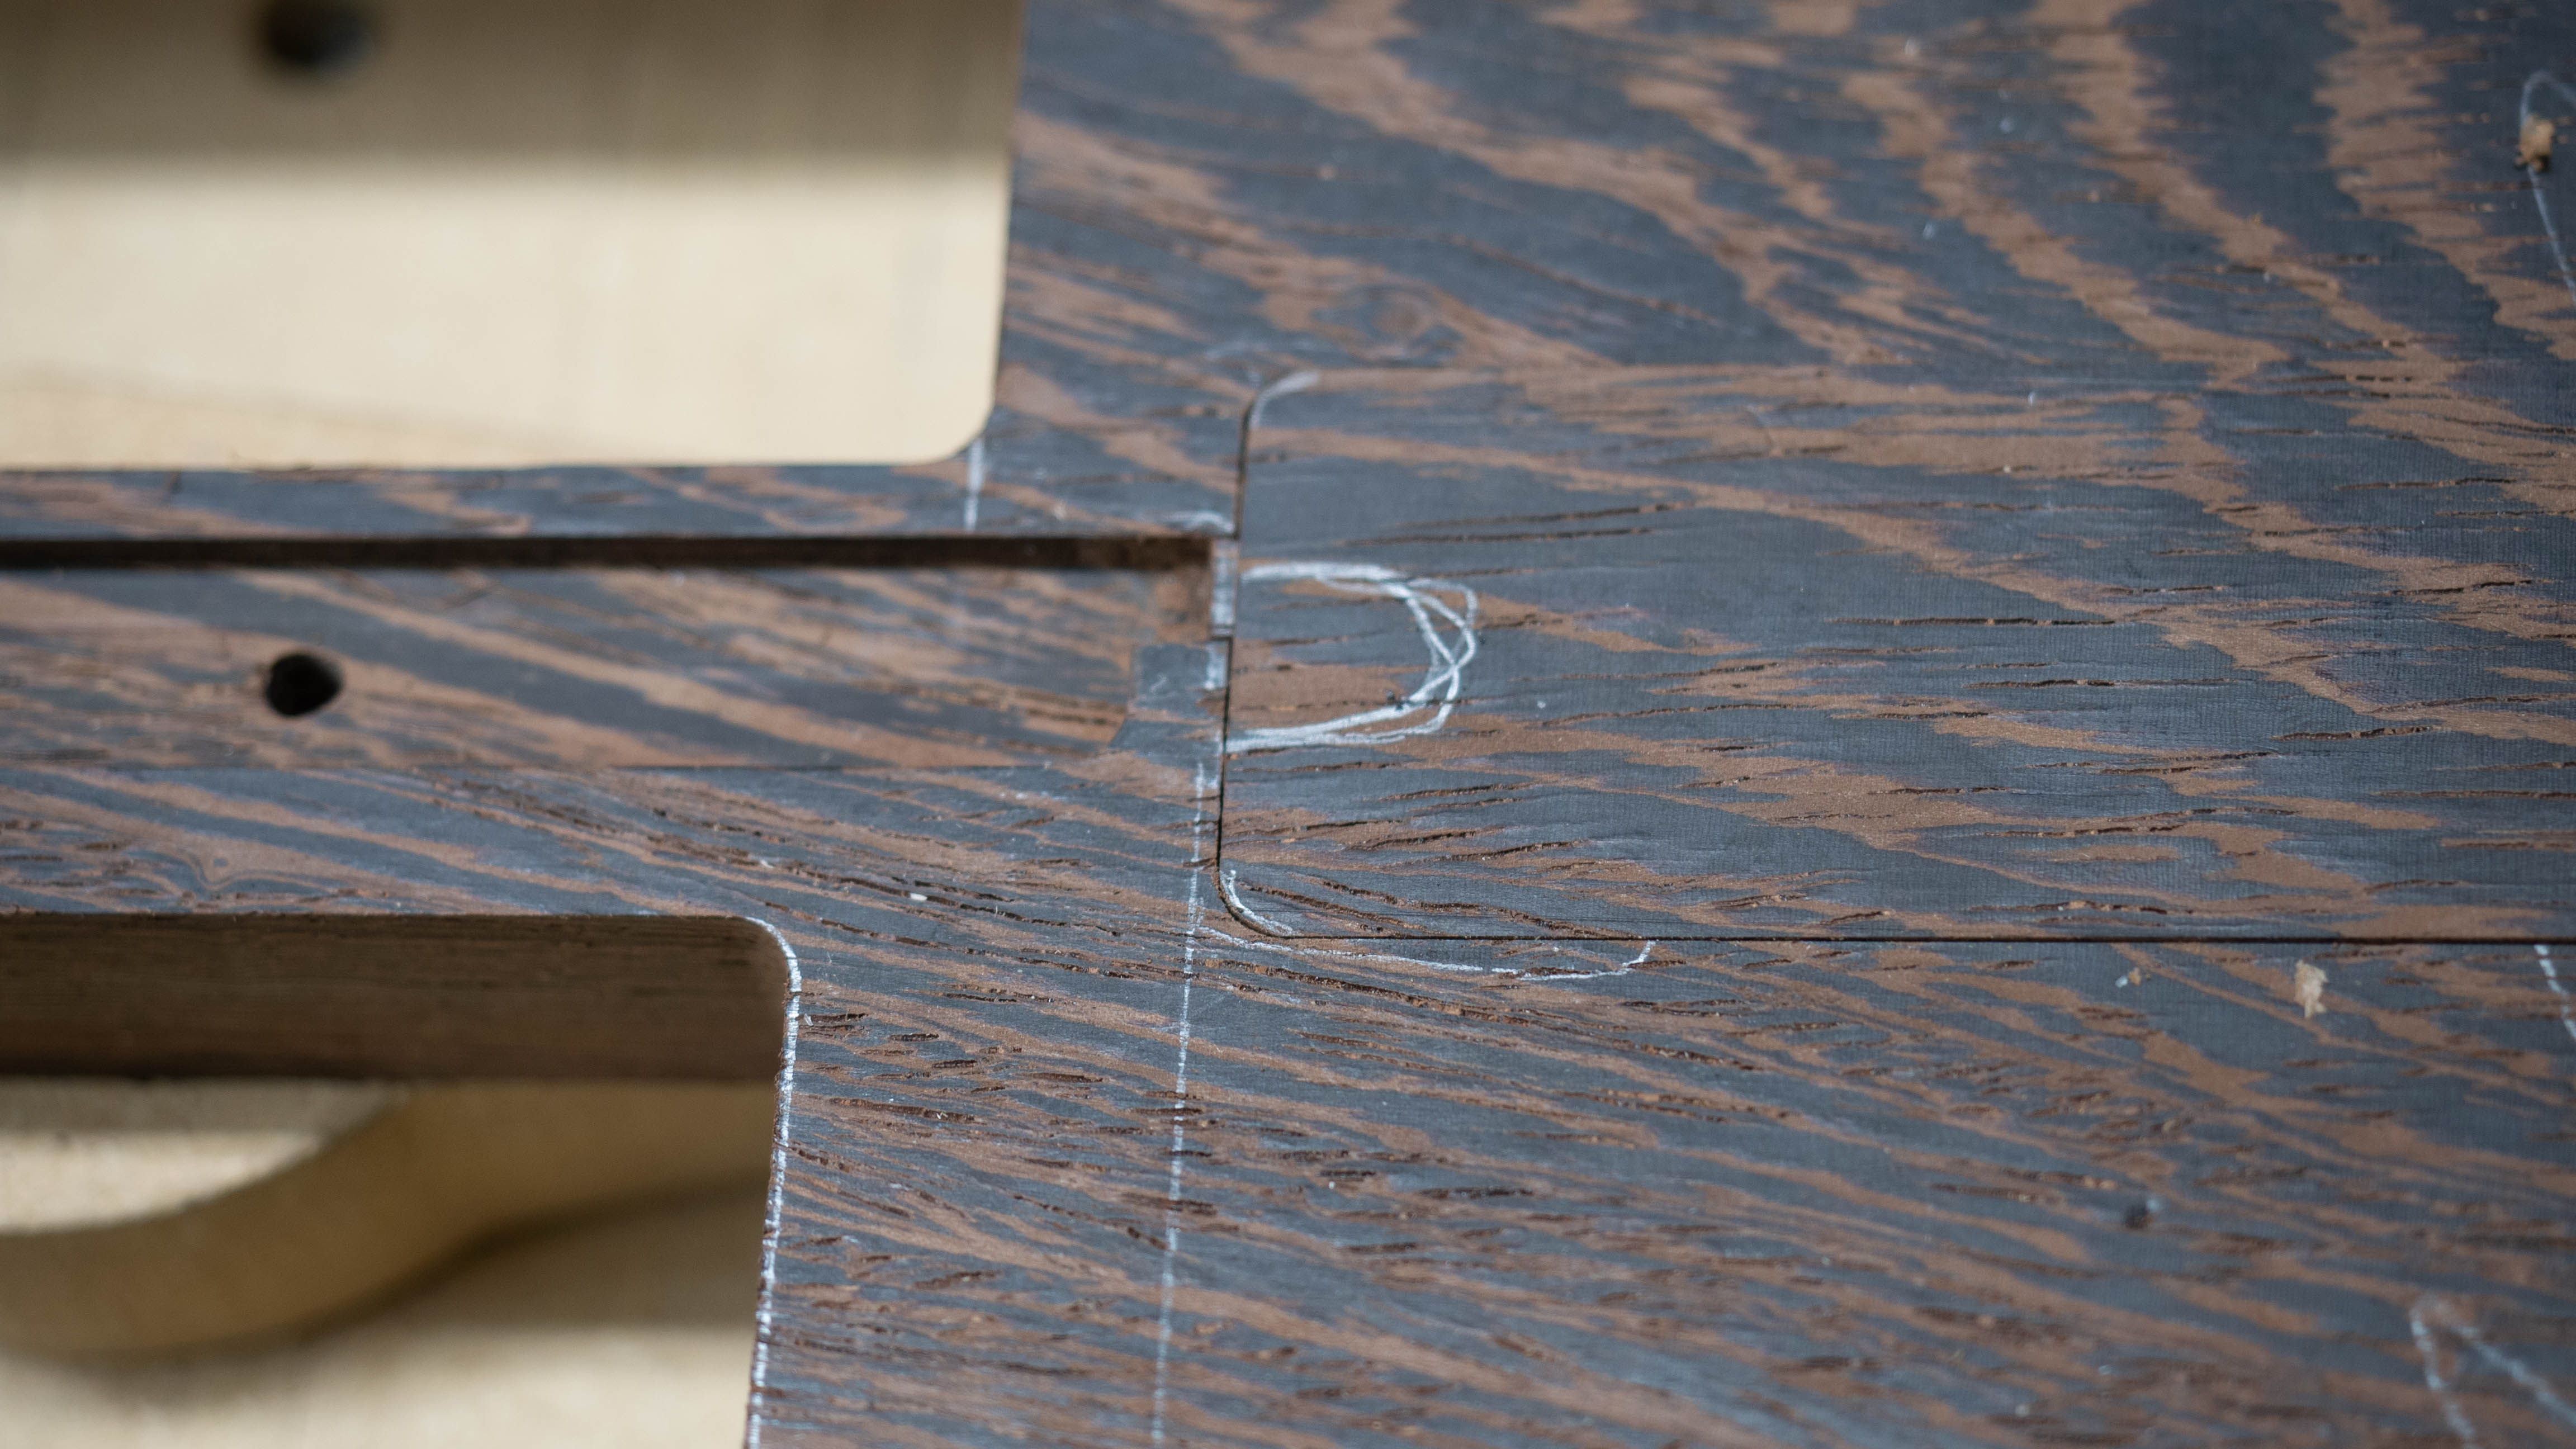
In the end, it made for a convincing cover that is hardly noticeable.
Get Tom's Hardware's best news and in-depth reviews, straight to your inbox.
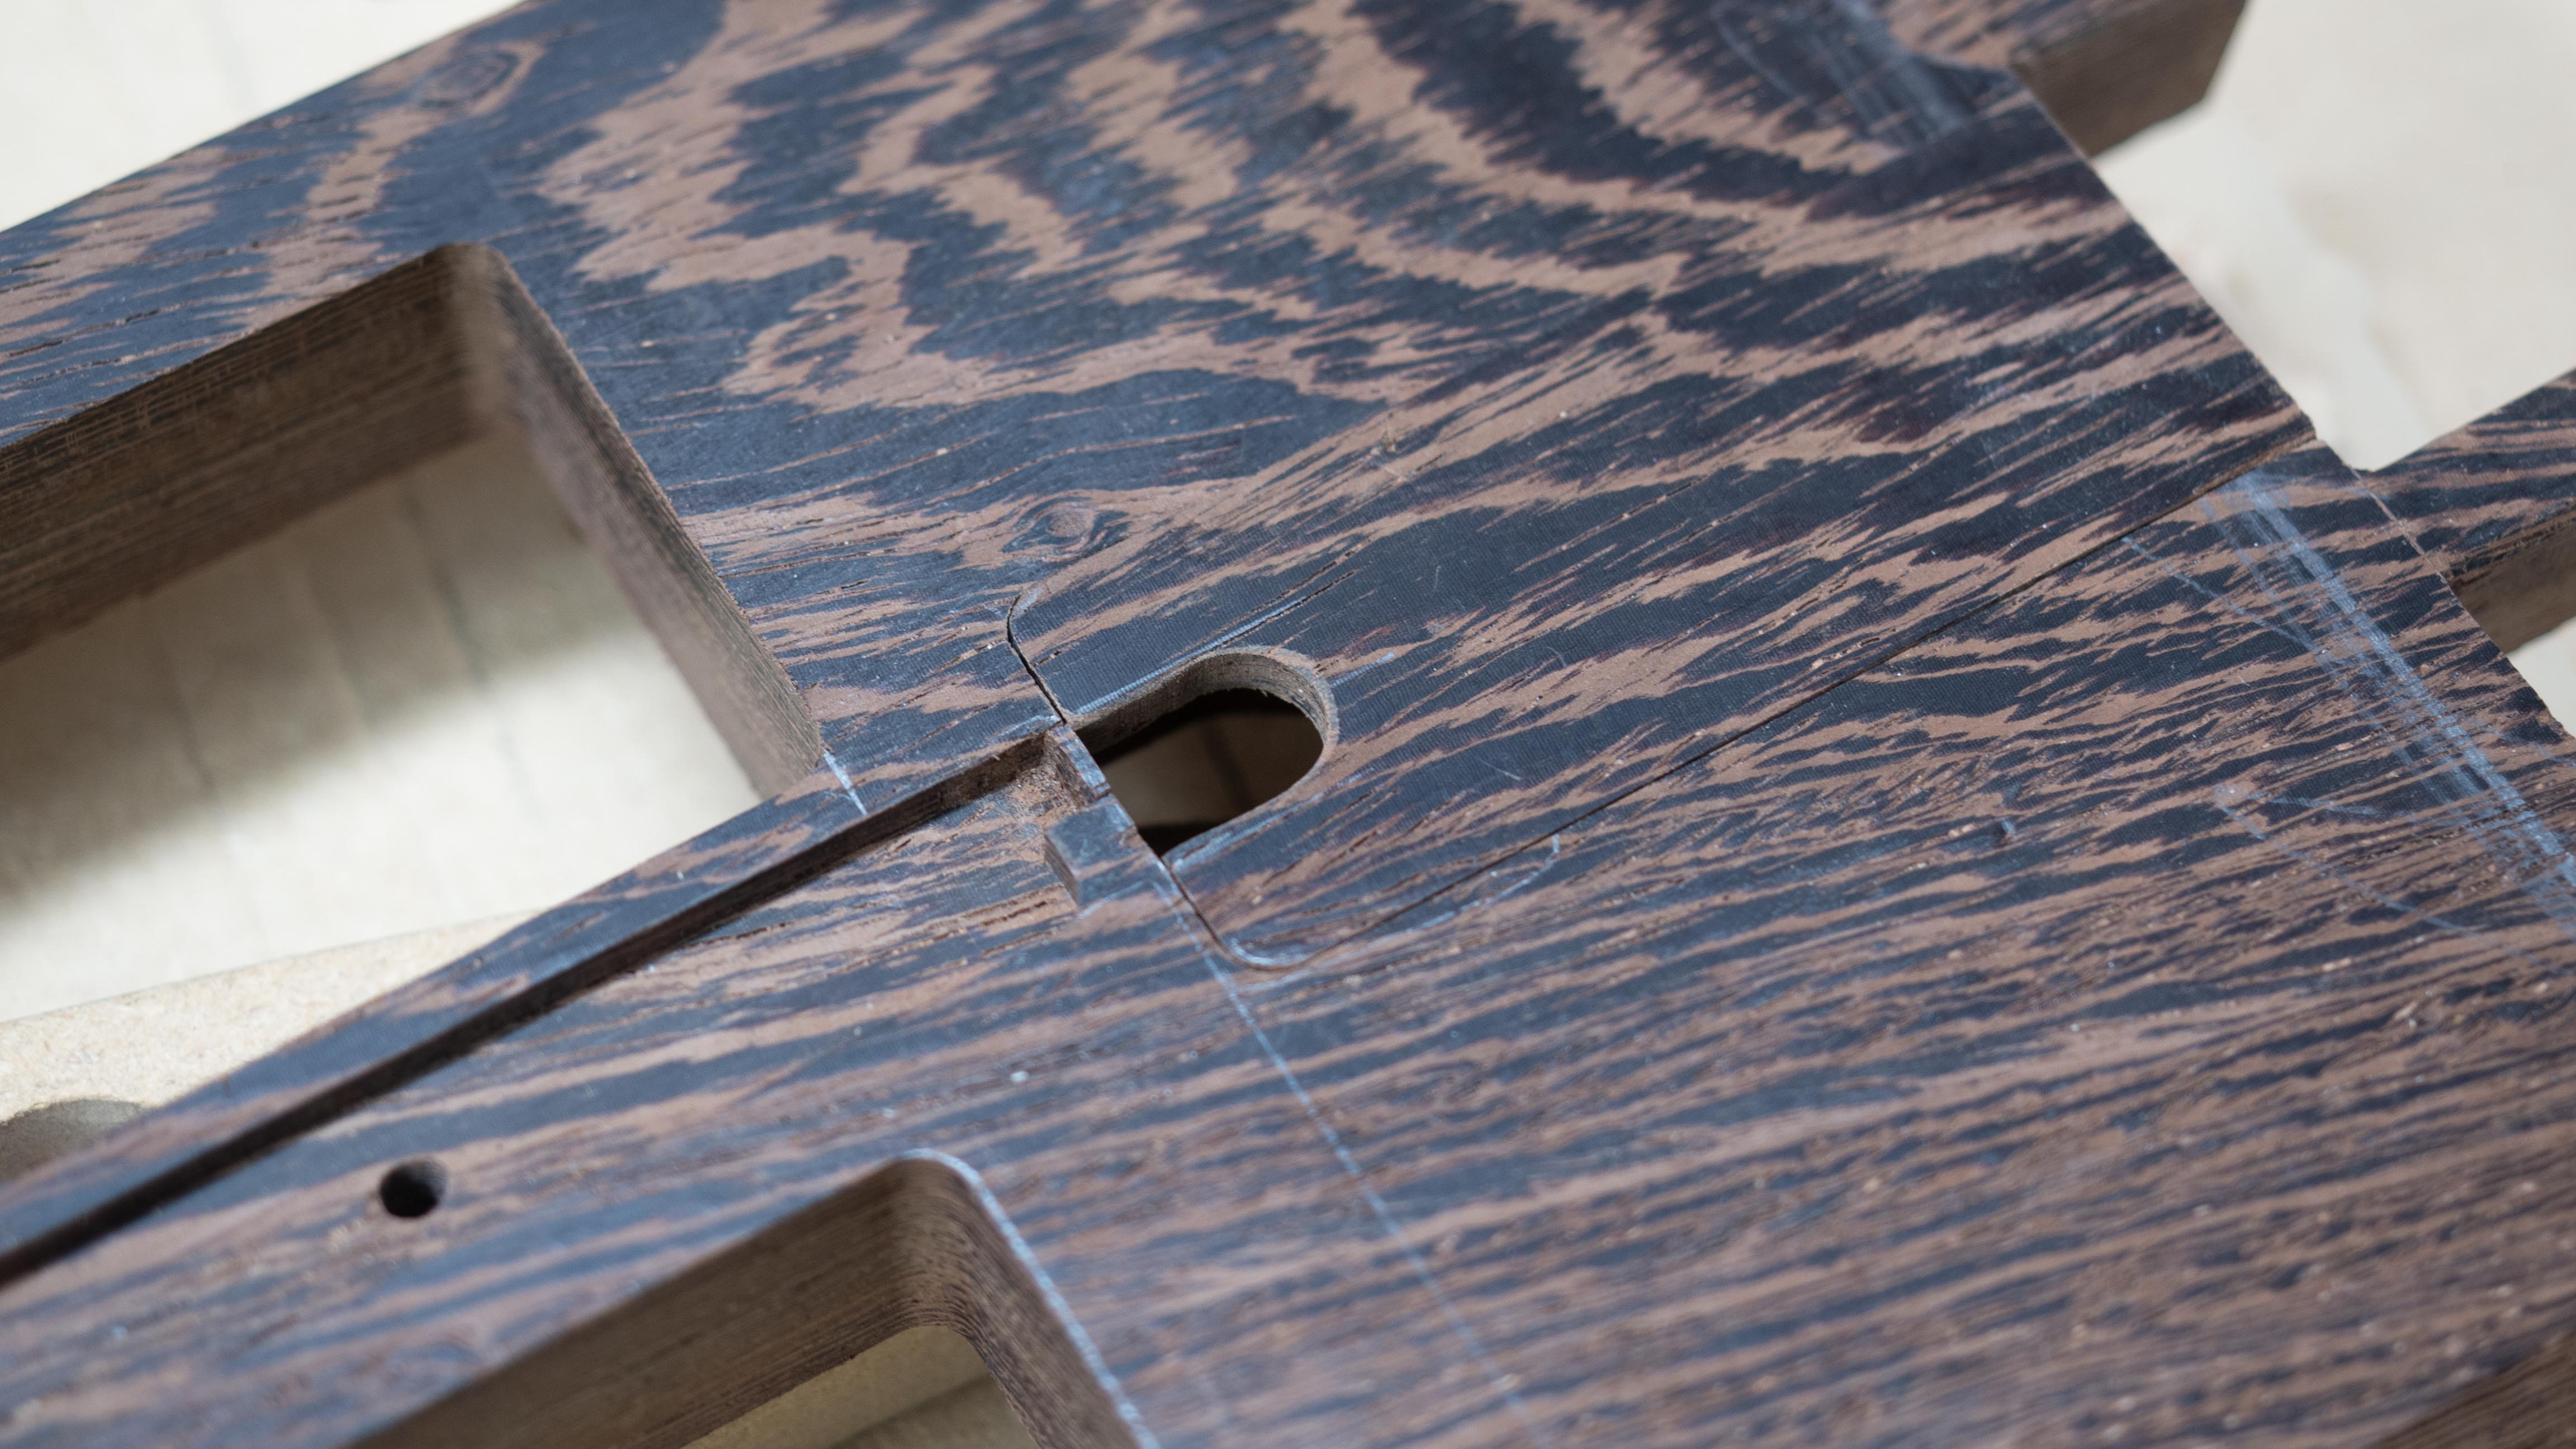
The bottom is done and ready to be glued to the rest of the case panels.
Graphics Card Fitment
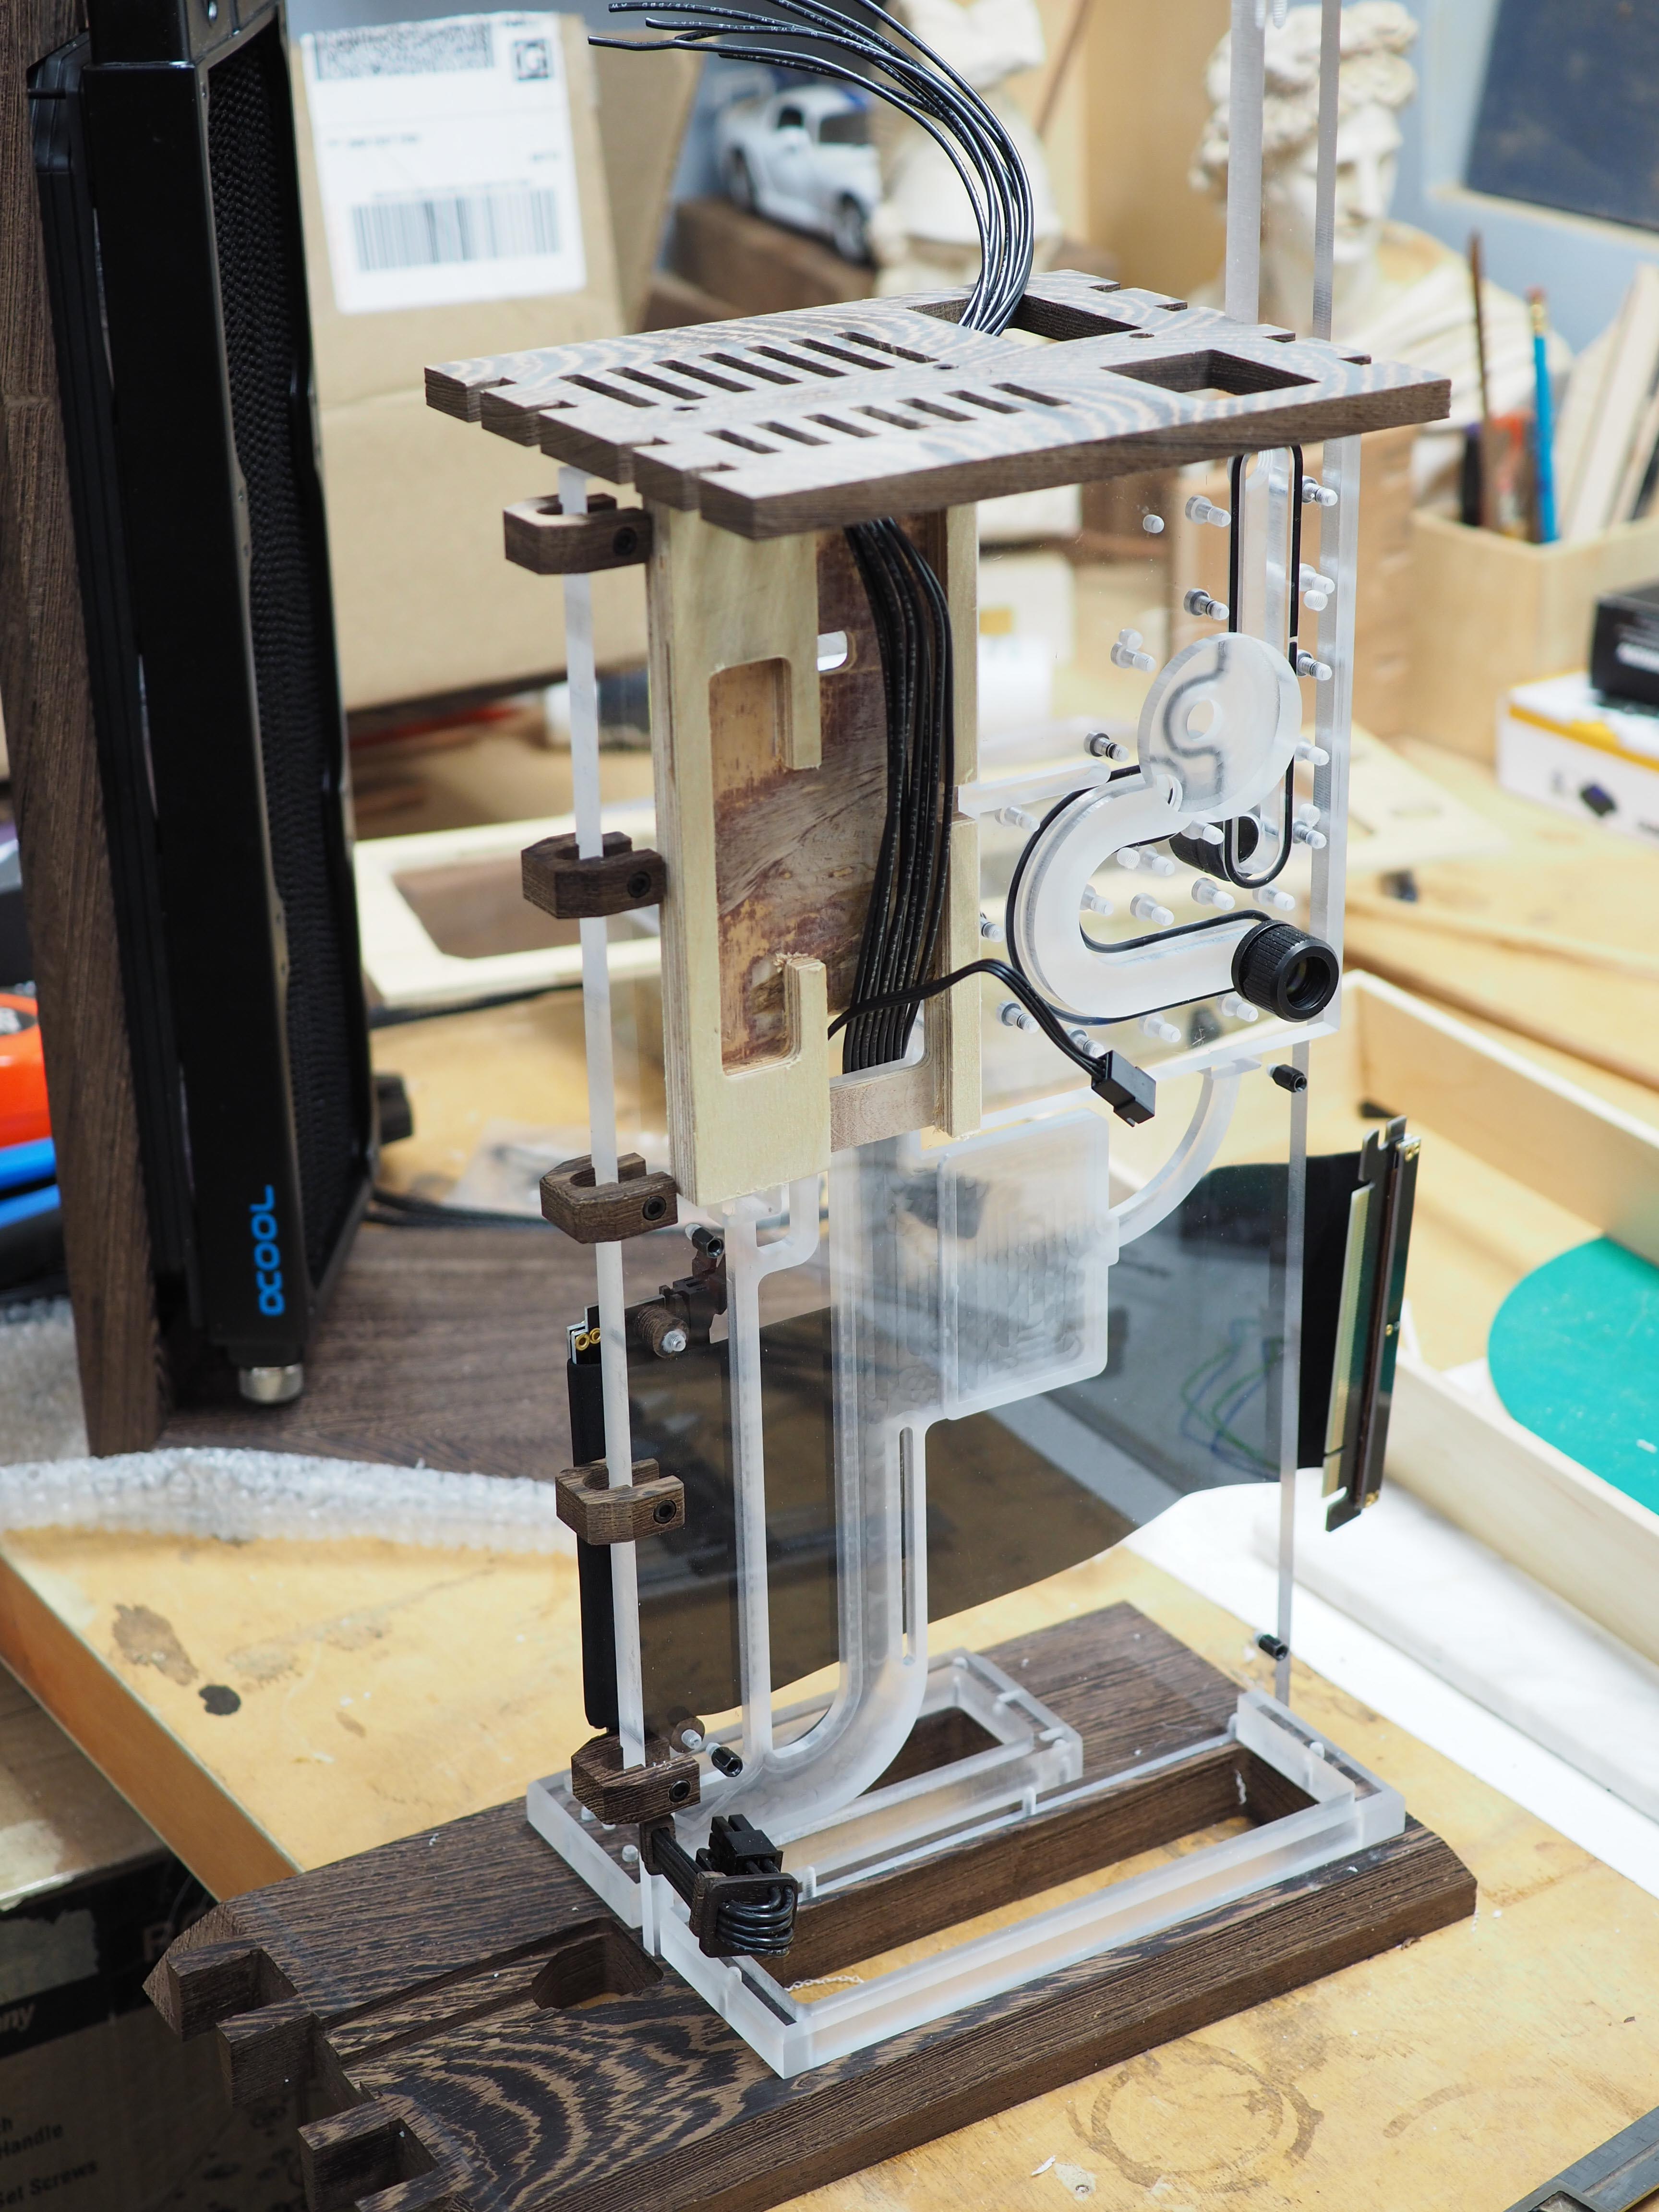
The graphics card is heavy and has water cooling in it so needs to be attached very securely. It attaches at the bottom into the acrylic, the top into the acrylic, and on the side, also into the acrylic, to provide a stable base for the water cooling tubing.
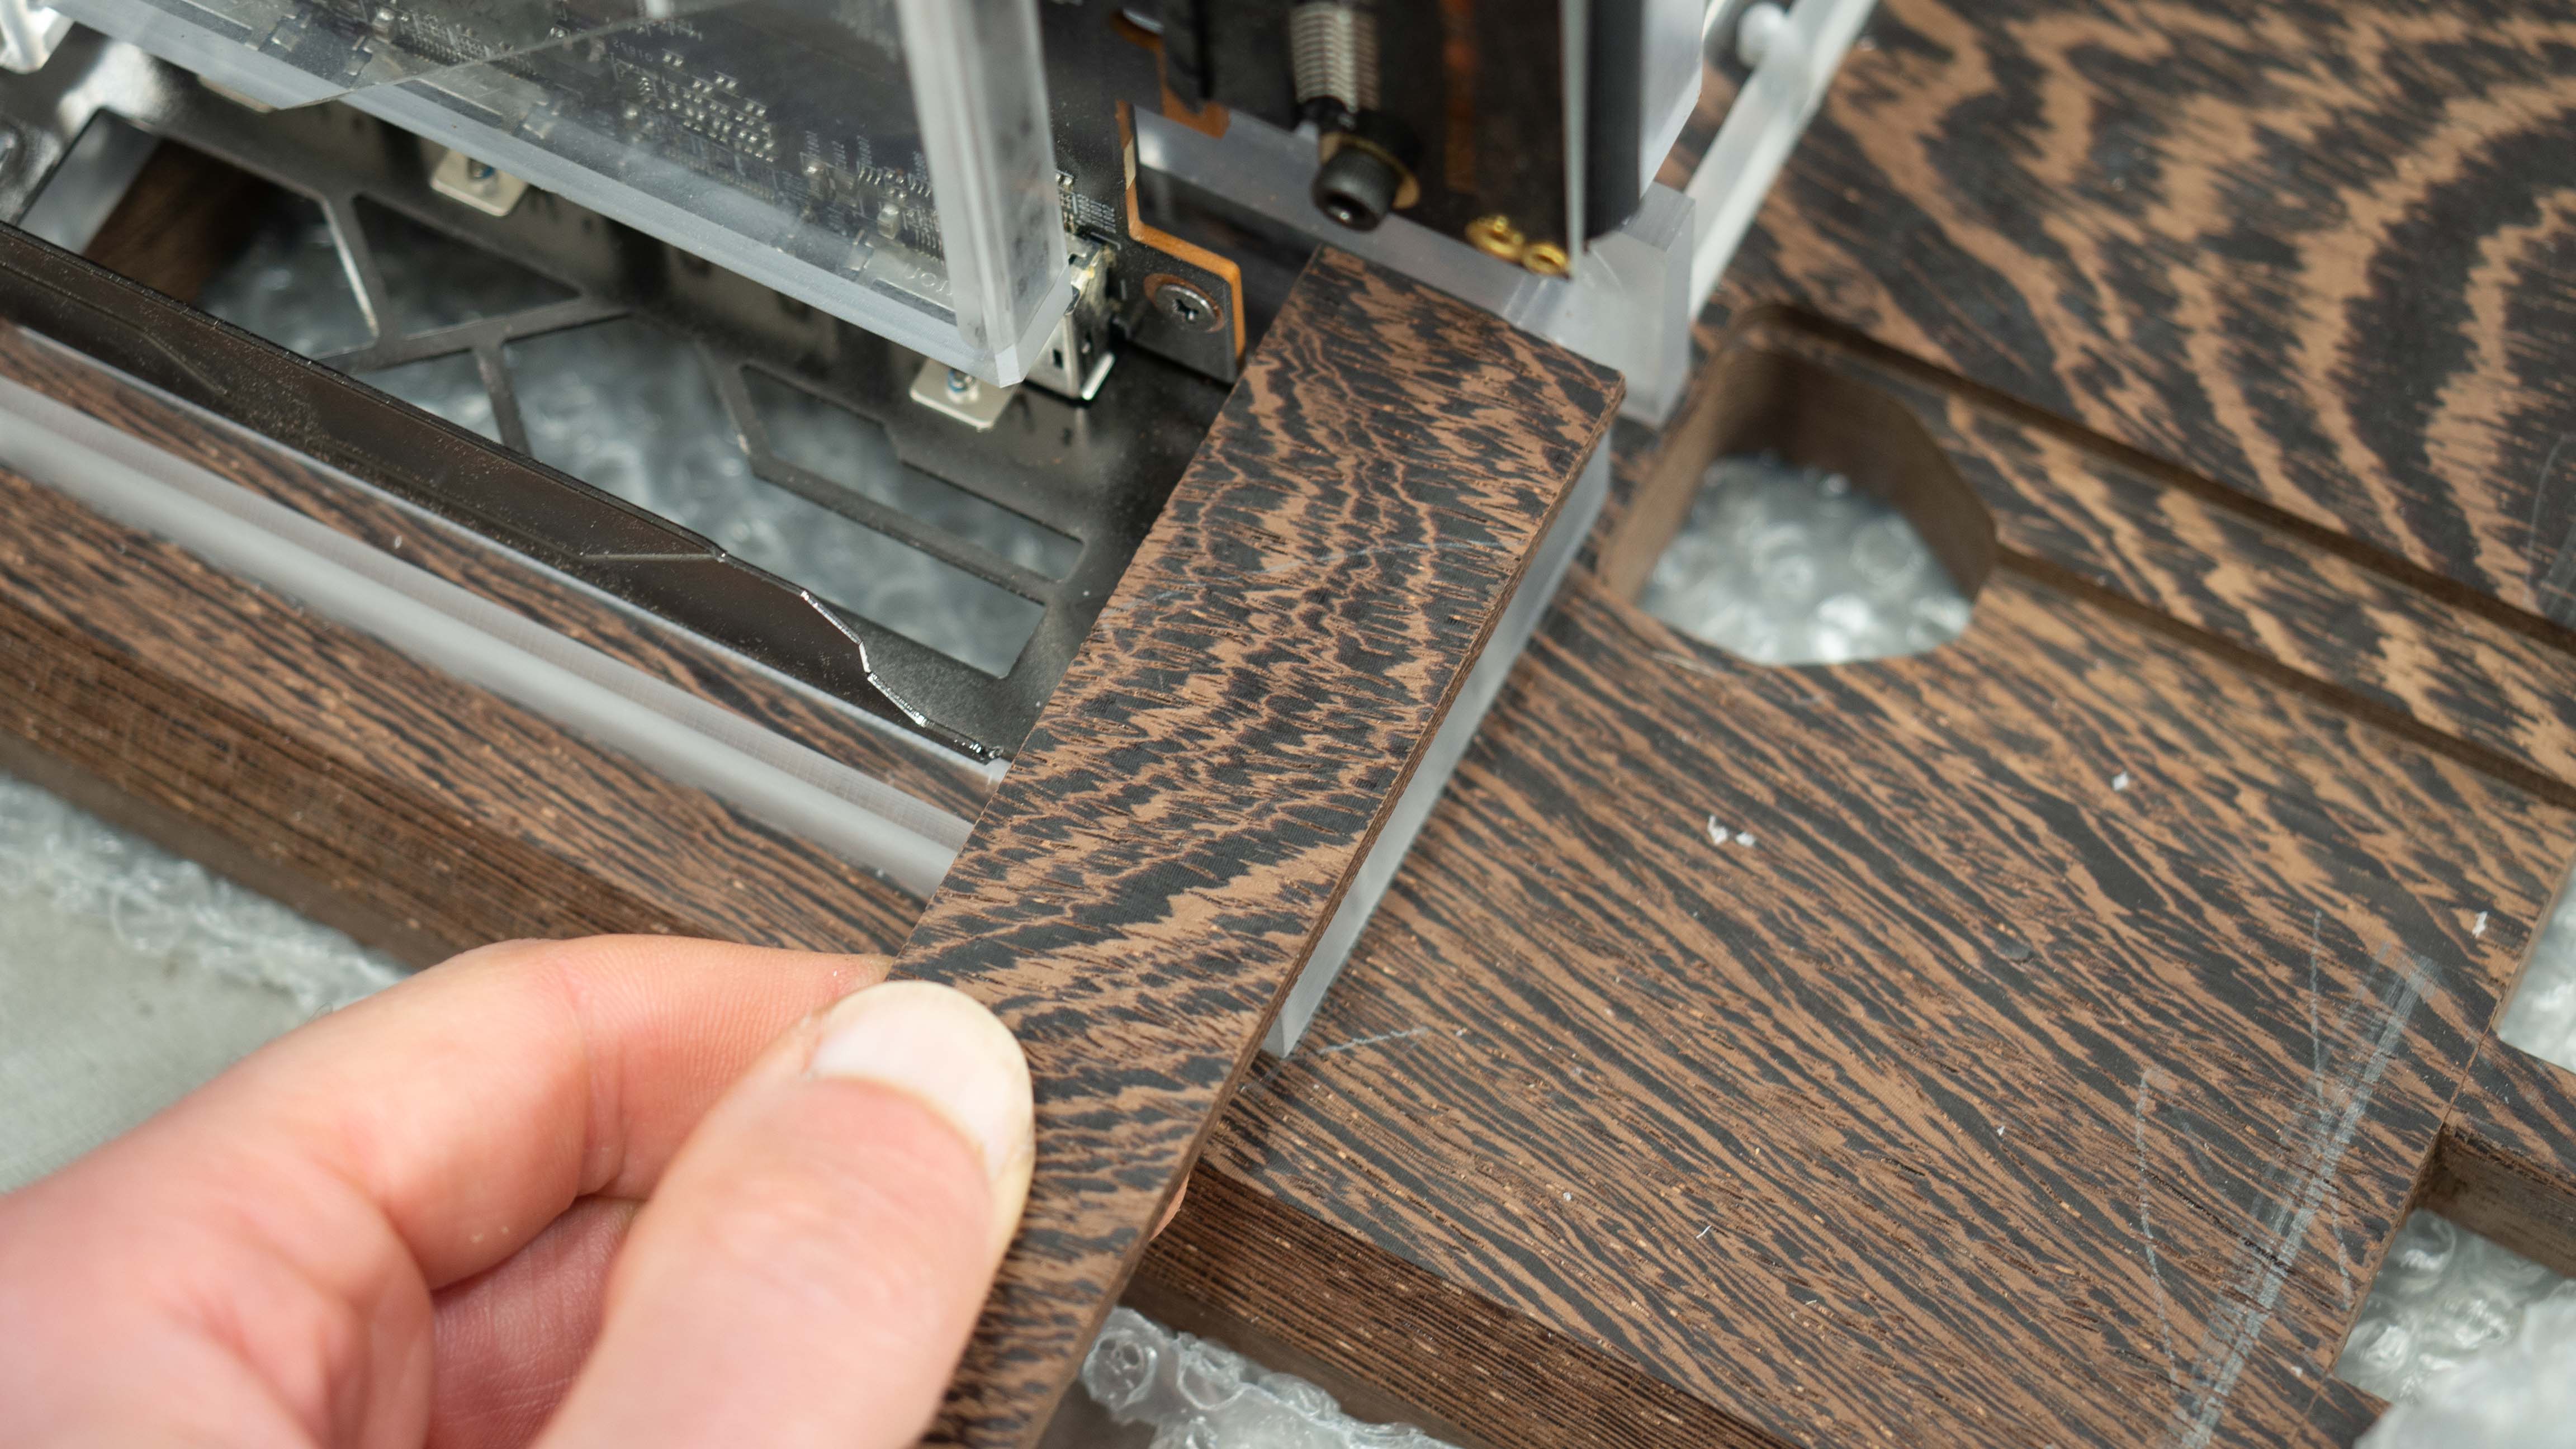
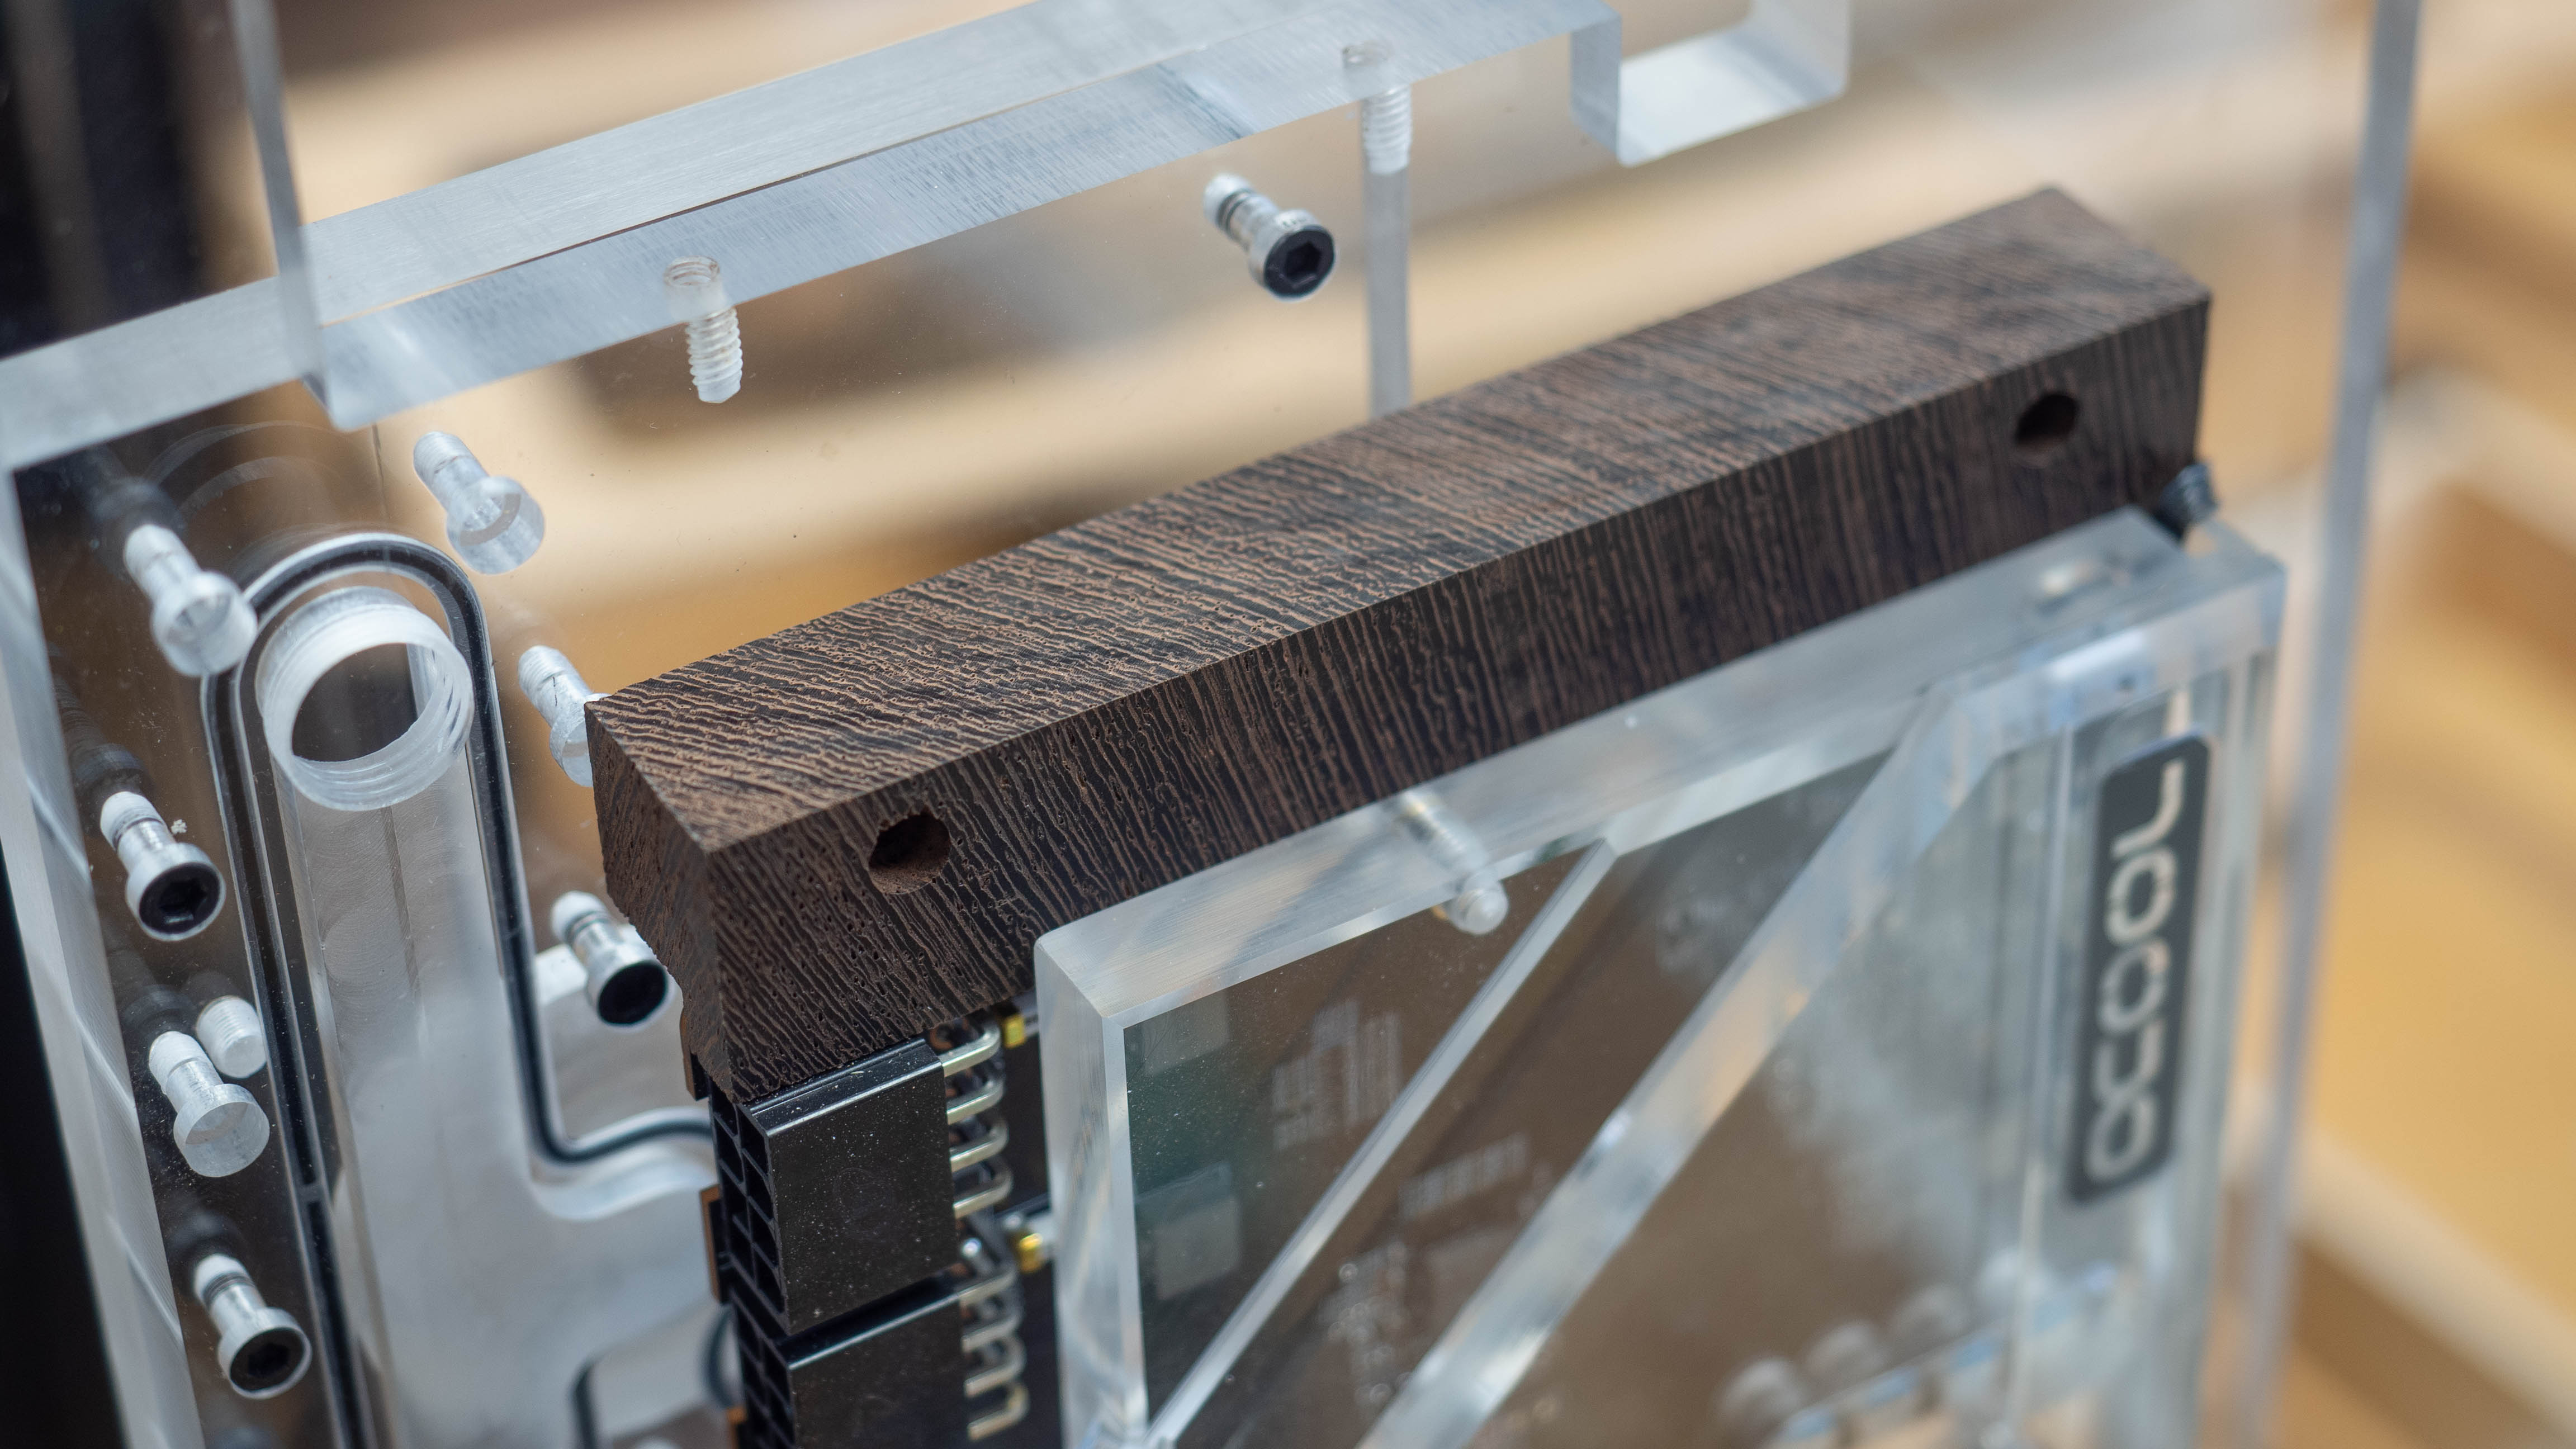
This was a great place to add some more Wenge details. I used a piece with matching grain to hold the graphics card “fingers” in place. I routed out the back and screwed it into the acrylic.
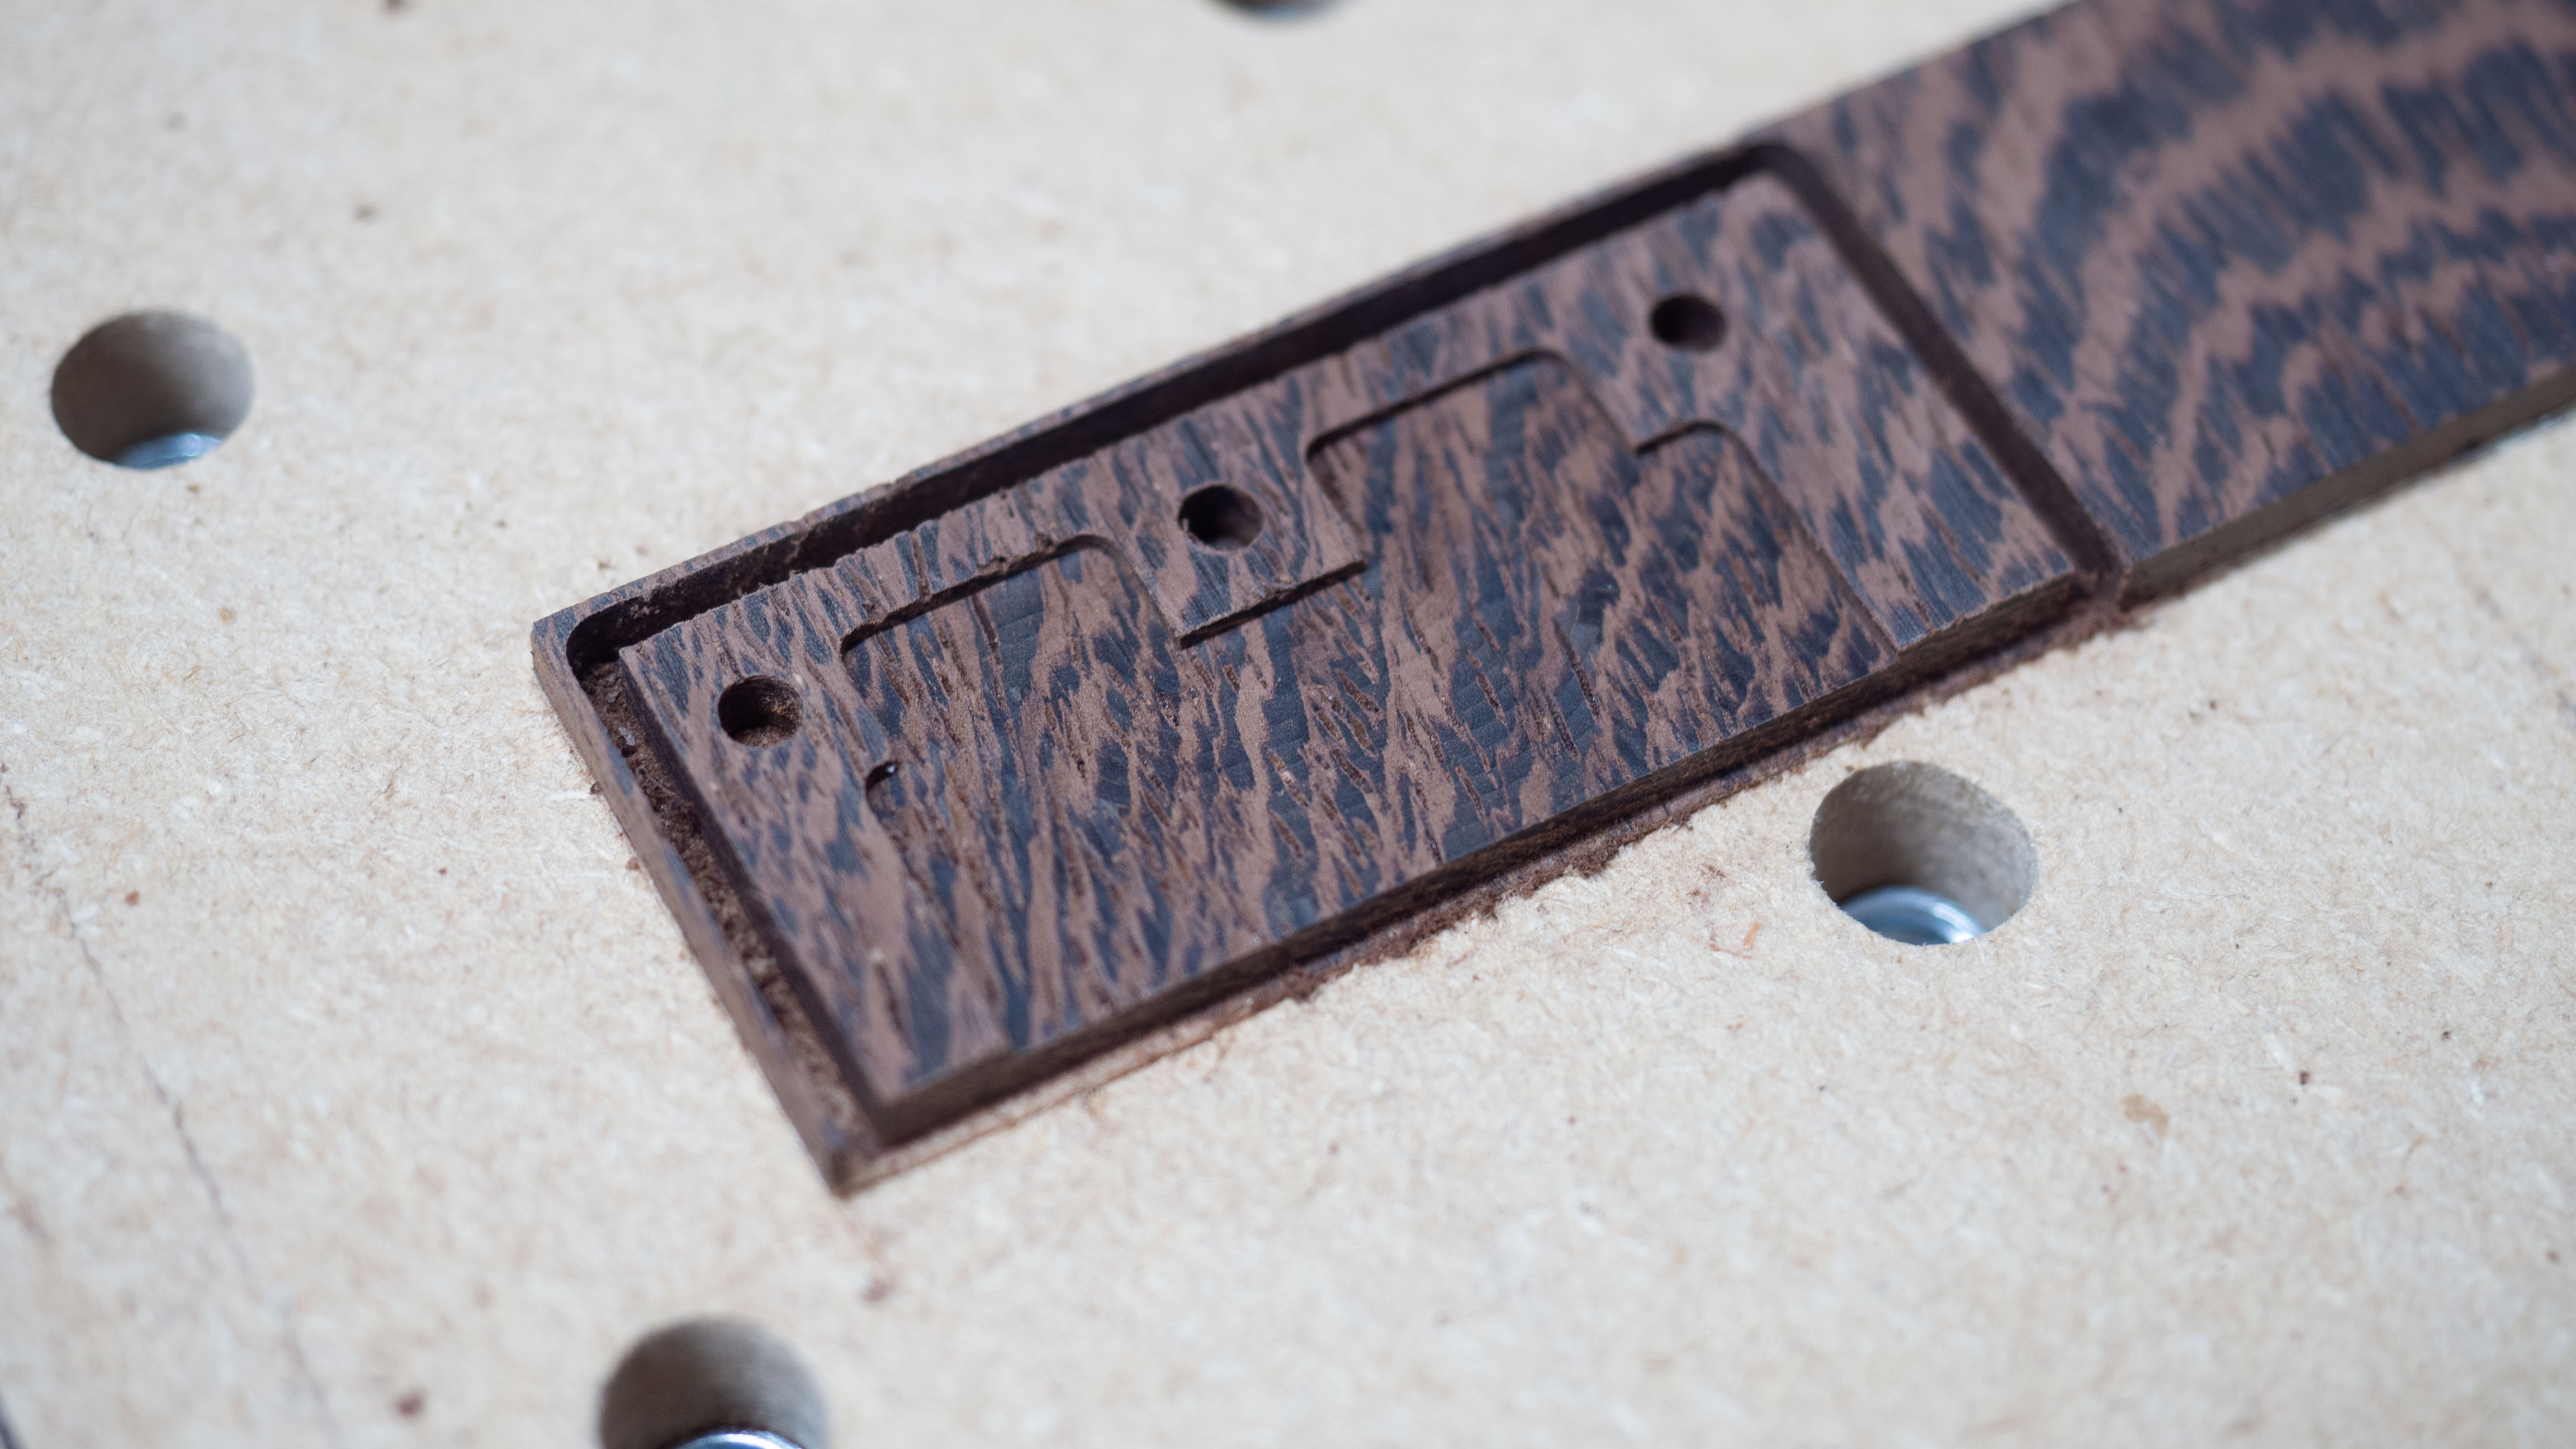
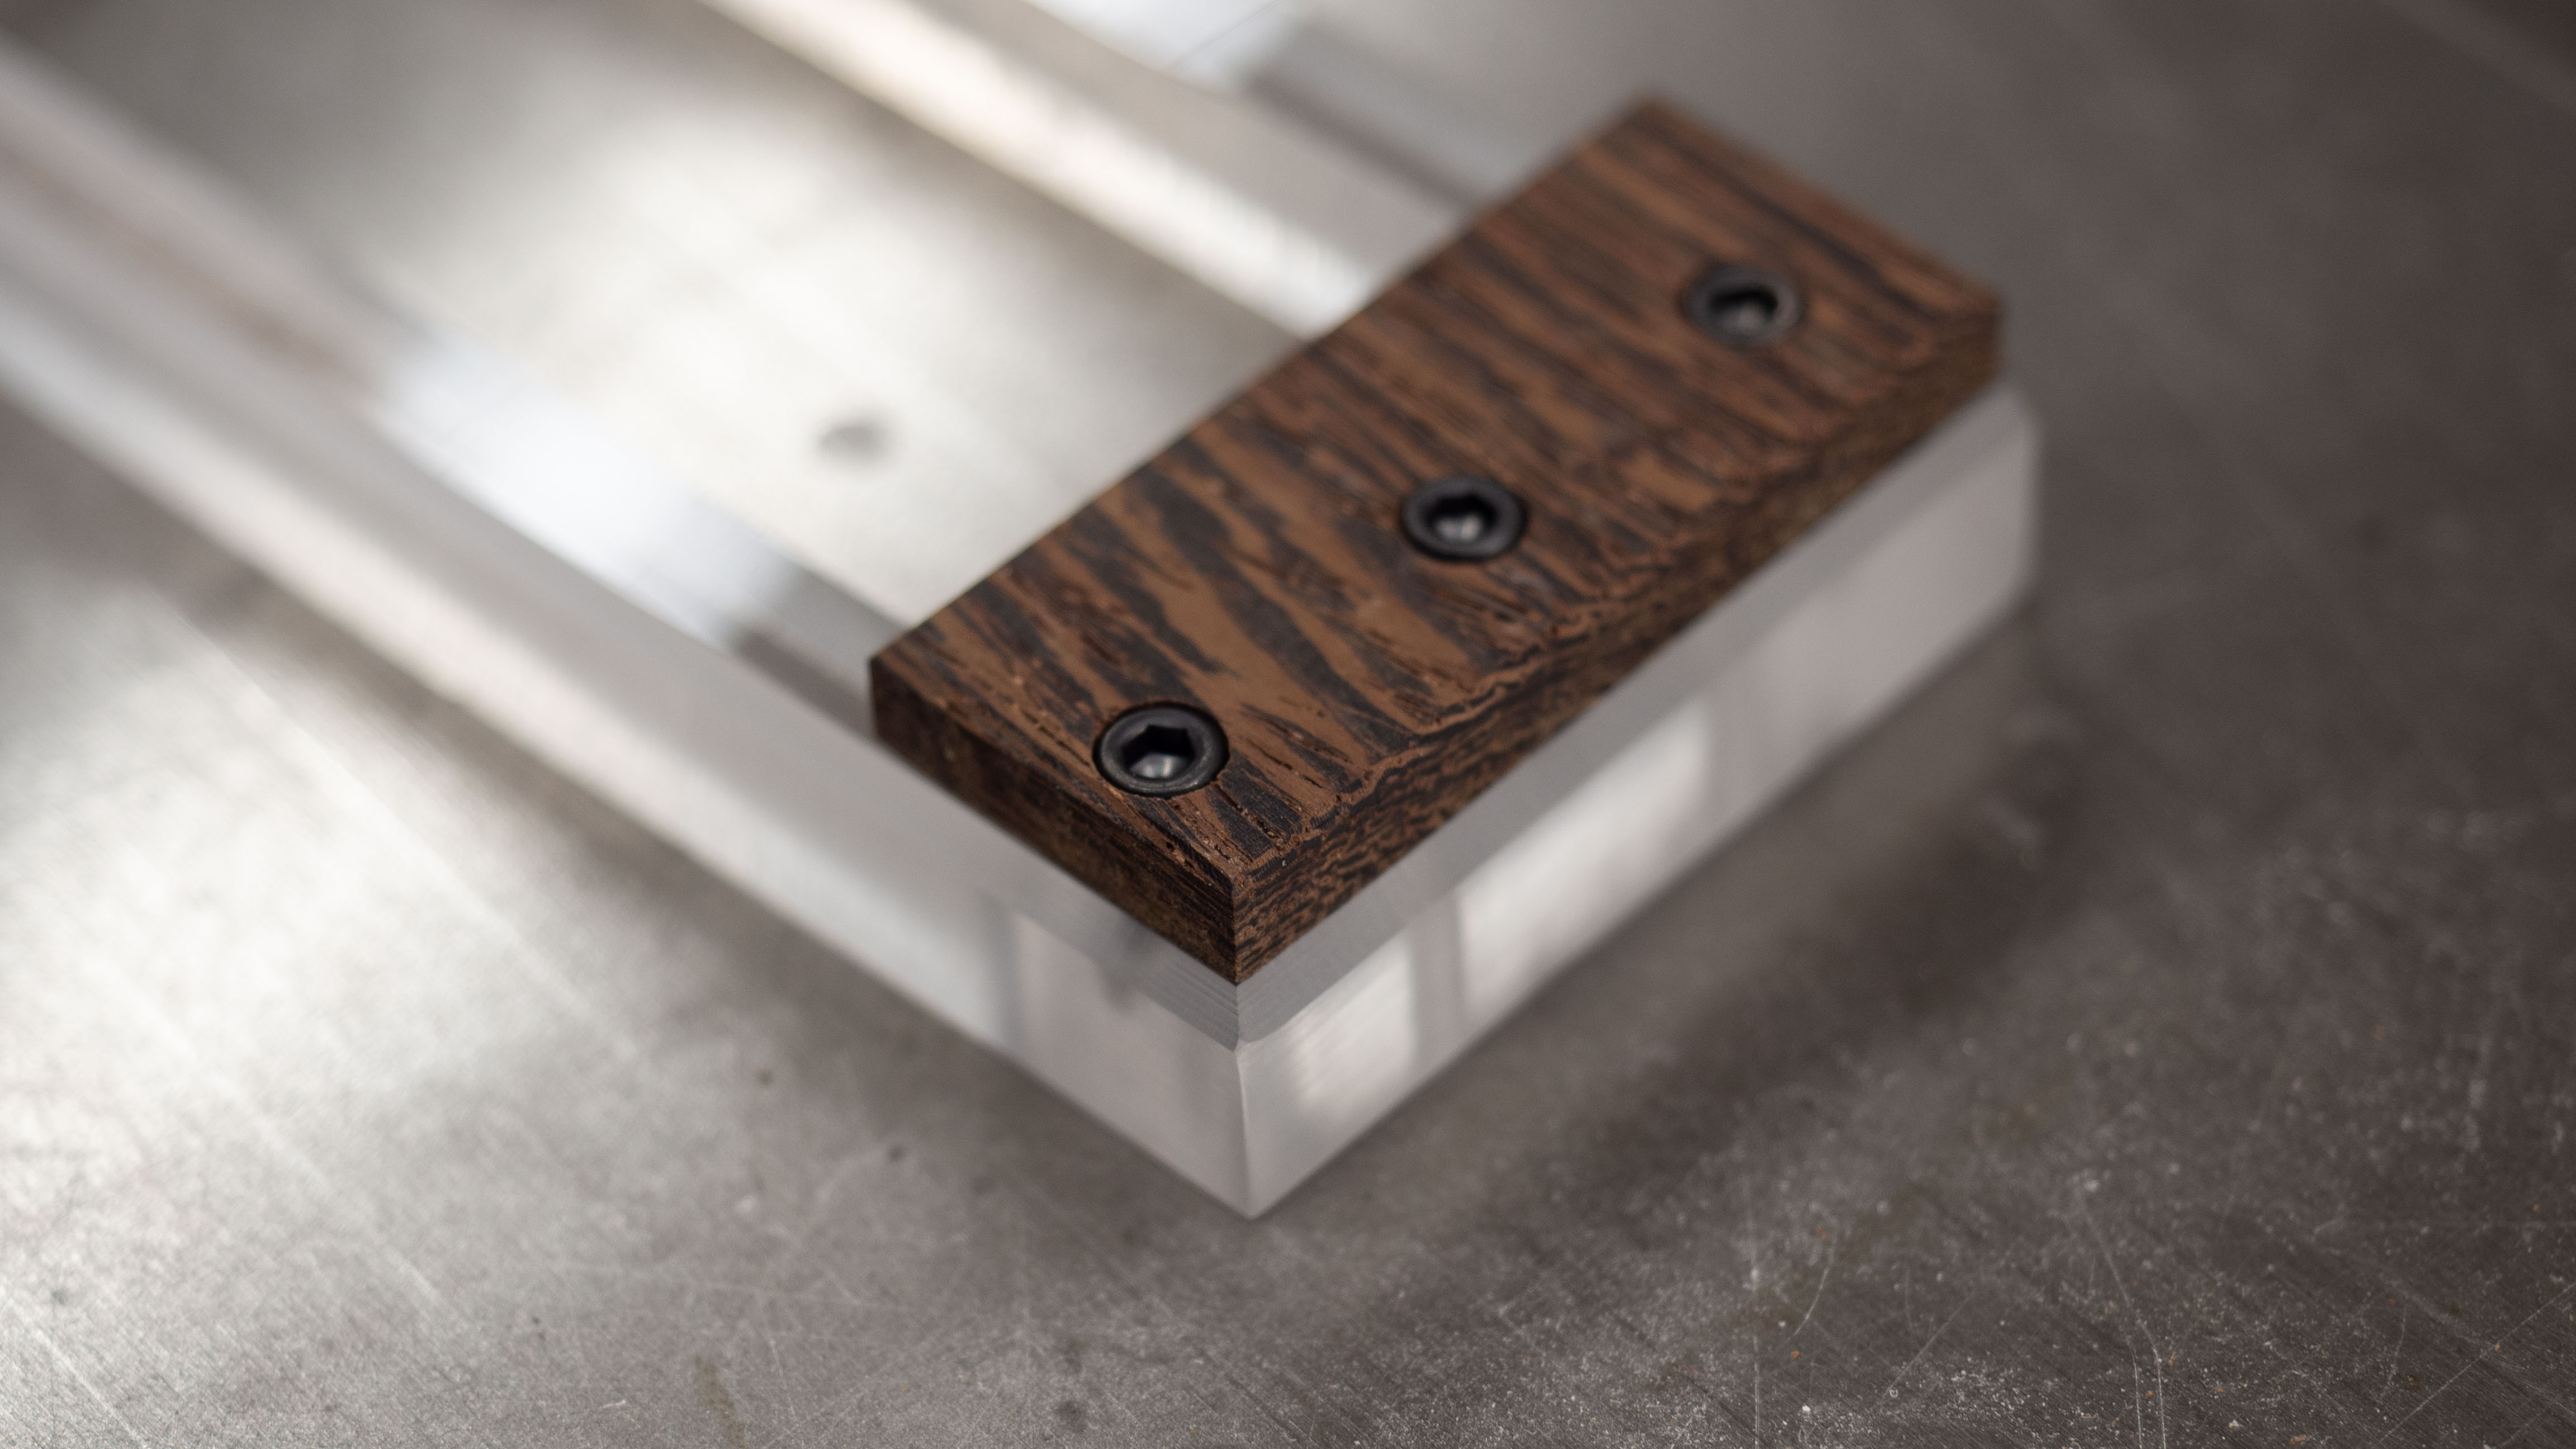
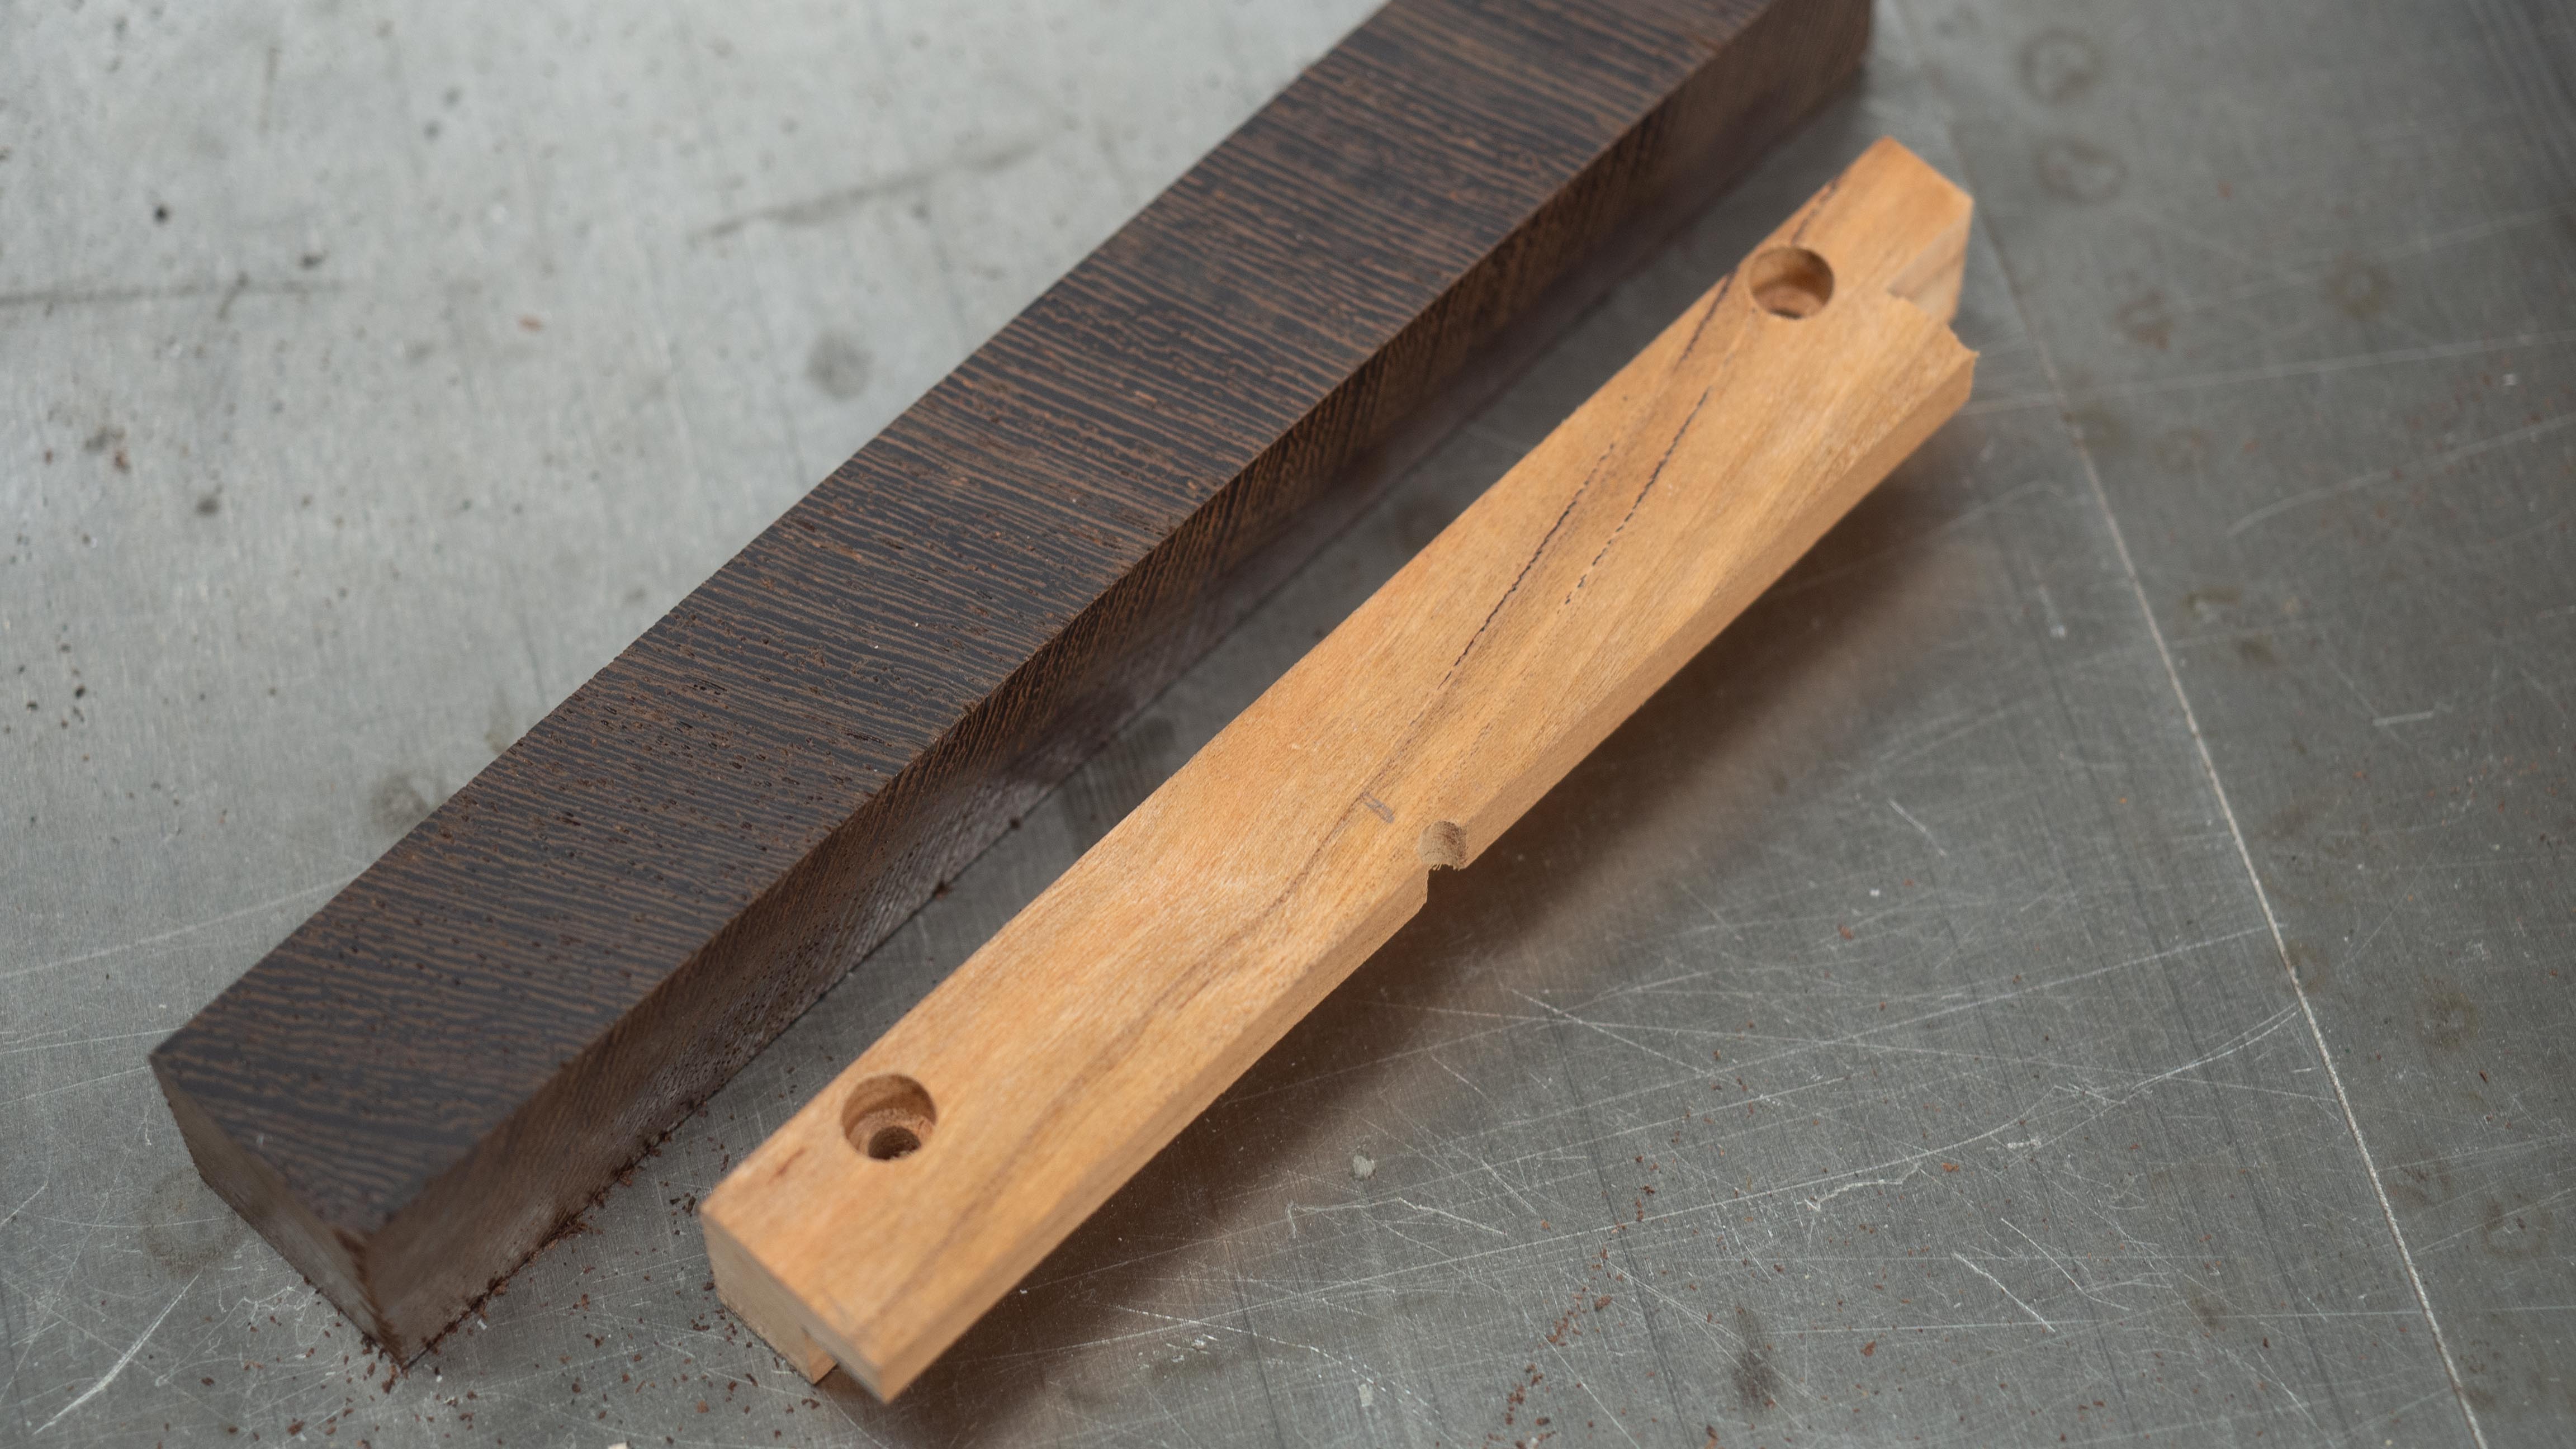
To hold the heavy GPU assembly up, I decided to attach a bracket at the top that slips between the PCB and the waterblock. I made a quick test one to see if this would work well enough. I had plenty of Wenge cutoffs so I modeled it up and got to cutting.
The original plan was to use the router table but the CNC was much safer. The hardness of this wood makes it unforgiving, especially with small pieces.
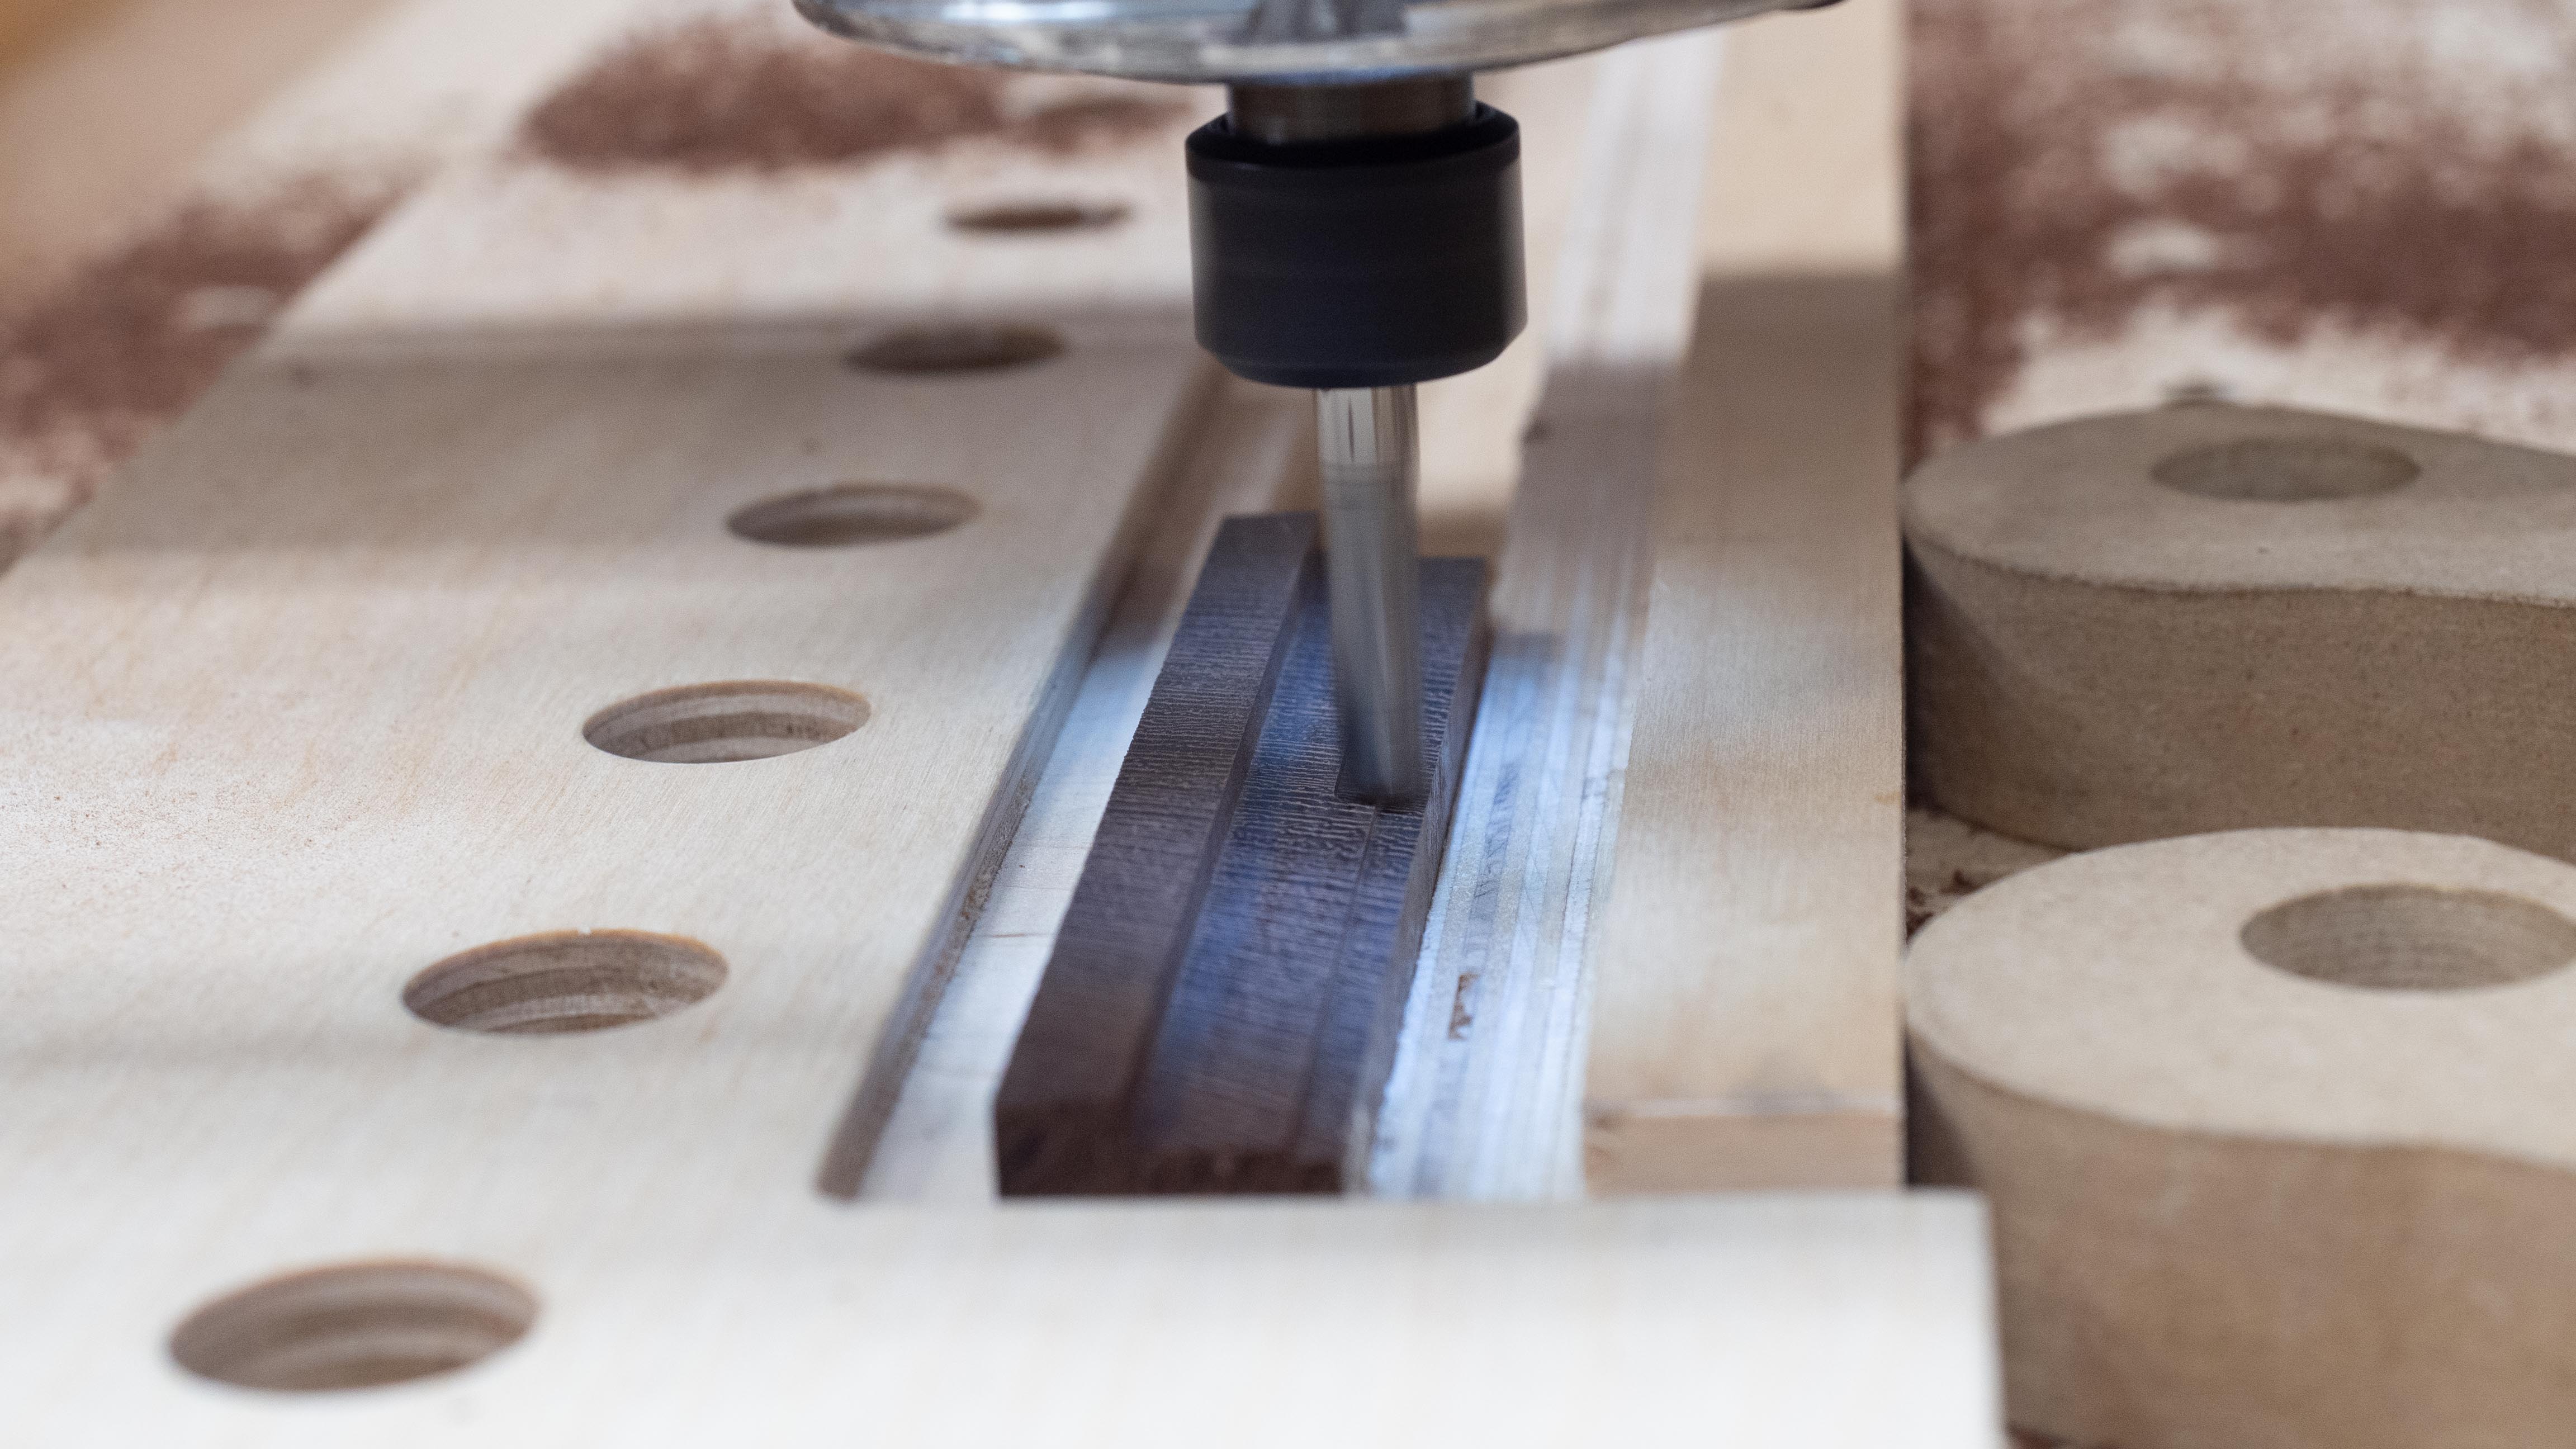
I also put a small chamfer around the edges and then this can be screwed into the acrylic panel.
Power Cable Brackets
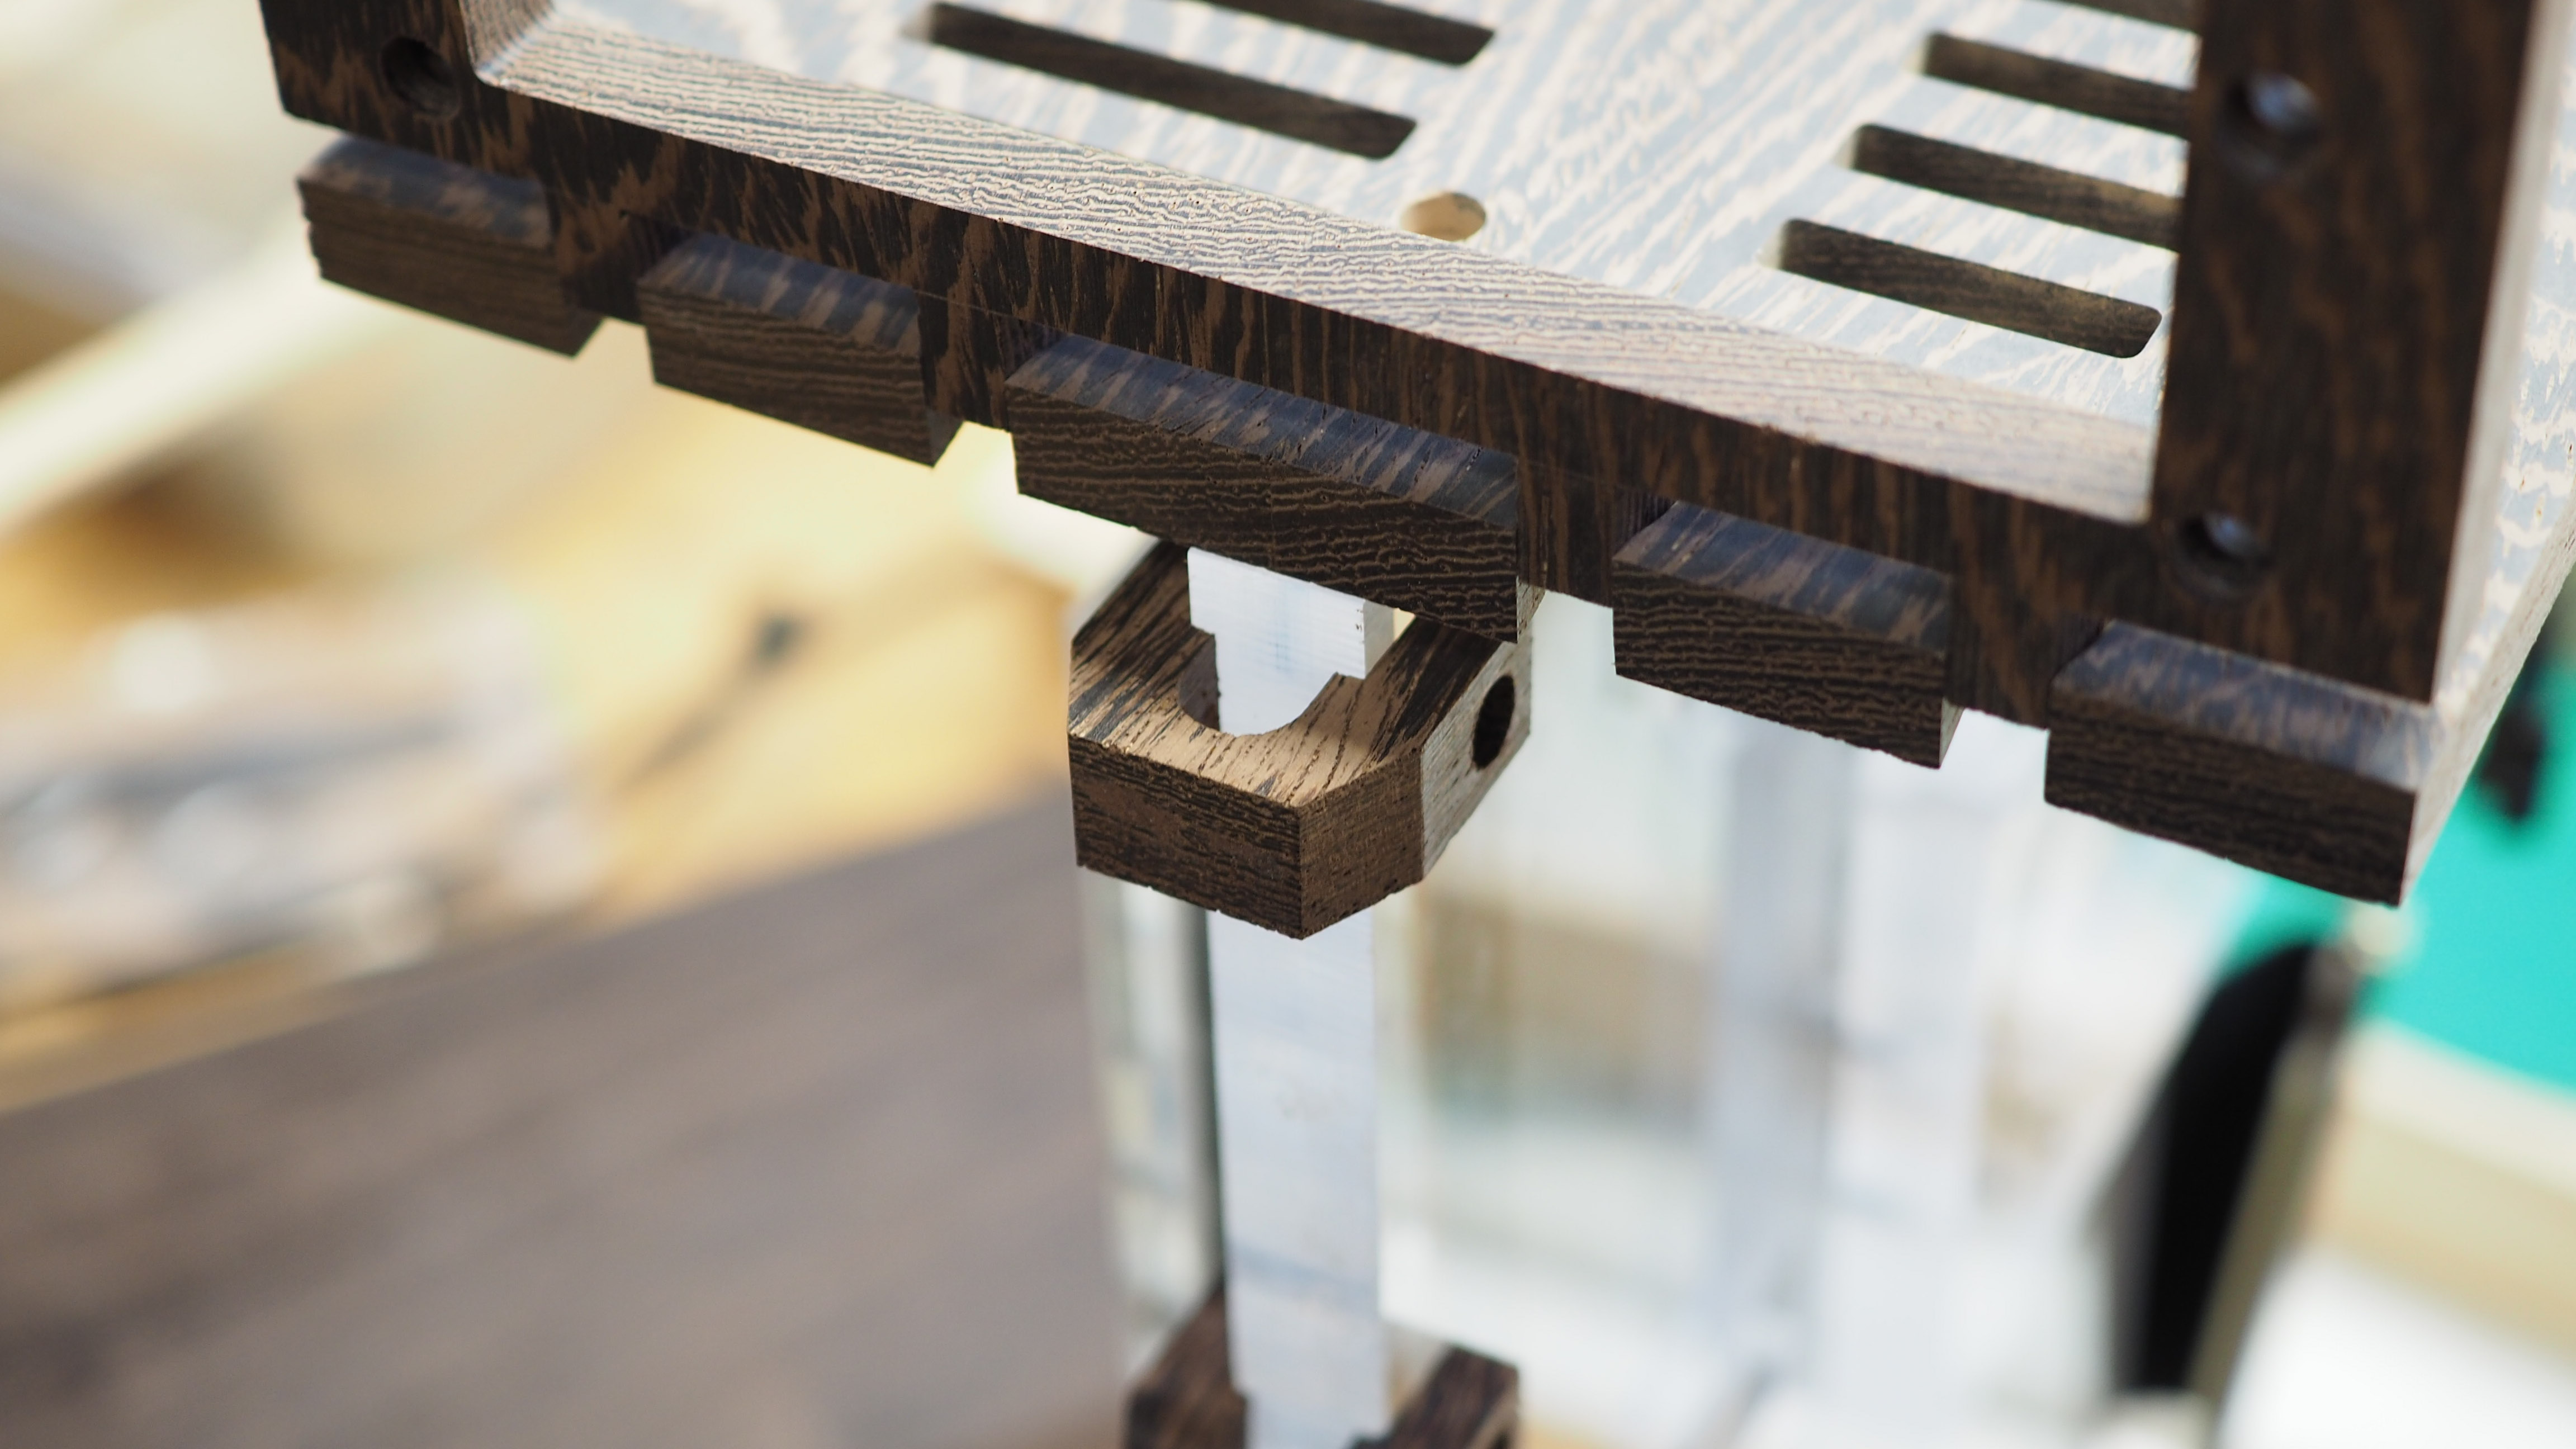
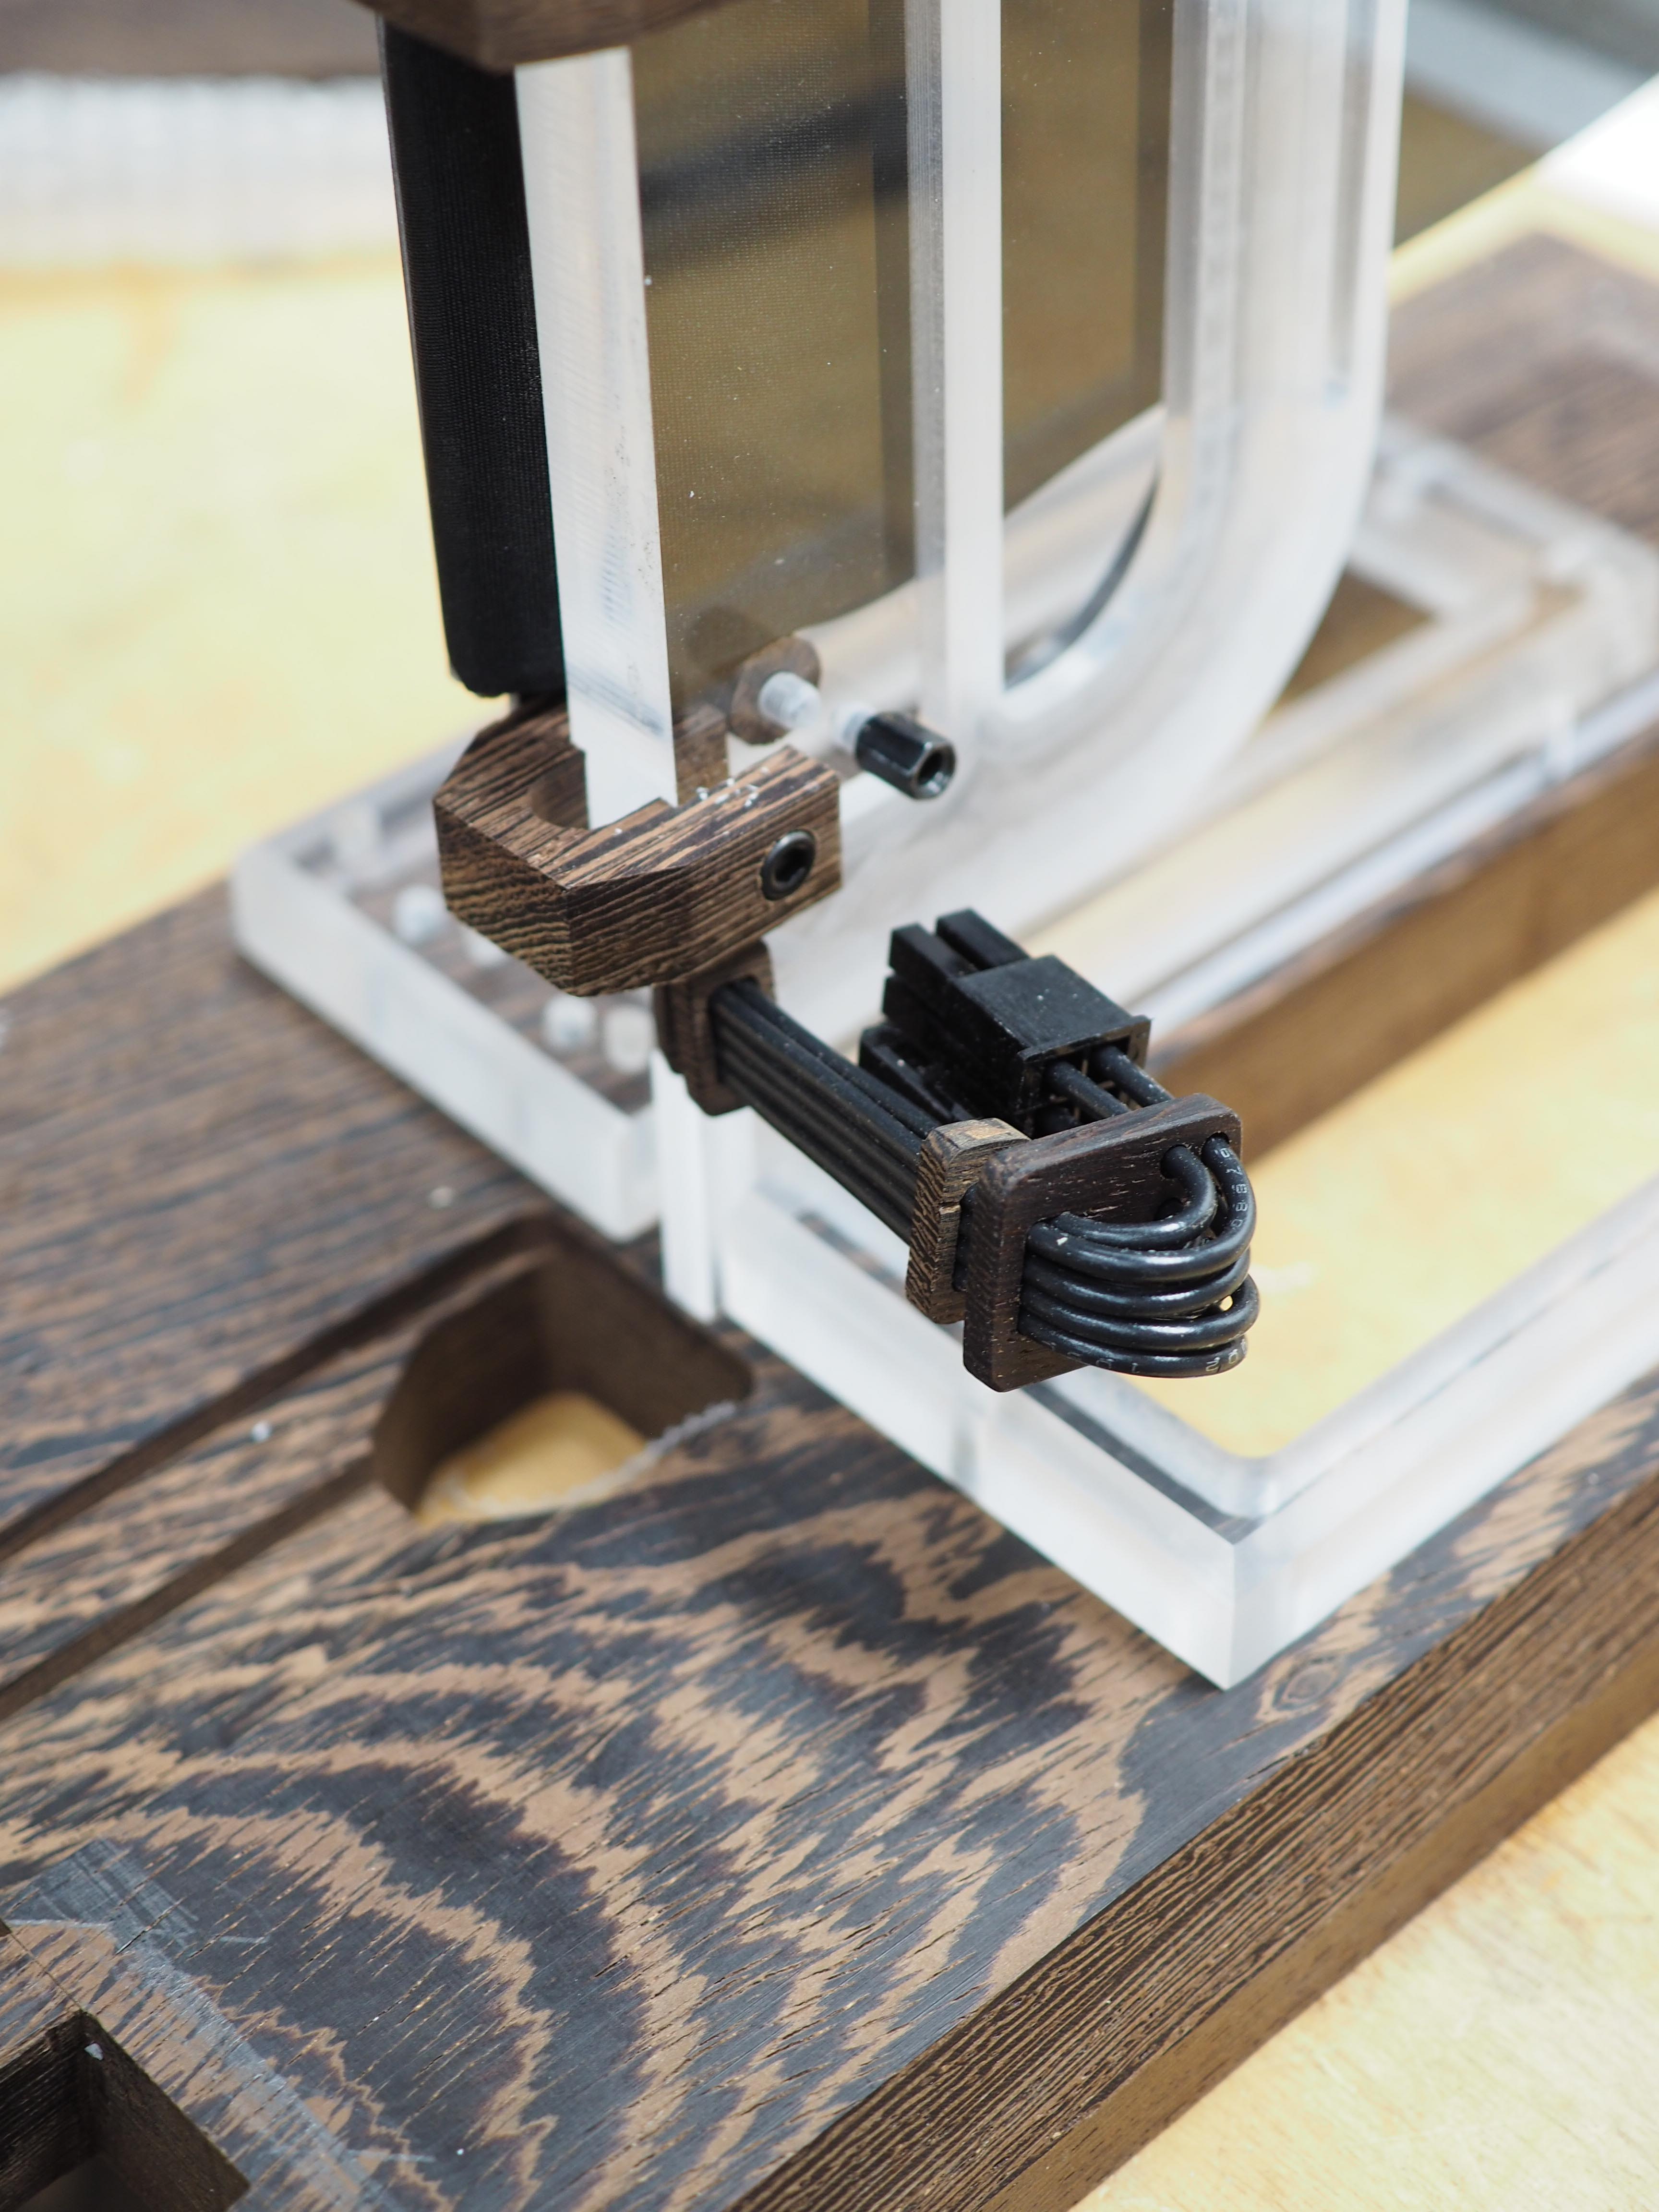
I wanted an elegant way to hold the PSU power cable to the acrylic and decided on some little Wenge brackets. This took a few tries to get something that I liked but in the end I decided on this.
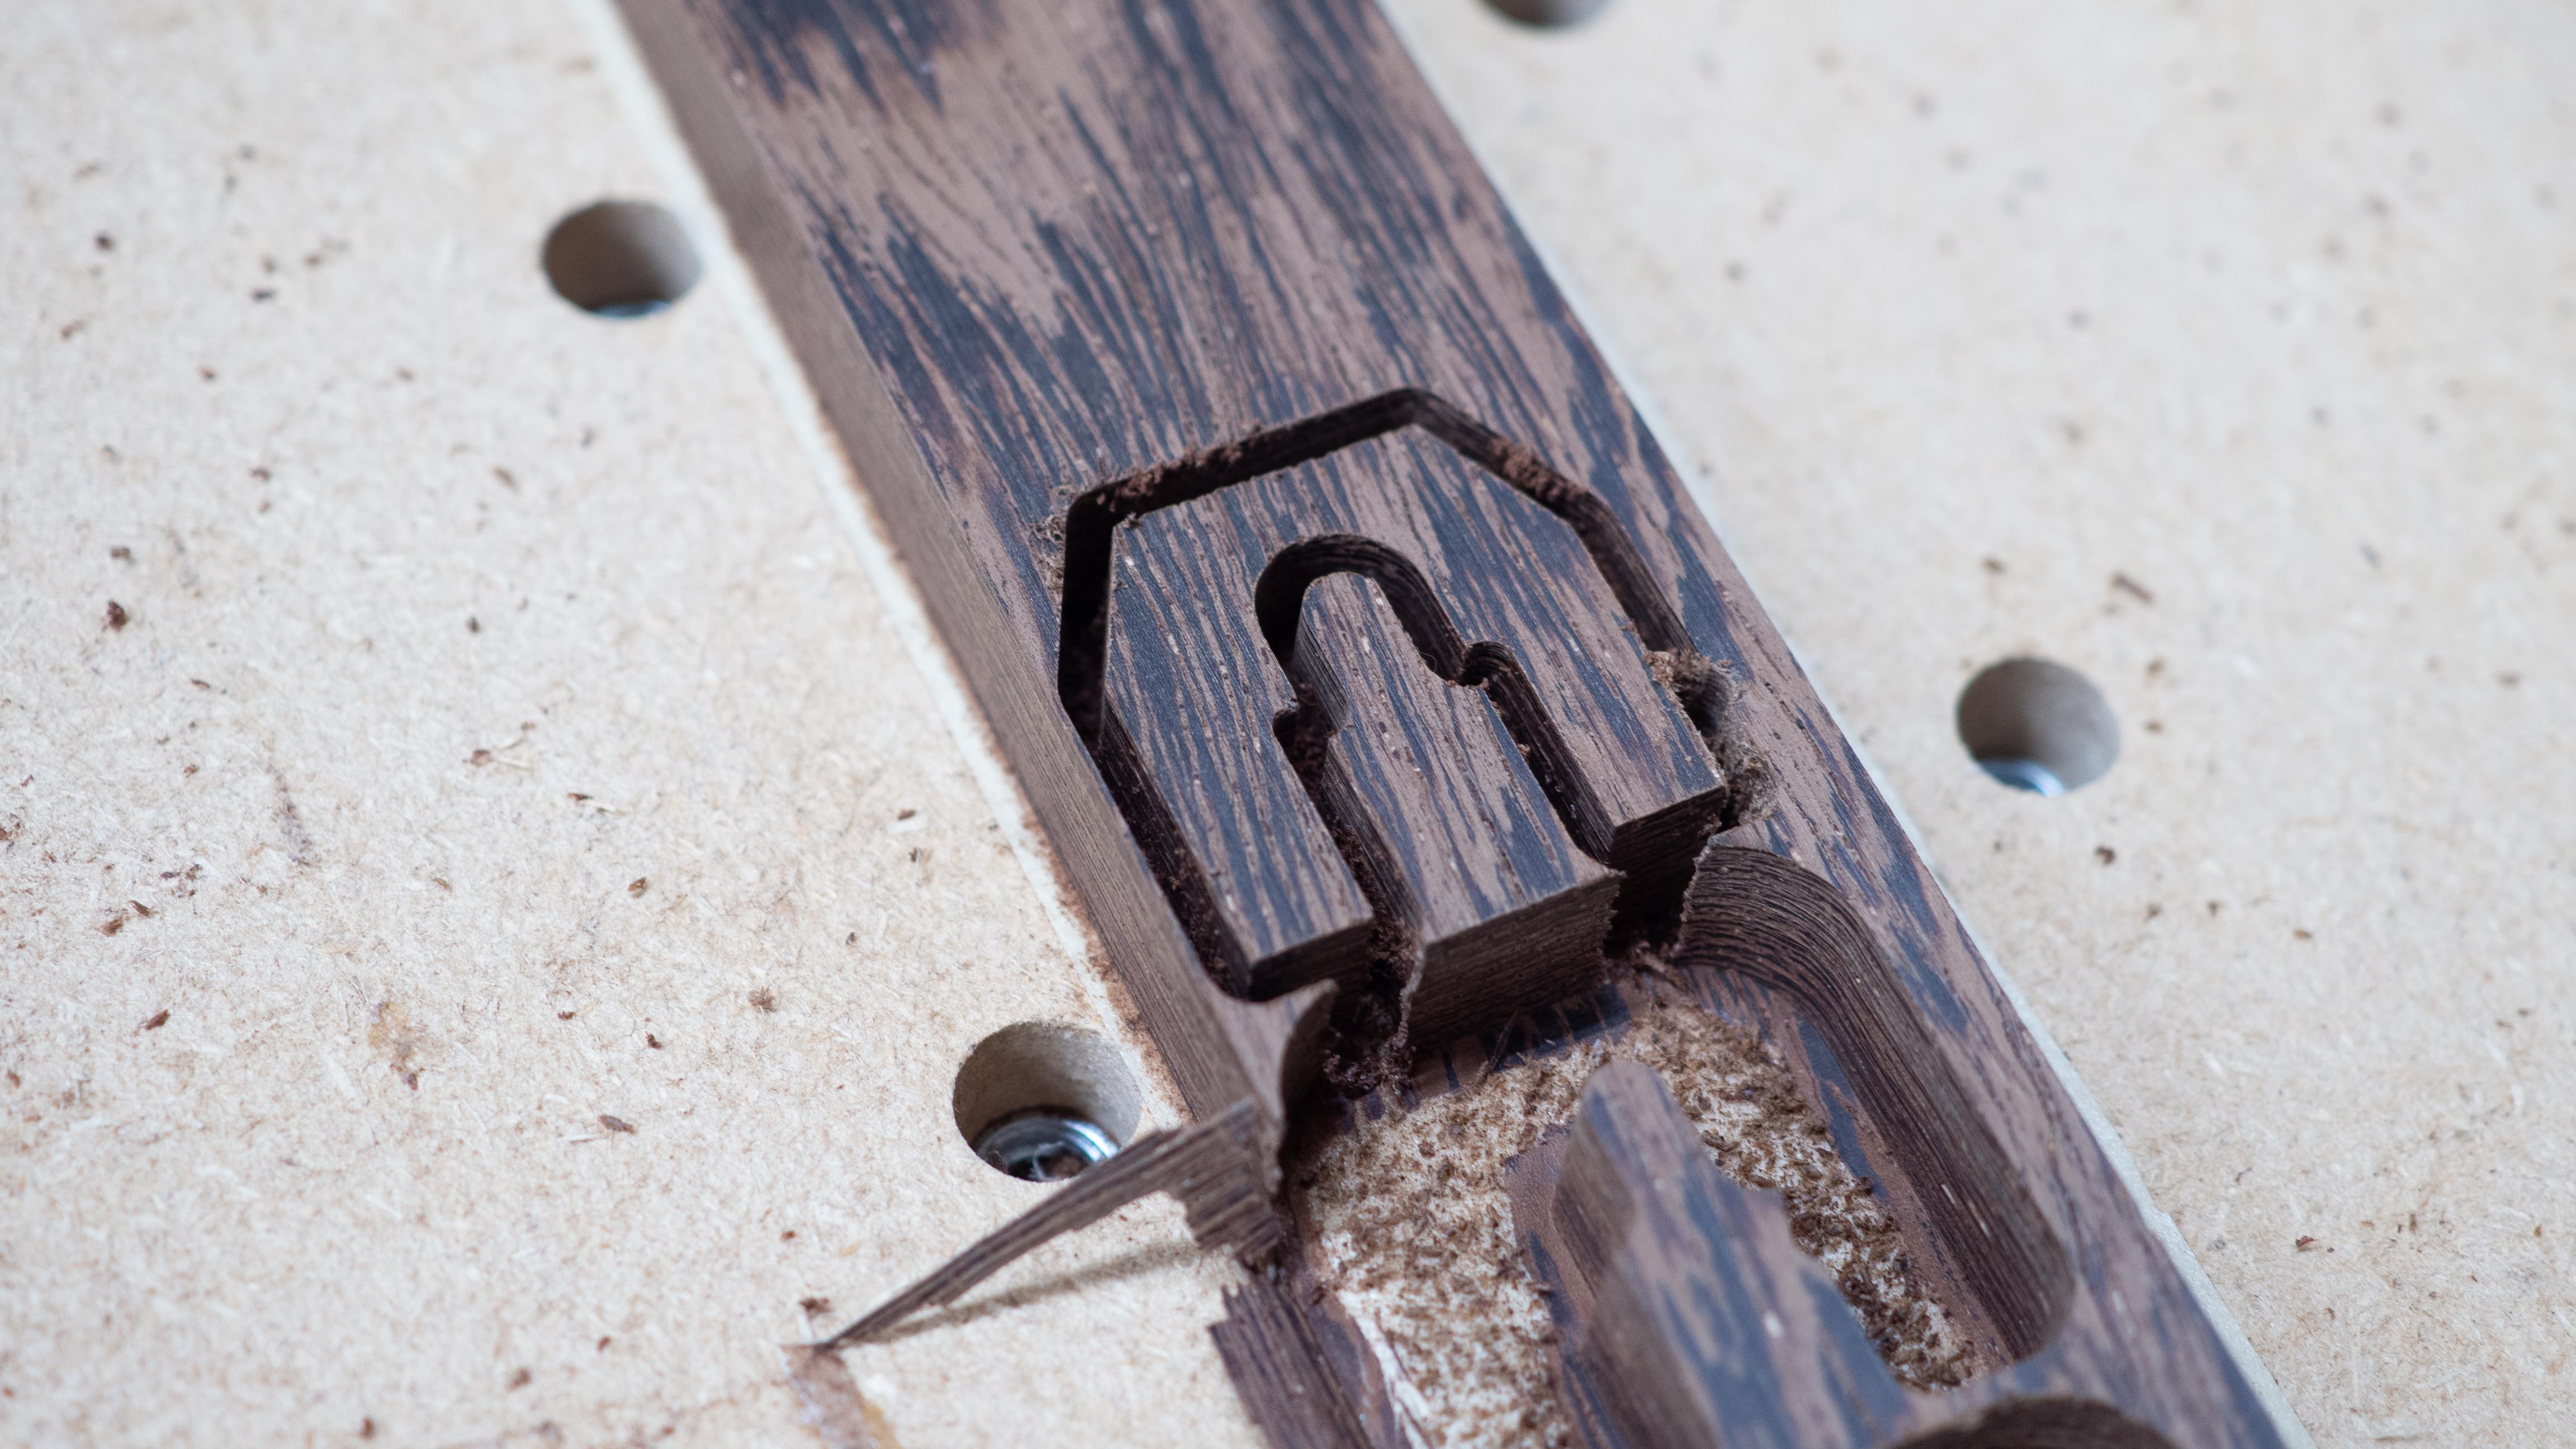
Making the holes on the side to screw into the acrylic was tricky, but the CNC pulled it off and I didnt break any pieces or bits.
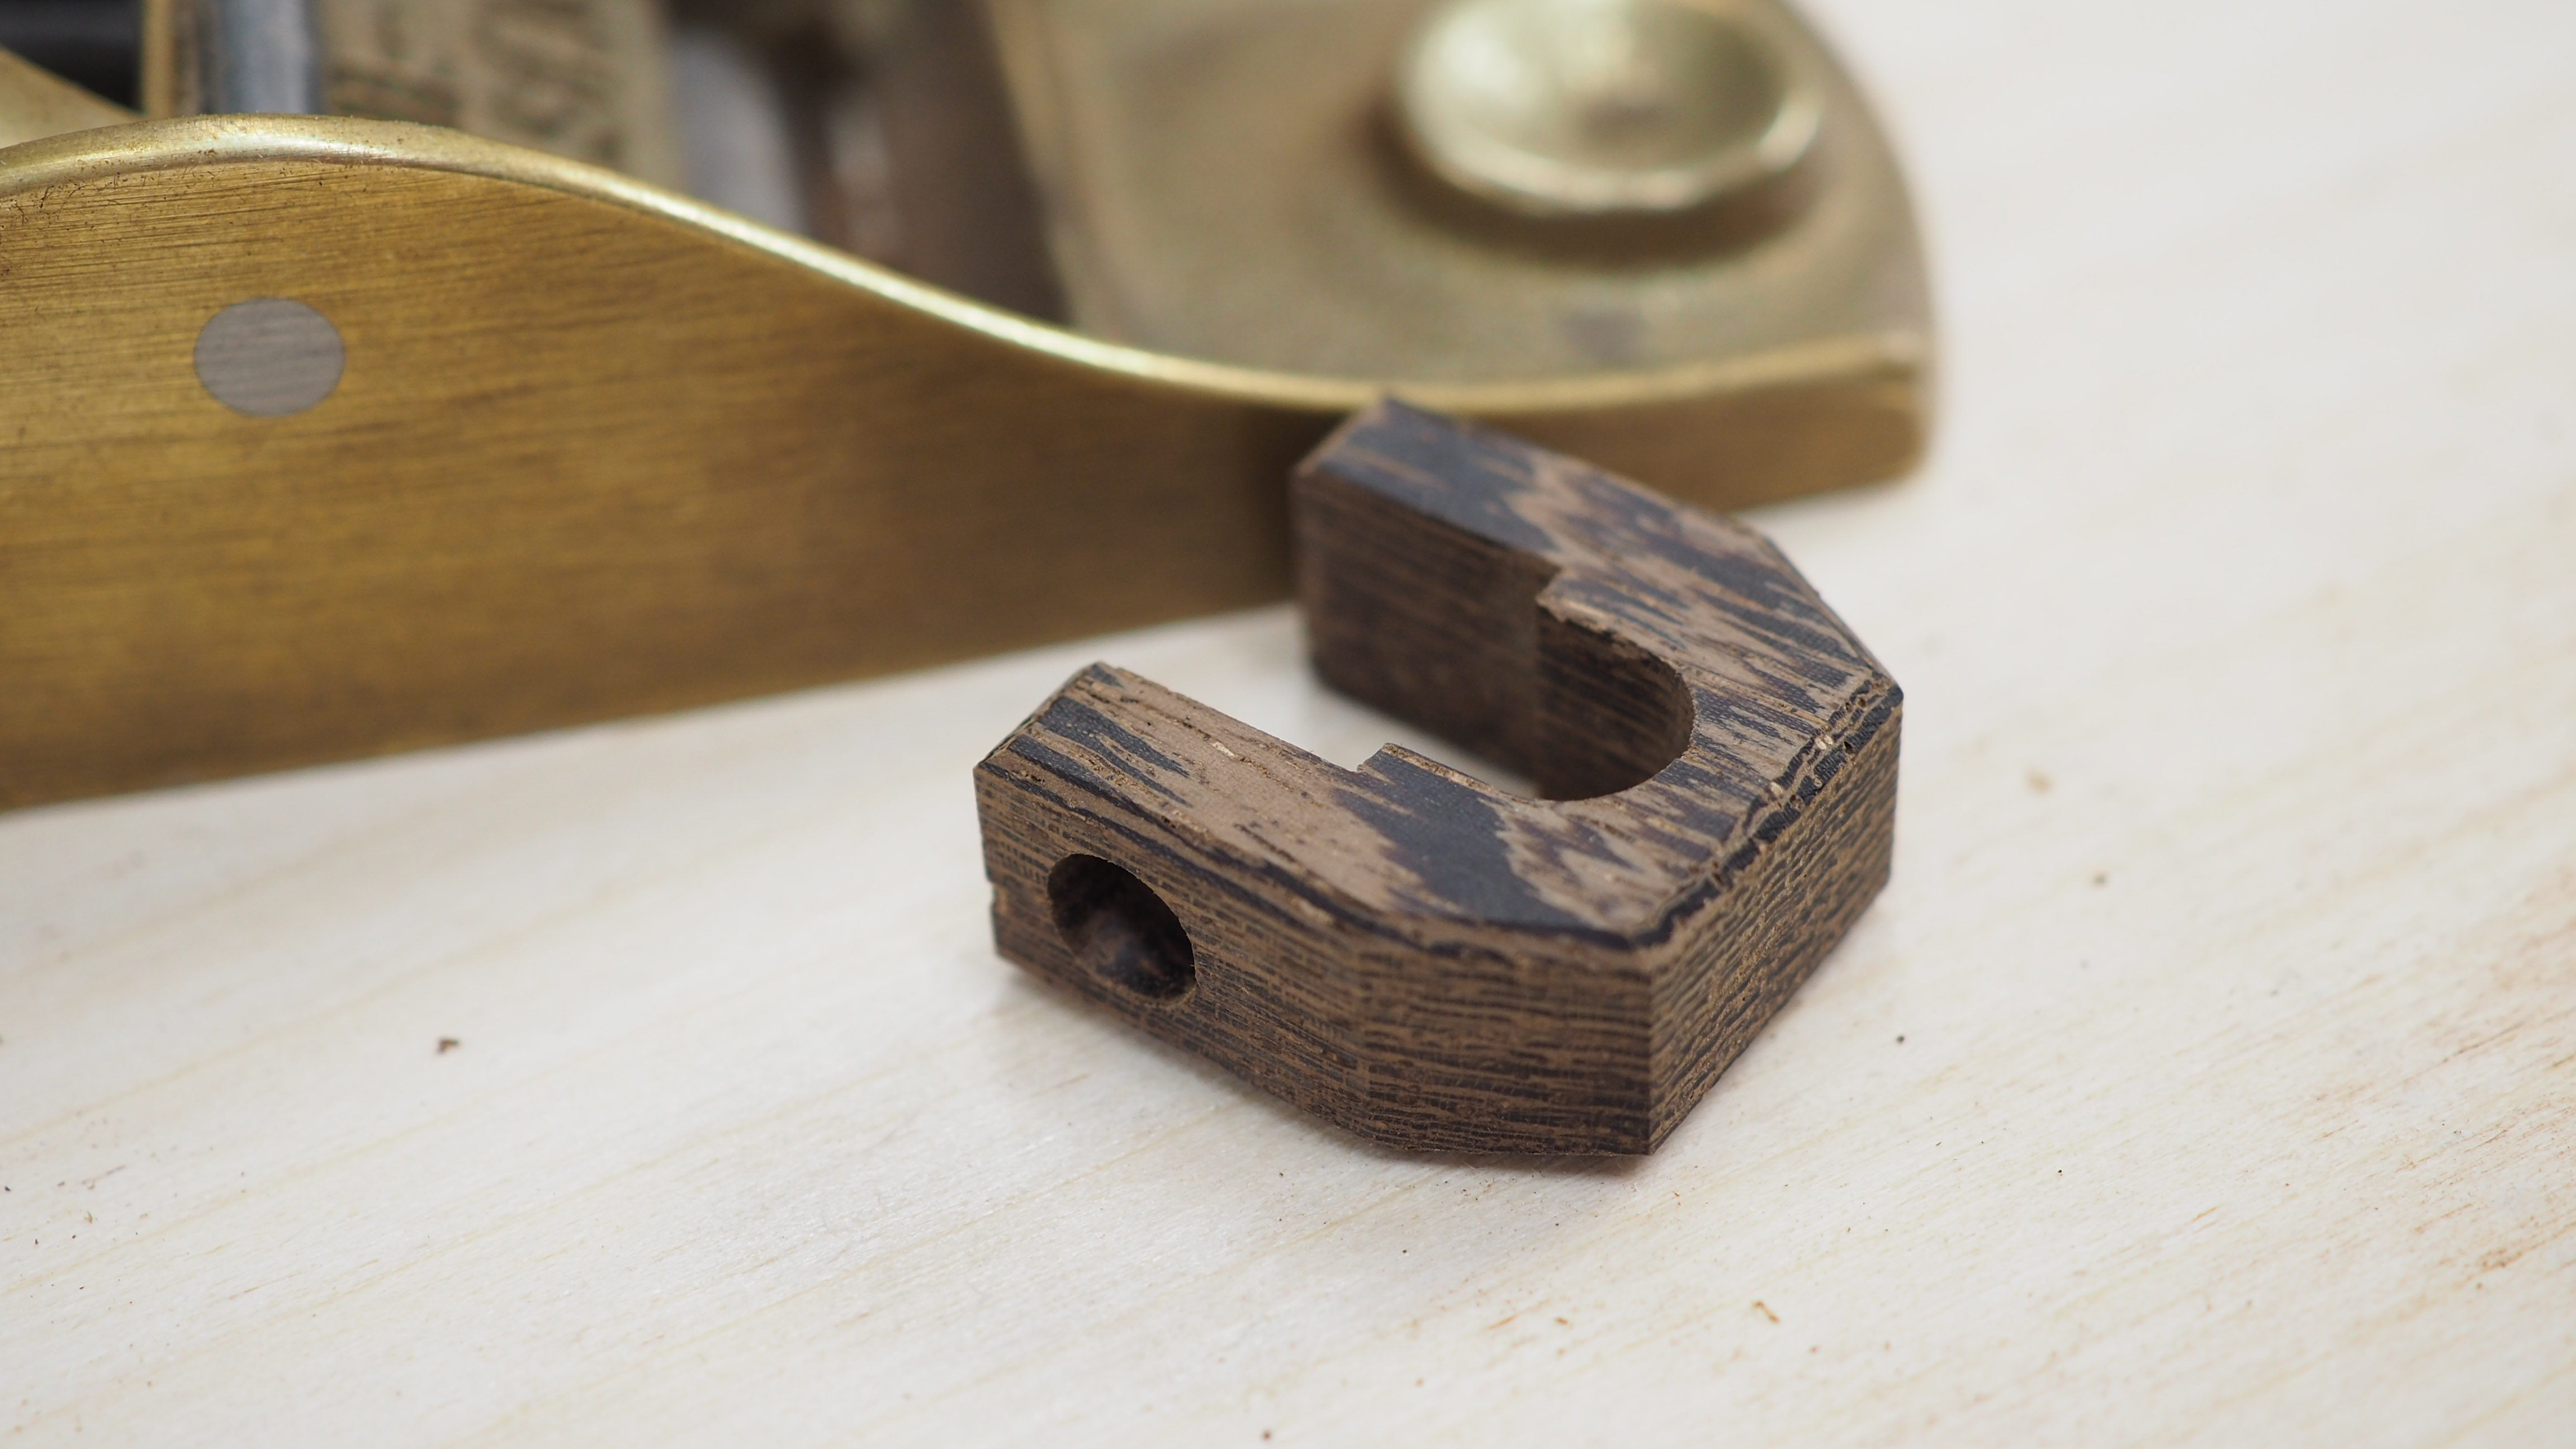
Once I decided where they should go, I could drill into the acrylic and attach them with short screws.
Wiring Harness
The cleanliness of the wiring was a major focus for me on this build so I thought about it from the very beginning, making sure I implemented cable management in each step. Given the size of the case there was also limited room for me to stuff cables so I made sure to limit the amount of wires where possible.
I made a wiring harness plate that would go above the motherboard and I made a practice piece to make sure it would work like I wanted. I also started routing some of the wires to make sure my plan was actually working.
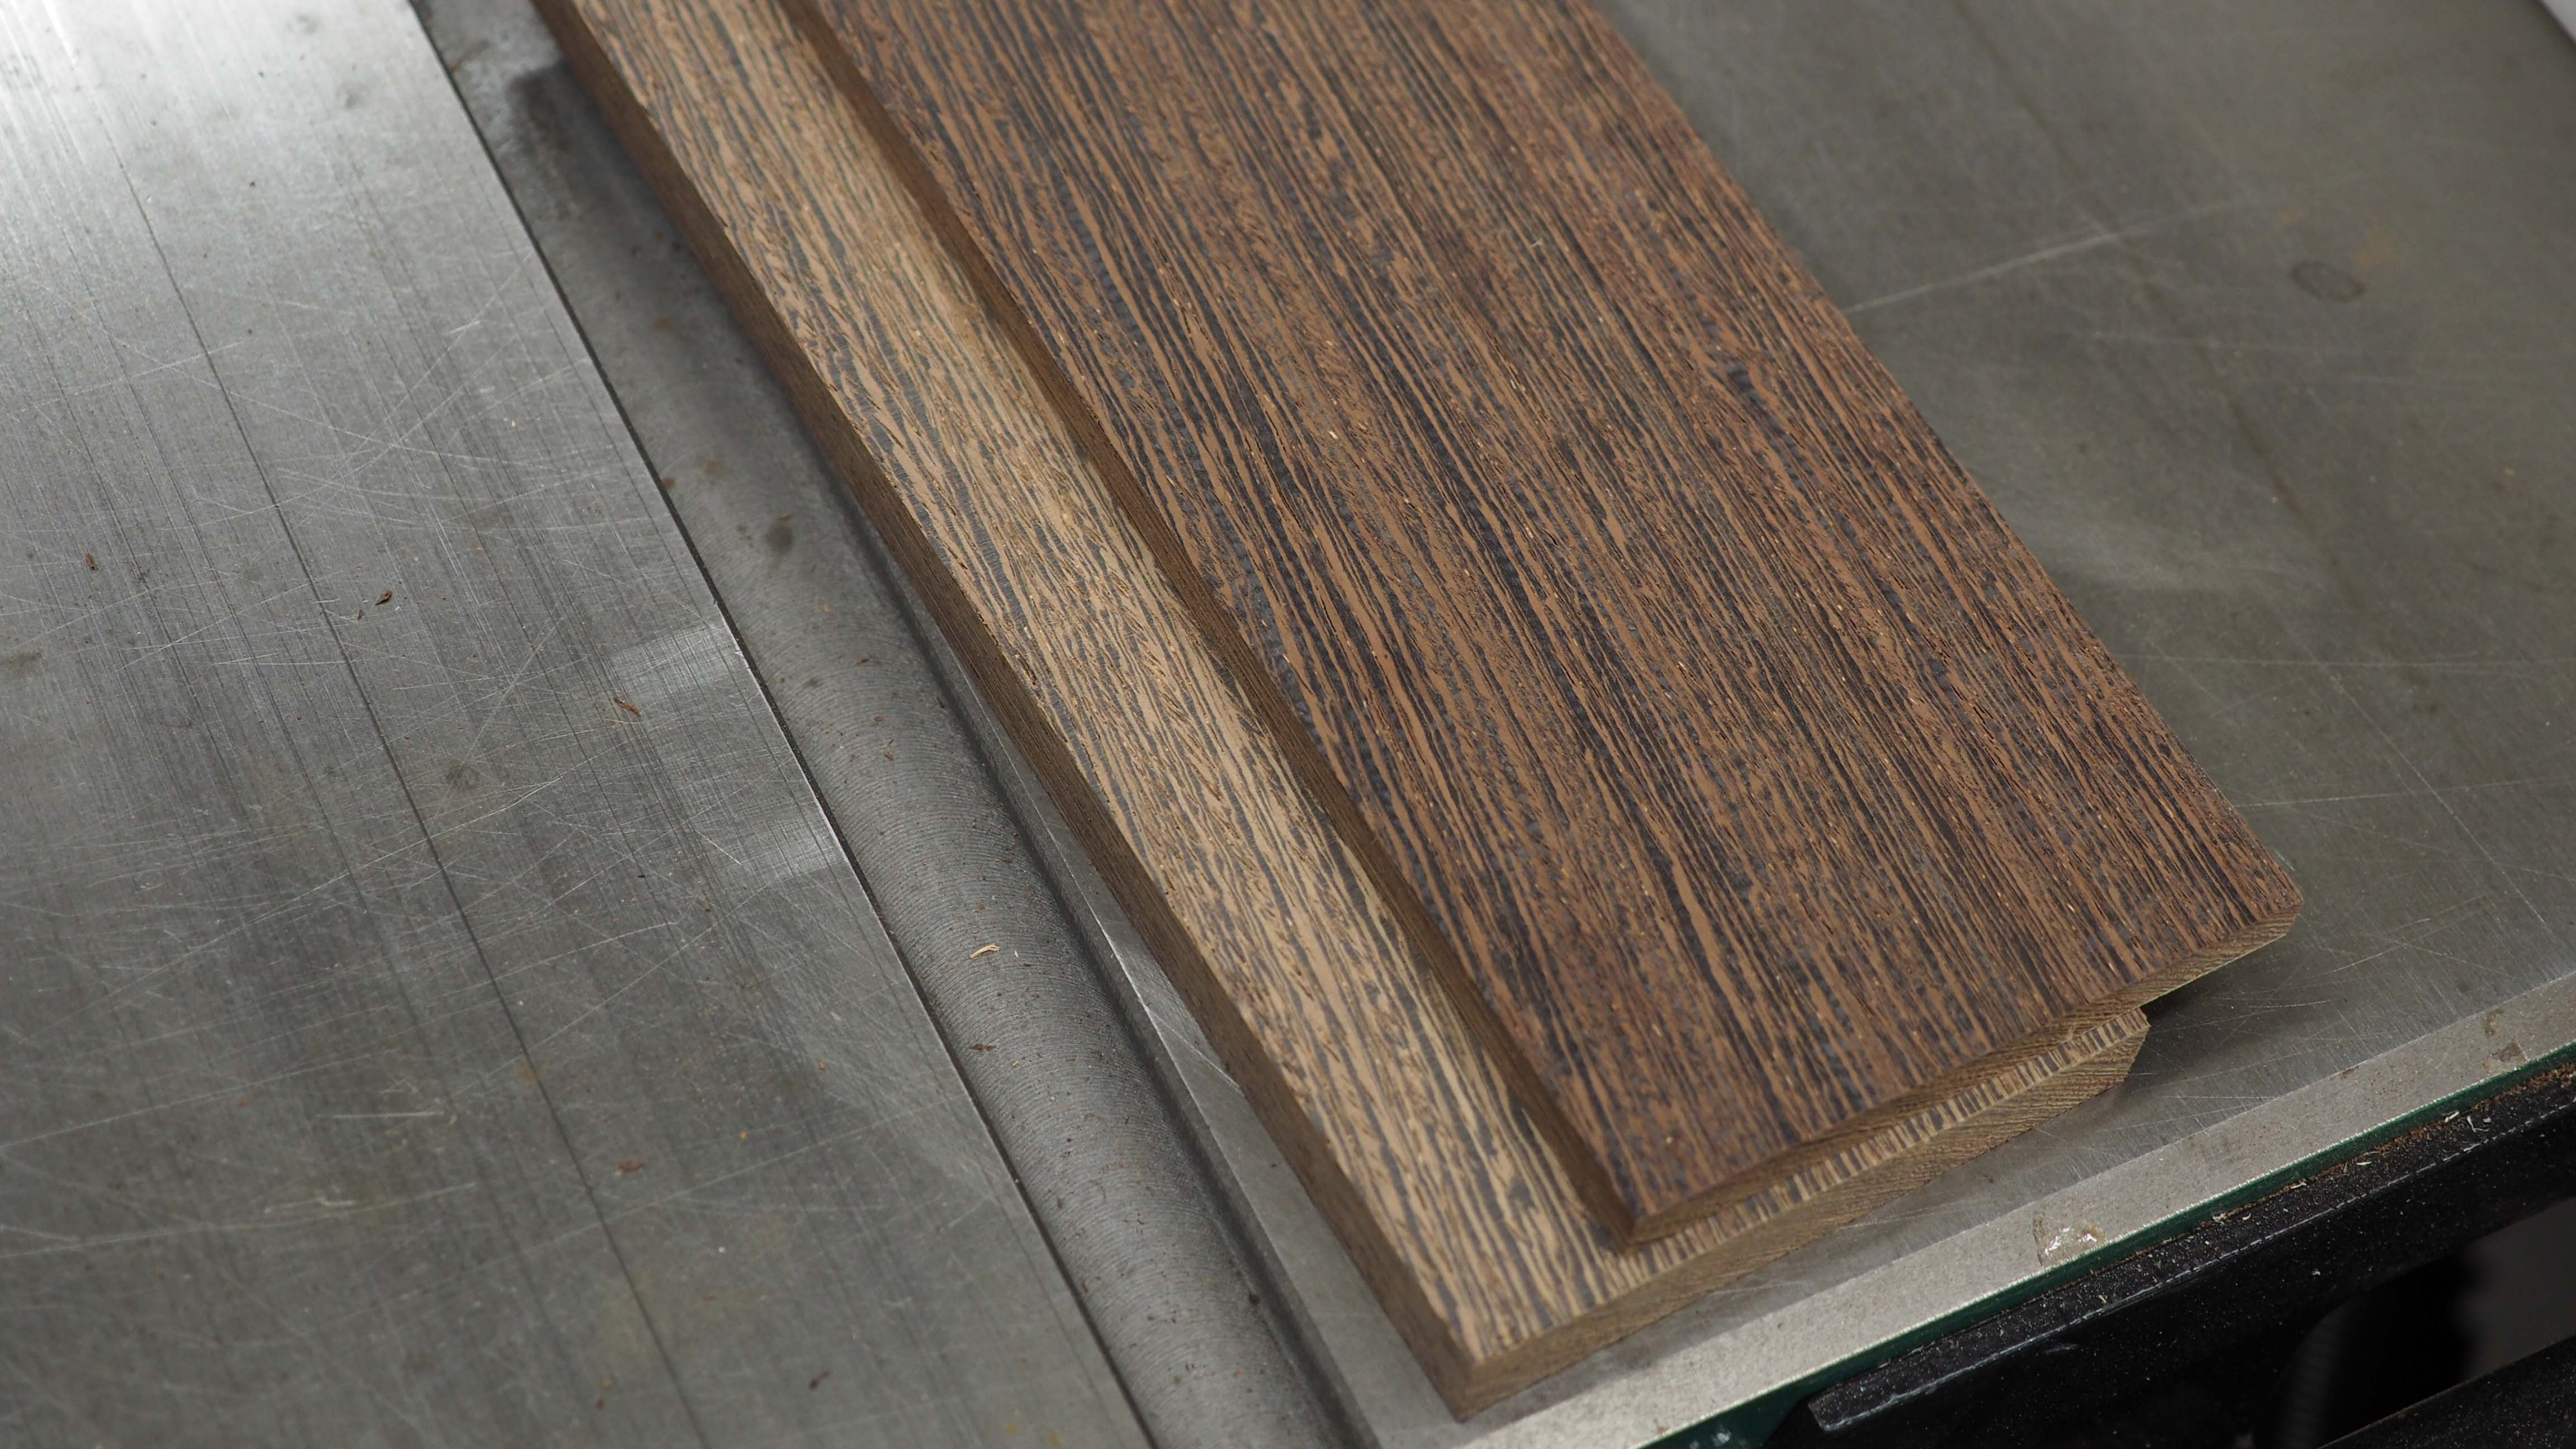
With my practice piece made I started on the real one, again made out of Wenge. Since I needed two pieces for this, I resawed a single piece of Wenge for both, ensuring a perfect grain match.
From there, I cut the pieces on the CNC machine starting with the base piece.
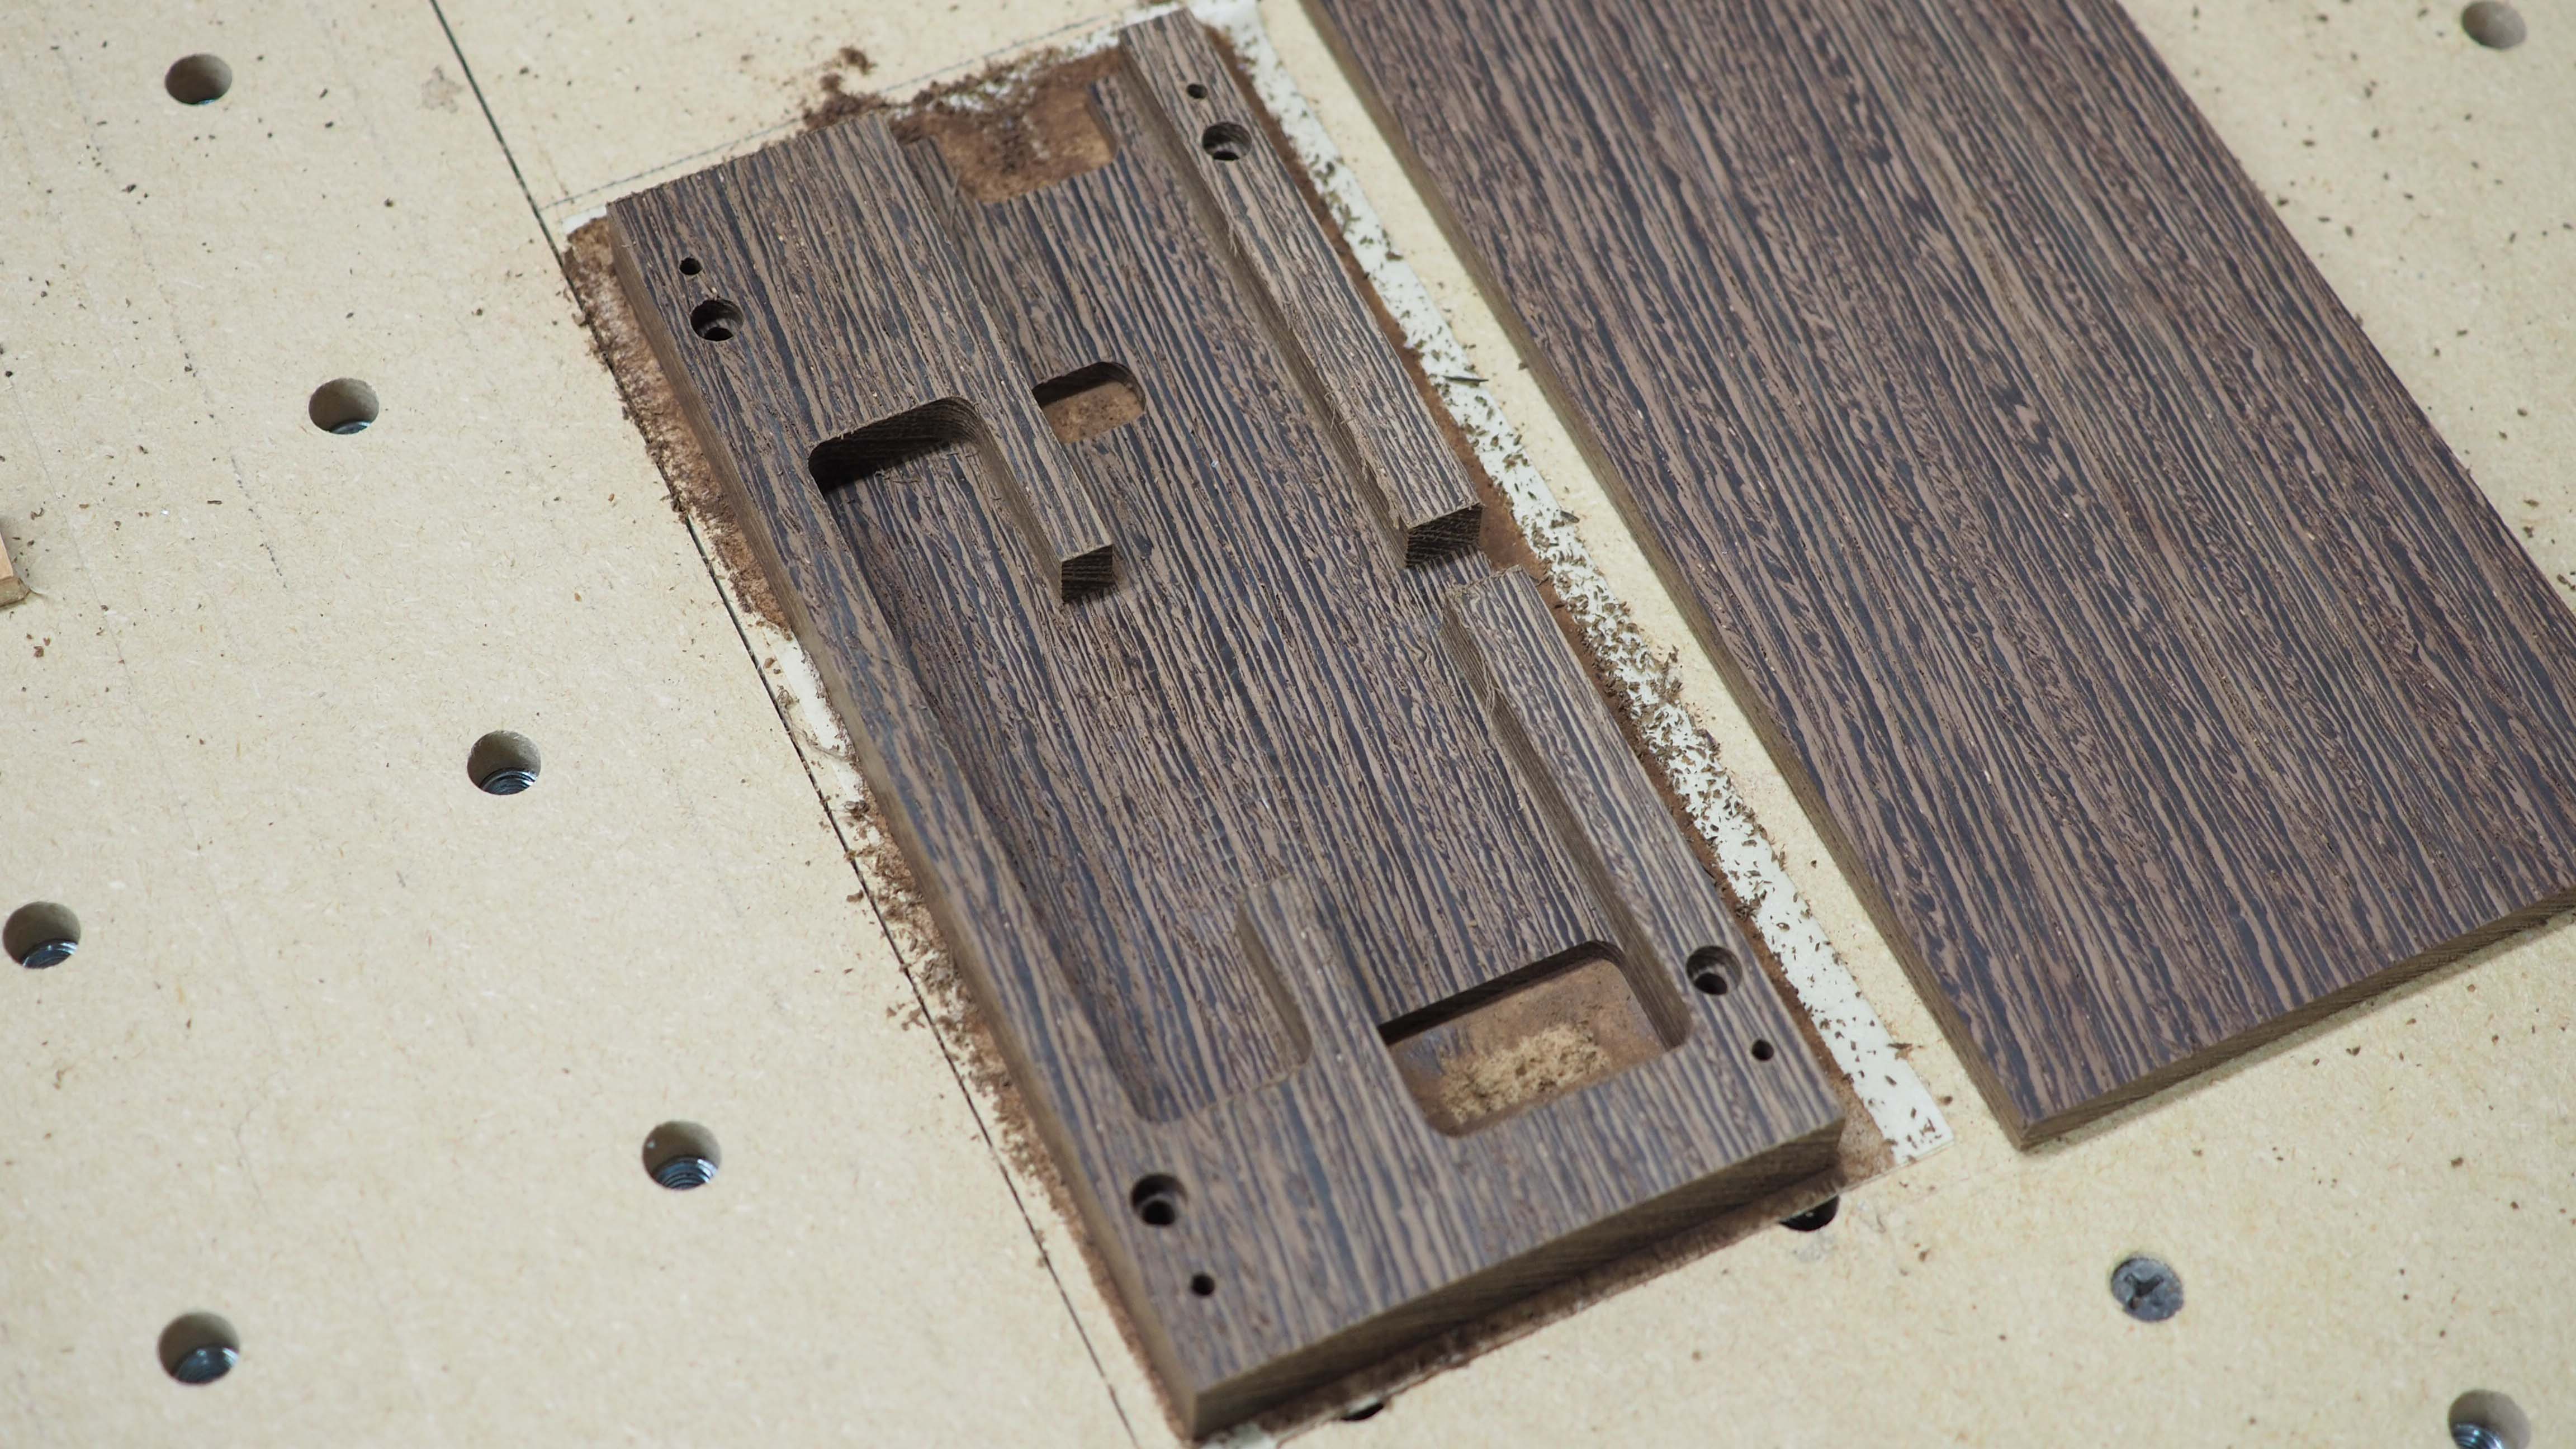
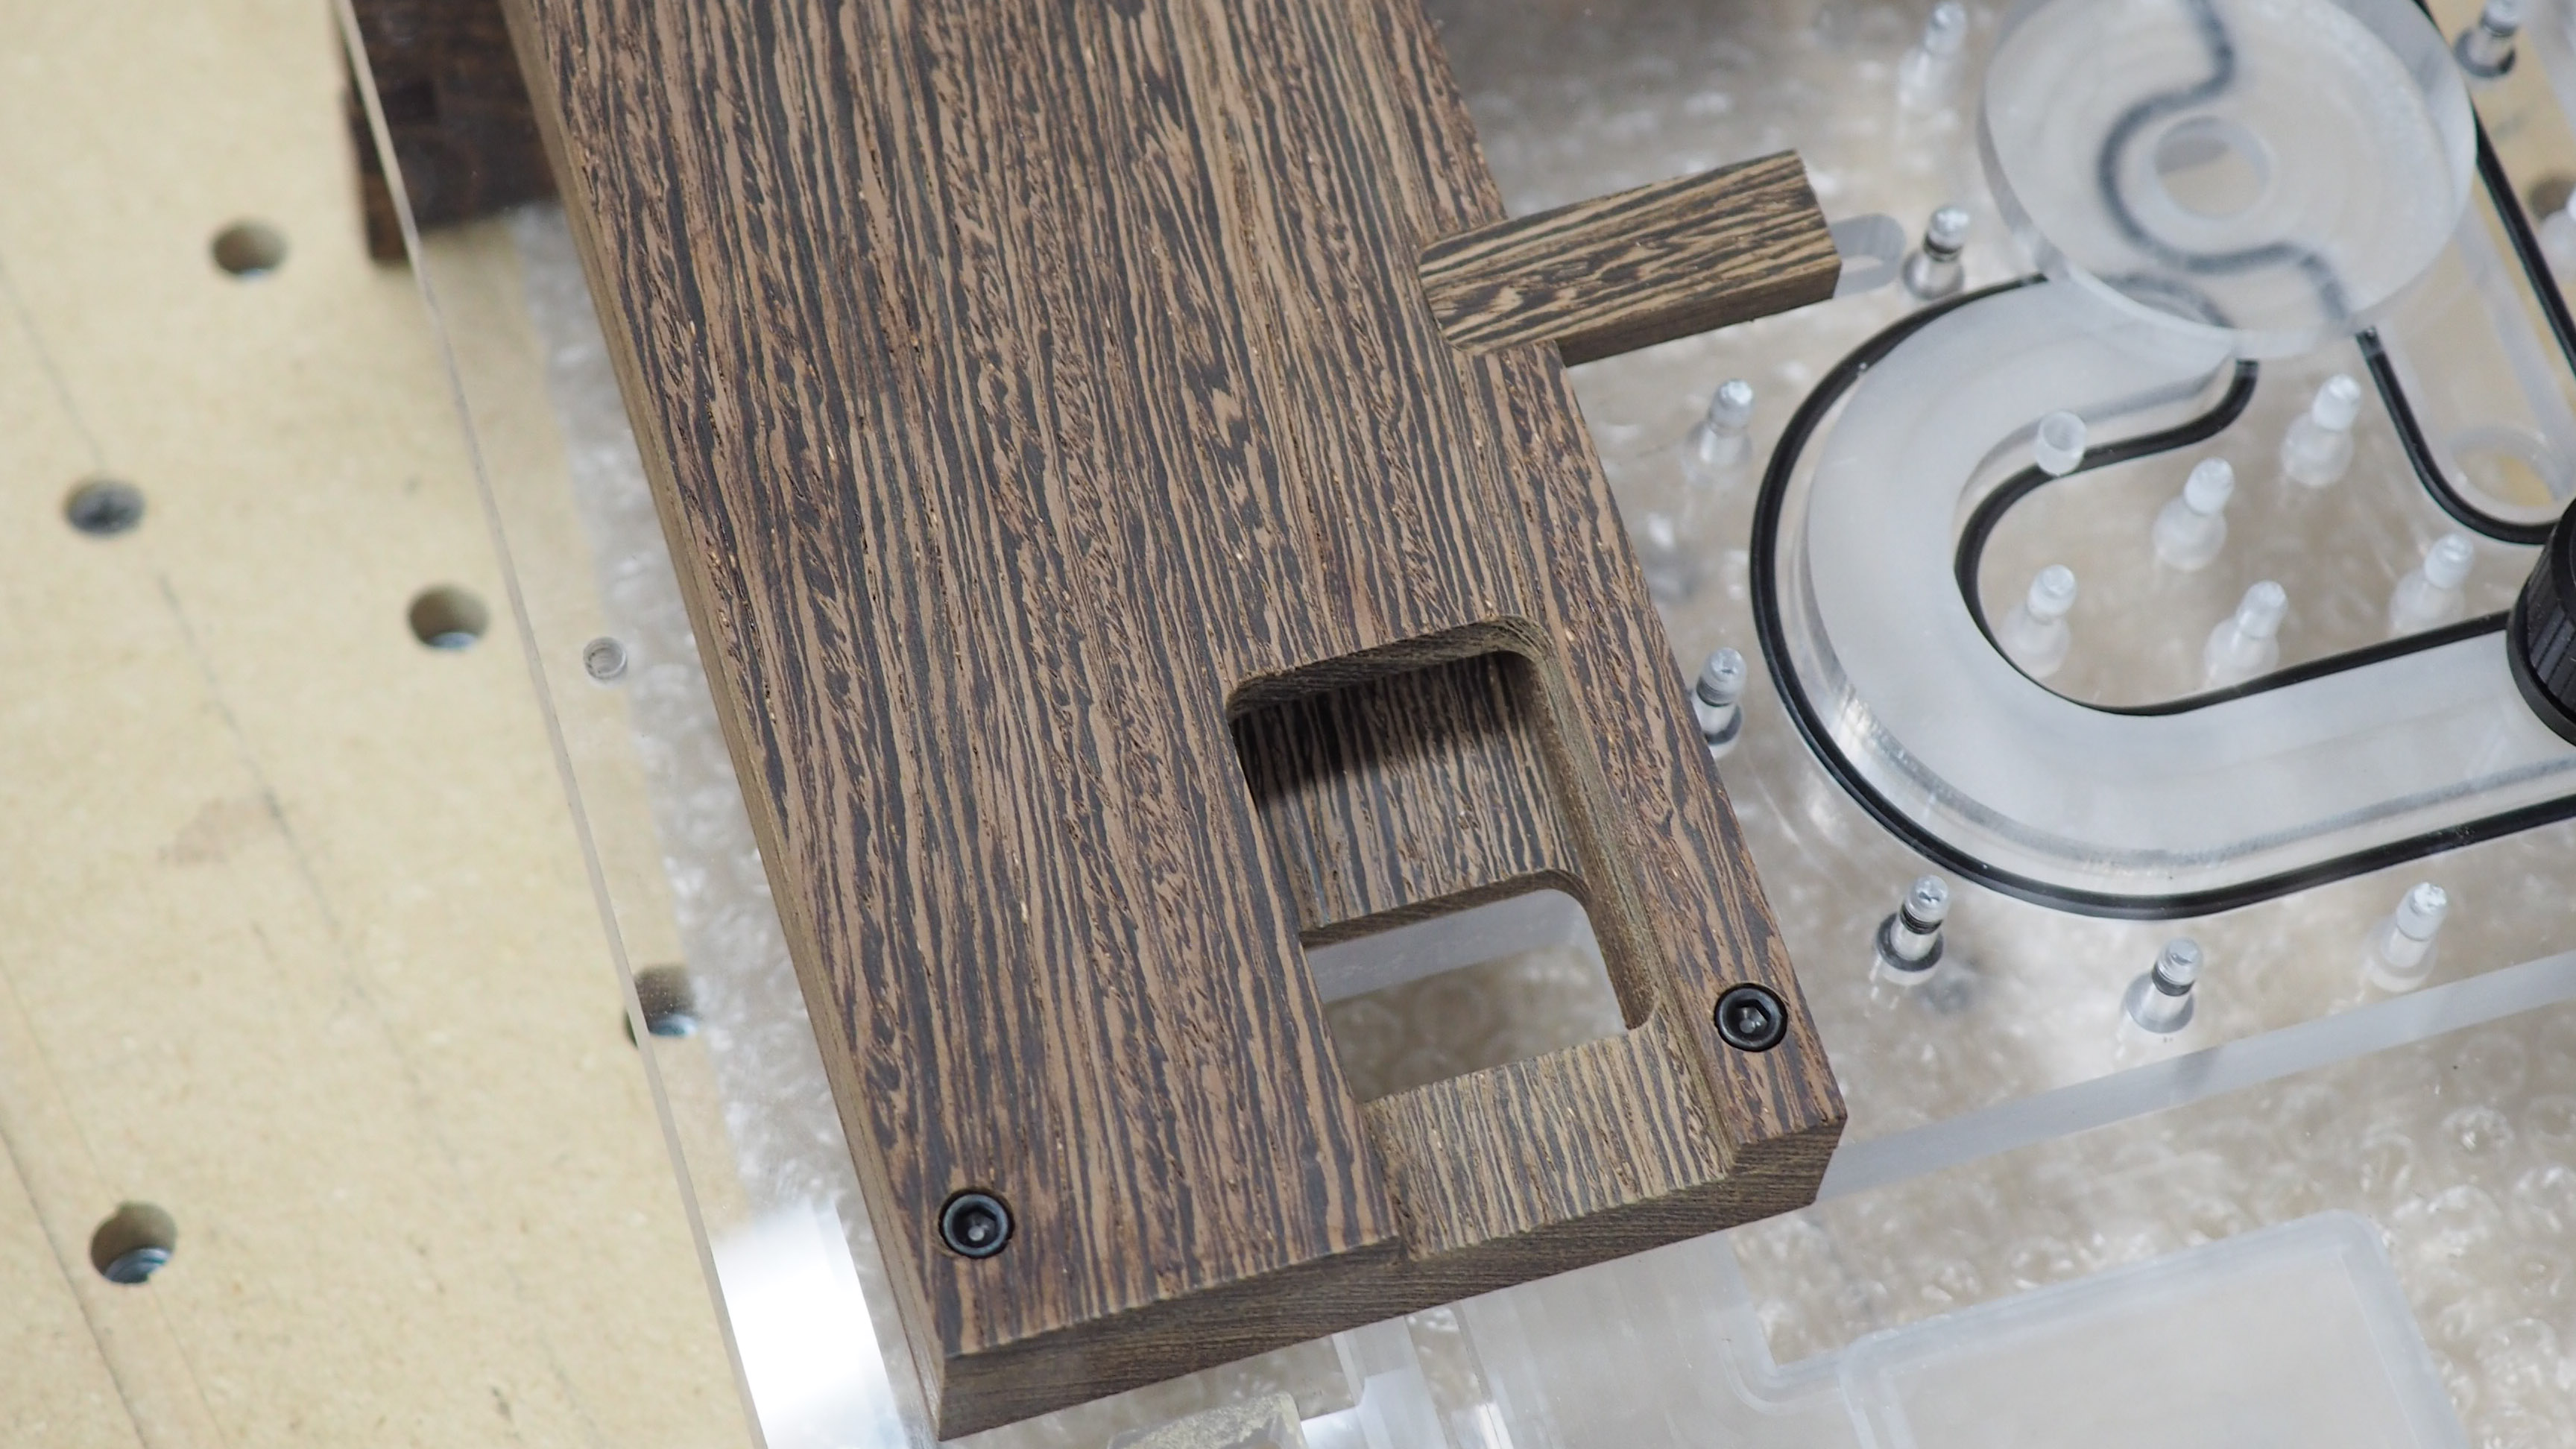
I machined the top, including the little pump cable cover piece which fit nicely into the slot I made for it.
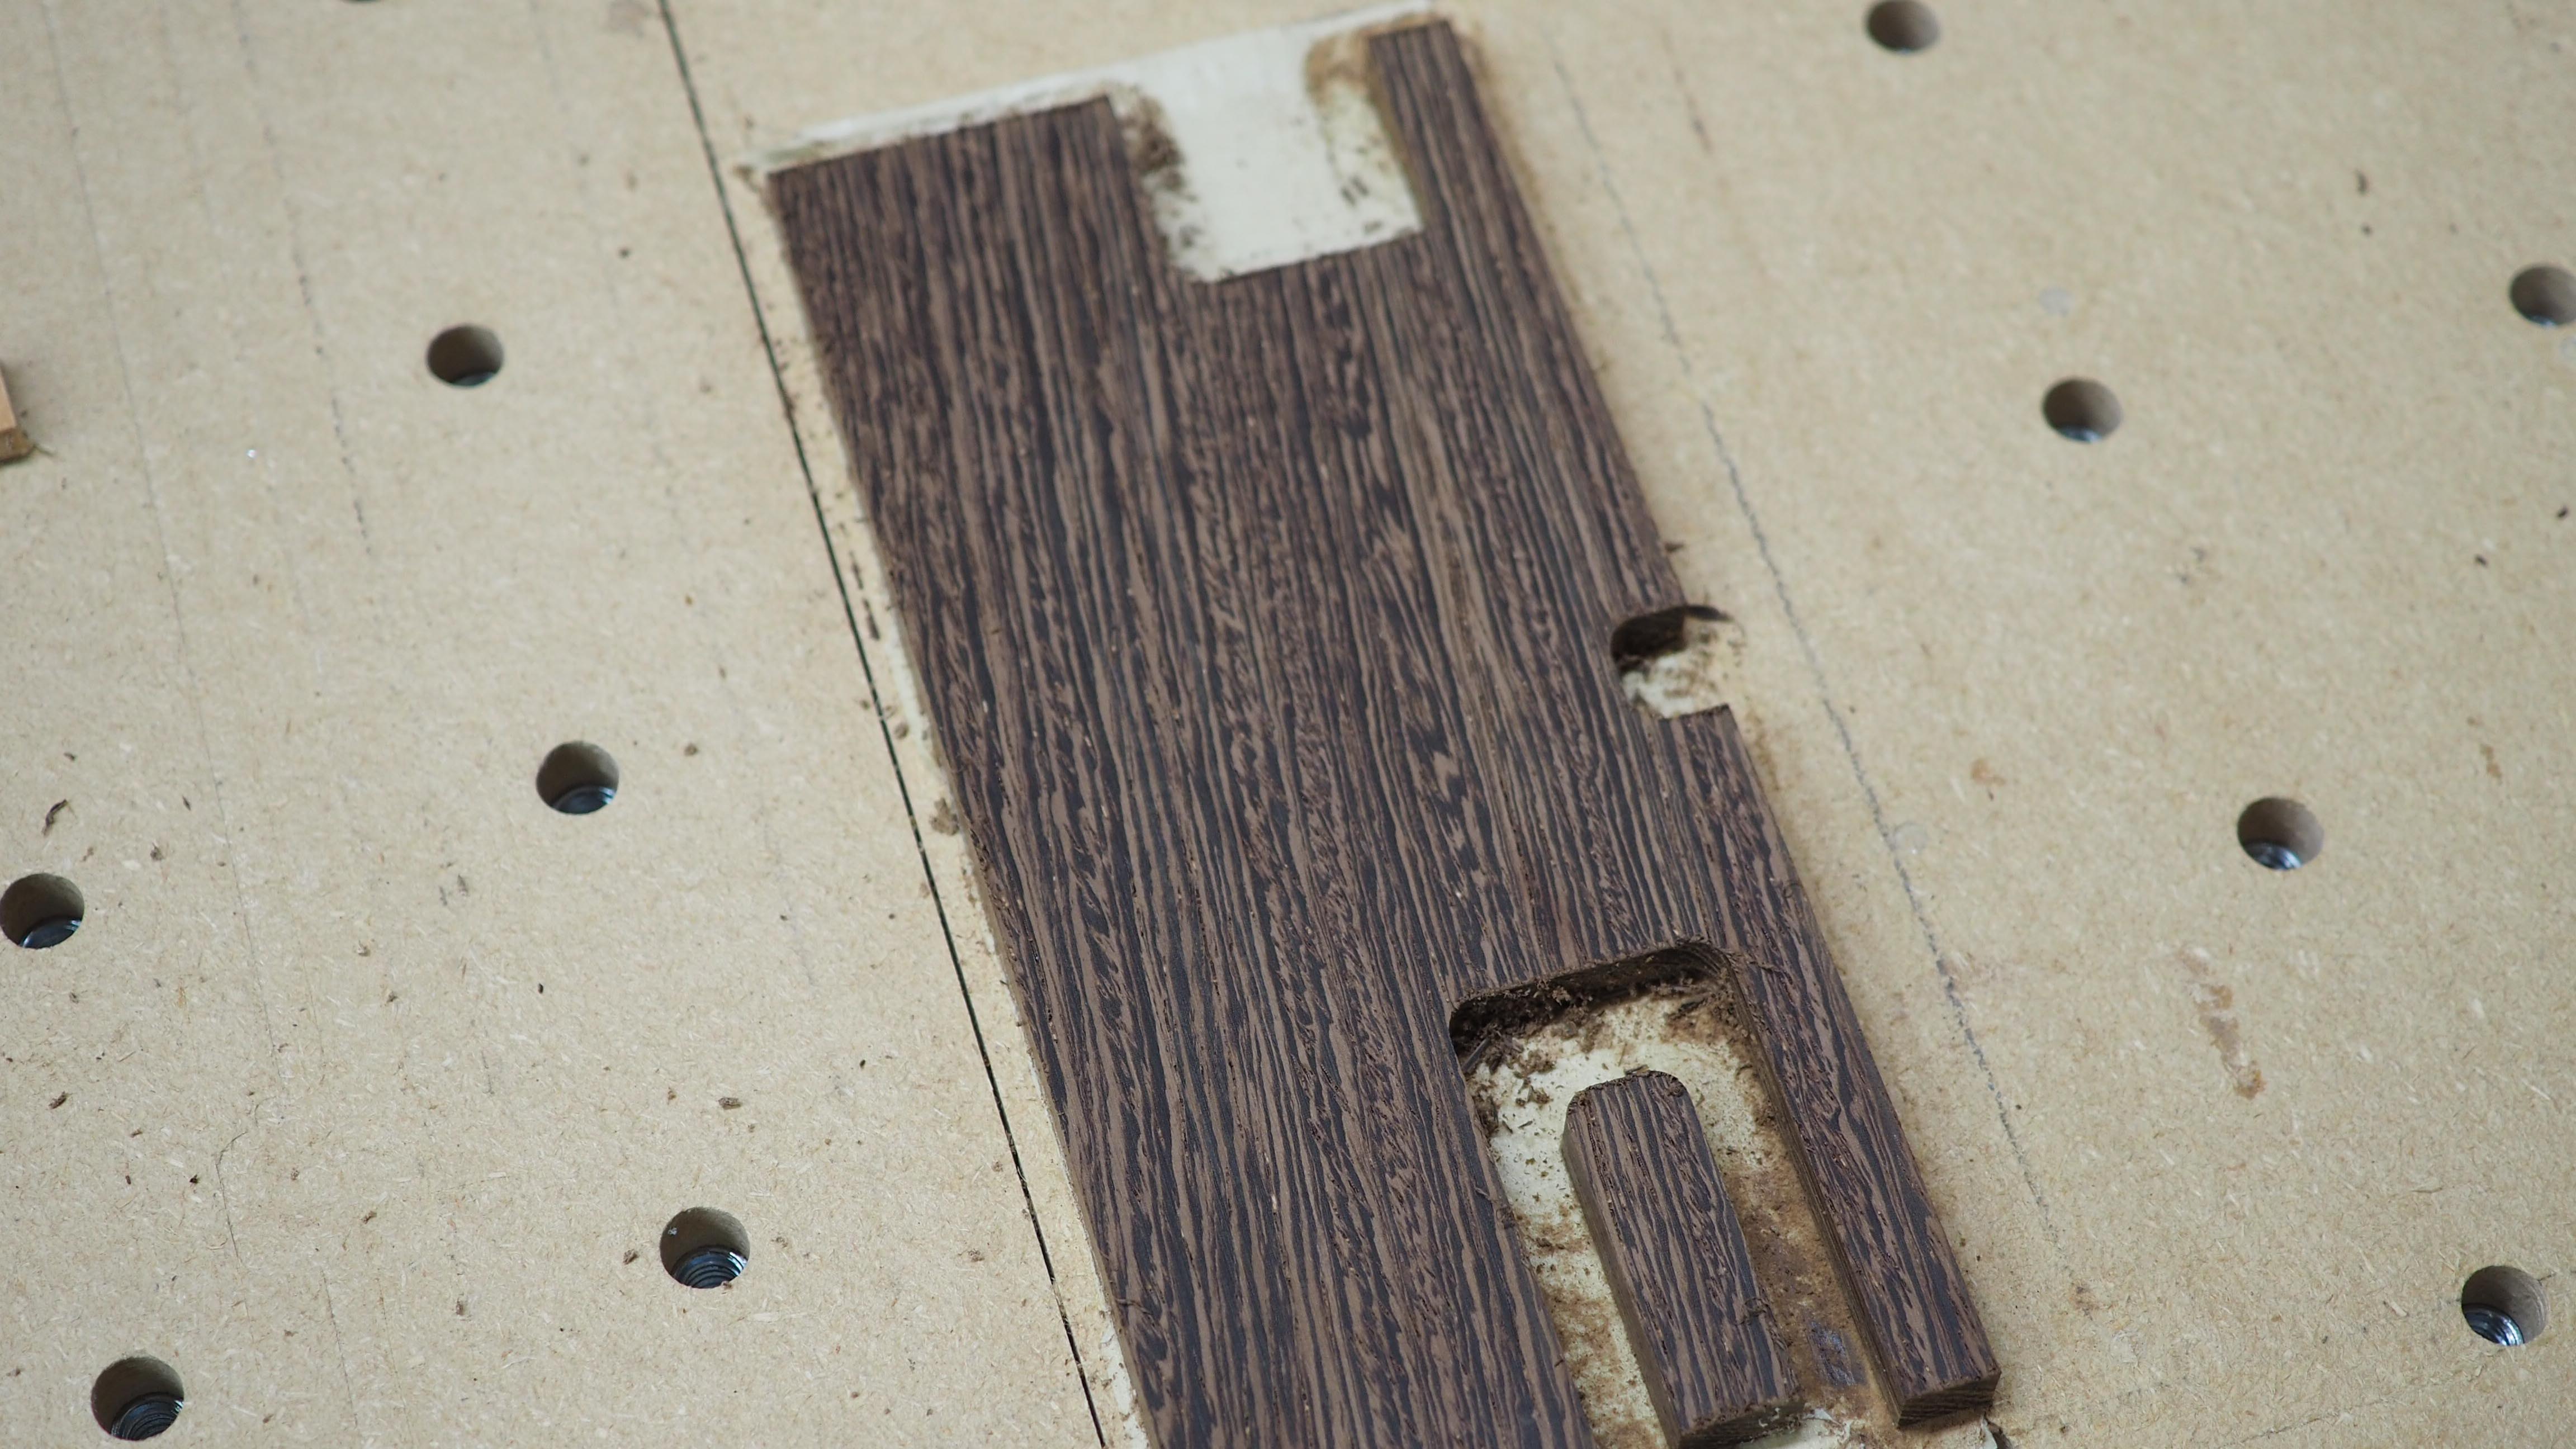
I need almost no glue..
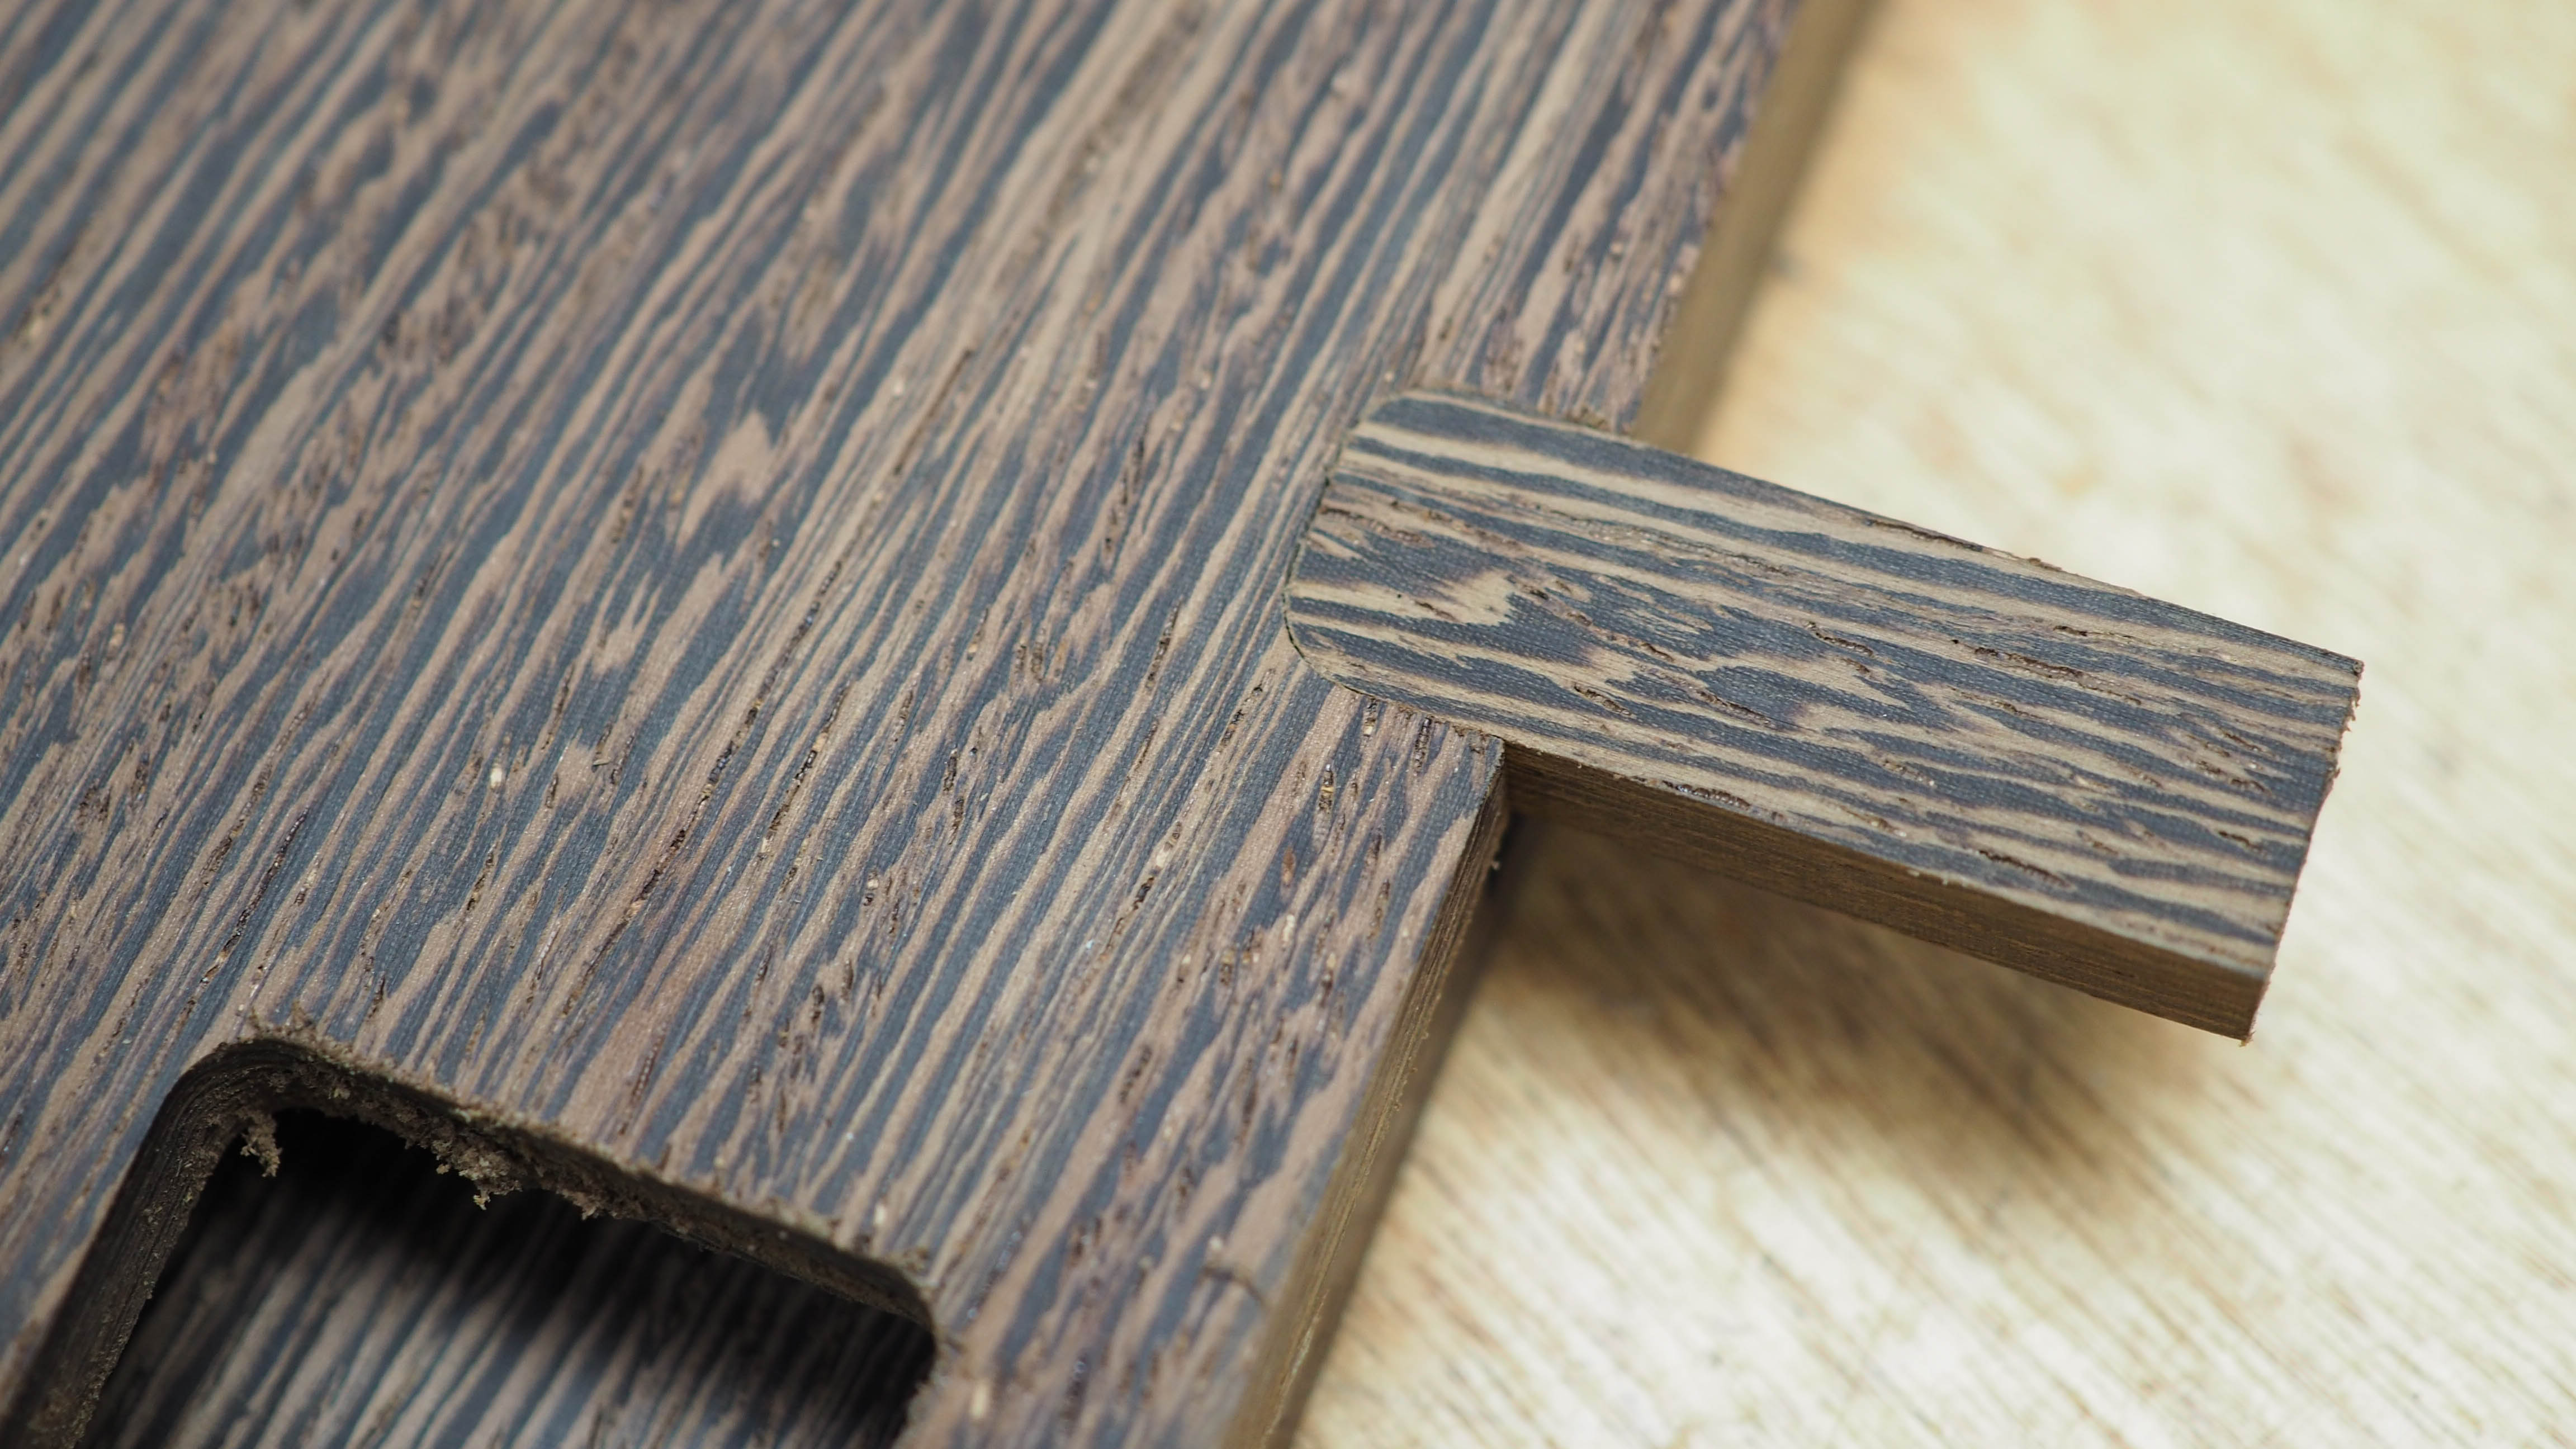
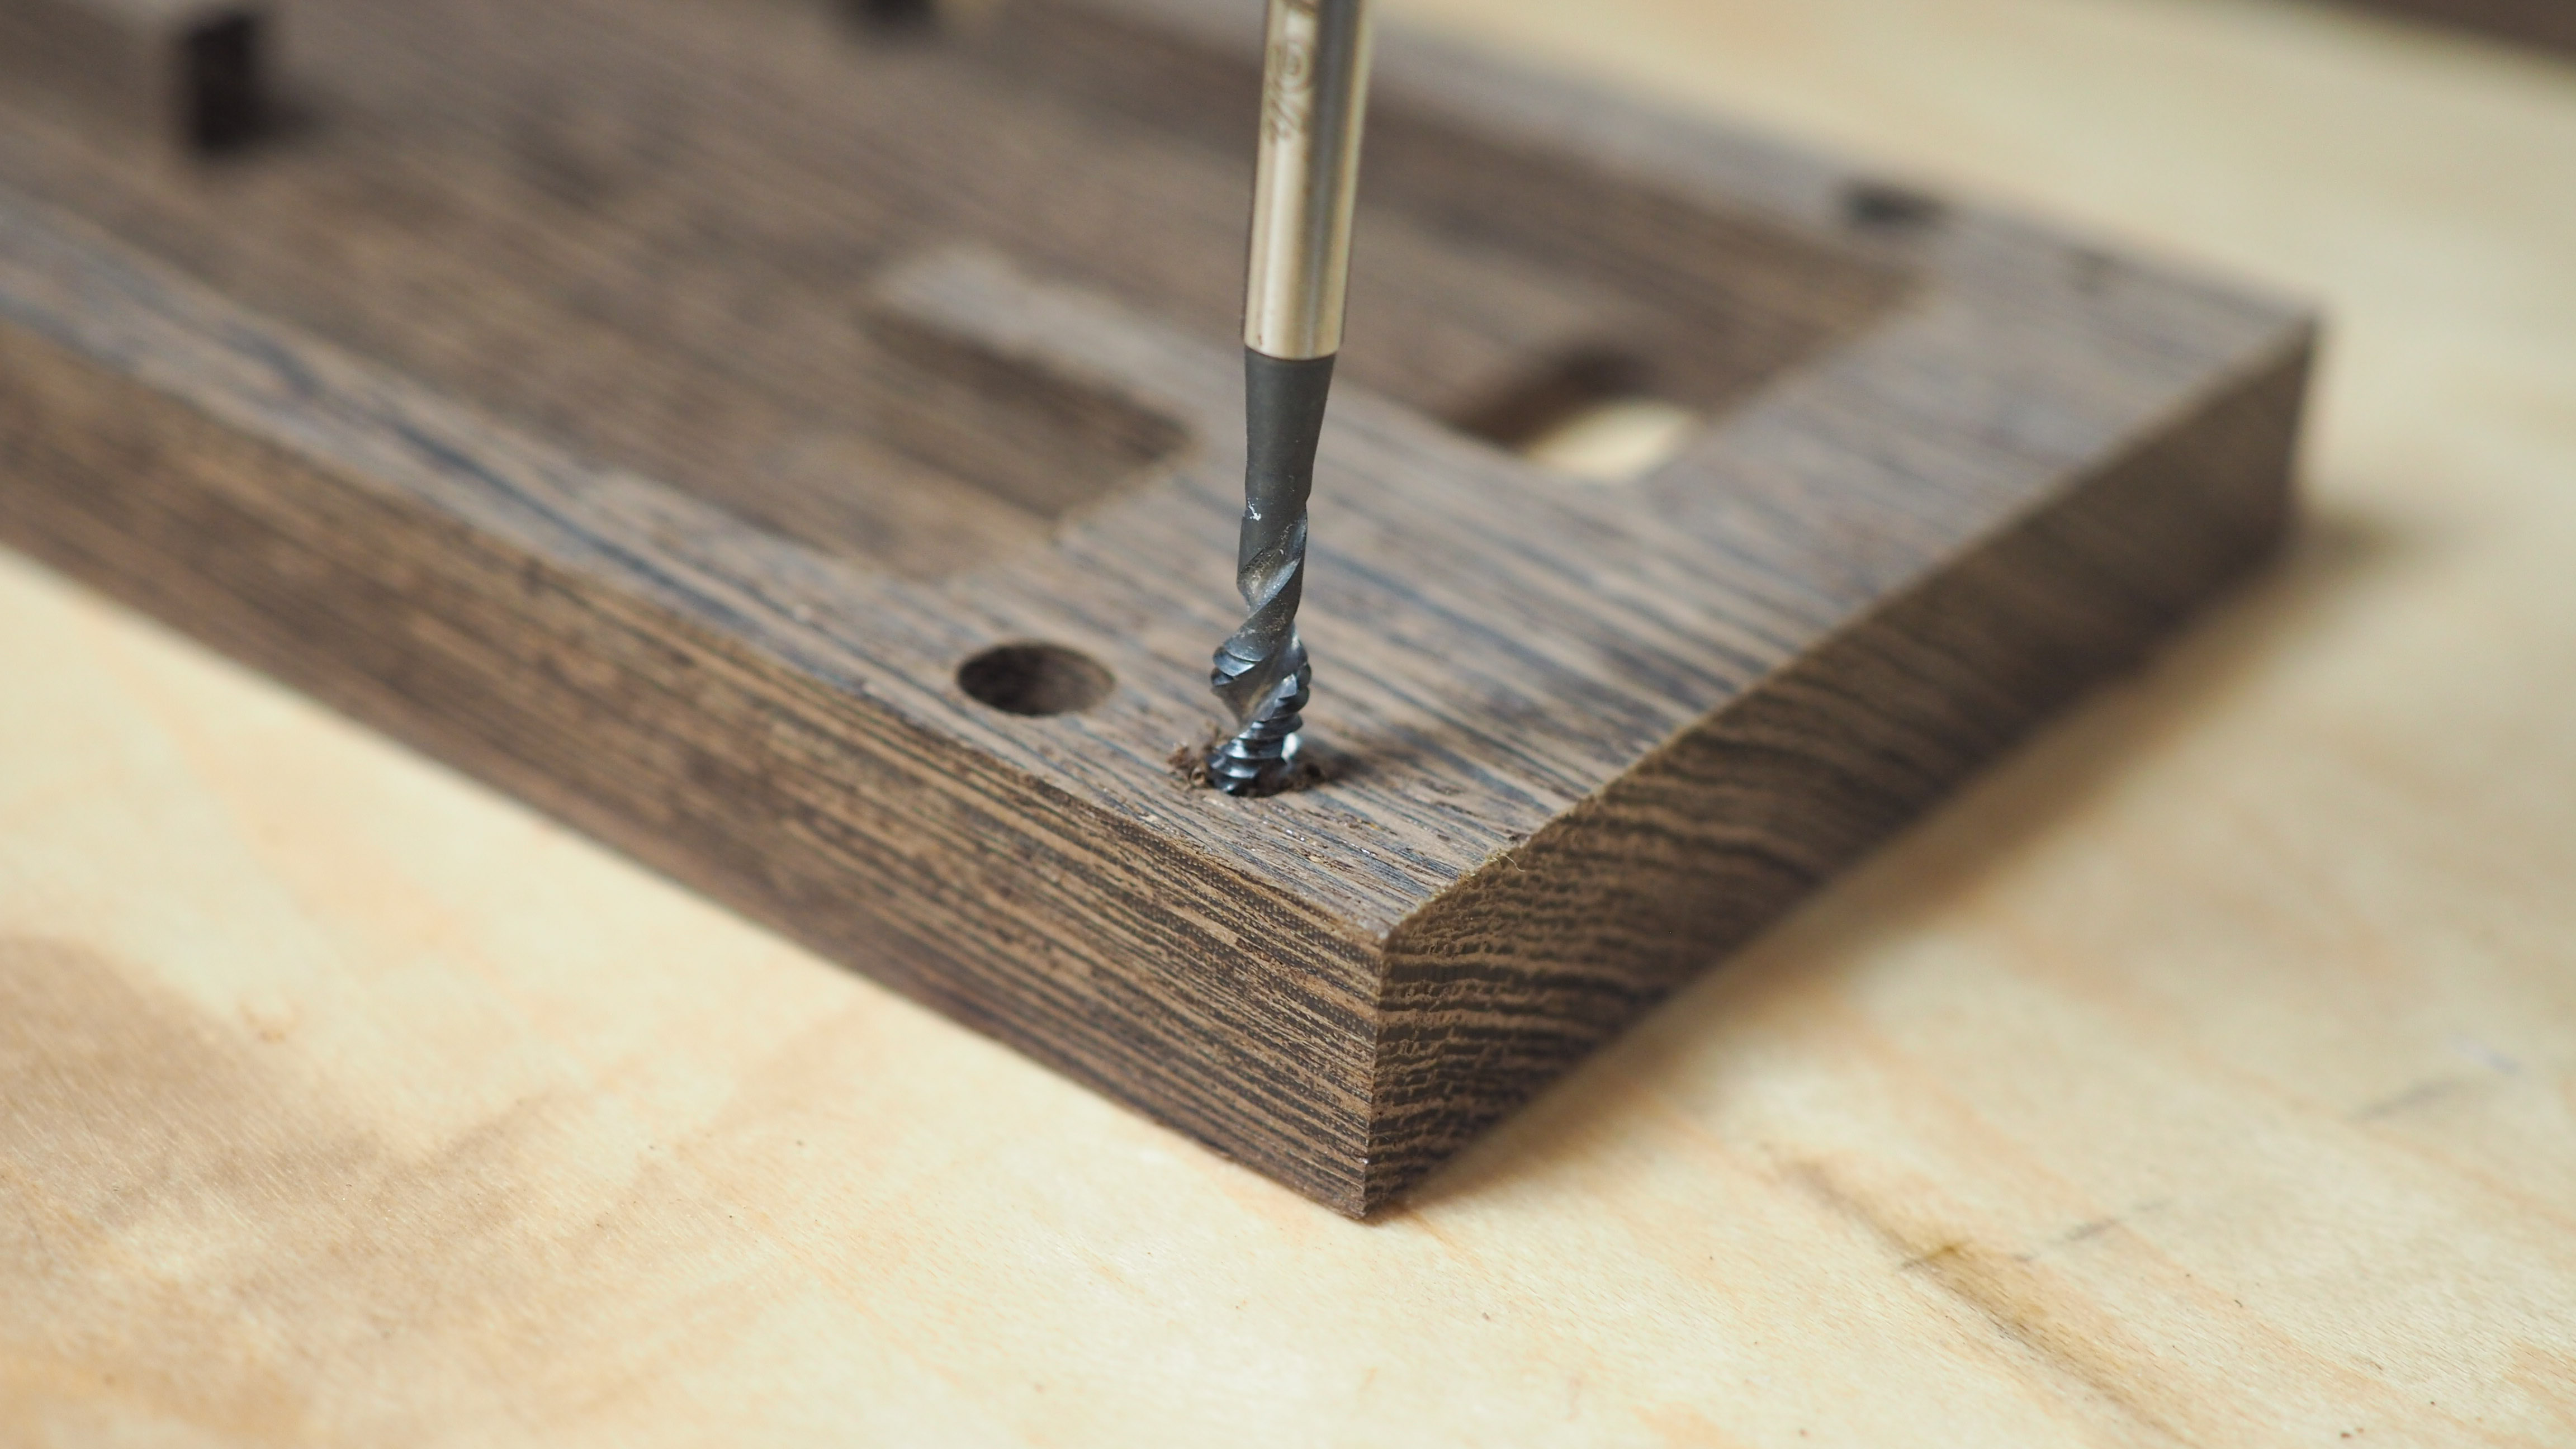
I wasn’t sure this would work, but to attach the cover to the base, I decided to use the same screws as the rest of the case, meaning I would need to tap the Wenge. Surprisingly this worked great and, with a little wax on the tap, everything went smooth.
I then drilled holes into the main acrylic panel to attach the base piece as well.
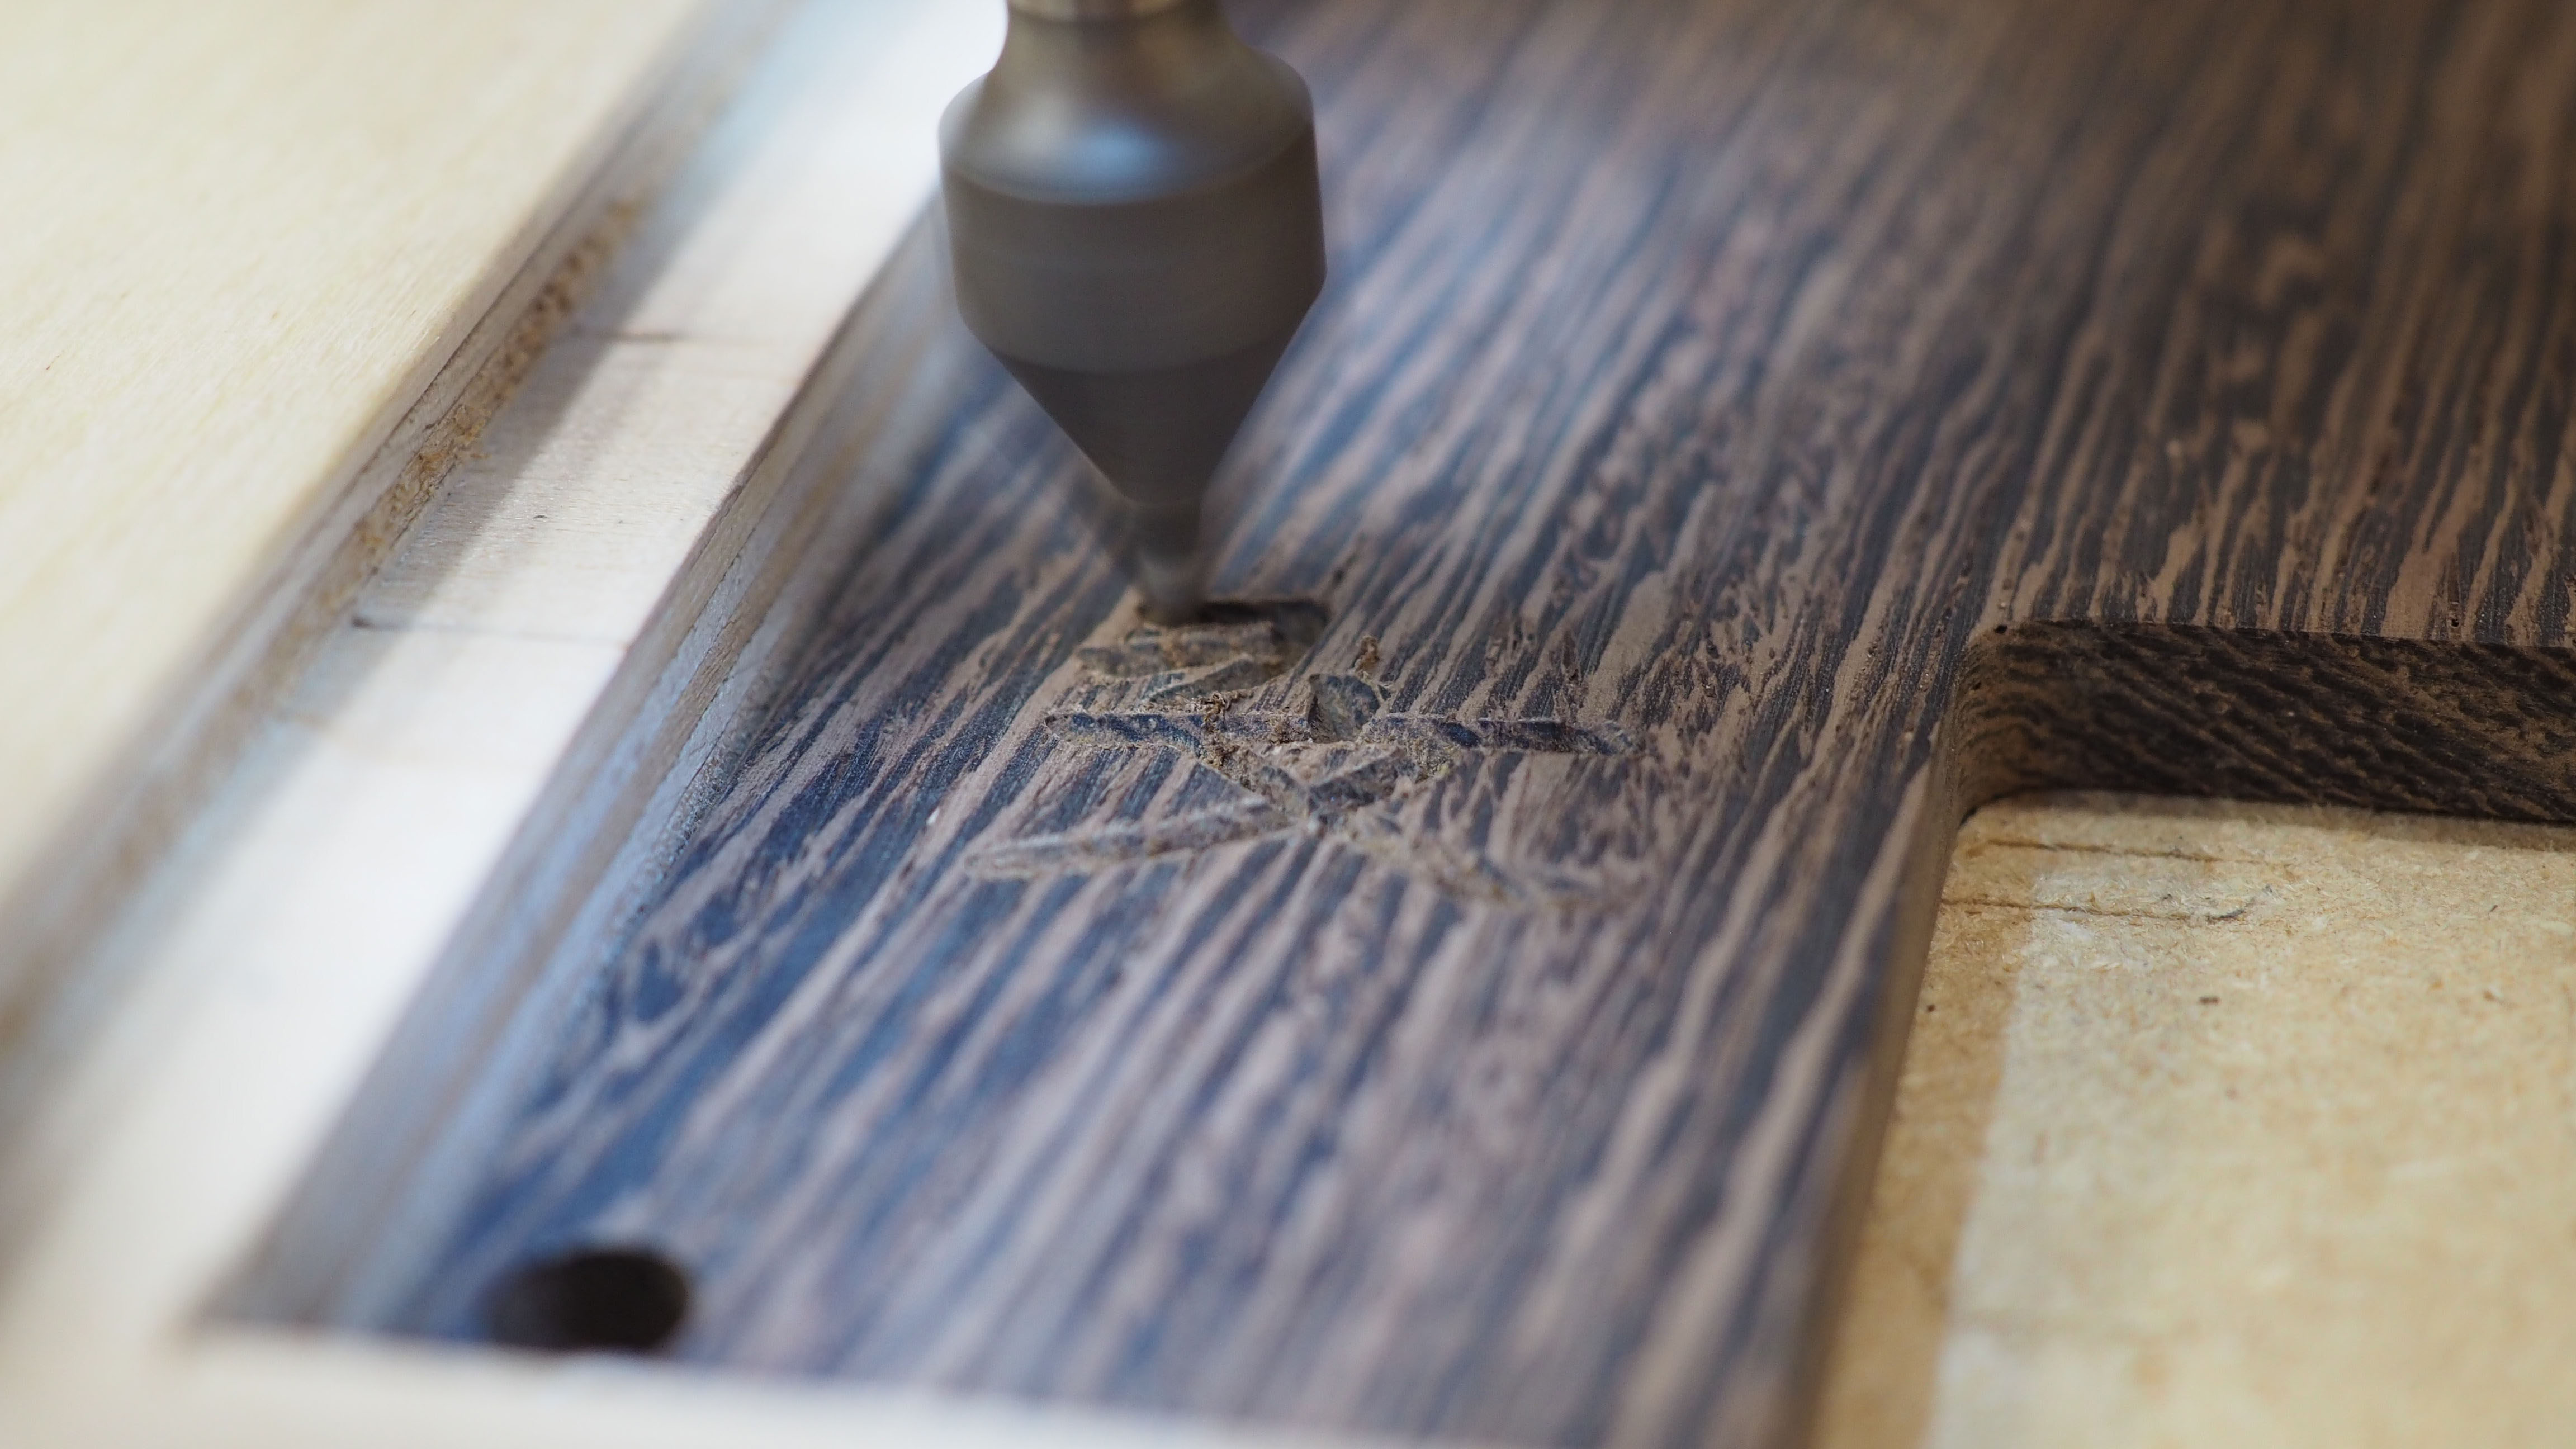
To finish the cover plate off, I engraved the Kanji character for “Ikigai”.
-
waltc3 Incredible, masterful...my head began to throb just looking at all the disparate steps and preparations...;) Bravo.Reply