How to Stream with XSplit: Set Up, Scenes, VCam, More
Learn to use all the major features of XSplit from setting up a Twitch feed to removing backgrounds in VCam.
Get Tom's Hardware's best news and in-depth reviews, straight to your inbox.
You are now subscribed
Your newsletter sign-up was successful
XSplit is a broadcast application like OBS (Open Broadcast Software). There are a few differences in the features because there are paid and free versions of XSplit. XSplit Broadcaster has a professional feel and is not hard to set up because it easily integrates with all the major platforms, including Twitch.
What You Need to Stream on XSplit
- XSplit Account
- Livestream platform account on Twitch, Facebook, YouTube or Restream
- A PC that can handle at least 720p, 30 fps
- A capture card if you are streaming from a console.
- Mic / webcam / headset: For recording yourself. Check out our lists of best webcams, best gaming headsets and best gaming microphones.
How to Set Up XSplit
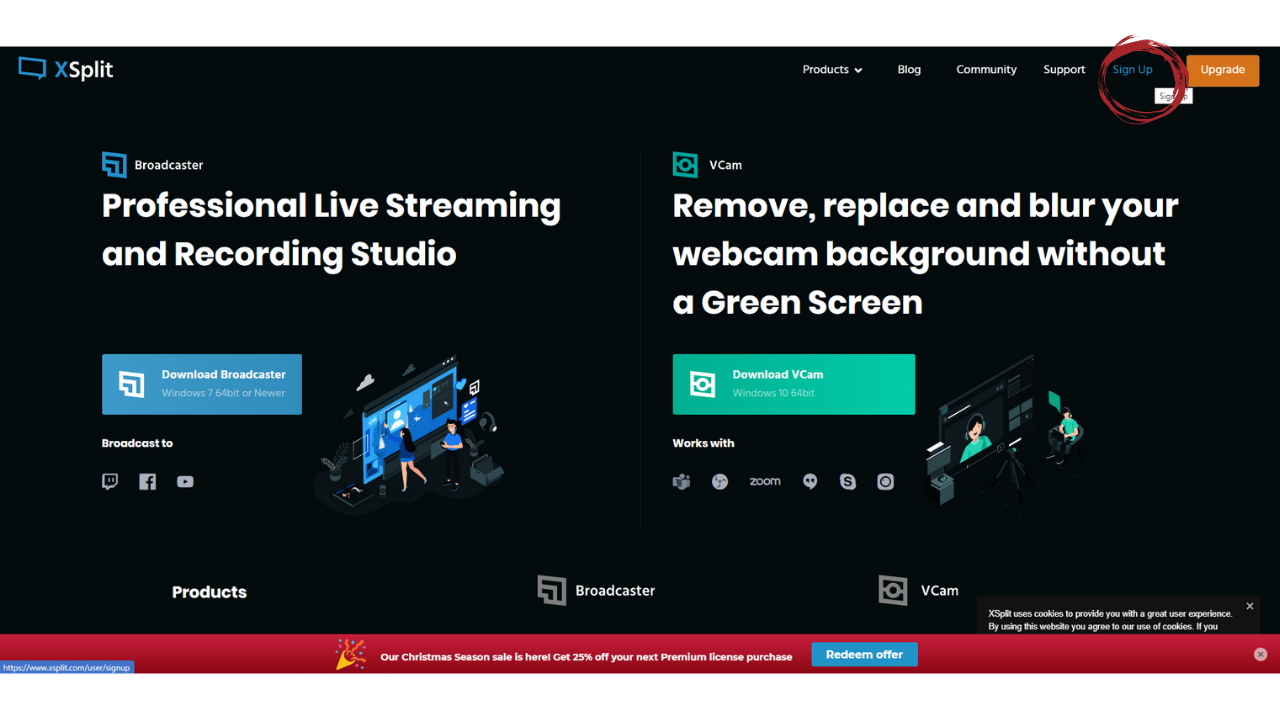
1. Sign up for an XSplit account at www.XSplit.com.
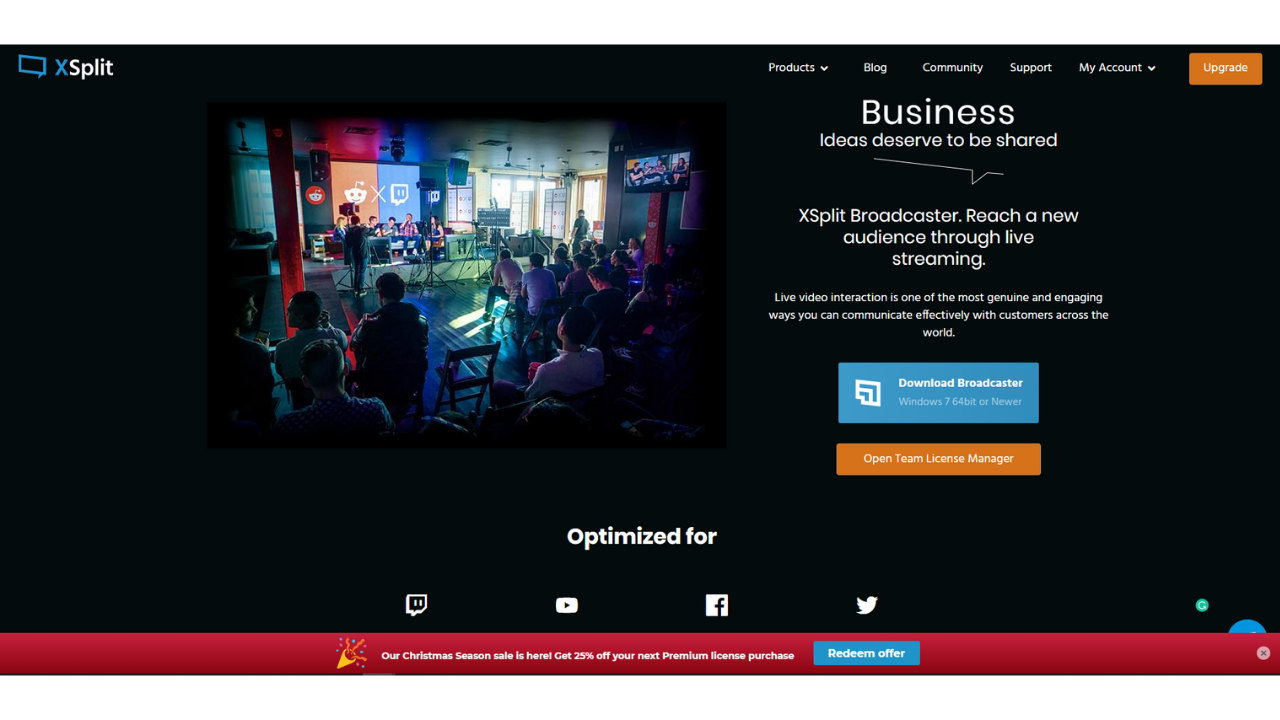
2. Download the Broadcaster software after you sign up for your account.
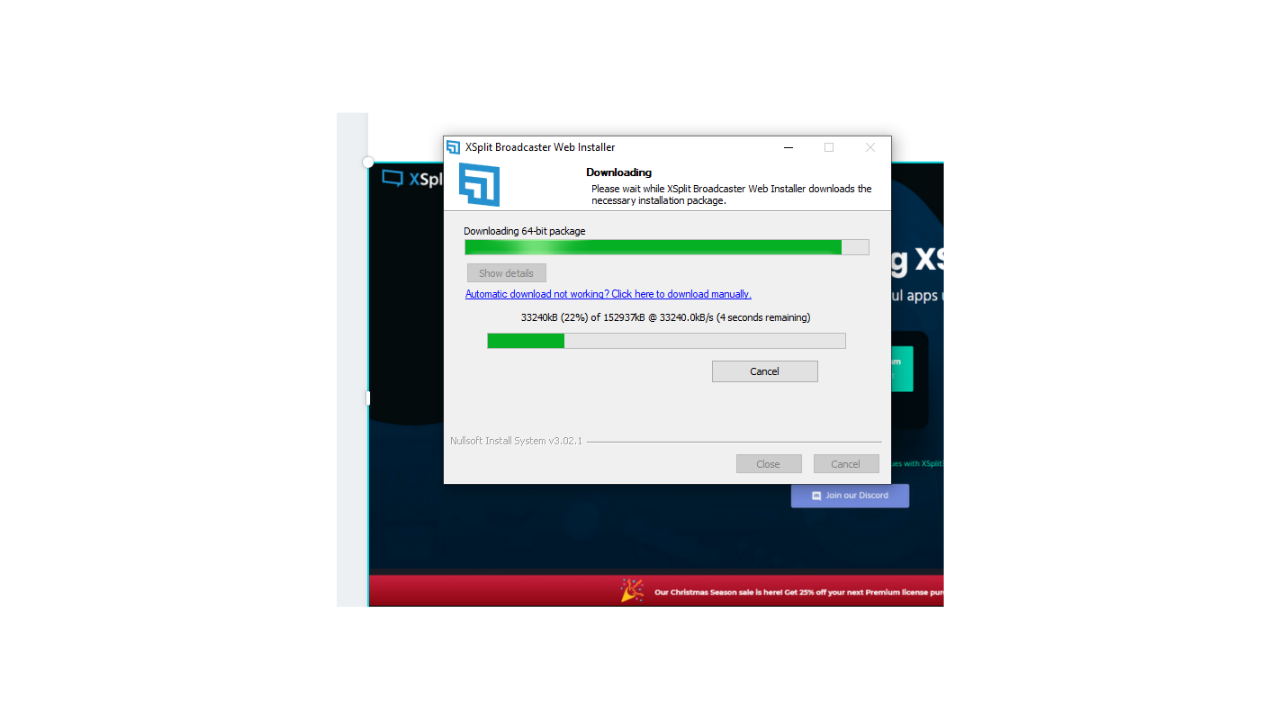
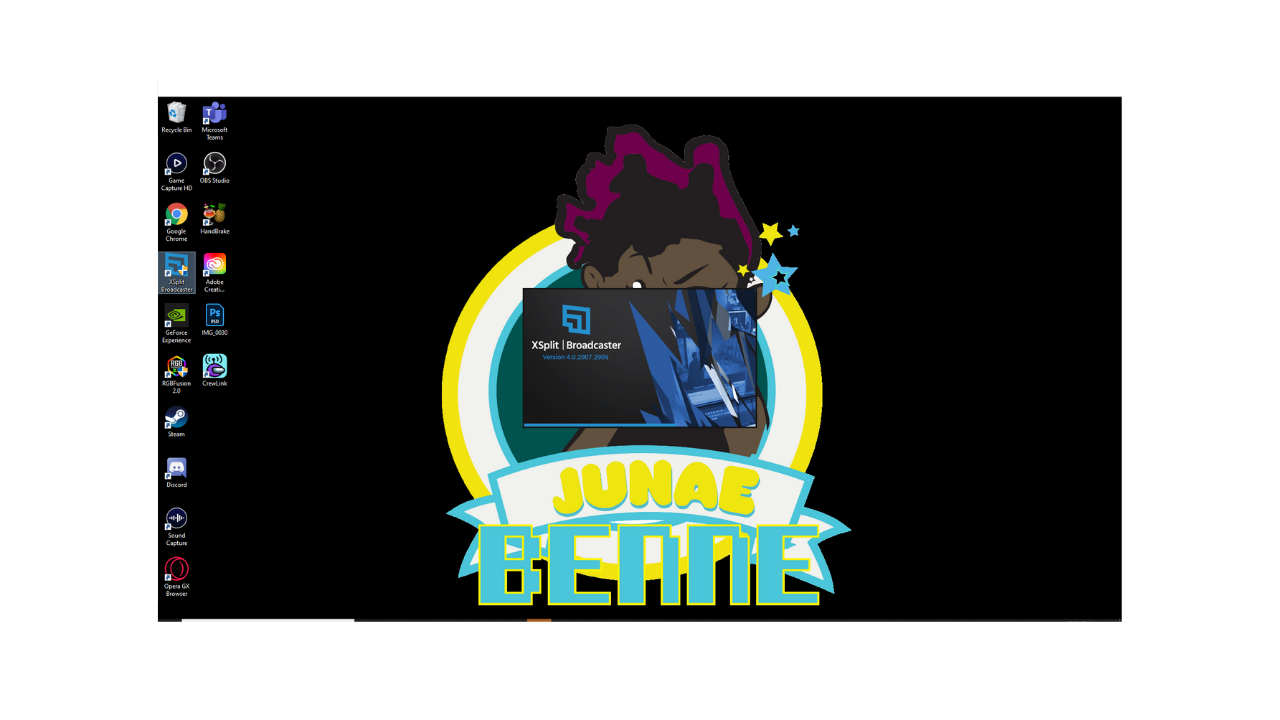
3. When the software downloads it will ask if it can make changes to your computer, click Yes to continue. It will ask you this every time you open Broadcaster.
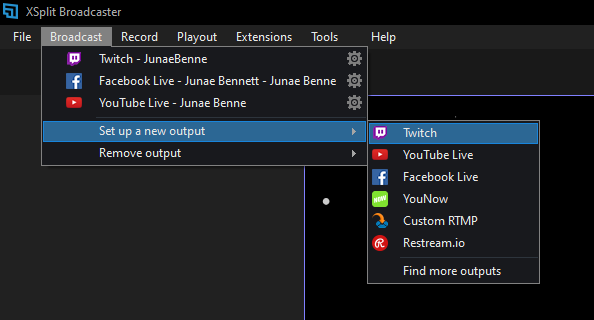
4. Click Broadcast in the left corner the select Set Up a New Output. To set up a new output means to connect your streaming platform like Twitch or YouTube. You can set up multiple accounts for multiple streaming platforms.
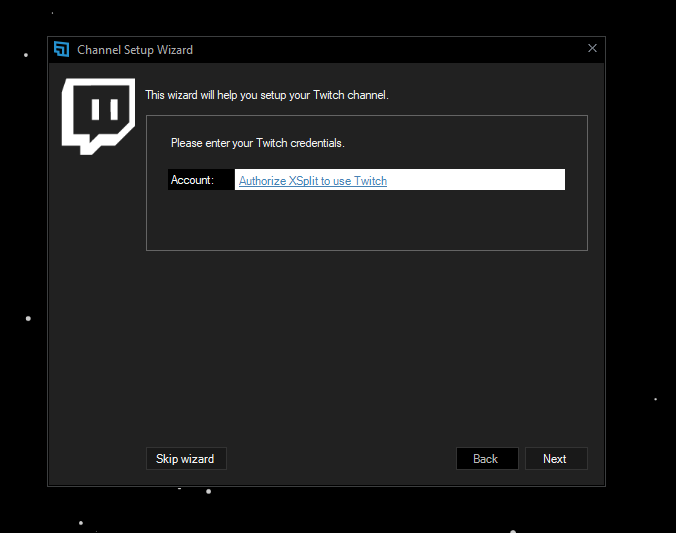
5. Each platform will request authorization for XSplit to use it . Click Authorize XSplit to use Twitch (or whatever platform(s) you have).
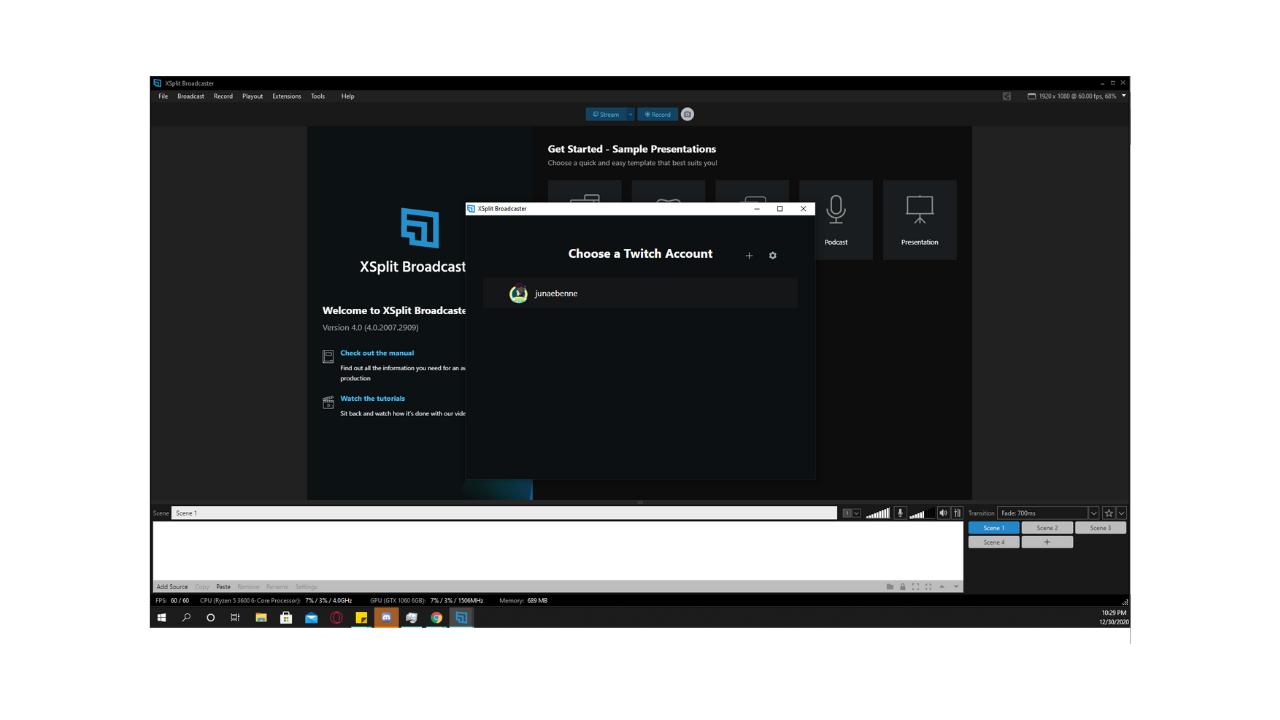
6. After you verify your Twitch account it will show up under Choose a Twitch Account. Once you see the account you want to stream to click on it. You can also have multiple Twitch accounts logged in on XSplit. But you can only stream to one account at a time.
Get Tom's Hardware's best news and in-depth reviews, straight to your inbox.
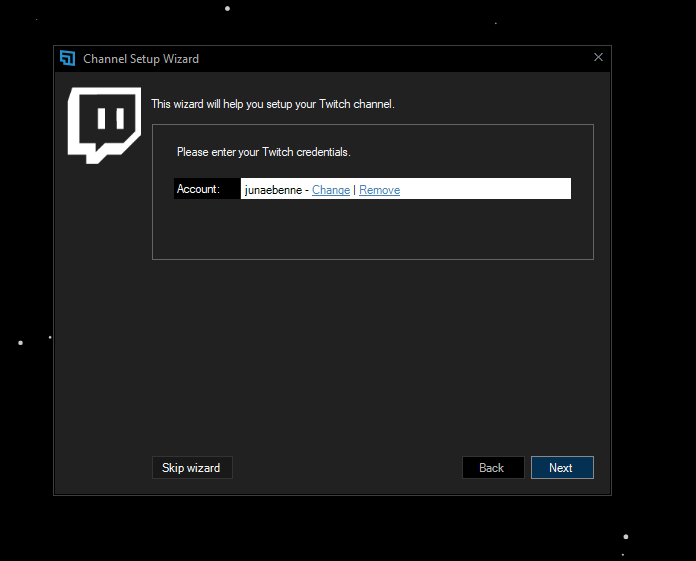
7. This is what authorizing XSplit to use your Twitch will look like. Click Next.
XSplit will automatically determine your server and tell you what your recommended settings are for Twitch and the other platforms available. Just because there are recommended settings doesn’t mean that’s the highest setting you can stream on.
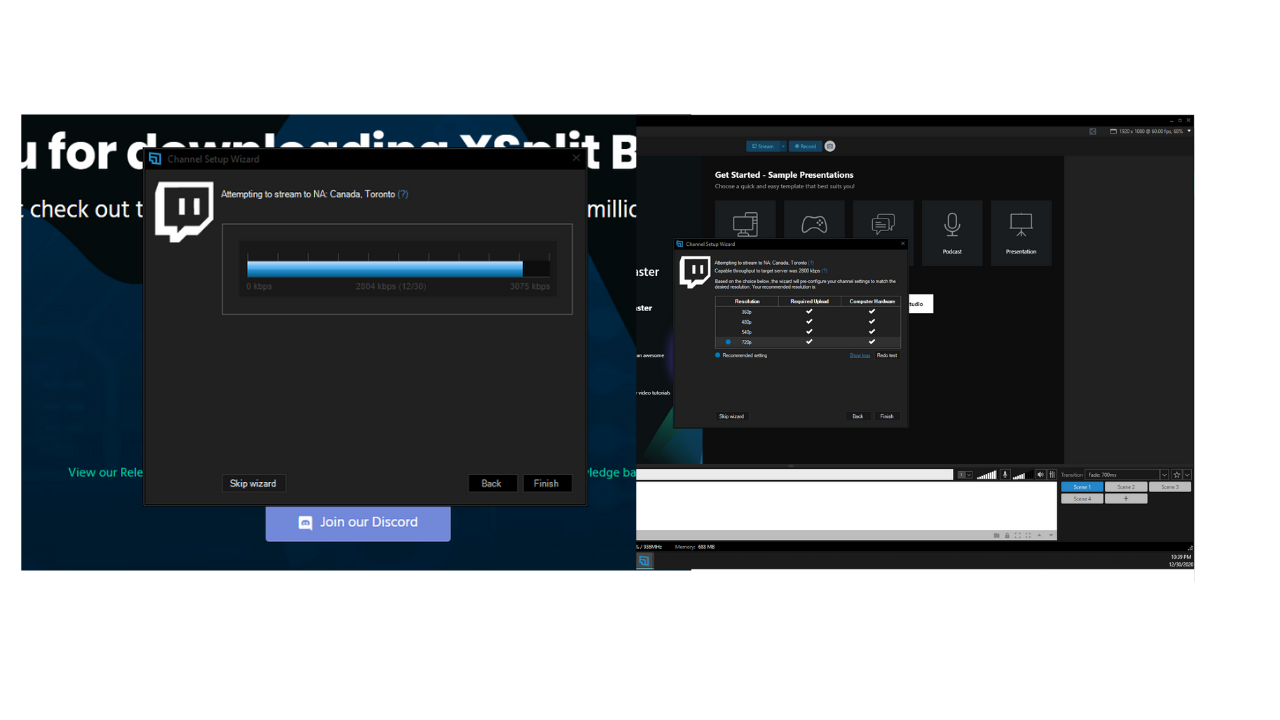
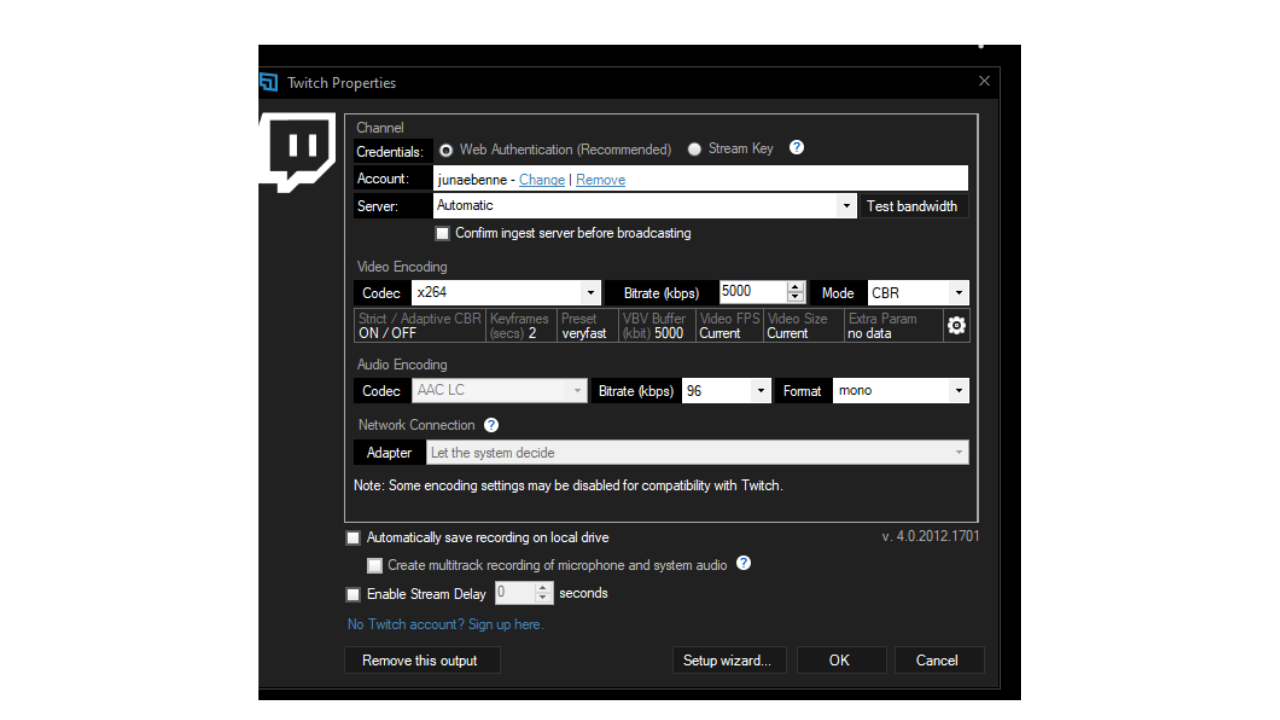
XSplit Settings for 1920 x 1080 running 60 FPS on Twitch
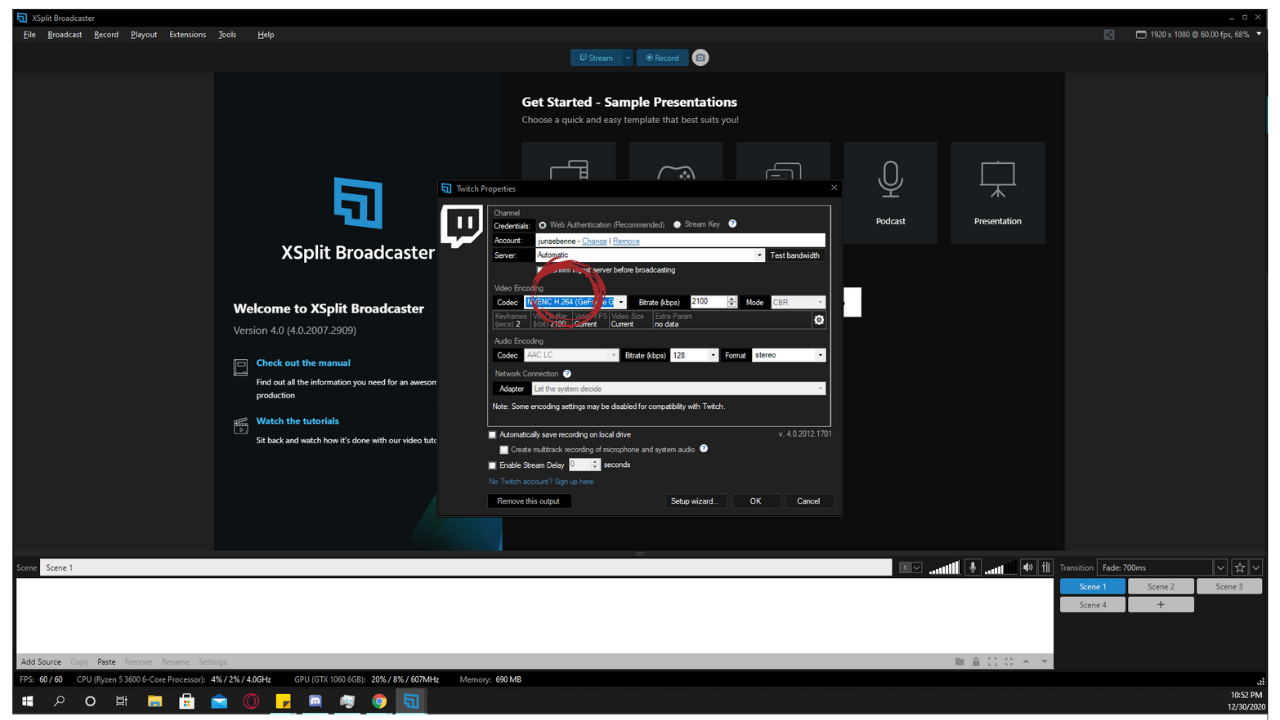
Twitch Properties are for technical stream settings like your Bitrate and Codec. You don’t usually have to pay attention to these settings. The only thing I would change for a smooth stream with great graphics is the Video Encoding.
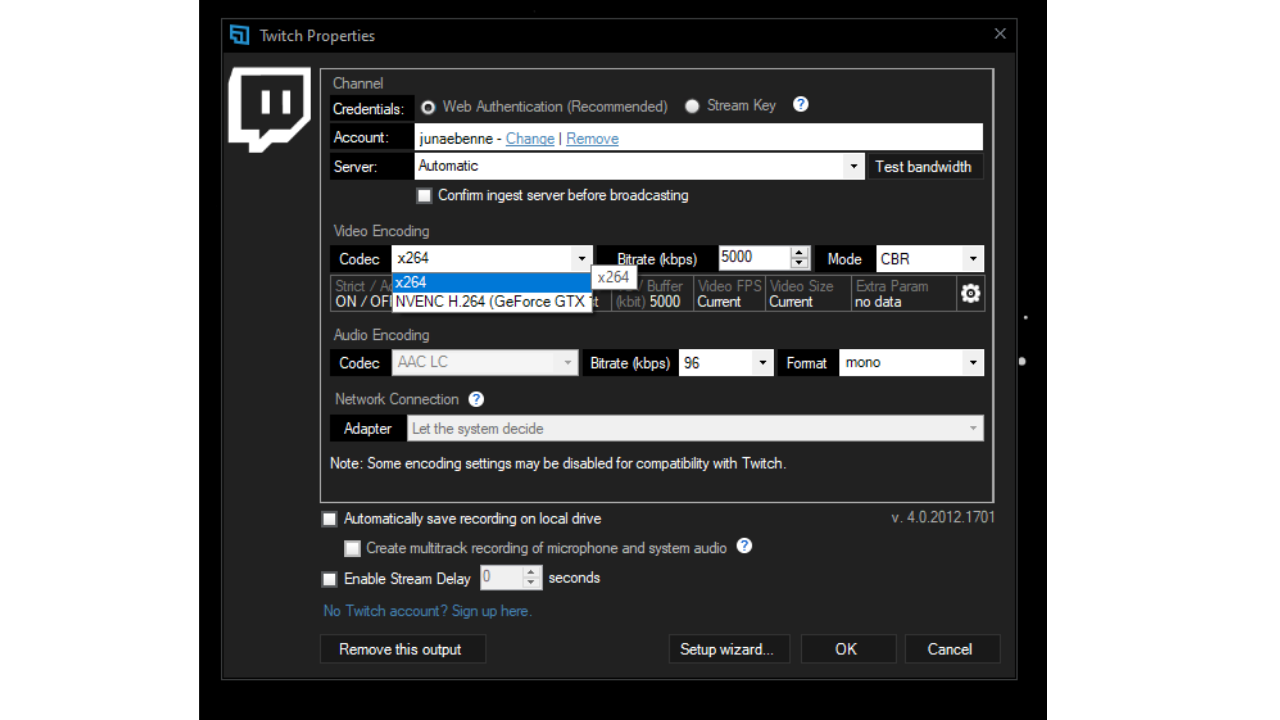
Codec encodes or decodes a digital data stream or signal. Currently, it’s on H.264 and is using my graphics card the GTX 1060. I change my Codec to x264 because it has better quality, meaning it gives my stream a more polished look.
Bitrate: The lower the Bitrate the choppier the stream can be. I recommend 5000 for 1080p streams. Running at a lower setting like 1280 x 720 at 30FPS the bitrate should be raised to 4000 maximum and 1500 minimum. And the Codec can still change x264.
That’s recommended bitrate for Twitch. Recommended setting for YouTube & Facebook are 4000 to 6000.
How to Change the Resolution and Framerate on XSplit
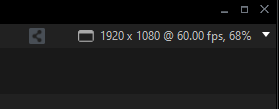
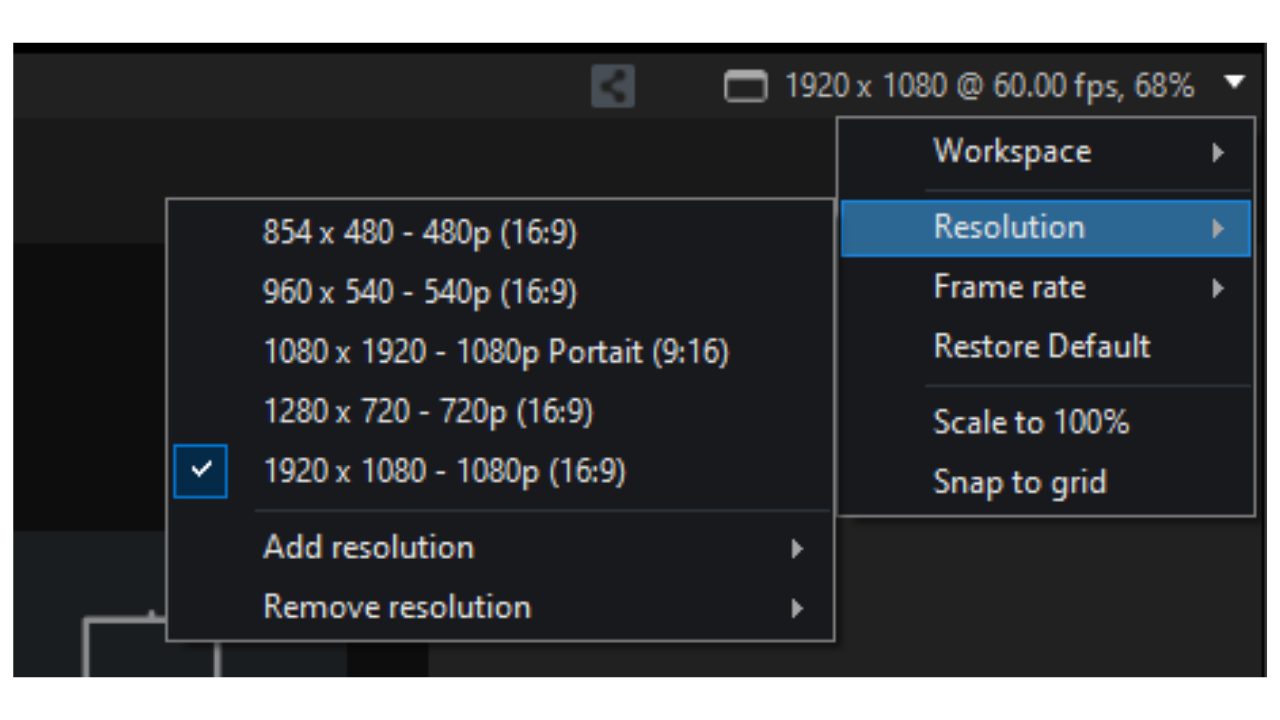
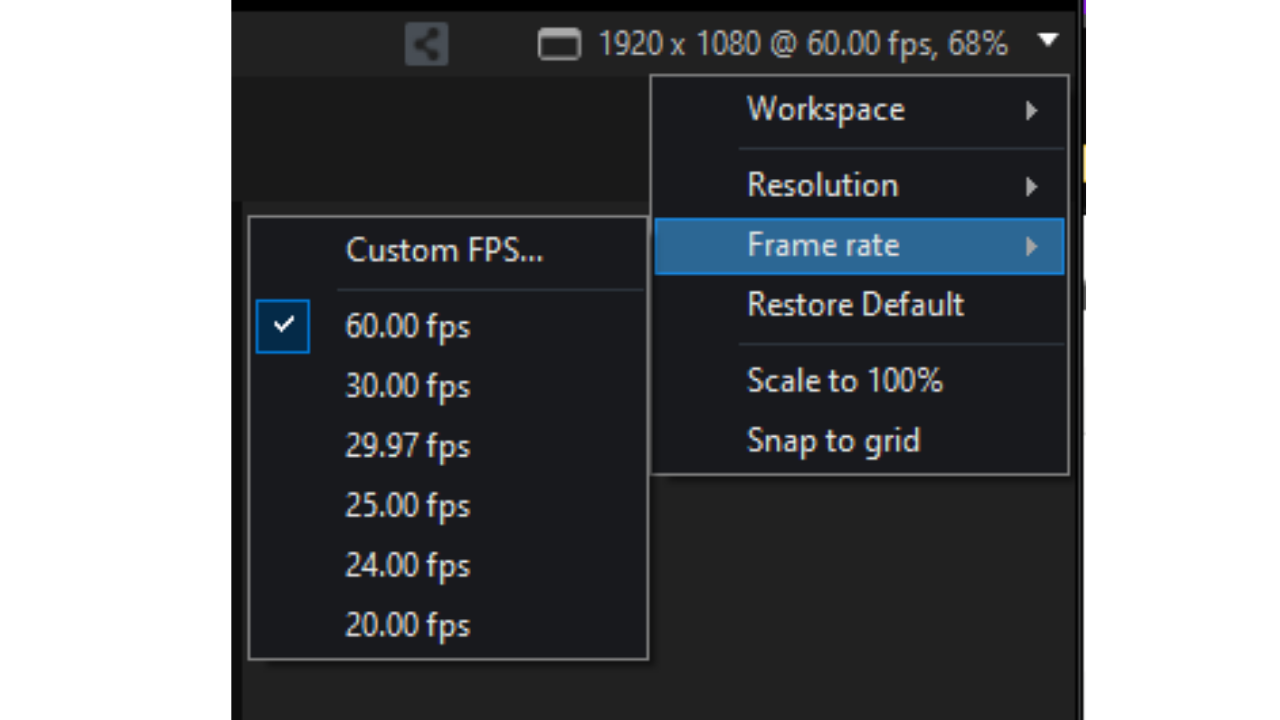
1. Click on the resolution and framerate in the upper right corner.
2. Scroll down to Resolution and select the resolution works for your stream. The two most common Resolution options are 1280 x720 (16:9) & 1920 x 1080 (16:9).
3. Click on Resolution scroll down to Framerate to change your framerate. While streaming at 1920 x 1080 the framerate is usually 60 frames per second. Streaming at 1280 x 720 the framerate is 30 fps.
How to Import OBS Scenes into XSplit
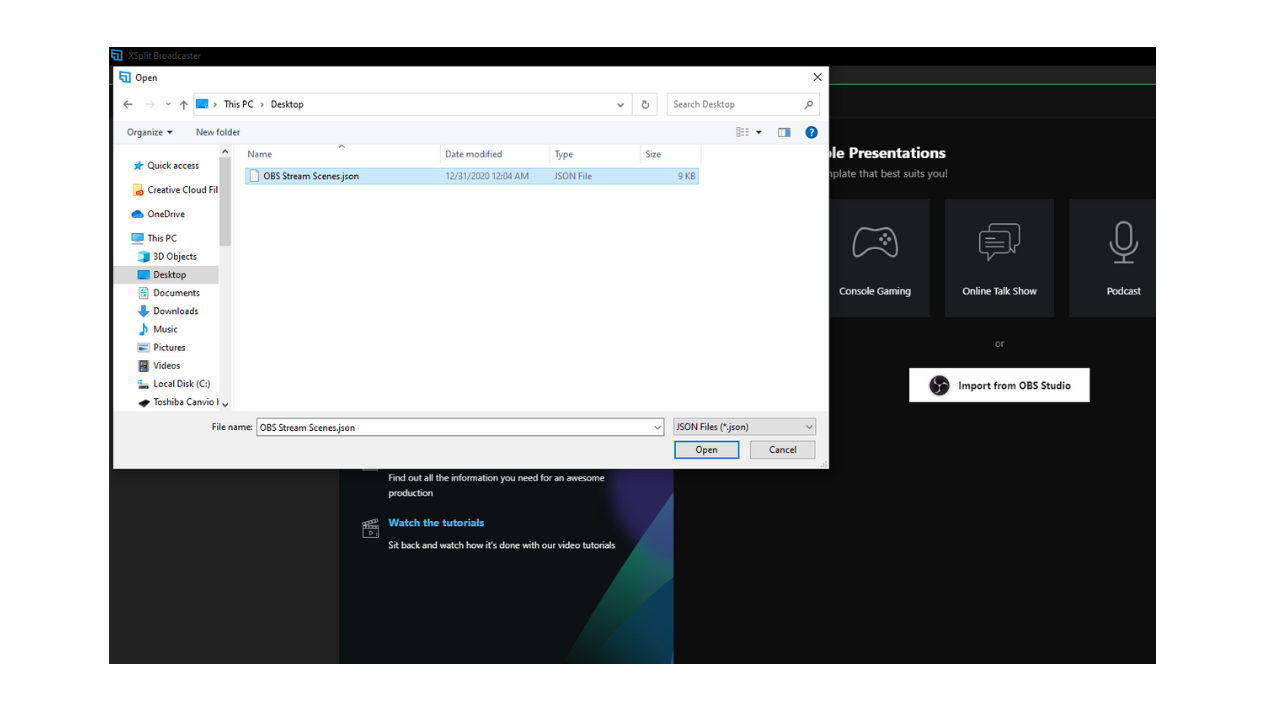
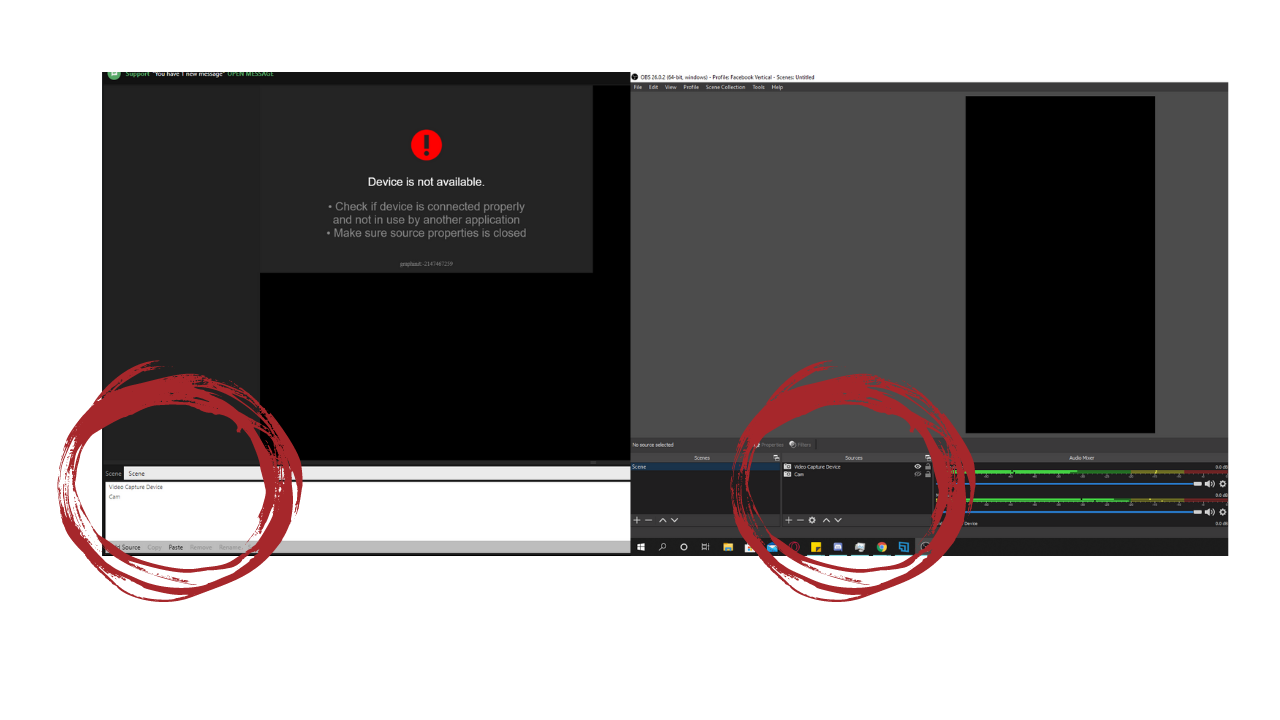
If you have scenes on OBS that you don’t want to recreate in XSplit, there’s a very easy way to port them over. Before importing your OBS scenes to XSplit you must save your scenes.
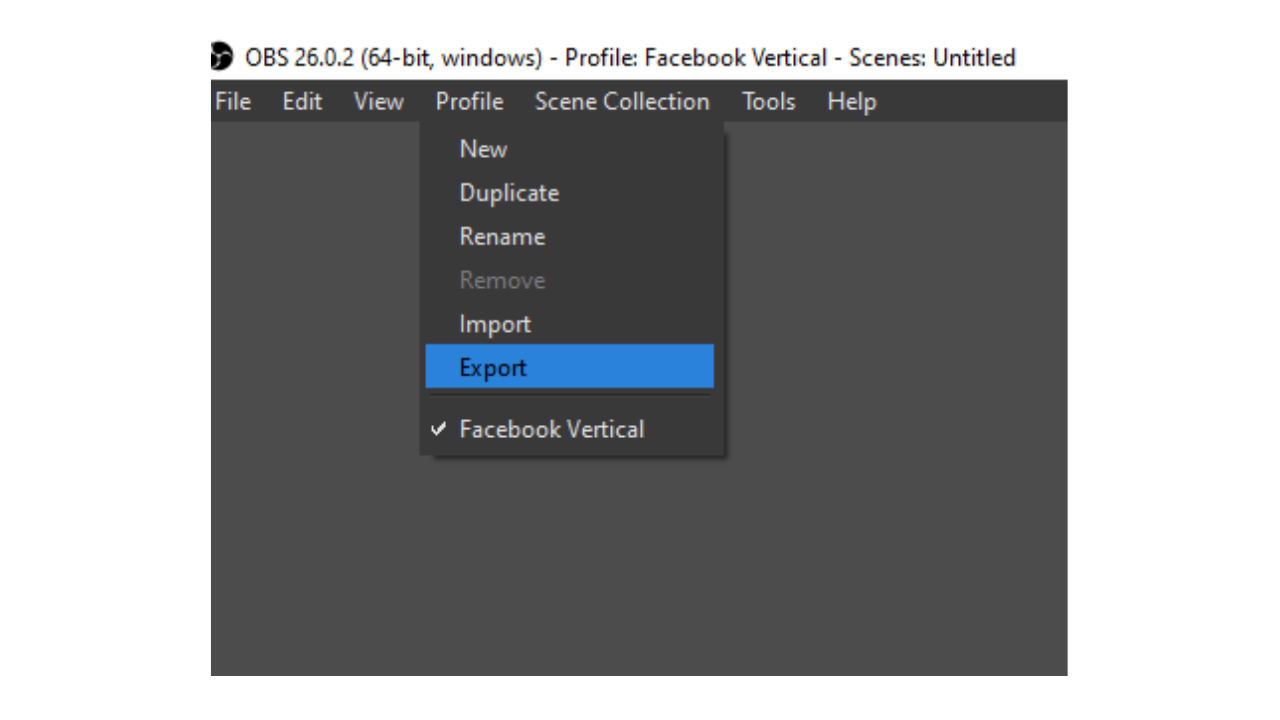
1. Open OBS, click Profile in the upper left corner & select Export and choose a place to save them.
2. Switch to XSplit.
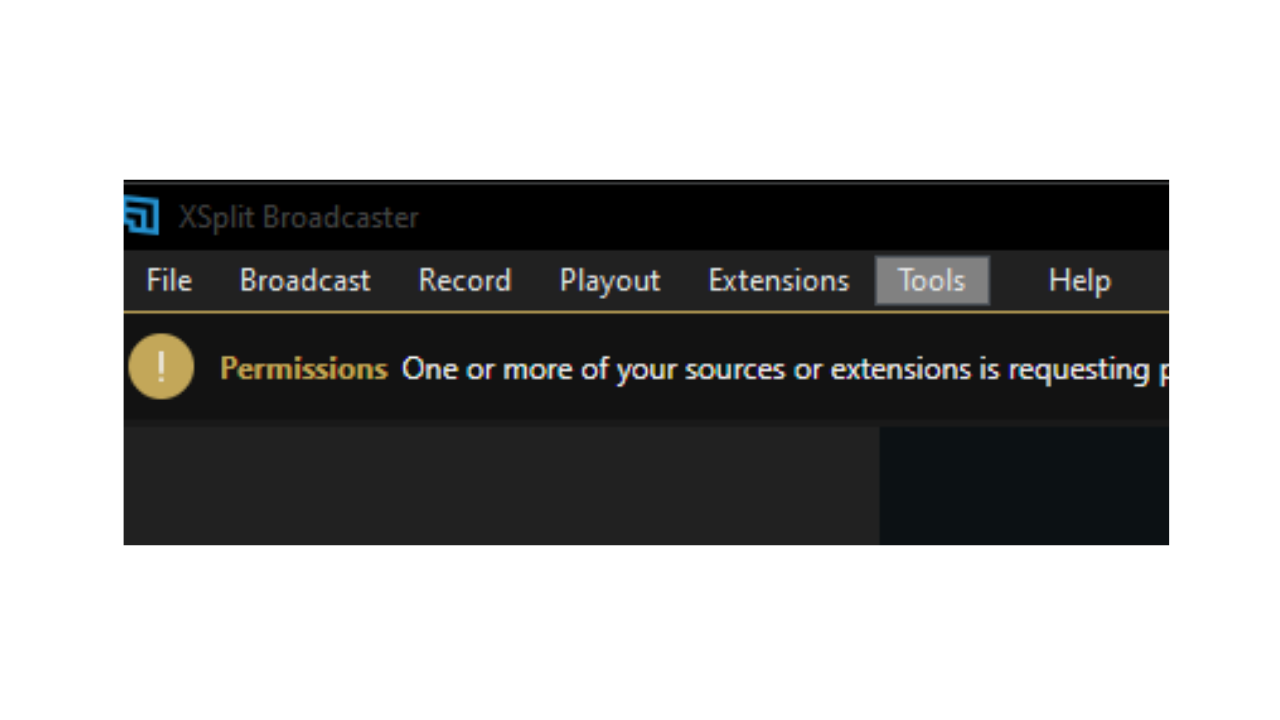
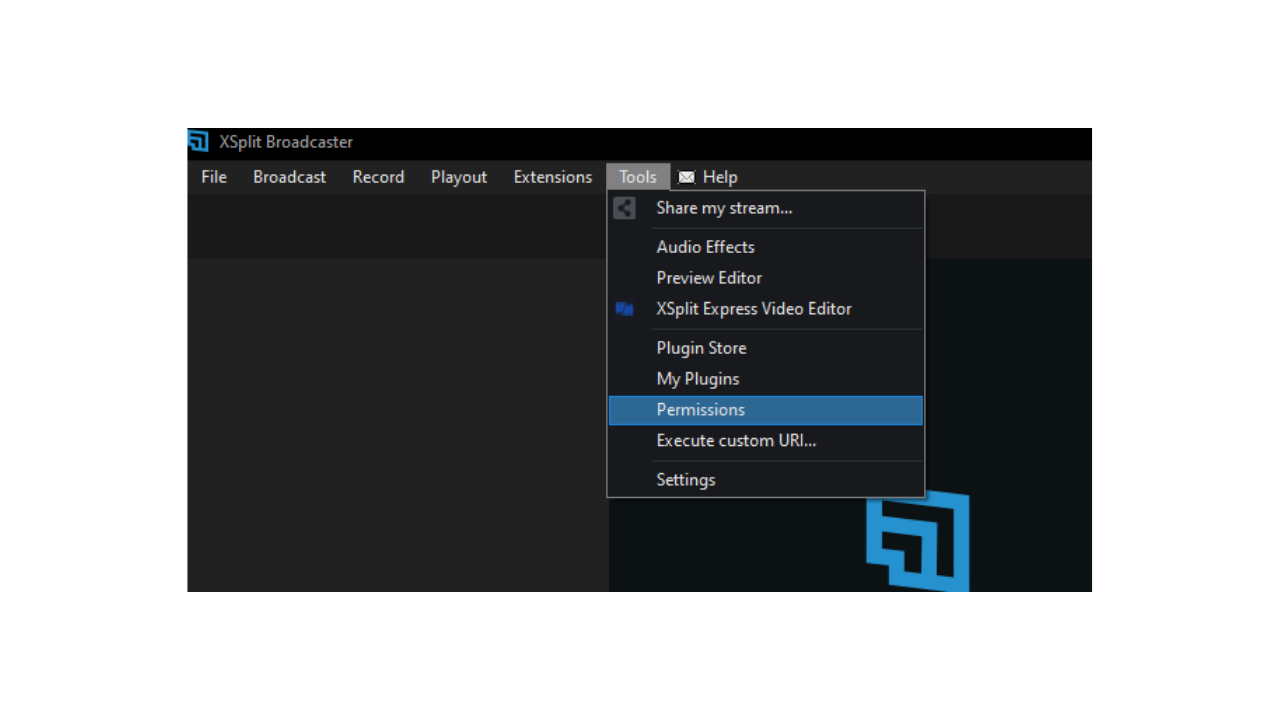
3. Click Tools located in the upper left menu.
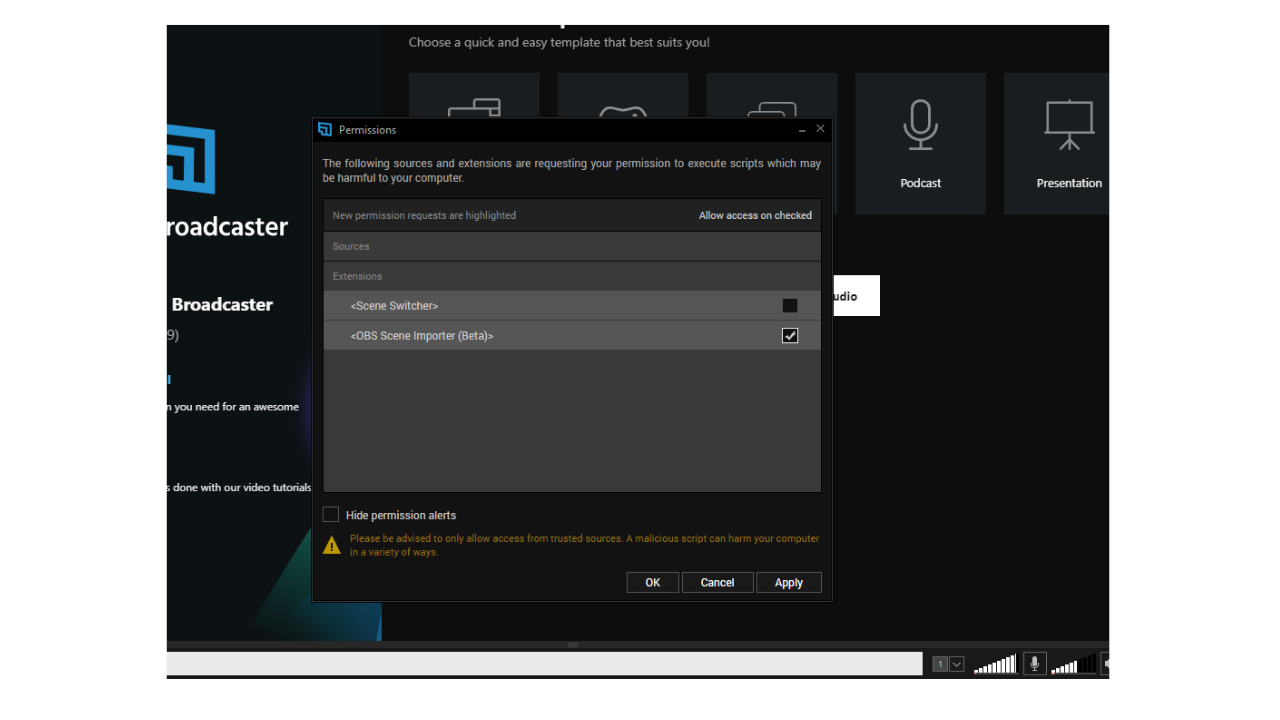
4. Select Permissions.
5. Check the box for OBS Scene Importer and click apply.
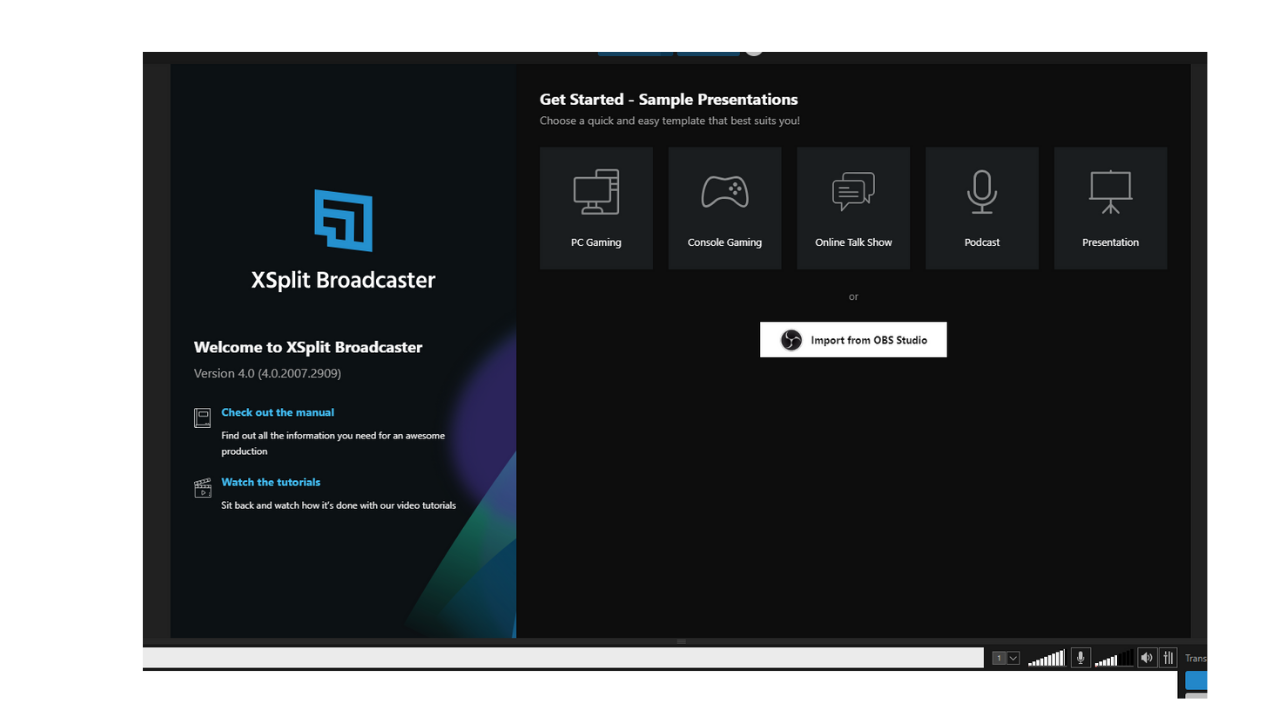
6. Click Import from OBS Studio.
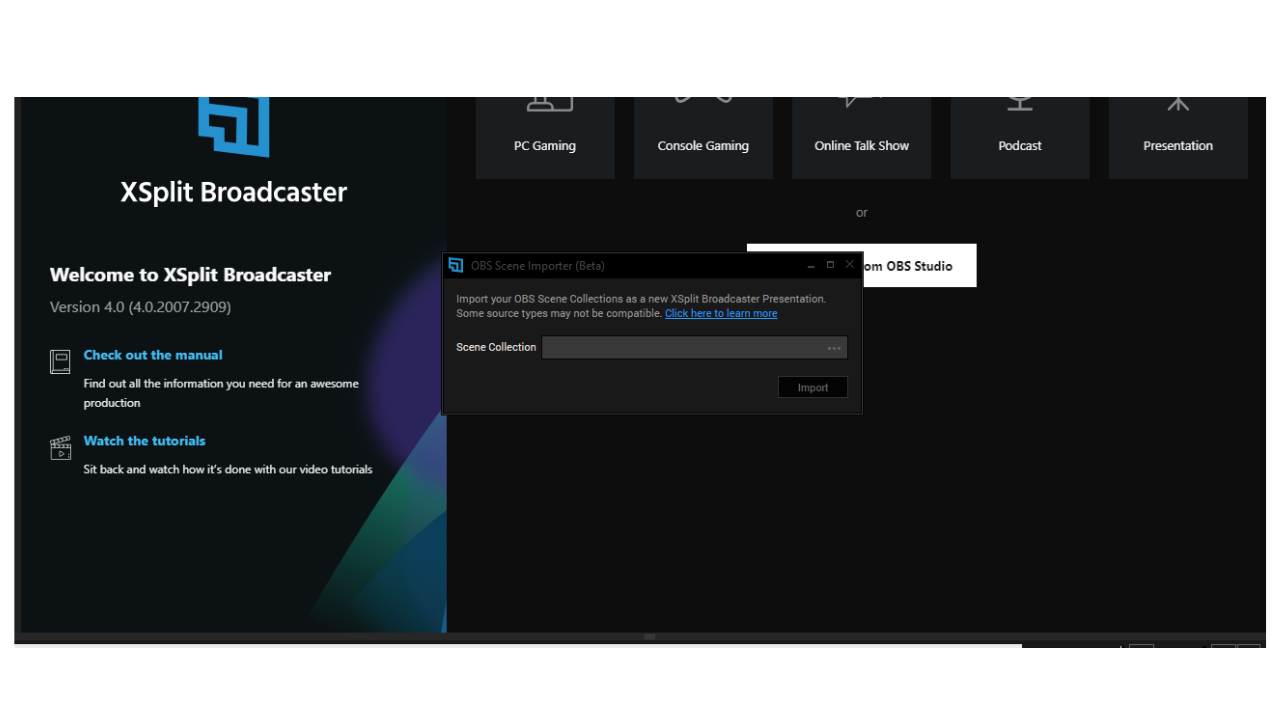
7. Select the scenes you’d like to import and click open.
8. Click Import. Now your scenes and sources are available in XSplit.
How to Create New Scenes & Sources in XSplit
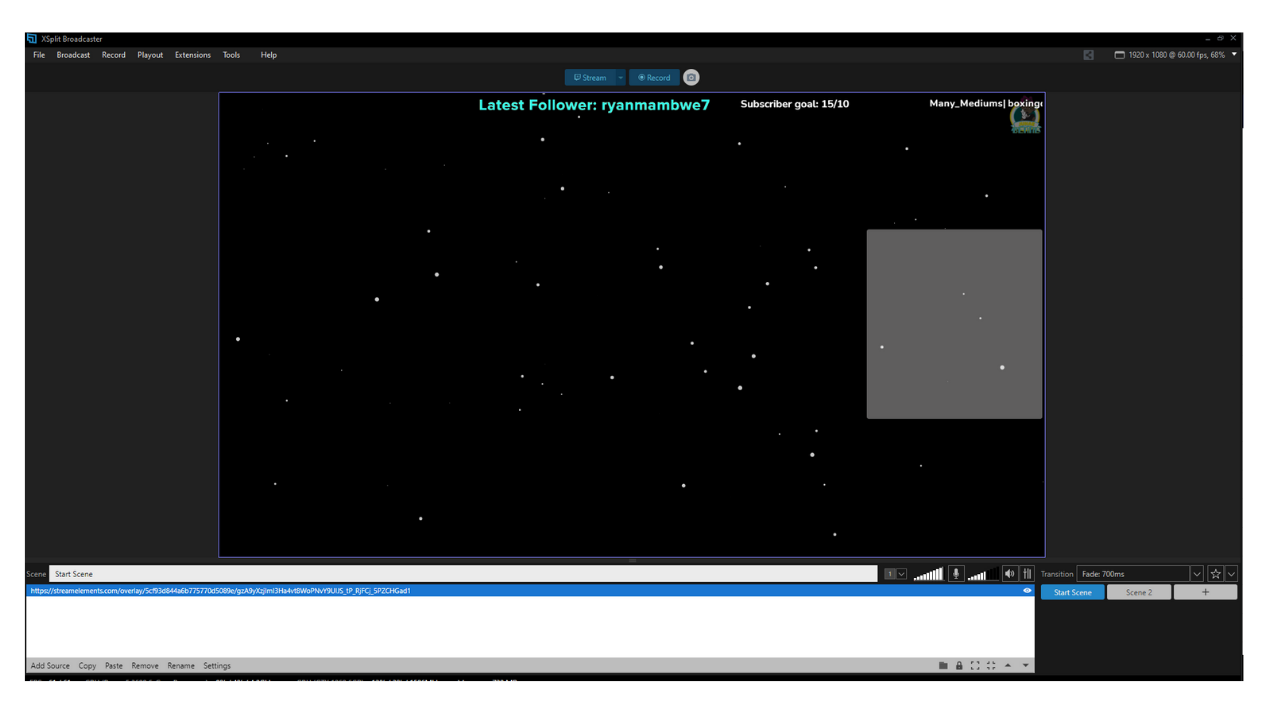
If you are starting from scratch and want to build your scenes in XSplit, whether you’re using StreamElements, StreamLabs, or importing an overlay you made yourself, it’s very easy to use.
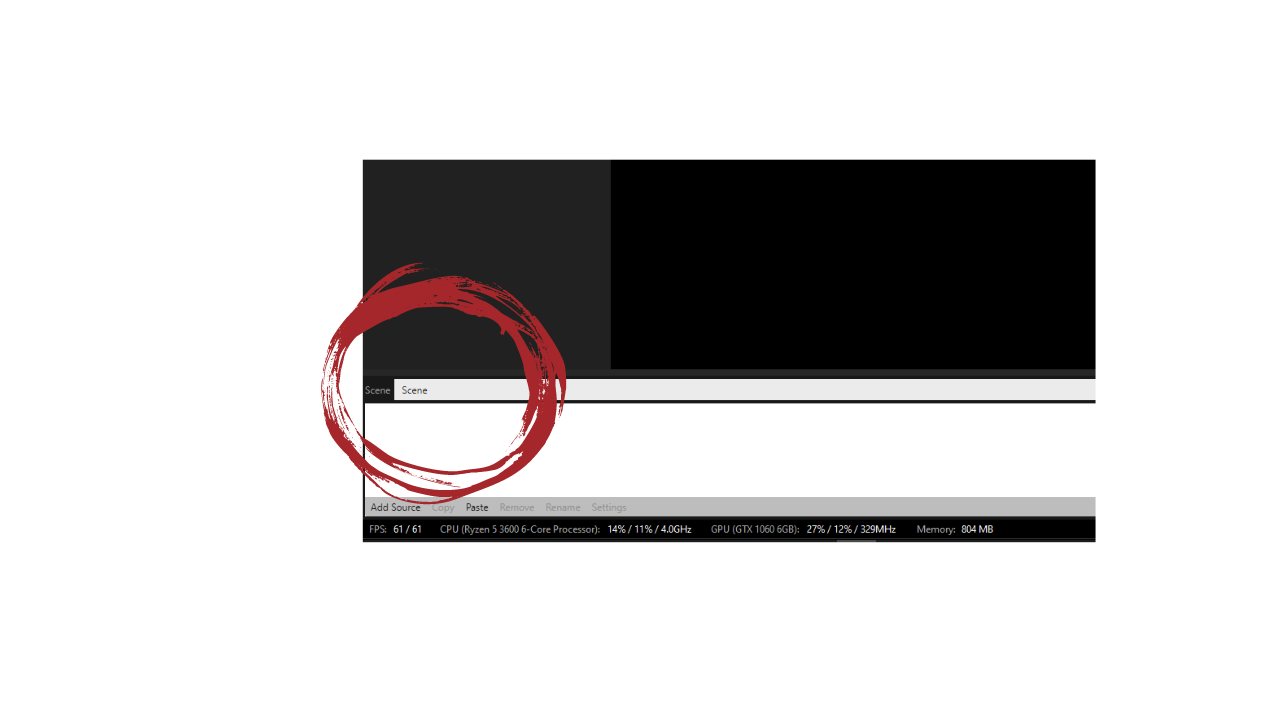
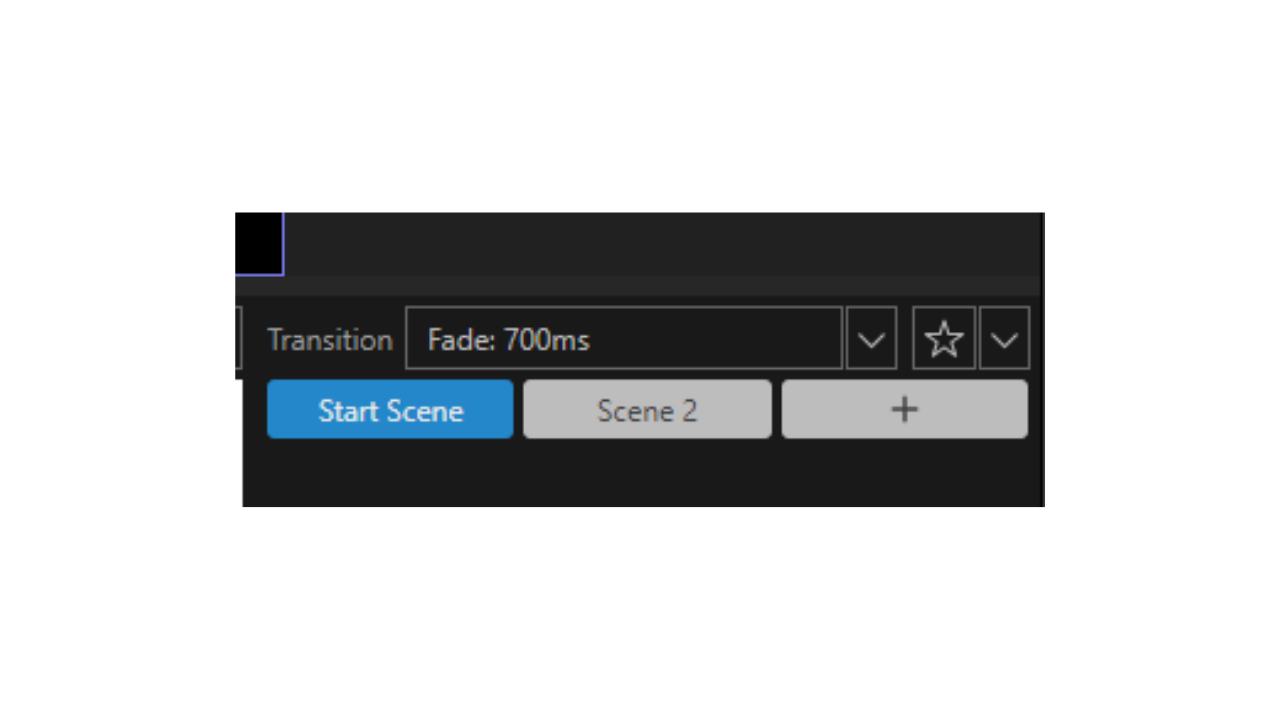
1. Click the + button to add more scenes.You can rename the Scene by clicking on the white bar toward the bottom.
2. To add an overlay as an image, video, or GIF click Add Source at the bottom of the screen. Your File Explorer will open up and you can choose your overlay from there.
How to add an Overlay from StreamElements to XSplit
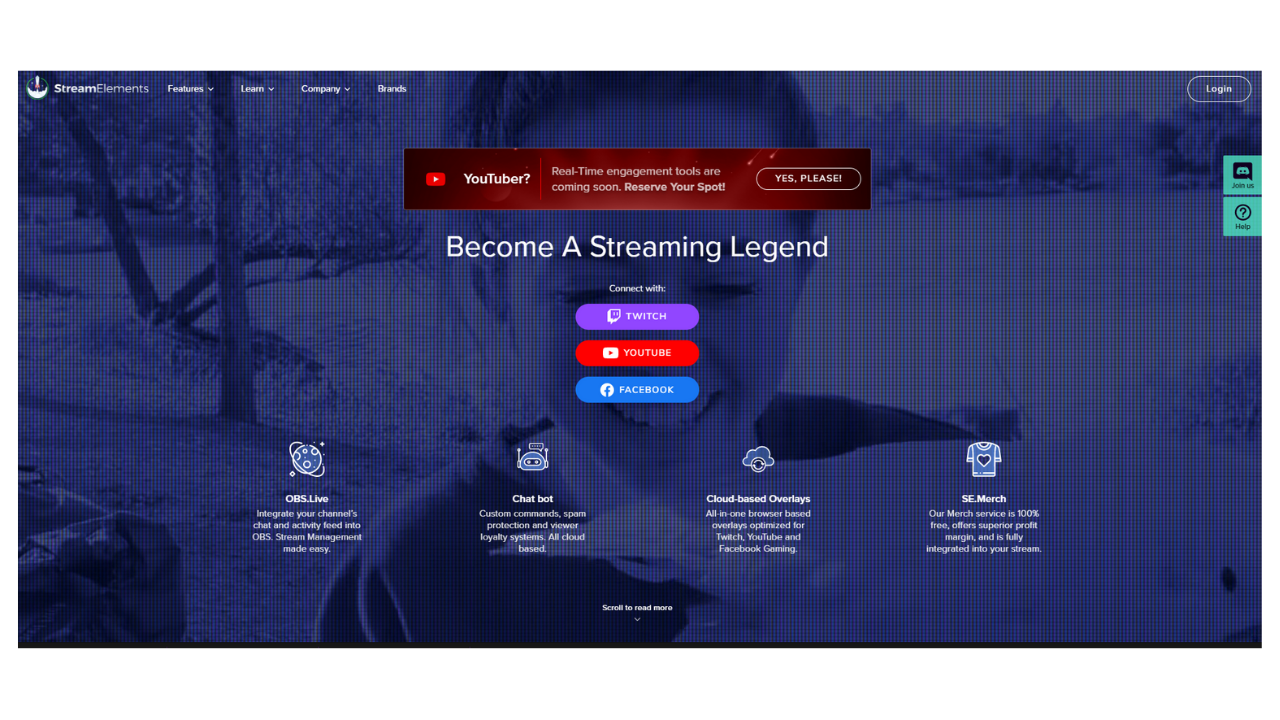
Adding an overlay from StreamElements and StreamLabs is easy. These are free websites in which to create overlays.
1. Sign up for an account on StreamElements using a streaming platform or your email.
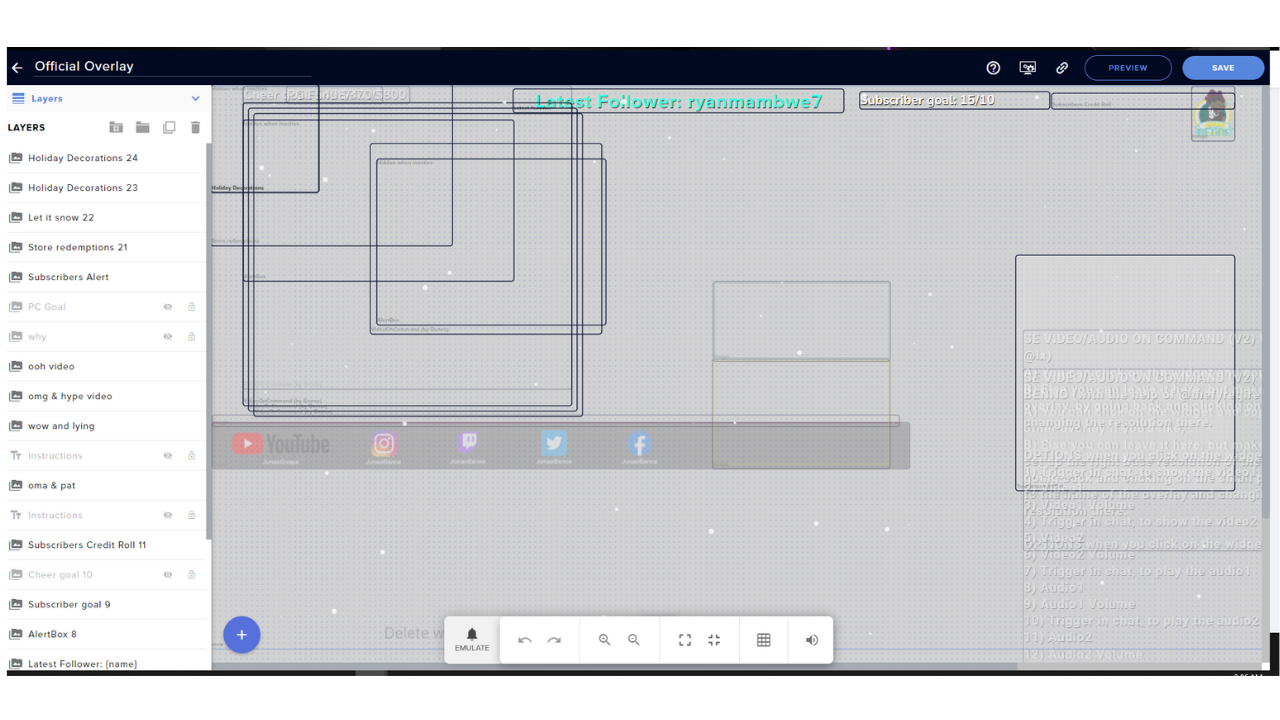
2. Create your overlay.
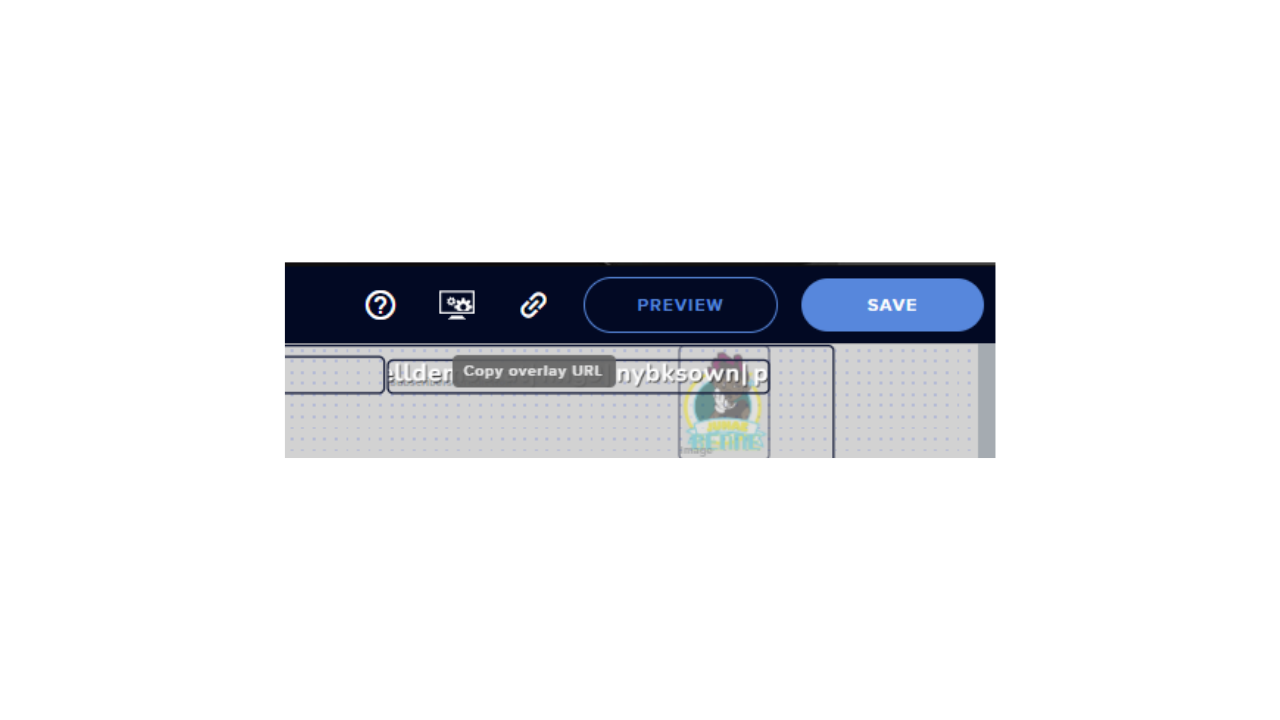
3. Click the link button to copy the URL to your clipboard.
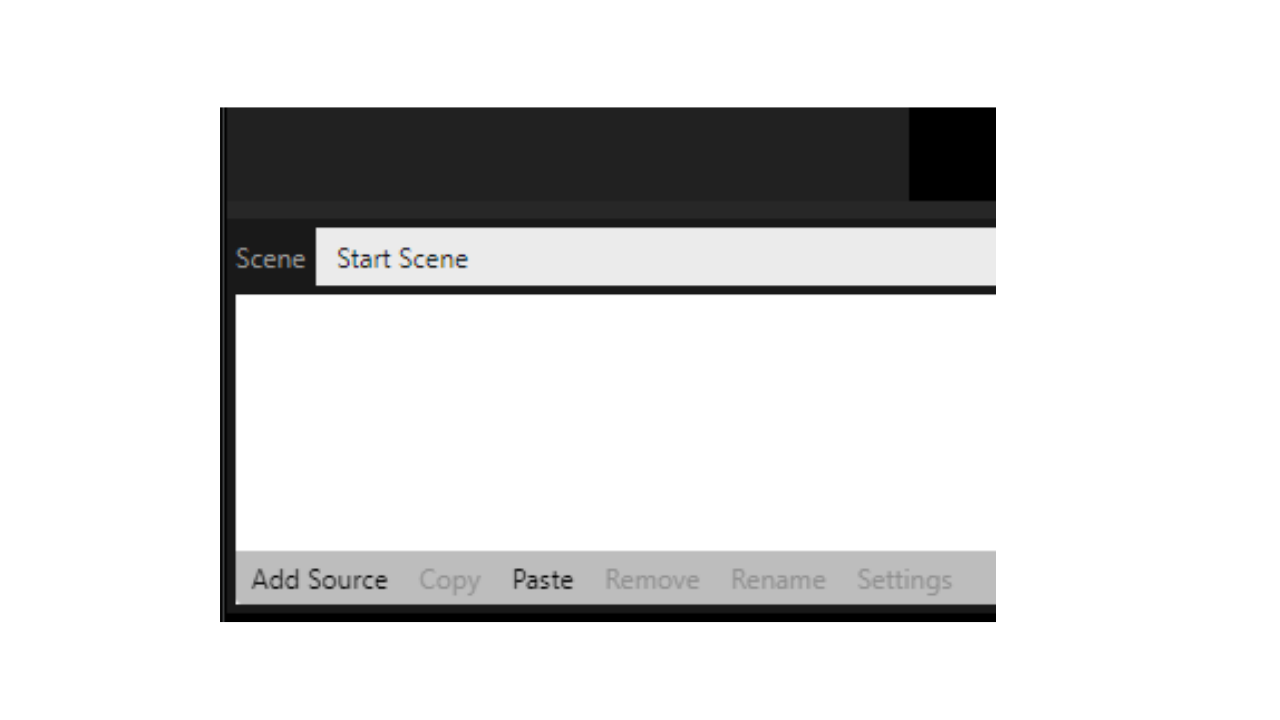
4. Switch back to the XSplit software and select paste.
5. Grab the edges of your overlay to adjust it to the size you want.
Using VCam with XSplit
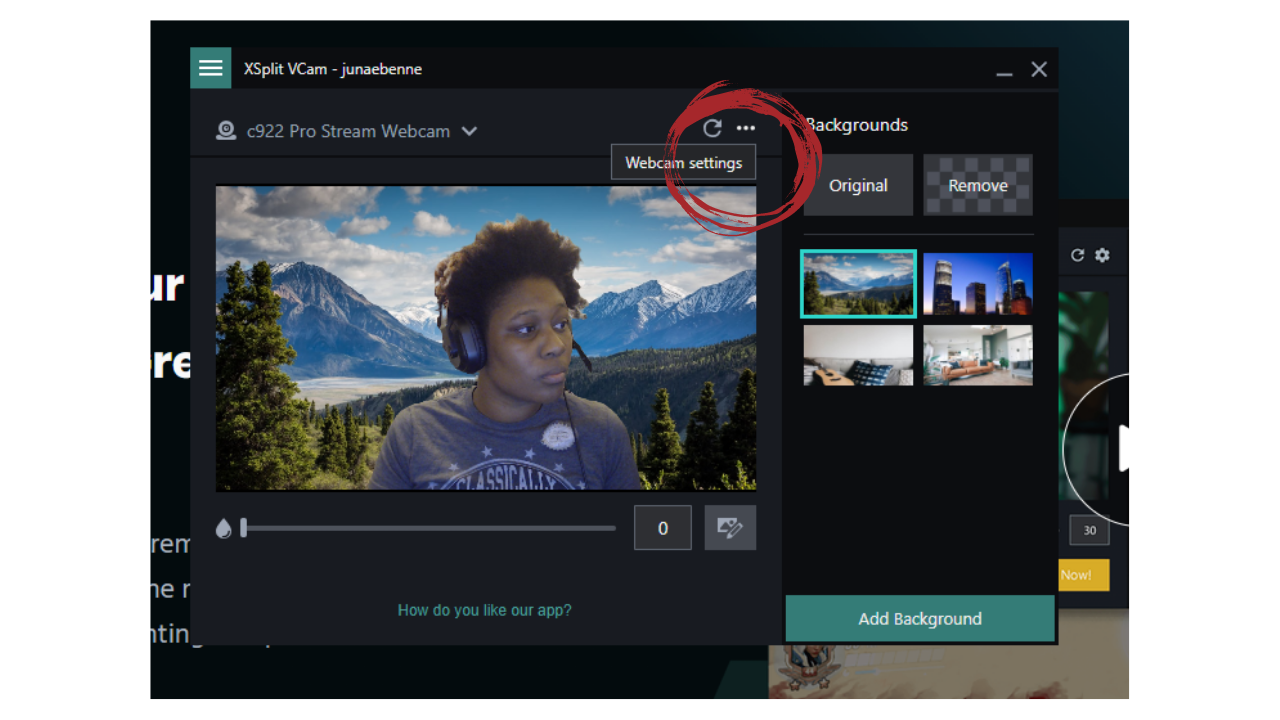
VCam is an additional free program under the XSplit brand that allows any user to remove background without a green screen and create different effects without any additional software.
1. Download install and run VCam. You can get it on XSplit’s site.
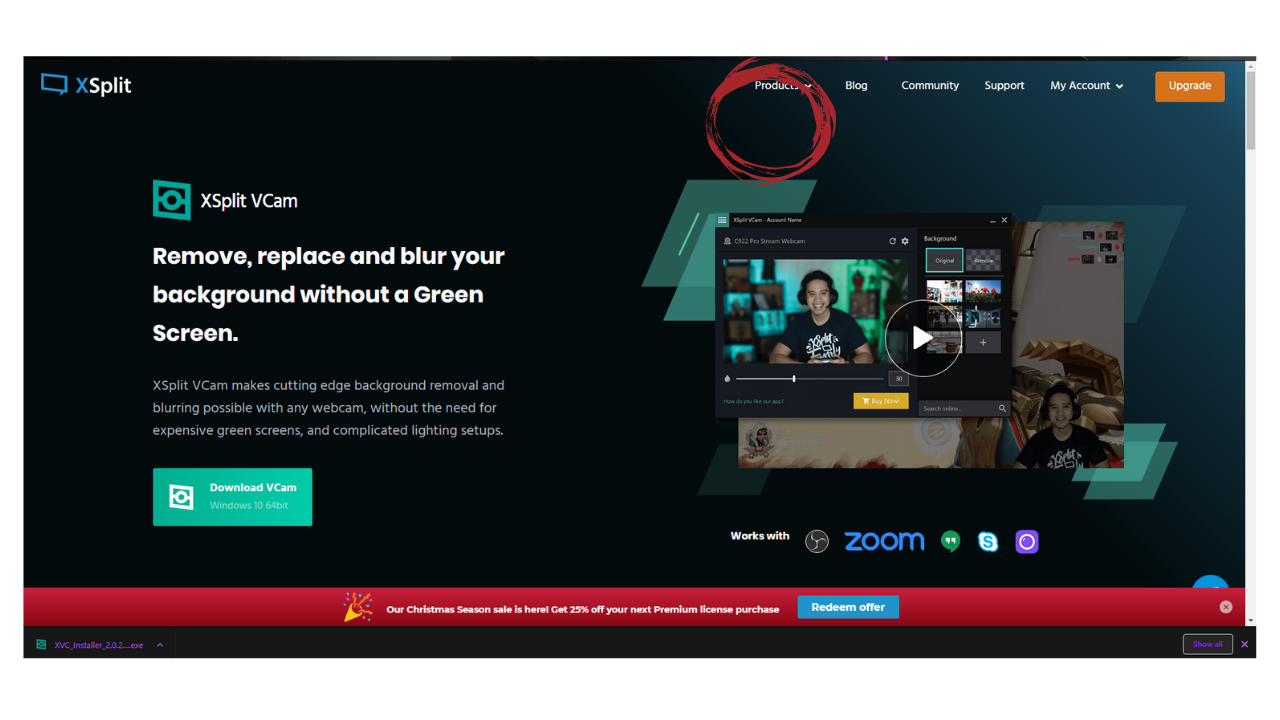
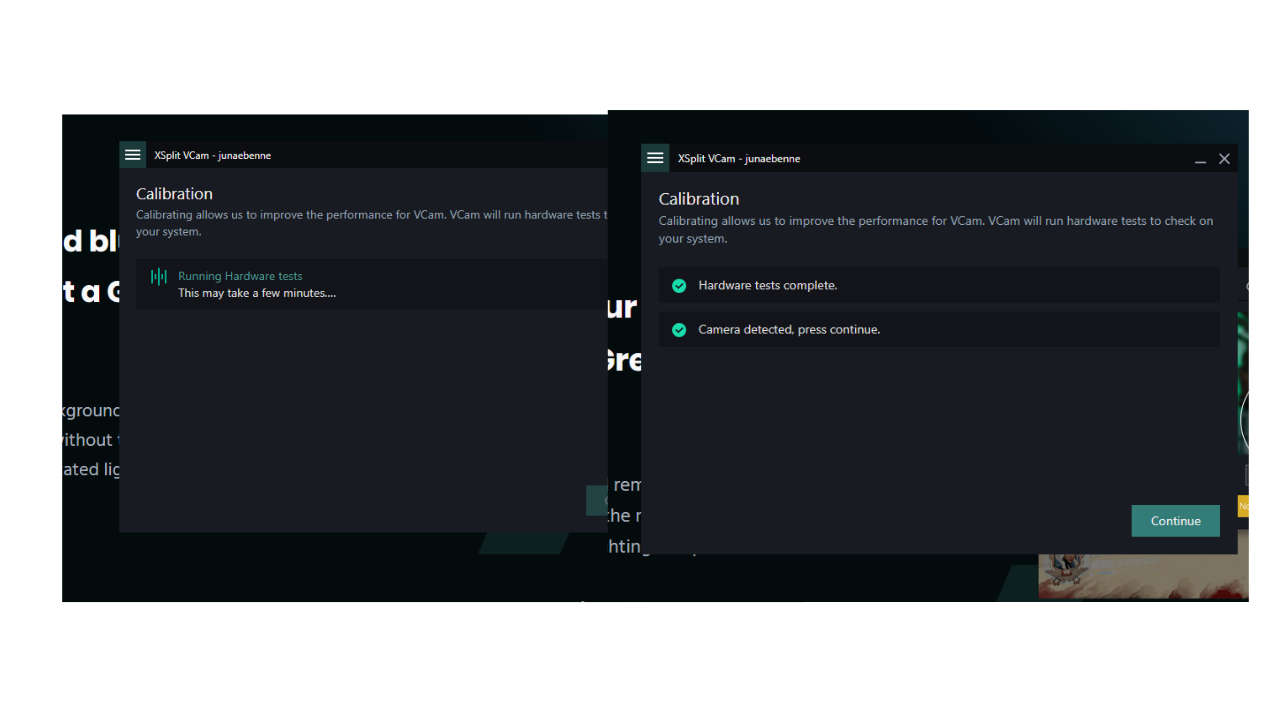
2. Click continue after Vcam launches and starts its calibration.
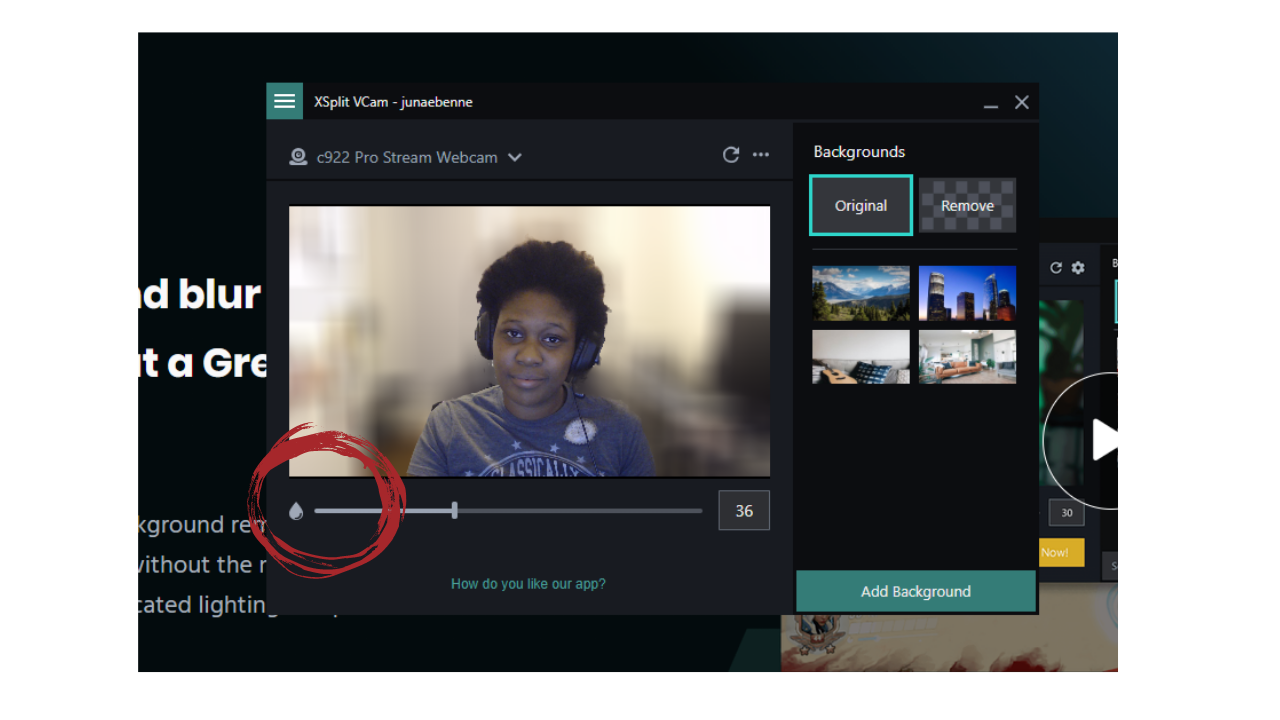
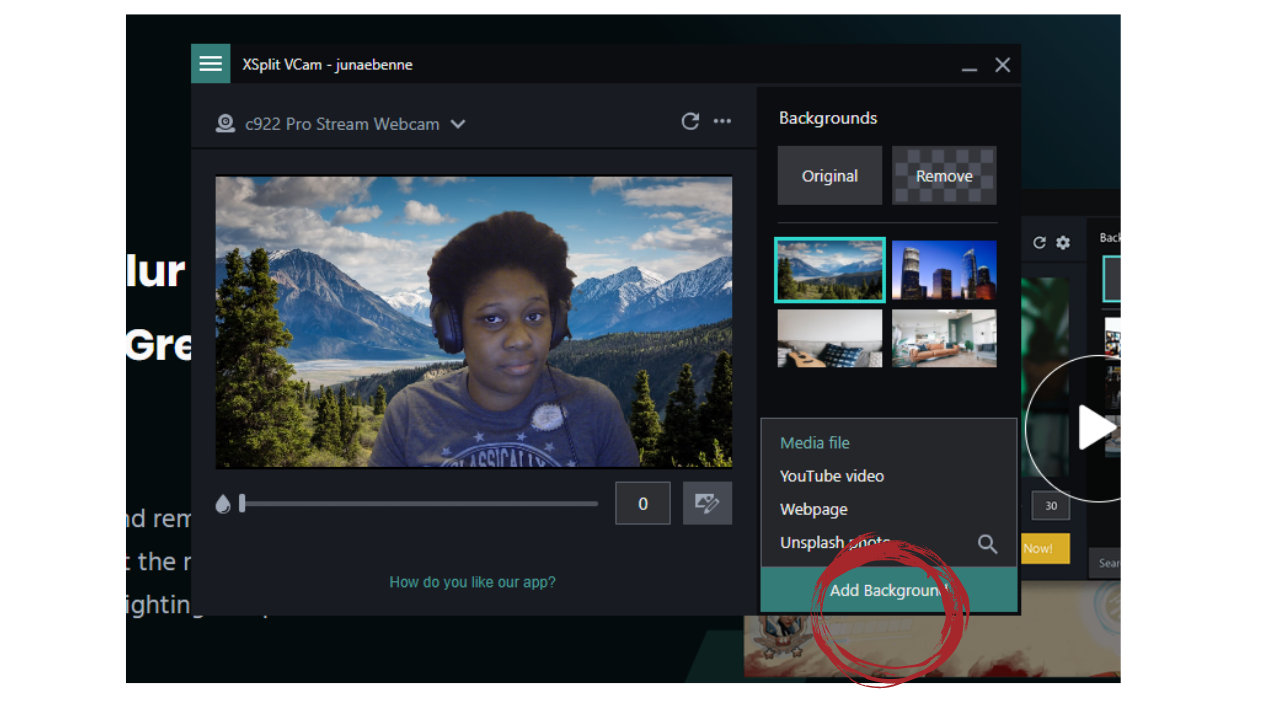
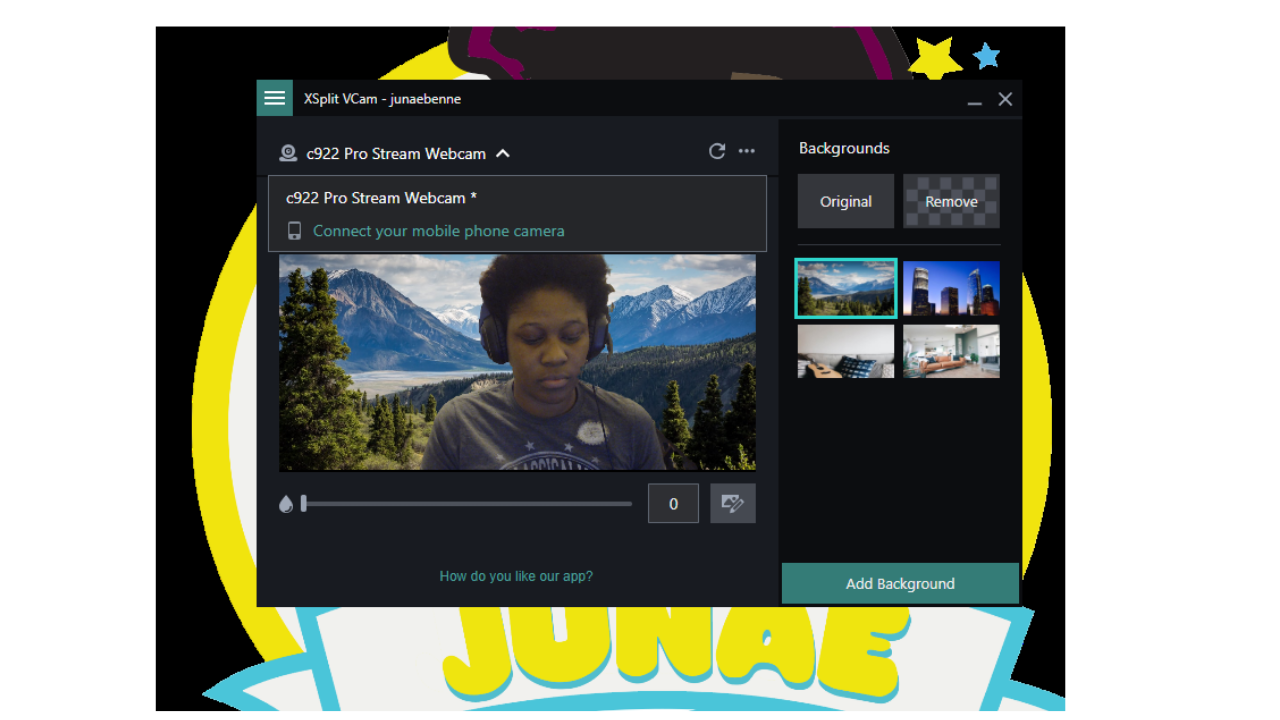
You can blur your background by moving the slider up & down.
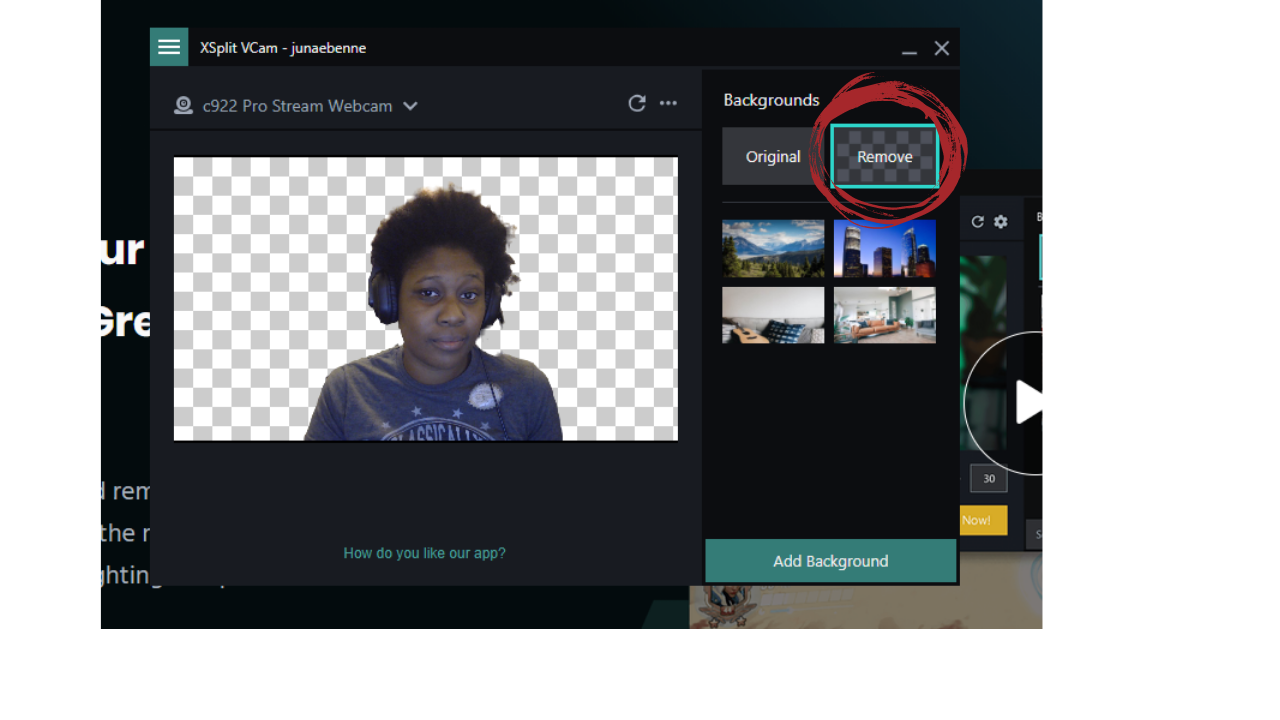
You can remove your background.
You can add a background from their collection of images or upload your own image, gif, video, or webpage by clicking Add Background.
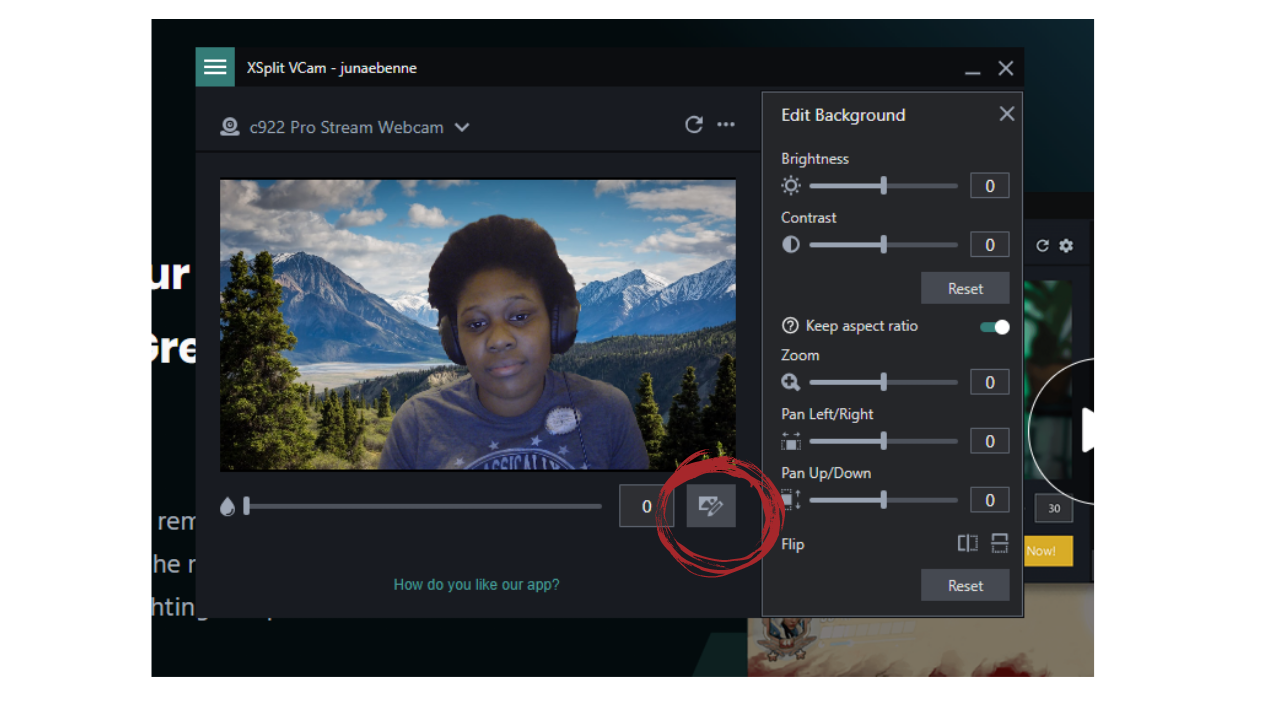
You can also change the brightness, contrast or move the image to the right or left by clicking the edit button near the blur bar.
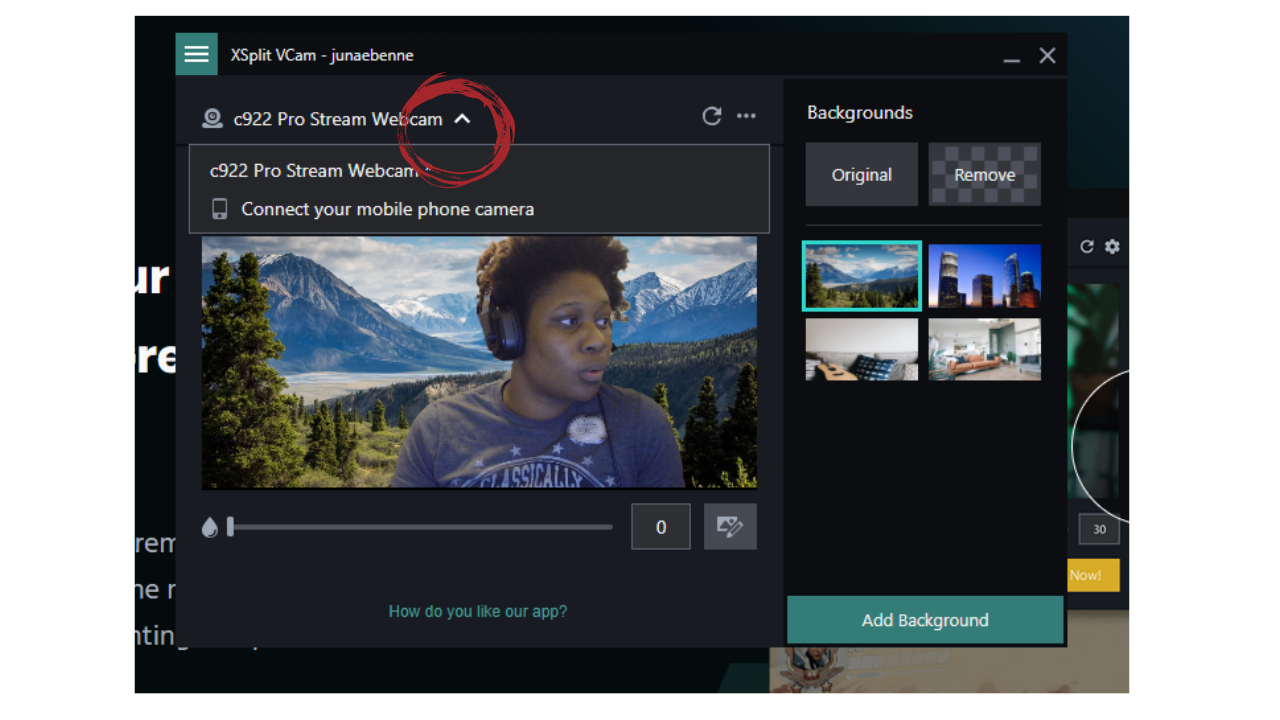
If you have multiple cameras you can select them from the list.
Click 3 dots “...” to adjust your webcam settings.
How to add your webcam or VCam to your Scene
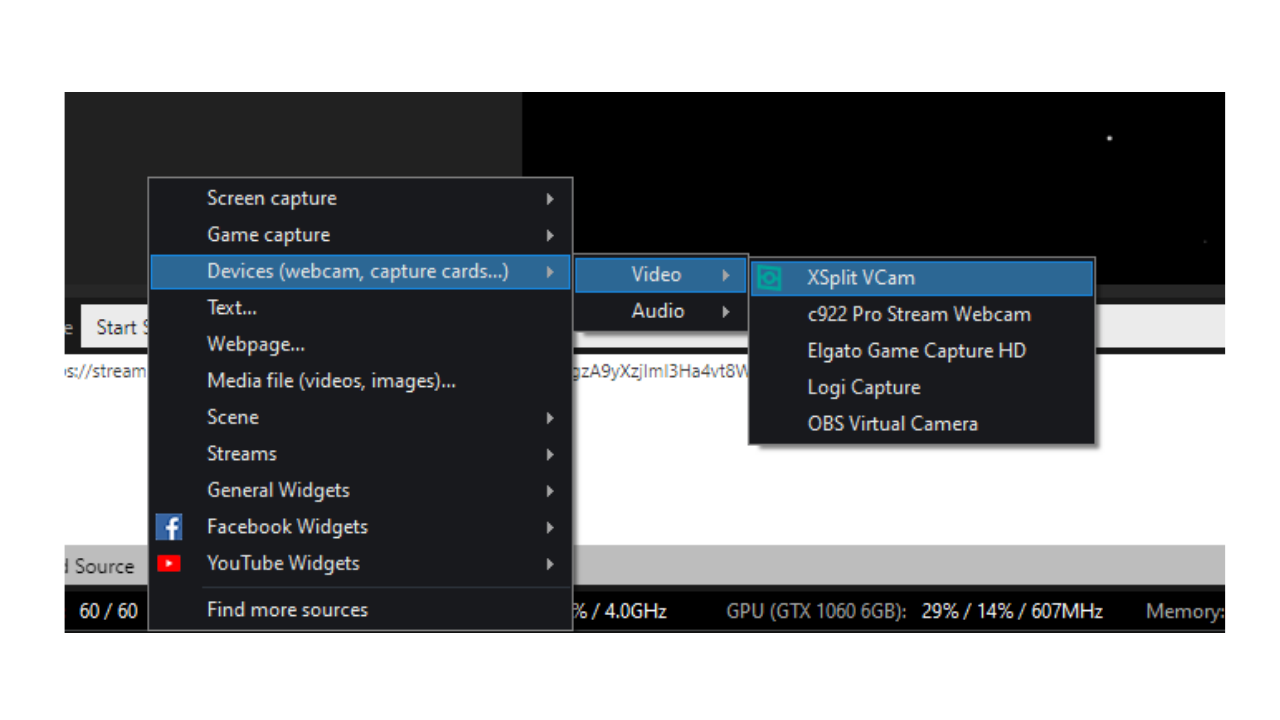
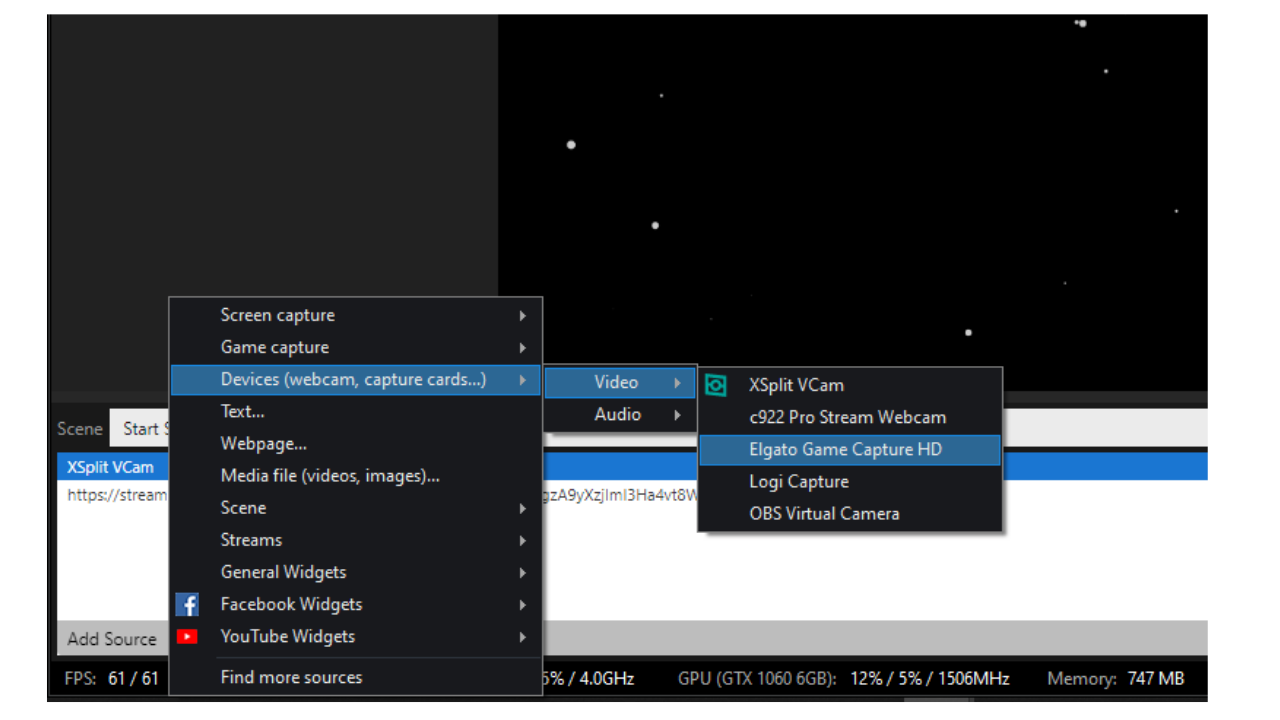
1. Select Add Source ->Devices -> Video and then XSplit VCam or your Webcam.
How to Use Your Phone or Tablet Instead of a Webcam
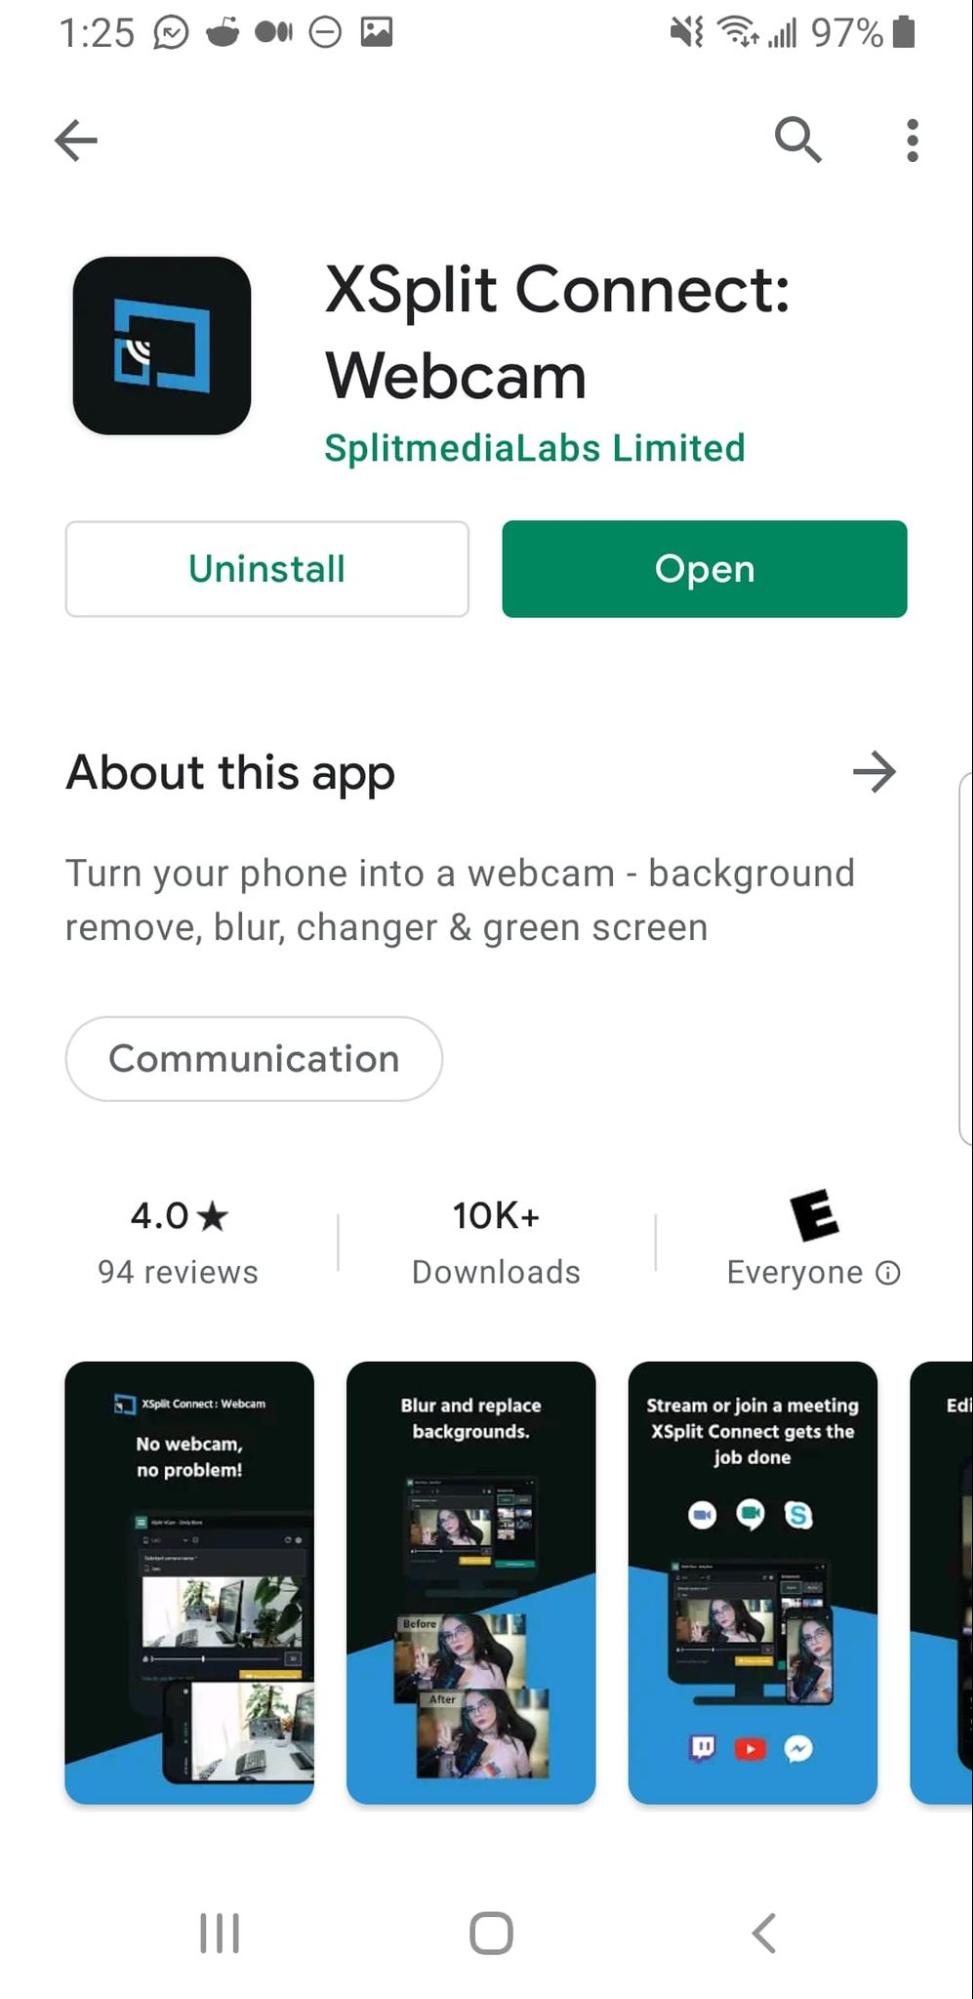
If you don’t have a webcam you can use XSplit Connect Webcam which allows you to use your smartphone camera as a webcam.
2. Open XSplit VCam & select the ^ button.
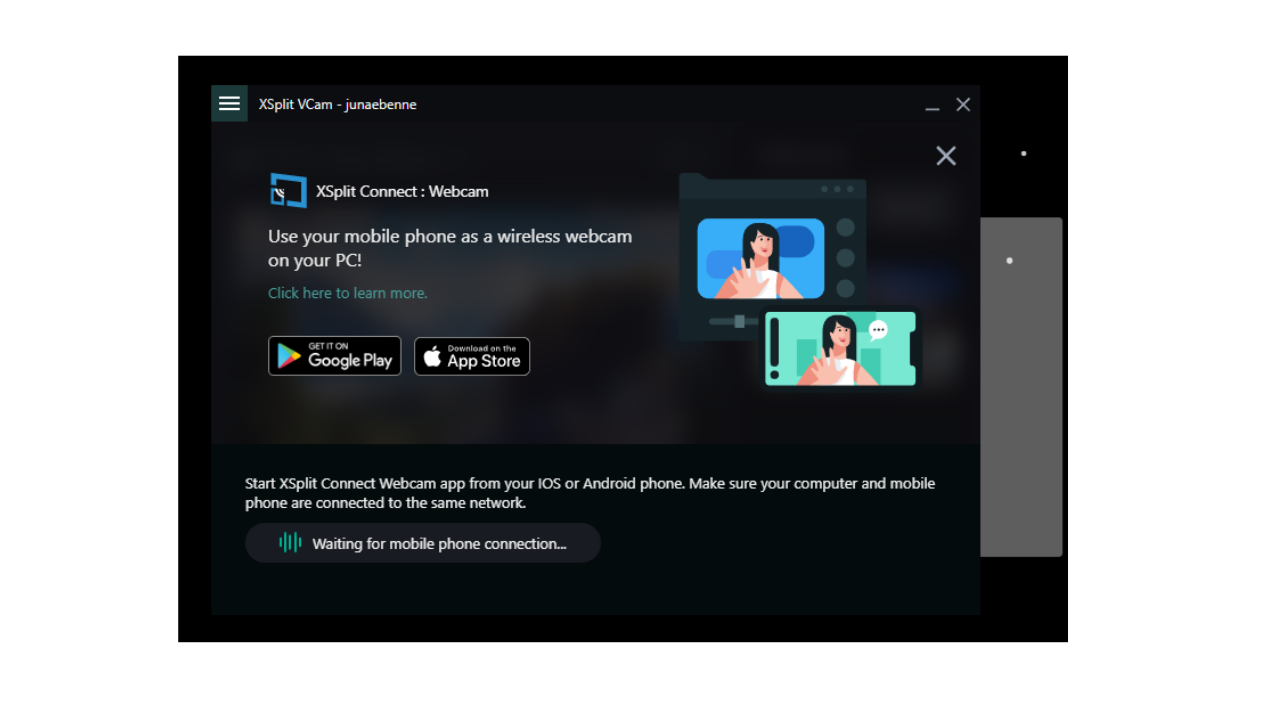
3. Click Connect your mobile phone camera.
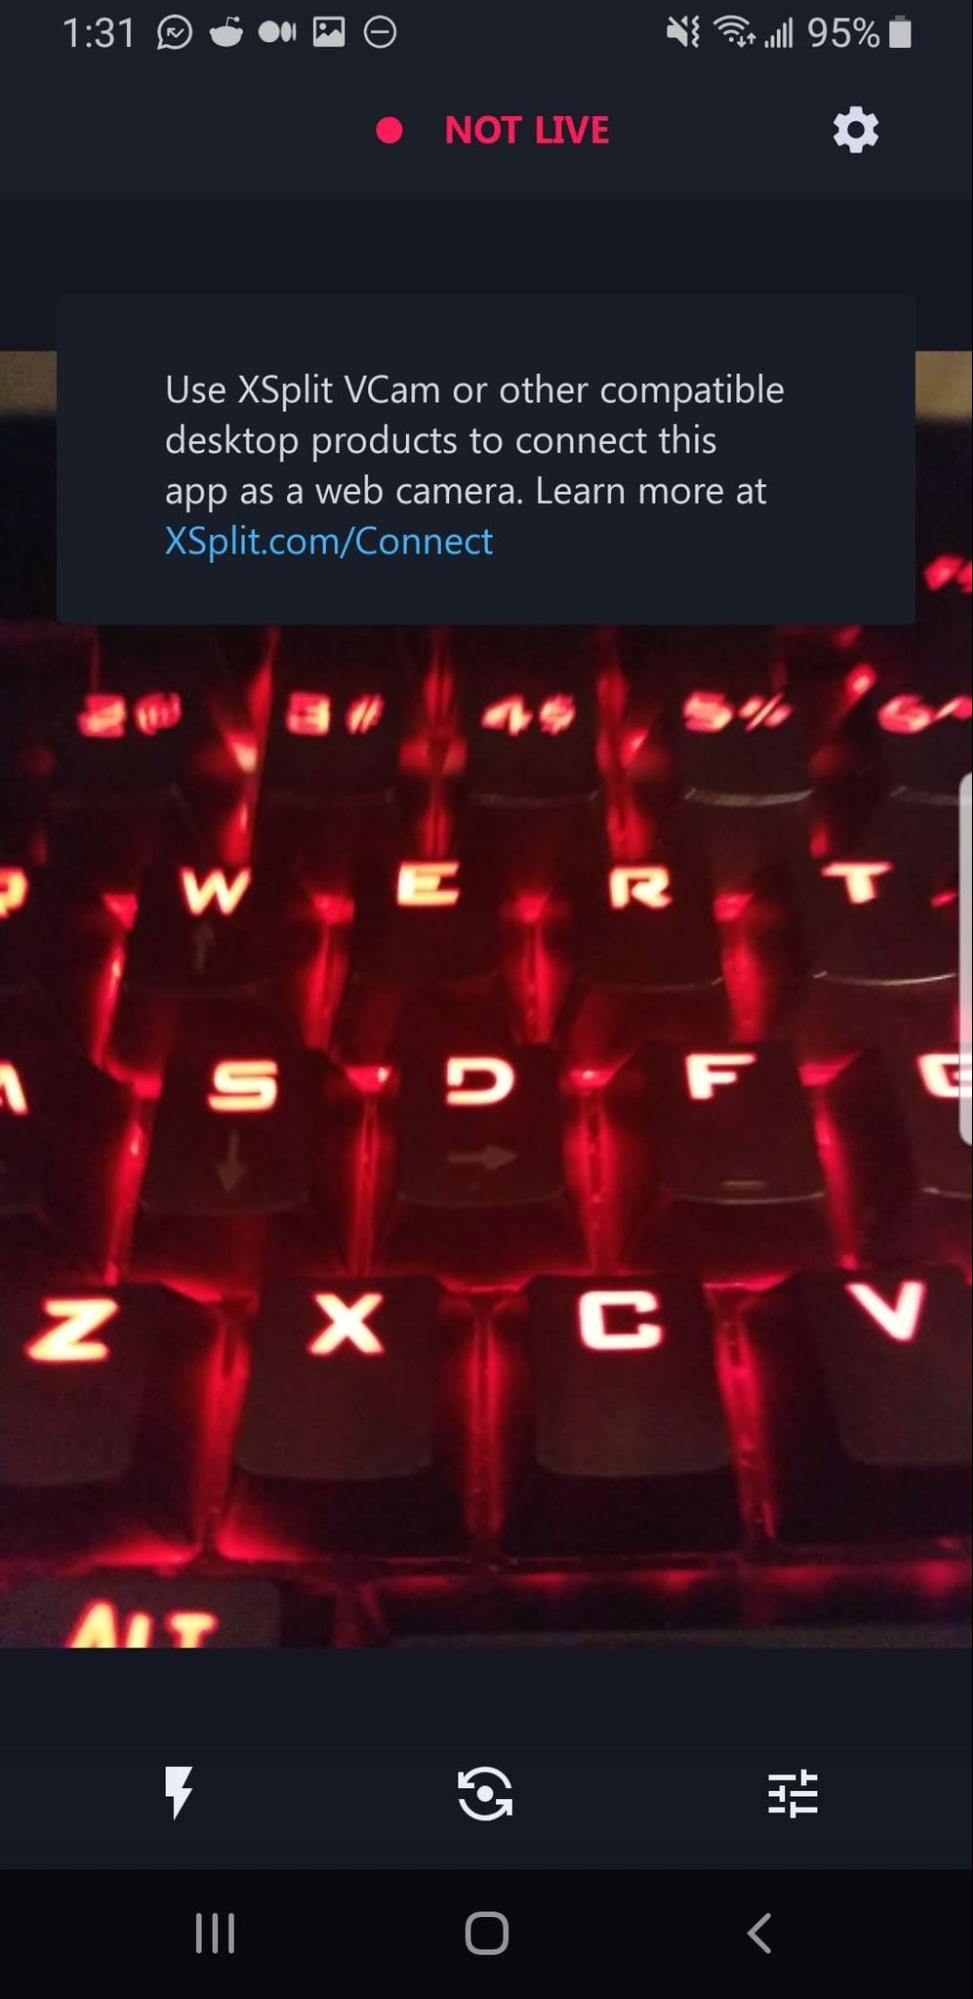
It is supposed to connect because it’s on the same IP address. However, in my tests, it didn’t yet work because it’s in beta. You may have better luck.
How to add your Mic to your Scene in XSplit
1. Select Add Source ->Devices-> Audio, and then select the mic you want to use.
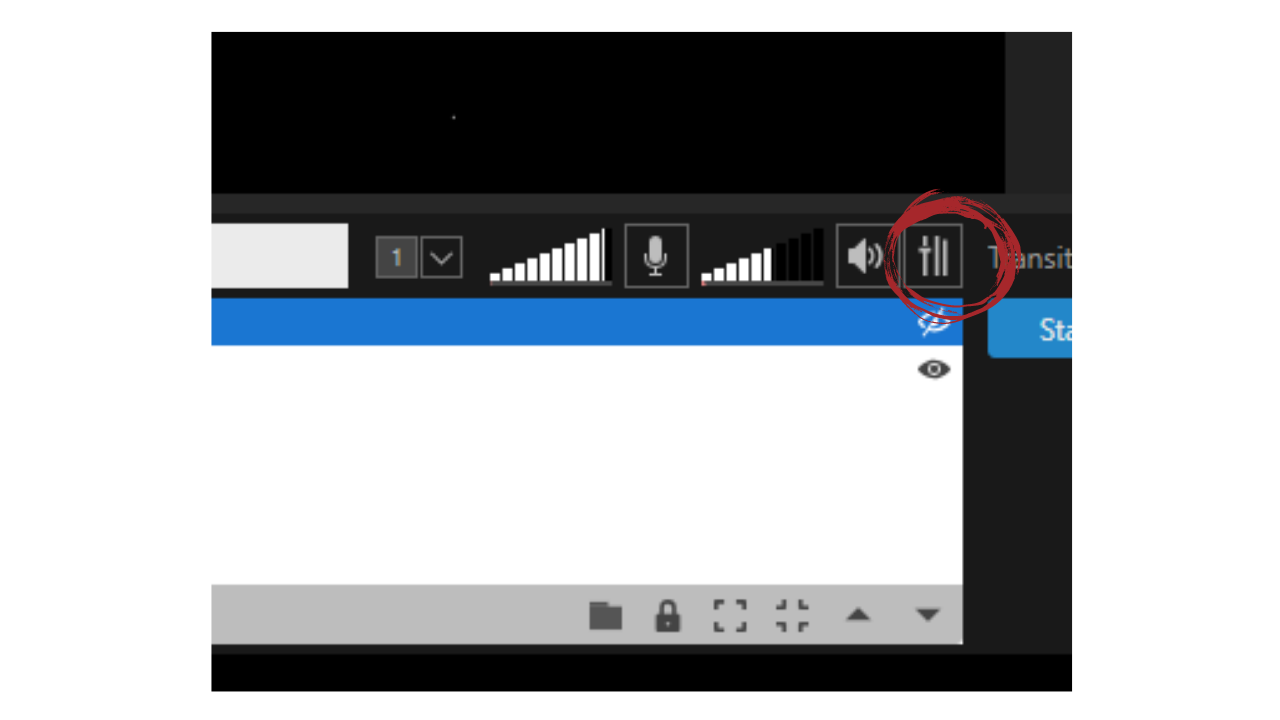
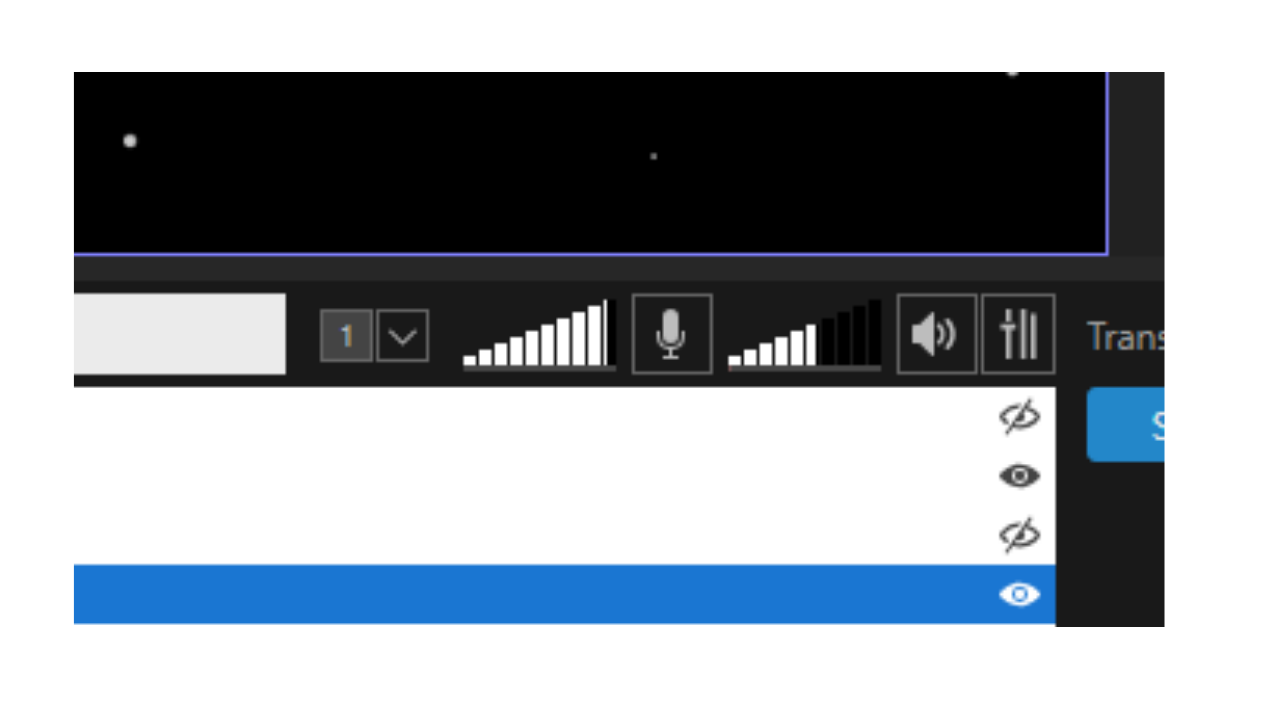
Additional mic & audio settings are located in the bottom right corner.
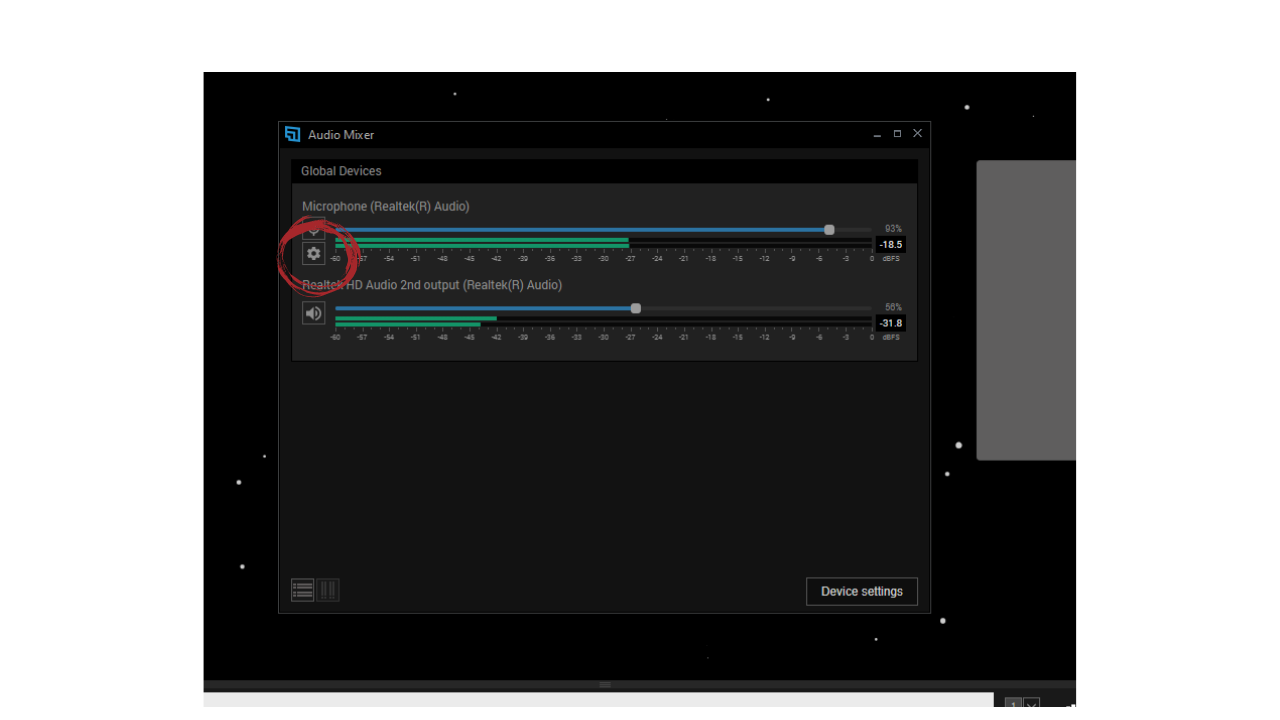
2. Click Settings underneath the mic button for advanced options like using Noise Gate.
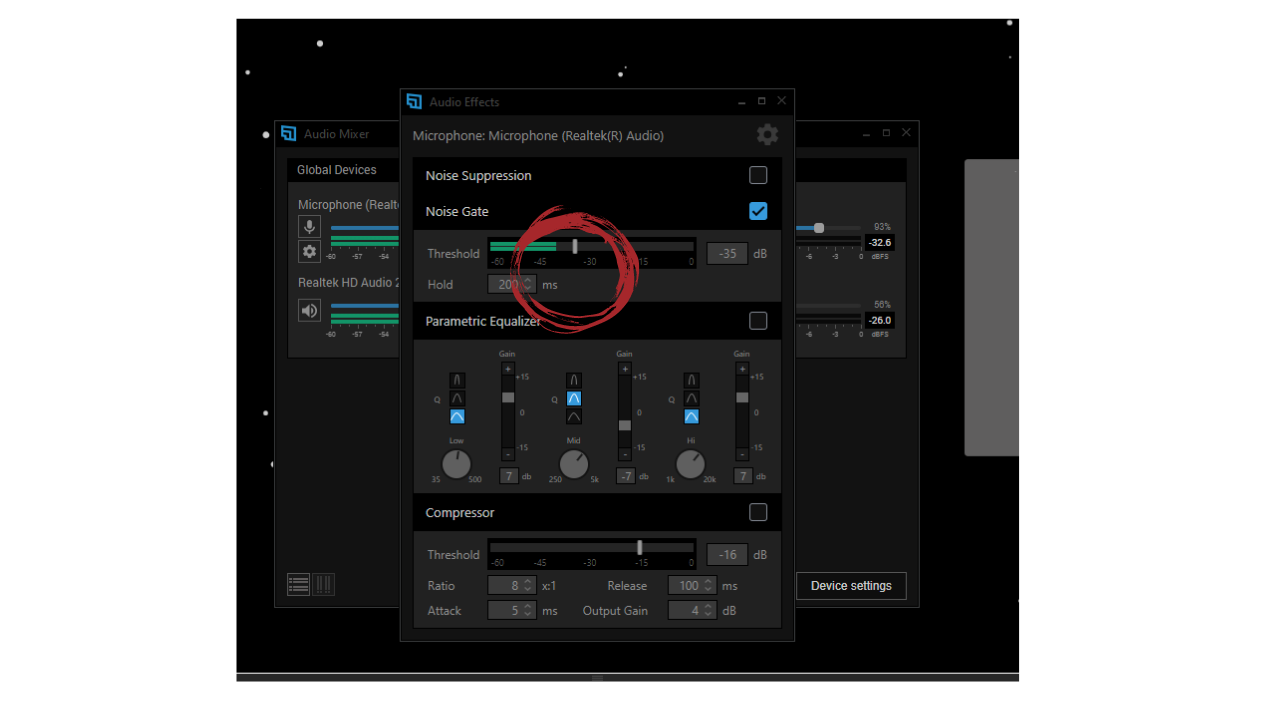
3. Use Noise Gate Threshold if you have a fan that your mic is picking up. Sliding the bar down lowers the gate and lets in more noise. Sliding the bar up raises the gate and let’s less noise in. Checking the Noise Suppression box helps lower all background noise.
4. Clicking the settings button will open general and advance settings.
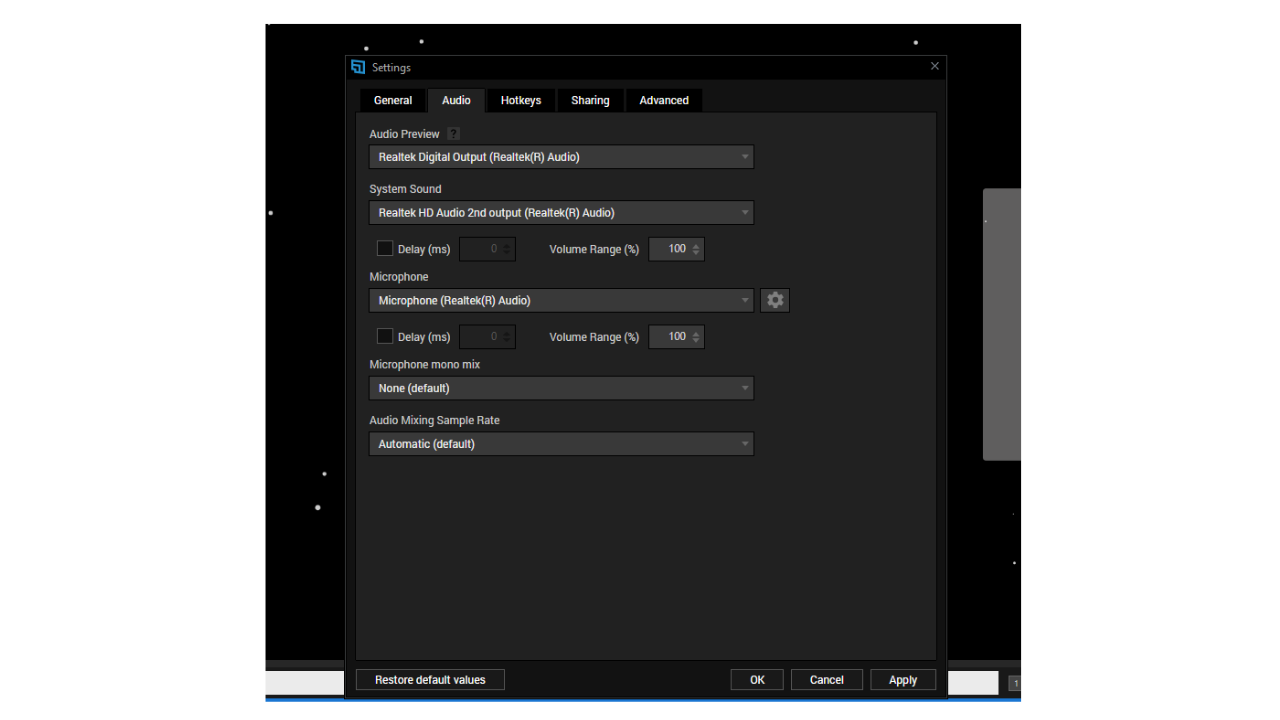
5. In the Audio tab, you can adjust your system sound/headphones, microphone, and control if you’d like your audio to have a delay.
6. Use the Audio Preview section to monitor the final audio output from your stream. It may sound like an echo but the echo won’t show up in recordings or livestream.
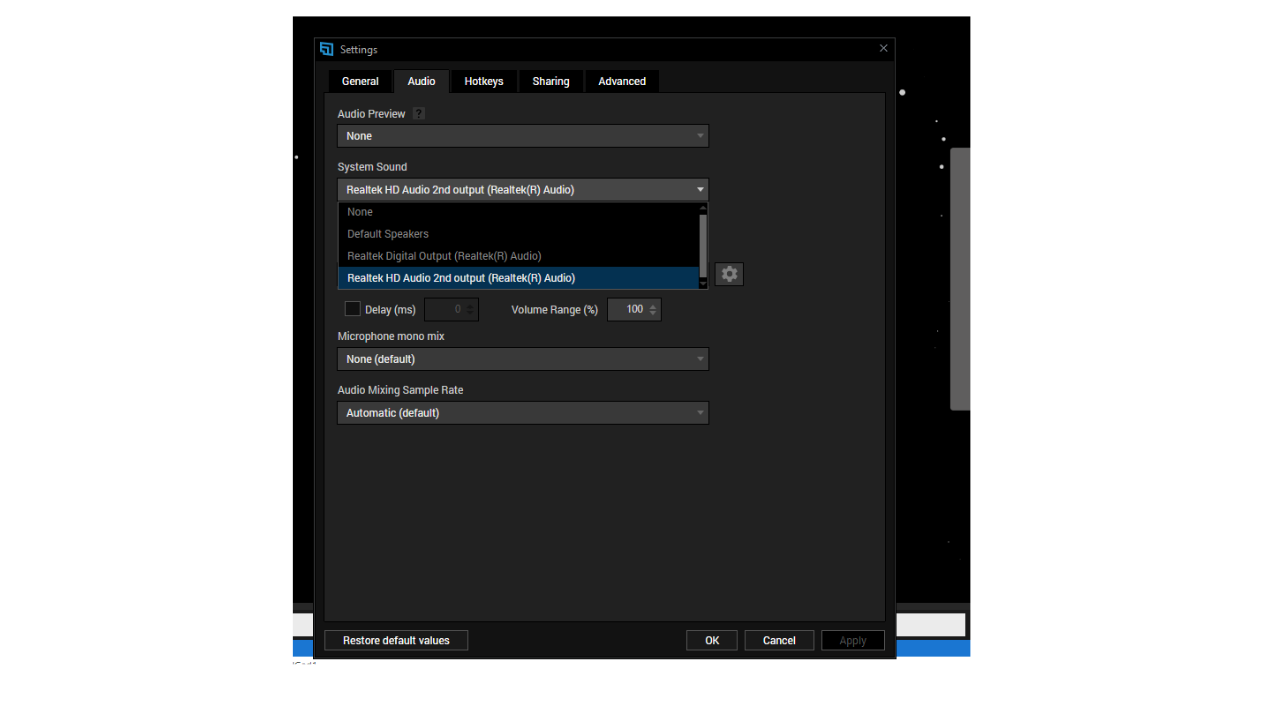
7. Click the drop-down menu under System Sound allows to choose what audio your stream picks up, like audio from your entire PC, which might include, Discord notifications or YouTube audio. Or you can set it to just pick up your voice and the gameplay.
Due to latency, there may be a delay between the live feed of the game and when it reaches XSplit (particularly if you are using a capture card). The delay checkbox allows you to create a delay on video and audio sources, like your System sound, Webcam, and microphone.
8. The white bars next to the microphone and speakerphone icon control the volumes of your mic and the PC sound. Click and hold the left button on your mouse to make the volumes go up or down.
How to Set a Delay for a Source in XSplit
1. Find out how much the delay is by measuring it in seconds.
2. Convert that time it into milliseconds. For example, 2 seconds is 2,000 milliseconds.
3. Input that into the delay section and tes it. There will be a lot of fine-tuning to get the delays the sync up.
How to Set Up a Console and Capture Card in XSplit
If you are streaming with a console, you need a capture card to connect it with XSplit
1. Hook up your capture card to your console.
2. Turn on your console.
3. Click Add Source at the bottom of the screen, select devices -> video and select your capture card. You can resize the window by grabbing the edges of the box and pulling them outward or inward.
How to Set Up PC Game Streaming in XSPlit
If you are streaming PC Games you don’t need a capture card.
1. Open the game you’d like to play.
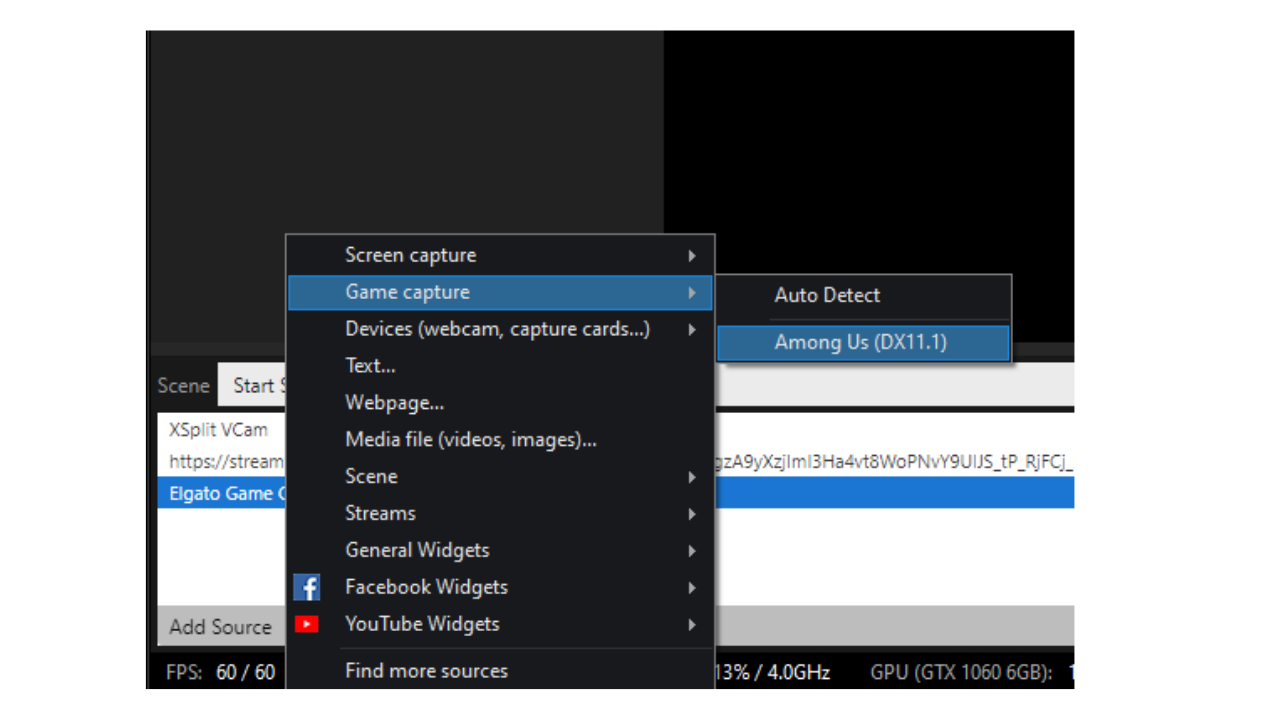
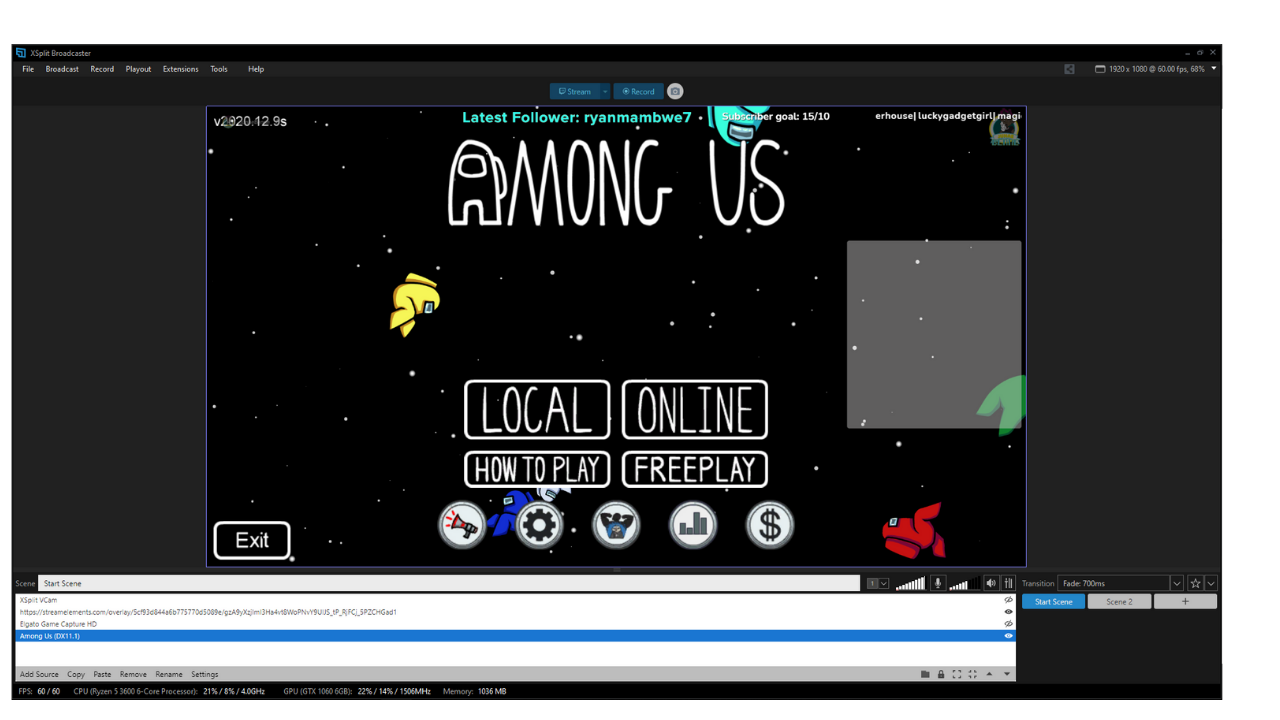
2. Select Add Source at the bottom of the screen then select Game Capture and the game will appear in the list under Auto-Detect.
3. Resize the game display by grabbing the edges of the window and pulling them outward if you want to make it bigger or inward to make it smaller.
How to Start a Livestream in XSplit
After your platform of choice, overlay and gameplay are added and your mic and camera settings are configured, you can start livestreaming.
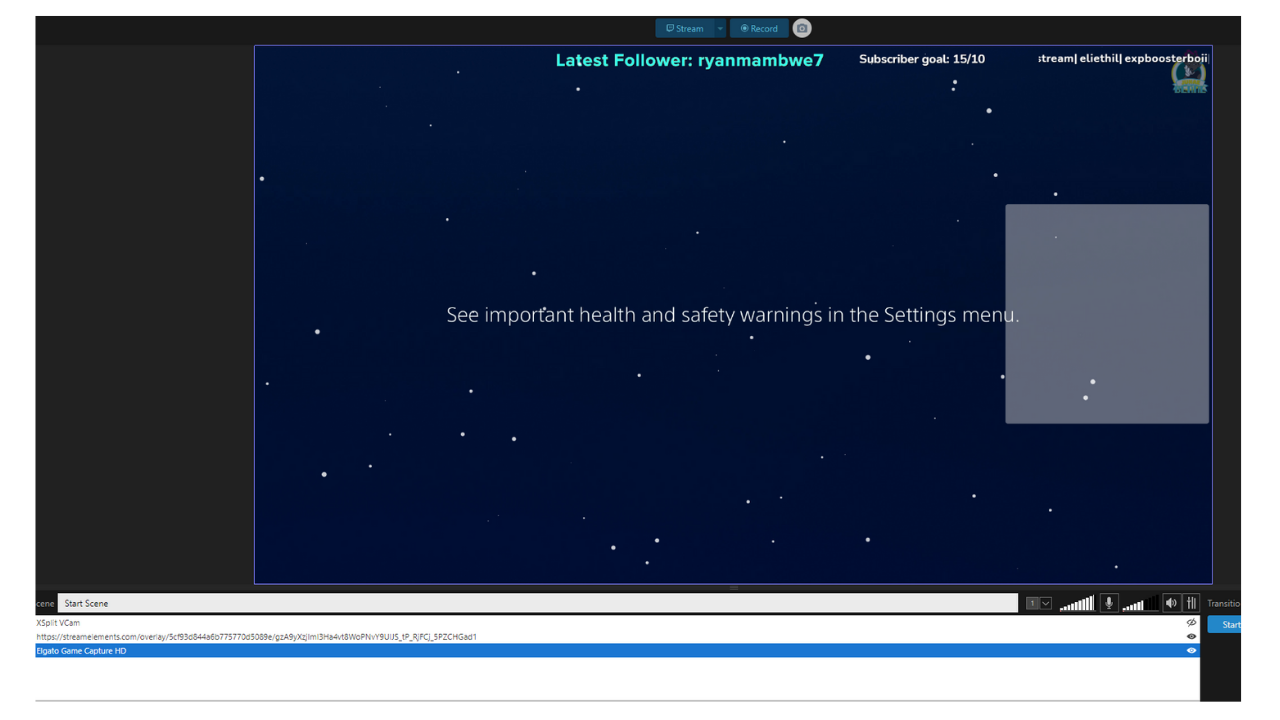
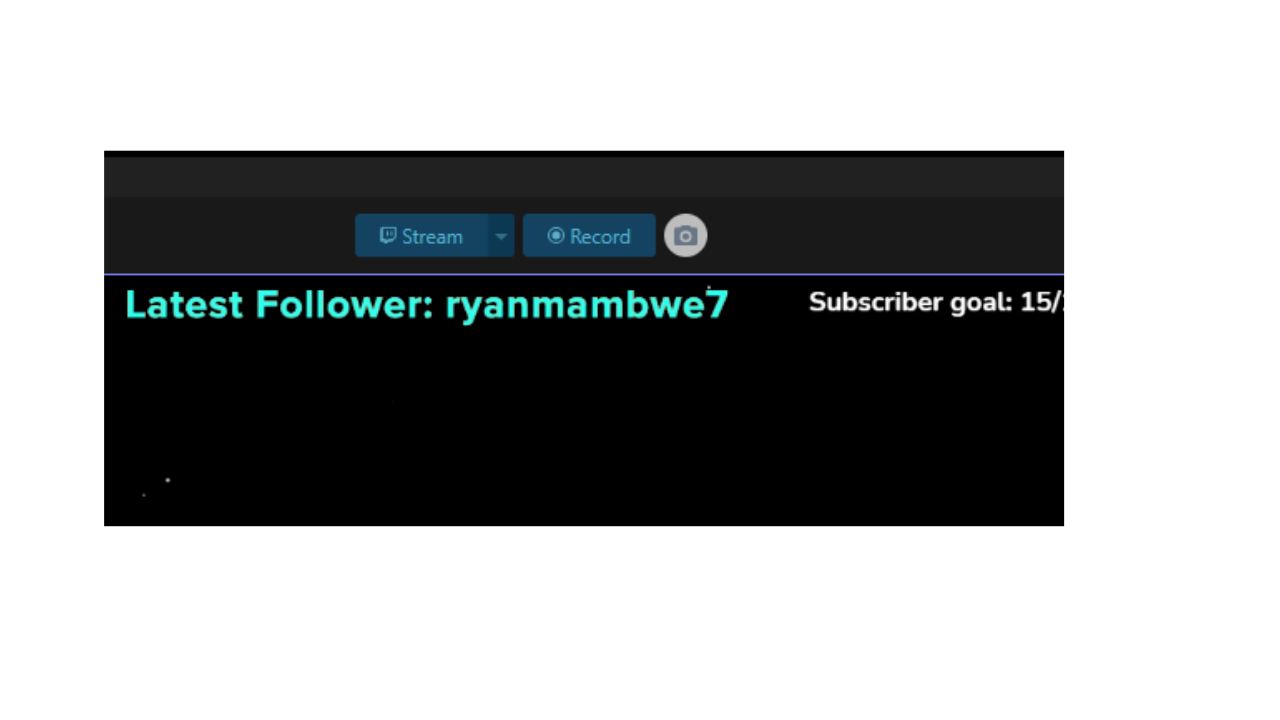
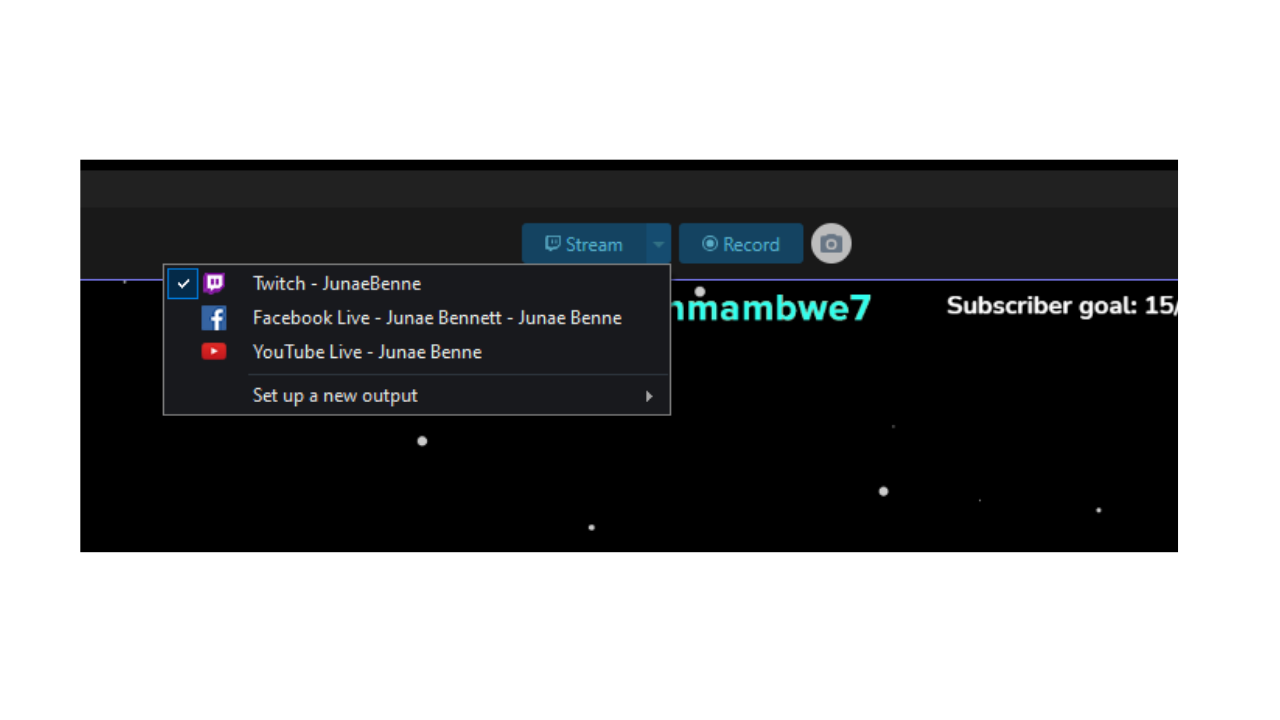
1. Select the button on the top right above your preview window. If you only have one platform click the Stream button and your stream will startup.
2. Select the platform where you’d like to go live if you have multiple platforms.
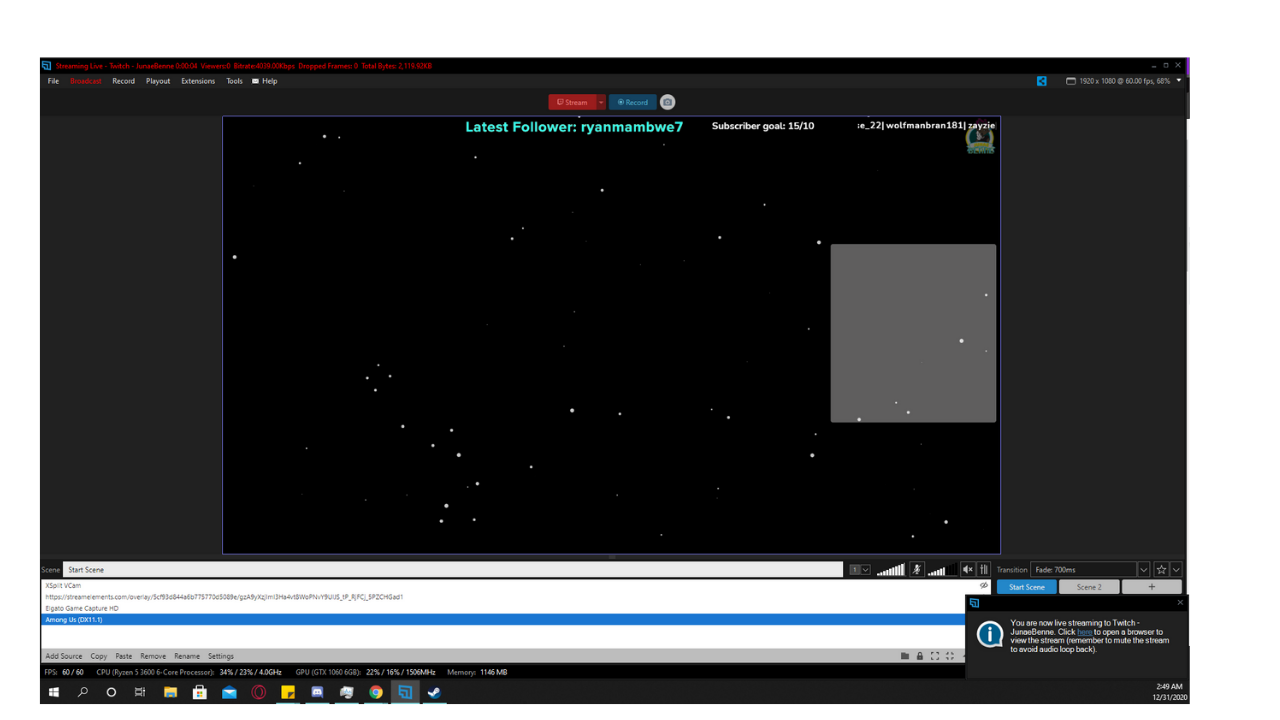
3. Click the stream button and your stream is now live. The red button and the message in the bottom right corner confirm your stream is live.
Extra XSplit Streaming Settings
Saving Scenes
You can have multiple scenes for different platforms or games. Multiple scenes saved into one file is a Presentation.
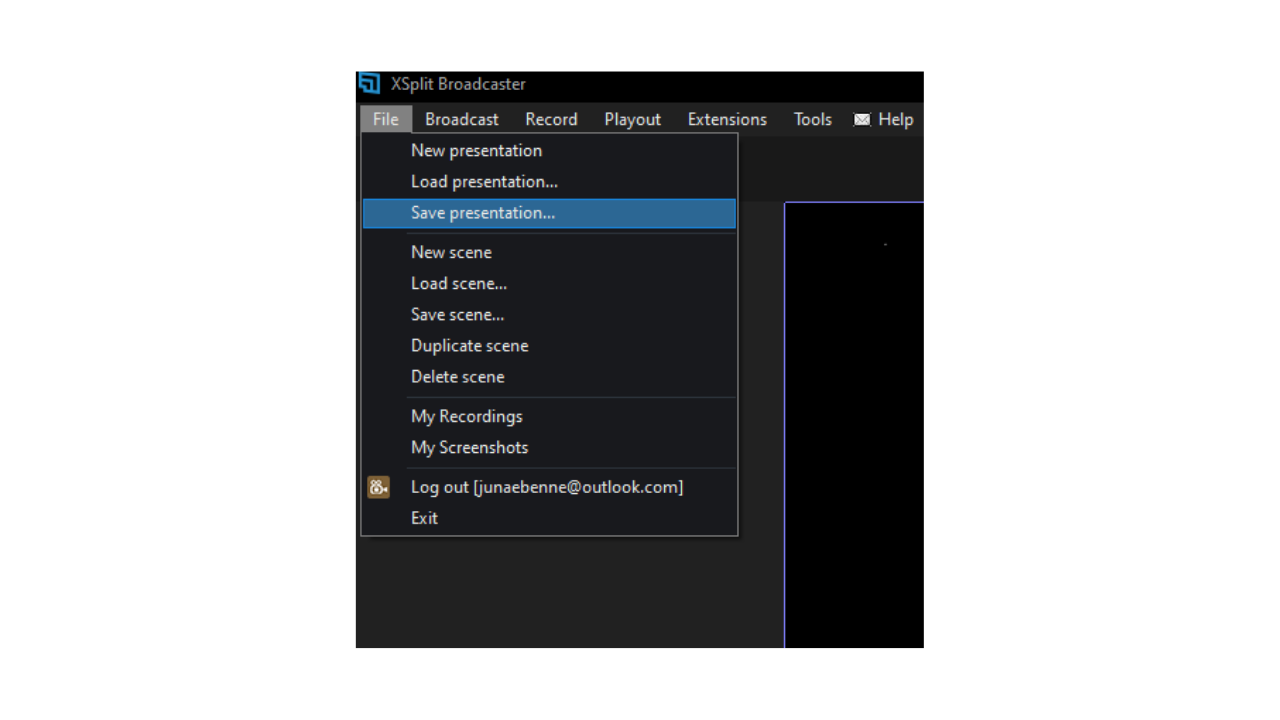
1. To save these scenes select File in the upper left corner, Save Presentation, and choose where to save it.
2. Select File, New Presentation to create another set of scenes You can even save, load, or add individual scenes by selecting File.
Adding Transitions in XSplit
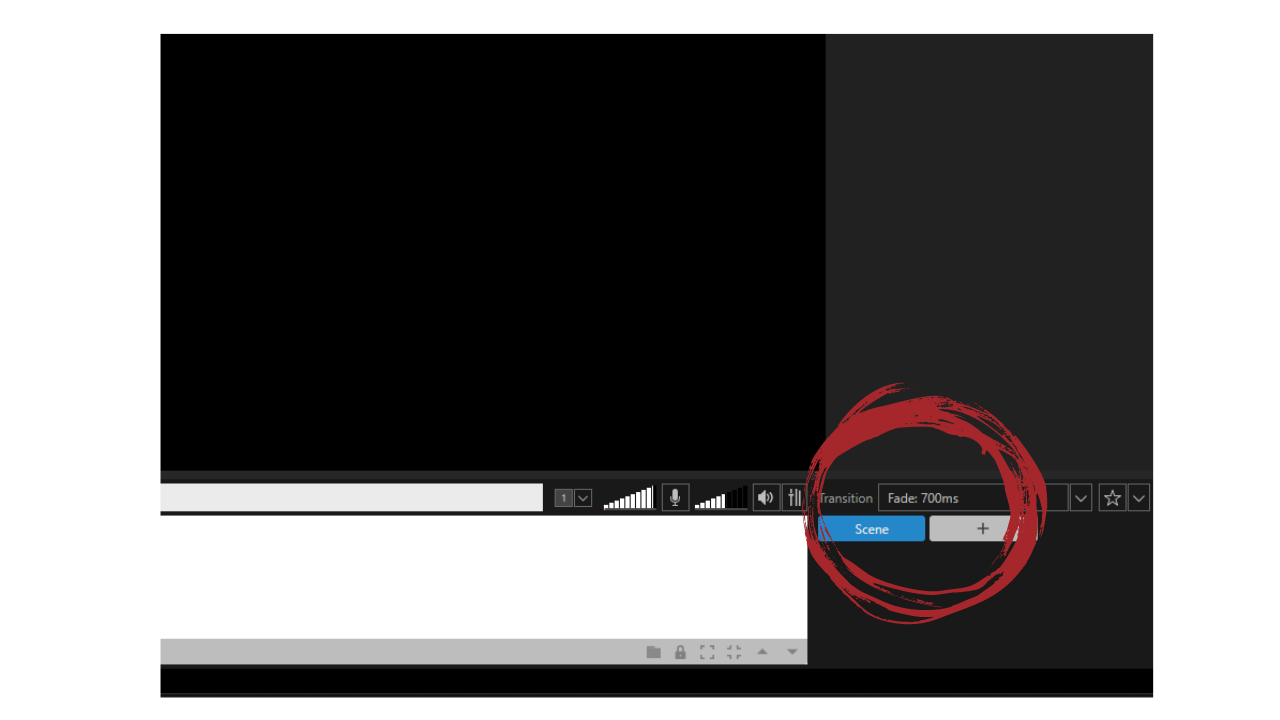
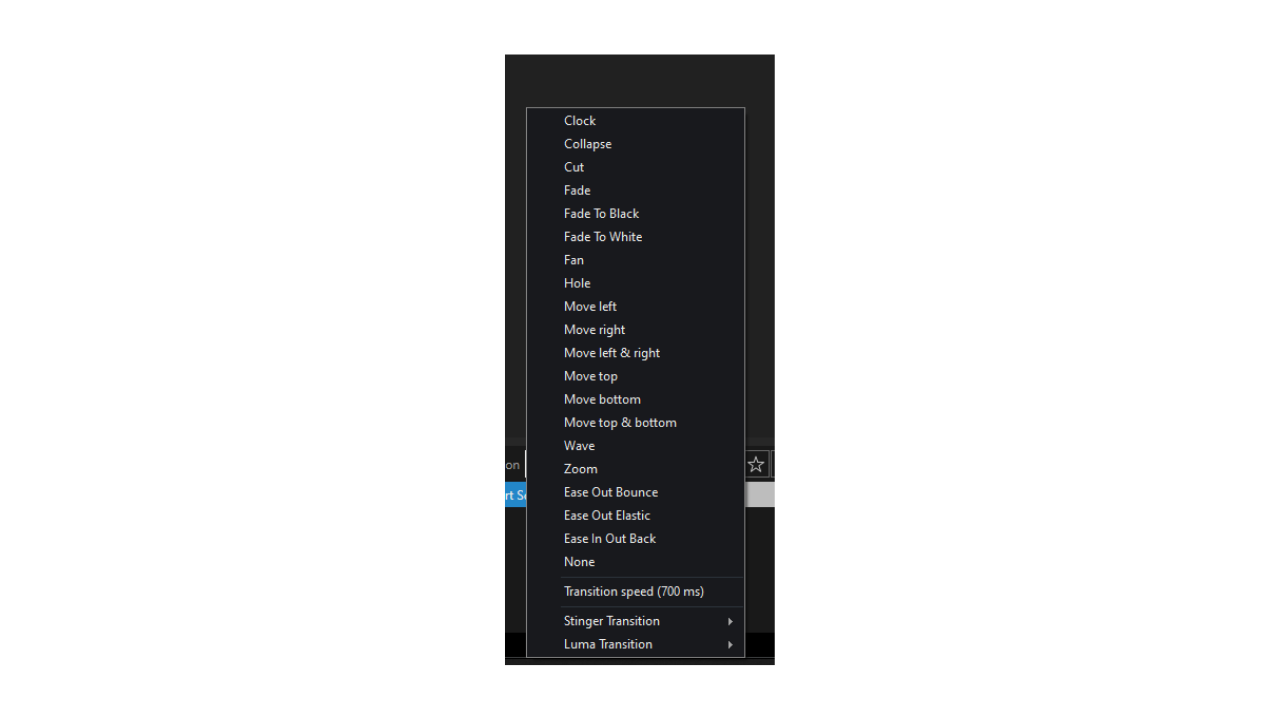
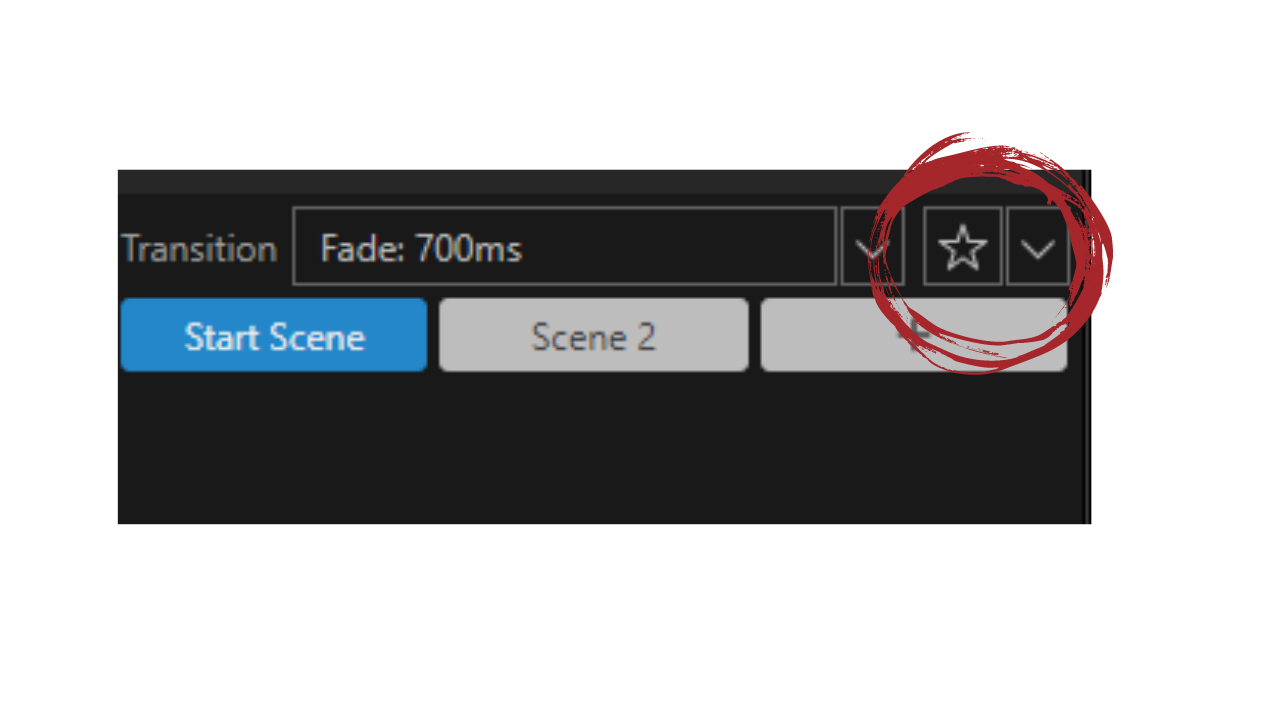
Transitions are for moving from scene to scene. And XSplit comes with preloaded transitions, which you will find on the bottom right corner of the screen.
You are able to favorite them with the star button.
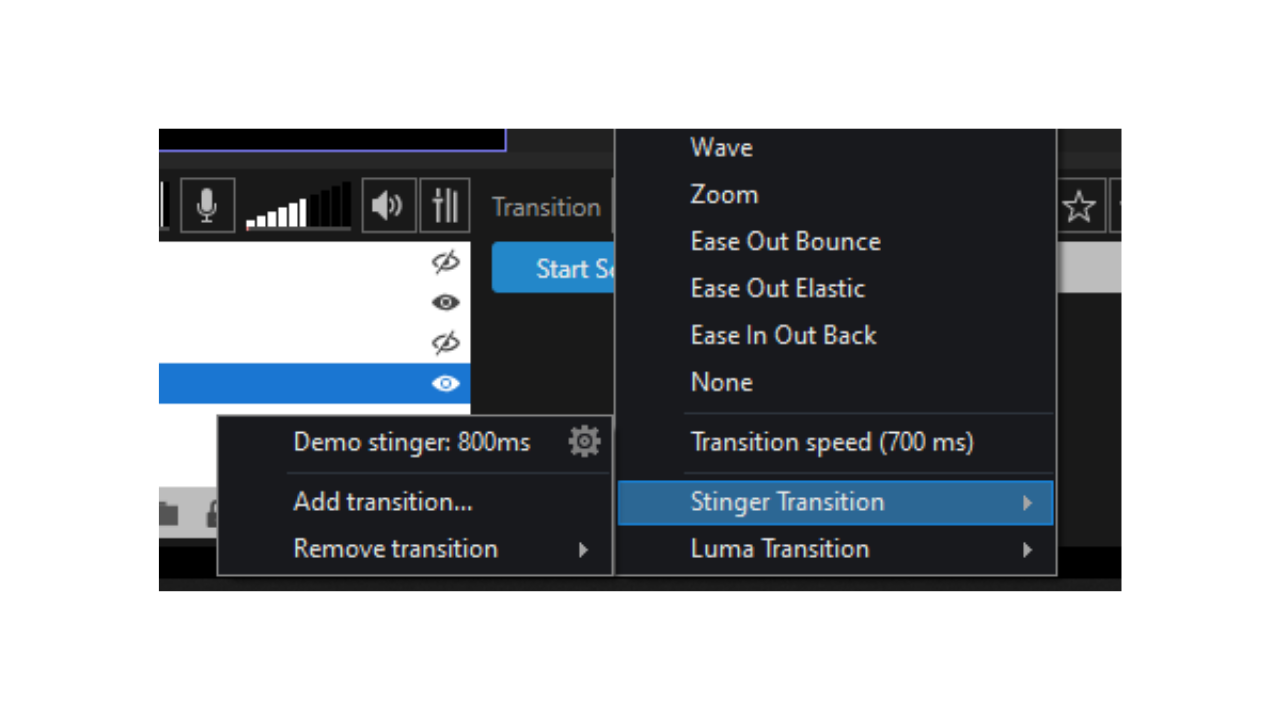
And if you have a custom transition that you’ve made, feel free to upload it by selecting the transitions, scrolling to the bottom, and selecting Stinger or Luma.
Express Video Editor
XSplit has its own video editor which is another program you can download from its website.

Junae Benne is a freelance writer for Tom's Hardware US. She reviews gaming peripherals and covers streaming tutorials.
