


Chromebooks are low cost devices, but they still offer a decent desktop experience for the majority of users, and they certainly don’t skimp on features. We can play Steam games on Chromebooks, run Linux on Chromebooks and even write CircuitPython code for the Raspberry Pi Pico.
But what if you want to show someone else images or even video of your screen? Just as it’s easy to capture a screenshot in Windows or record your screen in Windows, you can perform these tasks in Chrome OS even more simply.
Below, we’ll show you step-by-step how to take a screenshot on a Chromebook or grab a video of your desktop activities. Aside from just grabbing the entire screen, you have the option to capture parts of the display, change where the screenshot files save and more. When recording the screen on Chromebook, you also have the ability to add sound and video.
How to Take a Screenshot on Chromebook
Taking a screenshot on your Chromebook is simple. There are even a series of keys ready for us to quickly capture a moment.
1. Press Shift + Ctrl + Show windows. Or, if your Chromebook has it, press the screenshot key.
2. The screenshot menu has three key areas.
1: Take a screenshot or record the desktop.
2: Capture the full screen, select an area or capture an application window.
3: Advanced settings (audio, cameras etc) and close the application.

3. Select the camera icon. This will set the tool to take a screenshot.

4. Select either the full screen, rectangular select or window select icon.

5. Take a screenshot. For full screen, click anywhere on the screen. For rectangular select, click and drag to highlight the area. For window select, click on any open window.
6. Click on the pop up to open the folder containing the image.

7. To change the save directory, open the screenshot menu, click on the Settings icon and then Select Folder.

How to Recording Your Screen on Chromebook
Recording your screen on Chromebooks is often useful. For example we can capture the steps taken to solve a problem, or use the video to help others understand how we accomplish a task. On our Chromebook we can use the same key combination to quickly record the desktop, saving the file to our device or to Google Drive.
1. Press Shift + Ctrl + Show windows. Or, if your Chromebook has it, press the screenshot key.

2. Select the video option.

3. Select either the full screen, rectangular select or window select icon.

4. Record a video. For full screen, click anywhere on the screen. For rectangular select, click and drag to highlight the area. For window select, click on any open window. A three second countdown will begin, then the video will start recording.
5. Click on the stop button in the taskbar to stop recording.

6. To change the save directory, create a new screen recording, click on the Settings icon and then Select Folder.

Advanced Chromebook Screen Recording Settings
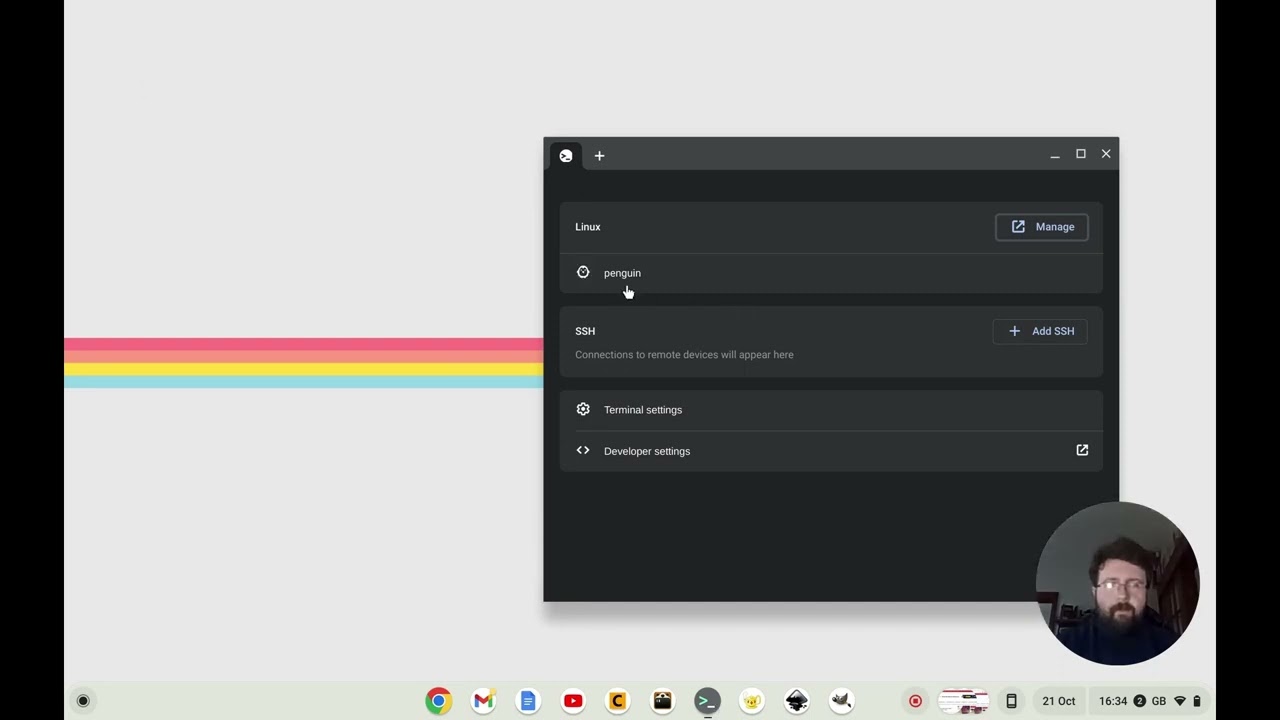
When recording the screen on Chromebooks, we can also enable advanced settings that enable us to use a microphone and cameras, providing us with a simple means to narrate and interact with the audience as we capture our desktop.
1. Press Shift + Ctrl + Show windows. Or, if your Chromebook has it, press the screenshot key.
2. Select the video option.
3. Select either the full screen, rectangular select or window select icon. We would recommend recording the full screen for screencasts / YouTube videos.
4. Click on the Settings Cog and enable the microphone and front facing camera. The back camera can also be used, if your Chromebook has one.

5. Move the camera output by clicking and dragging the window.
6. Record the desktop and, when finished, click the stop button.
7. Click on the pop up to open the folder containing the video, which can be played on the Chromebook.

